Week 16 : Wildcard Week
This week was a bit of a free style week. We needed to design and produce something with a digital process which incorporates computer-aided design and manufacturing we have not covered in another assignment. We are to document the requirements our assignment meets and include everything necessary to reproduce it.
I had quit a few different ideas for this week and struggled to decide on which project to take on. While I really wanted to tackle stained glass and started utilizing CAD to create jigs, I decided to highlight one of Neil’s favorite tools.Unsung Hero of the Lab
This week, I made the requirement to utilize an additional feature of a vinyl cutter other than cutting with a blade.
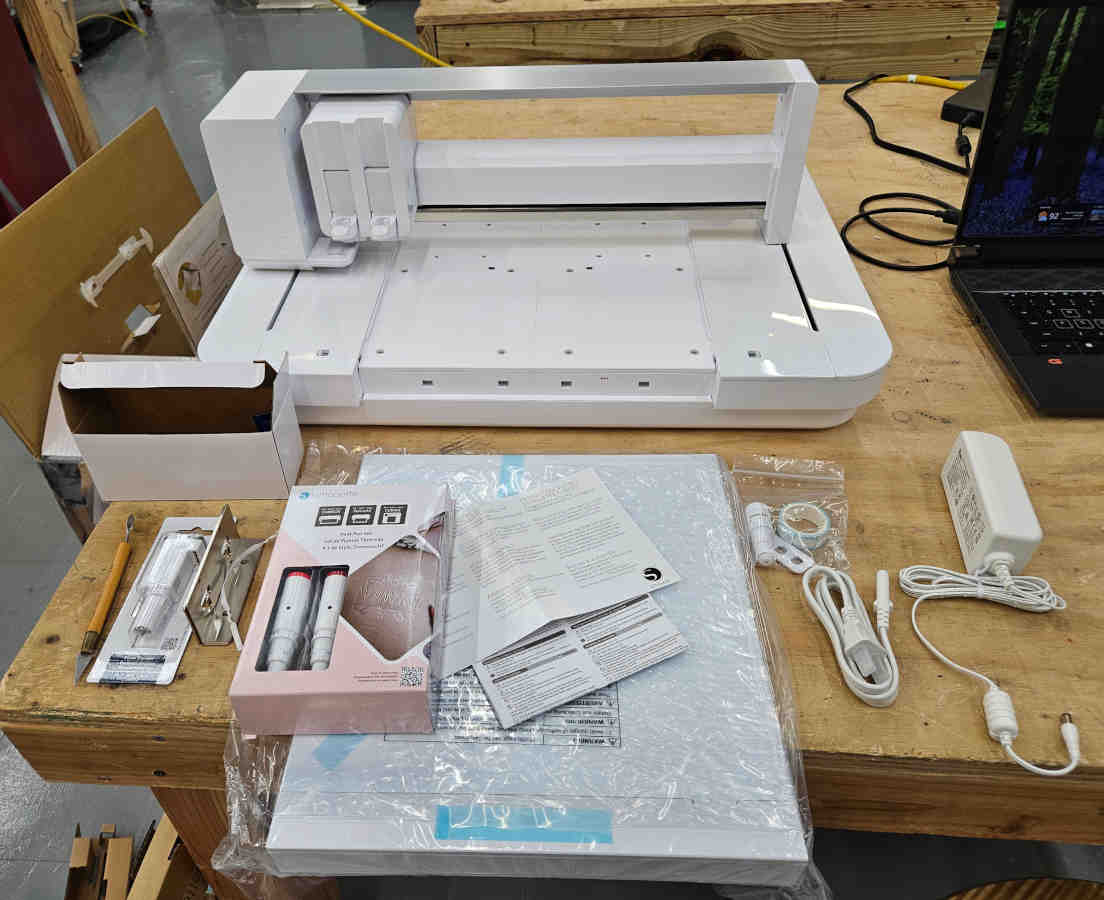
- At AMRoC we have quite a few Silhouette Cameo machines, but we still had a Silhouette Curio 2 unopened in its box. This was the time to open it up and try out one of their few accessory attachments. We are going to be applying foil transfers with the heat pen.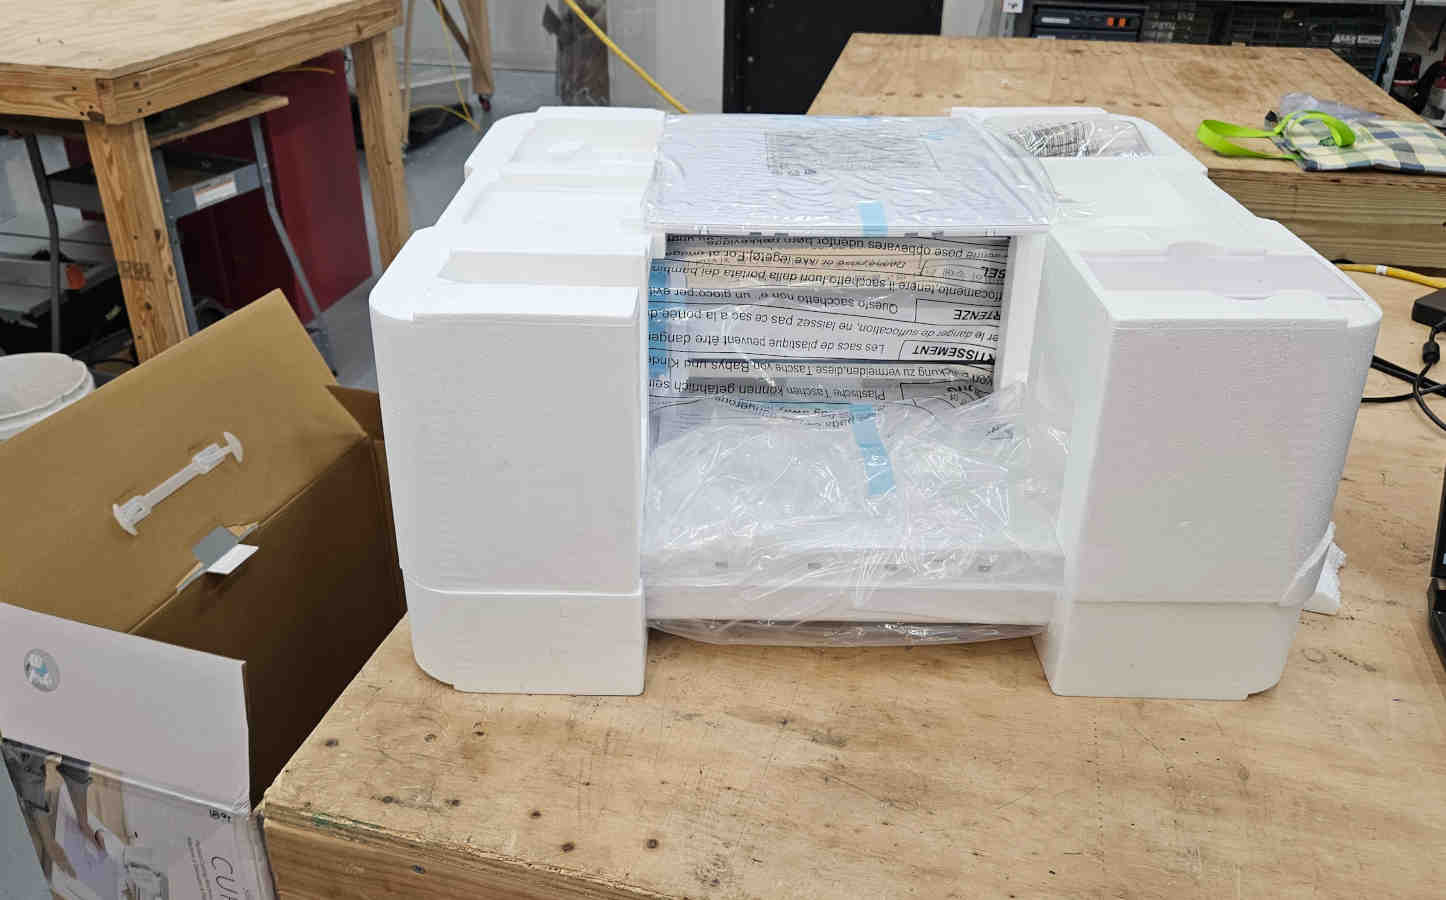
- Silhouette is made to be user friendly and shares the same interface software for all their different machines. This aspect is great since I already have the software installed and know how to navigate it.
- Welp, there is a software update, so some of it has changed, but not by a whole lot. While I am use to using the blade accessory, since I have never used the heat pen or used heat transfer foil and there are no directions on the box for the heat pen, I went to Silhouette’s site to find directions on how to use the heat pen. I found the manual for the Curio 2 machine and looked through it with no luck on finding information on the heat pen.
Curio 2 Manual
- After searching the web a bit, I found a very helpful video that is a great basic guide on how to use the heat pen.
YouTube Video Guide - How to Set Up the Silhouette Heat Pen to Foi
- The video was not made with the most current updated version of the software but the differences are minor.
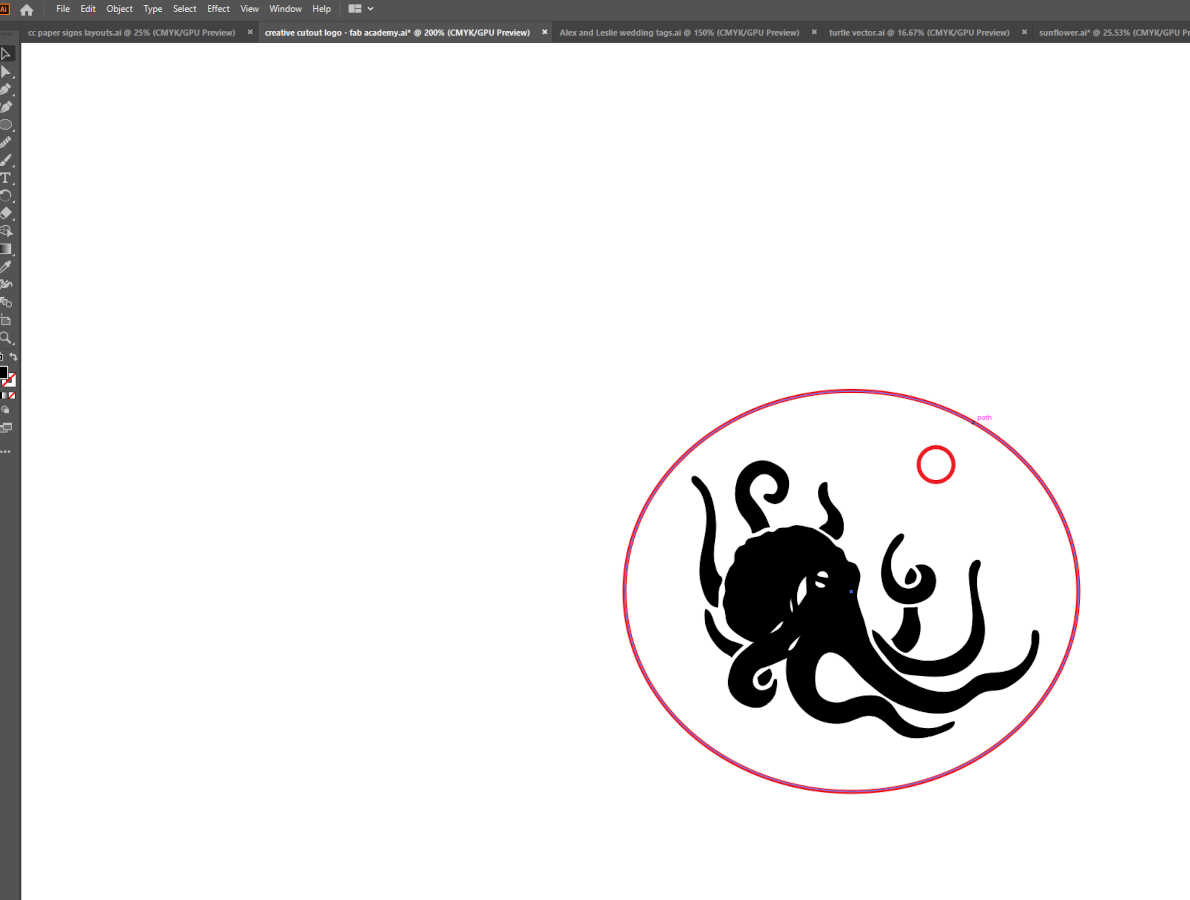
- I have created a logo design file in Illustrator, for myself that I use at markets and for selling my own products. This octopus logo is what I wanted to foil. Save your files as a PNG file to open in Silhouette Studio.
- Before starting, you are going to want to switch out the electrostatic bed the Curio 2 comes with and use the debris tray instead.
- You don’t have to use a cutting matt in the tray depending on what material you are working on by it is helpful to use one by taping the cutting matt down in the debris tray.
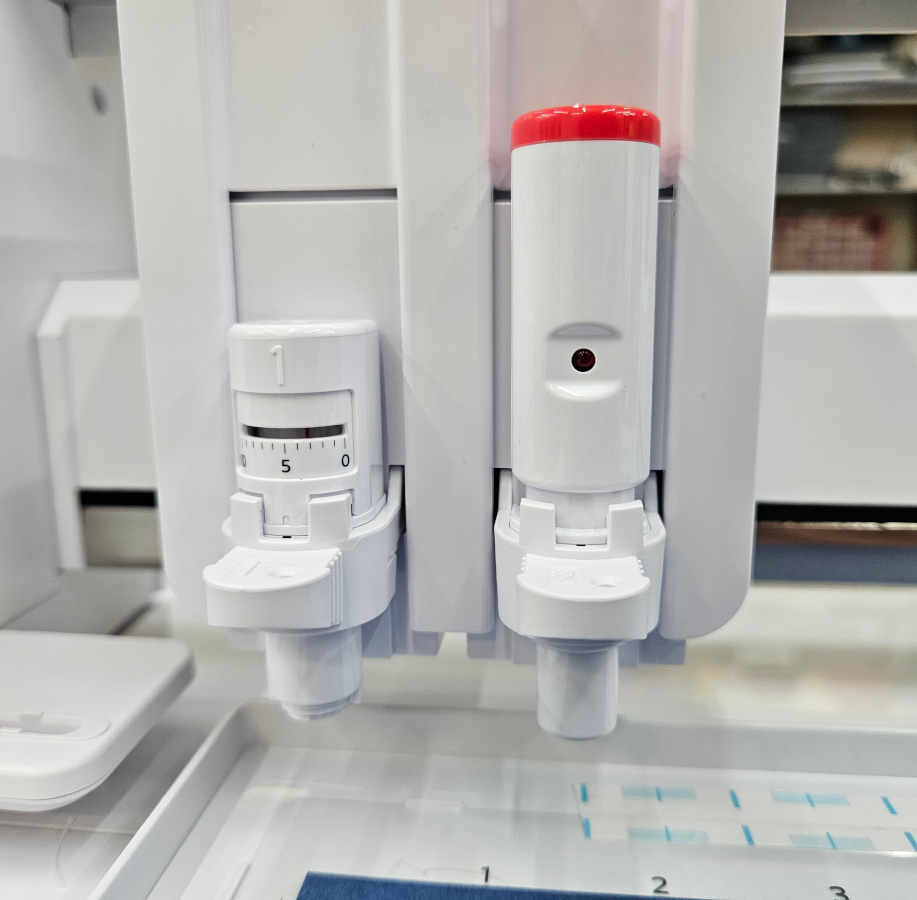
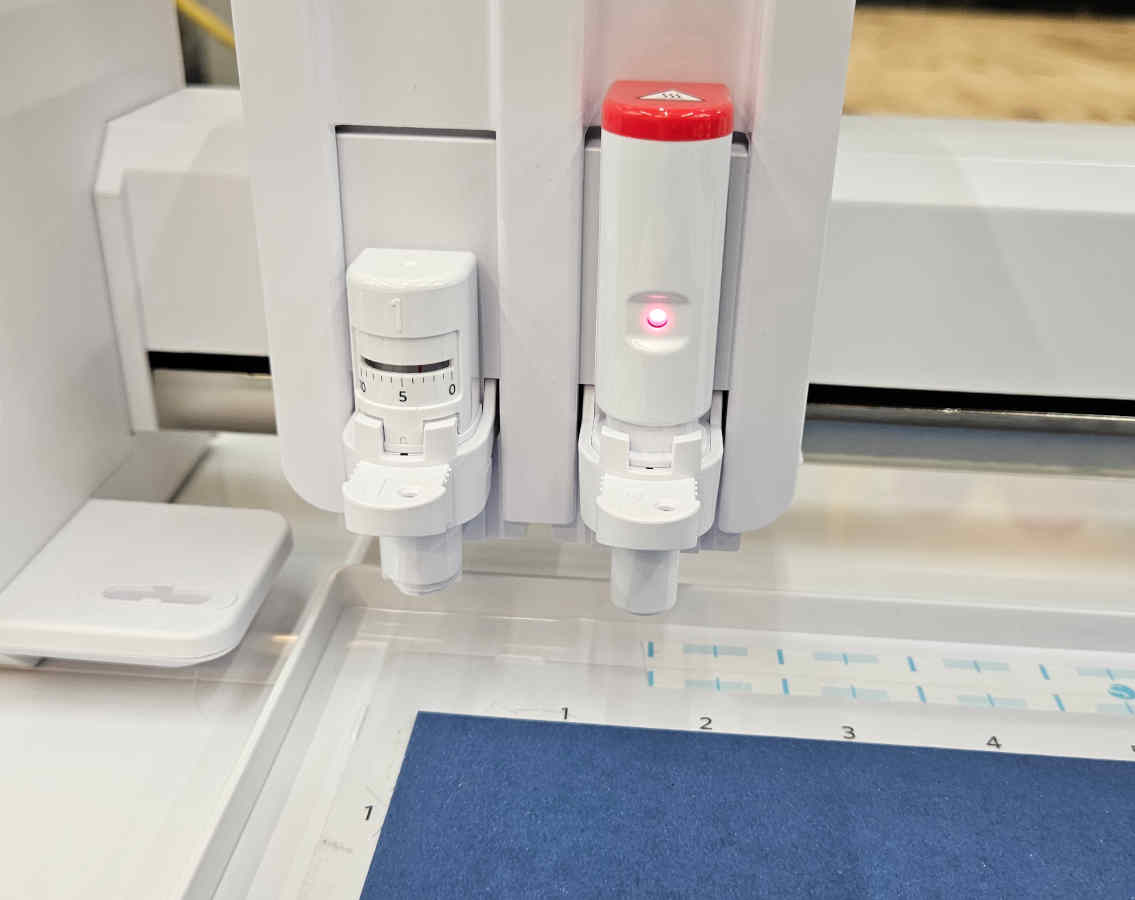
- Insert the heat pen head by pulling the “2” tab out. Lock head in place by pushing head down and pushing the “2” tab back in. In the software you will need to tap the thermomotor symbol to starting heating the head. Once it’s heated, the software will state that it’s ready and the light on the heat pen will light up.
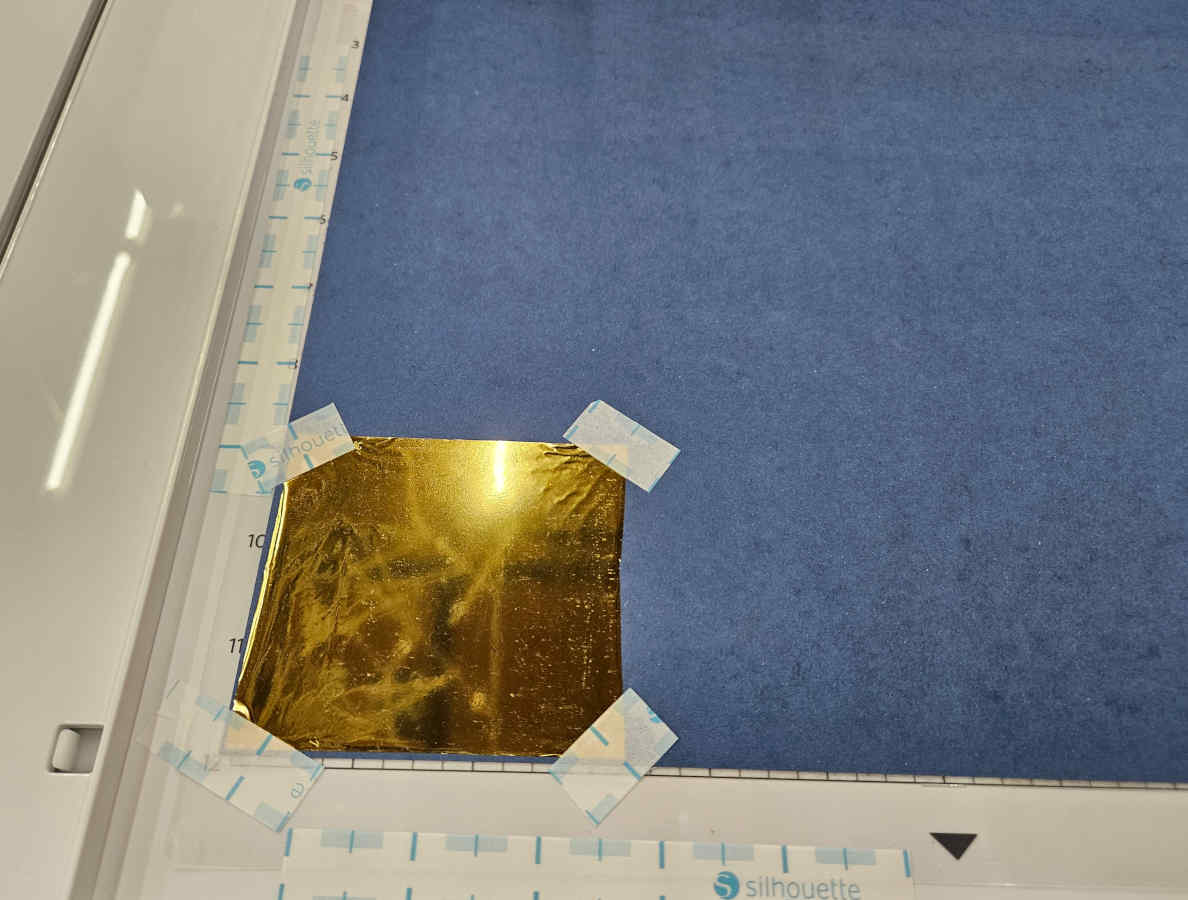
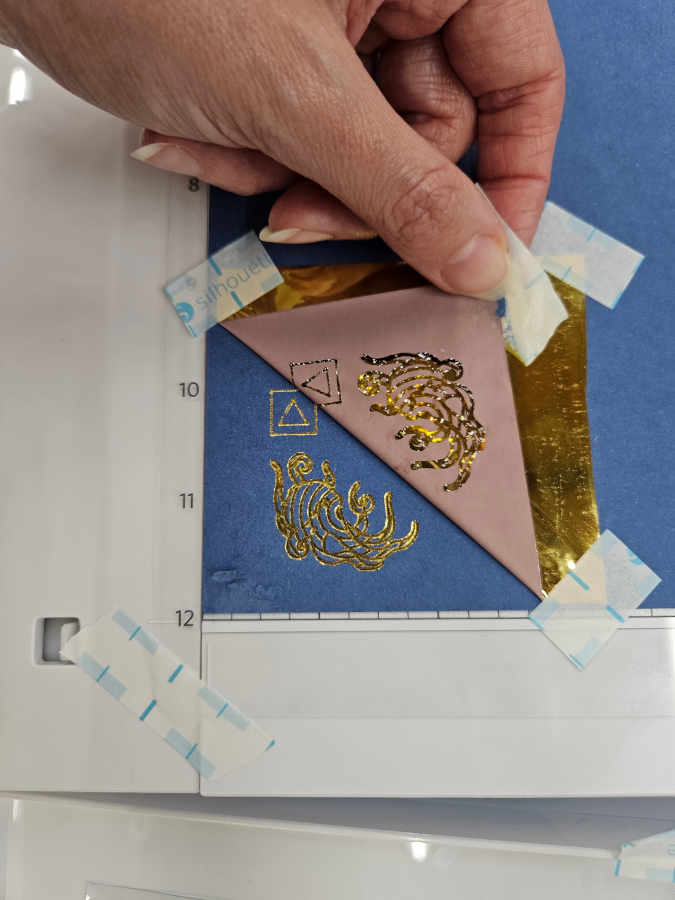
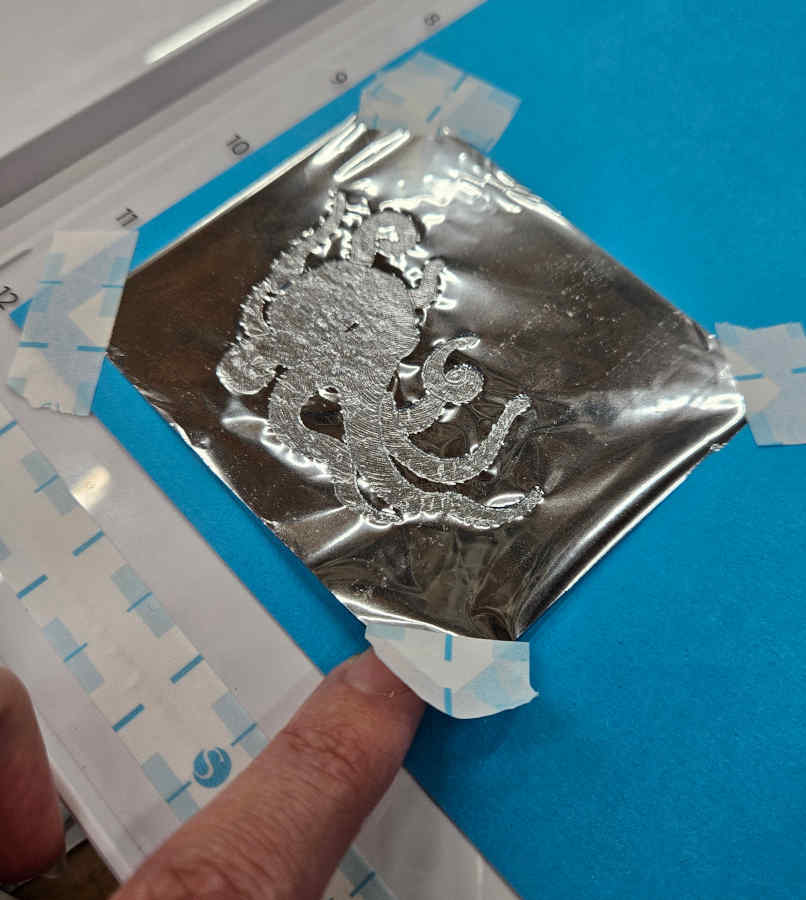
- When taping down the foil make sure it is taut and secure on all four corners.
- To upload a file into the Silhouette Studio software please refer back to my vinyl assignment in Week 3
- Once you have your file uploaded and have general settings selected, you are going to want to select the part of your design you want to be foiled and then click on the specialty tools panel. In this panel, you are going to want to select the heat pen tool. From here you can select a fill pattern.

-If you are doing more than one action on the machine (such as heat pen and cutting), make sure you have your foil design in a different color from your cut file.
- Then you go to the send page. In this page you can select designs by color in the “Line” tab. Keep the color you want foiled selected and deselect the color you don’t want foiled. Make sure you select tool 2 for the file being foiled.
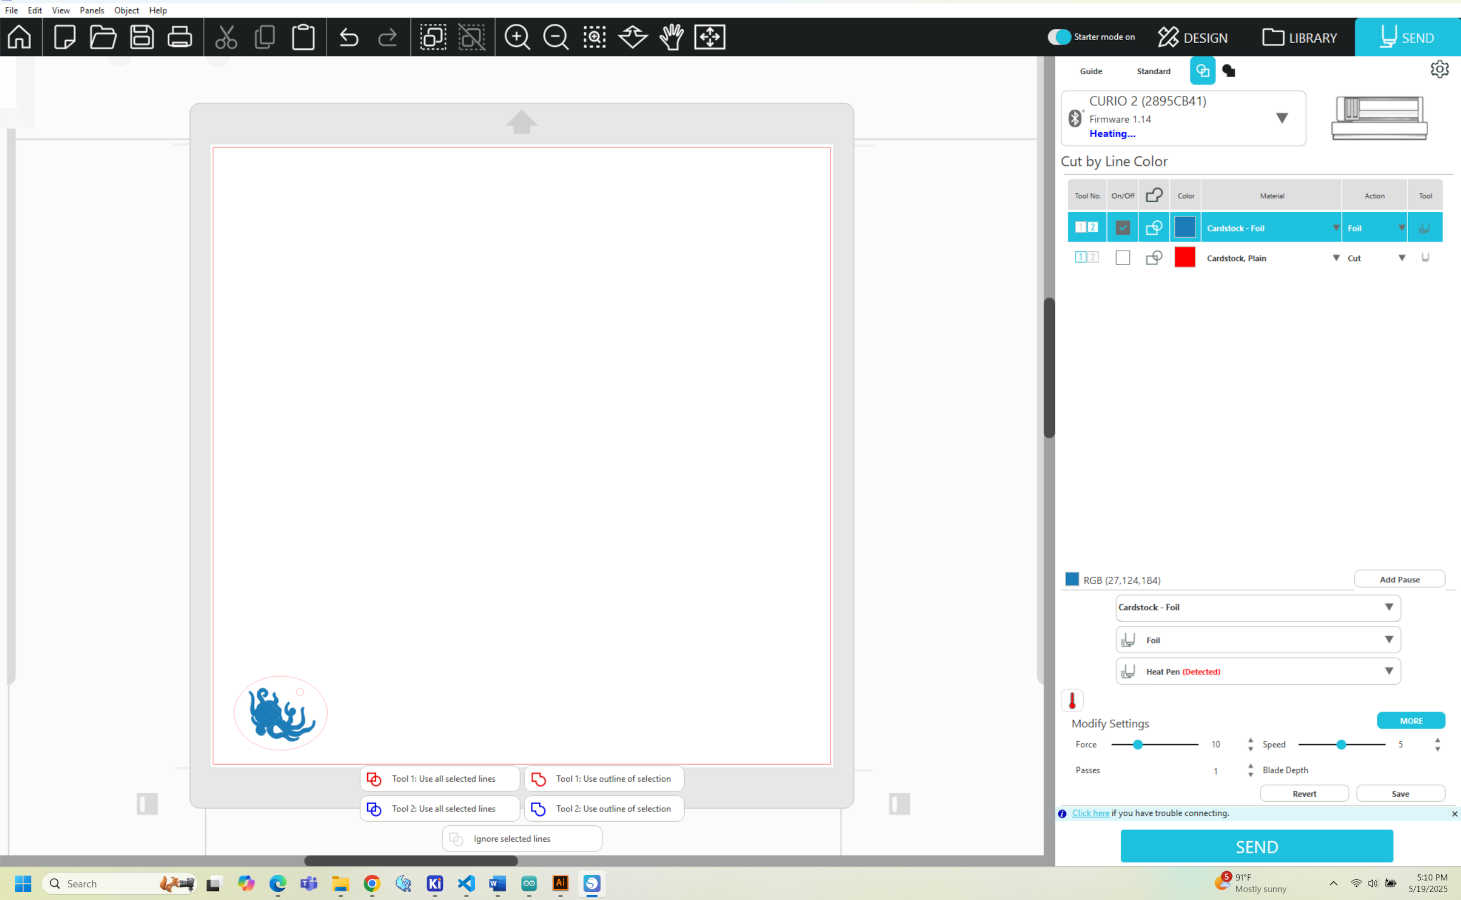
- There is no default material setting for foiling. You will need to create and save a new material setting. When creating the new material setting for foiling, click on carriage 2. There will be a sketch action which you don’t want. Click on the plus sign and select “add foil action”. Make sure to remove the “sketch” action. Here in the foil action is where you’ll set your force speed and passes. Save your settings when finished.
- Go back to the send page and use the new material settings you just saved. With your heat pen loaded the send window will show when the pen is heated and ready. There is a little thermometer icon where you can manually turn the pen on and off. When it is heated and ready the software with state the machine is ready to have a file sent.
- With this machine you should be prompted to do a manual height detection, which isn’t that manual but requires a little additional assistance. Just follow the prompts provided by the machine. If you can’t detect thickness in the prompt, there is a physical detection button on the machine.
-Once all that is set, you can hit send and you are good to go.
- While having a great video guide and with a user-friendly machine, this project should have ran pretty smoothly and in no time at all right? Not always the case apparently.
- After setting up my file in Silhouette Studio and hitting send, the file would run but the heat pen wasn’t actually reaching the foil, there for, nothing was transferring. I assumed the focus was off. I kept trying to “manually” focus the machine but that didn’t seem to work.
- One issue I will point out with user friendly machines, is when you want to troubleshoot them, it’s a lot harder to do so and to mess with when they don’t allow you to do things, such as manually focusing the machine yourself vs trusting that the machine auto focus is correct.
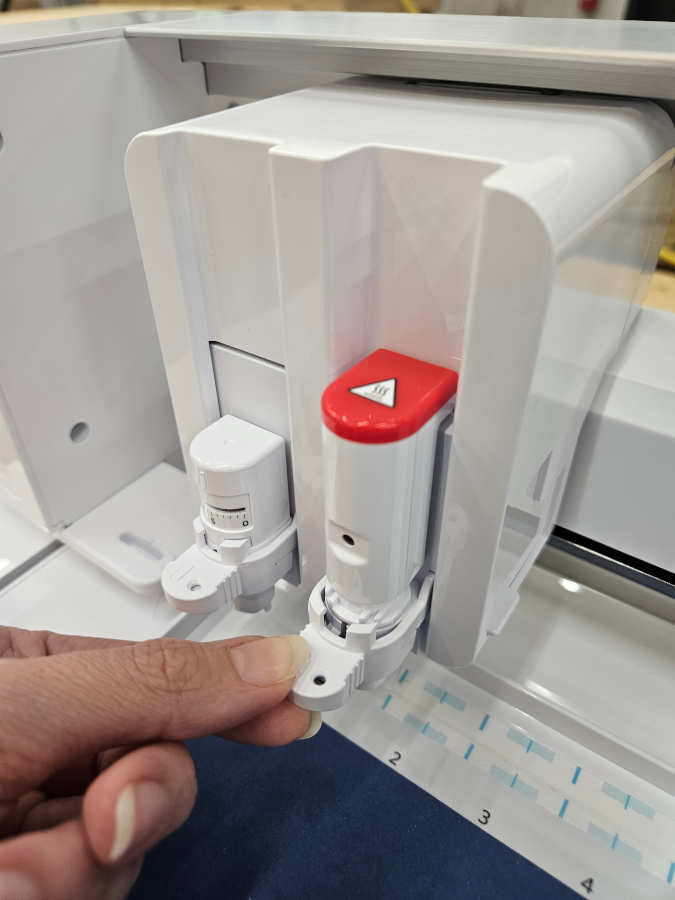
- I searched the web, looked through so many forums, kept restarting the machine, restarting the software, adjusted the force settings, and four and a half hours later still could not get the machine to work. At this point I remembered we had an additional heat pen head and thought to take a look at the additional one we had. After all the troubleshooting I found the problem! The heat pen I was using (which was brand new and came straight out of the box) was defected. The little heated roller ball should be sticking out of the plastic housing, which it was not.
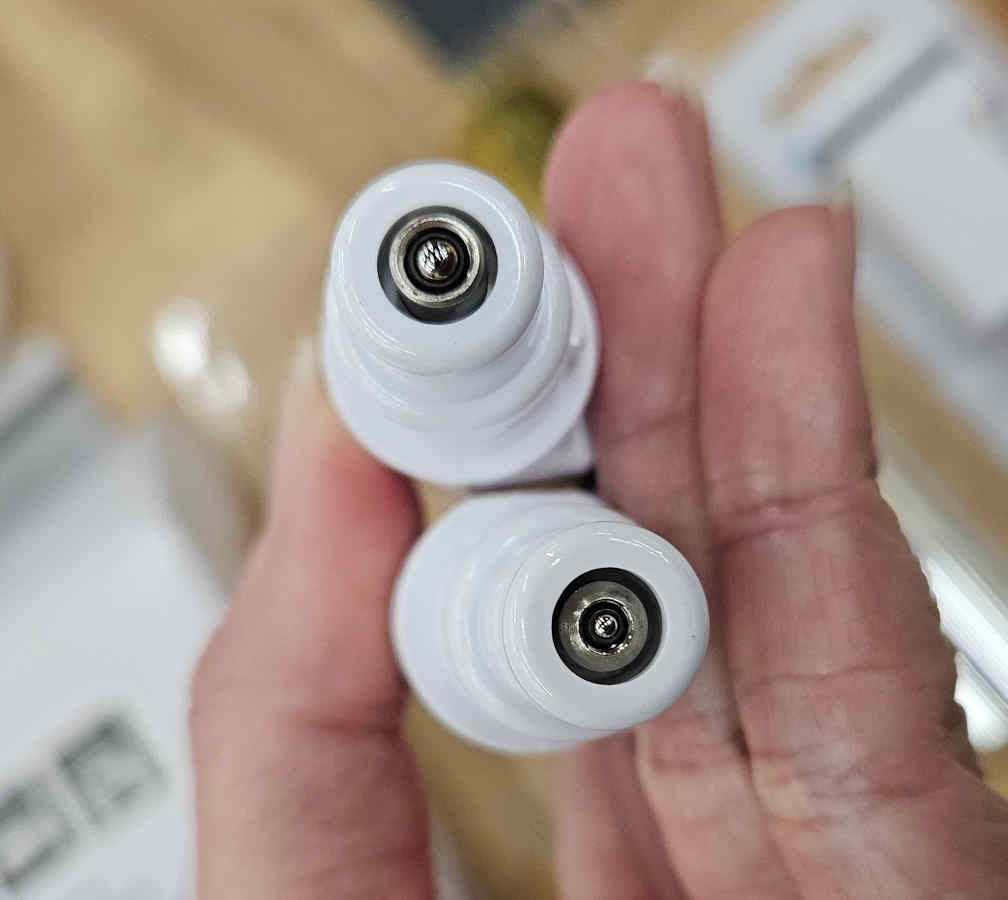
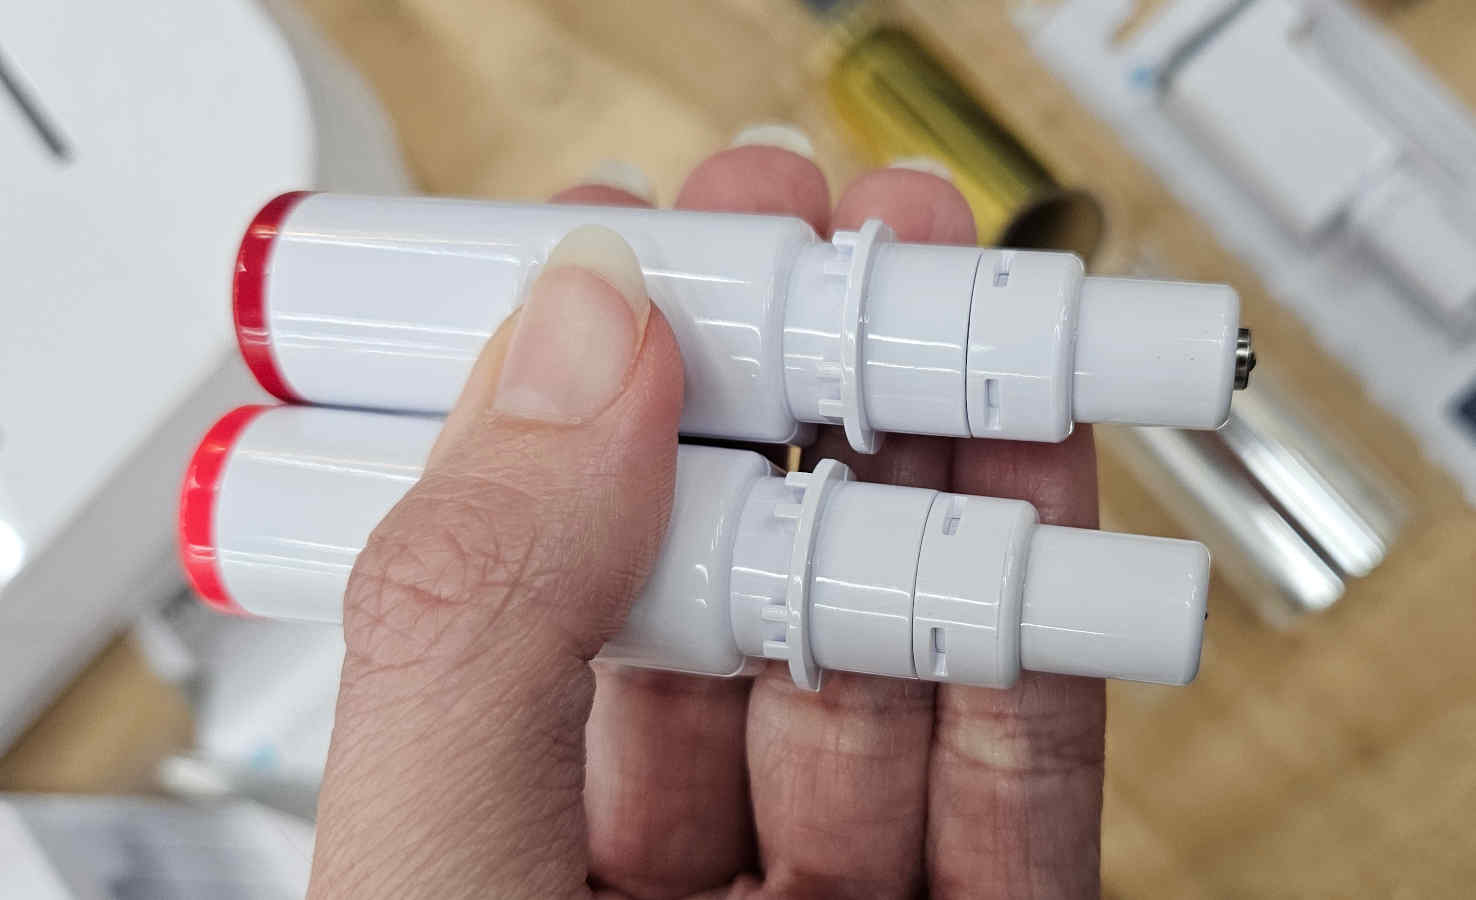
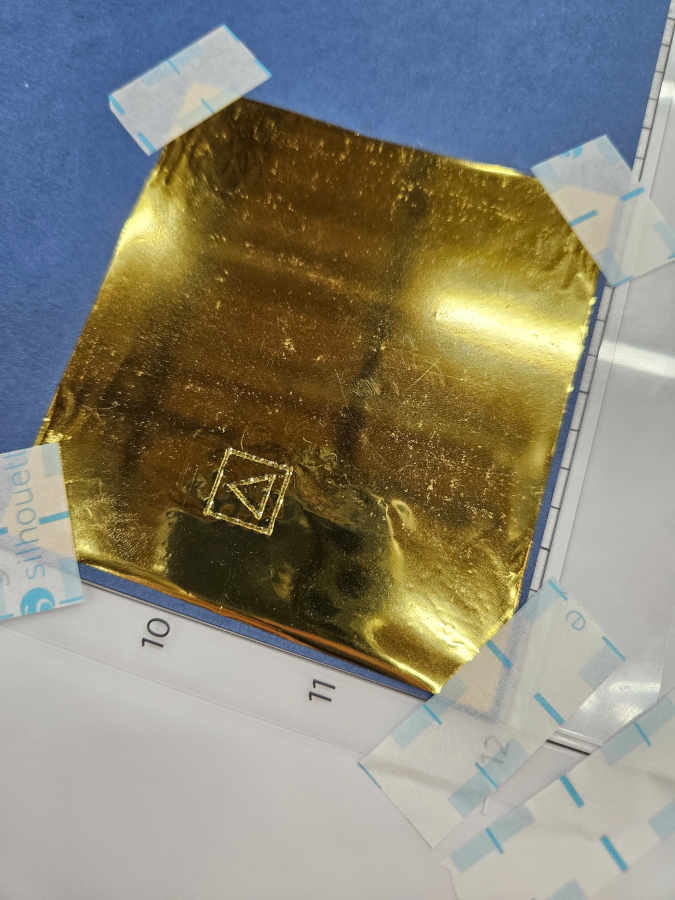
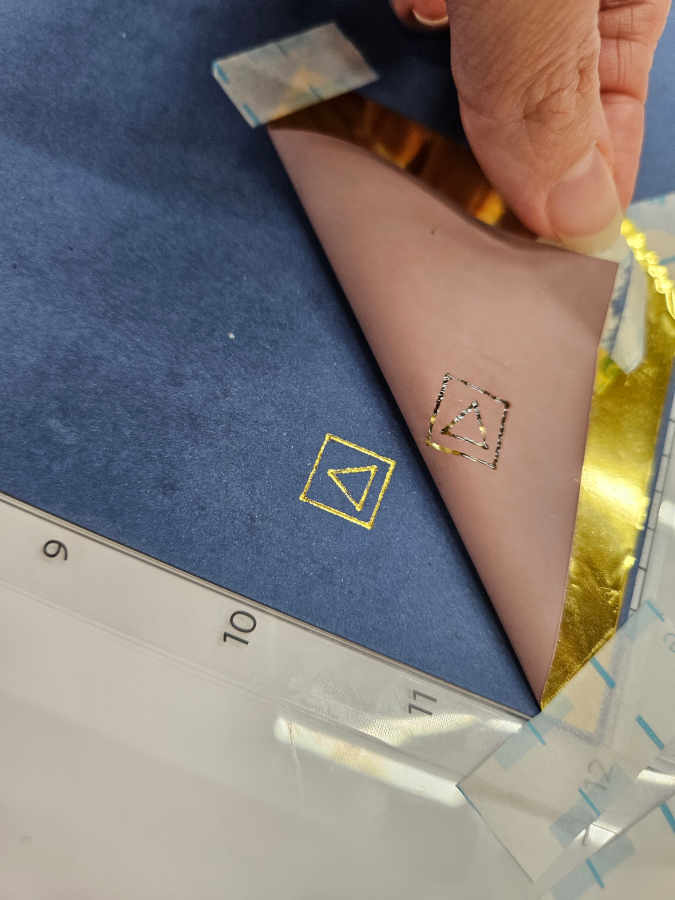
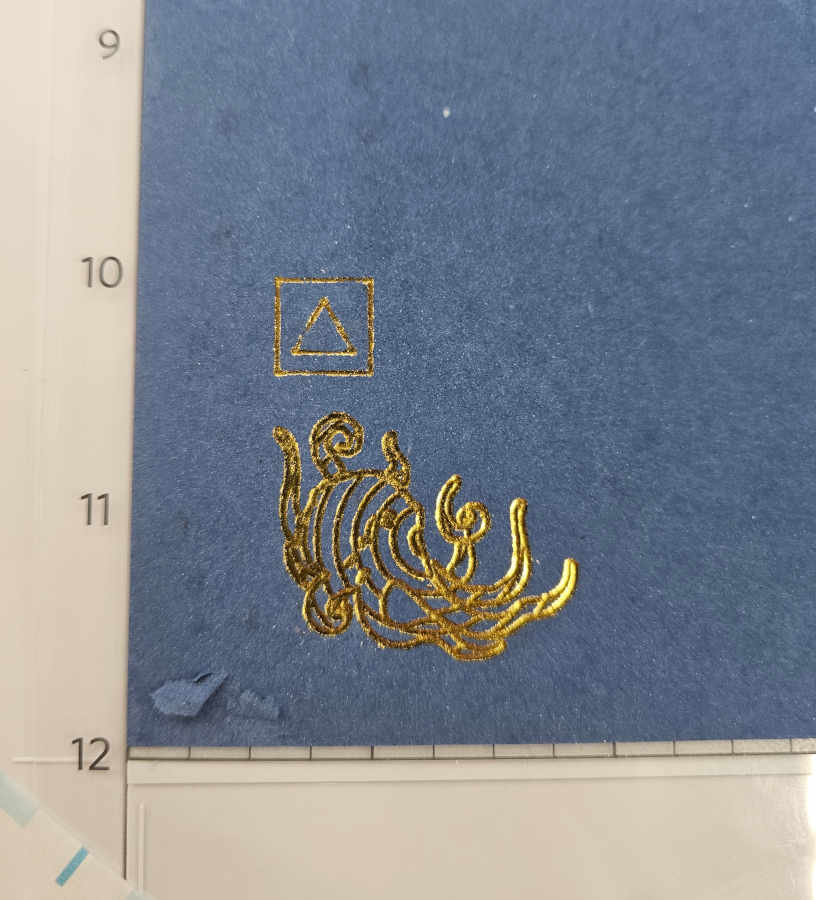
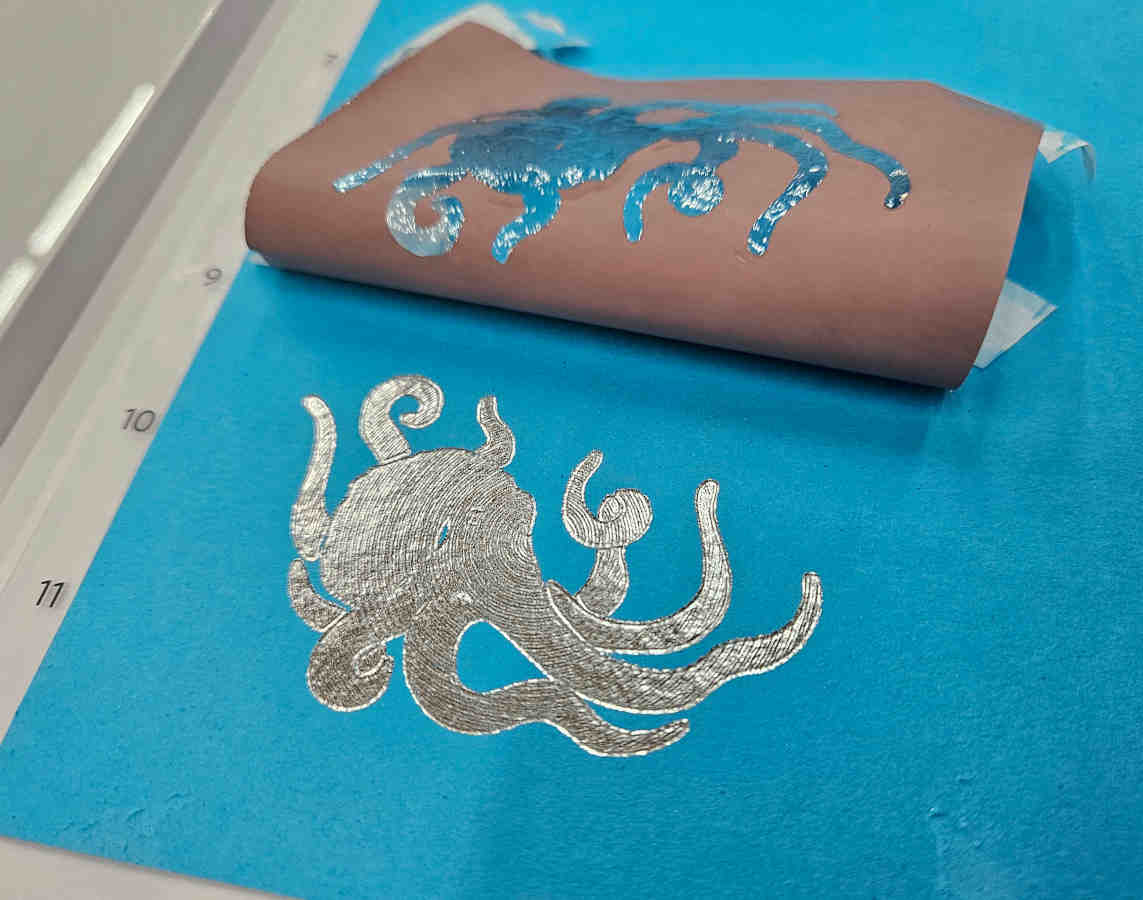
- I switched the heat pen head and voila! It worked! I first ran a test file of the triangle and square and then ran a version of the octopus in gold foil on blue paper.
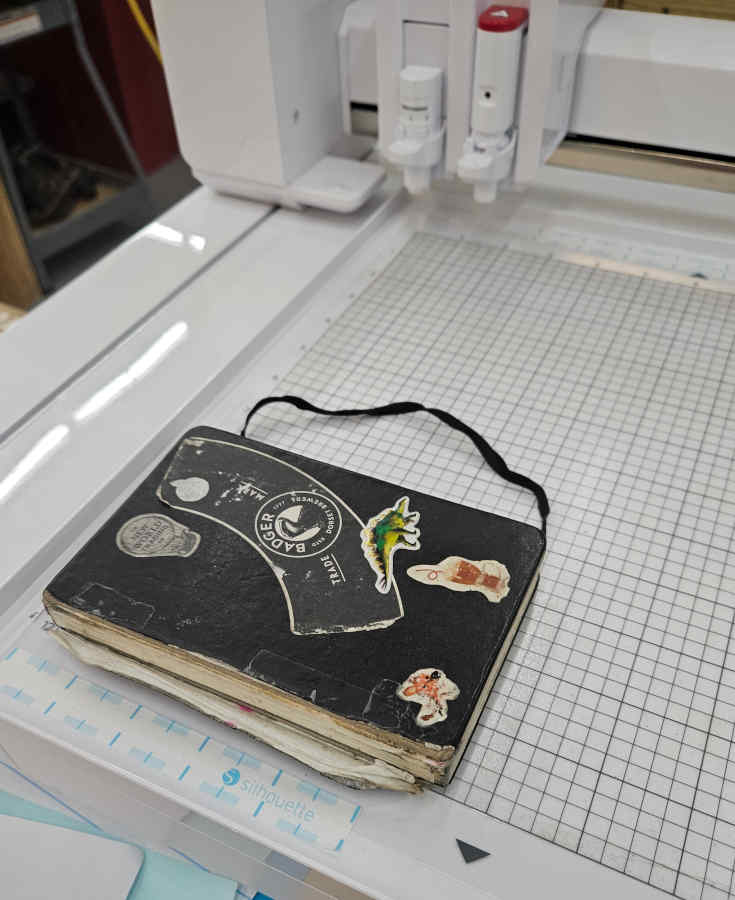
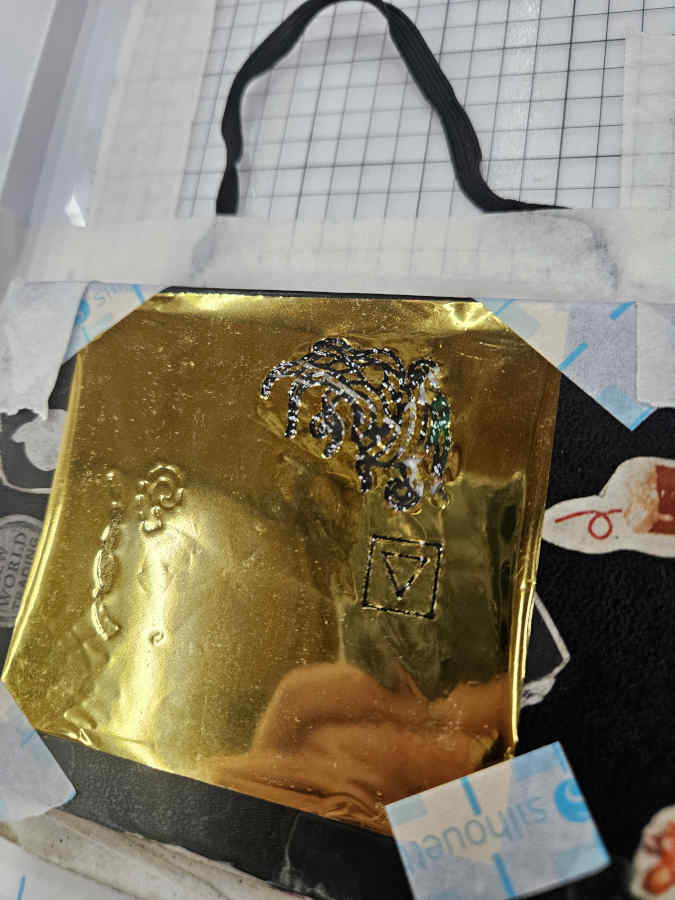
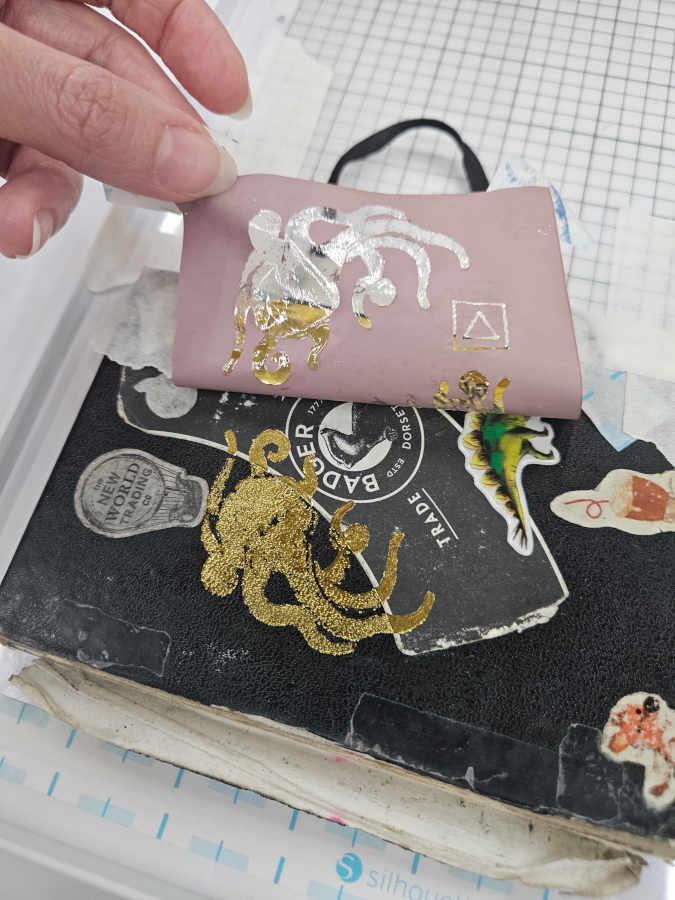
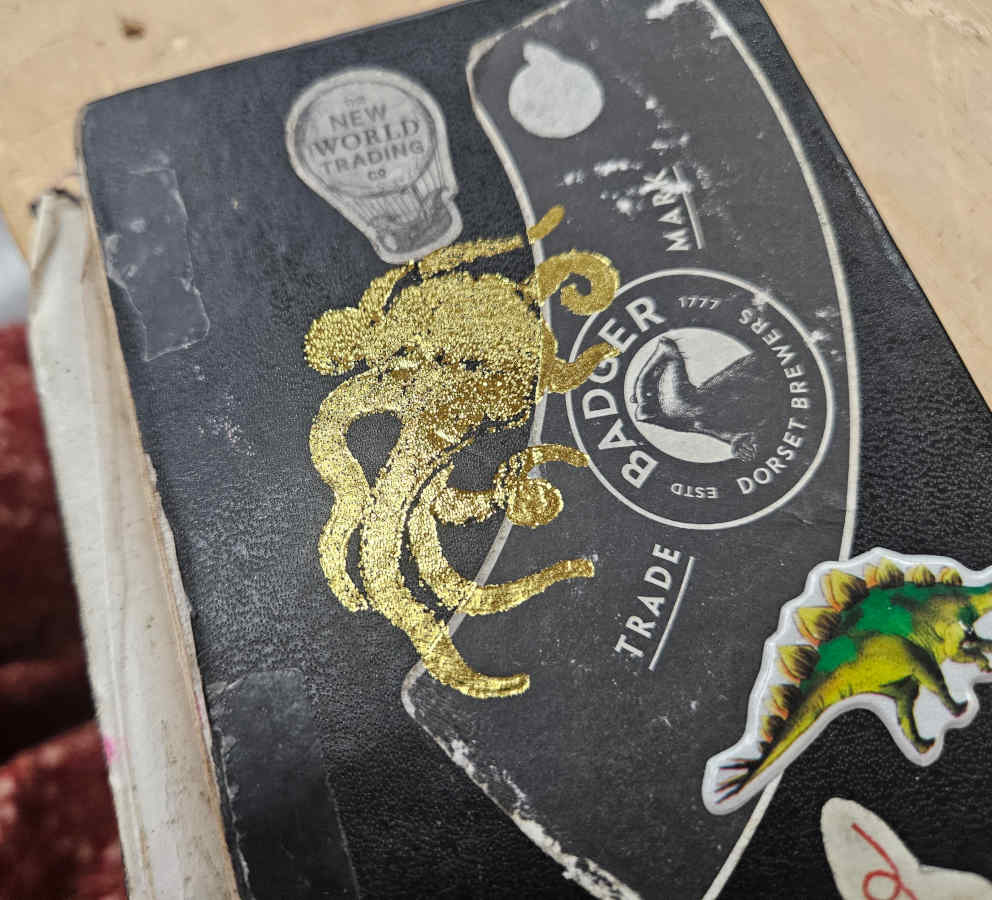
- Excited it worked, I also wanted to test how it would do on different material. I went from using flack basic thin cardstock to probably one of the more complicated surfaces I could choose. A very old, well loved (uneven or level) leather sketchbook cover. I think it did a pretty decent job for how unlevel the surface of the book was. It’s also neat to be able to see how it handles texture. There is a bit of spottiness on the more textured surface vs the part of the foil on top of the sticker label, which came out very smooth and clean.
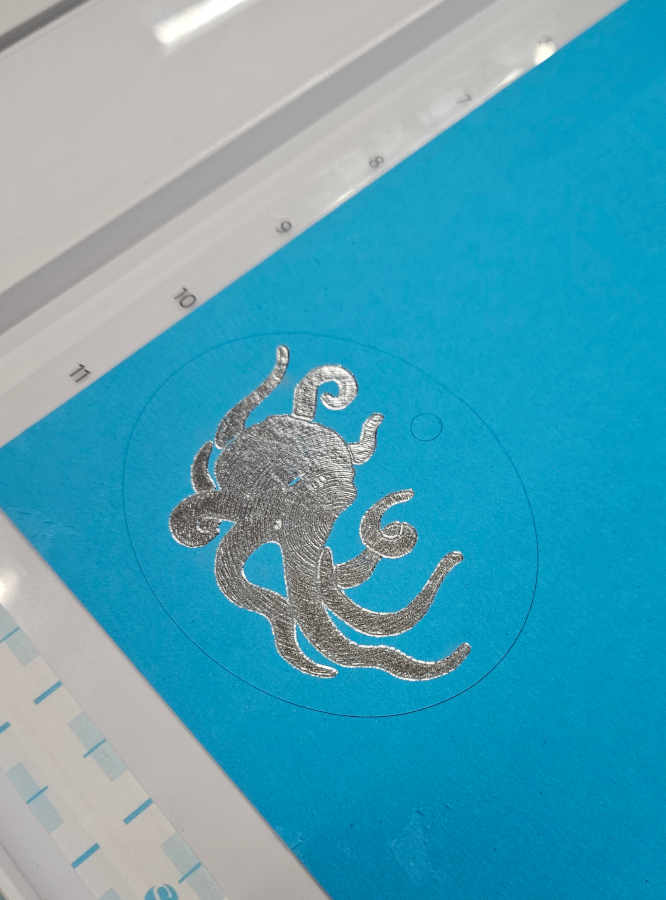
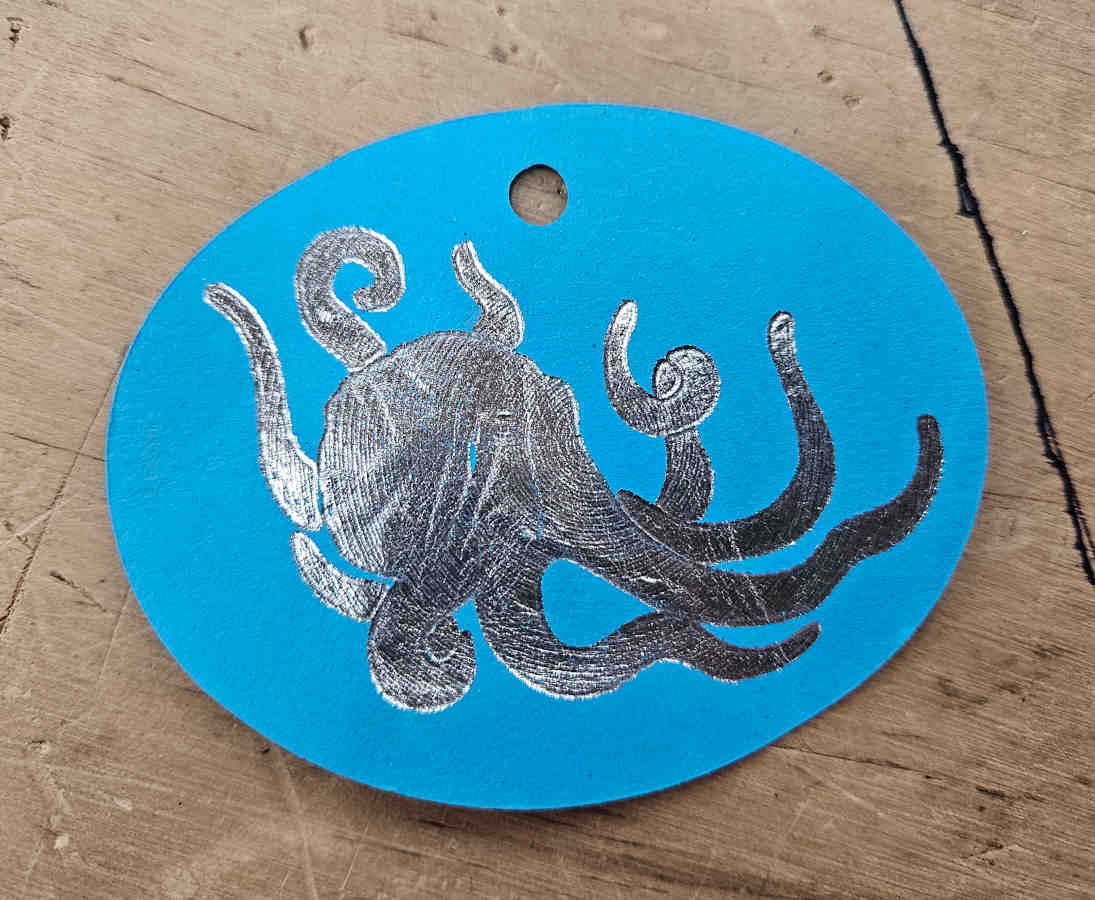
- I ran an additional paper file with silver foil and incorporated both the heat pen function and the blade cutting function. I think this is a fun great feature that can’t be done on some of the more popular fab lab machines. The machine itself still has some quirks and isn’t the most professional quality, but it’s still a great feature that could be used for personalizing lots of projects, adding another dimension to the fab lab world.

Design Files
-I haven't provided my octopus file since it is the logo to my products. If I could provide a different file using the same method, here is the Star Fleet insignia as collateral.