
Assignment:
- In week 02, the task was left, which consists of: Modeling (raster, vector, 2D, 3D, rendering, animating, simulating,...), as well as proposing a possible final project, compressing images, videos, and publishing a description with 2D and 3D design files.
2D design
2D Raster: In this activity, I had to research rasters to complete the assignment. The concept of a raster is a "method for creating two-dimensional images from pixels." With this approach, it is possible to create lines and polylines from raster images, and these images can also be vectorized. For this project, I will use GIMP to create the 2D design.
Photoshop y GIMP
In this case I am going to install GIMP and also Photoshop in order to Model (raster, vector, 2D, 3D, render, animate, simulate) so I started the download process, then I proceeded to use the respective commands for each software.
GIMP
GIMP is a free, open-source, cross-platform image editing program that allows you to create, edit, and retouch digital images. It's a free alternative to Photoshop and offers a wide range of tools and features for image management.
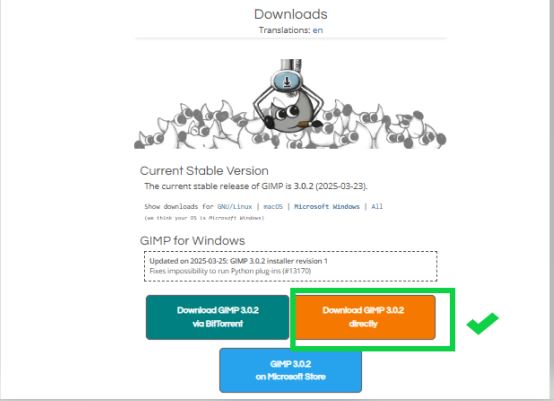
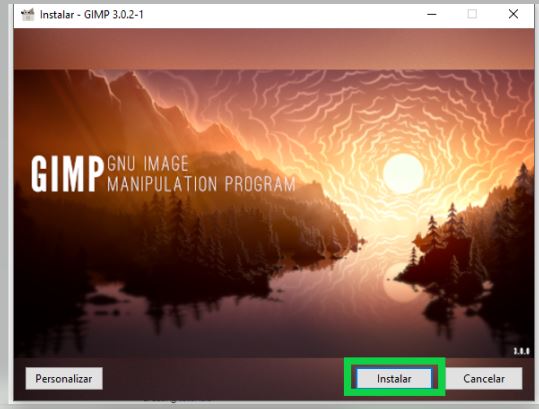
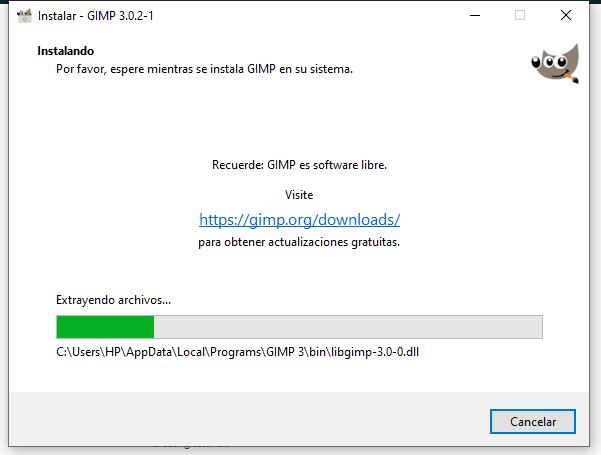
Next, we will complete the software download process, following the steps required to install it on our machine and begin working on our edition. Here's the link to download it. GIMP

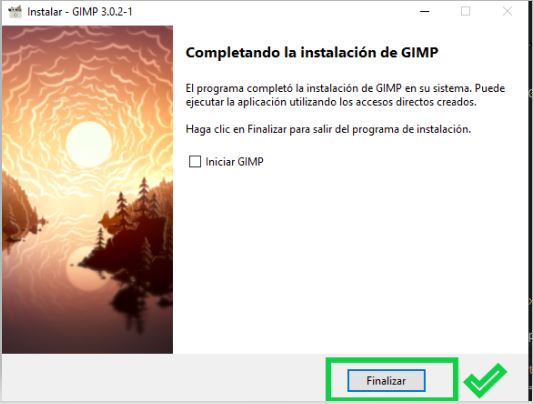
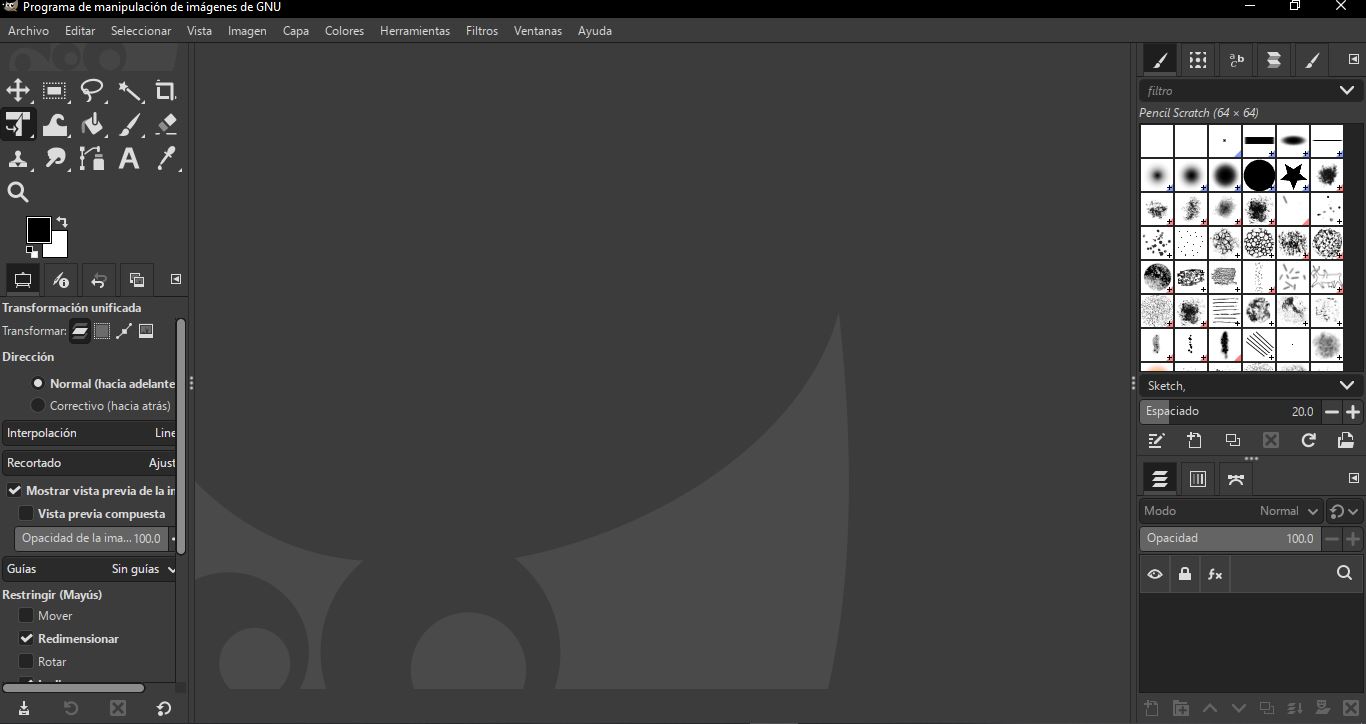
Now that we have GIMP installed, we can begin. We know that GIMP already works directly with raster graphics, as it's a bitmap-type graphics editor. To do this, we'll download an image in SVG format so we can later edit it as pixels.
- Open GIMP. Go to File > Open.
- Navigate to the location of your image
- select it, and click Open.
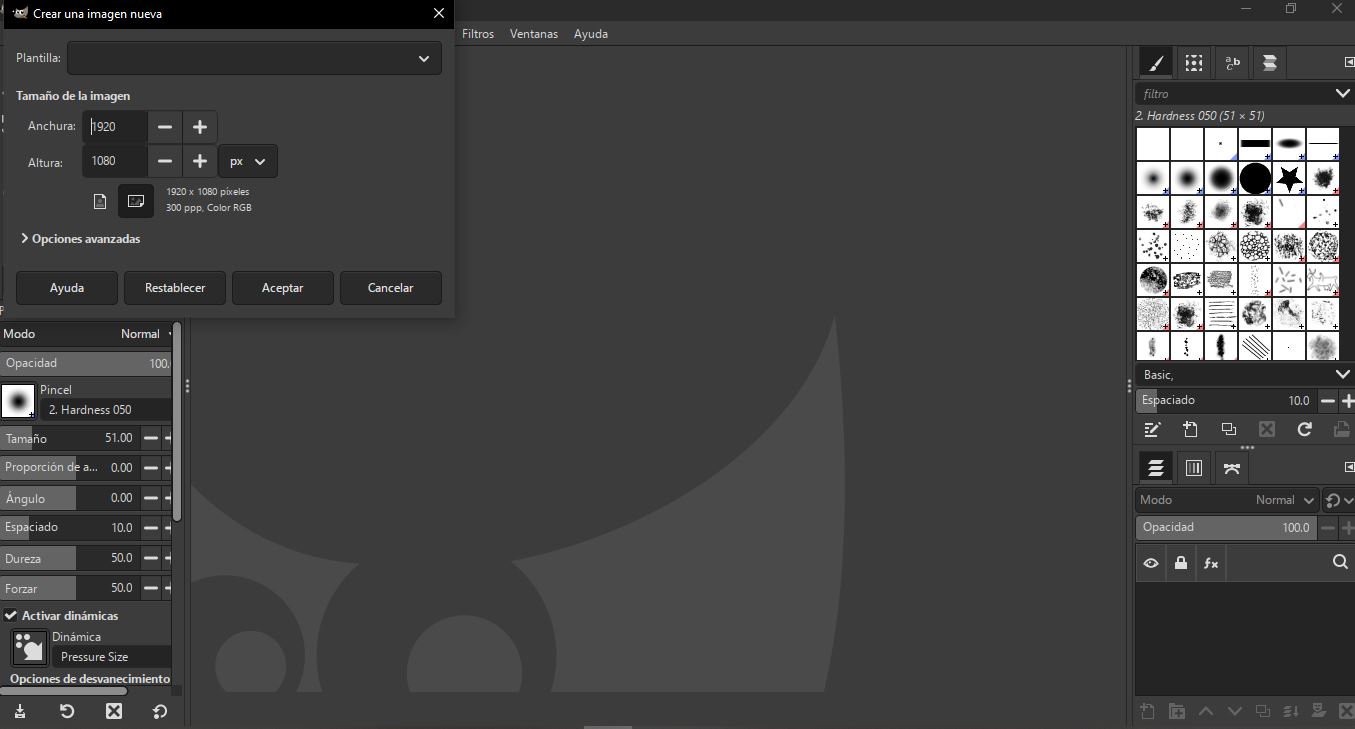
Once the image is imported, adjust the size according to your needs and click OK.
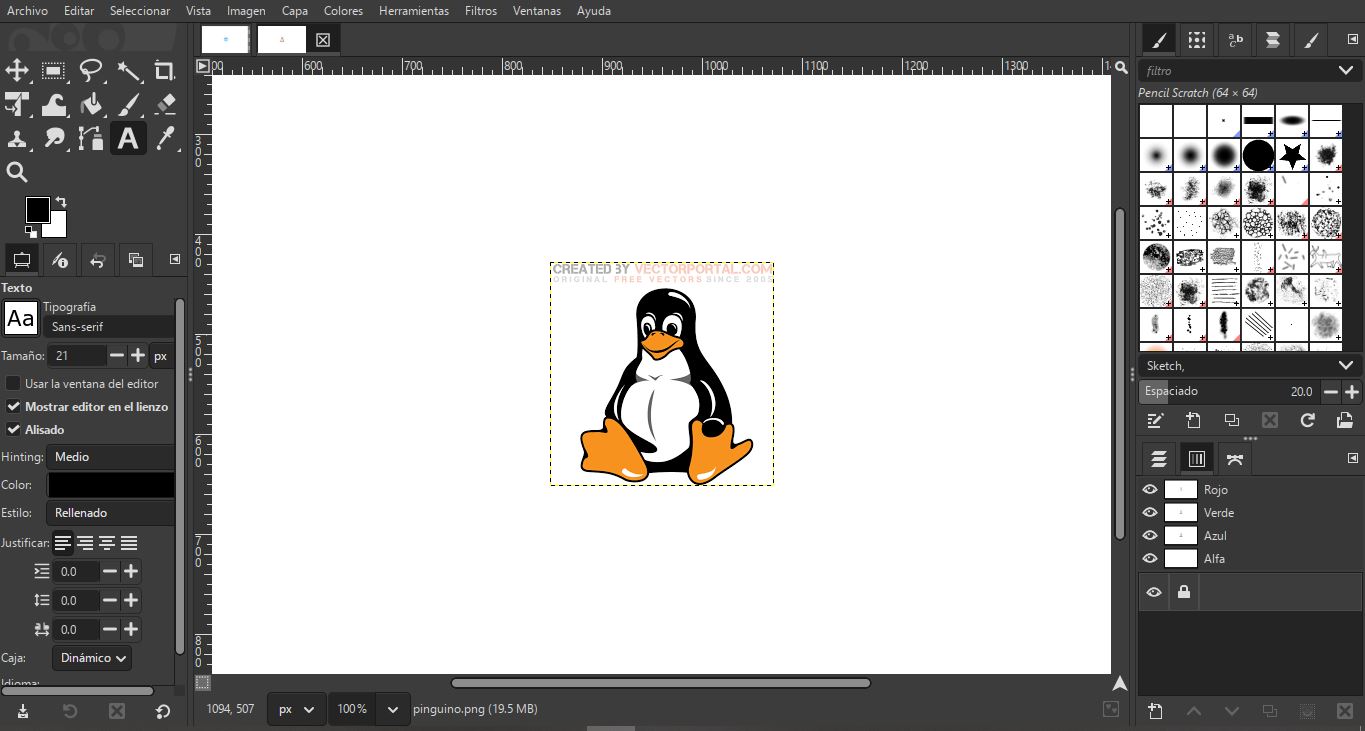
GIMP will automatically convert the SVG to a raster image. Once the image is rasterized, you can use all of GIMP's tools to edit it:
.You can also use some painting tools such as: brush, pencil, airbrush, etc. Filters to apply: Blurs, distortions, artistic effects.
It's worth noting that GIMP is an exceptional tool that simplifies and speeds up the process of vectorizing and enhancing images. Working with this tool deepens my knowledge, as it's a very powerful tool.
Photoshop
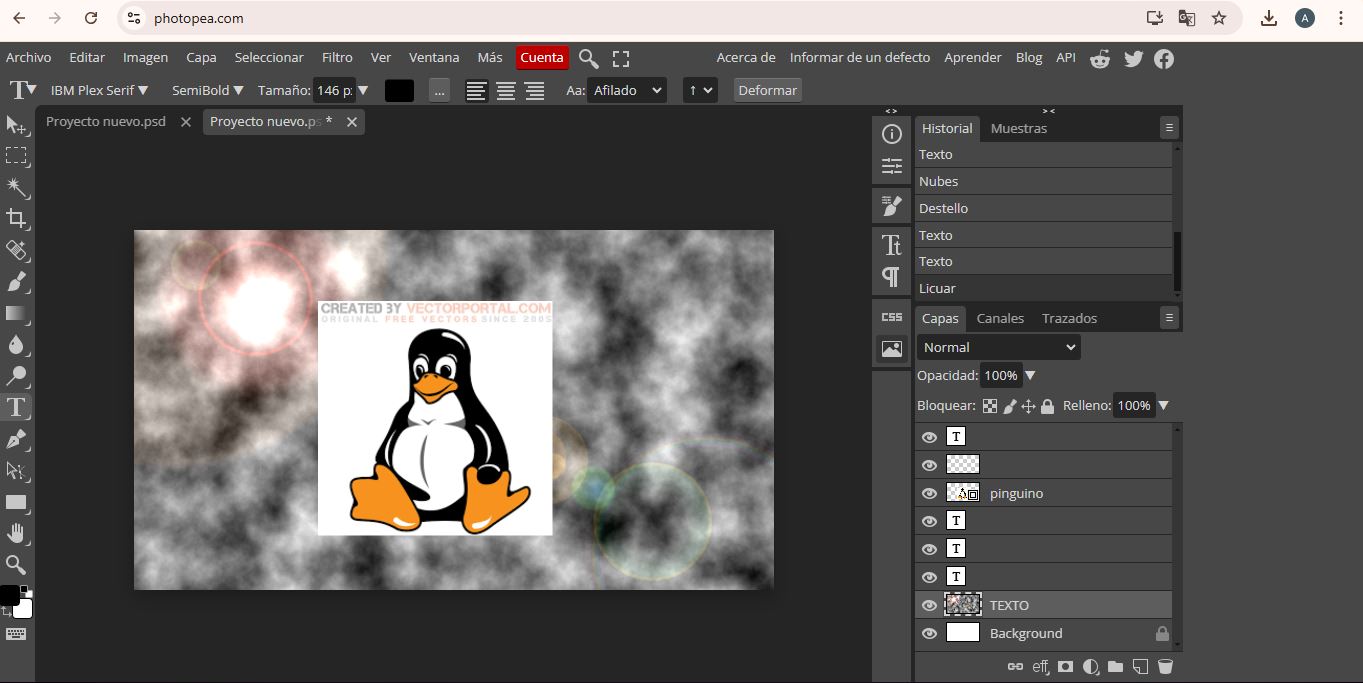
PHOTOSHOP: Now I have performed the same procedure with the fhotoshop software which is similar to GIMP
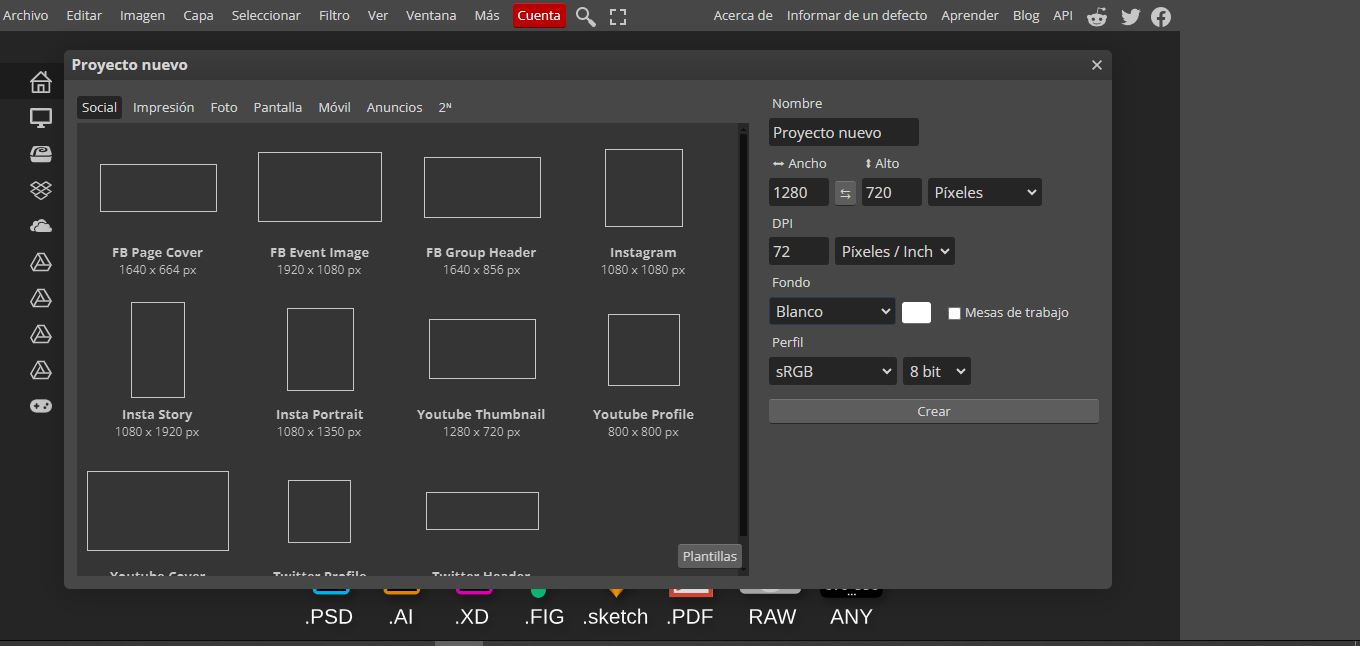
Now, in PROTOSHOP, I select a new project and, in the template, the cover with the required number of pixels, then we open the new project window.
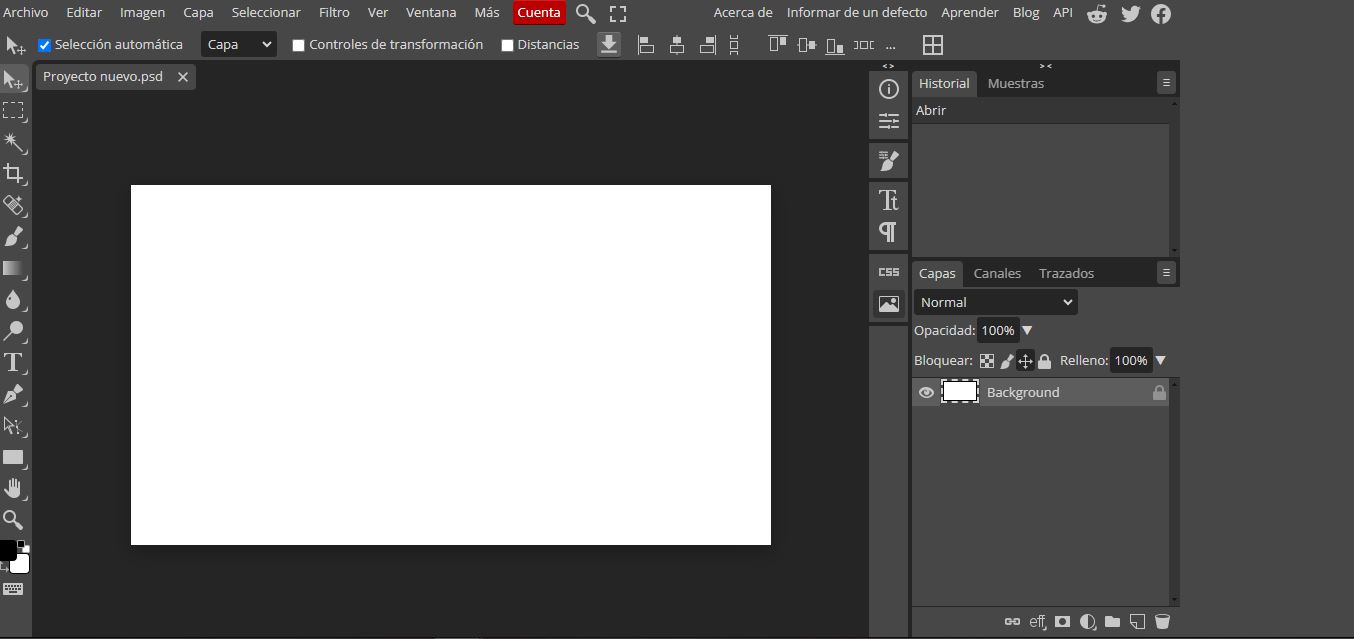
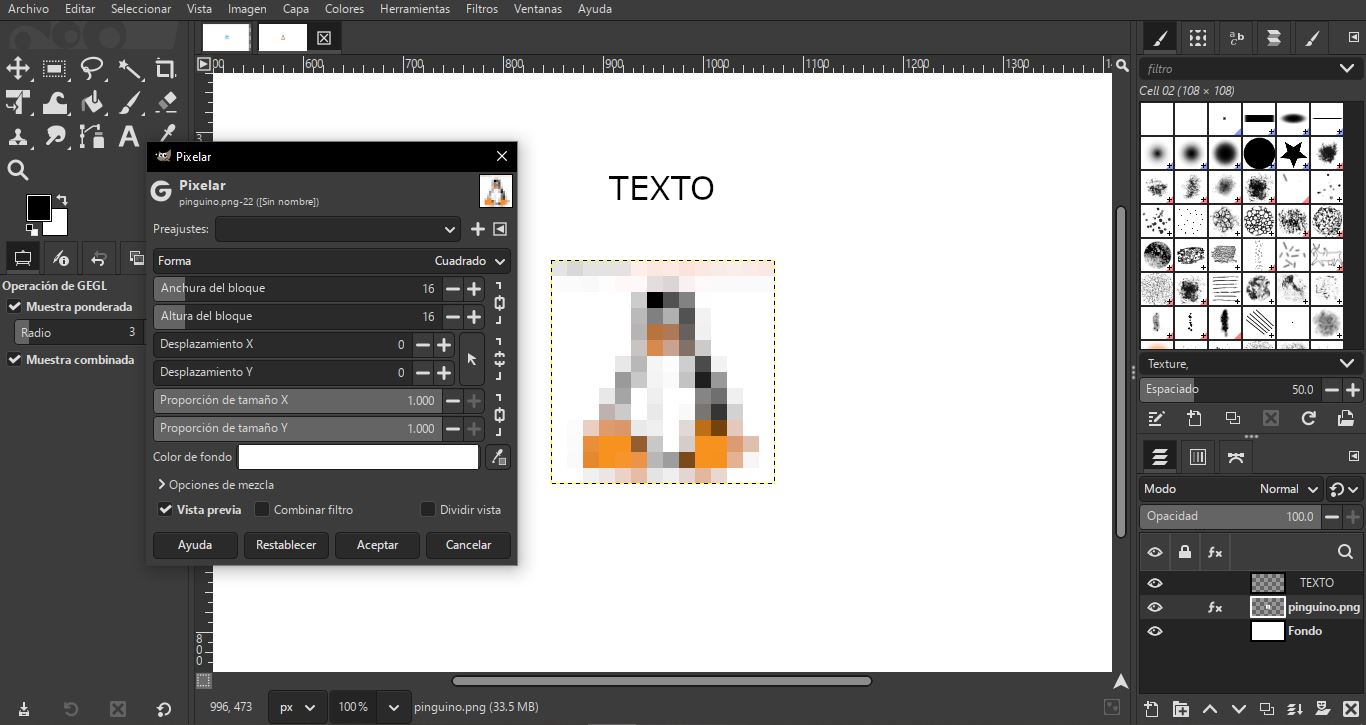
Next, I import the penguin image, and I can duplicate the layer of that image. The image is then displayed with a relief background; for this, I used the render command.
COMPARISON OF GIMP AND PHOTOSHOP:
GIMP is faster software than PHOTOSHOP. However, when creating basic drawings, it's a bit more difficult to find the tools in GIMP, and it's not as intuitive for quick editing as Photoshop. Both are easy to edit photos; in that regard, they're the same.
In this case, Photoshop is a more useful tool than GIMP. I would recommend PHOTOSHOP because it has more tools for photo editing, but not as many for creating images from scratch.
| Feature | GIMP | Adobe Photoshop |
|---|---|---|
| Price | Free and open source | Paid (Subscription-based) |
| Platform | Windows, macOS, Linux | Windows, macOS |
| Interface | Customizable, less polished | Highly polished, professional |
| Ease of Use | Steeper learning curve | More intuitive |
| Performance | Lightweight, runs on low-end PCs | Needs more resources |
| File Format Support | Many formats, including PSD | Wide range, native PSD |
| Layer Support | Yes | Yes |
| Non-Destructive Editing | Limited (with plugins/workarounds) | Advanced (Smart Objects, Adjustments) |
| Color Management | Basic | Advanced (CMYK, Lab, etc.) |
| Plugins & Extensions | Community-driven plugins | Large ecosystem, official support |
| Photo Retouching Tools | Good, but fewer tools | Industry-leading |
| Vector Support | Limited | Better vector tools |
| Scripting & Automation | Yes (Python, Script-Fu) | Yes (JavaScript, Actions) |
| Community Support | Strong open-source community | Massive professional community |
Vector Mode
Vector mode refers to a type of graphic representation based on vectors, which are mathematically defined lines, curves, and geometric shapes, rather than pixels. This technique allows images to be scaled without losing quality, unlike bitmap (raster) images, which become pixelated when enlarged.
some of the applications for Vector Graphics Editing Software, in our case we chose Inskape as it is a powerful open source vector graphics editor.
- Adobe Illustrator
- CorelDRAW
- Sketch
- Inkscape
- Affinity Designer
- Krita
- Vector Magic
- Pencil2D
As part of my experience with design tools, I have worked with other programs, but at the recommendation of my instructors I am going to work with Inkscape, since the program has unique features to create a visual representation that combines precision, creativity and functionality.
Inkscape
Inkscape is a free and open source vector graphics editor. Inkscape can create and edit diagrams, lines, graphs, logos, and complex illustrations. Inkscape aims to provide users with a free, open source scalable vector graphics (SVG) graphics tool that is fully compliant with XML, SVG and CSS2 standards.
To install Inkscape, simply click "Next" several times until the process is complete and then run the program with a single click.
Let's work from an image.
Now that we're in the work environment, the next step is to import the image we want to vectorize. In my case, I import an image in PNG format and then convert this image file into an editable vector drawing.
- Open Inkscape and create a new file.
- Import the image you want to vectorize:
- Select the image by clicking on it.
- Go to the menu:
🔸 Path > Trace Bitmap...

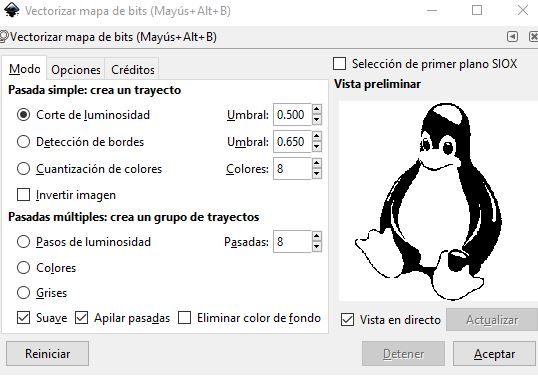
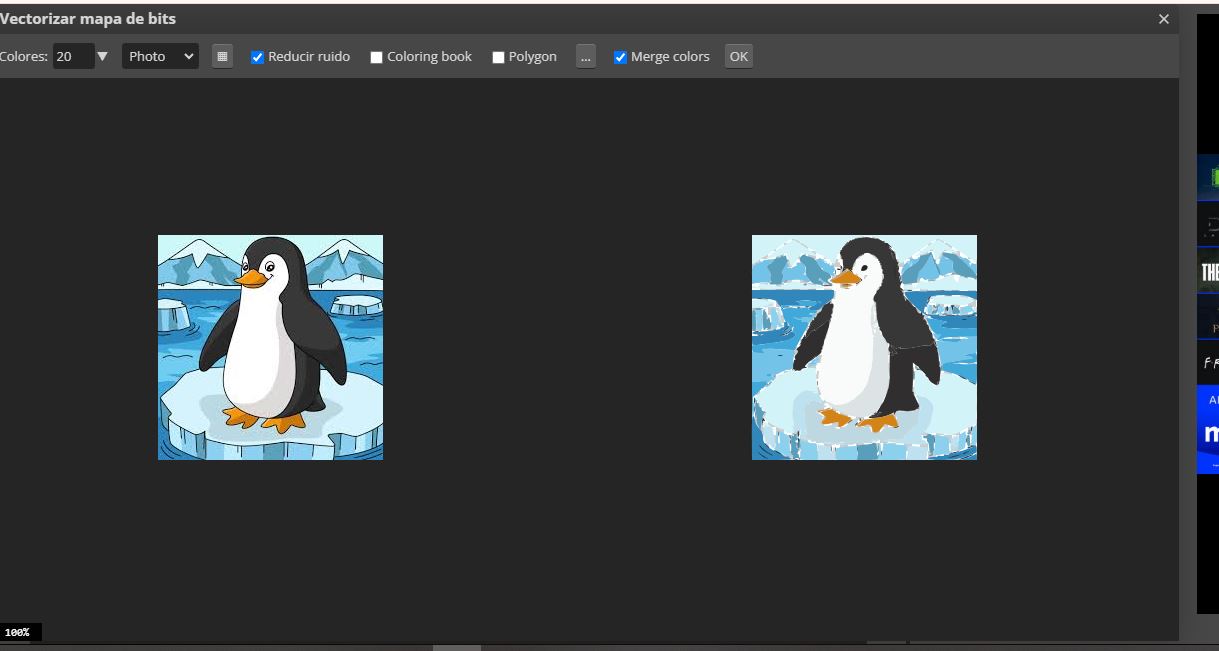
After selecting Bitmap, a vectorization options window opens. In our case, we adjusted the thresholds until the result looks good in the preview.
Afterward, a vector version is created on top of the original image. The new image is moved and the original is deleted.

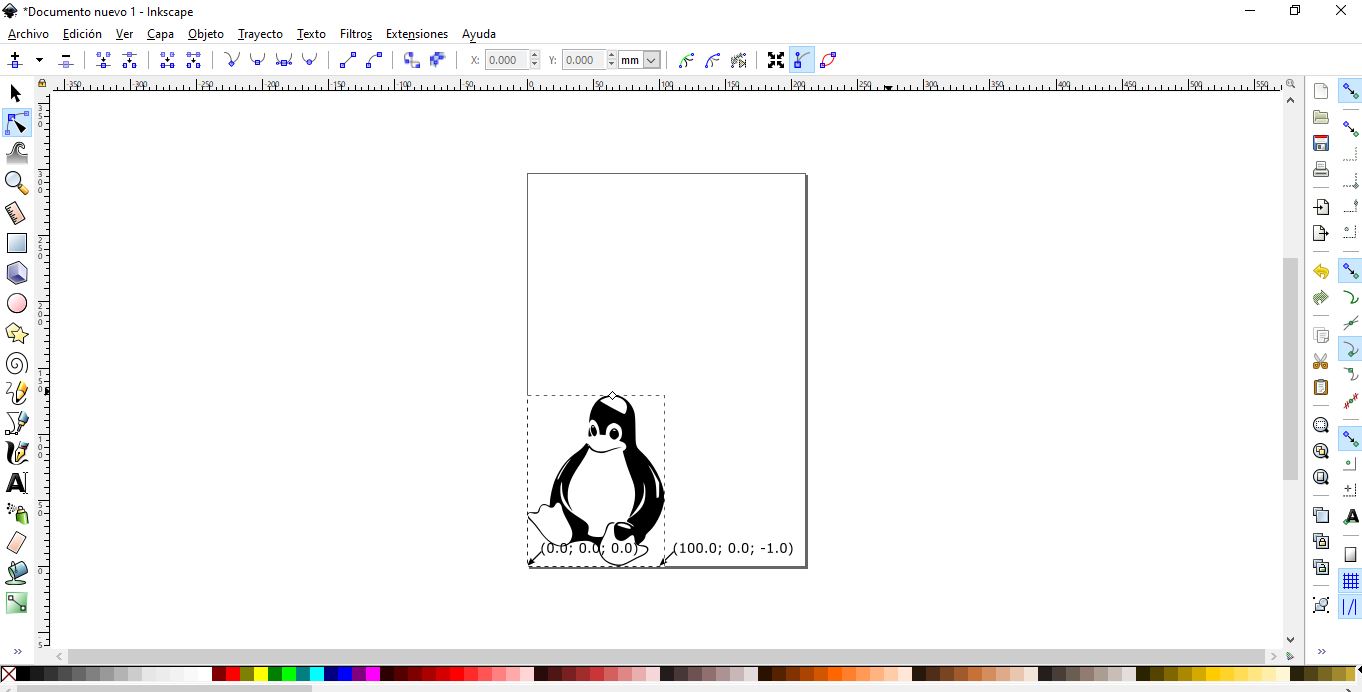
Edit parameters
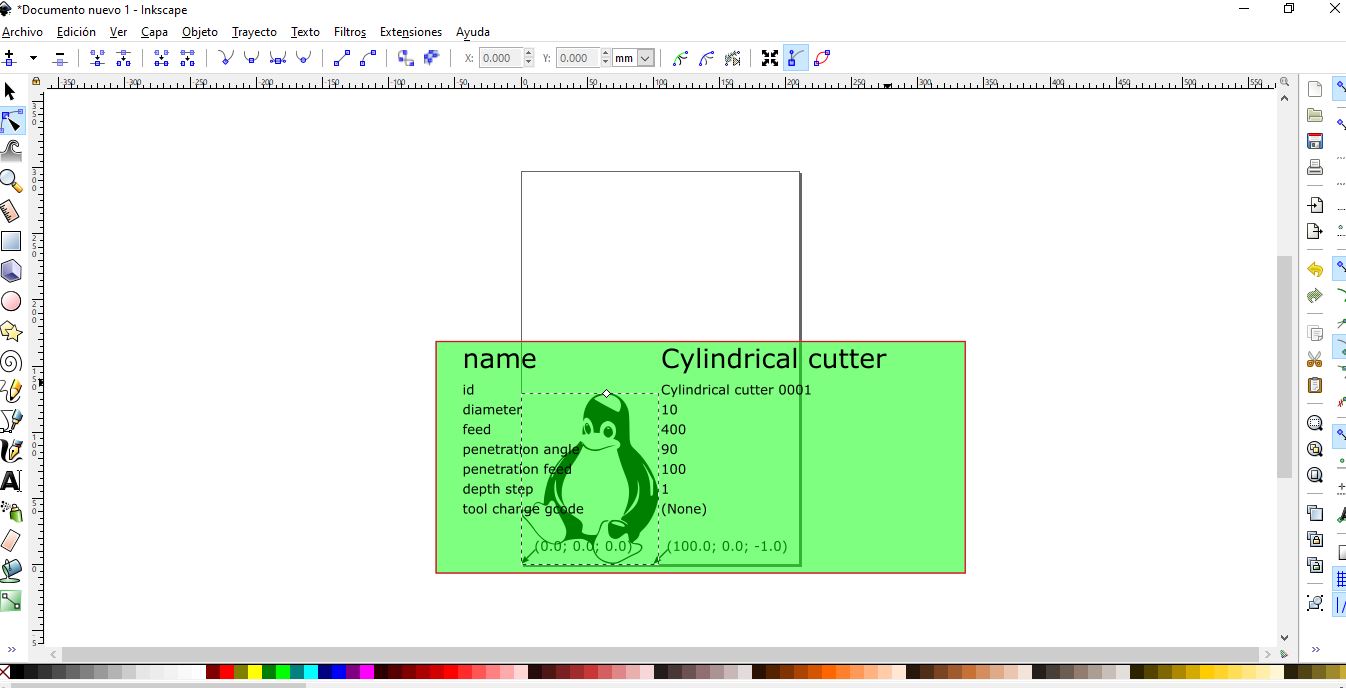
To edit the parameters, select the image in the Gcodetools menu and in the orientation point in the x,y coordinates put the points (0.0) and put the referred parameters.
Vectorization and image path
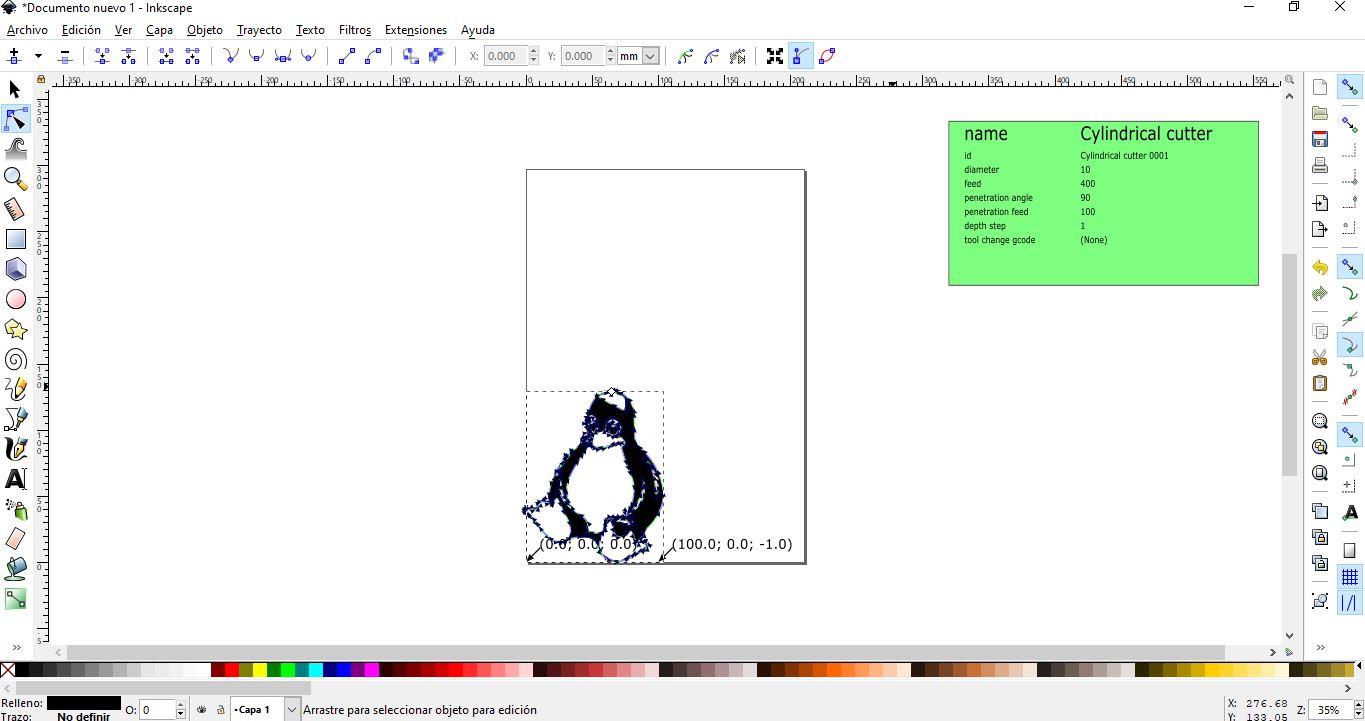
The following image corresponds to the coordinates and editing of the parameters of the vectorized image and then moving to the file and directory.
In conclusion, Inkscape is an incredibly useful tool, especially if you work with 2D design, laser cutting, or digital illustration.
3D Modeling
3D modeling is the process of creating a three-dimensional representation of an object using computer software. It's basically shaping an object in digital 3D space, as if you were sculpting or building it, but on screen.
Modeling and Rendering in SolidWorks
In this case we are going to work with the Solid Work software to carry out the design in 2D and then in 3D, the first step is to make the sketch of the base, in this case it is dimensioned to have the correct measurements.
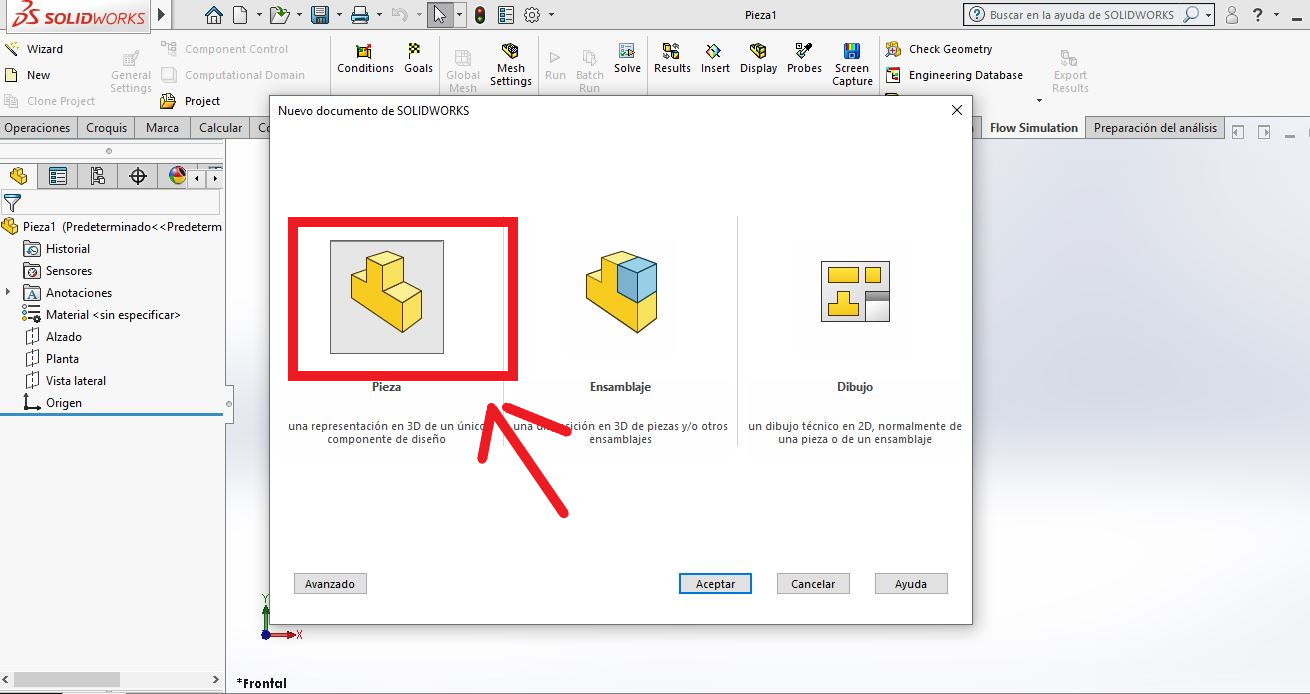
1.-Open a new piece
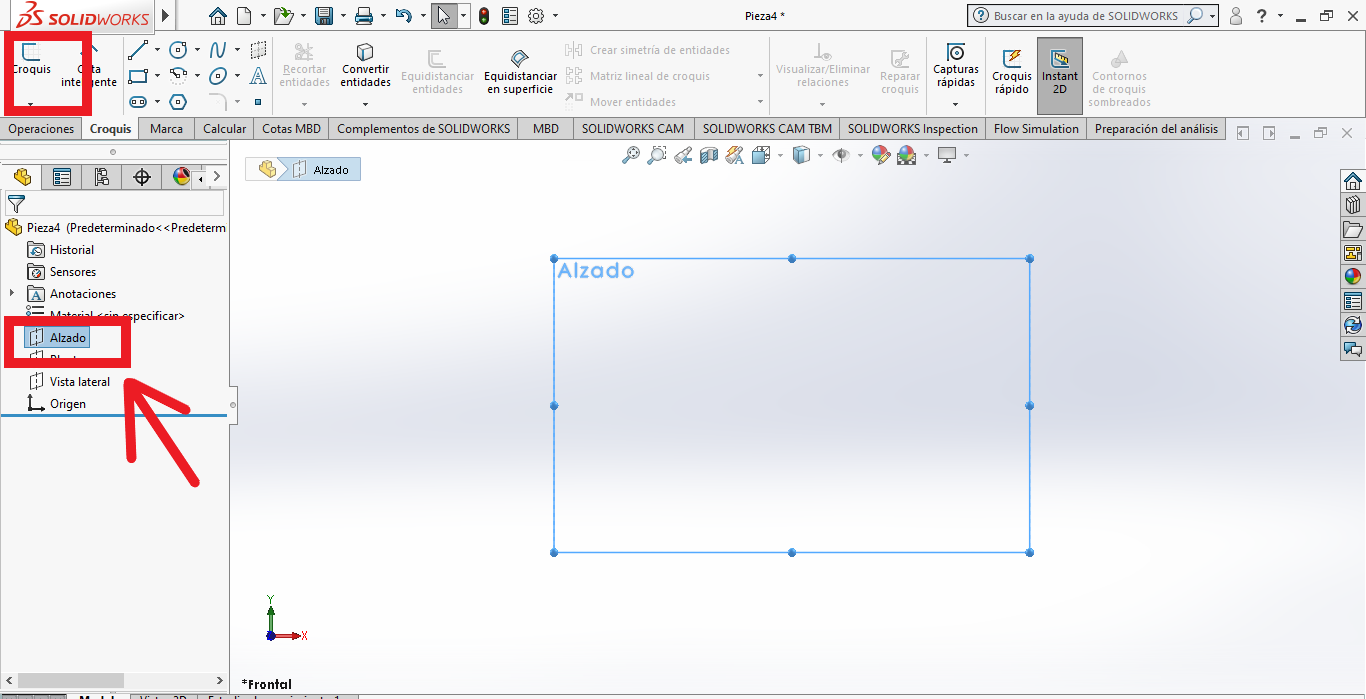
2.-Choose a plane to start the sketch
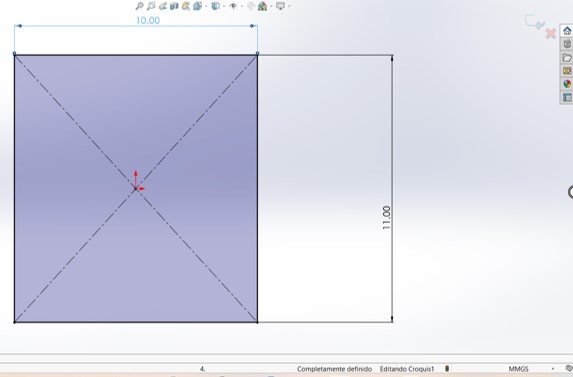
3.-We draw the 2D shape, choose the rectangle tool and add dimensions.
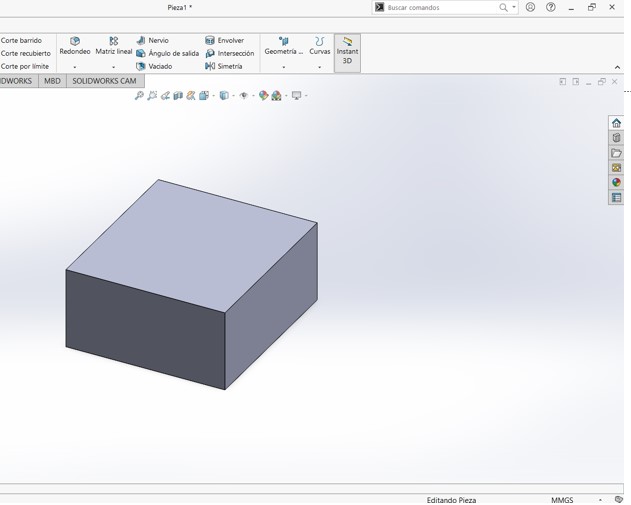
4.-We exit the Sketch and convert the rectangular base into 3D with "Extruded Boss/Base"
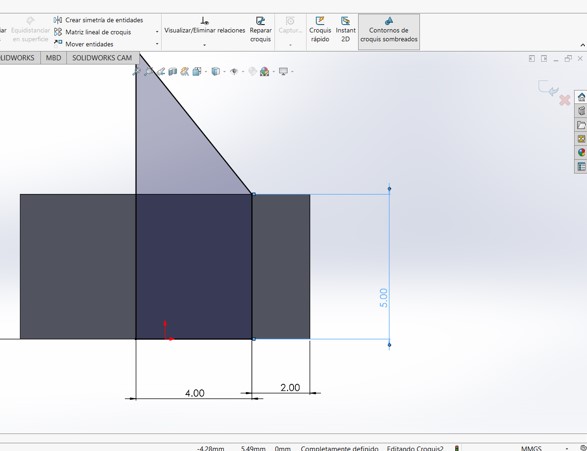
5.-On one side of the cube a sketch is generated for the other side to generate the other 2D shape.
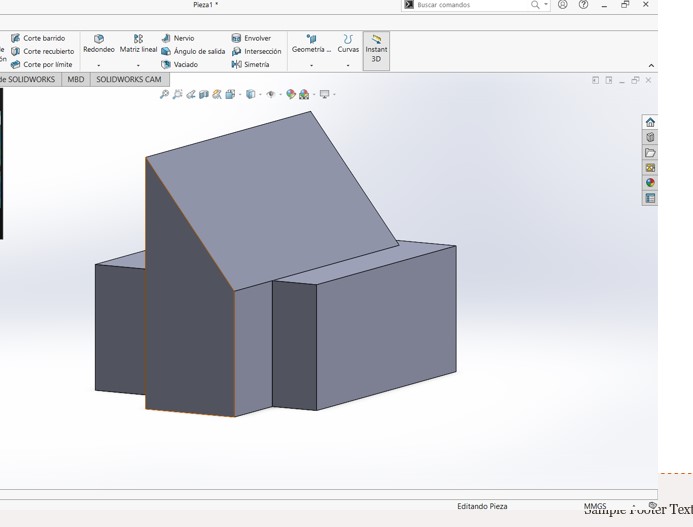
6.-The extrusion of the shape is generated to the indicated depth, converting the figure into a 3D image.

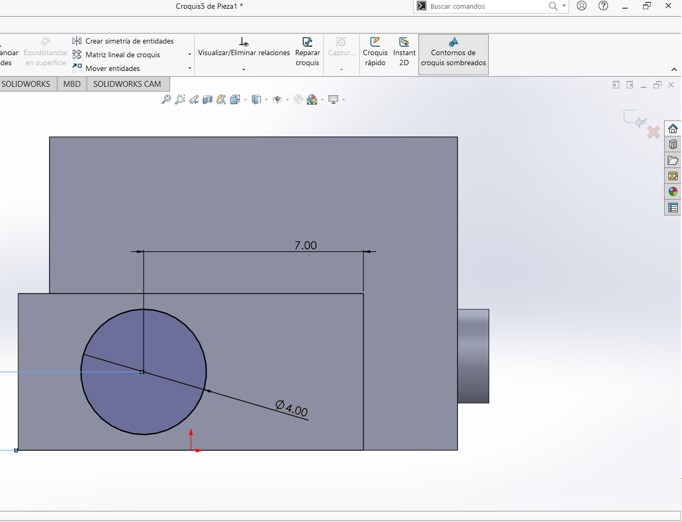
7.-Next, a new sketch is generated and a circle is designed with the dimensions indicated in the 2D image..
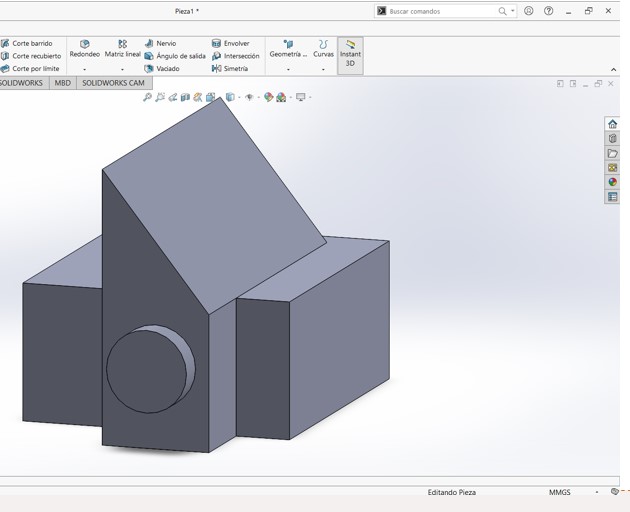
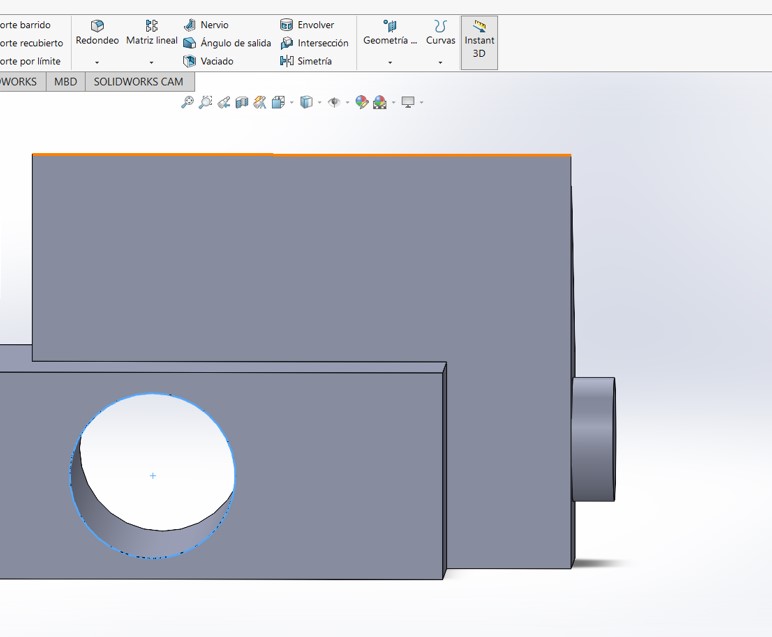
8.-The design of the circle is extracted by making a 3D image..
9.-A new sketch is generated and a circle is designed.
10.-In this section, a cut is made with the designed shape.
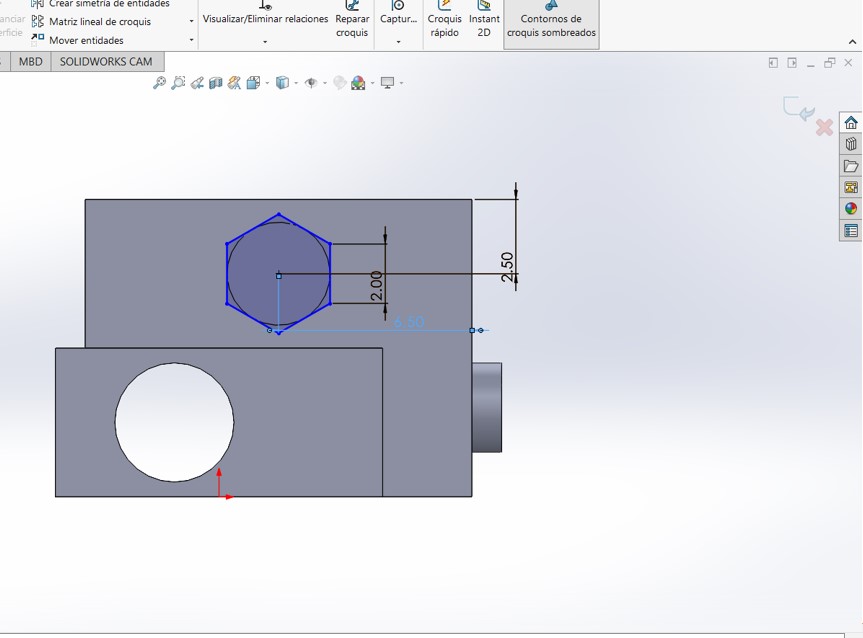
11.-hexagon is designed for future extrusion.
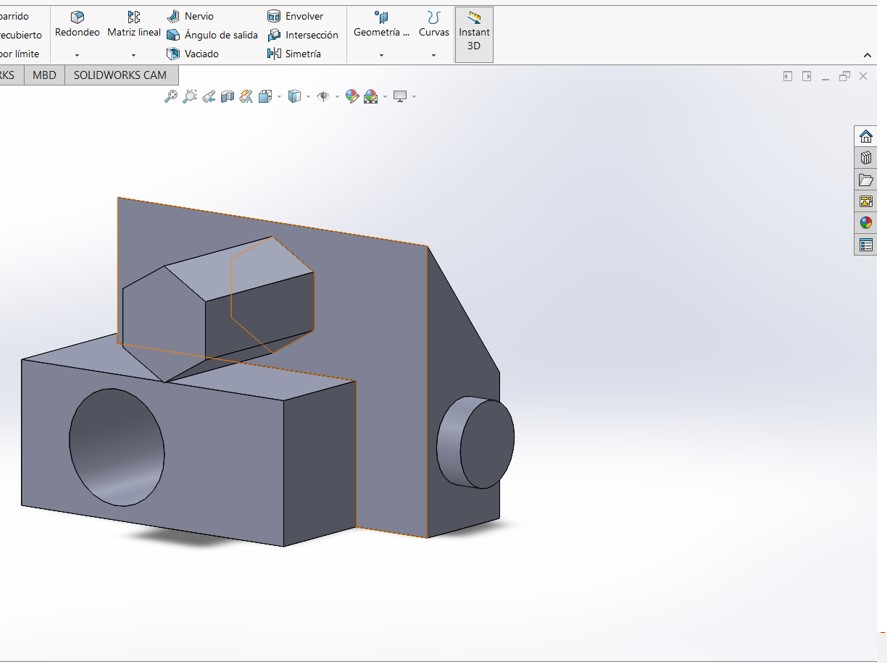
12.-The hexagon is extruded.
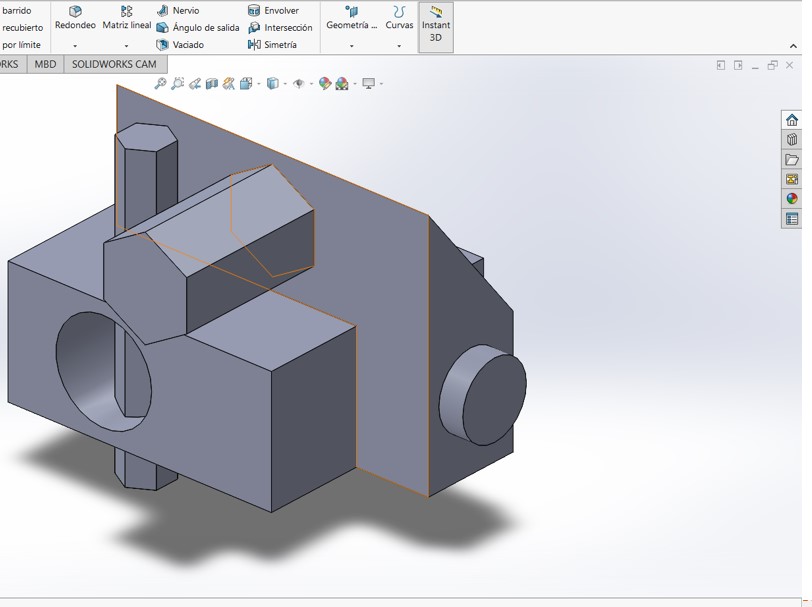
finished piece
From all the designs and extrusions, the 3D figure that was required is obtained.
Simulation in SolidWorks
Applying rendering
Once we have the finished piece, the next step is to proceed with the rendering, applying a realistic appearance, including all its details.
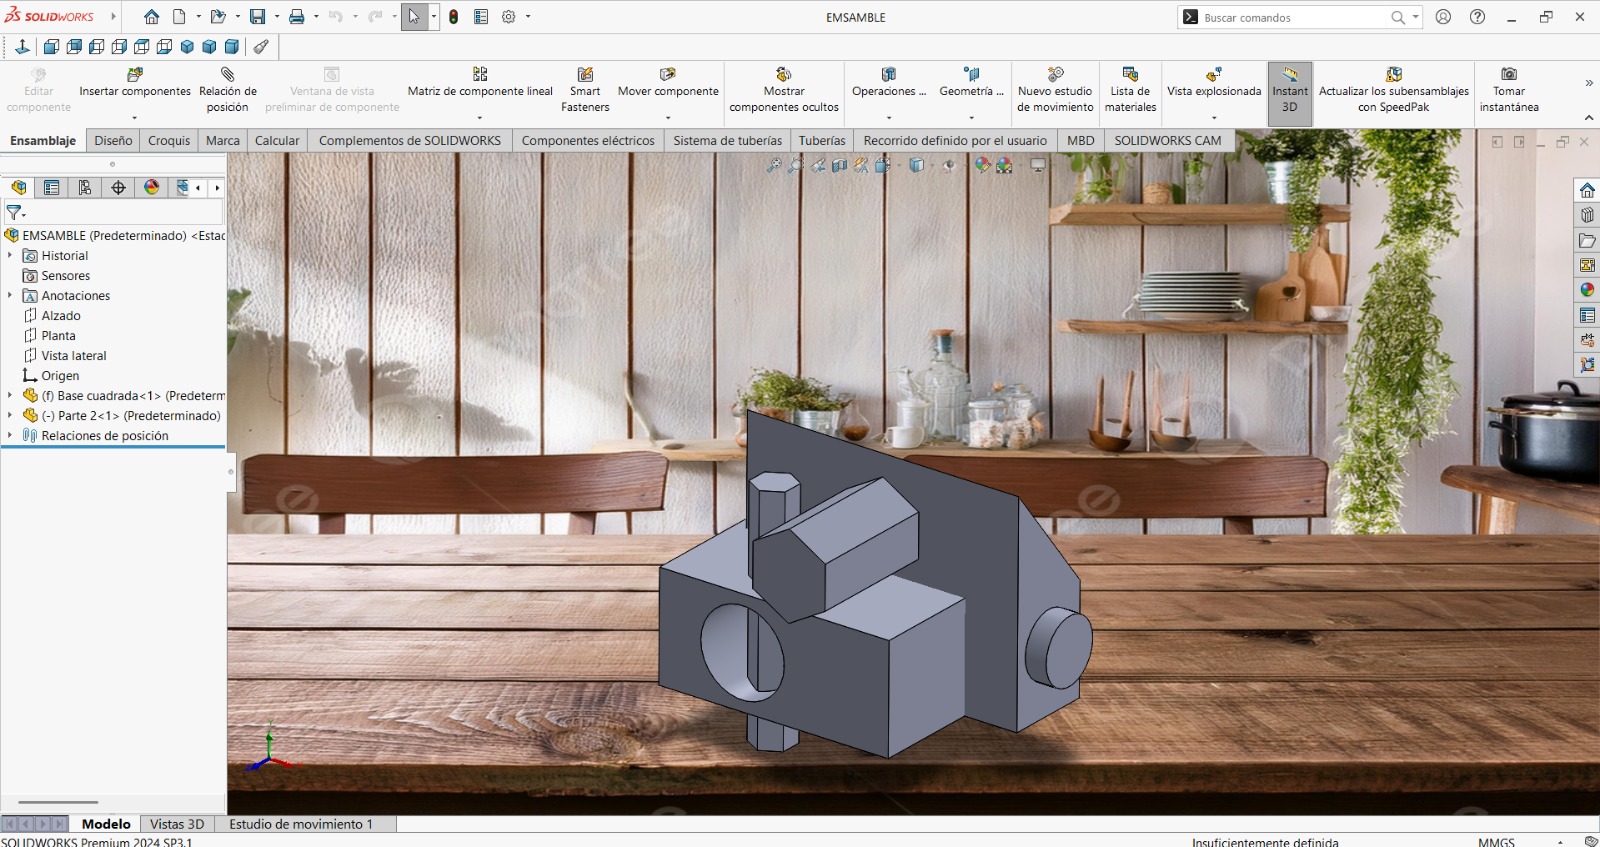
1.-In this figure a scenario was applied, in this case a realistic background was applied, like the interior of a house.
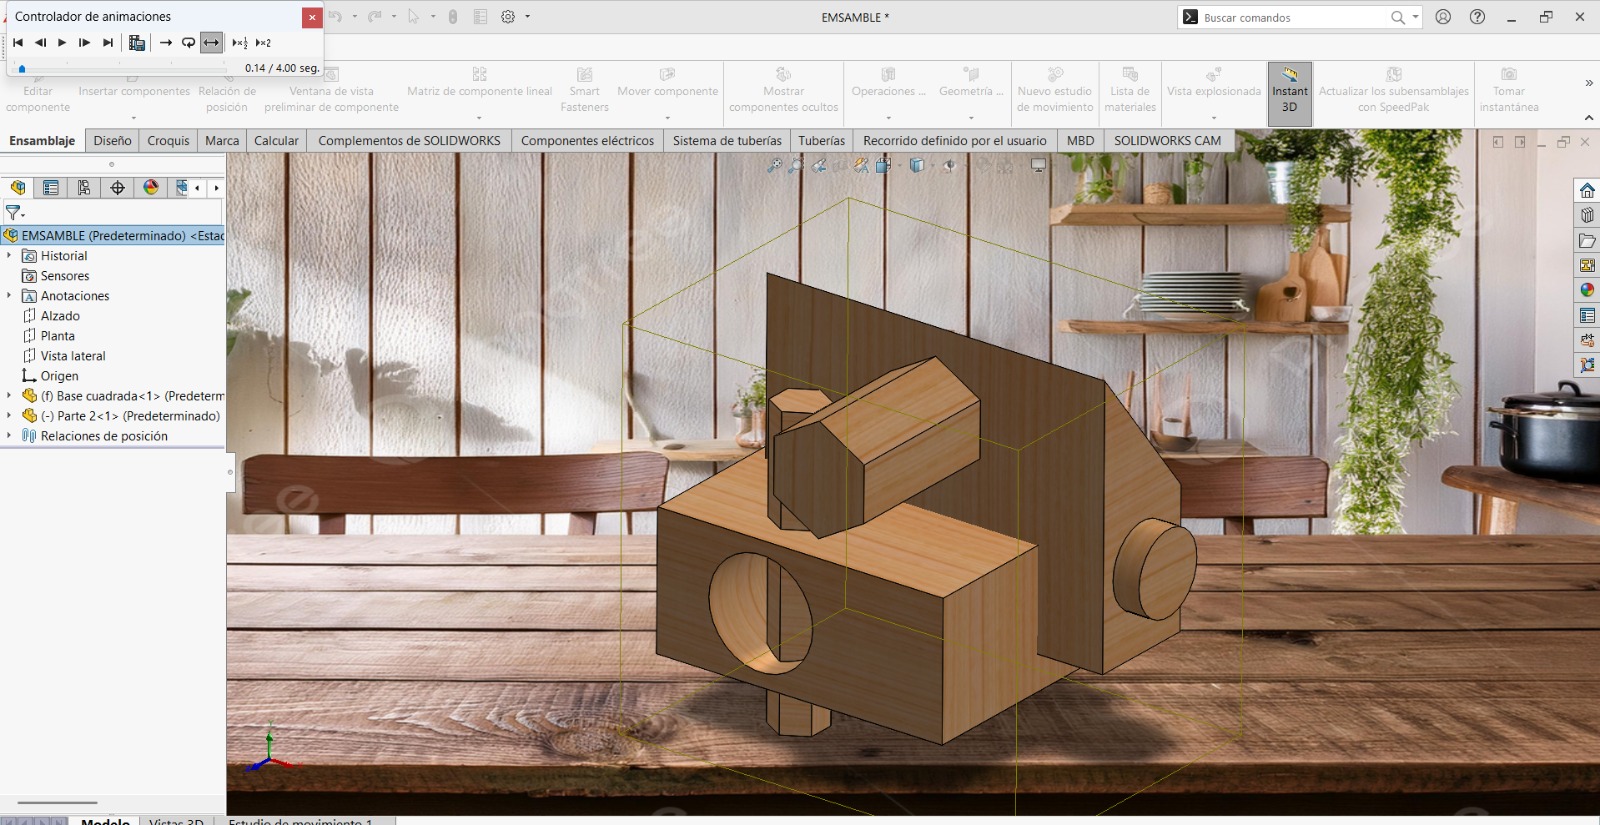
2.-In this figure, a type of material was applied to the designed piece, in this case we chose the wood material.
Autodesk Inventor
Autodesk Inventor is a 3D parametric solid modeling package produced by the software company AutoDesk. Users begin by designing parts that can be combined into assemblies. By correcting parts and assemblies, various variants can be obtained. As a parametric modeler, it should not be confused with traditional CAD programs. Inventor is used in engineering design to produce and refine new products, while programs such as AutoCAD are only dimension driven.
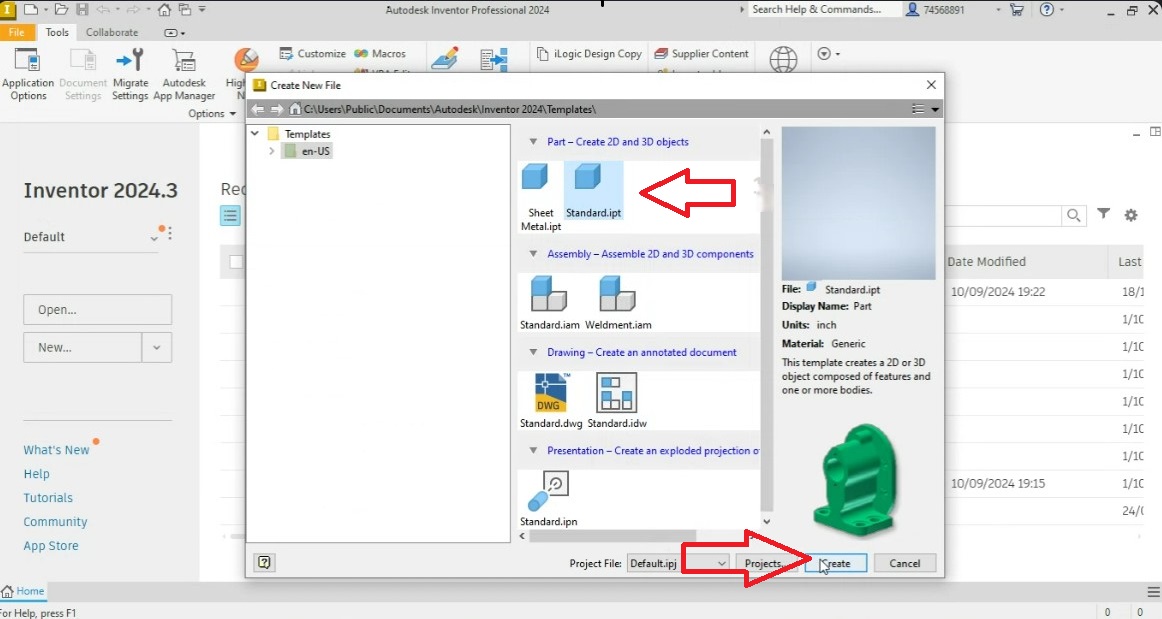
Step 1
The following graphic is where the inventor program starts to create 2D and 3D objects, whether metals or other materials.
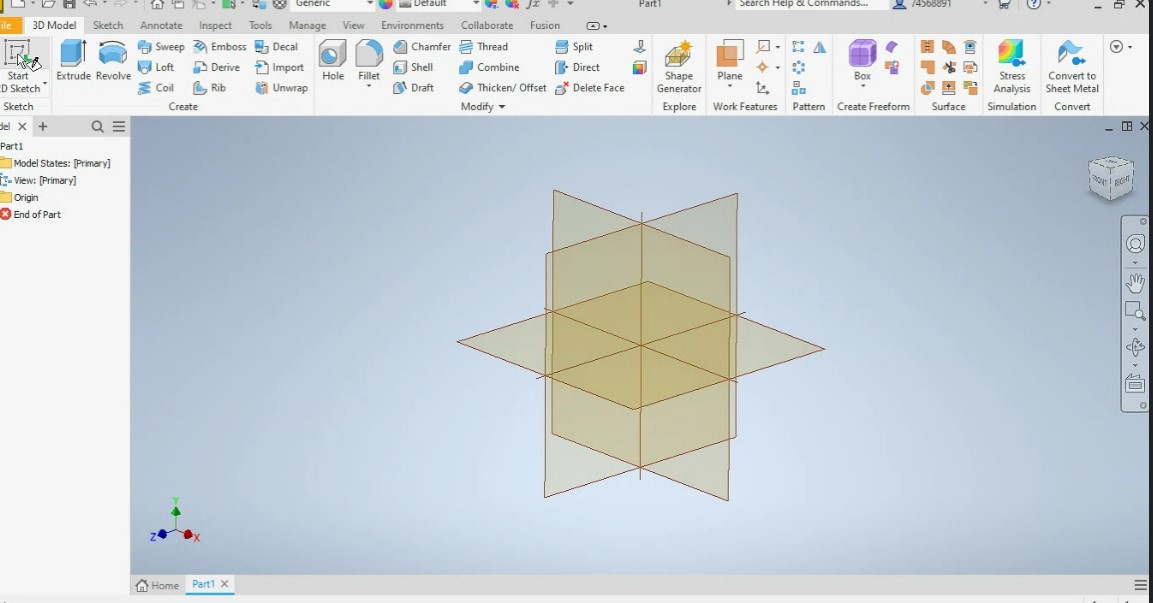
Step 2
In step 2 you must work in the coordinate space that is chosen in the desired quadrant. To do this, click on the start sketch button.
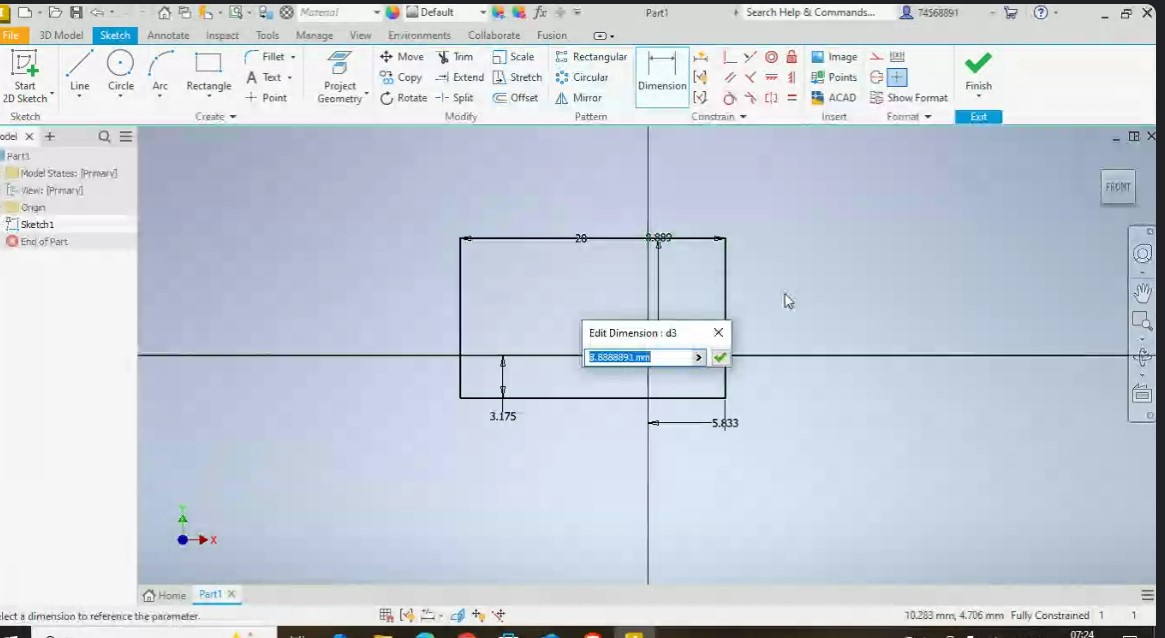
Step 3
In the chosen 2D plane, we work by giving the dimensions of the object with the distances of the x,y coordinates of the point of origin of the coordinates and of the chosen points.
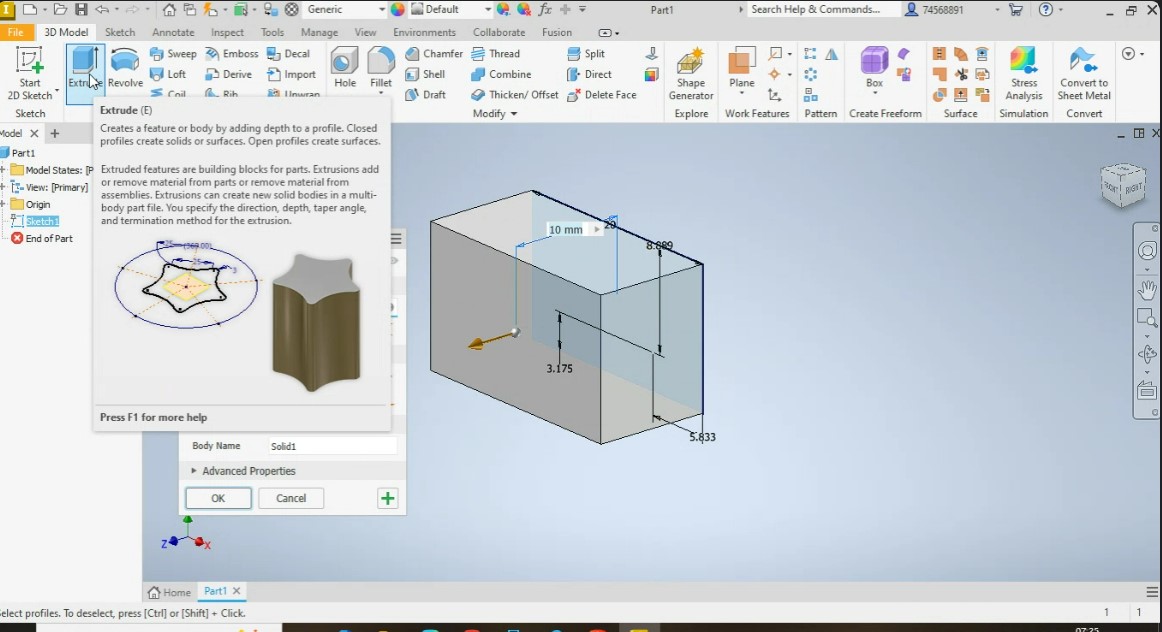
Step 4
In step 4, the 2D image is extruded into a 3D image, which represents the volume of the extruded image with the desired height dimensions.
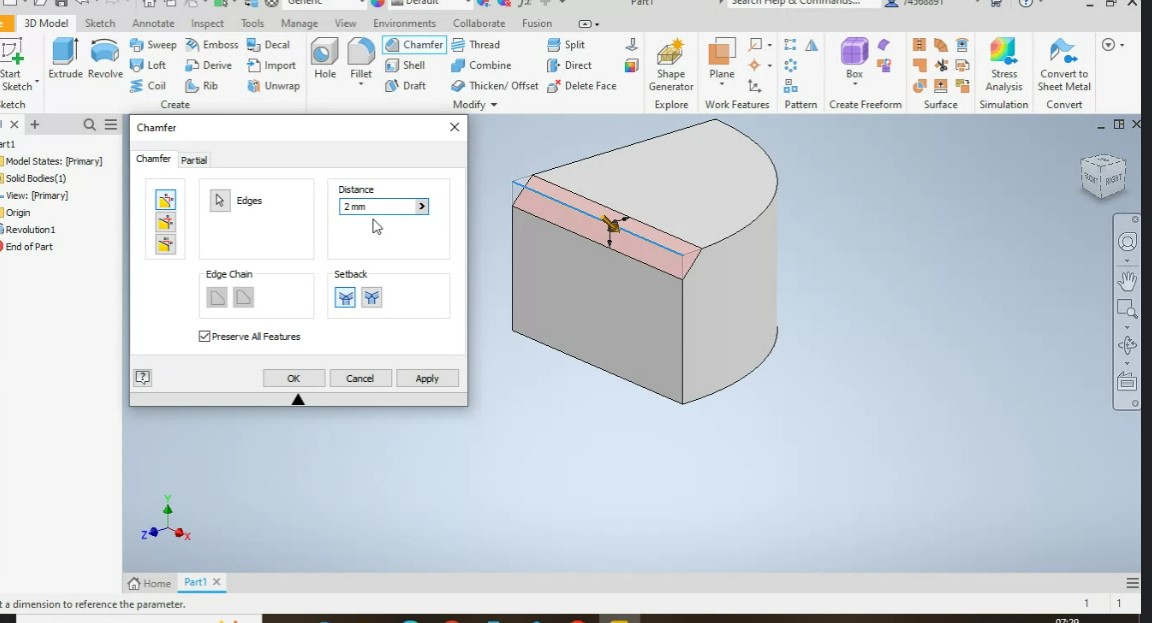
Step 5
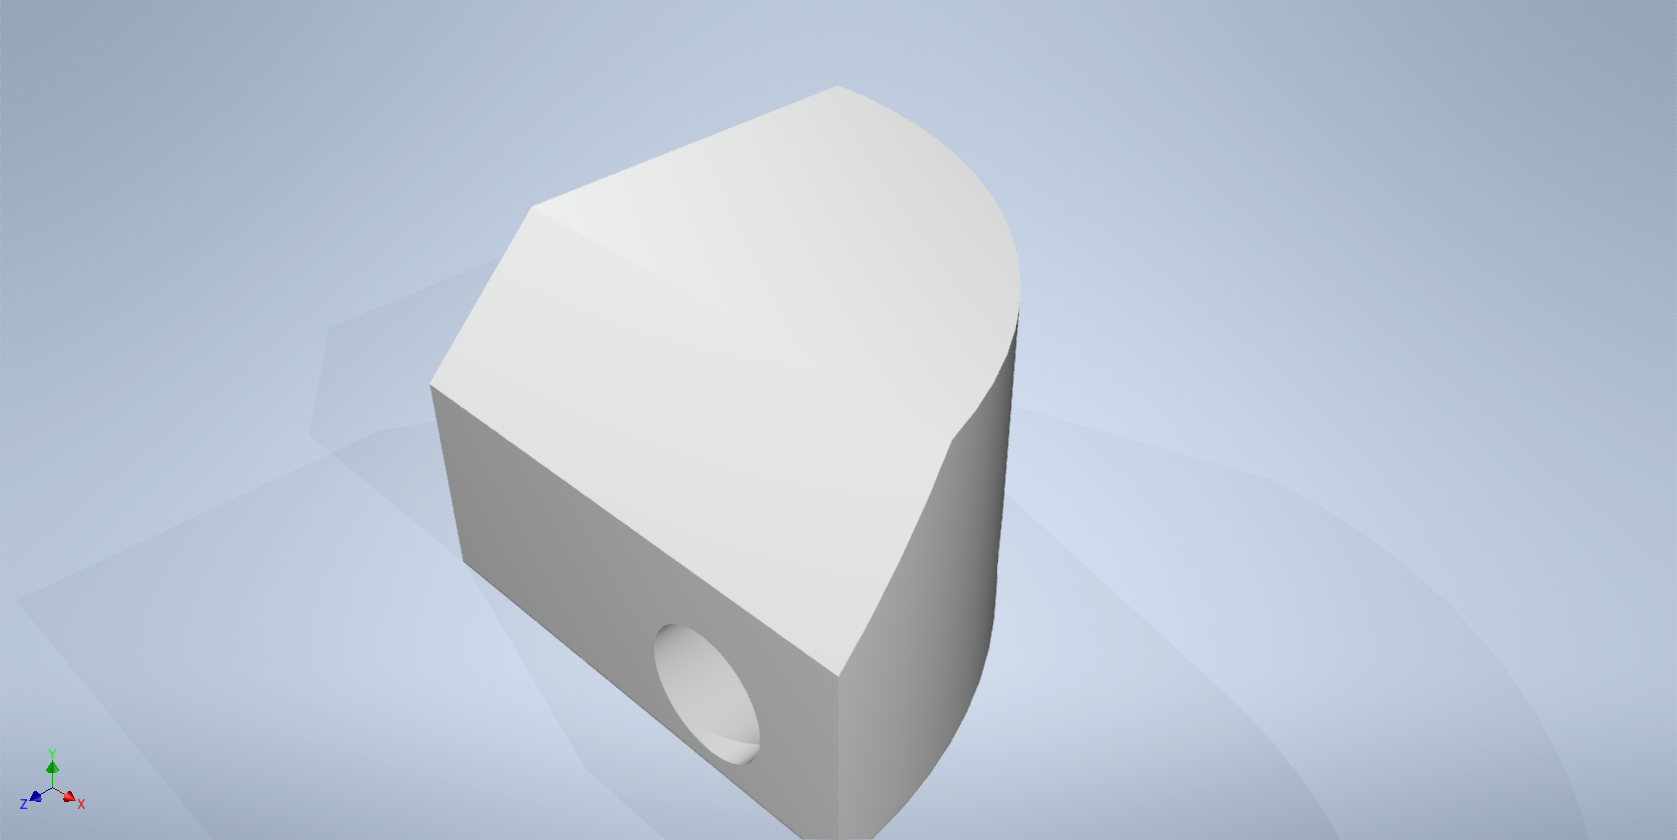
The following figure shows the image of the object in 3D rotated and cropped in a quadrant shape, where a chamfer can be made with the desired angle.
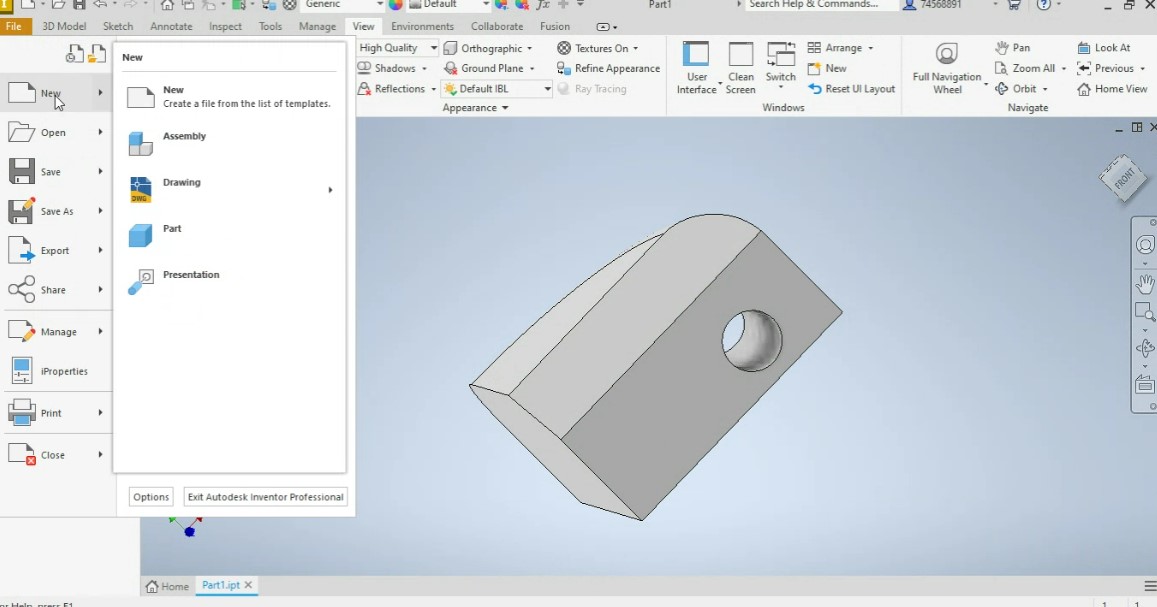
Step 6
The graphic shows the rotated 3D image of the object, where a through hole has been made, using the previous design of a circle and with the dimensions of the radius and the depth, the perforated object is visualized.
Step 7
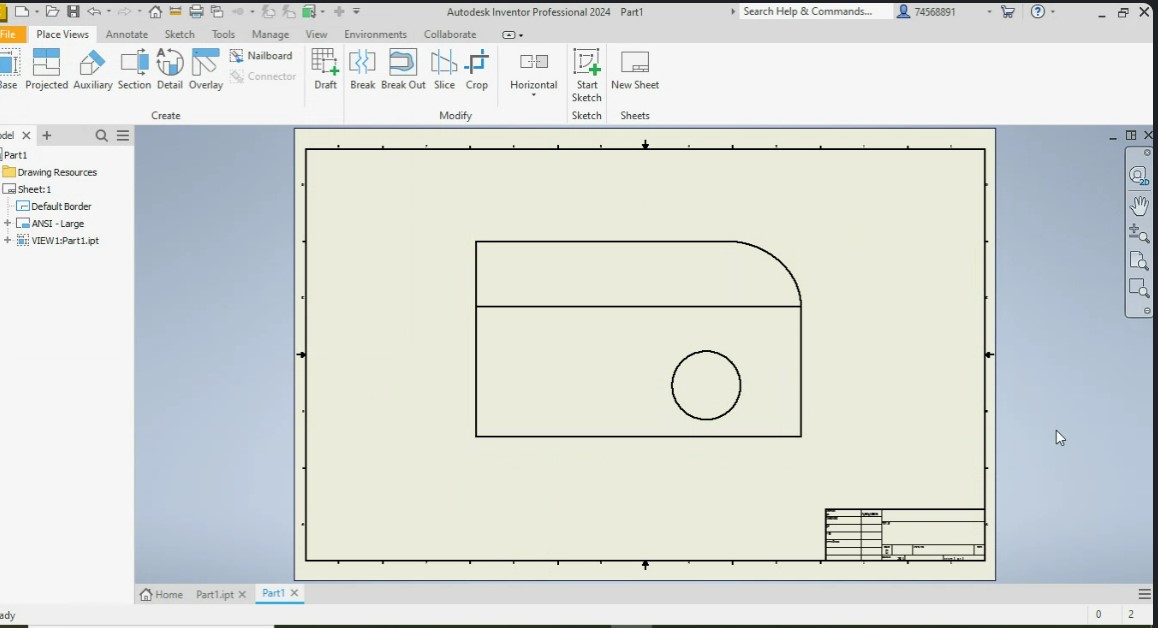
The following graphic shows the image of the object in 2D with one of the faces in front view and the other with a view of the back face of the object where the hole stands out on both faces of the object shown.
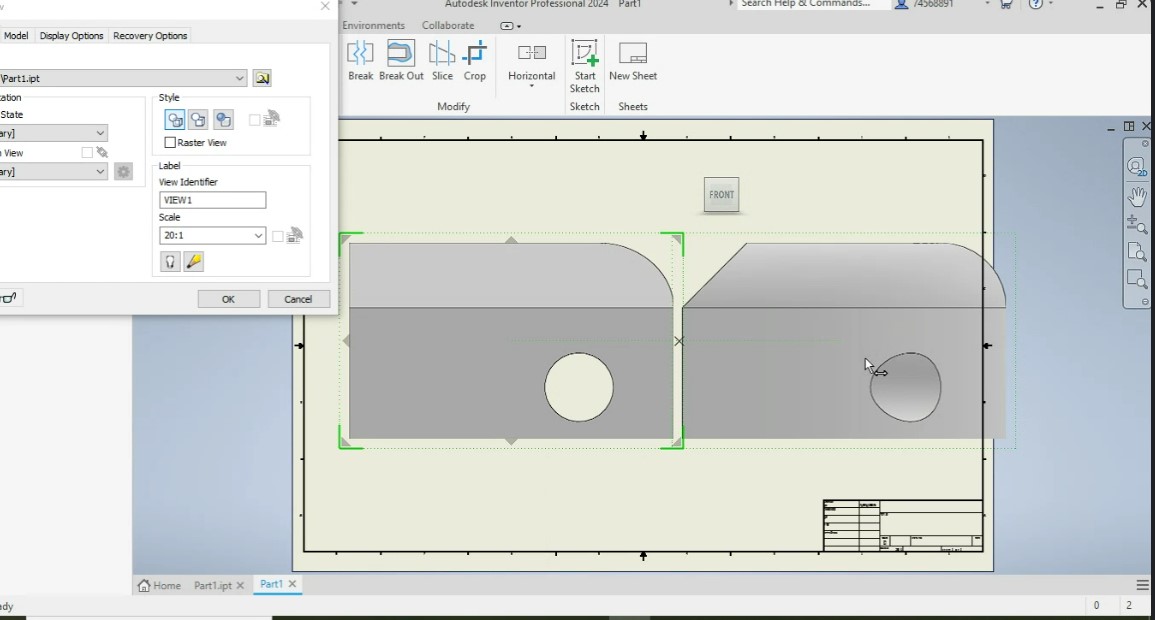
Step 8
The following figure shows the image of the object in the 2D plane where the front face shows the circular hole. In this way, the Inventor software is used, which quickly supports 2D and 3D designs and also simulates the movement of objects.
Simulation and rendering in Inventor
Conclusions
Computer-aided design (CAD) is a way to digitally create 2D drawings and 3D models of real-world products before they are manufactured. With 3D CAD, you can easily share, review, simulate and modify designs, opening the doors to innovative and differentiated products that reach the market quickly.
Being able to work with these CAD programs has allowed me to create parts and assemblies with exact measurements, which has improved the quality and viability of my designs. In short, working with the aforementioned software has been a great experience for me. However, I realize that I still need to improve my handling of the tools and take full advantage of all their powerful features. As for Inkscape and GIMP, they are open-source programs that allow me to create professional graphics. These programs also offer a wide variety of useful tools for tasks such as vectorization and background removal, which is very helpful for developing my projects and completing assigned tasks.
Link to files used this week
1. penguin.svg
2. part design.SLDPRT
3.-render part 1.jpg
4.-render part 2.jpg
5.-inventor part 1.ipt
6.-inventor part 1.bmp
.jpeg)