Principles, Practices and Project Management
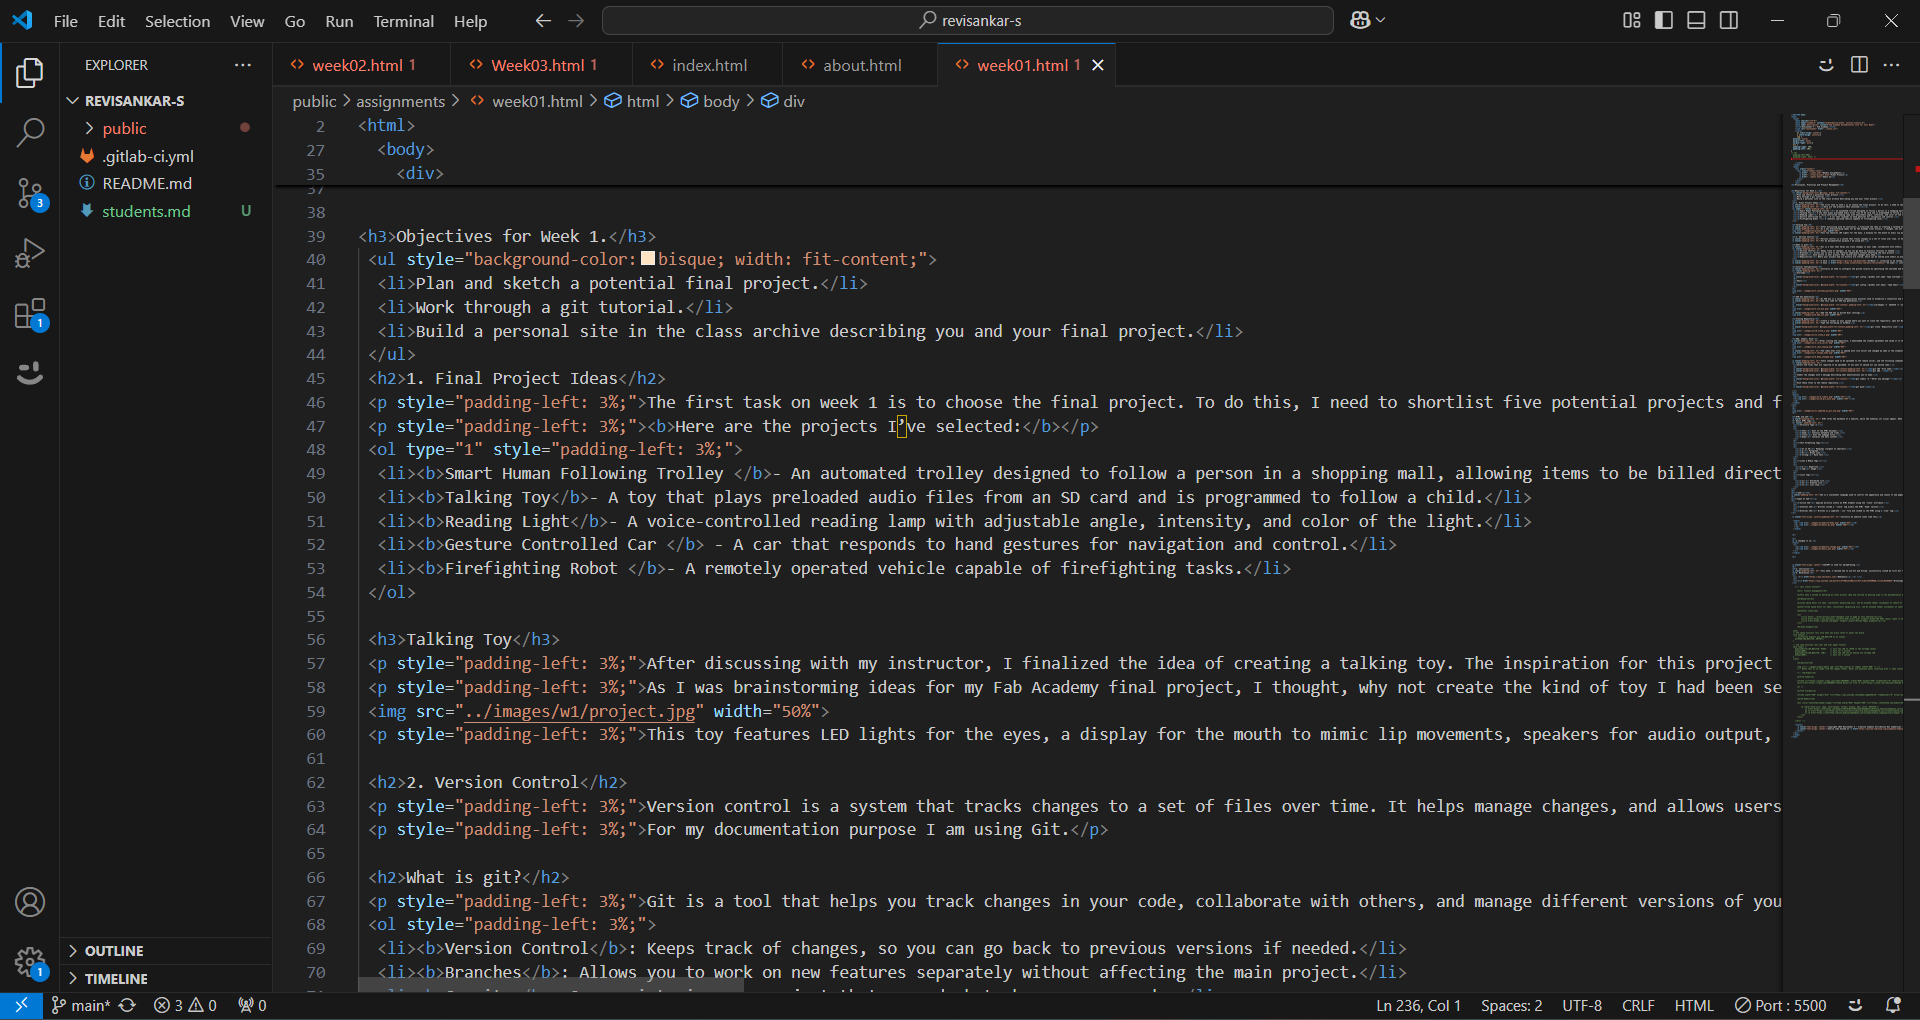
Objectives for Week 1.
- Plan and sketch a potential final project.
- Work through a git tutorial.
- Build a personal site in the class archive describing you and your final project.
1. Final Project Ideas
The first task on week 1 is to choose the final project. To do this, I need to shortlist five potential projects and finalize one, after discussing them with my instructors.
Here are the projects I’ve selected:
- Smart Human Following Trolley - An automated trolley designed to follow a person in a shopping mall, allowing items to be billed directly on the trolley.
- Talking Toy- A toy that plays preloaded audio files from an SD card and is programmed to follow a child.
- Reading Light- A voice-controlled reading lamp with adjustable angle, intensity, and color of the light.
- Gesture Controlled Car - A car that responds to hand gestures for navigation and control.
- Firefighting Robot - A remotely operated vehicle capable of firefighting tasks.
Talking Toy
After discussing with my instructor, I finalized the idea of creating a talking toy. The inspiration for this project came during a visit to my cousin's home, where I noticed her one-and-a-half-year-old daughter glued to a smartphone and unwilling to part with it. This made me wonder if there could be a toy that would engage her and encourage interaction. While researching, I couldn't find any toys that allowed customization of audio files—they all came preloaded with standard audio, which felt uninspiring.
As I was brainstorming ideas for my Fab Academy final project, I thought, why not create the kind of toy I had been searching for? I believe this would make the perfect gift for her. The toy will include an SD card slot, enabling us to play customized audio files such as stories or music. Additionally, it will have wheels, allowing it to follow the child while playing the audio, making it interactive and engaging.
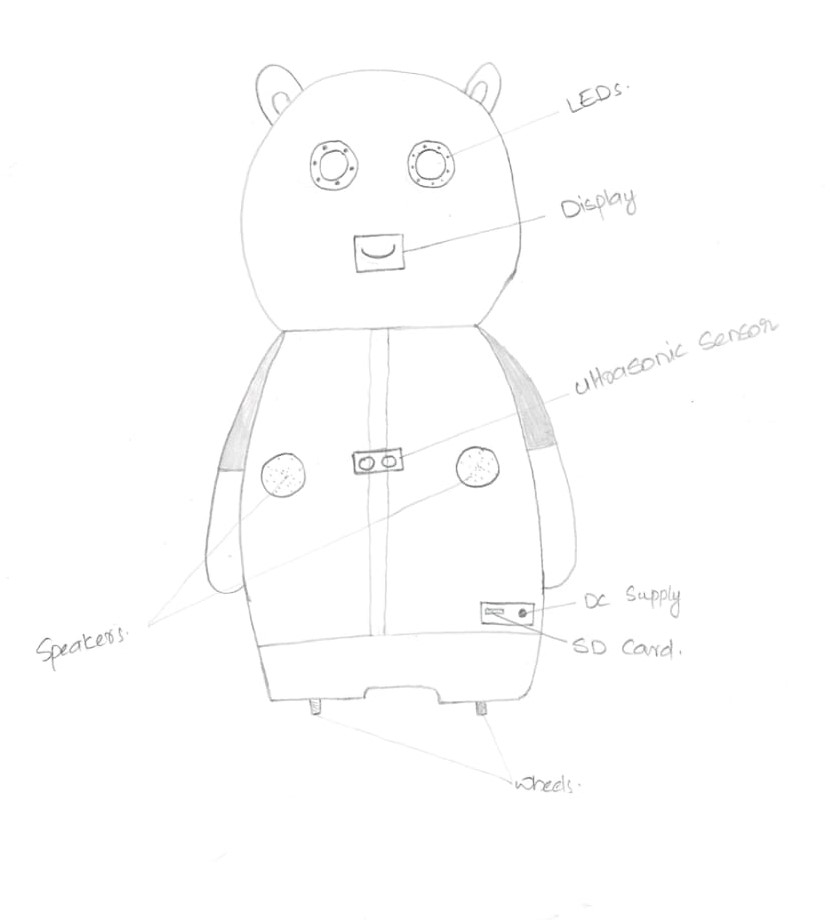
This toy features LED lights for the eyes, a display for the mouth to mimic lip movements, speakers for audio output, and ultrasonic sensors for measuring distance. It is equipped with four wheels for mobility, a DC power supply for battery charging, and an SD card slot for customizable audio playback.
2. Version Control
Version control is a system that tracks changes to a set of files over time. It helps manage changes, and allows users to revert to previous versions if needed.
For my documentation purpose I am using Git.
What is git?
Git is a tool that helps you track changes in your code, collaborate with others, and manage different versions of your project.
- Version Control: Keeps track of changes, so you can go back to previous versions if needed.
- Branches: Allows you to work on new features separately without affecting the main project.
- Commits: Save points in your project that record what changes were made.
- Repositories: Where your project and its history are stored, which can be shared with others on platforms like GitHub.
I have GitBash installed on my system, and I use it for working with Git.
I have VS Code installed on my system, and I use it for working with html.
Initial Configuration
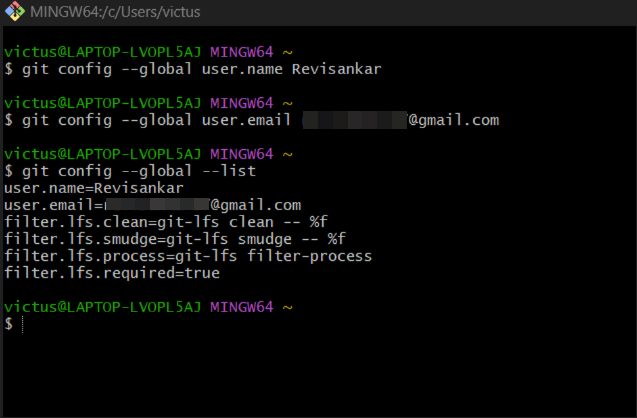
Initially we need to configure the gitlab locally by specifying the username and E mail.
- Username
git config --global user.name 'Type username'
git config --global user.email 'Type email'
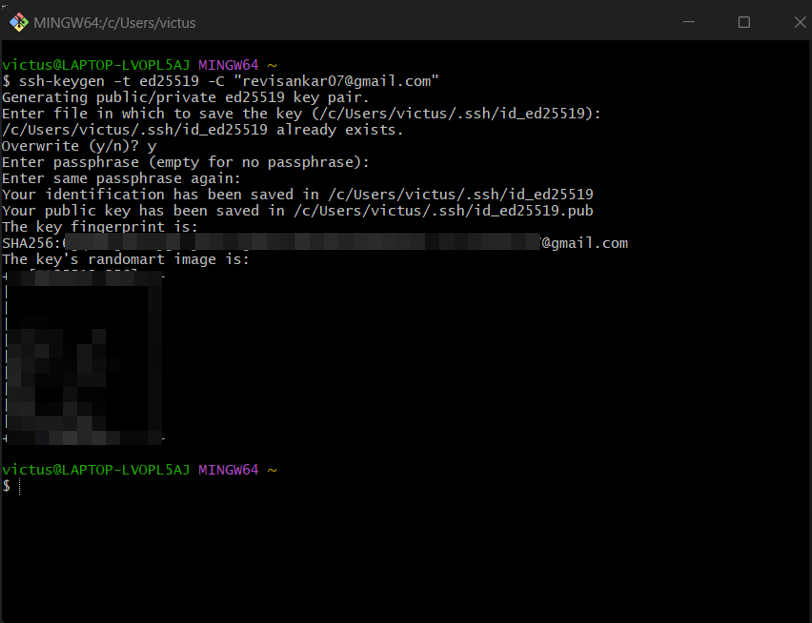
SSH key Generation
An SSH key is a secure communication protocol used to establish a connection and share data between two computers.
Use this code for SSH key generation,
ssh-keygen -t ed25519 -C 'your_email@example.com '
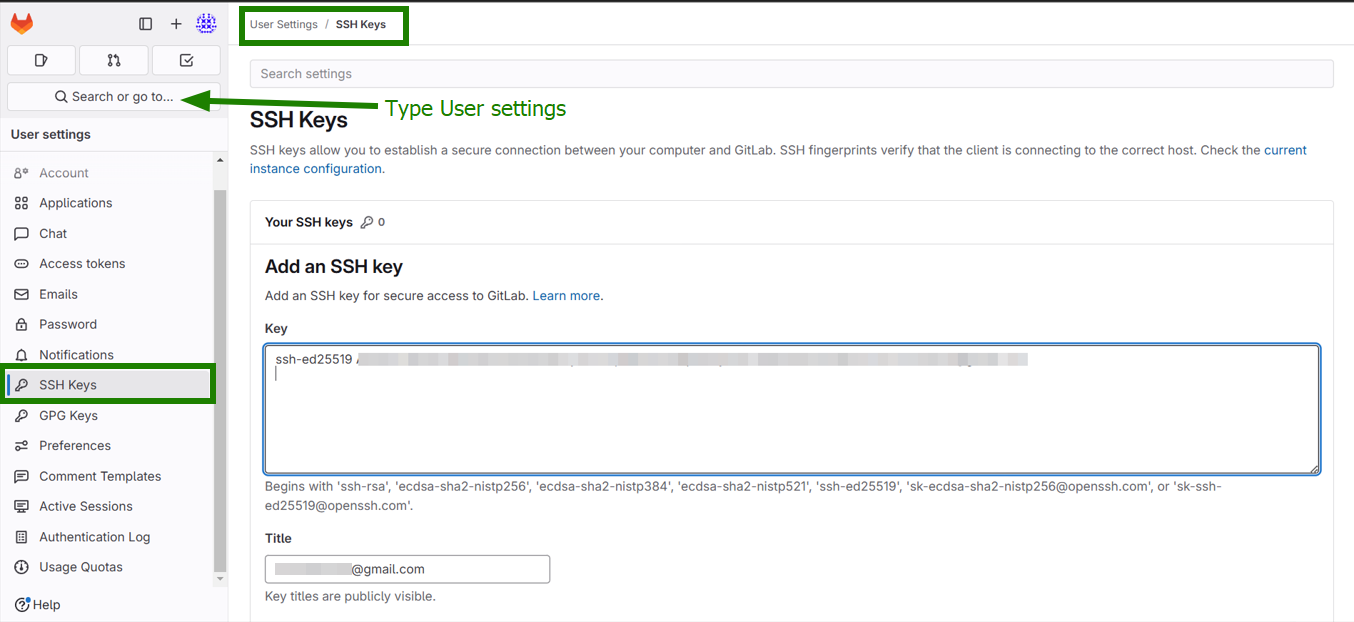
Add the SSH key in Gitlab User settings.
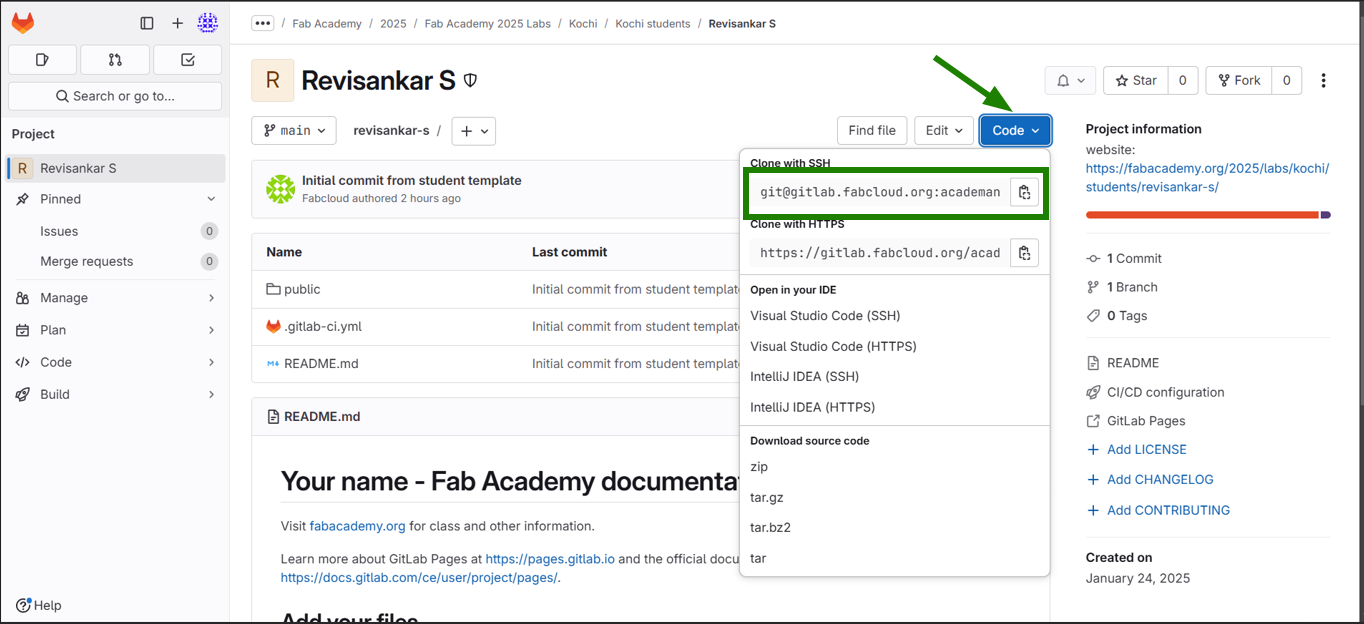
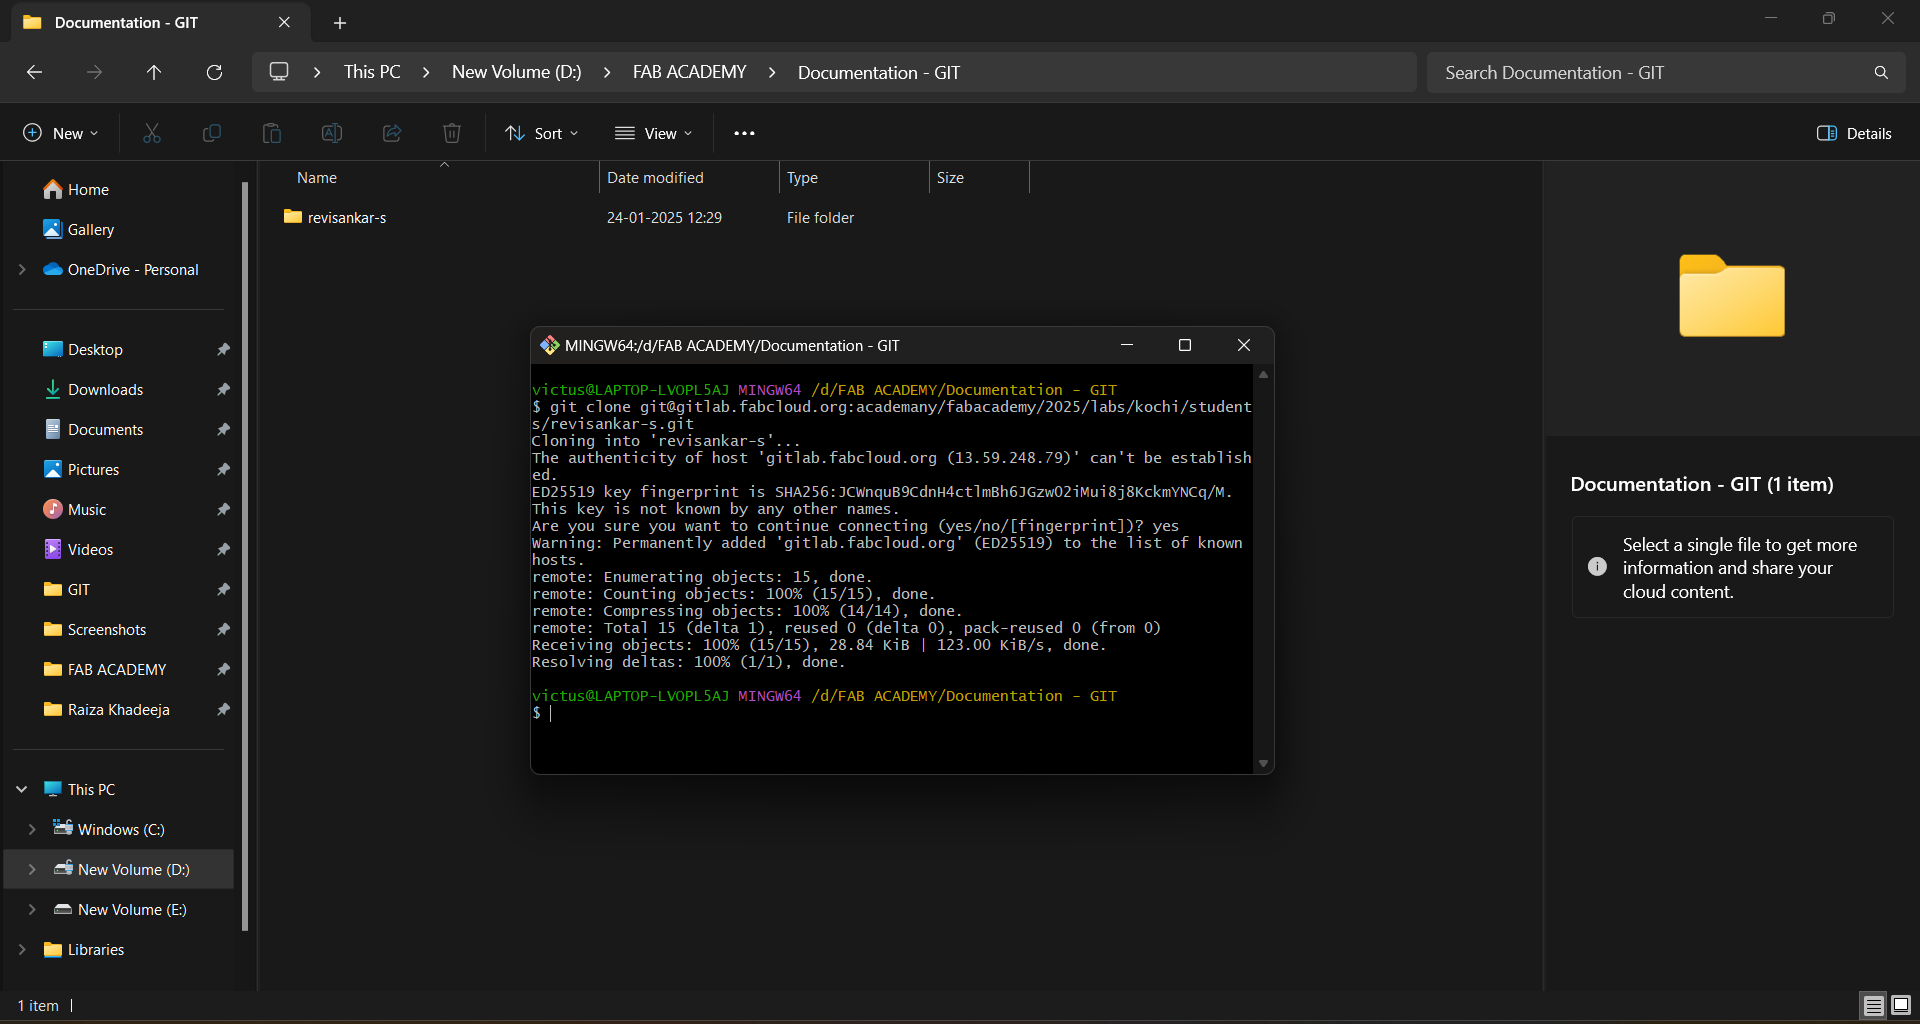
Cloning Repository
Create a folder on your system where you want to clone the repository, open Git Bash from that folder, and then copy the repository link from the code section in GitLab.
Type the following in GitBash,
git clone 'Repository link'
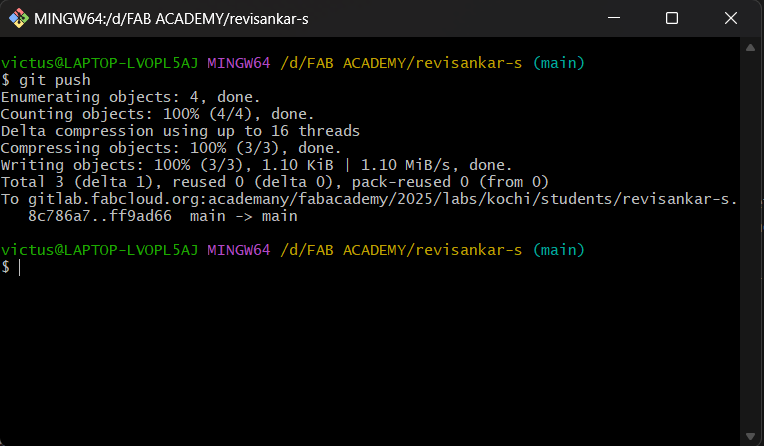
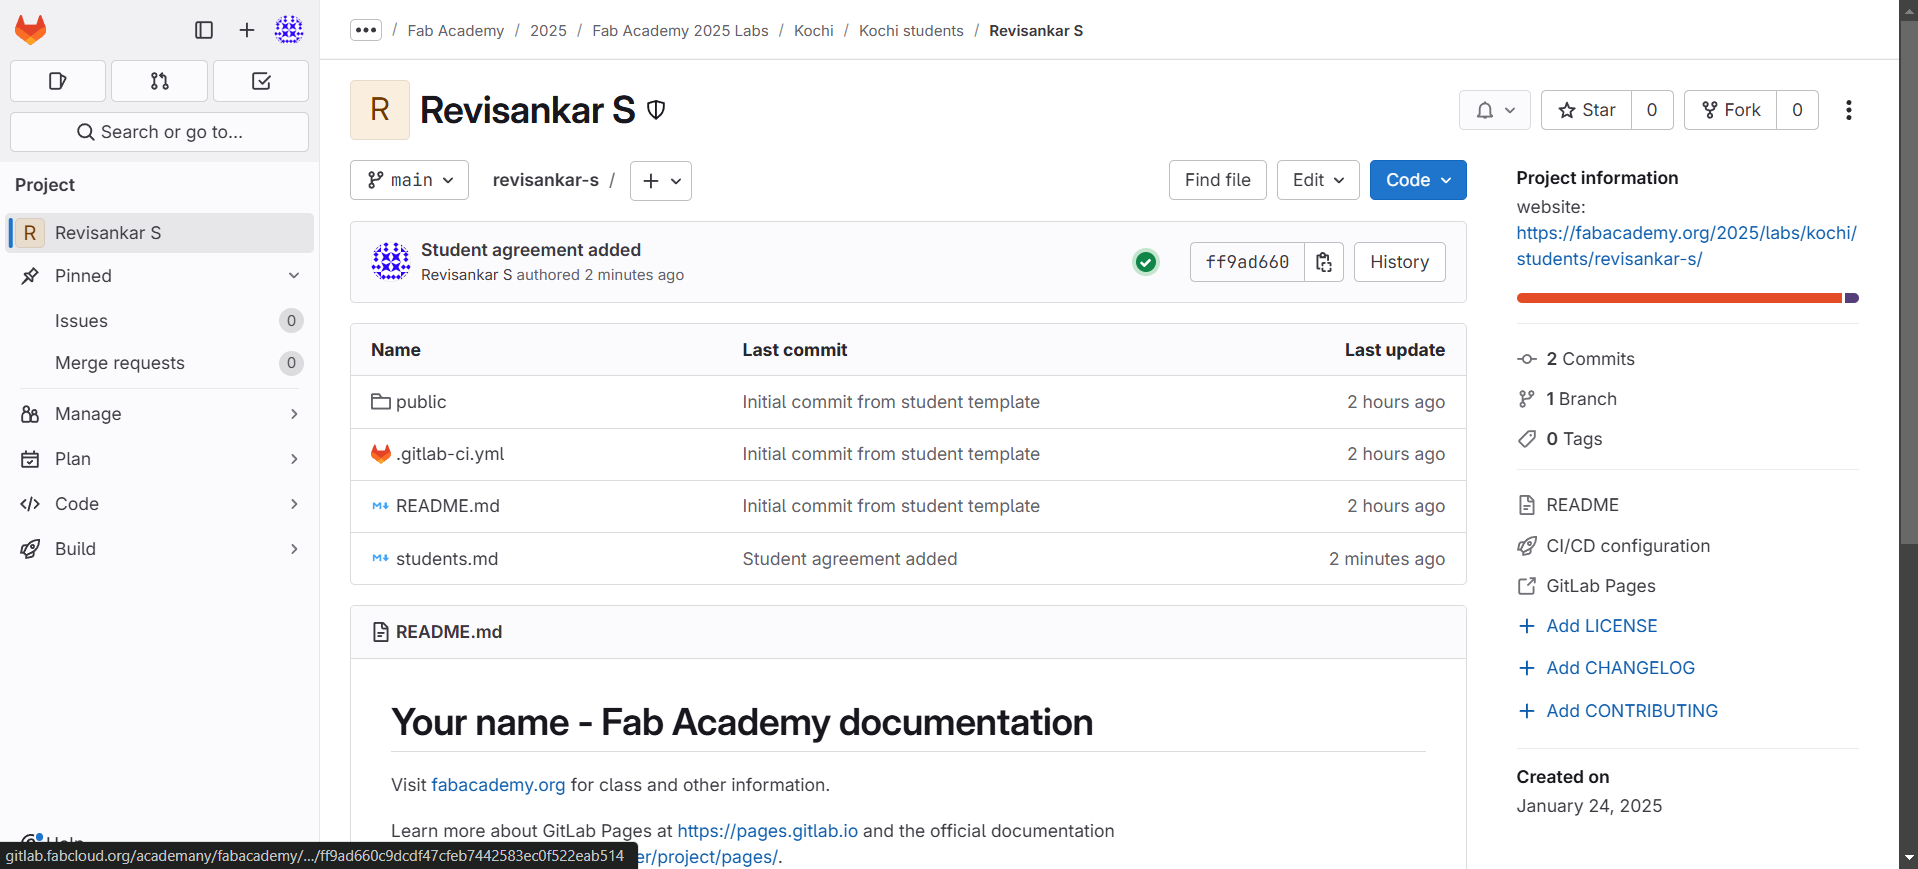
Add, Commit, Push
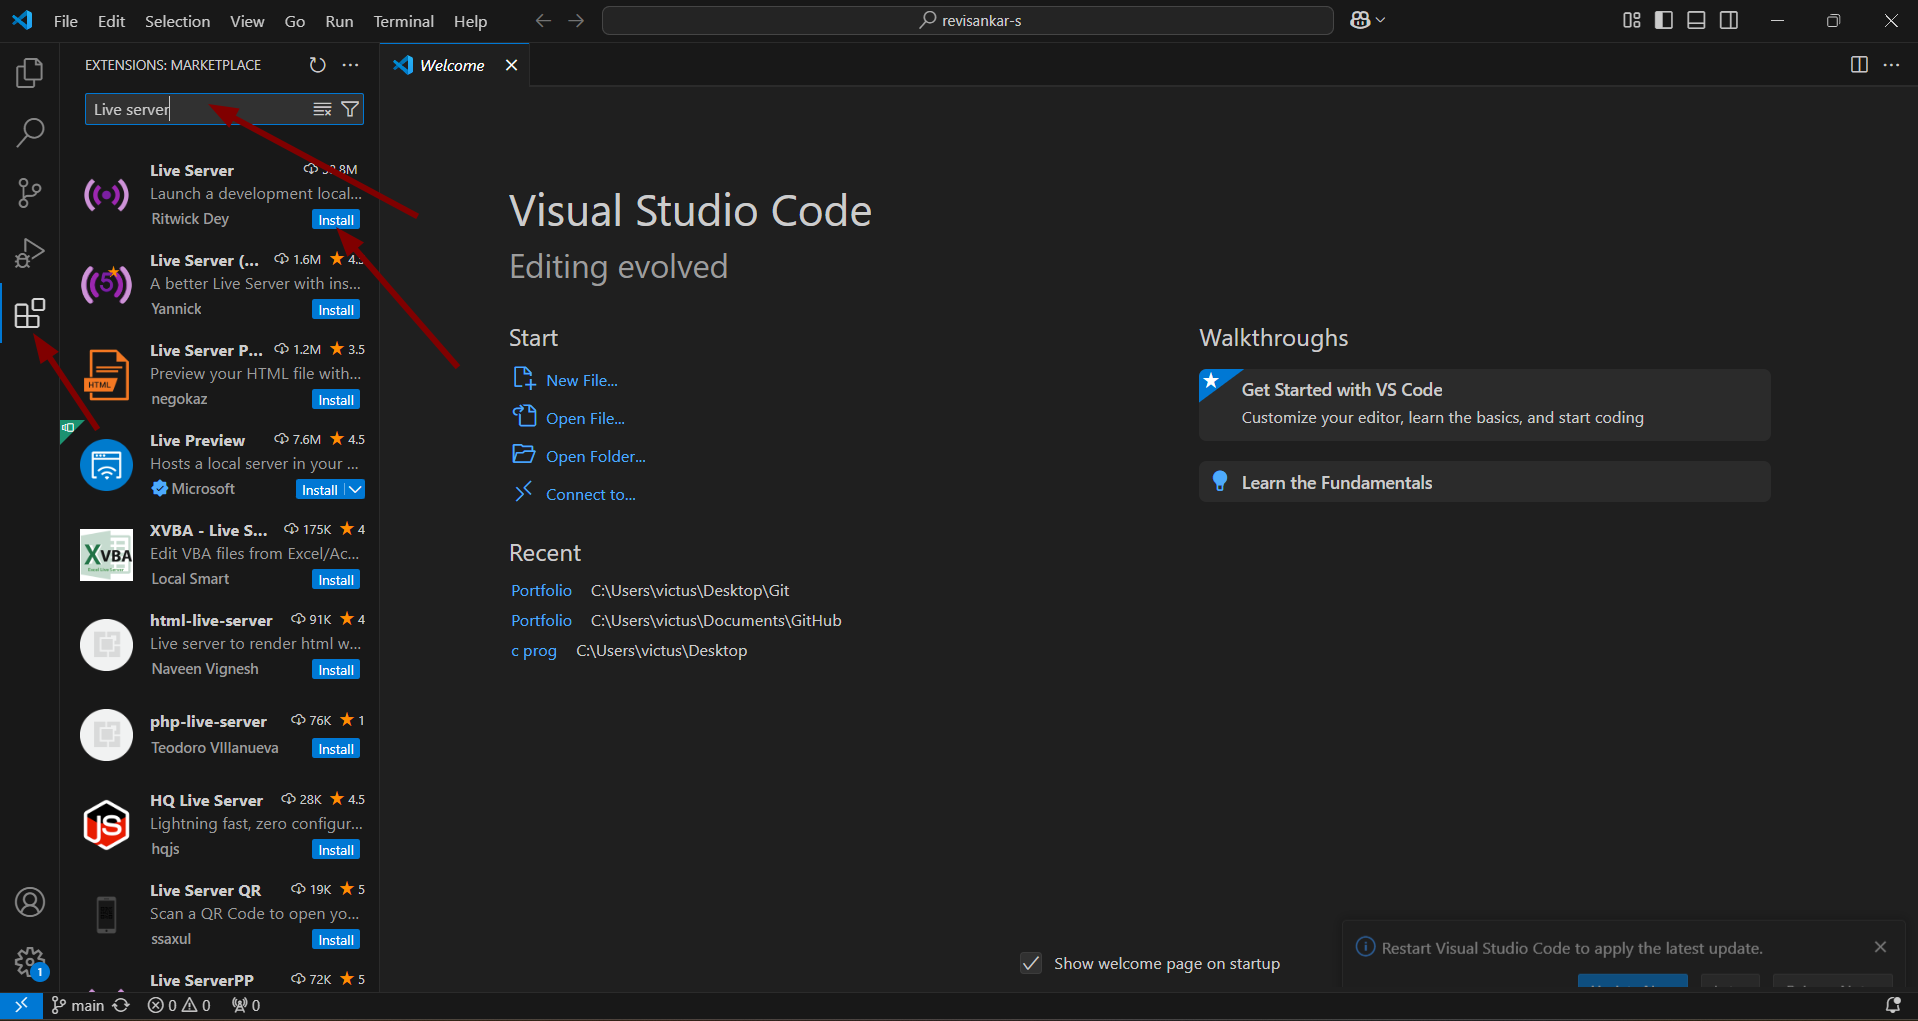
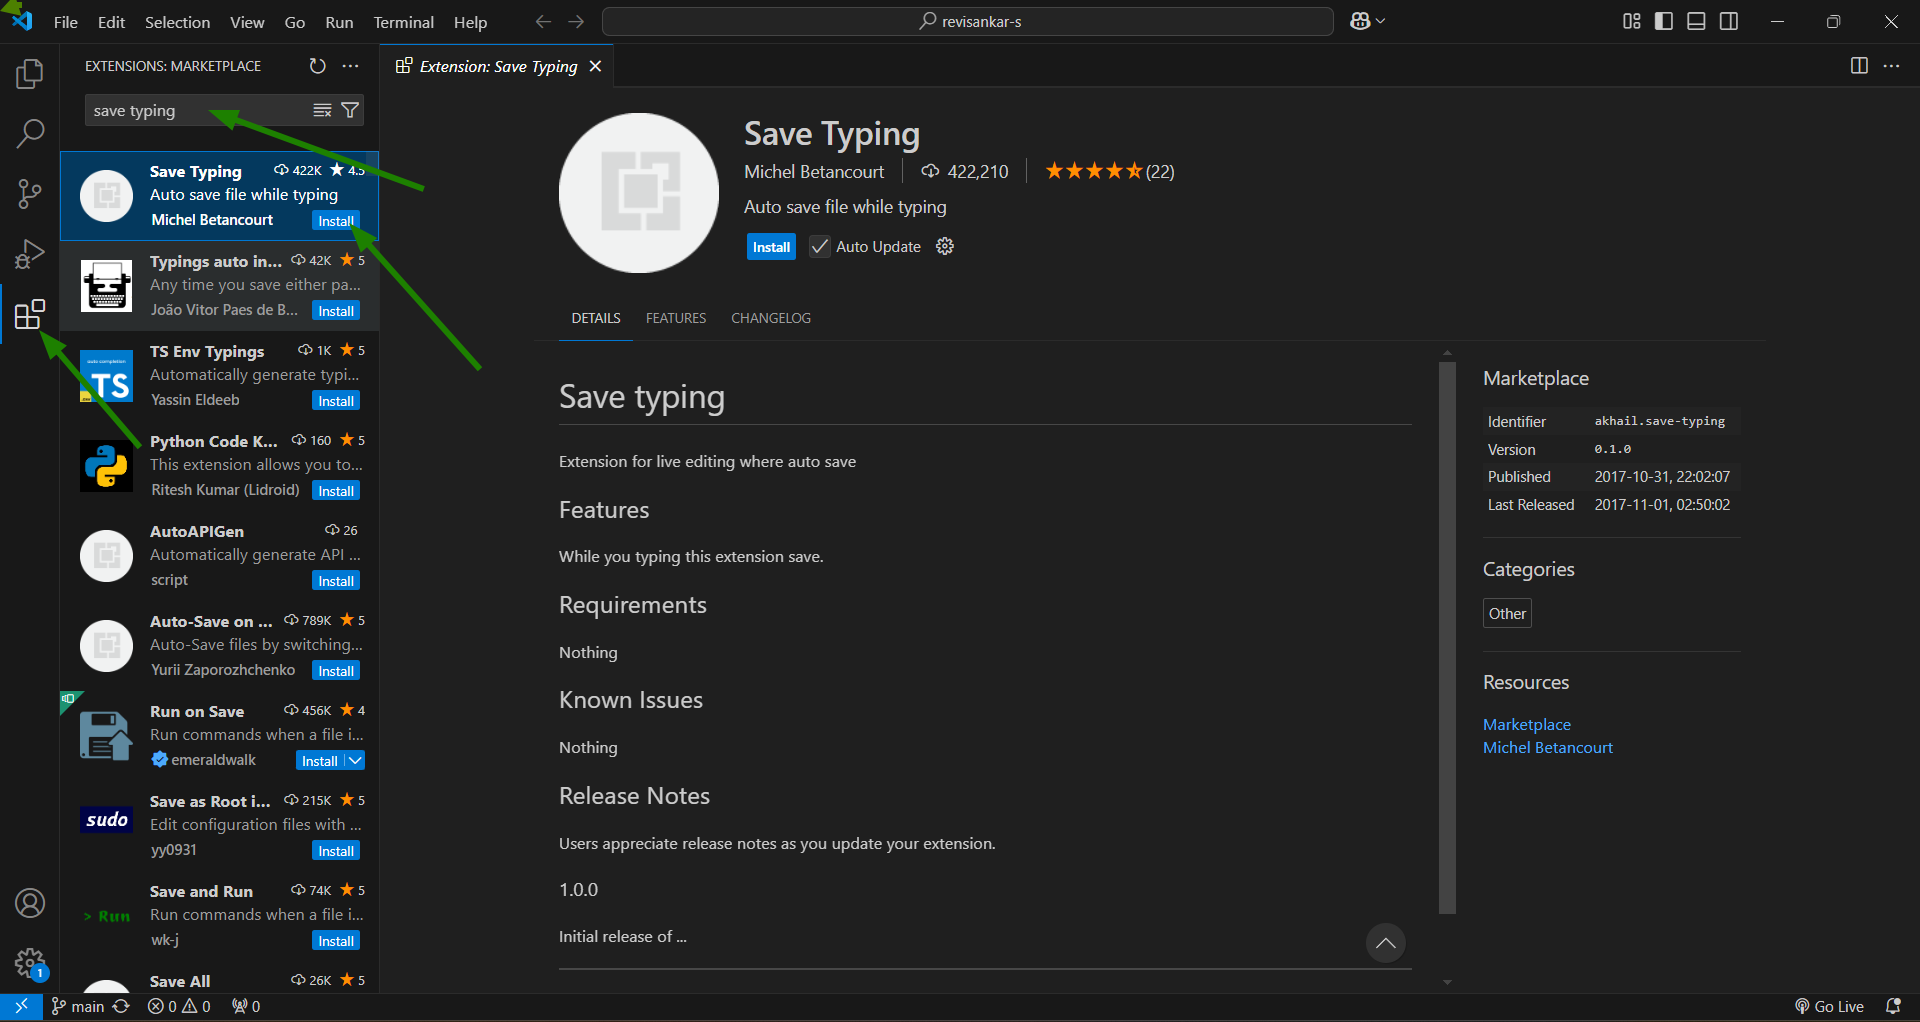
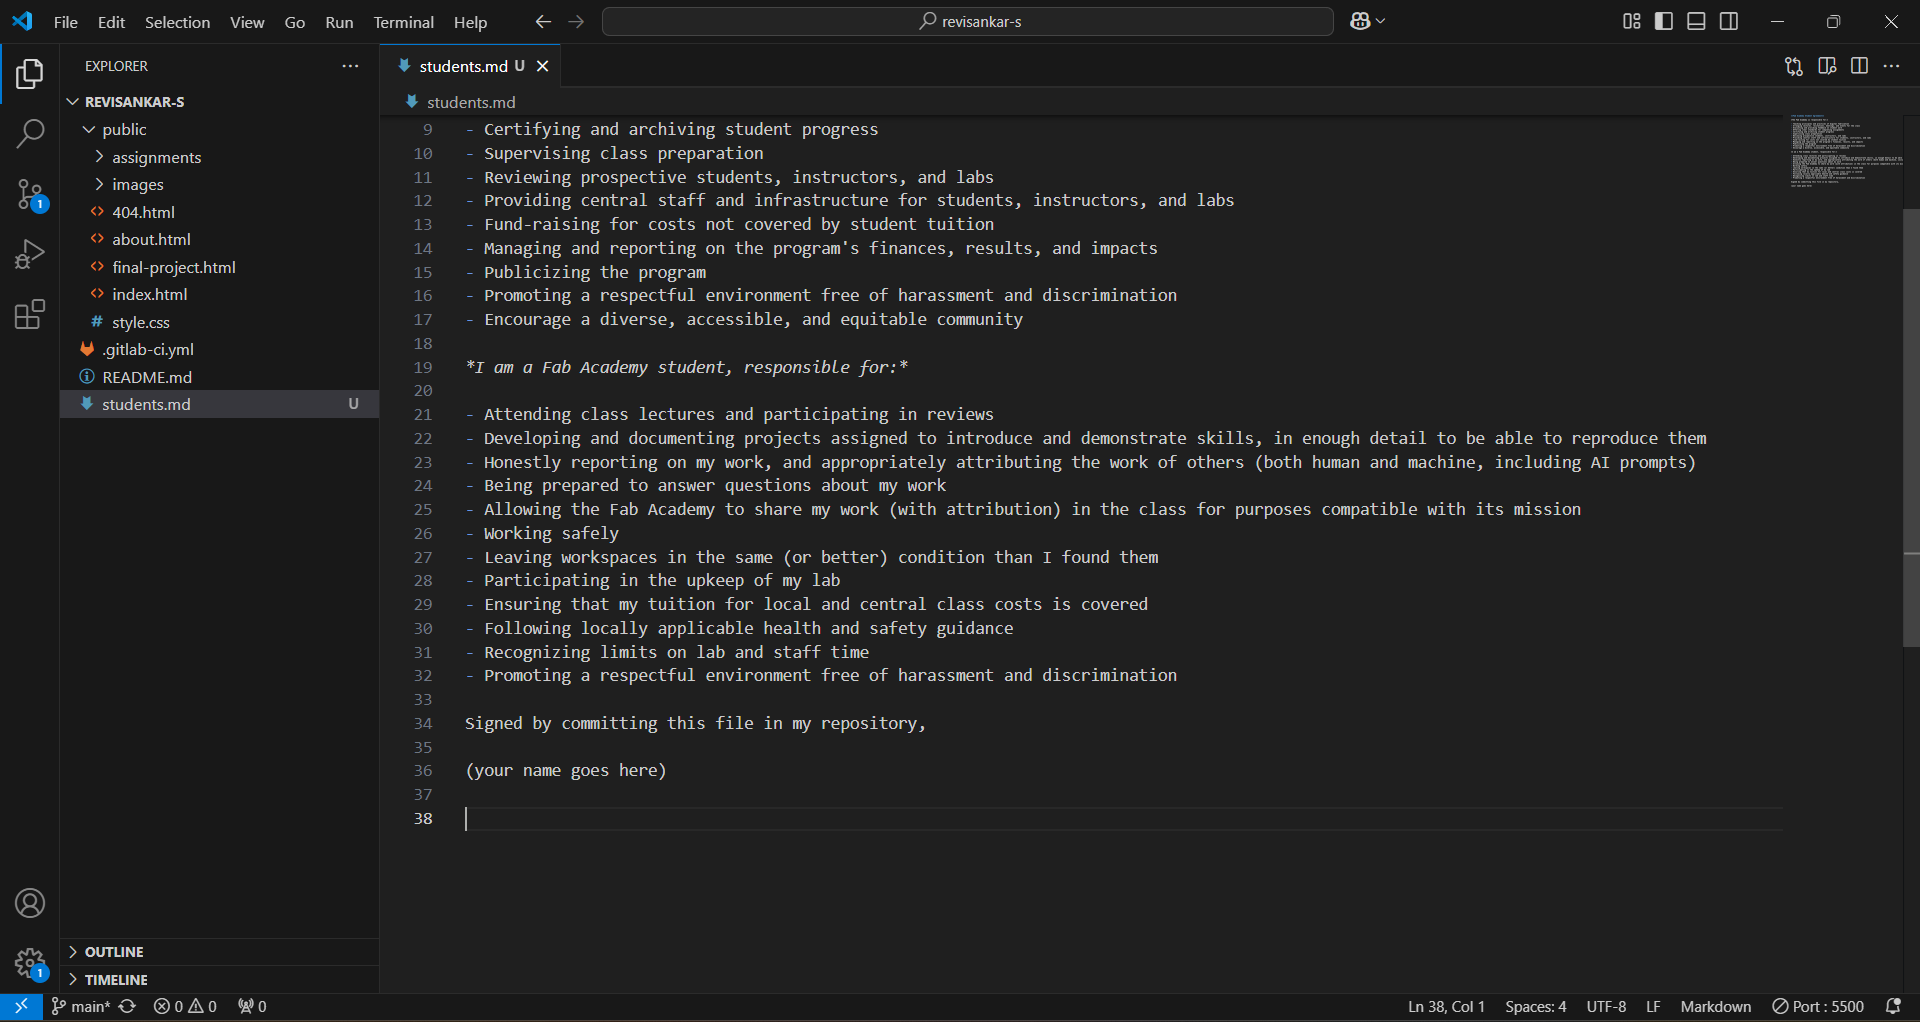
After cloning the repository, I downloaded the student agreement and saved it in this folder. Then, I opened the folder in VS Code. Visual Studio Code(VS Code) is a free and open source code editor developed by microsoft. It is highly customizable, light weight and supports many programming languages like Python, C++, JavaScript etc. It has built-in Git integration for version control and supports on Windows, Mac and linux. For convenience, I installed the Live Server and Save Typing extensions in VS Code.
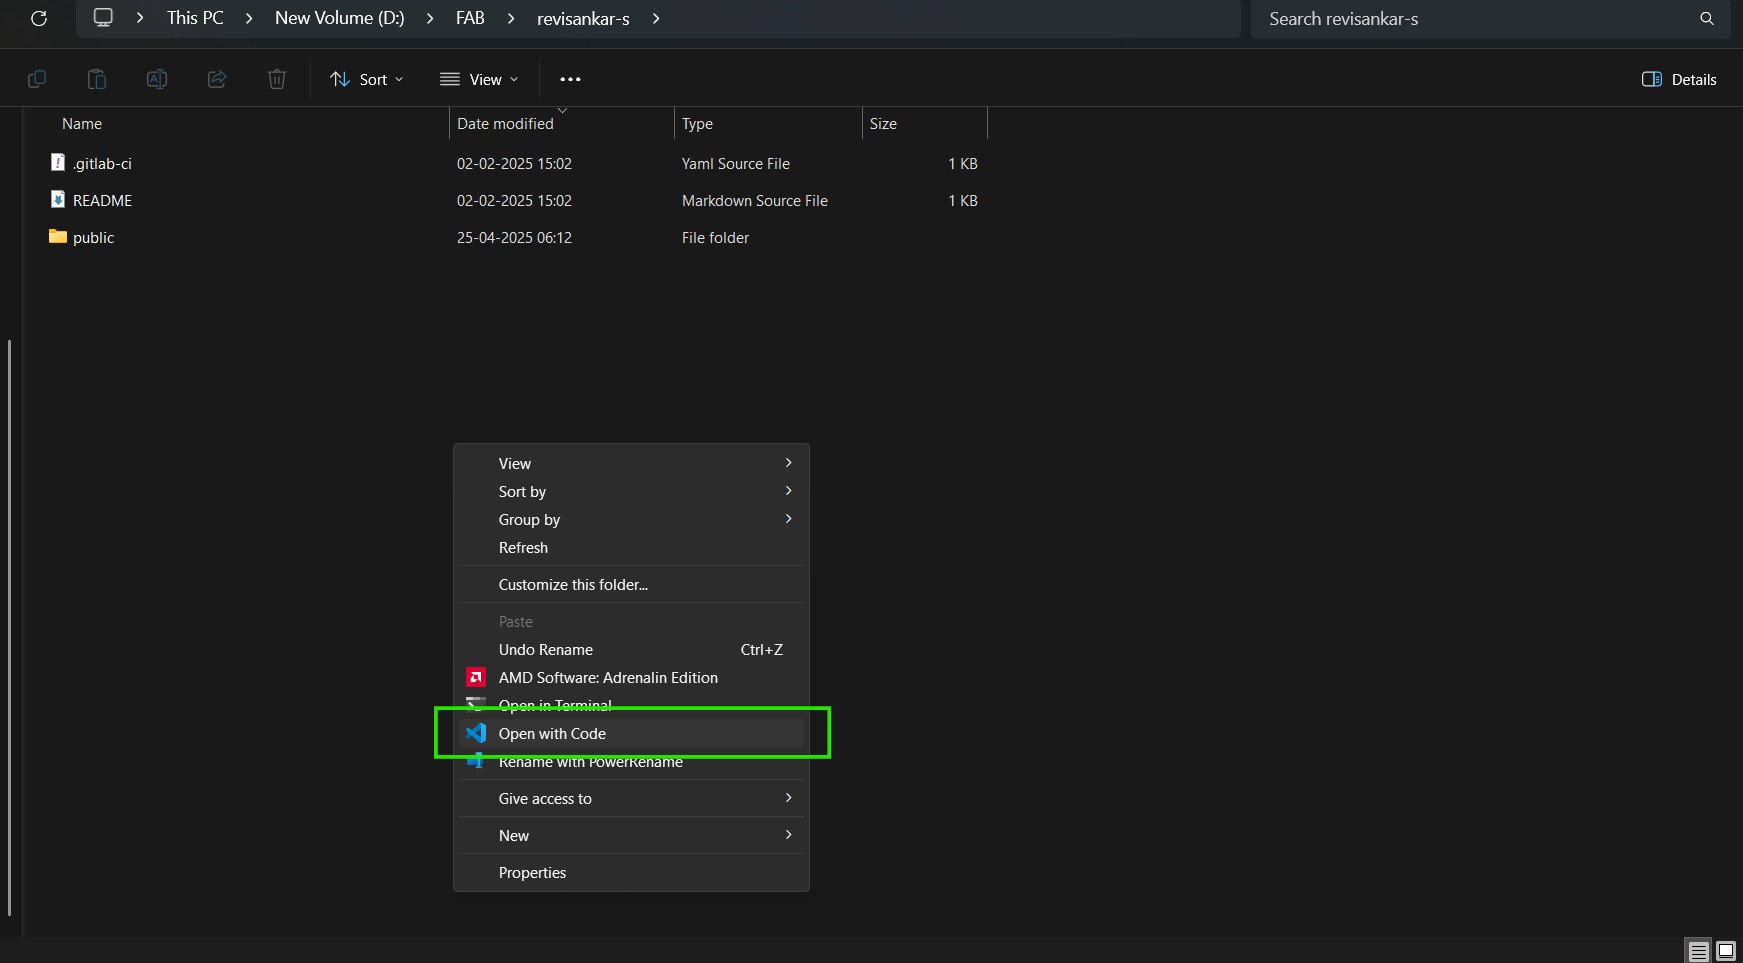
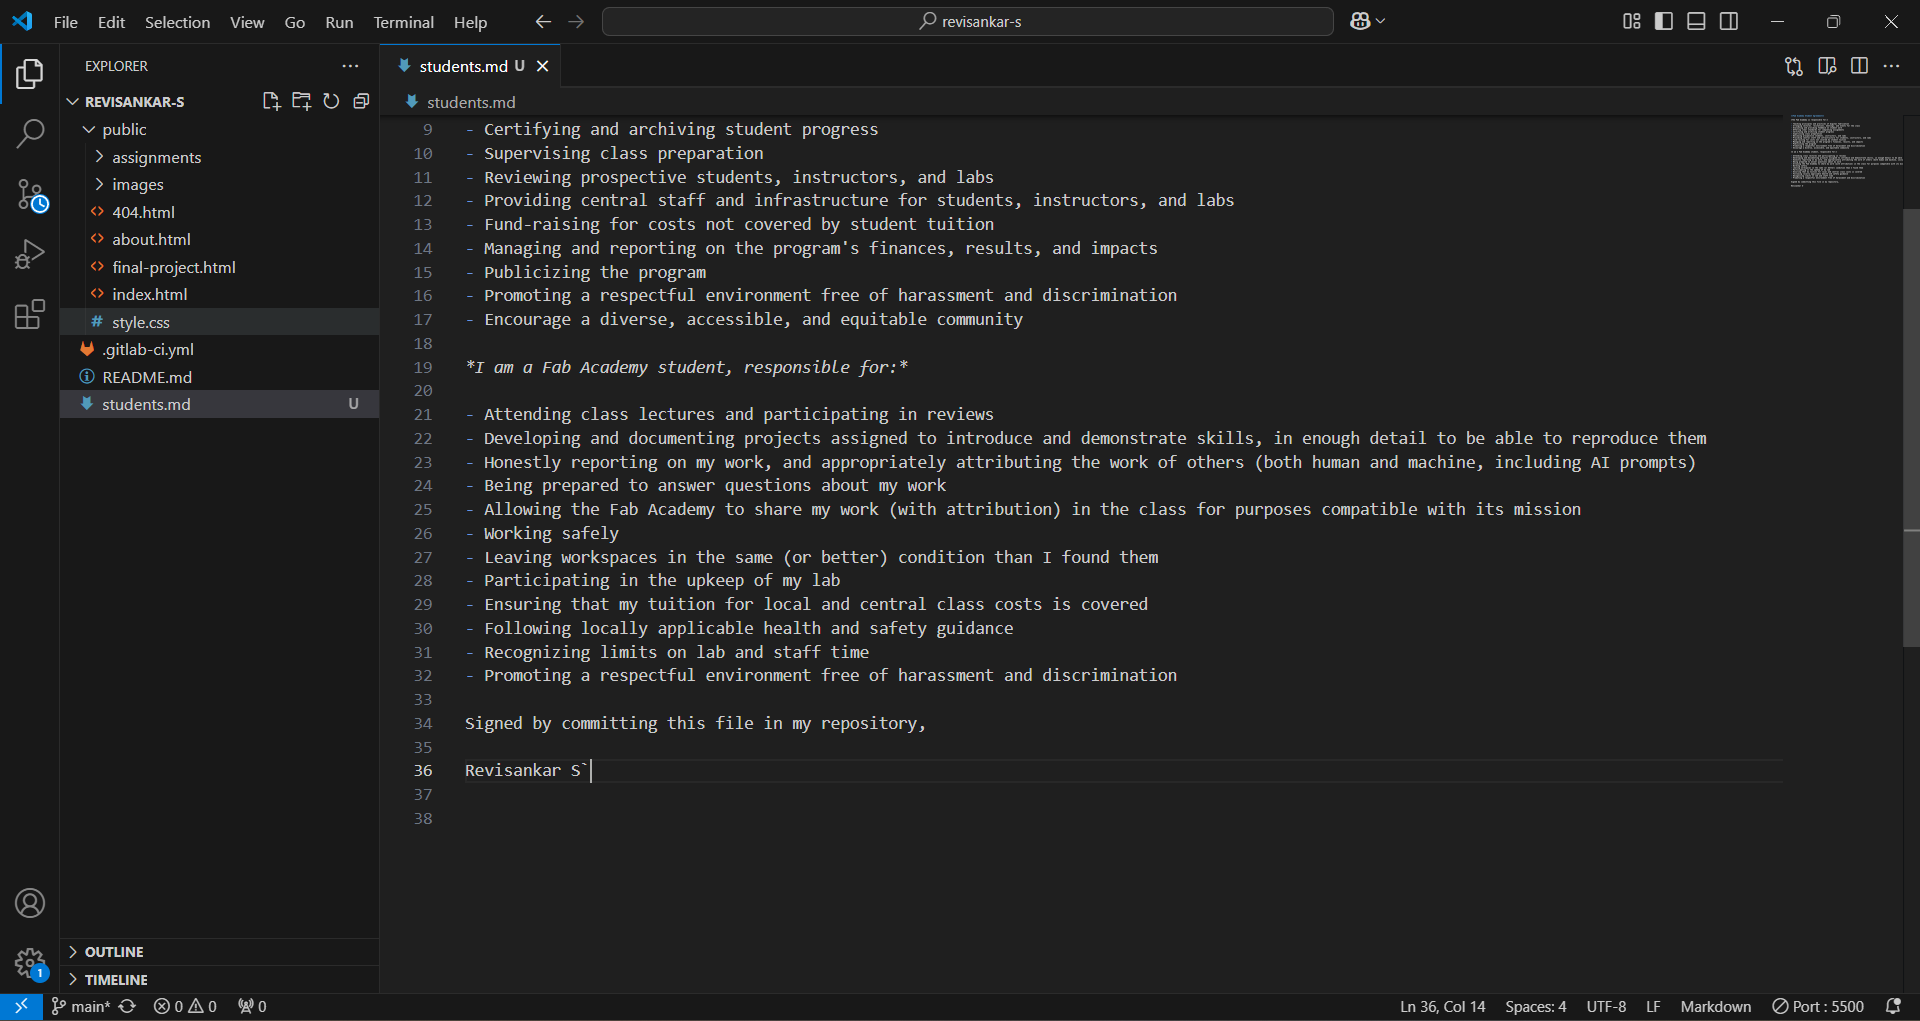
Opened the folder where I cloned the repository and right clicked and selected Open with VS Code to open the folder in VS Code. Then I edited and changed my name in the students agreement.
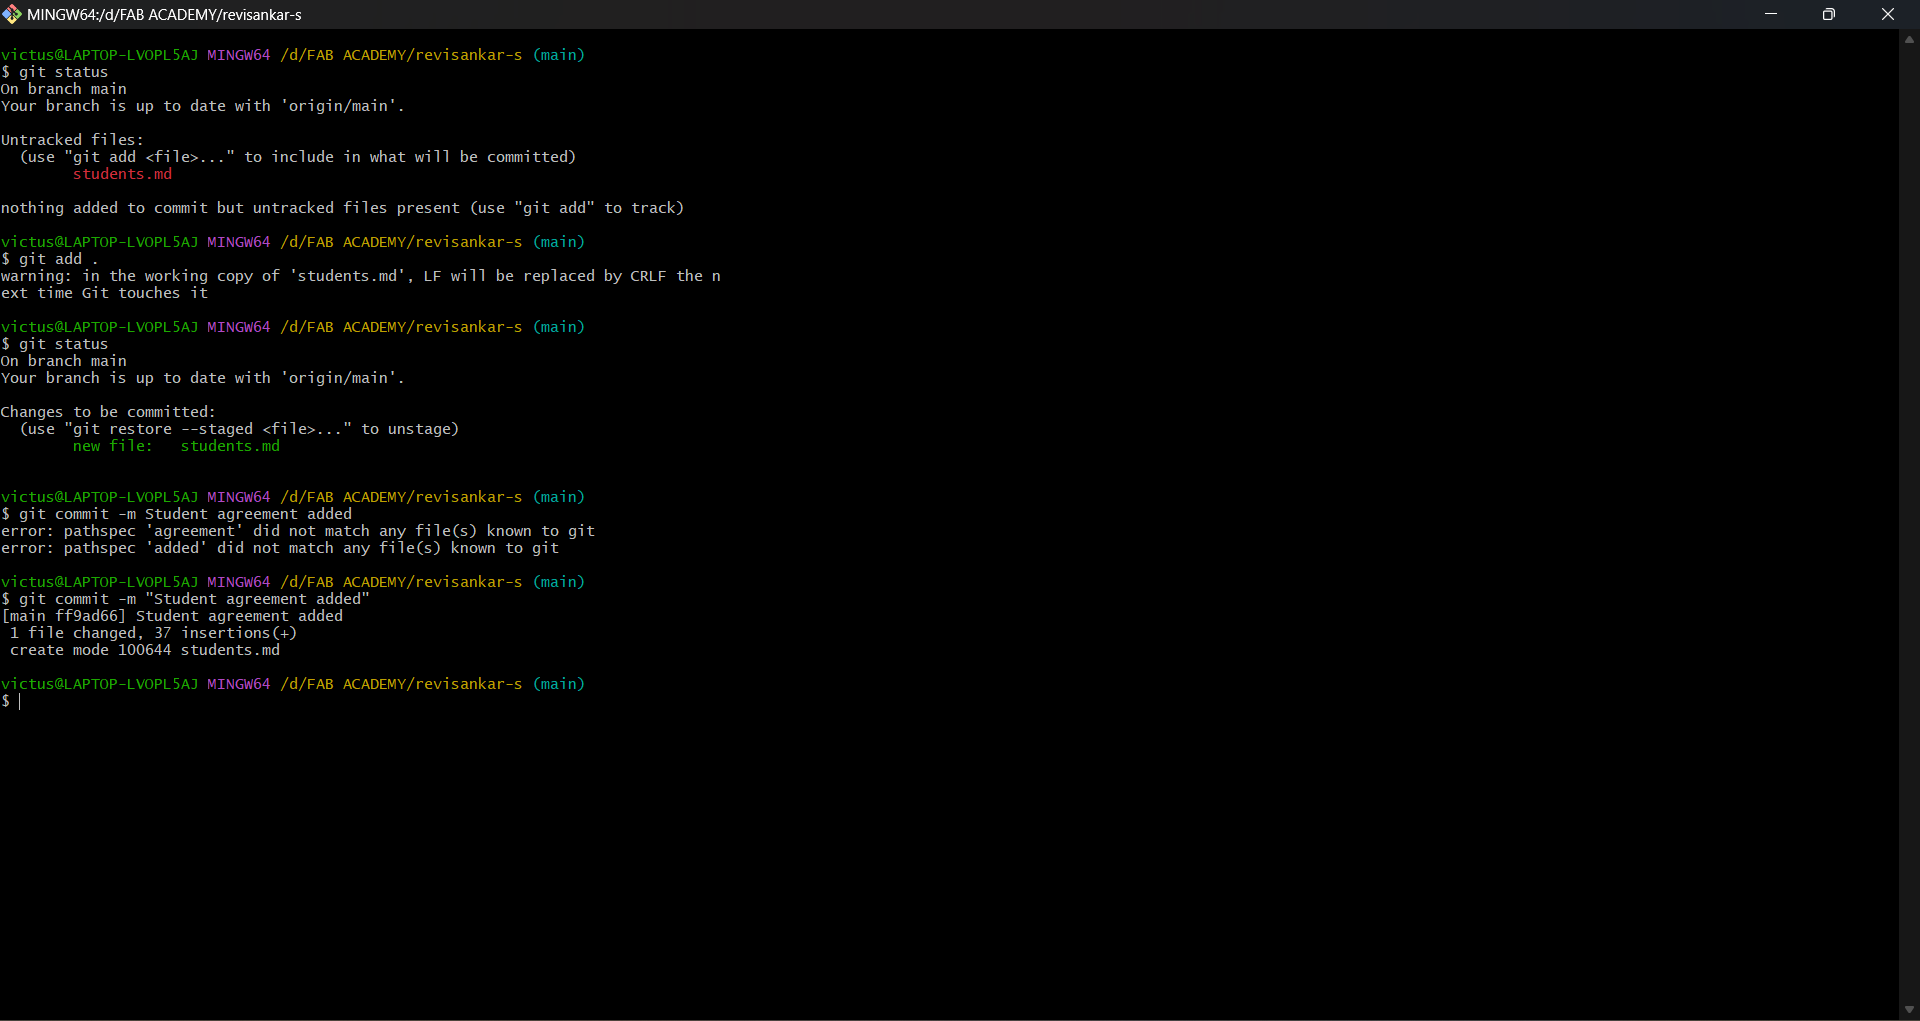
These changes need to be uploaded to the remote server, and the following commands are used to accomplish that.
- Select the files that are required to be uploaded. If you want to upload all use second code.
- Commit the changes with a message describing what modifications you've made.
- Push these files to the remote repository.
git add 'File name'
git add .
git commit -m "'Enter any message'"
git push
 |
 |
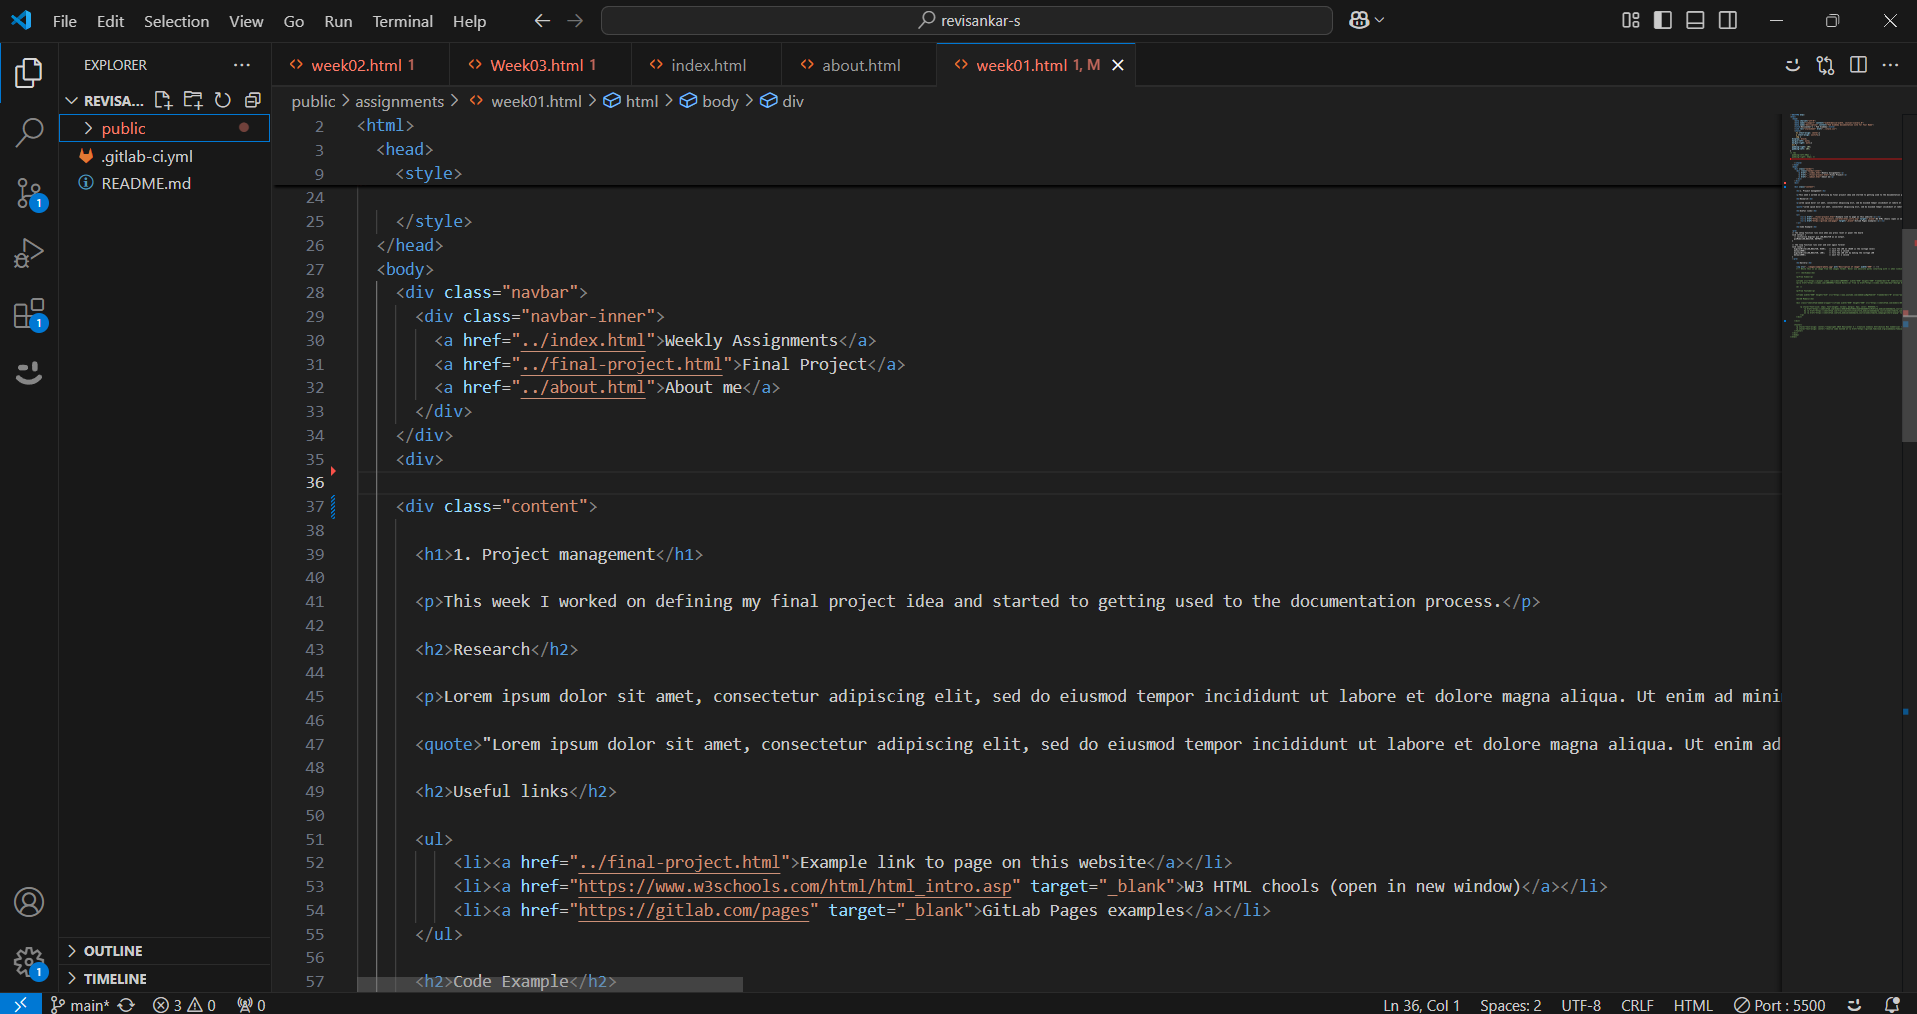
HTML and CSS
HTML forms the backbone of a website, while CSS enhances its visual appeal. When combined, they create a well-structured and aesthetically pleasing website.
Basic HTML tags- Structure Tags
- html- Root of the HTML document.
- head- Contains metadata and links.
- title- Sets the webpage title.
- body- Contains the main content.
- Text Formatting Tags
- h1 to h6- Headings (largest to smallest).
- p- Paragraph.
- br- Break Line.
- strong- Bold text.
- Links & Media Tags
- a- Hyperlink.
- img- Image.
- Lists Tags
- ul- Unordered list.
- ol- Ordered list.
- li- List item.
CSS
CSS is a stylesheet language used to control the appearance and layout of web pages.
Types of CSS
- Inline CSS- Applied directly within an HTML element using the 'style' attribute.
- Internal CSS- Written inside a ''style' tag within the HTML 'head' section.
- External CSS- Written in a separate '.css' file and linked to the HTML using a 'link' tag.
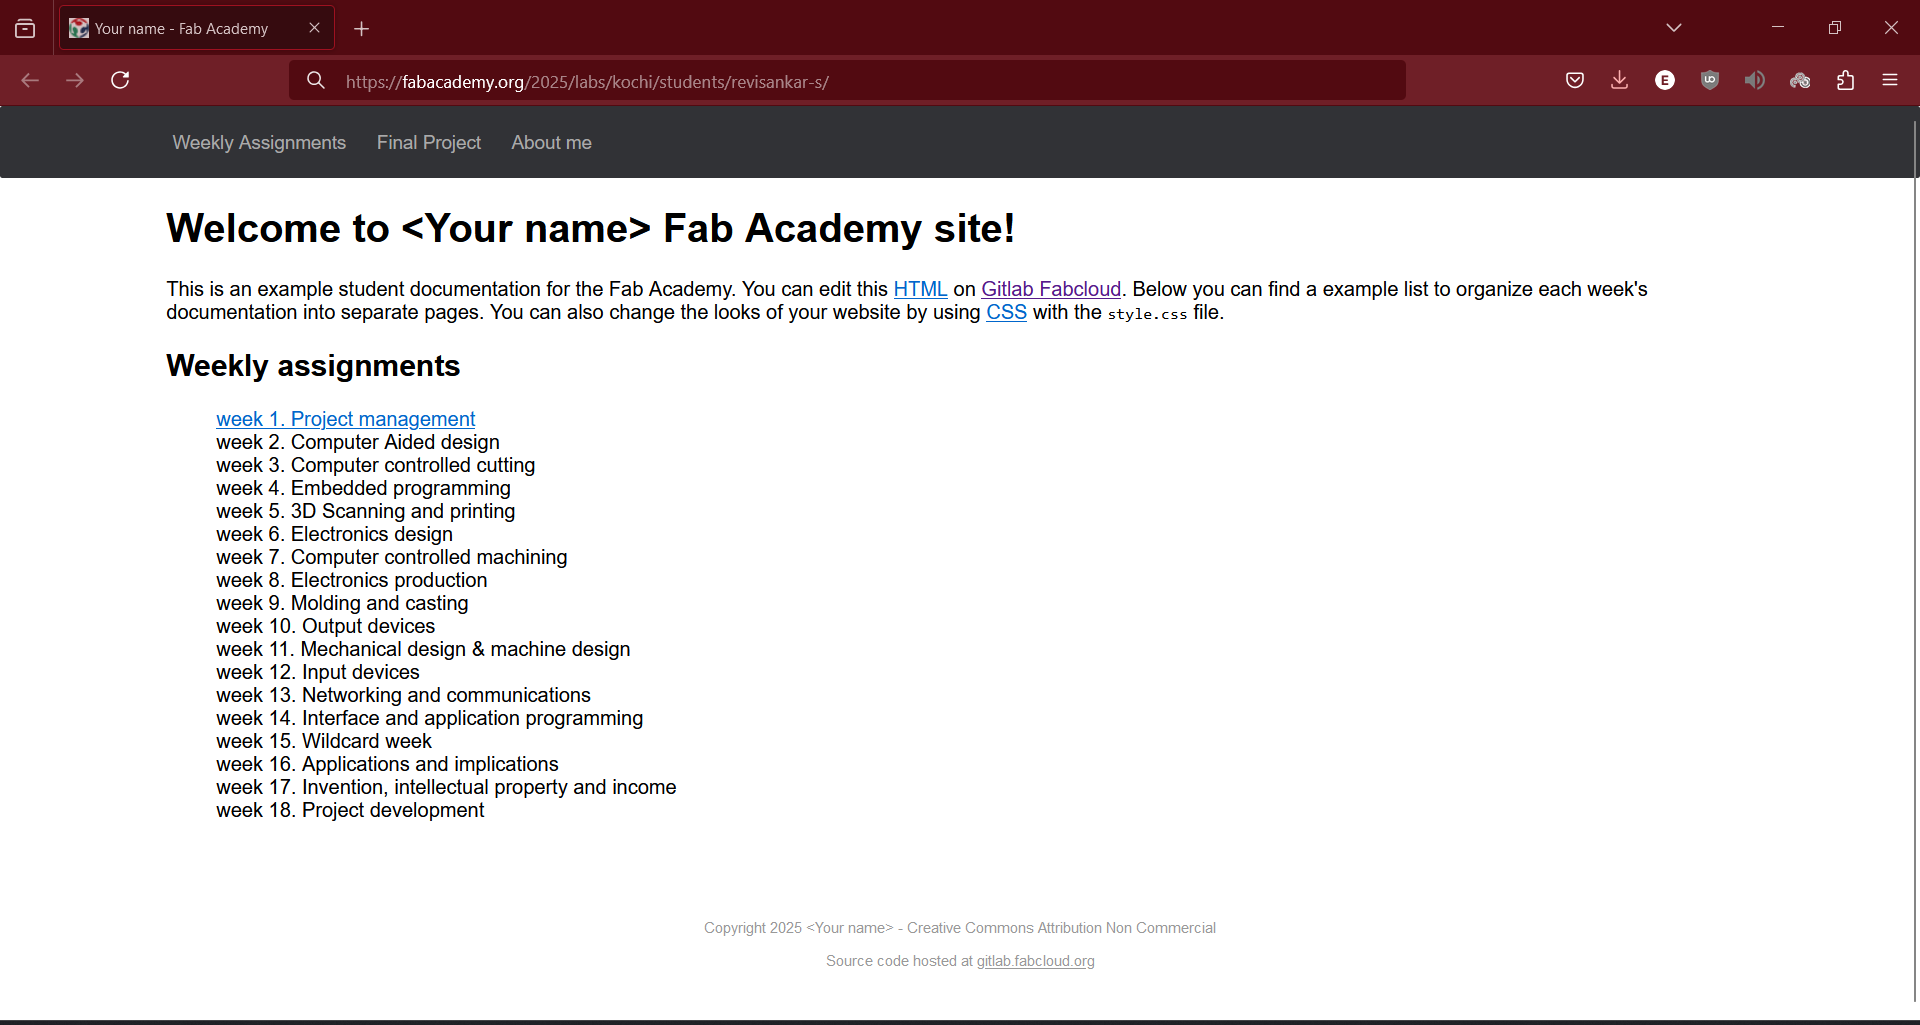
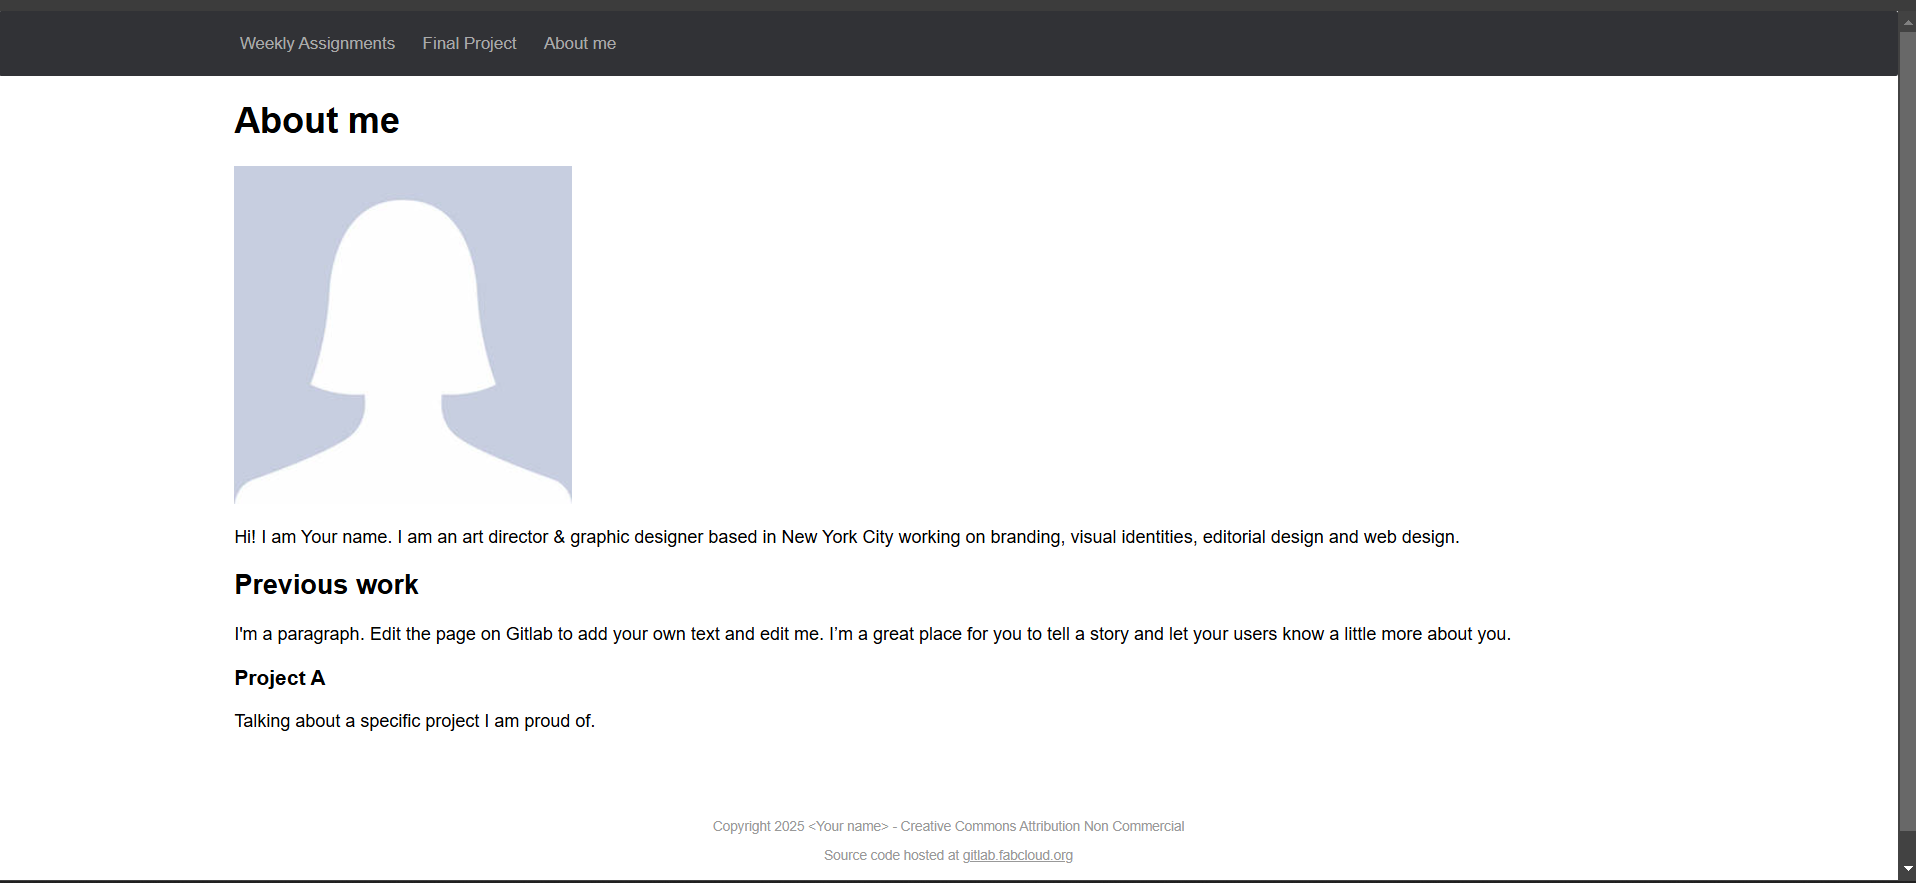
Initially my website looks like this,
 |
 |
 |
|
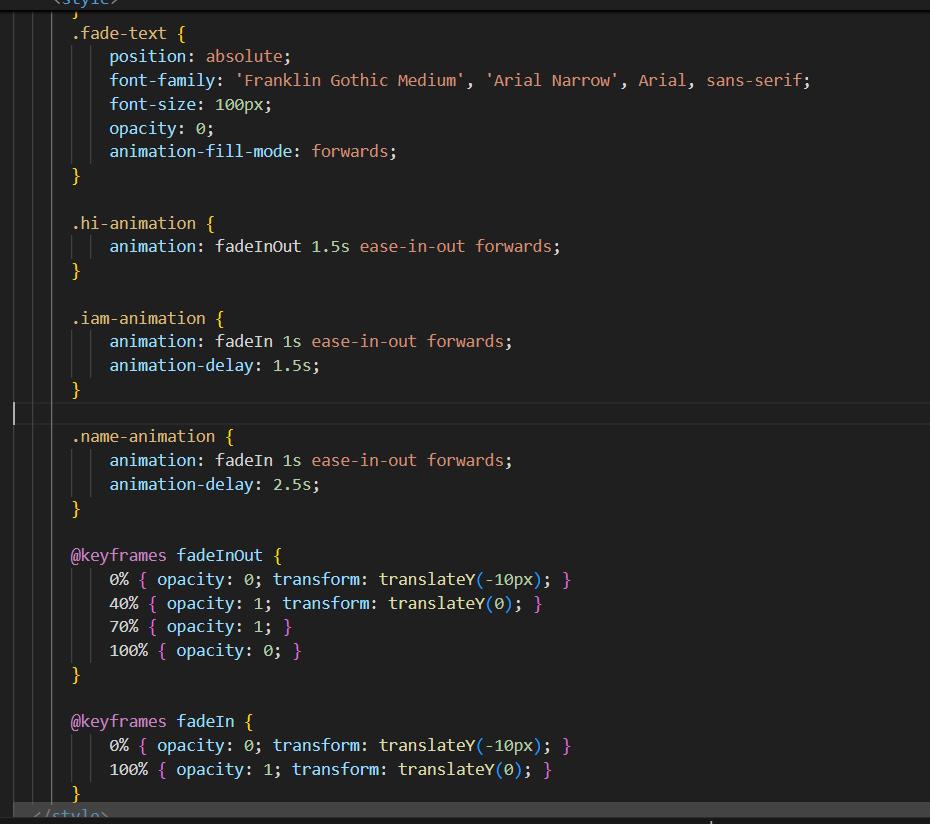
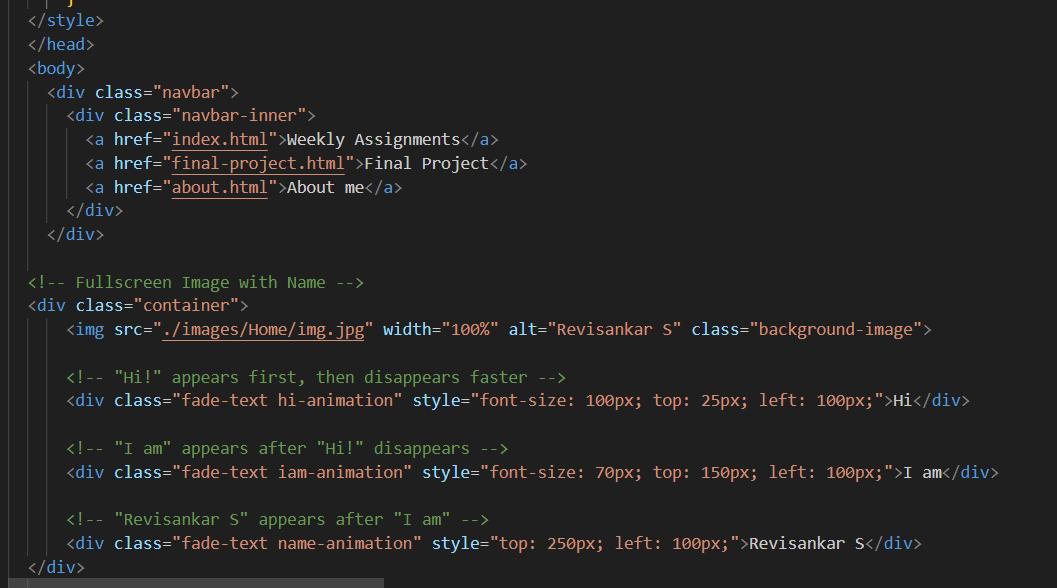
Initially I tried to create an animation with my image Showing that Hi I am Revisankar S. I used ChatGPT to create the html code for the animation. I followed the steps GPT provided. In head section I added the Fade in and fade out time for each words animation. In the body I added the text for the animation ie, Hi, I am Revisankar S.
 |
 |
And finall my website looks like this,
  ChatGPT Promt: "Create an HTML and CSS code that displays a background image with animated text on top. First, 'Hi' should fade in, stay for a moment, and fade out. After that, 'I am' should fade in, and then
 'Revisankar S' should appear. Use separate CSS classes for each text animation, apply smooth transitions with a slight upward movement, and position the texts at different places over the background image.
ChatGPT is used for paraphrasing.
3. Conclusion
This week, I learned how to use Git and GitLab, successfully cloned my first Git repository, and explored HTML and CSS to begin building my website. Additionally, I finalized and sketched the design for my final project, marking a significant step forward in my journey.