Wildcard Week
Objectives for Week 16
- Design and produce something with a digital process
(incorporating computer-aided design and manufacturing)
not covered in another assignment, documenting the requirements
that your assignment meets, and including everything necessary to reproduce it.
Individual Assignment
Individual Assignment
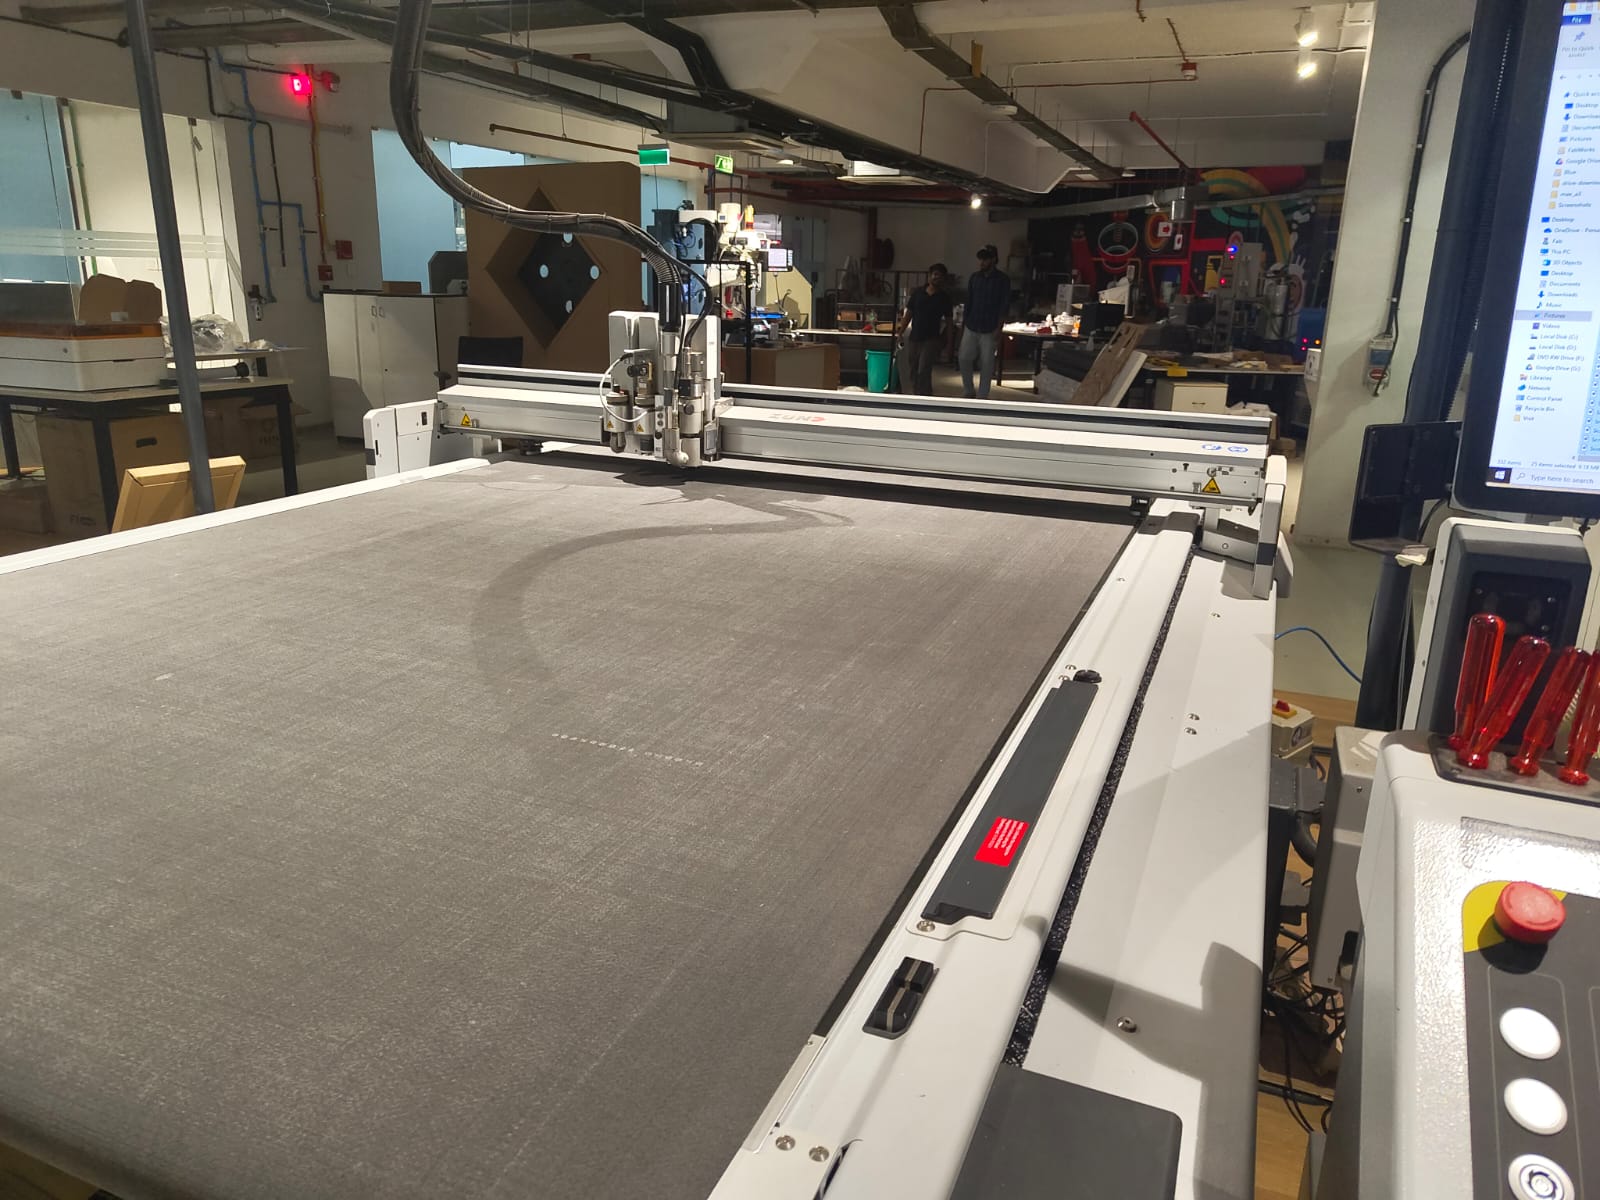
We have Zund G3 L-2500 Digital cutter in Super Fablab Kerala. So I tried to explore the digital cutter this week.
Initially I tried making a cardboard phone stand and then I routed wood for the base of my final project.
Design
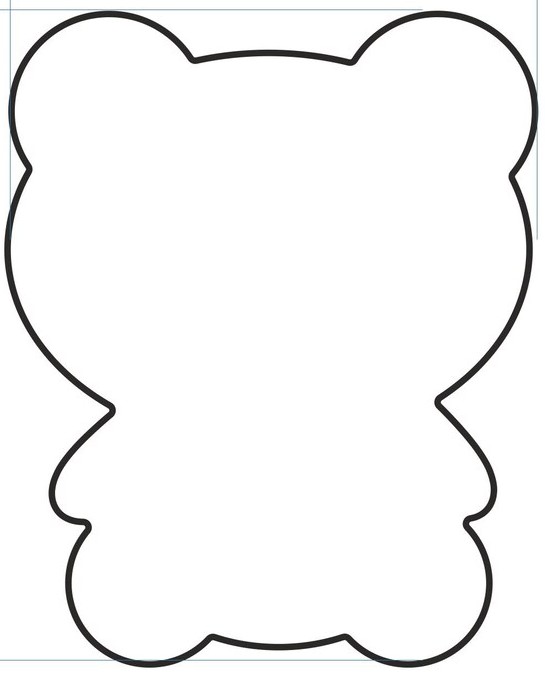
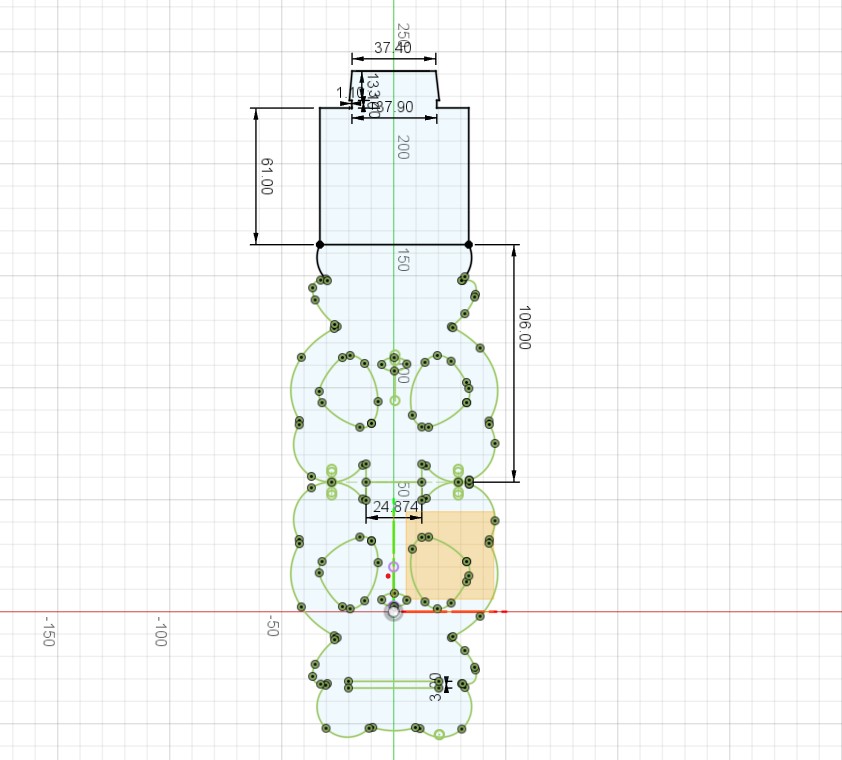
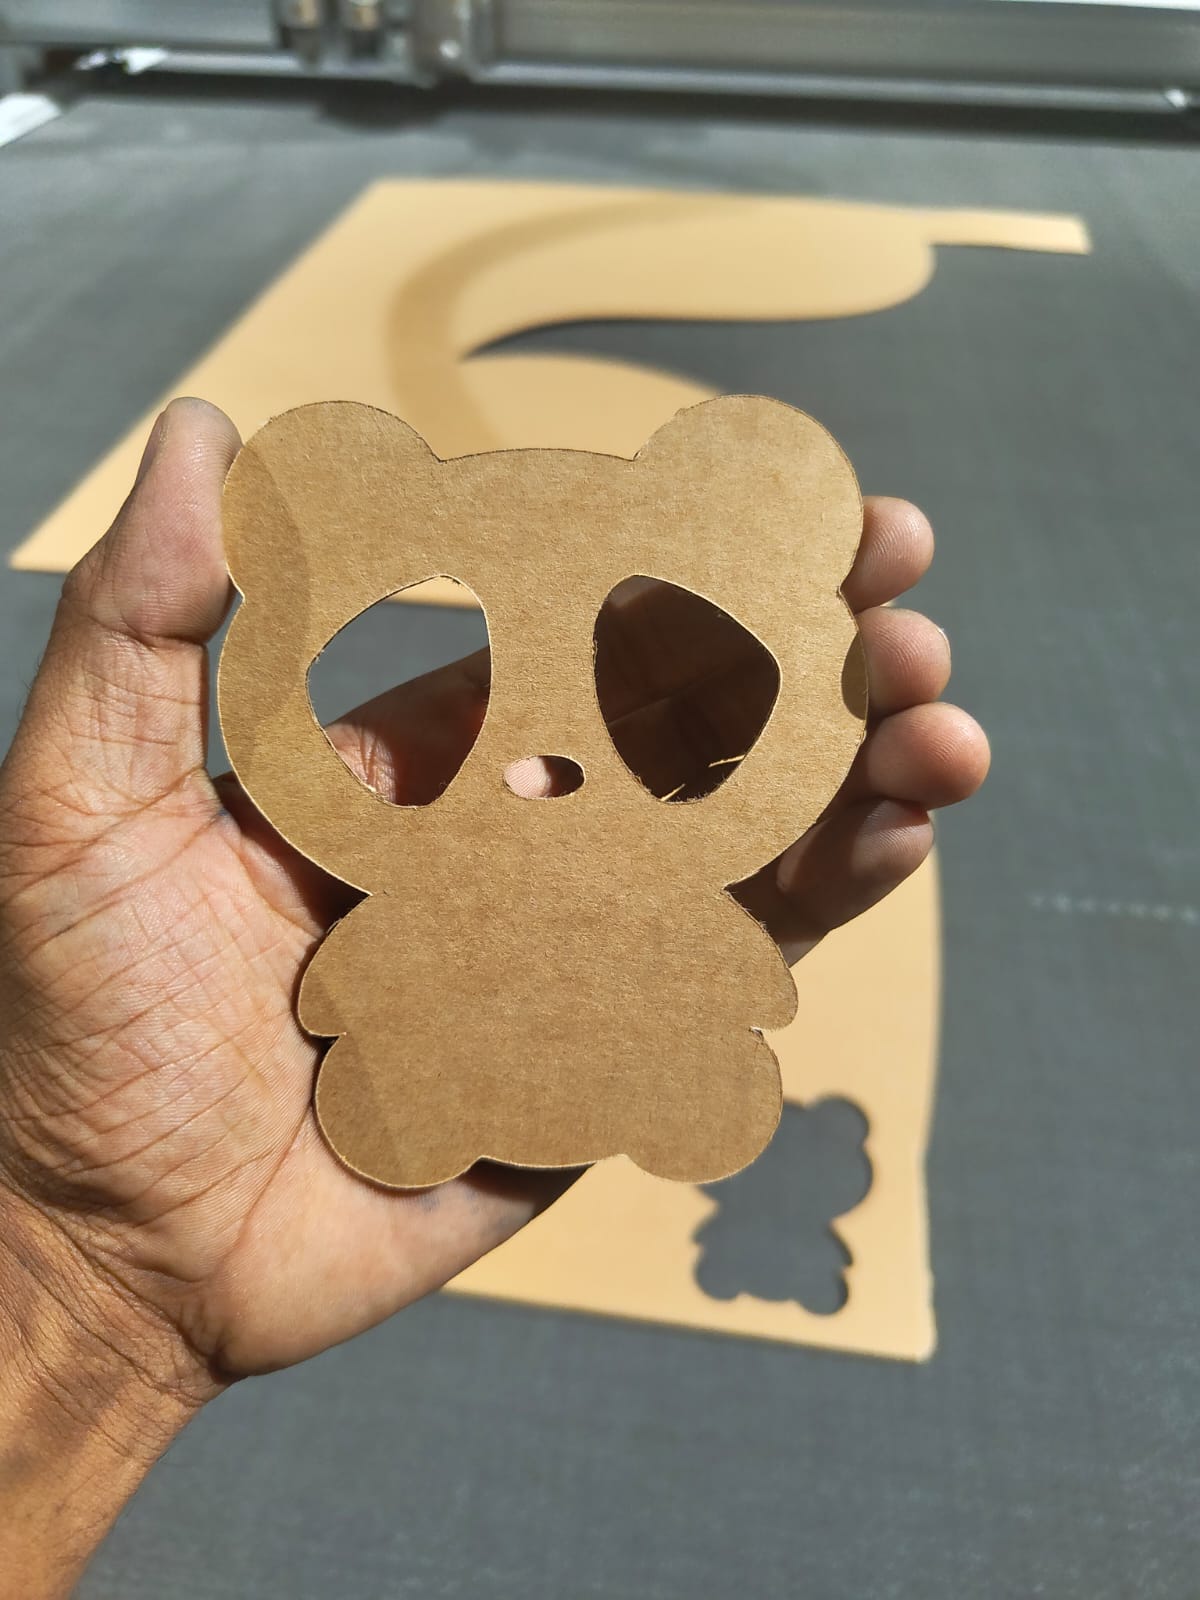
I downloaded an image of a panda to make as a canvas, so that I can trace the outline using that.
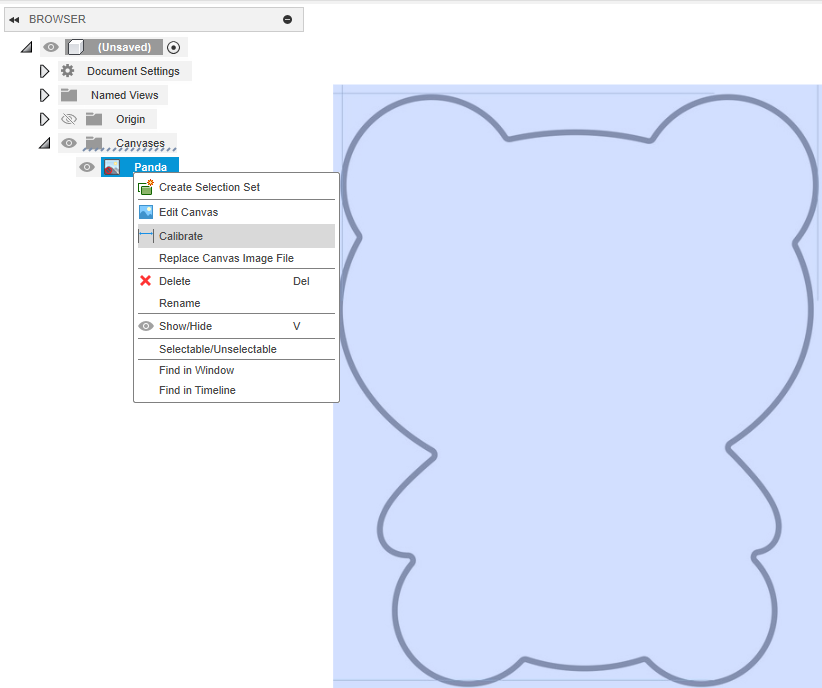
Then I calibrated the canvas to my required size.
 |
 |
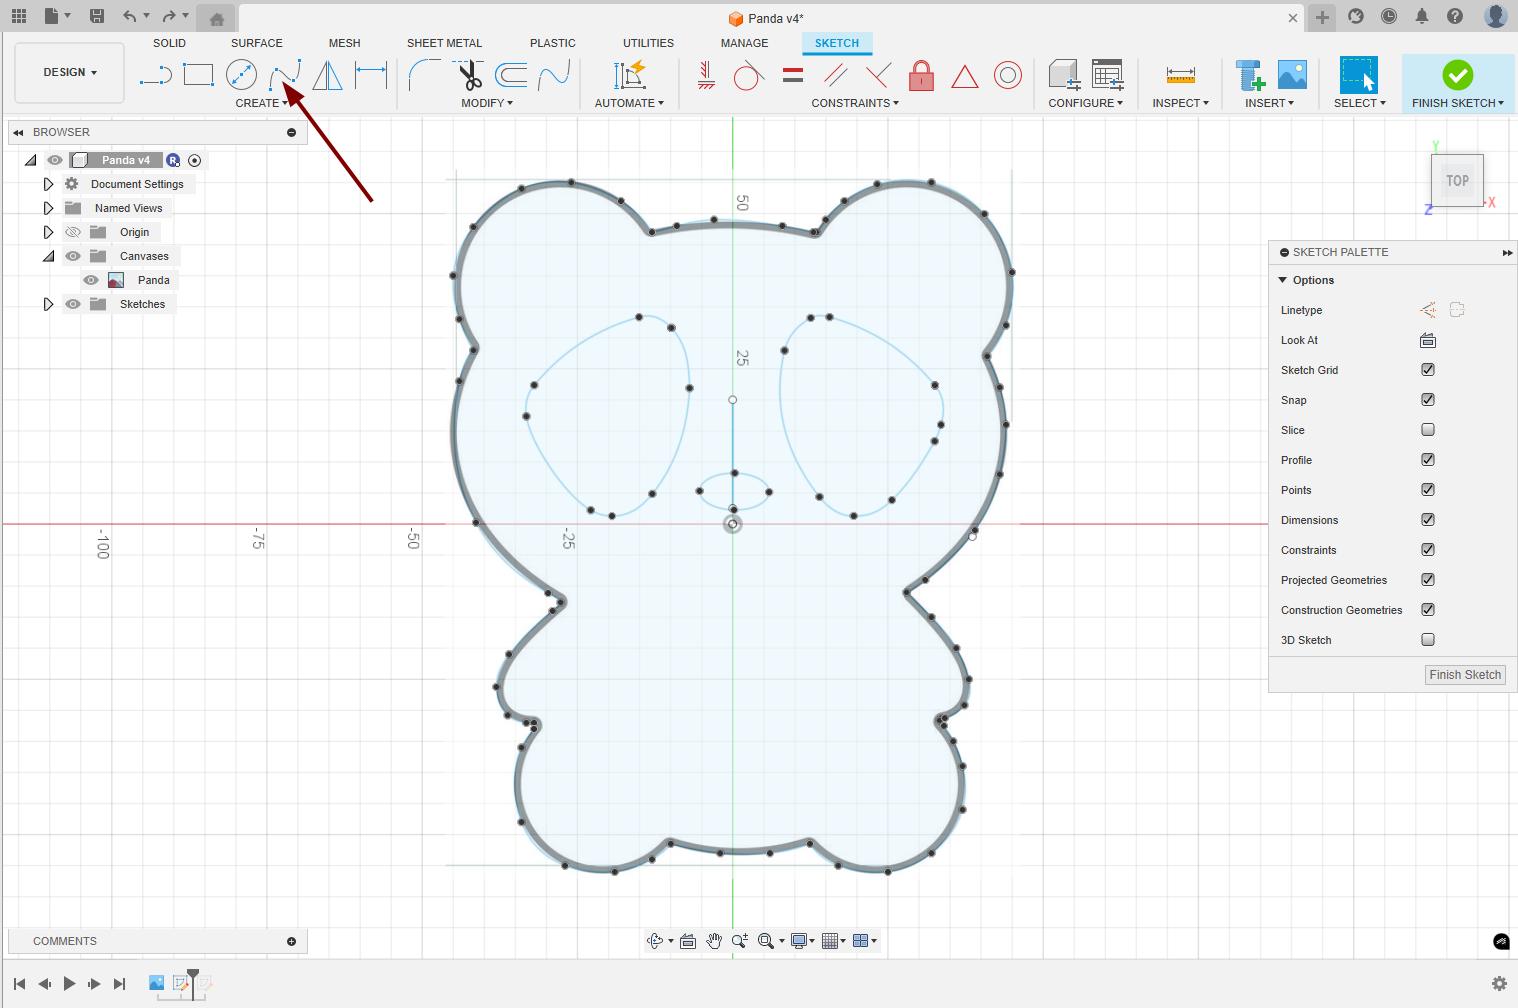
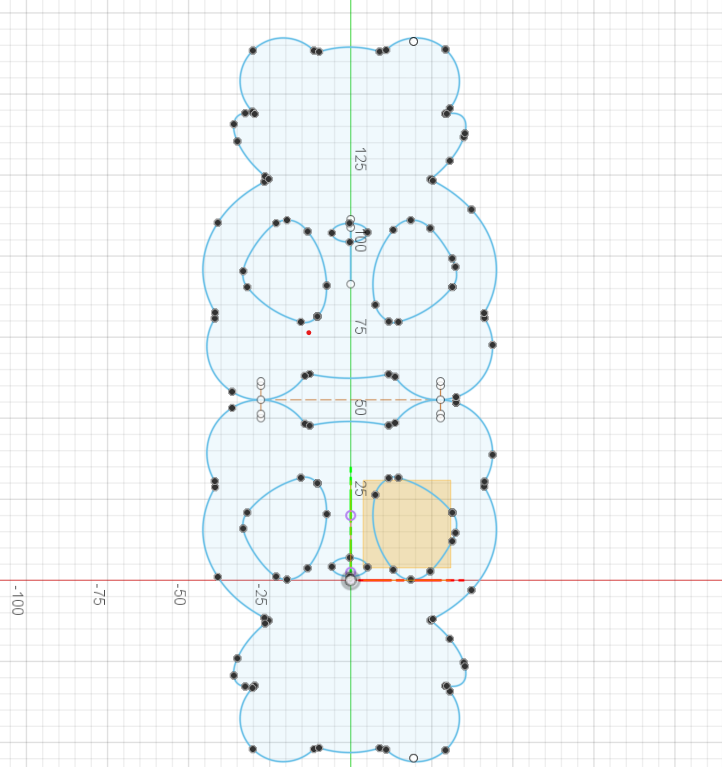
Then I traced the outline using the spline tool and mirror it added the bottom portion and a joining part also. As I am going to make this design in a B Flute cardboard which is 3mm thick I gave the slot's dimension as 3mm.
 |
 |
Exported it as .dxf format to machine it in the Zund G3 L-2500 Digital Cutter.
Zund G3 L-2500 Digital Cutter
The Zund G3 L-2500 is a large format, flatbed digital cutter designed for industrial applications. Some of its features are listed below:
- Large Cutting Area- The L-2500 designation refers to the cutting bed size. It have a working area of 1800mm x 2500mm
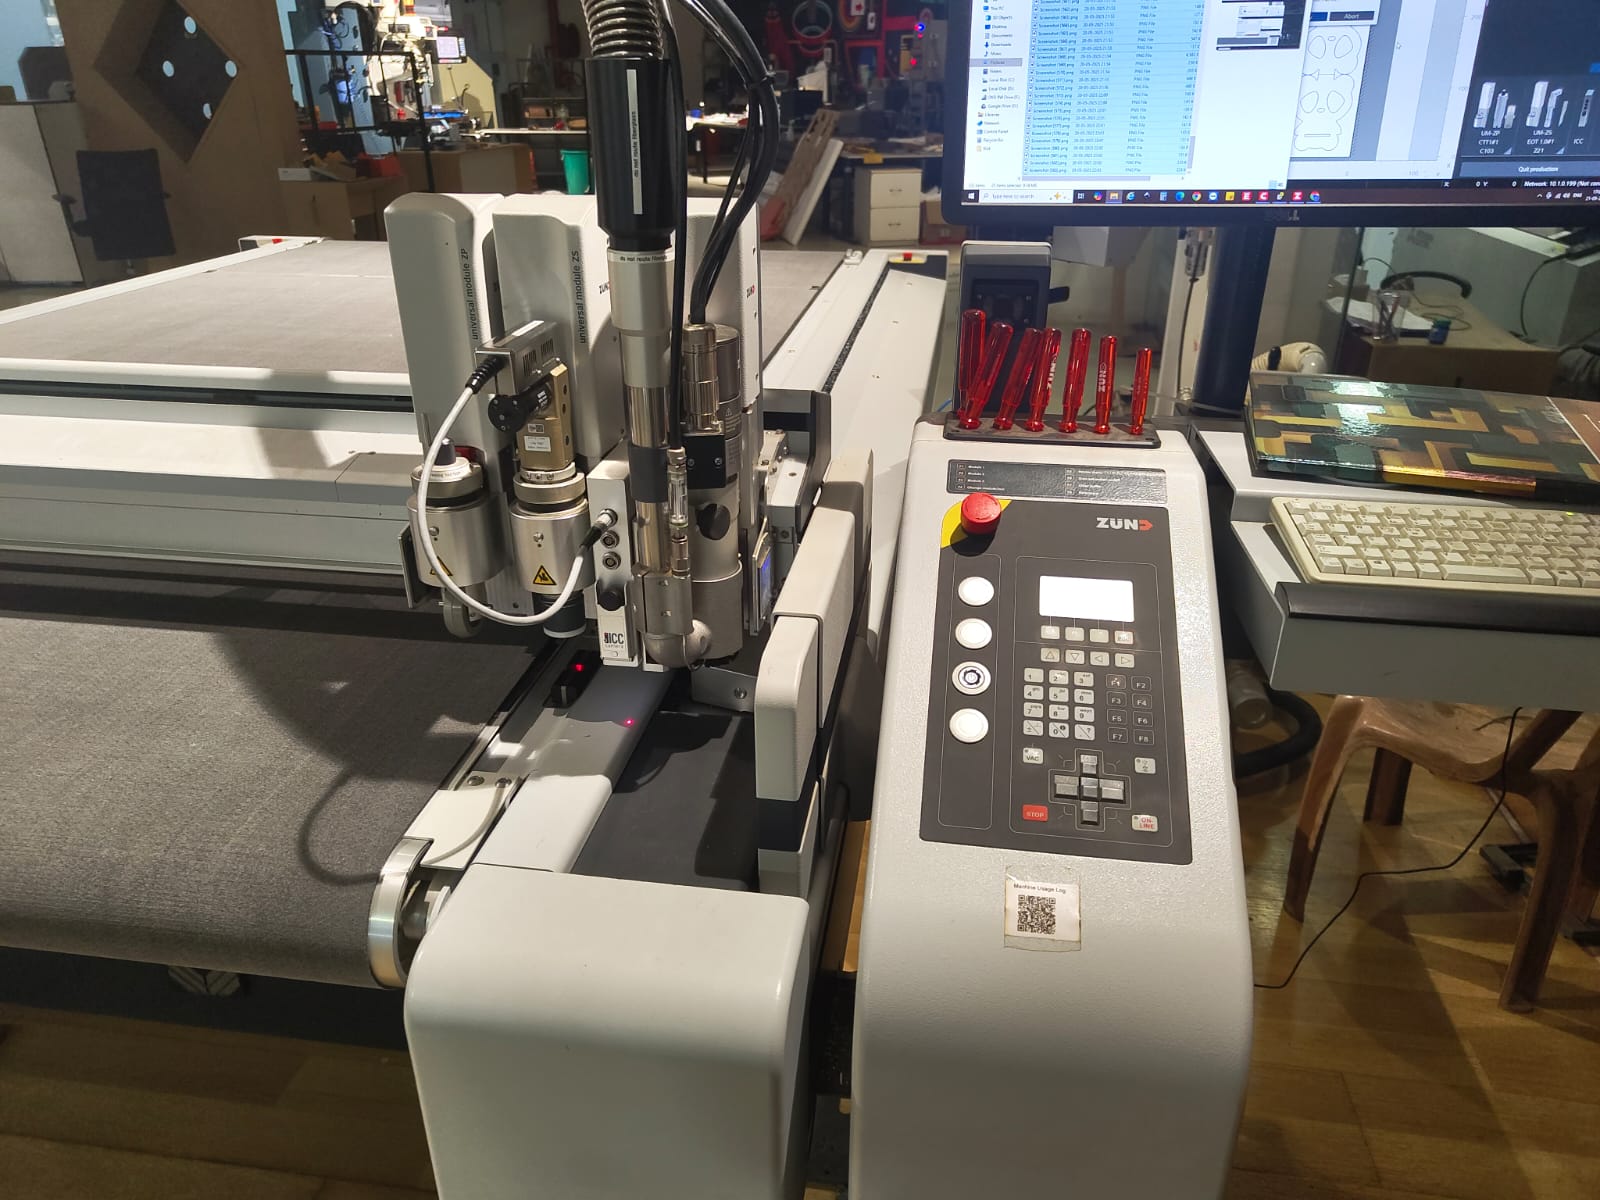
- Modular Design- Zund G3 cutters are known for their modular design, which allows for customization with different tools and features to suit specific needs.
- Precision Cutting- The G3 is designed for high precision cutting, with features like a zoned vacuum table and precisely controlled cutting heads.
- Automatic Tool Changer- It is equipped with automatic tool changer for router module, which can reduce setup times and streamline production
- Multiple operation: The G3 can perform 3 different operations at a time.
The link to the Zund G3 L-2500 is here.
Safety
General Safety
- Operate the machine only after getting proper training.
- Understand the functions, limitations, and safety features of the cutter.
- Know the location of the emergency stop button and how to use it.
Personal Safety
- Use PPE like Head Muffs, Goggles, Safety shoes and gloves while operating the machine.
- Dont use loose clothing, tie the long hair.
Machine Operation Safety
- Keep Hands Clear: Never reach into the cutting area while the machine is running.
- Use Safety Guards: Ensure all covers and guards are in place and functioning.
- Check Tools: Make sure blades and bits are properly installed and not worn out.
- Secure the Material: Ensure the workpiece is properly vacuumed/held down before cutting.
- No Manual Interference: Never manually move or stop the head during operation.
Turning ON the Machine
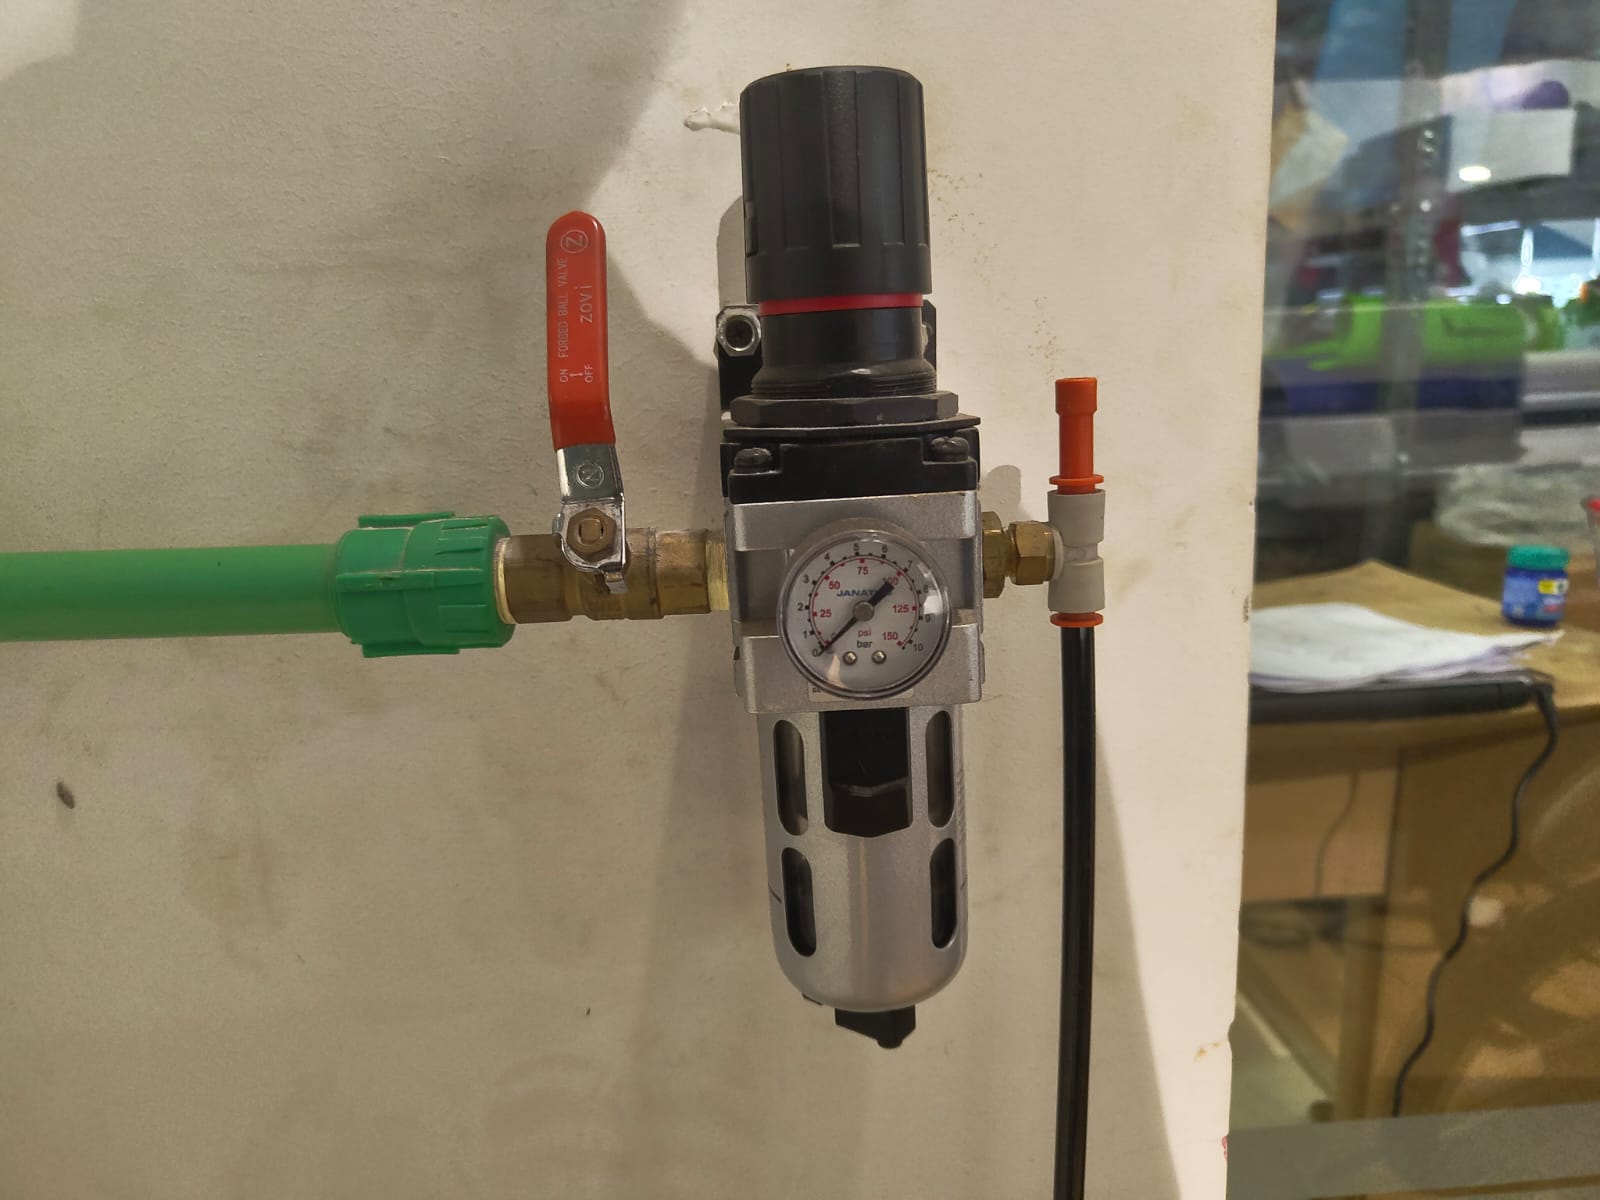
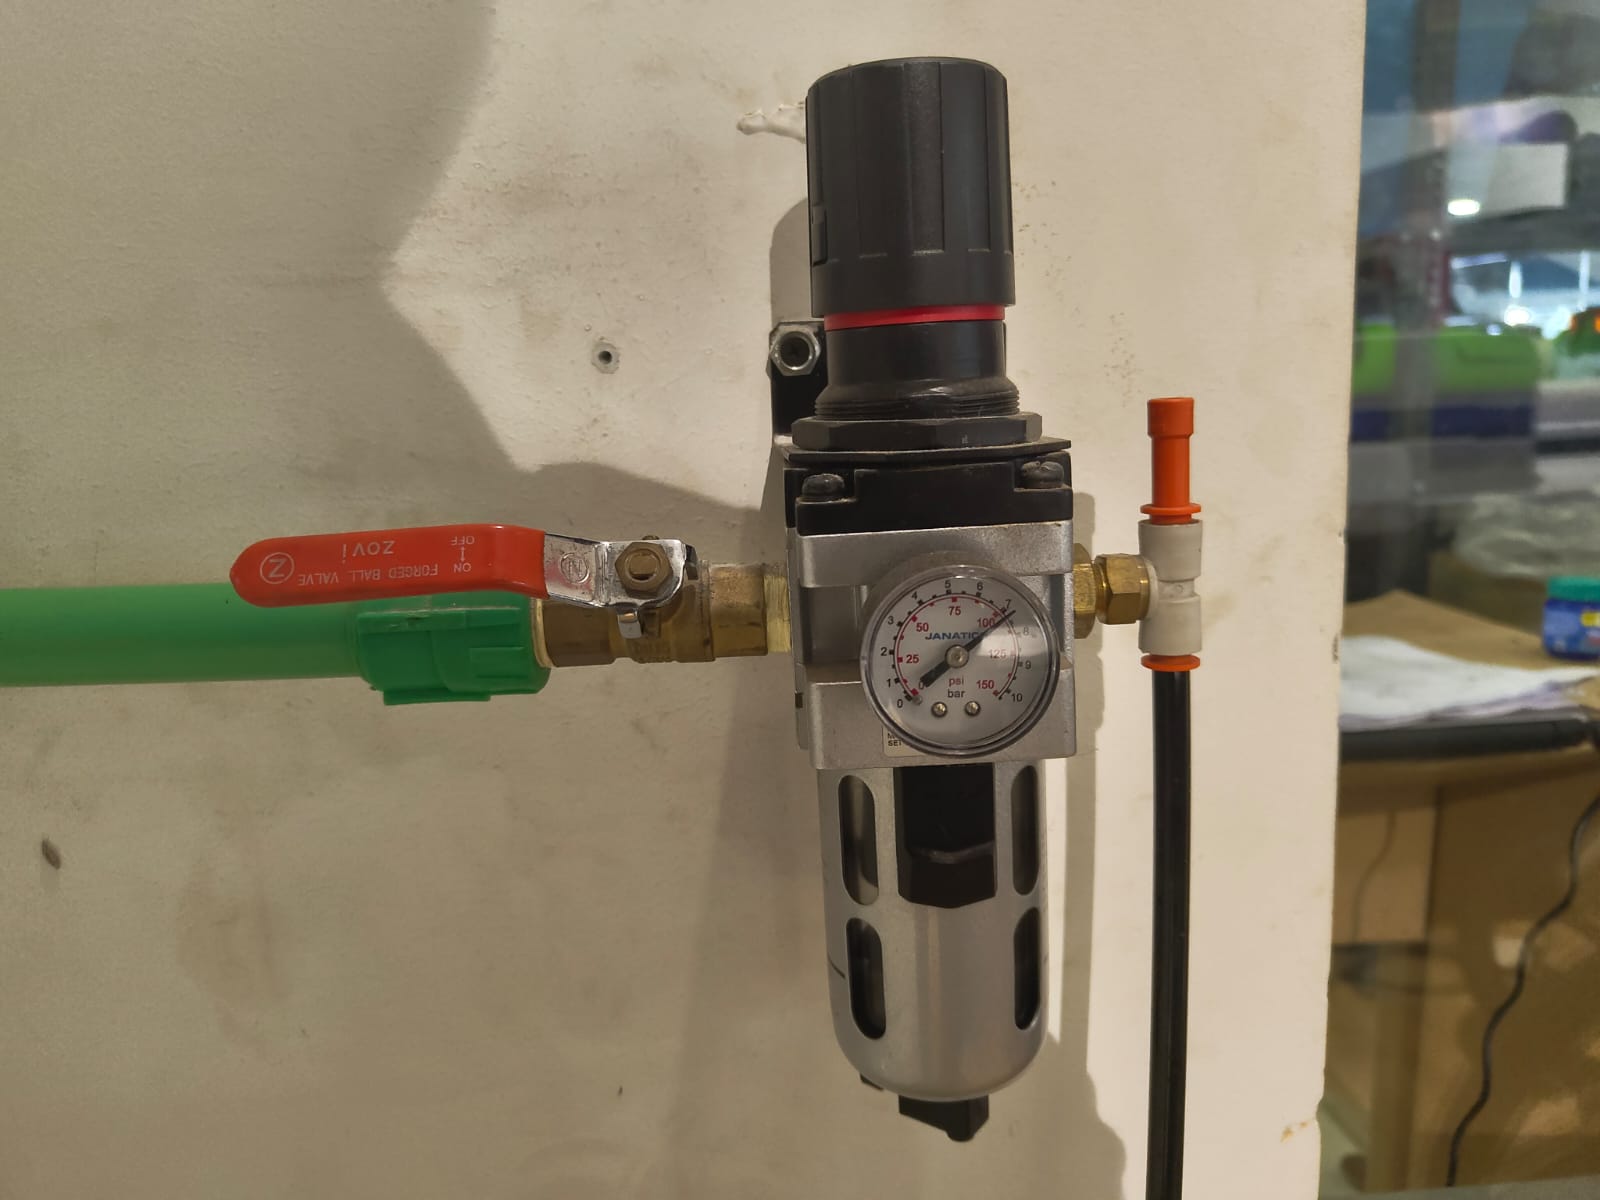
- Turn ON the compresed air supply.
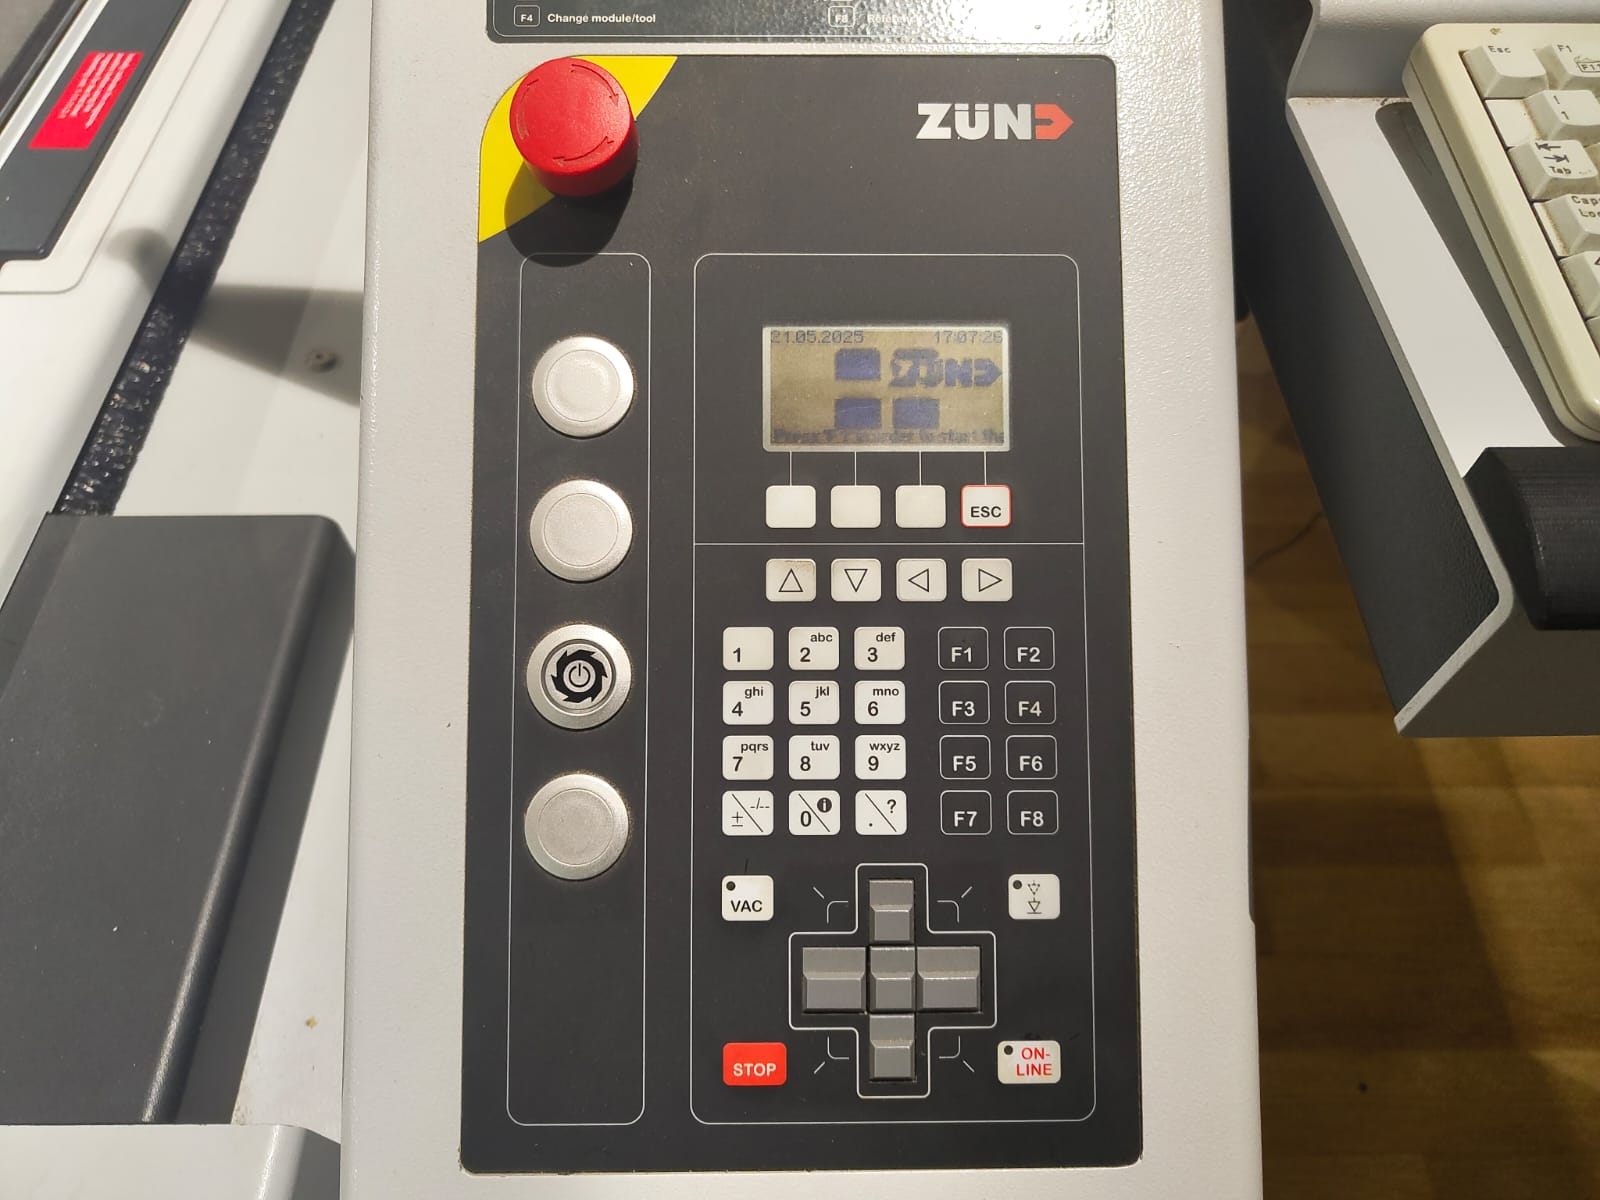
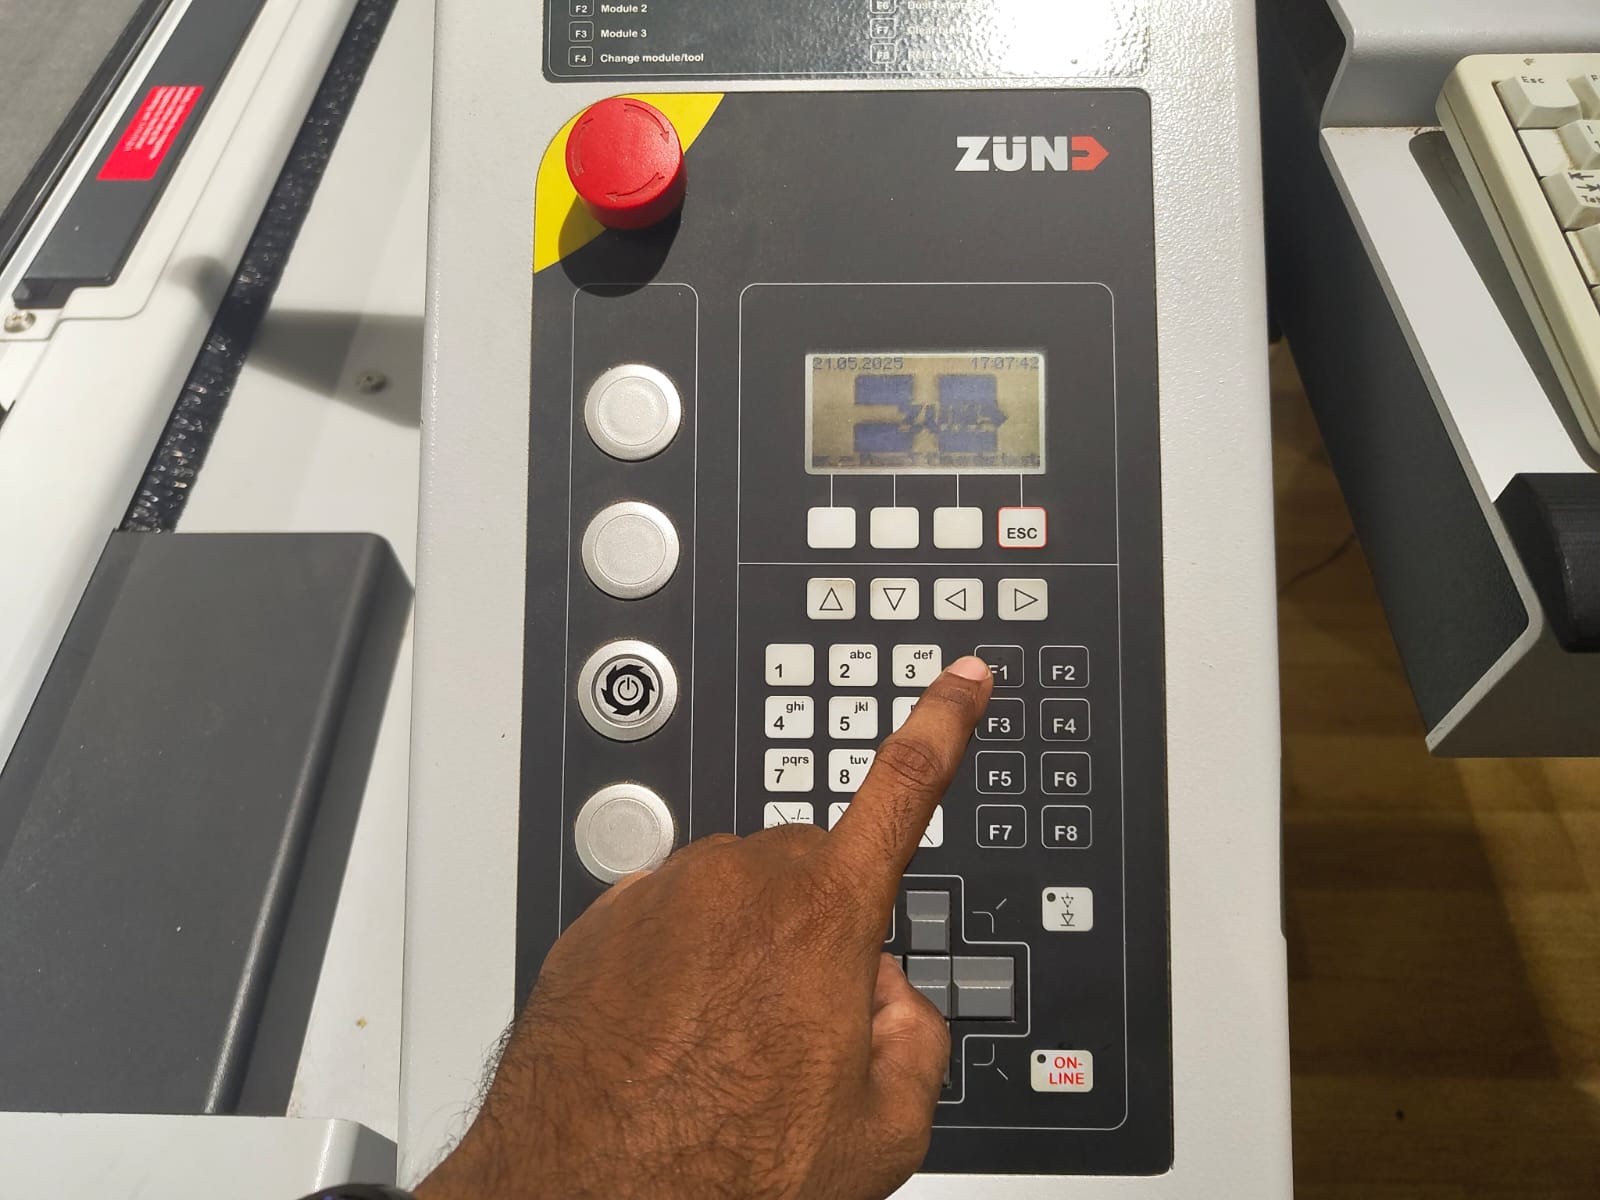
- Press the F1 key in the machine's control pannel to start the machine.
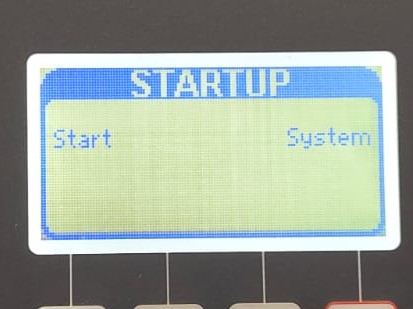
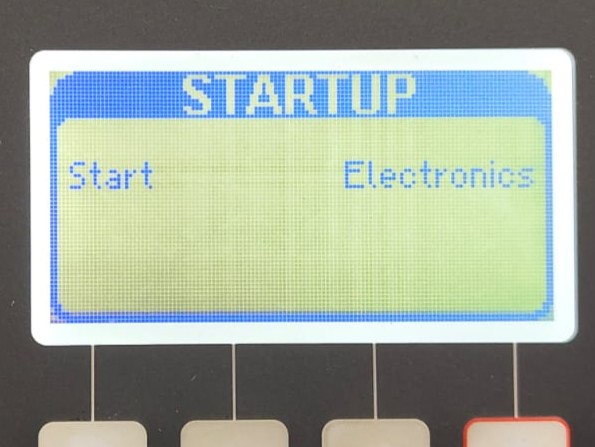
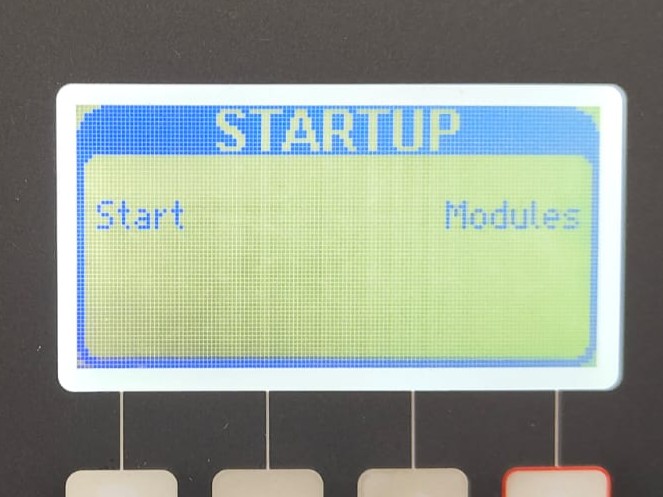
- The machine automatically starts the System, Electronics, Modules and Table. Then the tool head come close to the machine's control pannel and a beep sound arises.
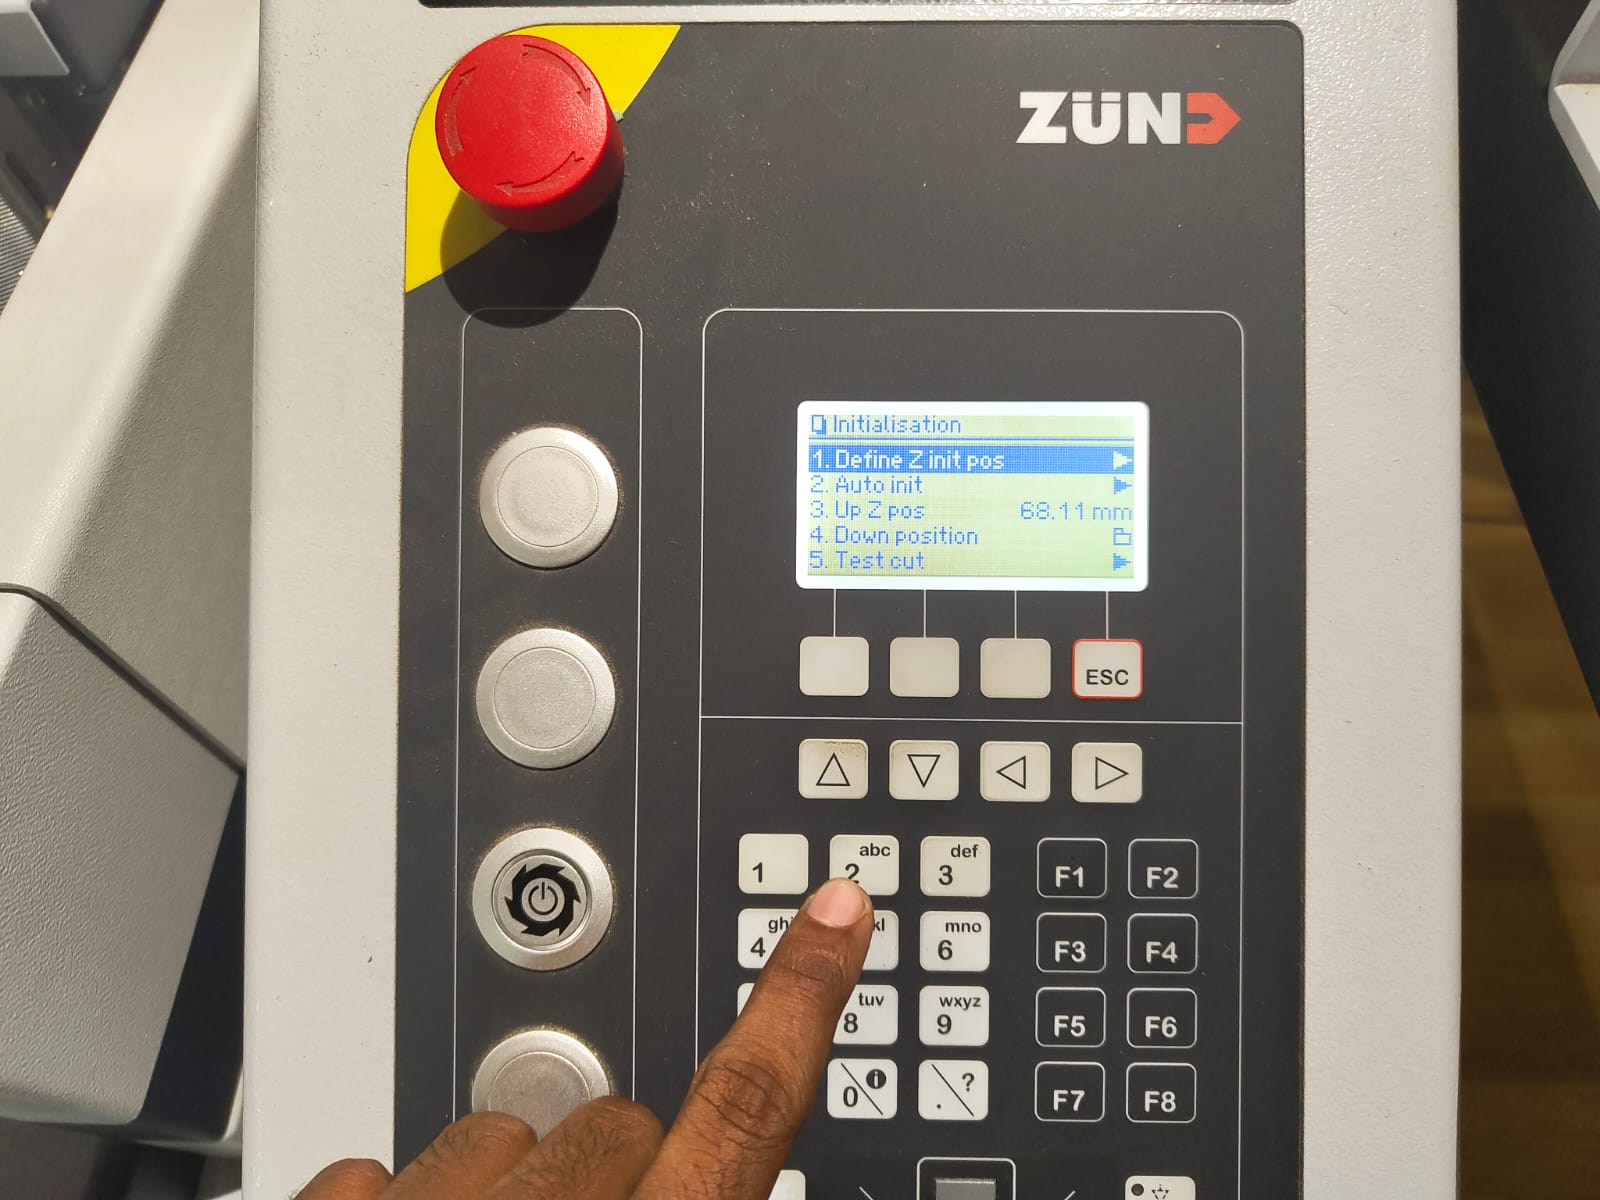
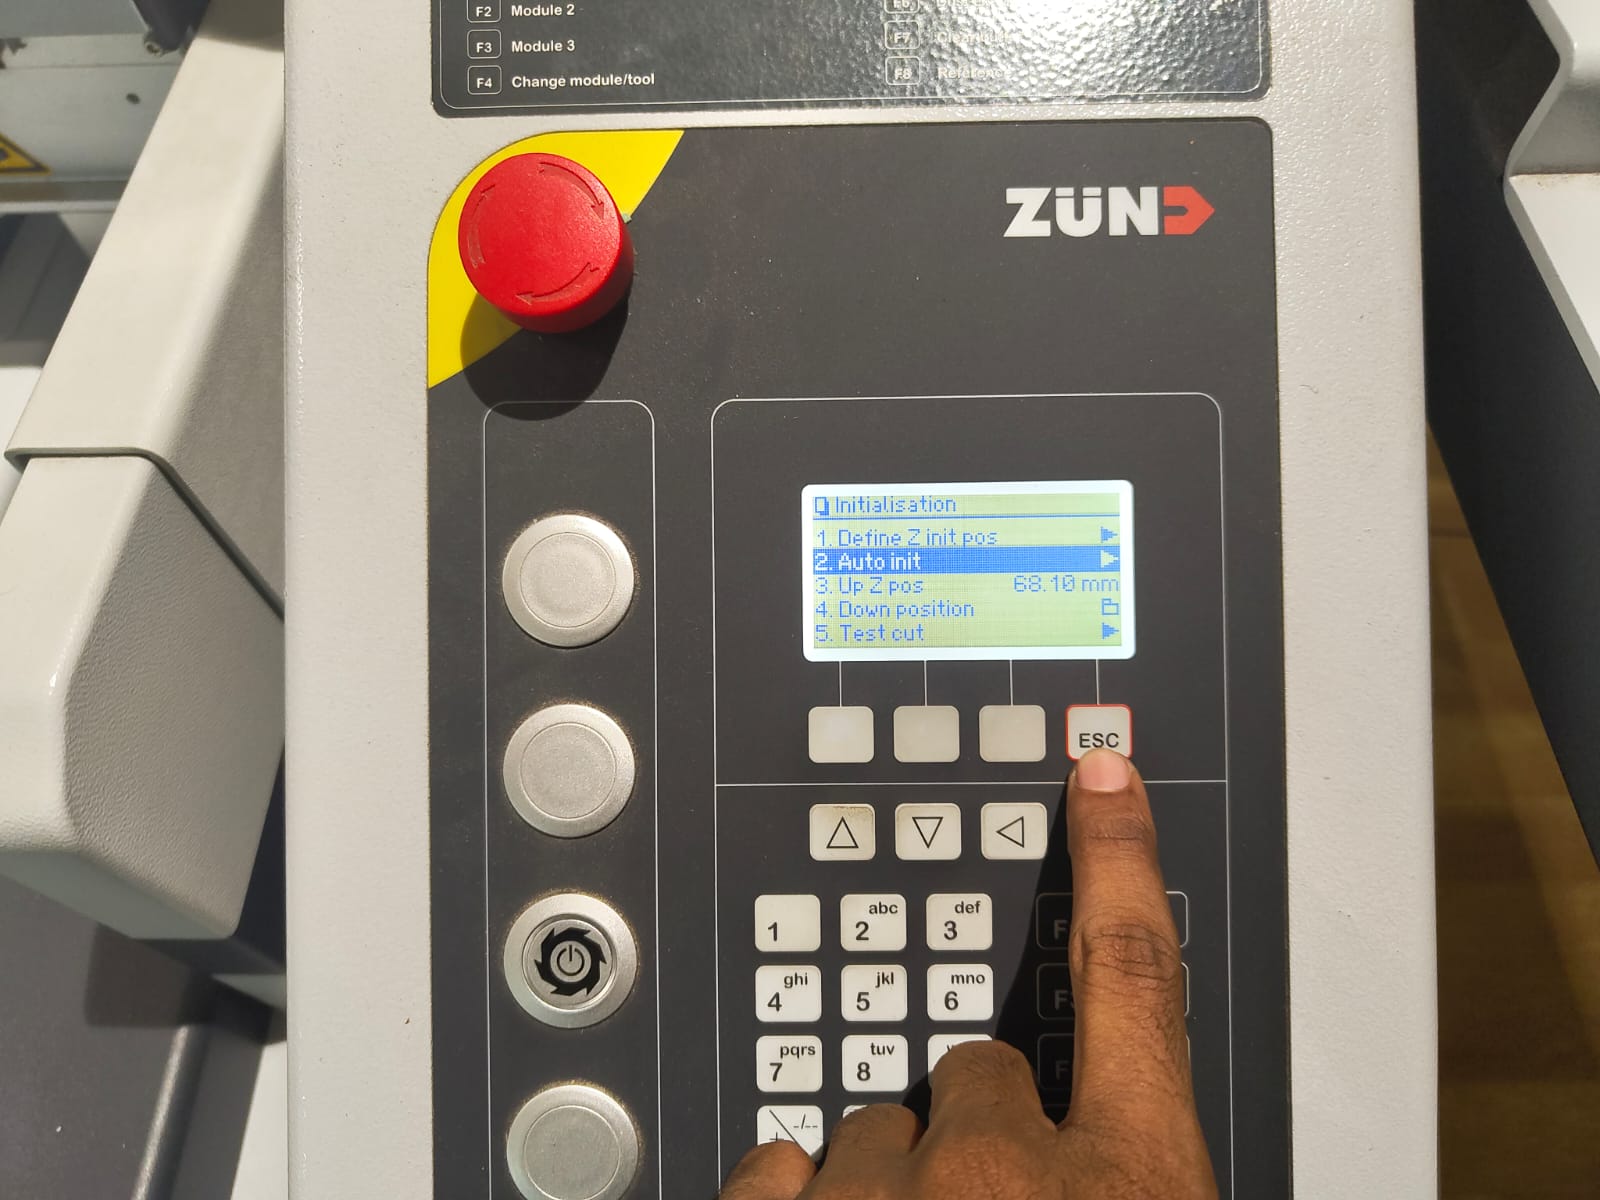
- Then each module should be initiaised. After the beep sound the screen automatically changes to the module initialisation screen.
-
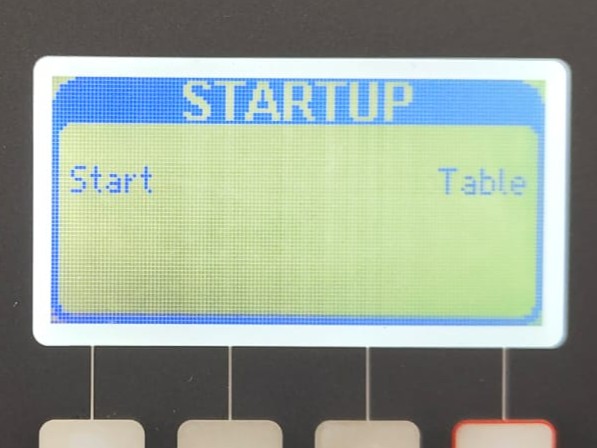
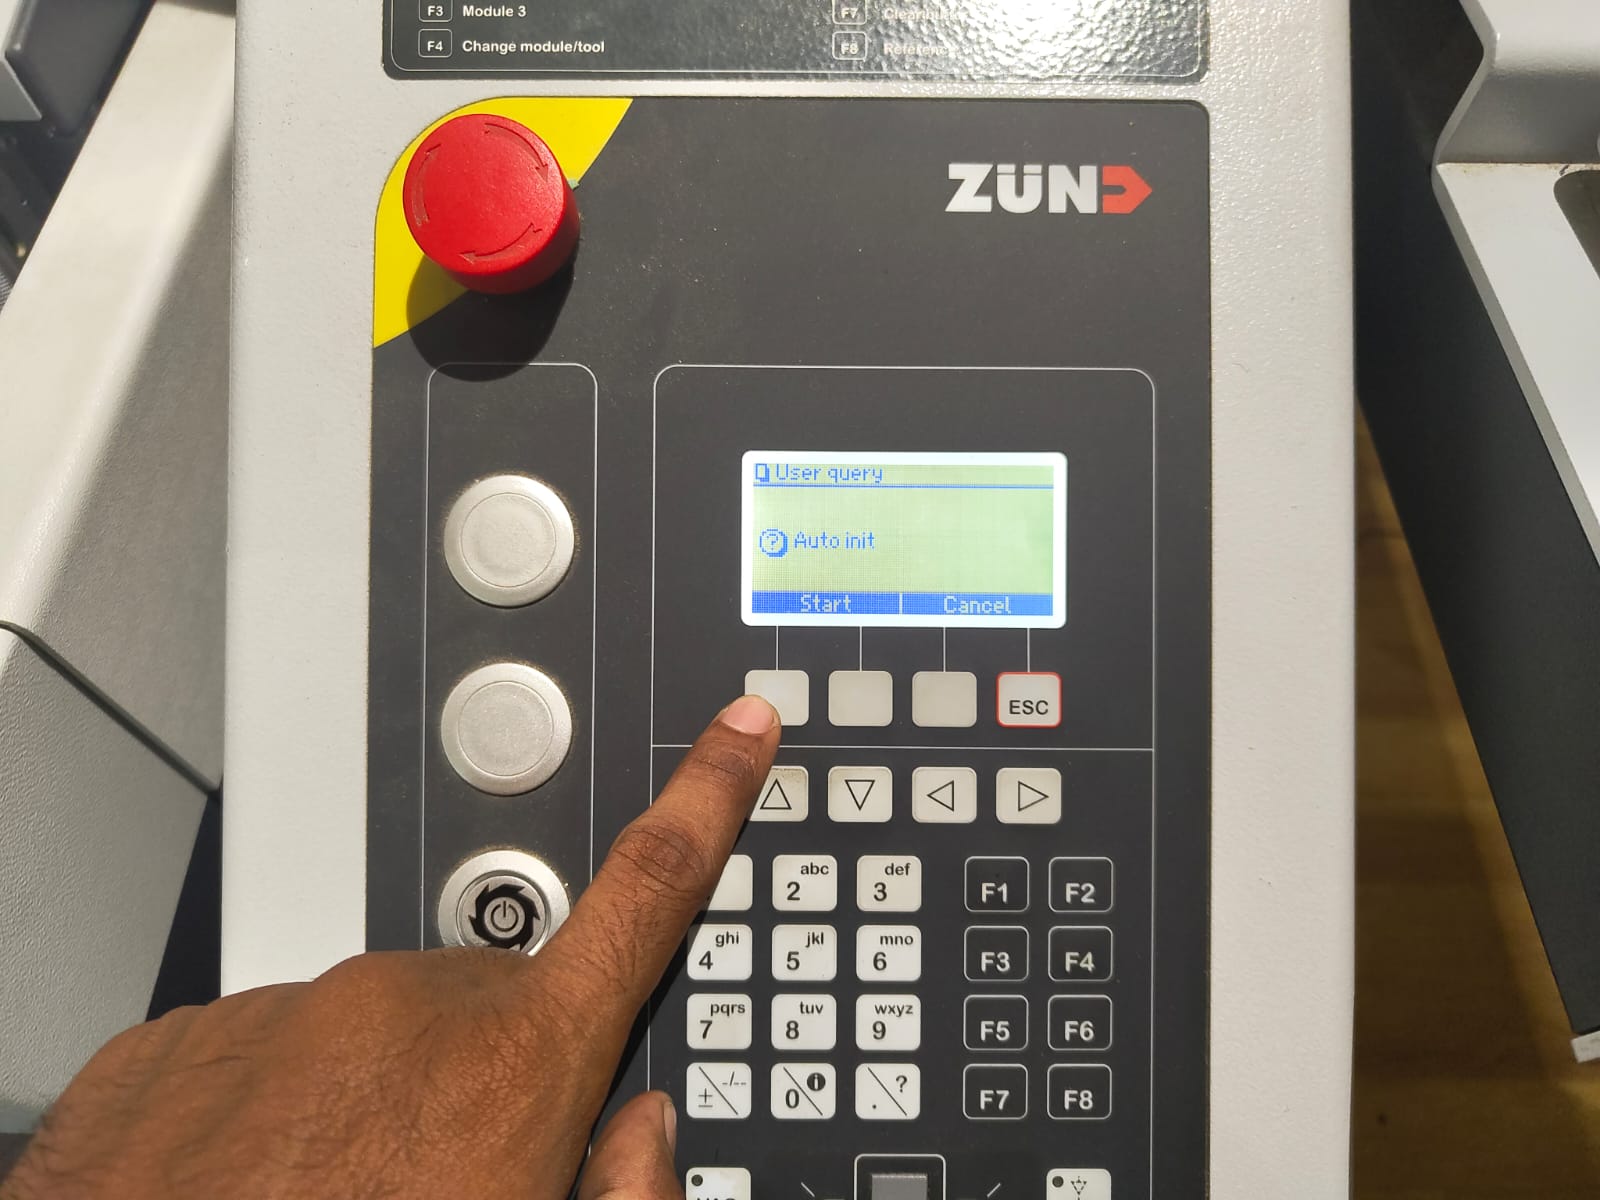
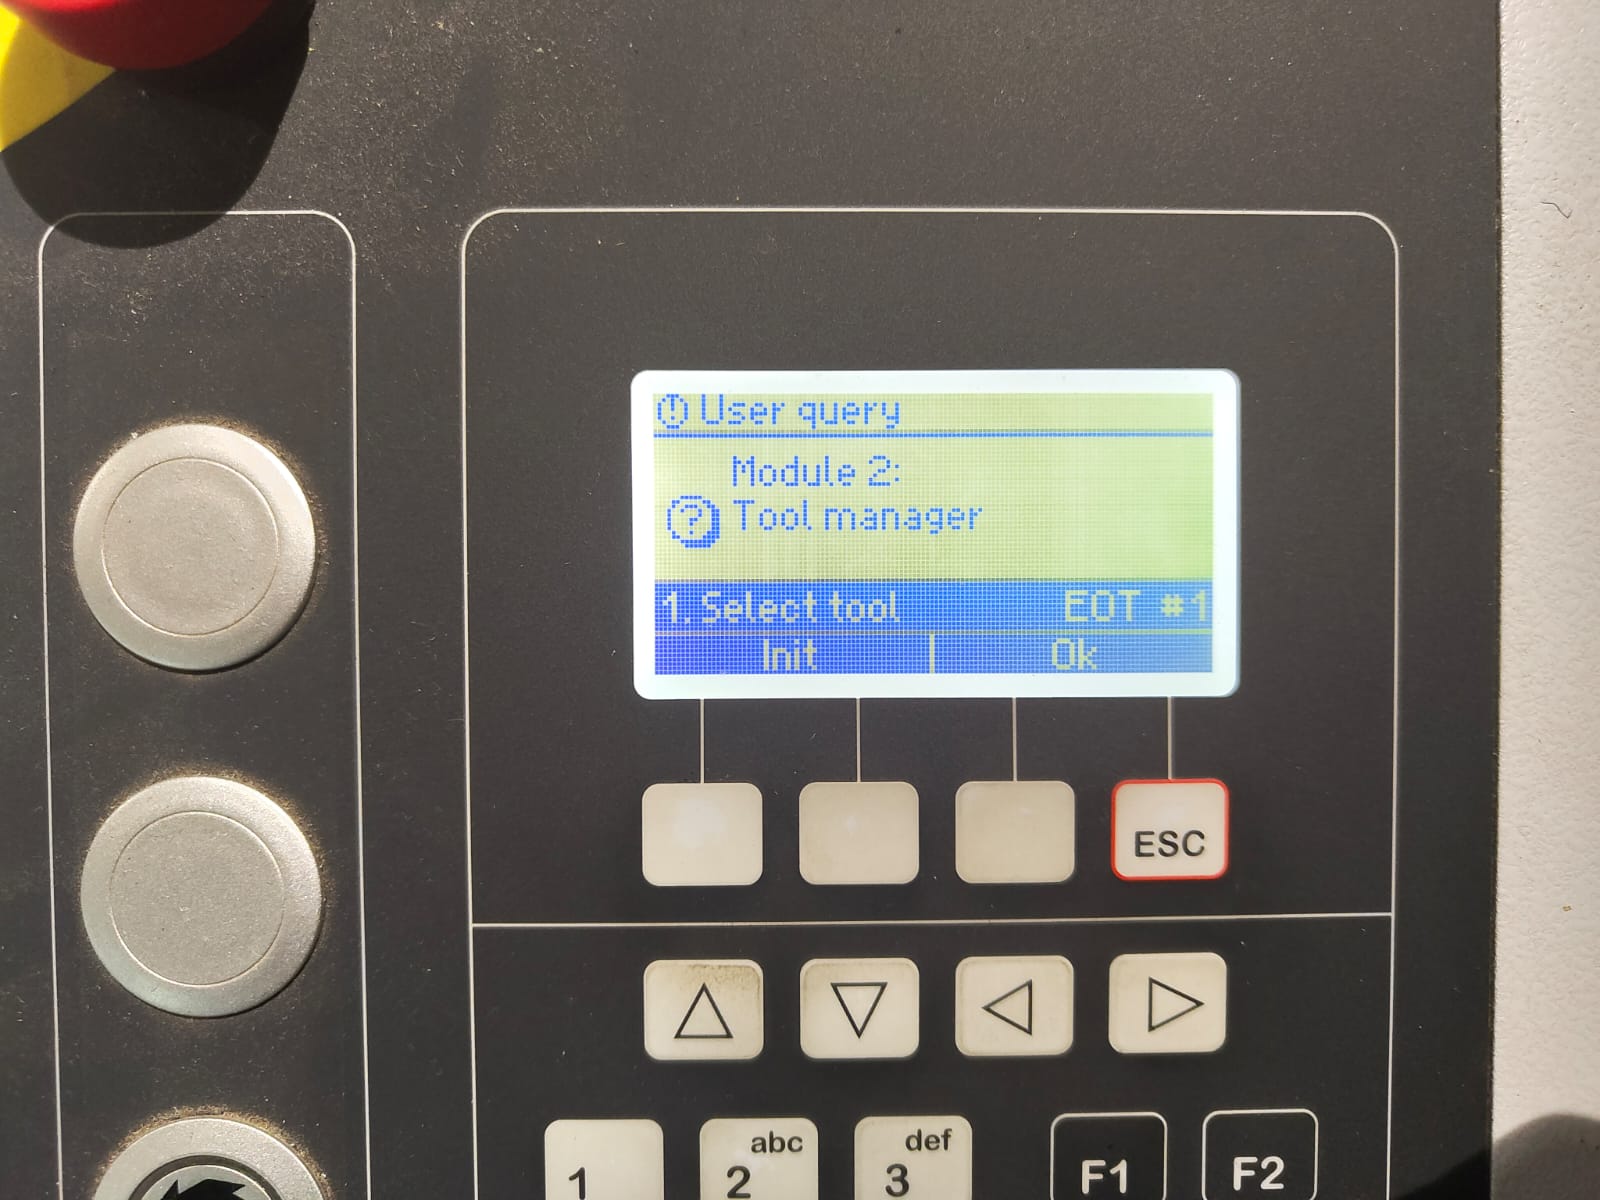
After completing the module initialisation we needed to initialise the tool magazine also.

Select OK to start magazine initialisation. 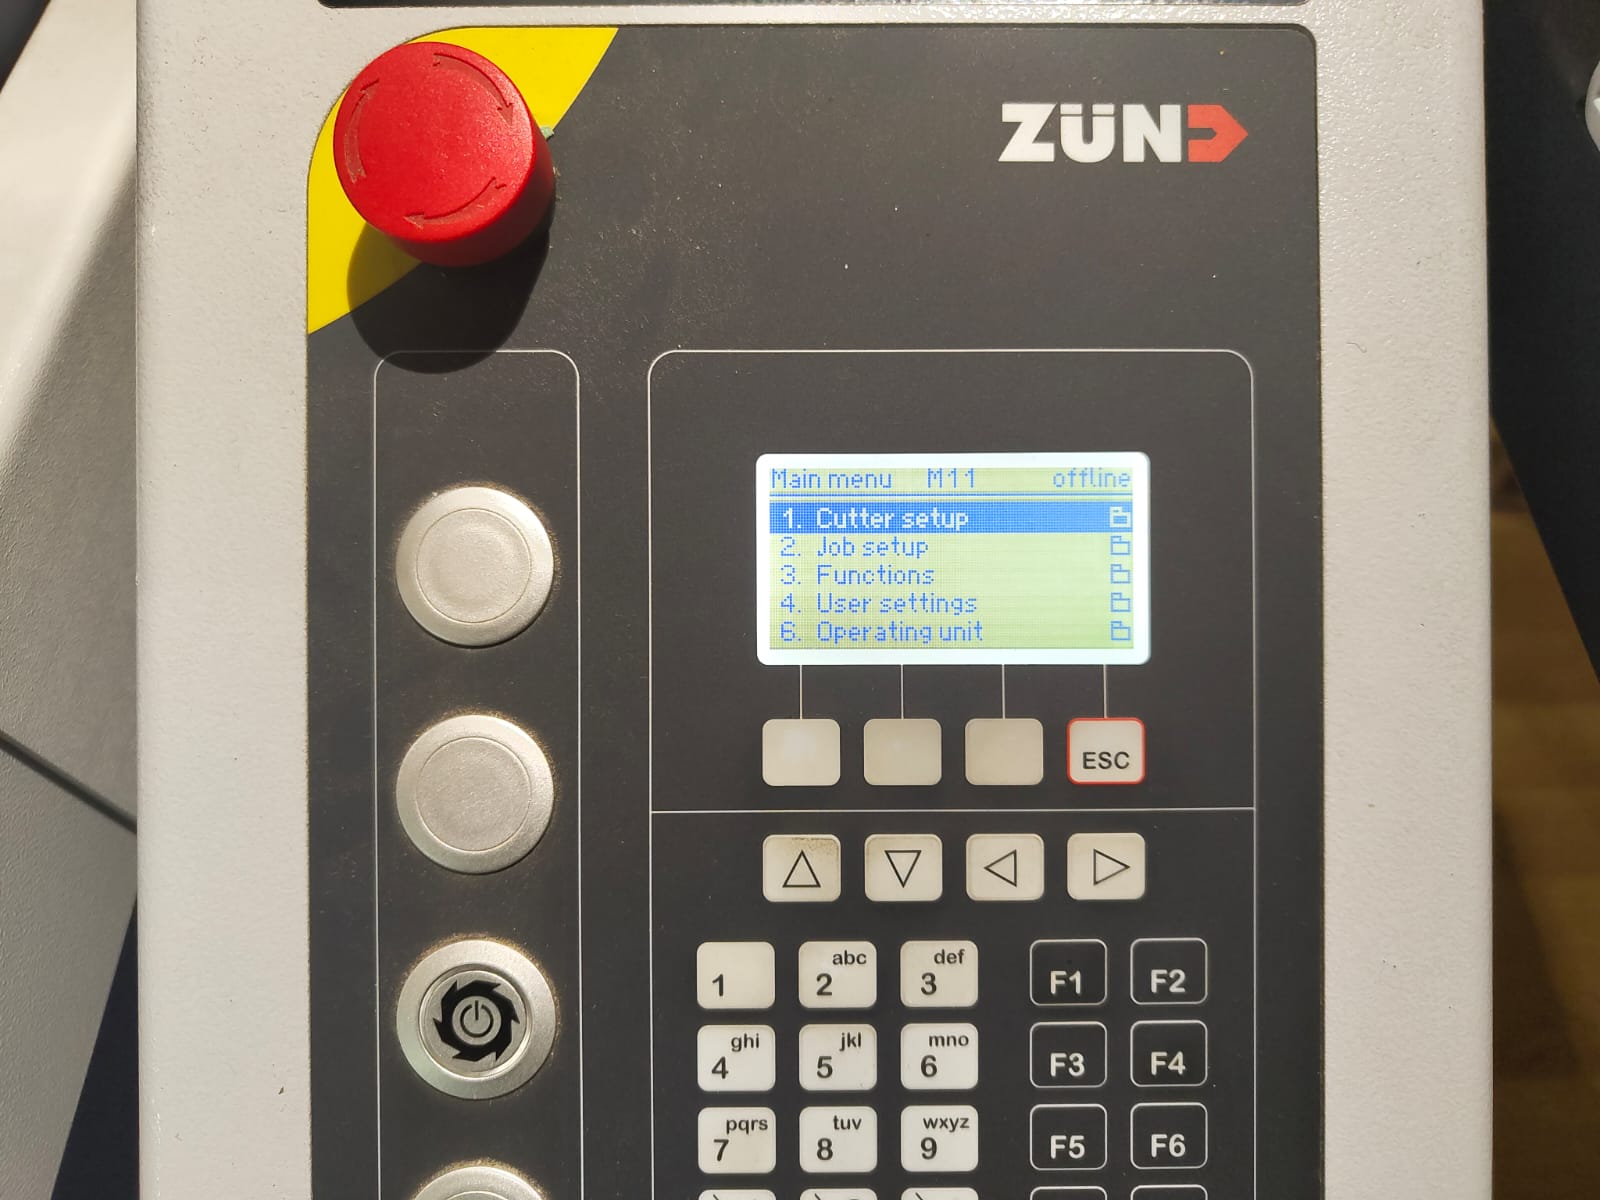
After that this screen appears and the machine is ready to use.
 |
 |
 |
 |
 |
 |
 |
 |
The tool head should be anywhere in the machine while starting. After these steps it will come close to the machine's control panel.
 |
 |
Always ensure the tool in the module and in the initialisation screen are same.
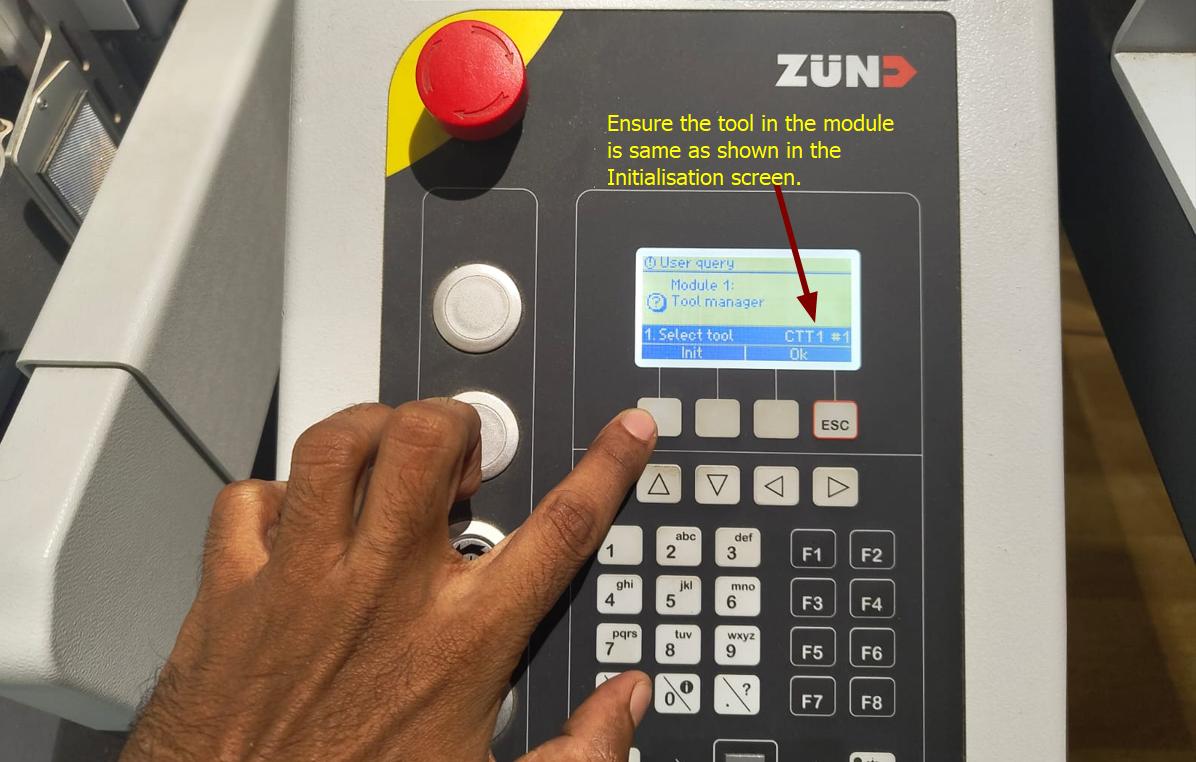
|
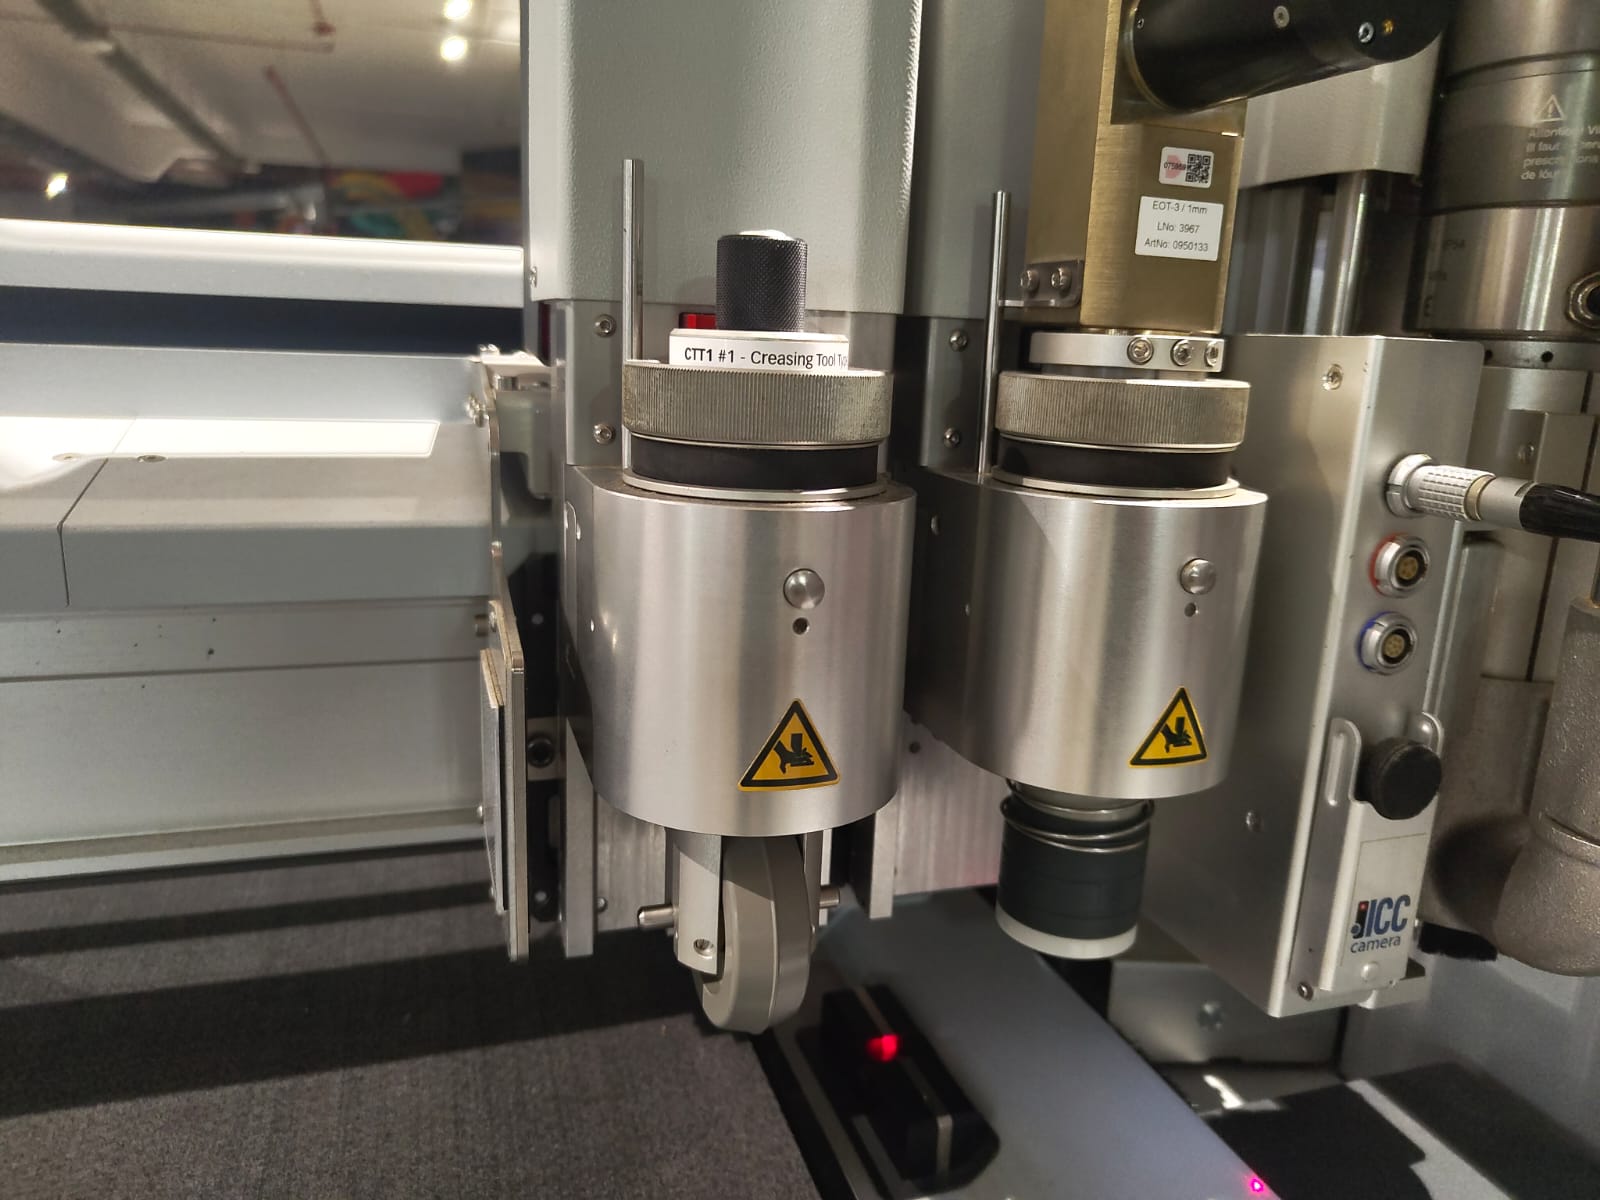
confirming it initialise the tool. |
|
|
The tool in the module 1 will be initialised after these steps. Press Esc button to go to the module 2 initialisation.
|
 |
Repeat the above steps to initialise module 2 and 3.
CAM
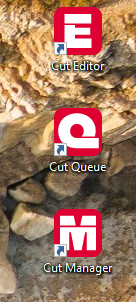
Basically we need 3 Softwares to perform our operations in Zund. Details are included in the dropdown below.
Cut Editor
Before making the actual model I cut a sample model to test the acutal size of the card board phone stand.
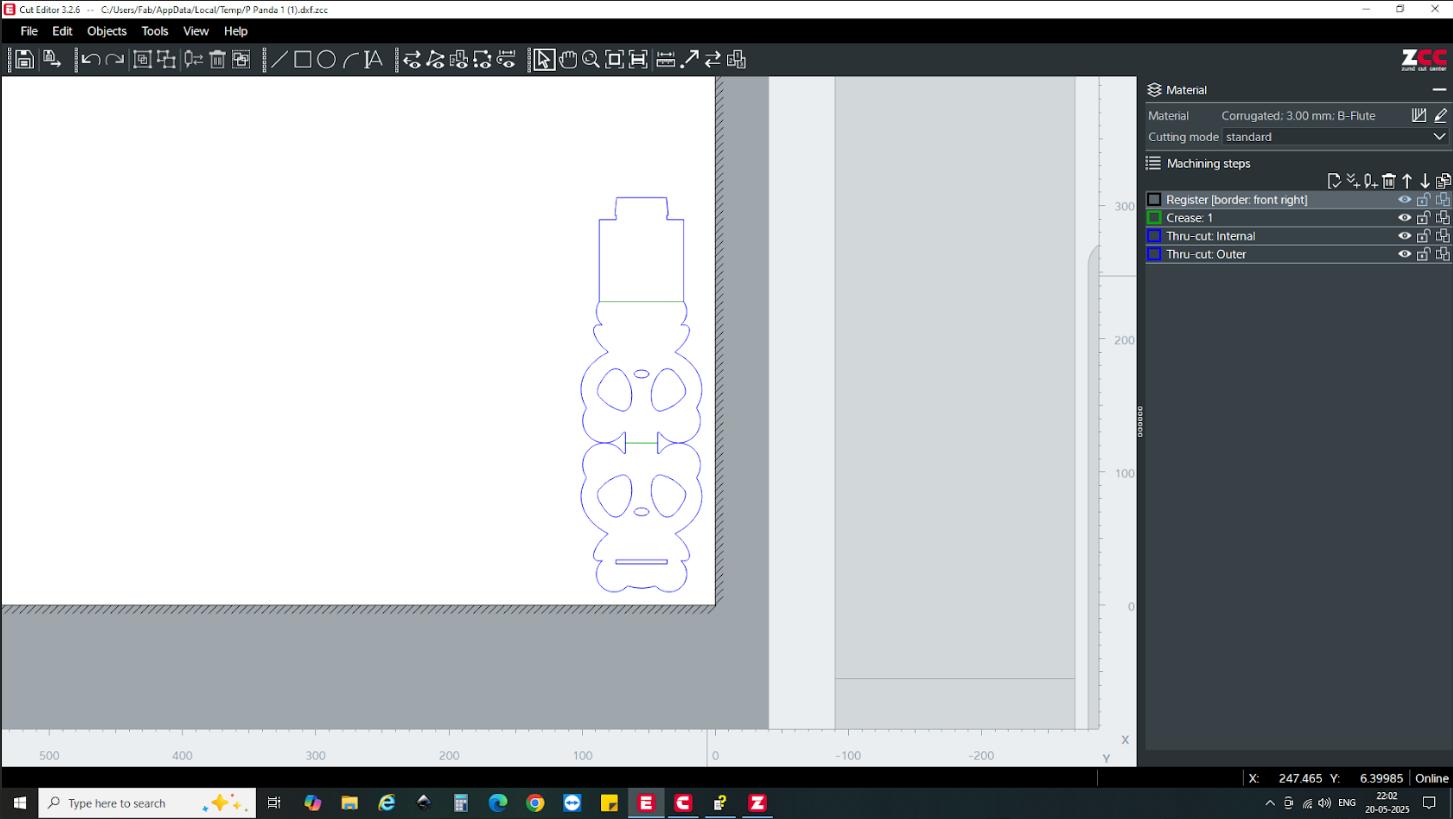
The cut editor was used to prepare the cutting files by importing designs, setting cutting methods and optimising the cutting paths. We can specify operations to each curves or lines in the design. The steps I followed to prepare my design file are as follows,
-
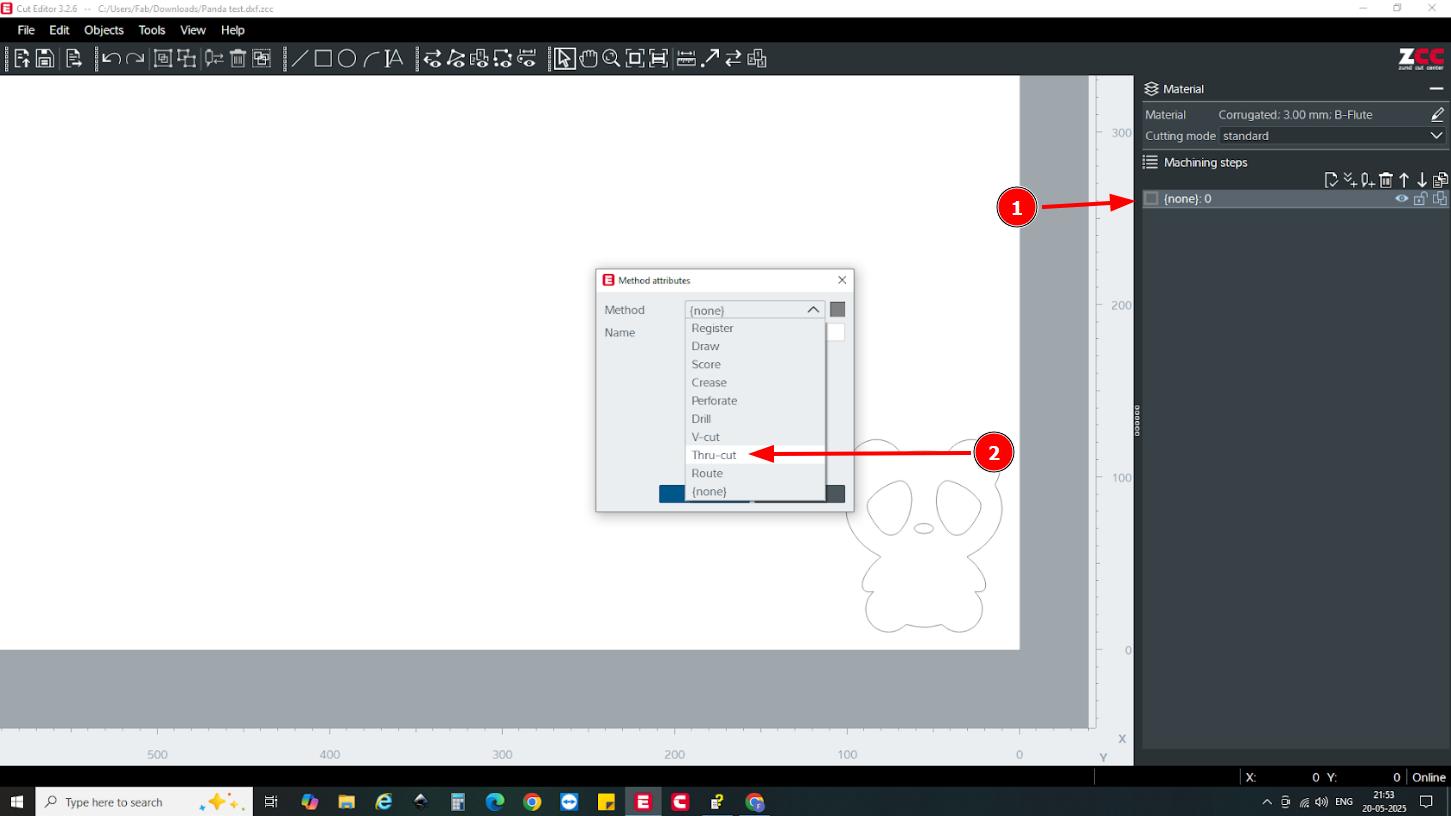
Imported the file on to the Cut editor.
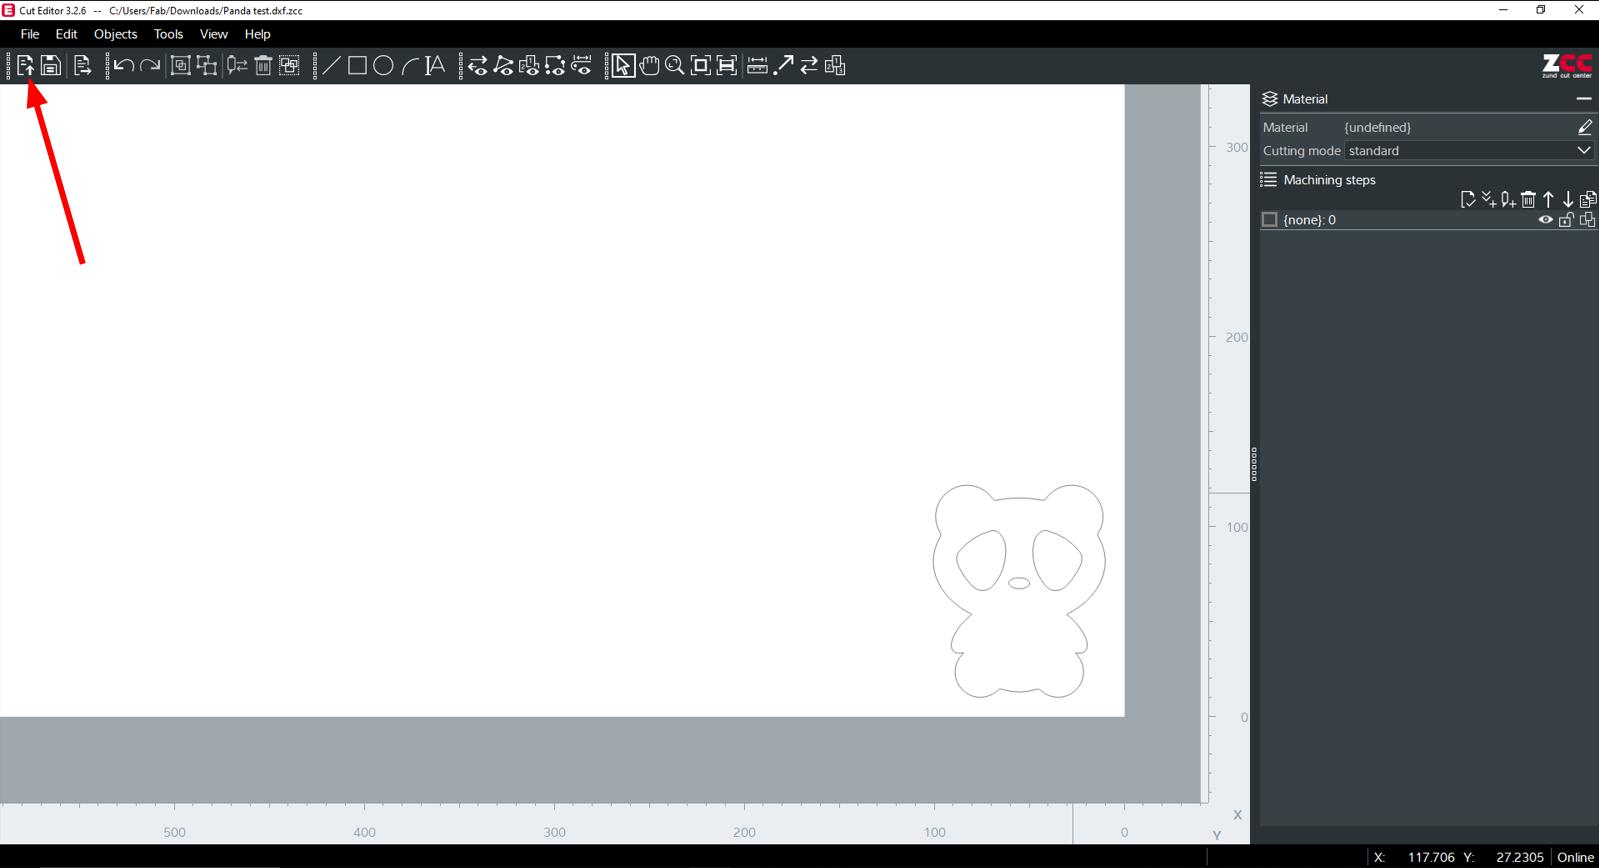
- Specified the material and thickness.
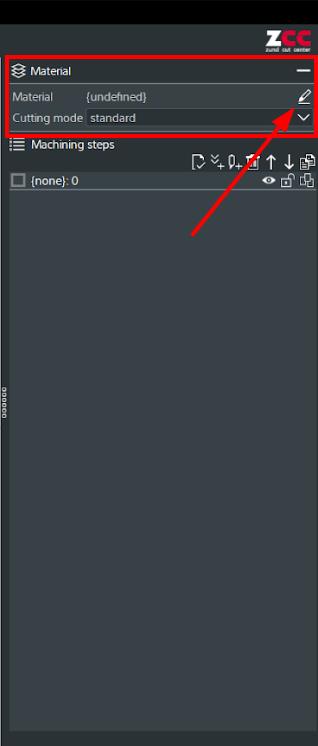
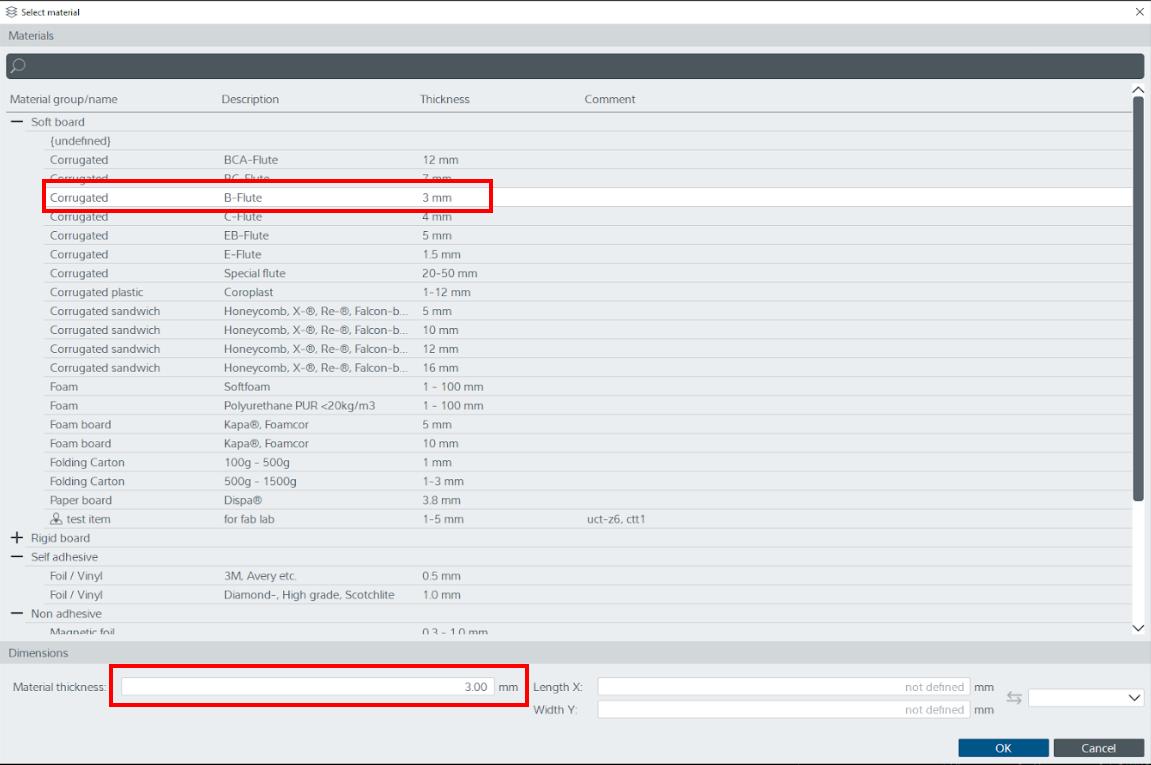
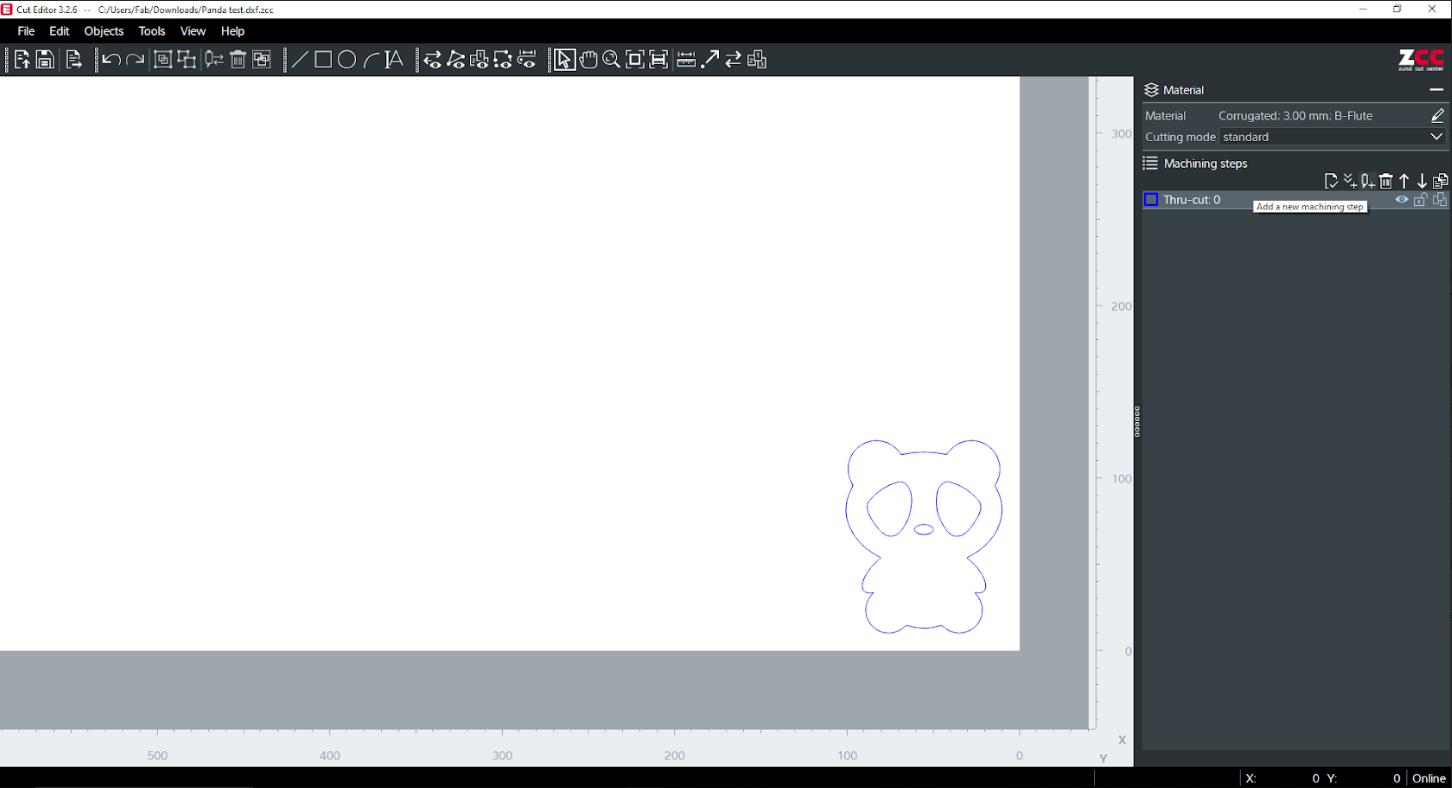
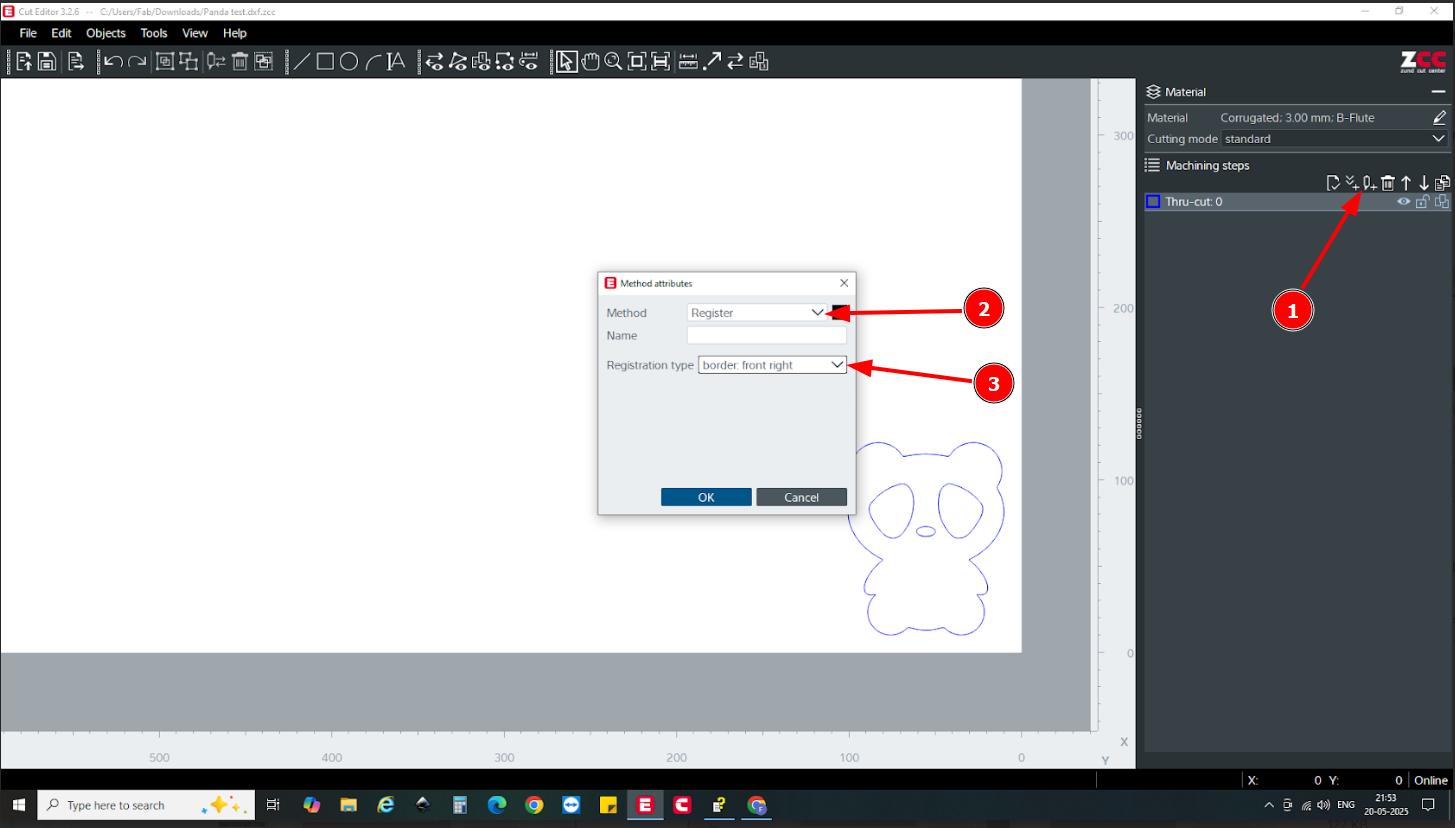
- Then I need to specify the machining method. For that I selected the layer from the Machining steps and changed it to Thru-cut.
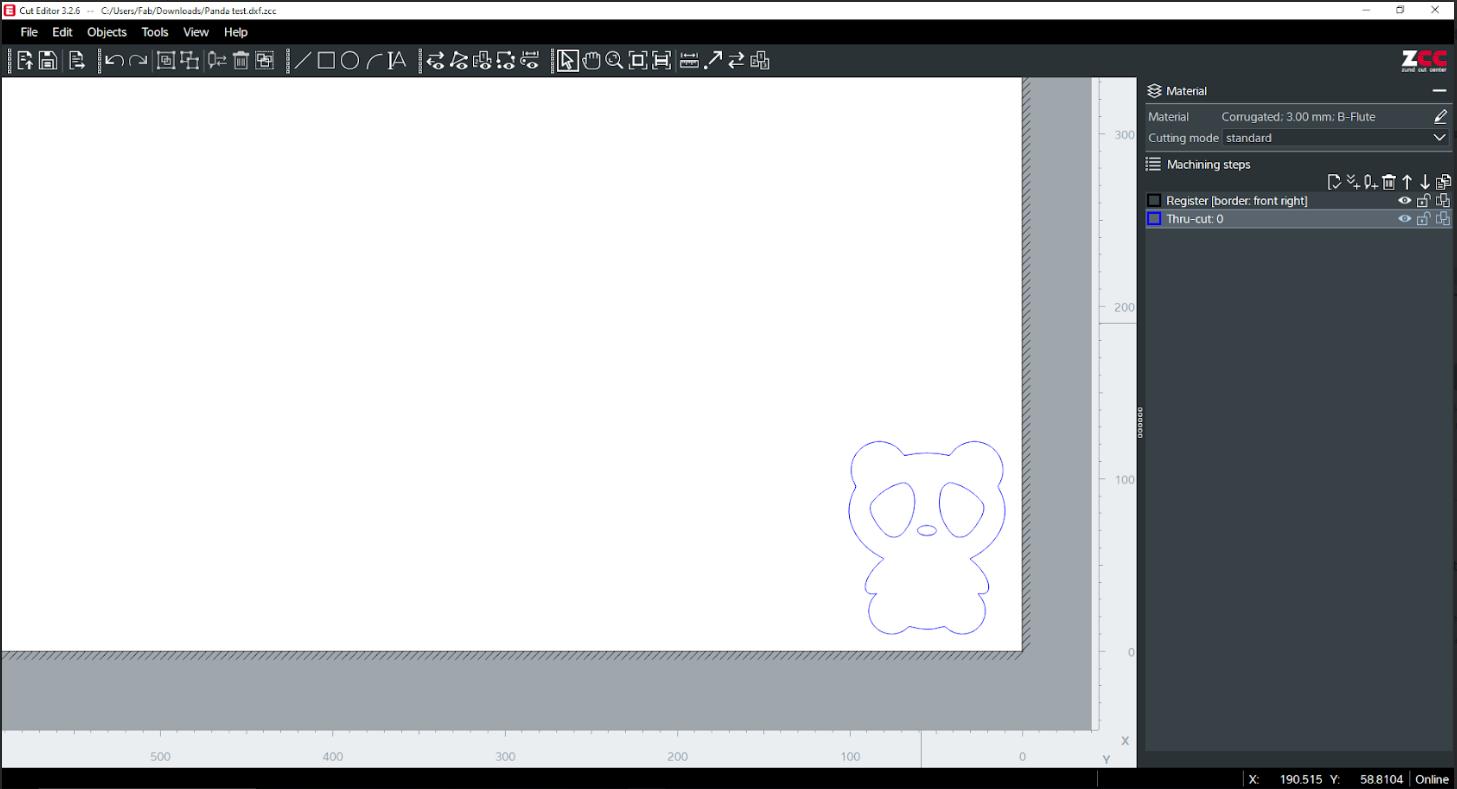
- Then I created a new method and created Register and selected border: front right. This is to specify the start point of the work. The Zund have a camera module and it will automatically detects the edge points of the work piece and set the origin point.
- Always make sure that the Register comes first in the Machining methods.
- After completing these steps, sent the file to the Cut Queue software. Click the icon marked below to sent to the Cut Queue.
- The job double clicked on the Cut Queue will be opened in the Cut Centre.
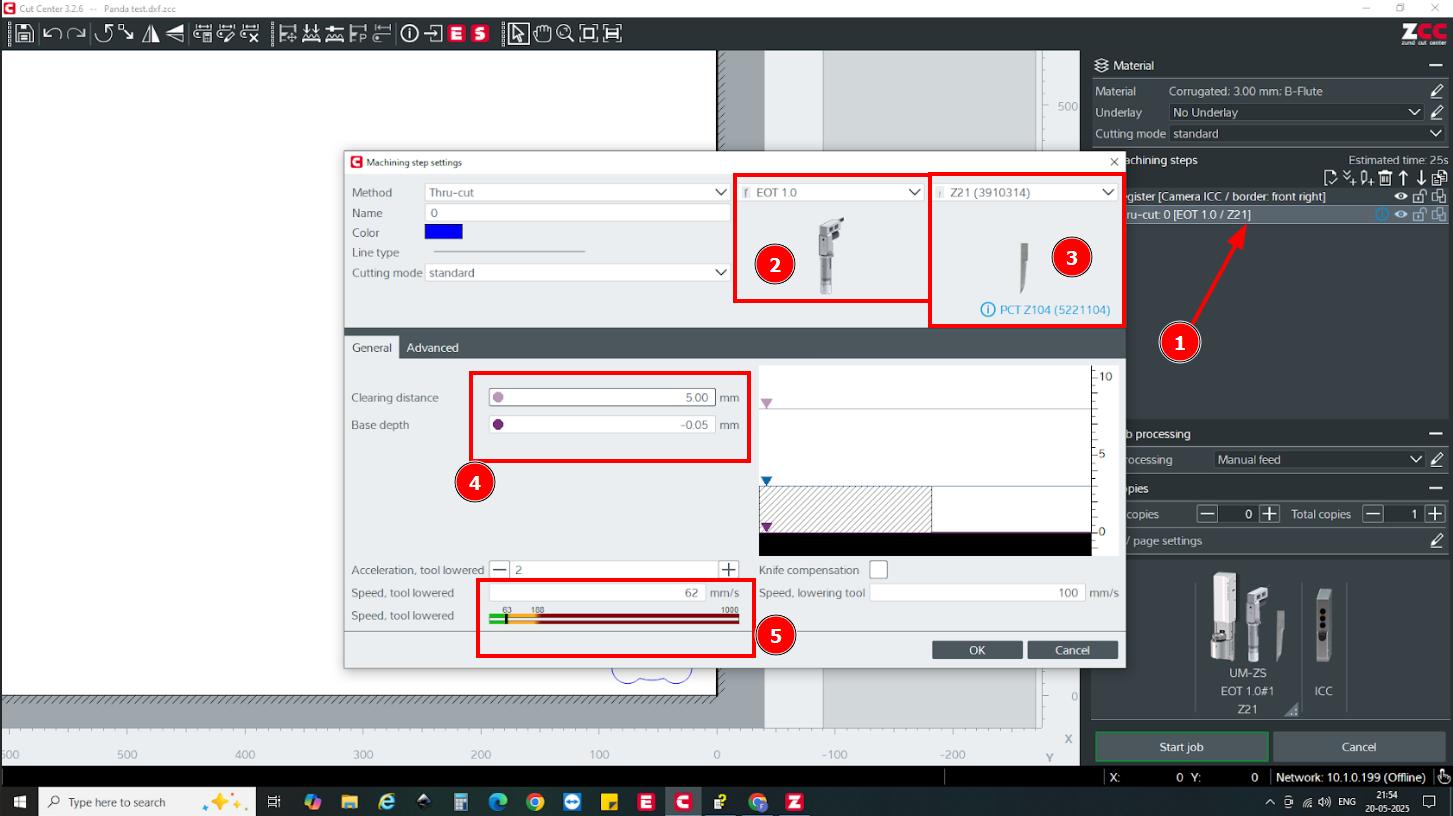
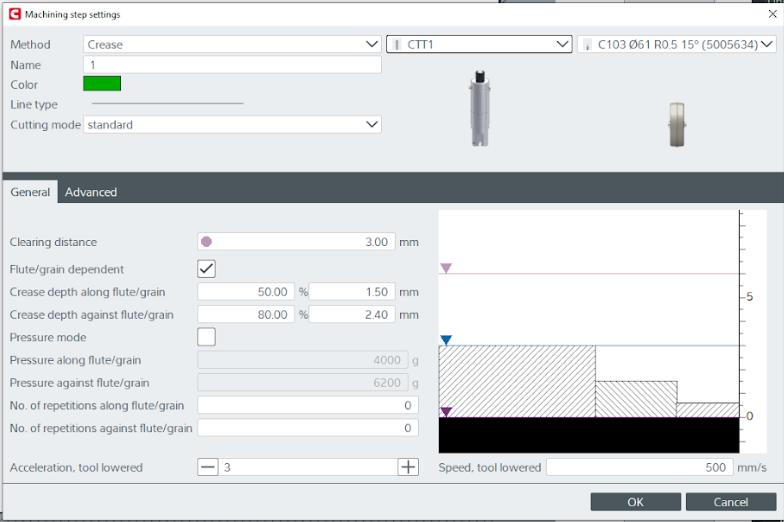
- Double click on the Thru-cut from Machining steps to edit the tool and cutting parameters. All the parameters for the material was preloaded in the machine and I only needed to cross check whether the parameters were correct.
- Then I placed the cardboard on to the bed of the cutter. The Zund machine has a vacuum bed ie, it holds the workpiece on to the bed using vacuum.
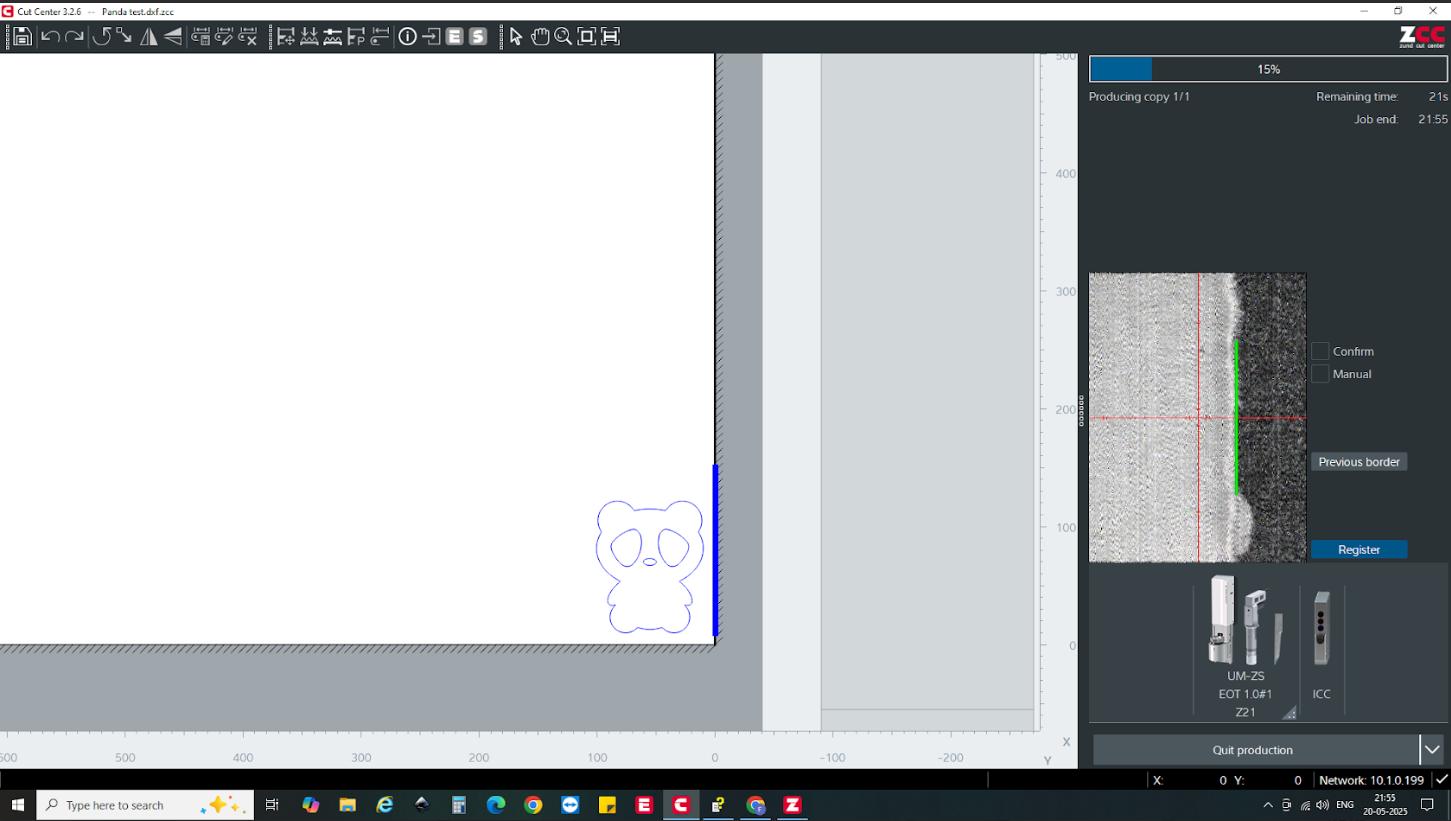
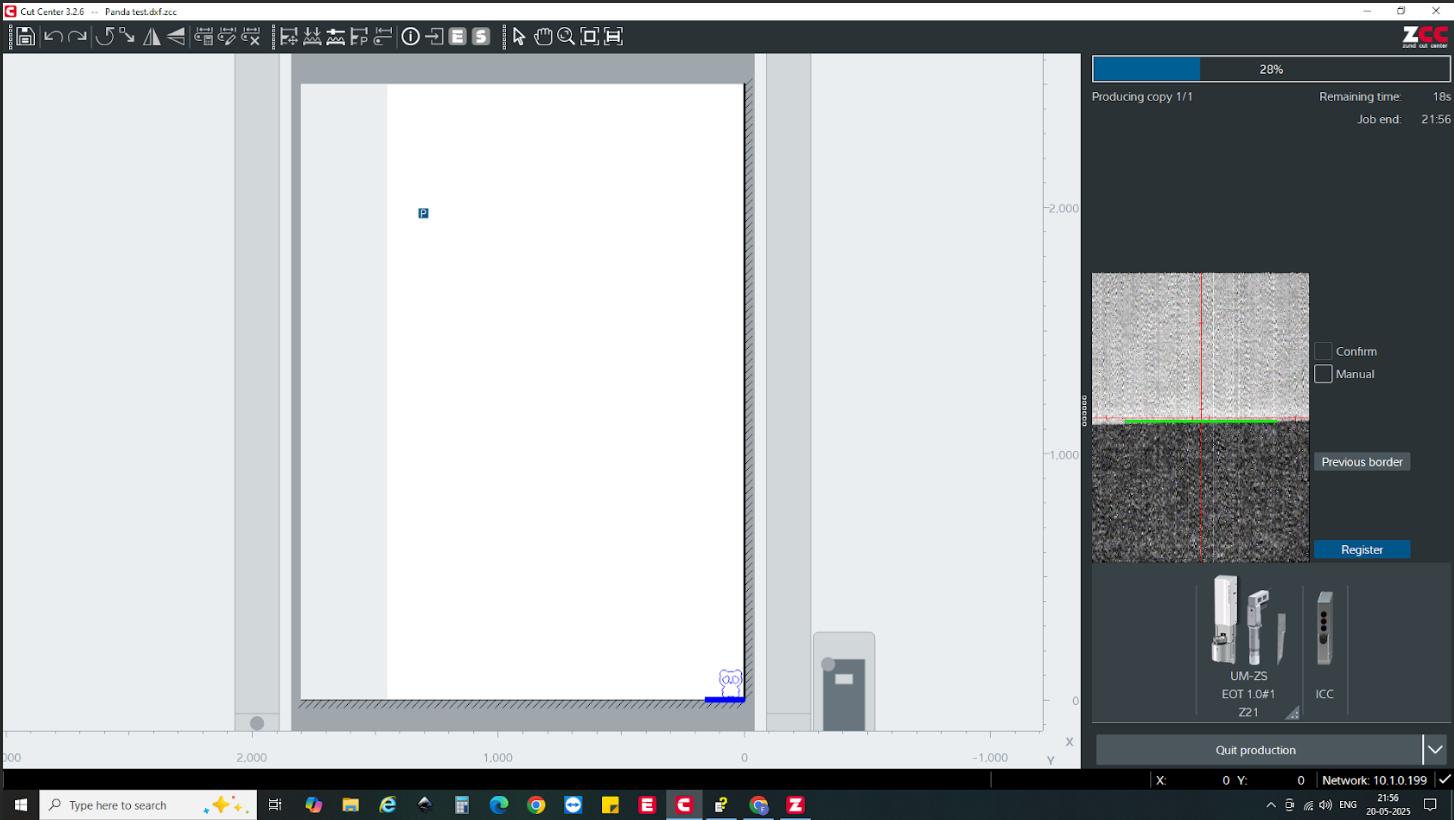
- After adjusting the parameters, I started the job by clicking Start job at the bottom right. Then the camera screen appears to detect the edges of the workpiece. The camera automatically detects the boarder and show a marker, Click Register and the camera will took the reference of the X direction Initially as we selected the Front Right option in the Registration step. Then it comes and detect the edge of the Y direction on clicking on Register it took the Y reference as well.
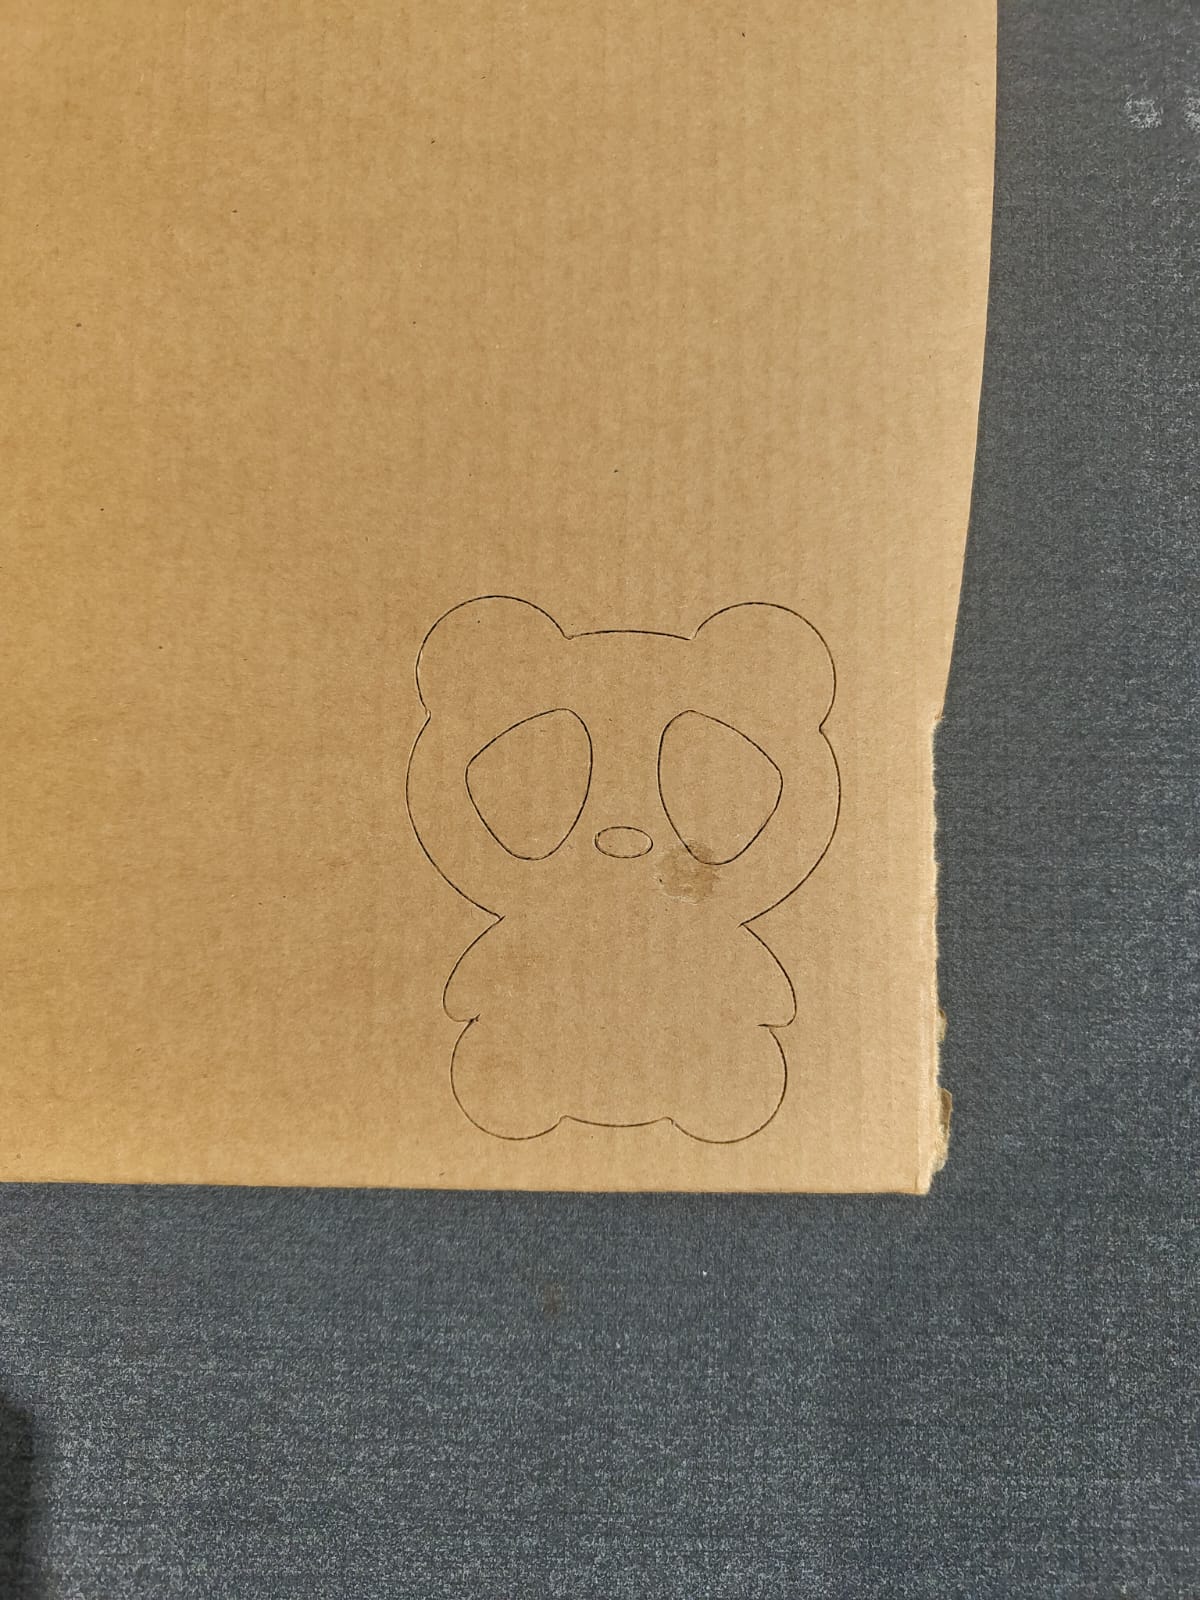
- After Register the work starts and I got the design cut on the cardboard.
- Like the test, I opened the file on cut editor and make the lines for cutting as thru-cut machining step and the lines to bend as creasing operation. and selected the material.
- The design is send to the Cut Queue and opened in Cut Centre. Adjusted the parameters and tools for the thru-cut and crease.
- Then I machined it to obtain the phone stand.

Cut Queue
The File sent from the cut editor will be displayed on the Cut Queue. There are 2 section on the Cut Queue. The above section have the work to be done and the below section contains the completed work.
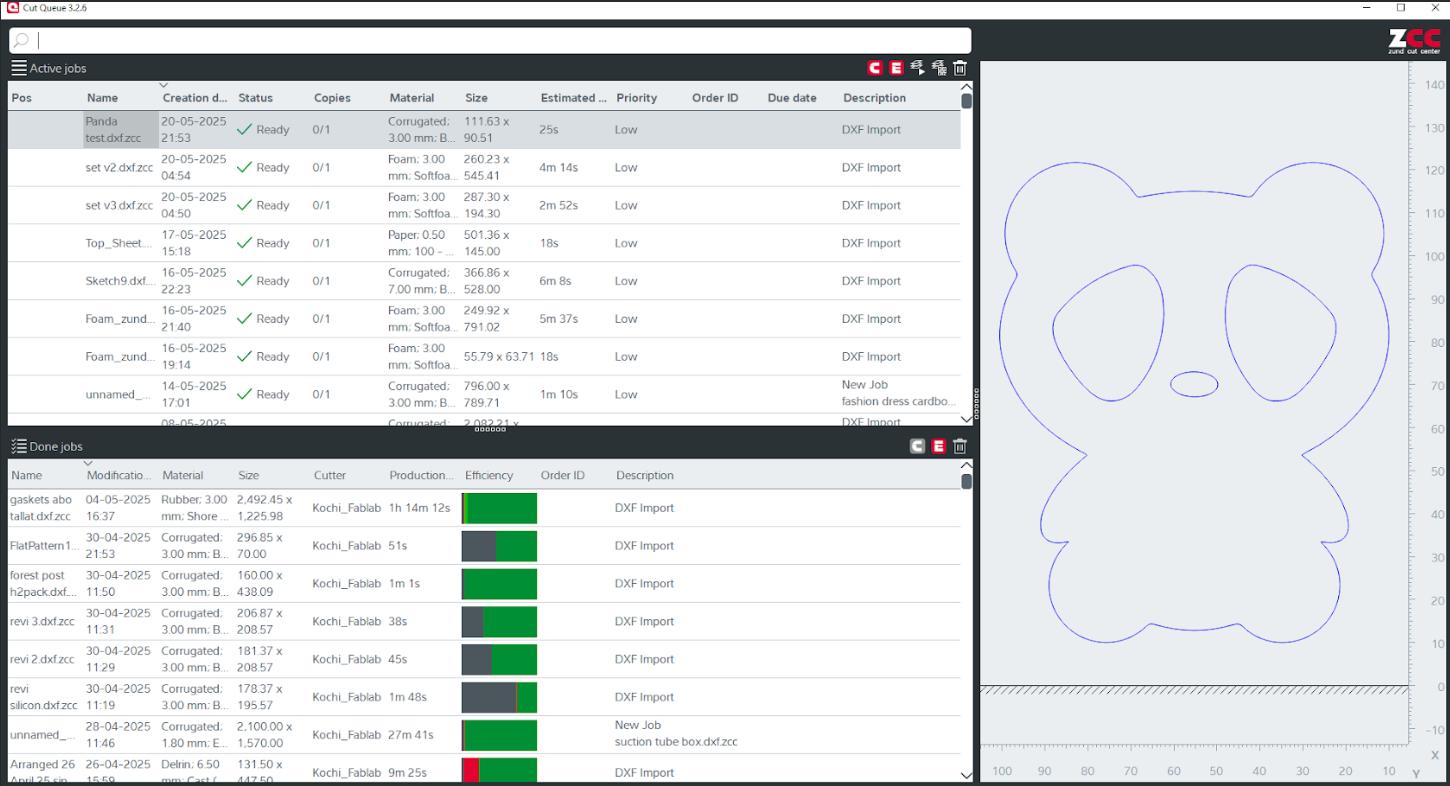
Double click on the work on to open it in Cut Centre.
Cut Centre
Cut Centre is the software used to control the machine by specifying the tools and parameters for machining.
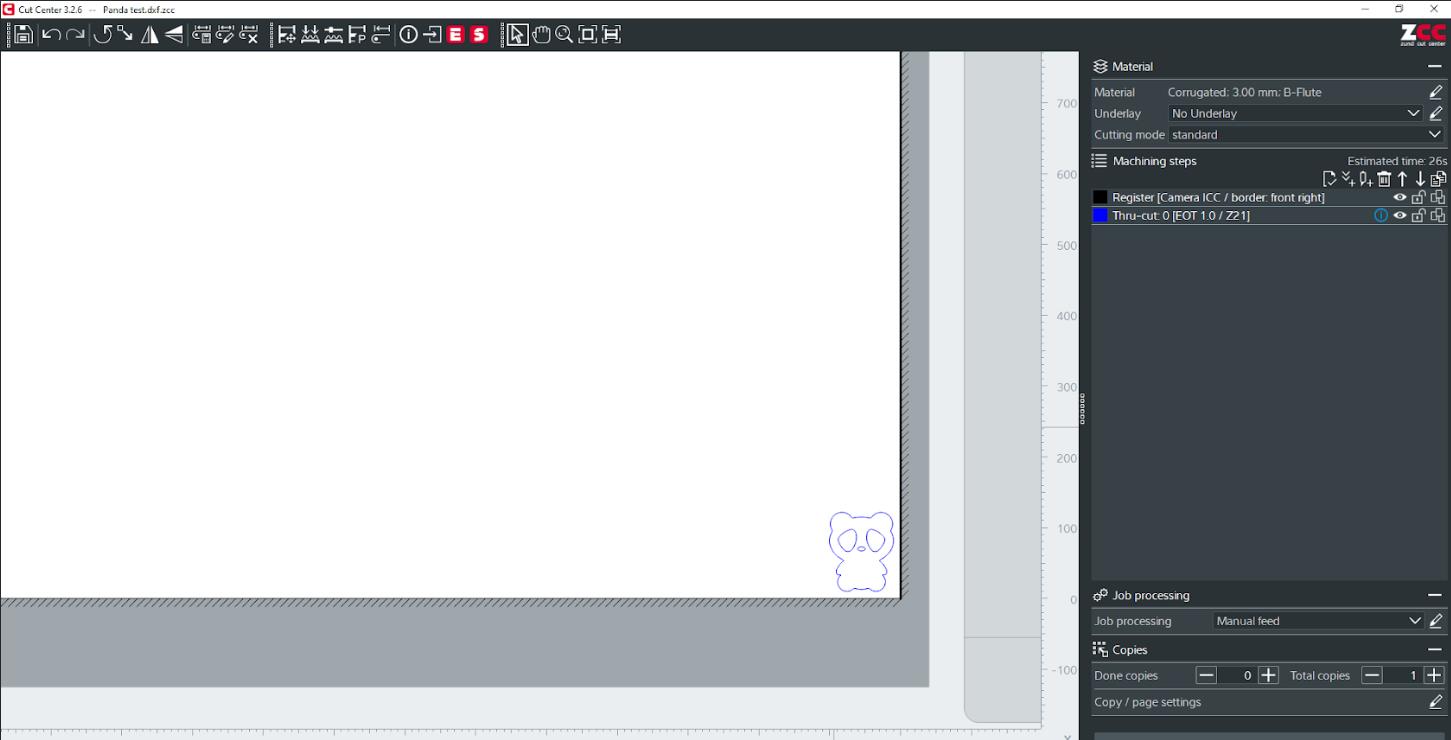
The Knife I used for cutting was Z21 and it was loaded on the Electronic Oscillating Tool(EOT).
 |
 |
 |
 |
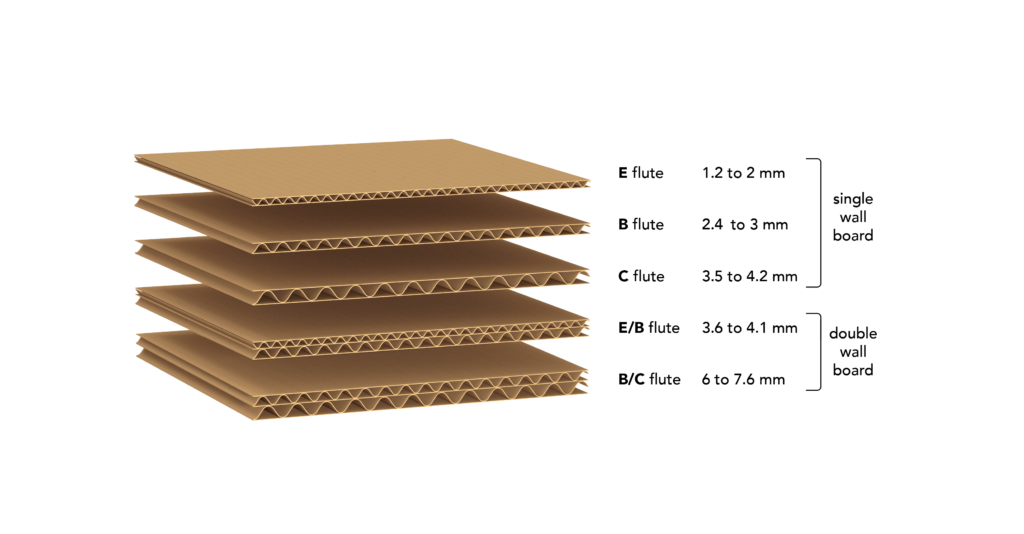
The cardboard I used for making the phone stand is a B Flute Cardboard of 3mm thickness. Flutes are the 'wavy' part of the cardboard. This flute has so much of a bearing on the structural integrity of the cardboard and therefore defines what it can and can't be used for.
Click here to know more about cardboard.
Actual Phone Stand
After test I fixed the size and made the actual phone stand. The addtional steps included in the making process is listed below.
HeroShot
