As a part of our group assignment we were given a safety training for operating the laser cutting machine.
We found out the kerf values of different materials for a tight press fit.
Cardboard
Kerf = 0.23 Wood
Kerf = 0.245 Acrylic
Kerf = 0.125
INDIVIDUAL ASSIGNMENT
Vinyl Cutting
Making Stickers using Vinyl Cutter
The next part of our assignment was to make stickers out of vinyl sheets.
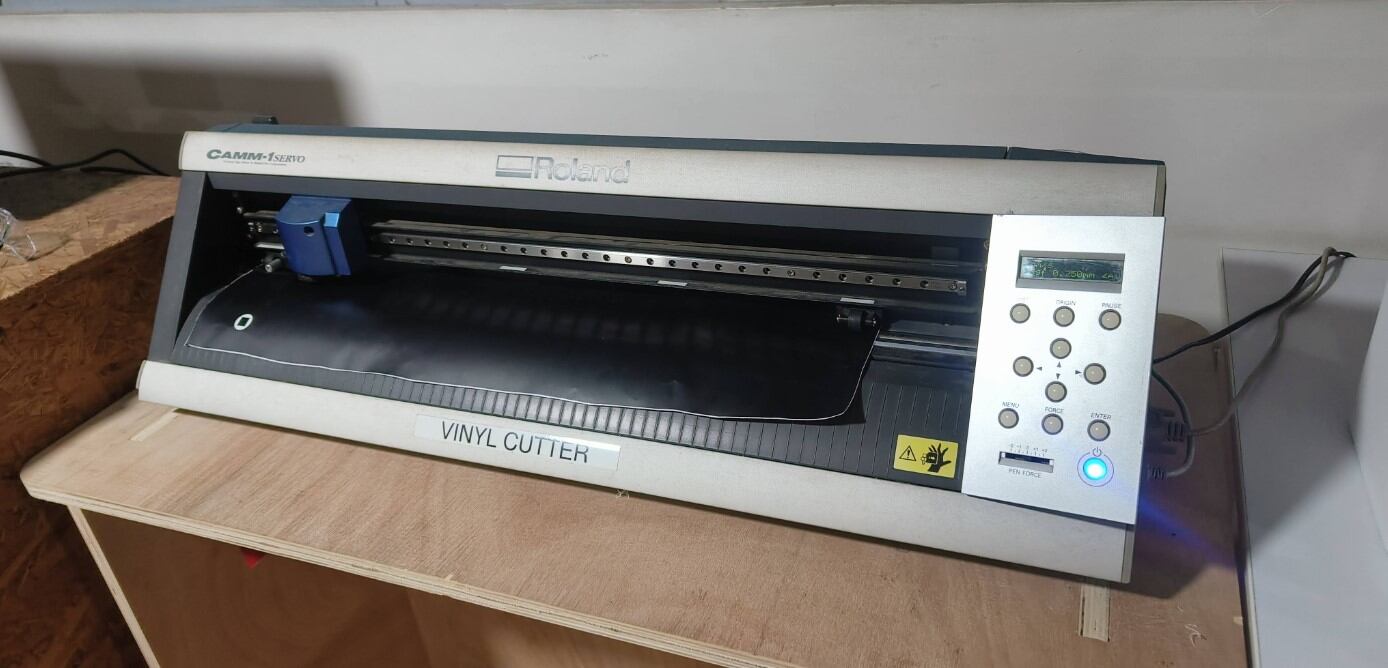
We had to operate the Vinyl cutter machine to do this task. Roland GX-24 Vinyl was the machine that we use in
our lab.
Roland GS-24 Vinyl
Cutter is a
precision machine designed for cutting thin materials like adhesive vinyl, heat transfer vinyl, and stencil.
We first place the vinyl roll to the machine making usie of the rollers to keep it in place. Lock the rool in place and make sure that the sensor of the cutter is covered by the sheet placed.
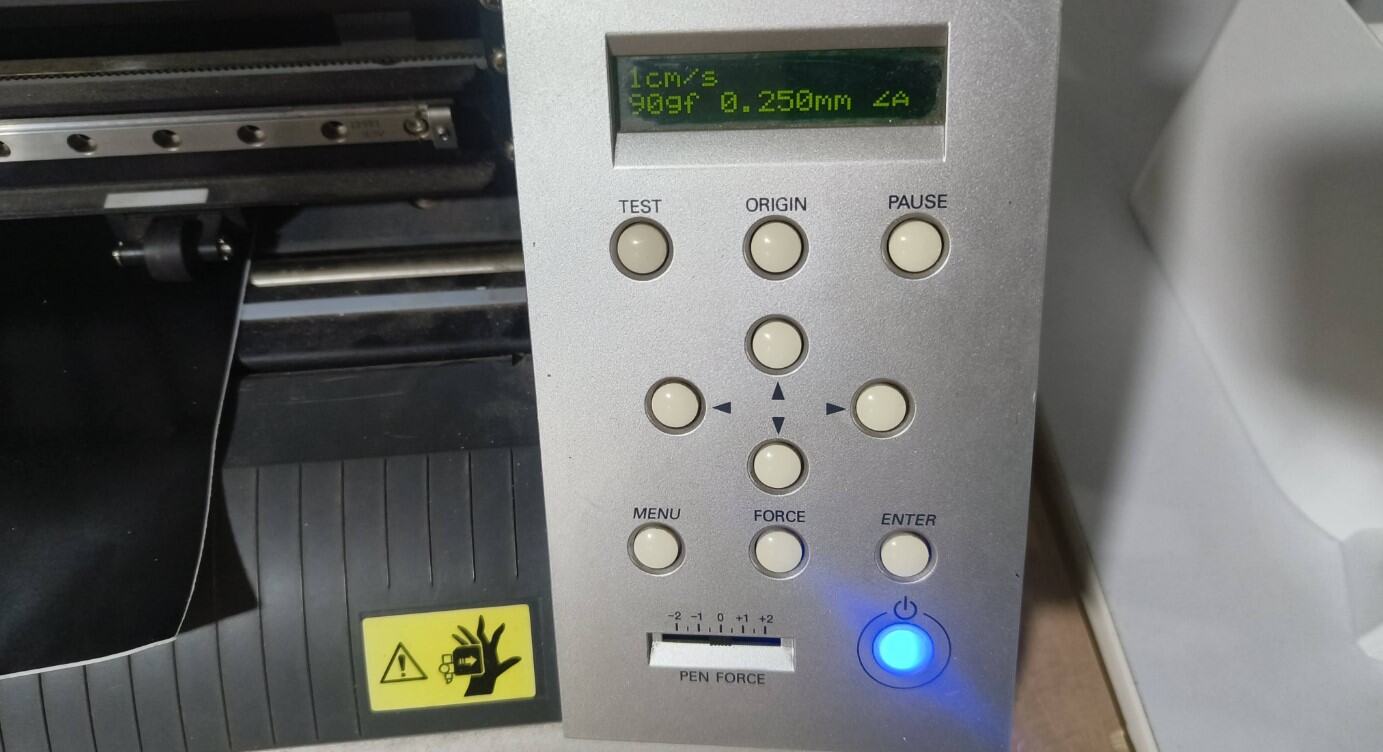
You can set the type of feed we will be providing i.e. roll,sheet or a piece.You can set the origin, force and speed of the cut from the control panel.
Before using the machine we need to prepare the graphics for the stickers.I wanted to make stickers of some
graphics from a few of my favourite music album artwork.
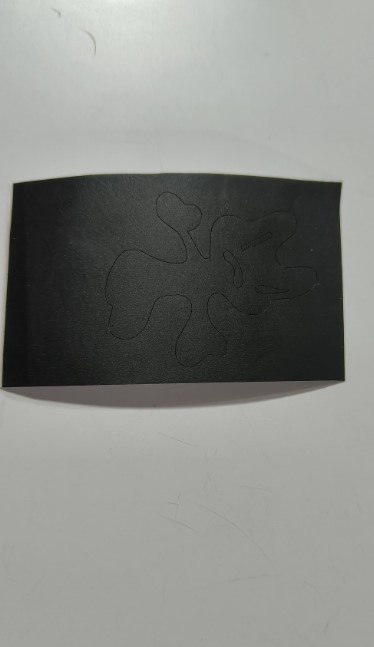
The first design was taken from the album art of "RPWP". I had to isolate the character first and also make some
touchups in Photopea to make clean edges for the sticker.
RPWP
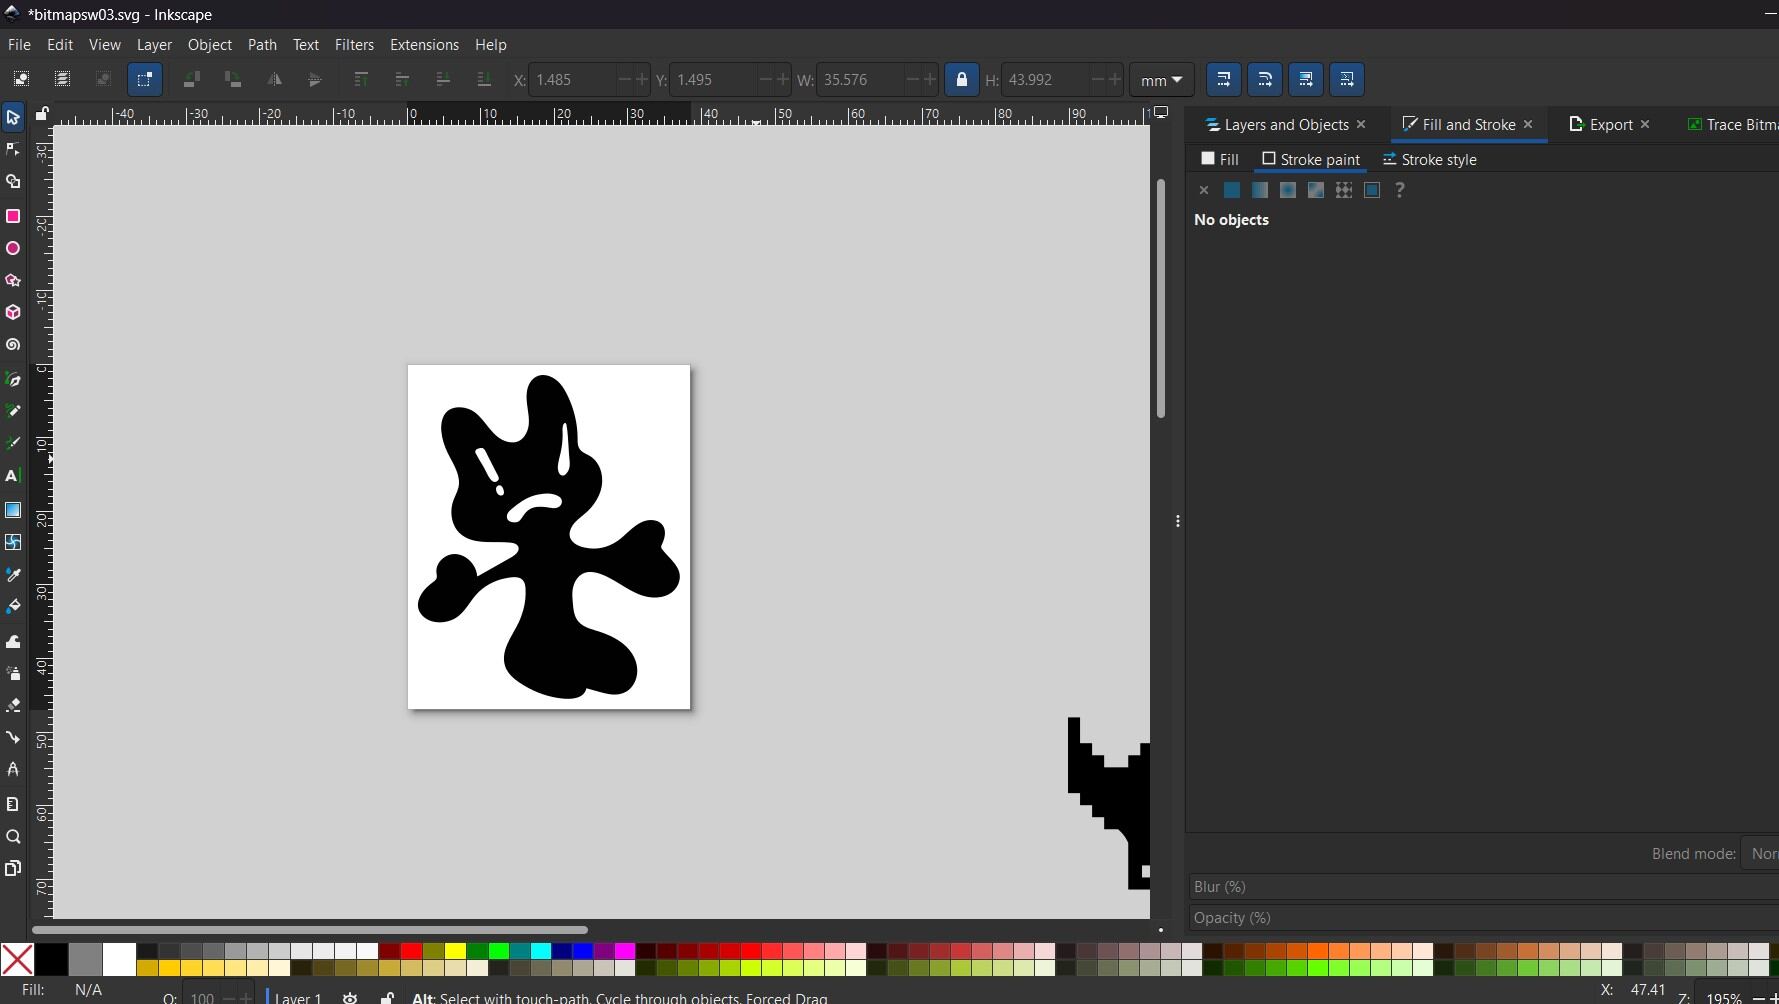
After this i imported the image into Inkspace to trace the bitmap of the character (The conversion process is
explained
in my week02 assignment).
I made another design taken from the artwork of the album "D-DAY"
D-DAY
To make sure that the edges of the design doesn't get cut off an offset stroke of around 2-3mm was given to the
traced image and then the canvas was resized(ctrl+Shift+R).The stroke was removed as we dont need it in the design
.The whole image was selected and then saved as an svg file.
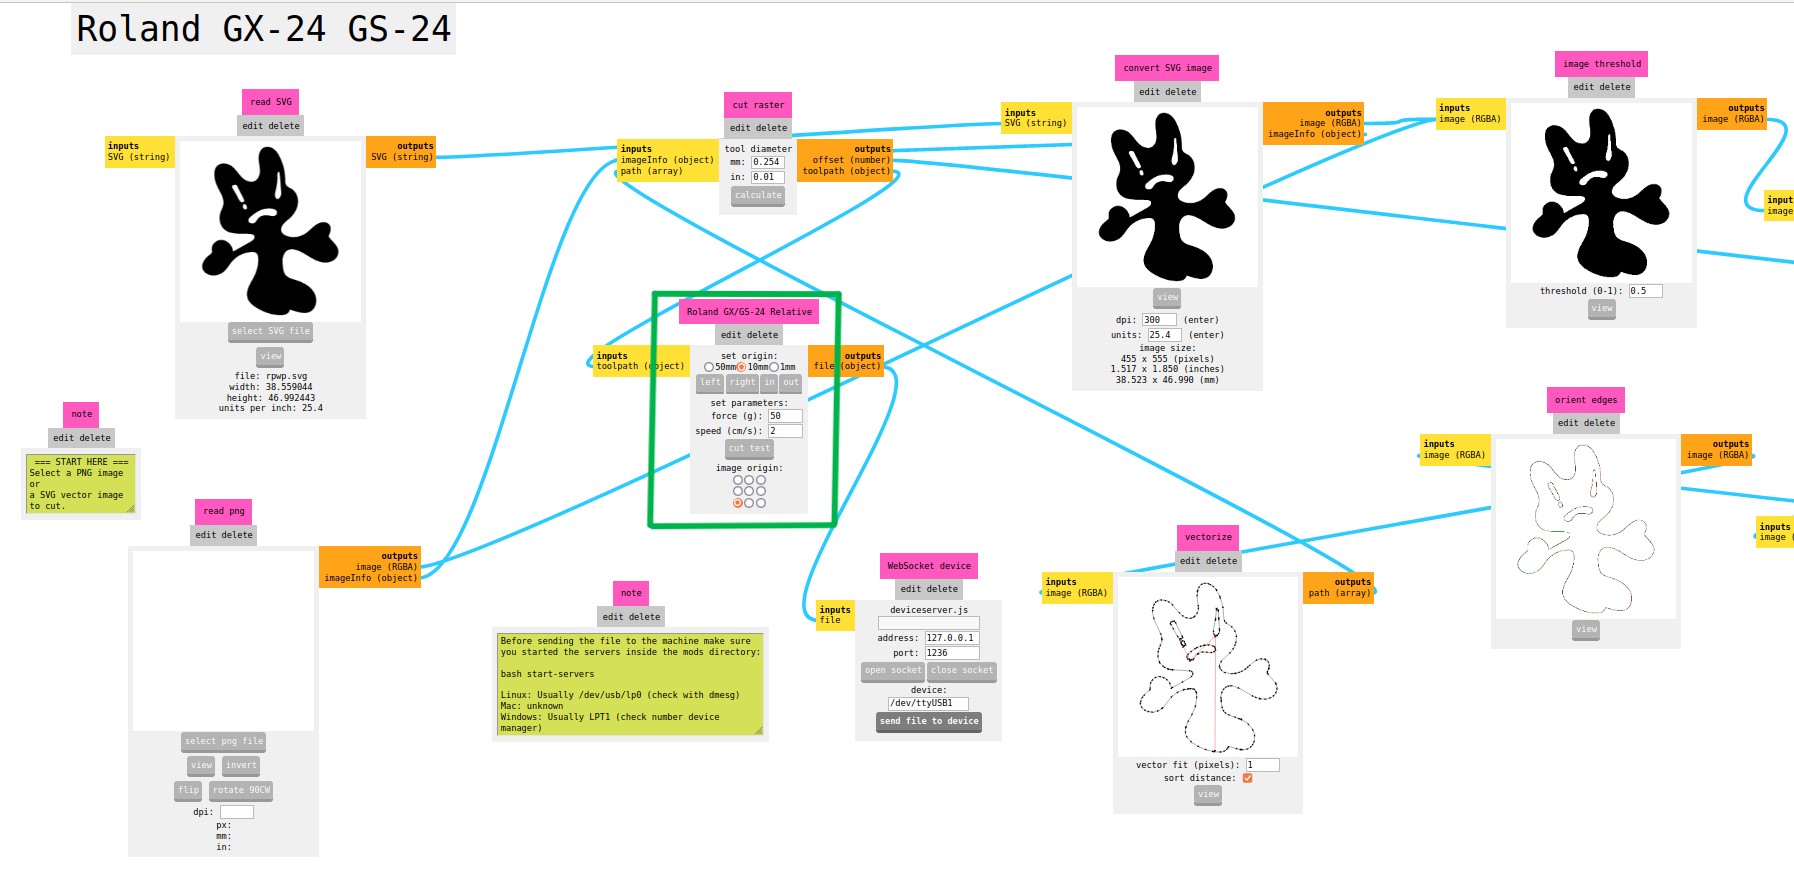
Next we open the MODS software and import the svg we prepared into it. MODS is an open-source, browser-based
tool developed by MIT for converting design files (SVG, PNG, DXF, etc.)
into machine-readable formats. It provides a modular approach to customizing toolpaths, setting cutting
parameters, and sending commands directly to fabrication machines like vinyl cutters, laser cutters, and CNC
Set the parameters in the MODS software.
We need to set the origin of the machine according to the roll we are feeding to it.
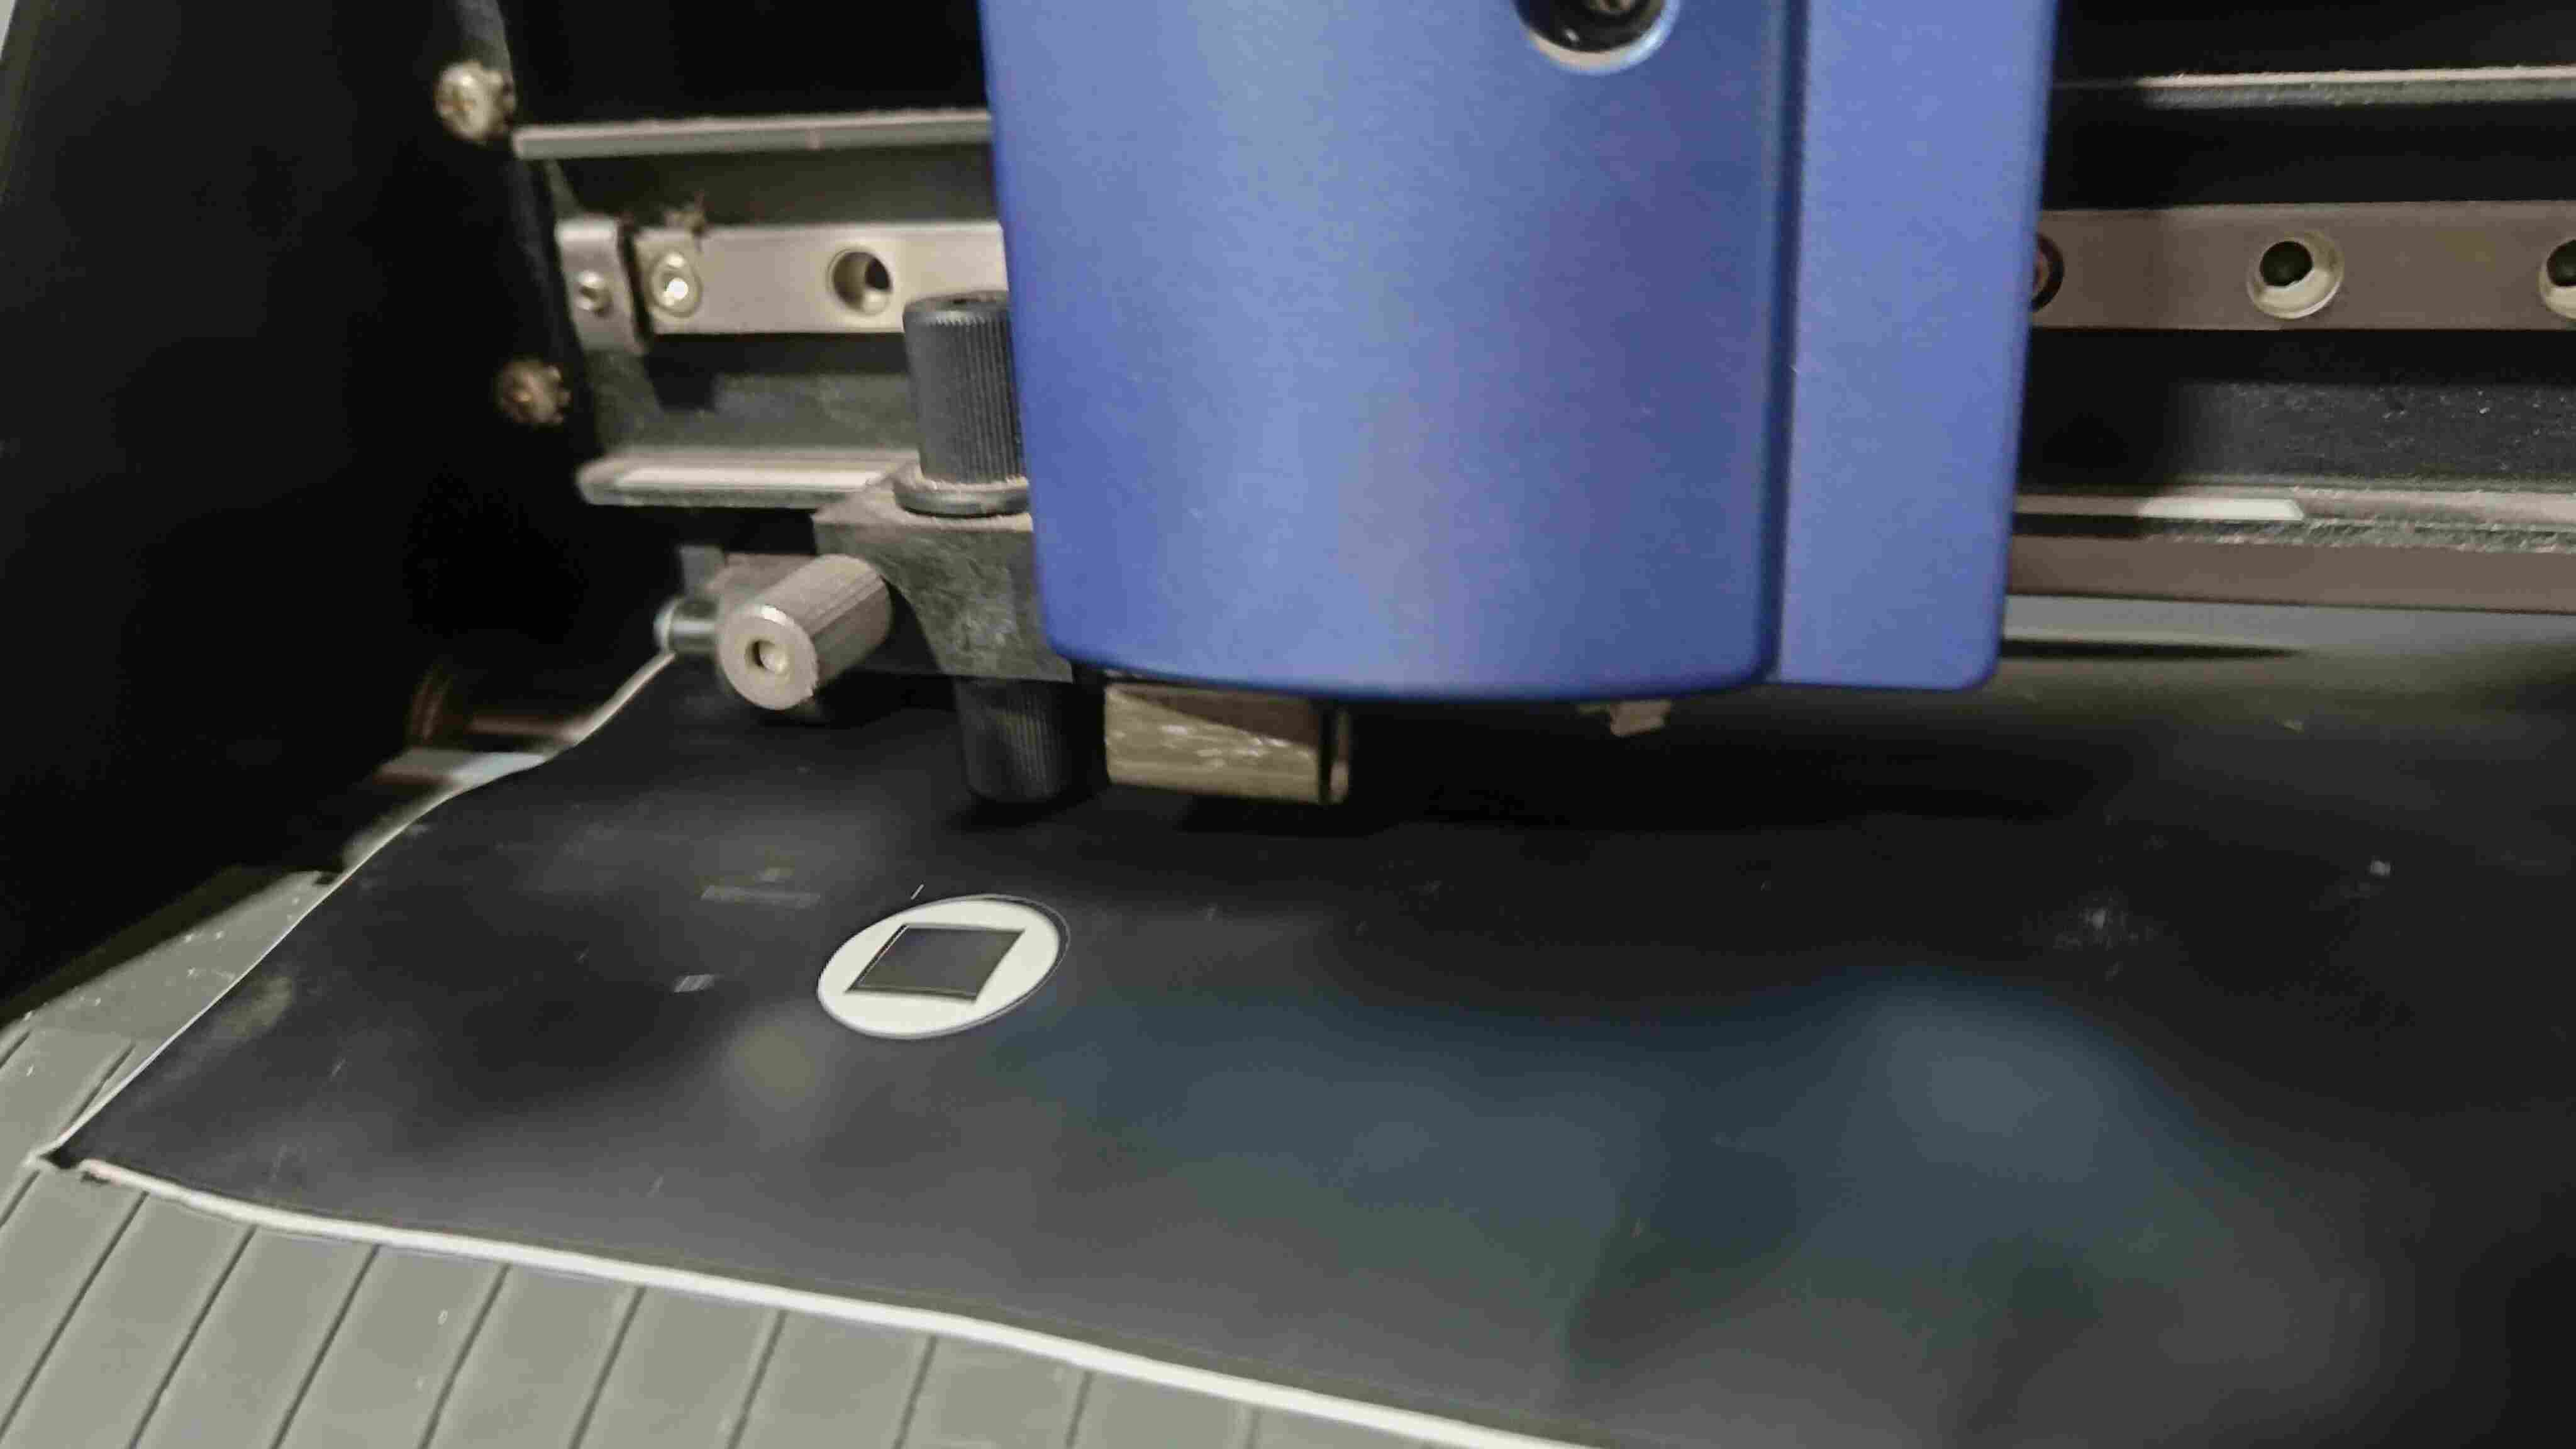
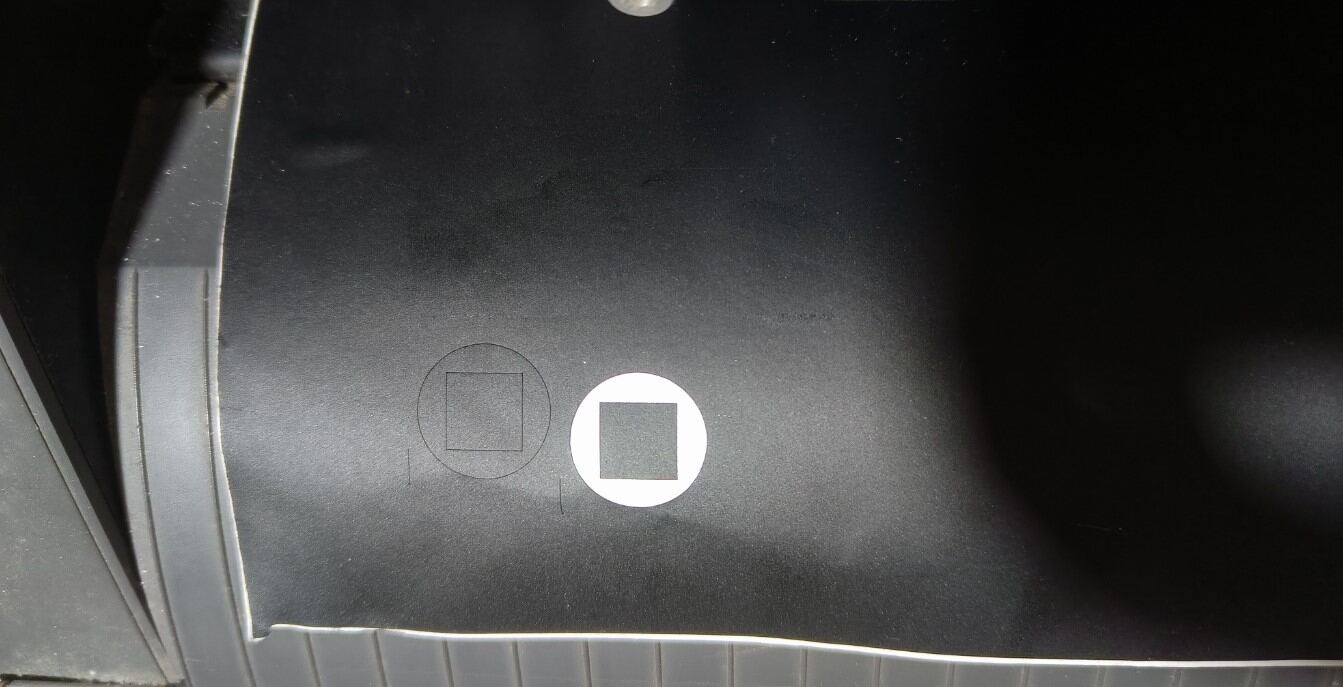
I made some test prints to check for the depth of the cut.
After i got the correct depth set, i went back to the software to set the speed of the machine too. Now we click
on 'send file' to start the cutting job.
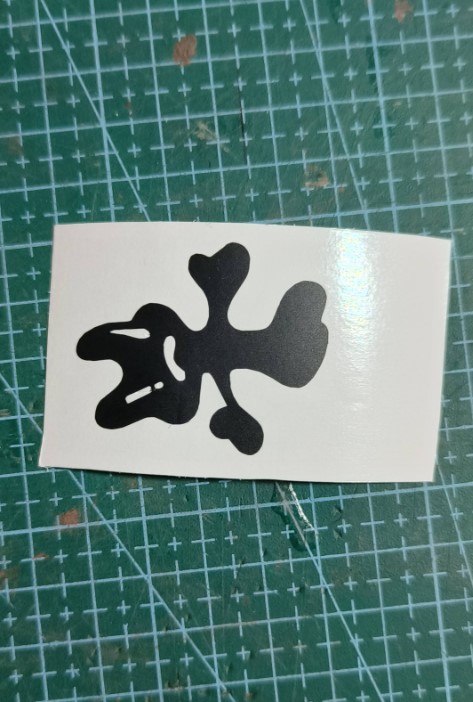
Once the cuts were done we can proceed to tranfer the stickers to a surface.
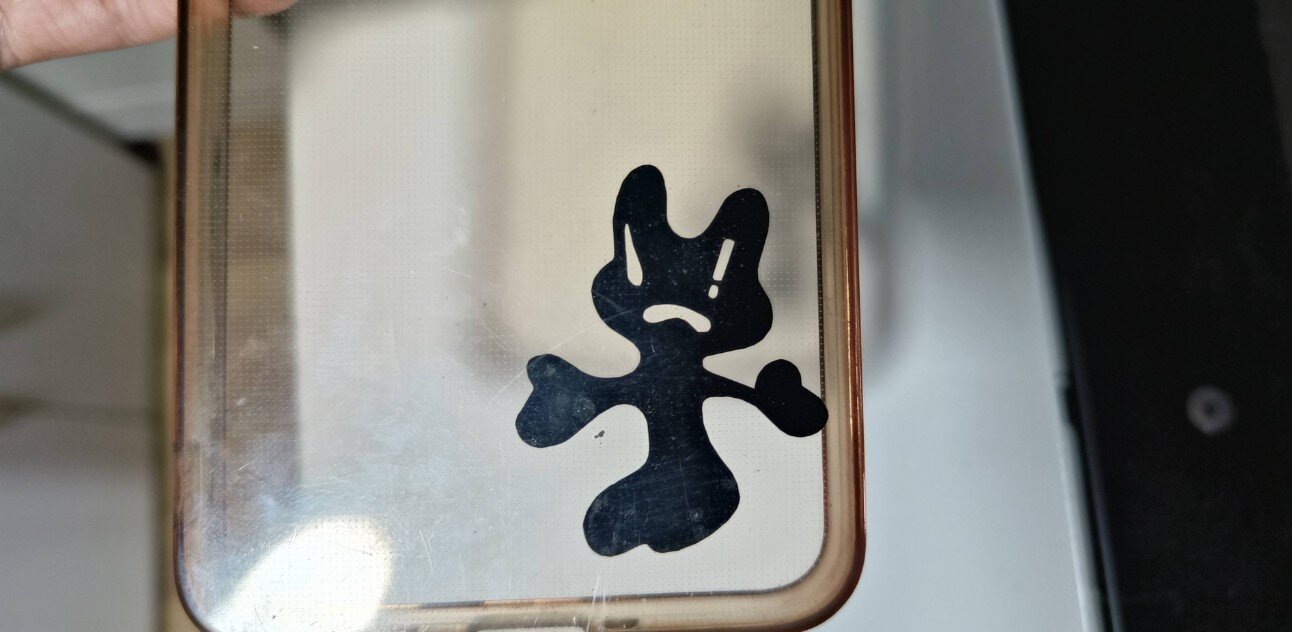
I wanted to stick the first sticker to my phone case.
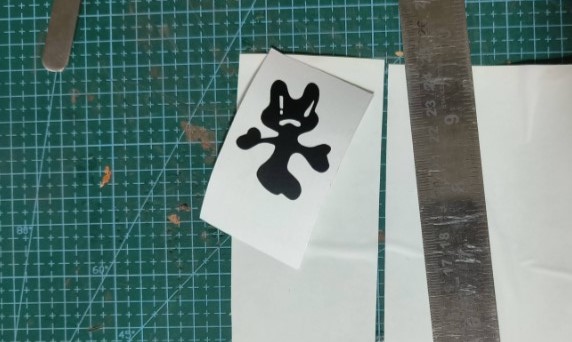
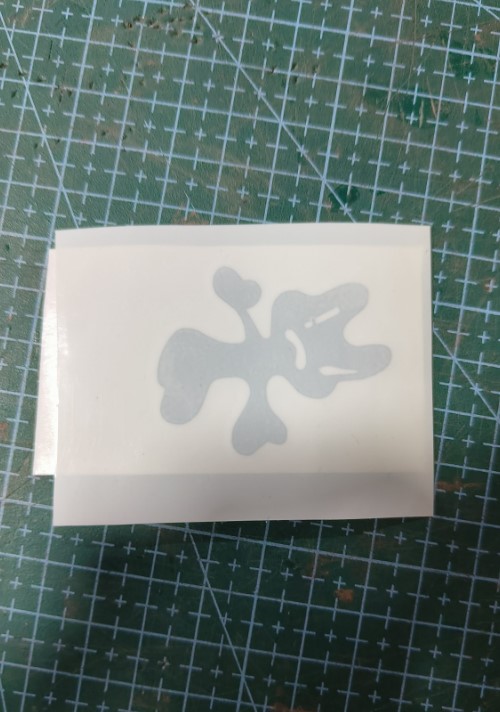
We need to remove the unwanted parts of the sticker. Then we take some transfer paper ,peel the backing and stick
it on top of the the vinyl.
Then I placed the vinyl with the transfer paper on my phone case and started to peel back the transfer paper,
while making sure the vinyl stays on the surface without air bubbles.
I would like to make more designs as this whole process seemed quite fun to me!
The Trotec Speedy 400 Flexx is a high-performance laser machine designed for both laser cutting and laser
engraving. It's part of the Speedy series from Trotec Laser, known for its quality and reliability. The "Flexx"
designation indicates that it combines a CO2 laser and a fiber laser in a single machine, allowing for processing
a wide range of materials with a single device.
Dual Laser Technology
High Speed
High Performance
Versatile Applications
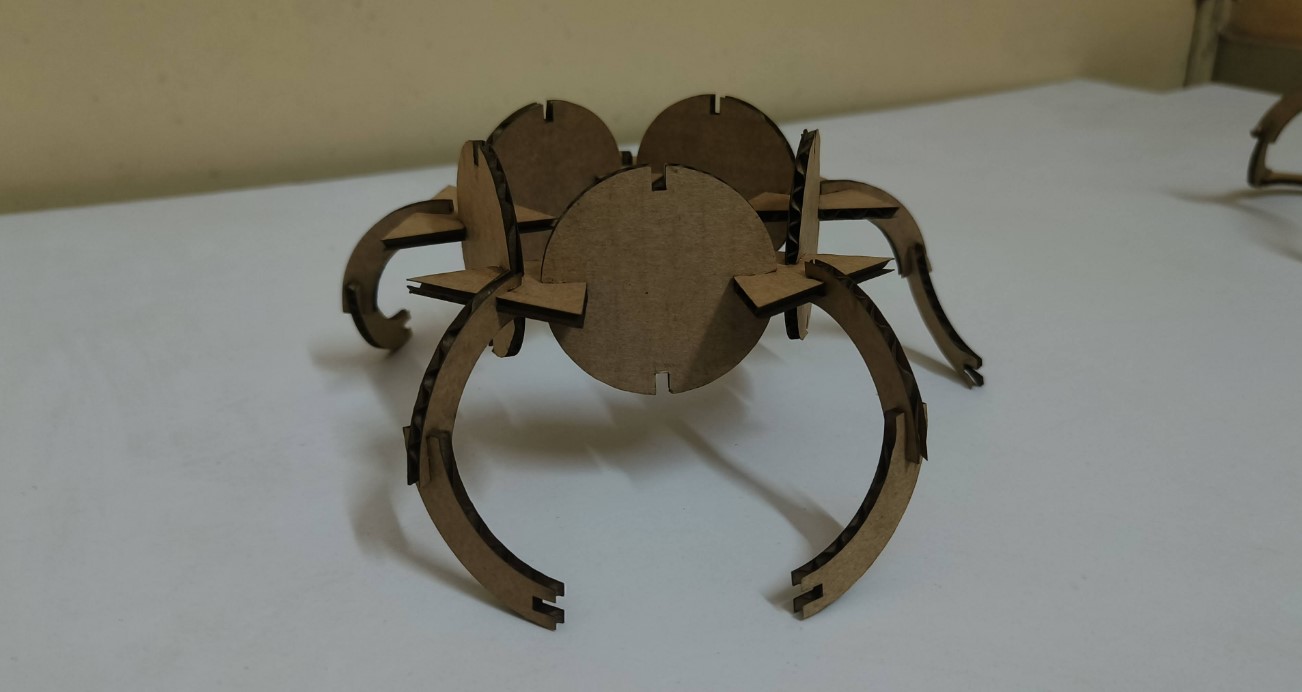
We had to make a shape that could be multiplied and joined in different ways.
I used fusion 360 and made them using the modify parameters tool .This is beneficial because we can easily change
the dimensions just by changing the set values rather than individually manipulating the sketch.
It's quite powerful and can be applied for many uses.
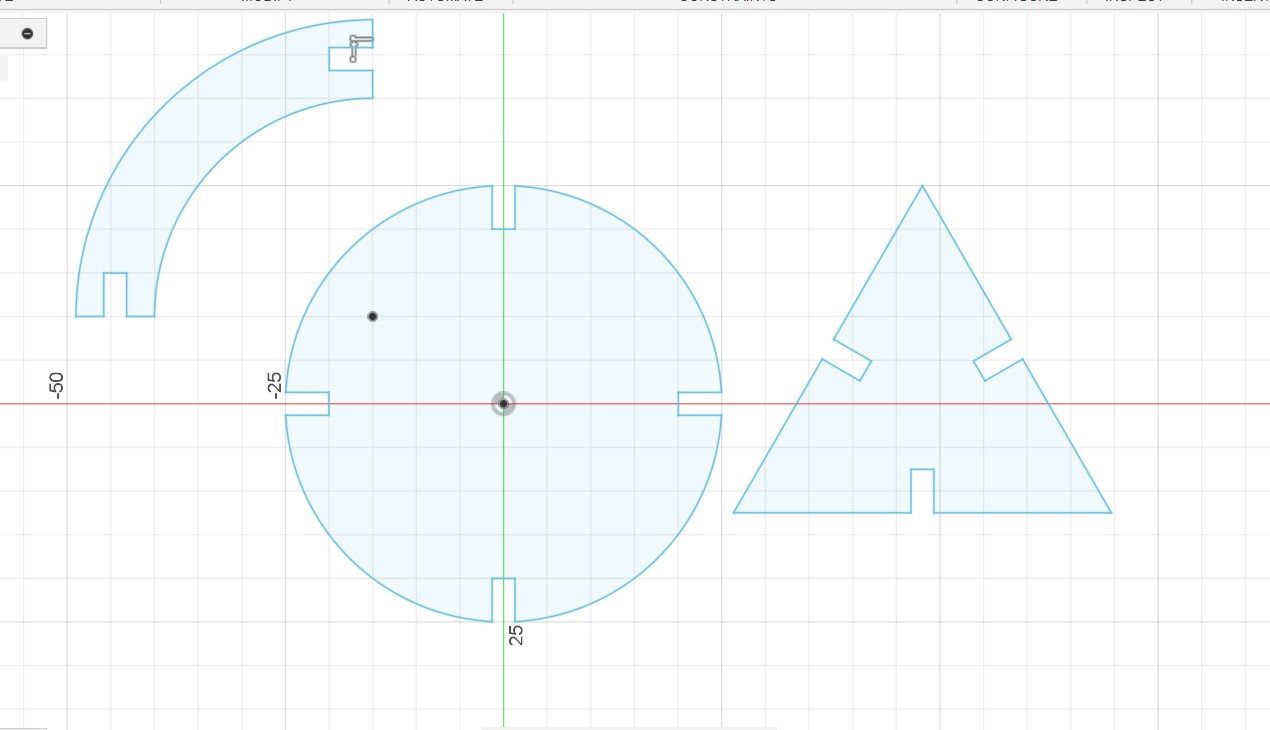
I started off by opening Fusion360 and going into sketch mode to make the shapes.I wanted to try and make a
circle,triangle and curve.
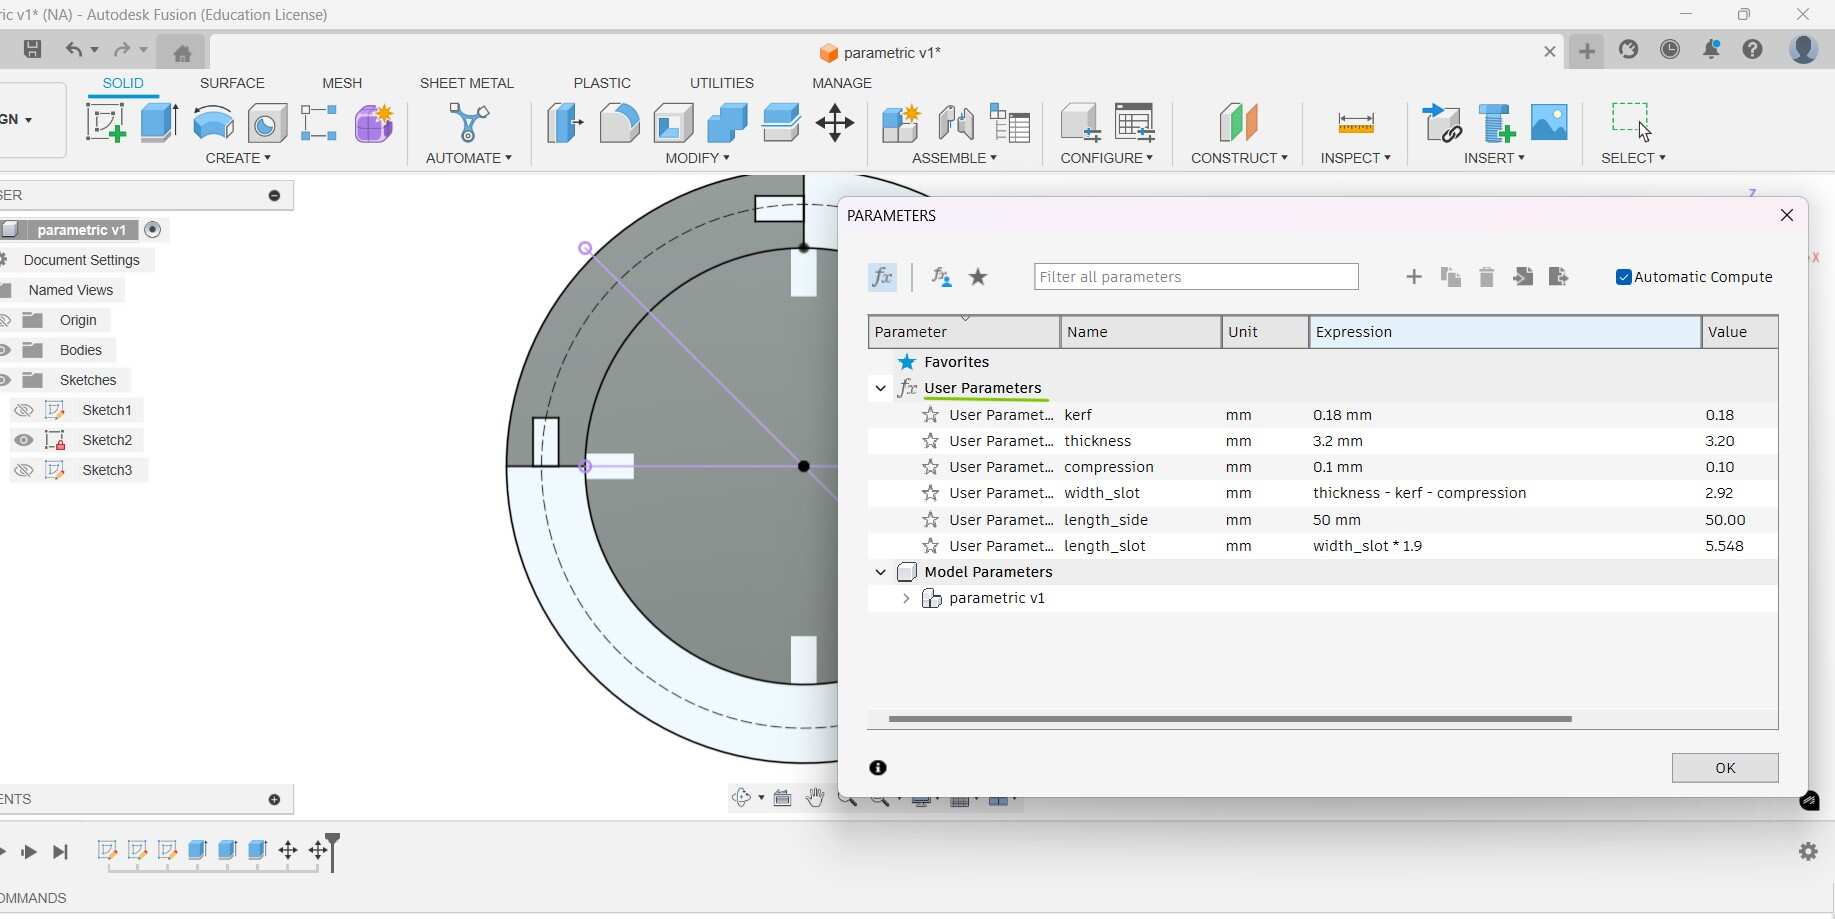
I began by setting the parameters first. Go to modify and at the bottom of the drop down you can see change
parameters.When you click on it you will be taken to
a dialogue box where the user can set the parameters. I set the values for the thickness of the material, kerf
value of the materials and compression .I then took these parameters to make equations to set the width of the
slot.
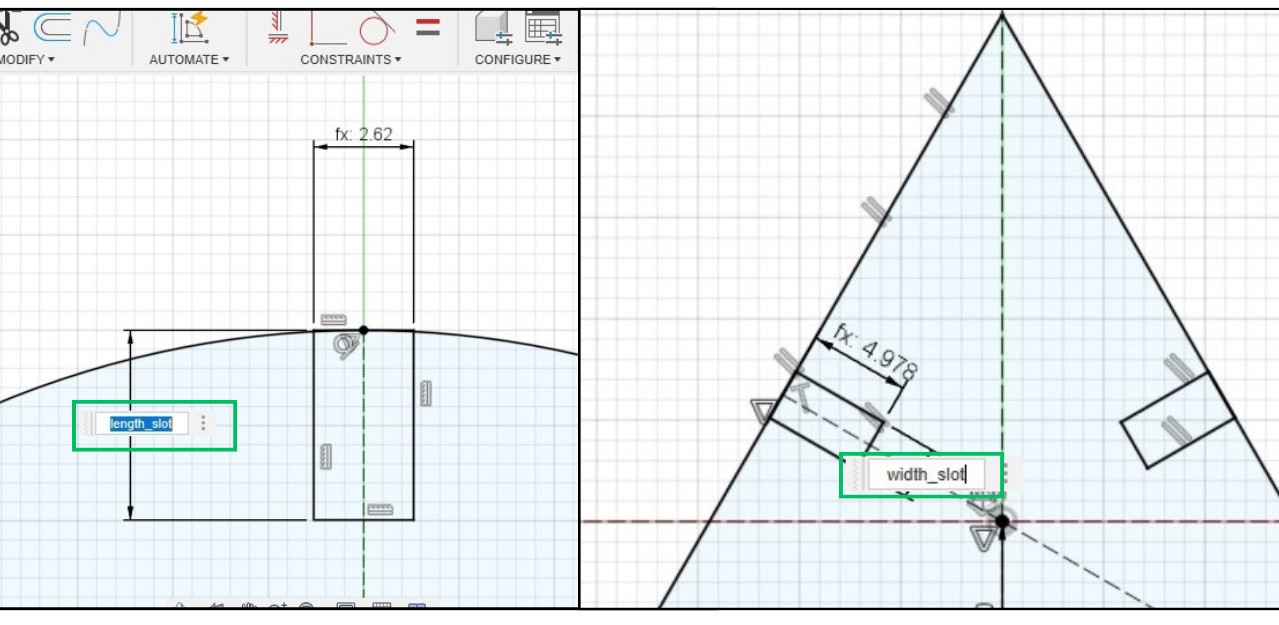
You can type in the parameter that was set previously into the dimensions . The software will automatically
resize the dimension to fit the parametric values
I made the shapes using the parameter functions.Then i went on to take a test cut to check the pressfit and the
dimensions.
Export the drawing as a .dxf file and import it into inkscape. select the shape outlines and adjust the stroke
settings to make the the stroke width as 0.1mm and the colour to red(255,0,0).make sure to give no fill too.
Now resize the canvas to fit the shapes in by selecting the shapes and clicking Ctrl+Shift+'R'.
Go to print and select the printer as trotec job printer.This will take you into the software.
drag and drop the file onto the printing area.
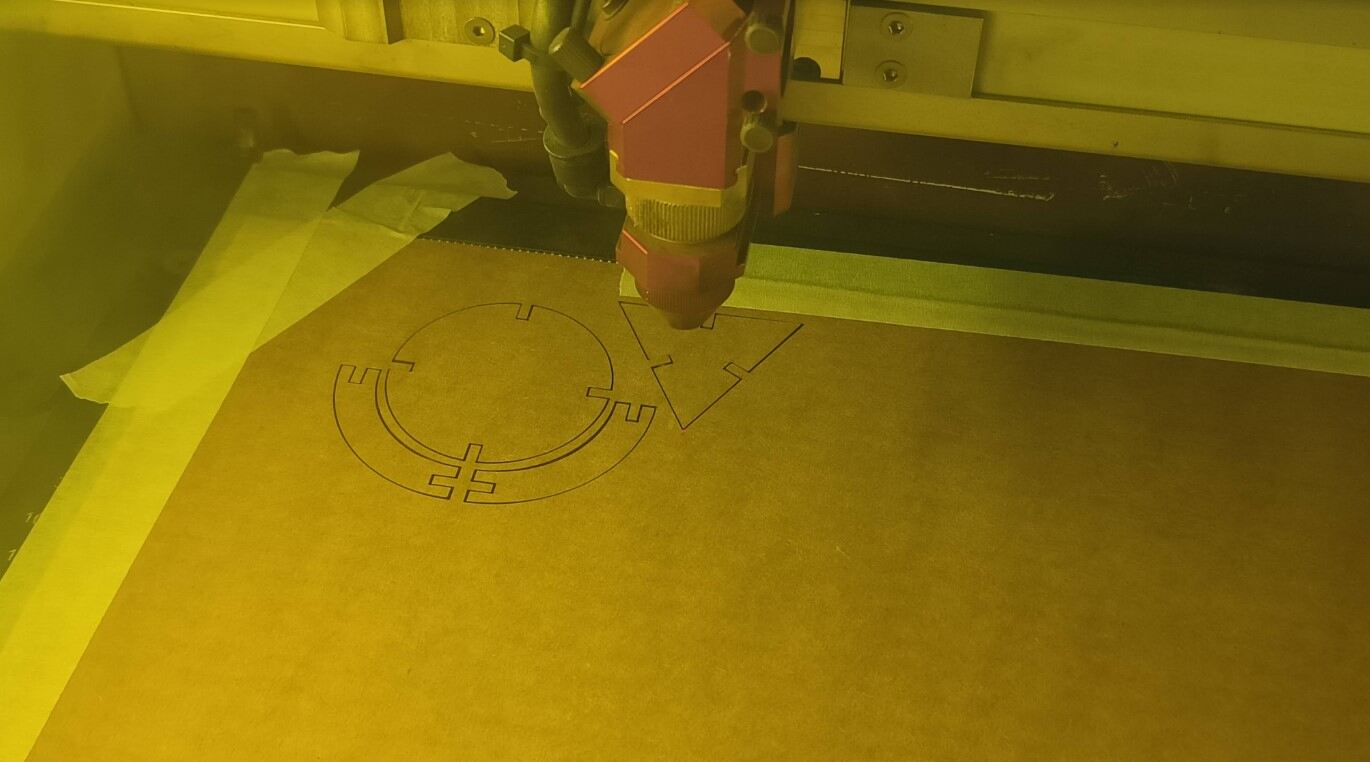
Operating the laser machine
The machine and the exhaust was turned on.We need to place our carboard on the bed properly.
Focus the laser on the cardoard by pressing the focus keys together.Once that is done using the arrow keys
move the laser to where the the cut needs to be done.
Now going into the software you will see the cursor of the the laser on the print area. Snap the file to
the the cursor point.
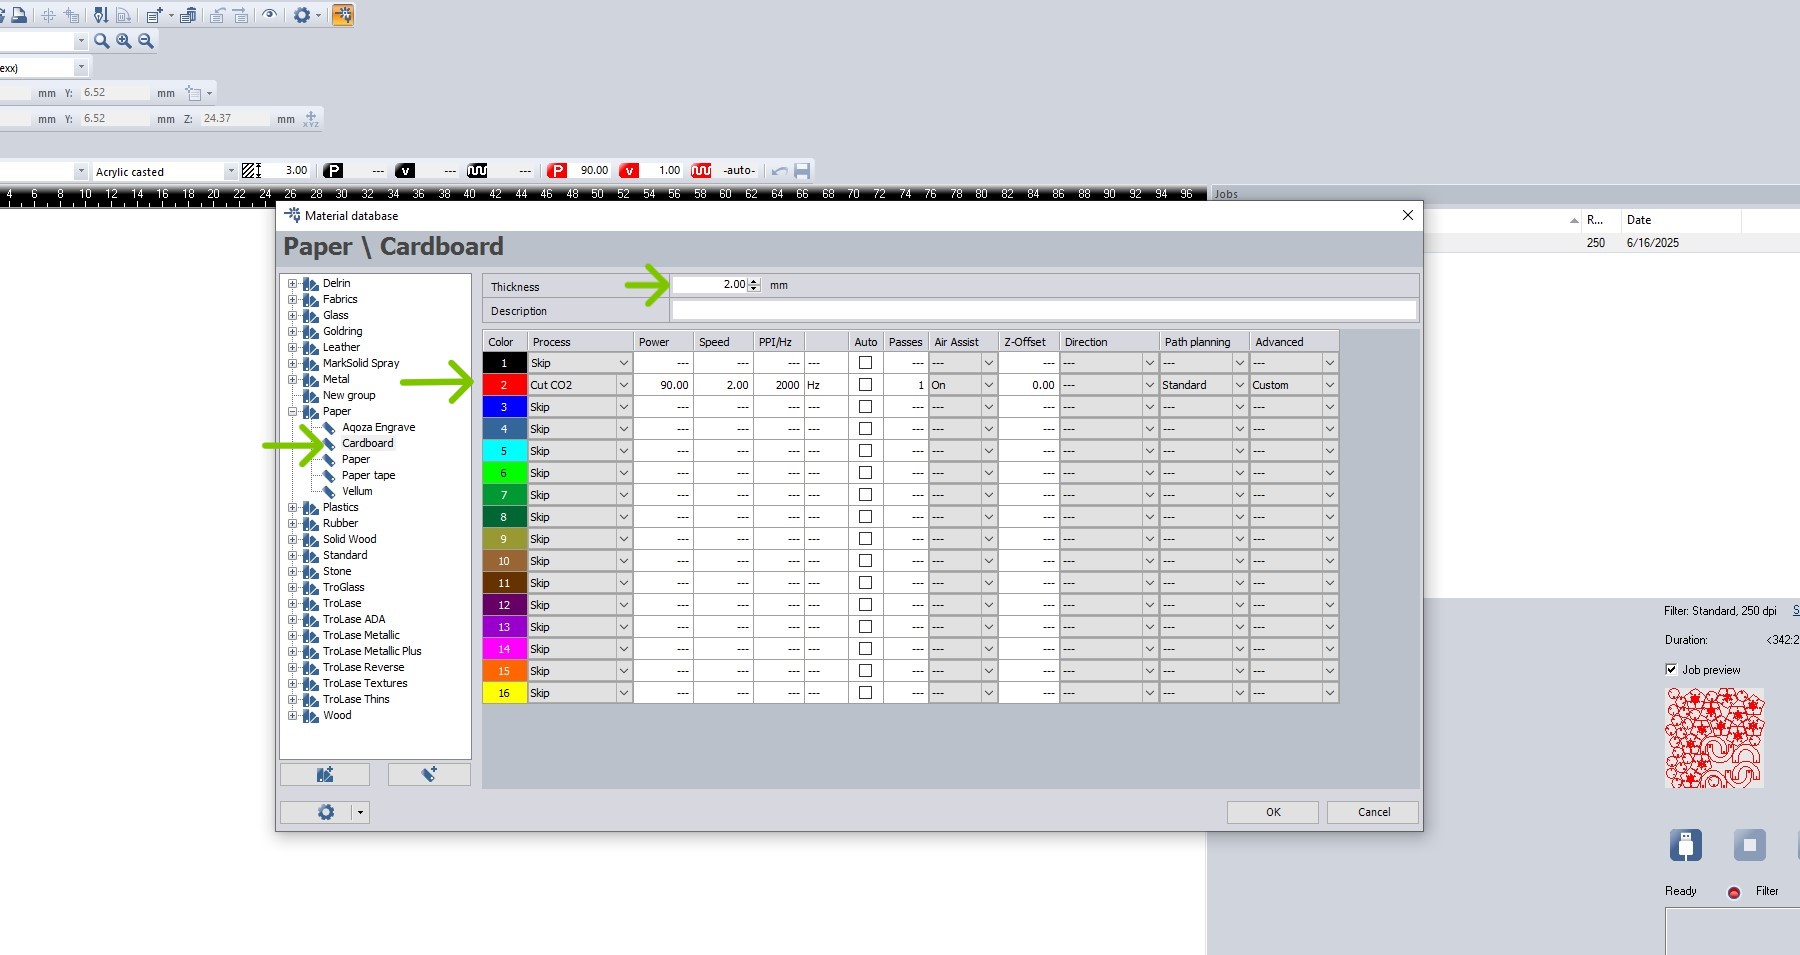
Click on the setting icon ,which will open a dialogue box where you can choose the material that you are
cutting and selet the speed and passes.
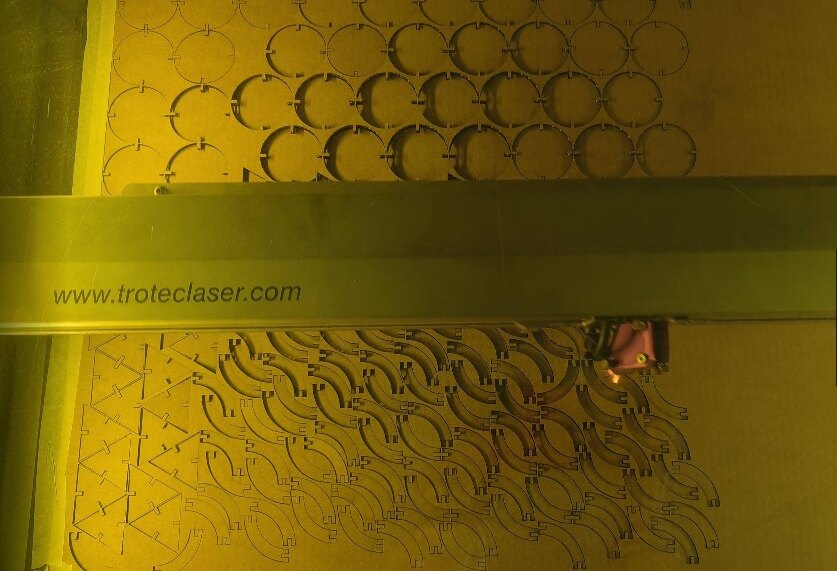
Click Ready to give the print .The laser will start the cutting process.
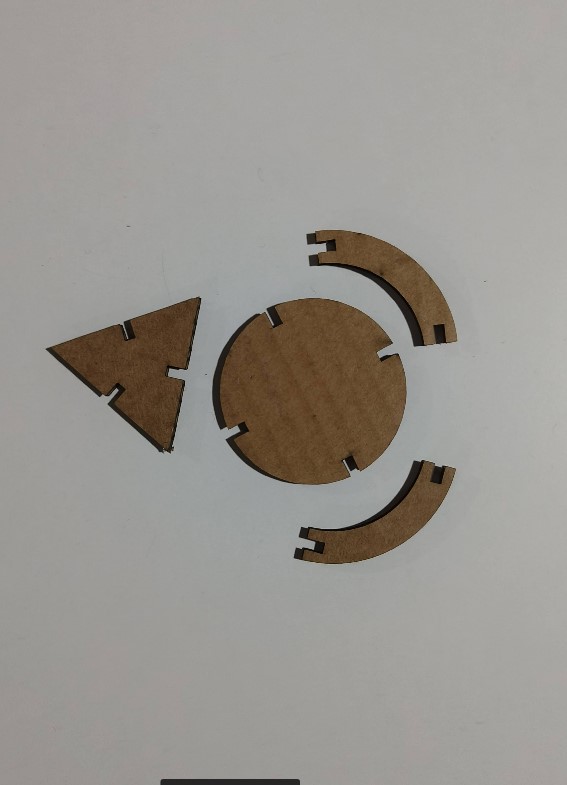
taking out the pieces after cutting, i checked the fit and it turned out satisfactory. So i went on to make
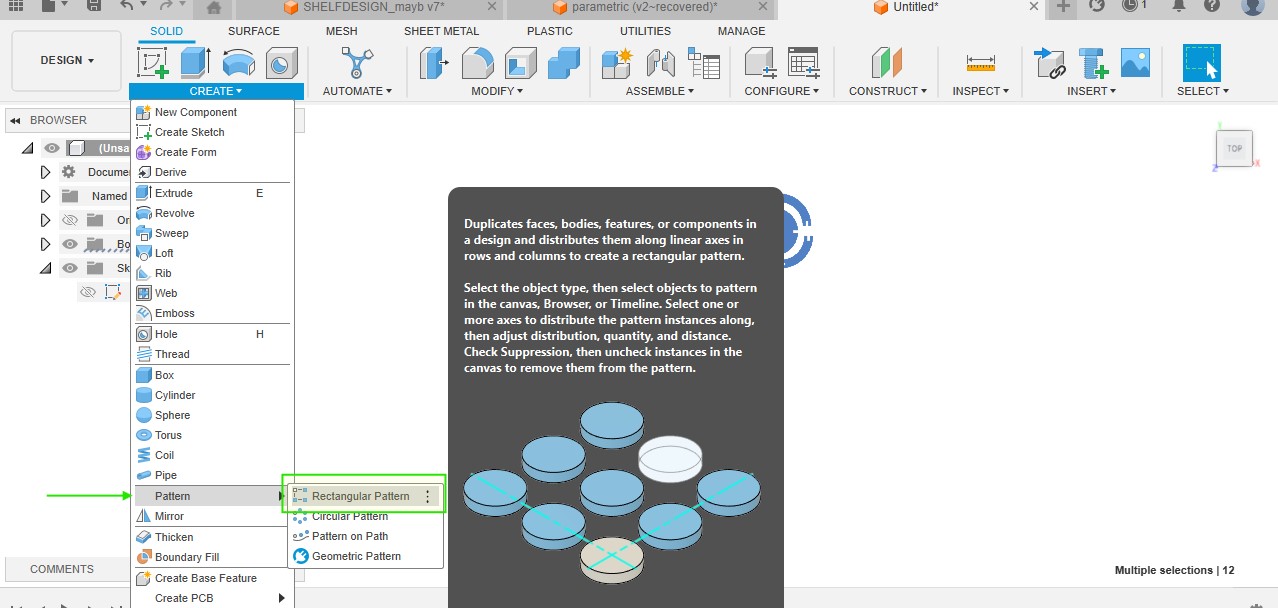
multiple numbers of the shapes in Fusion
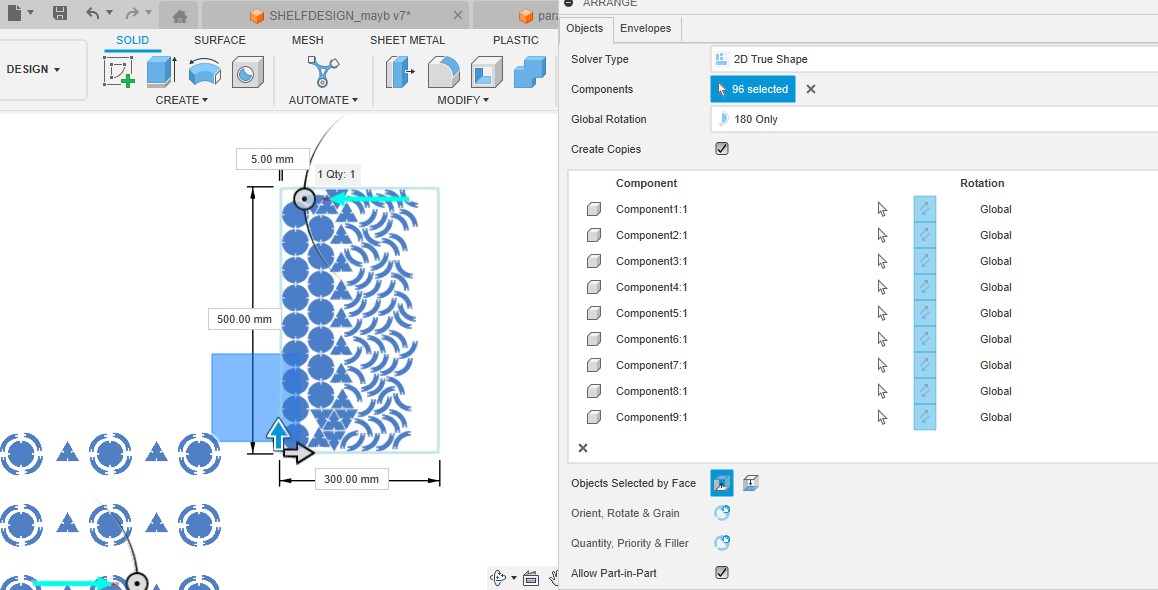
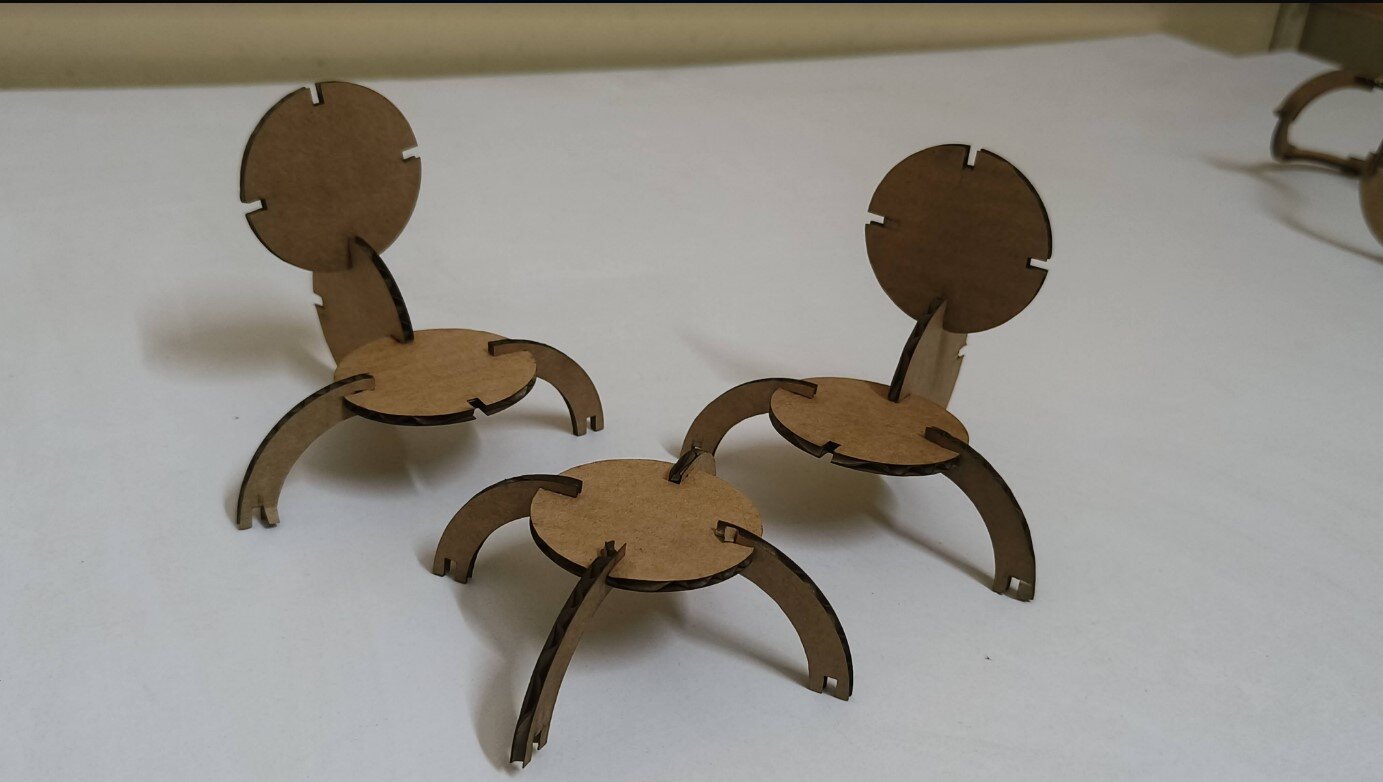
Using rectangular array i made more shapes and then used the 'Arrange' function to make them nested into the size of
the cardboard I had.
These were given to cut and i followed the same steps as before to work the machine.
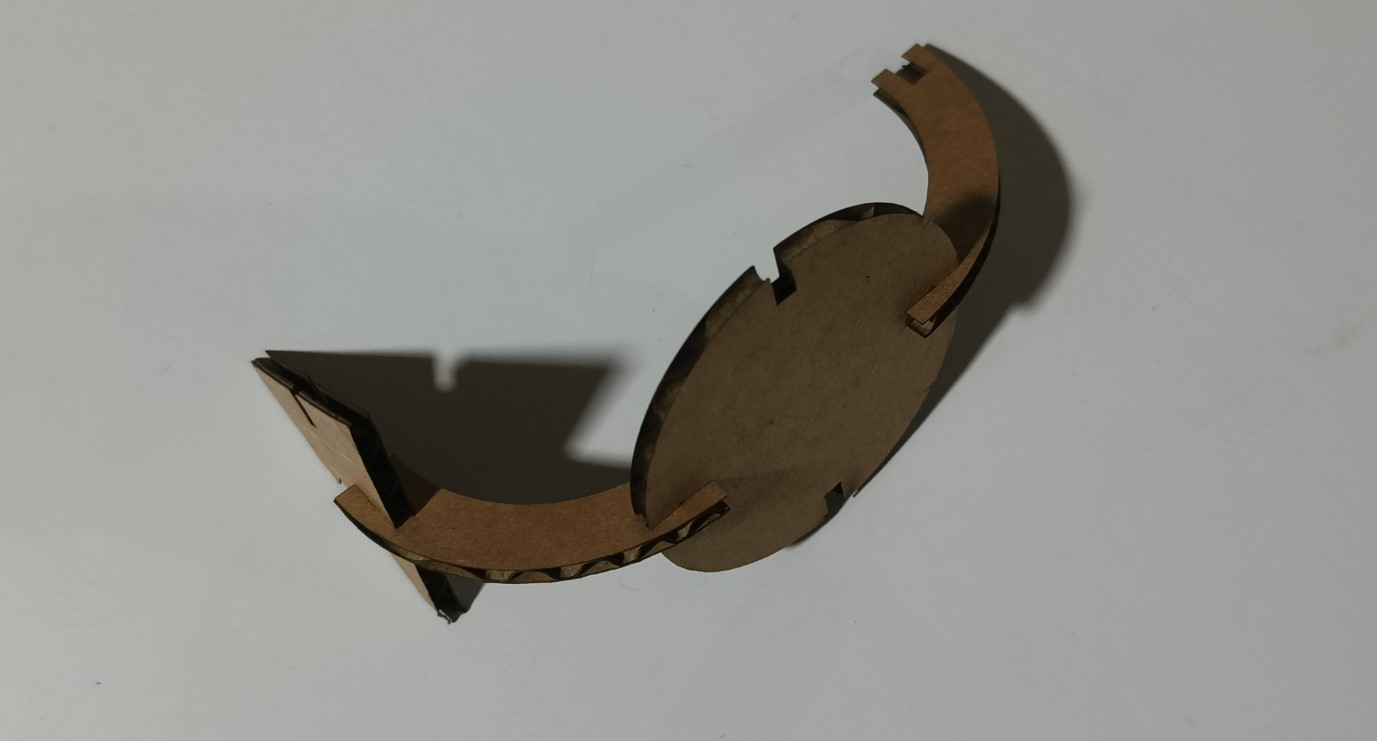
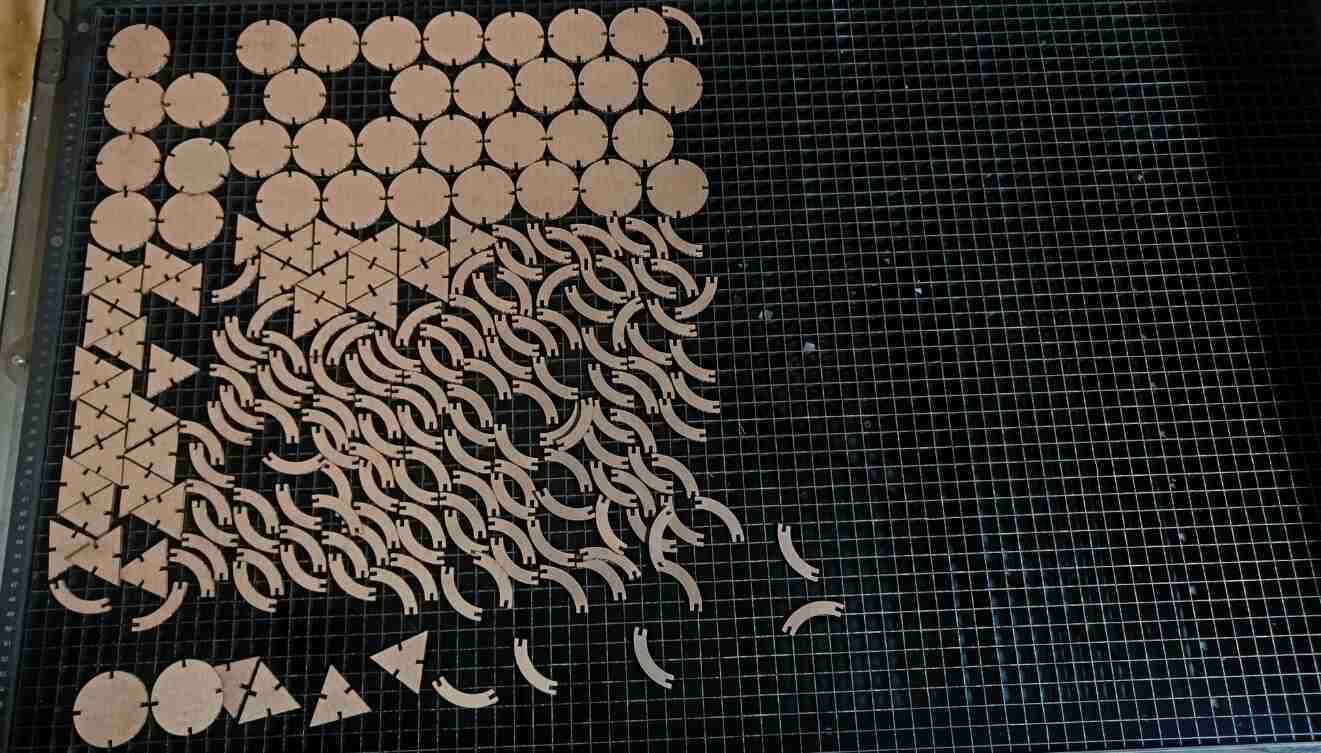
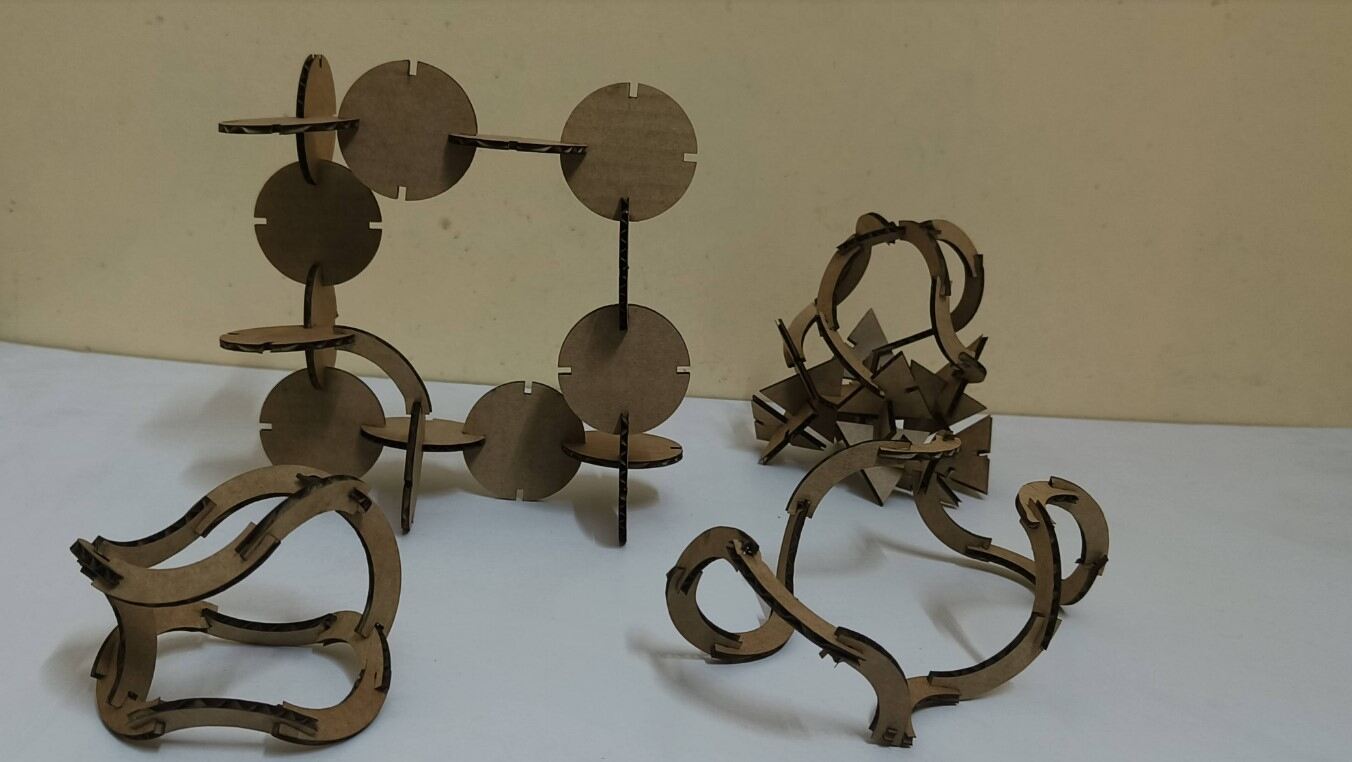
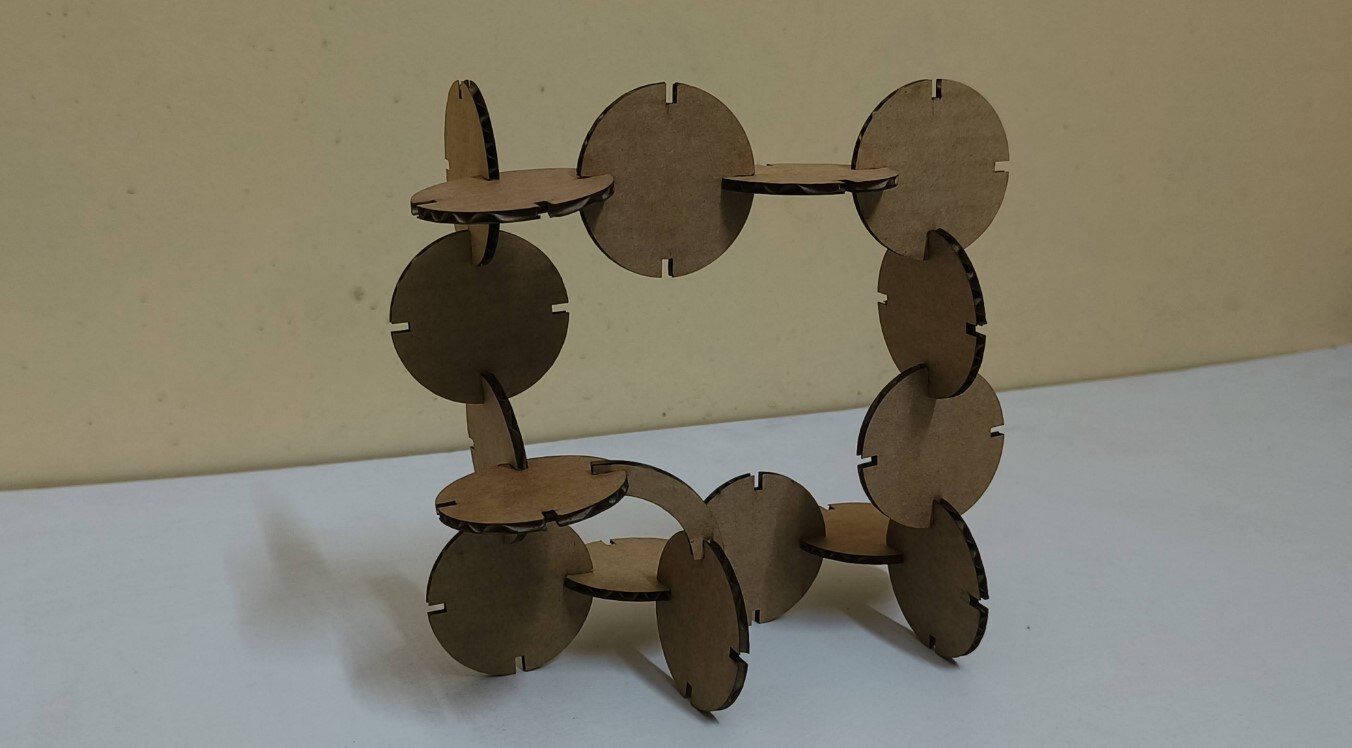
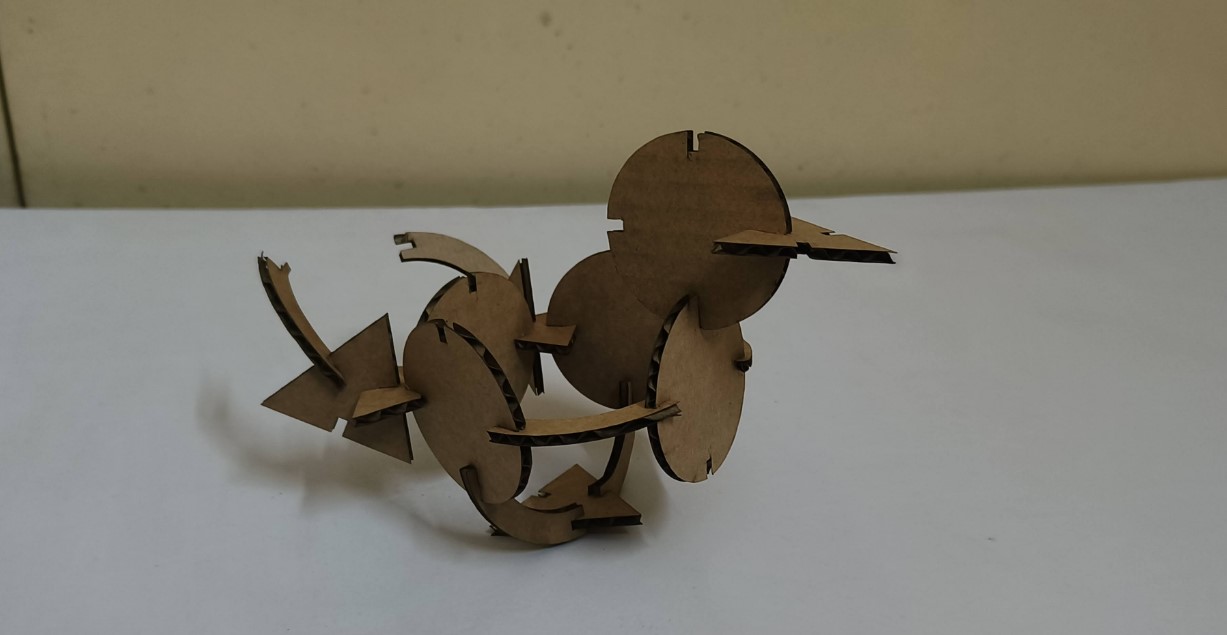
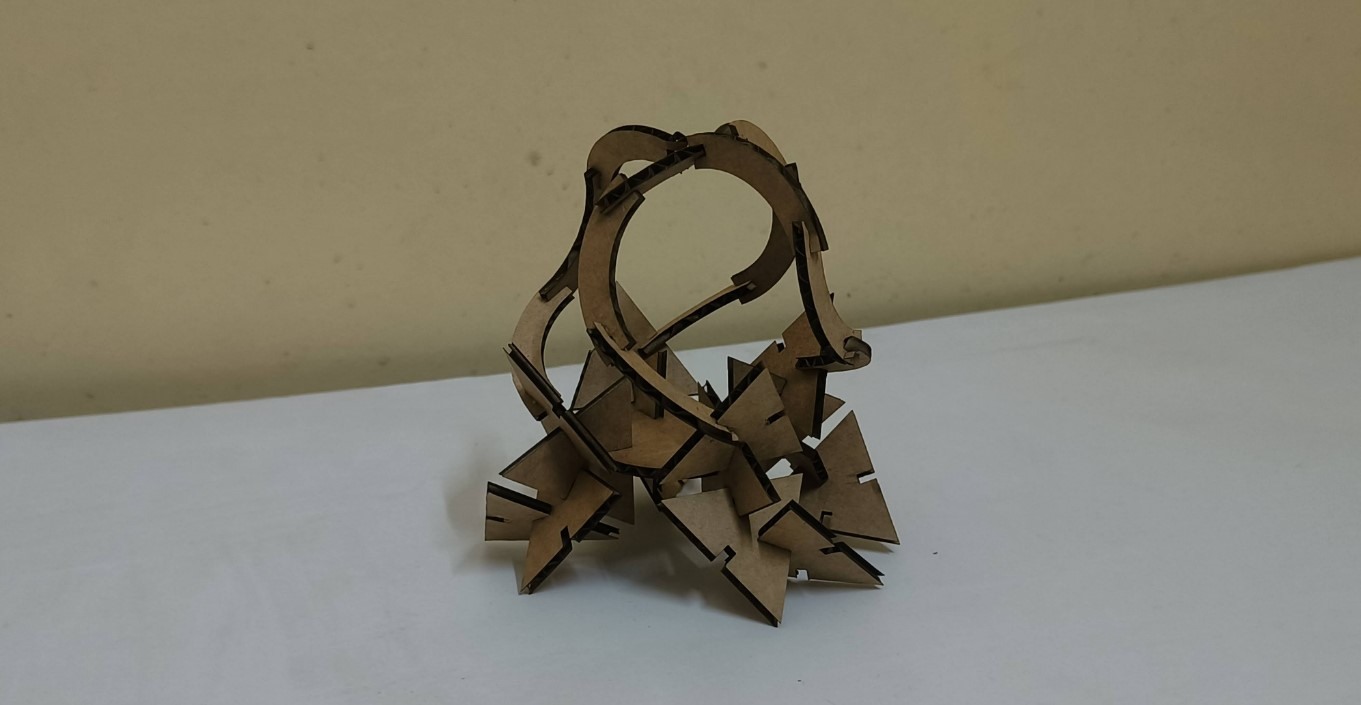
Finally the pieces were cut and i started to create intresting figures with the kit i made.
Overall the assignment let me understand how to operate the machine safely and get precise cuts of our designs and learned how to use parametric values to make the CAD models


 I made another design taken from the artwork of the album "D-DAY"