1. Principles,Practices and Project management
Planning and sketching my final project
Self watering pot - The Idea was to make a self watering pot. Using soil moisture sensor the level of water can be monitored and using an automatic pump water will be available according to need of plant.
Ultrasonic distance sensor lamp - In distance sensor lamp the light intensity is varied according to the distance of the person standing near it. Ultrasonic sensor is used to measure the distance. When someone come closer to lamp the light intensity increases.
Pill dispenser- In pill dispenser time and dosage can be adjusted. Sensor detects the presence of pill. An automated system releases pill according to customer input.
Waste detection system in water bodies - A floating monitoring system which detects the quantity of strange objects floating around it and notifies authorities.
Smart LED control - ON/ OFF commands are given using smartphone via bluetooth.
Final Project
I discussed my ideas with instructor and decided to make an ultrasonic distance sensor lamp for my final project. The idea of a mood lamp came to me because I’ve wanted one for a long time—not for aesthetic purposes, but because I used to be afraid of sleeping in the dark 😅. During our discussion, the instructor also went over the available resources and the constraints I need to consider. A normal lamp just turns on and off or stays at the same brightness—there’s nothing special or interactive about it. I wanted something that reacts to its surroundings. Using a distance sensor makes the lamp more responsive and personal. For example, it can light up when someone comes close or dim when no one is around. That makes it feel more alive, like it’s aware of you. In my case, this kind of interaction adds comfort. Since the lamp is meant to help with fear of the dark and also create a cozy mood, having it respond to distance makes it more soothing and meaningful—not just another light source. The product is primarily intended for myself, but also for anyone who loves aesthetic mood lighting or feels uneasy sleeping in the dark.
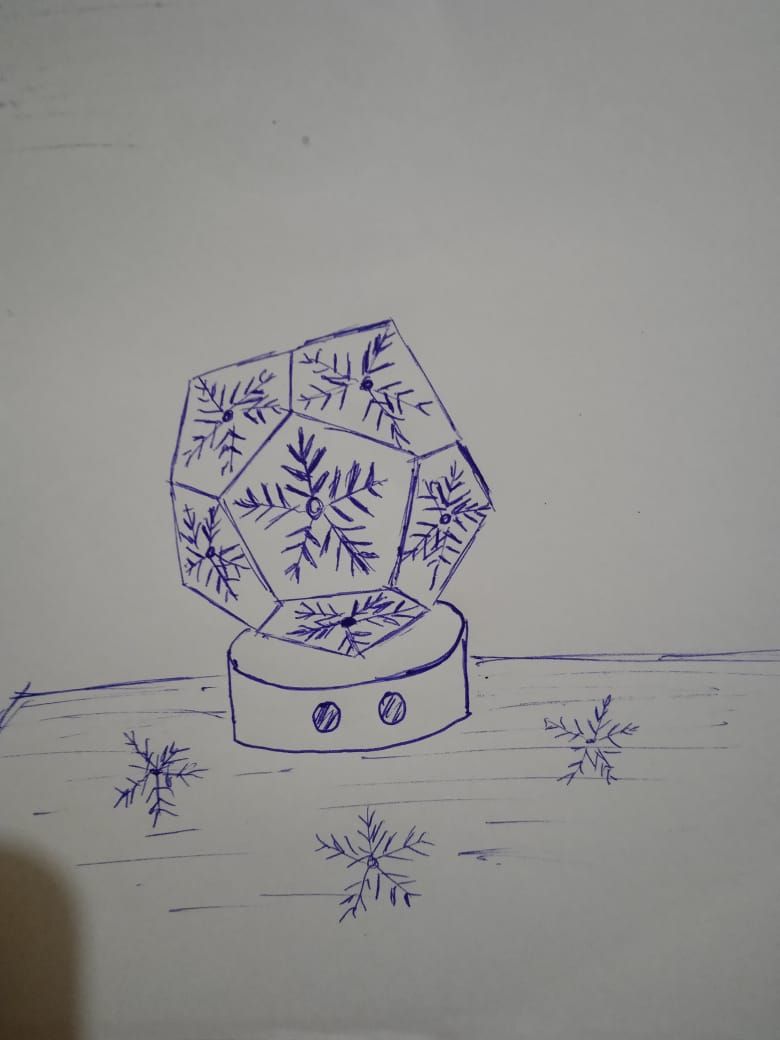
I’ve made an initial sketch to start exploring the design.
Features
- Proximity-Based Dimming
- Automatic Lamp Control
- Energy efficient
Work through a git tutorial
Setting Up Git
Git is a free, open-source version control system that tracks changes in files and allows multiple people to collaborate on projects. It enables users to revert to previous versions, branch out for parallel development, and merge changes efficiently.
Click here to download the latest version of Git.
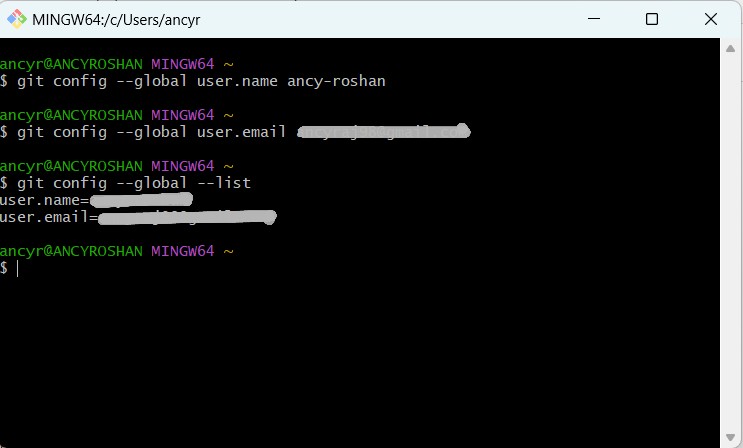
As I am using a Windows system, I downloaded Git Bash, which is a command line interface used to communicate with Git. Configure your name and email address using the following commands in Git Bash.
$ git config --global user.name "[username]"
$ git config --global user.email "[email]"
To ensure the configuration has been done properly
git config --global --list
Creating and adding SSH Keys
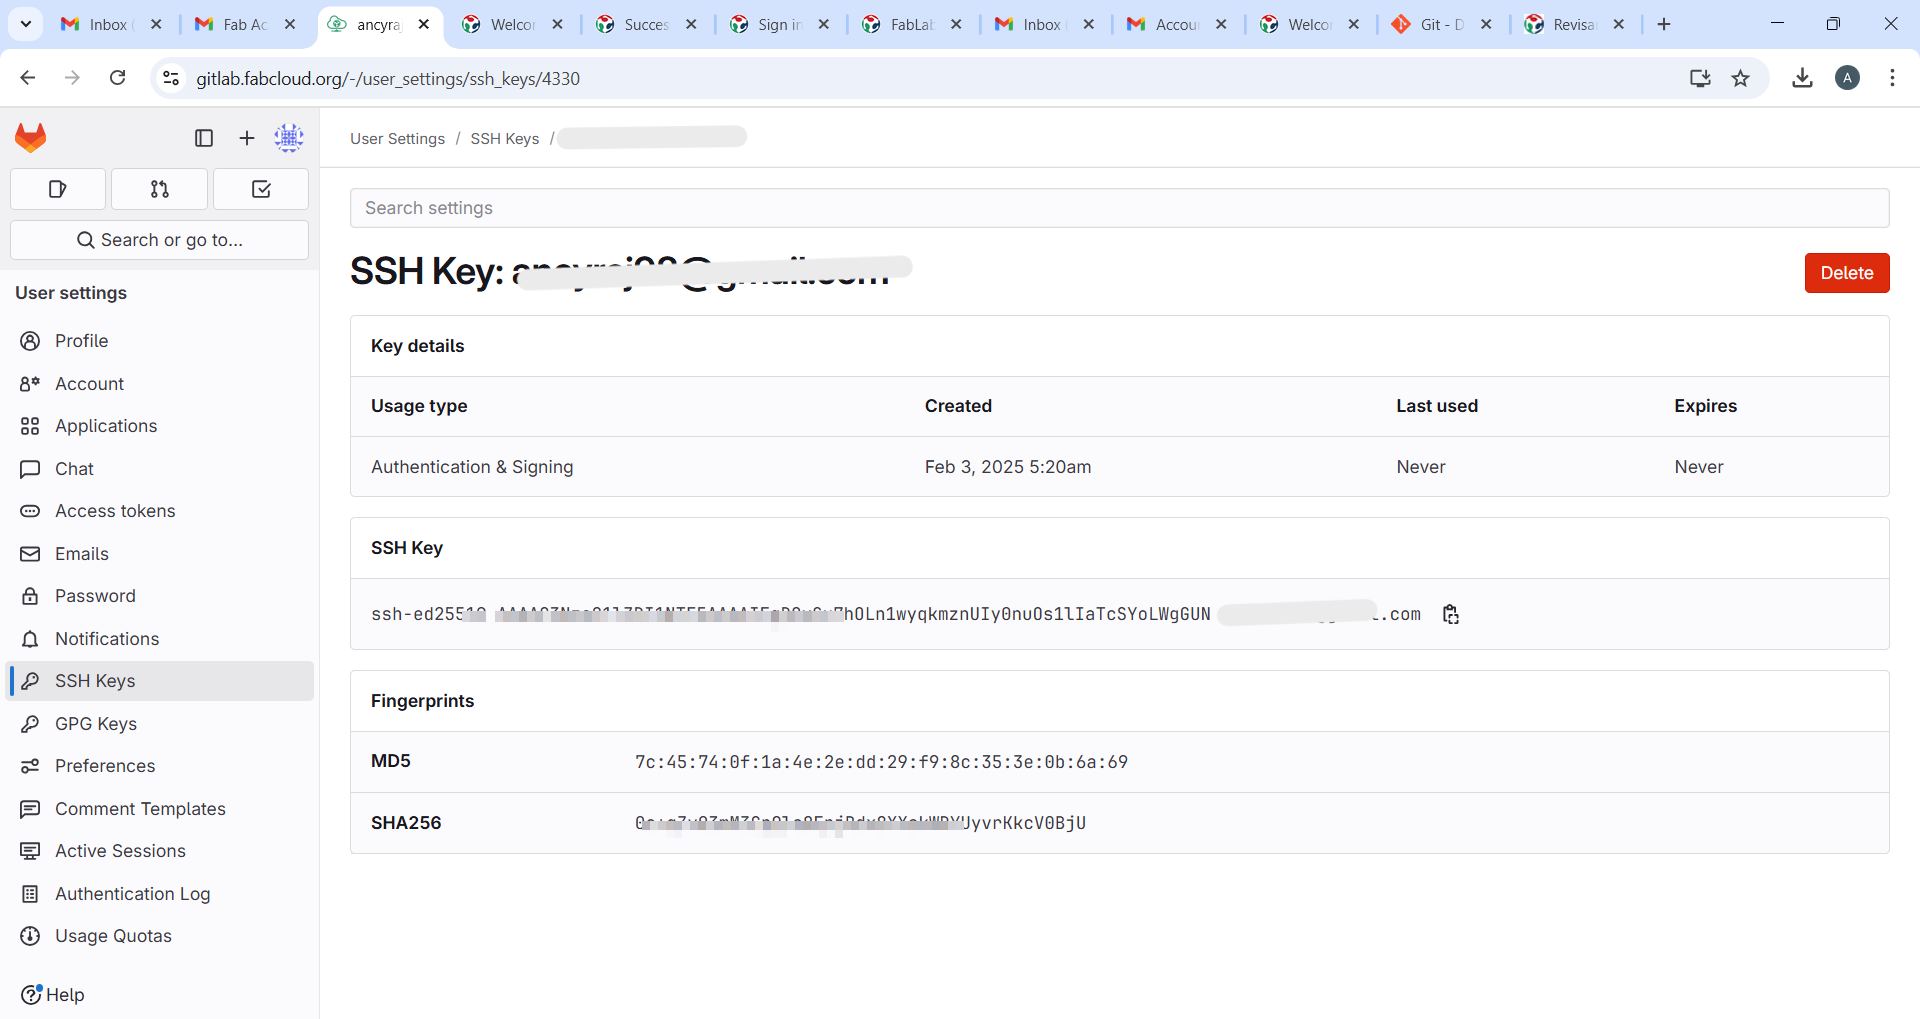
SSH keys are a secure way to authenticate and establish a connection between your local machine and GitLab repositories without using a username and password. An SSH key pair consists of a private key and a public key , allowing encrypted communication. Once set up, SSH keys enable secure, password-less Git operations.To create an SHH key pair enter
$ ssh-keygen -t ed25519 -C "[email]"

A public and private key pair has been generated in this file path.
/c/Users/[username]/.ssh
To add your public SSH key, Git Lab account->settings->SSH Key->Add. Copy paste your public SSH key.I added my public SSH key
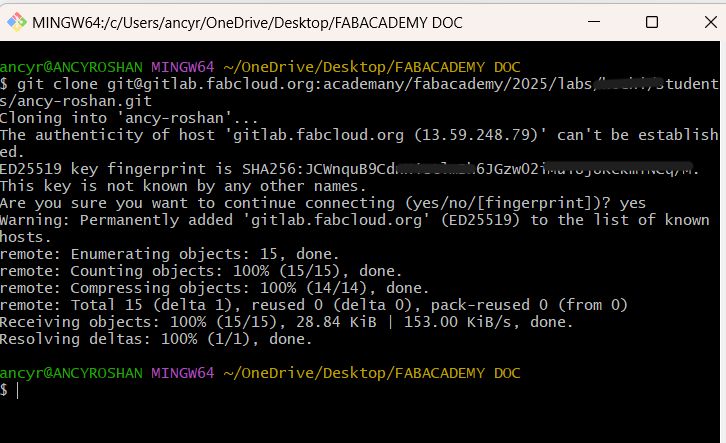
Cloning your repository
Copy the URL to clone with SSH key
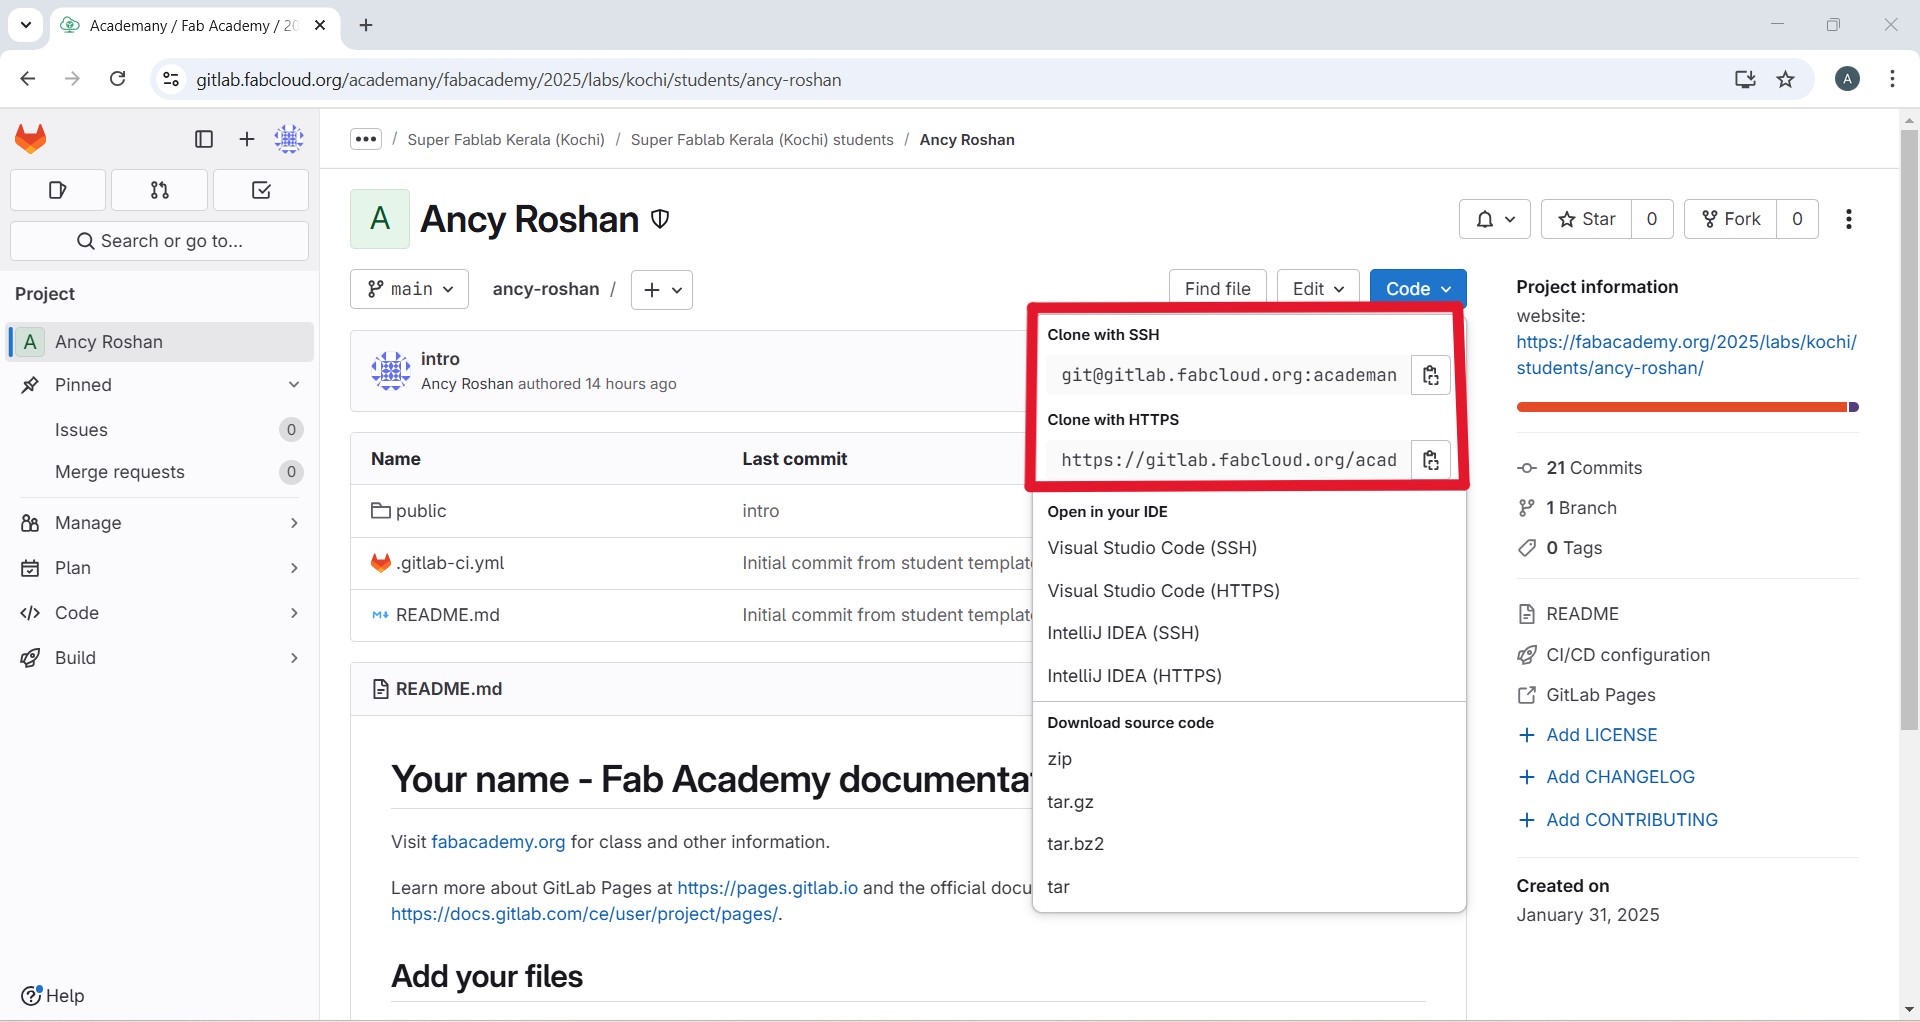
In Git Bash, type the command given below and press enter
$ git clone [Paste the copied URL]
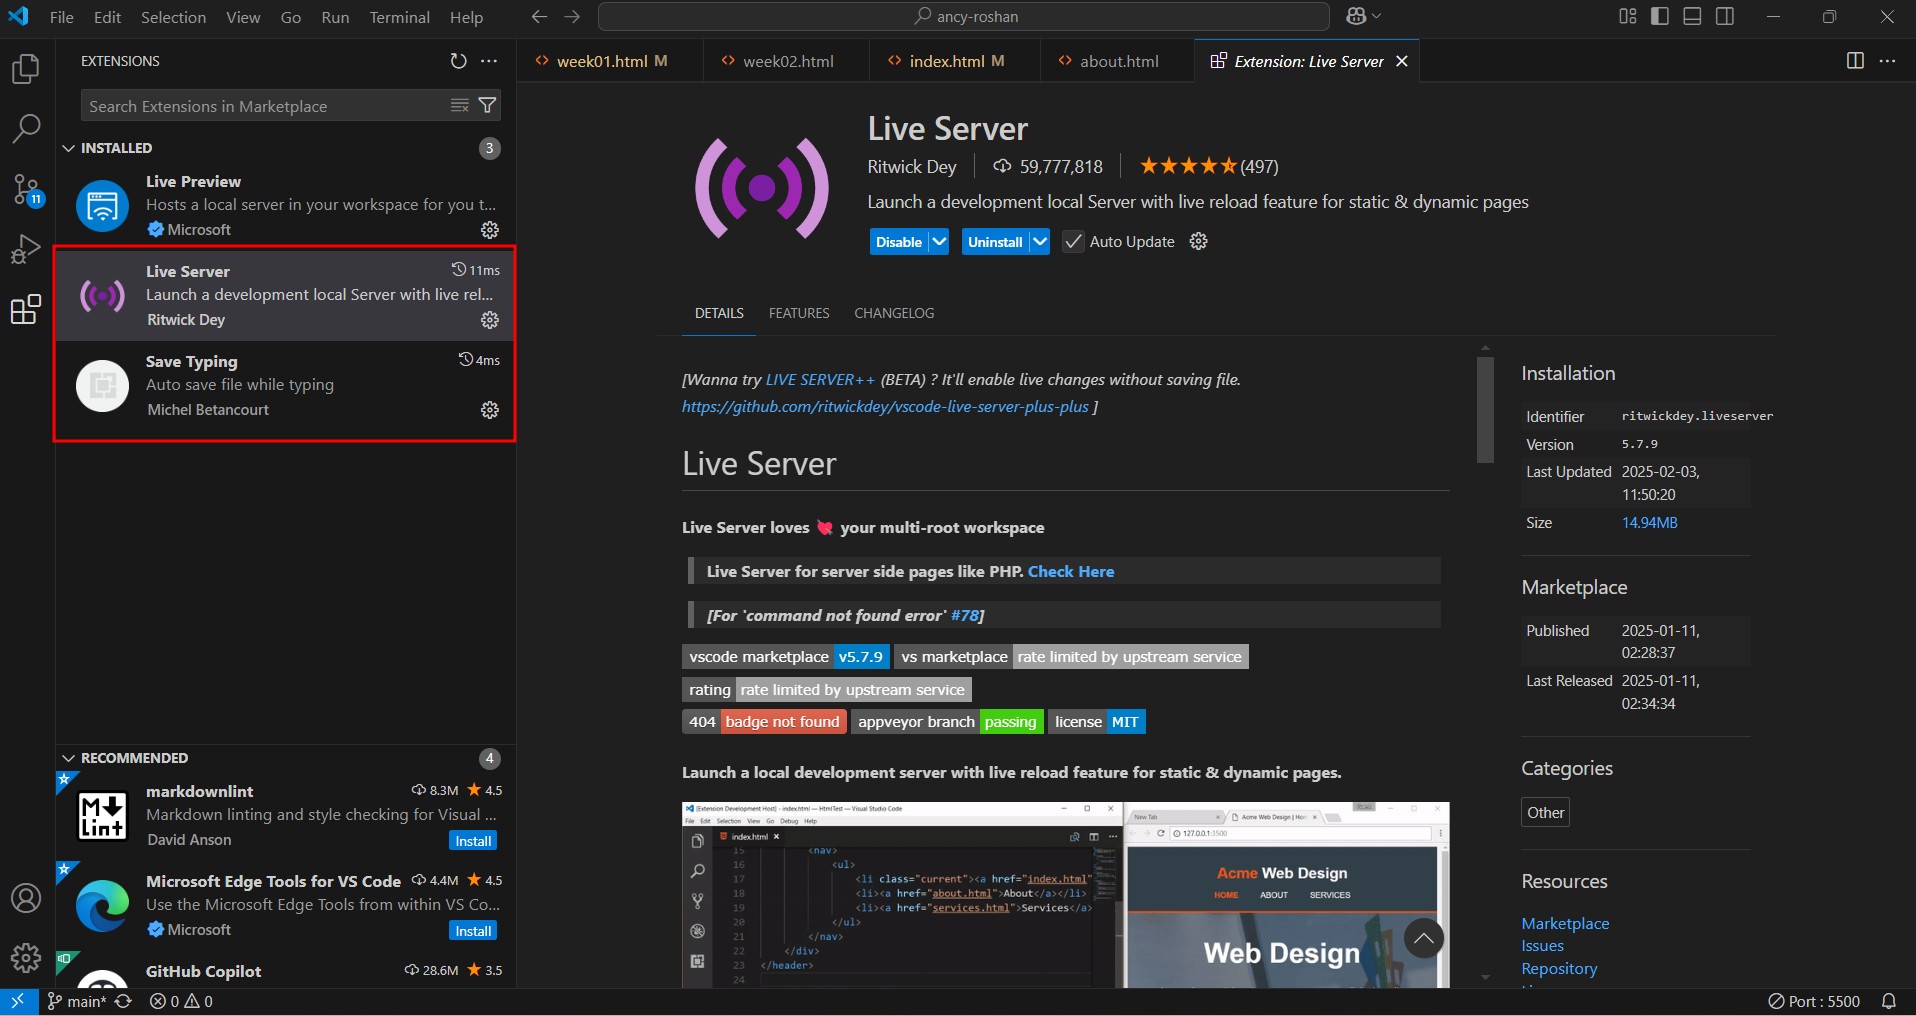
I installed Visual Studio Code.Visual Studio Code, commonly referred to as VS Code, is an IDE developed by Microsoft for Windows, Linux, macOS and web browsers. I installed Live Server and Save Typing and opened my file in it.Live Server is a VS Code extension that allows you to launch a local development server with live reloading for HTML, CSS, and JavaScript files. This means that whenever you save changes in your code, the browser automatically refreshes, showing the latest updates without needing to manually reload the page.Save typing" is not a specific feature, but it likely refers to auto-save, IntelliSense, or snippets in VS Code that reduce manual typing.
The following commands are used to make changes in our repository
git init, git status, git add, git commit, git log, git push
- git init - To create a local git repository in our store folder
- git status - To see what is changed since the last commit
- git add - To add a specific list of files
- git commit -m - To commit our changes and provide a message to remember for future reference.
- git log - To check the history of commits
- git push - To push the contents in our local repository to global repository
Read, sign the student agreement and commit it to your repo
I installed Visual Studio Code to work in html.
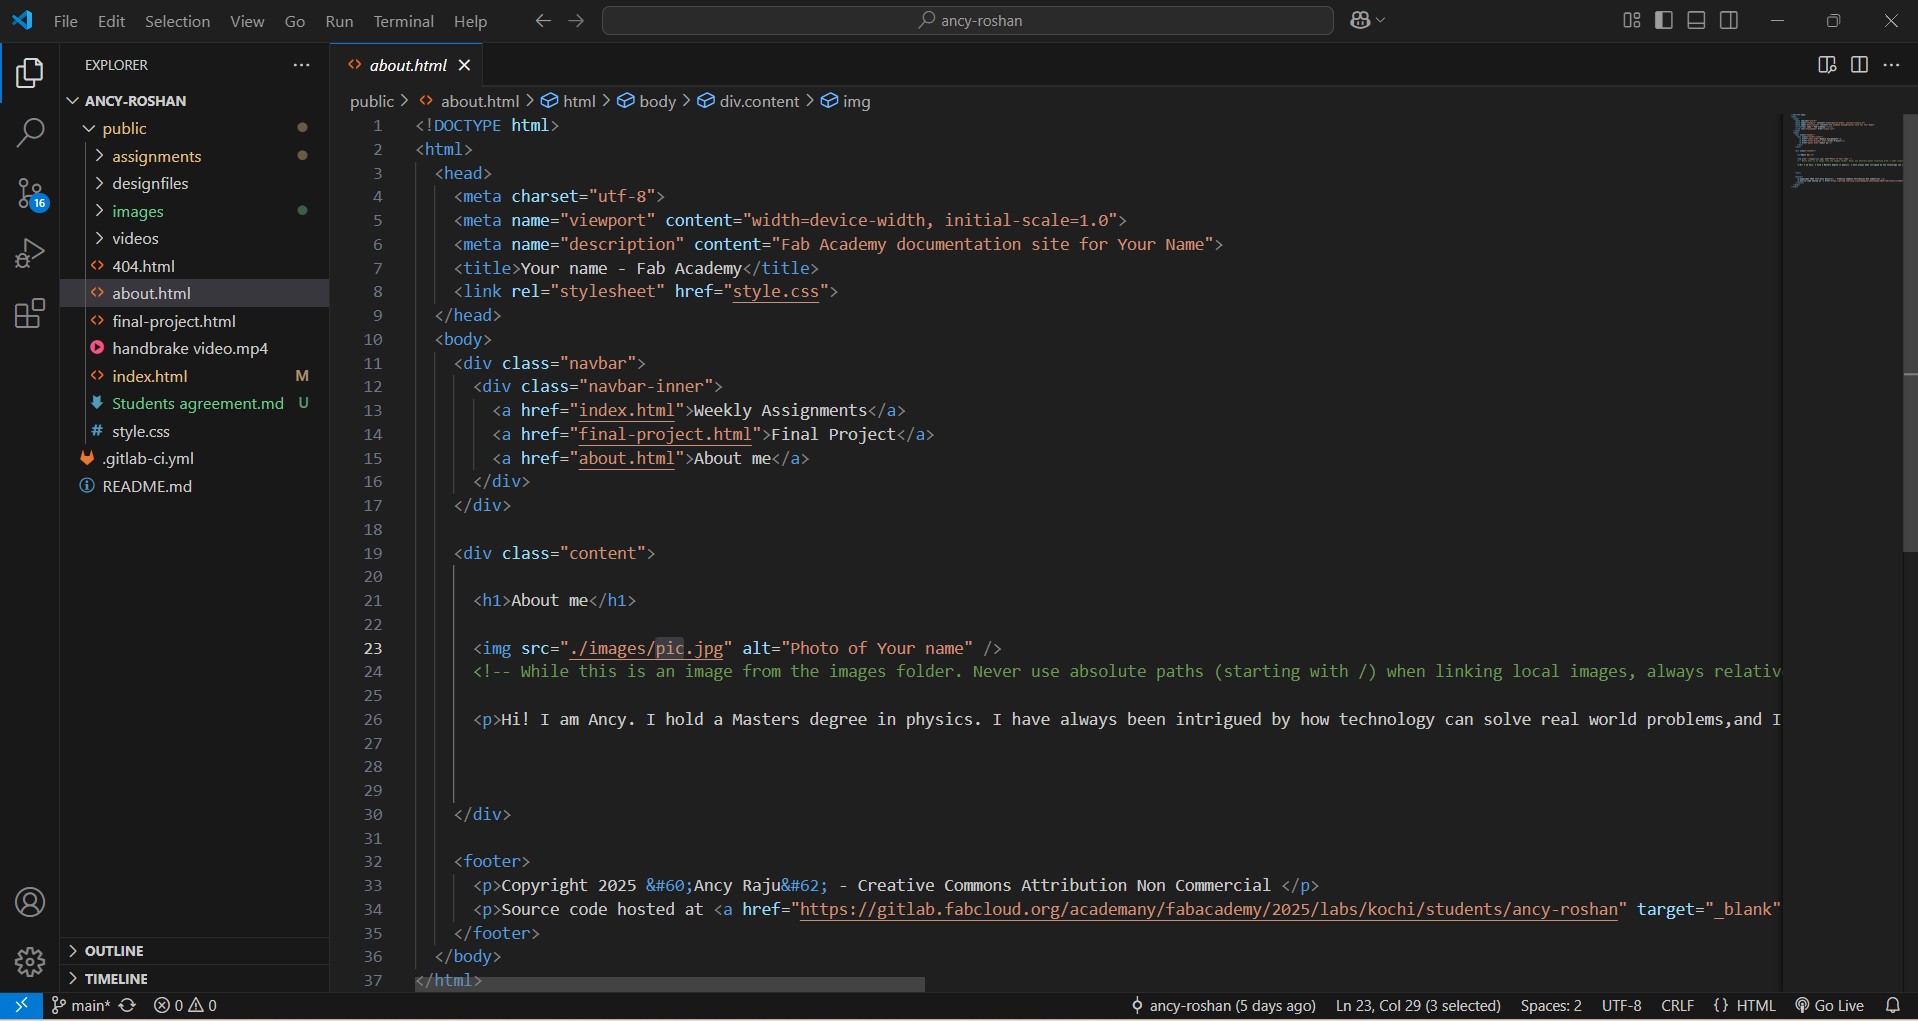
Save the student agreement as a .md file in your github repository. Open the file in Visual Studio Code and add your name.
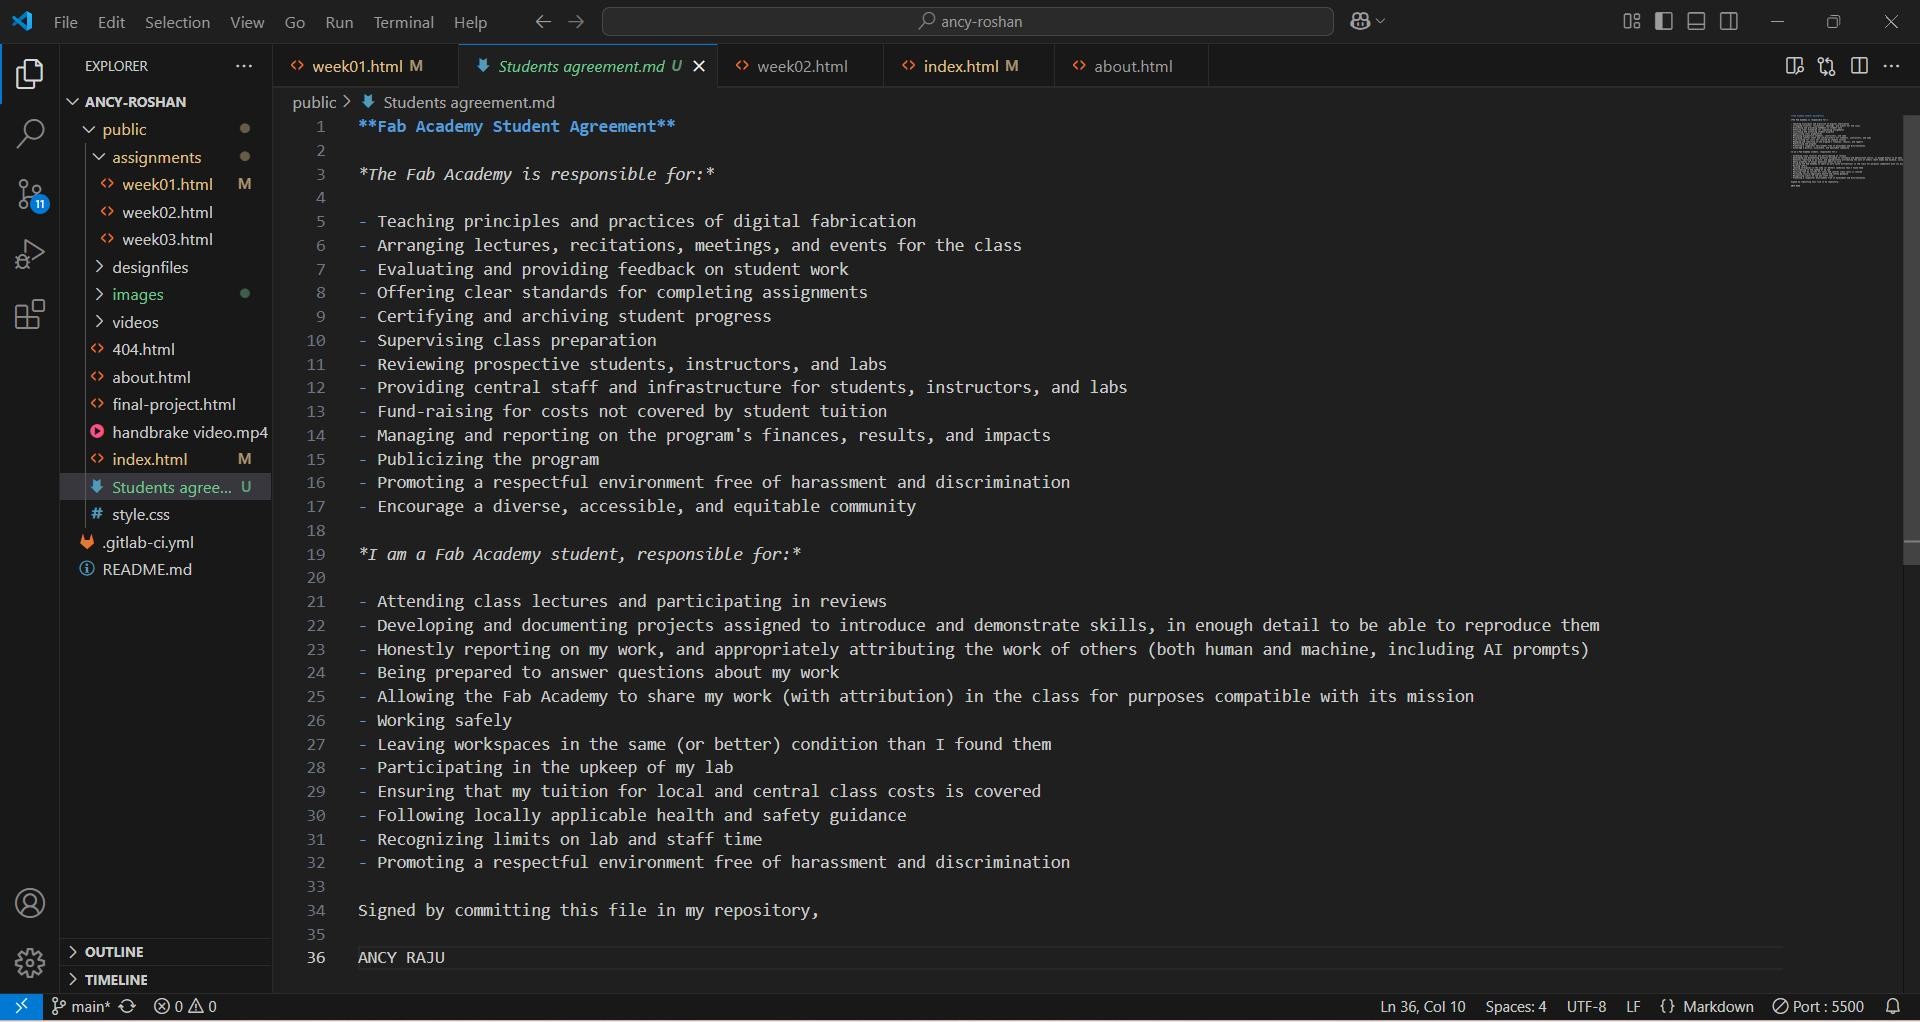
It is then linked to the website using anchor tool. The student agreement is attached in the bottom part of the page.
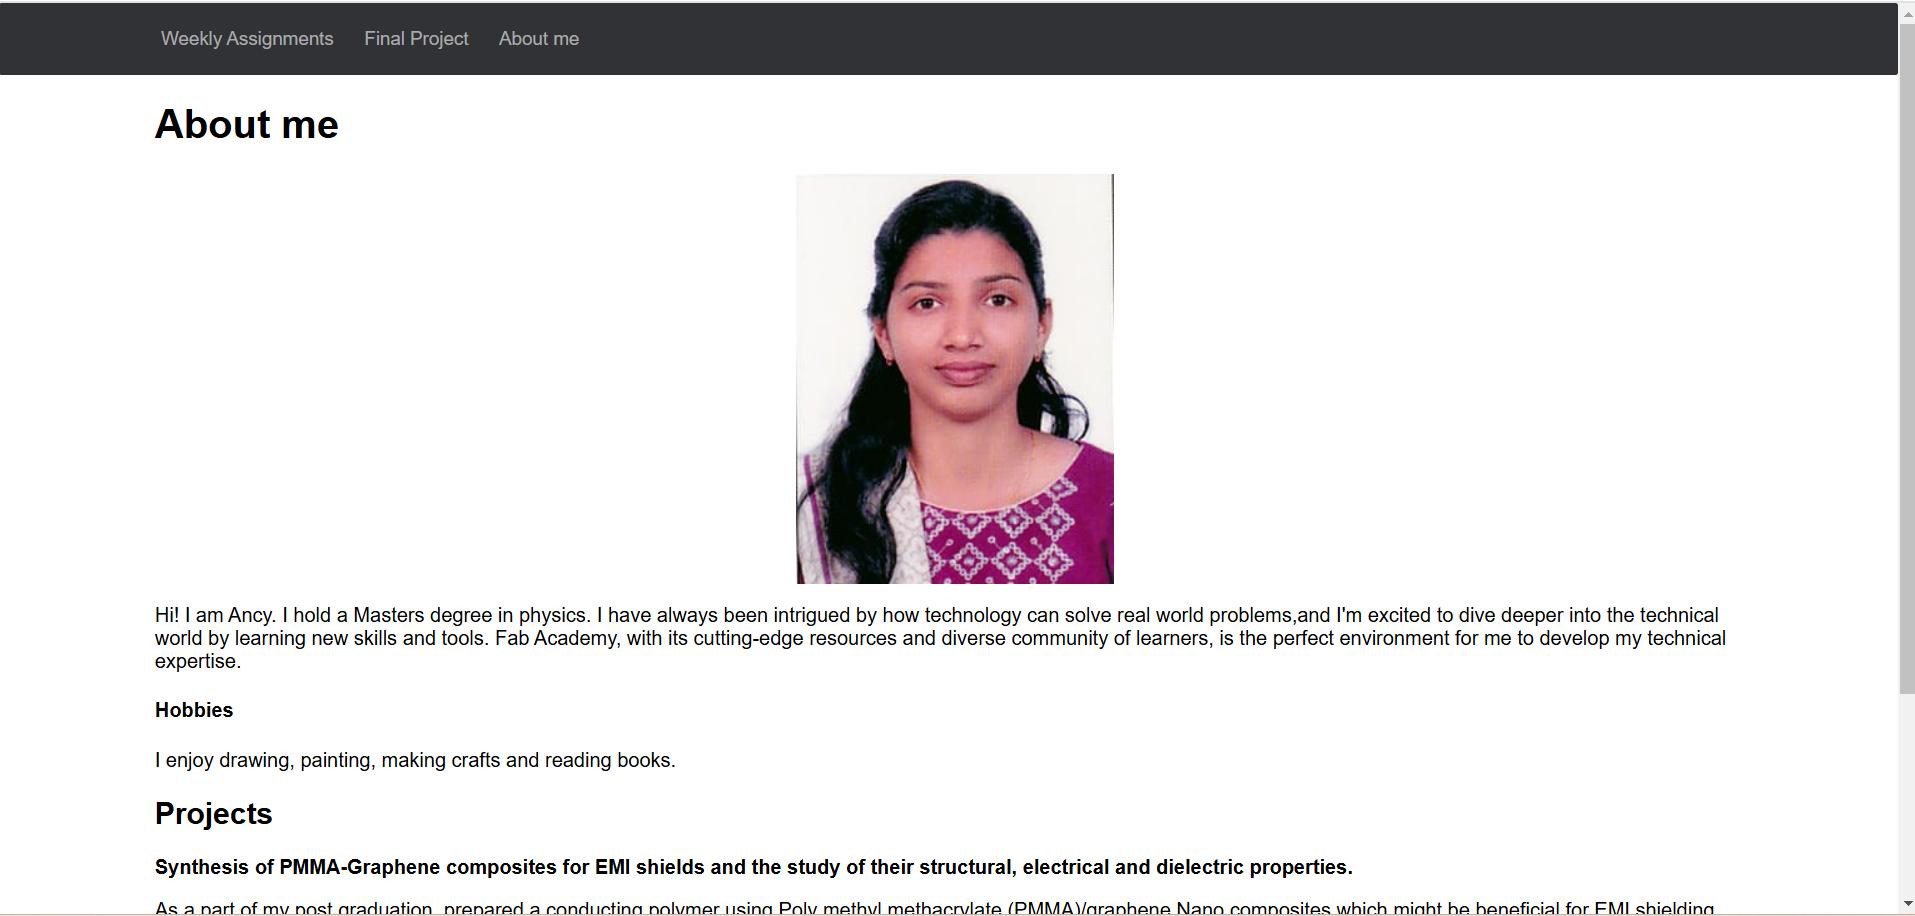
I edited my about page in the website

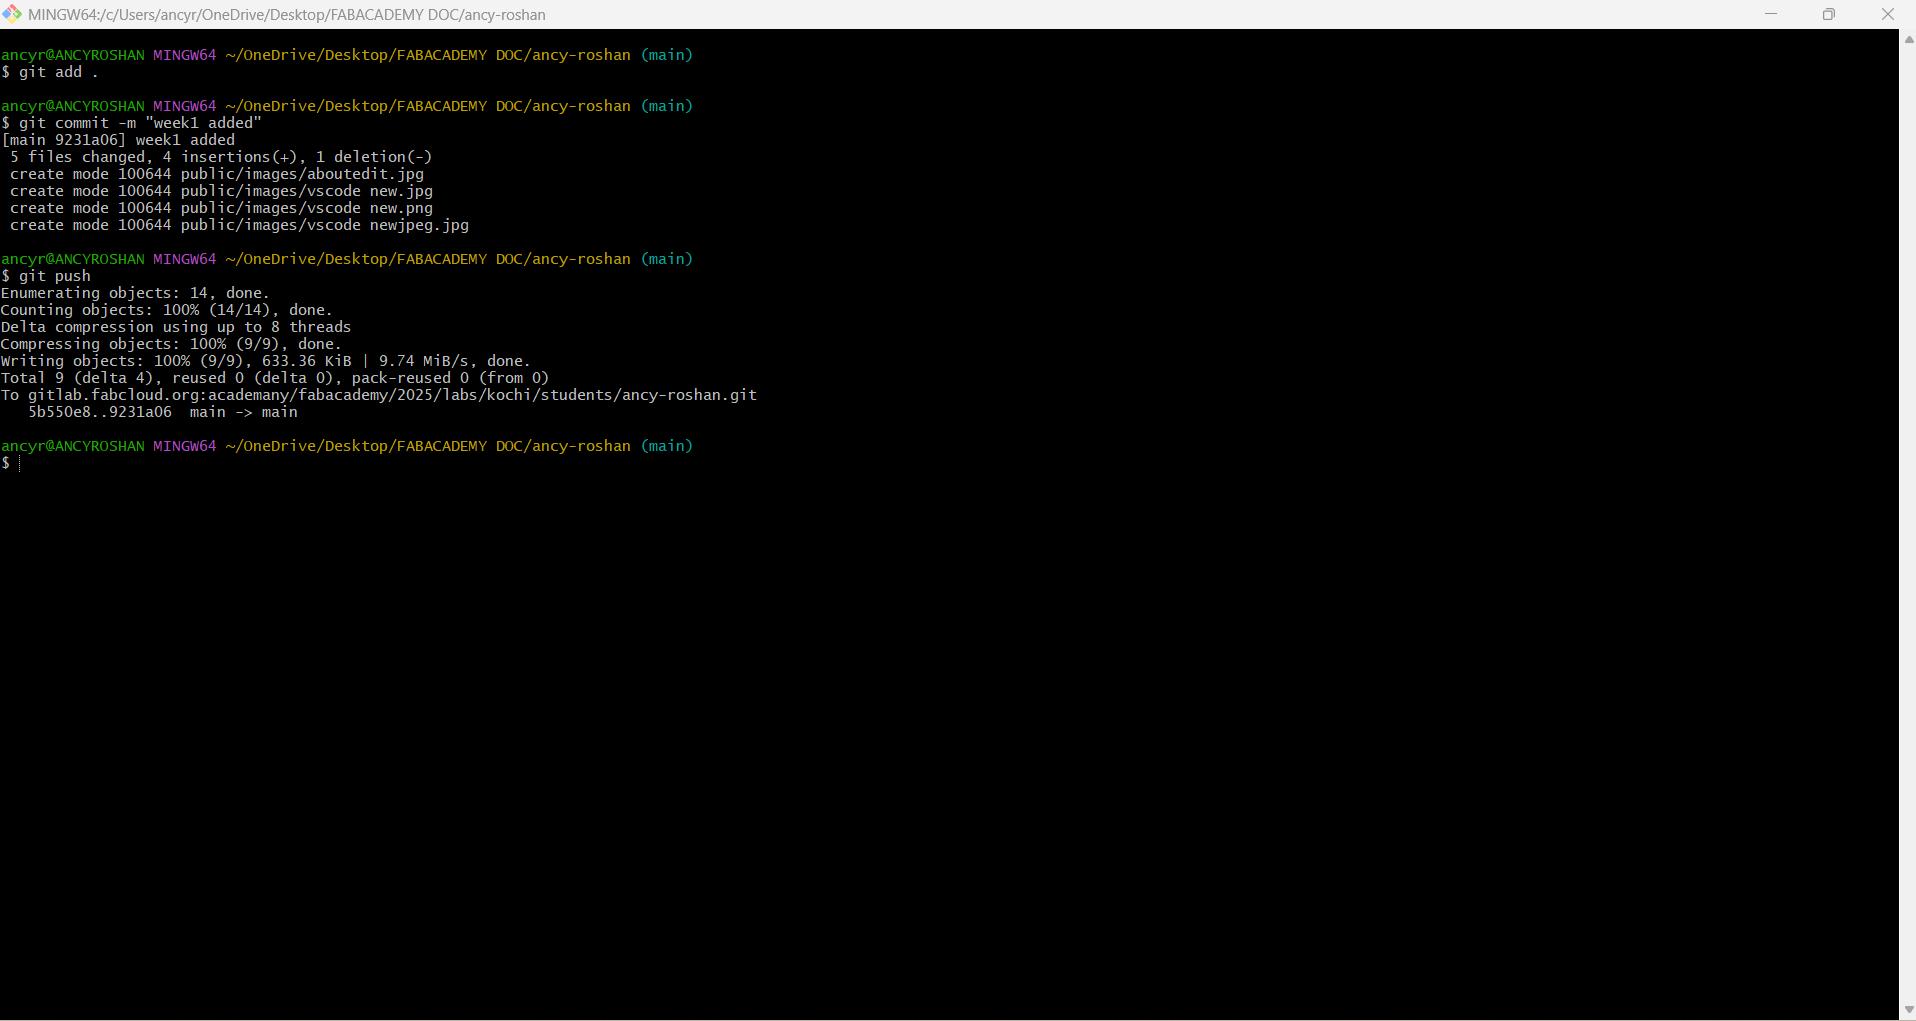
It is then pushed to remote repository using the commands git add .,git commit -m, git push
git add .
git commit -m "[Your message here]"
git push
Making changes in the website
I made changes in style.css to change my website. I changed the background color of the header. I also changed the font. The color of navigation bar was changed from #000000 to #0f2683. The font style was changed from san sherif to system-ui as shown below.

| |
 |
Conclusion
I selected a final project Idea, described about it and drew an initial sketch. I worked through git tutorial and learned to create a website.I read and signed student agreement and commited it in my repo. I updated my about page and final project page.