2. Principles and Practices#
The first week of Fab Academy started with a very steep learning curve for me, as I haven’t built a website in decades and have only indirectly followed the current trends in web development. In this part of the documentary, I want to describe my learning curve and discuss a few things that worked well and not so well. In the end, I’m happy with the result, but it took several attempts to get there.
First of all, I familiarized myself with w3school and watched a tutorial. The tutorial is available via the following Link.
I learned how to add changes on my documentation website to my Gitlab repository, how to check the status and how to commit and push the changes.
At the beginning, I cloned the repository provided for me by the Fab Academy organizers on my local machine. This required the following command on my Manjaro Linux system.
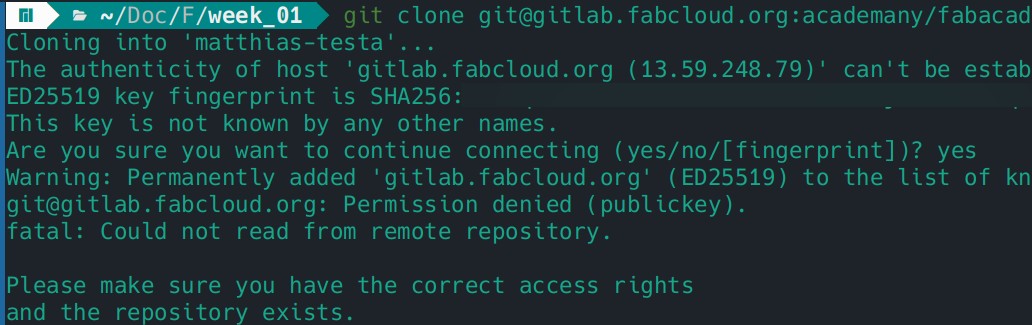
I got an error message because I have not yet successfully configured git or authenticated my account. To fix this error, it was necessary to execute the following commands:
git config –global user.name
git config –global user.email
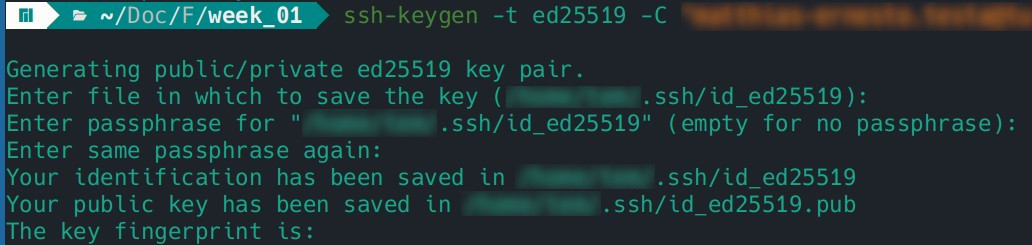
The next step was to generate and store the SSH key in my home directory on my local machine to establish a smooth communication between my GitLab account and my machine.
To familiarize myself with .html, git and my website I adjusted some things locally in index.html and added the first commit and added the changes to my repository.
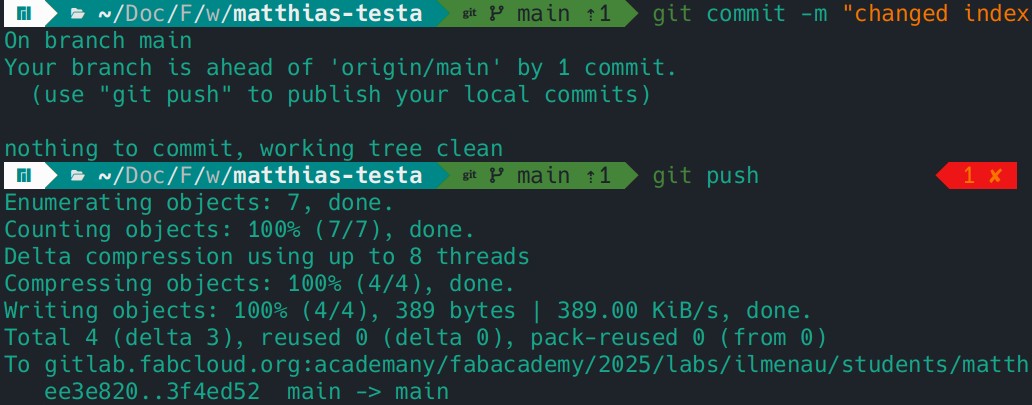
I have executed the following commands:
git status
git add .
git commit -m „your changes“
git push
After I successfully uploaded the first updated version of my website to the server, I got busy with static site generators. The first choice was to test Hugo. I had to download the necessary dependencies to my system in order to use the Hugo software in my test environment.
Following commands were necessary to start a Hugo test server locally:
hugo new site website
git clone https://github.com/alex-shpak/hugo-book.git
cd .
kate hugo.toml
hugo server

After I succesfully installed Hugo in my local environment I tried to use different templates. The first template I used was the Hugo Theme Stack.
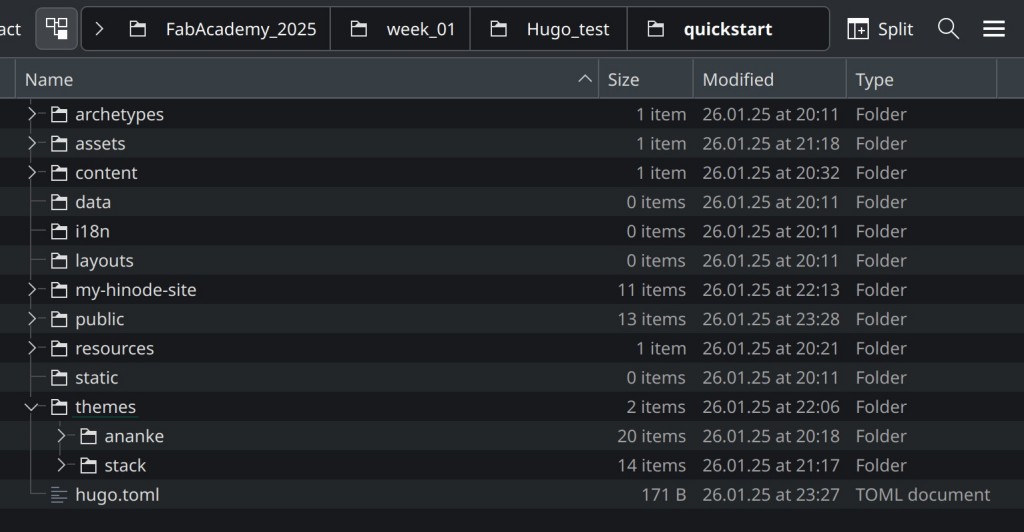
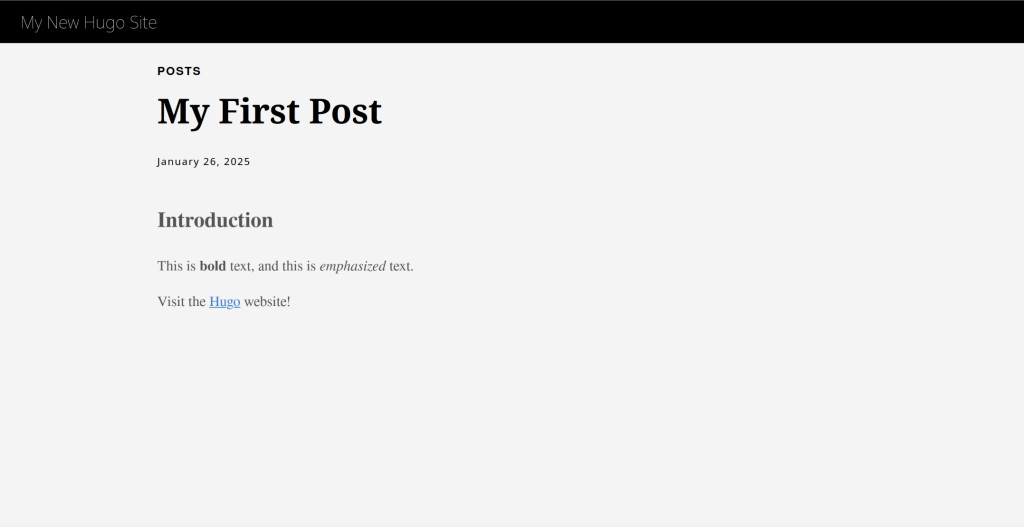
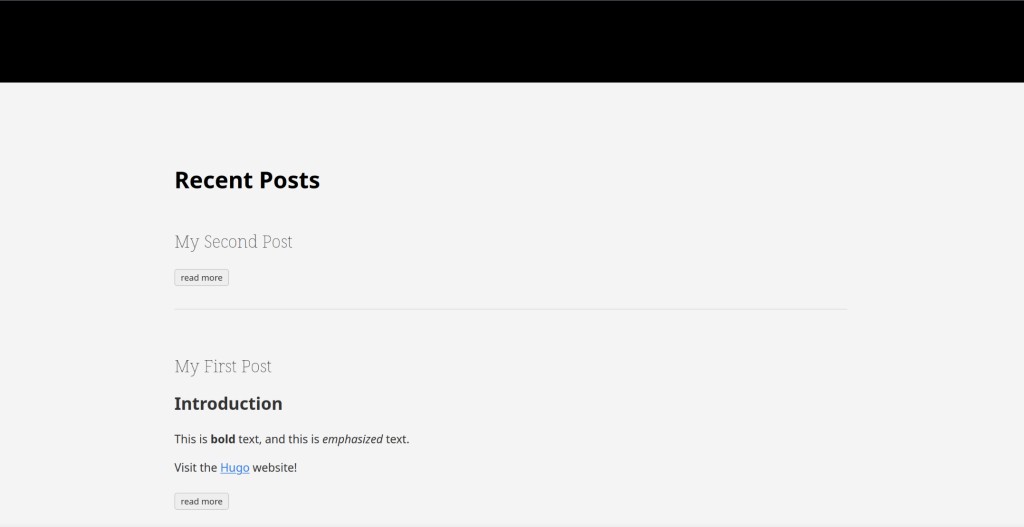
Here is a screenshot from my first post on my local Hugo website.
I did not manage to activate the Stack theme template. I also encountered a problem that my drafts are not shown.

After some work on my static website a figured out how to add the draft but I still did not manage to add the selected theme. I also asked a friend of mine, who took several hours to tackle the problem with me. Thank you very much, you know who you are. Unfortunately, we were unsuccessful.
To fix the problem with the template I tried to use the “old” Fab Academy Hugo template from this git repo: https://gitlab.fabcloud.org/academany/fabacademy/templates/
But I encountered the issue that the Hugo version which was used to create the template was too old and not compatible with my newer version of my Hugo installation. After several days and hours of work on my website I even broke my git repo and needed to revert everything back to the beginning.
I also lost some time because I kind of got hooked with another static site generator which is called Bridgetown. However, as I have no knowledge of Ruby on railsprogramming language, I was unfortunately unable to achieve any success with this approach.
In the end, I decided to look at the documentation from my fellow student Niclas and reproduce the steps, as he had already finished creating his website at the time. As a template I used the Book-Theme. You are seeing my final result at the moment. To achieve this result, I executed the following commands.
pip install sphinx sphinx-copybutton sphinx-book-theme myst-parser
pip freeze > requirements.txt
pacman -Syu --noconfirm python python-pip make rsync
python -m venv . && source bin/activate
pip install -r requirements.txt
make html
mkdir public
mv build/html/* public/
2.1. Learning Git and Version Control#
The first week of Fab Academy started with a very steep learning curve for me, as I haven’t built a website in decades and have only indirectly followed the current trends in web development. In this part of the documentary, I want to describe my learning curve and discuss a few things that worked well and not so well. In the end, I’m happy with the result, but it took several attempts to get there.
First of all, I familiarized myself with w3school and watched a tutorial available via the following Link.
I learned how to add changes on my documentation website to my Gitlab repository, how to check the status and how to commit and push the changes.
At the beginning, I cloned the repository provided for me by the Fab Academy organizers on my local machine.
I got an error message because I had not yet successfully configured git or authenticated my account. To fix this error, it was necessary to execute the following commands:
git config --global user.name "your name"
git config --global user.email "your@email.com"
The next step was to generate and store the SSH key in my home directory to establish smooth communication between my GitLab account and my machine.
To familiarize myself with git and my website I adjusted some things locally and added the first commit:
git status
git add .
git commit -m "your changes"
git push
2.2. Choosing a Static Site Generator#
After successfully setting up git, I got busy with static site generators.
2.2.1. Hugo — First Attempt#
The first choice was Hugo. Following commands were necessary to start a Hugo test server locally:
hugo new site website
git clone https://github.com/alex-shpak/hugo-book.git
hugo server
I tried the Hugo Theme Stack:
Here is a screenshot from my first post on my local Hugo website:
I did not manage to activate the Stack theme template and encountered problems with drafts not showing:
After some work I figured out how to add drafts but still could not add the selected theme. I also asked a friend who took several hours to tackle the problem with me — thank you, you know who you are. Unfortunately we were unsuccessful.
I also tried the old Fab Academy Hugo template from: https://gitlab.fabcloud.org/academany/fabacademy/templates/
But the Hugo version used to create the template was too old and not compatible with my newer installation. After several days I even broke my git repo and needed to revert everything back to the beginning.
2.2.2. Bridgetown — Dead End#
I also lost some time with another static site generator called Bridgetown. However, as I have no knowledge of Ruby on Rails, I was unable to achieve any success.
2.2.3. Sphinx + Book Theme — Final Solution#
In the end, I decided to look at the documentation from my fellow student Niclas and reproduce his steps. As a template I used the Book-Theme.
2.3. Final Setup on Pop!_OS 24.04#
After switching from Manjaro to Pop!_OS 24.04 on my Lenovo ThinkPad T14s Gen4 AMD, I reconfigured my entire development environment.
2.3.1. Git & SSH Configuration#
sudo apt install -y git
git config --global user.name "owo"
git config --global user.email "your@email.com"
Generated SSH key:
ssh-keygen -t ed25519 -C "your@email.com"
Added public key to FabCloud GitLab under Preferences → SSH Keys:
cat ~/.ssh/id_ed25519.pub

Created ~/.ssh/config for automatic authentication:
Host gitlab.fabcloud.org
   HostName gitlab.fabcloud.org
   User git
   IdentityFile ~/.ssh/id_ed25519
   PreferredAuthentications publickey
Tested connection:
ssh -T git@gitlab.fabcloud.org

Switched repository from HTTP to SSH:
git remote set-url origin git@gitlab.fabcloud.org:PATH/TO/REPO.git
2.3.2. Daily Git Workflow#
git status          # check what changed
git add .           # stage all changes
git commit -m "description of changes"
git push            # upload to FabCloud

2.4. Sphinx Local Setup#
Installed Sphinx in a virtual environment:
cd /Website/Name
python3 -m venv .venv
source .venv/bin/activate
pip install sphinx sphinx-copybutton sphinx-book-theme myst-parser sphinx-autobuild
Start local preview server:
sphinx-autobuild source build/html

Website preview at http://127.0.0.1:8000 🌐
2.5. Troubleshooting: SSH Agent CPU Bug#
During setup, multiple ssh-add processes got stuck consuming
84% CPU each, causing ~18W battery drain instead of normal ~7W.
Discovered with:
ps aux --sort=-%cpu | head -20
Fixed with:
pkill -9 ssh-add
pkill -9 ssh-agent
eval $(ssh-agent -s)
ssh-add ~/.ssh/id_ed25519
Permanent fix added to ~/.bashrc:
if [ -z "$SSH_AUTH_SOCK" ]; then
   eval $(ssh-agent -s)
   ssh-add ~/.ssh/id_ed25519
fi
Battery consumption dropped from ~18W to ~7W ✅
2.6. Problems & Solutions#
Problem |
Solution |
|---|---|
Hugo theme not working |
Switched to Sphinx + Book Theme |
Hugo template too old |
Incompatible with newer Hugo versions |
SSH connection timing out |
Created ~/.ssh/config |
Repository cloned via HTTP |
Switched remote URL to SSH |
pip not found |
Used python3 -m venv + virtual environment |
ssh-add stuck at 84% CPU |
Killed processes, added ~/.bashrc fix |
2.7. Reflections#
2.7.1. What went well#
Sphinx + Book Theme works perfectly ✅
Git + SSH workflow understood ✅
SSH setup successful on first try ✅
2.7.2. What went wrong#
Hugo theme problems cost several days
Bridgetown too complex without Ruby knowledge
Git repo broke once, had to start over
ssh-add processes hung silently in background
2.7.3. What I would do differently#
Start with Sphinx immediately instead of trying Hugo
More time for planning, less for tool exploration
Check running processes after SSH setup