3D Scanning and Printing
This week, as a Fab Lab, we first started with our group assignment. We tested our four printers' design rules by printing the same design and comparing the outputs. In particular, I arranged the printers and fixed their problems when occured. I also shared my thoughts on the outputs to indicate the differences between them. Then, I documented the whole process.
You can access our group assignment through this link
In addition to contributing to the weekly assignment, I designed and printed my 3D object that could not be made subtractively. I also scanned my face.
3D Printing
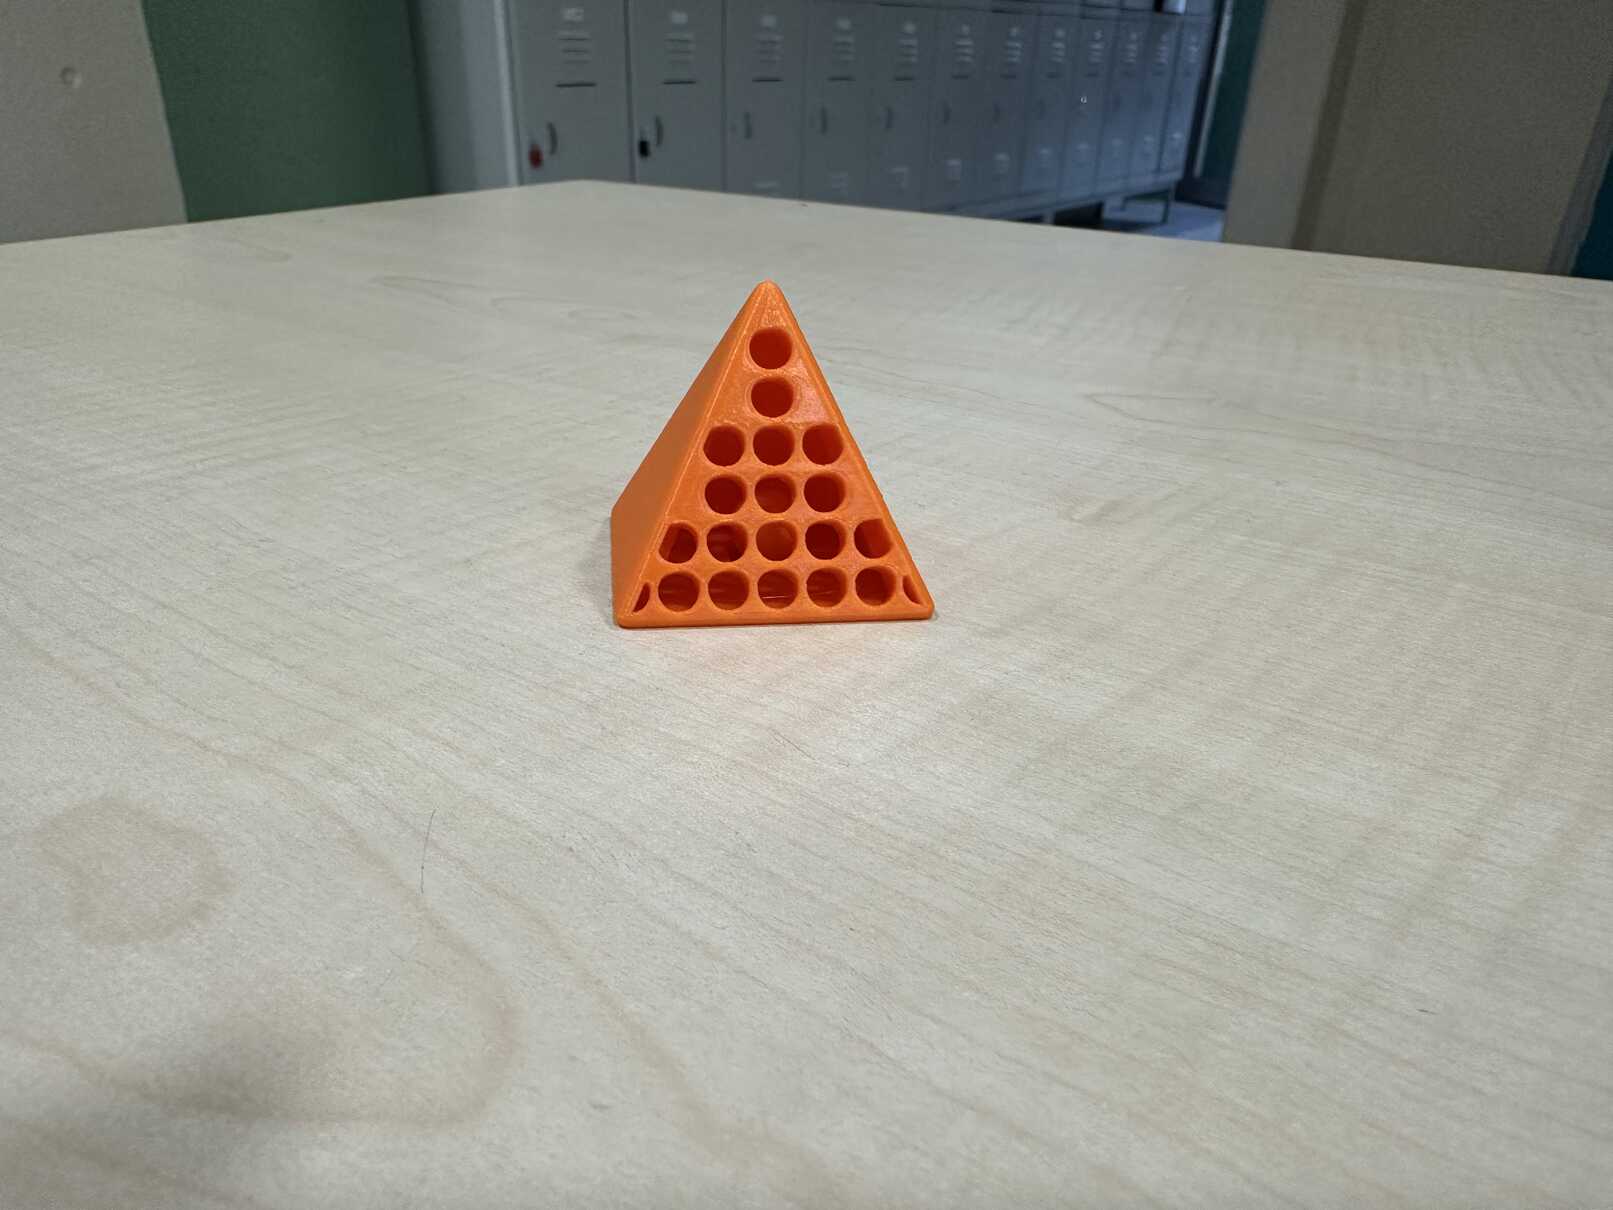
My final 3D object consists of a pyramid with a ball inside. I printed it using a Bambu Lab A1 3D printer and the Creality Hyper PLA filament. It looks like the following image.
I will first explain the Fusion 360 design process of my pyramid.
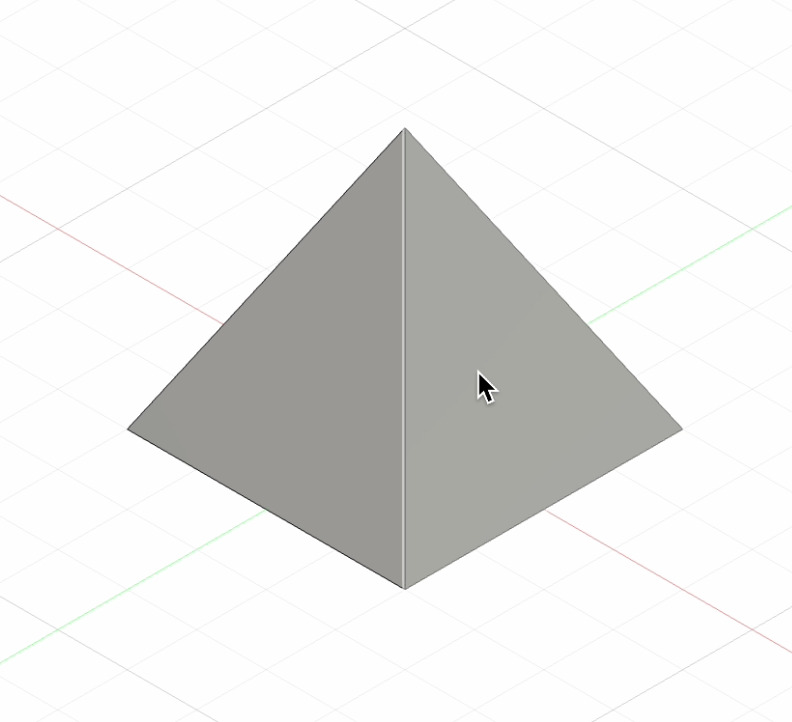
- I sketched a square with a side of 40 mm.
- I then extruded the square to add a height of 40 mm.
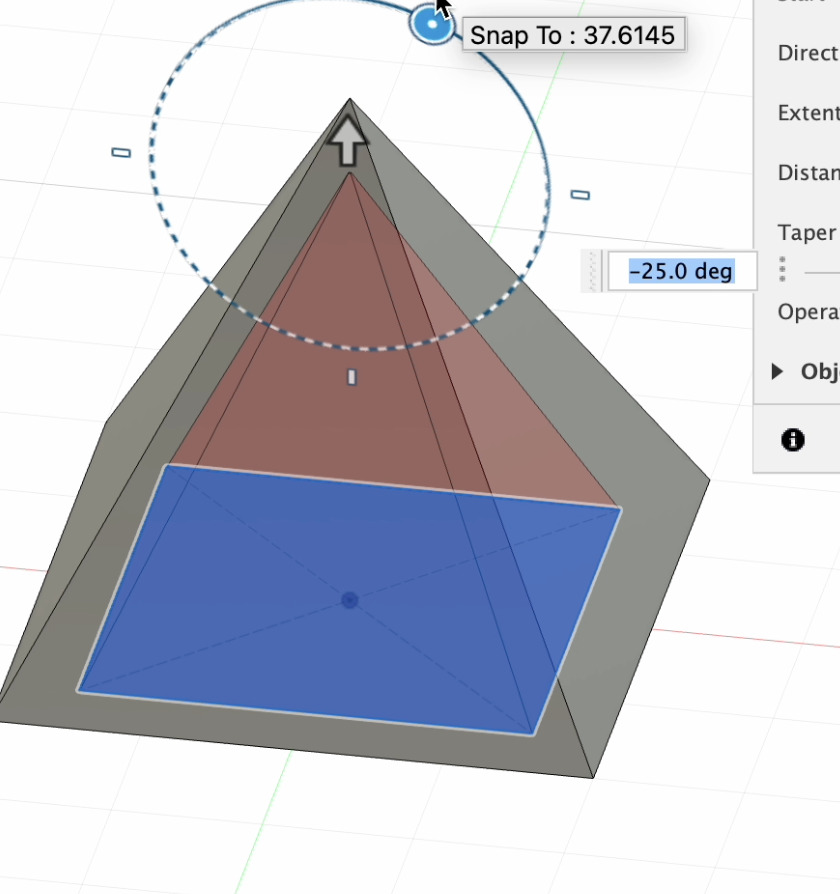
- Afterward, I tapered the angle by -28 degrees to make it a pyramid from a cube.
- Then, I created another pyramid inside of my original pyramid to remove its inside.
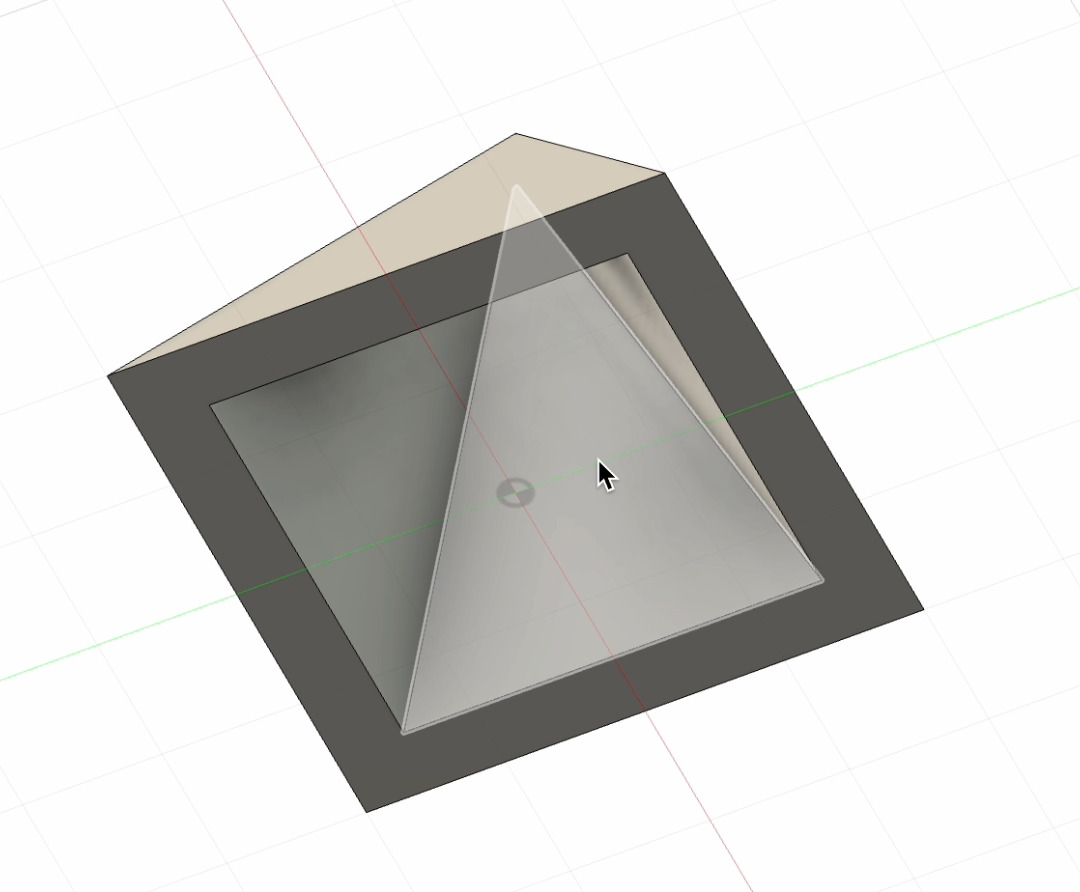
- Afterward, I put a ball inside and alligned its position.
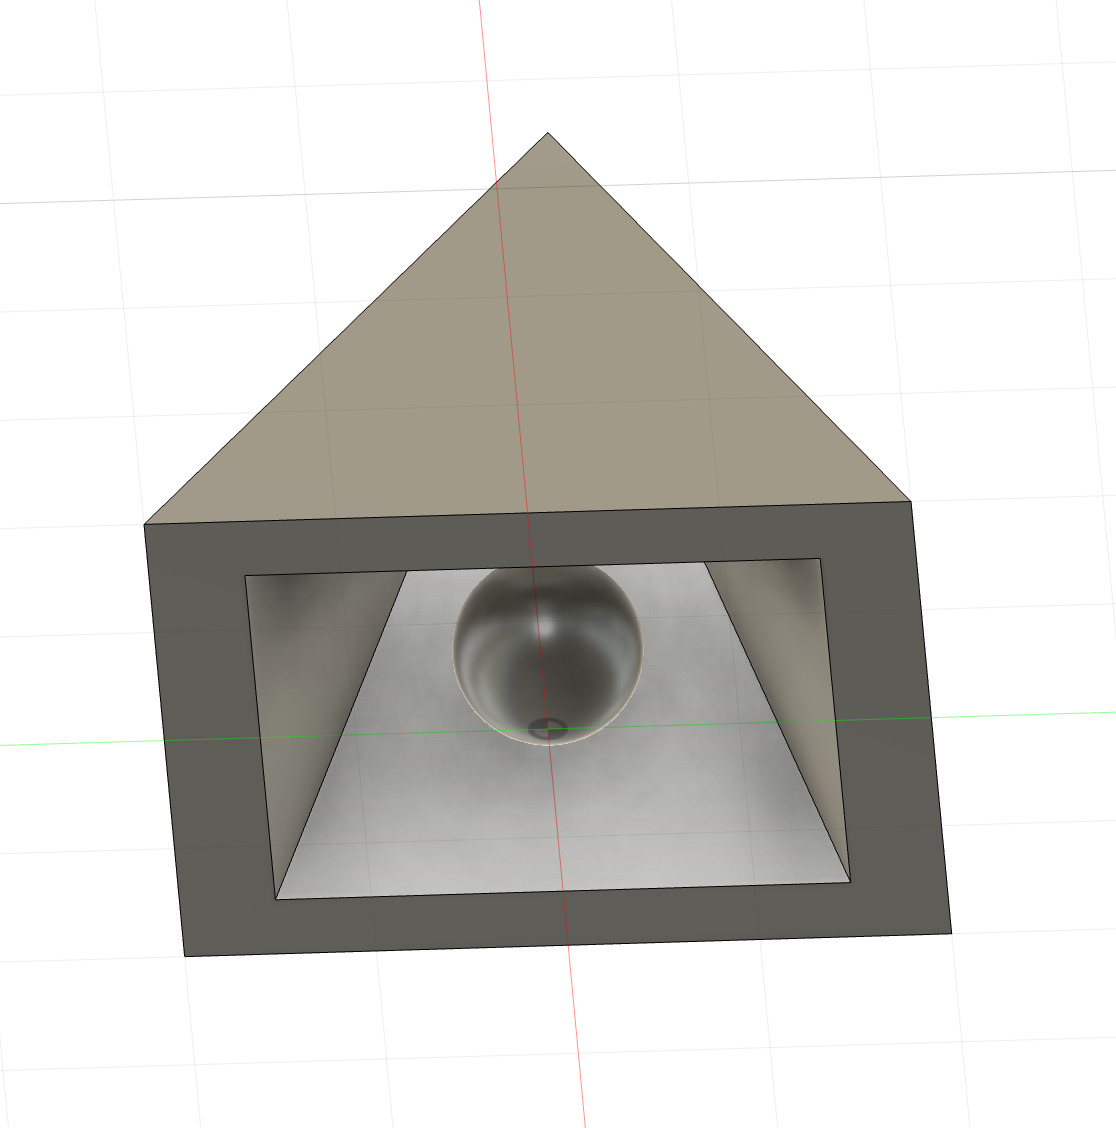
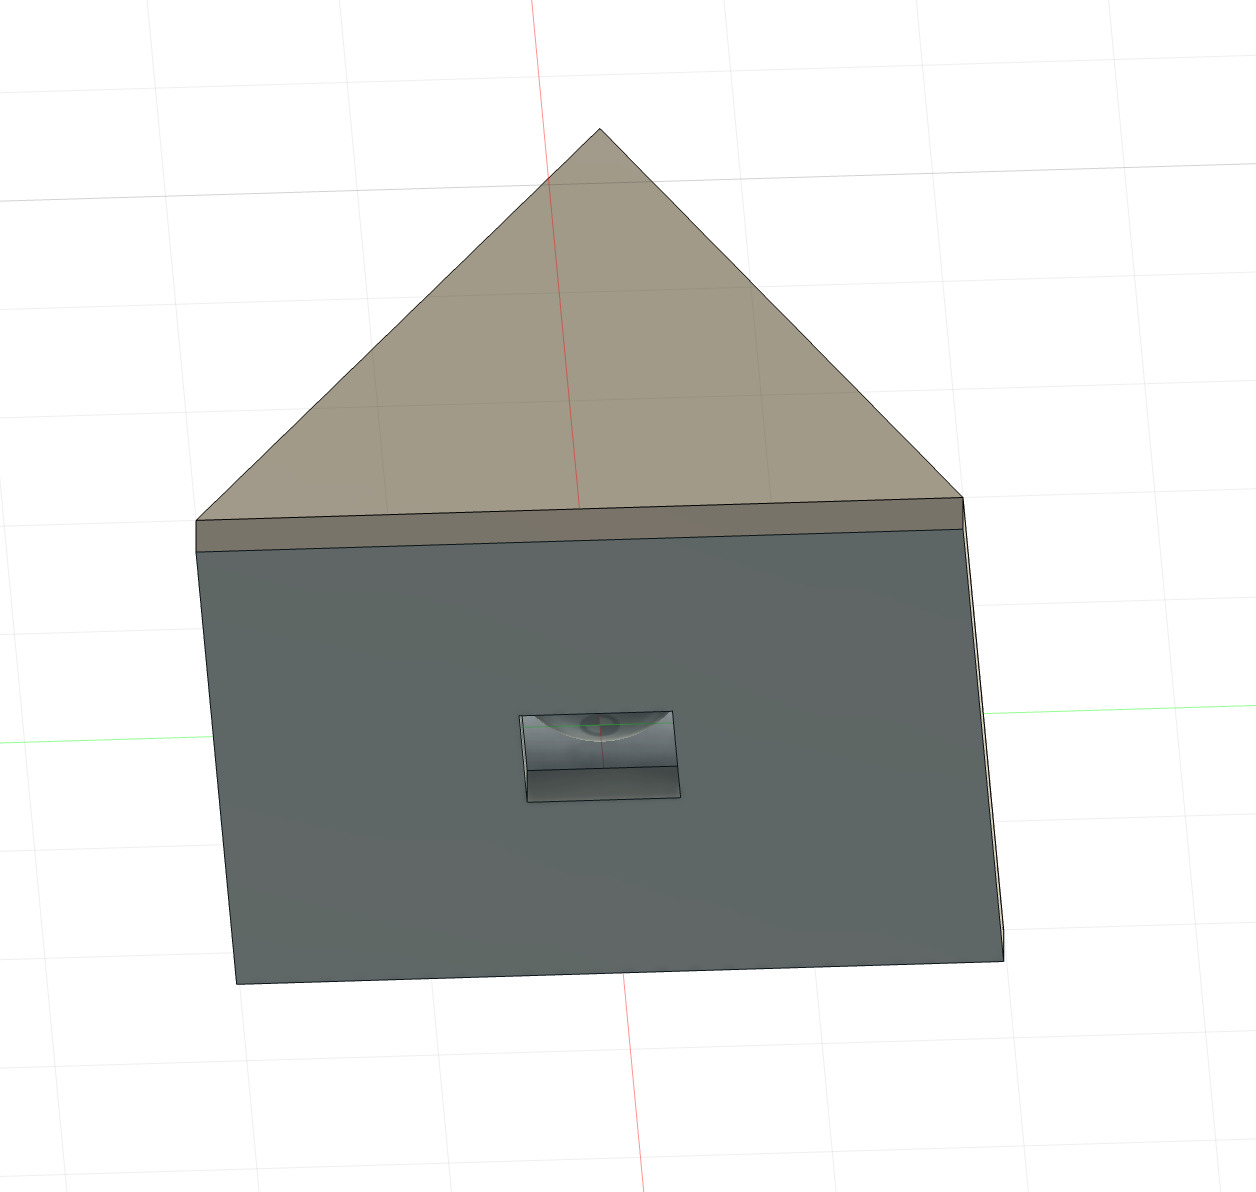
- I used the offset tool to have a tiny hole at the bottom of the pyramid and to fill out all the remaining area.
- Using the fillet tool, I rounded off all the edges.
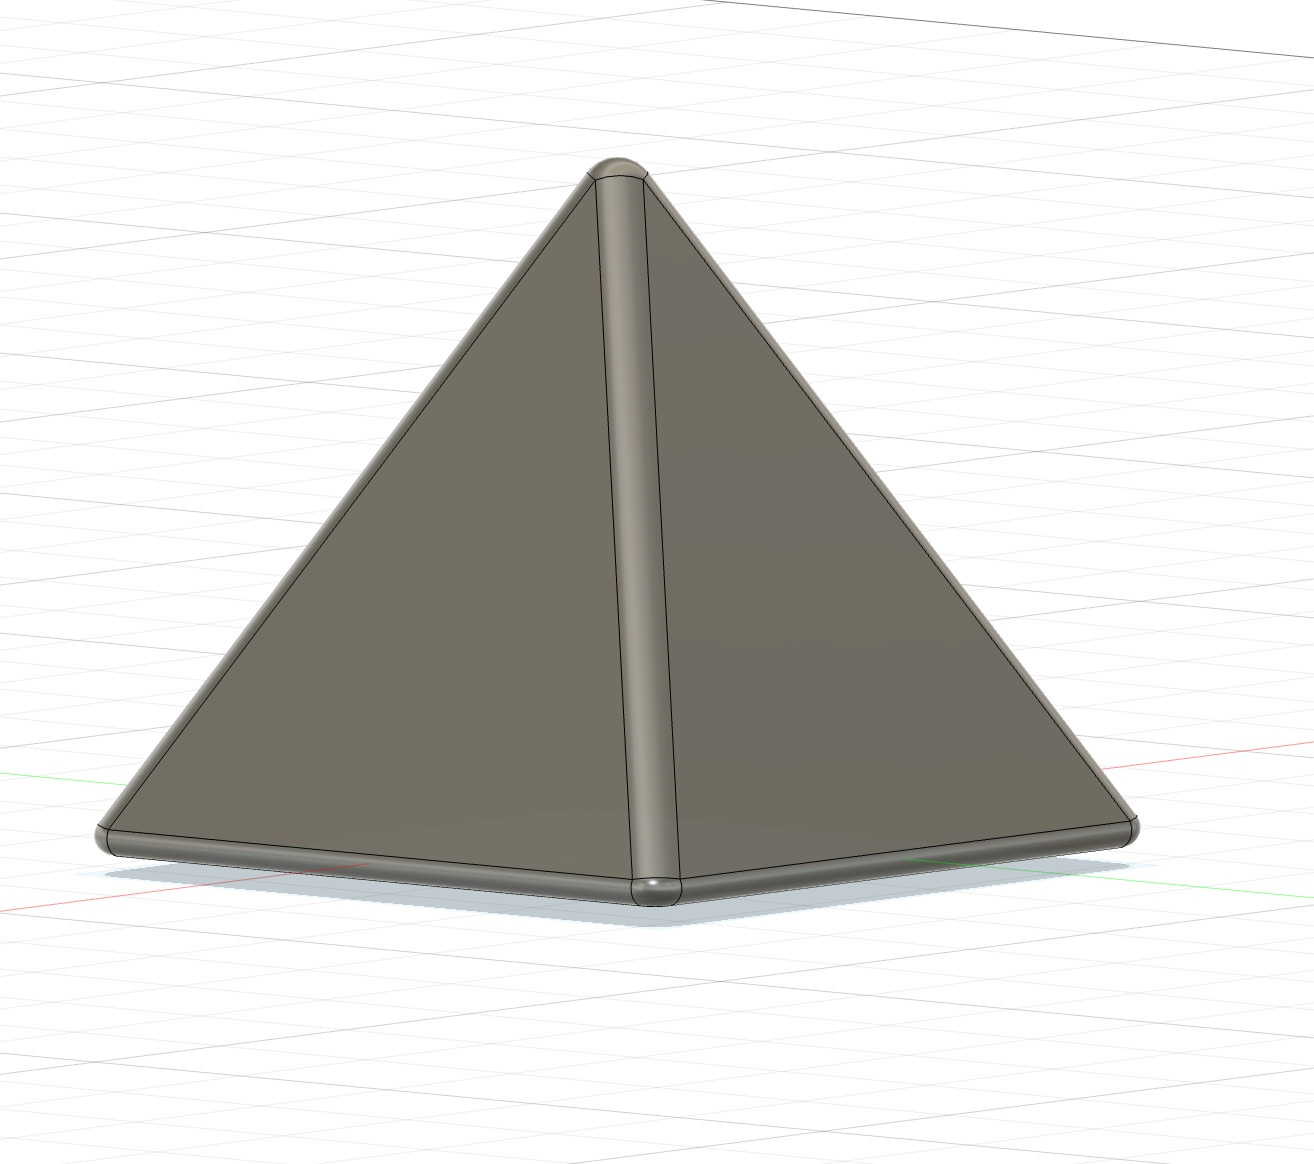
My design was now ready, and I printed it.
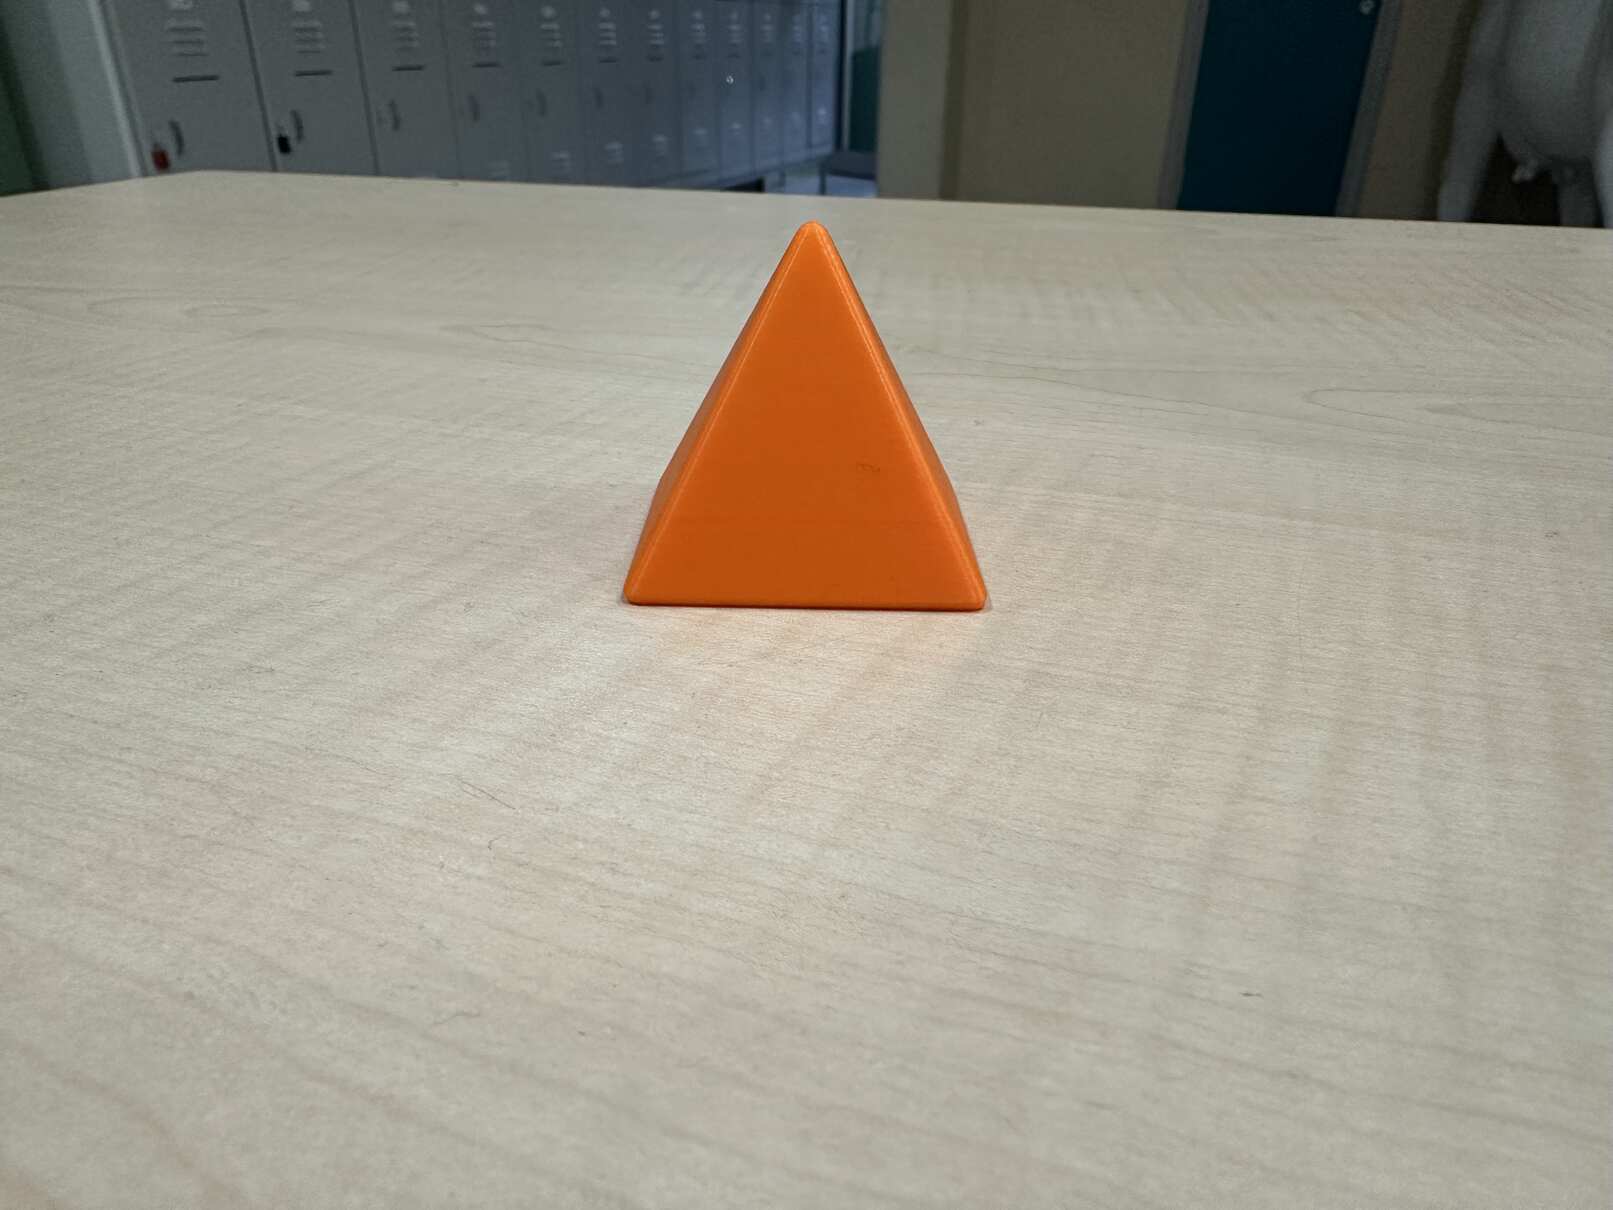
However, I was not satisfied with my pyramid as it was not possible to see inside, and the ball got damaged during the print process. Therefore, I went back to my design.
- I first opened a single hole by extruding a circle.
- Then, I created a pattern of holes all around one side of the pyramid.
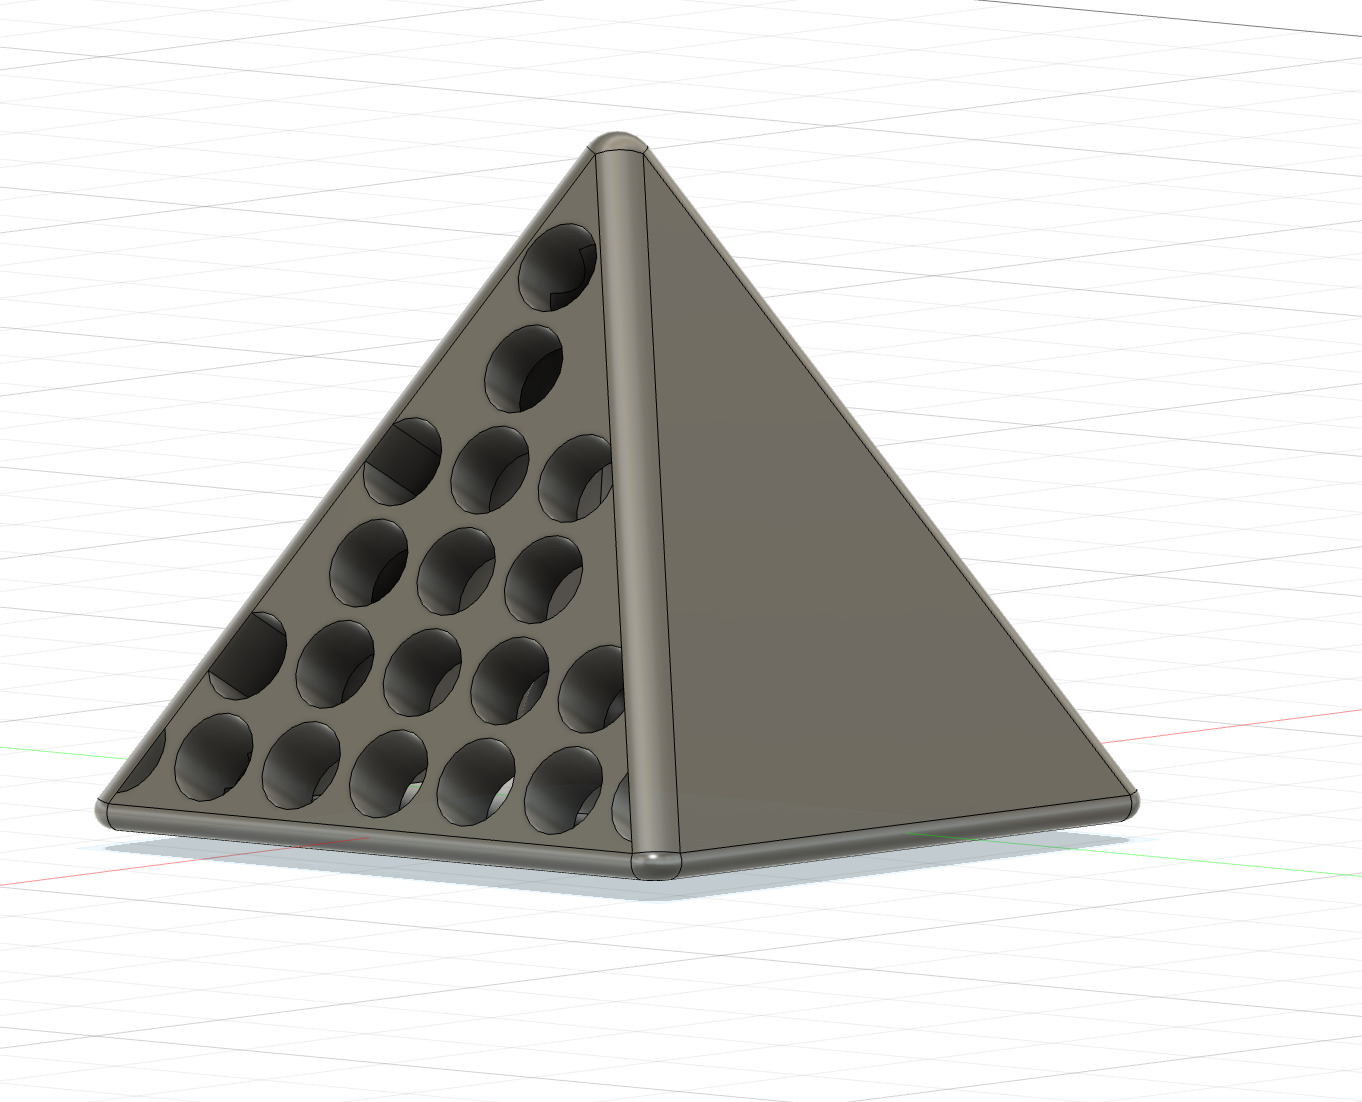
In addition to the new design, I now decided to print the ball next to the pyramid and then stop the printing process. Afterward, I added the ball inside again and let the machine print the whole product.
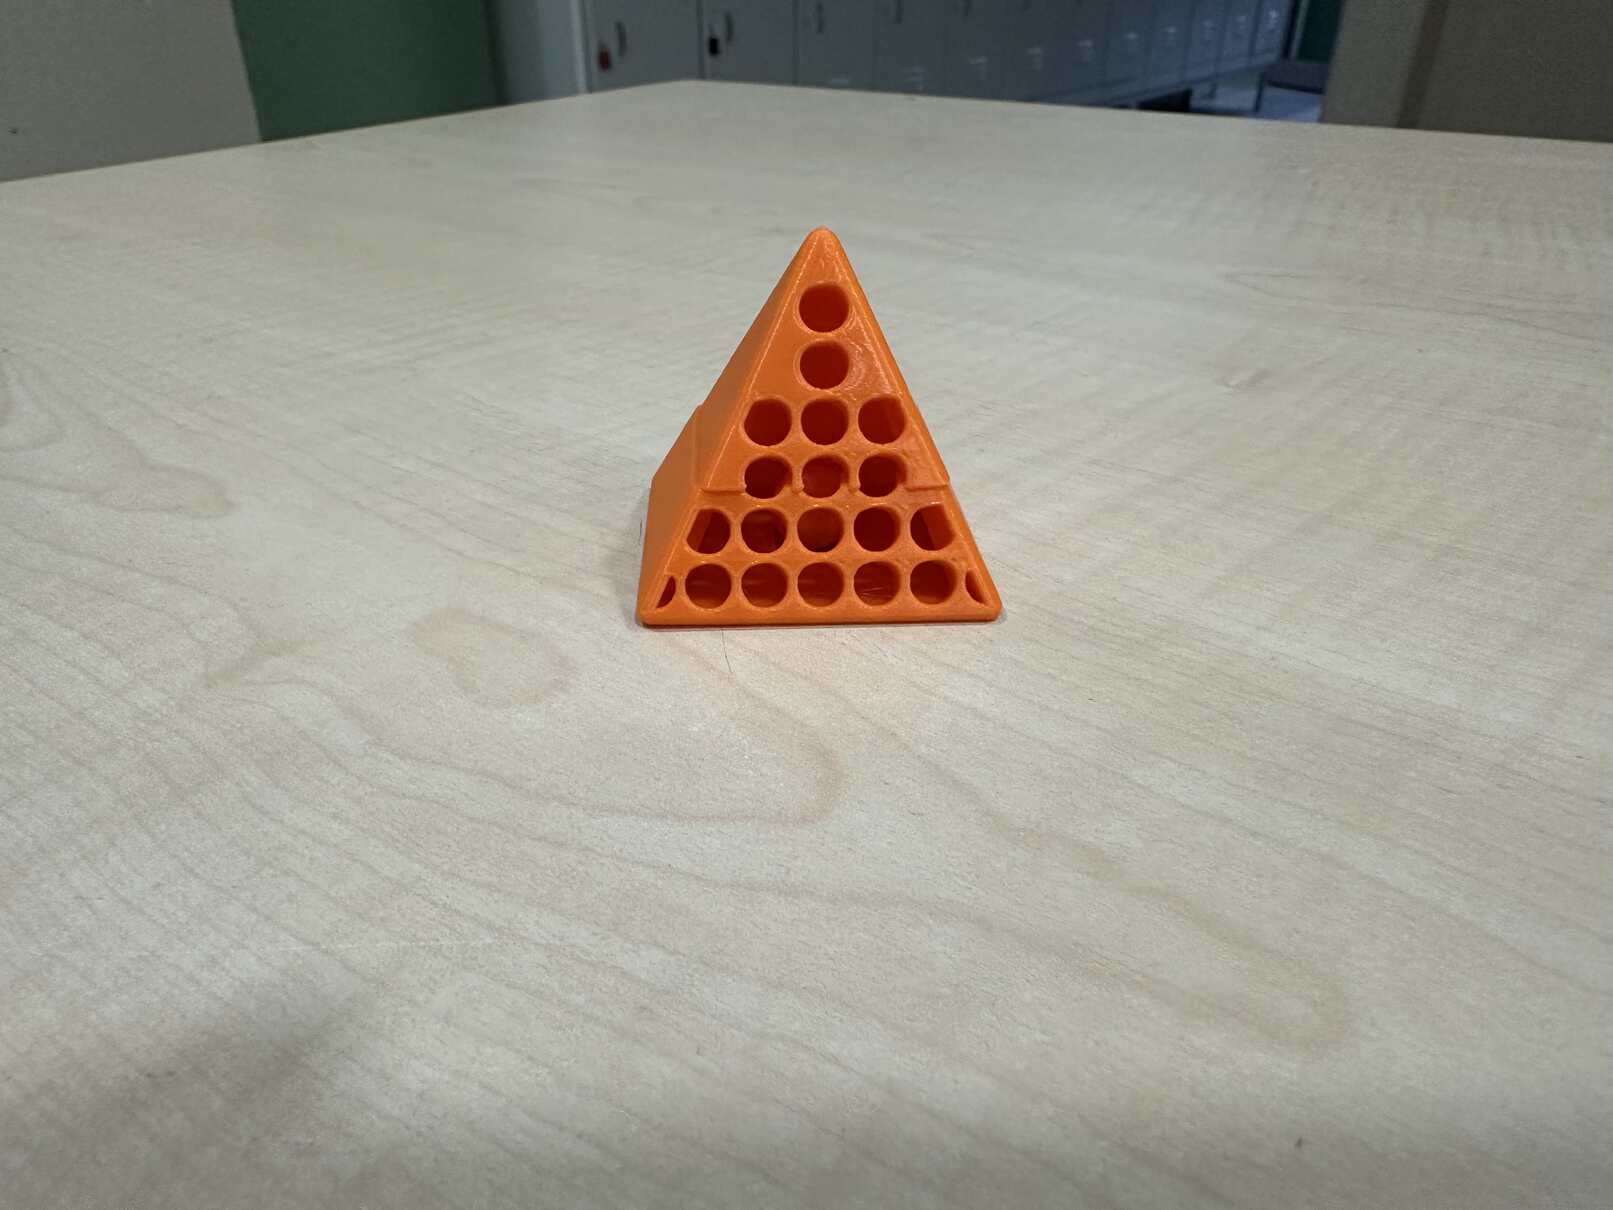
It was almost good enough, but I accidentally moved the plate after pausing the printing process, so the upper side of the pyramid shifted a little. Therefore, I printed for the third time.

Scanning
This week, I also scanned my face using an EinStar 3D scanner.
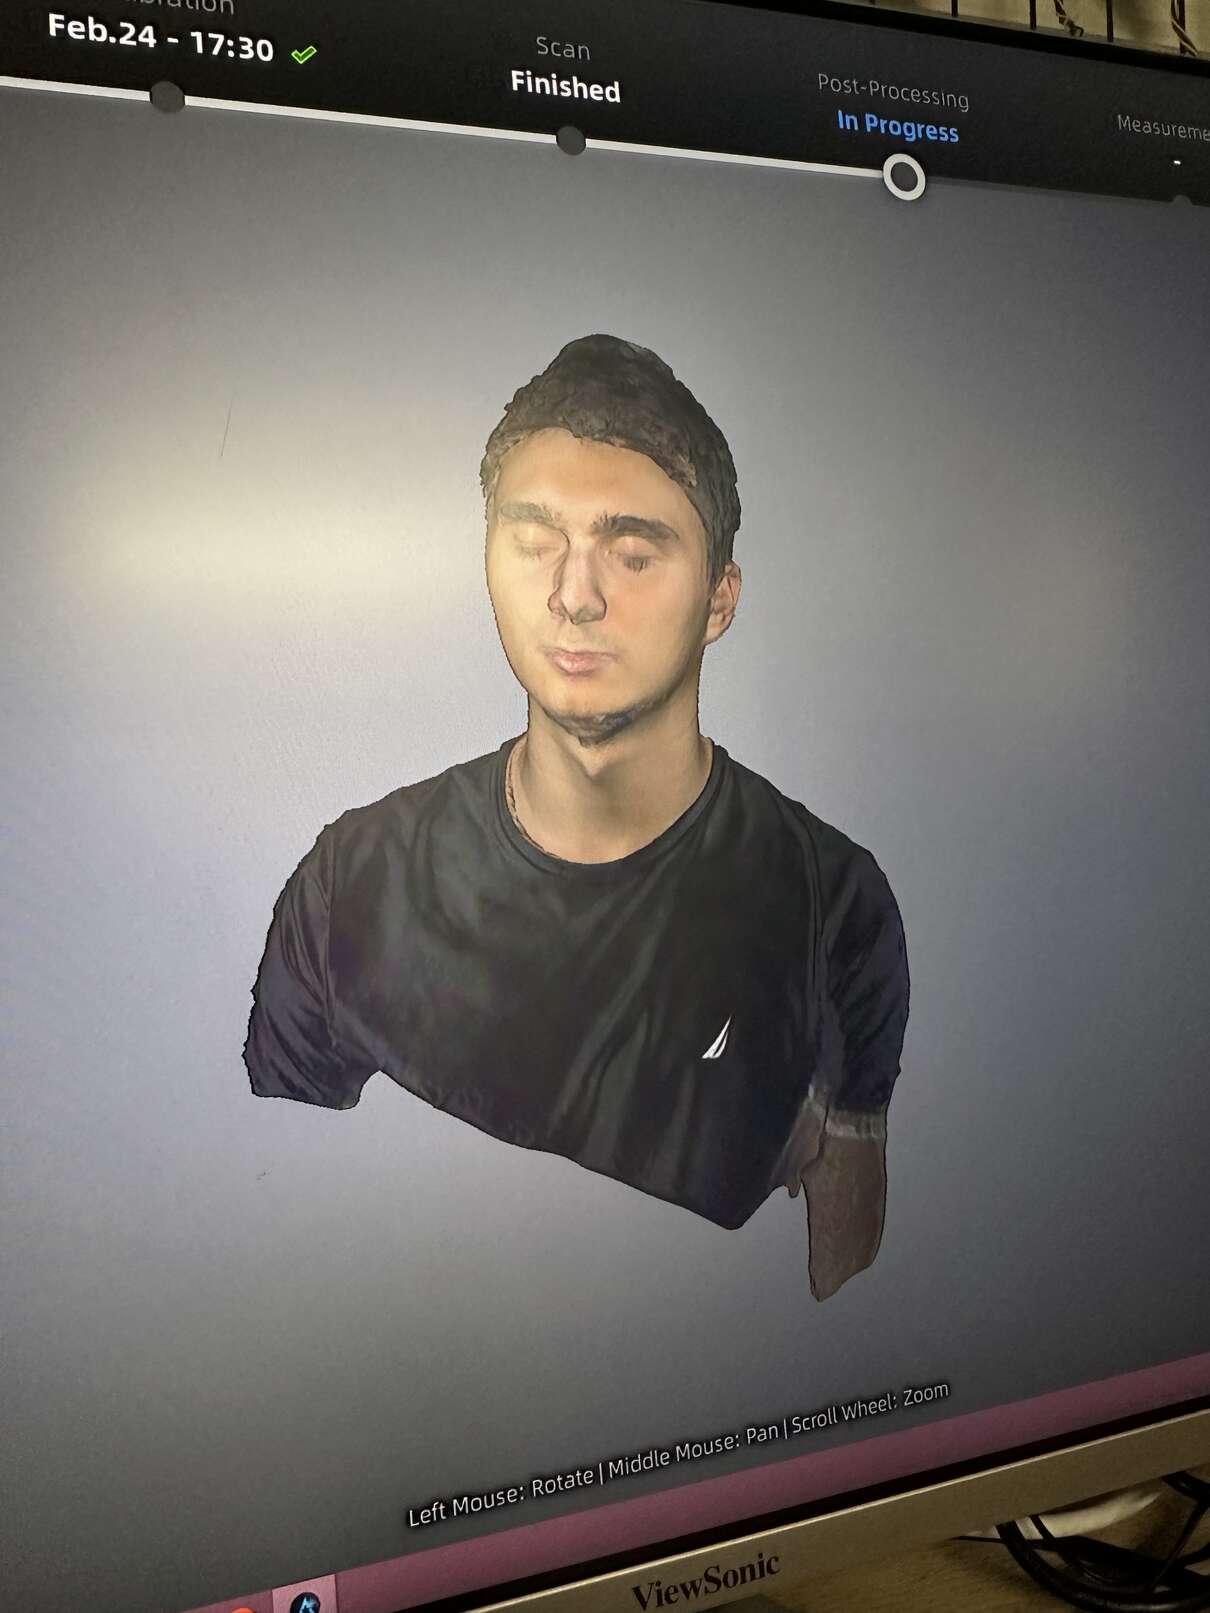
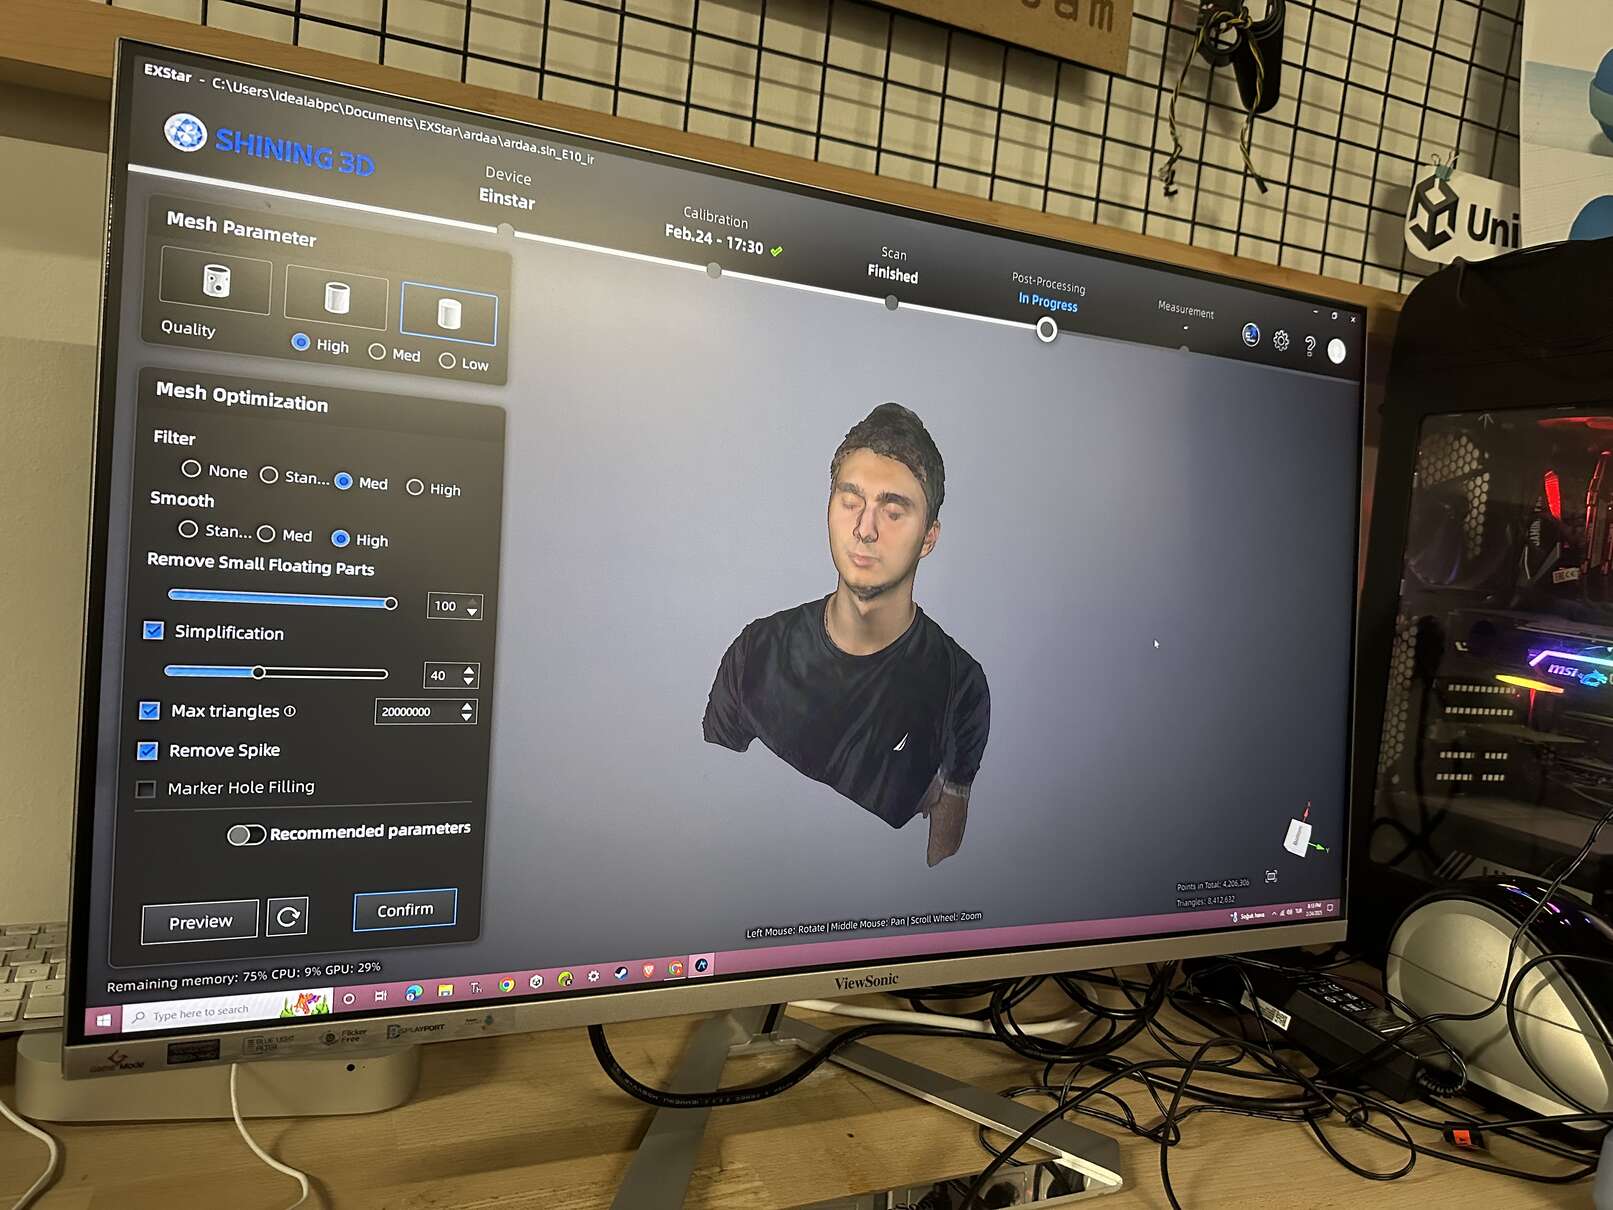
Second, I adjusted some parameters like removing small floating parts.
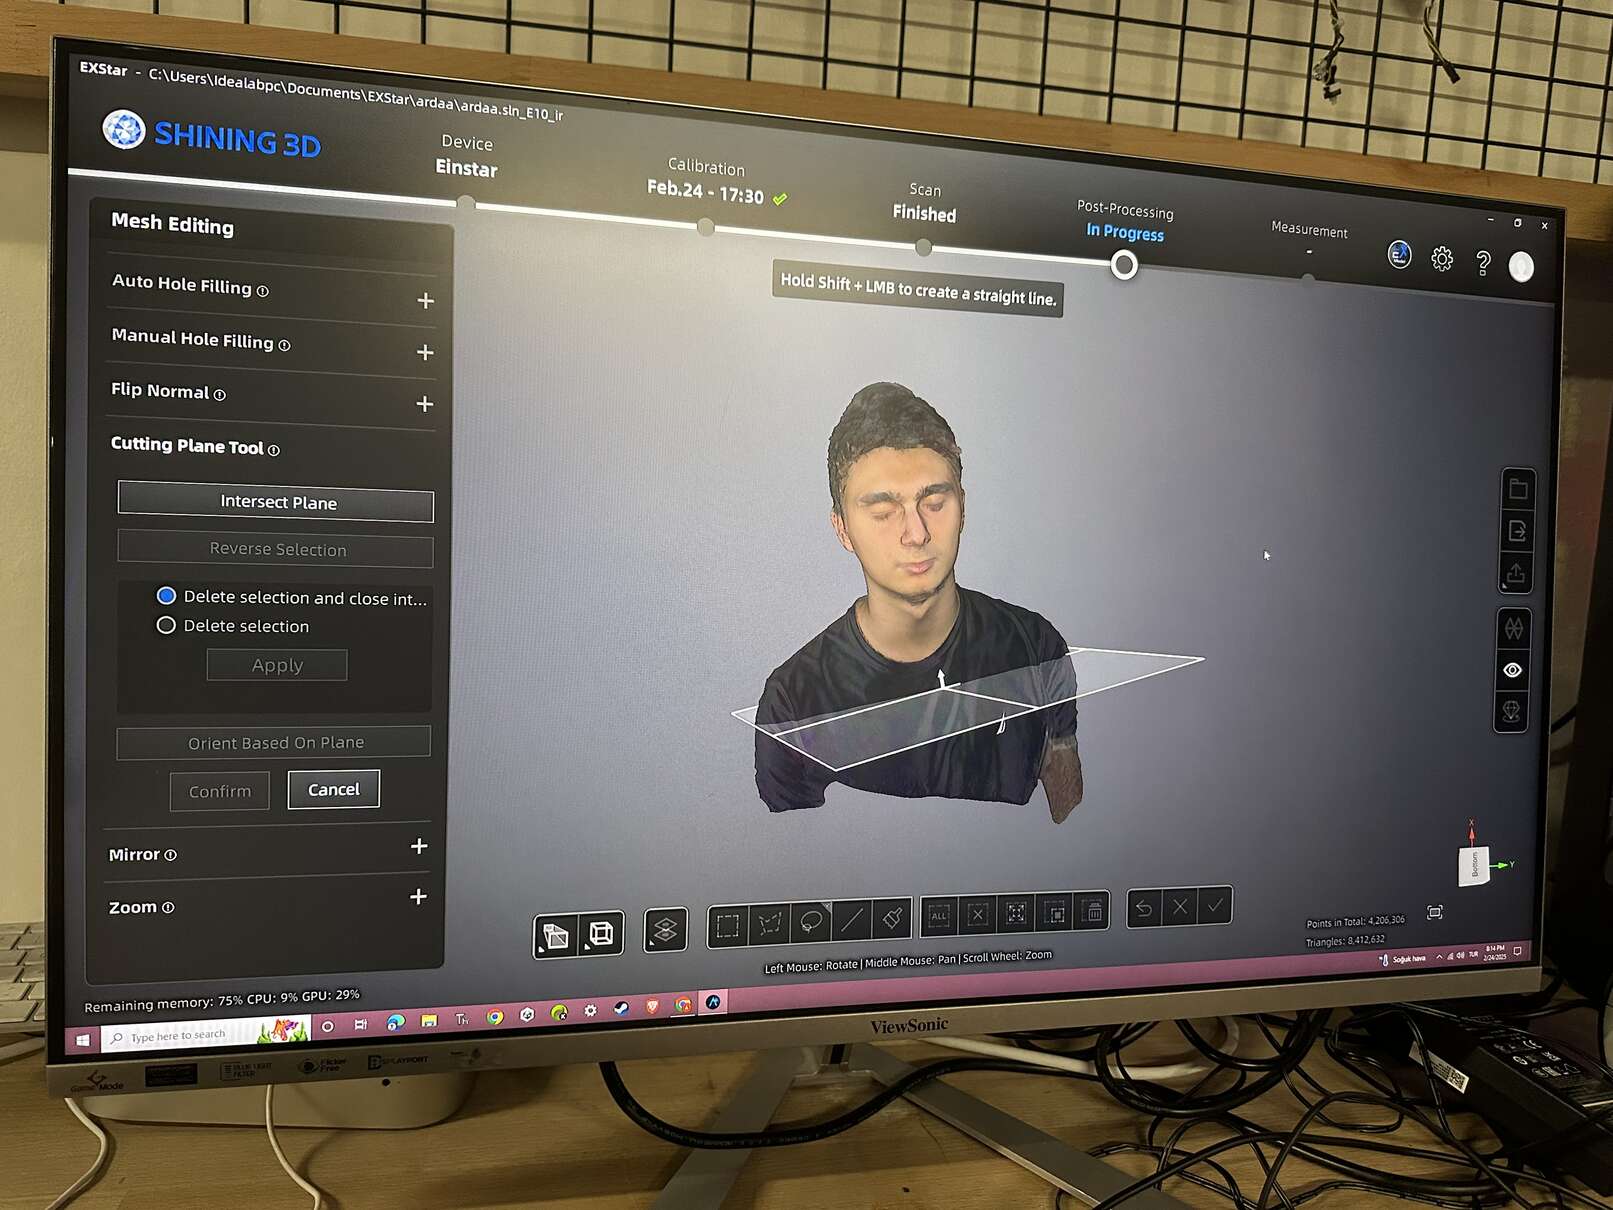
Then, I drew a plane to remove the part of the image that I didn't want to include.
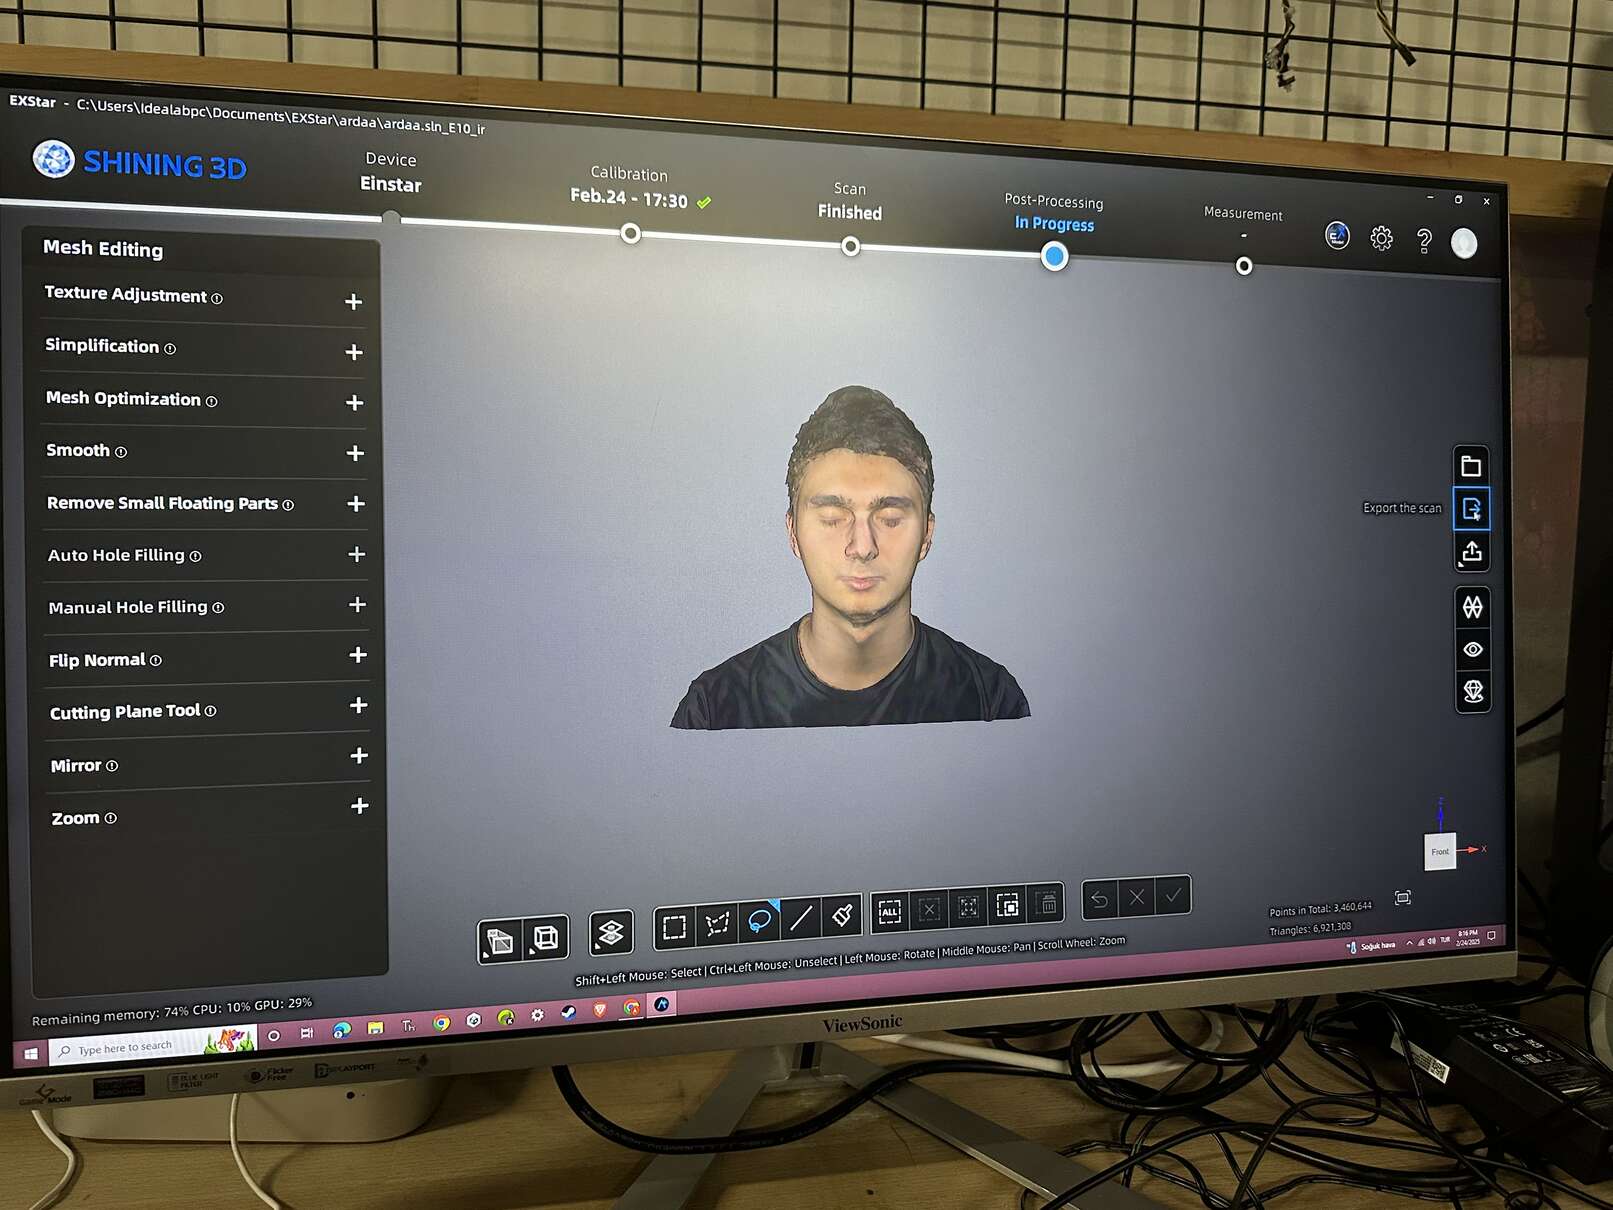
And it's now ready.
Conclusions
As someone not having much experience in 3D Design, I learned so much this week. For example, I learned about the differences between the subtractive and addittive designs, how to pause the 3D printer and then continue the printing process, and how to make a pattern in Fusion 360. I also learned how to scan an object by scanning my own face.
You can access my 3D design through these zip files:

STEP File
3mf File
f3d File
Note: I didn't include the scan file because it was too large.