Computer-Controlled Cutting
This week, I worked on computer-controlled cutting to complete both my individual assignment and our group assignment with the other lab members. To understand what parametric design actually is, I benefitted from the YouTube Videos about parametric design that Rico Kanthatham posted on the Global Open Time Mattermost channel. From these videos, I understood that parametric design requires a set of quantities expressed by a way of a function using parameters.
Vinylcutting
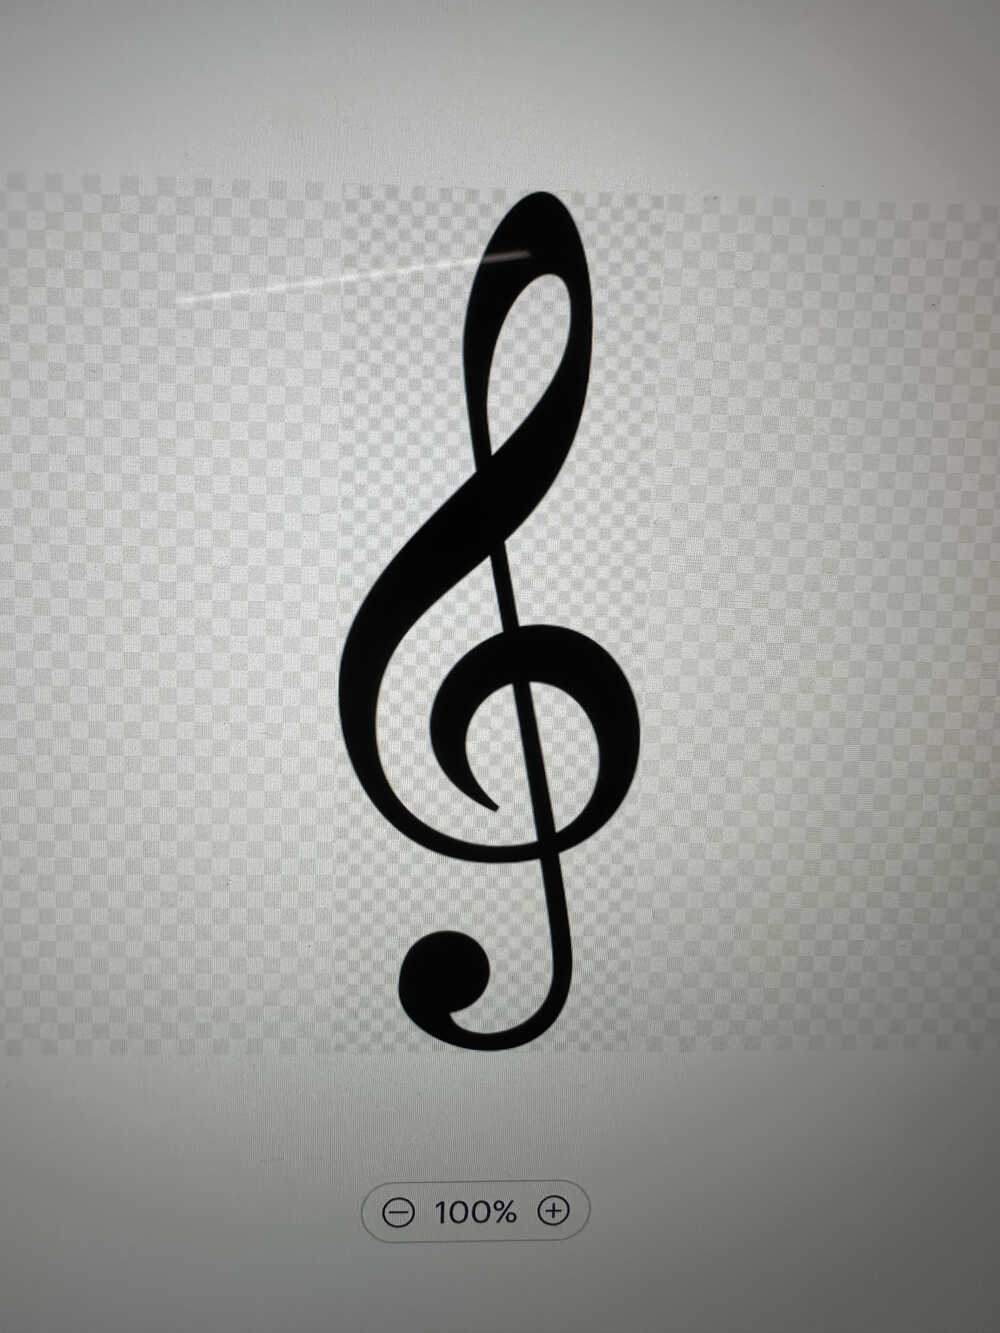
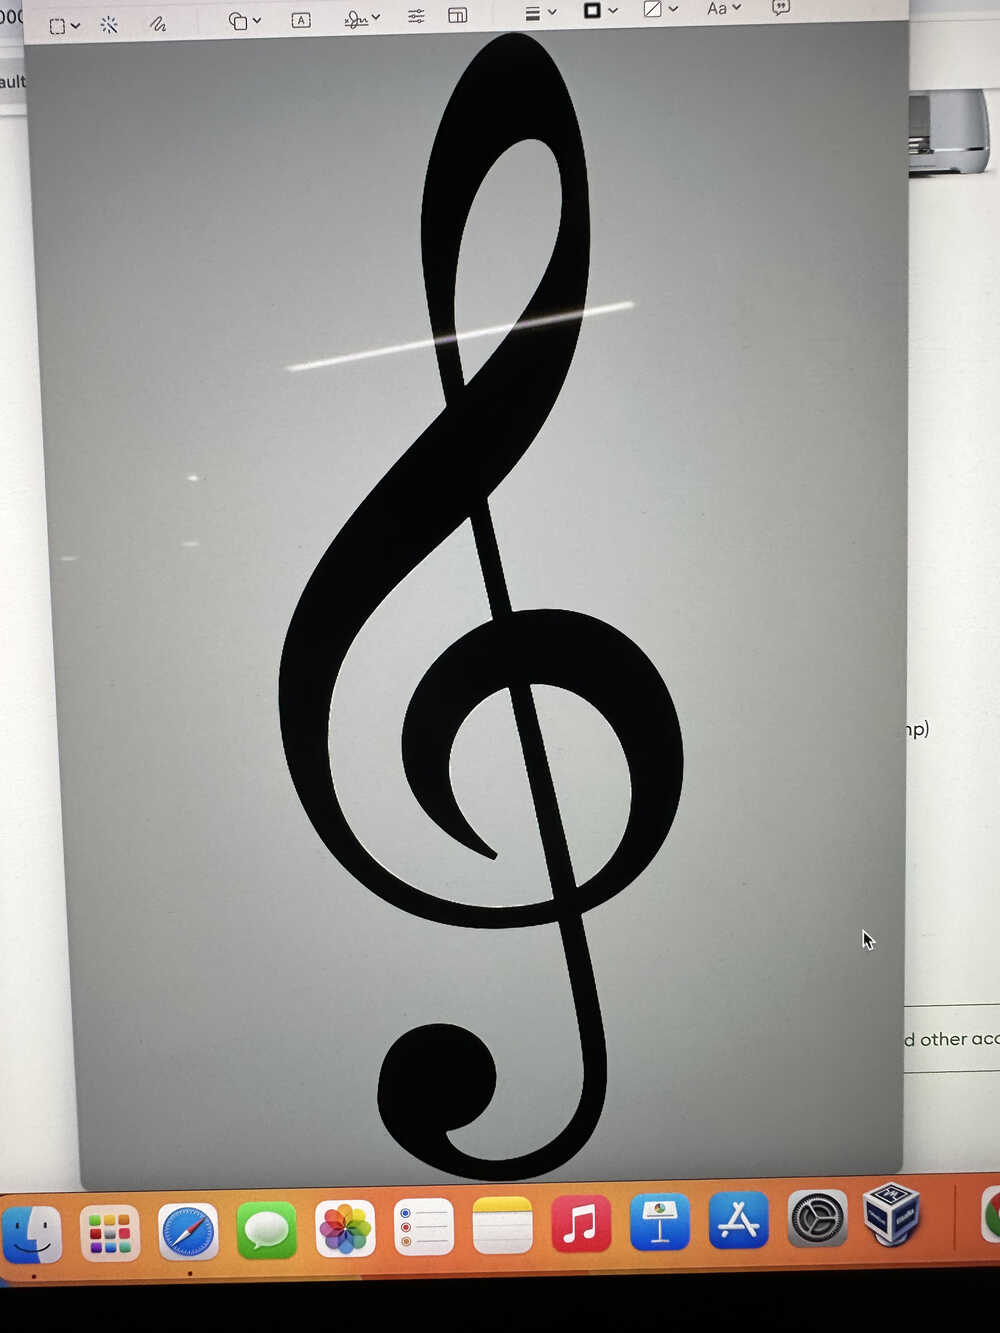
This week, I designed and cut a treble cleft via a vinylcutter. I used a Cricut machine and a Cricut Design Machine application to make my sticker. First, I selected my image from the web. Then, I uploaded this image to the application. However, the image appeared as having a grid background, preventing me from cutting the treble cleft.
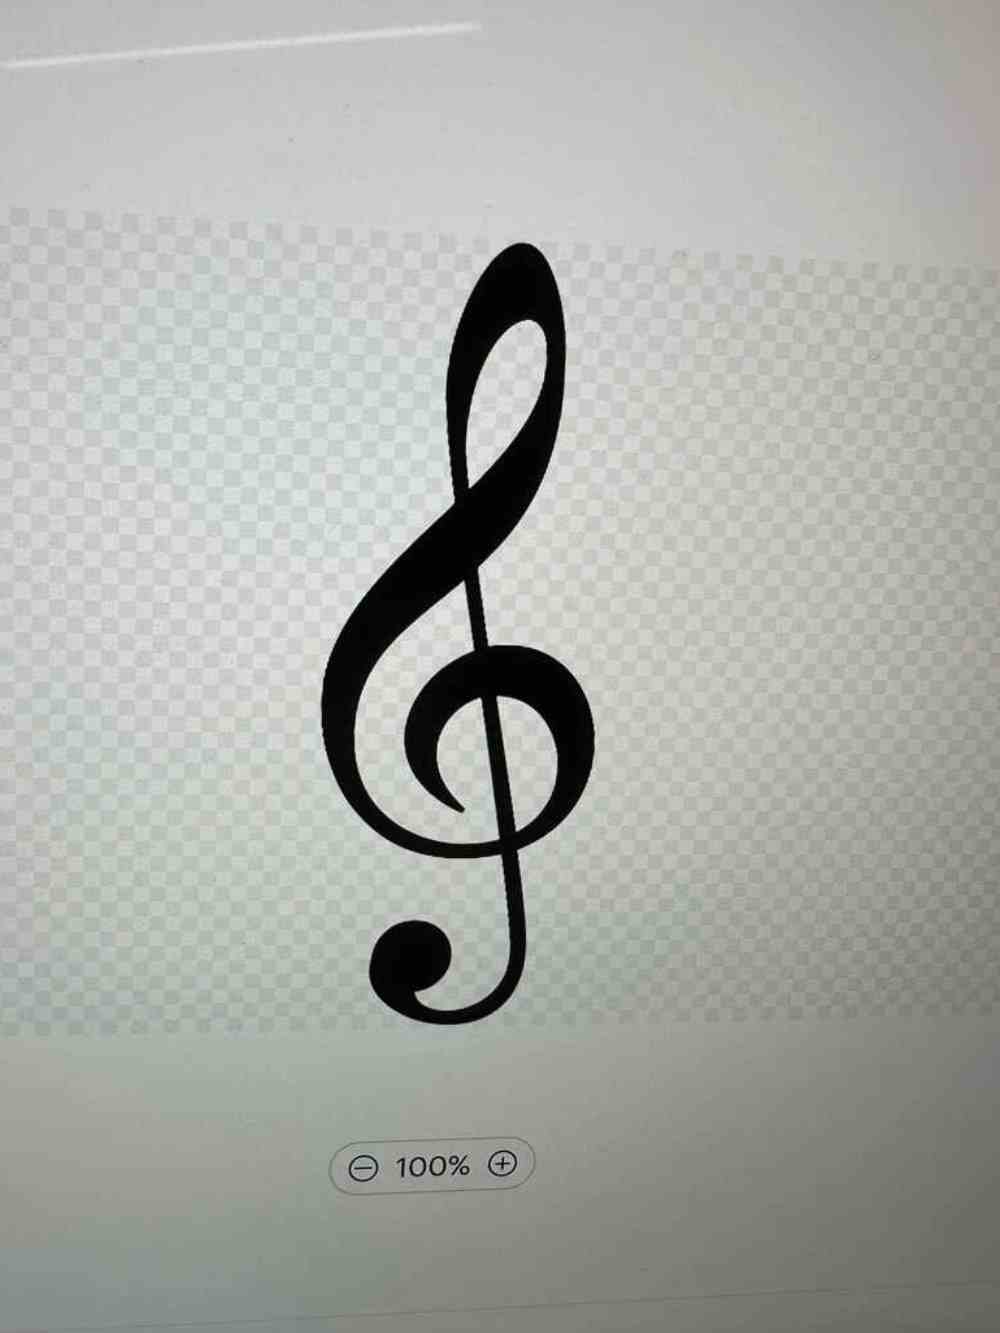
To solve this issue, I removed the gridded background and only selected the image I wanted to cut using Preview's functions on Mac. This allowed me to obtain only the treble cleft.
Then, I uploaded the image to the Cricut application.
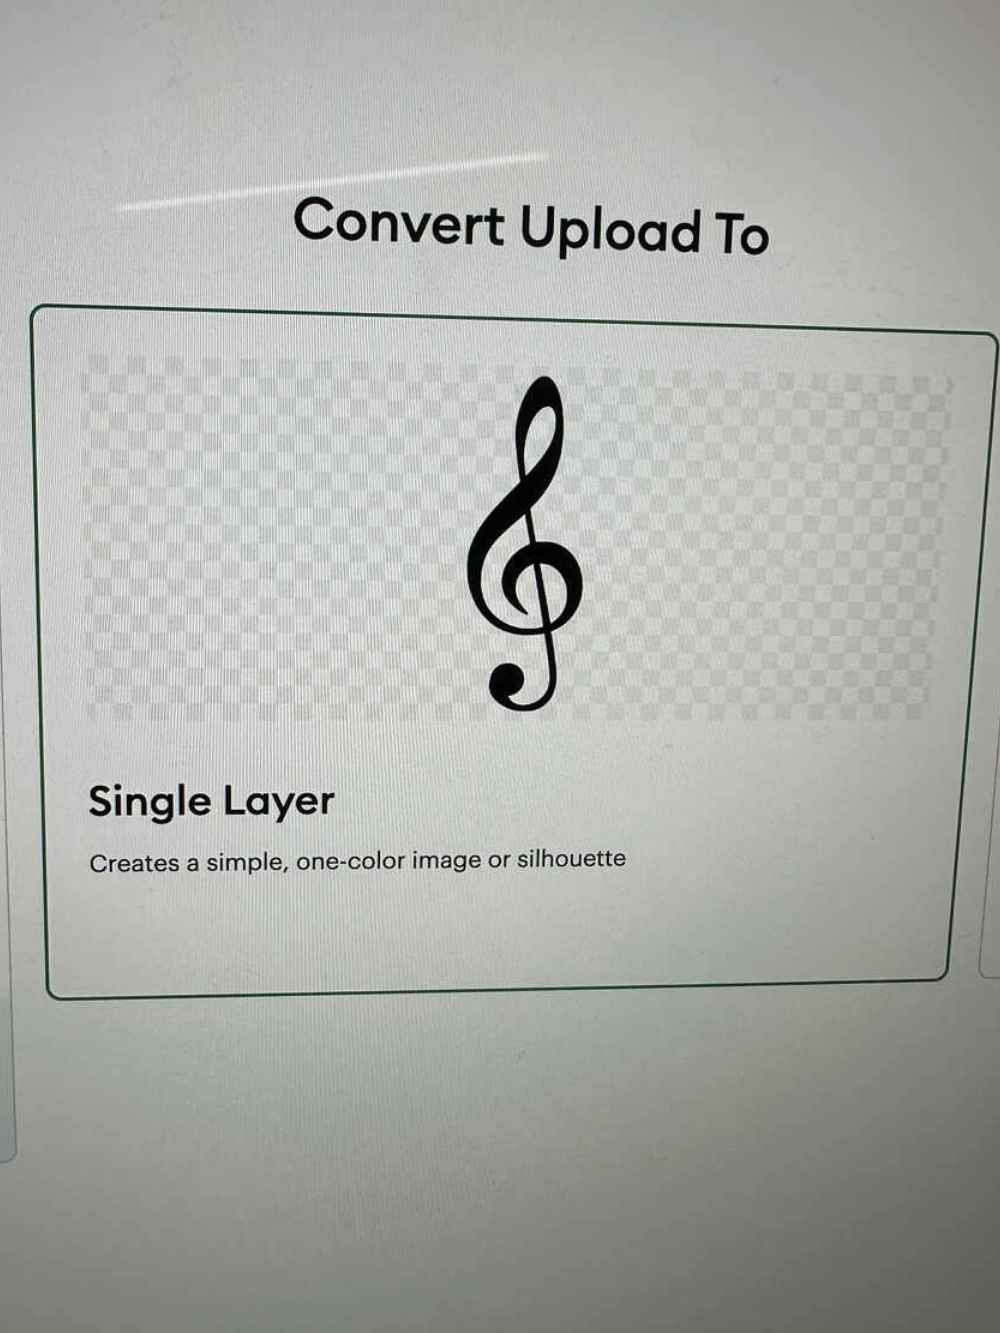
I chose Single Layer as I only wanted to make it one-color. I also adjusted the sizes of my image. I clicked on the lock button to keep the width to height ratio constant. I chose the width to be 2.4 cm and height to be 6.8 cm.
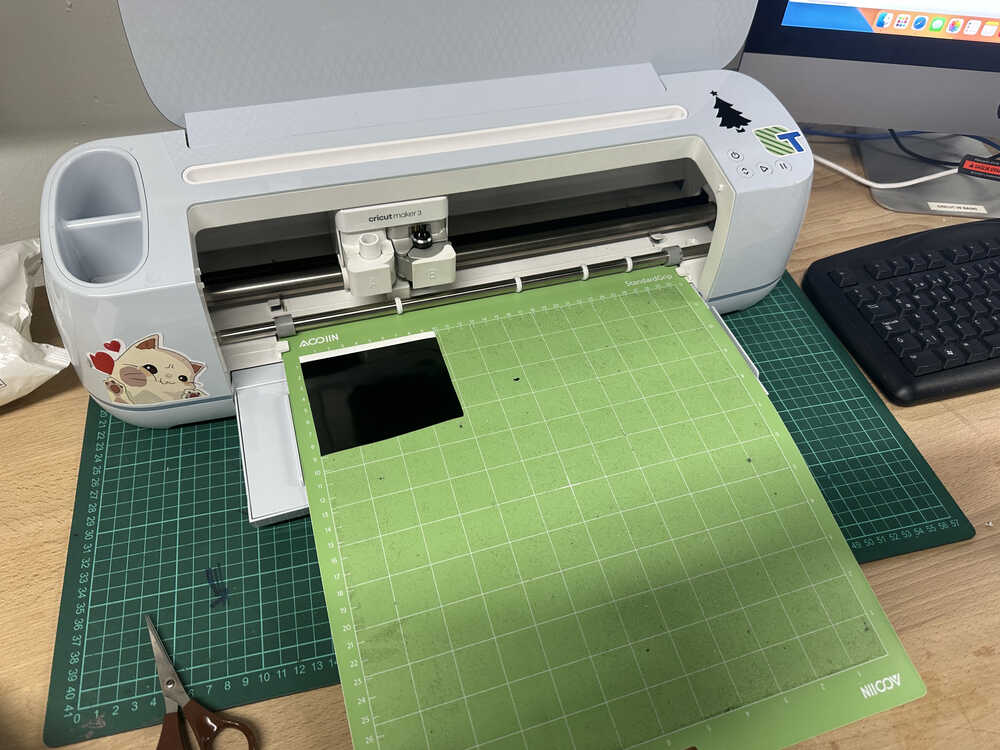
Then, I chose a Permanent Black Smart Vinyl with 13.9 cm x 304.8 cm and cut it according to the size of the area I need for cutting my treble cleft. Afterward, I sticked my vinyl onto a Cricut Standard Grip Cutting Mat with a size of 30.5 cm x 30.5 cm.
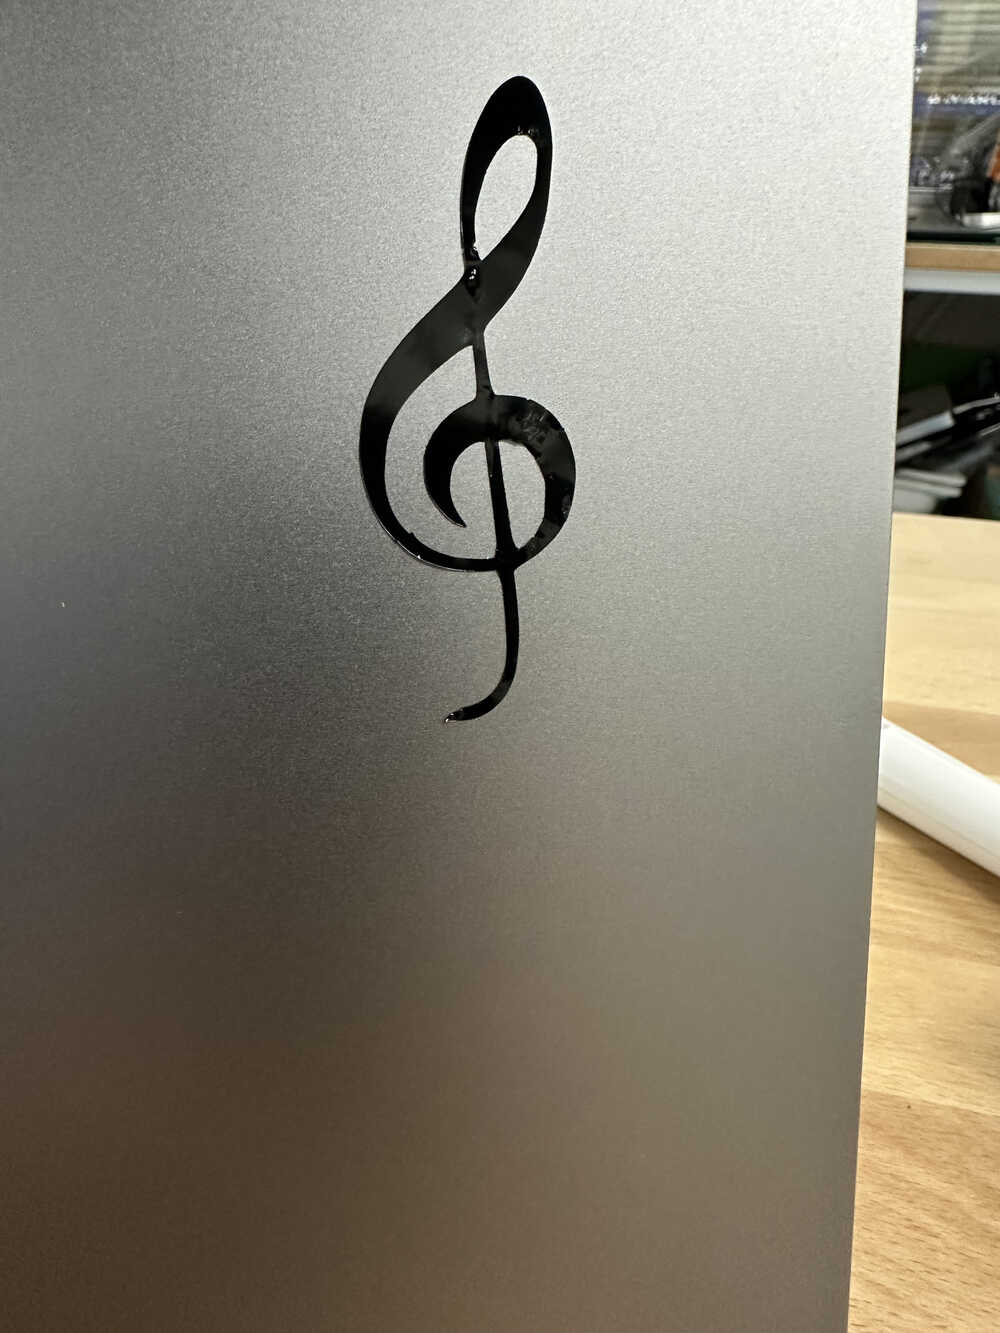
Finally, I removed the treble cleft and sticked it onto my computer.
Laser-cutting
This week, I parametrically designed and laser-cut part of my final project. To understand what parametric design actually is, I benefitted from the YouTube Videos about parametric design that Rico Kanthatham posted on the Global Open Time Mattermost channel. From these videos, I understood that parametric design requires a set of quantities expressed by a way of a function using parameters. This week, I designed a simple construction kit parametrically using Fusion 360.
This week, in addition to working on my individual assignment, I contributed to our group assignment. Together, we completed our lab's safety training that involved the safety training of our laser room. Also, we characterized our lasercutter's focus, power, speed, rate, kerf, joint clearance, and types. In particular, I helped my team during our power and speed tests and adjusting the focus of the laser. I also completed a 2D design for our kerf test using Fusion 360 and cut it with our laser cutter.
The link to our group project
First of all, I designed my construction kit using Fusion 360. The final version looks like the following image.
I first created a parameter called "kerf" to adjust each part of my design based on the kerf of our laser cutter. I then created a parameter called "diameter" to adjust the diameter of my kit when needed. Afterward, I created a parameter called "rectangle width" to change the width of the rectangle that I will merge my circle with. Then, I added a parameter called "wood thickness" to adjust my design based on the wood I would use. I also added a "tolerance" parameter so that joints would fit together. The following image shows my parameters.

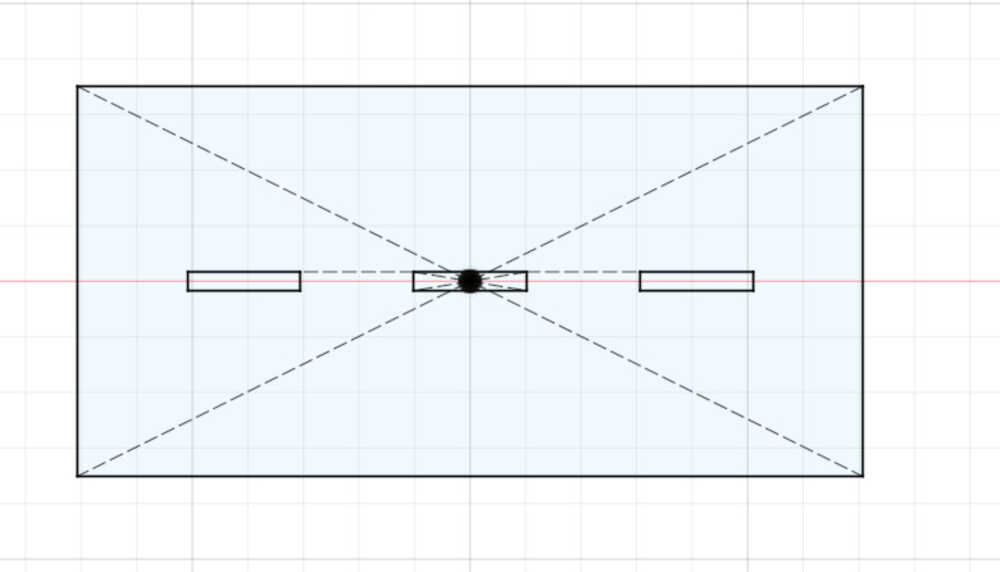
Now, I started my sketch. I first drew a rectangle and then designed three new rectangles at the center of it. Joints will fit into these rectangles.
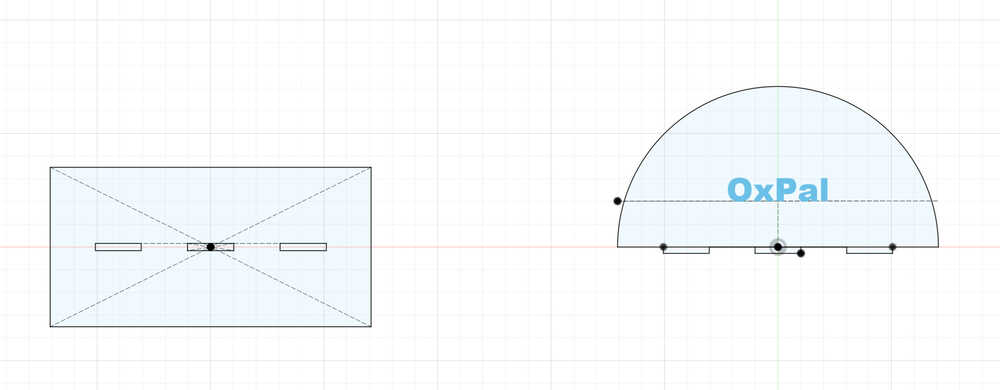
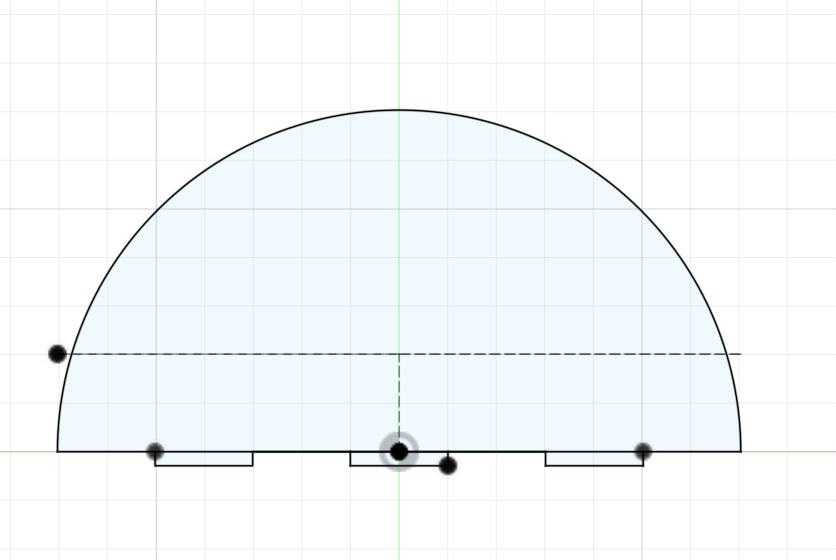
Afterward, I sketched a semi-circle and added three triangles that would fit into the previous triangles that I had designed.
To cut the pieces, first, I arranged them in the software.

Then, I measured a wood with a width of 3 mm with my calipper. After arranging the place of my wood, I cut the pieces. Afterward, I sticked them together. Finally, I wrote "OxPal" on it, which is the name of my final project.

Failures
I forgot to delete the lines on the upper parts of my joints of the semi-circle, so they got broken. After this issue, I immediately deleted these extra lines on my design to fix it.

      You can access my 3D design through these zip files:

      Initial Laser Designe
      Final Laser Design
      dxf File