1. Project management
This week I worked on defining my final project idea and started to getting used to the documentation process. Before this week, I didn't know how to use html, Git Lab, and git. Therefore, I benefitted from my friend Dora's documentation, the first Fab Academy recitation about version control, the presentation of the recitation, the official Git Lab documentation, a Medium article, a Fab Academy documentation of HTML Basics, and a website about html.
SSH Key Set-Up
I am now going to talk about how I connected my local device with my Git Lab. Git was already installed in my computer, so I checked its version using the following command:
git --version
I received the following output:
git version 2.39.5 (Apple Git-154)
I then created an SSH key to introduce my computer to my Git Lab account. I chose the SSH key type ED25519 as suggested by the official Git Lab documentation. I used the following command to generate my SSH key:
ssh-keygen -t ed25519 -C "comment"
I received the following output:
Generating public/private ed25519
Public key is the one that should be type into Git Lab and the private key is the loca key that should be kept confidential. Following these outputs, the terminal created my SSH keys and put them into their corresponding files. I used the "cat" command to view my public SSH key. Then, I copied this key and pasted it into my Git Lab. I gave a title and an expiration date to this key. Subsequently, I used the following command to verify that I connected to Git Lab:
ssh -T git@gitlab.fabcloud.org
I received the following output, confirming the connection:
Welcome to GitLab, @arda-ozkurt!
Connecting the Local Device with Git Lab
I used the following command to clone my repository for my Fab Academy website to my computer:
git clone git@gitlab.fabcloud.org:academany/fabacademy/2025/labs/hisar/students/arda-ozkurt.git
Afterward, I used the following command to introduce my name and e-mail to git on my computer:
git config user.name "Your Name"
git config user.email "your.email@example.com"
The "Pushing" Process
Staging area is the state of the changes before they get pushed to Git Lab. The following command is used to see what has been added to the and removed from the staging area:
git status
To add changed files to the staging area, the following command is used:
git add "name of the changed file"
However, git gives the freedom of choosing not to push every changed file to Git Lab. This is an important feature as some files may not be ready to be pushed to the actual website. Therefore, the following command can be used to commit the changes in the staging area to Git Lab:
git commit -m "Message"
It is also important to always include a message before committing. This allows to get an idea of the changes of each push when coming back to them at a later time. The following command is used to push to the web page:
git push
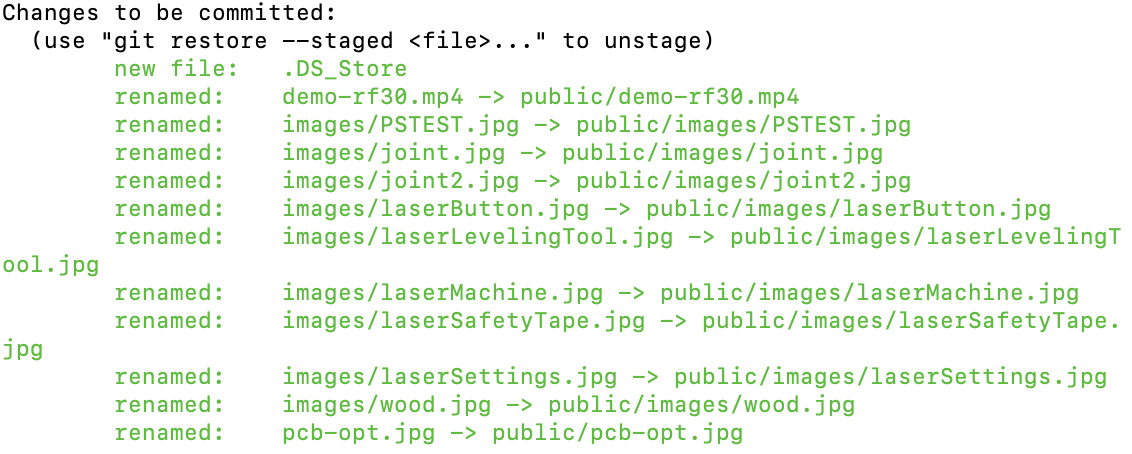
I experienced an issue after moving some files manually to a different folder manually. When I typed "git status" on my terminal, it showed that the files were deleted. In fact they were just moved to a different location. So, I asked ChatGPT about it "I cloned a repository into my local computer. Then I put some files into another folder that's inside the folder that I copied. When I type git status to my terminal tough it says all the files are deleted even though they are there. Why does it do that." It told me that the reason why the terminal showed these files deleted was because Git still tracked the files' old locations. Then, it suggested to type the following command to solve the issue:
git add -A
Before the Git Error

After Solving the Git Error
Clearing Caches
If your site is stuck in its former state, you should clear the caches, which are the storage locations on a site. This might need to be cleared as they sometimes store the former version of the site. In order to do this, right click on the site. Then, click on "Inspect." Afterward, navigate to the "Network" section. Finally, perform a hard refresh to the site by pressing Cmd + Shift + R on Mac and Ctrl + Shift + R on Windows.
Initial Ideas for My Final Project
In this section, I am going to introduce the initial ideas for my final project. My four friends and I actually worked on this project last year. We designed a ball-shaped device that is capable of measuring stress levels via its photoplethysmography (PPG) sensor and printed it with a 3D printer. Using Arduino and the PPG board, we obtained data from an individual's finger. We attended the 26th International Conference on Human-Computer Interaction between the 29th of June and the 4th of July, 2024, and presented our poster explaining OxPal. Our article explaining OxPal was also published by the Springer Nature journal in the HCI International 2024 - Late Breaking Posters series.
However, OxPal currently has some problems. For example, it is vulnerable to possible damages. Since my target group is children for OxPal, it should be more resistant. In Fab Academy, I intend to find solutions for this and similar problems. I also aim to improve this project. For example, I want to add a new sensor that will measure stress levels from a finger of the other hand to increase the reliability of the stress measurements. This could be an electrodermal activity (EDA) sensor as shown in my sketch or any other suitable sensor. Furthermore, I intend to make it both resistant and squishy for child-use. I also want to design a platform to put this device when not in use. To chrage this device, I aim to connect the cable to the OxPal device by passing it through the platform so that OxPal can be charged while staying on the platform properly. In addition, I want to connect the device with my computer via Bluetooth and design my own printed circuit board (PCB) instead of using an Arduino board.
There are similar commercial products to OxPal, but none of them targets children. For example, a device called Reflect Orb uses an EDA and an Electrocardiogram (ECG) sensors to measure stress levels and suggest some exercises to reduce them.
Below is my sketch for OxPal.
