Wildcard Week: Metal Coin Embossing with xTool F1 Ultra
Project Summary: This week, I experimented with an unconventional subtractive process — embossing a custom-designed pattern onto a small 925 silver coin using the xTool F1 Ultra fiber laser machine.
Assignment Checklist:
- ✔️ Documented the workflow(s) and process(es) used
- ✔️ Explained how your process is not covered on other assignments
- ✔️ Described problems encountered and how you fixed them
- ✔️ Included original design files and source code
- ✔️ Included ‘hero shot’ of the result
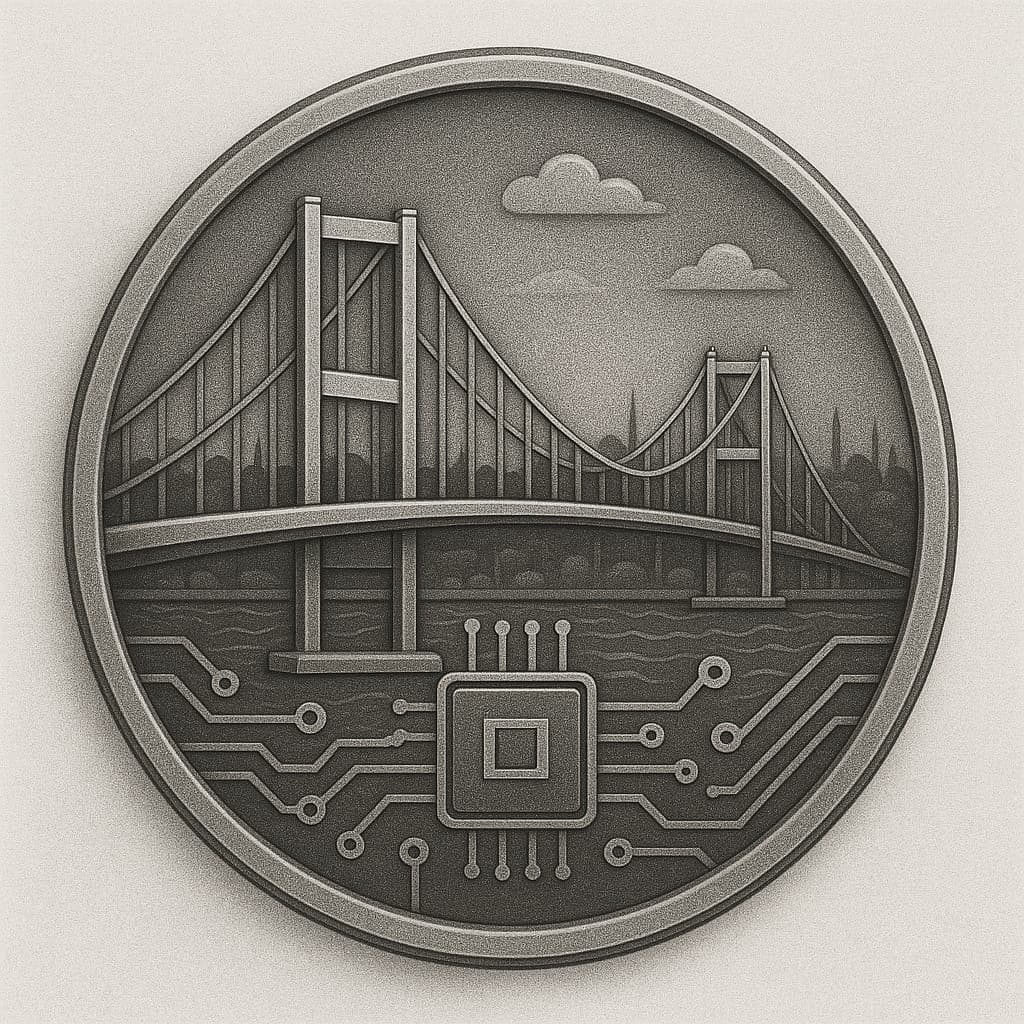
Step 1: Design Generation using GPT
I prompted GPT to create a medallion design that represents the fusion of technology and structure. The result was a circuit-integrated bridge medallion.
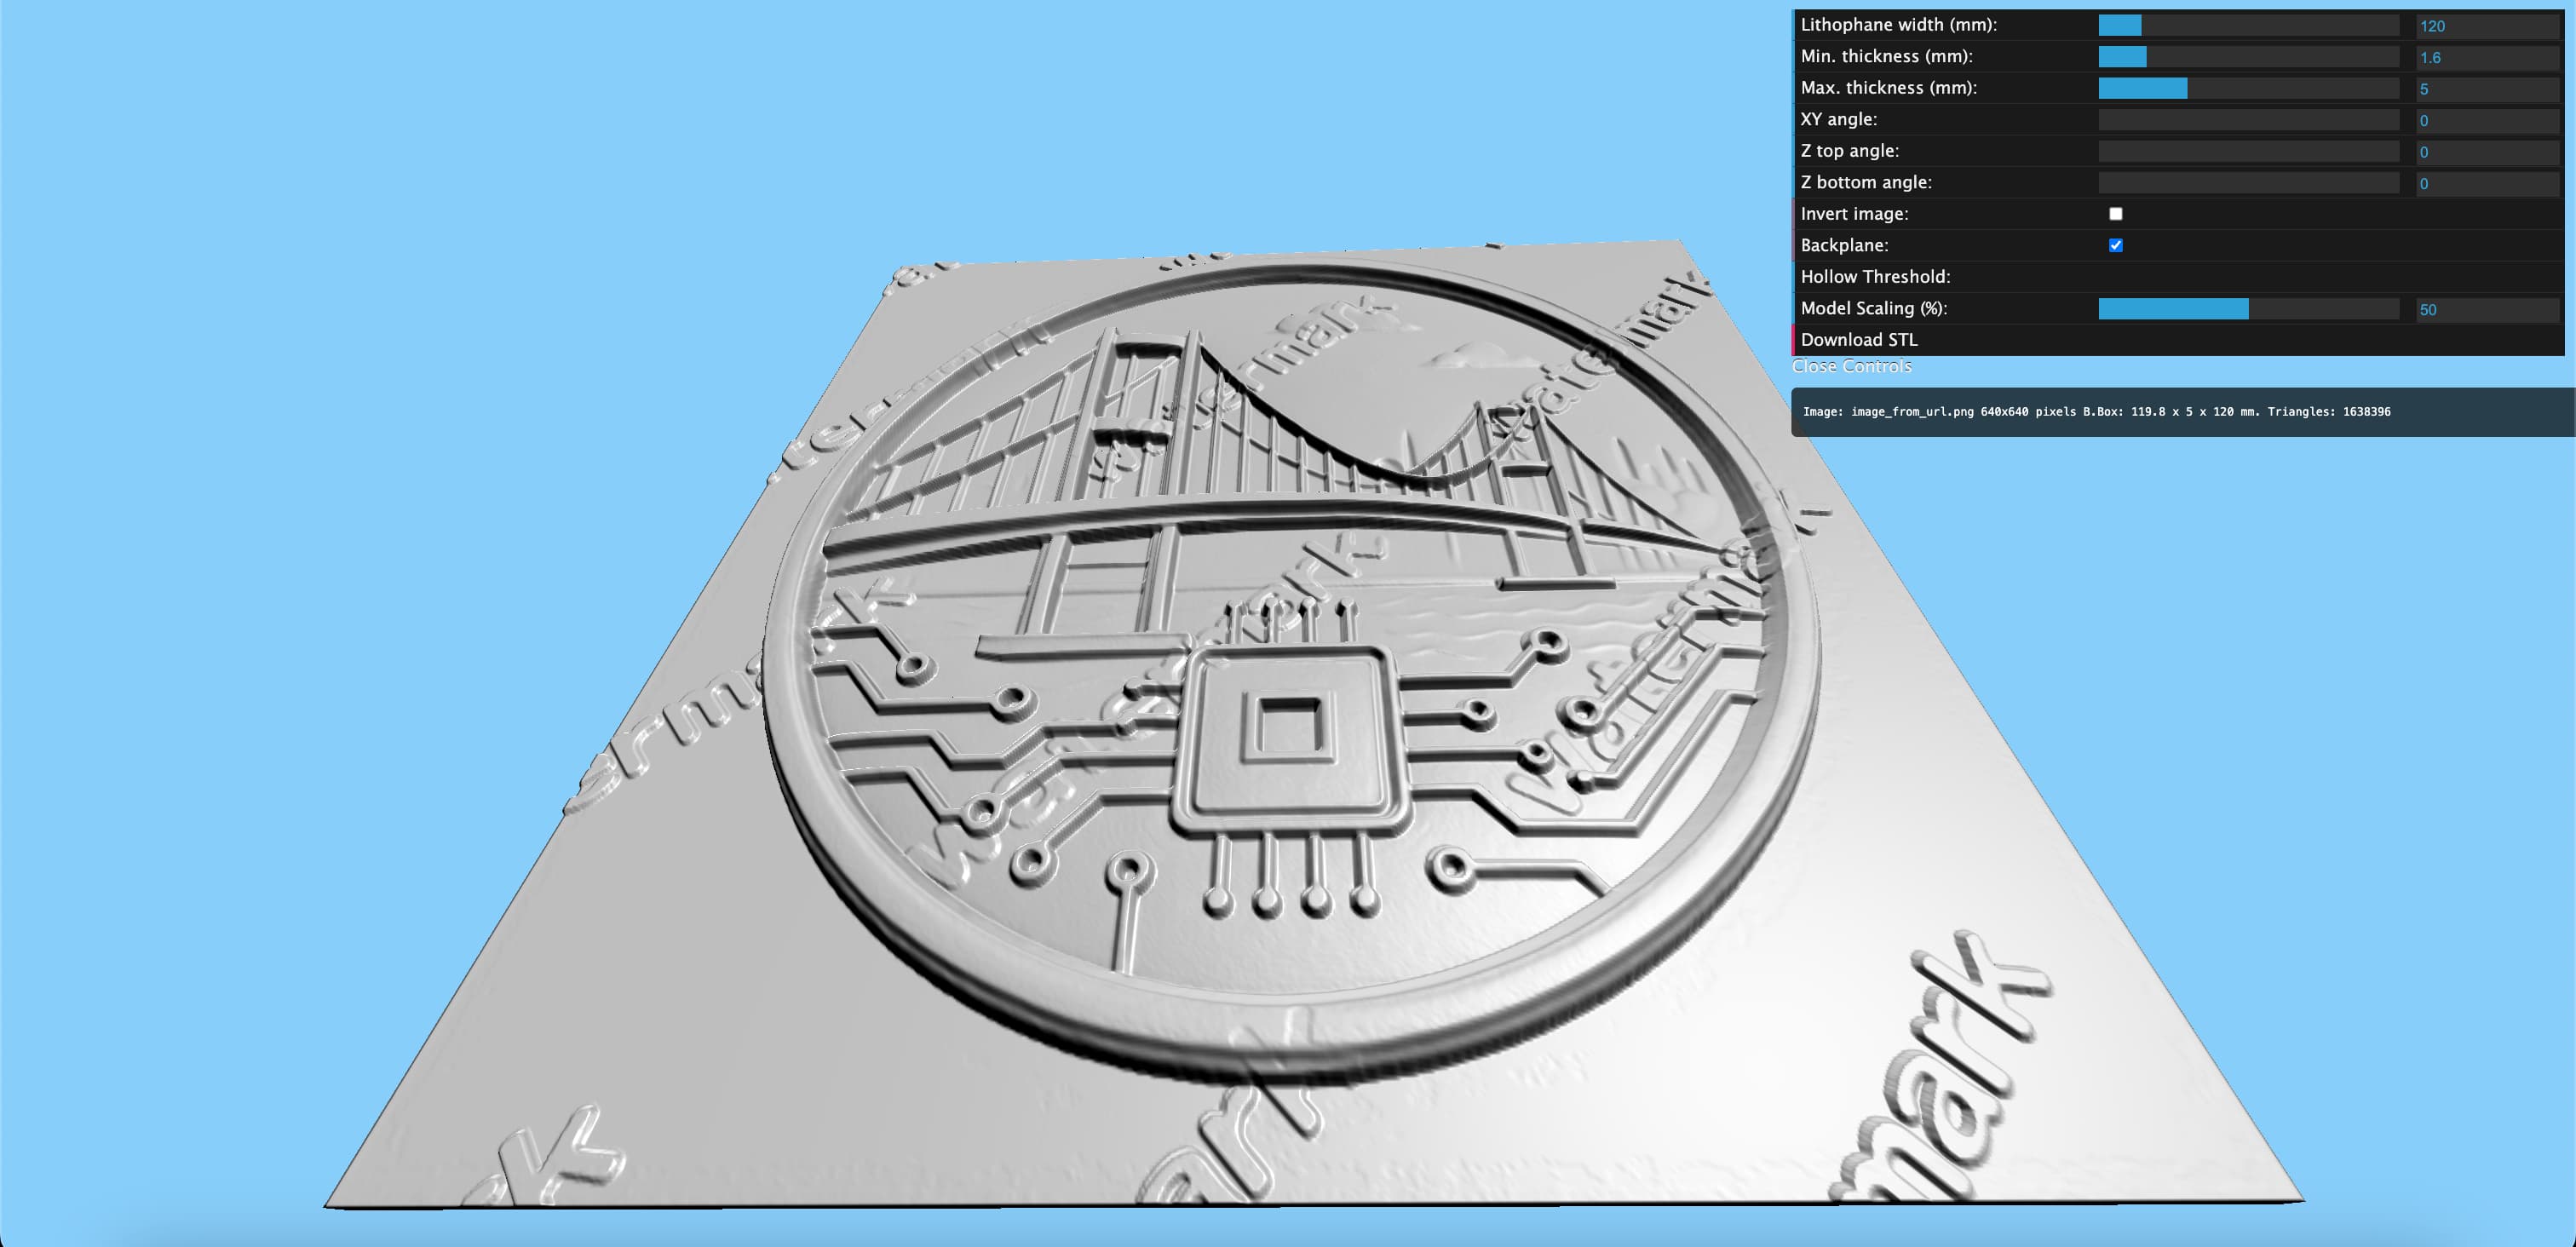
Step 2: Creating a Depth Map
I used SculptOK to convert the generated image into a depth map suitable for 3D embossing. Settings used included HD Restoration and background removal.
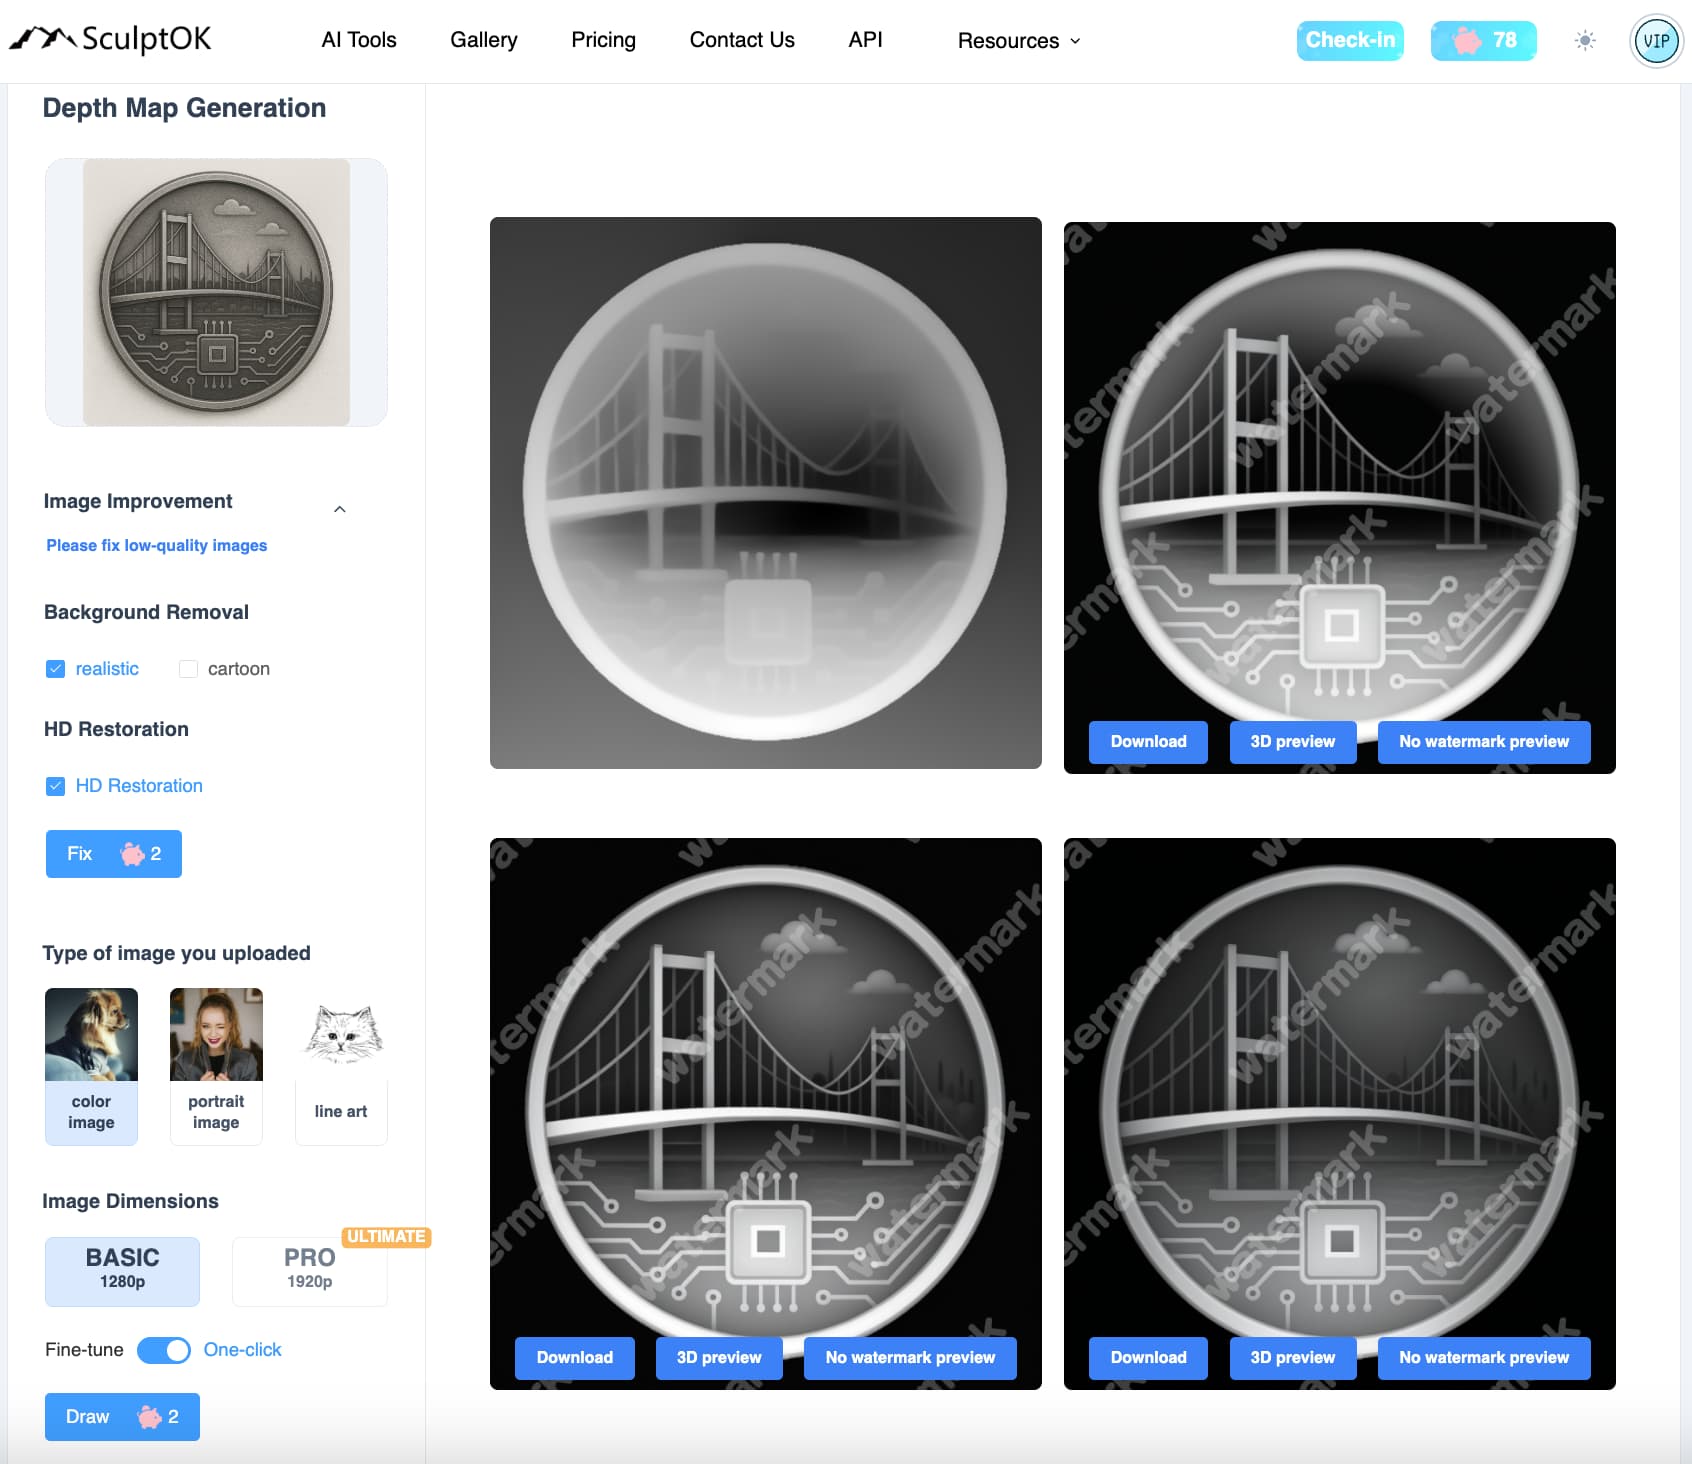
You can also view your design in 3d if you click 3d view.
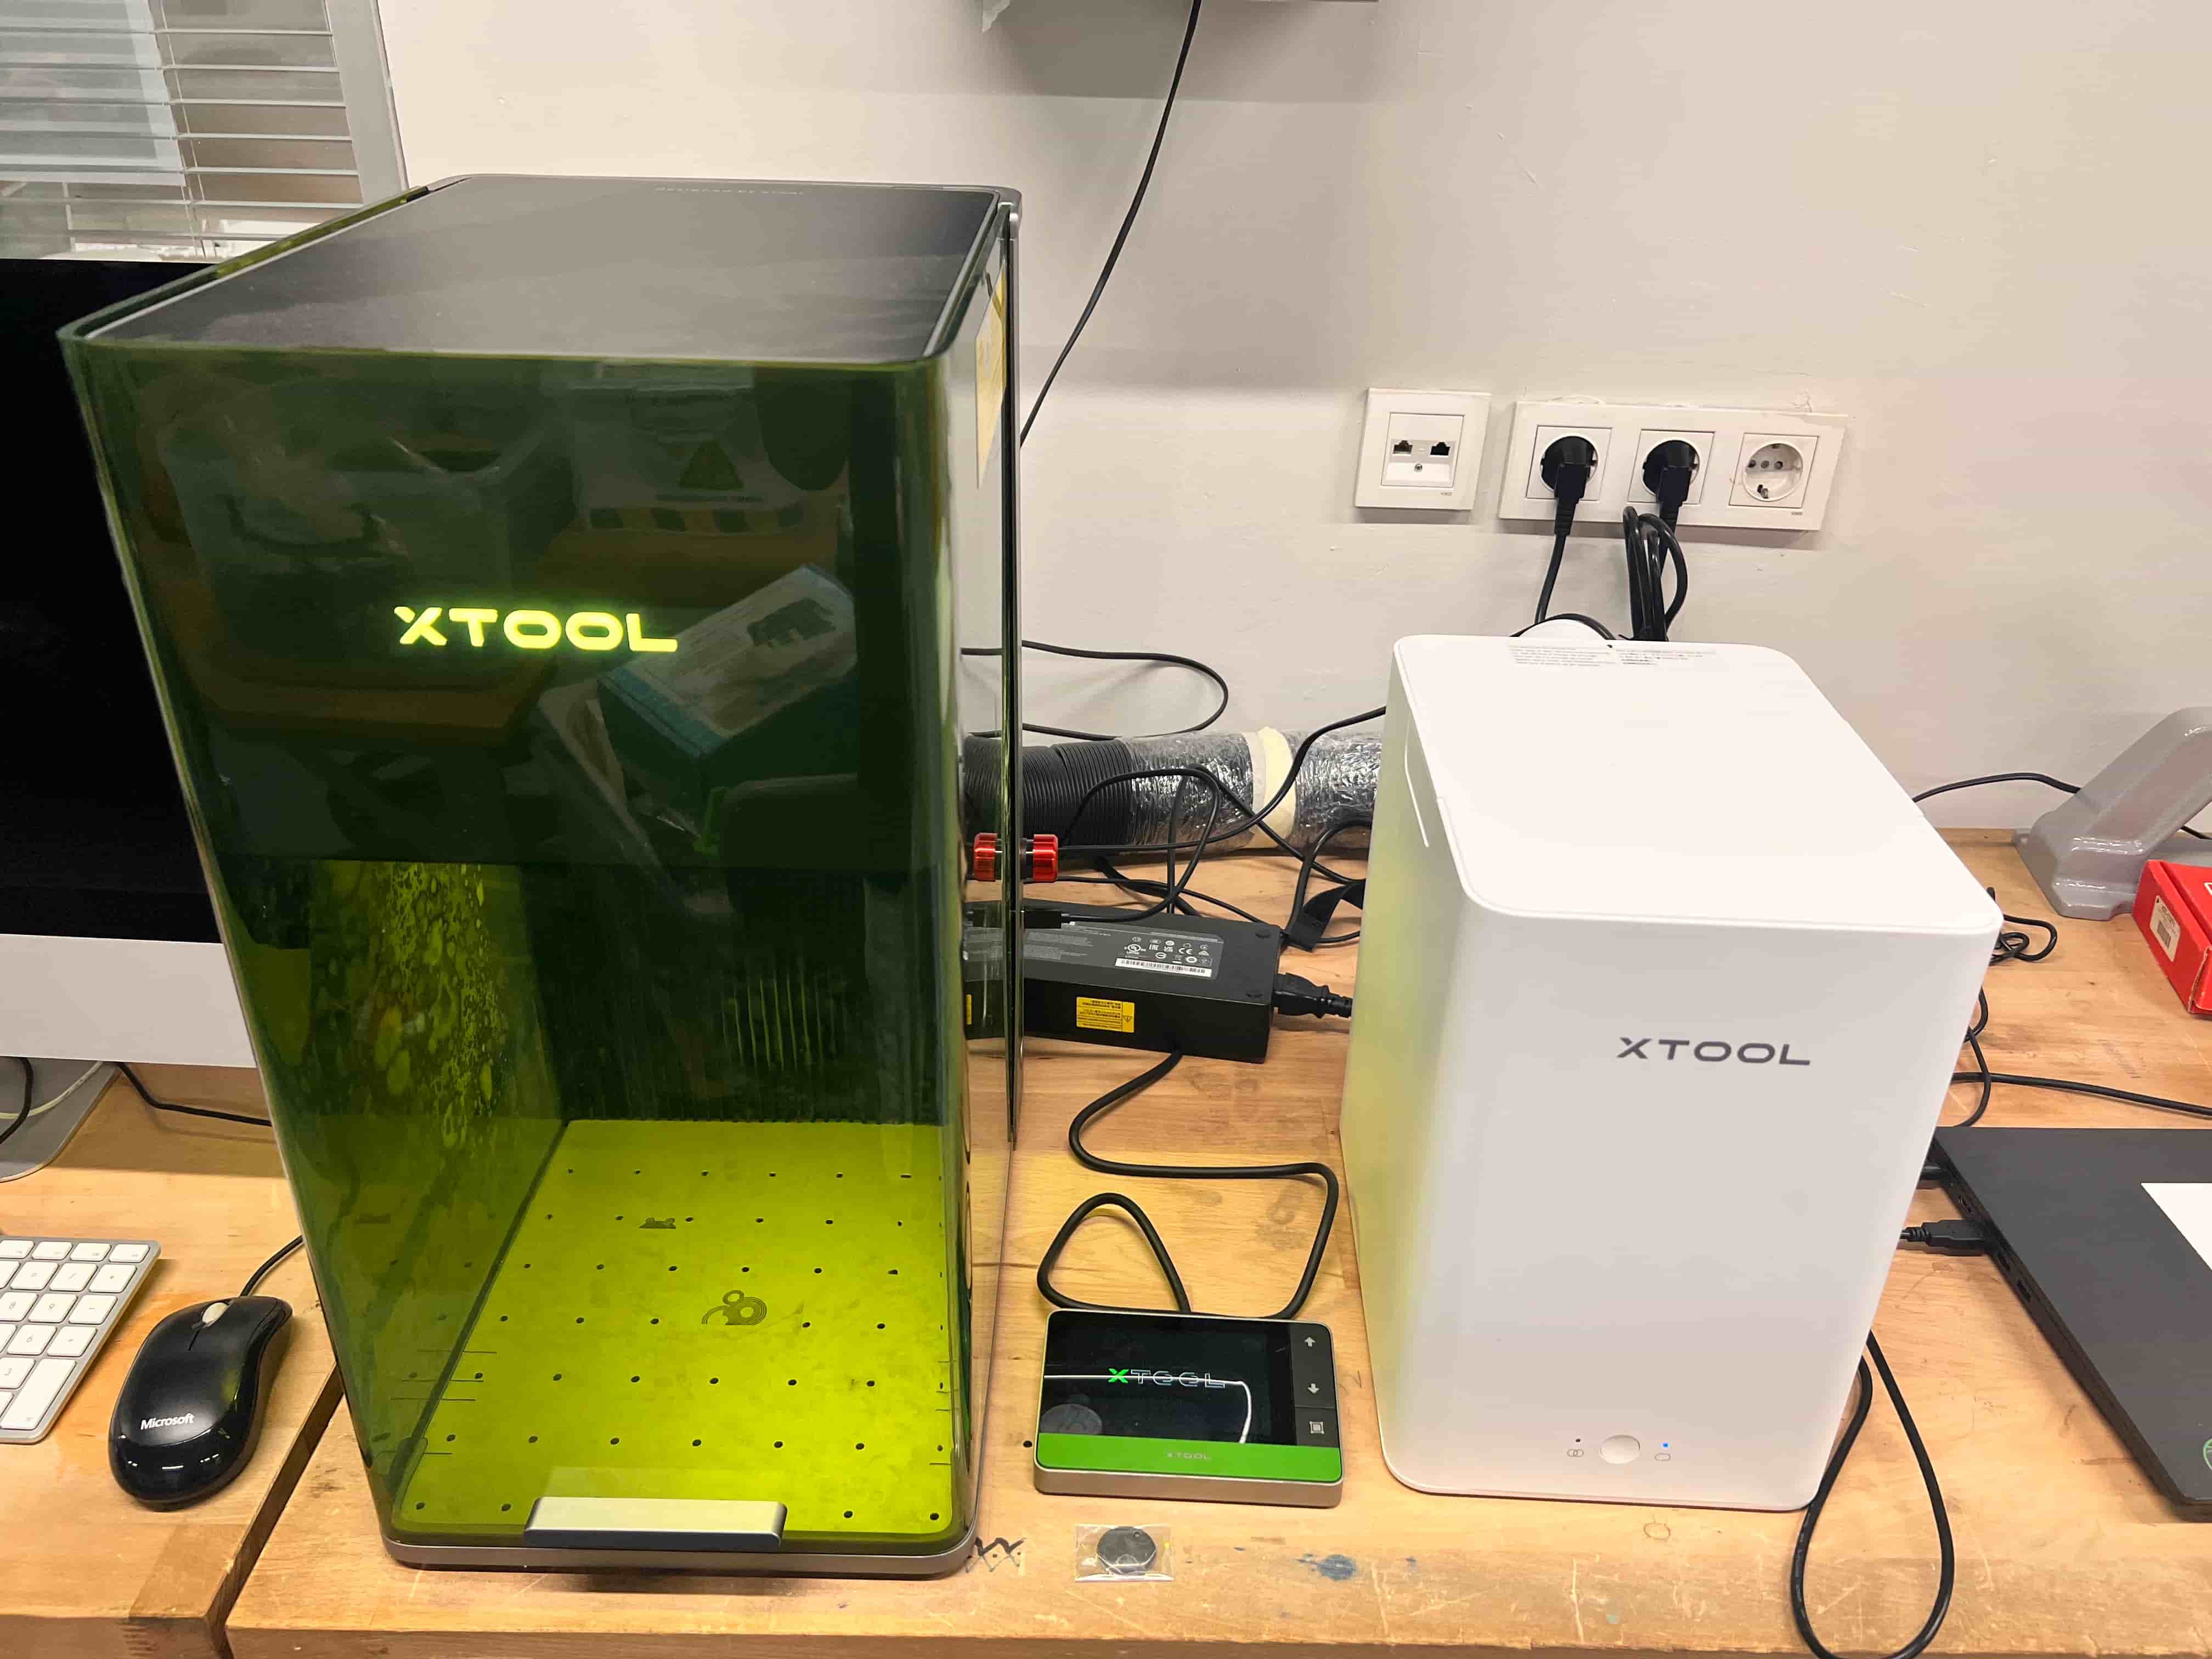
Step 3: Machine Preparation
Always start by turning on the ventilation. Click the big button to do that.

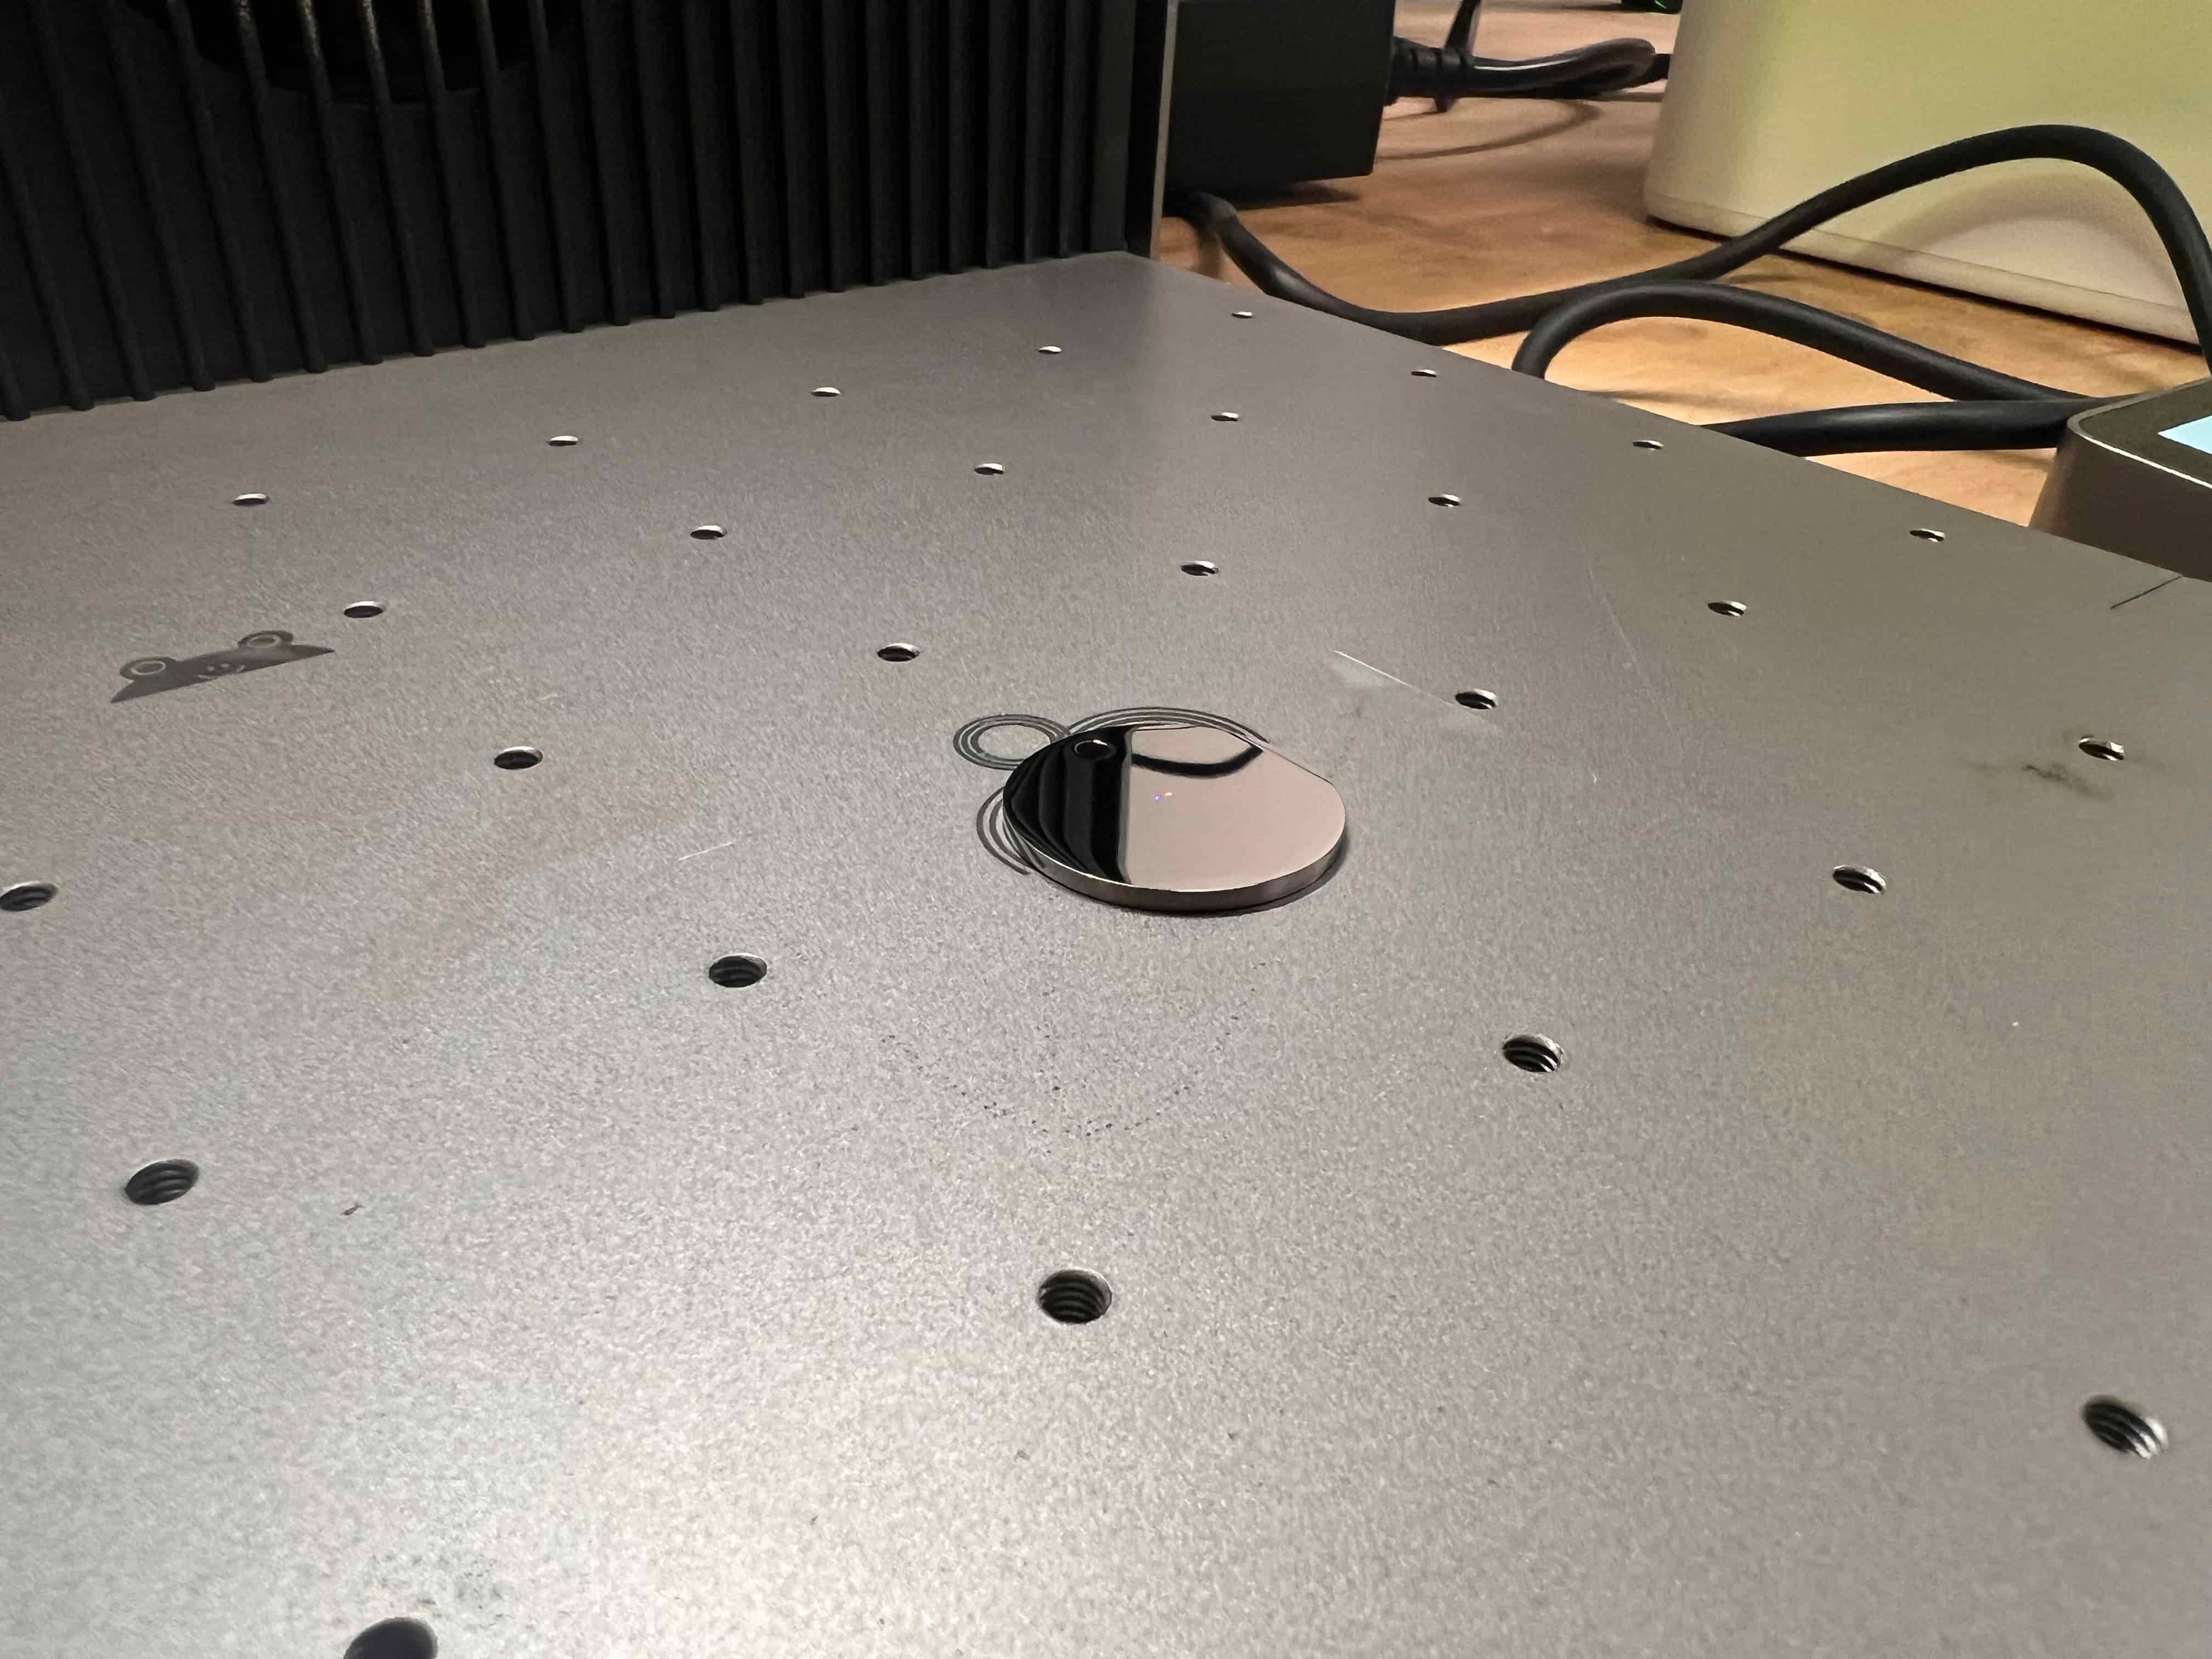
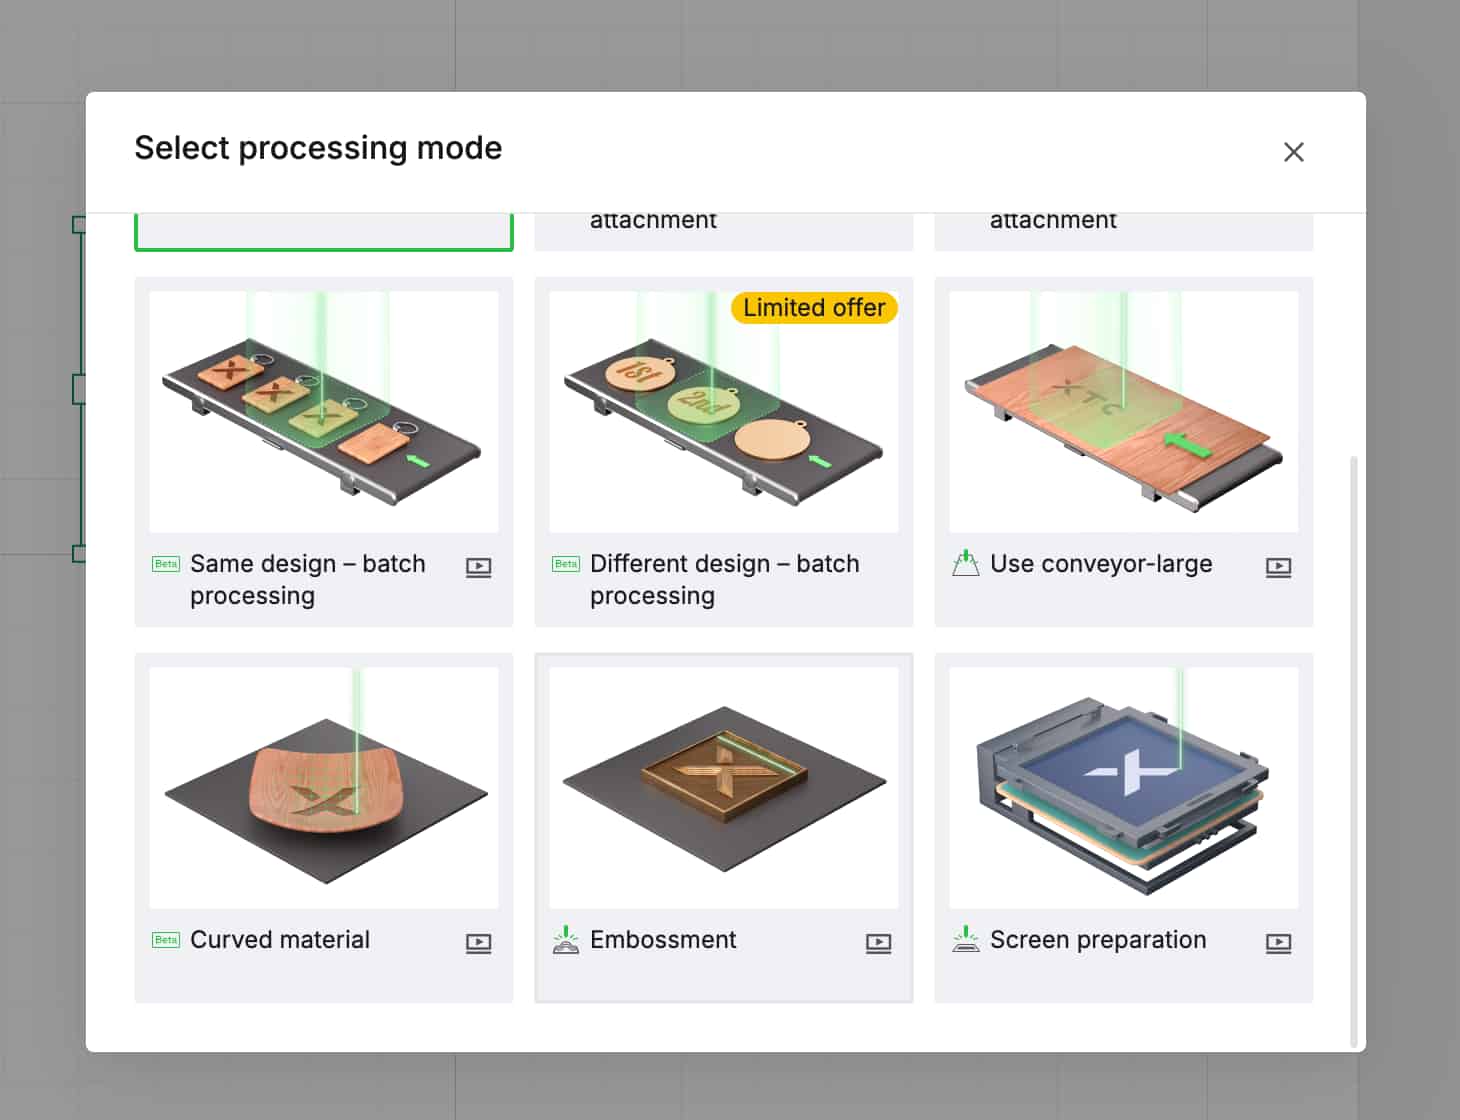
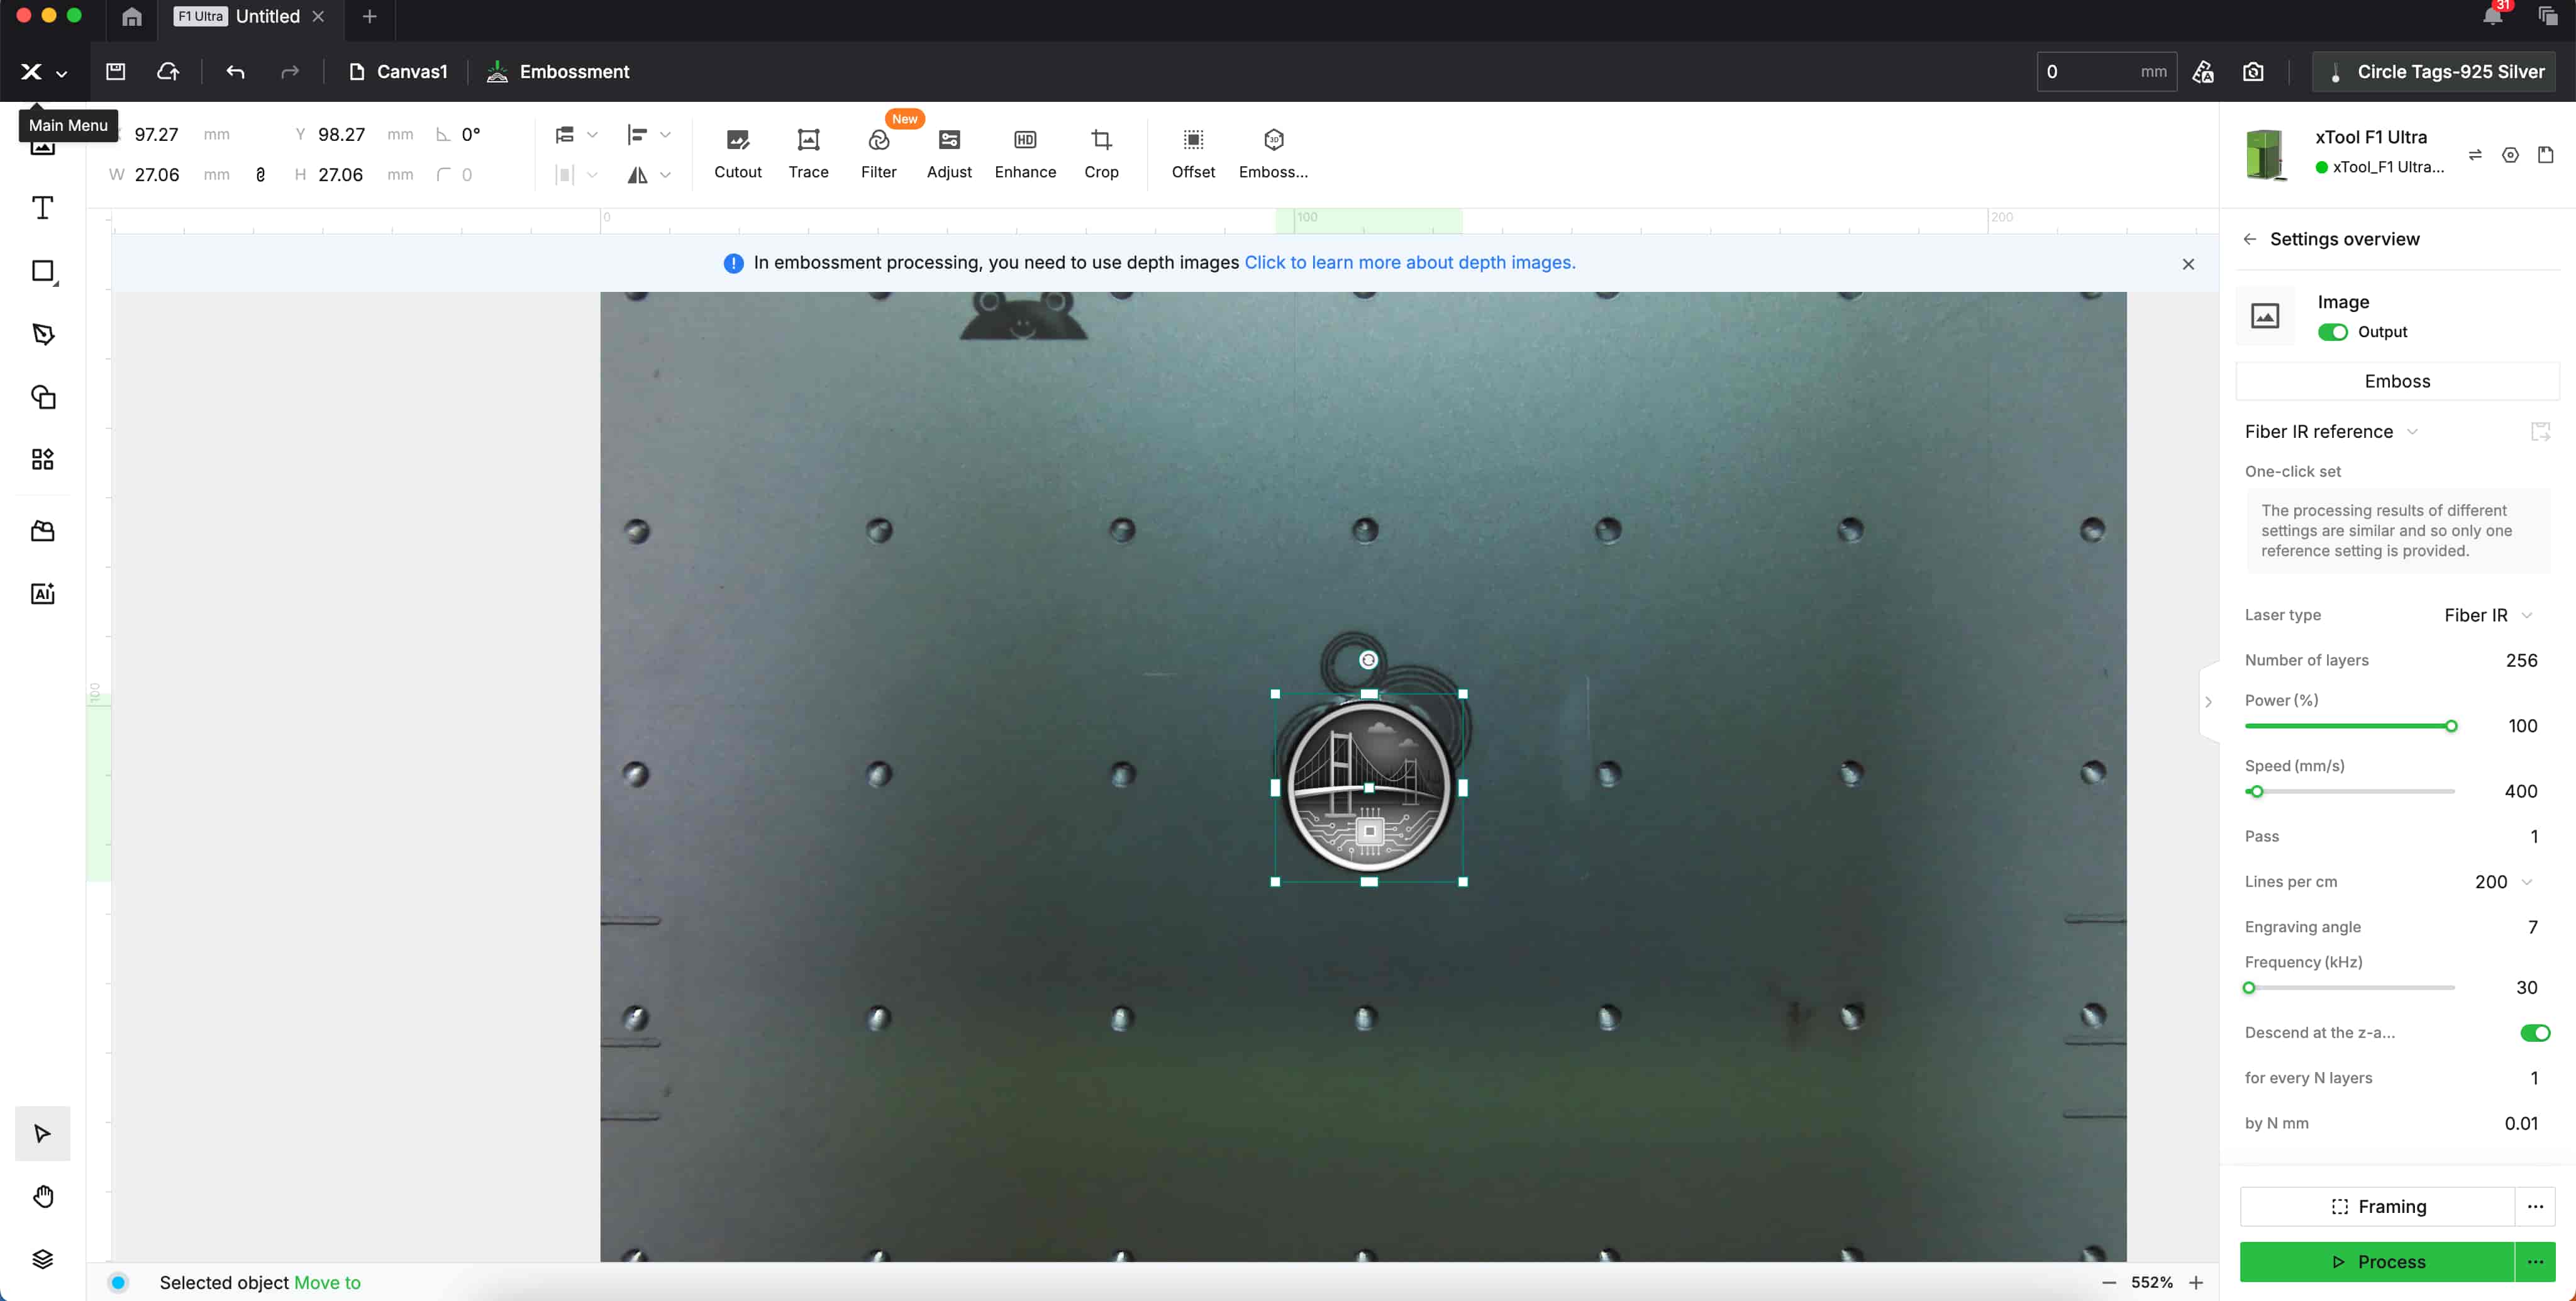
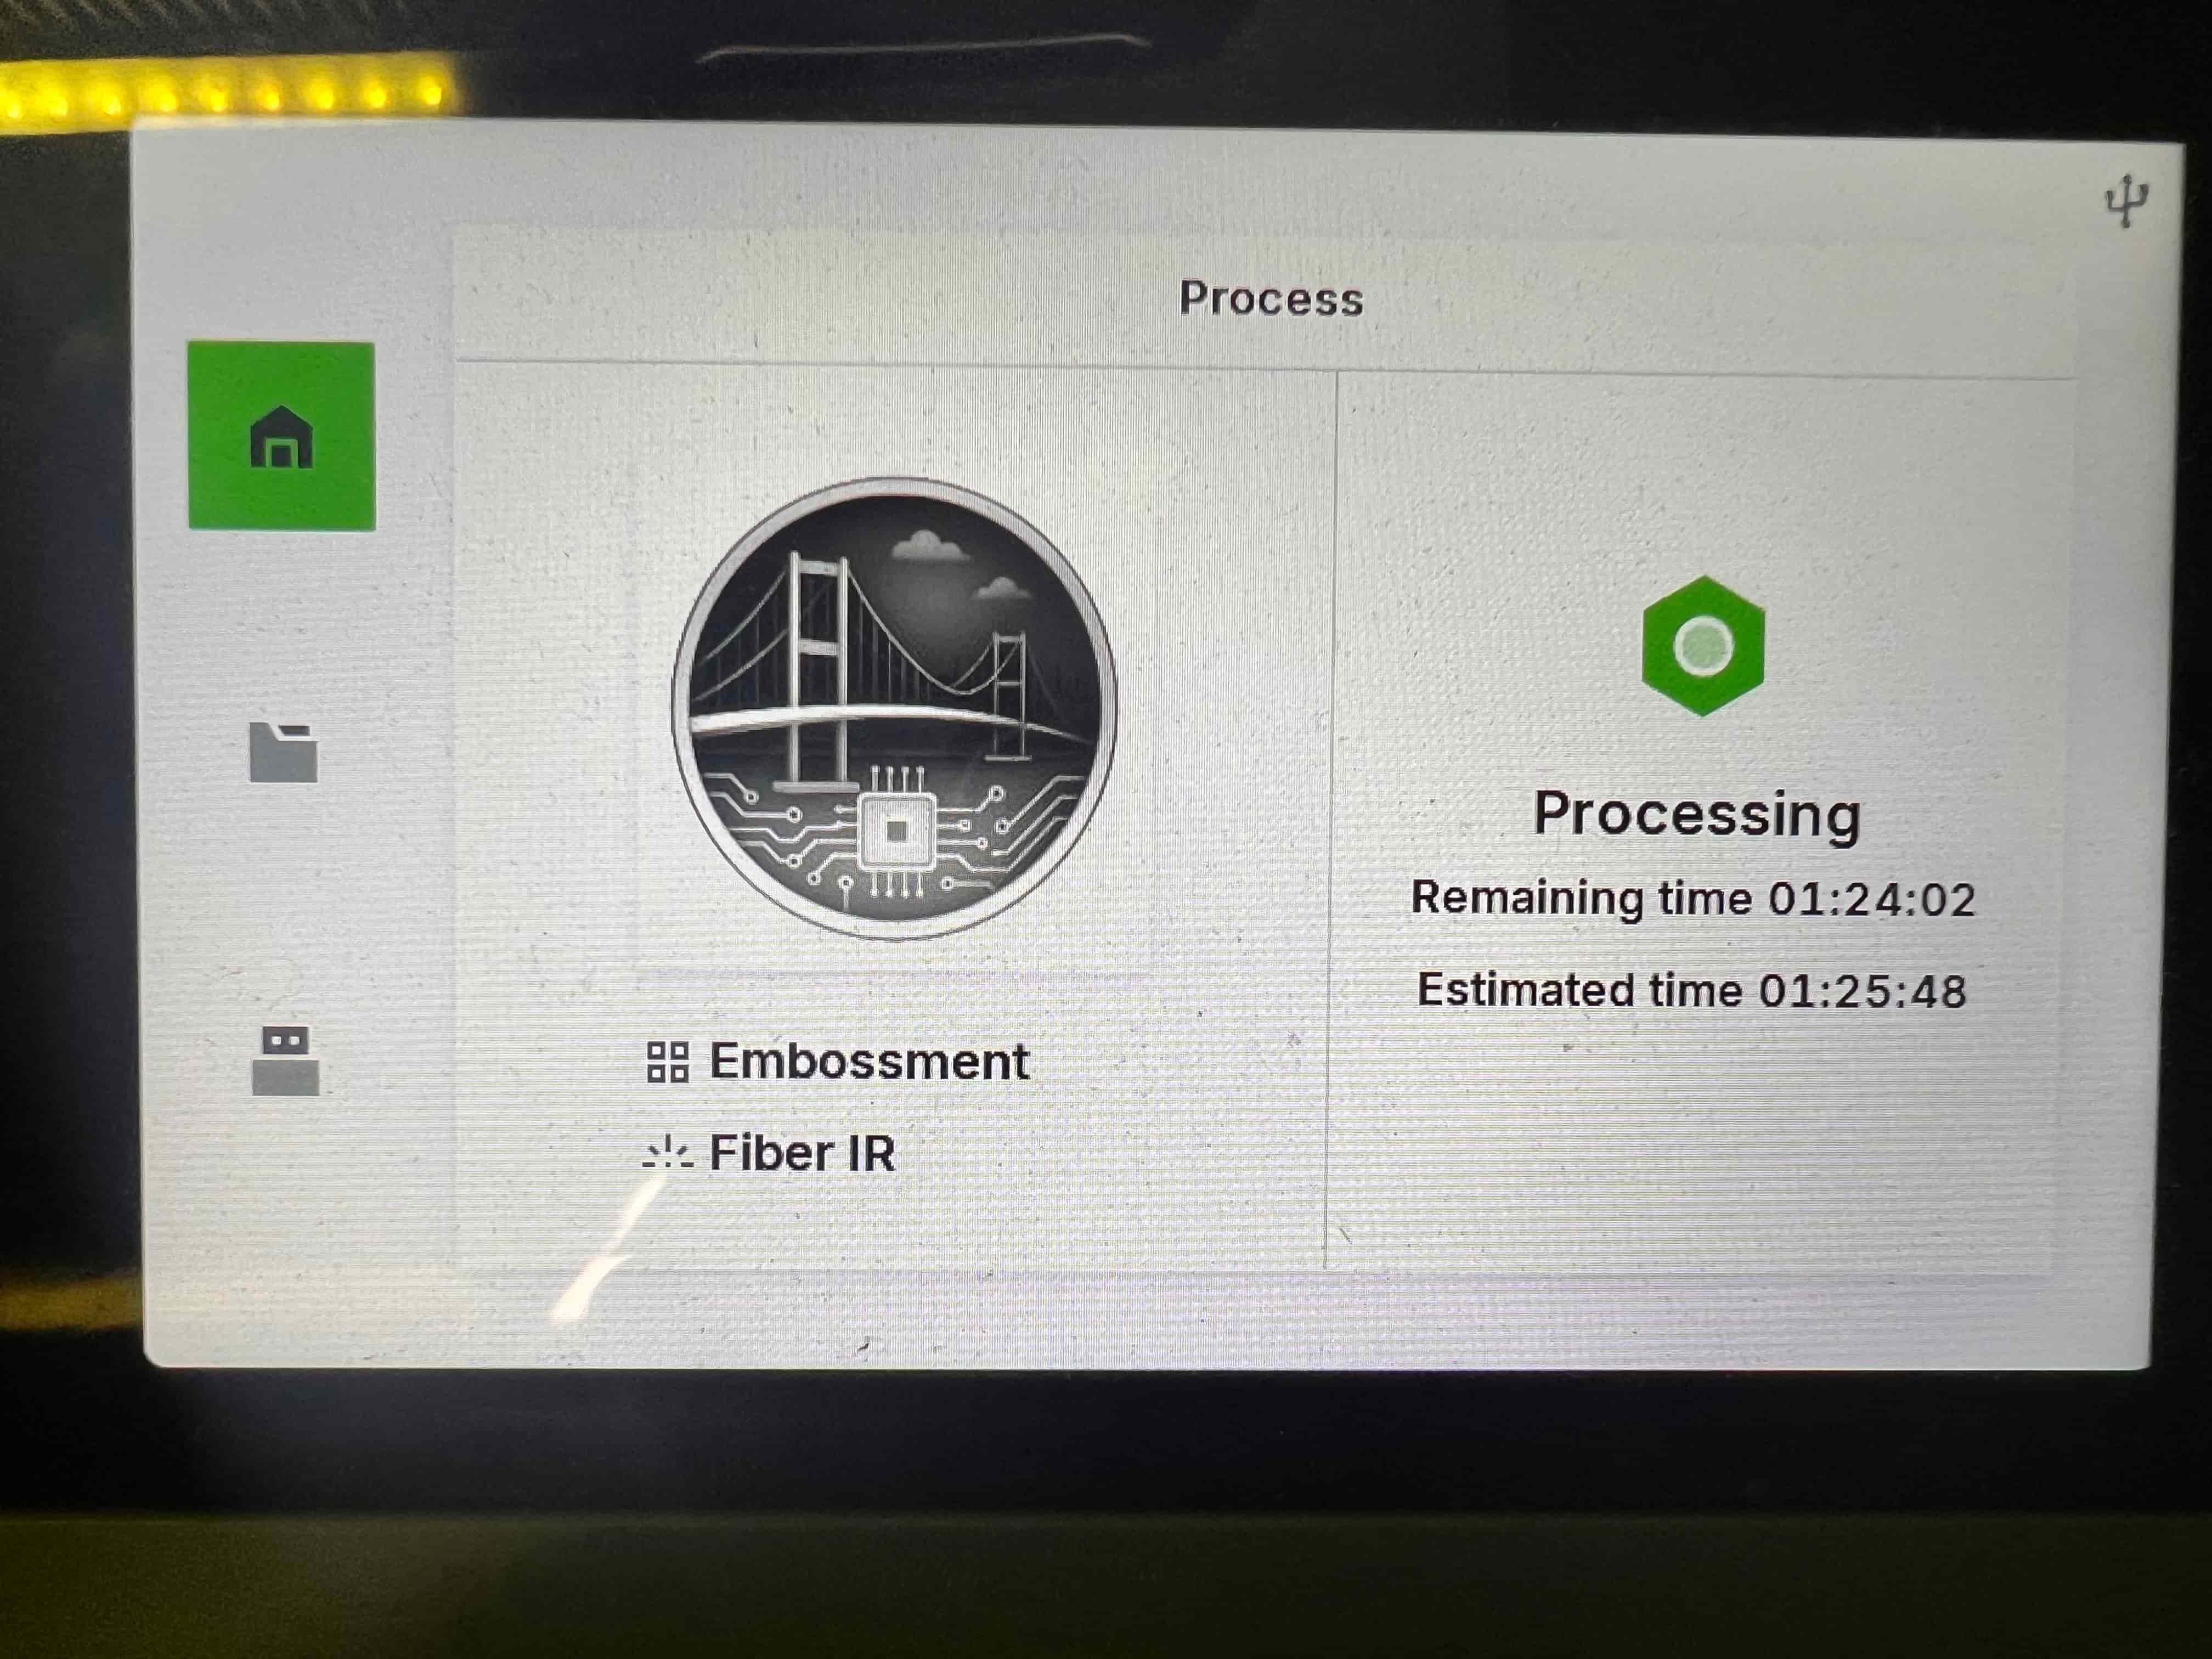
I used the xTool F1 Ultra to perform the embossing. The material was a silver coin (Circle Tags - 925 Silver). I placed the coin on the laser bed and selected the “Embossment” mode.
Step 4: Software Setup and Laser Parameters
I uploaded the STL model and adjusted the settings as follows:
- Laser Type: Fiber IR
- Power: 100%
- Speed: 400 mm/s
- Lines per cm: 200
- Frequency: 30 kHz
- Pass: 1
- Z-axis descend: 0.01 mm every 1 layer (256 layers total)

Step 5: Problems and Fixes
I didn't encounter any problems. This process was really really easy.
Why This Belongs in Wildcard Week
This process was not used in any other assignment. While I worked with laser cutting before, this was the first time I:
- Used a fiber laser (instead of diode or CO2)
- Applied STL/depth map based 3D embossing
- Worked with precious metal (silver) as a material
Files and Resources
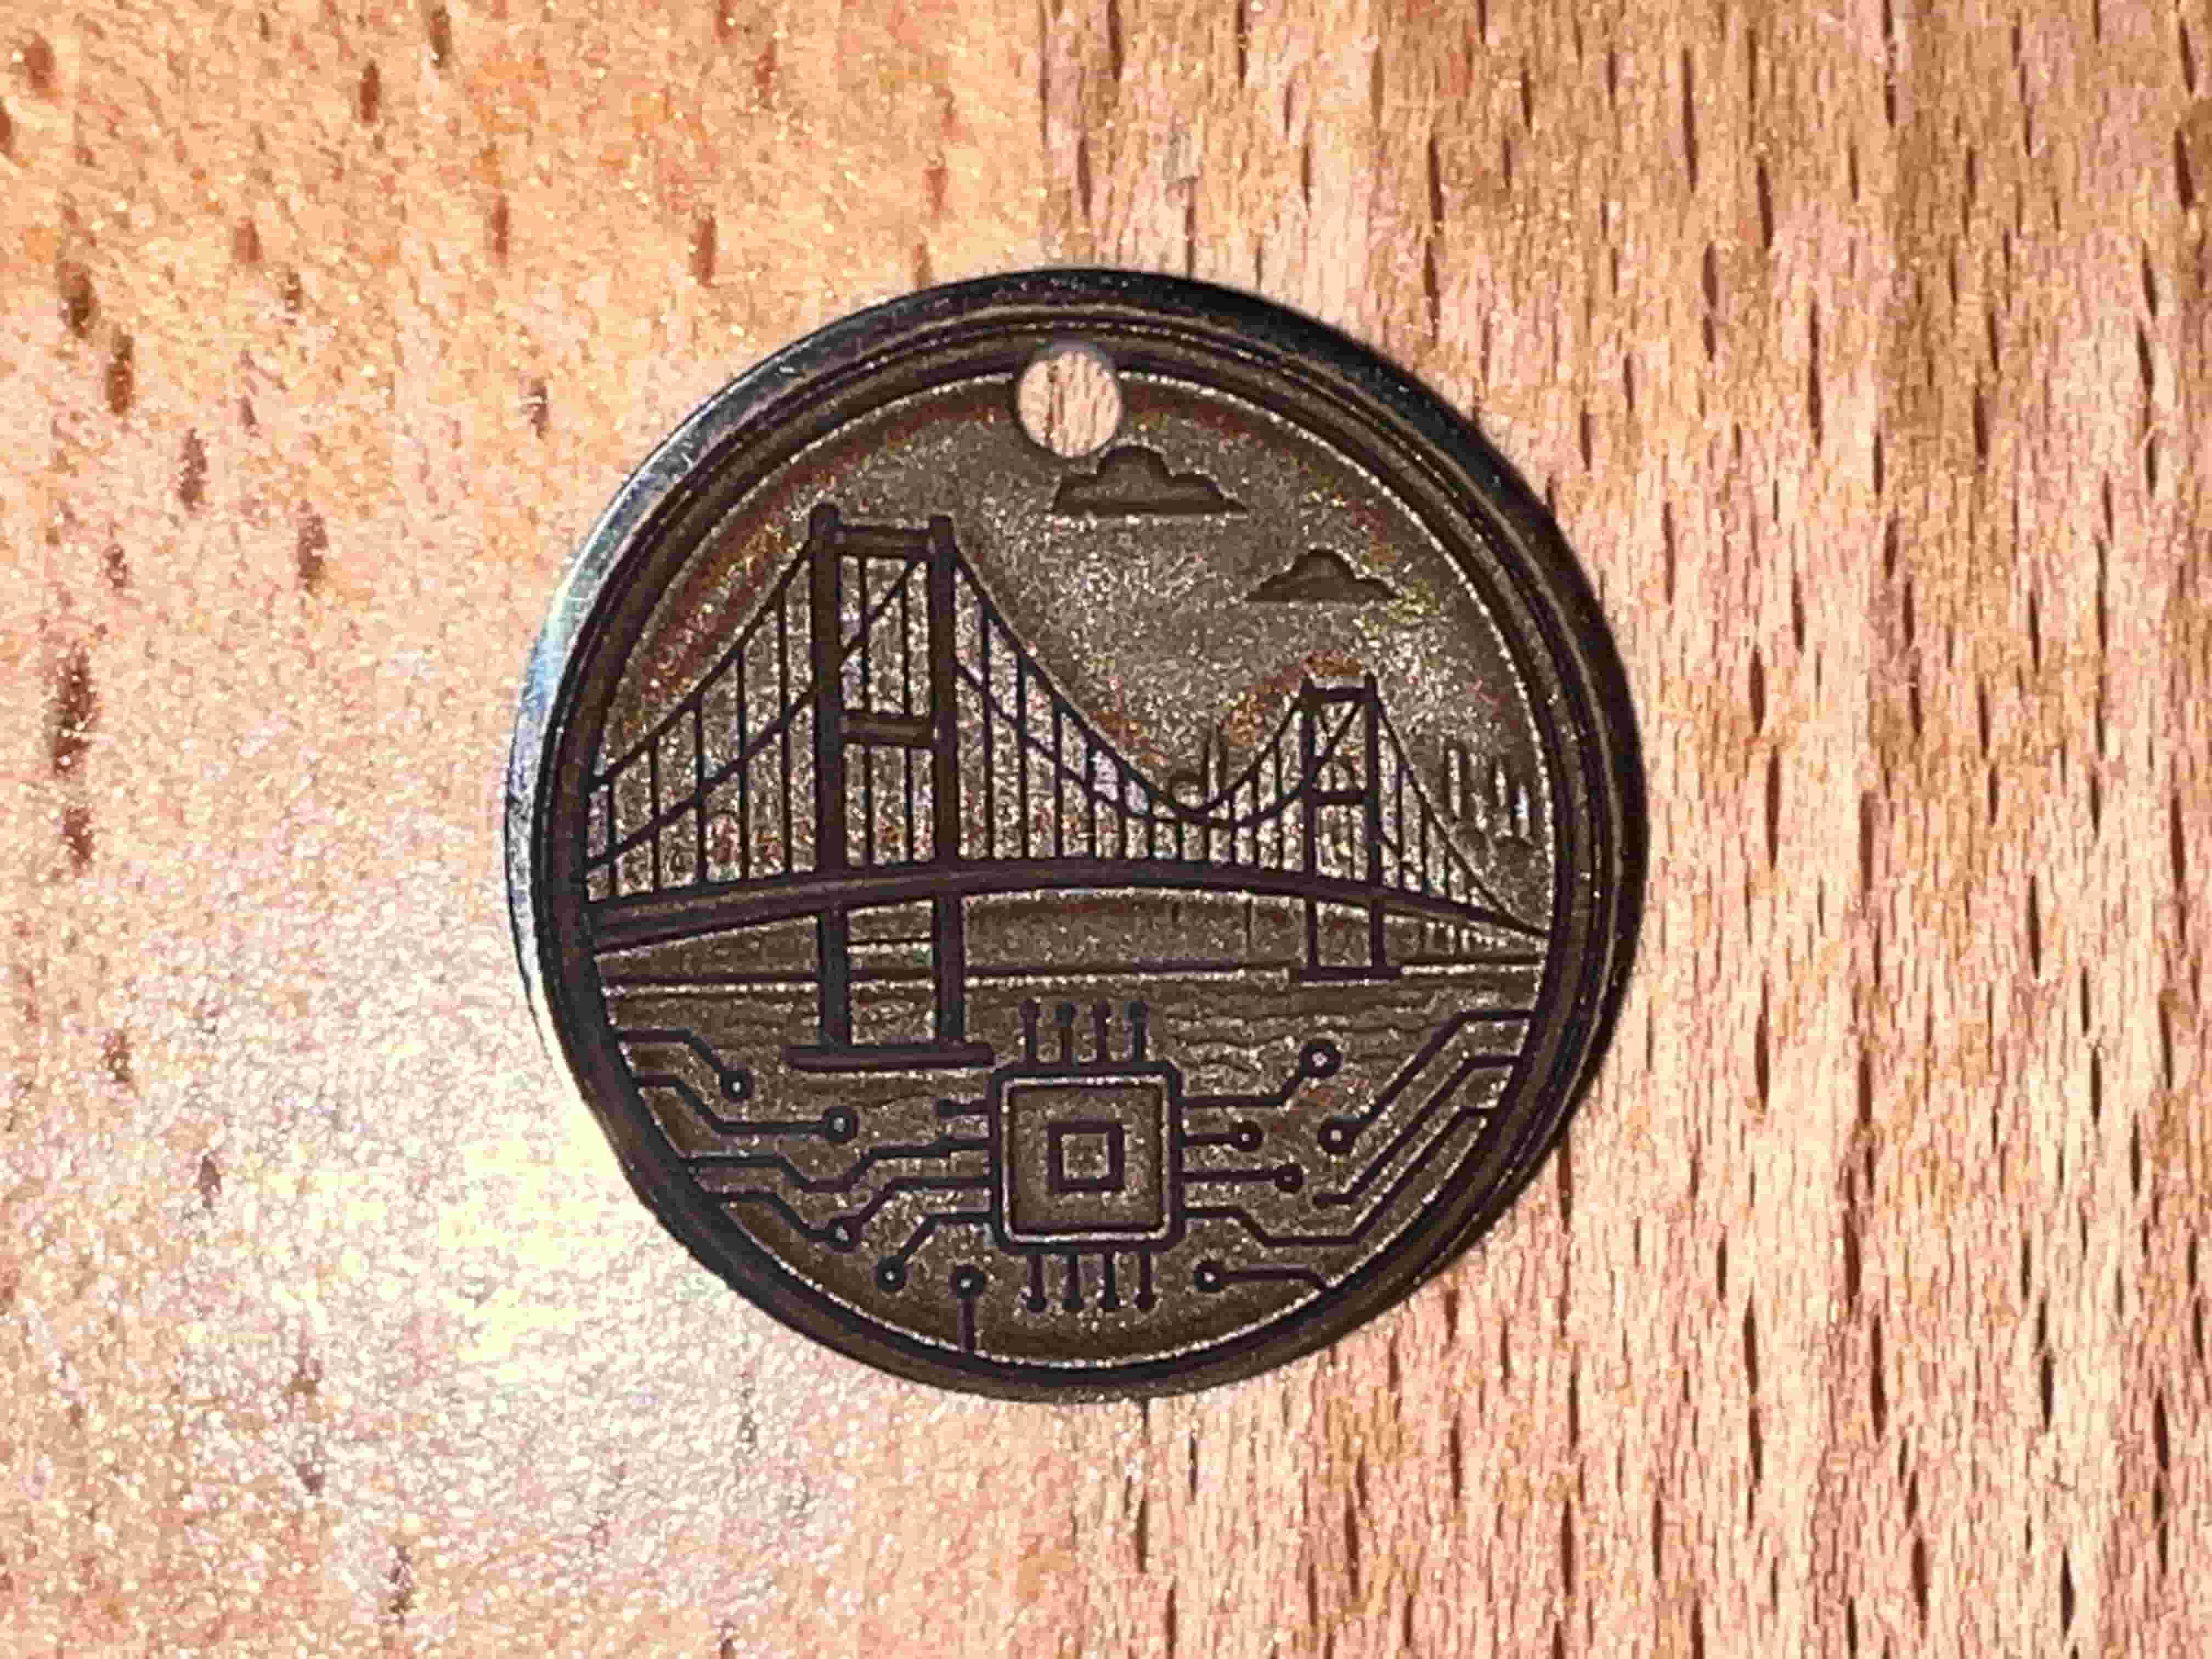
Hero Shot
The final engraved result on the silver coin: