3. Computer Controlled Cutting
Group Assignment
Click to access the group assignment
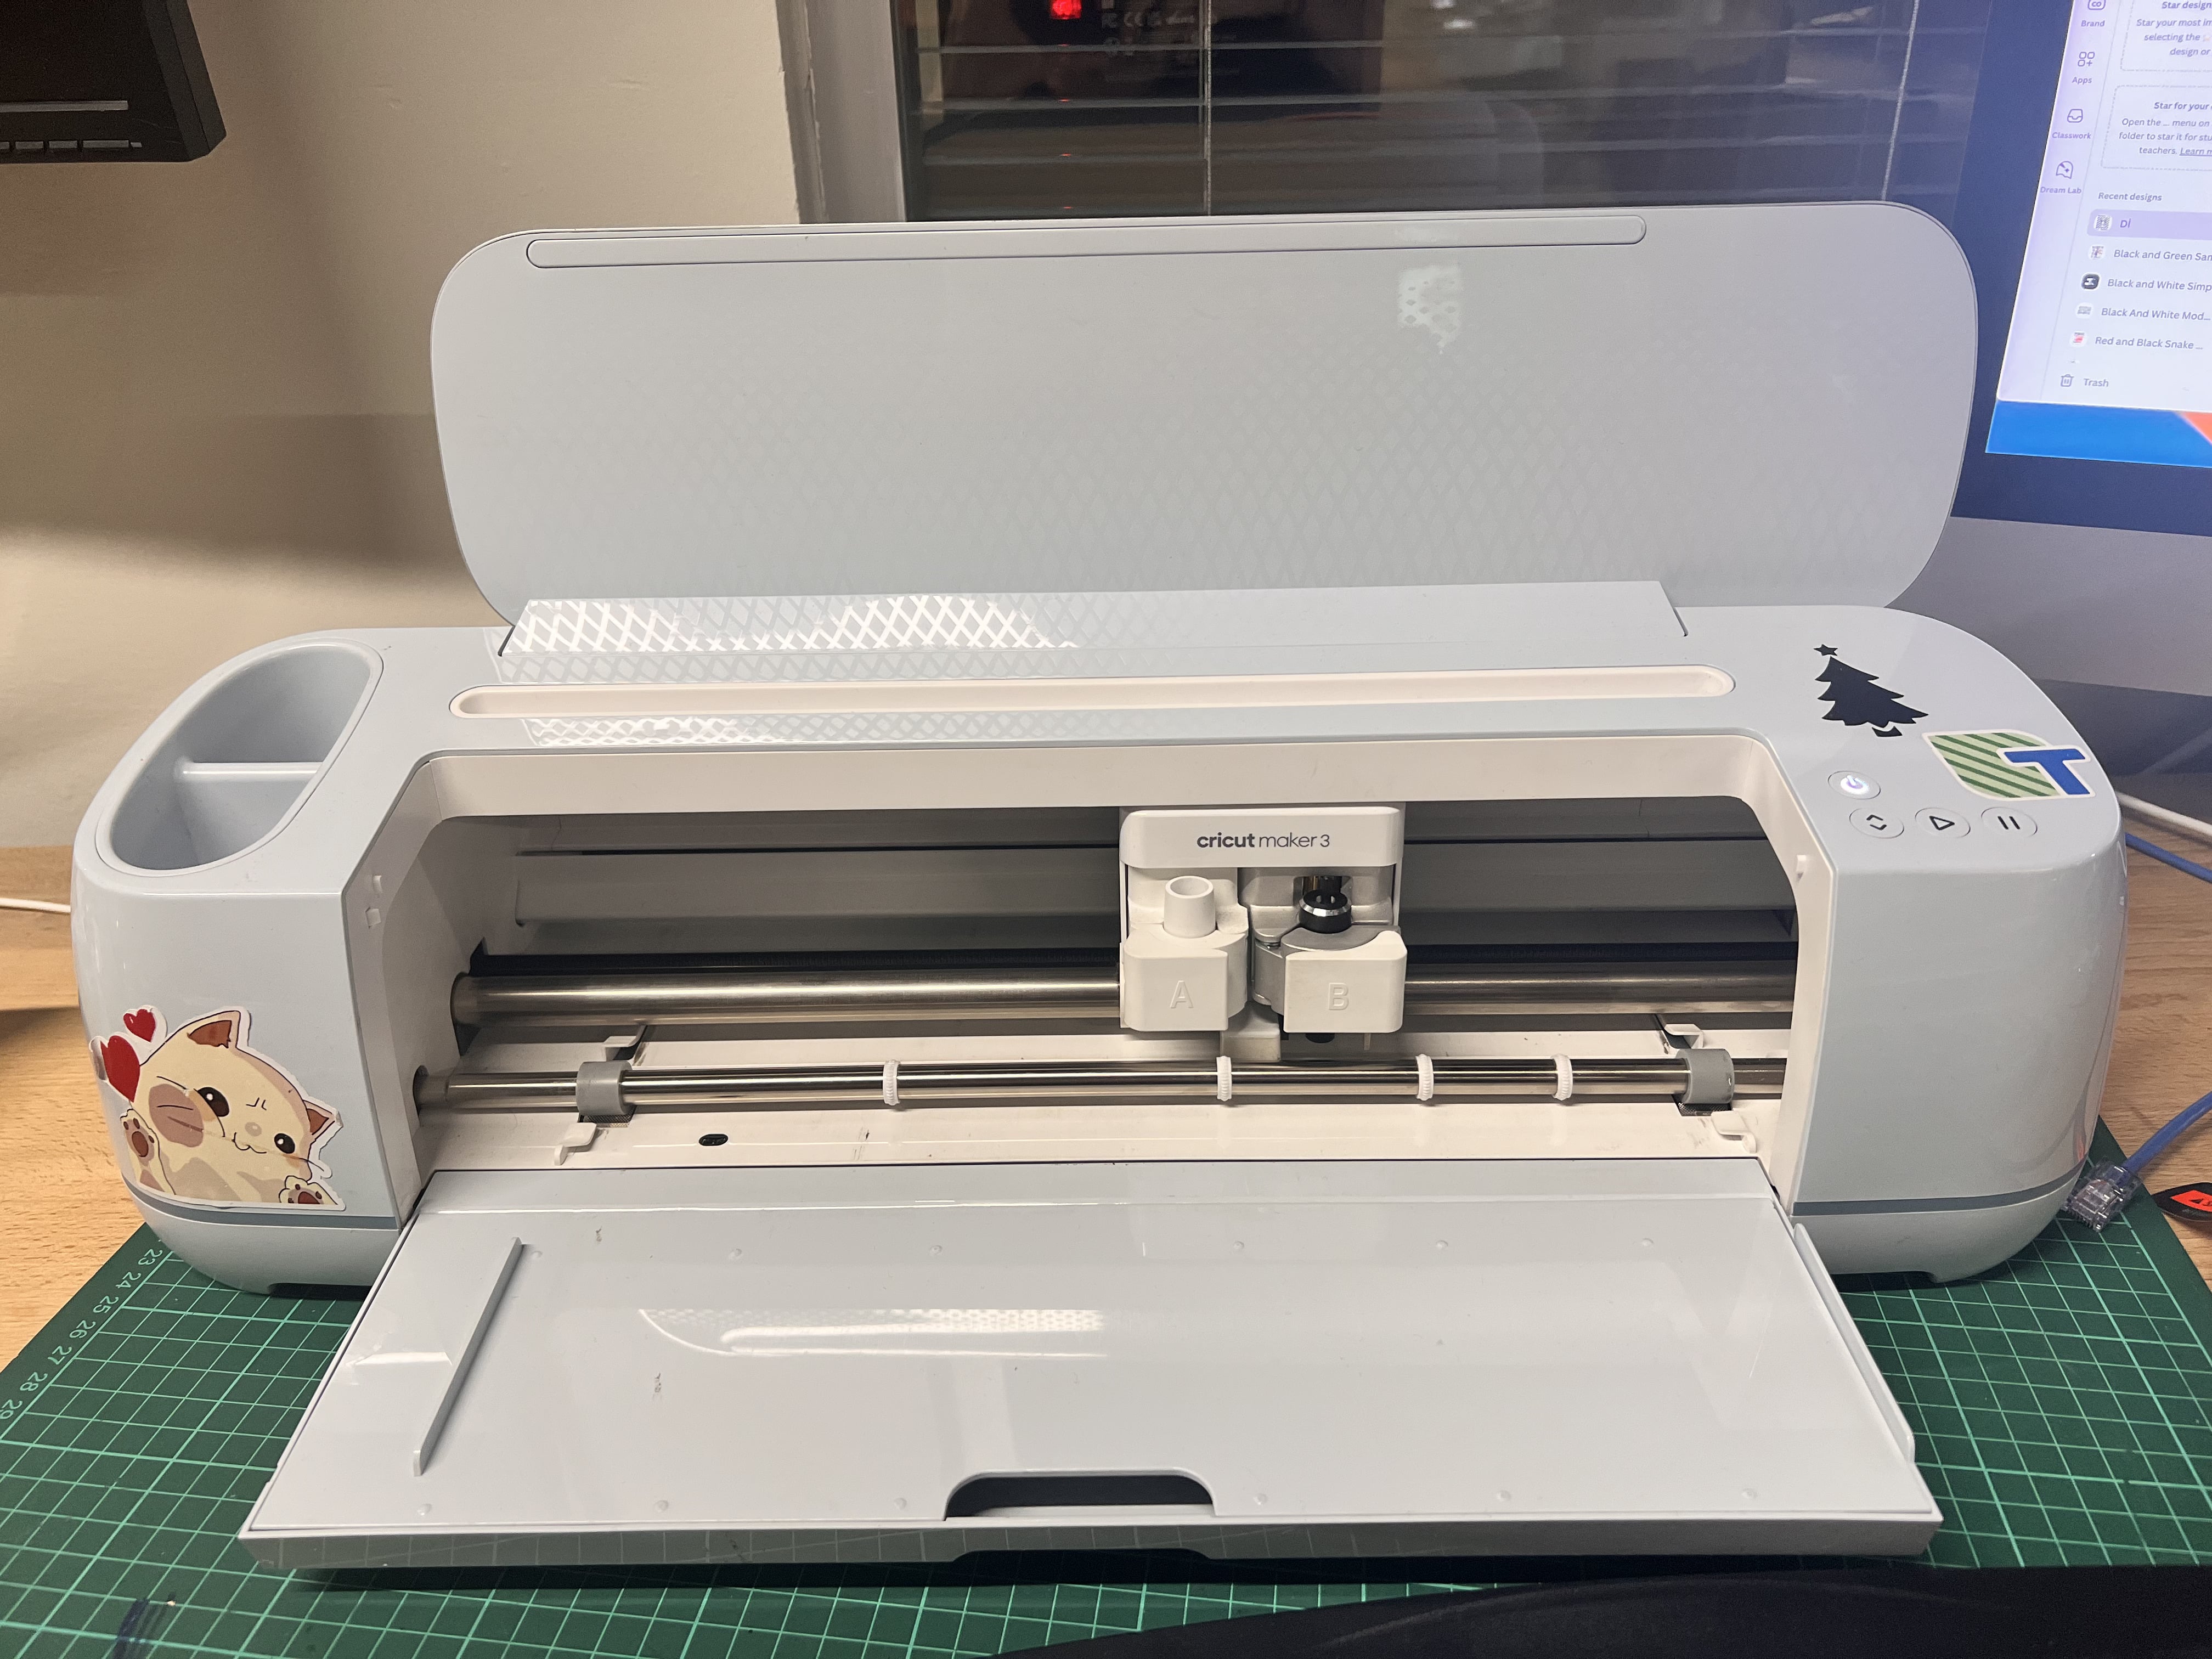
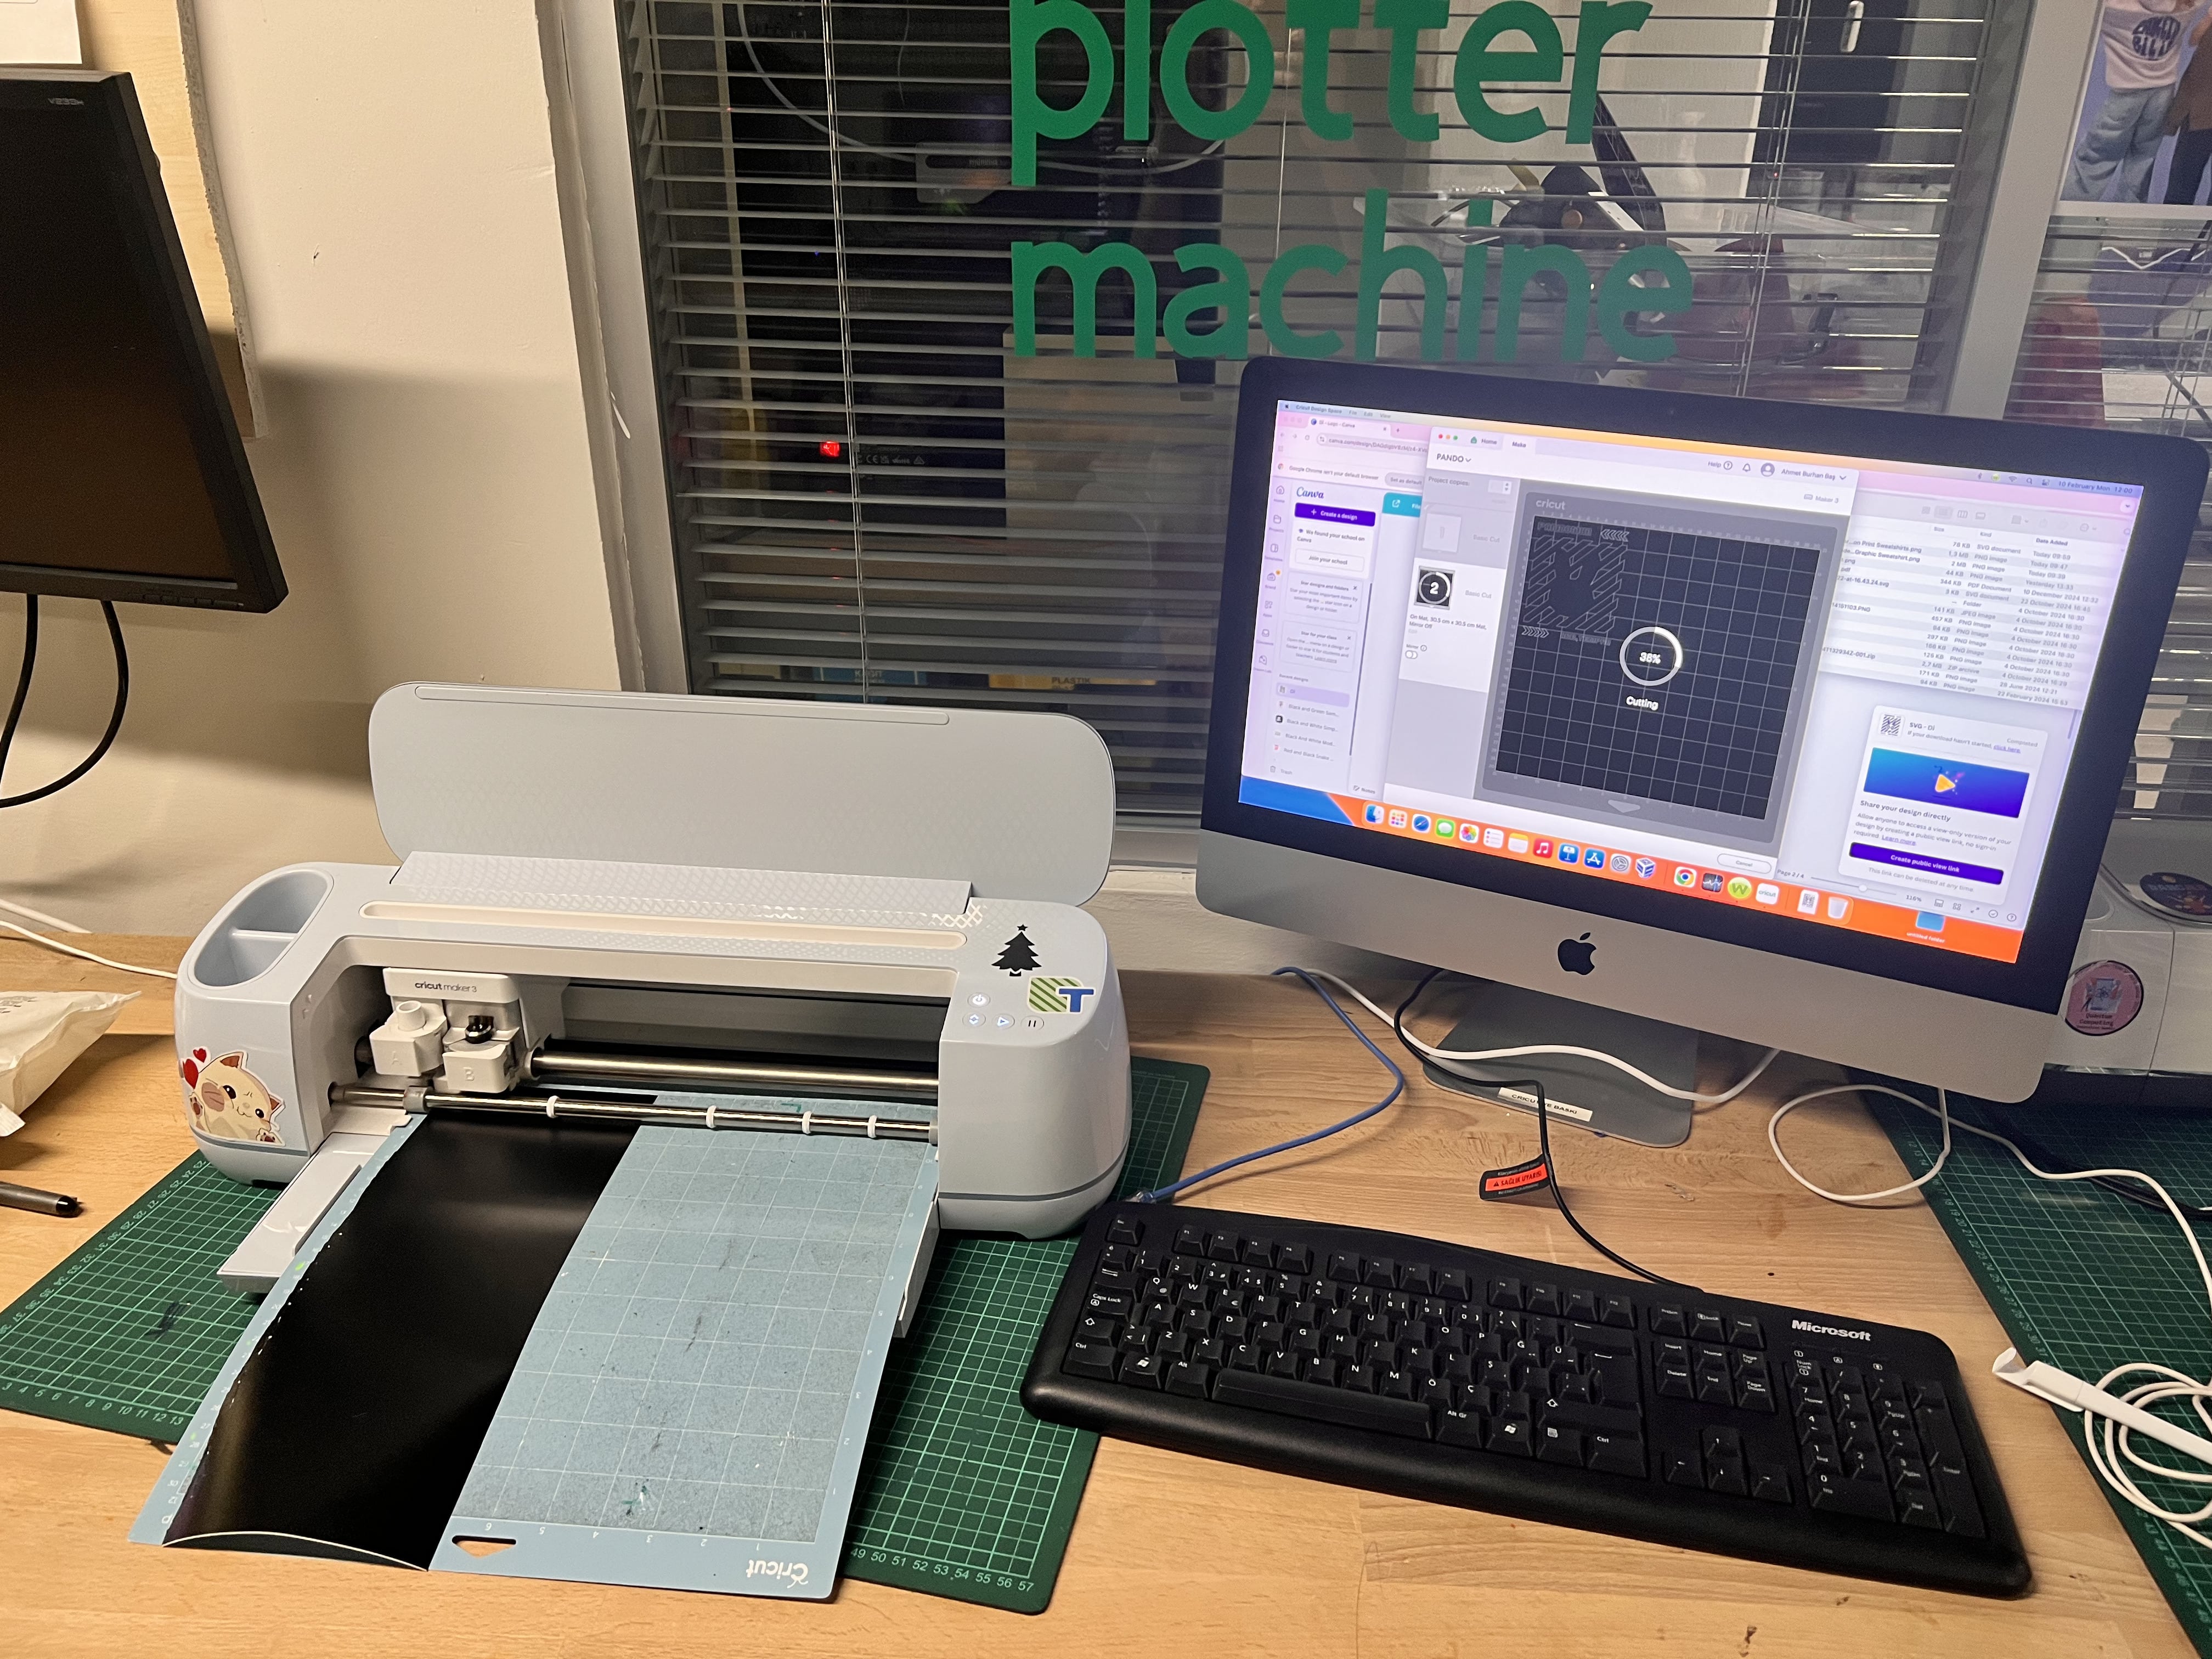
Using a vinyl cutter (Cricut Maker 3)
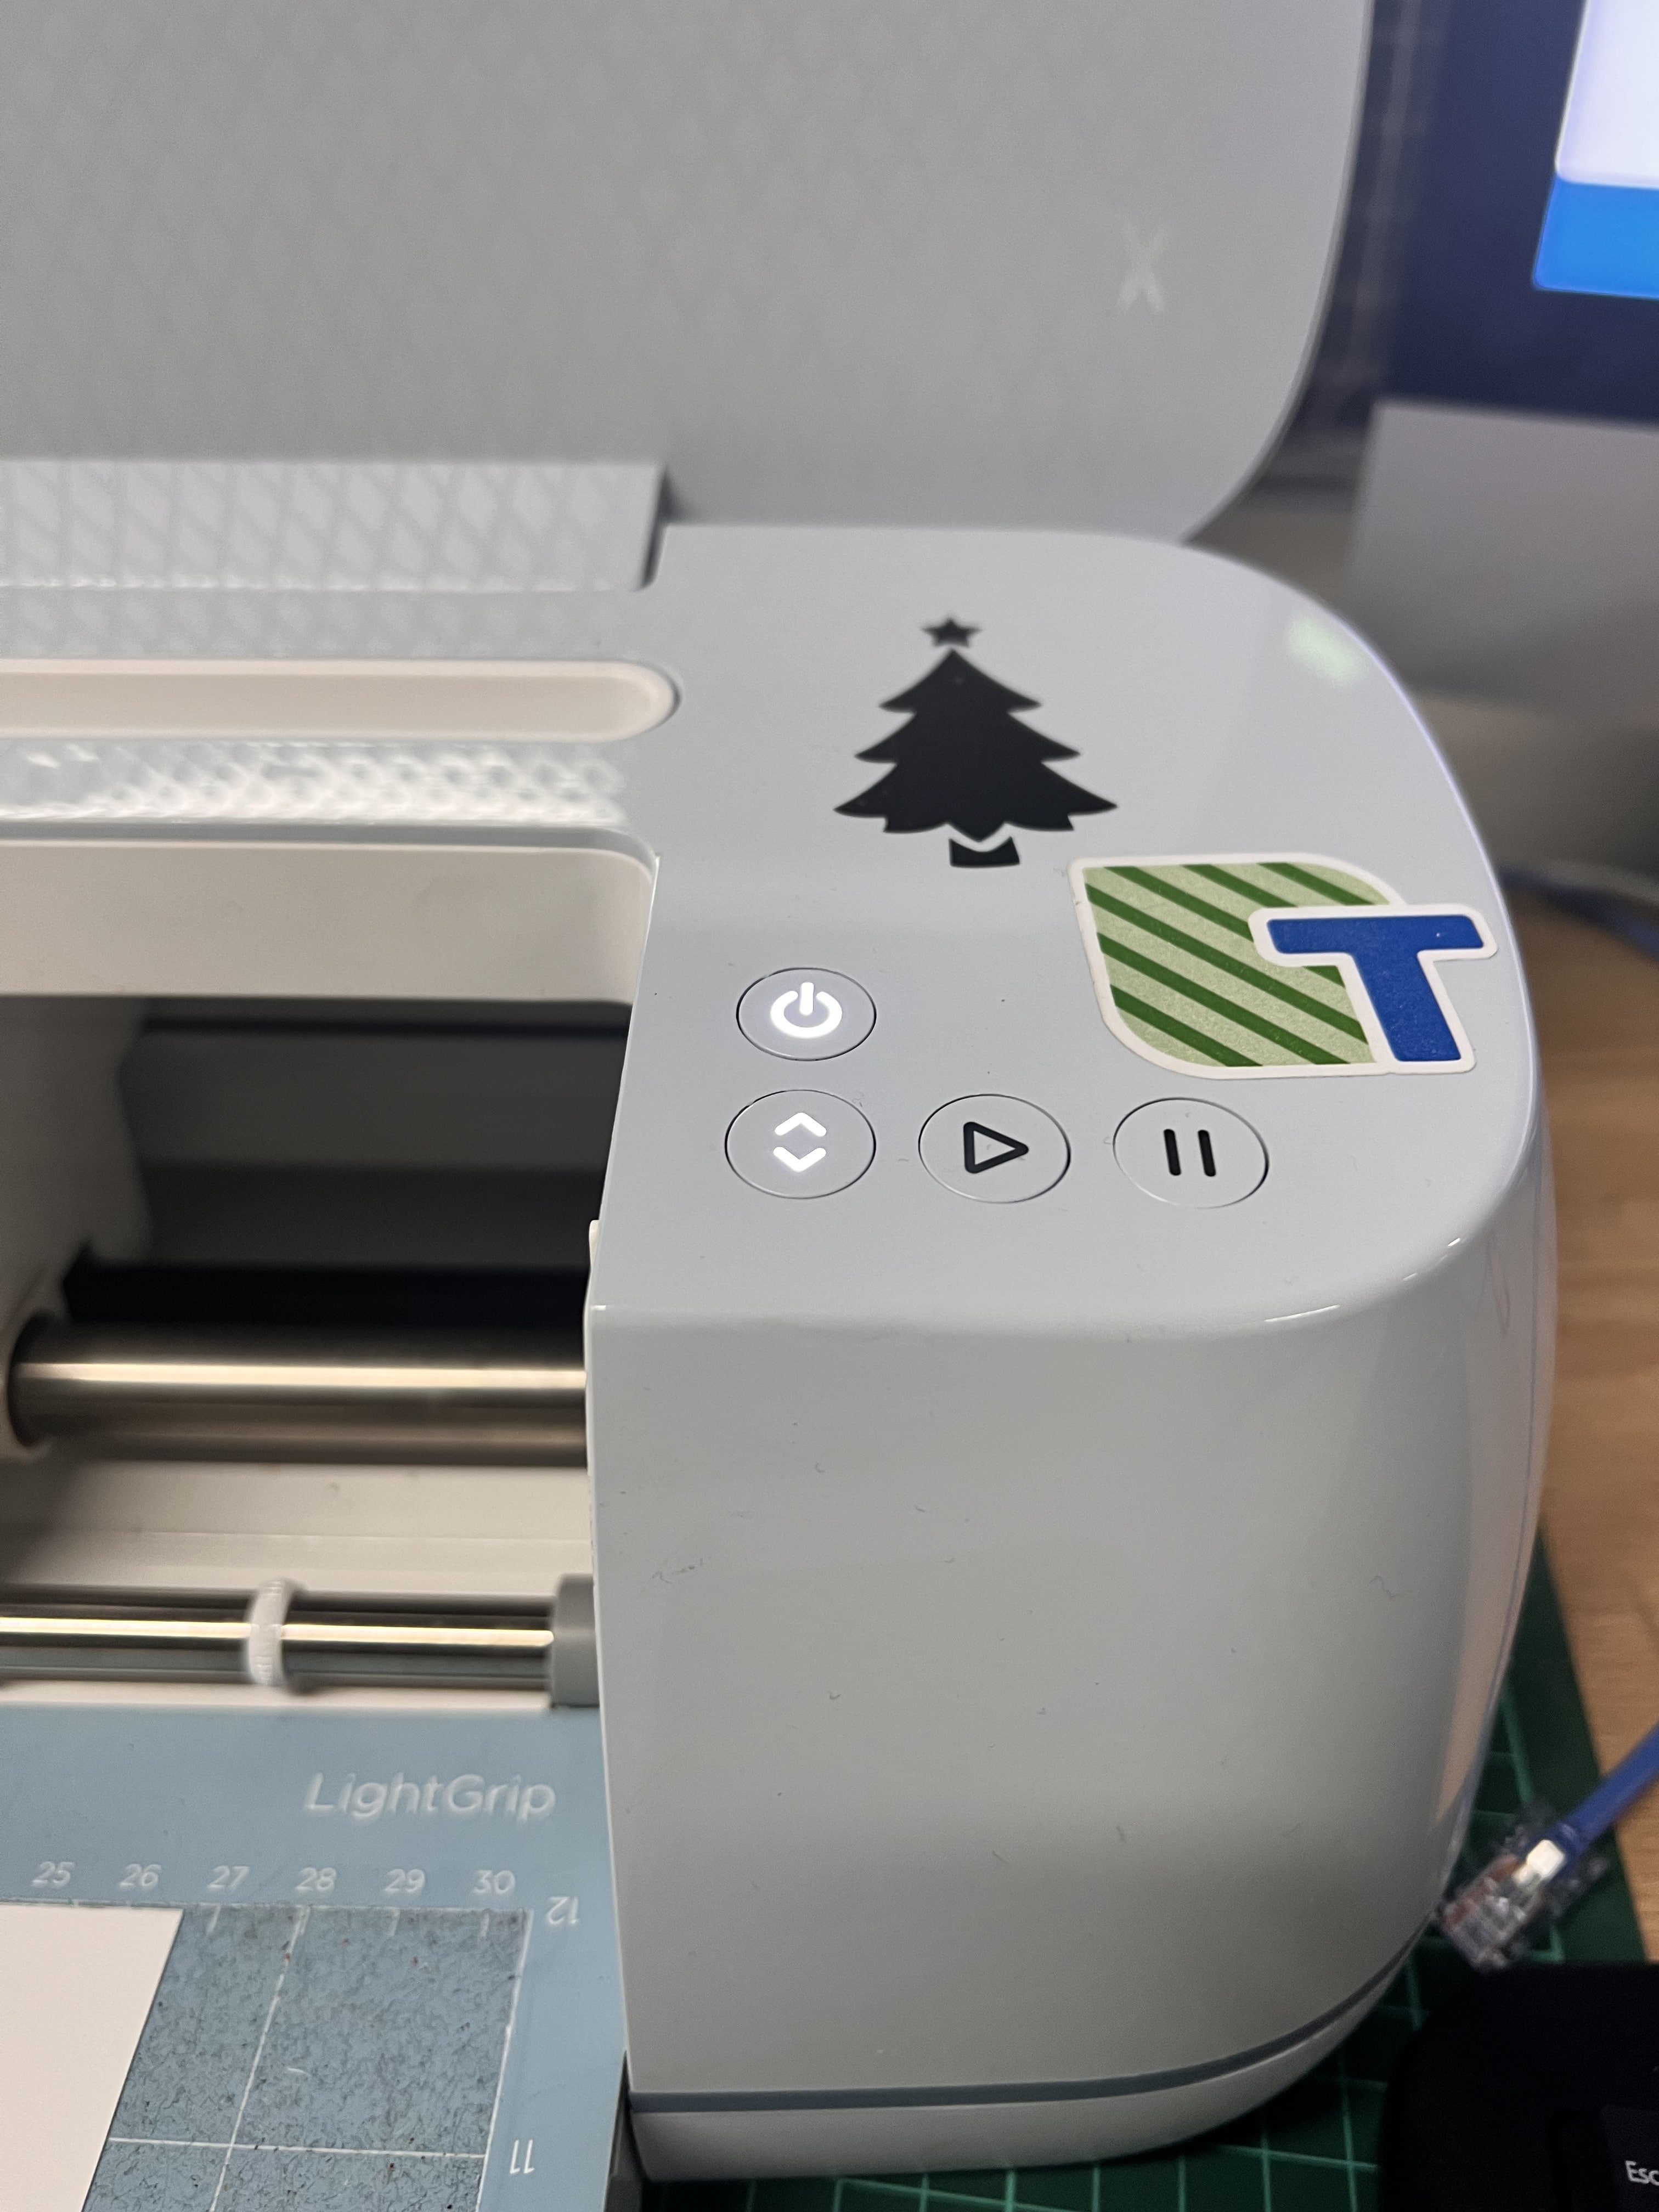
Connect the power adapter to the machine and plug it into the outlet. Power on the machine using the power on button.
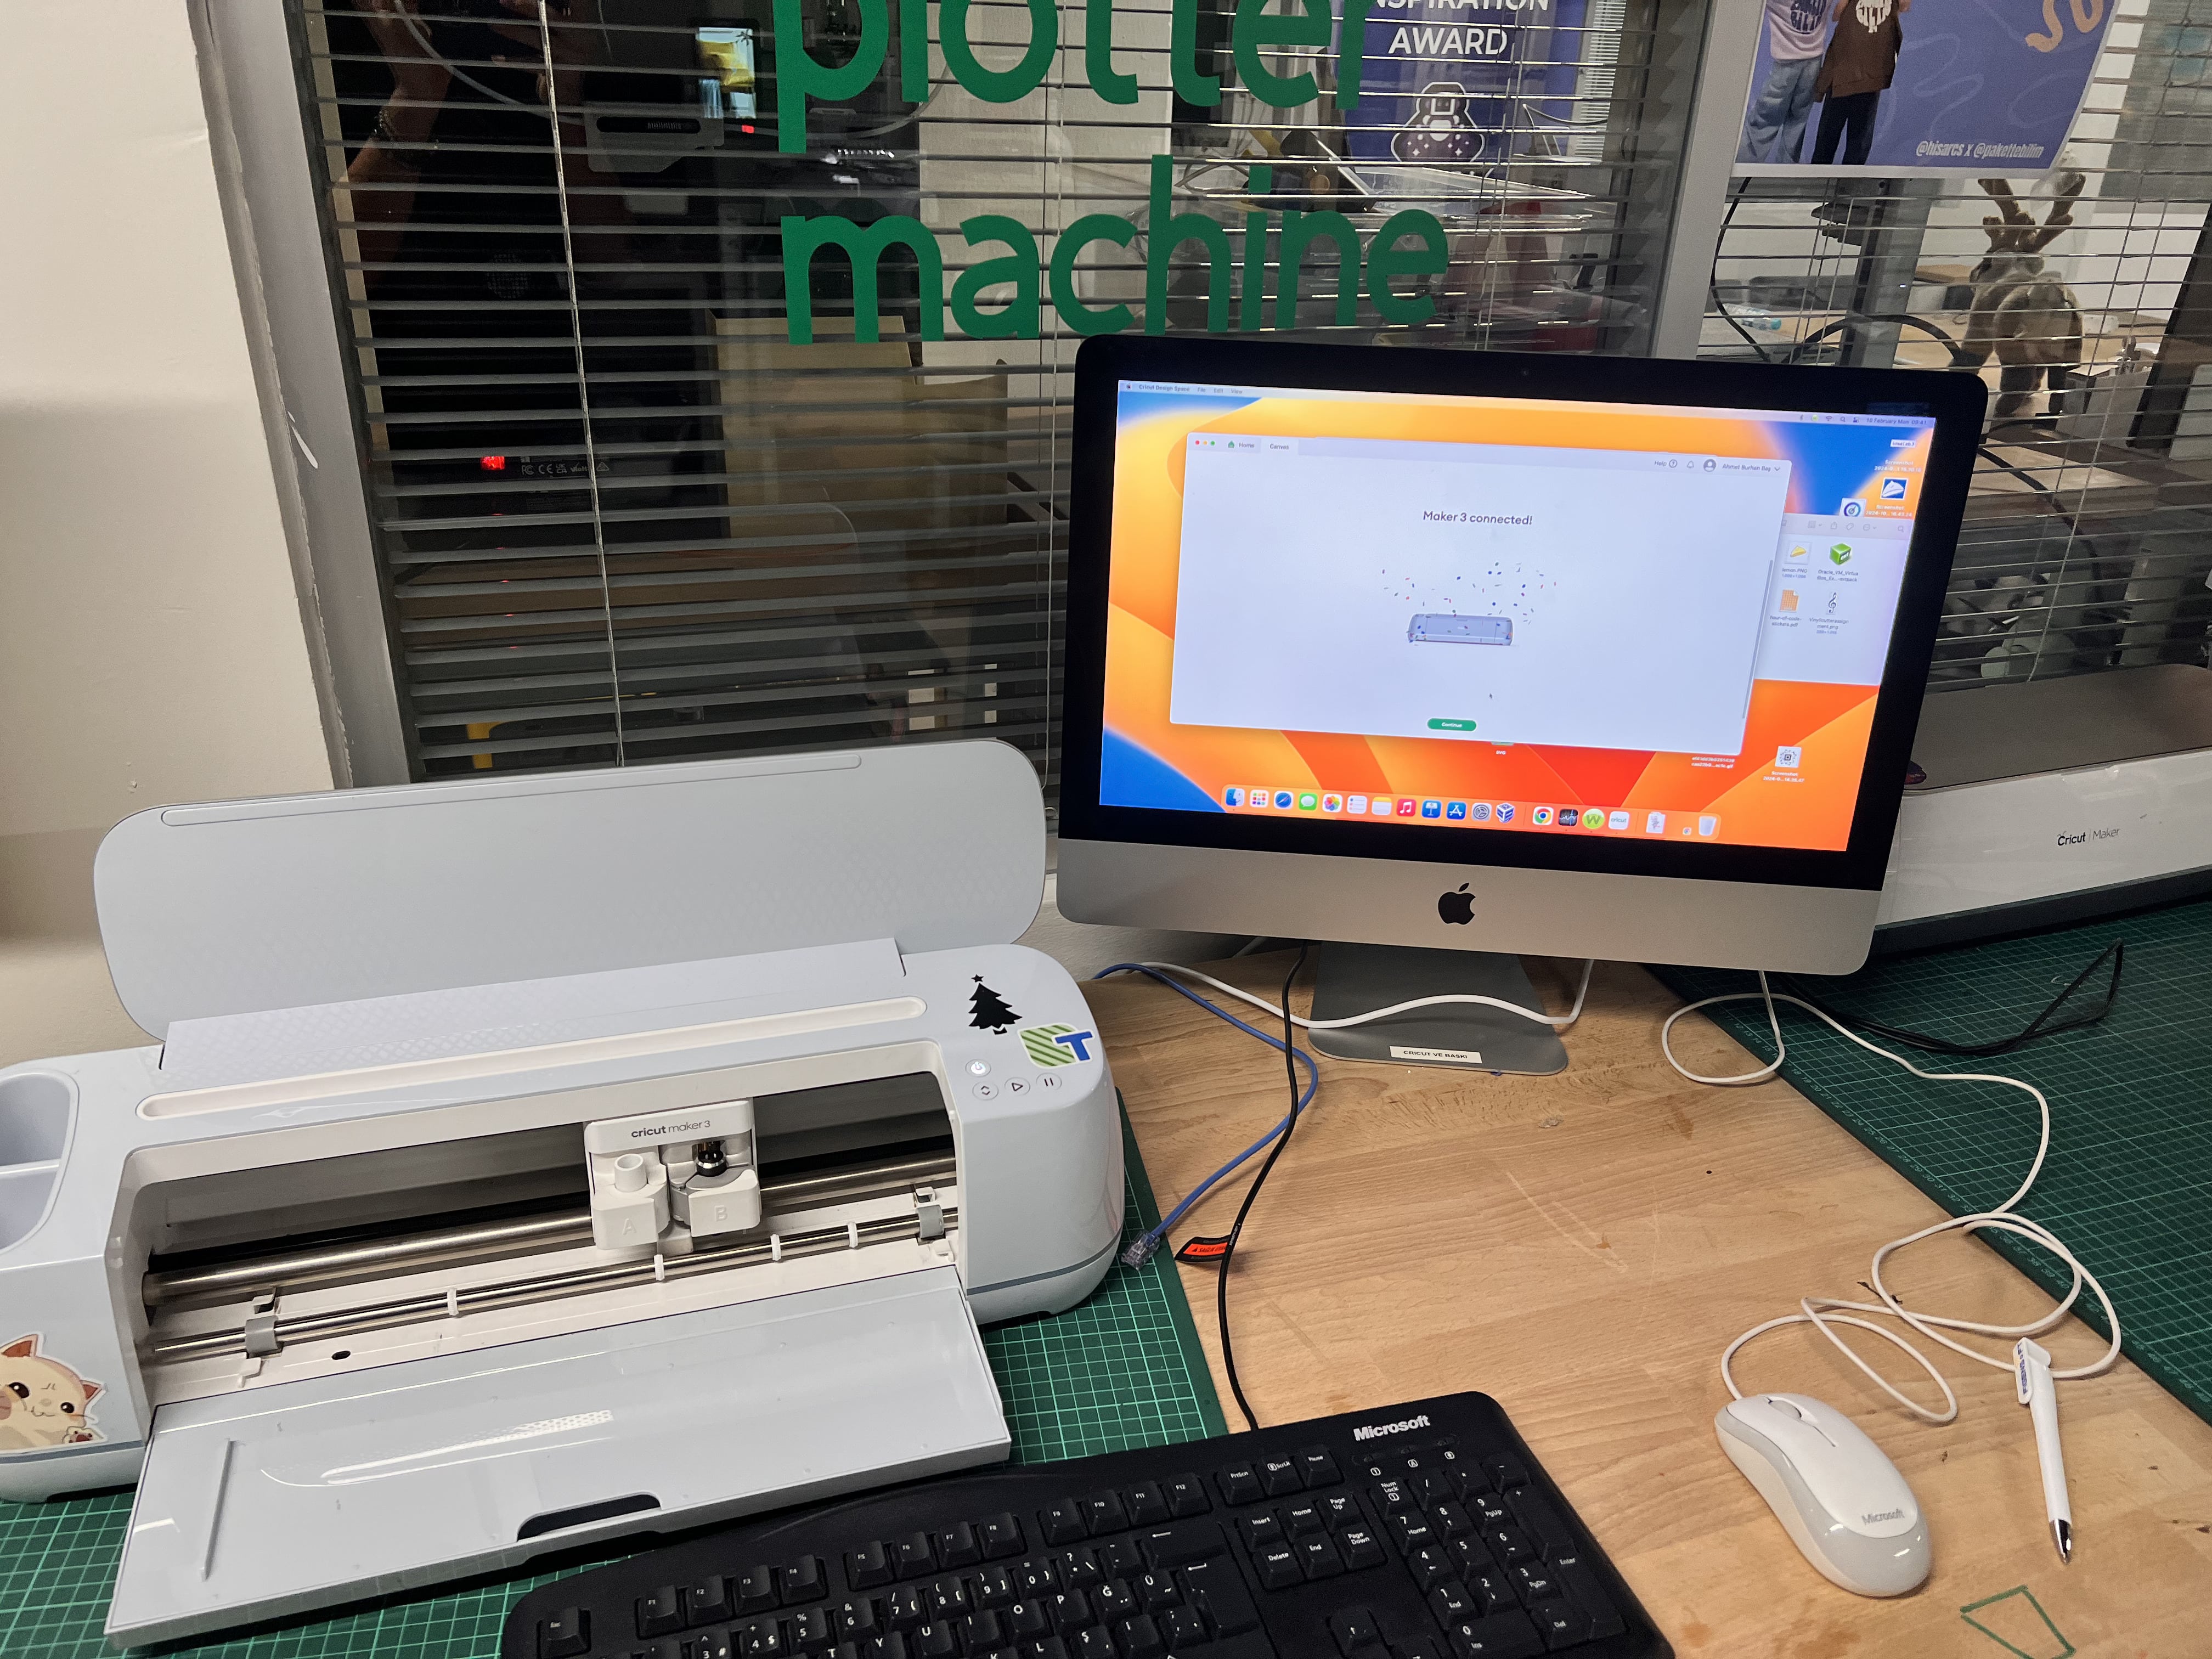
Use the provided USB cable to connect the Cricut to your computer, or pair it via Bluetooth if your model supports wireless connectivity.
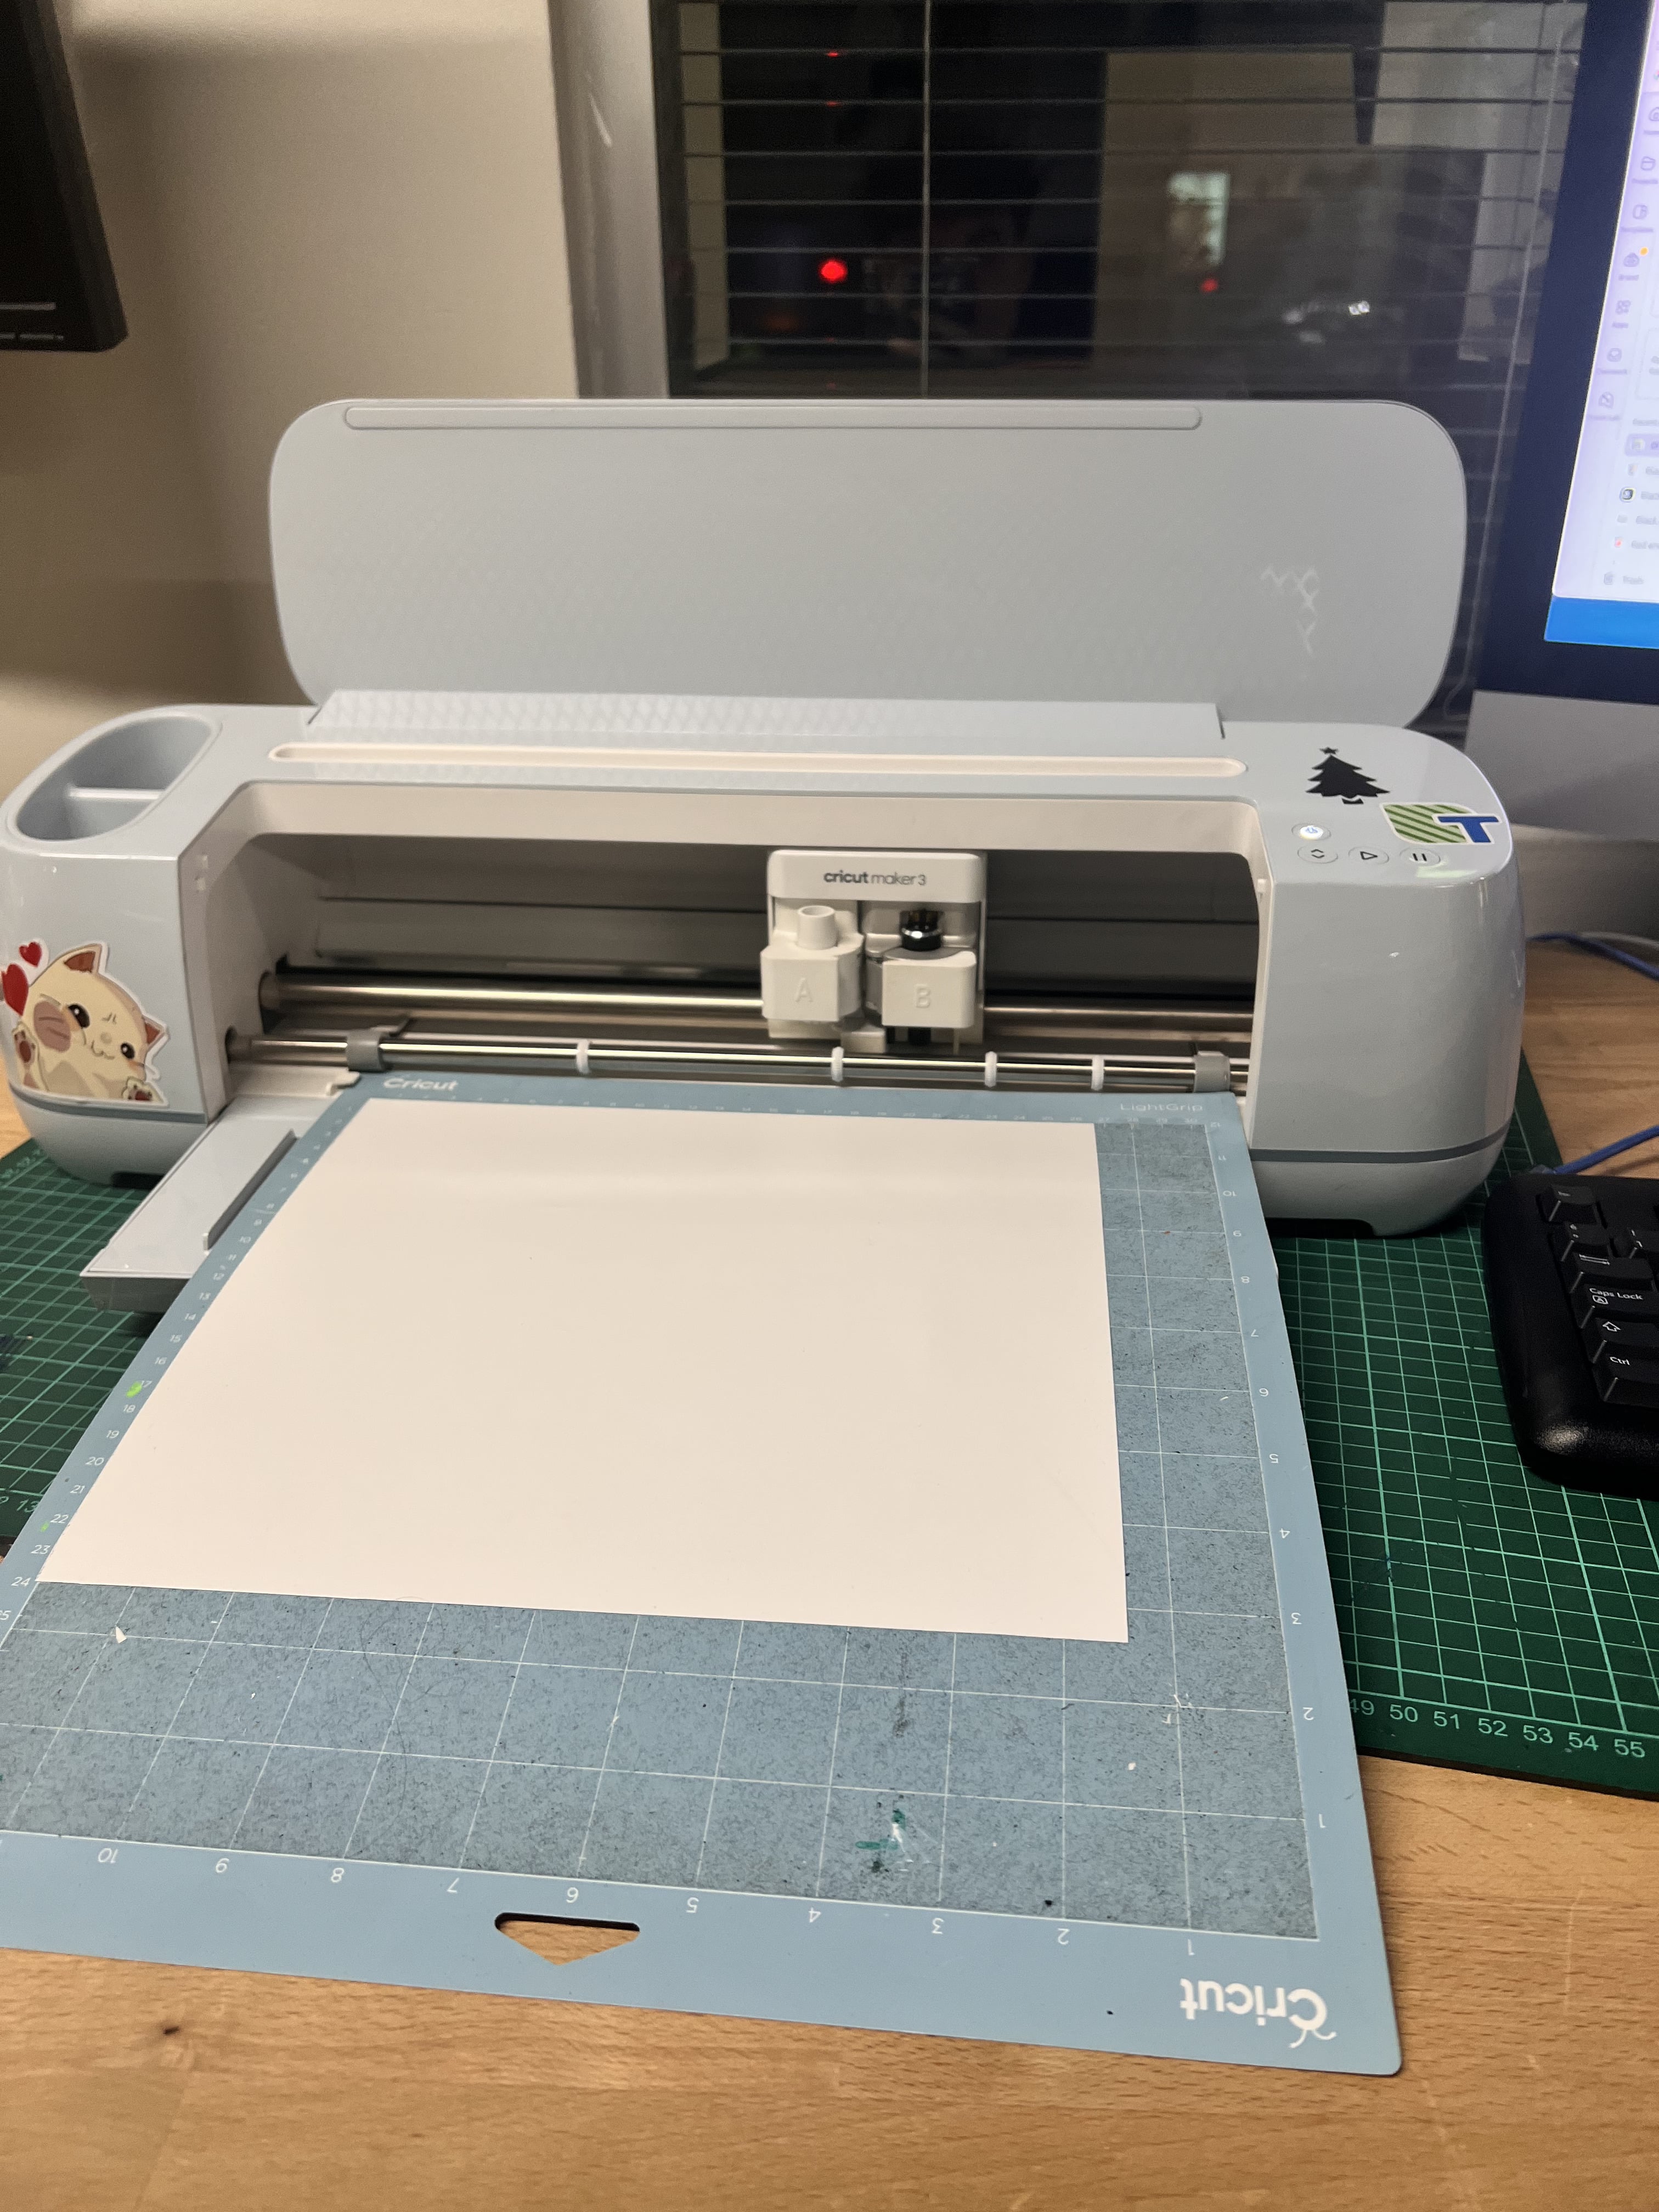
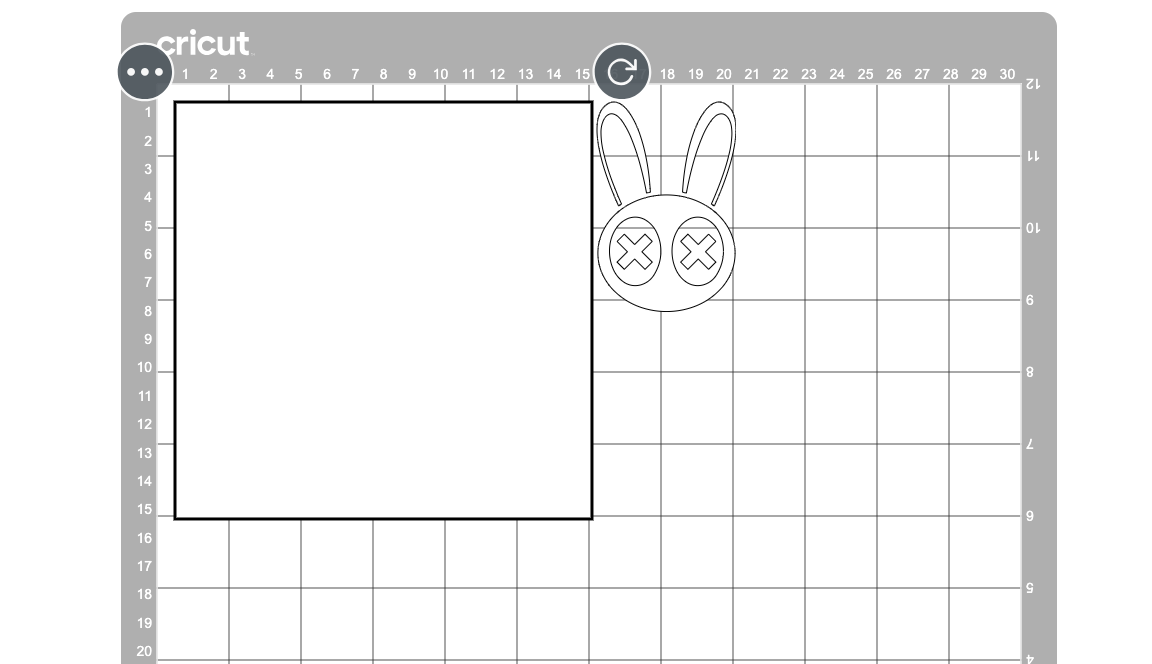
Select the appropriate material for your project (in my case I used permanent vinyl). Place the material onto a Cricut cutting mat, aligning it with the grid for accurate placement. Smooth out any air bubbles to ensure proper cutting. Align the mat's edge with the machine's guides. Press the "Load" button to feed the mat into the Cricut.
In Design Space, choose the material type you're cutting. The software will automatically adjust the blade depth and cutting pressure based on this selection.
Ensure the correct blade is installed in the machine. Click the "Go" or "Start" button in Design Space to begin cutting. Monitor the machine as it cuts to ensure everything proceeds smoothly.
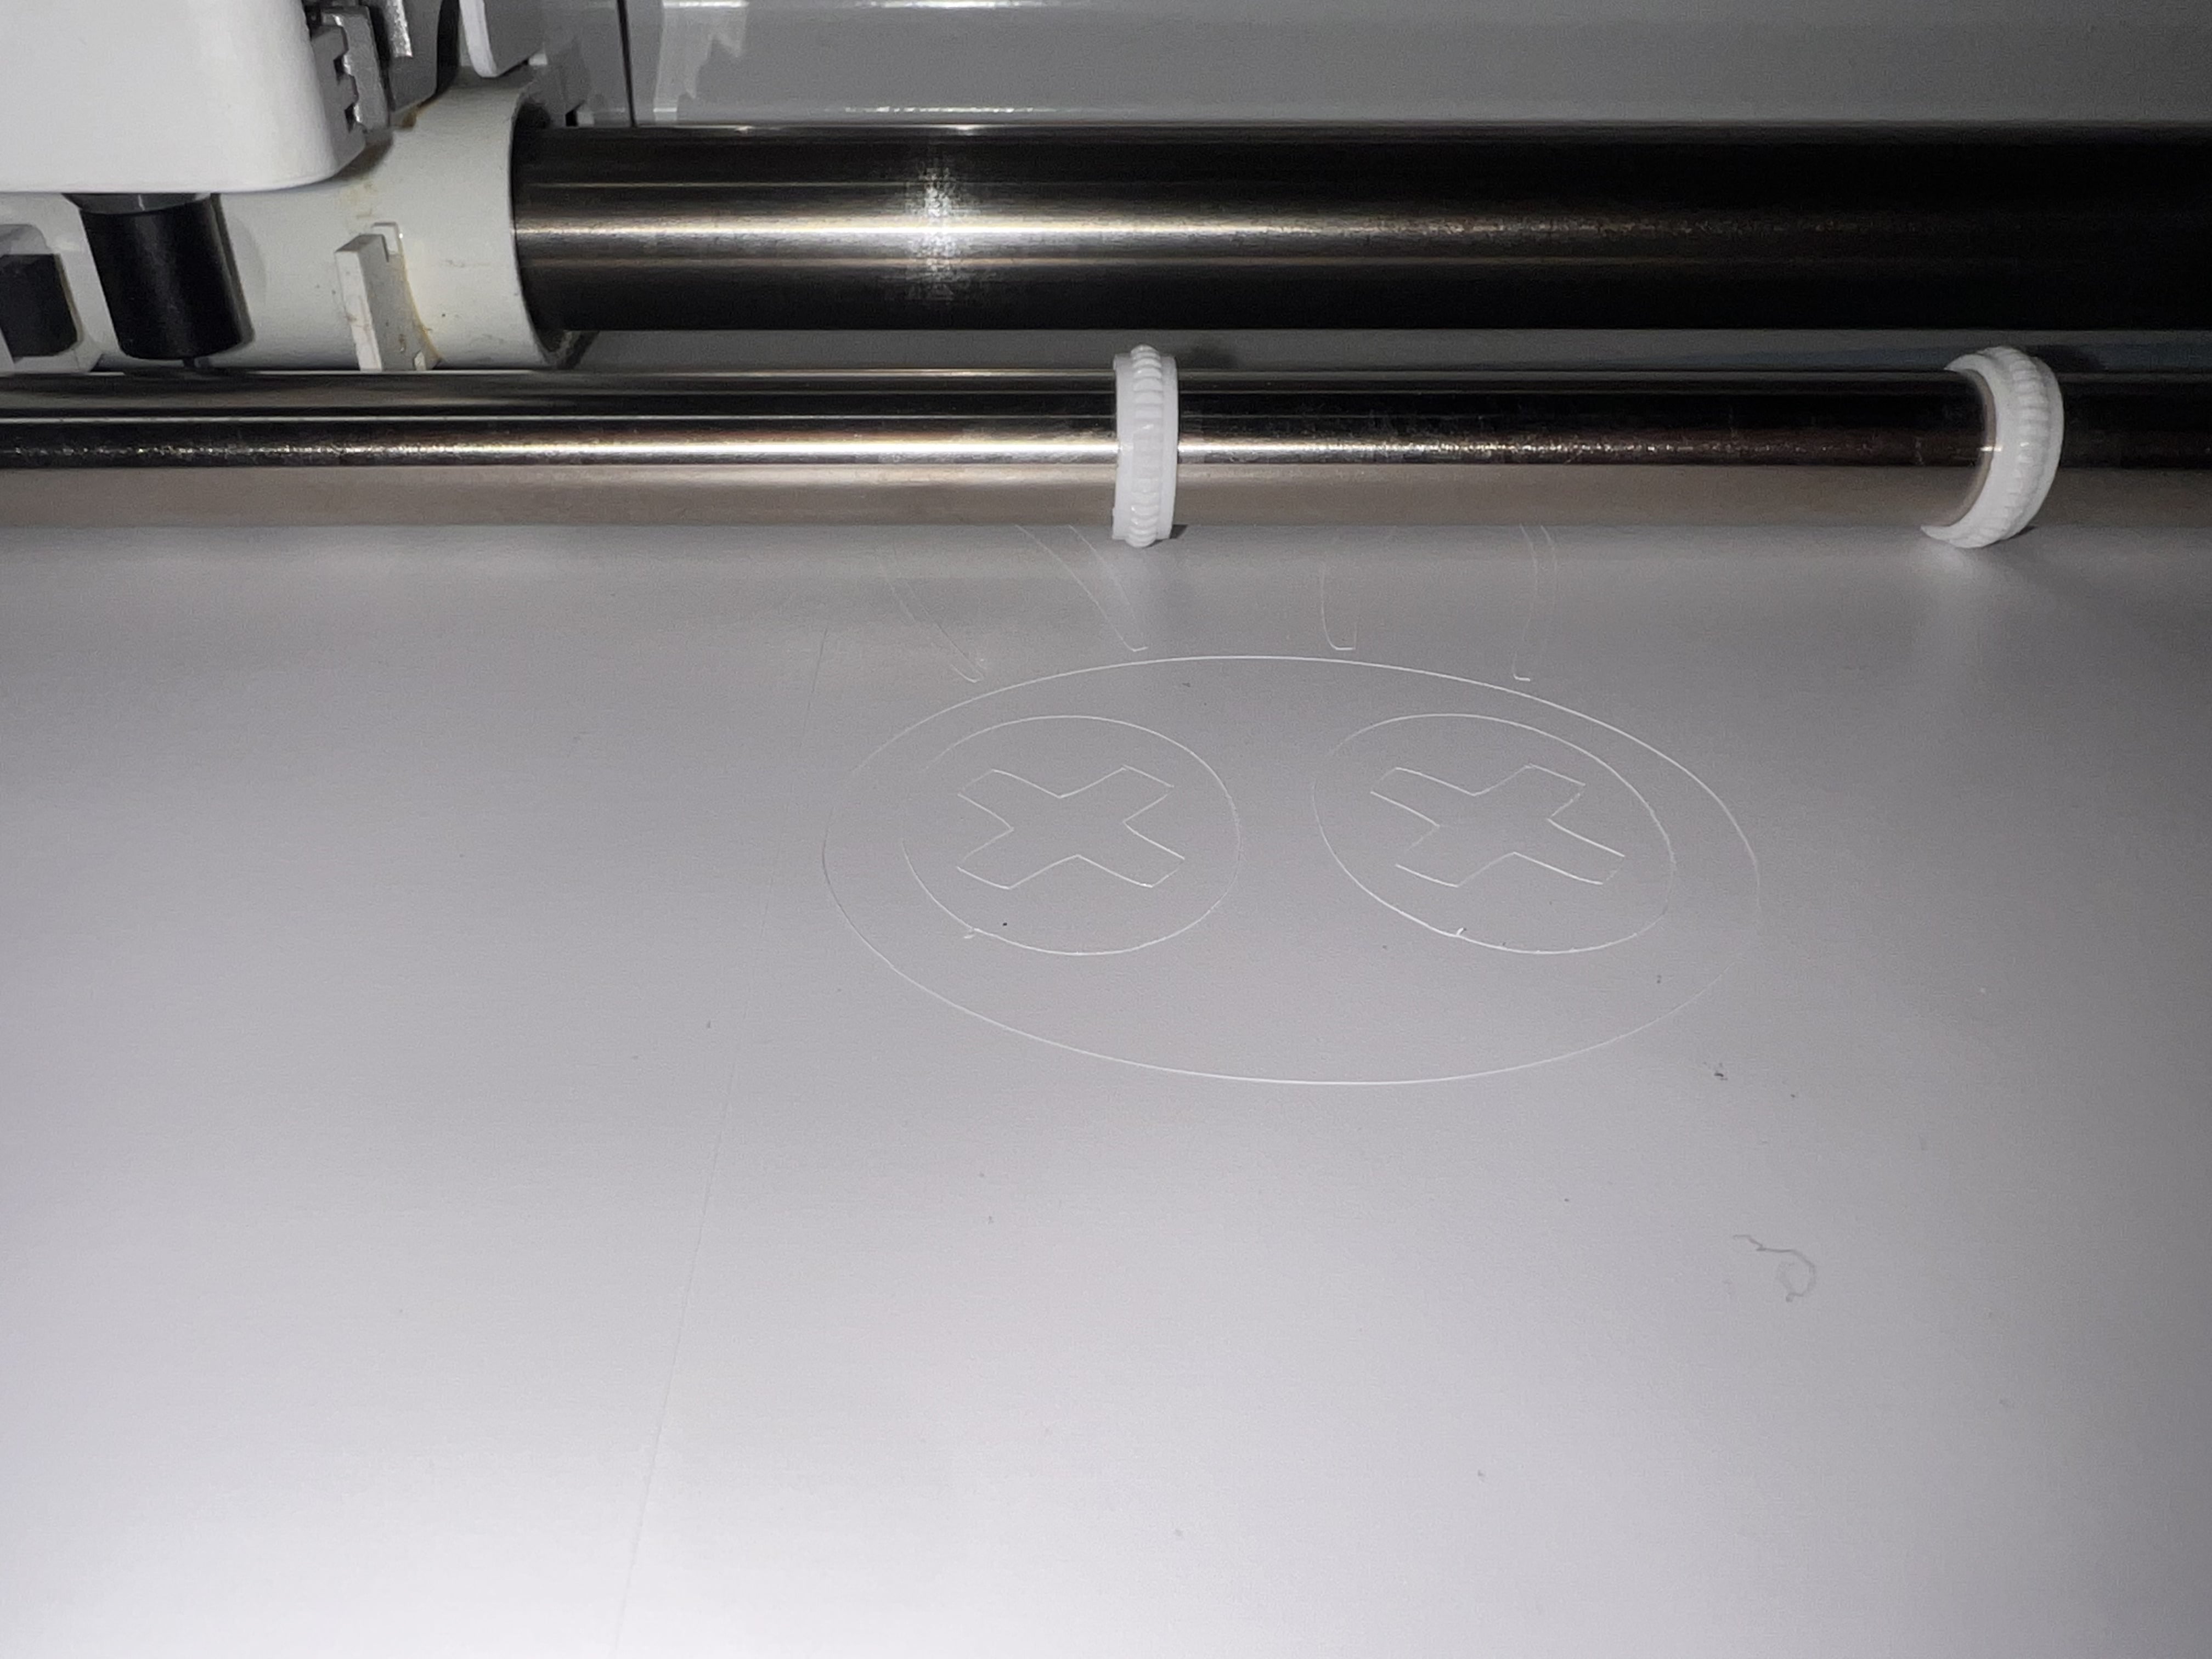
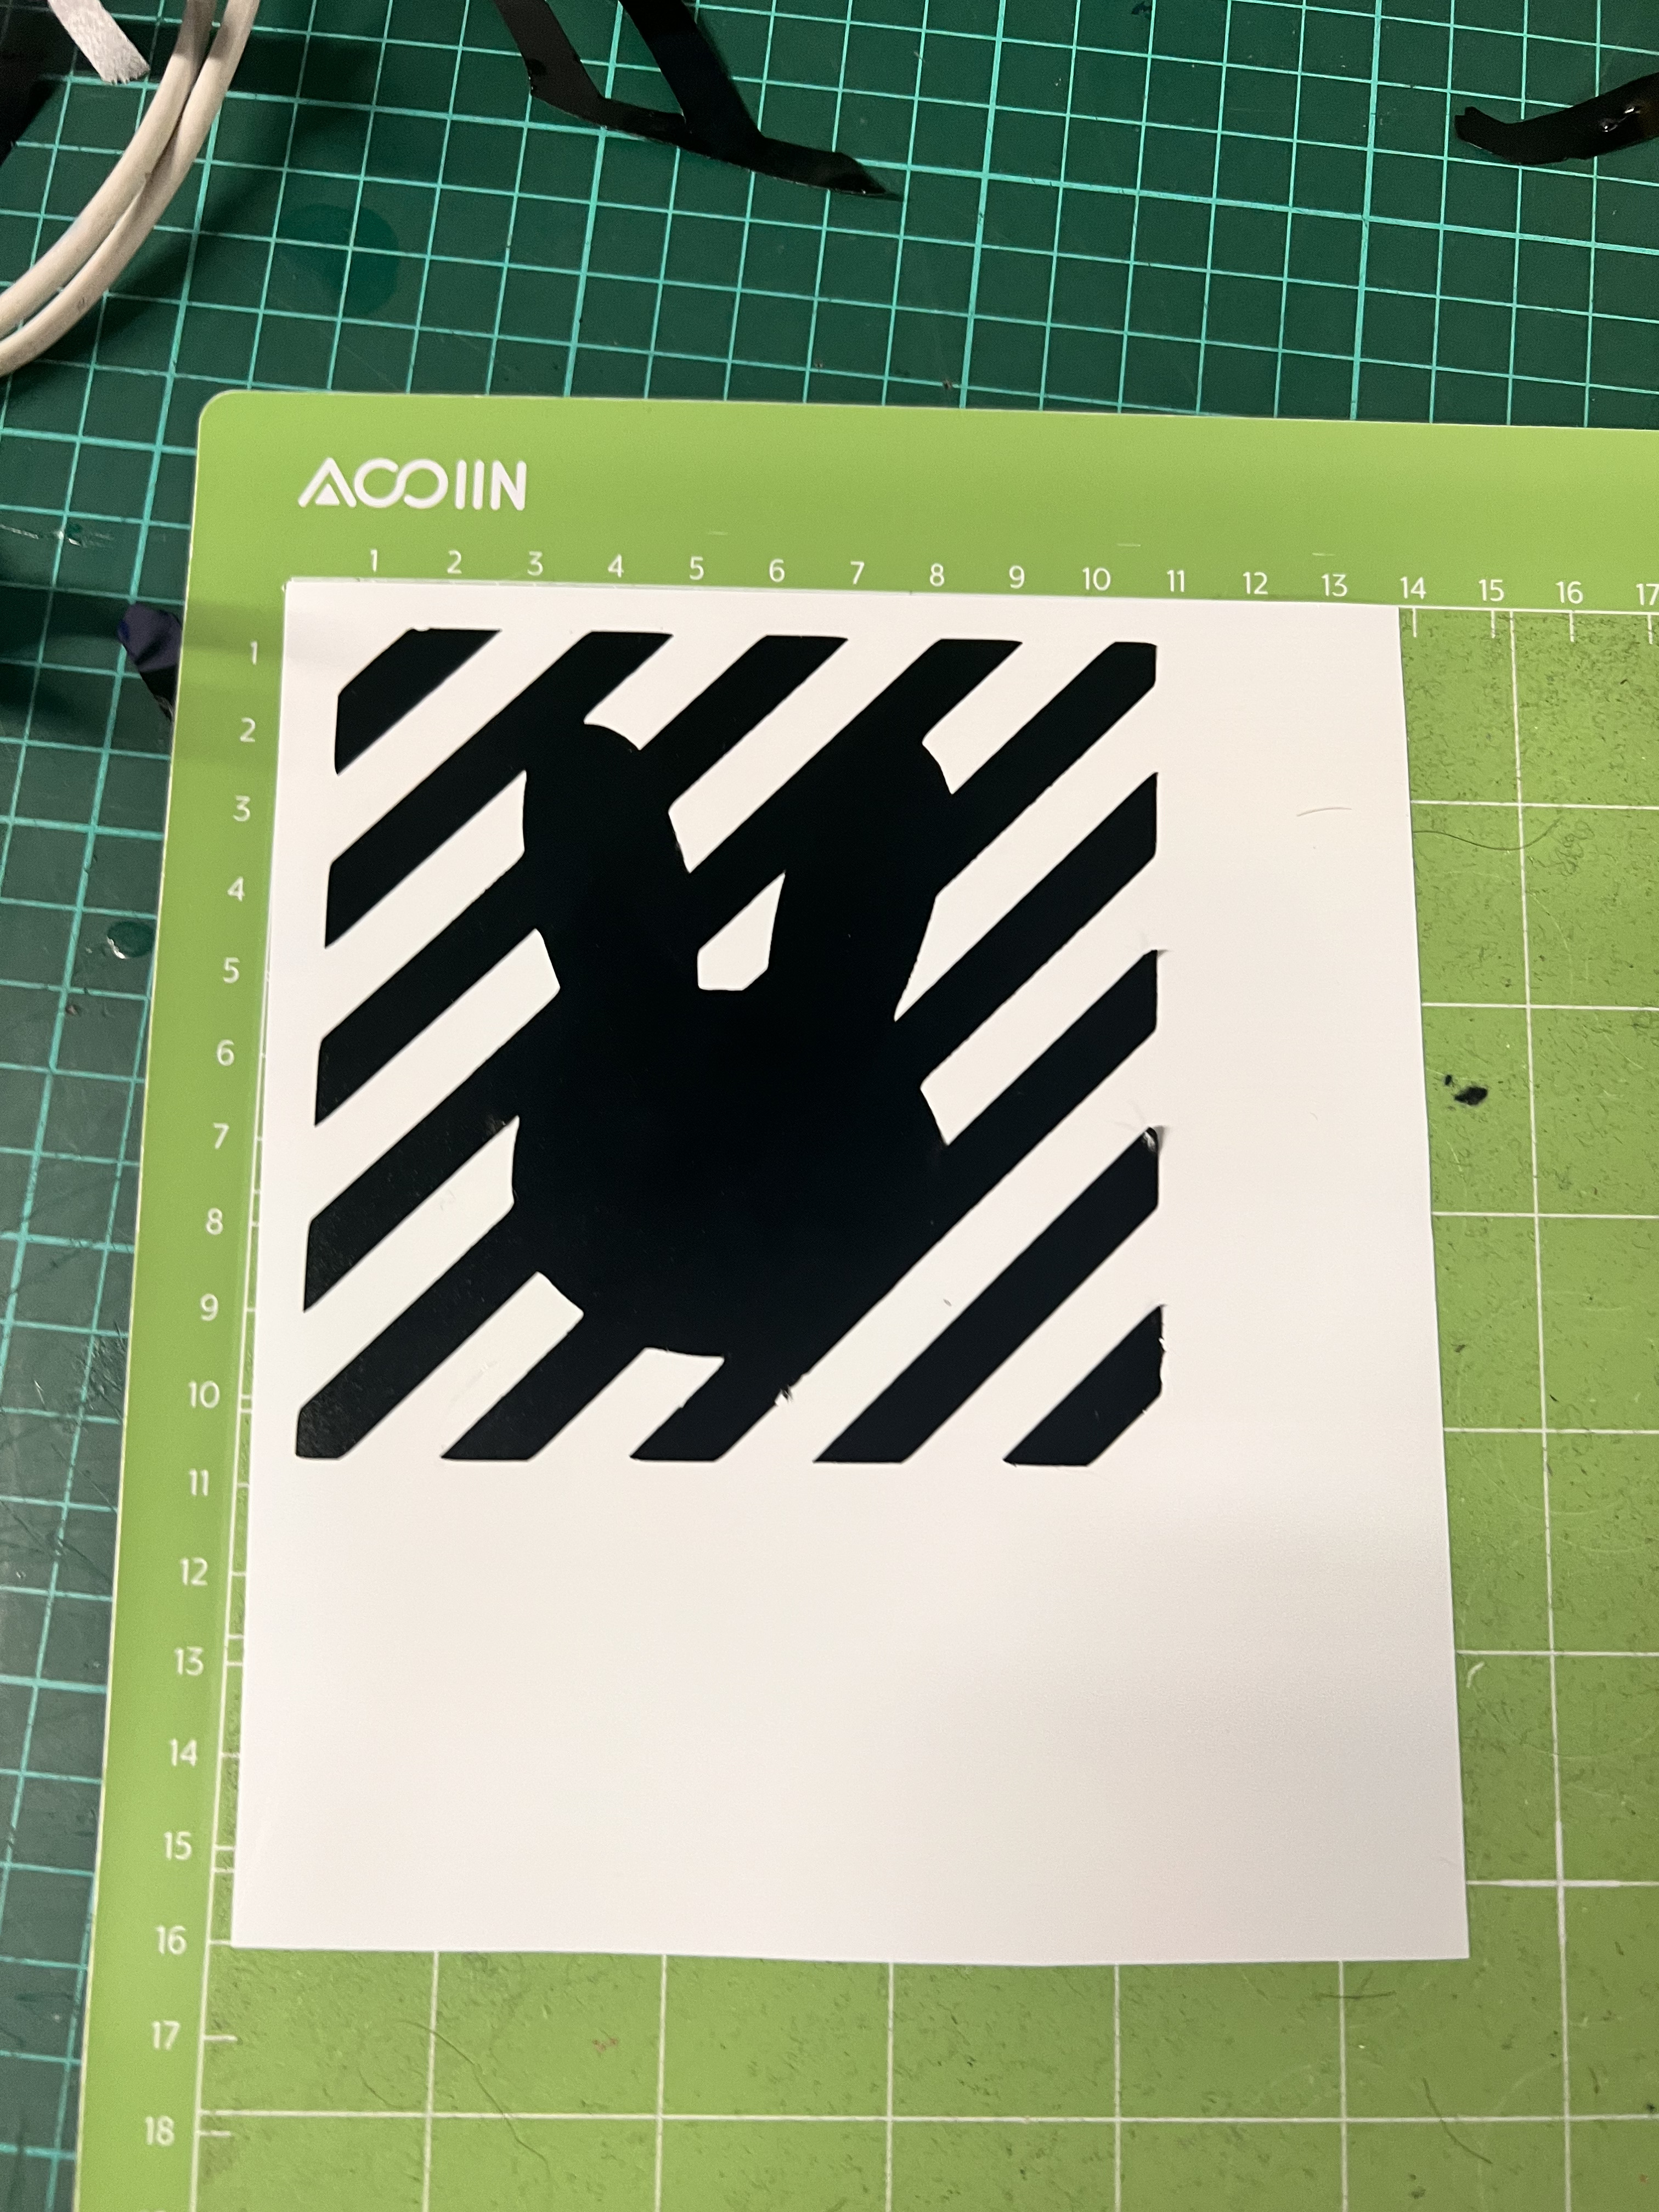
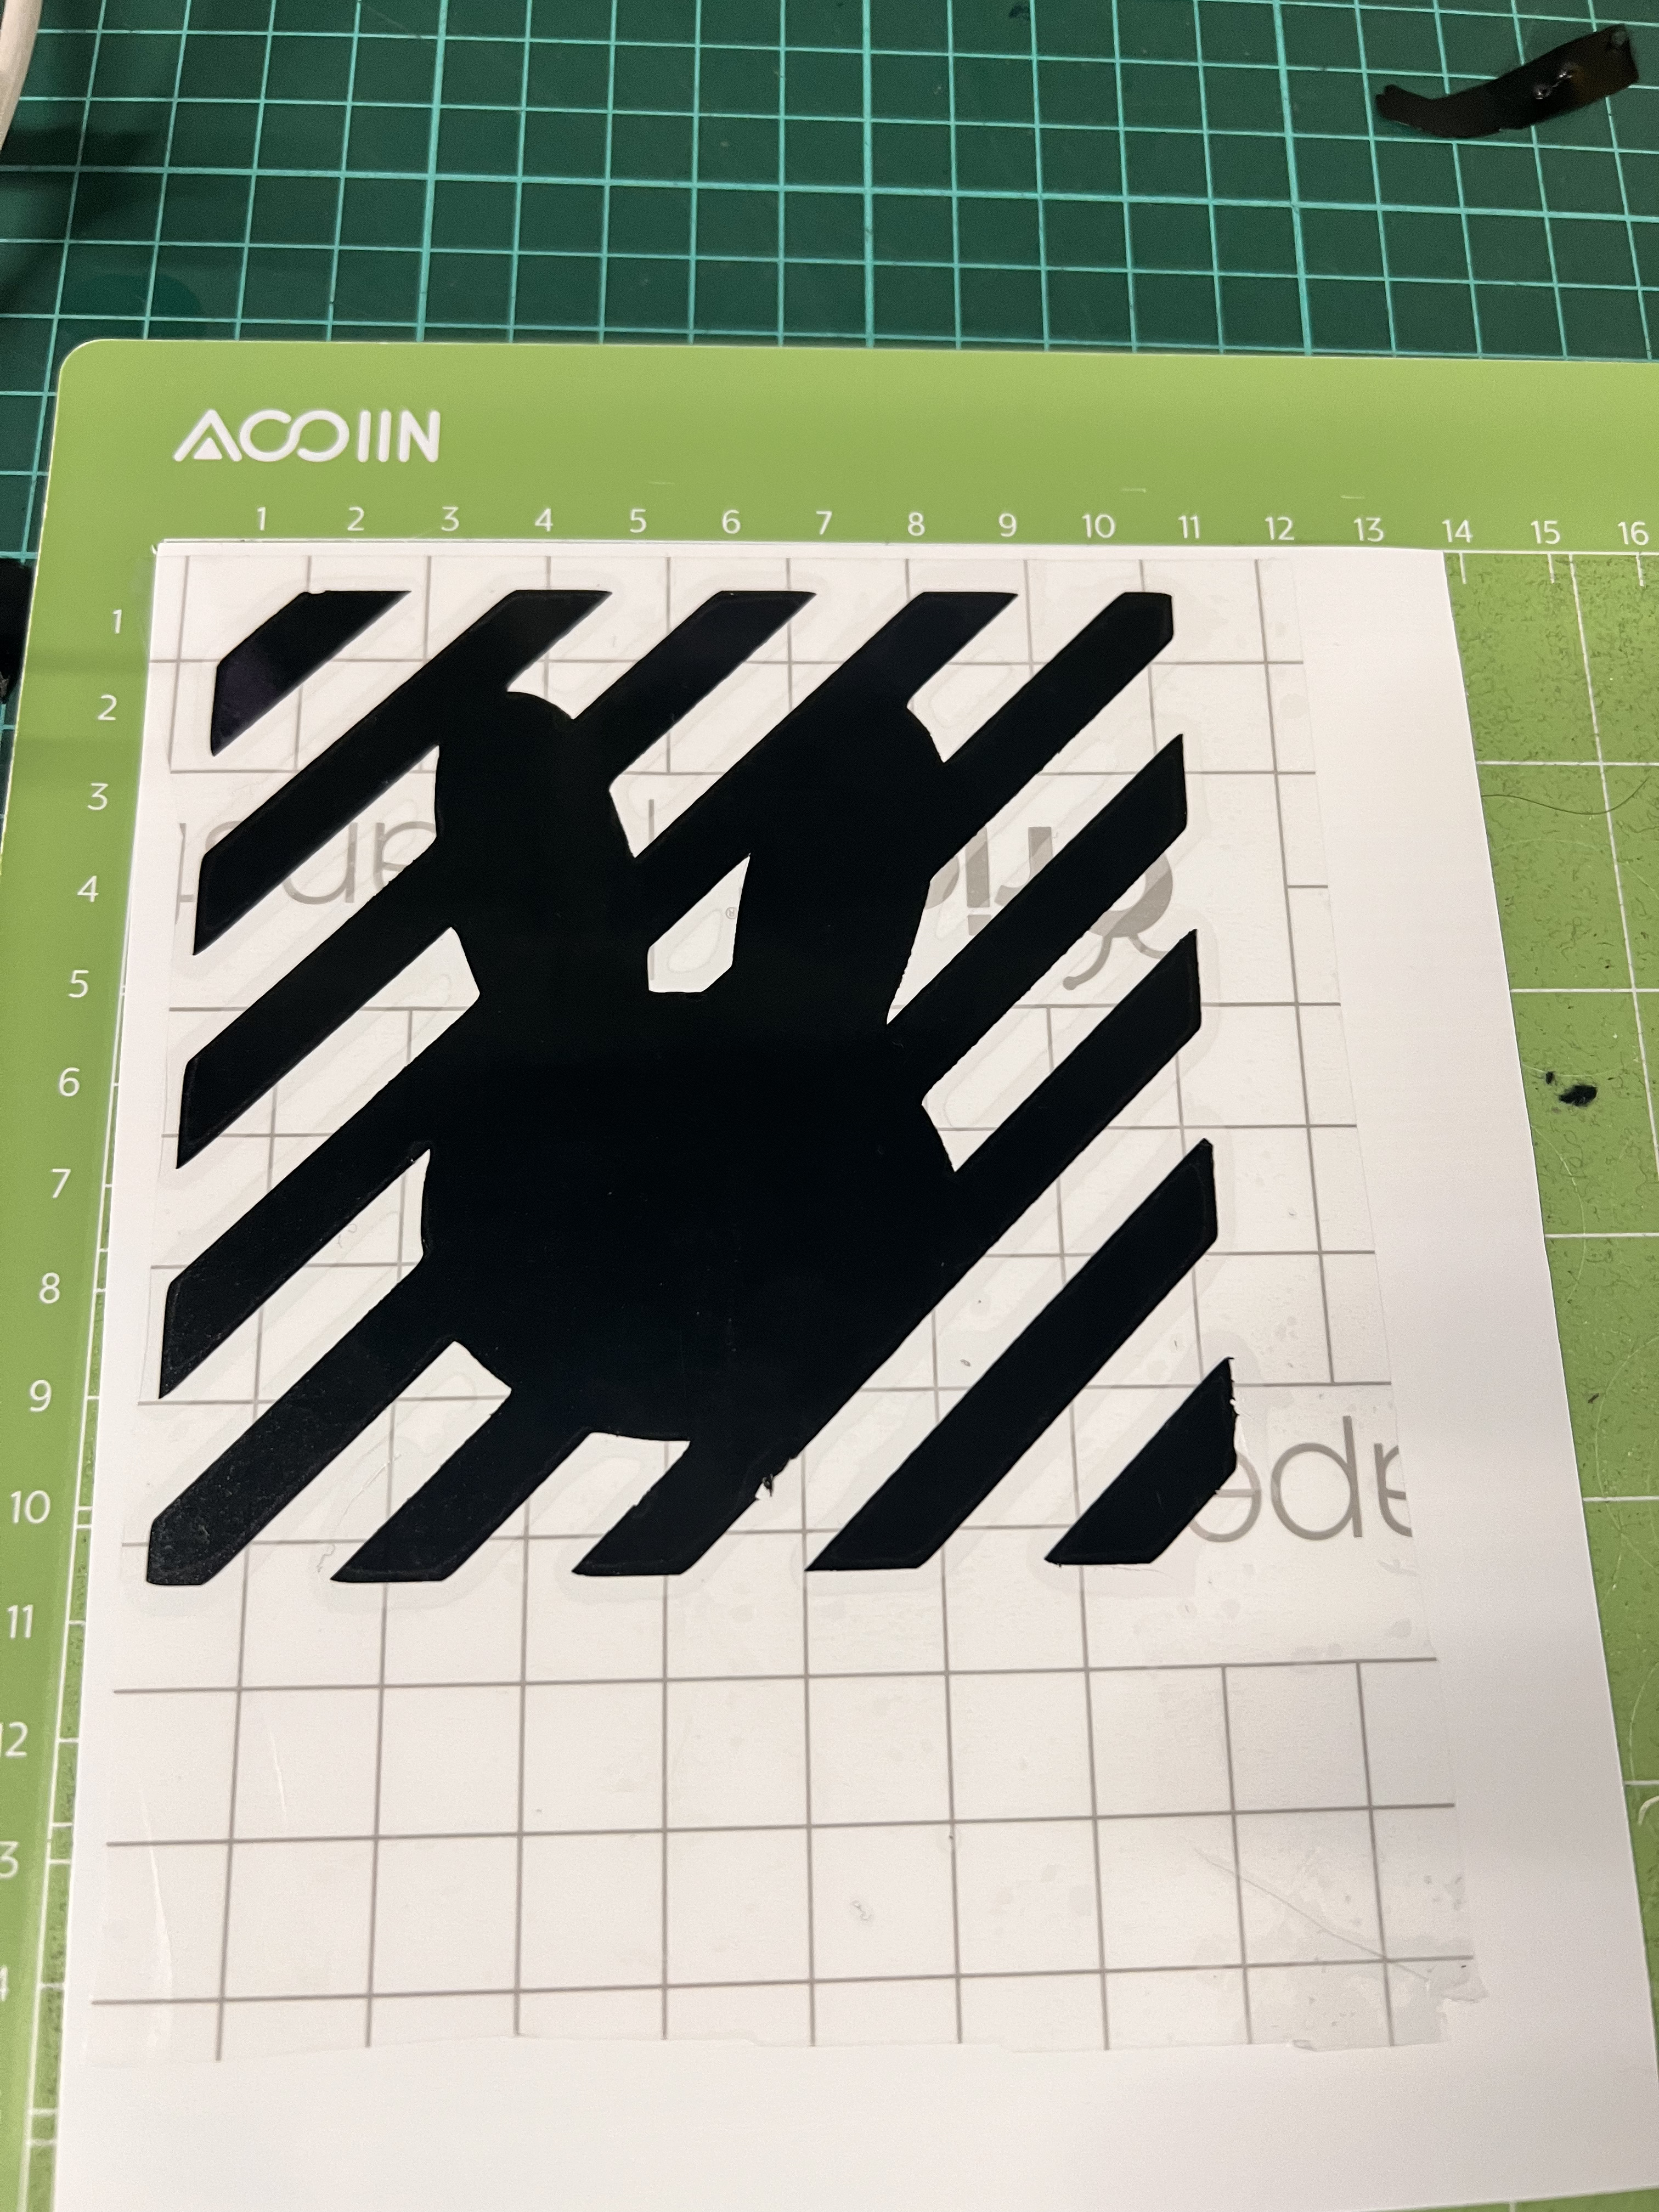
Once cutting is complete, press the "Unload" button to release the mat. Carefully peel the material off the mat, using tools like a weeder for intricate designs.
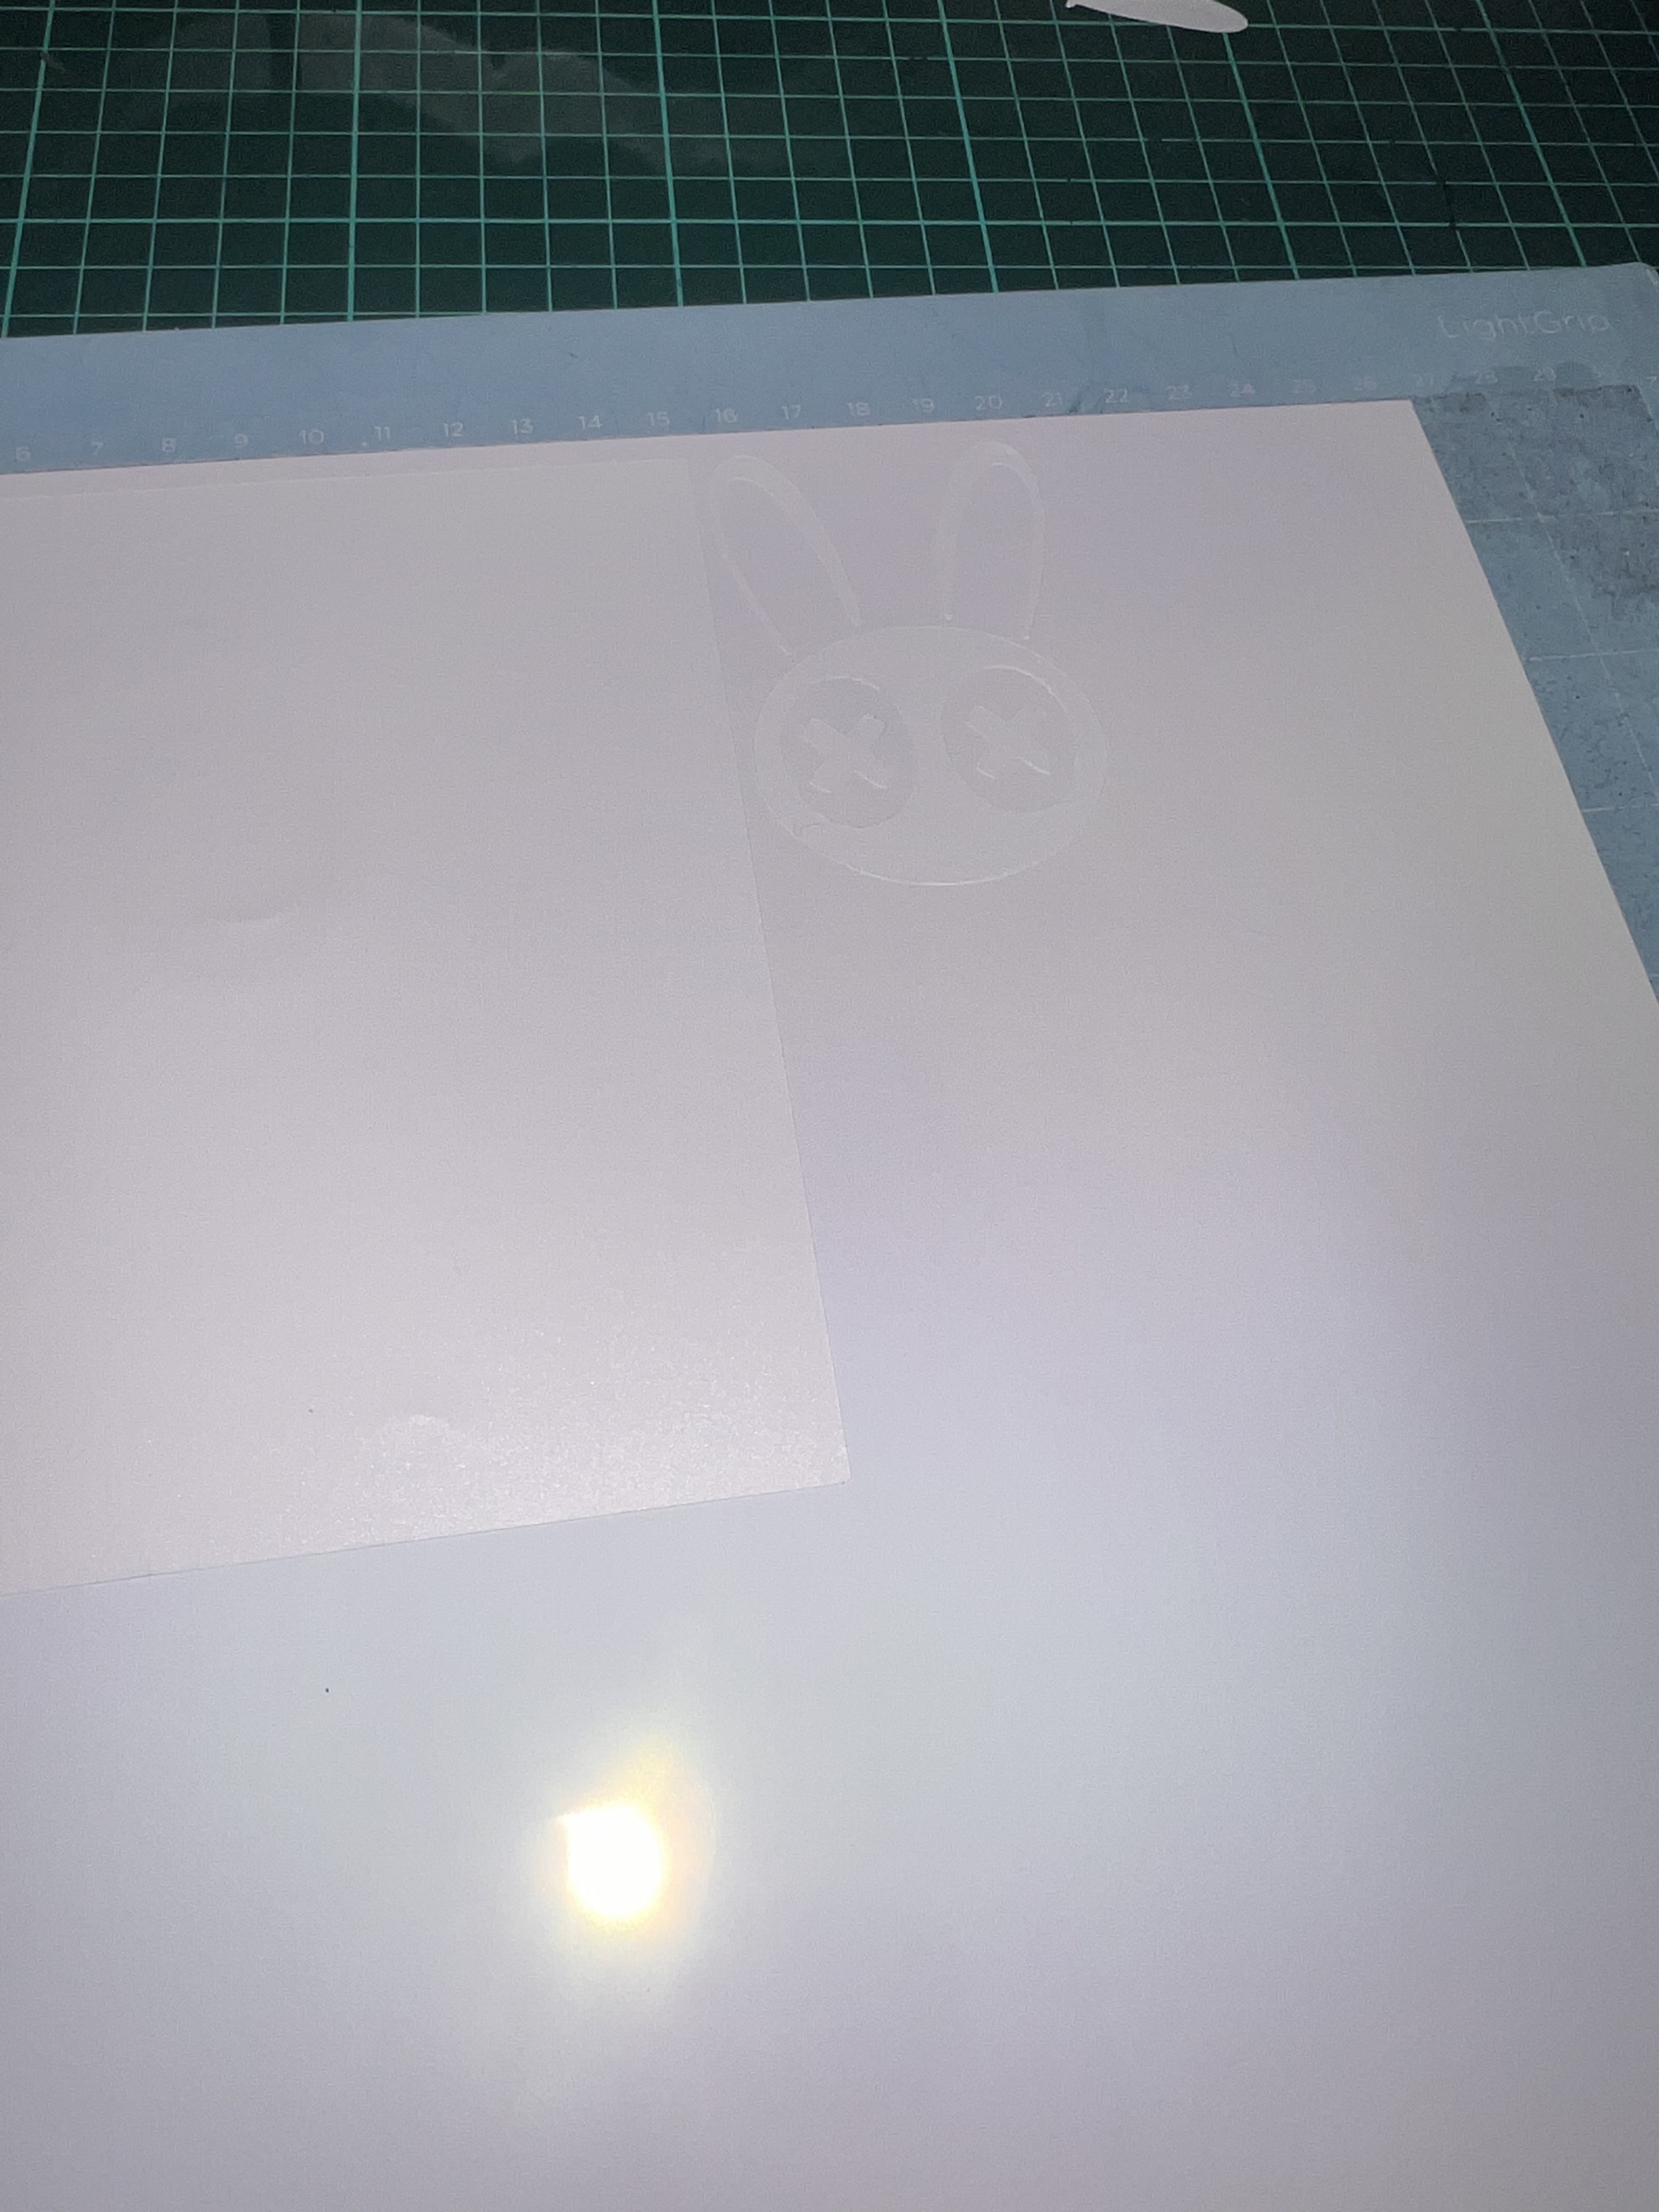
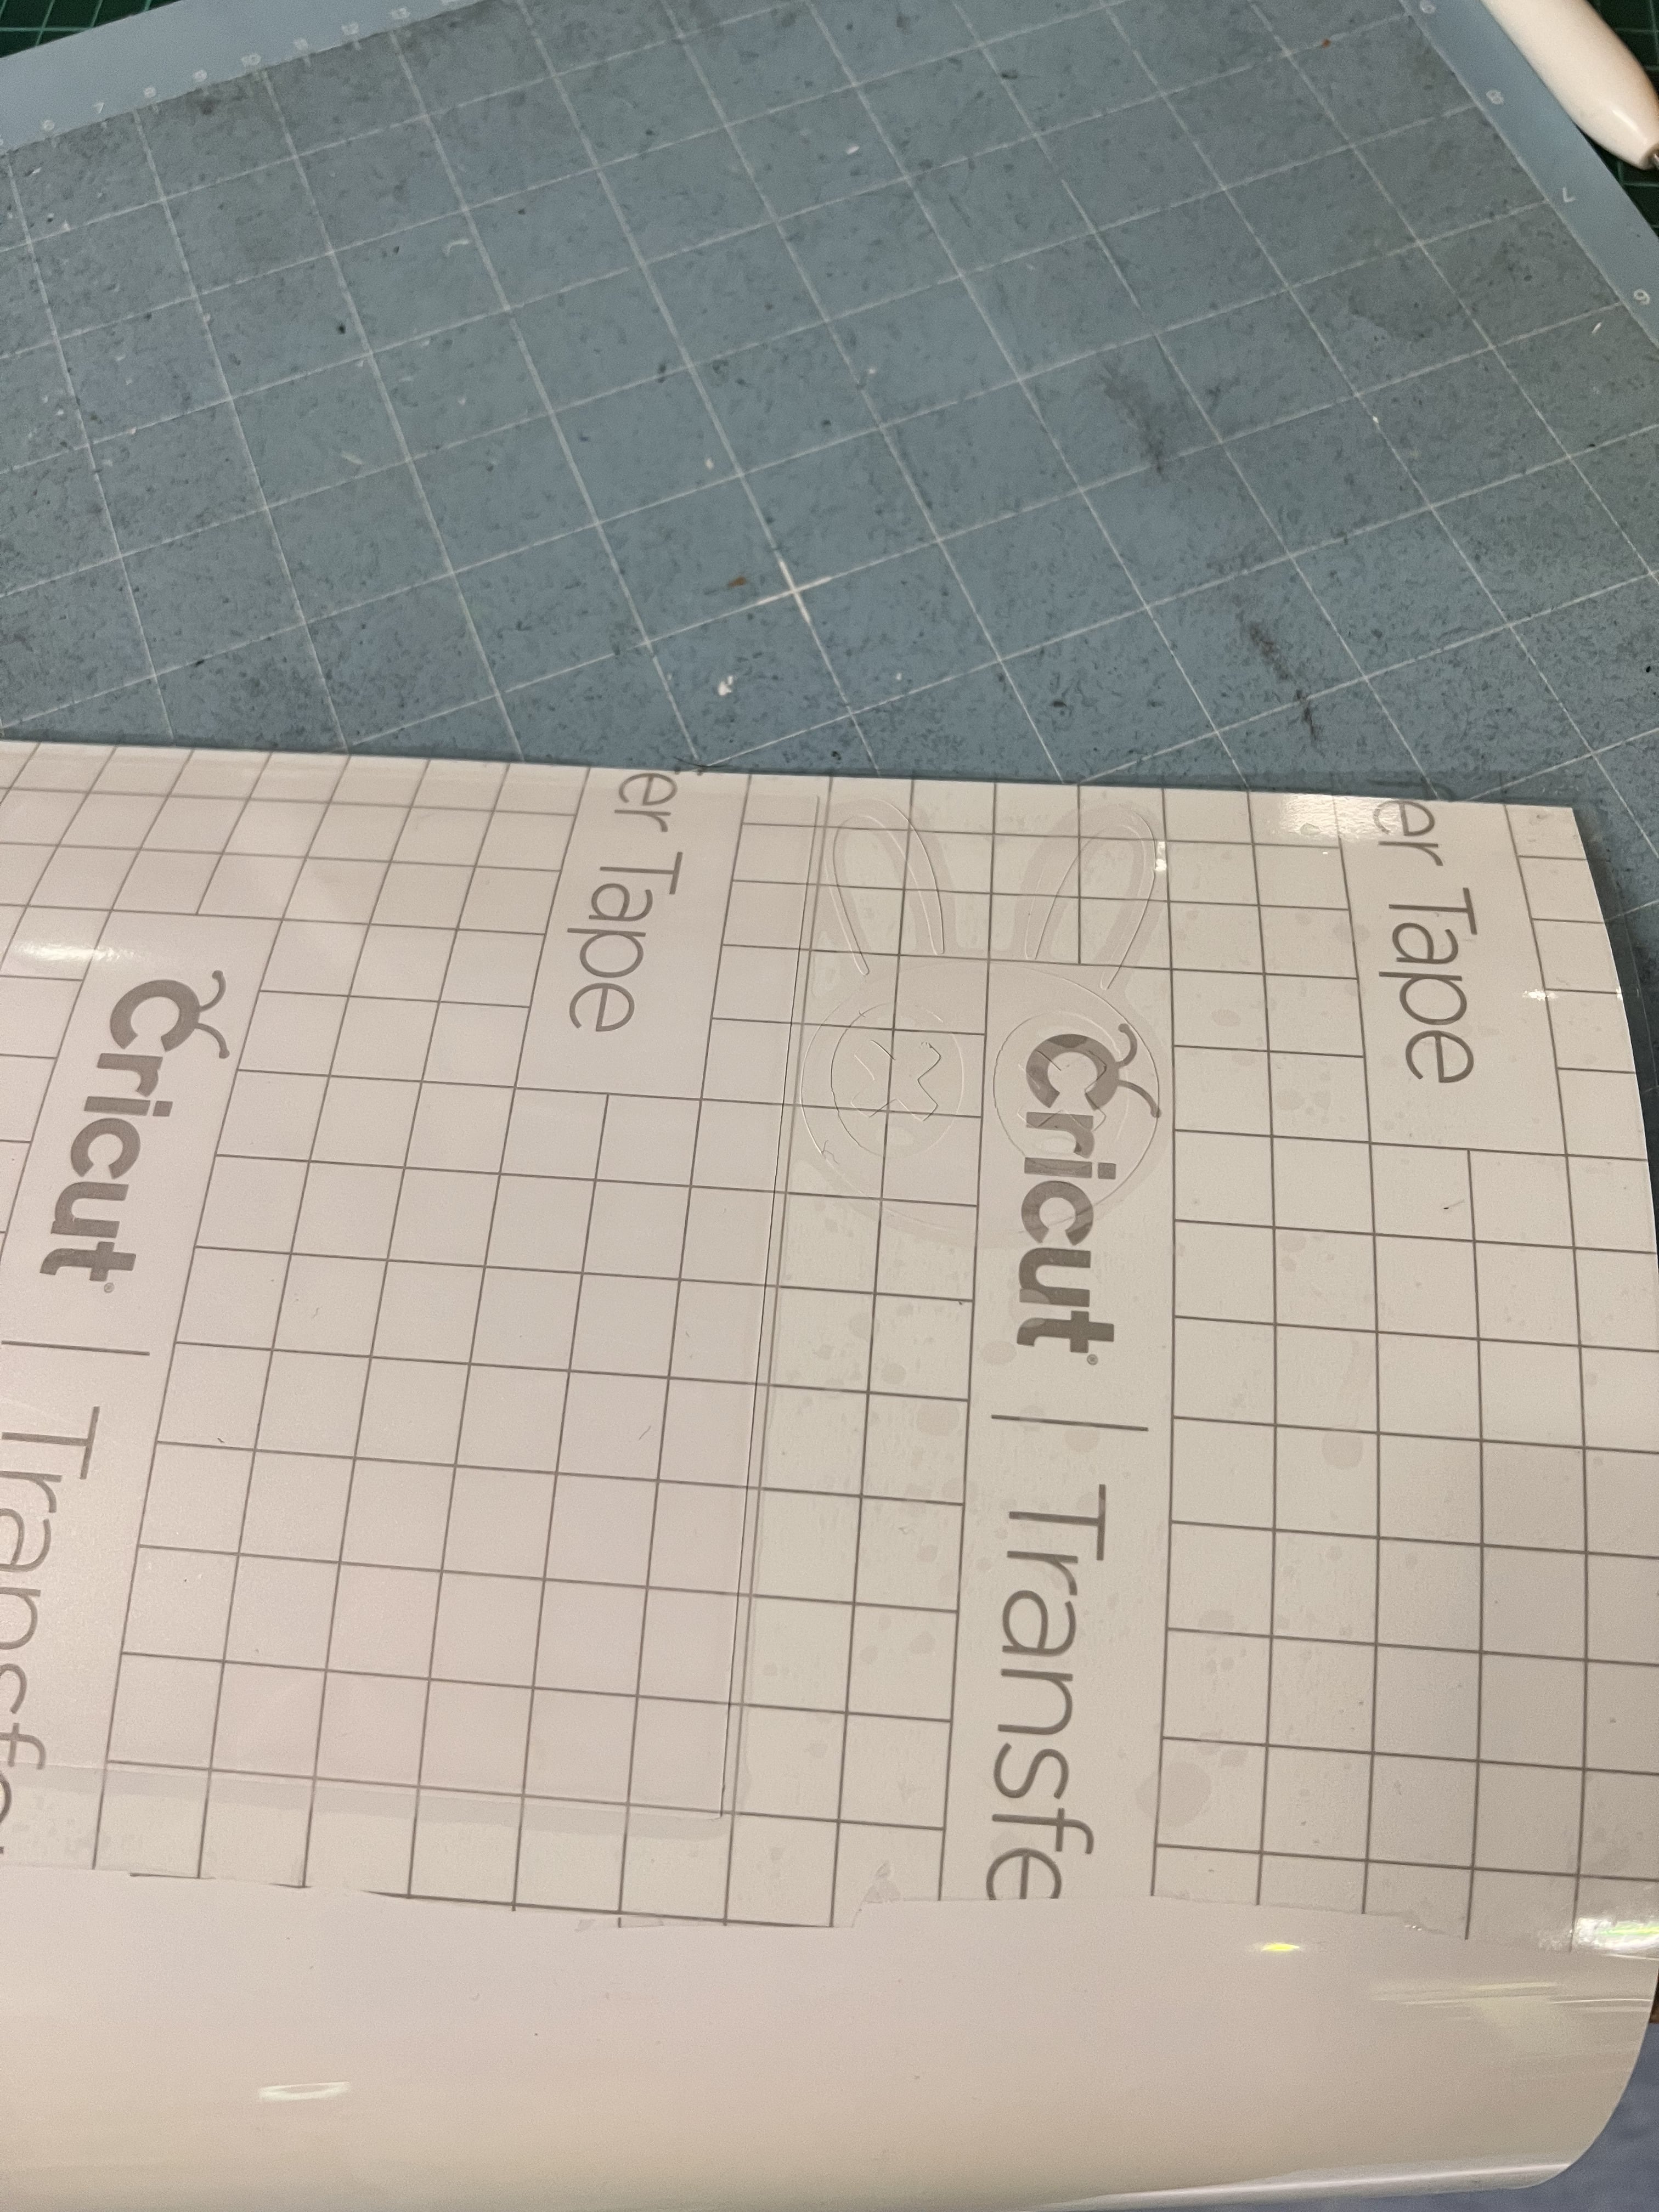
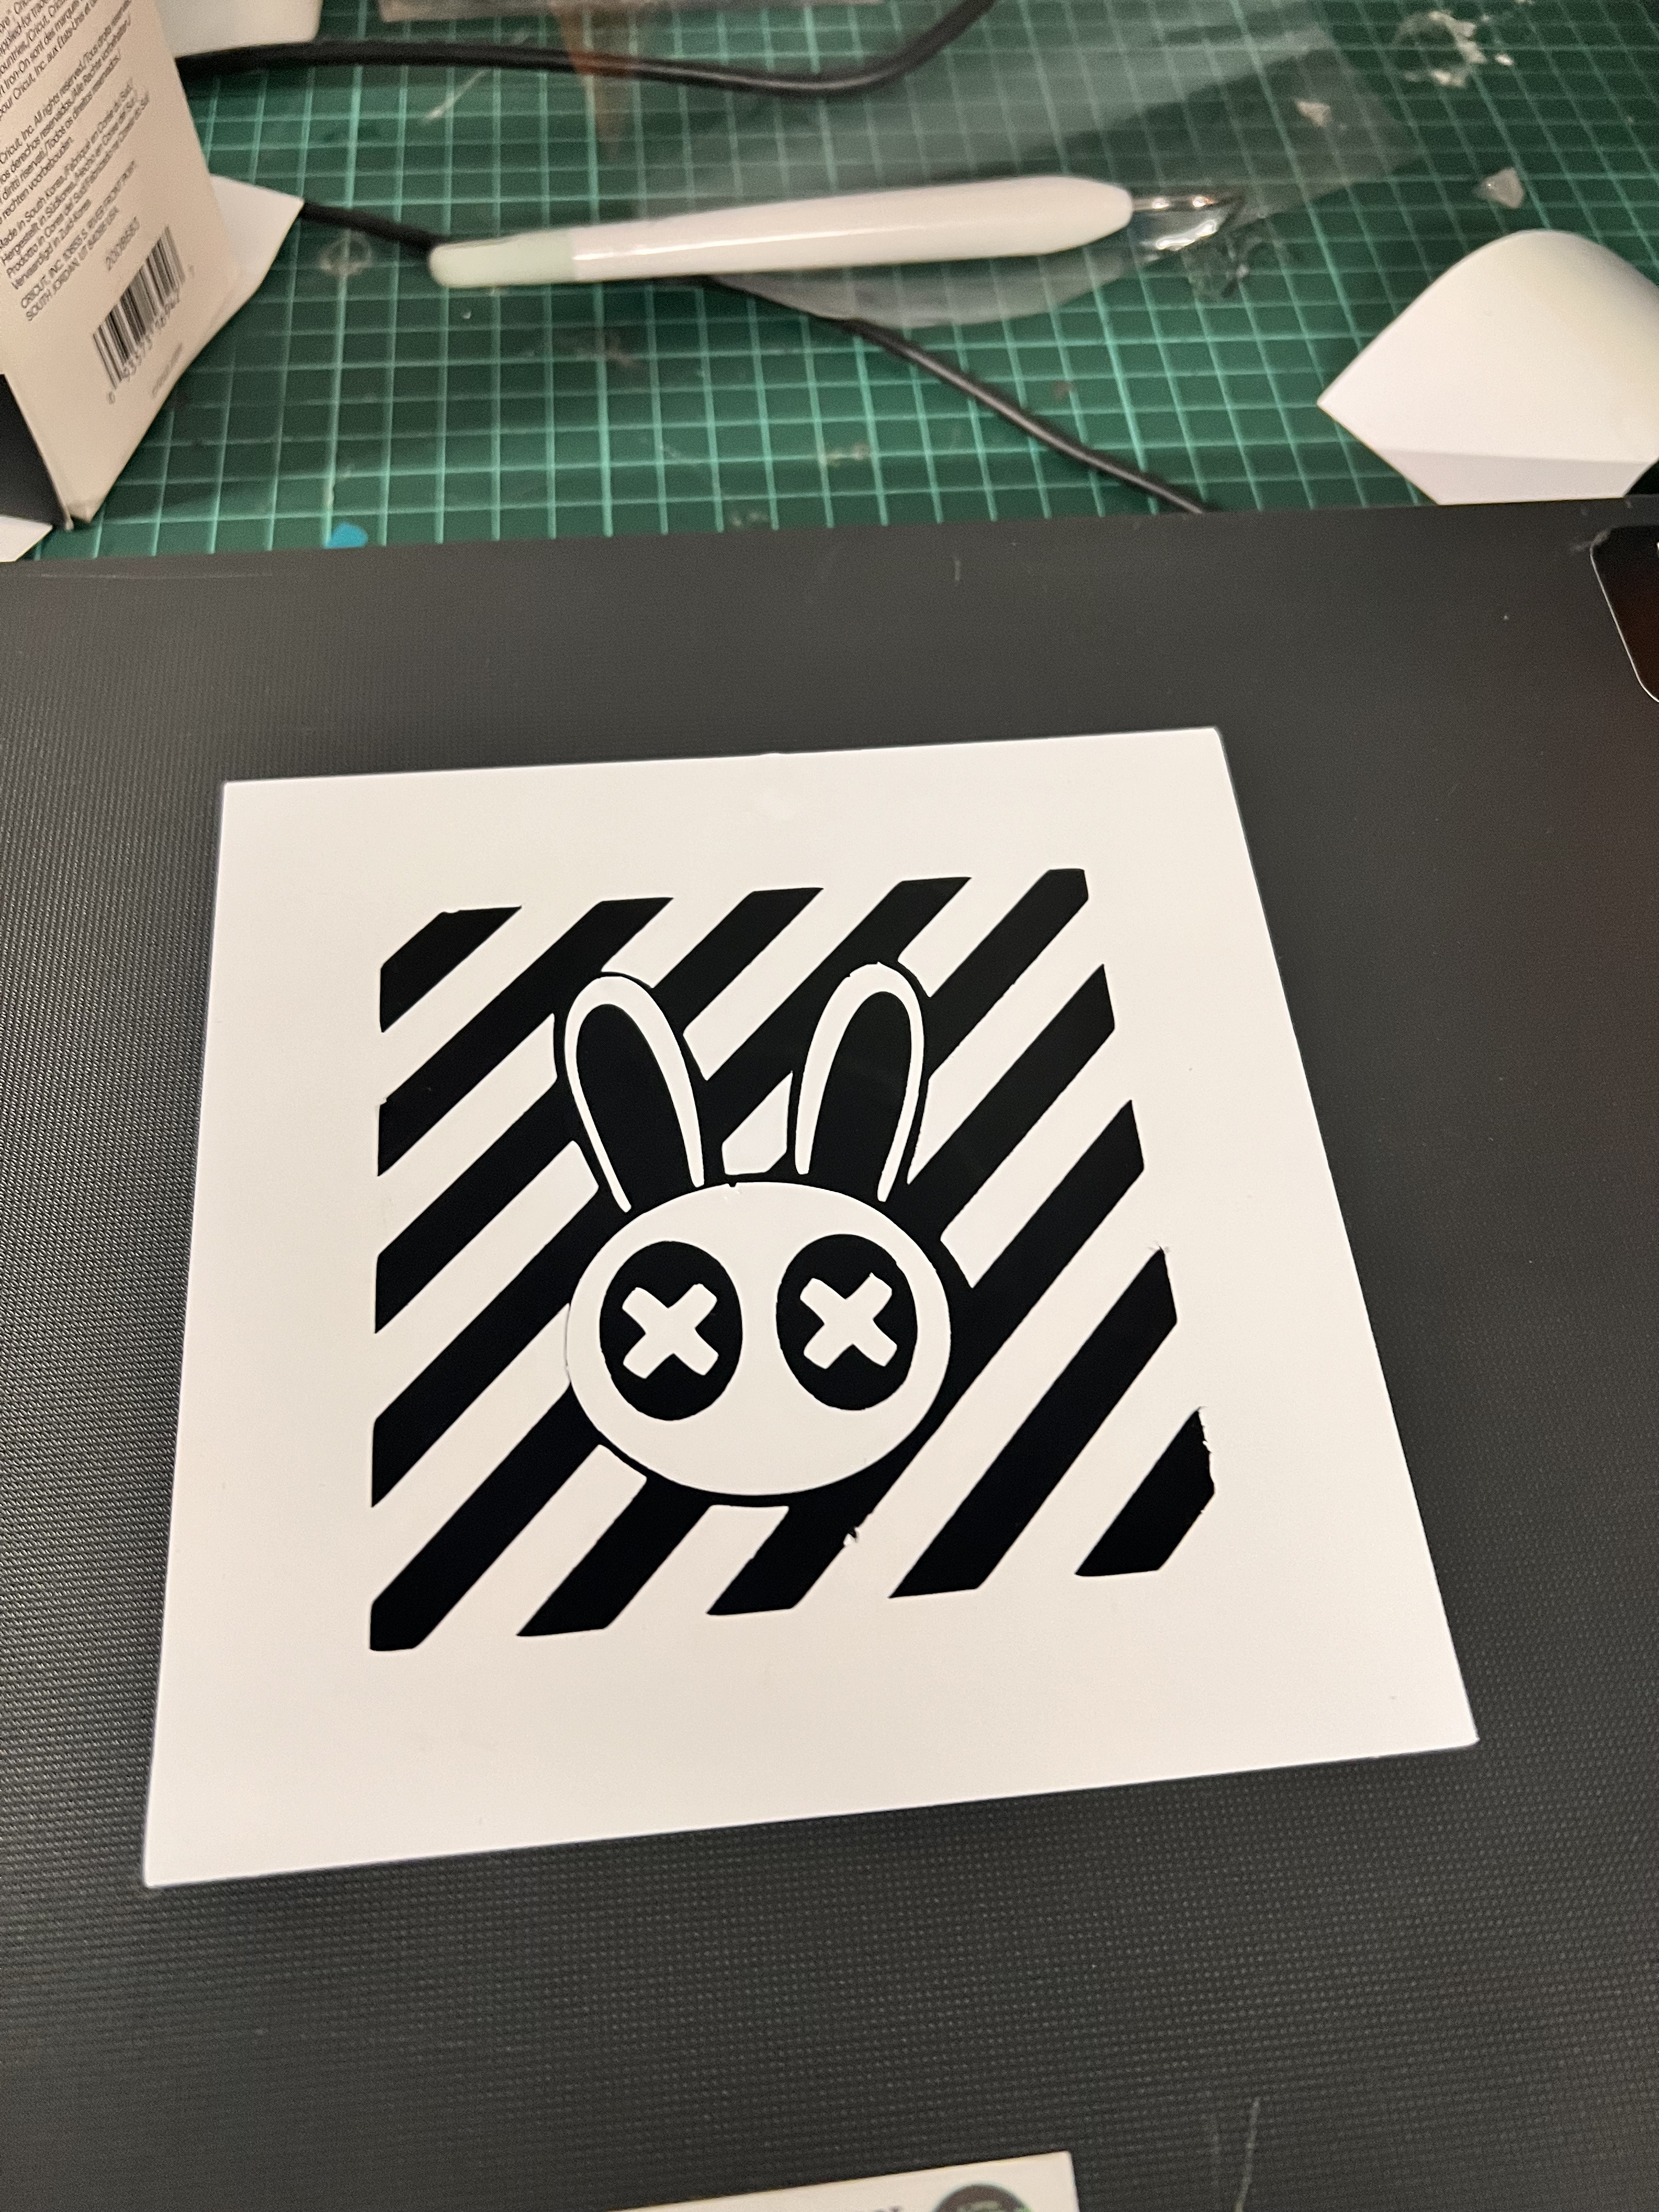
I repeated this process twice since my design had 2 different layers.
This is the final output.
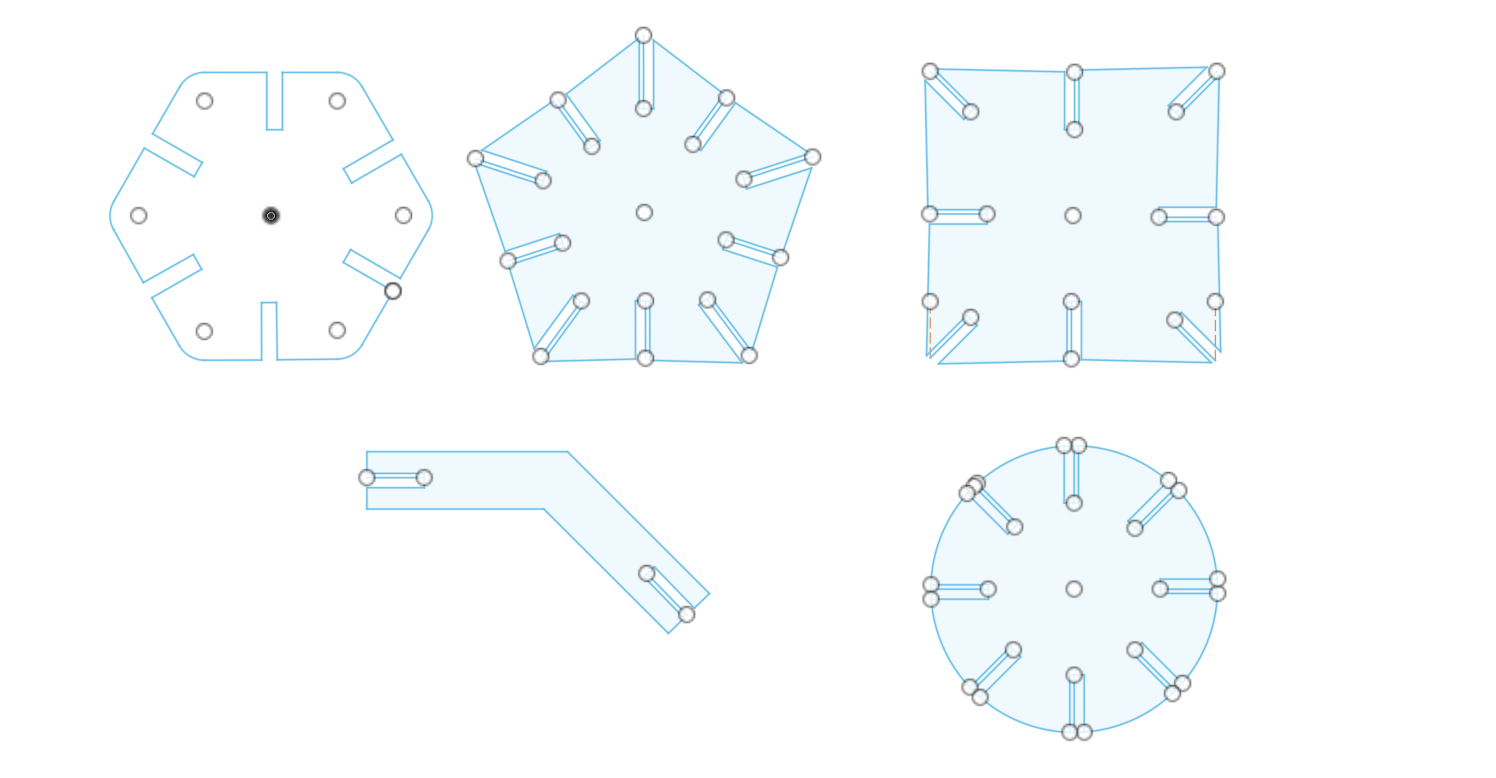
Designing a Parametric Construction Kit
The final design:
Steps:
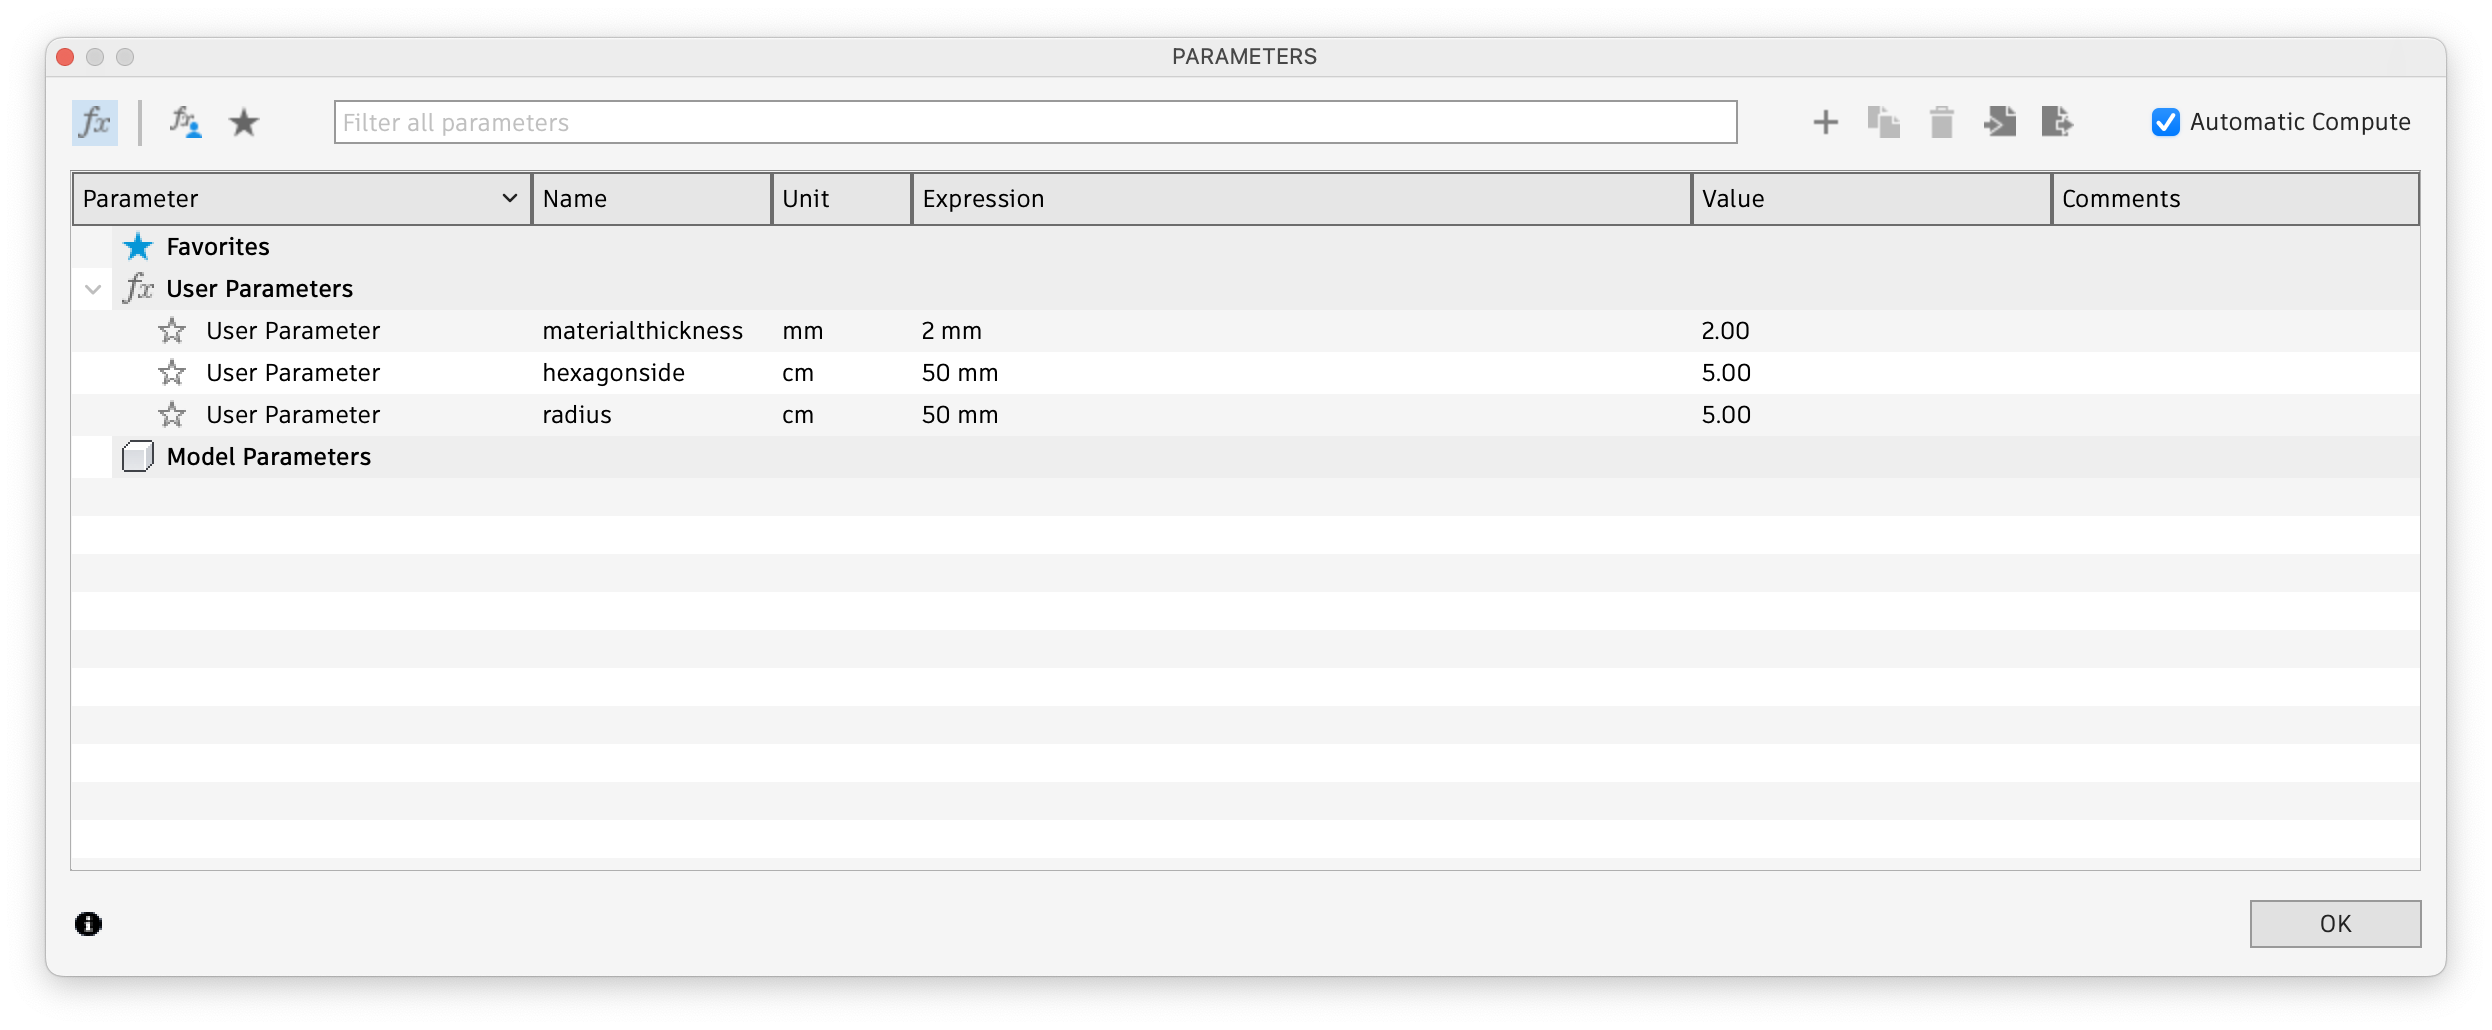
I started by adding my parameters.
I used the Sketch tool to design the individual parts of the kit. My goal was to ensure maximum versatility, meaning that any piece could connect with any other. To achieve this, I carefully sketched slots that are 2.2mm wide—this is the exact width used for the connections between the pieces. By standardizing the slot size, I made sure all parts would fit together perfectly, regardless of their orientation or type.
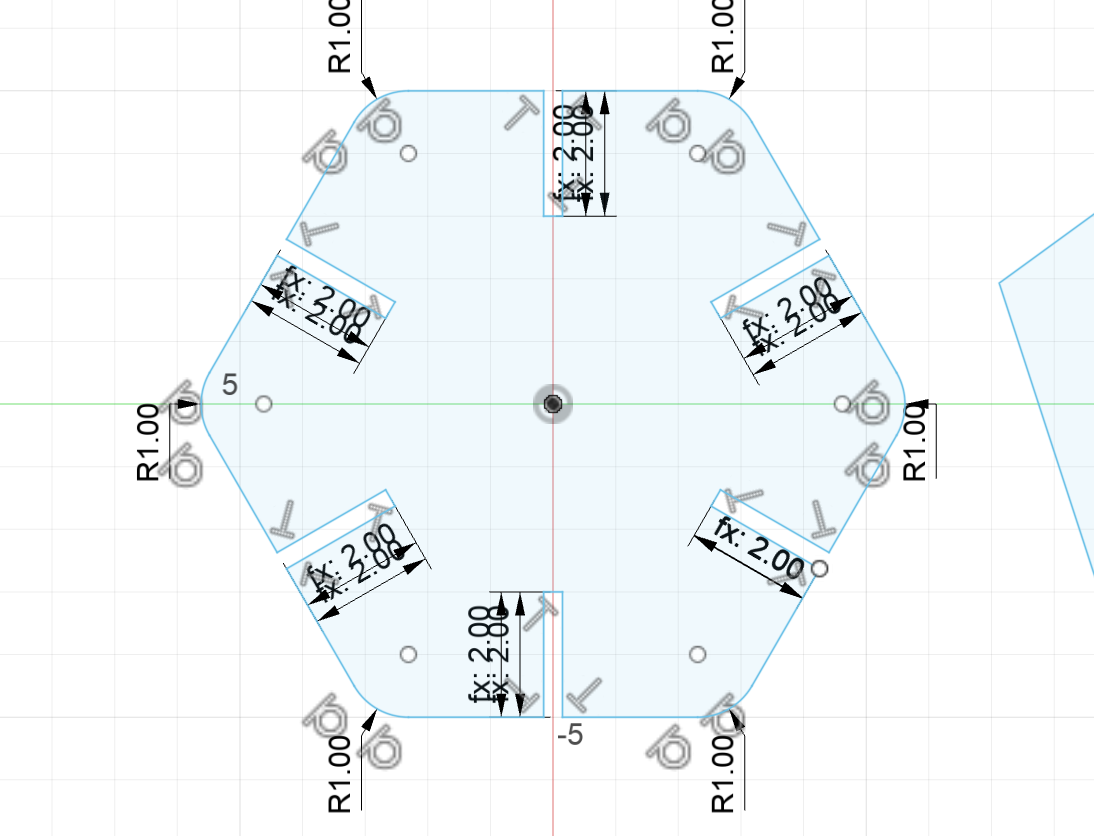
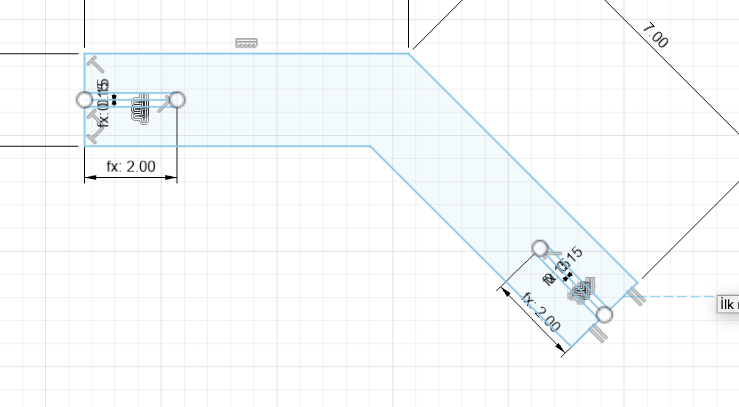
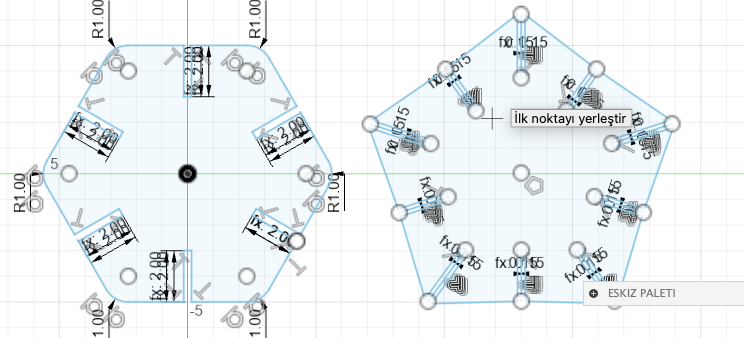
Final version of my sketch:
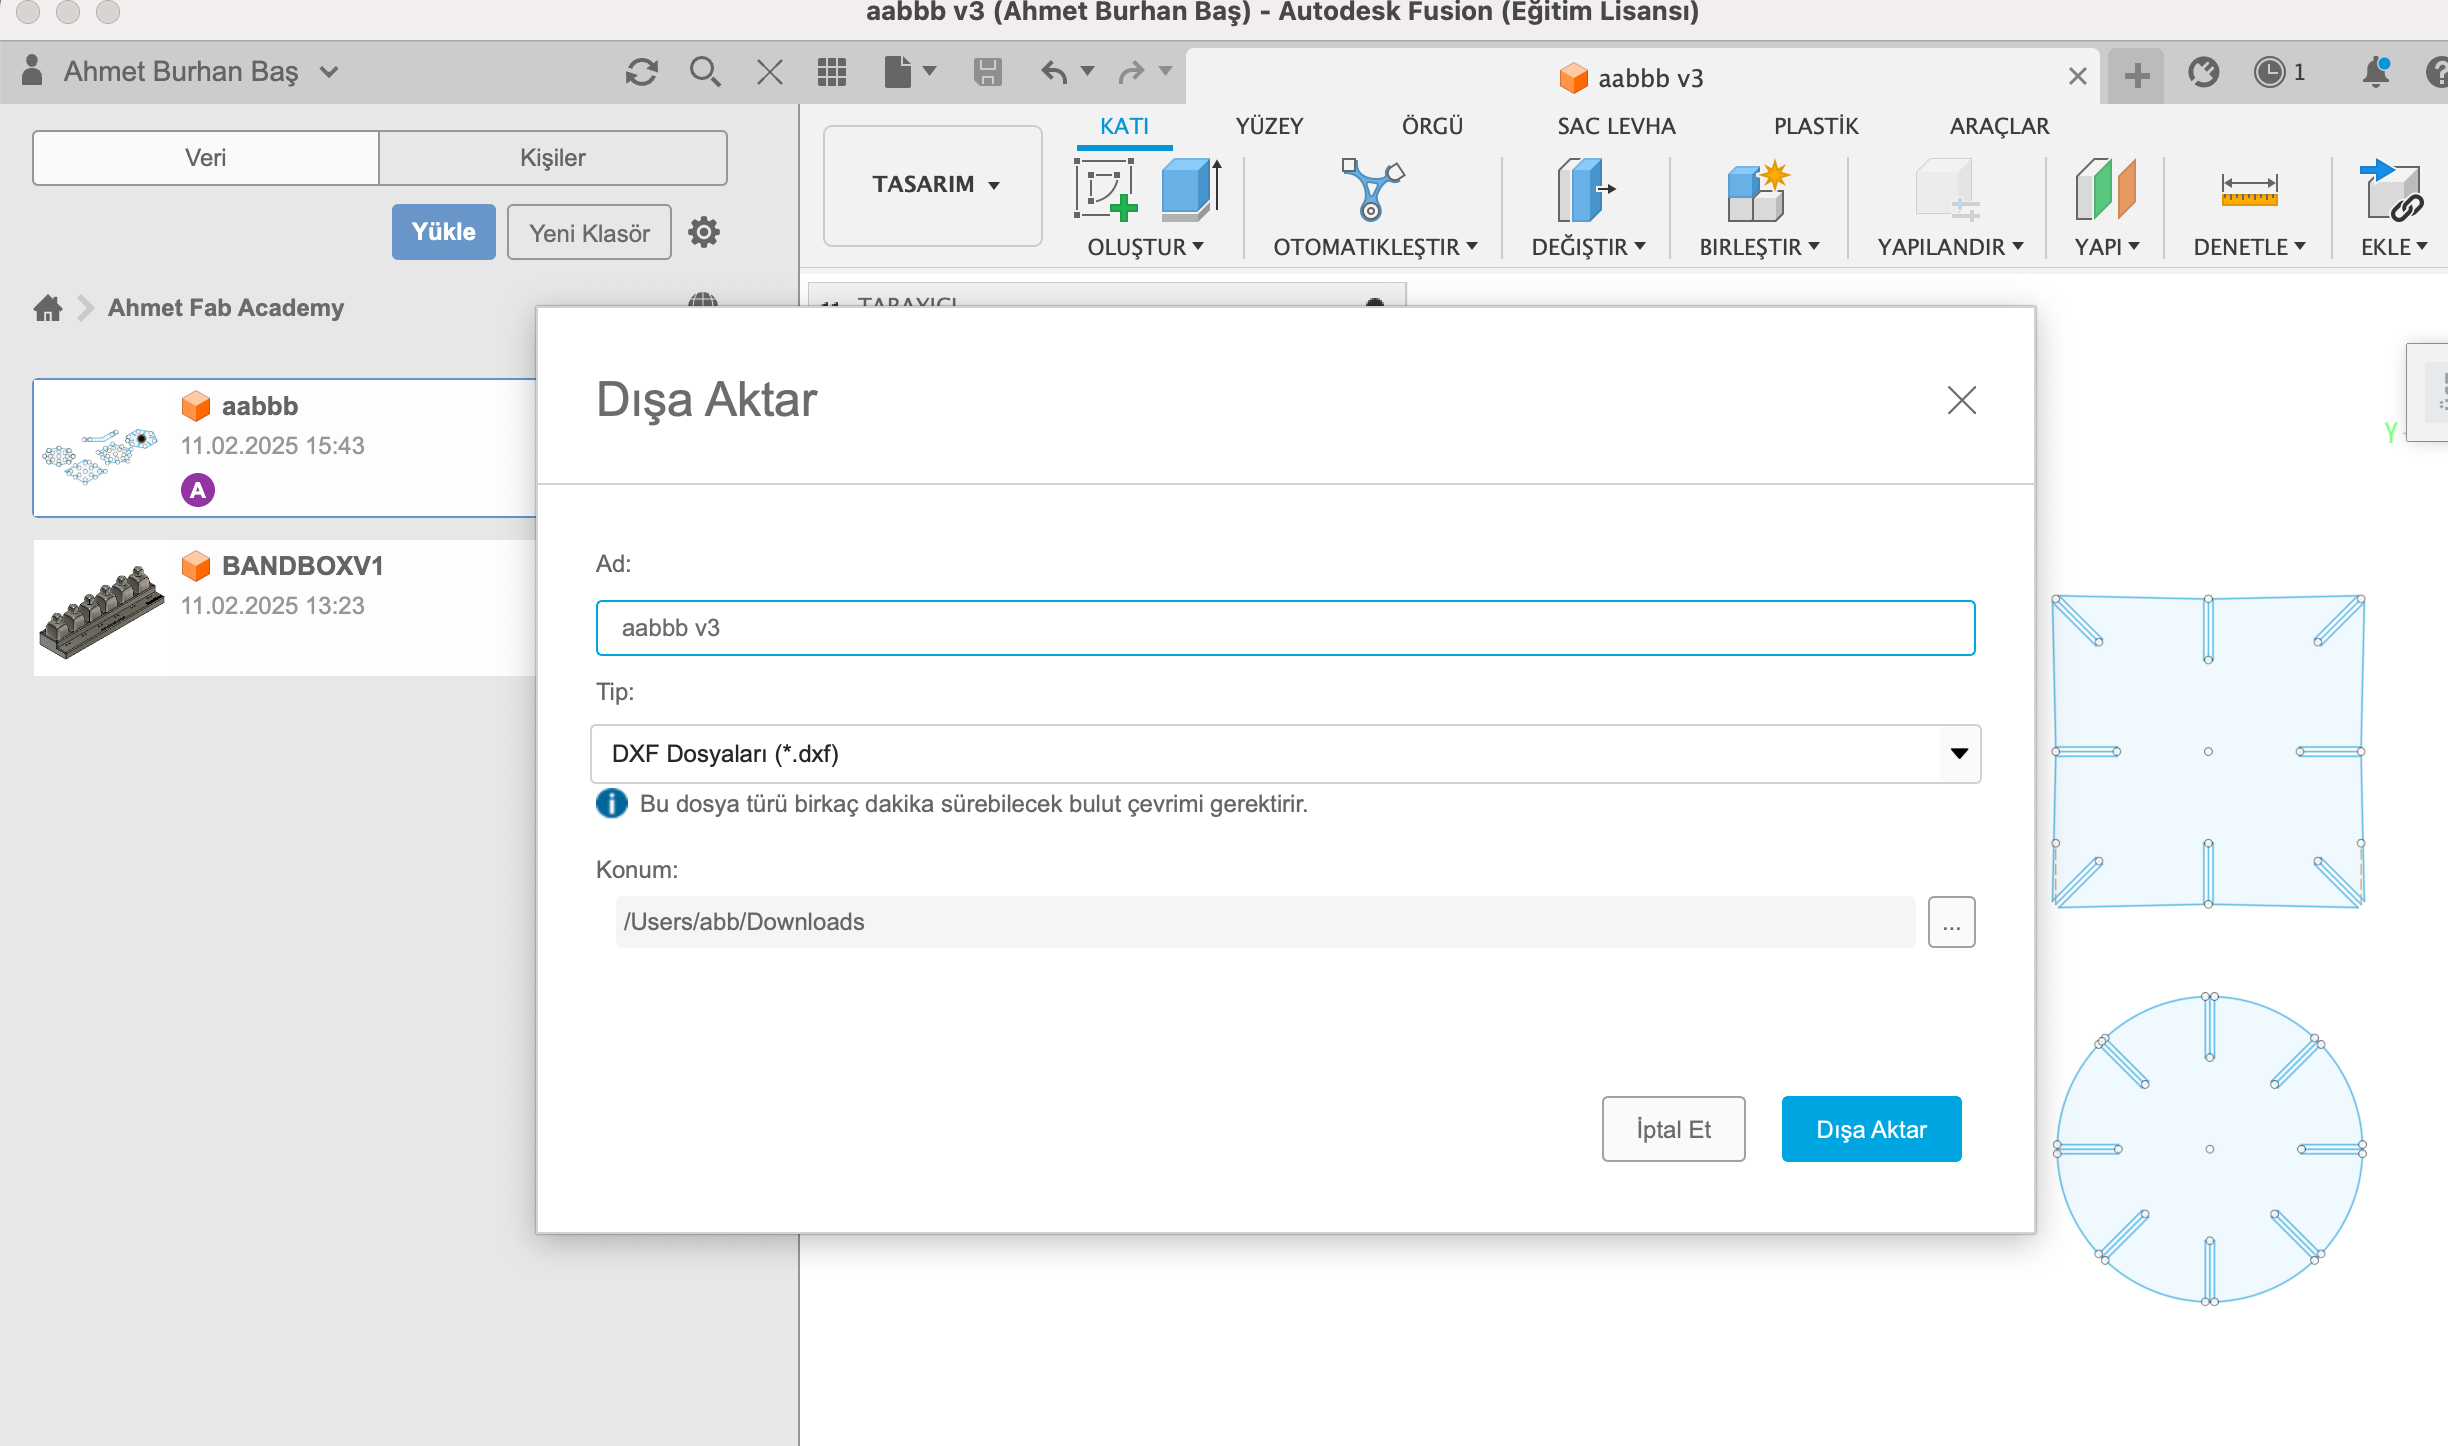
I exported the sketch in "dxf" format.
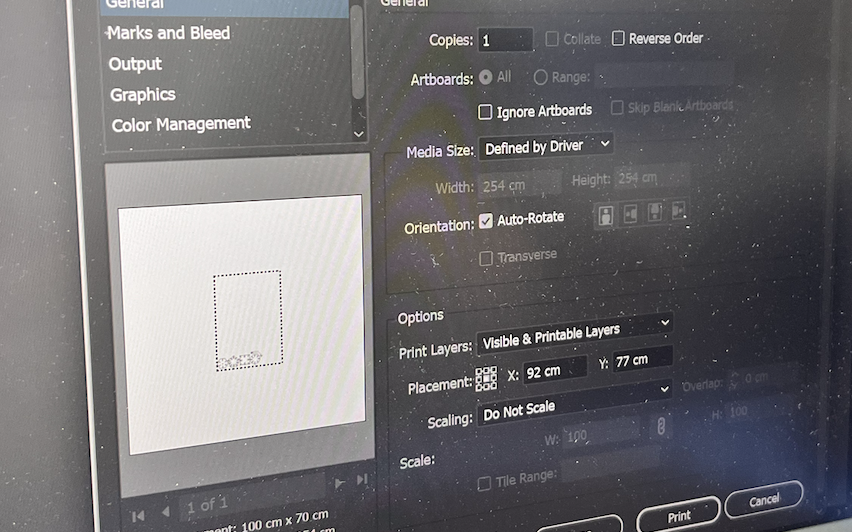
I created a file which is 100cmX70cm in Adobe Illustrator and uploaded the file to it.
I pressed cmd+p to open the print menu and hit print.
I placed the design on the area.
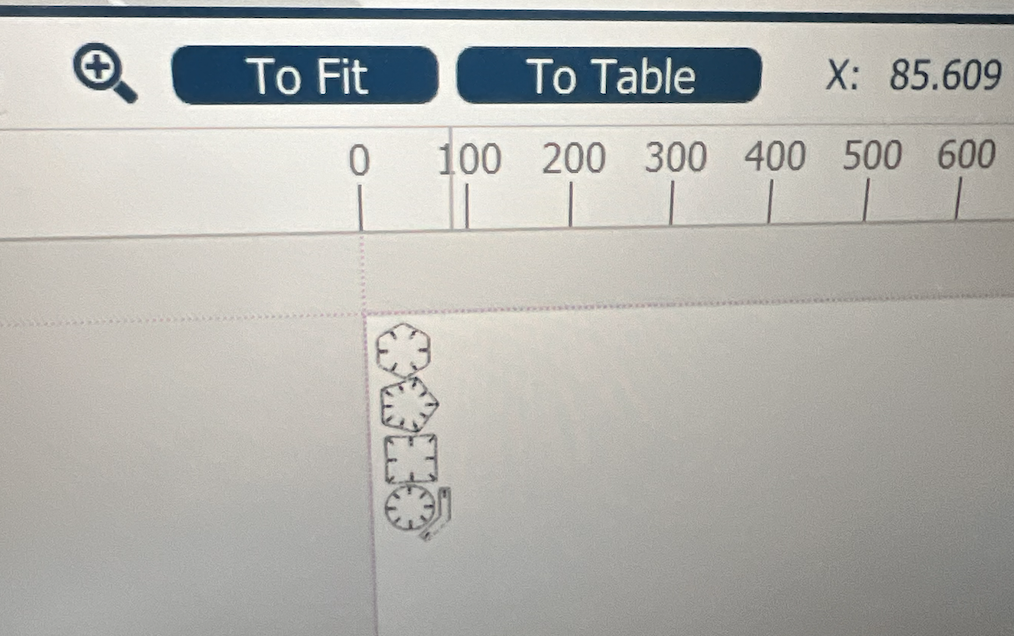
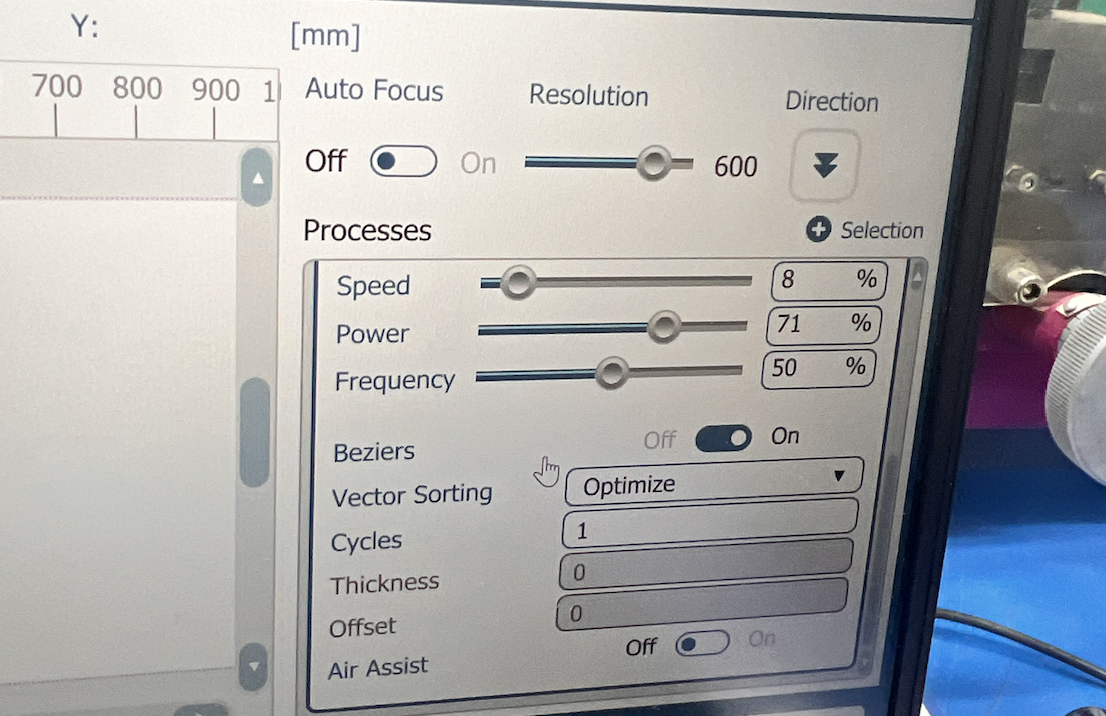
I entered these values to the epilog app
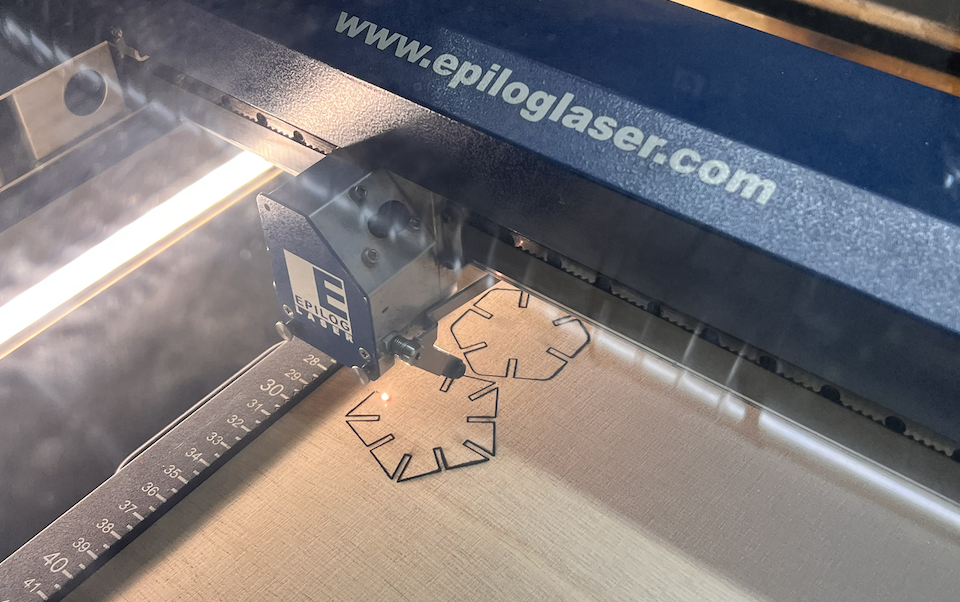
I found the correct job file in the machine and pressed start.
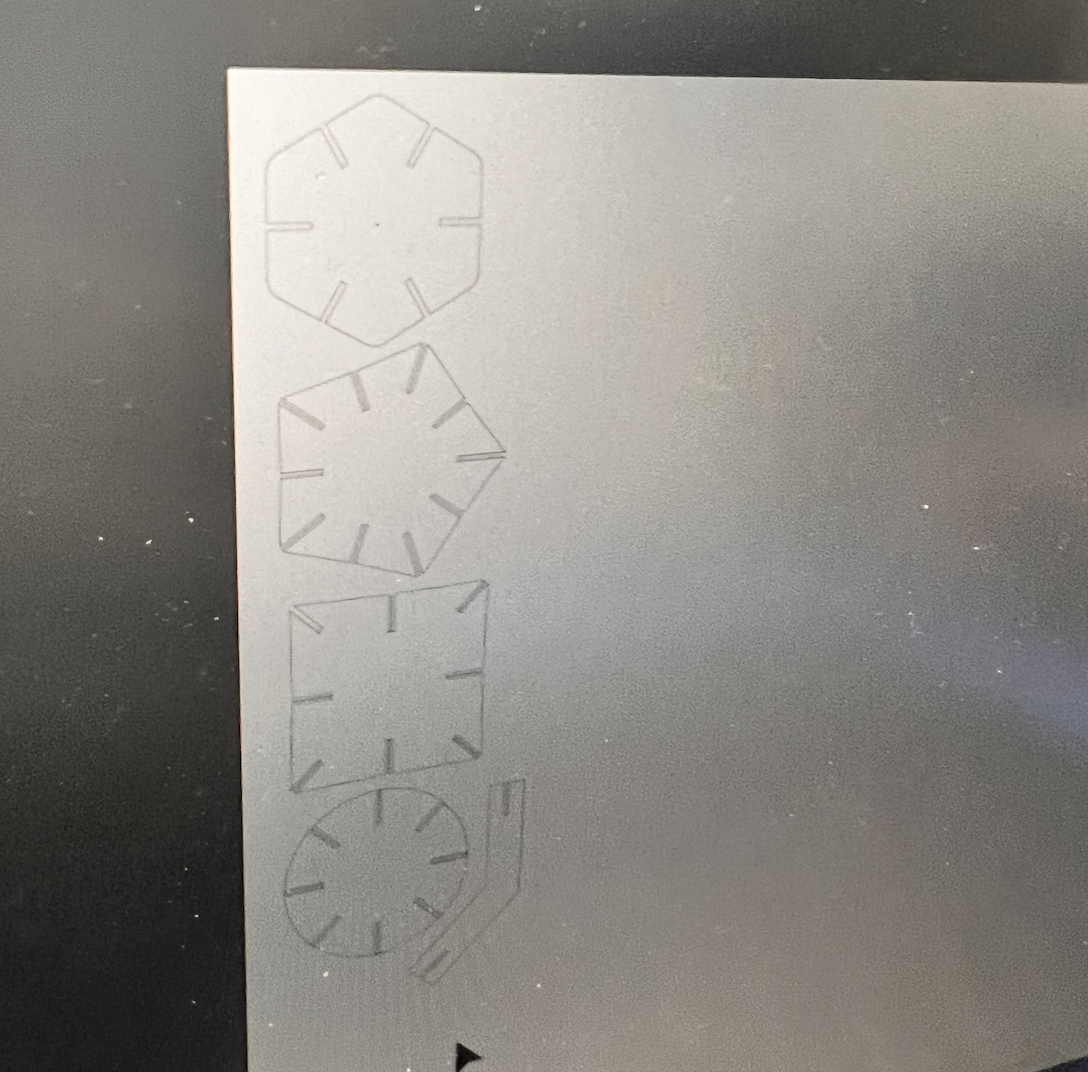
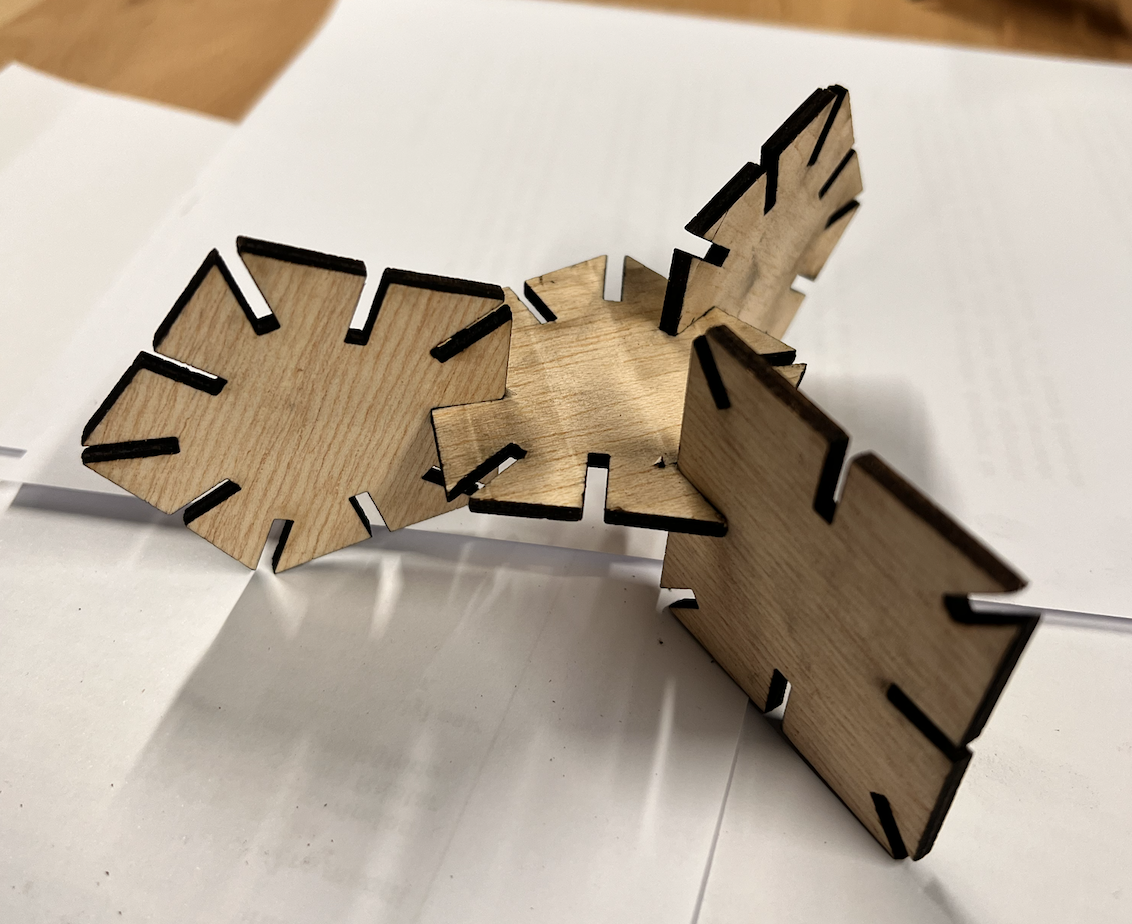
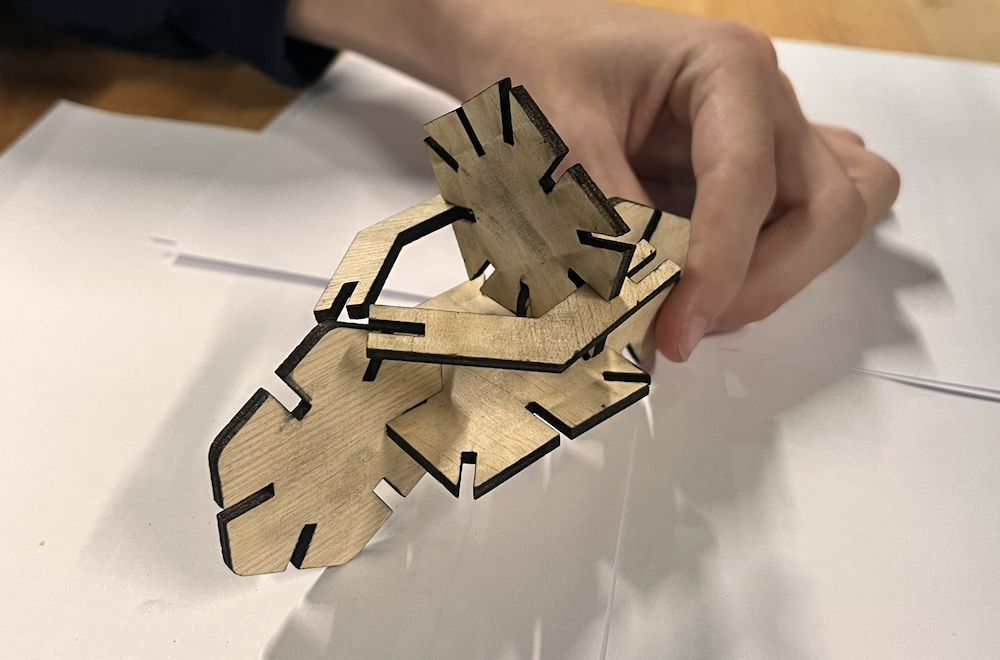
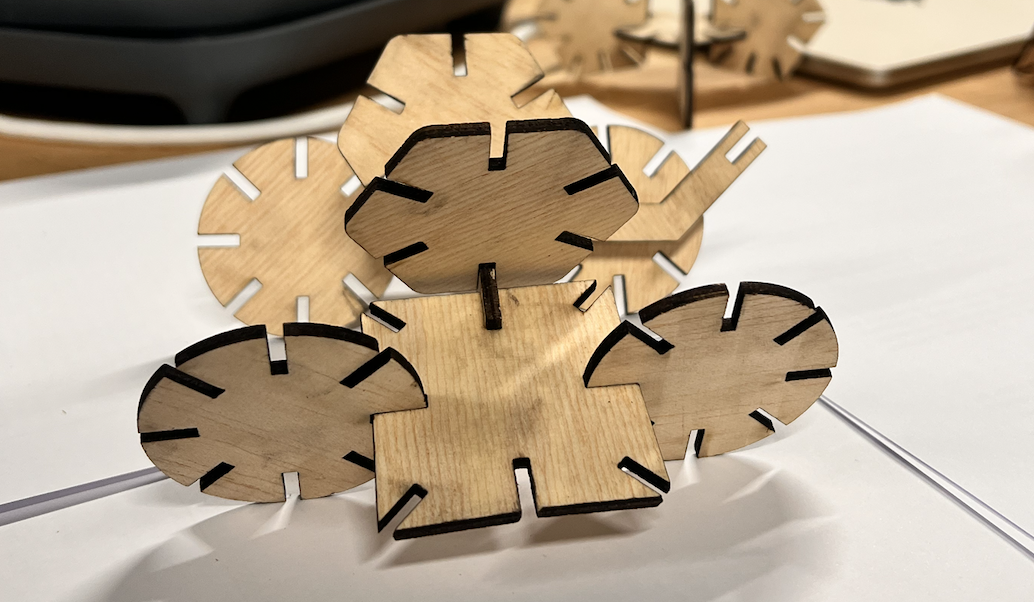
This is an example set.
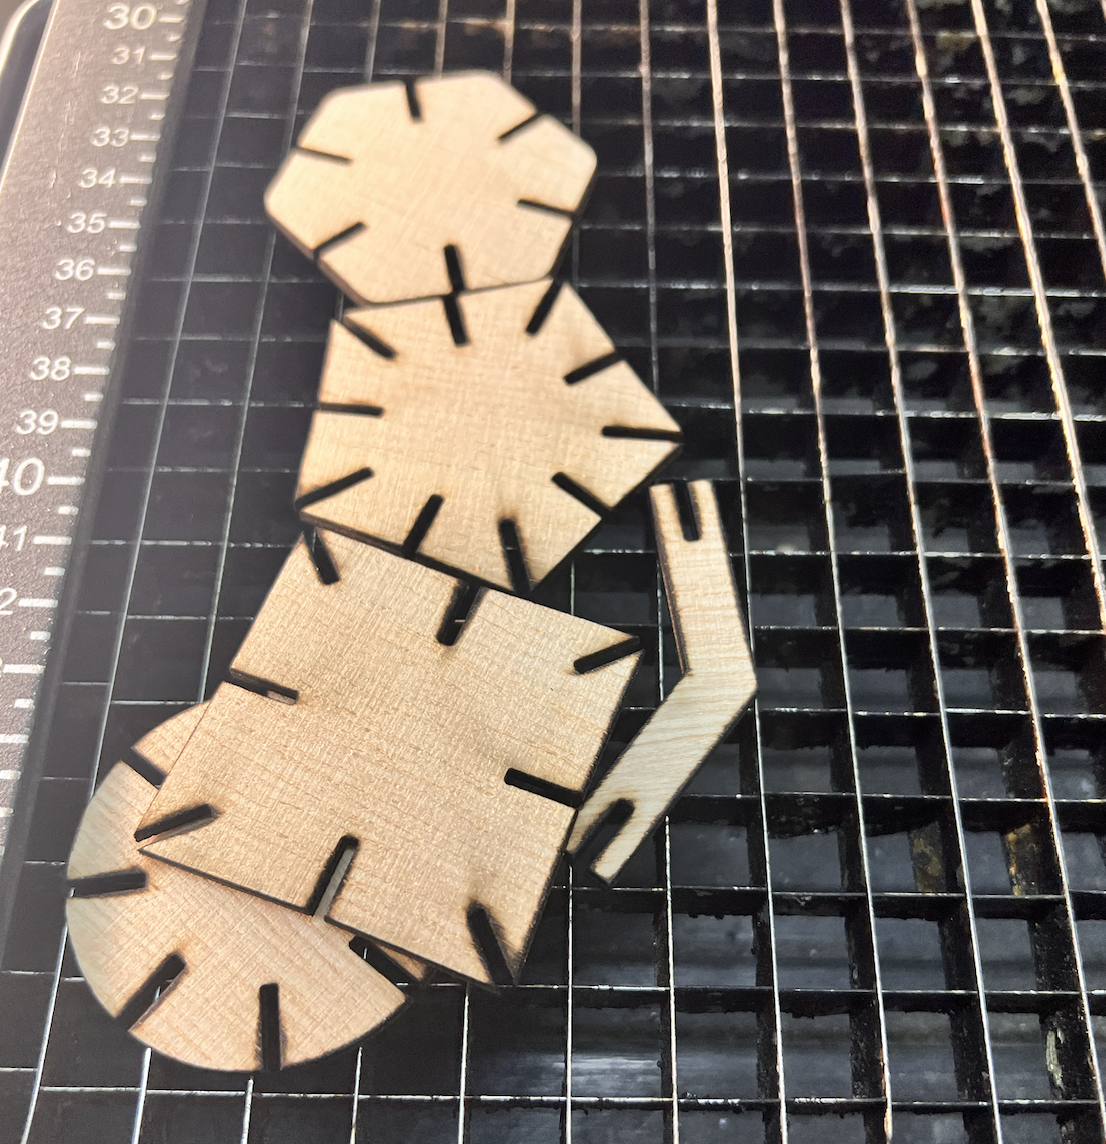
These are some examples of the infinite number of models that you can build.

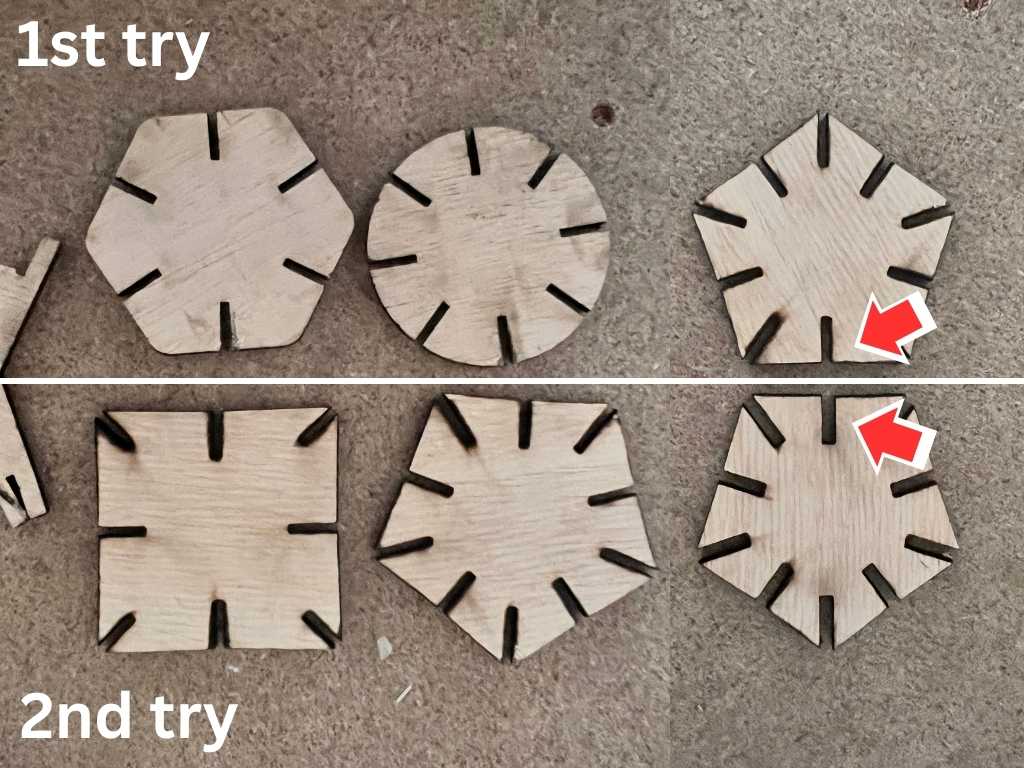
Kerf
In this picture, you can clearly see the difference between my first and second try. The spaces were too tight in my first try so I updated them and made them wider.
Download Design Files
I exported the file in f3d format. Here is the zip