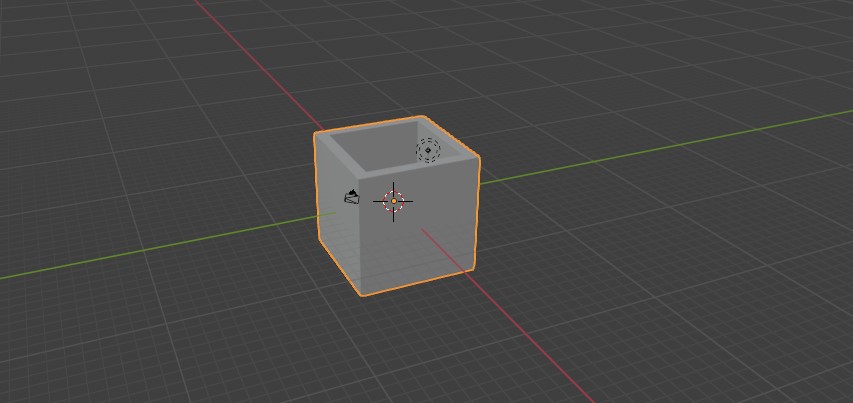
My exploration of 2D and 3D design tools
This week, I had the following tasks:
WHAT I ALREADY KNOW BEFOREHAND?
This is my first time modeling in 2D and 3D, it looks very interesting, I'm interested in trying AI tools for 3D modeling.
Model (raster, vector, 2D, 3D, render, animate, simulate, ...) a possible final project
I tested 2D and 3D design programs to find the one I feel most comfortable using for my final project. Since I don't have much prior experience with design, I had to start from scratch. To guide my exploration, I relied on AI assistance and watched videos about different 2D and 3D design tools.
While I reviewed many videos, I found the following particularly helpful: this video, this video and this video.
They helped me achieve a general understanding of the available tools and what each one of them can do. These resources gave me a general understanding of the available tools and their capabilities.
Given the wide variety of programs, I decided to consult AI ChatGPT to compare two of the most widely used 2D and 3D tools, analyzing their functions, advantages, and disadvantages.

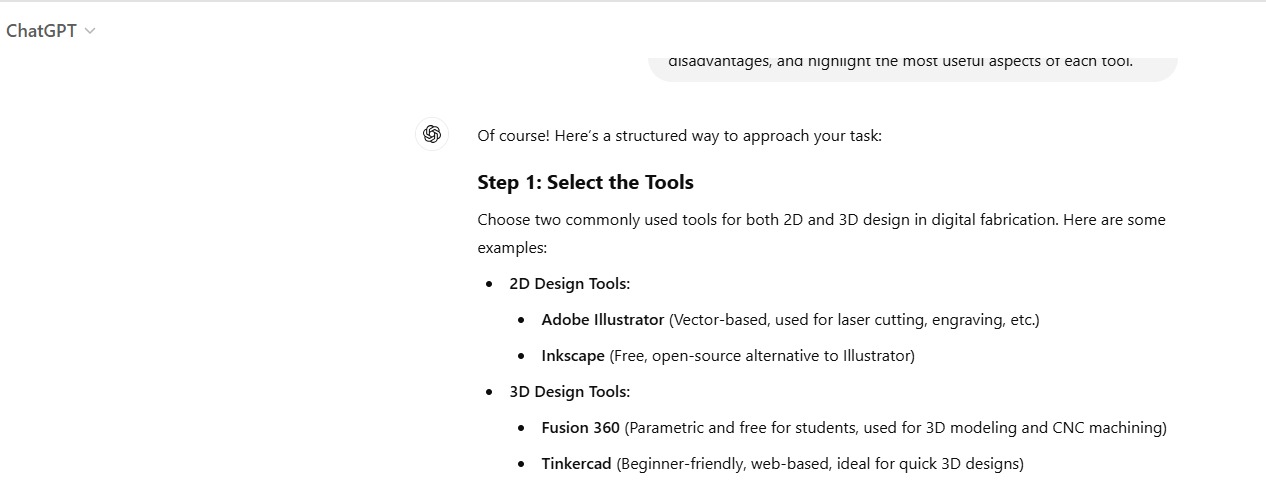
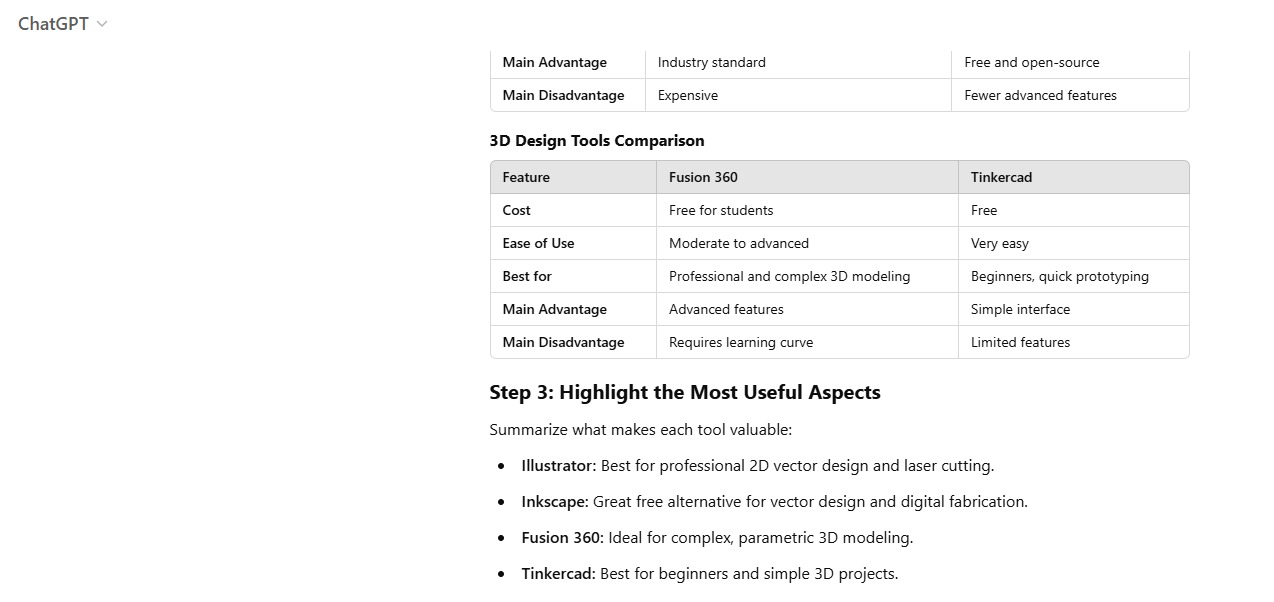
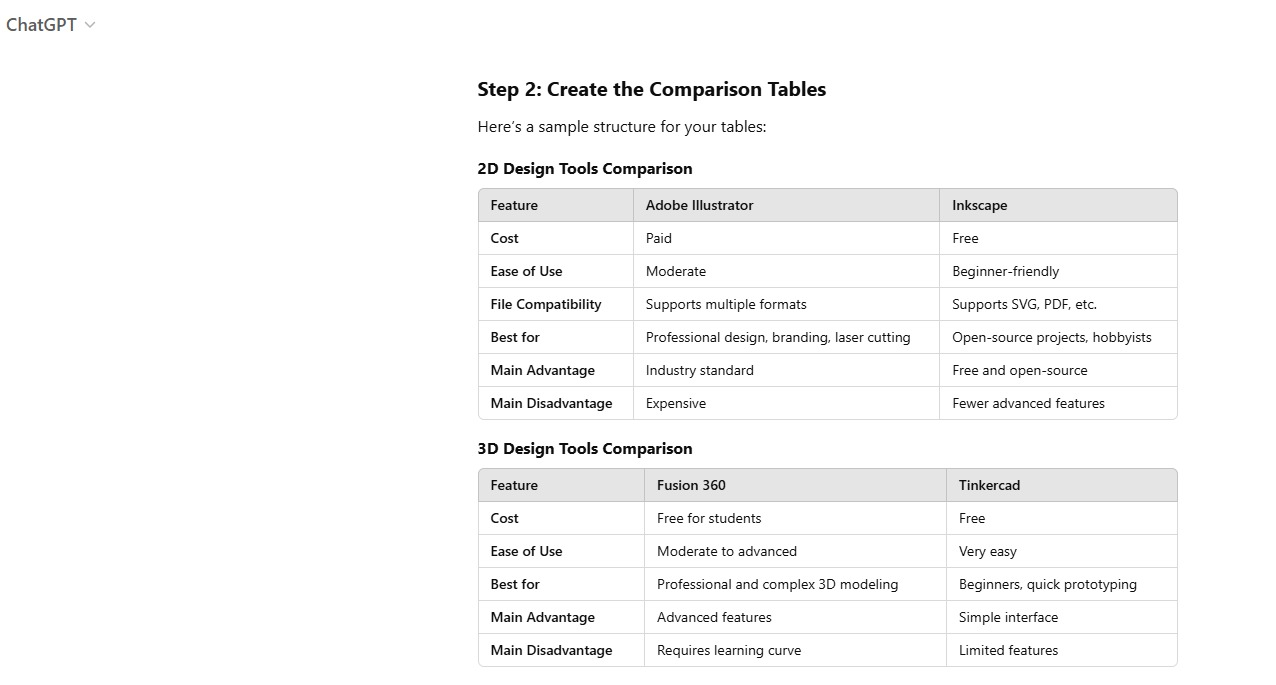
Based on this research, I chose to explore Inkscape, Tinkercad, Blender y Makerworld.
1. Inkscape
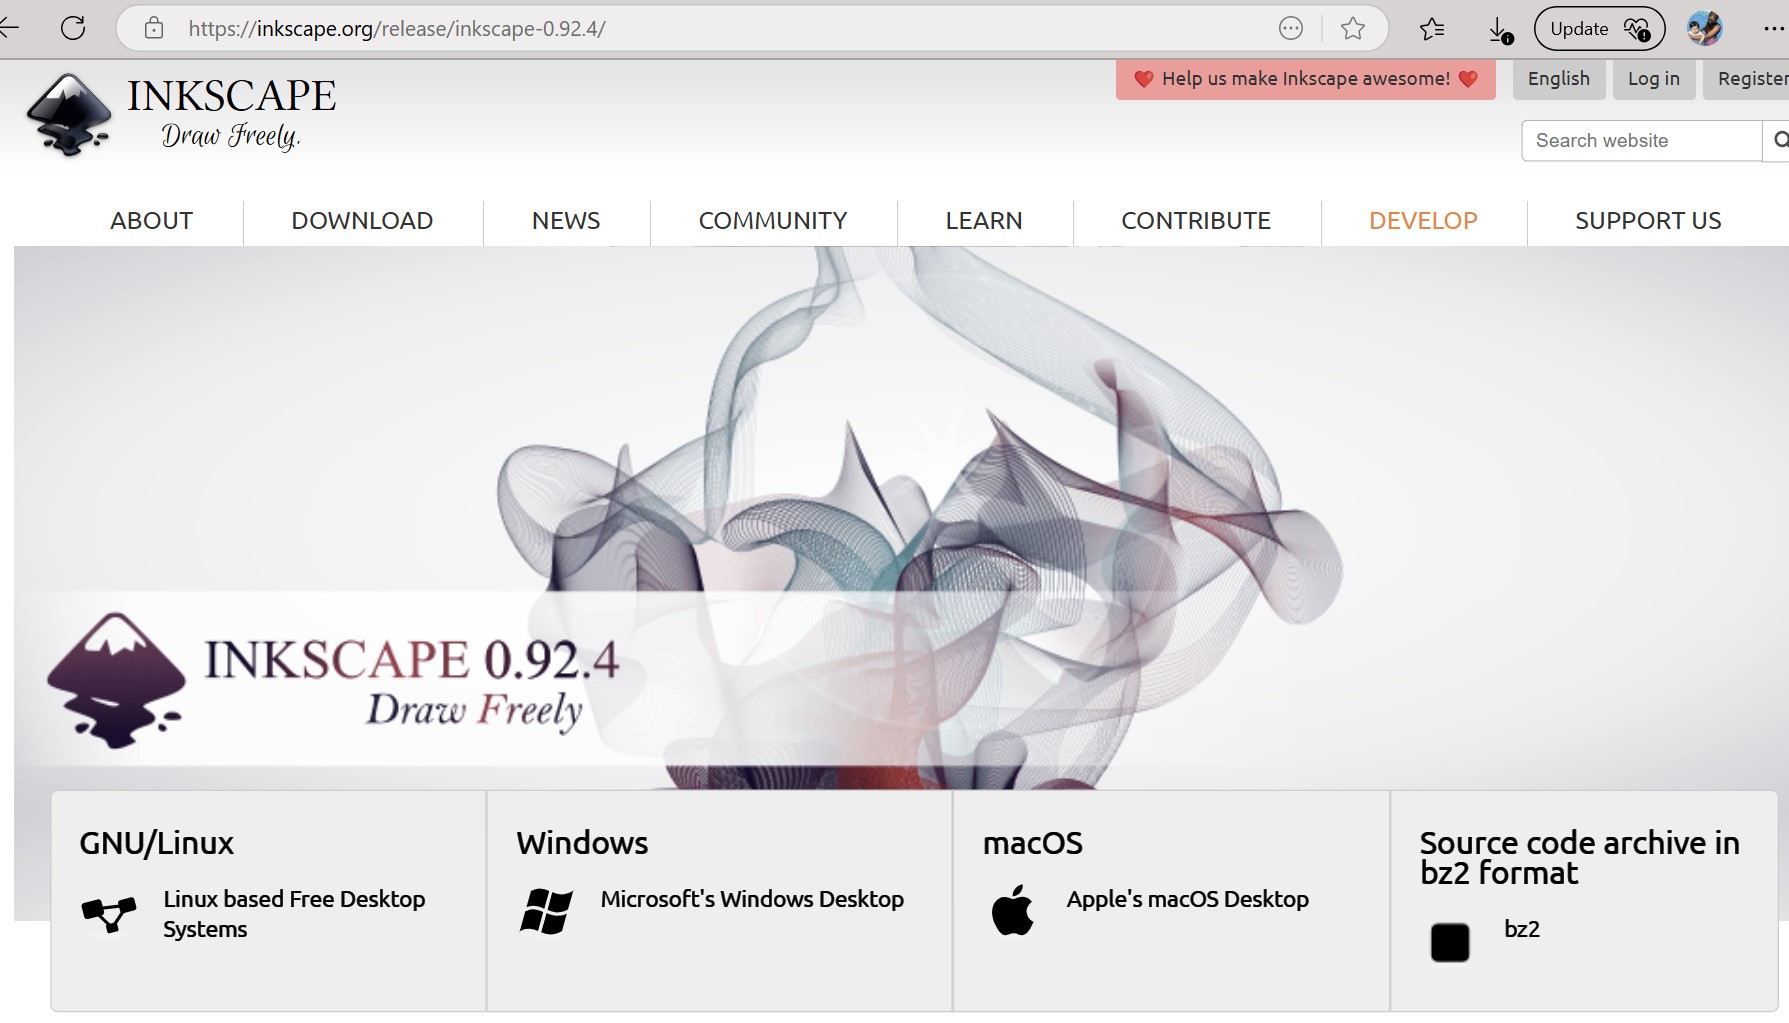
I downloaded the program from this page
Step 1: Open the Program and Start a New Design
After opening the program, I started a new design. While Inkscape includes tutorials, I found them somewhat dense and less practical. It would be more helpful if they included more applied examples.
Step 2: Explore the Tools
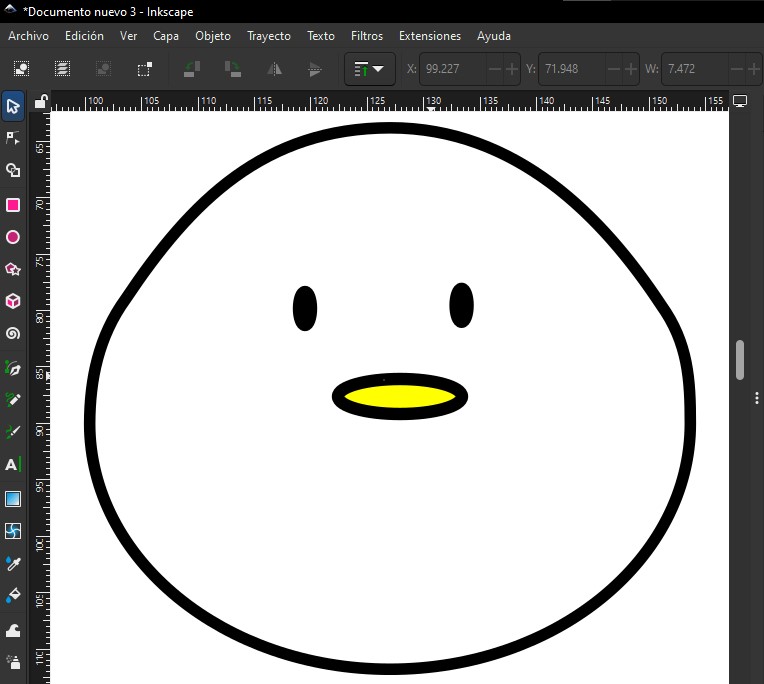
The left-hand toolbar offers basic shapes. I began designing the body of my chicken using two circles.
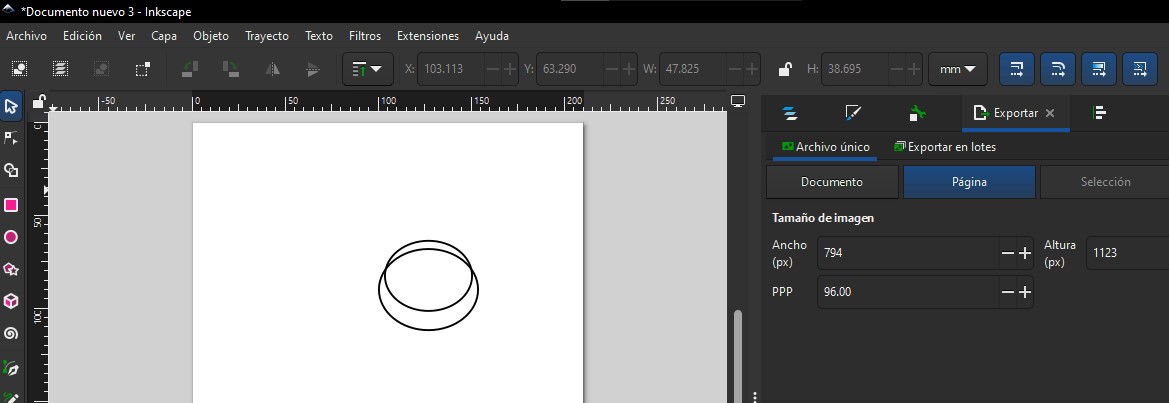
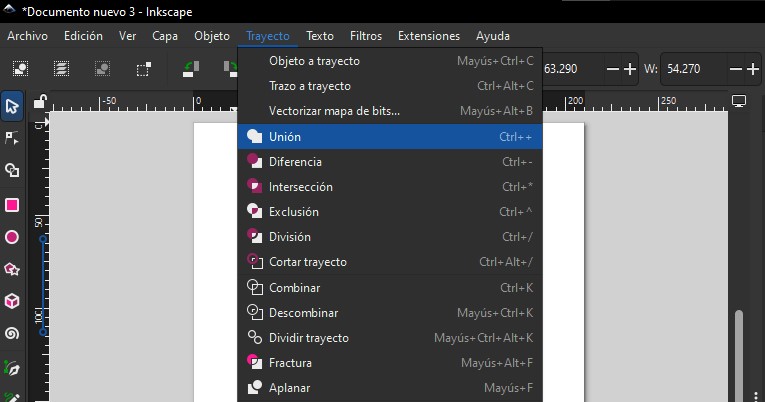
Step 3: Combine Elements
Using the Union tool (located in the Path menu), I merged the two circles to form the chick's body
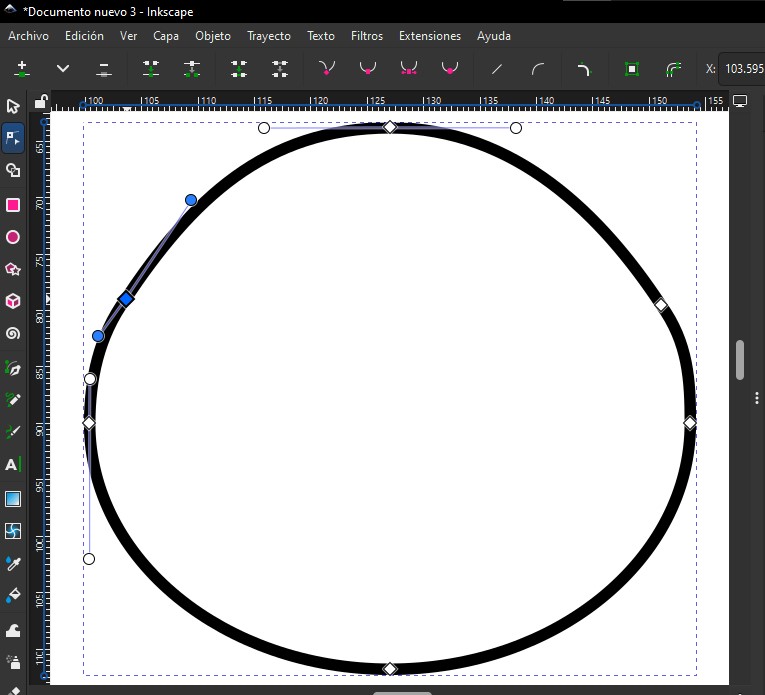
Step 4: Refine the Design
To smooth the connection between the circles, I used the Smooth Nodes tool (the second icon in the left-hand menu).
Step 5: Add Details
I created two circles for the eyes and stretched them into ovals. The beak was also made from a circle, which I adjusted to the desired shape.
Step 6: Save the File
Finally, I saved the file in SVG format. Find the file in Resources.
Some reflections on Inkscape
The program is intuitive, with a comprehensive menu and various tools for adding effects and textures. However, the learning curve could be smoother with more practical tutorials.
2. Tinkercard
I used the online version of Tinkercad, which can be accessed here
Step 1: Access Tinkercad
I logged in using my Google account. If you don't have an account, you can create one for free.
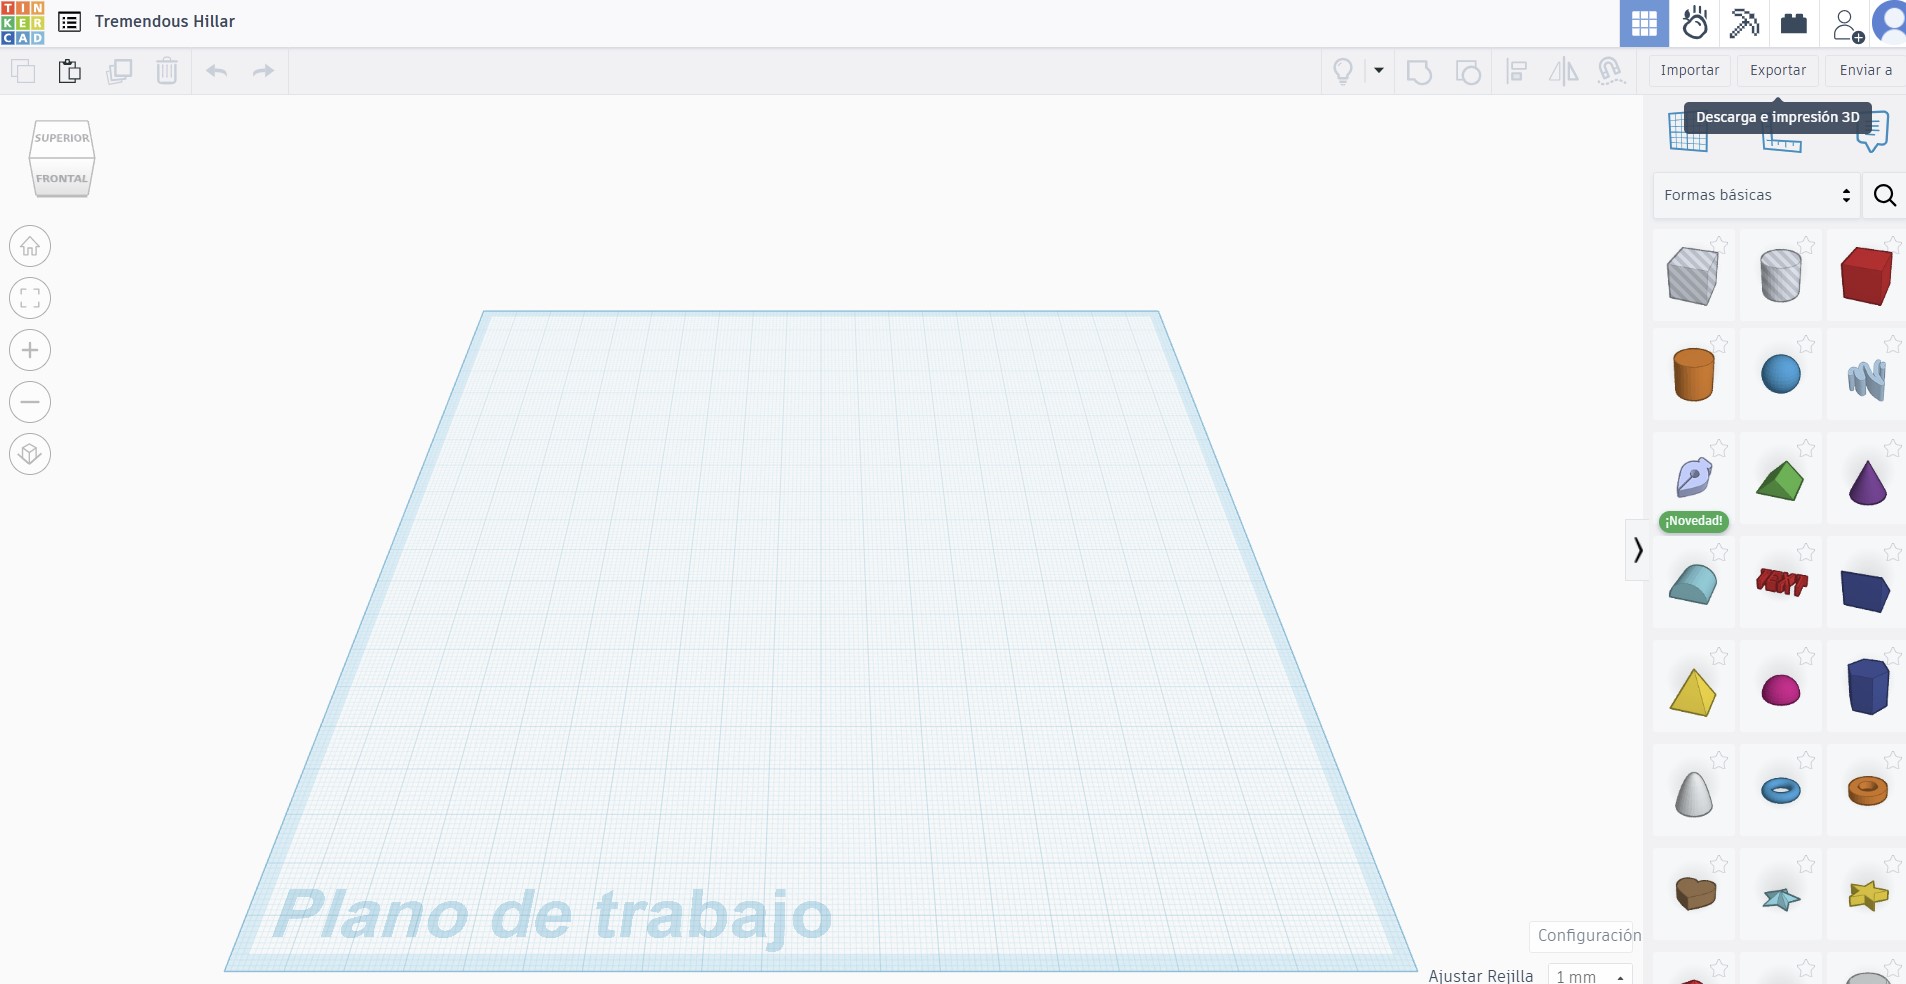
Step 2: Create a New 3D Design
I clicked the "+Create" button to start a new project.
Step 3: Use the Available Tools
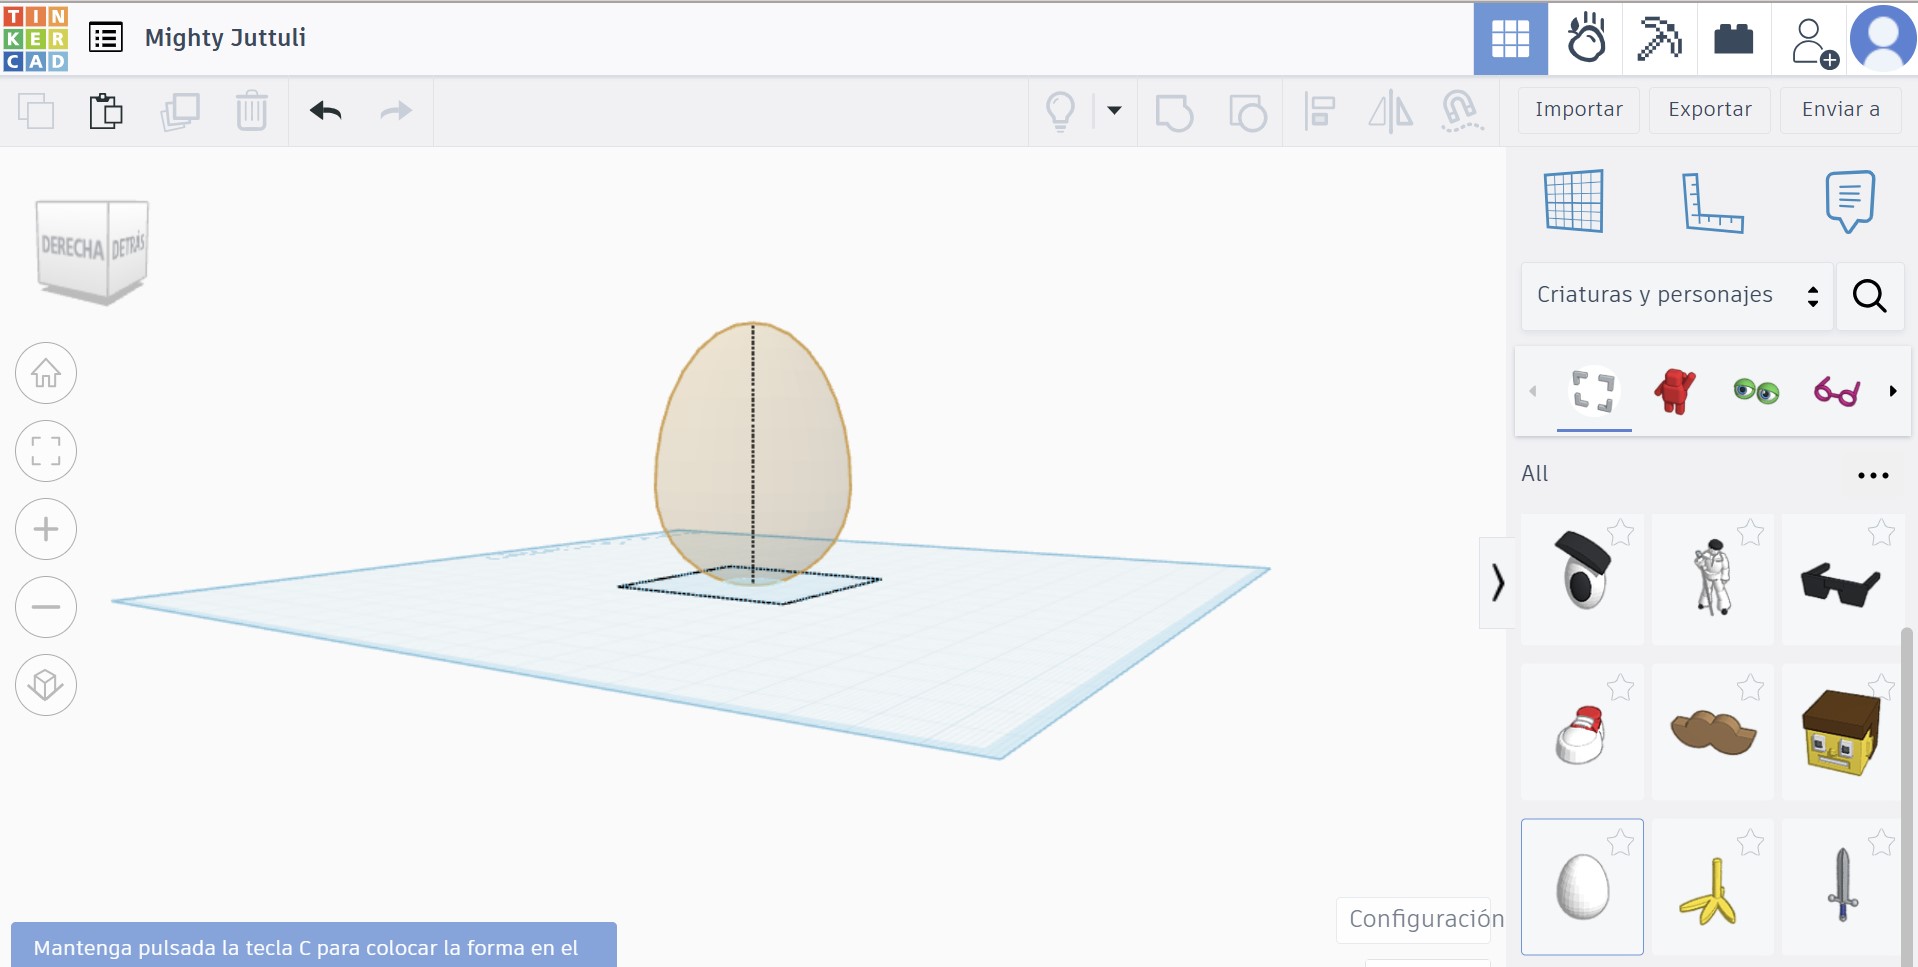
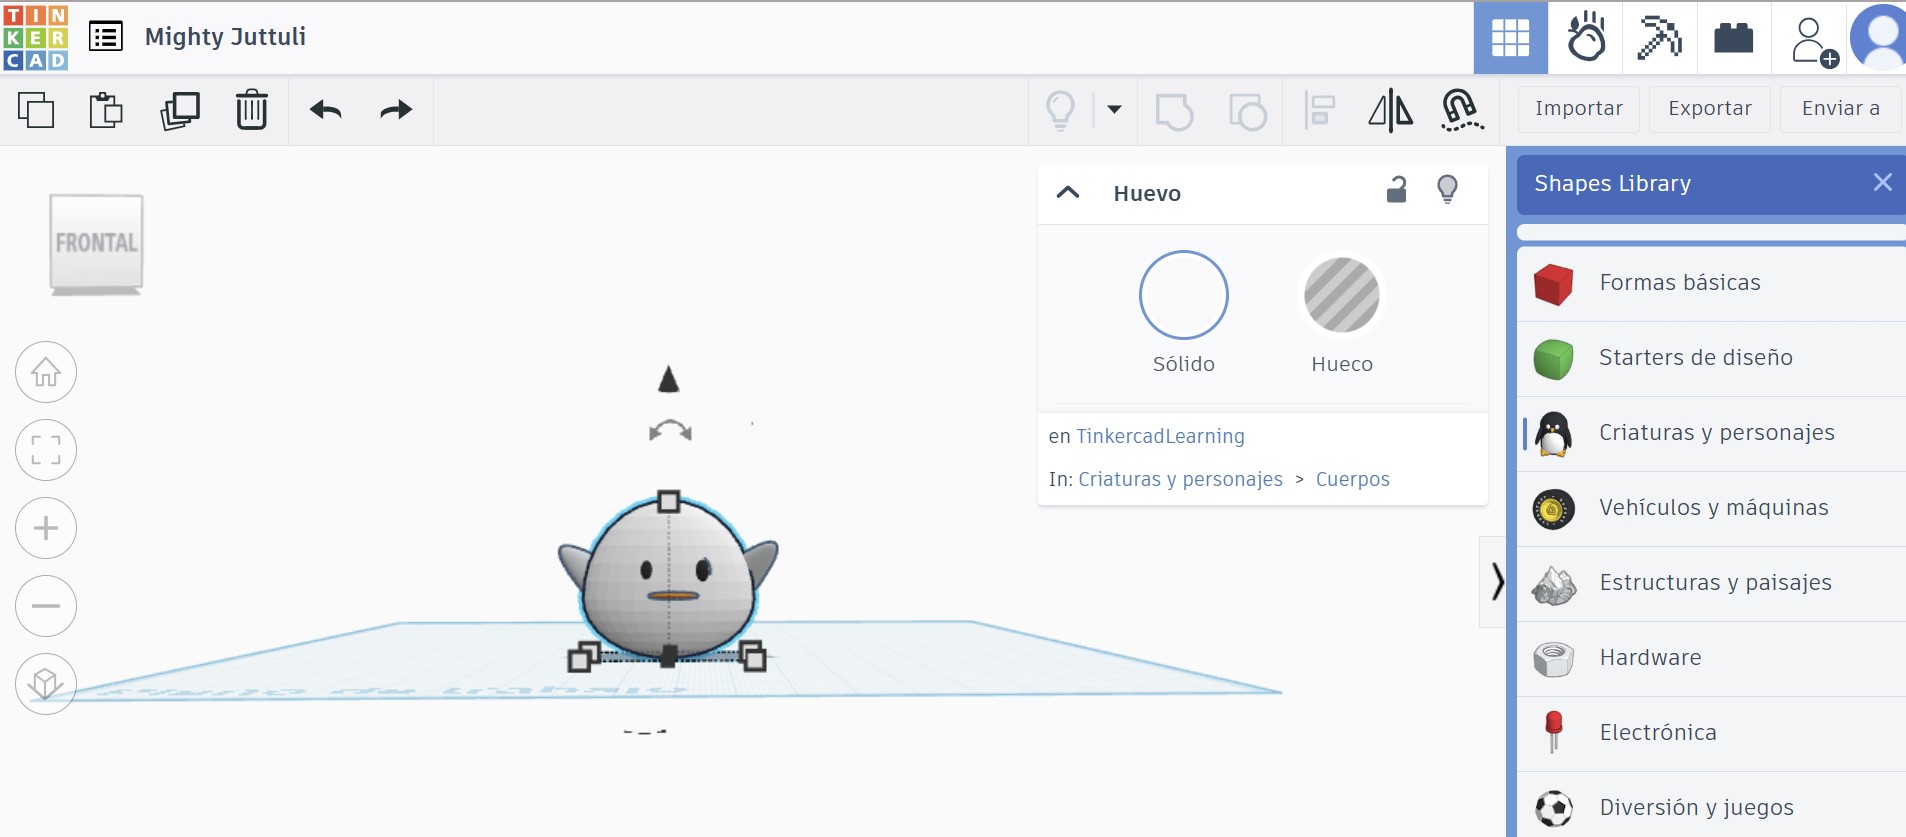
Initially, I tried using basic shapes like spheres, cylinders, and cubes, but I found it challenging to design the chicken’s body. I then switched to the Creatures and Characters tools and found an egg-like shape, which I adjusted for the body. I continued by adding eyes (using spheres), a beak (using a half-sphere), and wings (using cones).
Step 4: Save and Export
I saved the design and exported it as an STL file for 3D printing.
Some reflections on Tinkercad
The program is intuitive and user-friendly, with a helpful tutorial section. However, it lacks advanced tools for creating highly detailed or textured designs.
3. Blender
I downloaded Blender from here
Step 1: Seek Help
Blender's extensive features can be intimidating, so I started with guidance from Jorge Valerio.
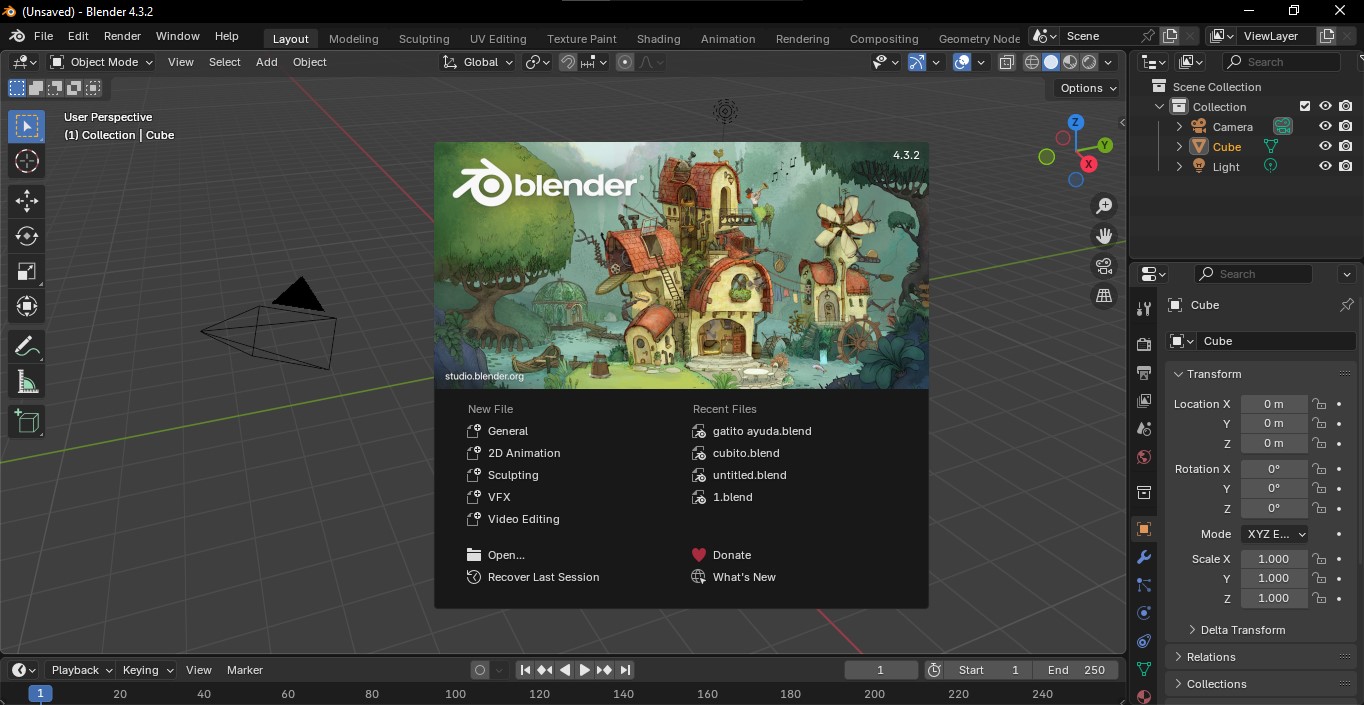
Step 2: Choose a Design
To familiarize myself with the program, I decided to recreate a sake cup.
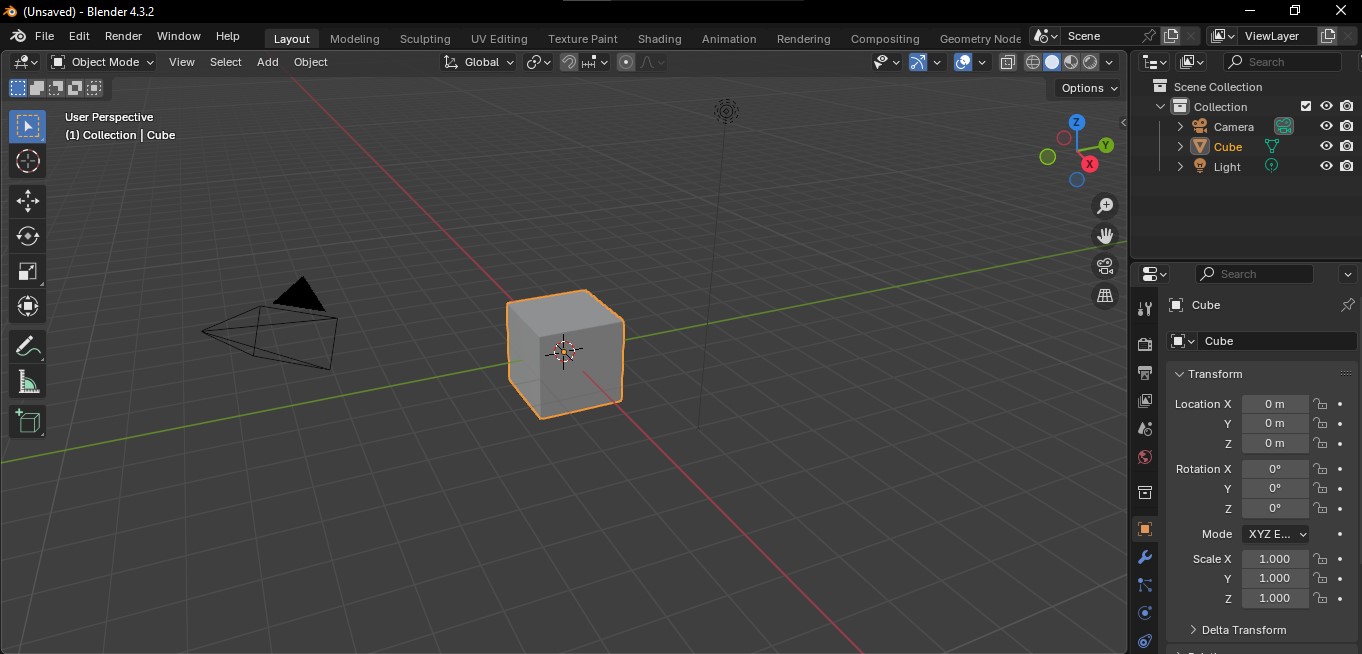
Step 3: Create the Design
I followed the guide "Blender for Parametric Modeling & 3D Printing" by Rico Kanthatham (Skylabworkshop, Japan), Adai Surinach (Fablab Barcelona, Spain), and Aristarco Cortes (Fablab Puebla, Mexico).
Blender for Parametric Modeling & 3D printing
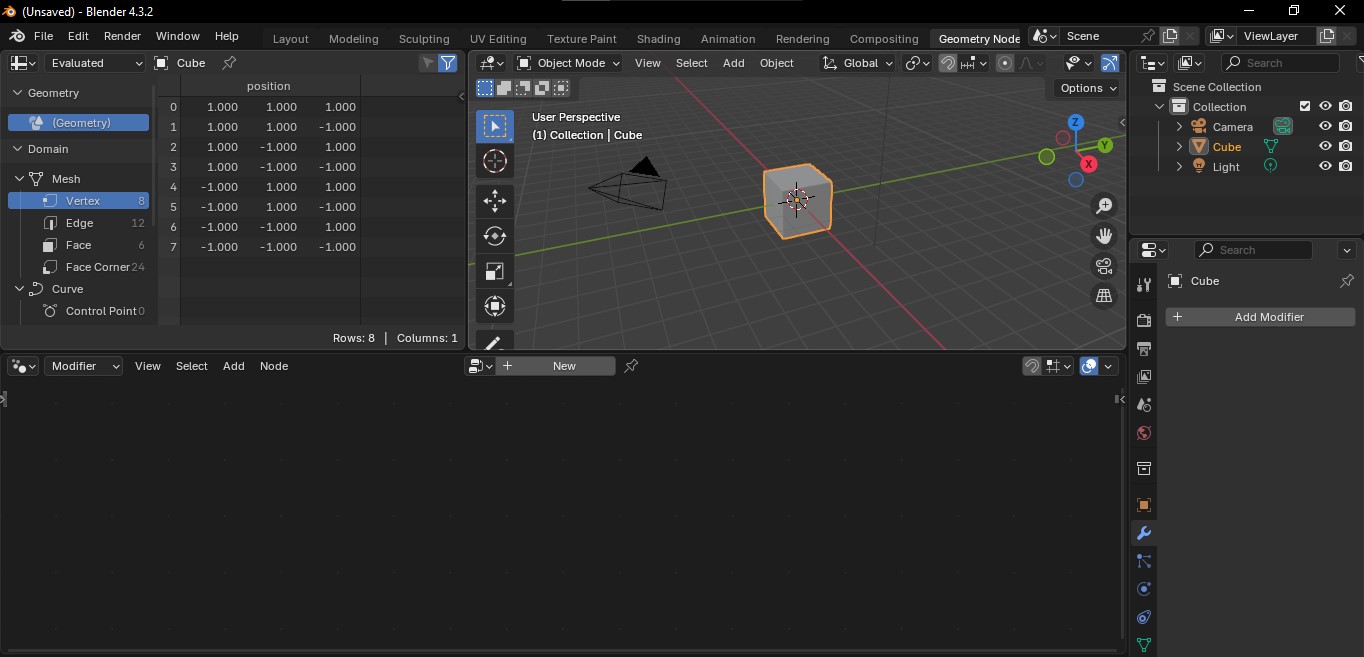
Step 4: Follow the Guide's Steps
I was impressed by how easy it was to generate images using geometry nodes. However, after completing the guide, I wondered how to add rounded corners to the cup. After some research, I discovered the Bevel tool, which allowed me to achieve the desired result effortlessly.
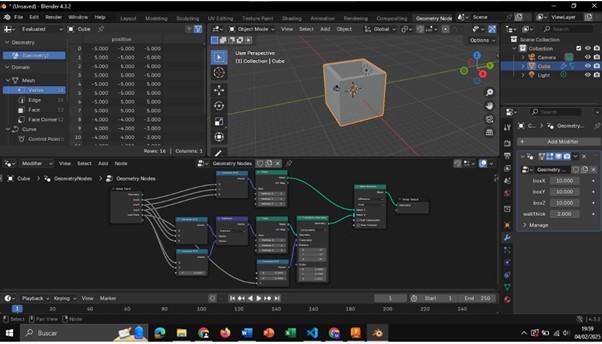
Some reflections on Blender
Blender is a highly versatile tool. It simplifies the design process, incorporates textures, and allows for image generation through geometry nodes without requiring extensive prior knowledge.
4. Makerworld
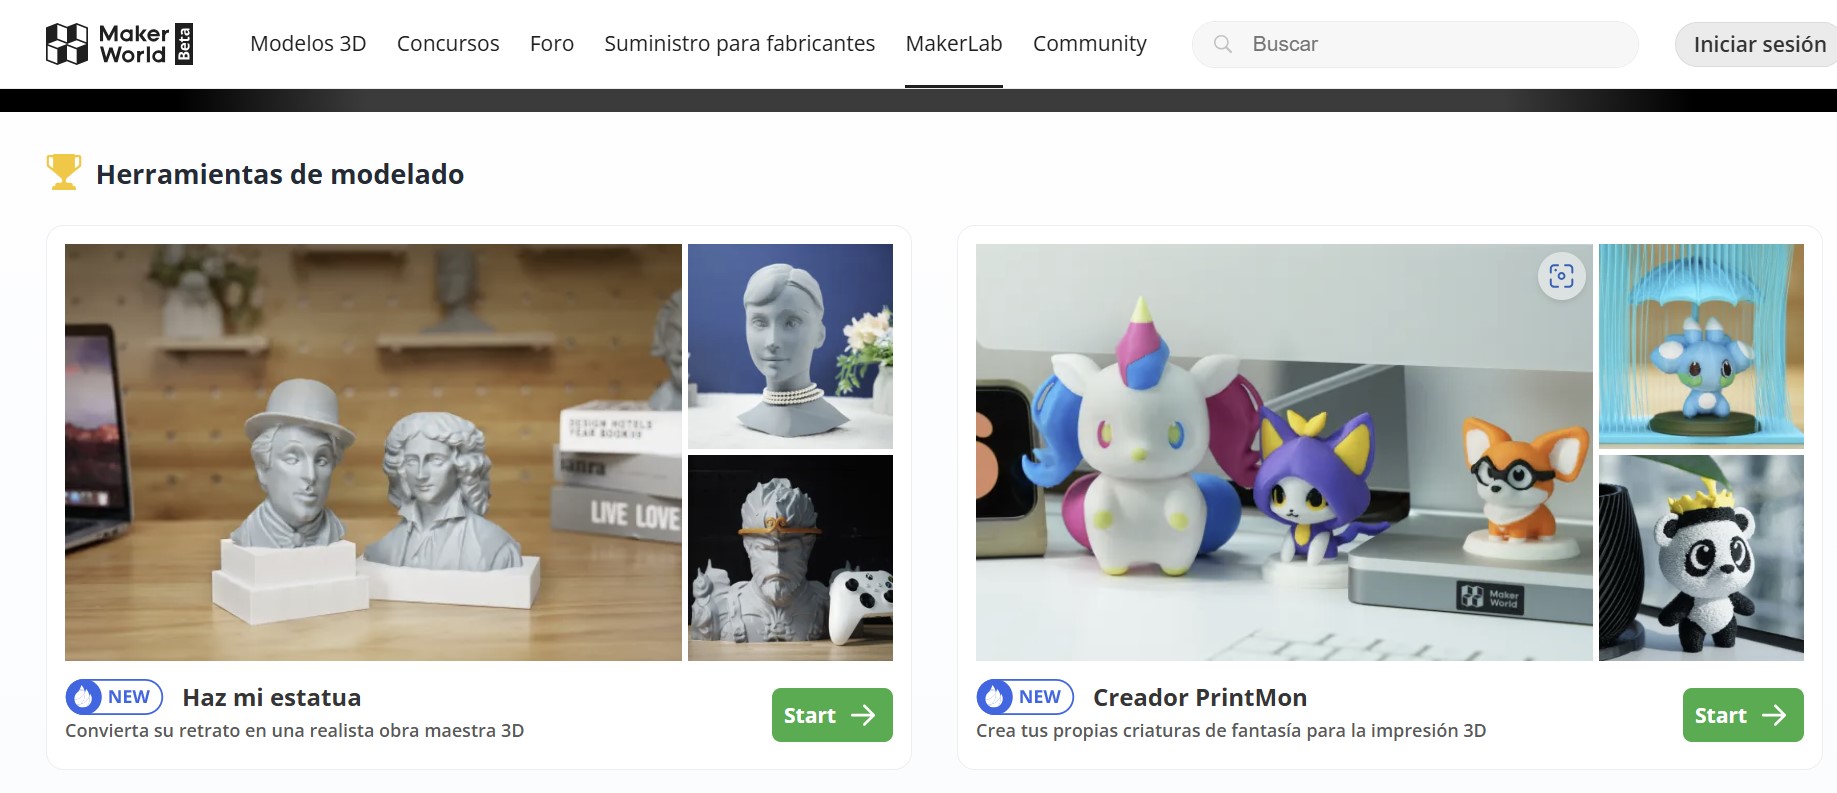
I used the online version of Makerworld, accessible here
Step 1: Try the AI Tool (PrintMon Creator)
I used the Create from Scratch option to generate a design for my chick.
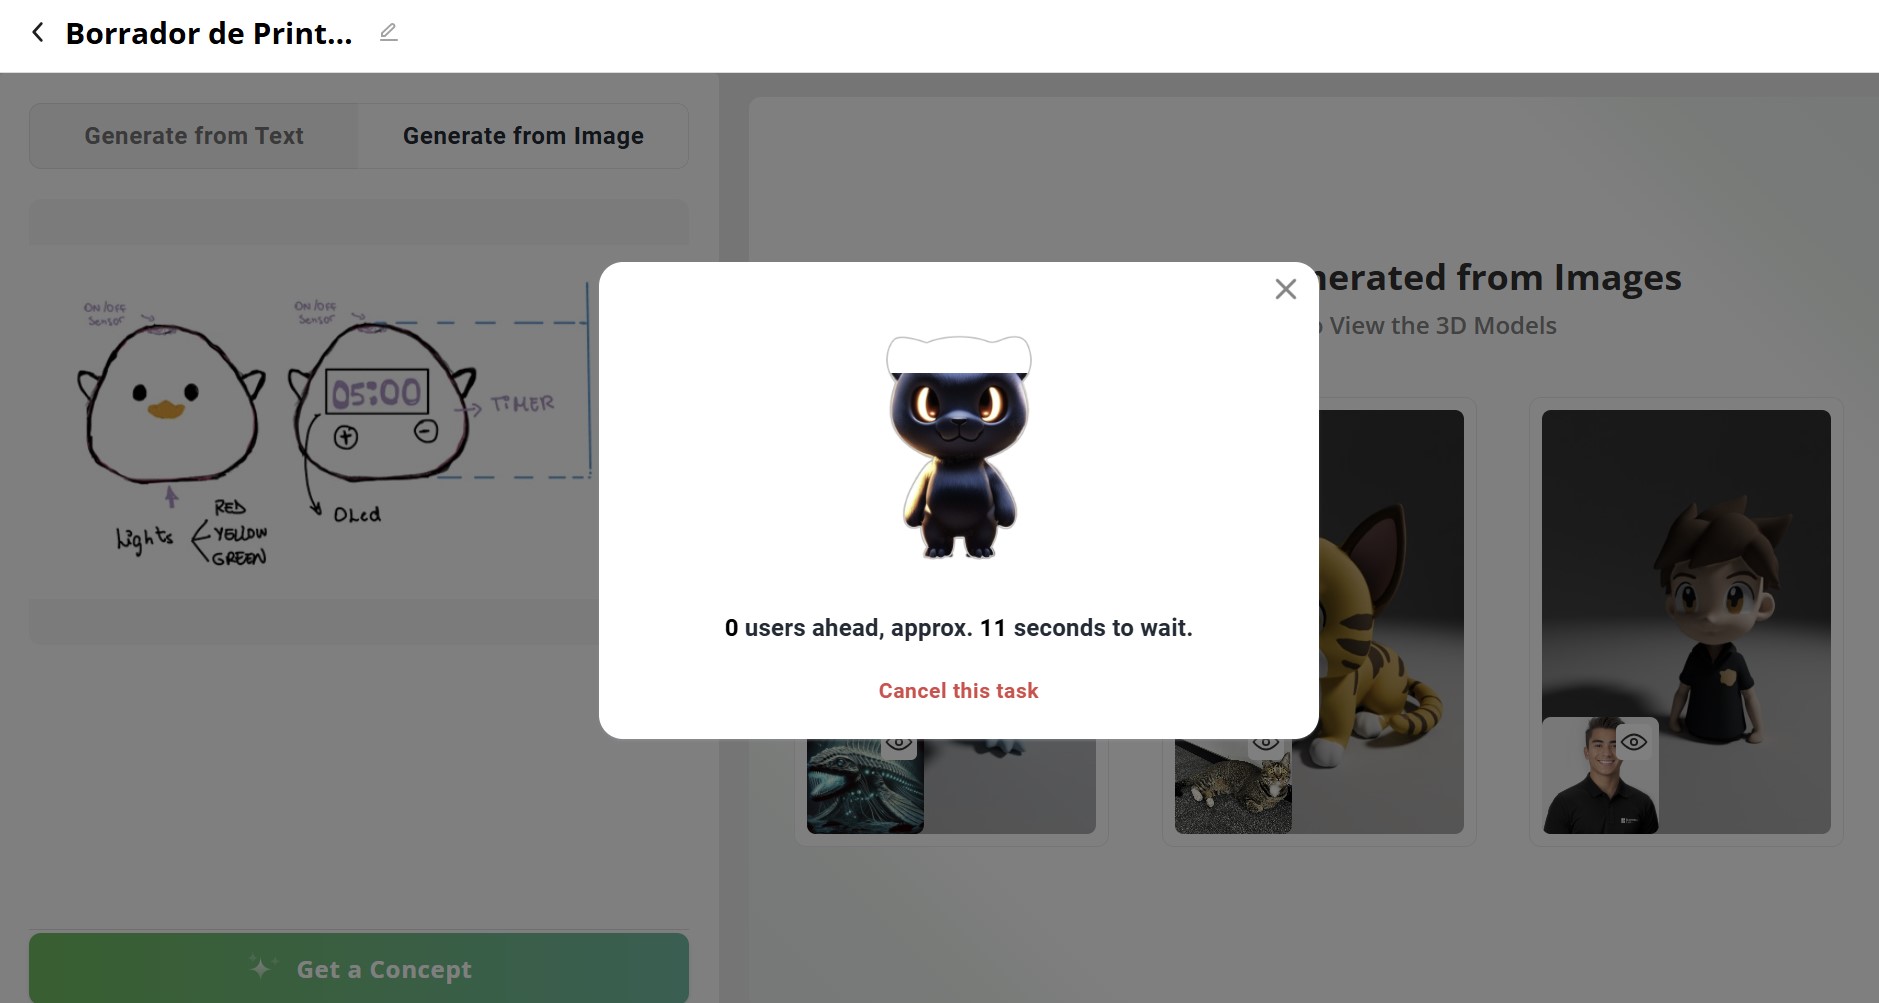
Step 2: Generate from an Image
I uploaded my sketch and clicked Create a Concept. The program took 11 seconds to generate an image.
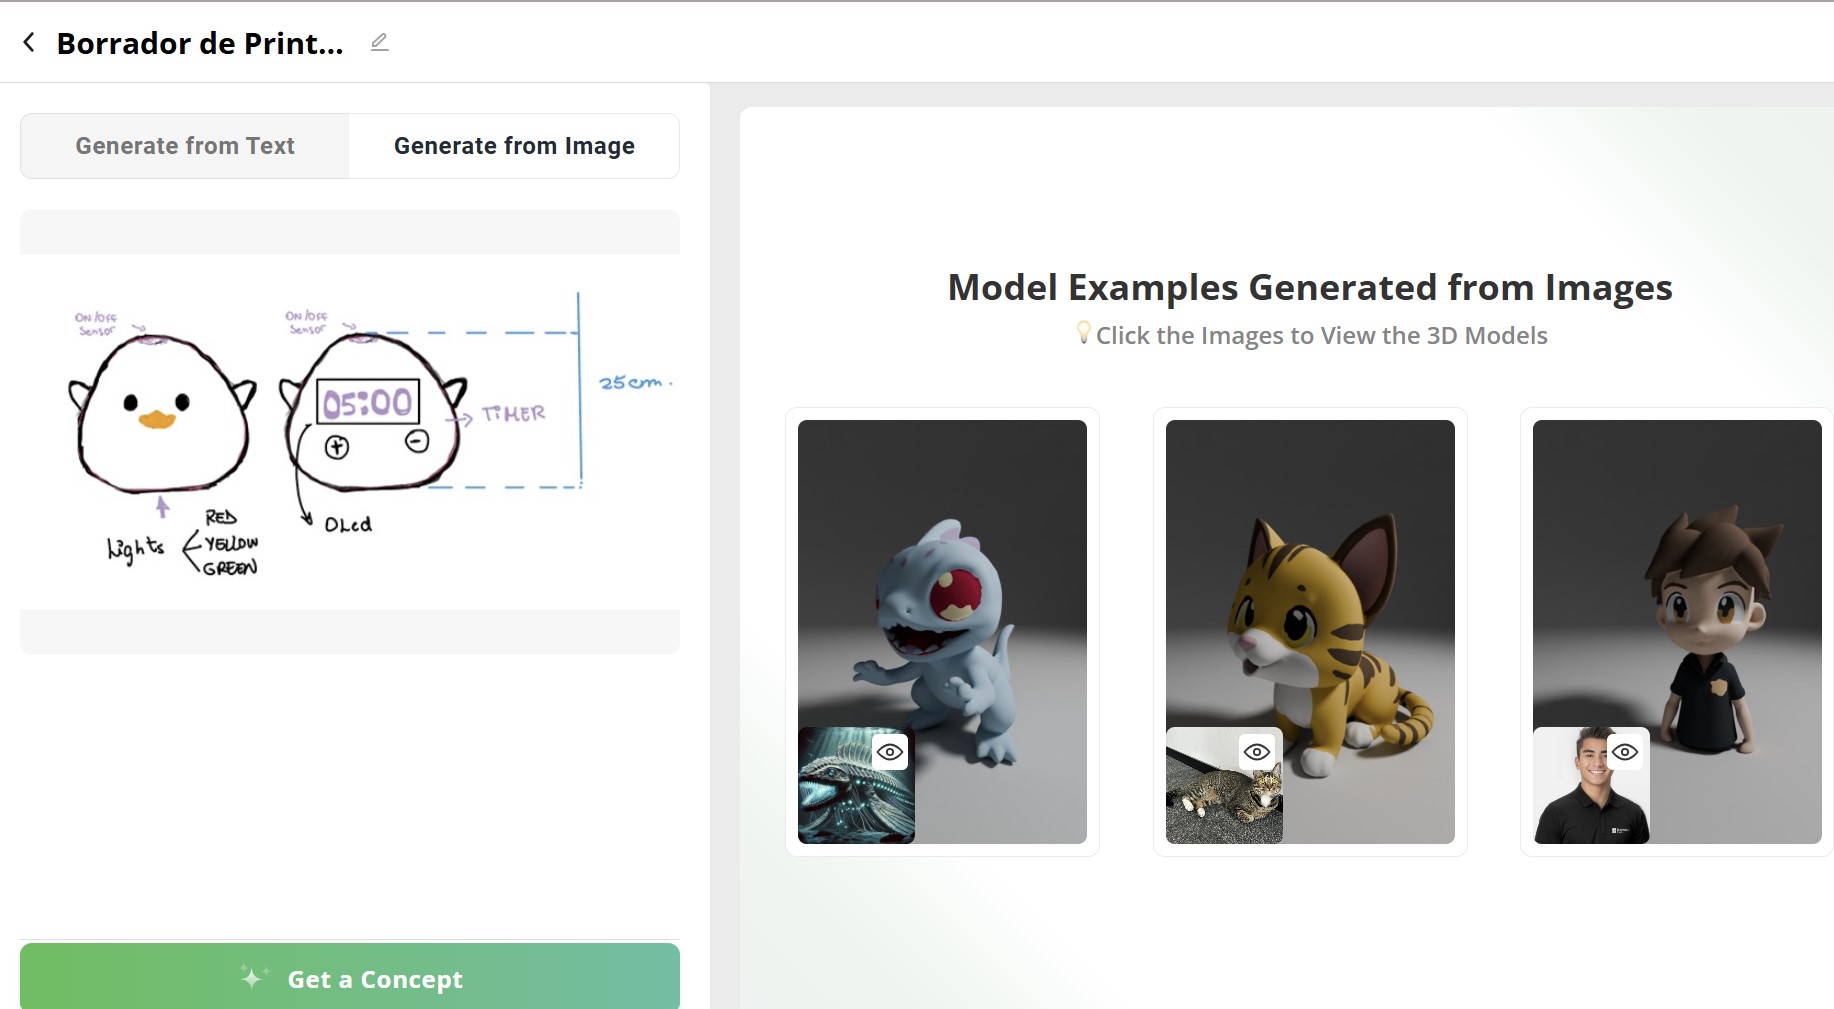
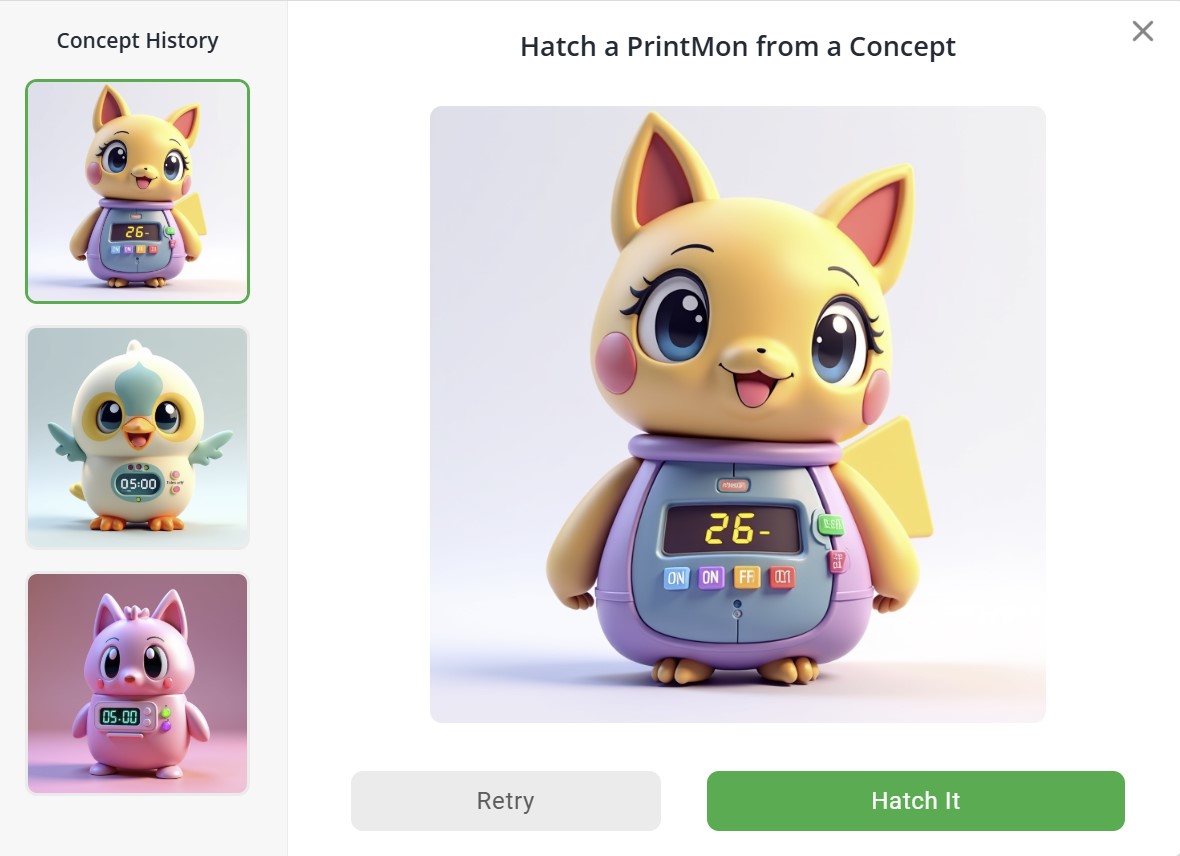
Step 3: Review the Results
The initial results didn't match my vision, so I clicked Retry. After three attempts, none of the generated images aligned with my design.
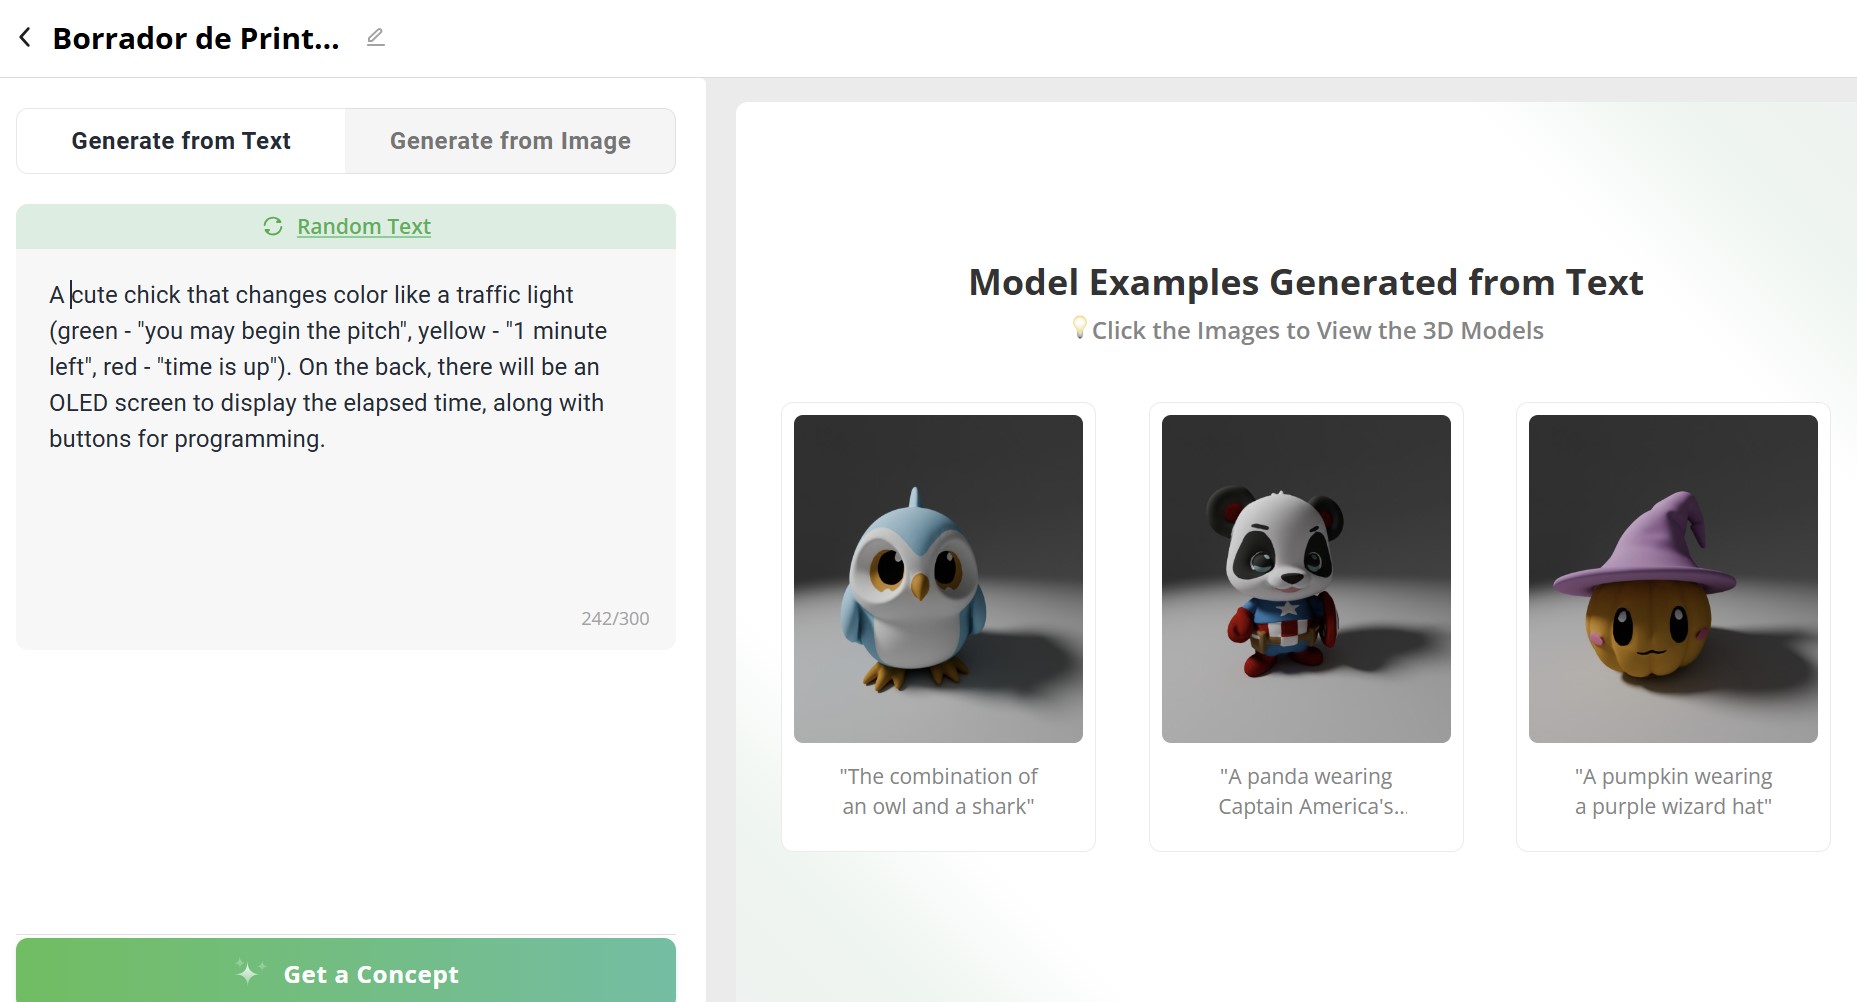
Step 4: Generate from Text
I entered a text description of my project idea. Again, the program took 11 seconds to generate an image.
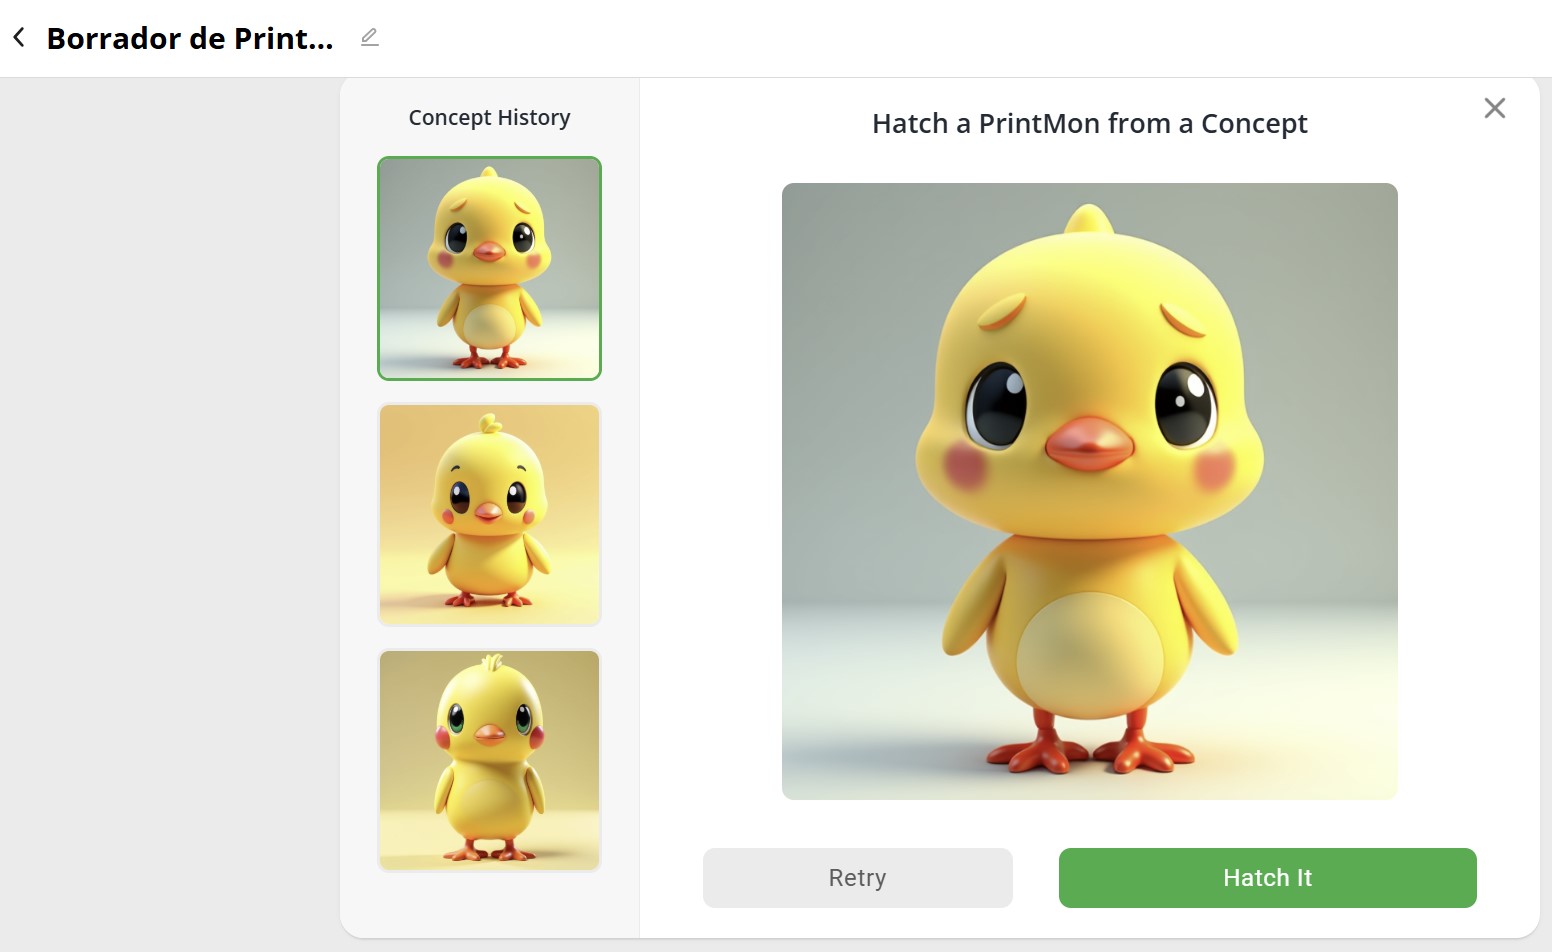
Step 5: Review the Results
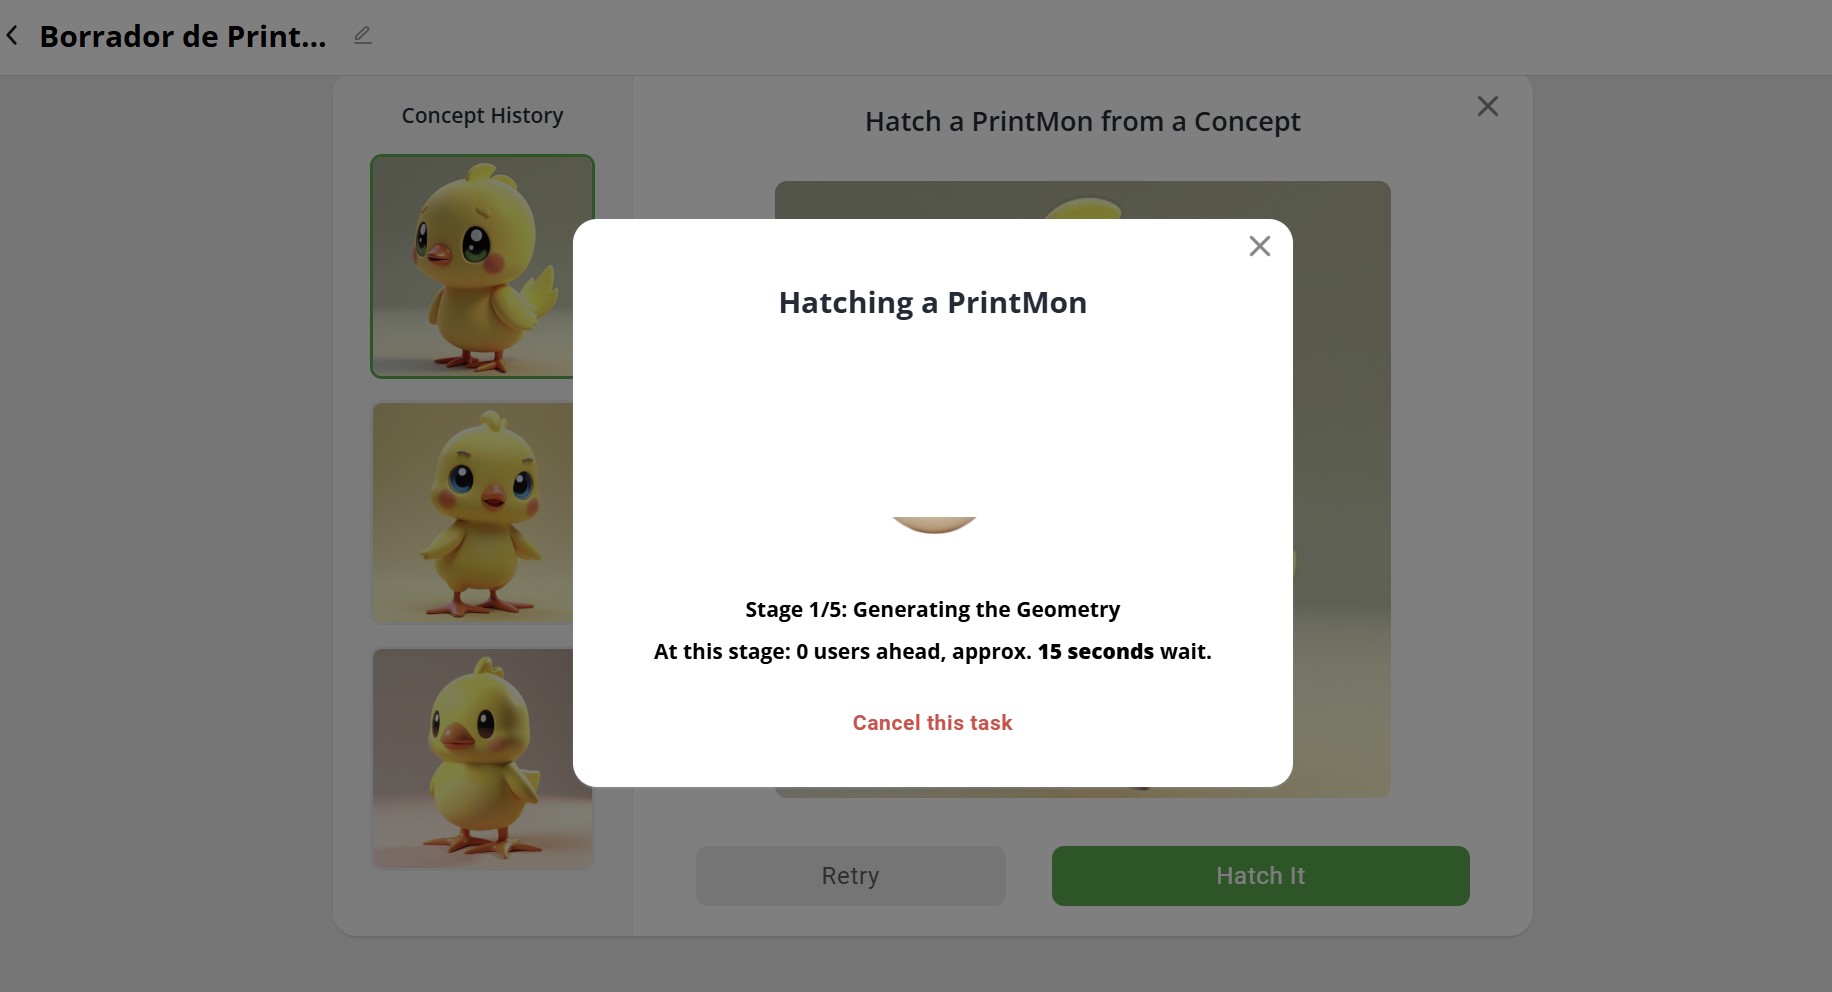
After three attempts, I had three cute chicken designs, but they still didn't match my project's requirements.
Step 6: Generate the File
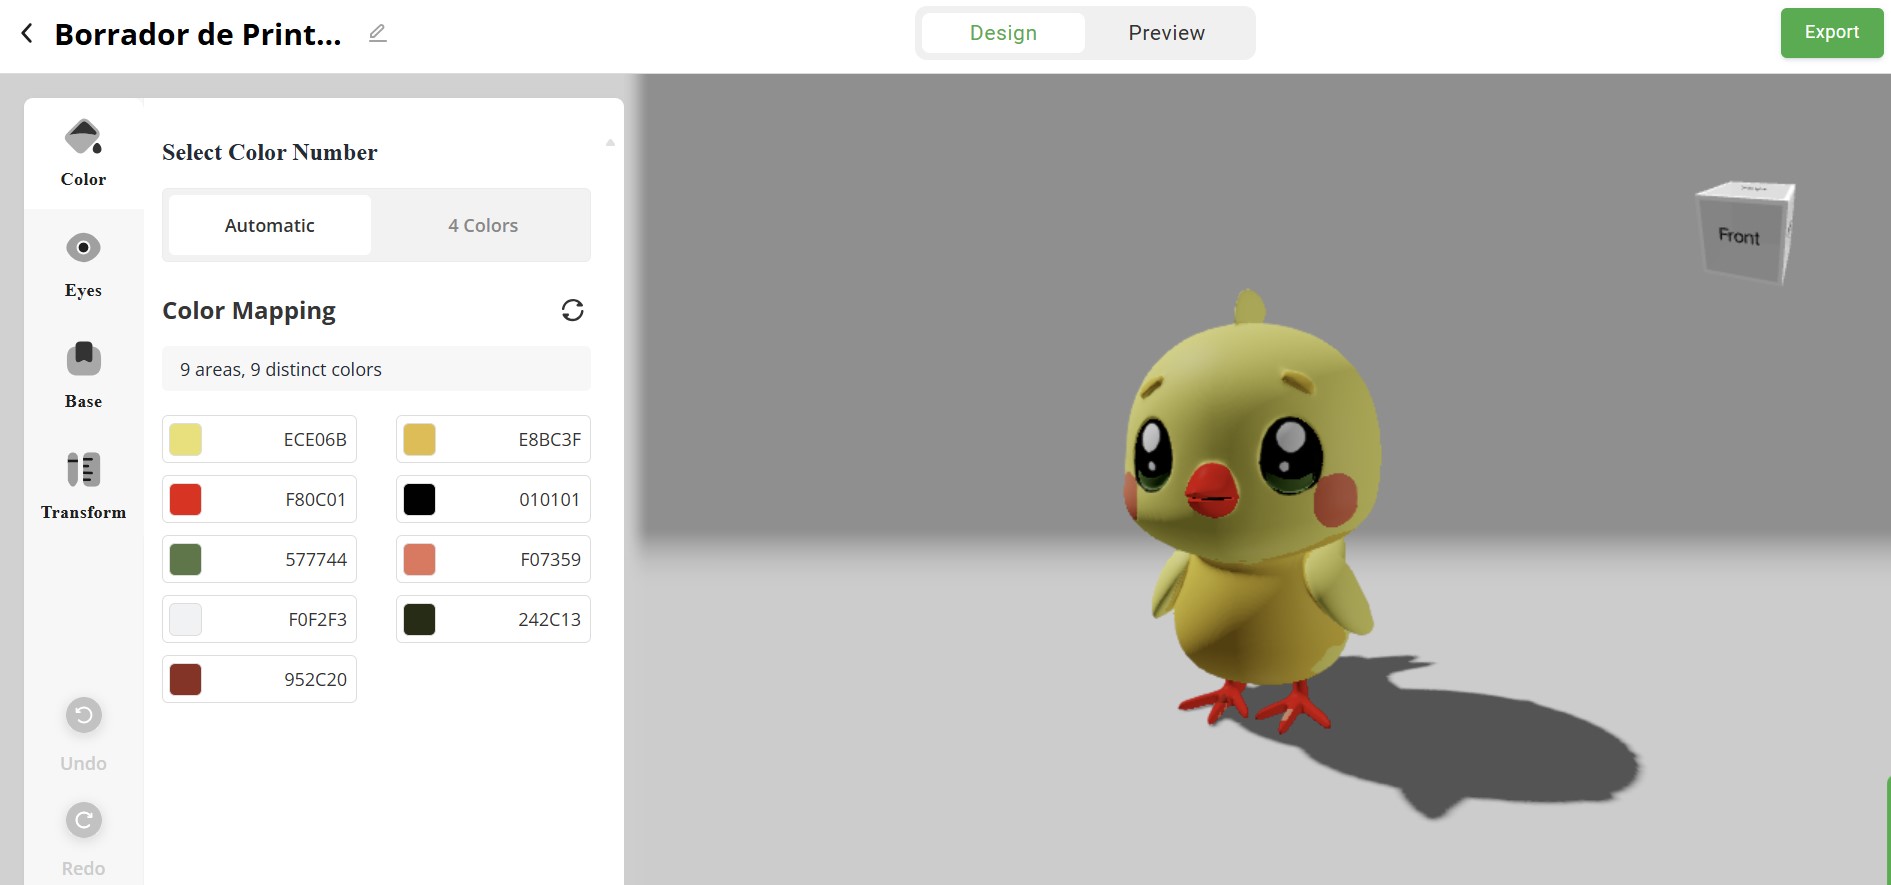
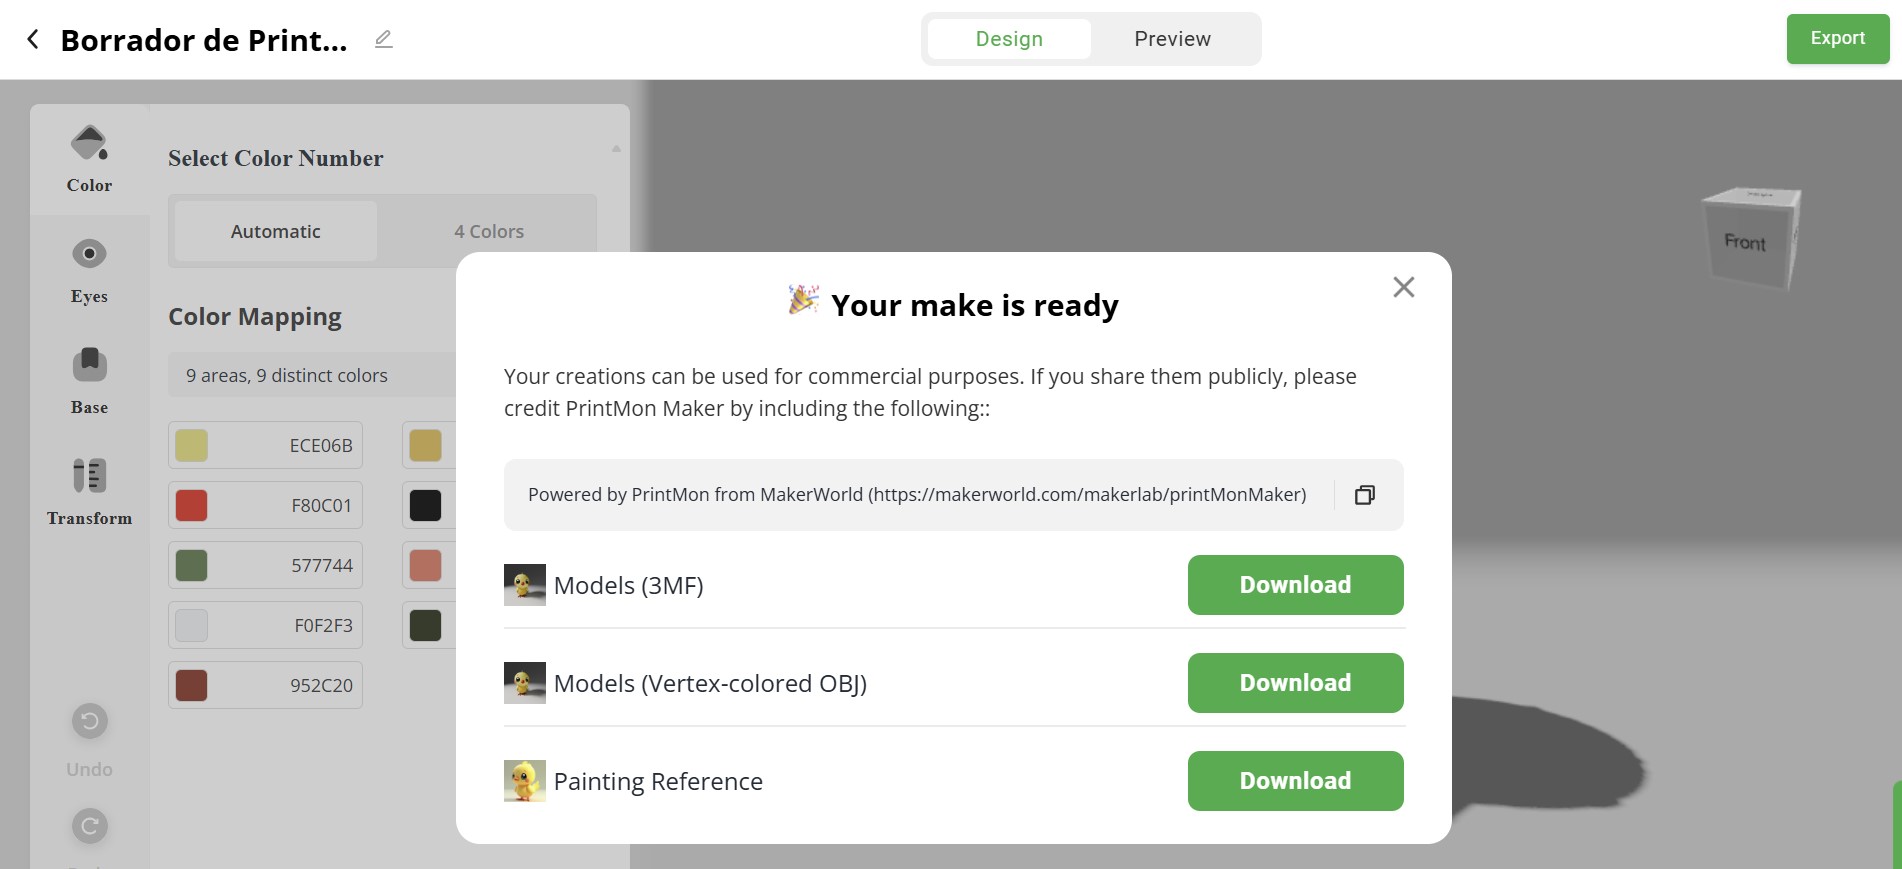
If a design matches your vision, you can click Hatch it. The file generation process takes approximately 3 minutes across five stages (Stage 1: 15 seconds. Stage 2: 20 seconds. Stage 3: 40 seconds. Stage 4: 40 seconds. Stage 5: 1.4 minutes).
Some reflections on Makerworld
I appreciate how quickly it generates designs. The drawings are high-quality. While the designs didn't meet my project's needs, I recommend this program for creating cute and simple designs.

Compress your images and videos and post a description with your design files on your class page
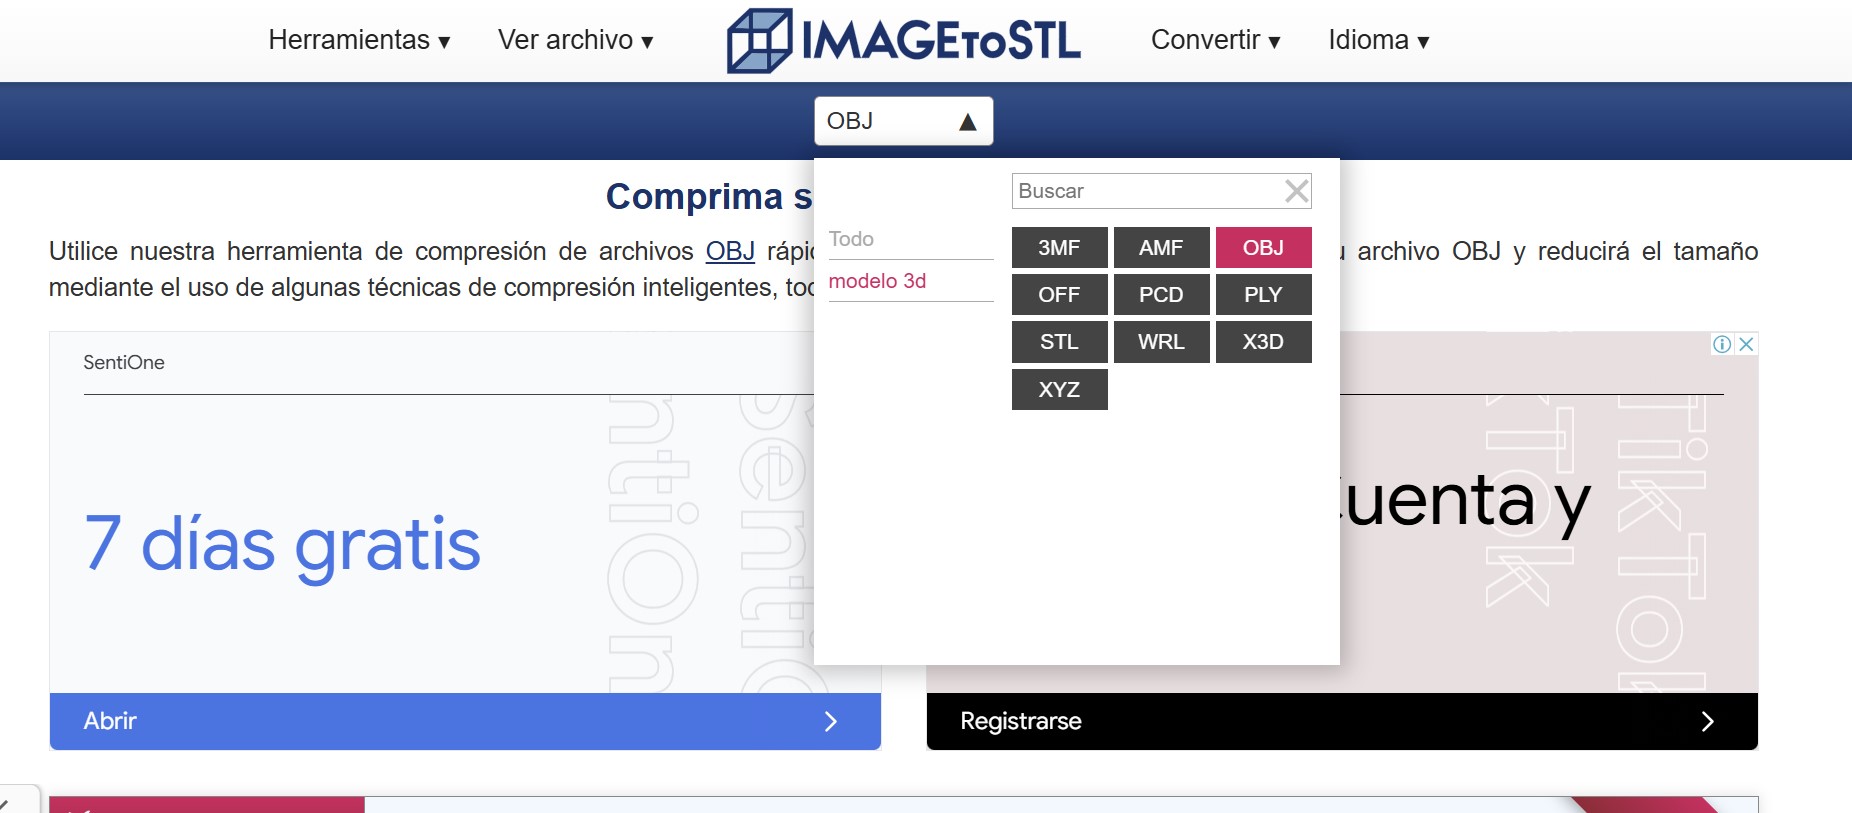
For compressing files, I used the following tools:
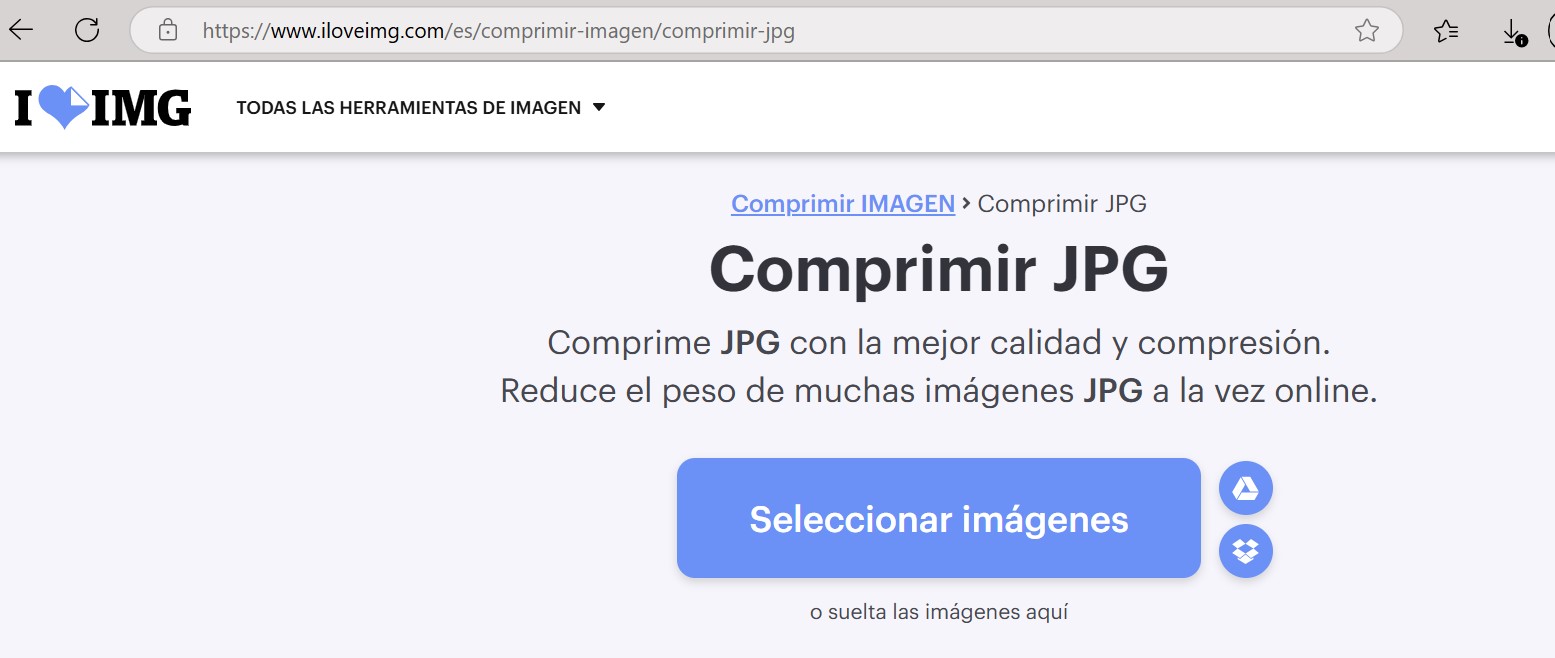
For MP4, Video files:
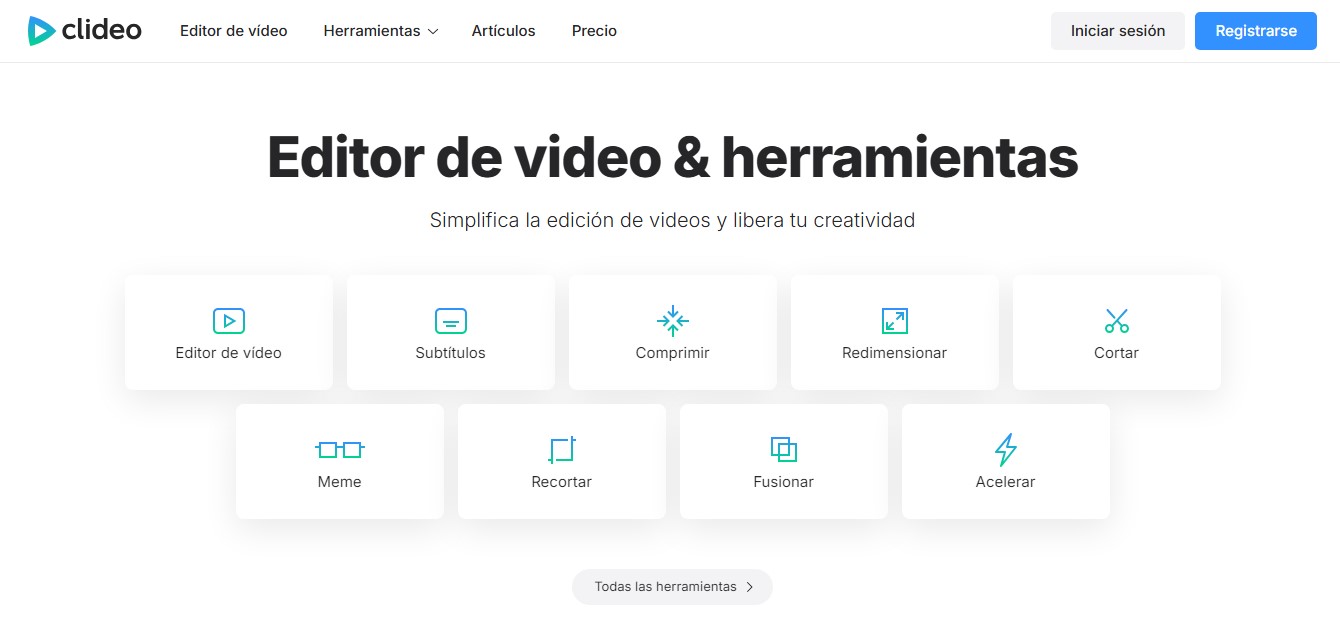
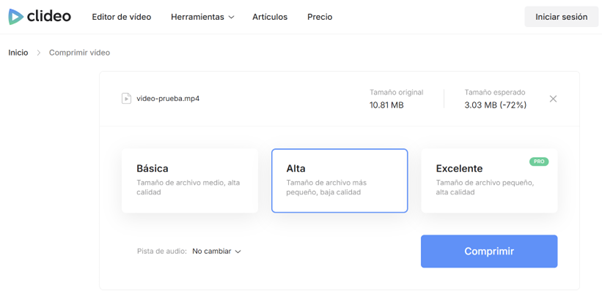
The program is very fast and intuitive. You upload the file, and it calculates de video compression based on the selected mode (basic, high and excellent (paid version)).
In the basic version, medium size but high quality, the test video I used was reduced by 35% of its original size.

In the high version, smaller size but lower quality, the same video was reduced by 72% of its original size.
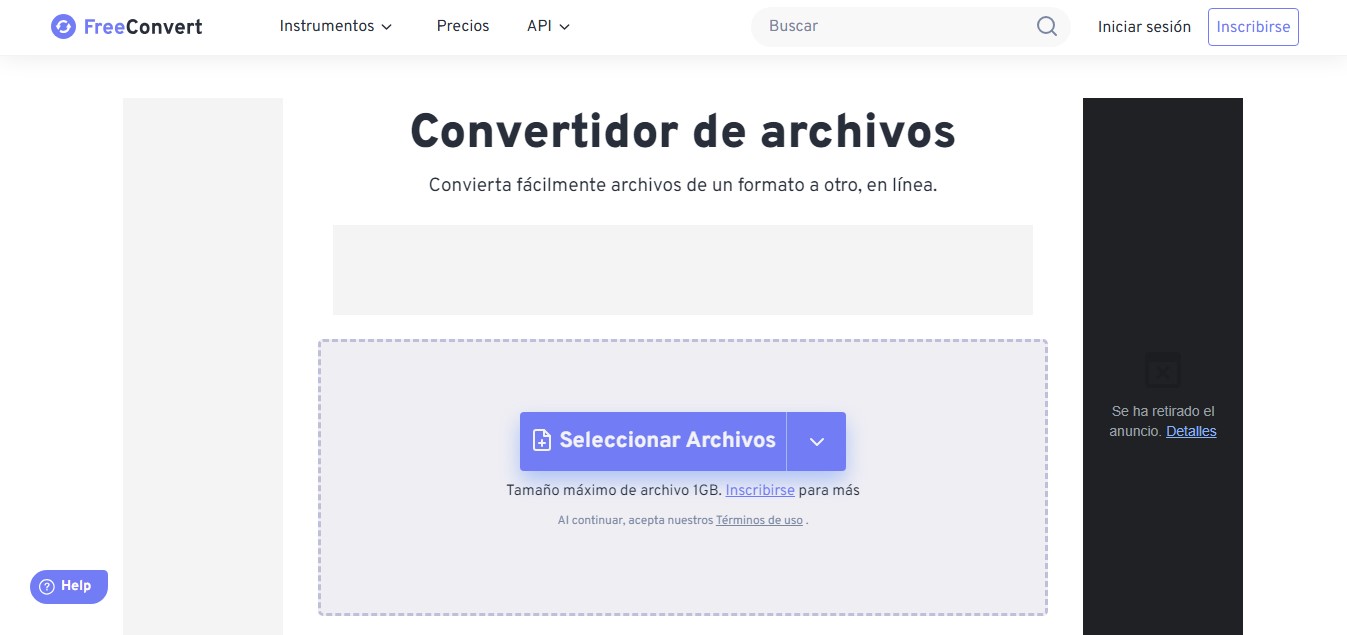
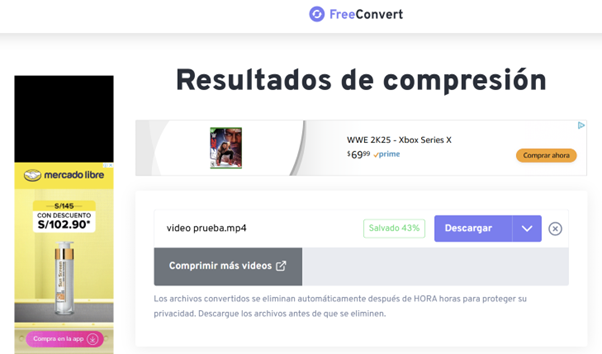
This is a fast tool. You upload the file, and it generates the compressed version. However, the advertising banners are distracting and make the program less user-friendly
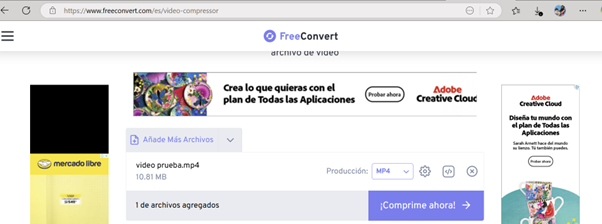
Additionally, the tool indicates that the reduction was 43% of the original size; however, when I downloaded the file and compared it to the original, the actual reduction was 47%
REFLECTIONS
New week, new challenges. I had never used a 2D or 3D design program before, and it was a rewarding experience. This week I only tried open-source tools, either free or with AI. In the case of Inkscape, I was surprised that it was open source; it's a very complete tool. Tinkercad is excellent software for people like me who are starting to model in 3D for the first time. Blender, on the other hand, was quite challenging. It's a great open-source tool, used even by professionals in the video game and film industries, so it took me longer to learn. However, there are many tutorials and a large community behind it. Finally, AI tools are new and still have many limitations; however, they make the modeling process easier.
Resources
You can download the files I used to complete this week's assignment with this link
I will continue exploring more tools. However, right now I'm inclined to using Blender for my final project's design.