W1 | Principles and Practices, Project Management
📝 Assignment Overview:
- Principles and Practices (1/2)
- Plan and sketch a potential final project
- Project Management (2/2)
- Student Agreement.
- Learning GIT.
- Build my personal website.
- Upload parts 1 and 2.
Principles and Practices
1. Plan and sketch a potential final project.
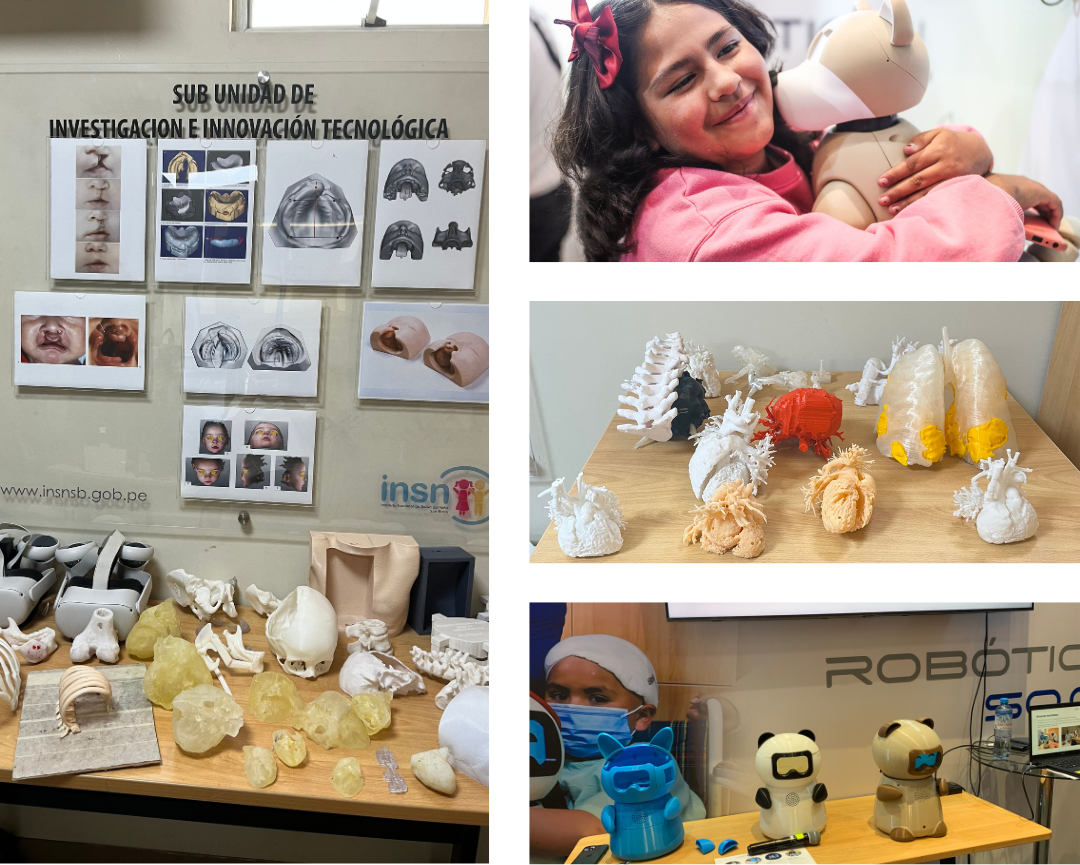
During my last year of university, I completed an internship at the Research, Technology, and Teaching Development Unit at the National Institute of Child Health in San Borja, Lima, Peru. This unit focuses on developing innovative projects that combine technology and healthcare to improve pediatric patient care through interactive devices, digital solutions, and applied research. During my internship, I explored projects involving 3D printing, augmented reality, social robotics, and artificial intelligence— all aimed at making the hospital experience for children a little kinder, a little easier… and more human. One area that especially caught my attention was social robotics. These small robots were not just devices; they were companions ❤️. They supported children during treatments, helping them feel less alone, and in many cases became a small friend — someone they could trust. What truly moved me was seeing how naturally children opened up to them. Because expressing how we feel is not always easy — even for adults.
First idea
This experience reminded me of something very personal. My younger cousin was diagnosed with ADHD, and learning to regulate his emotions was a challenge — for him and for our whole family 👪. With professional support and time, he improved. However, I know this is not the reality for many children in Peru 🇵🇪, where access to psychological care can be limited. At home, we tried to reinforce therapy exercises, but it was not always easy. Sometimes, even trying to do these activities with us was difficult for him. And that is when I remembered my internship experience… and asked myself: what if he had a small companion to help him understand and regulate what he was feeling? 🤔 At first, I imagined a robot capable of recognizing emotions through facial expressions. But as I researched, I realized how complex this idea was and the responsibility of designing for children with specific diagnoses.
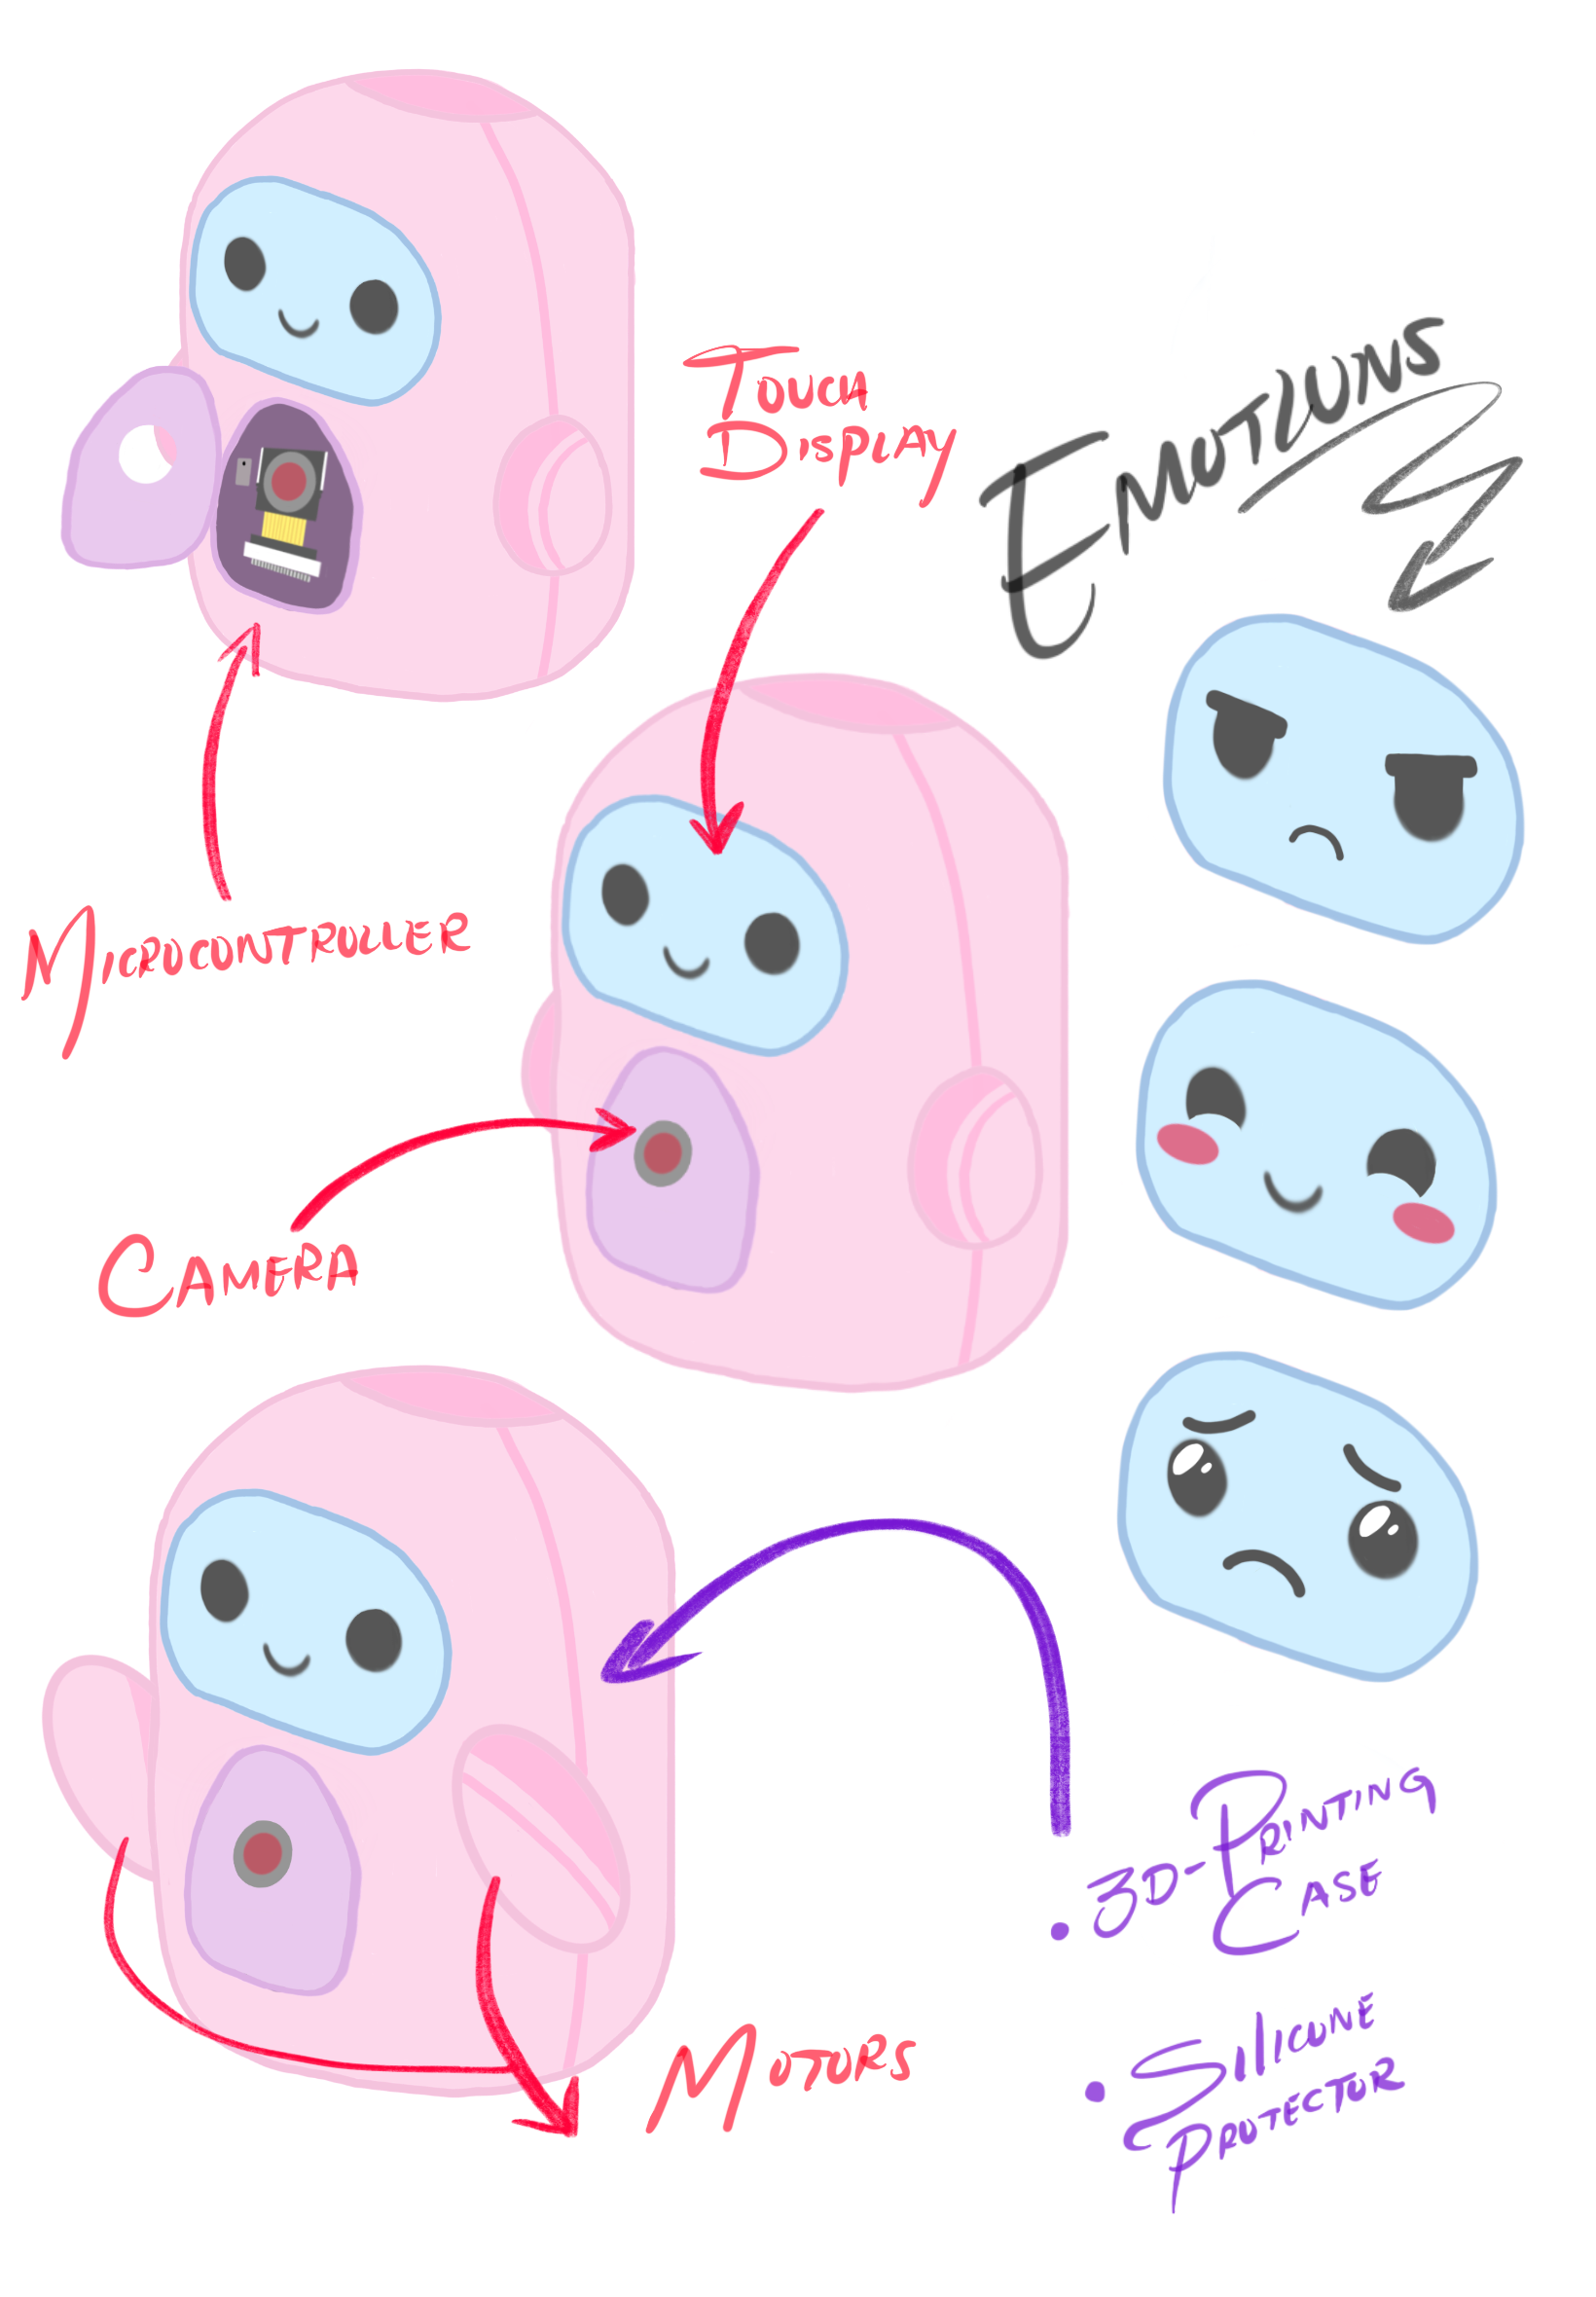
So, I took a step back and reframed the project. Instead of focusing on diagnoses, I focused on universal emotions such as happiness 😊, sadness 😢, and especially anger 😠—an emotion even adults struggle to manage… so imagine how challenging it can be for children. This is how my project took shape: a small panda-shaped robot 🐼 designed as a little robot friend for emotional support. Through simple and playful interactions, it helps children recognize, express, and manage their emotions in a safe and calming way. Its approach draws from play therapy, emotional regulation techniques, somatic awareness, and behavioral responses, gently guiding the child.
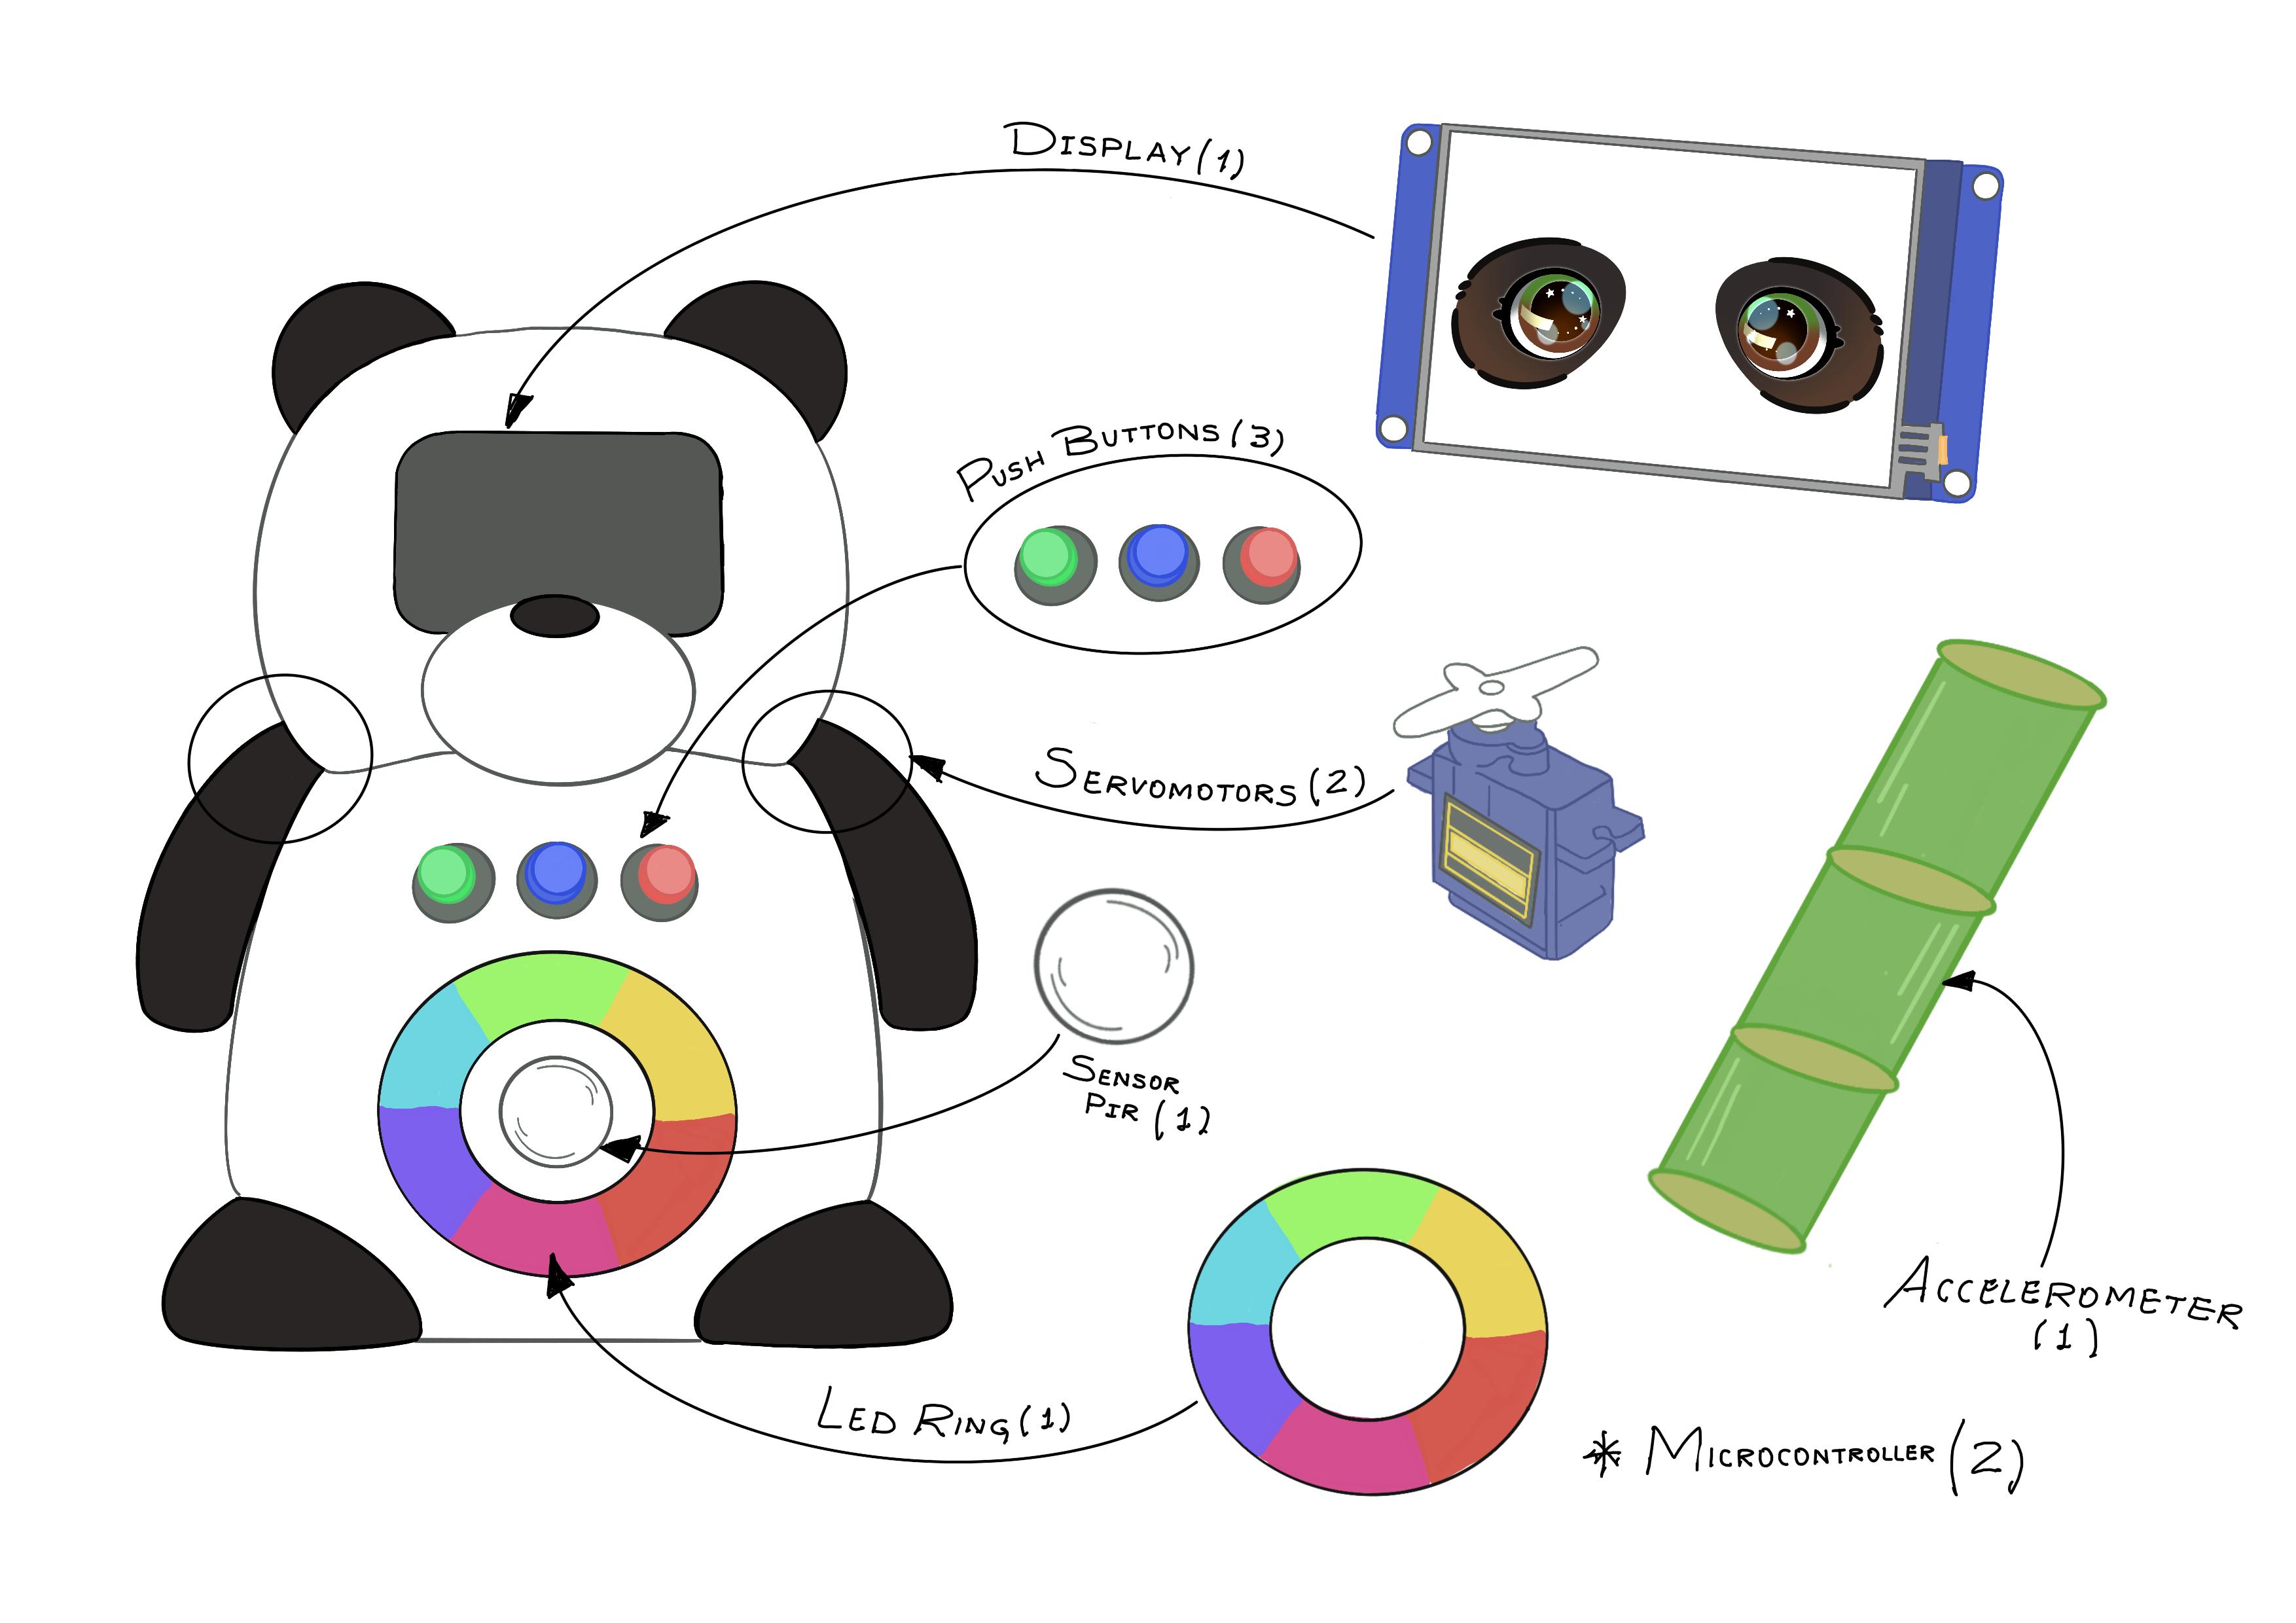
Final Project Sketch
Project Management
2. Learning GIT
When I first started using Git, it was something new for me 💻, and little by little I began to understand how it helps keep everything organized and track the progress of my work.
As I continue documenting my project, I’ve been learning to balance keeping things clear and well organized with making sure everything works properly in Git.
I keep building and documenting my page as I go, learning and improving along the way.
In the next section, I’ll walk through how I set up Git and the steps I follow to get everything running.
To set it up, I followed this tutorial:
GIT tutorial
Setting Up Git: My Steps
- Installing GIT I started by downloading the latest version in the following link. [Download Git] I decided to install it using the recommended default settings. Once the installation was complete, I noticed that Git Bash was included.
- Setting Up My Git Username and Email After installing Git, I added my username and configured my email address to ensure my commits were properly linked to my account. To do this, I ran the following commands in Git Bash:
- This is the example:
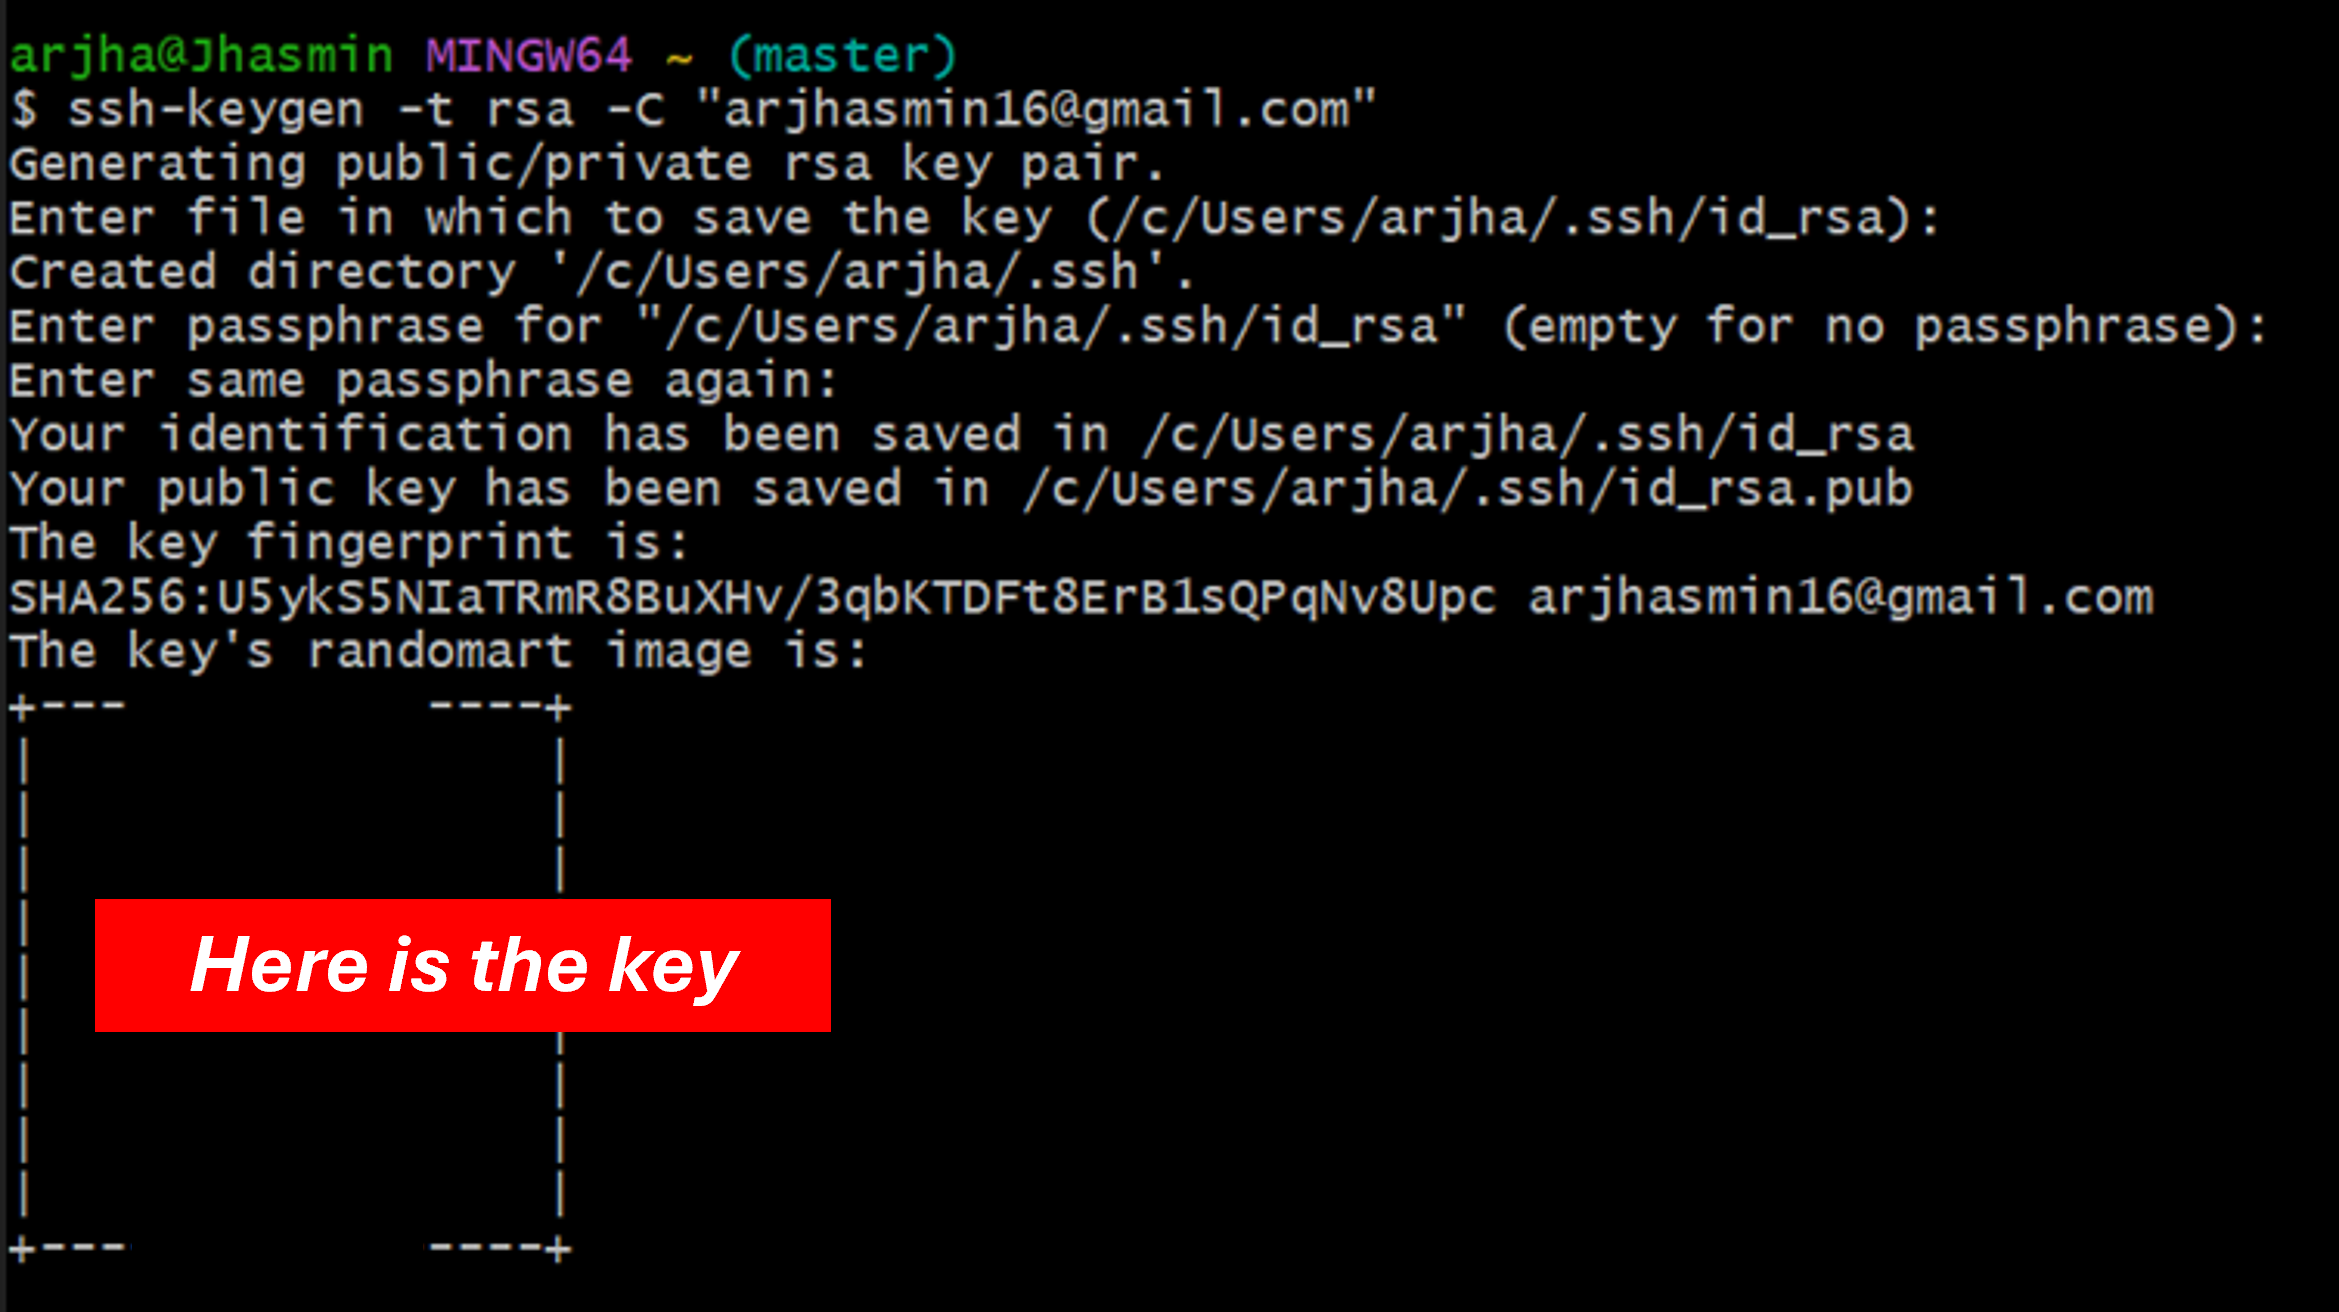
- Generating My First SSH Key Since I was new to Git and didn't have an existing SSH key, I had to create one. This key allows my computer to securely communicate with GitLab without needing to enter my password every time. To generate it, I used:
- This is the example:
- Copying My SSH Key and Adding It to GitLab Now that my SSH key was generated, I needed to copy the public key and add it to GitLab. I used:
- This is the example:
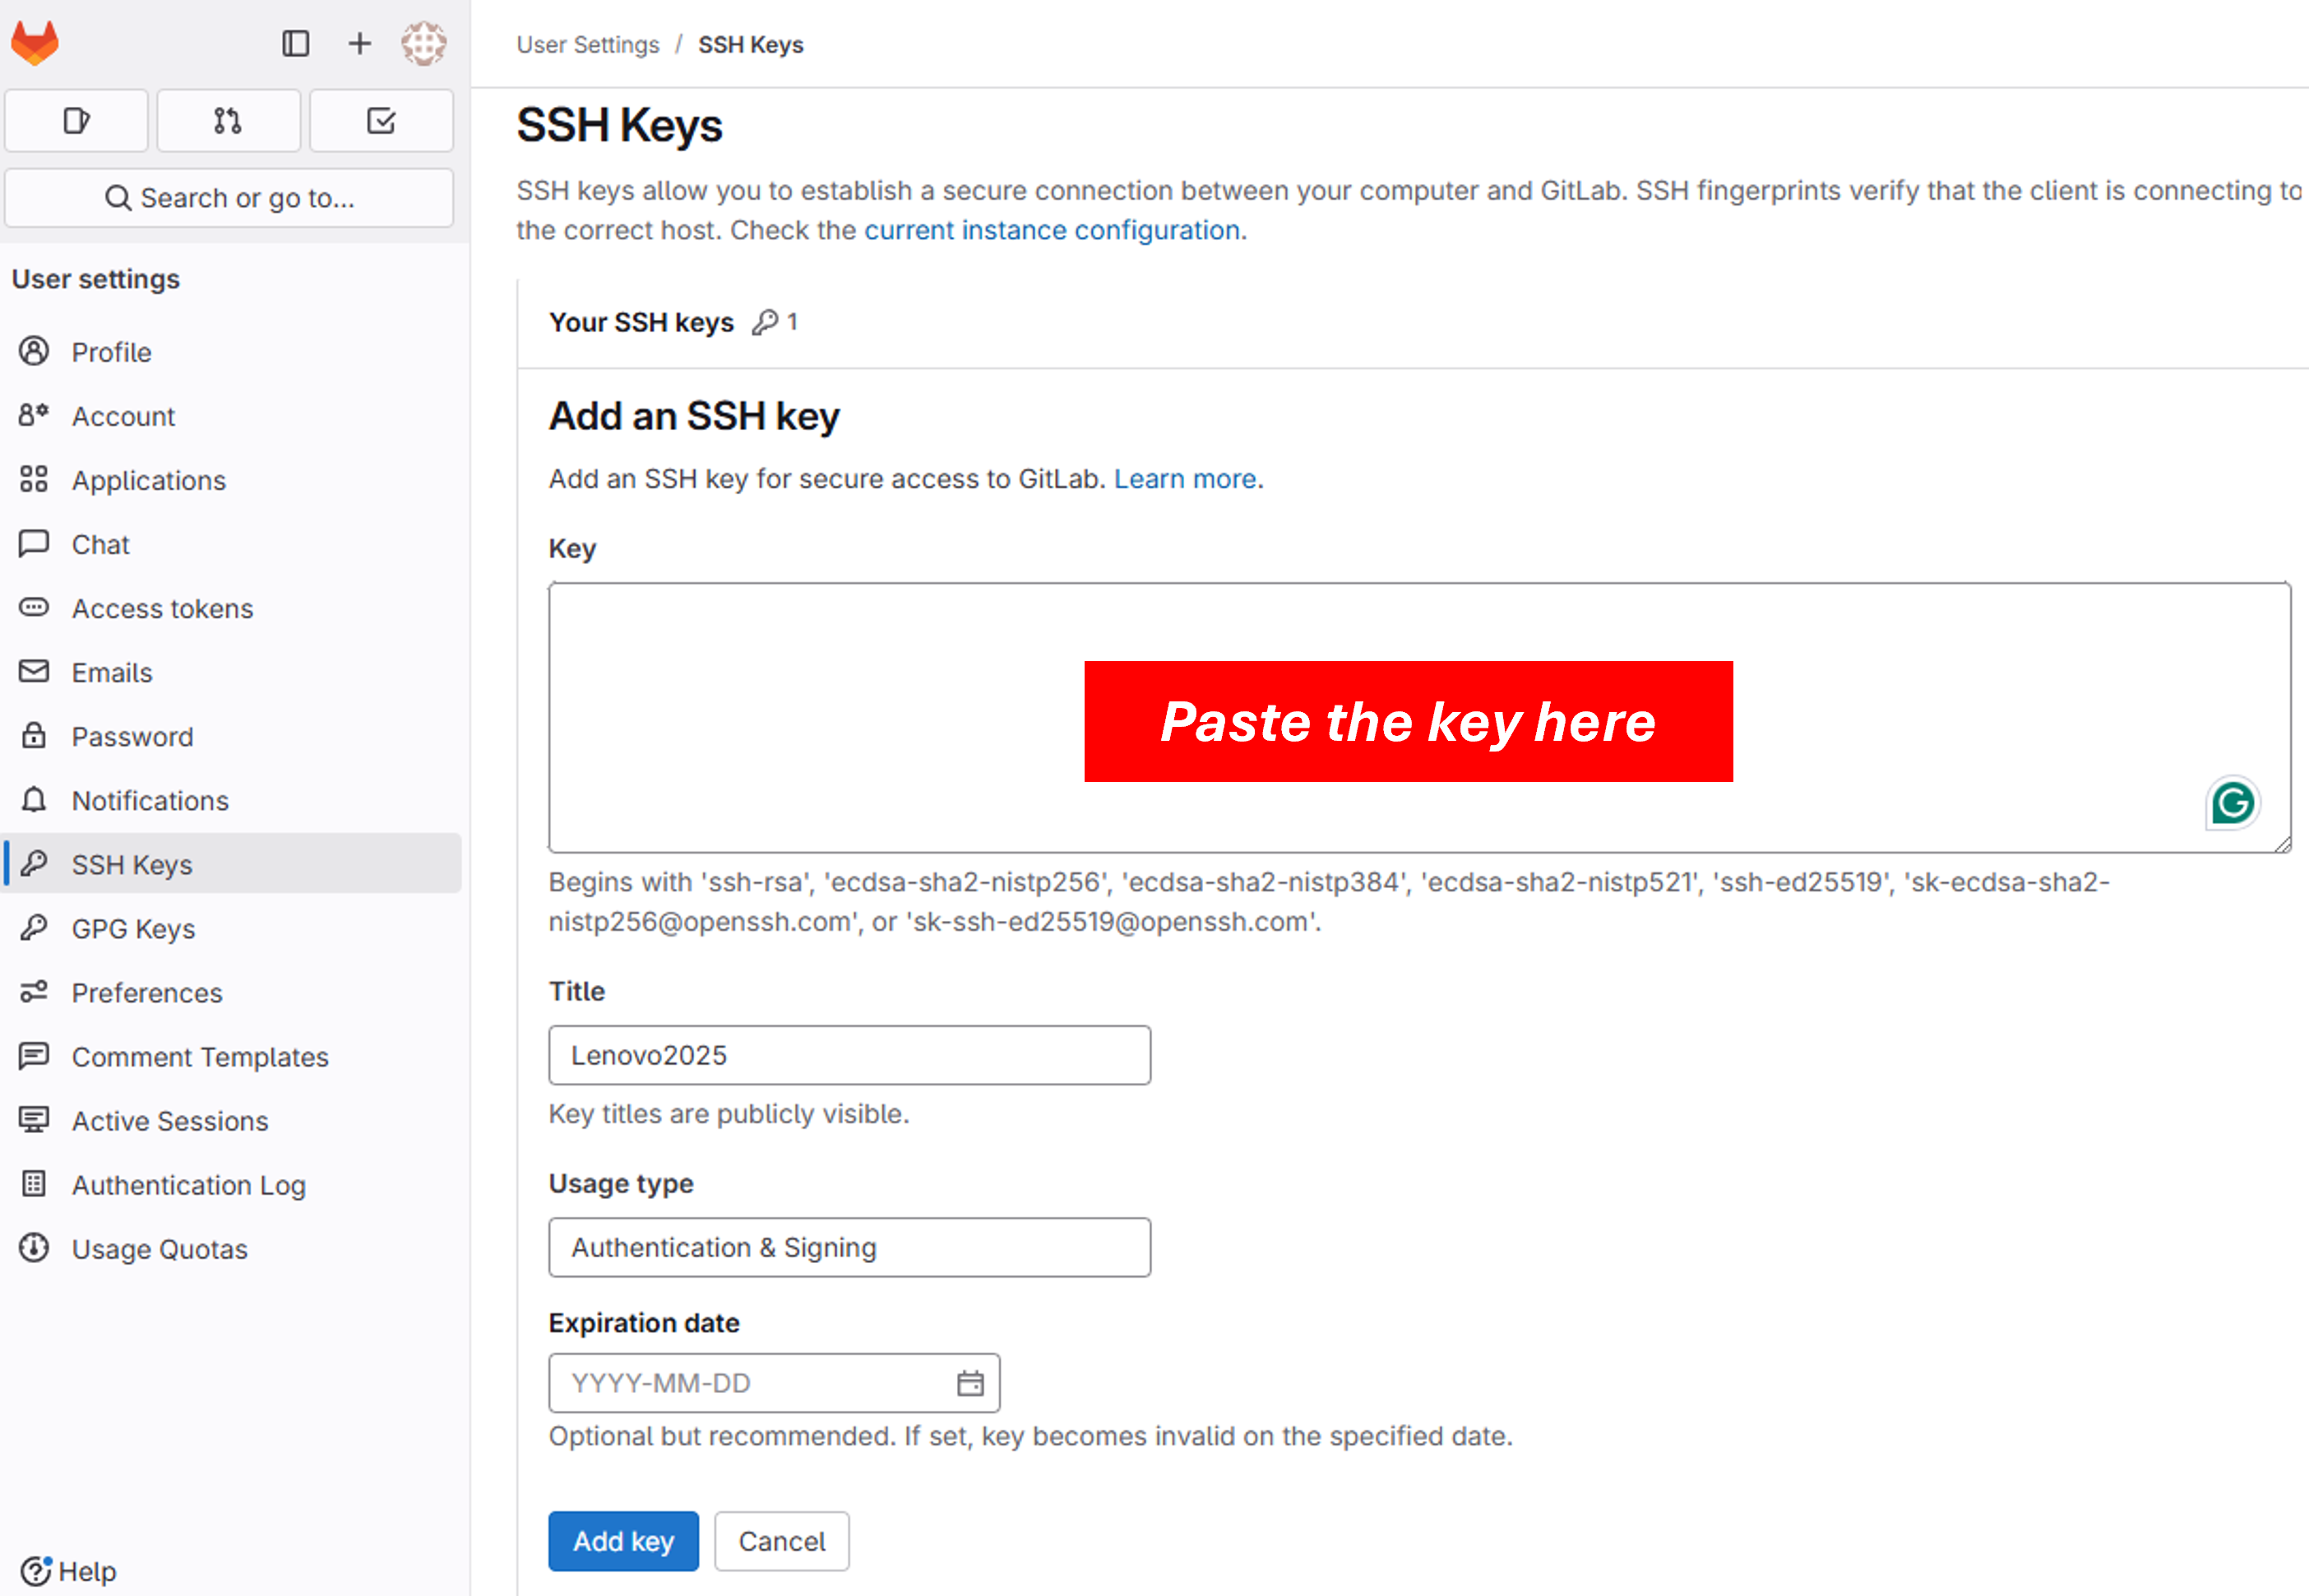
- Open GitLab and go to Settings > SSH Keys.
- Click on
🖰 Add an SSH key - Paste the SSH key that I copied
- Click
🖰 Add a keyto save it. - This is the example:
- This is the example:
💡 Note: Git allows me to clone the GitLab repository to my computer to work locally and easily upload my changes to keep everything up to date.
$ git config --global user.name "Jhasmin Ayala"
$ git config --global user.email "arjhasmin16@gmail.com"

💡 Note: SSH keys are personal and should never be shared!
$ ssh-keygen -t rsa -C "arjhasmin16@gmail.com"
$ clip <~/.ssh/id_rsa.pub

Then, I followed these steps to add it to GitLab:
As the title of the key I put the name of my laptop
Once the key is added, you can see it listed at the bottom of the SSH Keys section in GitLab.
This confirms that the key has been successfully registered! 😁
3. Build my personal website
As part of setting up my personal GitLab page, I followed these steps to download and configure an HTML template, clone my repository, and integrate everything into Visual Studio Code using the GitLab Workflow extension. Here's how I did it!
Setting Up My Personal Website with an HTML Template
- Downloading an HTML Template I started by downloading an HTML template that I wanted to use for my page.
- I searched for a free HTML template online.
- After finding one I liked, I downloaded the ZIP file to my computer. Here is the link where you can find the template HTML5UP.NET
- I extracted the contents of the ZIP into a temporary folder.
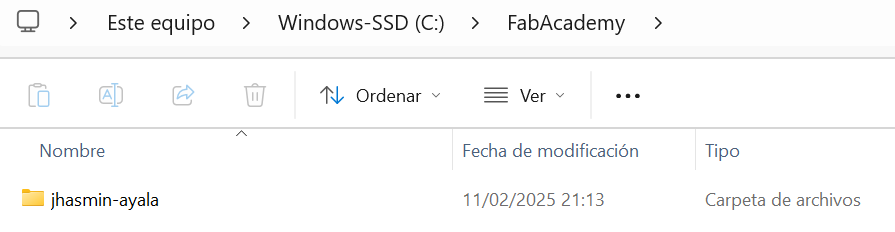
- Creating a Folder for My Project Before cloning the repository, I created a folder on my
- I opened File Explorer and created a folder named FabAcademy in
📁 C: drive - Then, I opened Git Bash and navigated to that folder using the following command:
- This is the example:
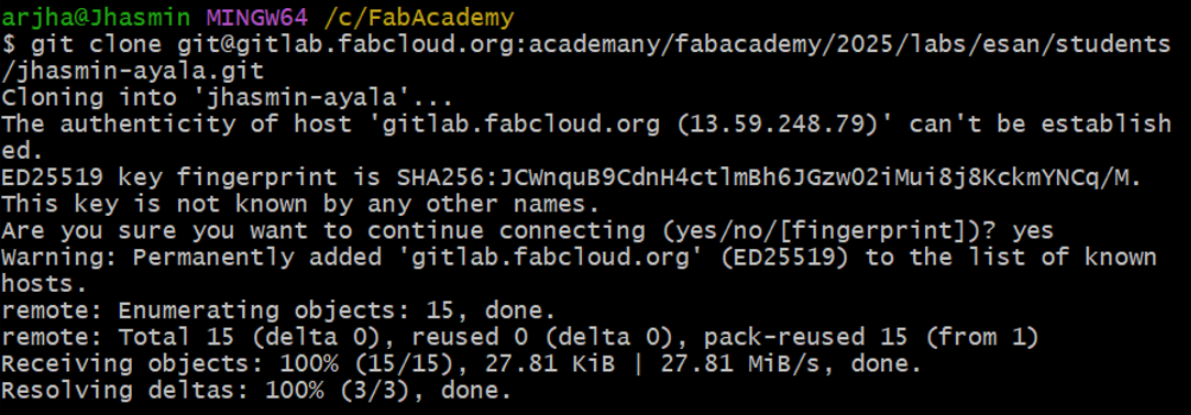
- Cloning My GitLab Repository After creating the folder and navigating to it, I cloned my GitLab repository.
- With Git Bash open in
📁 C:/FabAcademy, I executed the following command to clone my repository: - This is the example:
- I verified that the repository folder was created inside
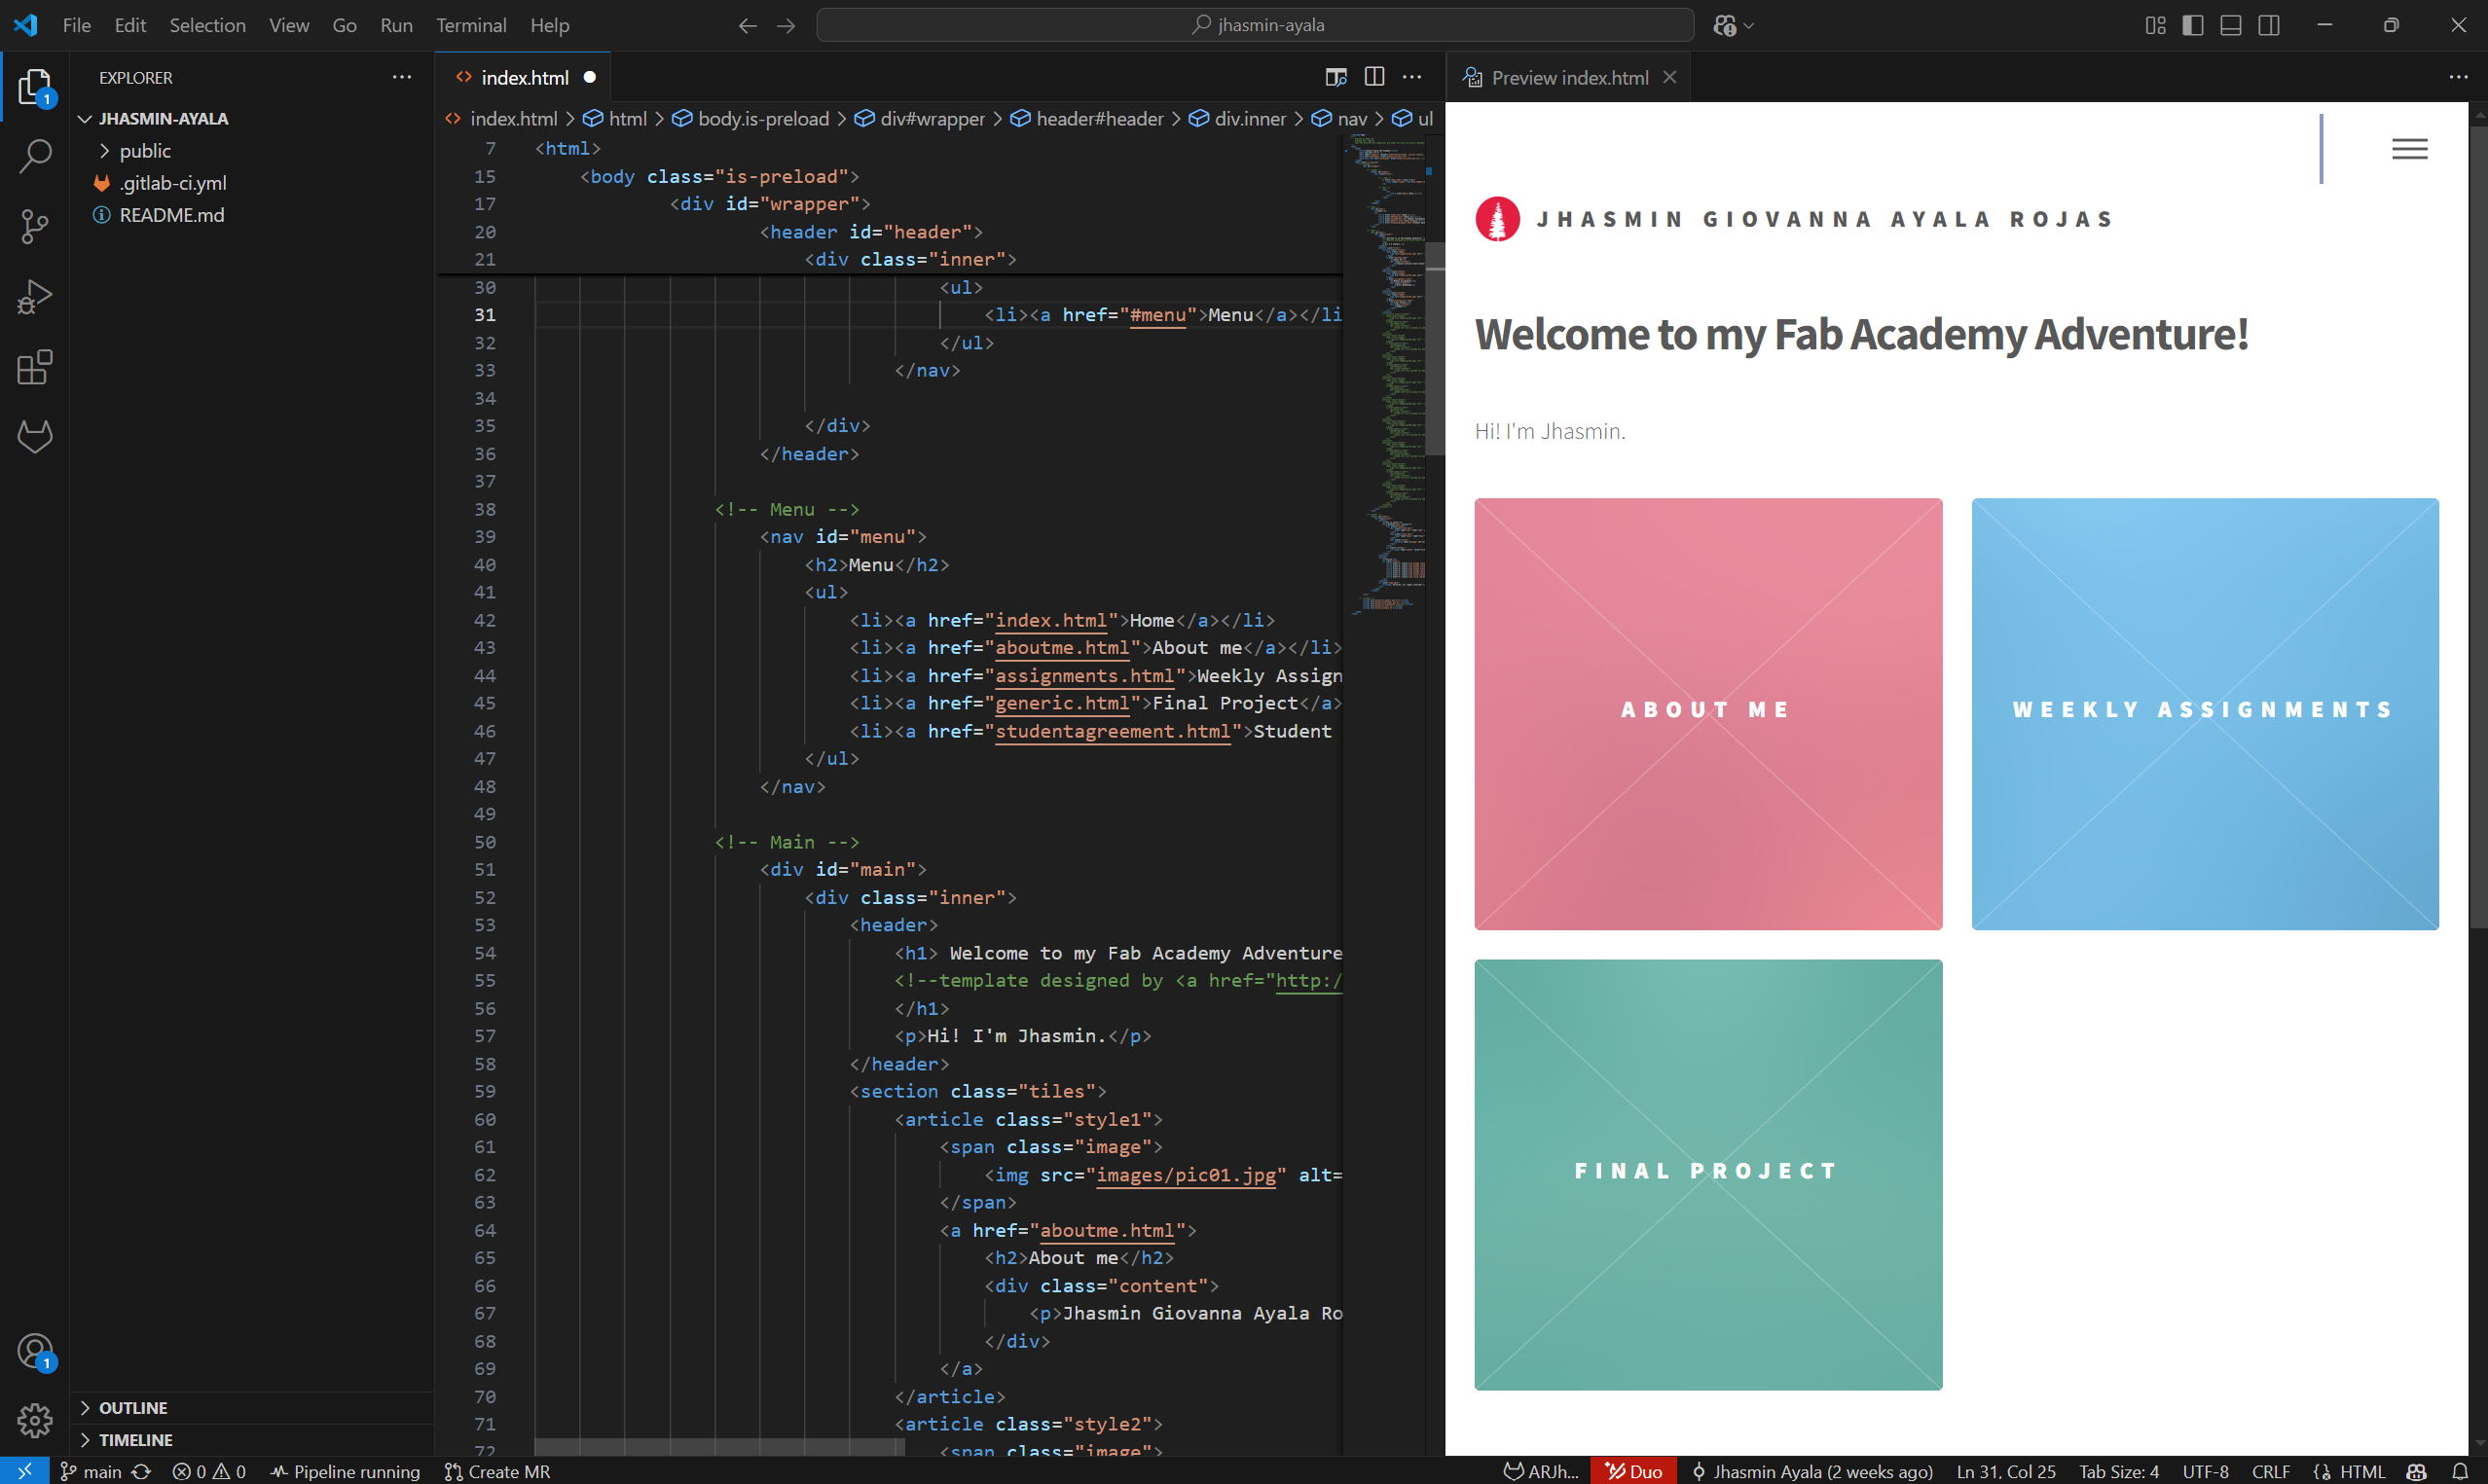
📁 C:/FabAcademy, I executed the following command to clone my repository: - Copying My HTML Template to the Cloned Repository After cloning the repository, I copied the files from my HTML template into the cloned repository folder.
- I copied the template files and pasted them into the cloned repository folder in
📁 C:/Fab_Academy/jhasmin-ayala - I verified that the files were inside the cloned repository.
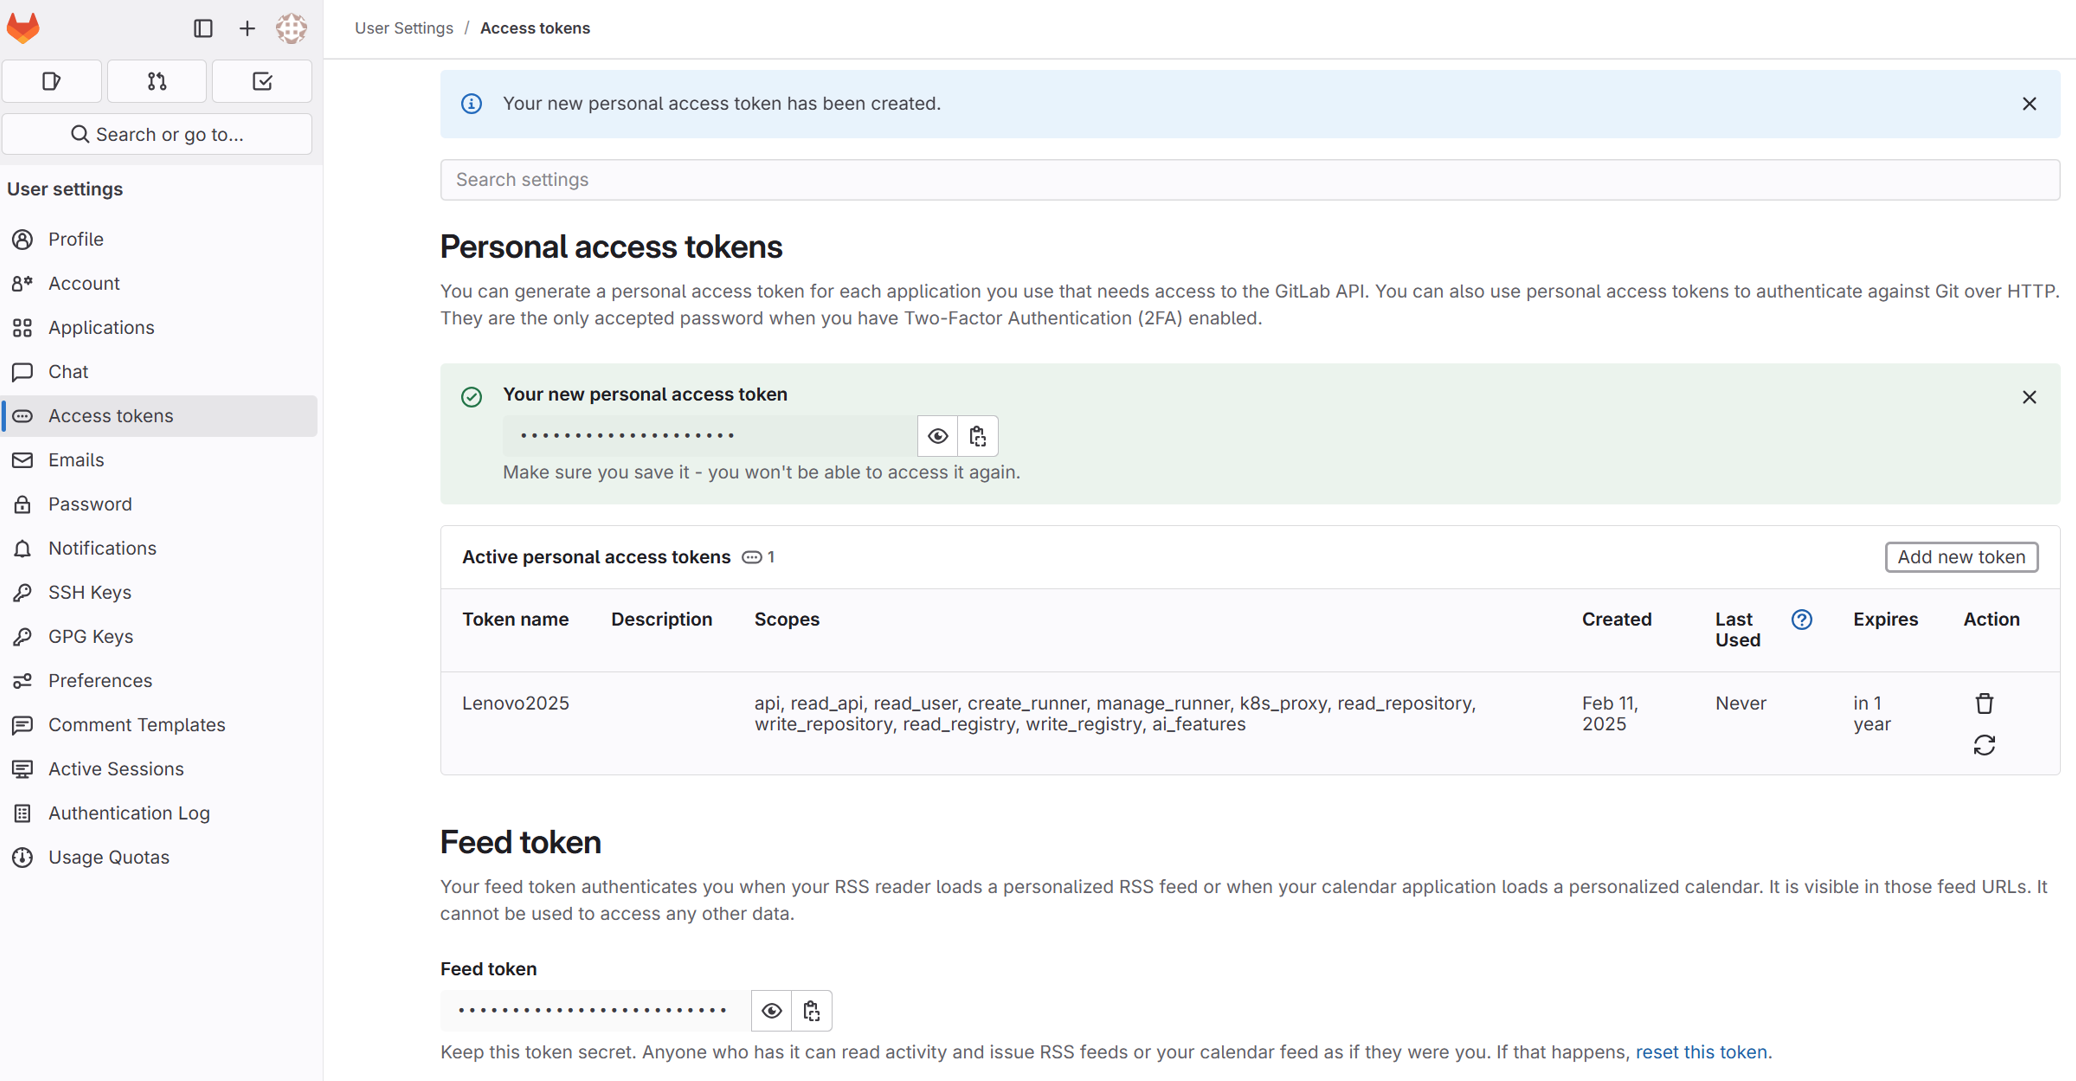
- Connecting GitLab to VS Code To manage my repository more efficiently, I used Visual Studio Code and the GitLab Workflow extension. I also connected my repository using a Personal Access Token to authenticate my changes securely.
- I generated a Personal Access Token in GitLab under
🌐 User Settings > Access Tokens, granting it permissions for read_repository, write_repository, API, among others. - I installed Visual Studio Code and added the GitLab Workflow extension from the Extensions tab.
- I opened my cloned repository folder in VS Code and authenticated using the Personal Access Token.
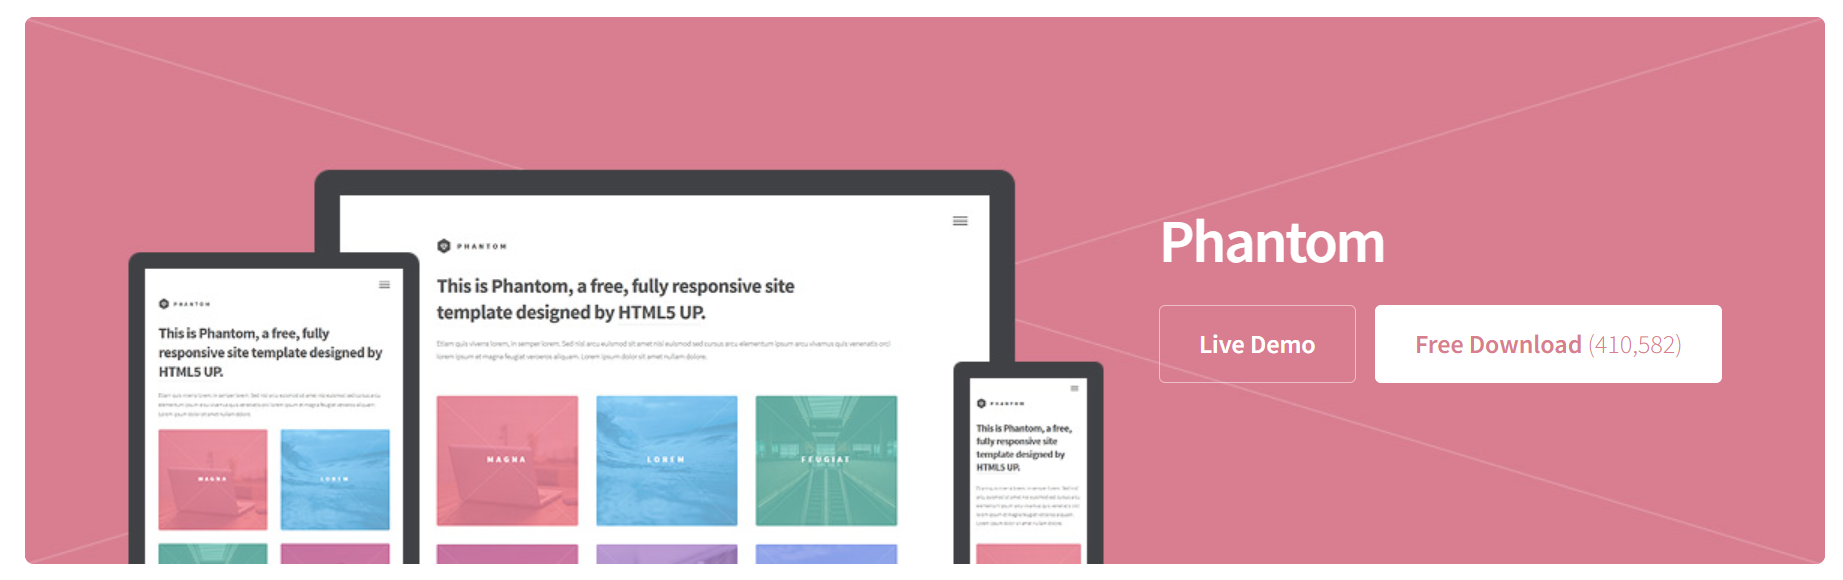
This was the one I liked the most
📁 C: drive to organize my project.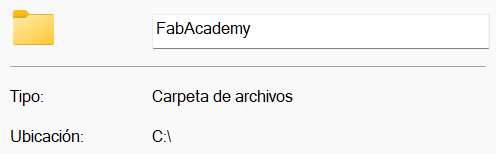
$ cd C:
$ ls
$ cd FabAcademy

git clone git@git.fabacademy.org:academany/fabacademy/2025/labs/esan/students/jhasmin-ayala.git

Final Thought
This week, I continued developing the work started last year in the Project Management assignment, while also reformulating my final project idea through the Principles and Practices section as part of this year’s process.
Working with Git has been a gradual learning process for me 💻. At the beginning, I was mainly focused on understanding the workflow—how to upload my work, follow the steps, and get my page running.
As I continued, I started to move beyond just following instructions. I learned how to manage my project, track changes, and keep everything synced with GitLab. Using VS Code made editing easier, especially with the preview option, which allows me
to see how everything looks before committing and pushing changes.
At the same time, I’ve been exploring the template more deeply—understanding its structure and learning how to modify it by editing the main files. Now, I continue developing and documenting my website as part of my Fab Academy journey 🚀. With each update, I improve both the structure and the content, making the process more natural and efficient over time.