Week_5 Assignments
- Group assignment
- Individual assignment
This week we need to identify the parameters and the capabilities of the 3D printing machine through out the design rules tests.
This week I need to design a 3d part and print it also scan an object.
Group assignment
I had the dimension test. I printed the dimension sample (which has a 20mm x 20mm x 20mm and the inner cube has 10mm x 10mm x 20mm ). I printed it first on Prsua MK2S.
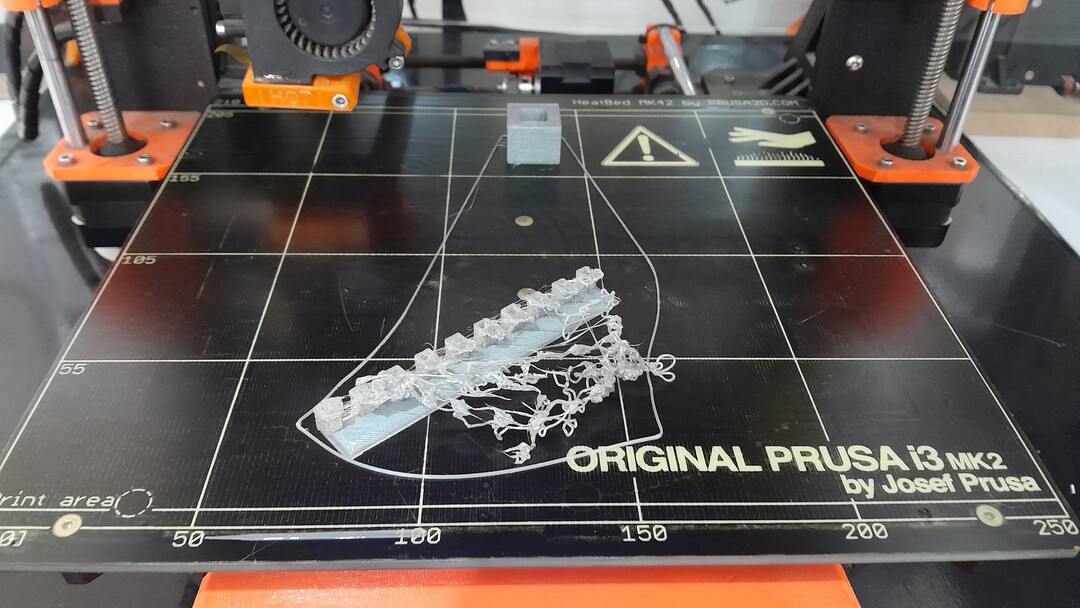
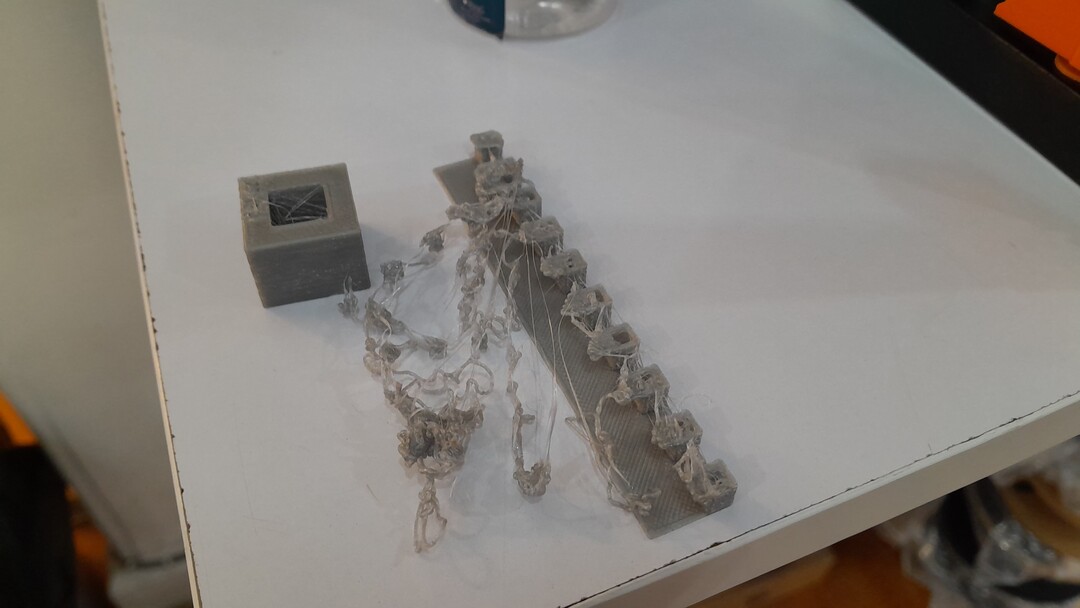
As you can see that the first printed dimension cube and the overhange test are in bad shape that is because the moist material (PLA filament that was out of the closed sealing bag) I mistakely used
I change the filament and then printed new cubes.
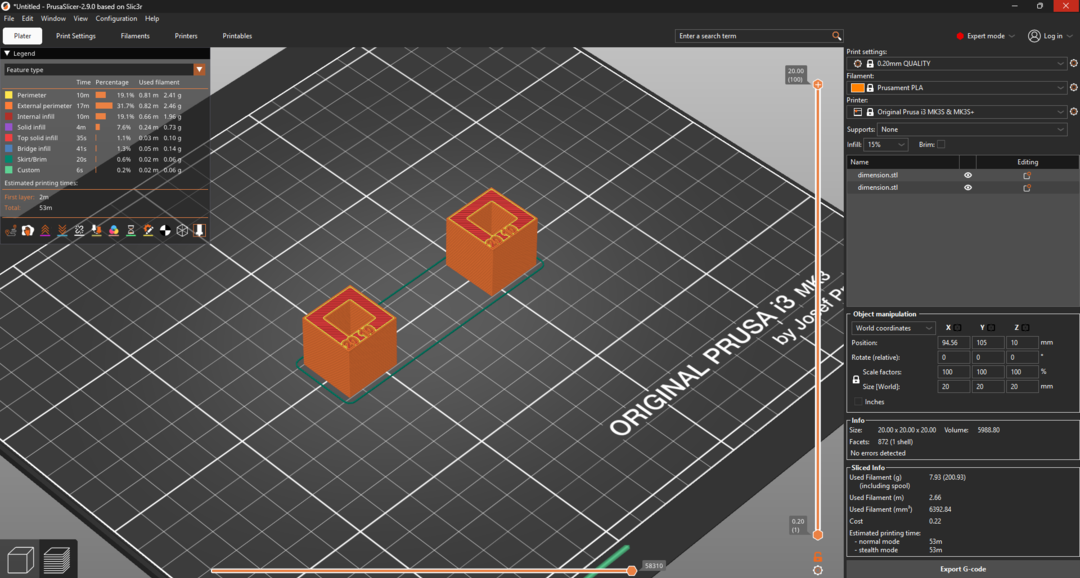
Dimension testing:
| Setting | Infill | LayerHeight |
|---|---|---|
| Value_Sample_1 | 20% | 0.25mm |
| Value_Sample_2 | 80% | 0.25mm |
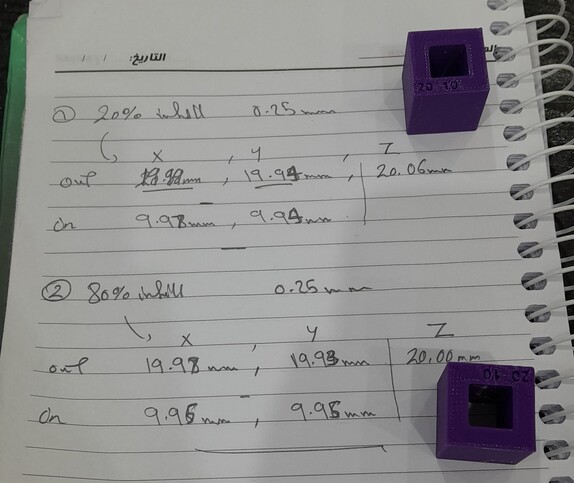
I found these results after printing:
| Sample | Dimension in the X-axis "OuterCube" | Dimension in the Y-axis "OuterCube" | Dimension in the X-axis "InnerCube" | Dimension in the Y-axis "InnerCube" |
|---|---|---|---|---|
| Value_Sample_1 | 19.99mm | 19.94mm | 9.98mm | 9.94mm |
| Value_Sample_2 | 19.98mm | 19.93mm | 9.95mm | 9.95mm |
As you can see that all over according to these measurement and the conditions the machine is in the samples shrank compared to the real dimensions in the design approximately 0.05mm.
Support testing:
Here I tested supports according to the style whether it is grid or snug using prusa slicer and the z distance (the distance between the part and the z axis). I made 6 samples.
| Sample | Style | Z support distance | Notes |
|---|---|---|---|
| Value_Sample_1 | Grid | 0.1mm | Hard to remove and left the support final layer attached to the part |
| Value_Sample_2 | Grid | 0.15mm | Easier to remove and didn't left the support final layer attached to the part |
| Value_Sample_3 | Grid | 0.2mm | Much easier to remove and had nothing attached to the part. |
| Value_Sample_4 | Snug | 0.1mm | Was easy to break but has some remains of the support final layer attached to the part |
| Value_Sample_5 | Snug | 0.15mm | Easier to break and had nothing attached to the part. |
| Value_Sample_1 | Snug | 0.2mm | Easy to break and had notthing attached to the part |
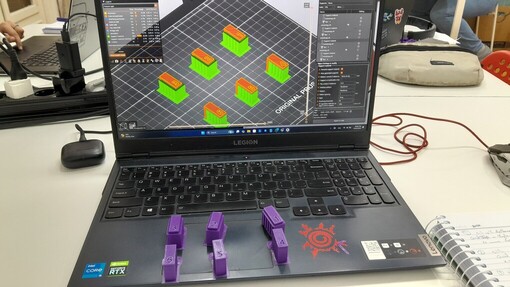
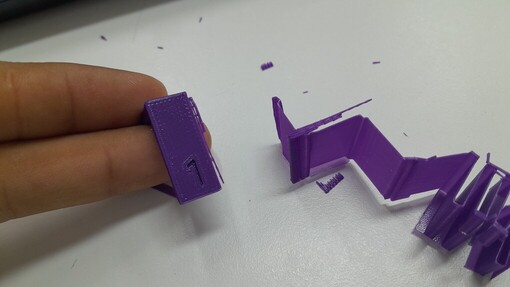
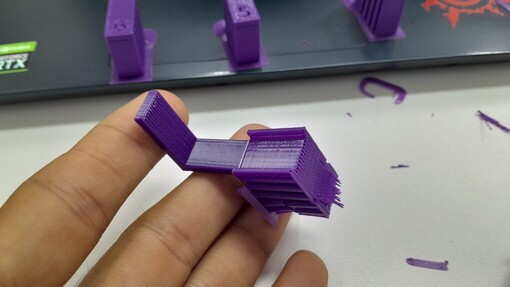
I found using snug support style combines the optimisation of material use and steadiness and also the dettachibility away from the part surfaces. I used it in my assignment.
Individual assignment
For the individual assignment I designed a wallet/card holdder using Fusion and can be assembled by press fit and screws. I also liked a shape that is designed by Shreyas Tiwari and wanted to do to learn some features of the surface mode in Autodesk Fusion.
Wallet design
I have a thought that these two words together discribs a character that I like to imagine this character travels to many places and wherever he goes he brings change and leaves a legacy behind and I call him the "Wandering Stranger". I wanted to make a logo that fits this dicribtiion using Chatgpt and it gave me this logo.
.png)
I used Inkscape to trace the outlines and export the SVG file of this logo to use it in Fusion and engrave this logo into the wallet.
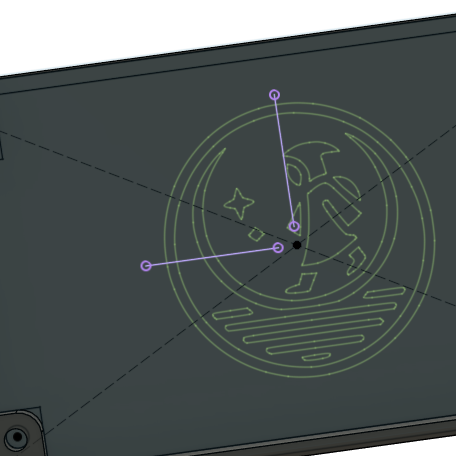
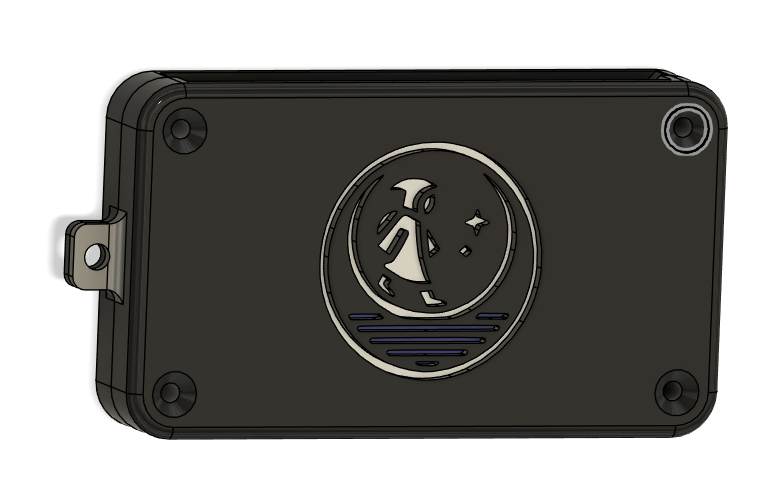
I exported the stl files and used Prusa slicer to get the g.code file and started printing the wallet.
.jpg)
And here is the final result while I was waiting to the train to go back home ^^.
.jpeg)
.jpeg)
I used 0.2mm layer height and as for the support setting I used snug style with 0.2 z distance.
The Curvy Shape
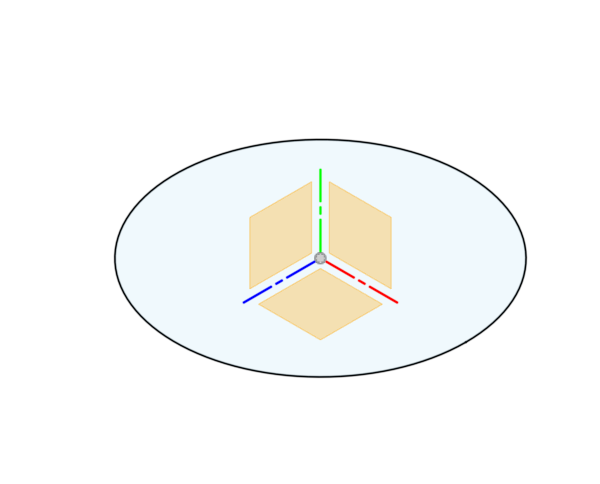
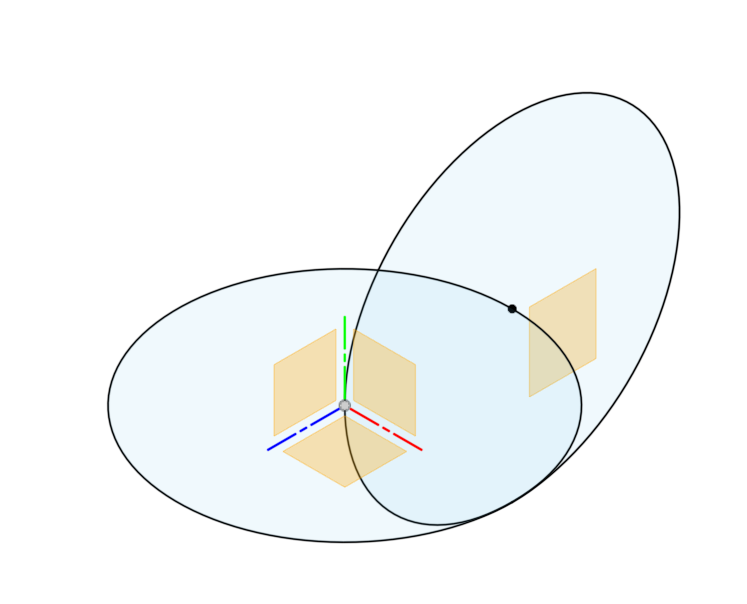
I used surface work space in Autodesk Fusion 360 to design this Shape:
- I drew a circle in the top plane gave it dimension
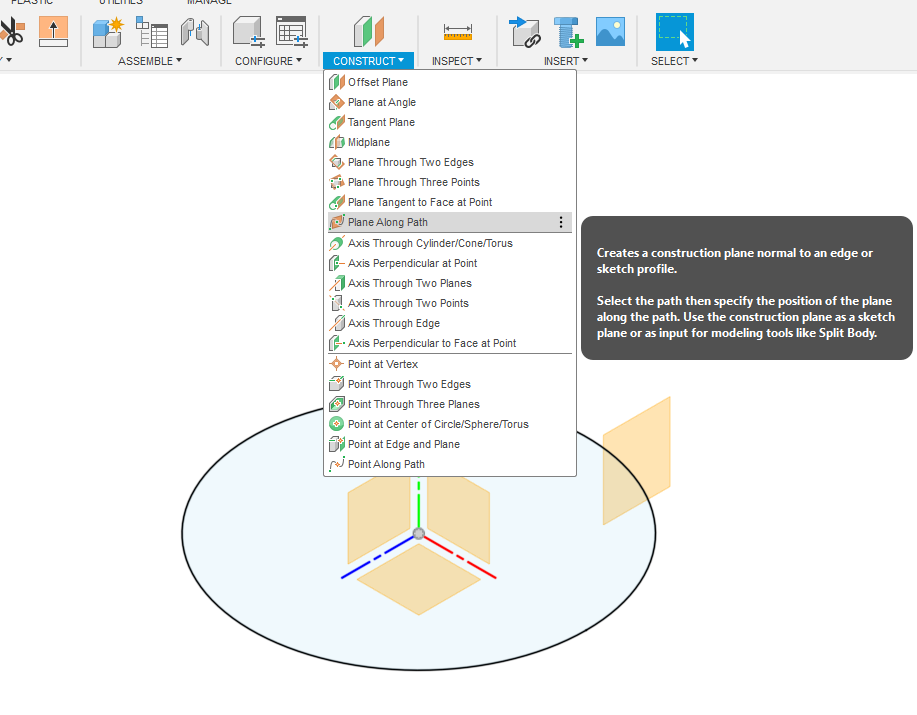
- I used construction to make a construction plane along the path and make it 90 degrees abt the top plane.
- I drew another circle ing this plane
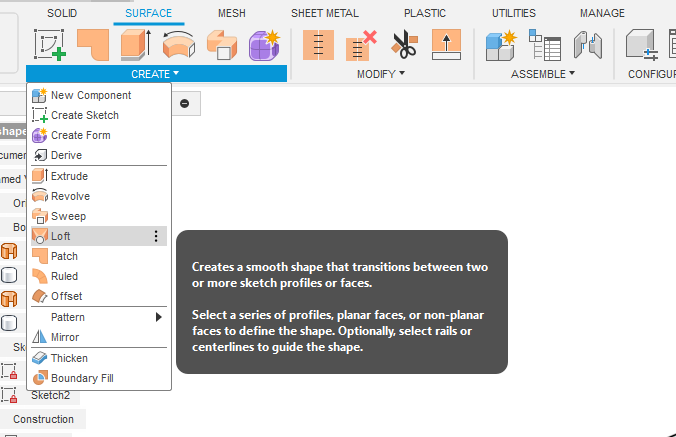
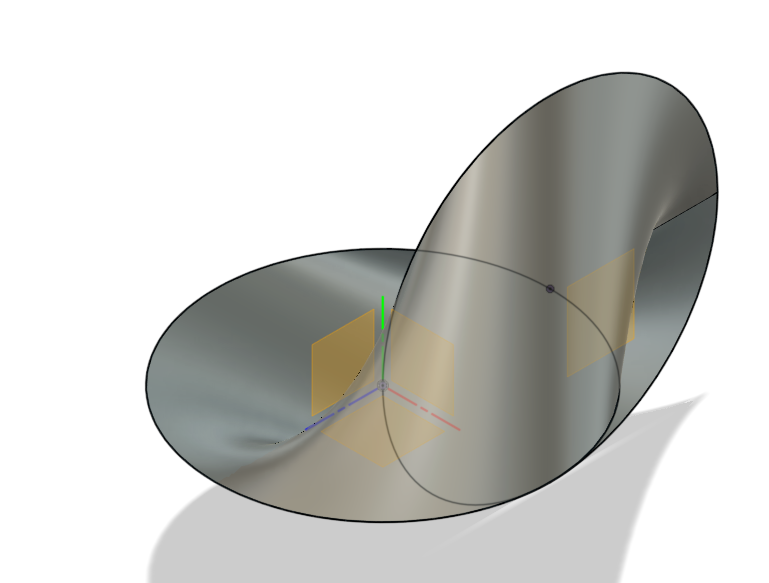
- I used the loft feature between the circumference of the two circles
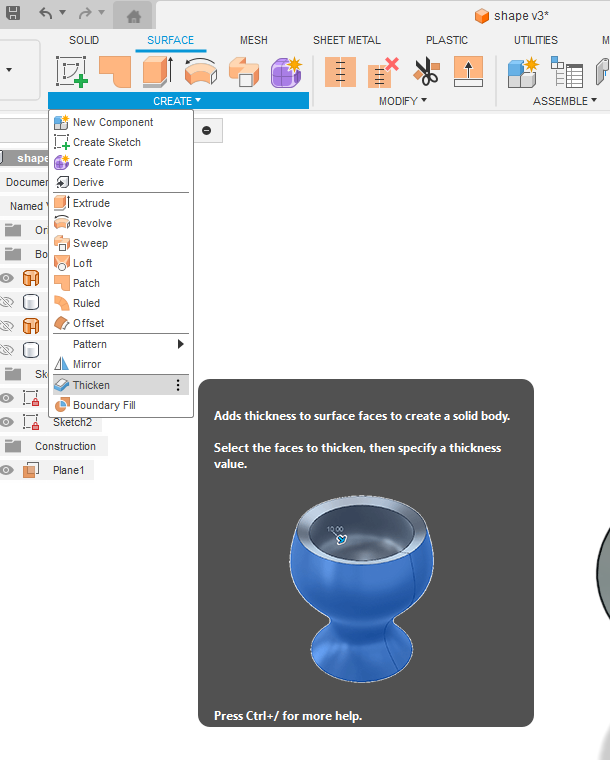
- Then I gave this shape a thickness of 3mm using thicken feature.
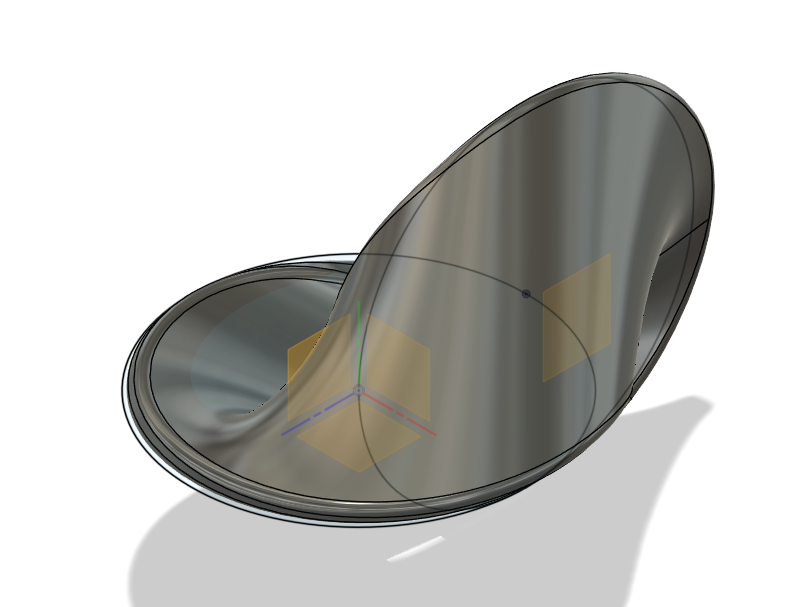
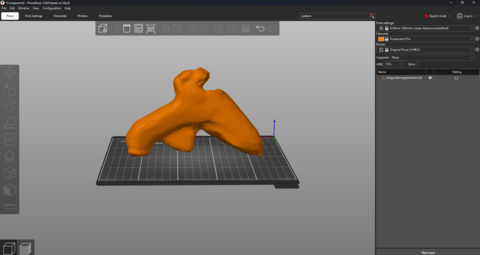
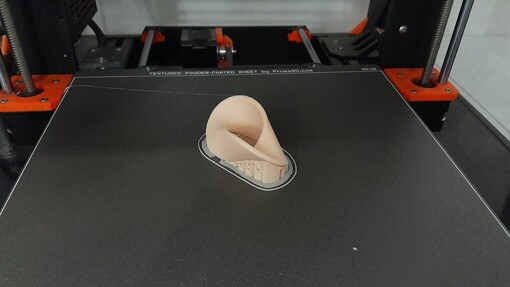
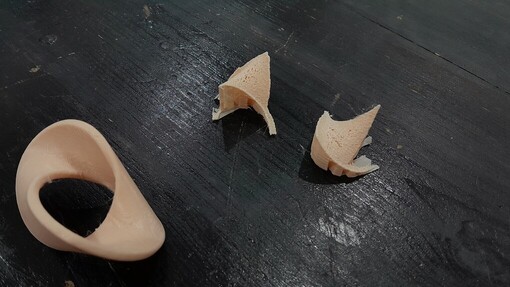
I printed this shape with 0.2mm layer height and used the paint feature in Prusa Slicer.
.png)
.png)
Here is the final look ^^.


Part two of the individual assignment I scanned a hotglue gun using kinect camera. also I tried using intel Realsense depth lidar camera l515 to scan a vacumm cleaner but the scanning was horrible ^^ and I didn't have much time left to try one more time but I will do it soon ^^.
Scanning Hotglue gun
I used Kinect camera to scan the hotglue gun and it was a hard work to make my hand stable enough to make a good scanning.
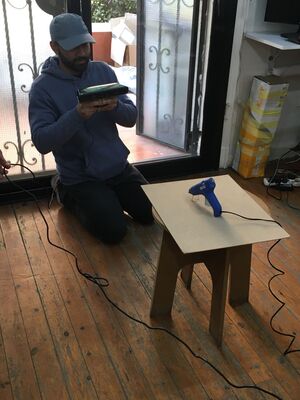
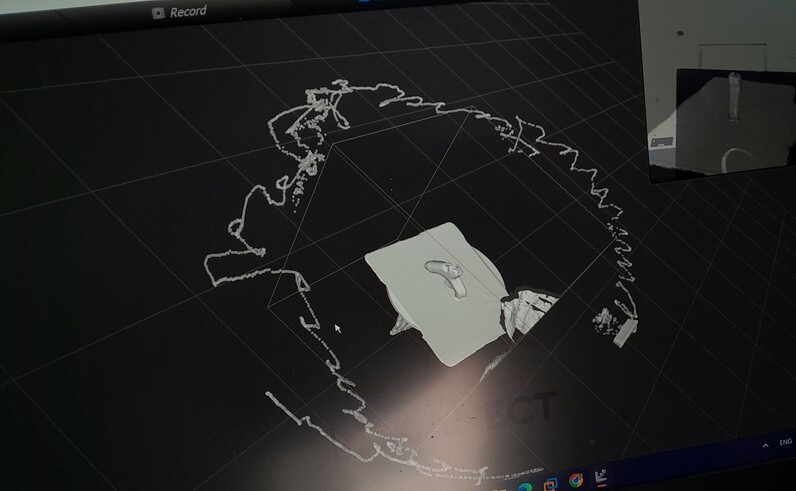
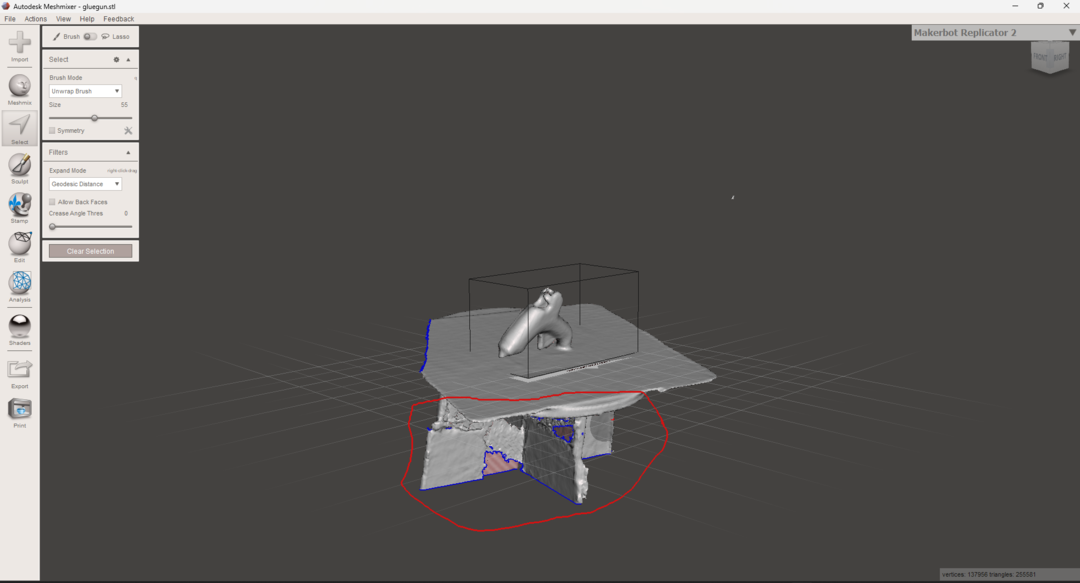
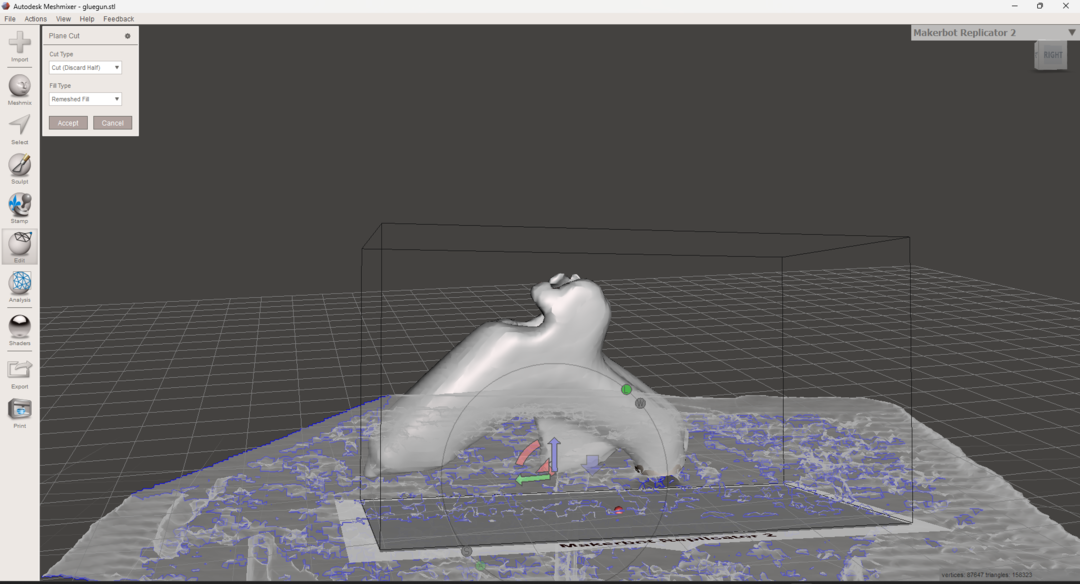
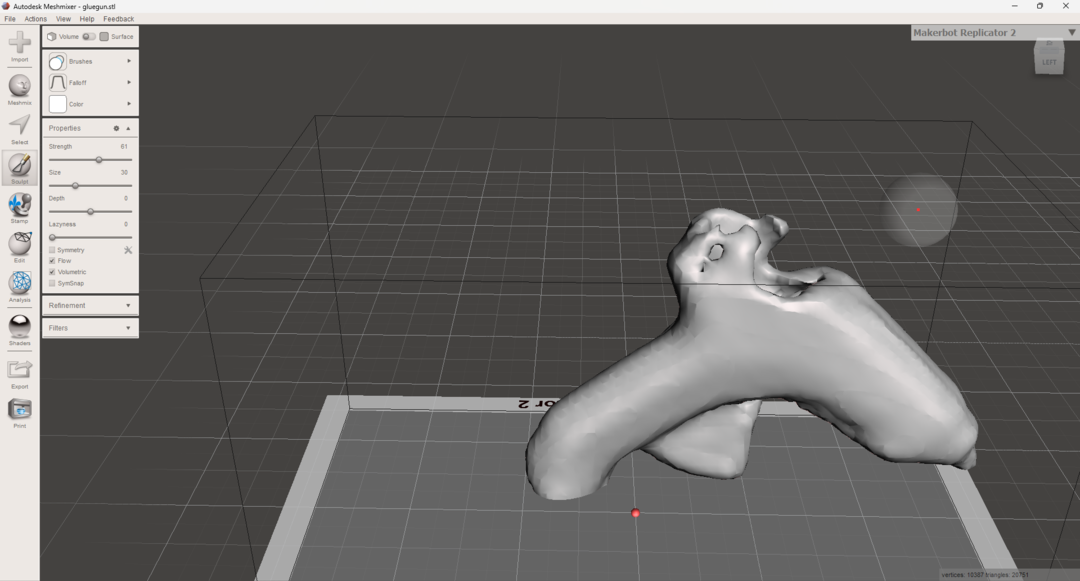
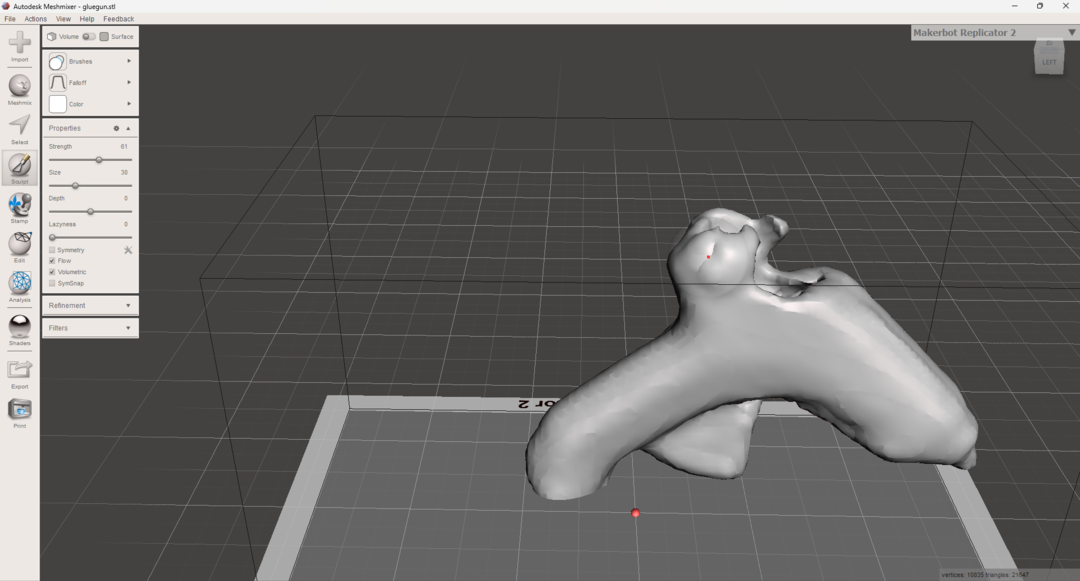
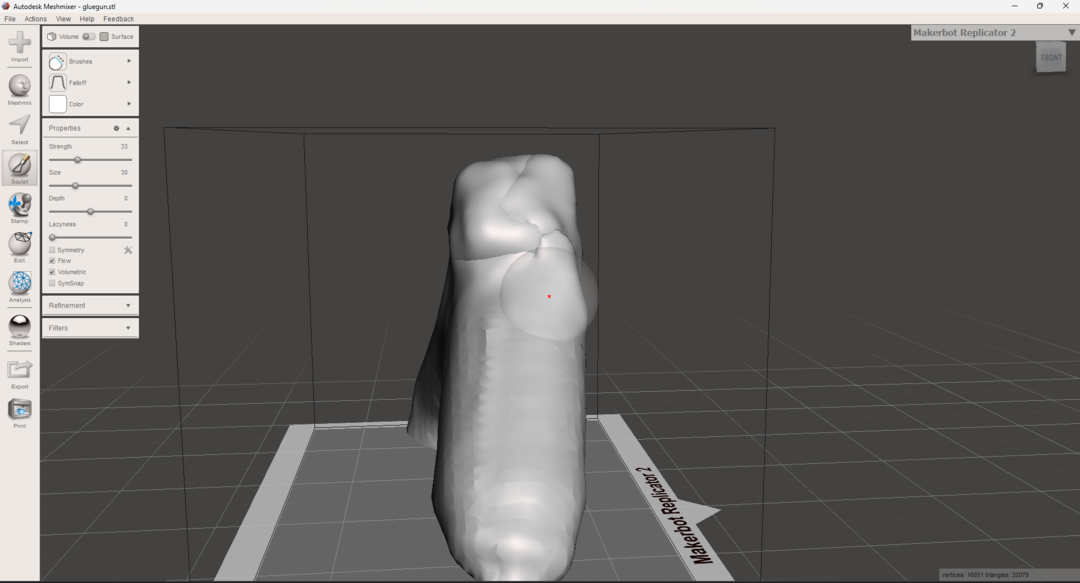
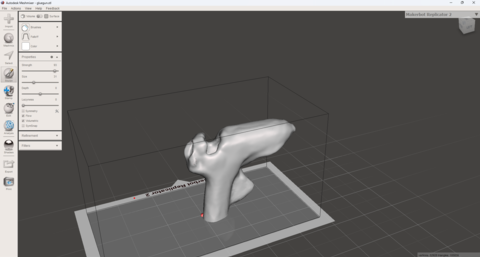
After scanning completed finally ^^. I used Meshmixer to edit the mesh file exported from the scanning process. and I found it more like the Sculpting workspace in Blender.
- First I imported the file in Meshmixer working space.
- I used the select tool to delete the small bit laying around and select a not regular area.
- I used the plane cut from the edit menu to cut the plane underneath the body of the hotglue gun.
- After that I used inflate brush from the Sculpting menu that adds more material to the area.
- Then used flatten brush from the Sculpting menu that smooth out the surface.
- This process neeeeeed lots of patience ^^.
