Week_1 assignments
This week need to do two main assignments:
1- Project management: Here we need to make a website to use as a documentation method for our fab academy journey.
2- Principals and practices: Here we need to showcase our potential final project idea with sketches and features. "So excited for the final project"
1. Project management
okay, let's see what to do with this assignment 🤔
As I have a small knowledge dealing with web design (The only experience I have is I had to edit a template I got from a tutorial I was following to make a web app and connect it to esp 32 through firebase you can find the tutorial here) and considering the time I have this week I decided to go easy and not using a template or bootstrap (I found using boot strap is a great advantage and quite easy way to enter web design.). On the other hand I had experience using git will learning ROS I was using terminator. I was introduced to an easier way to use git which is using a GUI recommended by my Instructor which is using a software program called Source tree to make the push/pull to the repo easier. I am using visual studio code to edit files and organize them.
Walkthrough
Step_1: Getting git ^^
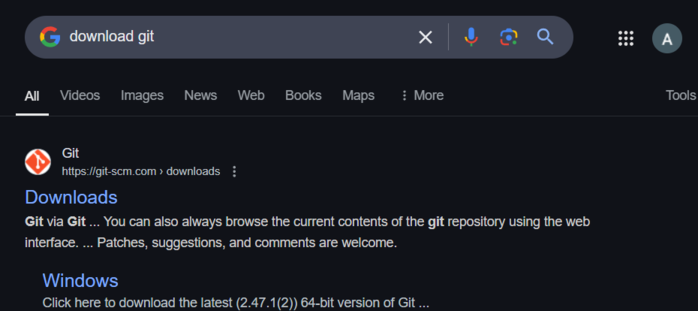
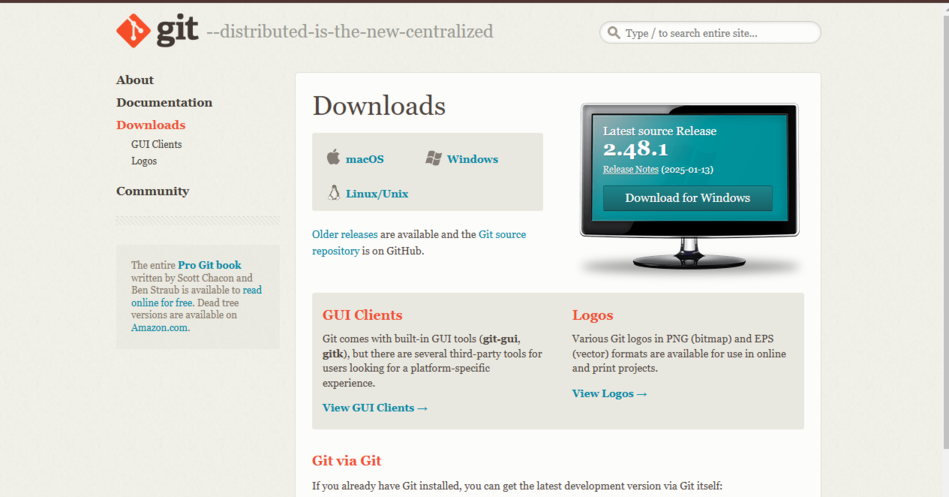
I already had git but if you don't have it is a simple task all you have to do is open a browser and then search for "download git". Then the installation steps are quite easy just hit next and the finish.
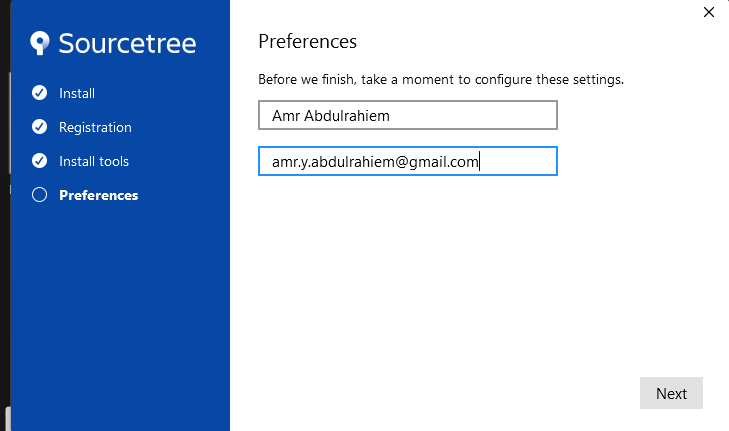
Step_2: Downloading/installing Source Tree
I downloaded Source Tree as mention to use a GUI instead of using a terminal or command line.
Step_3: Setting up my environment
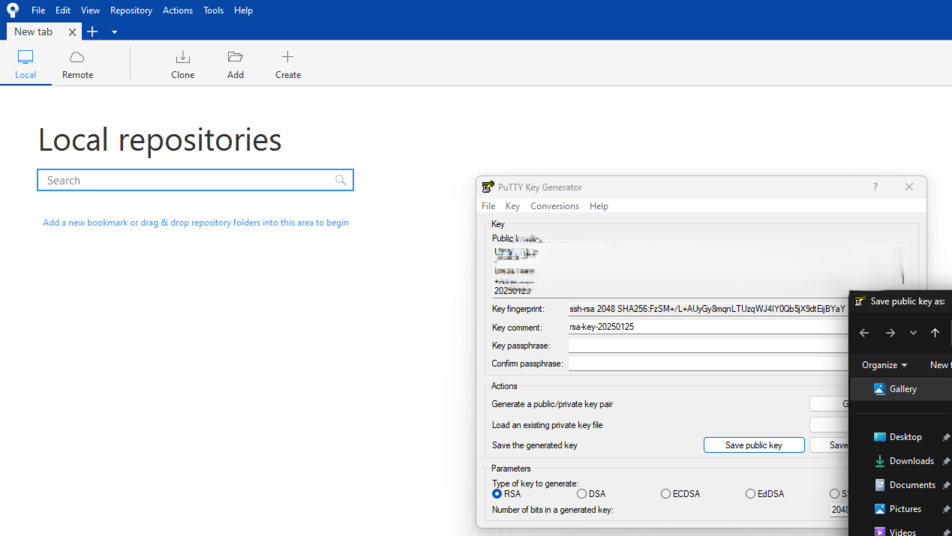
I created a local folder in my PC and called it FabAcademy. In this folder I cloned my repository from gitlab using Source Tree as such:
- Open up Source Tree.
- Go to Tools menu.
- Click on Create or Import SSH Keys.
- A menu will appear click on Generate.
- Copy the Public SSH Key (I recommend saving both public key and saving private key)
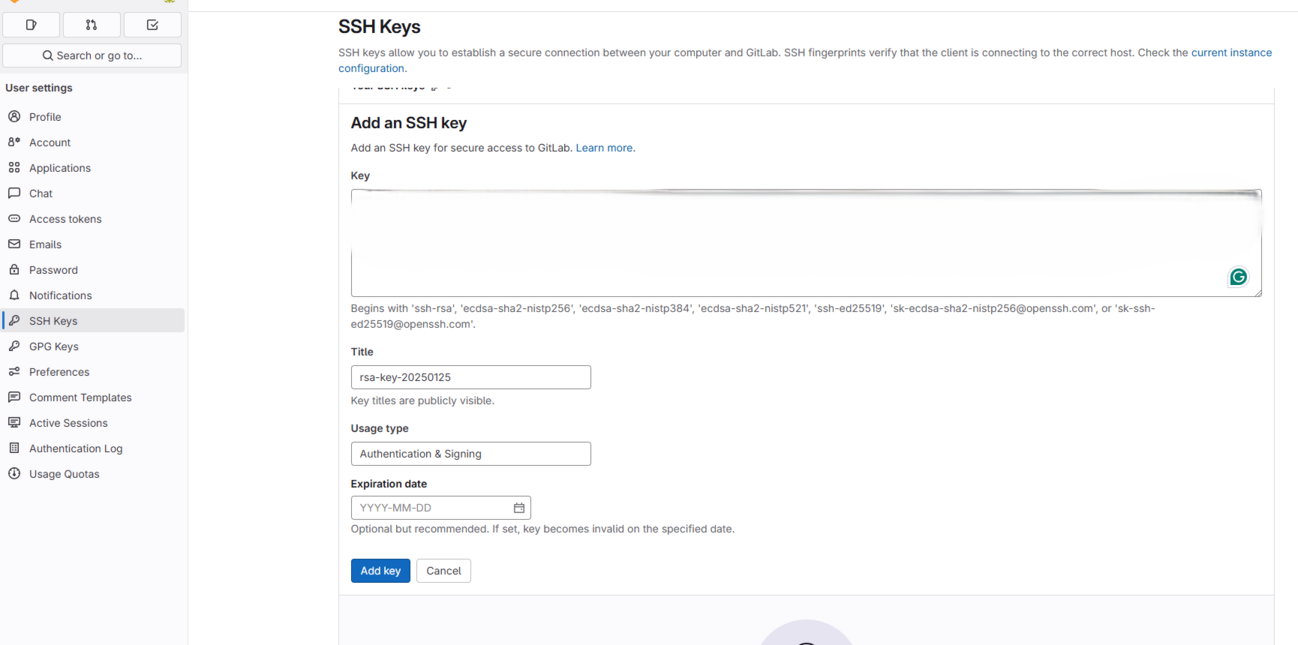
- Go to gitlab and sign in to get to our repository to link Source Tree and local repository.
- I went to my profile avatar menu -> Preferences -> SSH Keys
- Pasted my public key in the key space then clicked add key (I remove the expiration date)
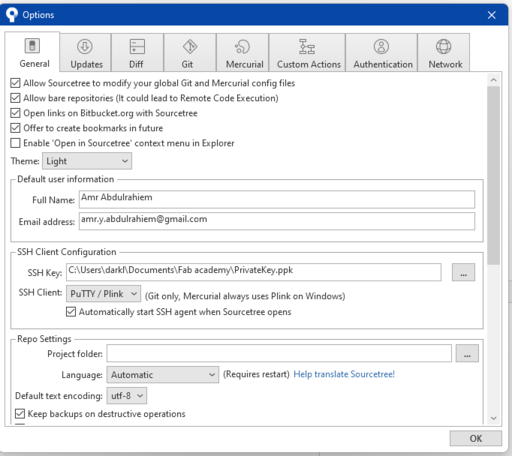
- Now we return to Source Tree to Tools -> Options
- Add the private key by browsing to the file location (which we saved it in)
- Finally we hit Ok (Now we linked our local repo with gitlab repo using Source Tree as a GUI for git secured using SSH Keys)
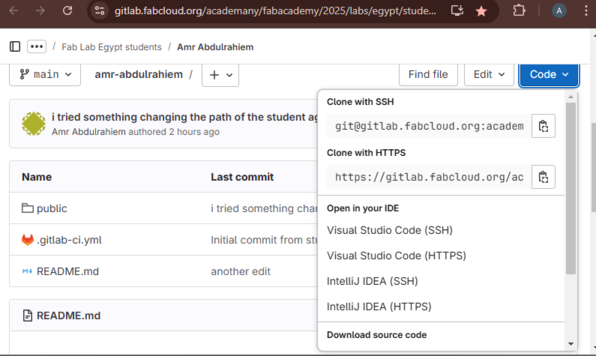
- Let's clone the repo at last.
- I went back to my gitlab repo to get the SSH key link from the blue button (code)
- Back again to Source Tree clicked on Clone
- Pasted the SSH link in the Source path (*There some edits we need to do the url we will replace the "git@" with http:// and replace @ with :*). Next browsed to the local folder I created FabAcademy to clone the repo into.
- A Gitlab pop up will appear sign in using passward and thats it now we are synced ^^.

Step_4: Setting up our development environment (Downloading Visual Studio Code)
I already have VS Code but you can download it from here.
- After installing it and choose the coooooolest theme ever I recommend ^^ "Dark High Contrast".
- Time to add our folder FabAcademy to the explorer in VS Code. File -> Open Folder and browse to the directory of our folder the hit Open the I trust the Author "Because it is you LOL ^^".
- A great thing to add to vs code is a live server viewer called Live Server *Thanks to Doaa-Elbess my class mate ^^ she suggested adding this extension*
- Now and finally it came to edit the fab academy template to design the website.
Step_5: Editing my website.
I will talk about what to do mainly and some codes I learned and used in HTML ans CSS to make my website simple and upgradable ^^. Before I start i will tell you some things I figure out while moving through this process. Keep track of the files directories/pathes, Stick to never using spaces and special characters in naming the files in your repo. Try to understand the written code to figure out the build of the website.
We will start with this structure of files:
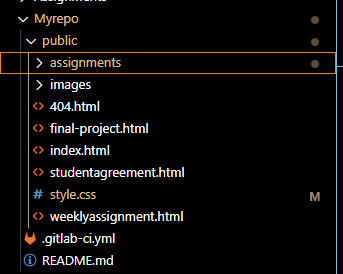
I have the Myrepo folder includes the cloned files and folders from gitlab like folder public andt gitlab-ci.yml file and the README.md file. Inside the public folder I have the assignments and images folders and the HTML files which I will be editing. Oh how we are forgetting the style.css file ^^.
Inside the assignments folder I found an HTML file called week01 which I will be editing. I created a folder called week_1 and created a folder inside it called images to save all the images I used/be using throughout documentation week 1. Then moved week01.html inside it like so.
Now I will share with you some codes I used in HTML and CSS. I started editing the index.html file.
- Editing the index.html file: I found that the default home page that anyone will be directed to it when clicking on my website is the index.html page not the about me page.
- So I exchanged the content of the two files index.html and aboutme.html and then I change the name of the aboutme file to weeklyassignment.html and the index.html which now has the same file name.
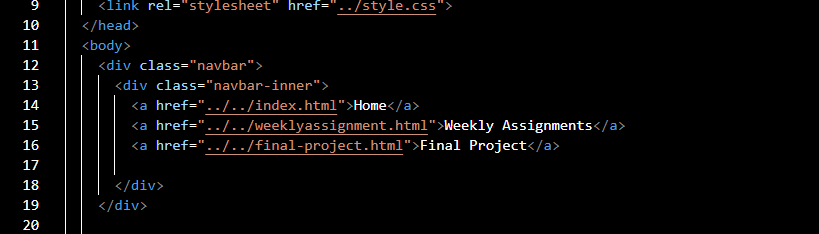
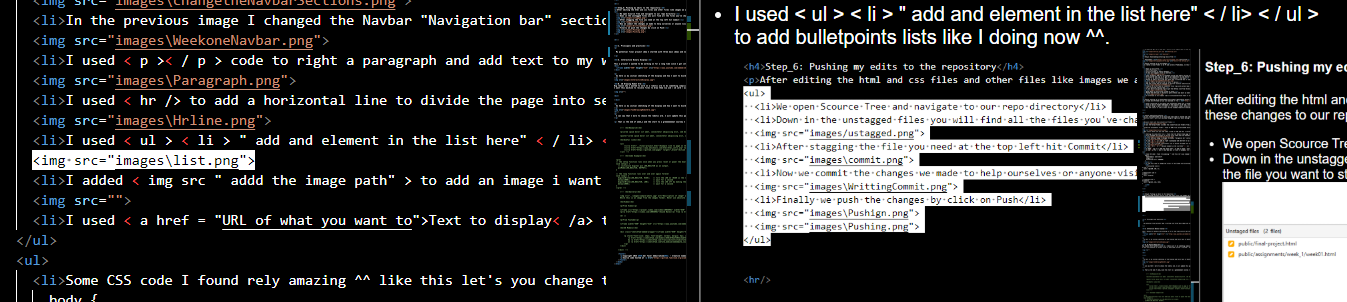
- In the previous image I changed the Navbar "Navigation bar" sections names to Home, Weekly Assignments Final Project. I did the same in every html file but wait for it **with considering the relative paths ** for example I added ../ to go pack from where the file I am edditing in the path and you can go back more than one time by increasing the time you add ../ like so in the image "this take from my week01.html file which is inside two other folders week1 folder and assignments folder.".
- I used < p >< / p > code to right a paragraph and add text to my website like so:
- I used < hr /> to add a horizontal line to divide the page into sections
- I used < ul > < li > " add and element in the list here" < / li> < / ul > to add bulletpoints lists like I doing now ^^.
- I added < img src " add the image path" > to add an image i want to use.
- I used < a href = "URL of what you want to">Text to display< /a> to link links LOL.


- Some CSS code I found rely amazing ^^ like this let's you change the background to any colour you want. I like black and dark blue^^ (
      body {
        font-family: sans-serif;
        margin: 0;
        background-color: #000000;
      }

    body {
      font-family: sans-serif;
      margin: 0;
      background-color: #000000;
    }
      /* unvisited link */
a:link {
  color: rgb(230, 255, 5);
}

/* mouse over link */
a:hover {
  color: hotpink;
}
/* selected link */
a:active {
color: rgb(223, 223, 236);
}
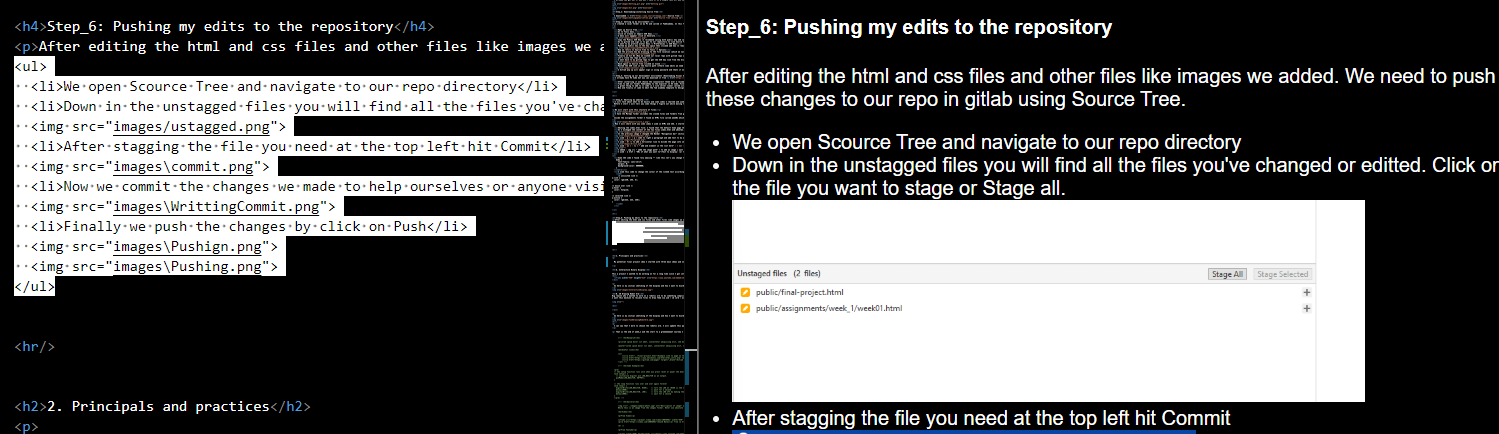
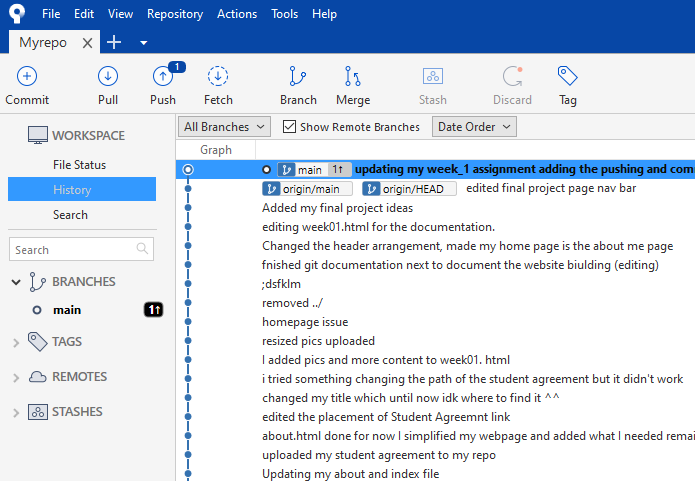
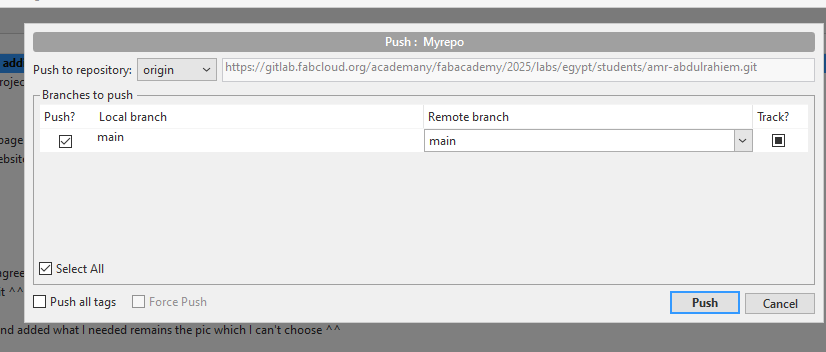
Step_6: Pushing my edits to the repository
After editing the html and css files and other files like images we added. We need to push these changes to our repo in gitlab using Source Tree.
- We open Source Tree and navigate to our repo directory
- Down in the unstagged files you will find all the files you've changed or edited. Click on the file you want to stage or Stage all.
- After stagging the file you need at the top left hit Commit
- Now we commit the changes we made to help ourselves or anyone visiting our repo to understand what changes took place.
- Finally we push the changes by click on Push


2. Principals and practices
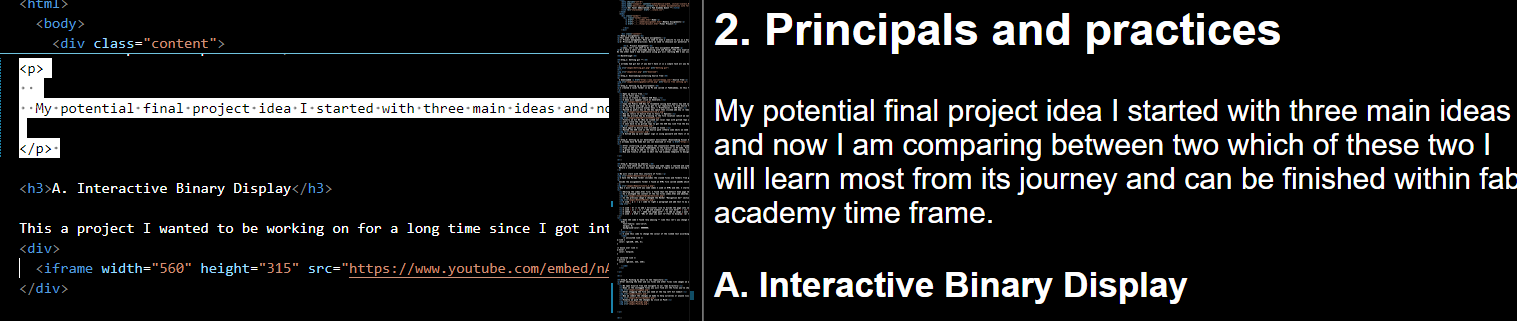
My potential final project idea I started with three main ideas and now I am comparing between two which of these two I will learn most from their journey and can be finished within fab academy time frame.
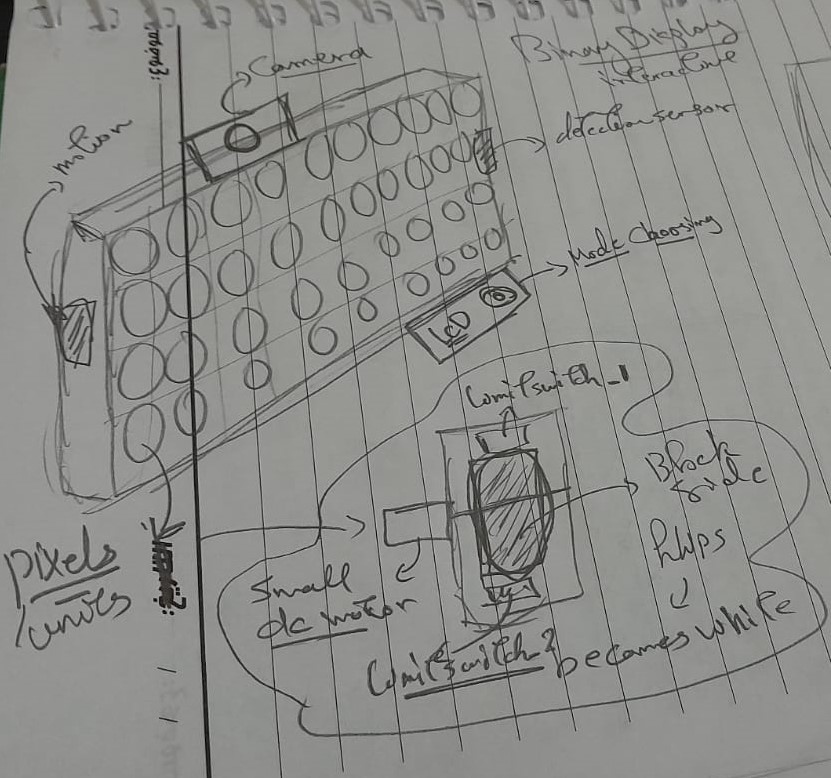
A. Interactive Binary Display
This a project I wanted to be working on for a long time since I got into python programming and using Opencv library thanks to Paul Mcwhorter python tutorial ^^ I really recommend this amazing old fellow. I have seen the Breakfast Studio website and got attached to the units like pixels which moves mechanically with some programming and interact with people standing infront of it.
What this display as mentioned it interacts with whoever is in front of it by changing it pixels from dark to light or the opposite to match the movement or shape of the passbyer. I wanted to make it to be used as an interactive board for people to enjoy while they are at my home, other uses could be main halls, events and places like that.
So here is my initial sketching of the display and how I want to biuld it. I am think of using instead of servo motors for each pixel actuator or using magnetic elements I will use small DC motors to flip the pixel from white to black and the opposite using limit switches to indicate the the filliping happened. I am thinking also of adding an LCD as a way to choose modes: like pattern playing of enteractive mode which will be using the camera.
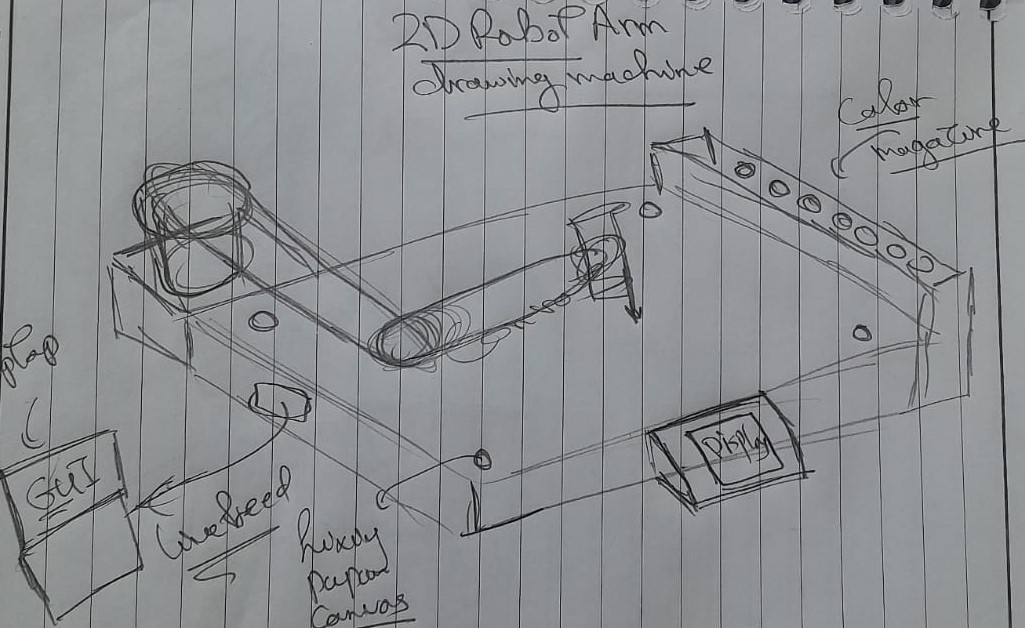
B. 2D Drawing Robot Arm
Big reason why I wanted to work on a robotic arm to do something complicated like drawing is actually I have no artistic sense and a dummy in arts and drawing but on the other hand I find arts really beautiful and inspiring so I want to make a machine to do art or more accurately duplicate art ^^. I want this machine to receive files to draw them via usb / sd card / wifi. I want to implement a pc application that has a GUI to draw and then send to the machine and I want to add a live drawing concept.
I can say that I more to choose the robotic arm. I will update this page to the final project I will be working on.
This robotic arm I want it to draw and I want to to turn the digital art into a physical art that I can hang in my room. So I can see people who love art and can't draw (like me) use this machine to connect with art.
That is the end of week_1 and the start to a greeeeeeeeat Journey I am excited to go through.