For this week assignment the objectives were:
group assignment:
- review the safety data sheets for each of your molding and casting materials,
- then make and compare test casts with each of them
- compare the mold making processes
individual assignment:
- design a mold around the process you’ll be using,
- produce it with a smooth surface finish that
- does not show the production process toolpath,
- and use it to cast parts
Group Assignment
The full group assignment can be found here
This week, we delve into molding and casting using a range of materials, each with its own unique properties—from varying hardening times to specific safety considerations. For our assignment, we used plastic water cups as molds to cast the following materials:
- Alginate
- Silicone
- Plaster and
- Resine.
Below, we review each material in detail:
Alginate
Alginate is a naturally derived material, typically extracted from brown seaweed, and is widely used for making molds, especially for body parts like hands, faces, and feet. It is known for being safe for skin contact, easy to mix with water, and capable of capturing fine surface details quickly. Alginate molds set rapidly at room temperature and are usually used for one-time casts because they are flexible but not very durable over time (summarized from Wikipedia).
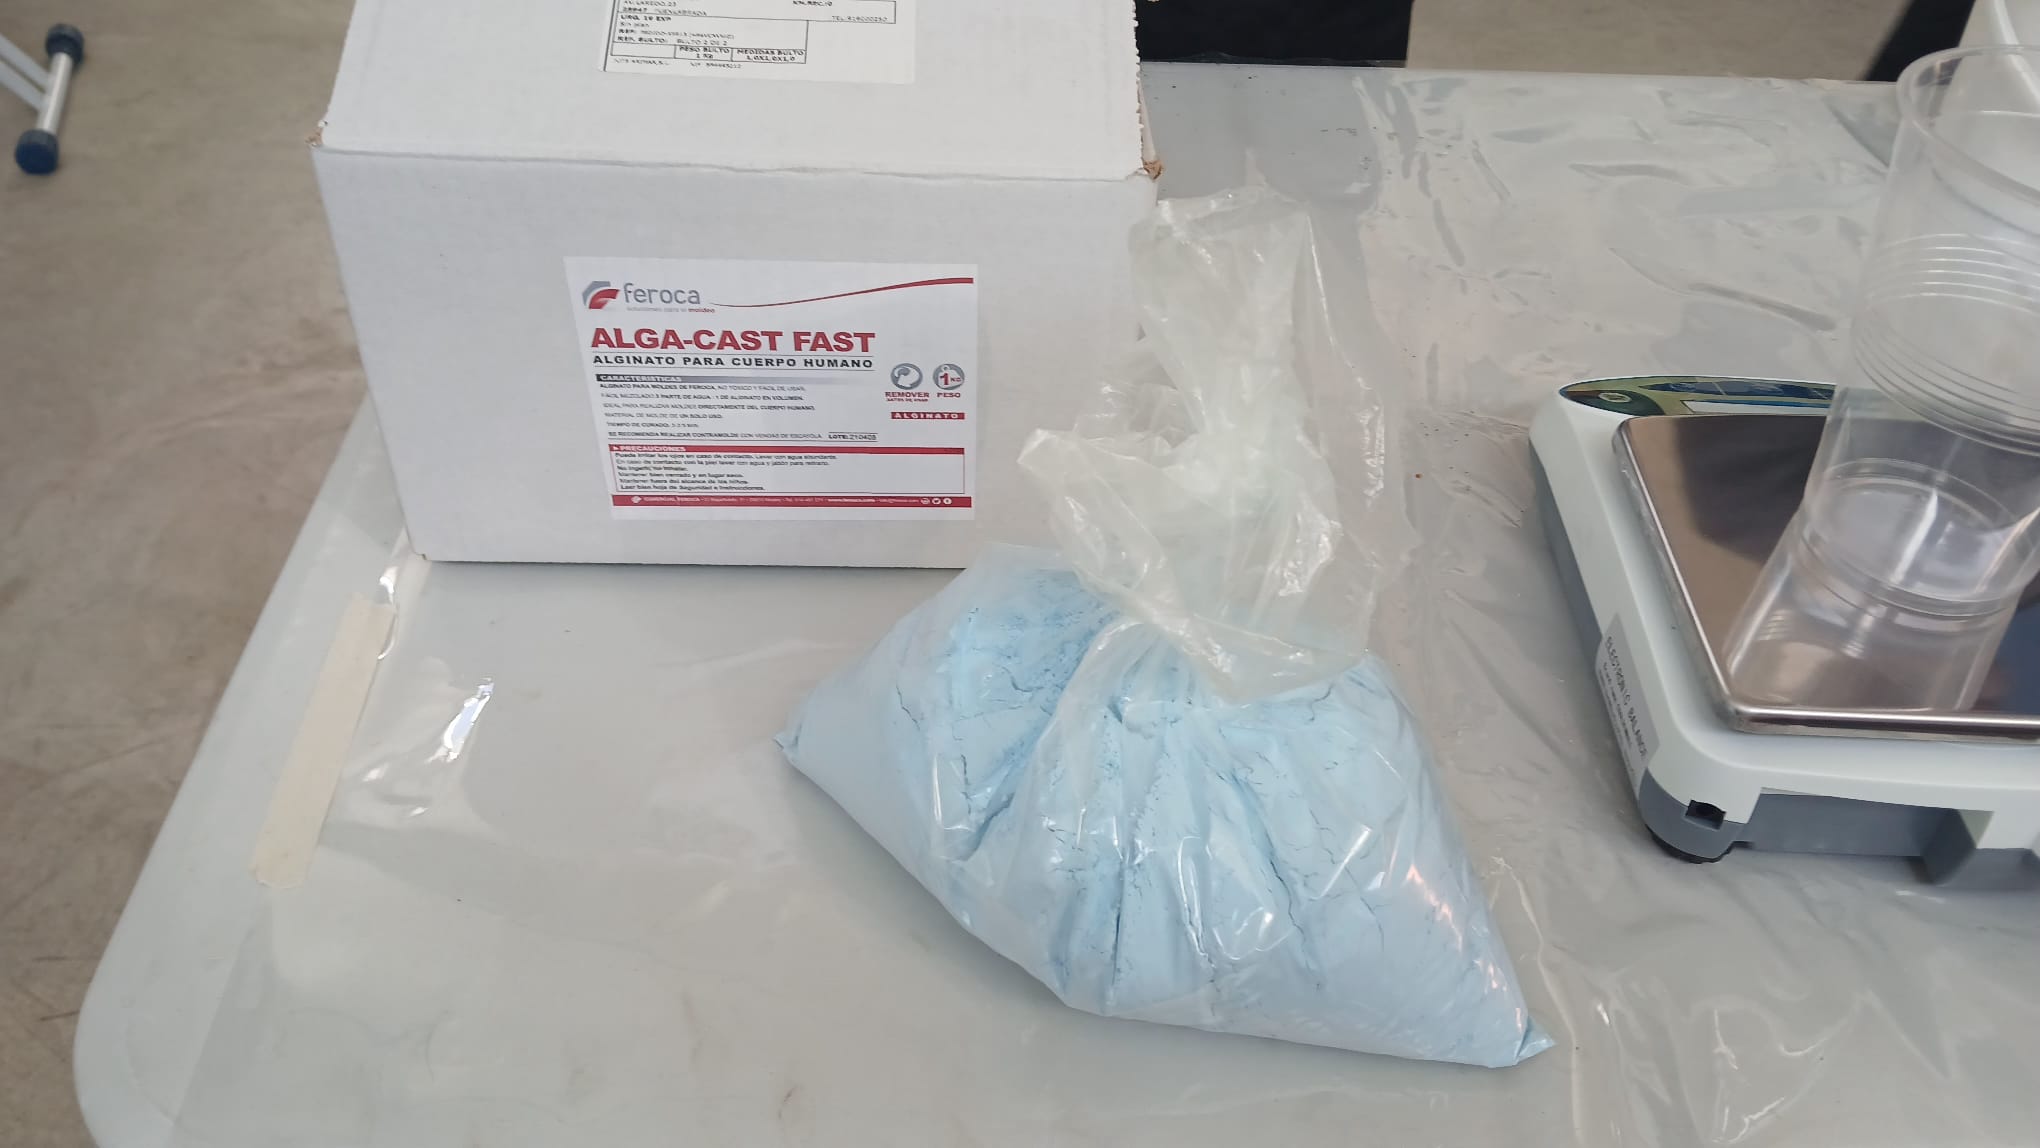
Characteristics:
- Brand name: Feroca
- Product Name: ALGA-CAST FAST
- Mixing Ratio: 1 part of alginate powder 3 of water
- Curing time: 3-3.5 minutes
- Shelf life: 24 months
- Toxicity: non-toxic.
- Data sheet: link
Test results: The casted material was easy to remove, as there was a slight gap between the mold (cup) and the alginate. The material was elastic; however, it does not seem durable enough for repeated use.
Silicone
Silicone for molds, often called mold-making silicone, is a flexible, durable material used to create detailed molds for casting various objects. It is typically made from silicone rubber, a polymer known for its elasticity, chemical resistance, and ability to capture fine details (summarized from Wikipedia).

Characteristics:
- Brand name: Reschimica
- Product Name: Silicone RPRO 30
- Mixing Ratio: 1 to 1.
- Curing time: 3 hours
- Shelf life: 6 months
- Toxicity: non-toxic.
- Data sheet:link
Test results
The silicone maintained its shape and dimensions, and we had to cut the plastic cup to remove the casted material. This was easily done, as the silicone did not adhere much to the walls of the cup. The material was elastic, with good structural properties.
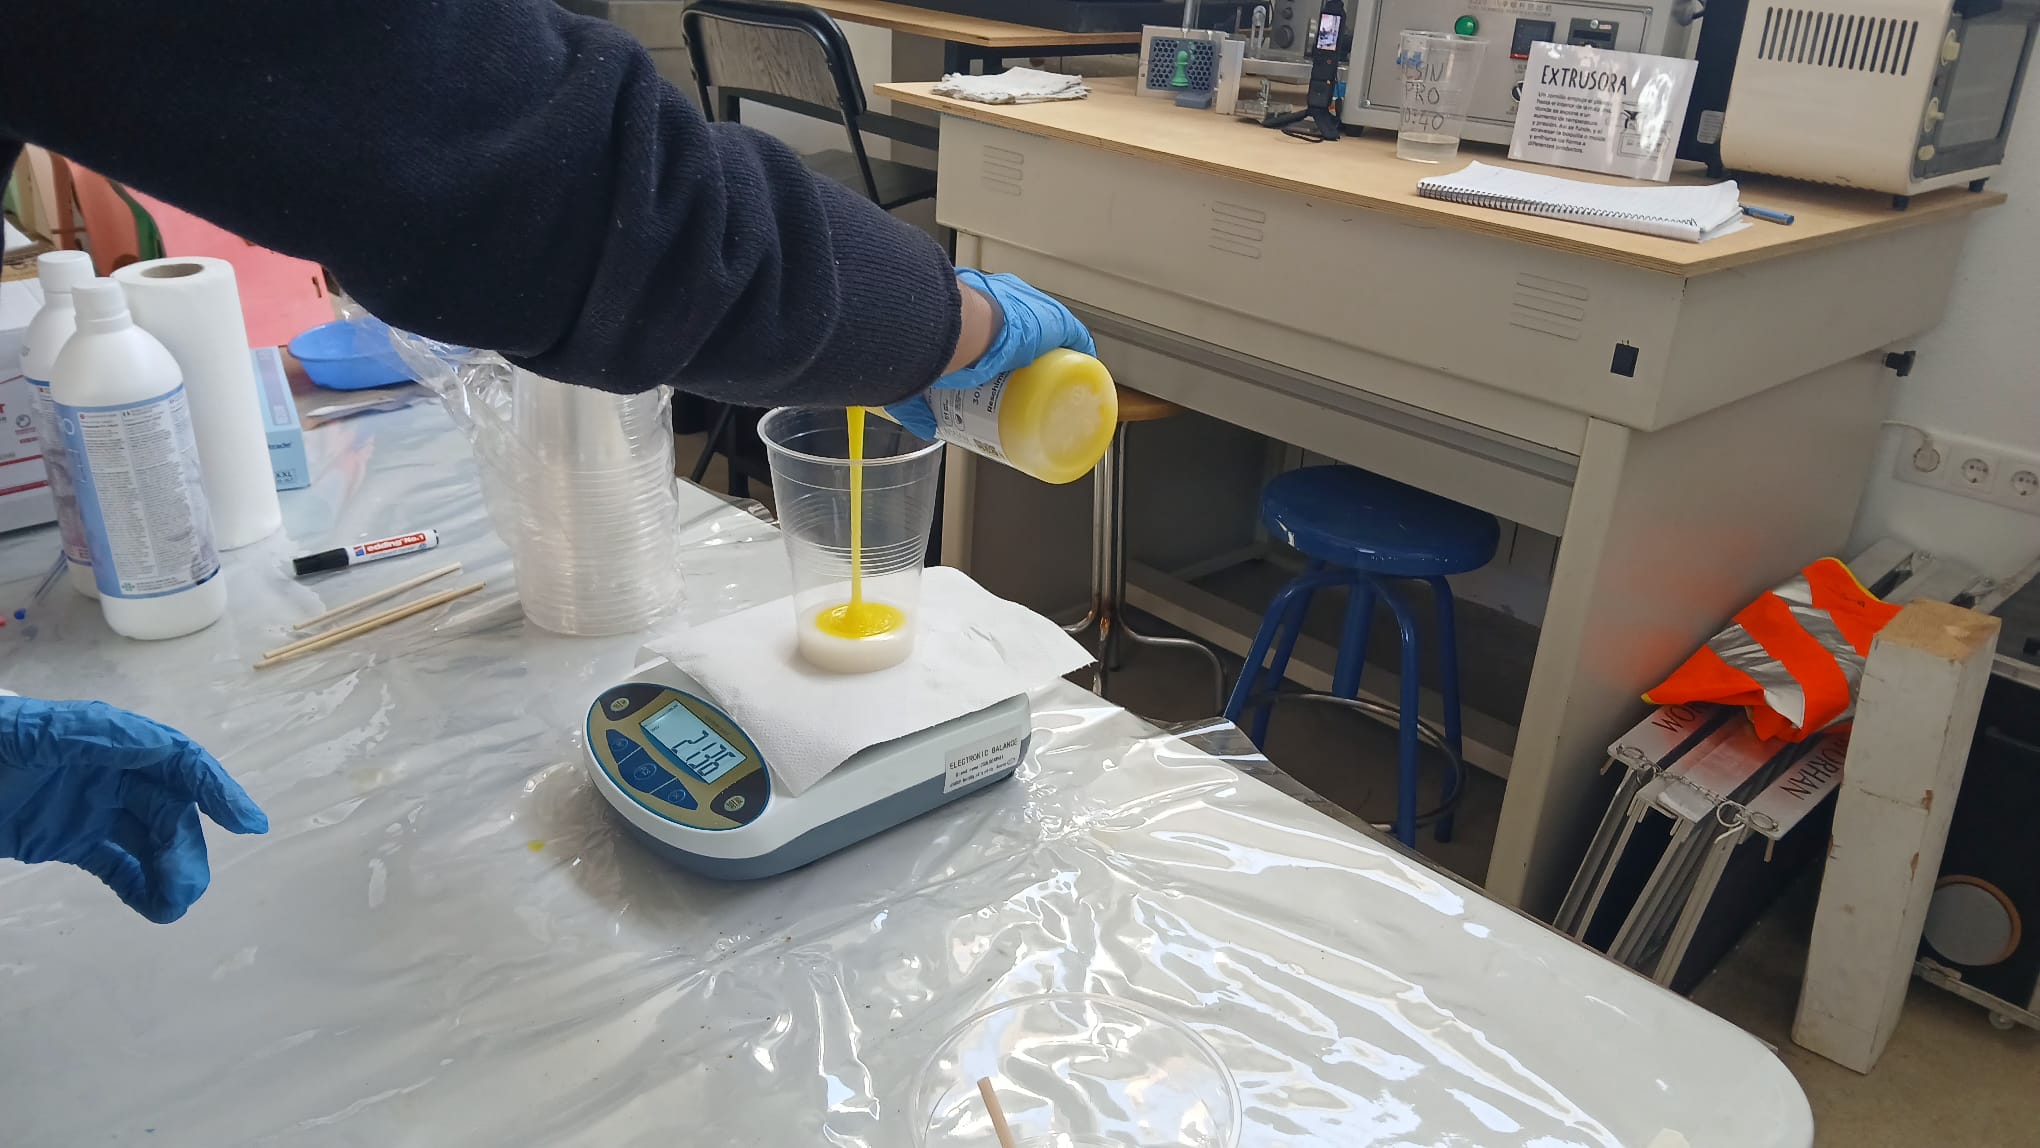
Epoxy Resine
Epoxy resin is a class of reactive prepolymers and polymers containing epoxide groups, commonly known as polyepoxides. These resins are typically cured (hardened) by reaction with hardeners such as polyfunctional amines, acids, phenols, alcohols, or thiols, forming a thermosetting polymer with favorable mechanical properties and high thermal and chemical resistance (summarized from Wikipedia).
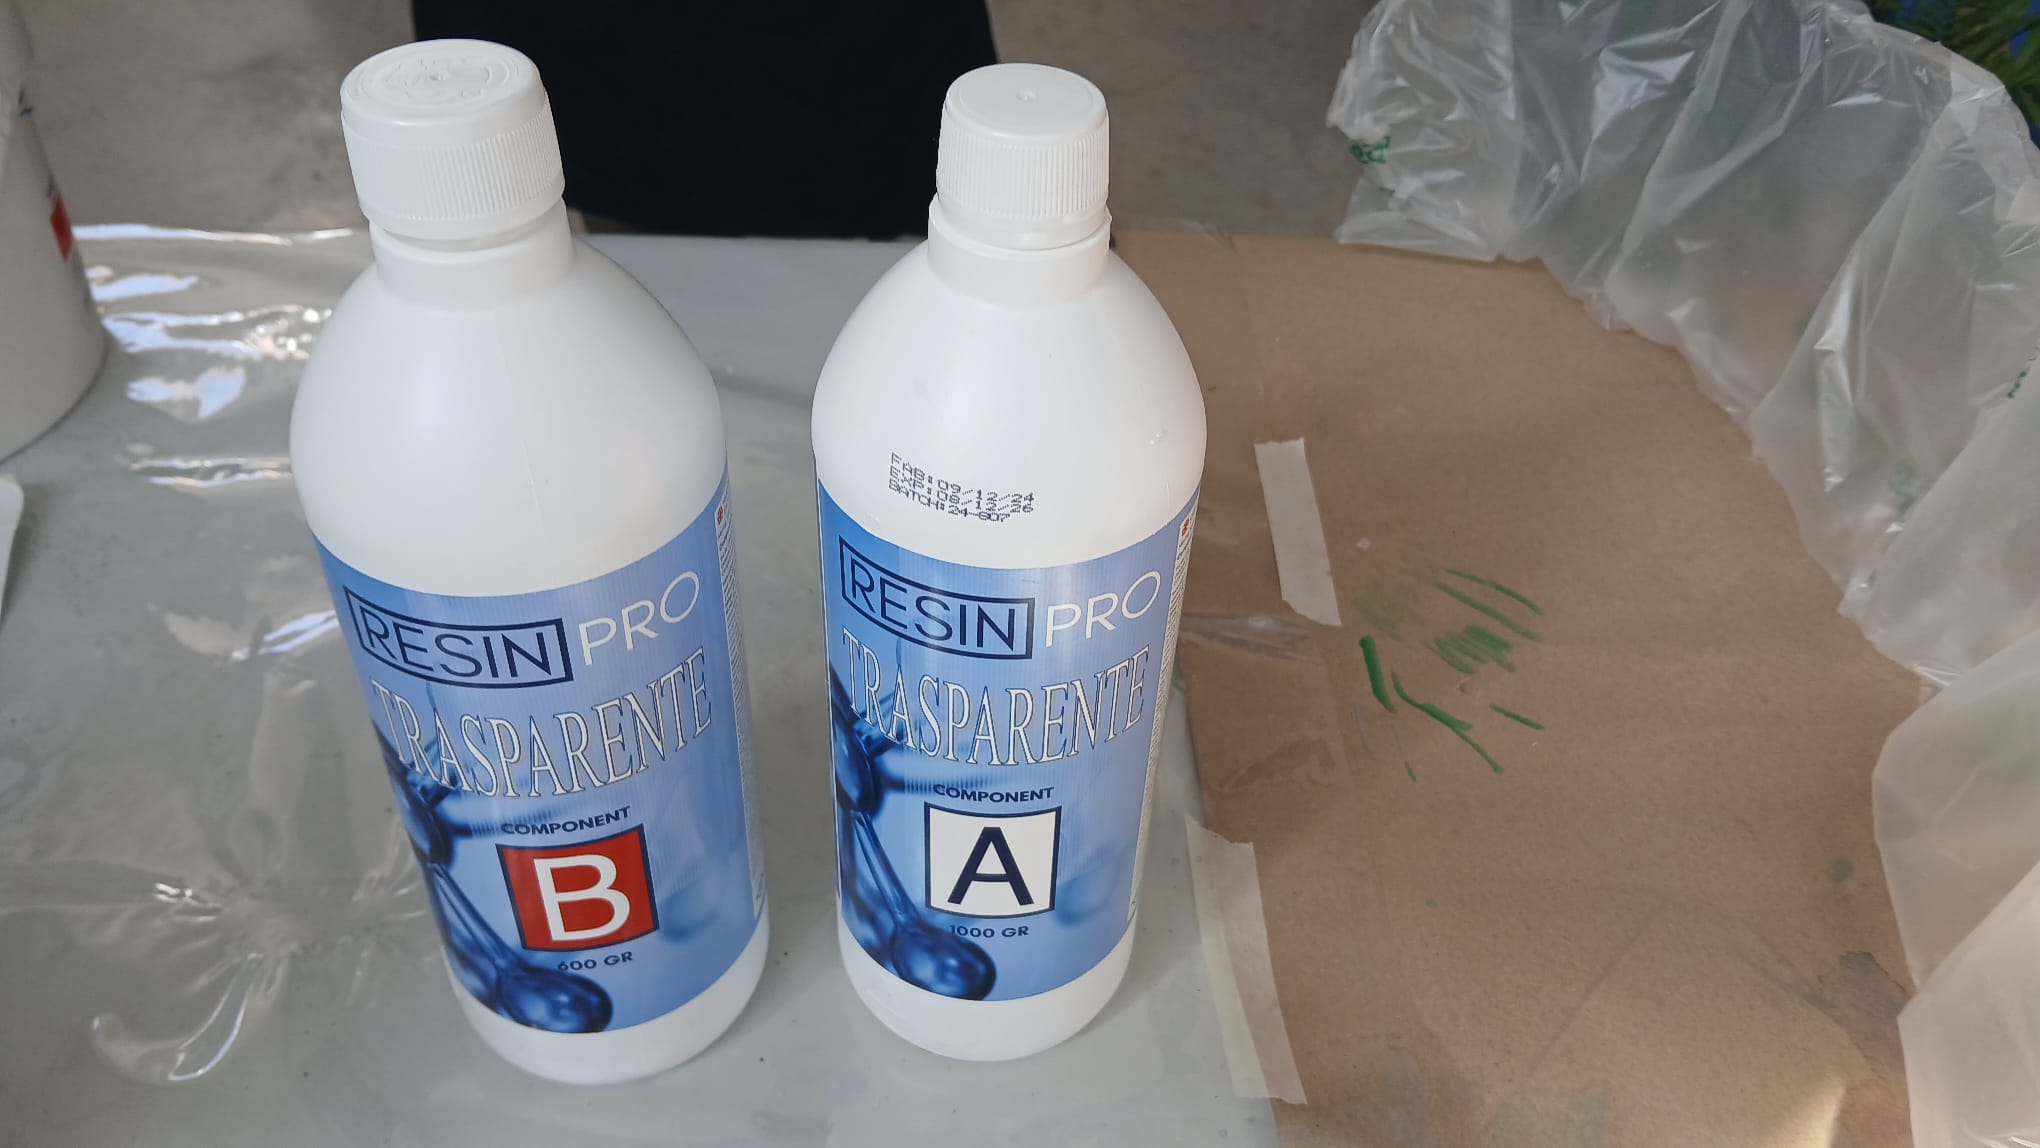
- Brand name: Resin-pro
- Product Name: Resin-pro
- Mixing Ratio: 100(B):60(A)
- Curing time: 24-36hrs
- Pot life: 50 minutes
- Shelf life: 12 months
- Toxicity: This is a toxic compound; it is recommended to use safety gloves, goggles, and a filter mask.
Please follow the safety data sheets provided below:
safety compound A, safety compound B, general instructions,
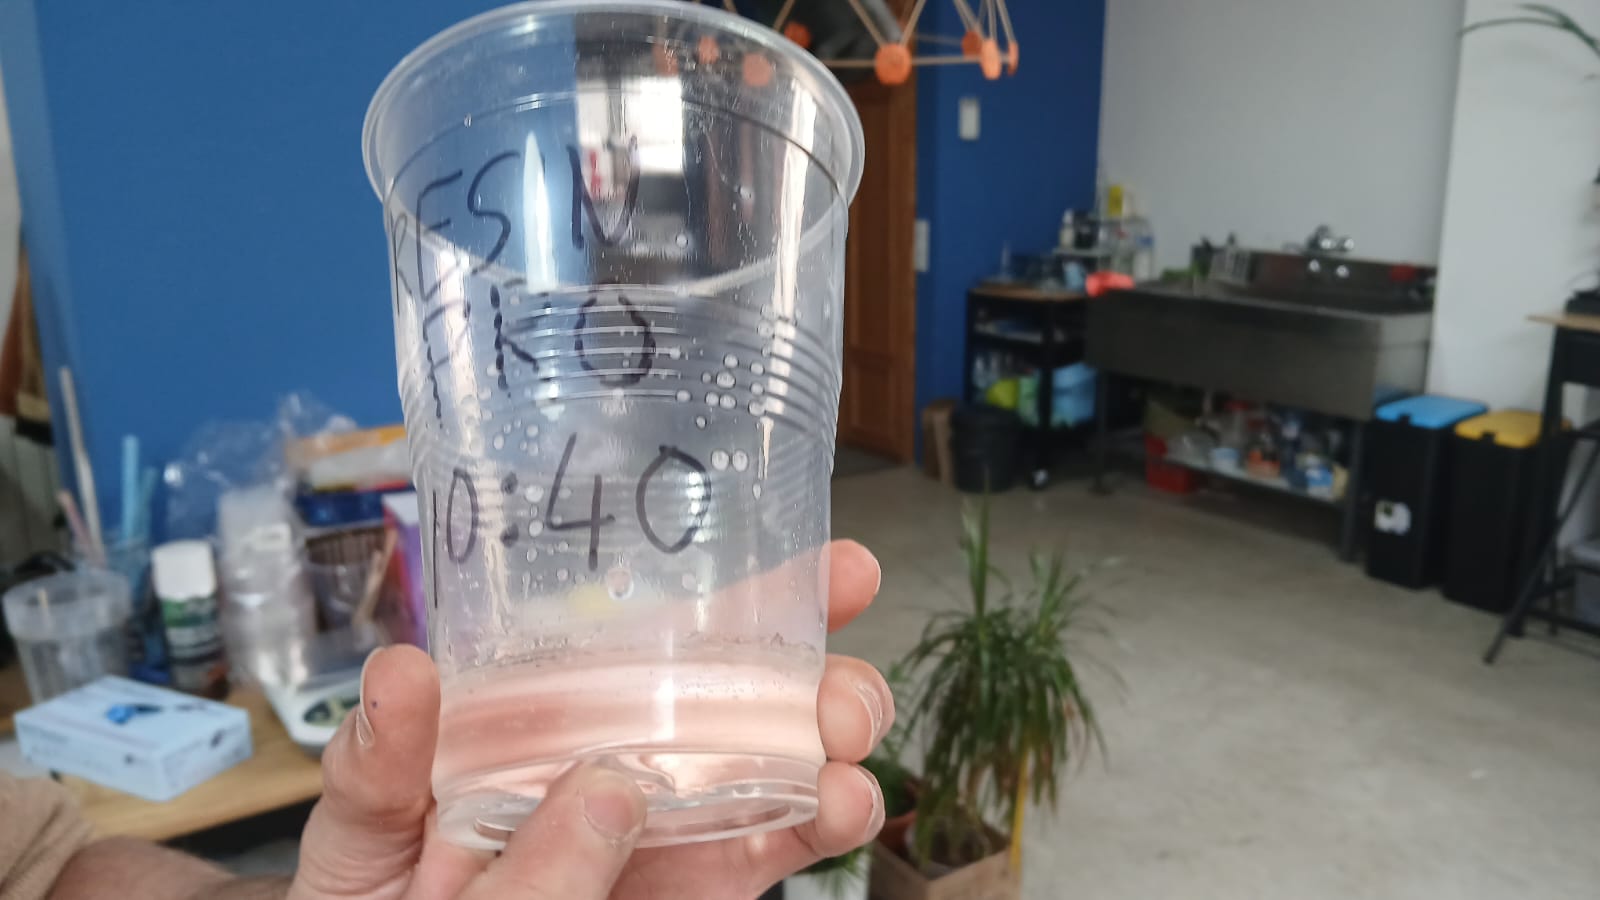
Test results
After waiting 24 hours, the resin still had not cured. After one week the material was hard on the surface but still soft at the button. We casted it again in a small container and this cured well (see pecture at the end of this section.)
Plaster
Plaster is a versatile material used in molding and casting, typically composed of gypsum, lime, or cement. When mixed with water, it forms a workable paste that hardens through crystallization, making it suitable for creating detailed molds and sculptures (summarized from Wikipedia).
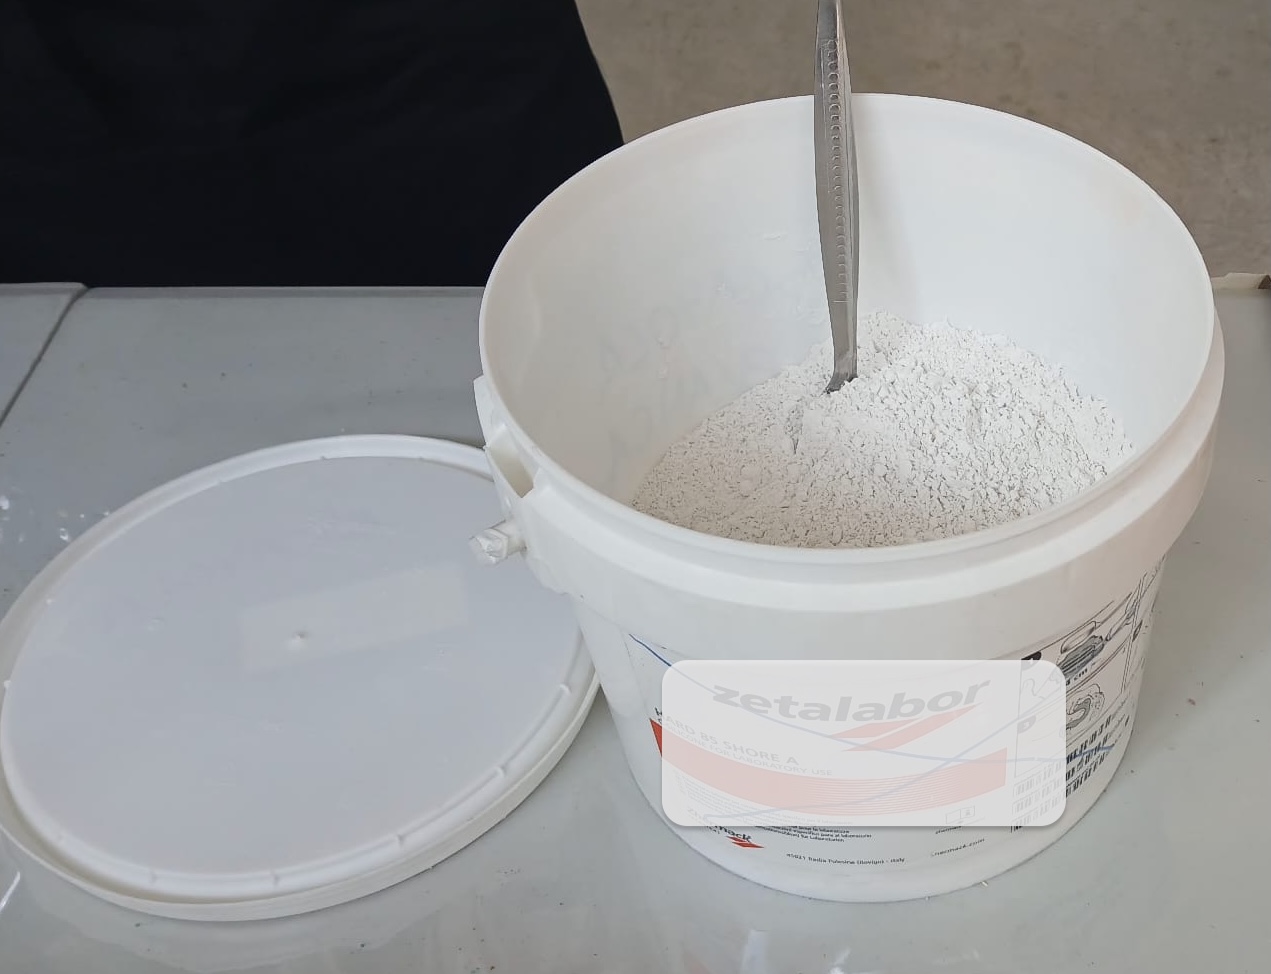
- Brand name: NA
- Product Name: Plaster
- Mixing Ratio: 28-30 grams of material for 100 grams of water.
- Curing time: 30-60 minutes, complete drying 24-48 hrs.
- Shelf life: 3 years
- Toxicity: Not toxic, however powder inhalation can cause irritation of breathing pathways.
here you can find the data sheet,
Test results
The plaster dried swiftly, though it proved a bit tricky to remove from the plastic cup. Despite the challenge, it held its intended shape perfectly. There were a small amount of bubbles.
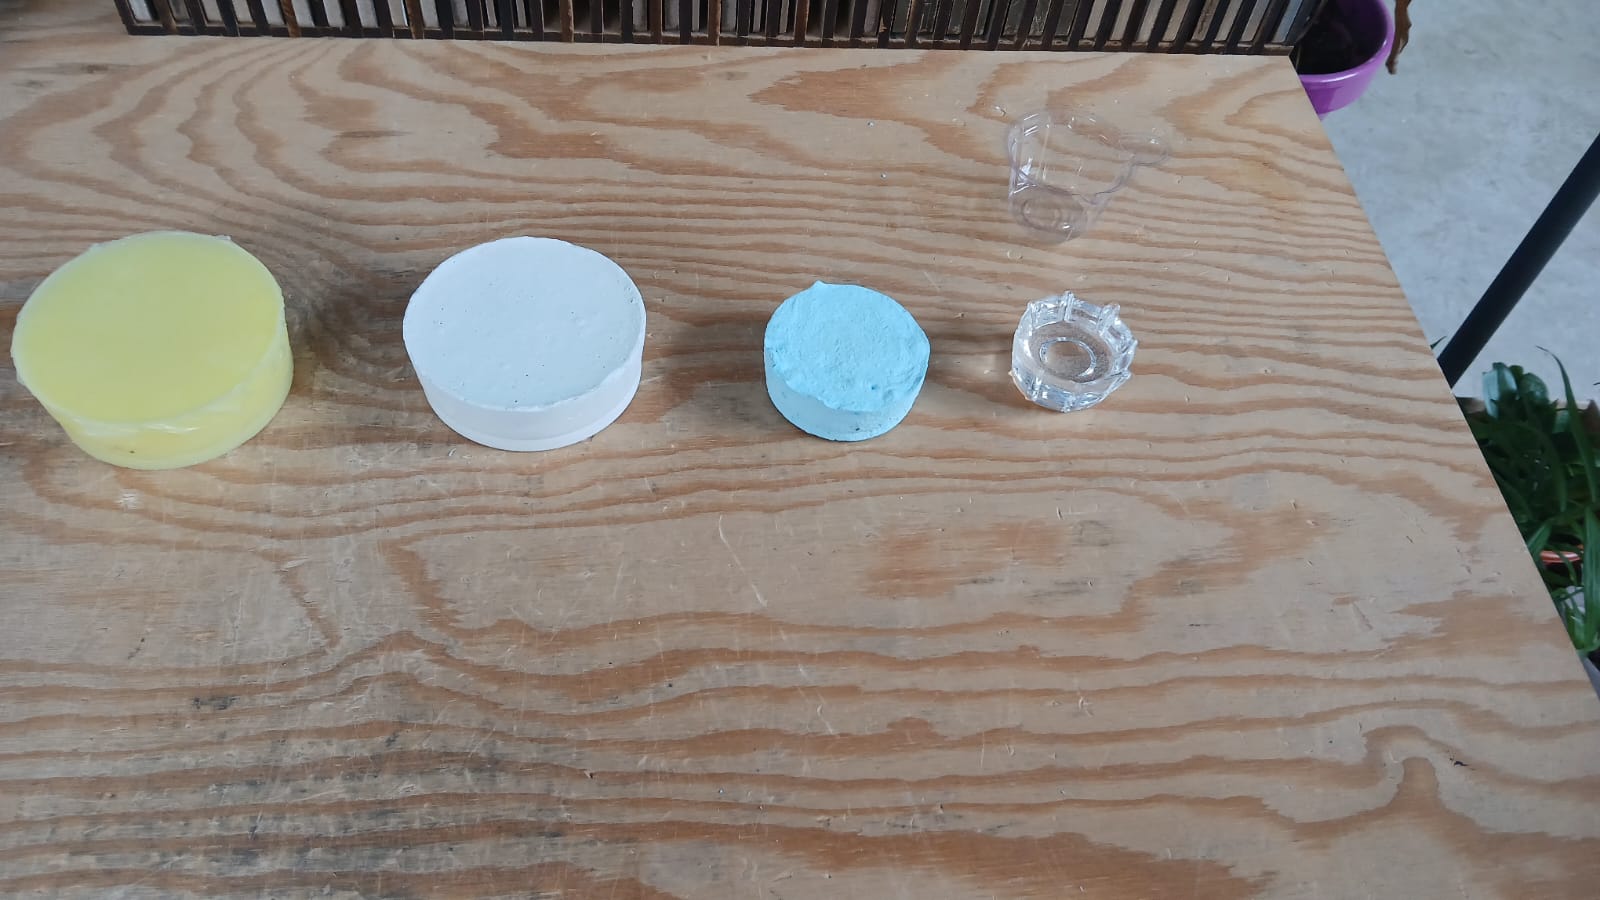
Conclusion
In conclusion, both alginate and silicone produced flexible molds that accurately captured the intended shapes. However, alginate showed some reduction in size and had weaker cohesion compared to silicone, which maintained both its scale and structural integrity. Additionally, bubble formation was observed in the alginate. Both materials cured quickly. Regarding the other casted materials, plaster cured rapidly and preserved both the shape and size of the molds effectively. Resin, on the other hand, maintained shape and size very well but required significantly longer curing times.
Individual Assignment
For this week’s assignment, I am designing silicone button covers for my project to help protect the electronics of the camera trap. The buttons’ function will be to move the tape rolls up and down during loading and unloading.
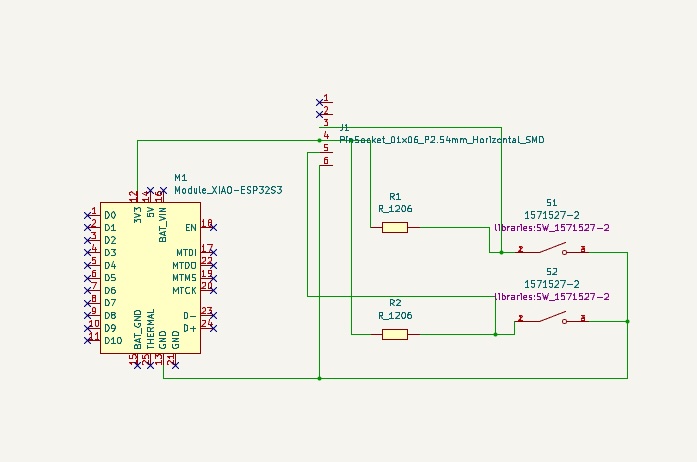
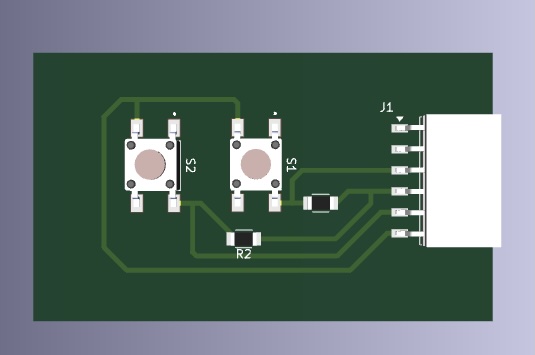
First, I designed a 2-button PCB with pull-up resistors using KiCad.

Afterward, I exported an STL file from Kicad into Fusion, allowing me to use it as a reference for designing the silicone button cover.
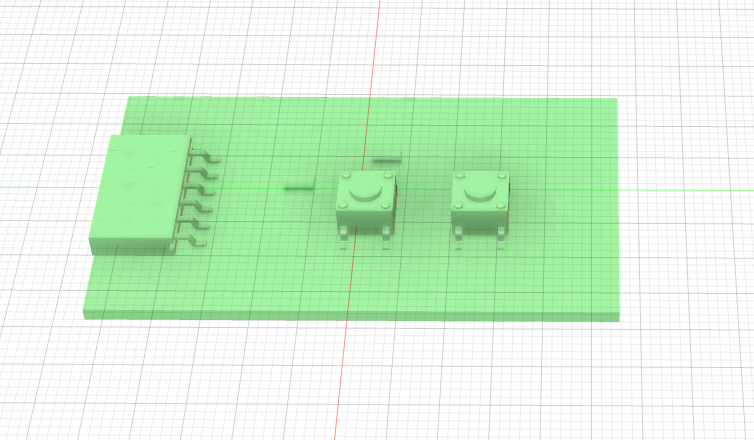
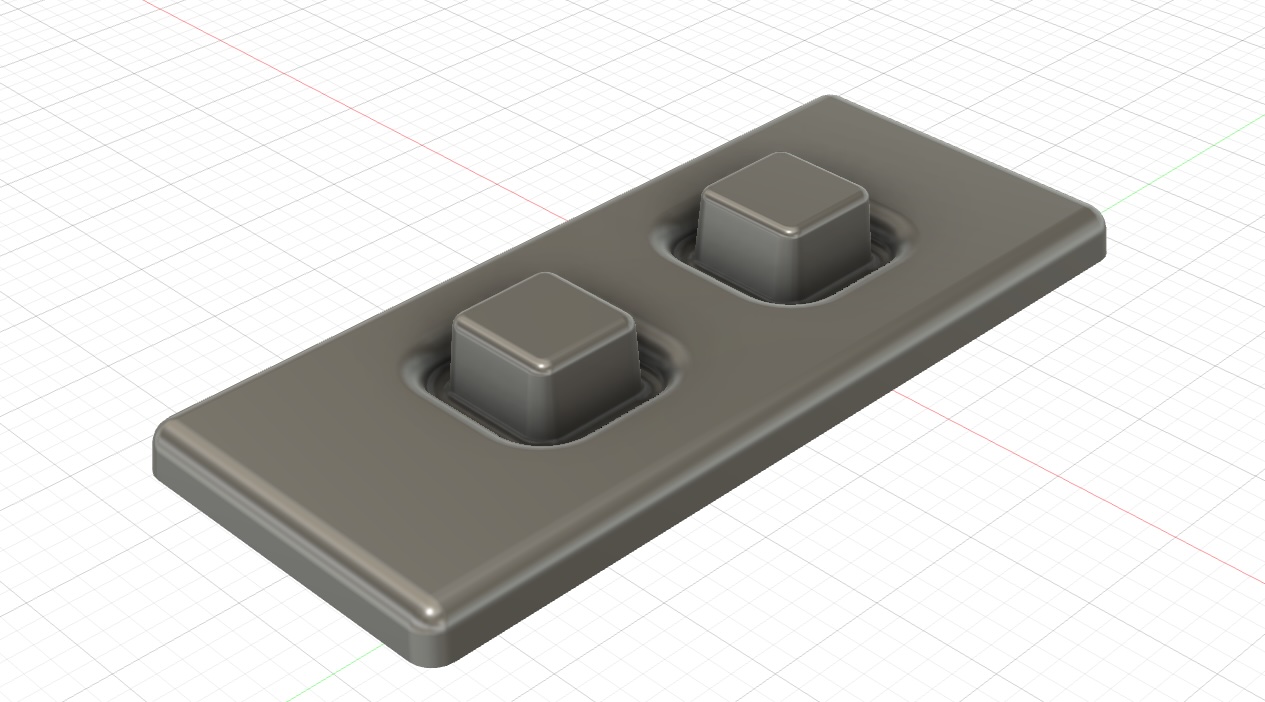
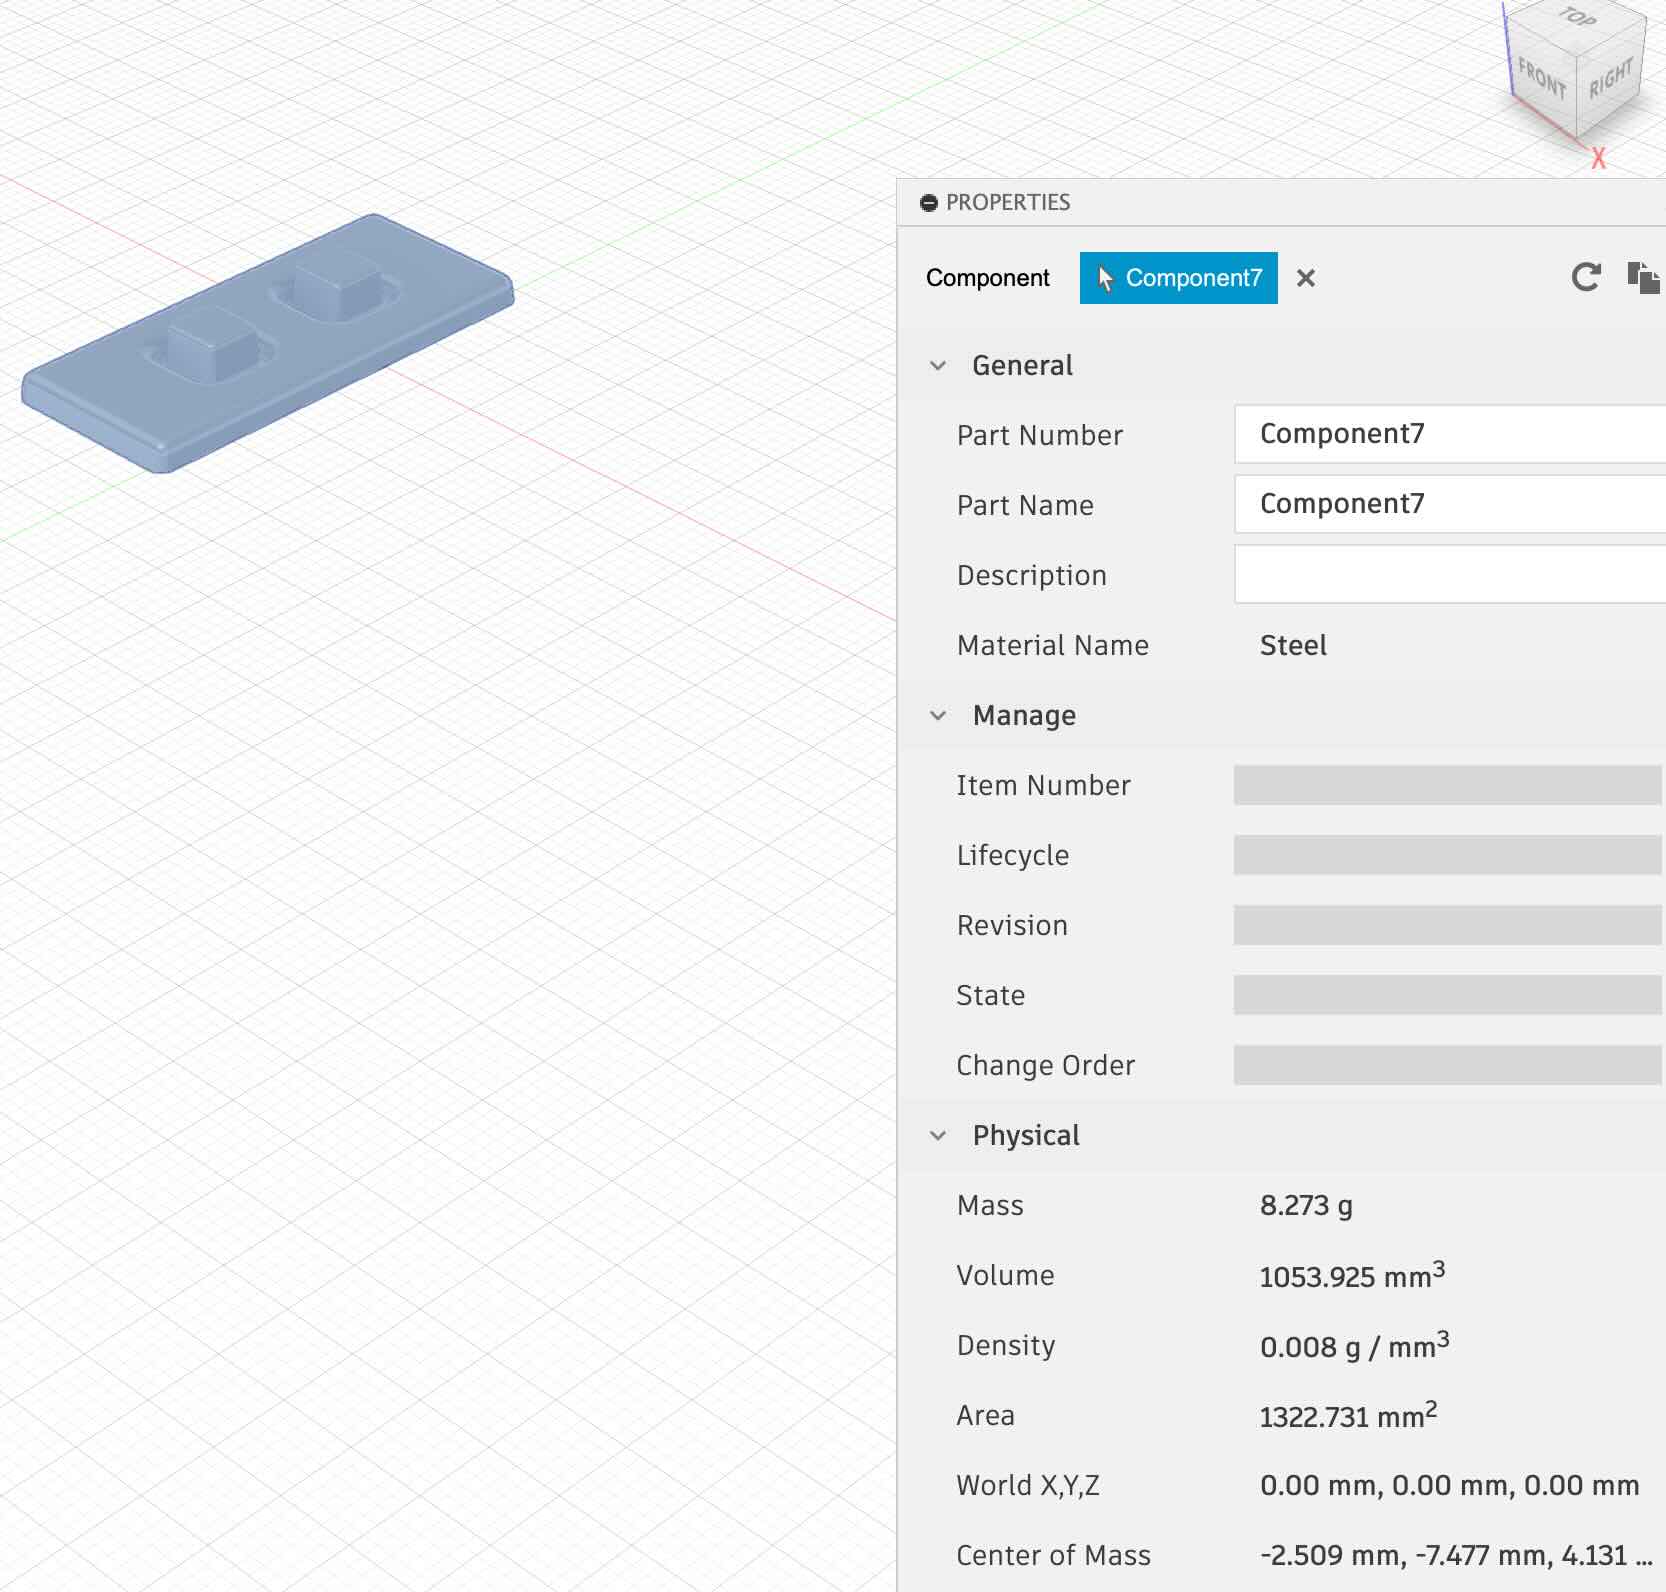
Here you can see the design in Fusion. Note I created a 5 degree draft to make it easier to pull the mold out after casting it.
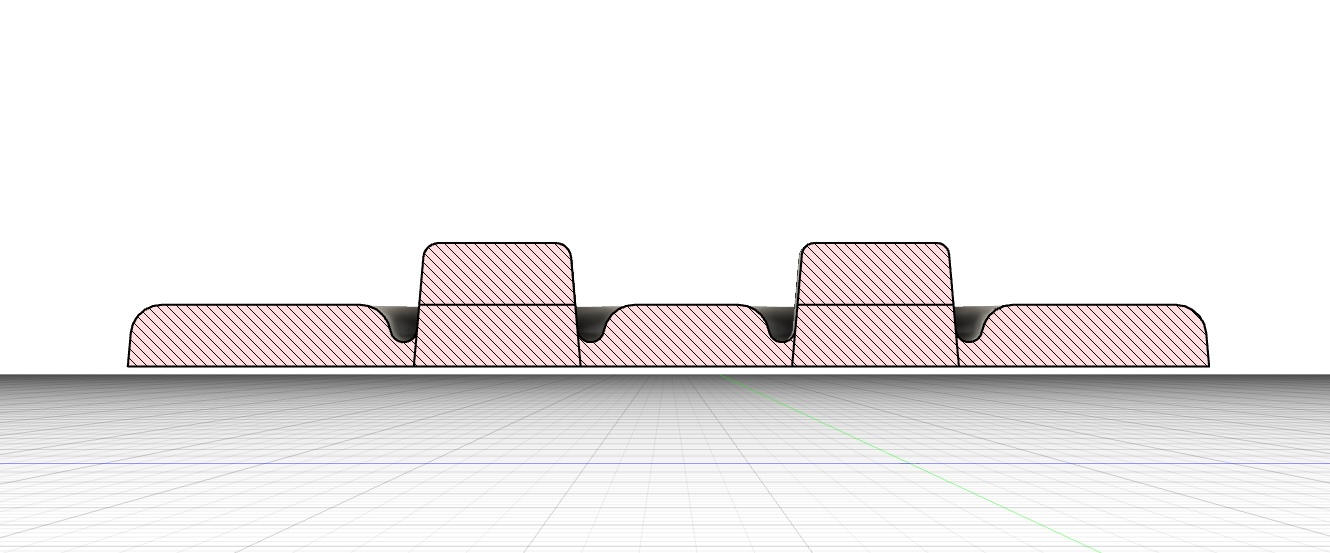
And here is the modeled wax block with the impression of the designed piece. Note, I left a lip for the excess of material

Next, I used the manufacture tab in Fusion to create the milling paths. To learn how to use this feature, I watched the following video:
First, we needed to set up the milling operation. For this we go to milling set up under milling and we get the following menu:
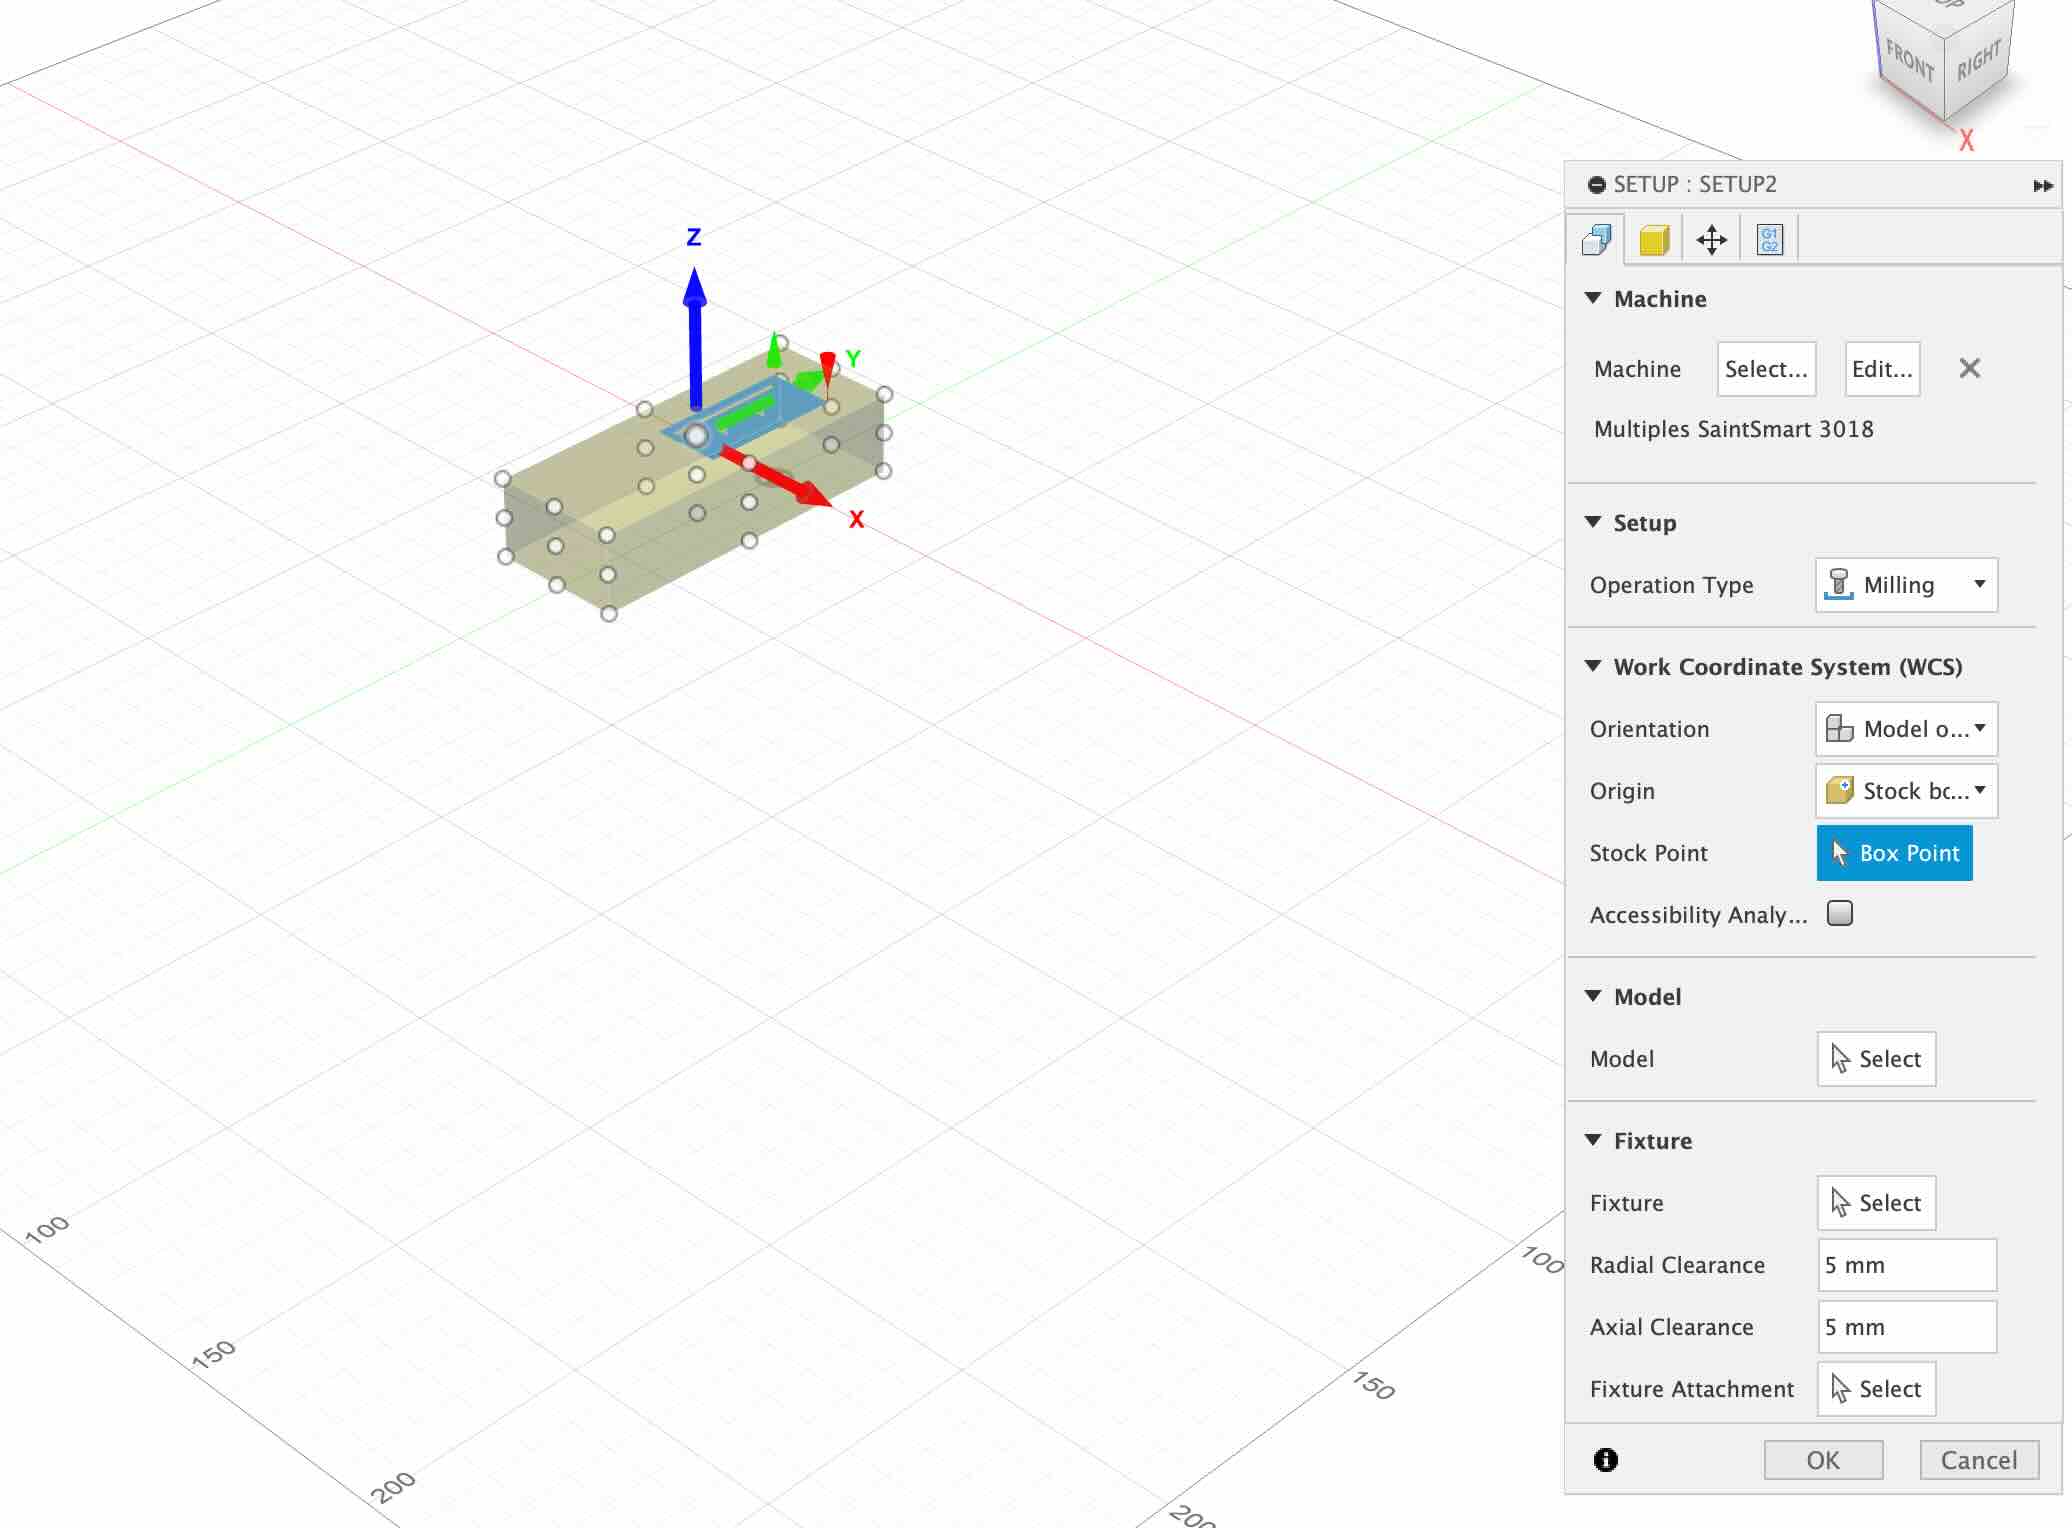
In the first tab we need to define the machine in my case I set up the machine as a generic 3 axis milling machine. Then one needs to set up the stock in the stock tab (“from solid”) and finally its orientation.
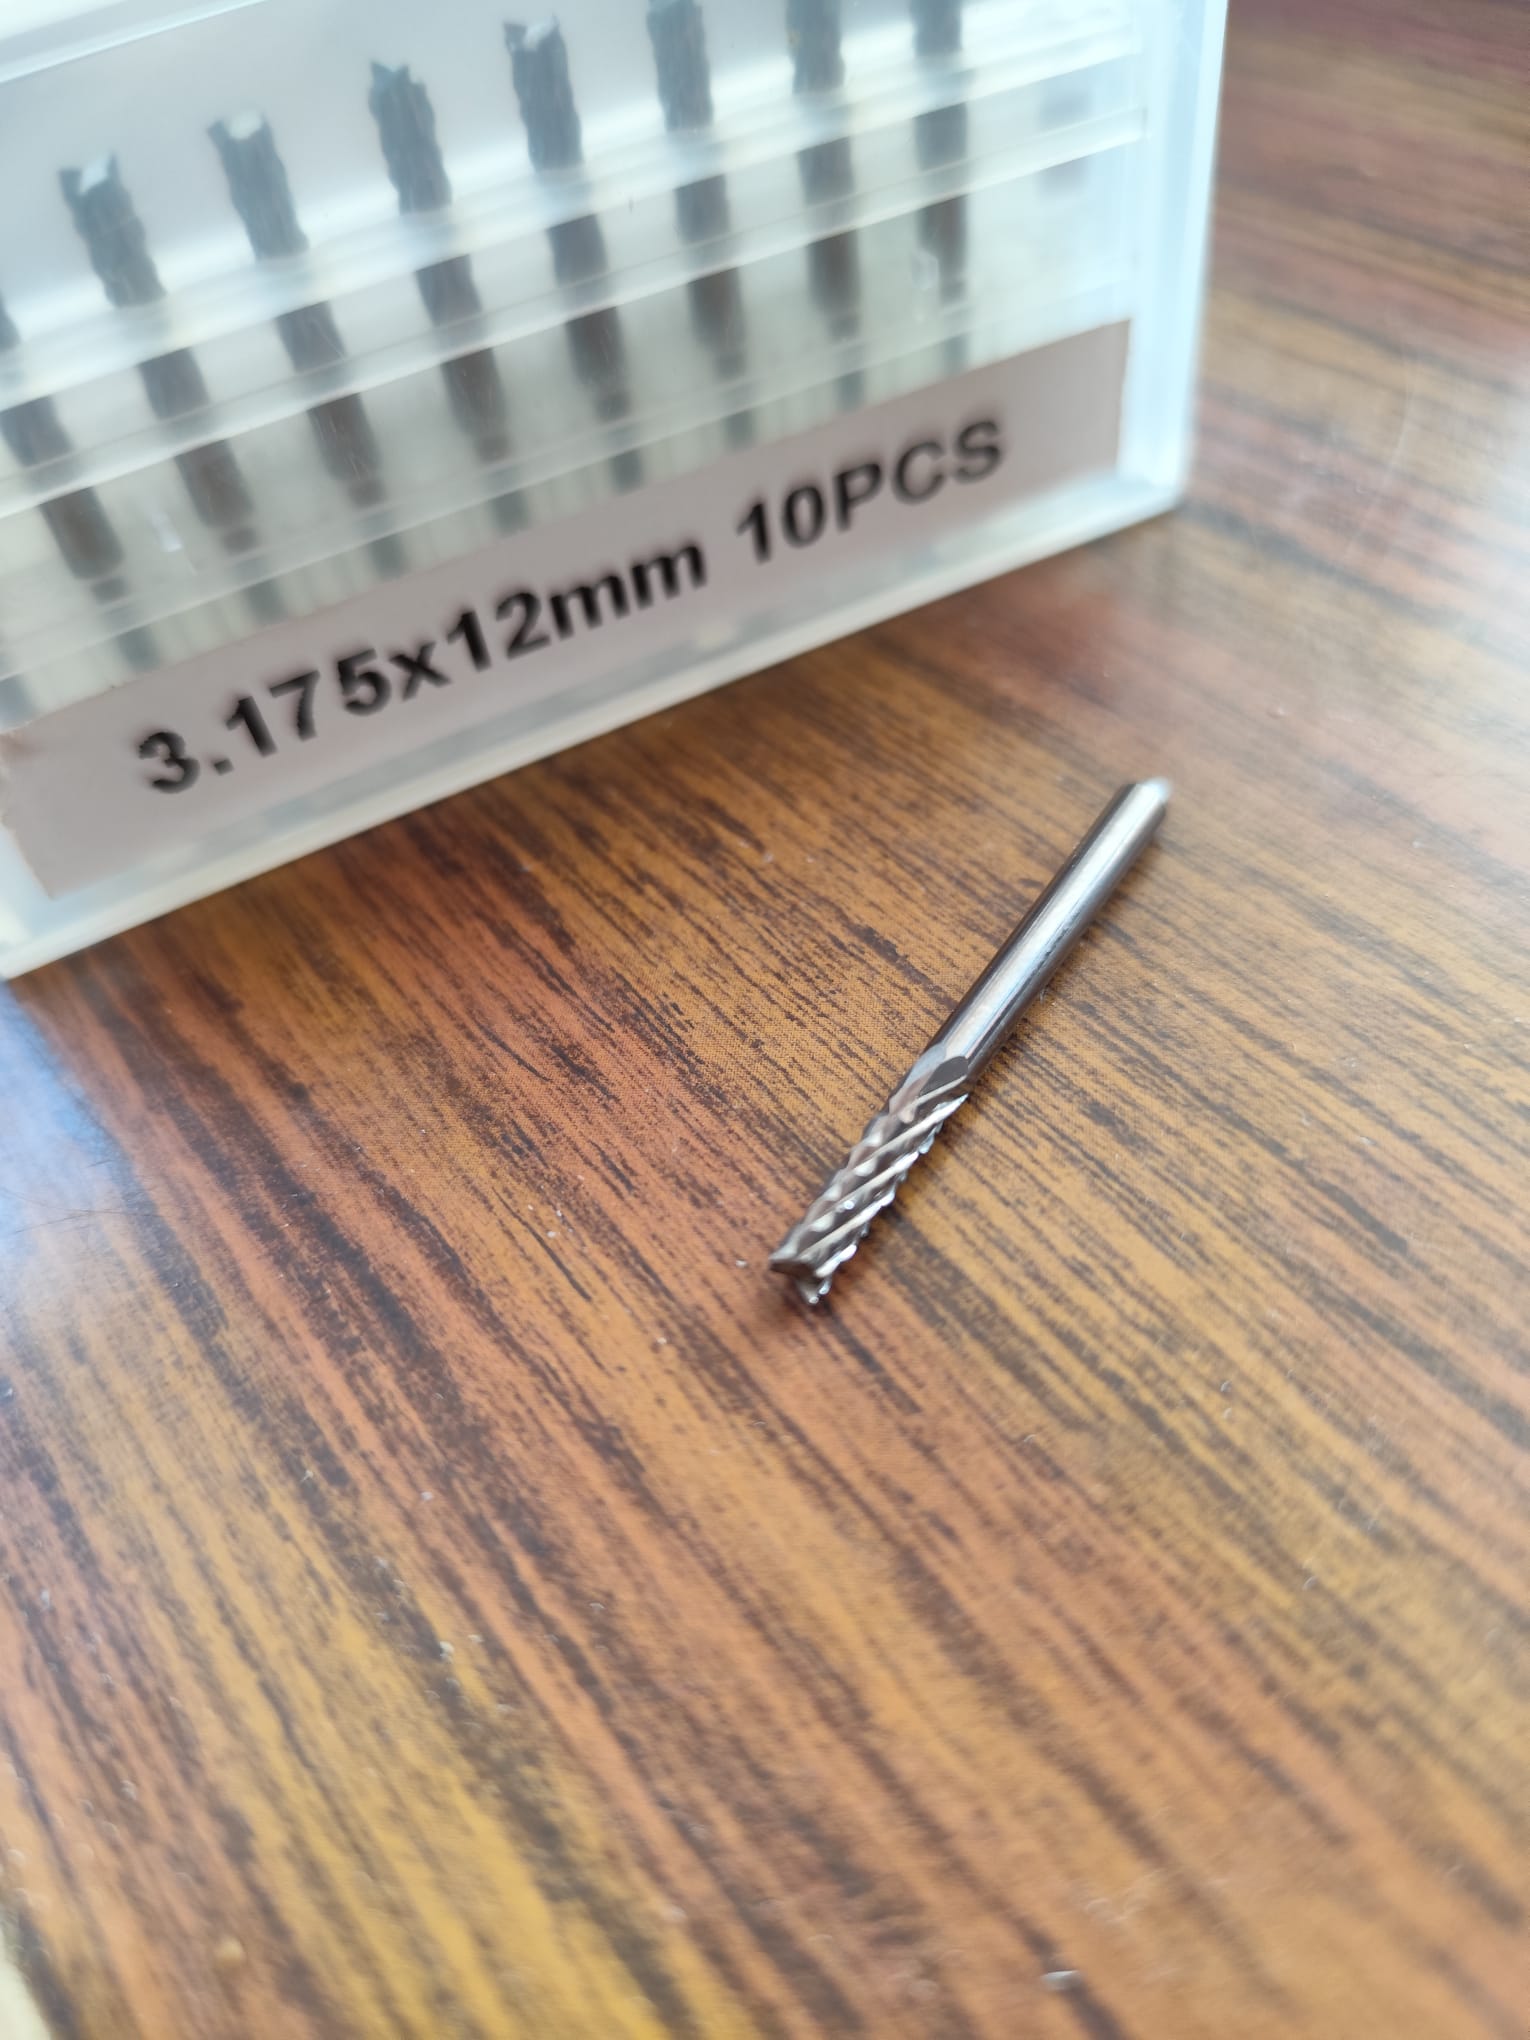
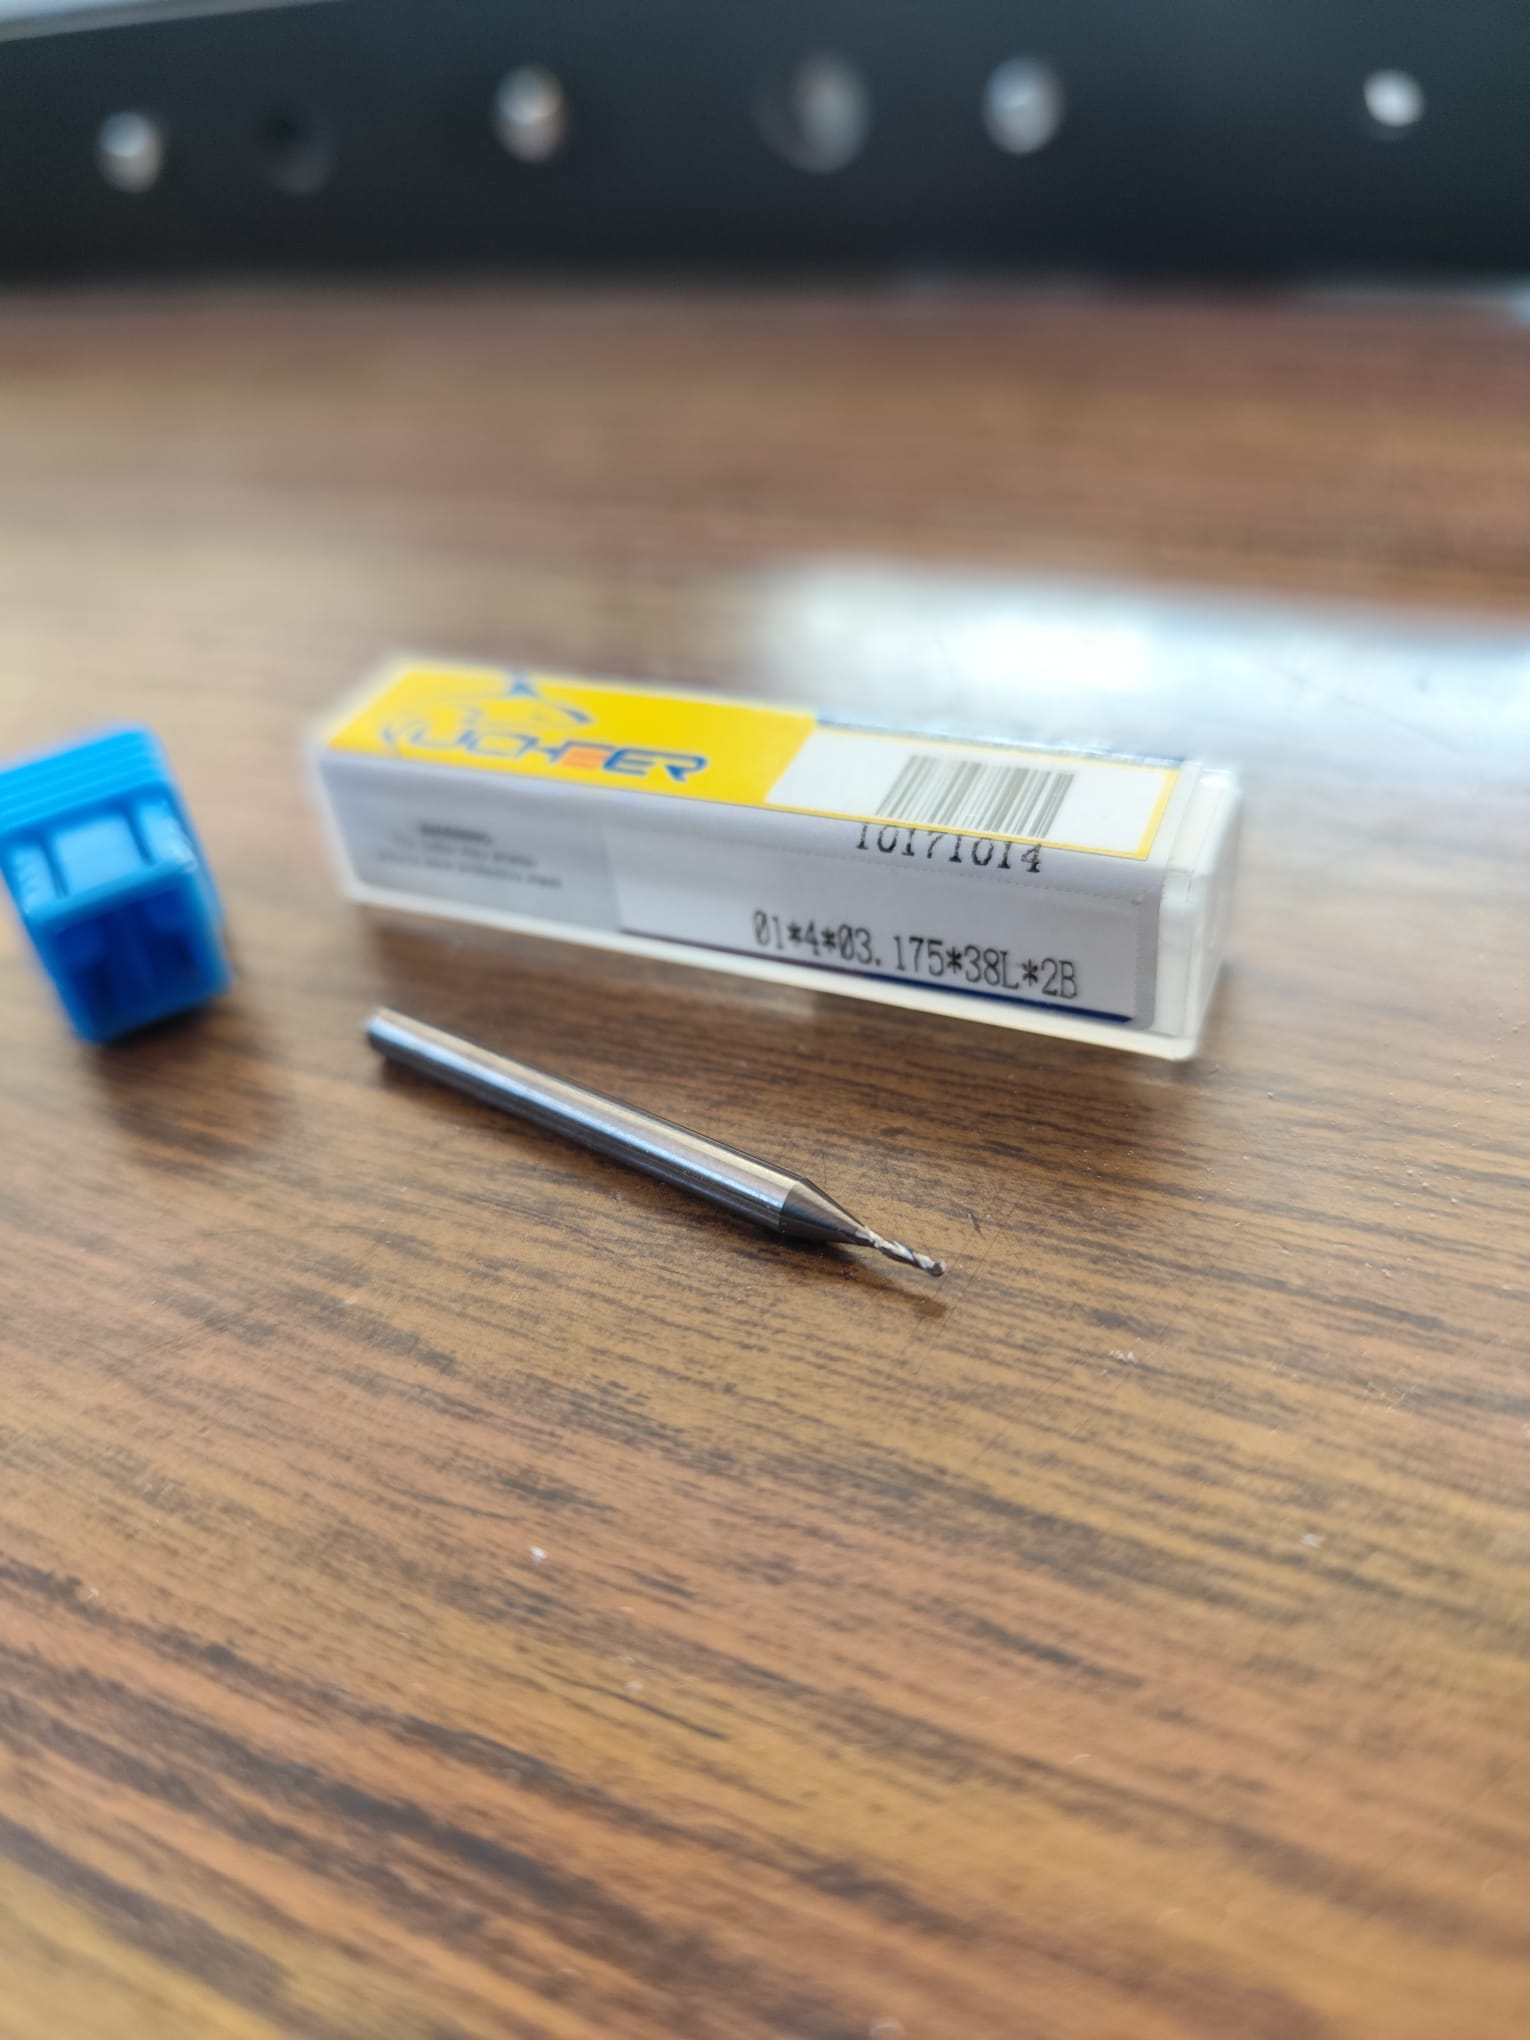
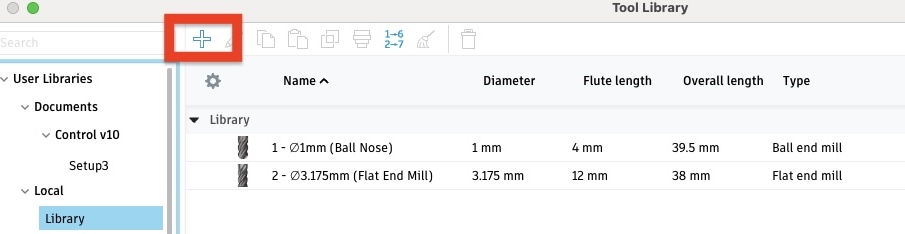
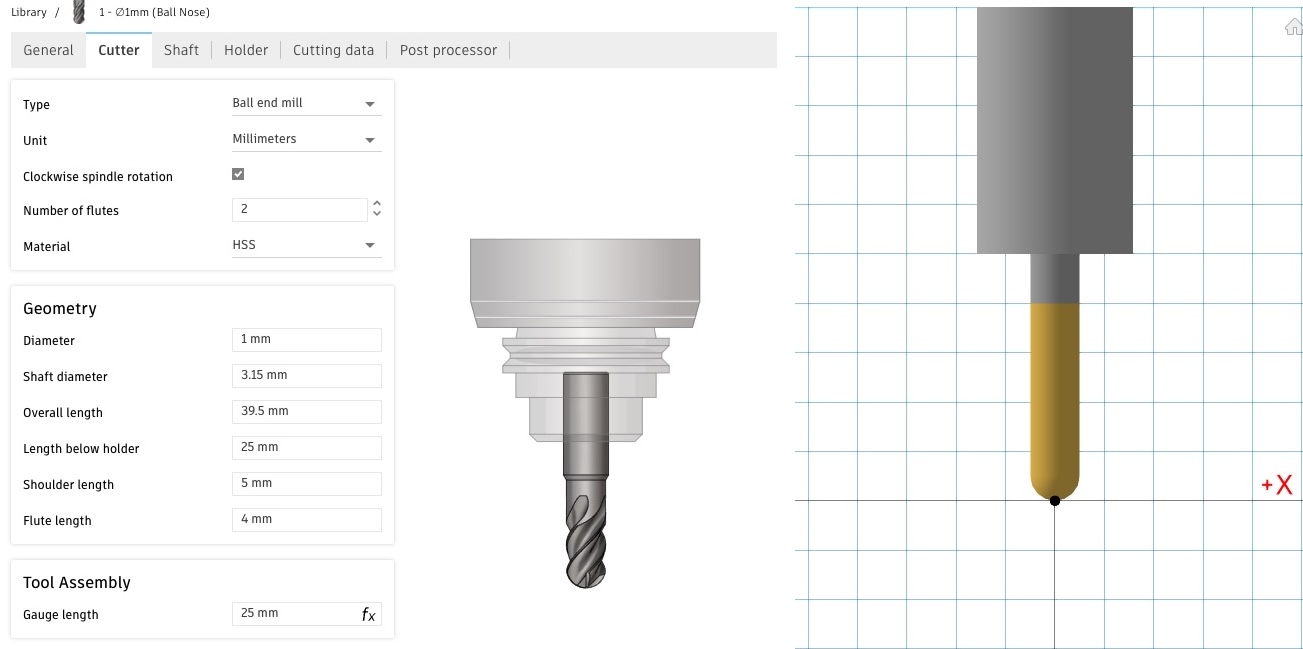
Second, I created the tools I was going to use specifically for this project:
- 3.175 mm corn teeth flat end.
- 1 mm ballnose mill bit
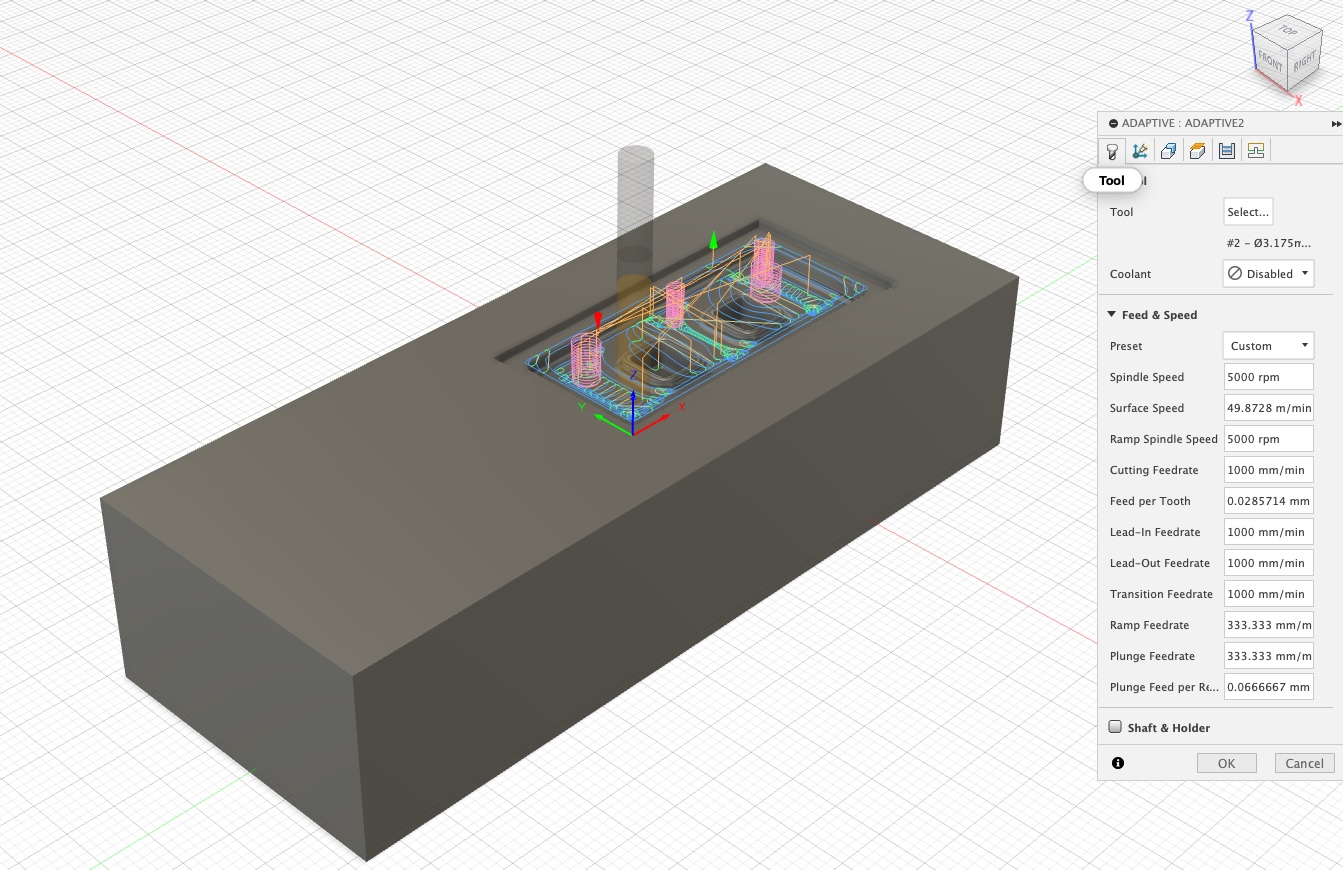
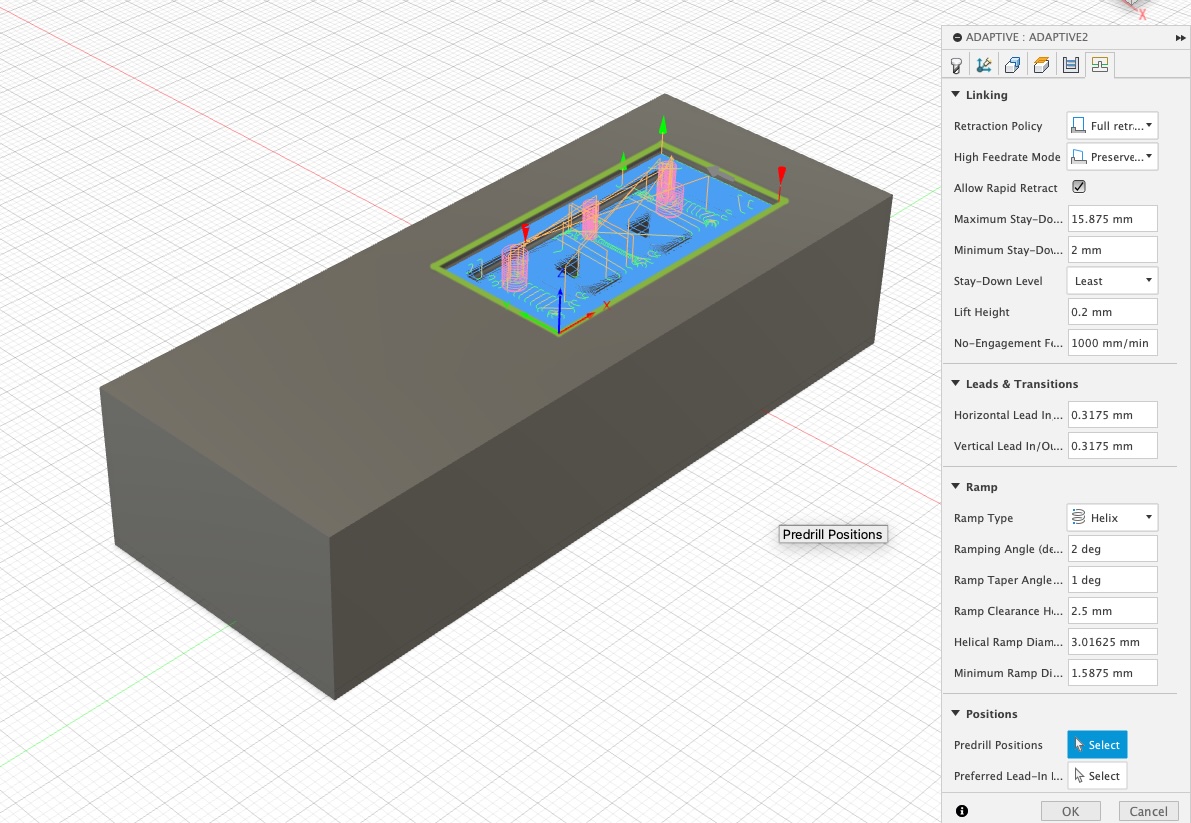
then, in the 3d tab I choose adaptive clearing. This is to carve coarsely pieces with the 3.75 flat end mill bit. Here you can see the different tabs to select the different features to be implemented:
Adaptive settings
Tool
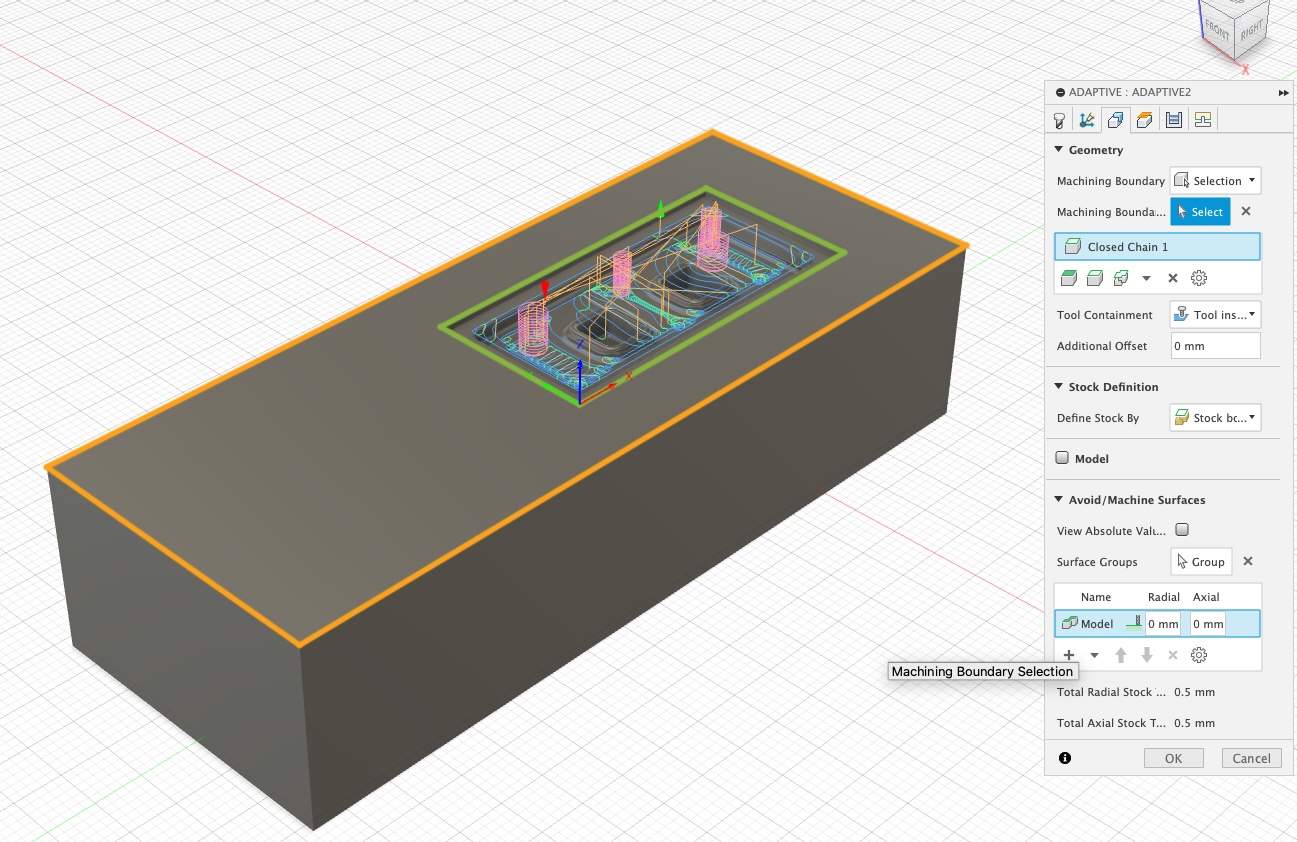
Geometry
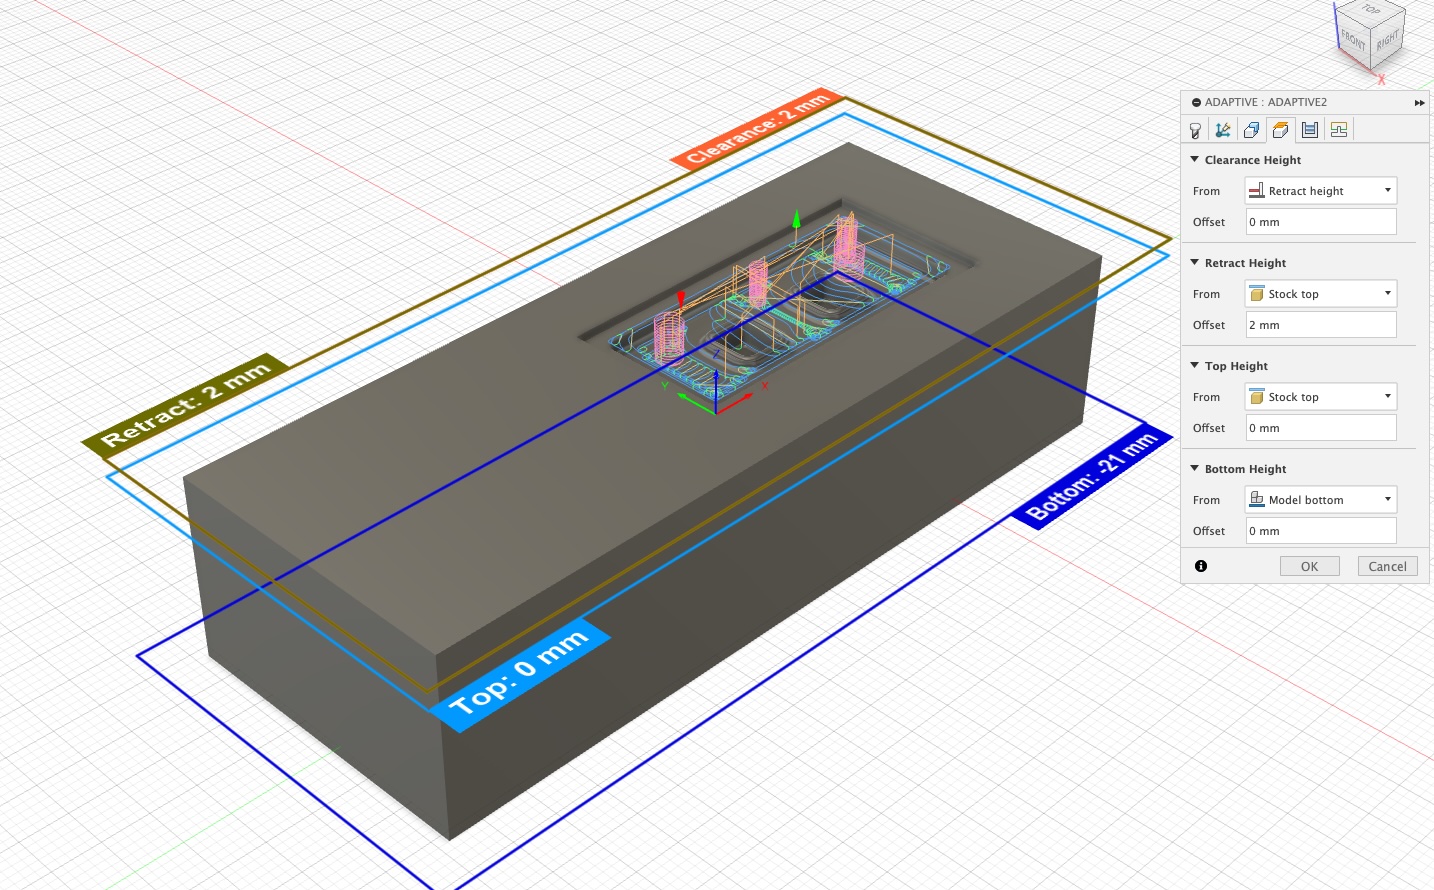
Height
Passes
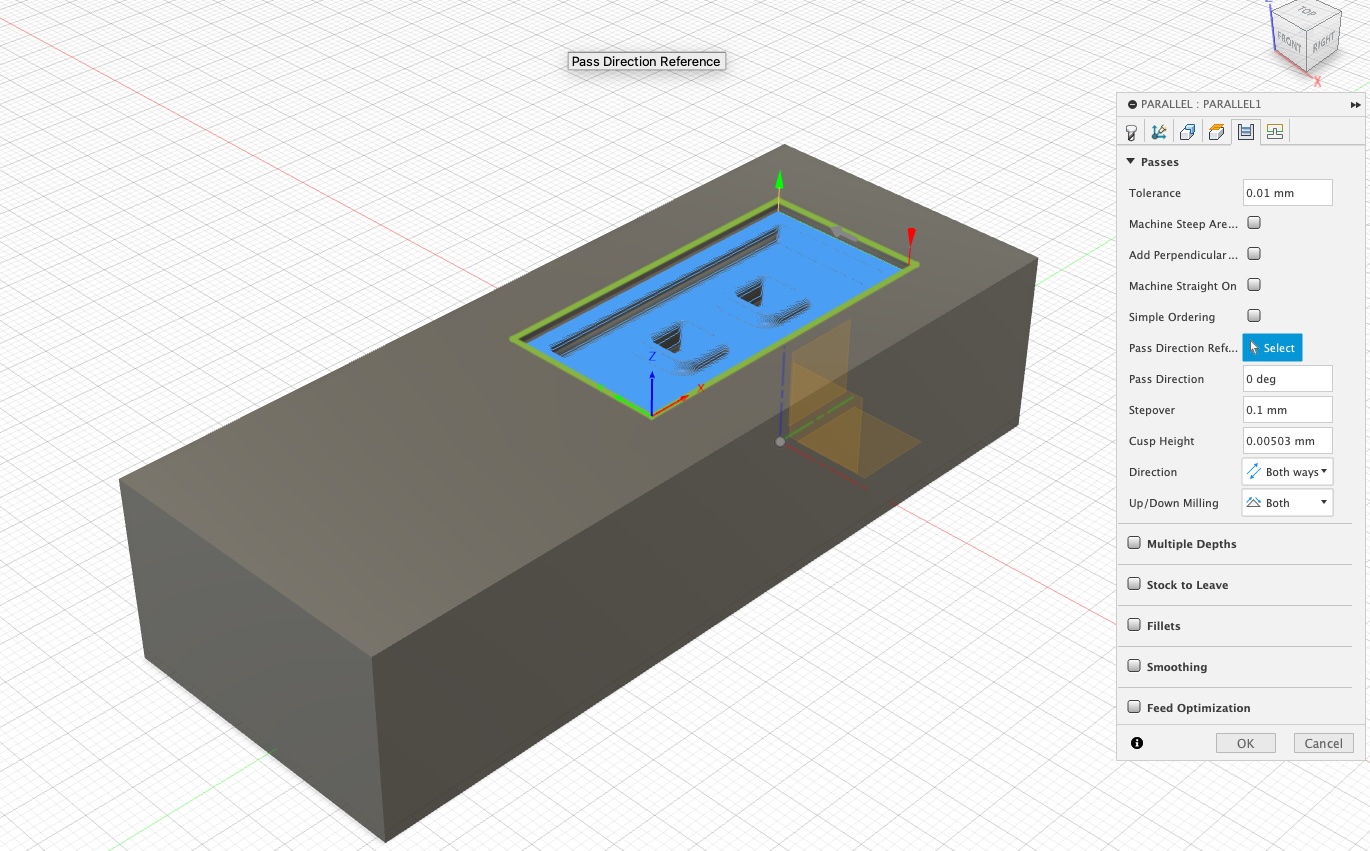
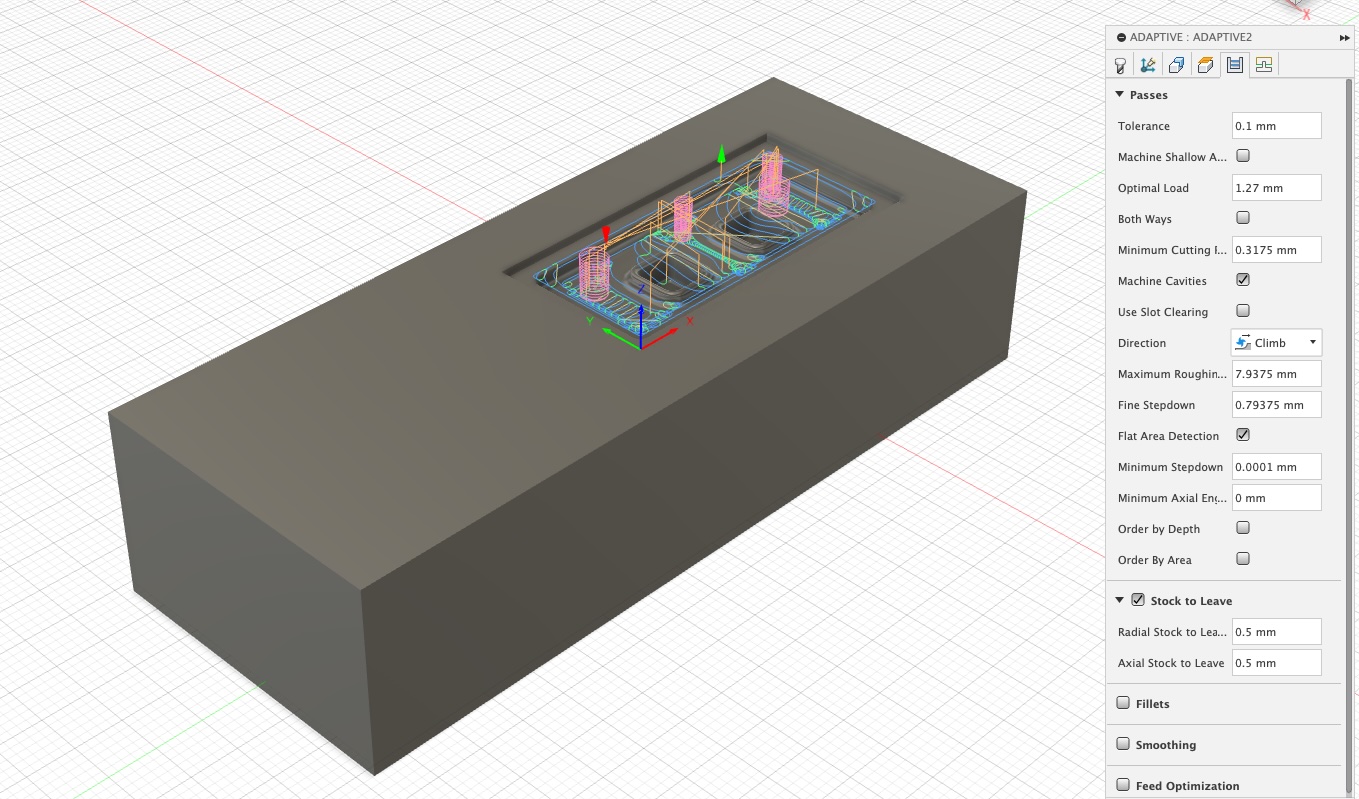 I chose a step-over of
0.1 as it was fine enough to produce a smooth surface otherwise, the
simulation would show pointed areas as result of the ball nose mill bit
profile.
I chose a step-over of
0.1 as it was fine enough to produce a smooth surface otherwise, the
simulation would show pointed areas as result of the ball nose mill bit
profile.
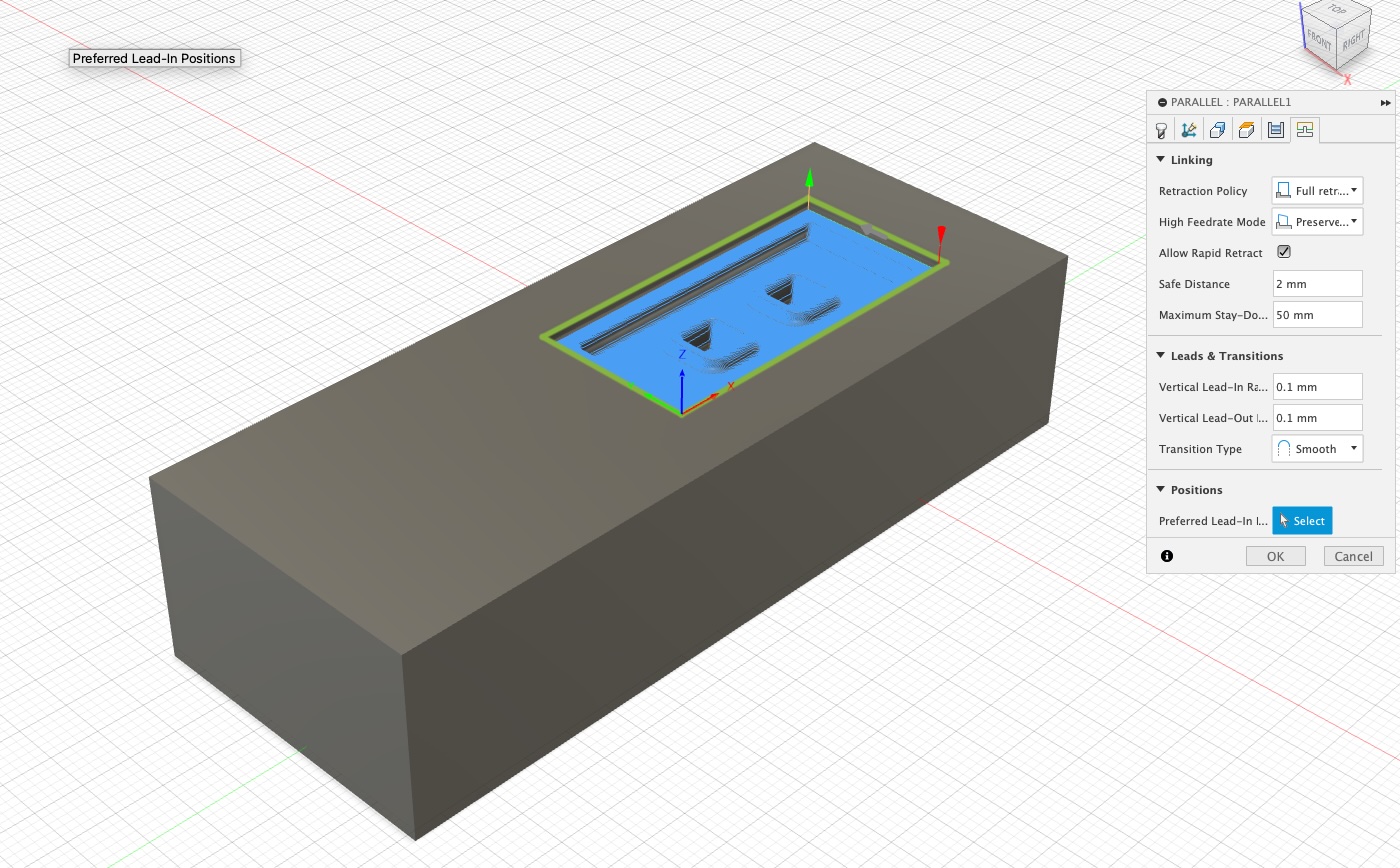
Linking
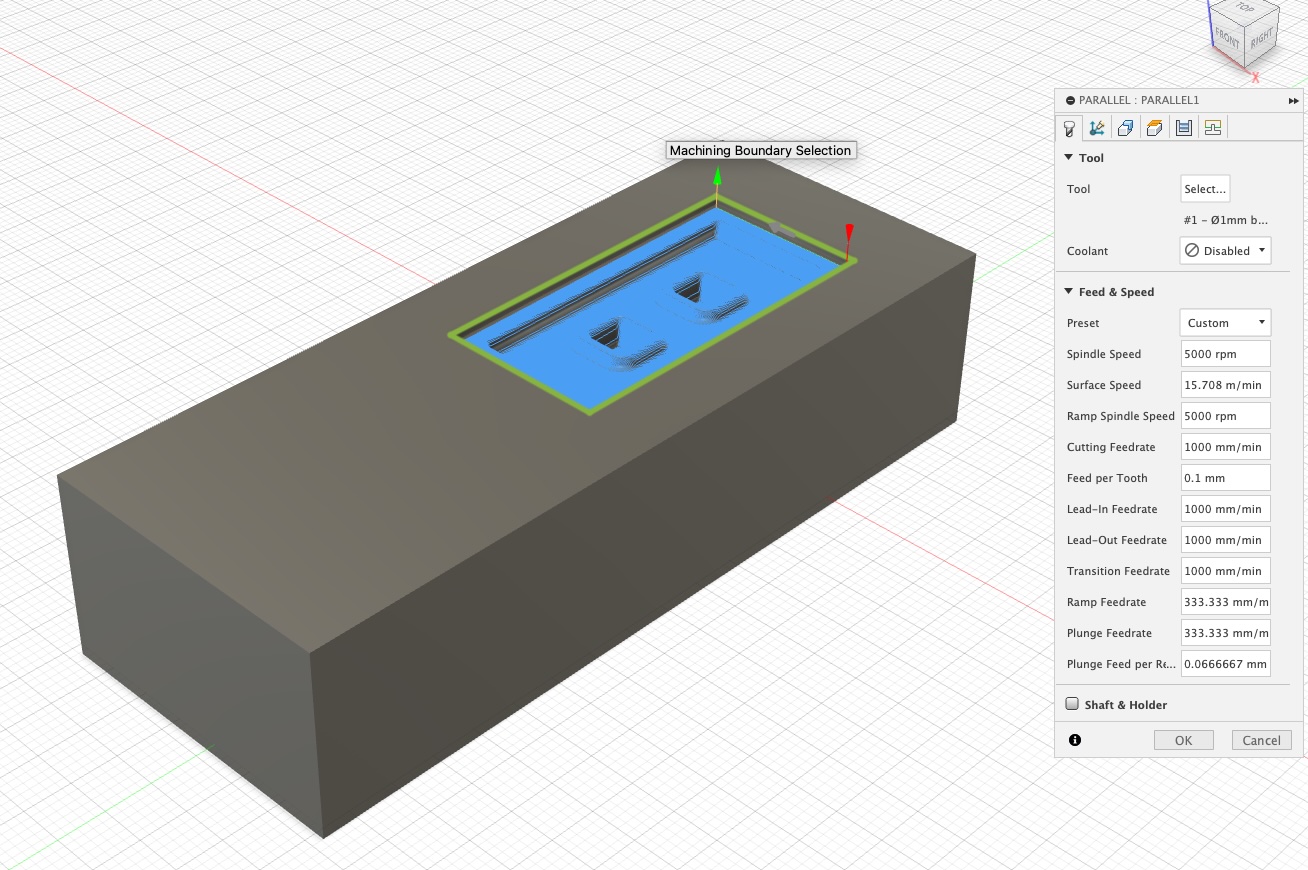
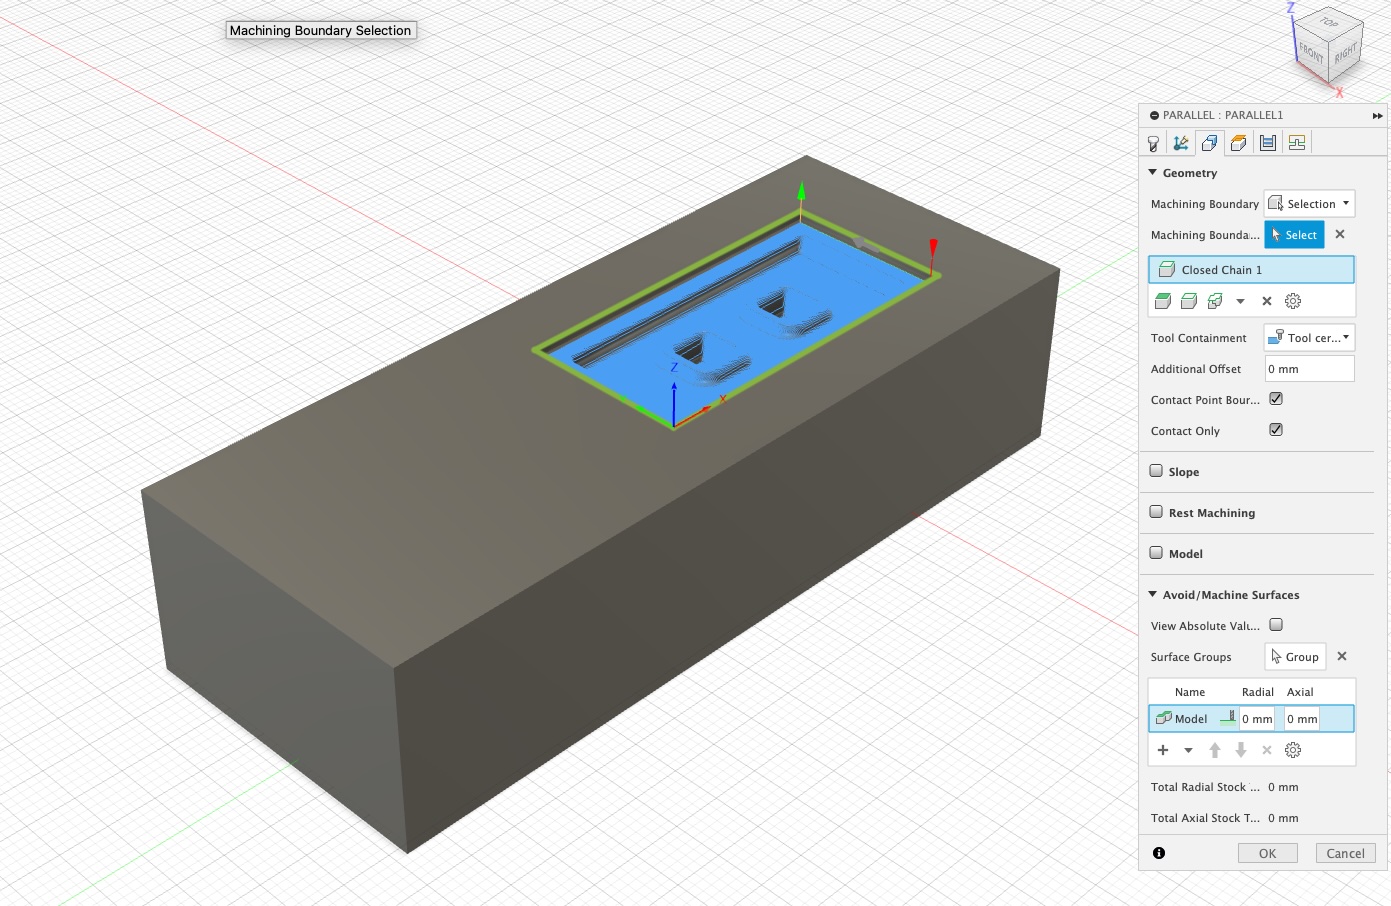
Parallel settings
Here are the same tabs for the parallel milling
Tool
Geometry
Passes
Linking
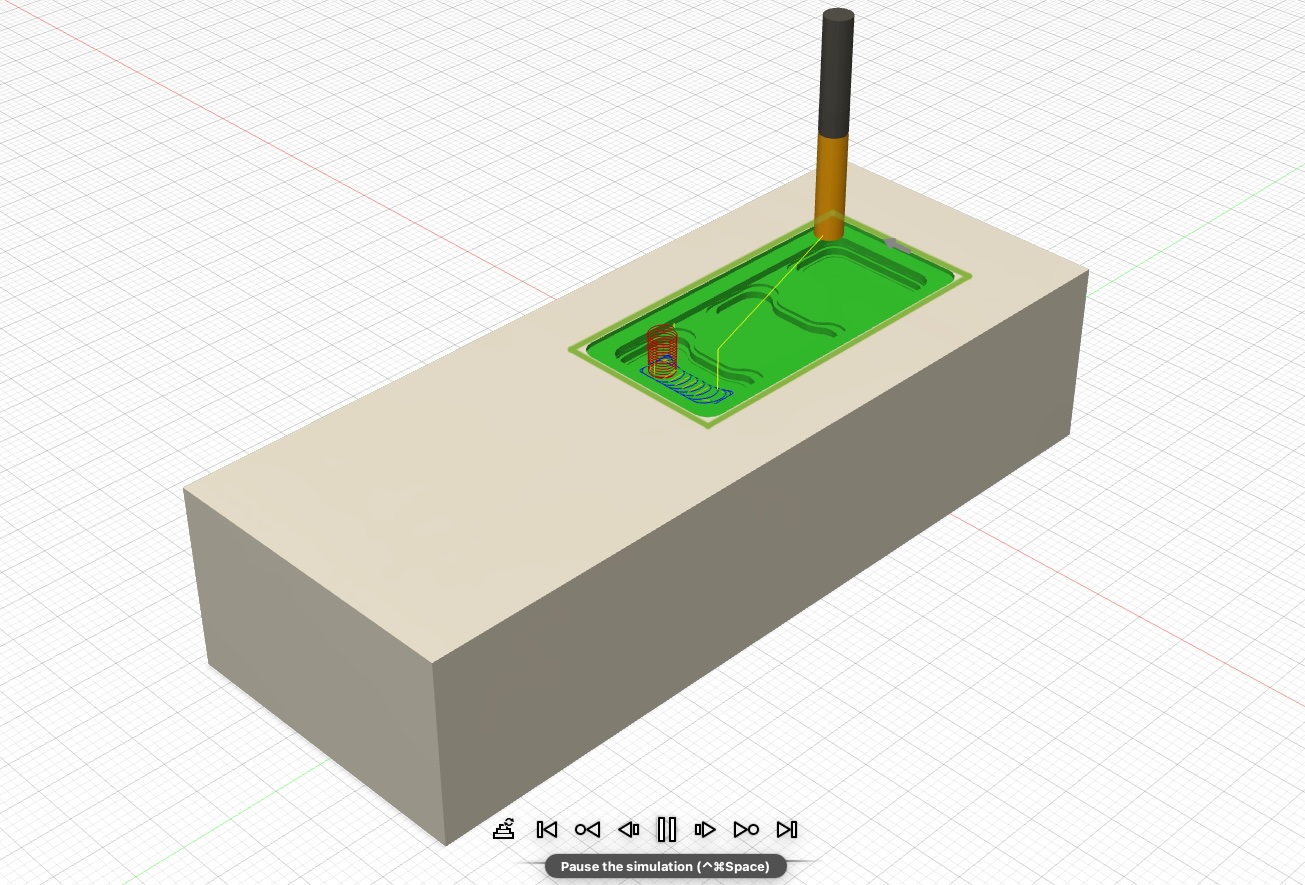
Simulation
I then simulated the milling paths by navigating to the Action tab and selecting Simulation.
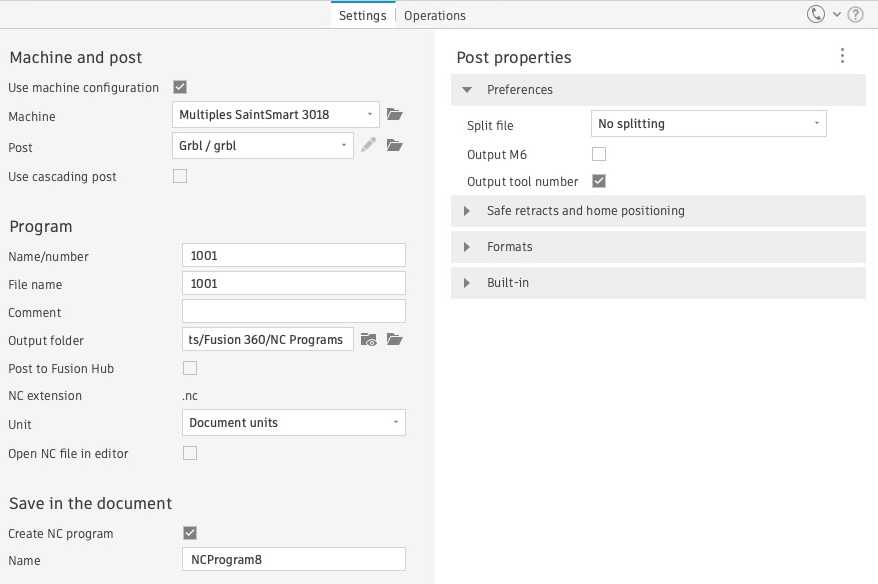
Generating milling files
We need to generate two milling files one for the adpative milling and one for the parallel one. For this we go the Action tab and then press on post process. Here you set the folder, the machine and the name of the file.
In the operation sub tab we choose
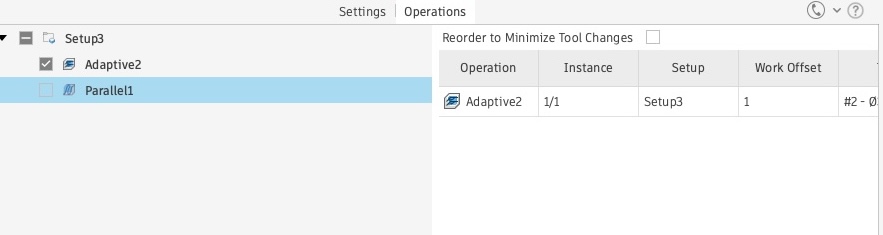
3D Milling
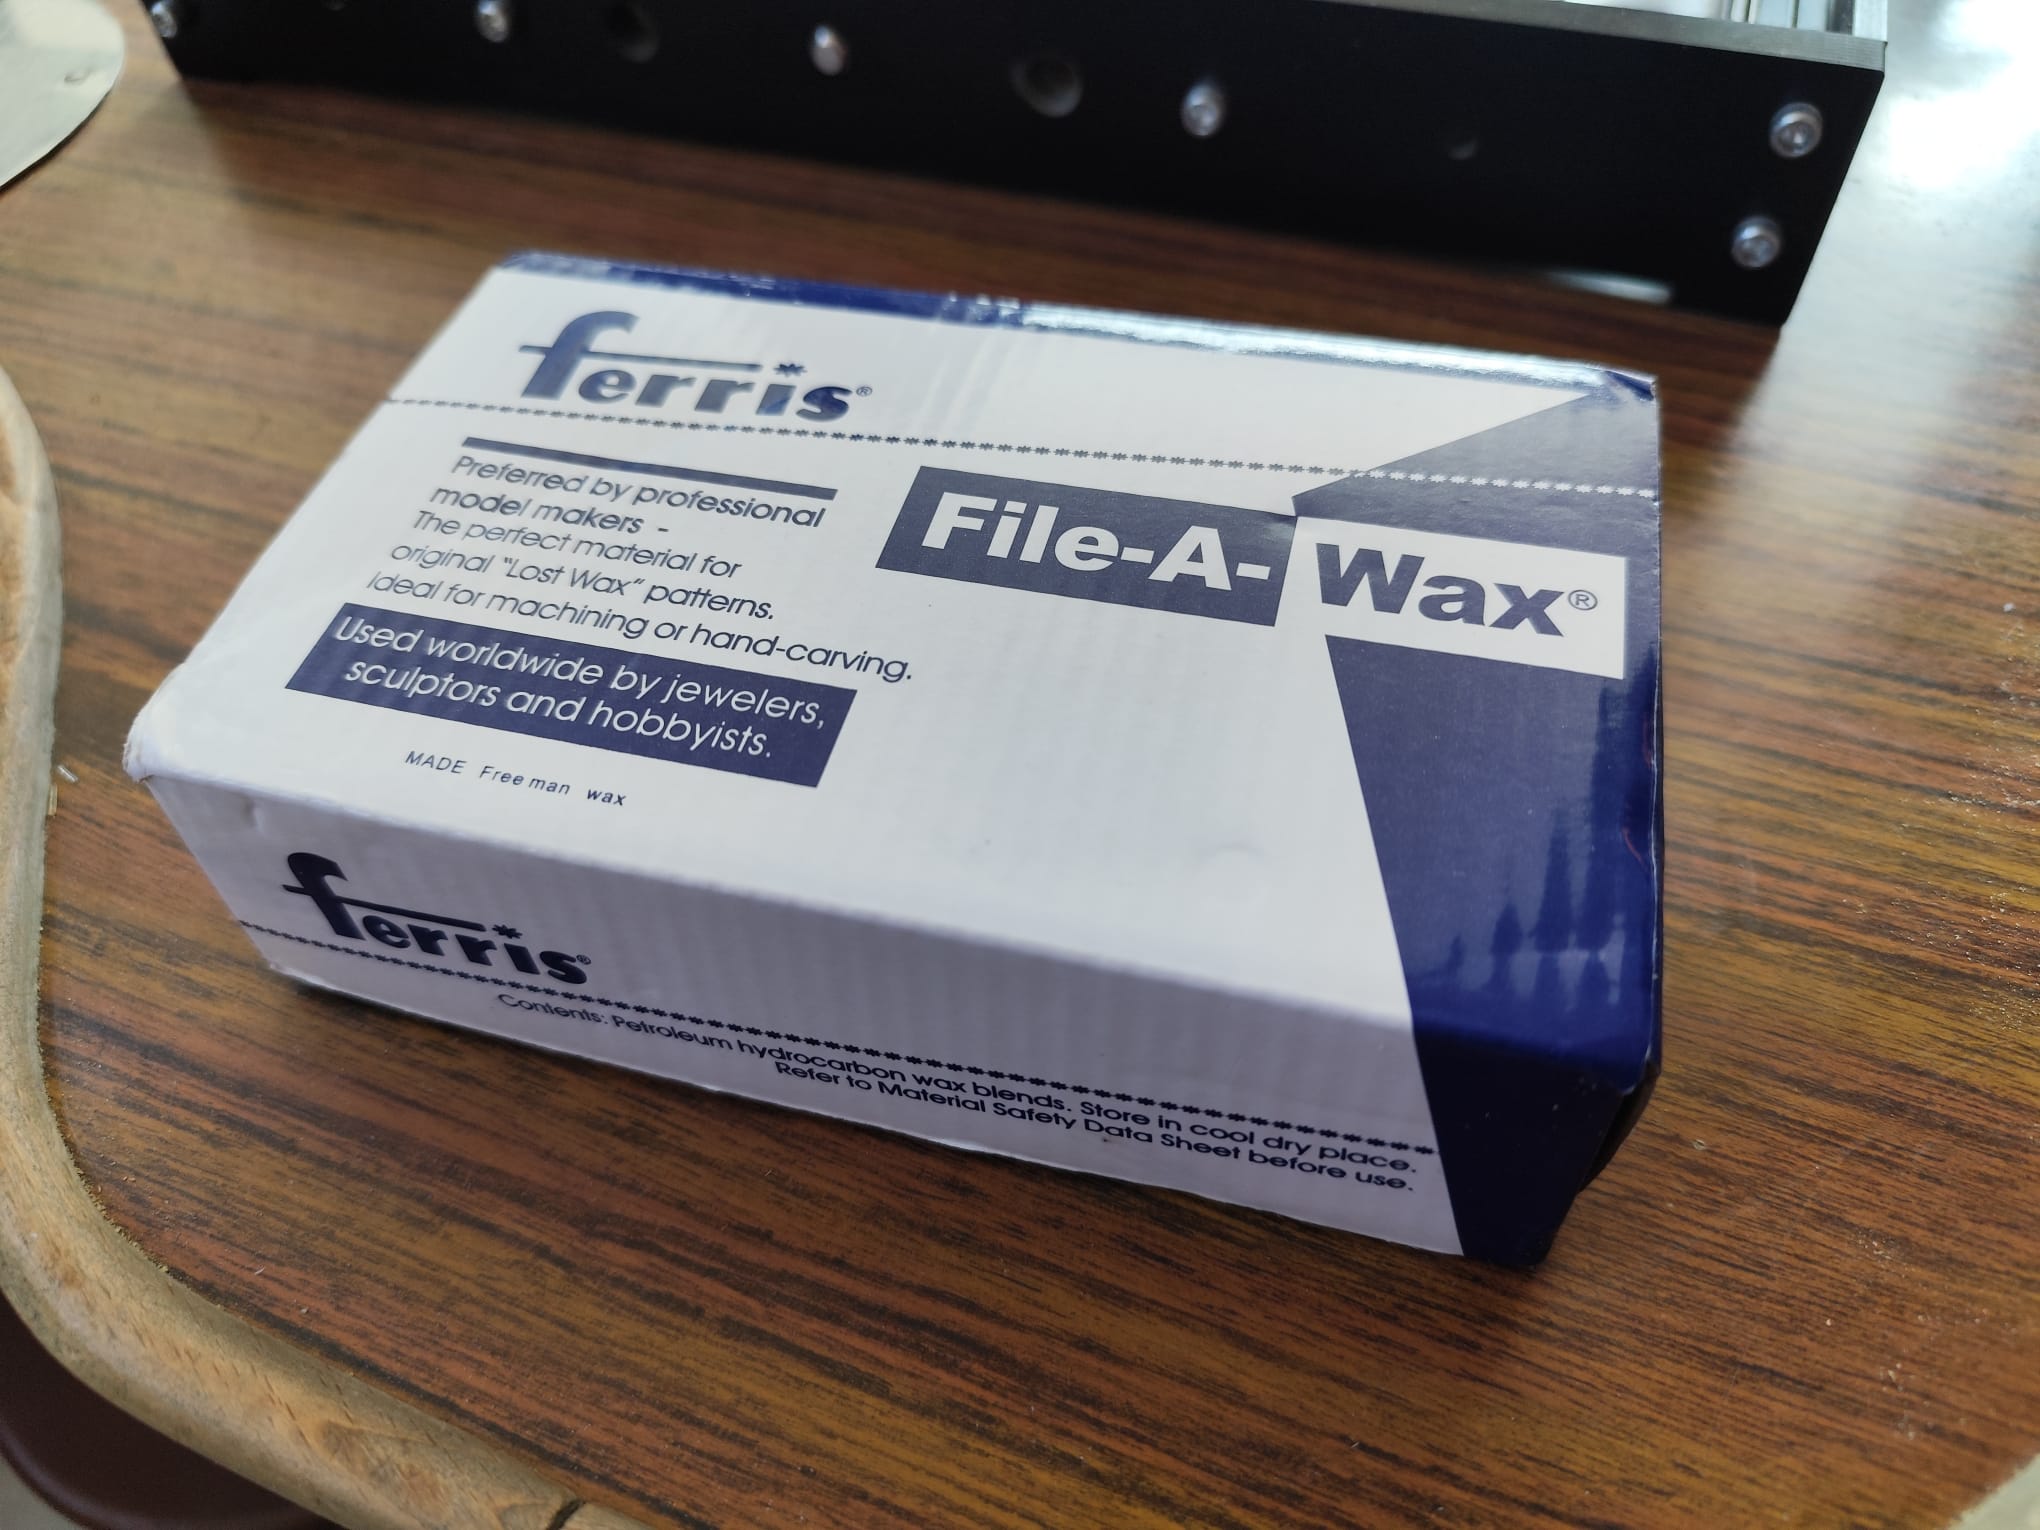
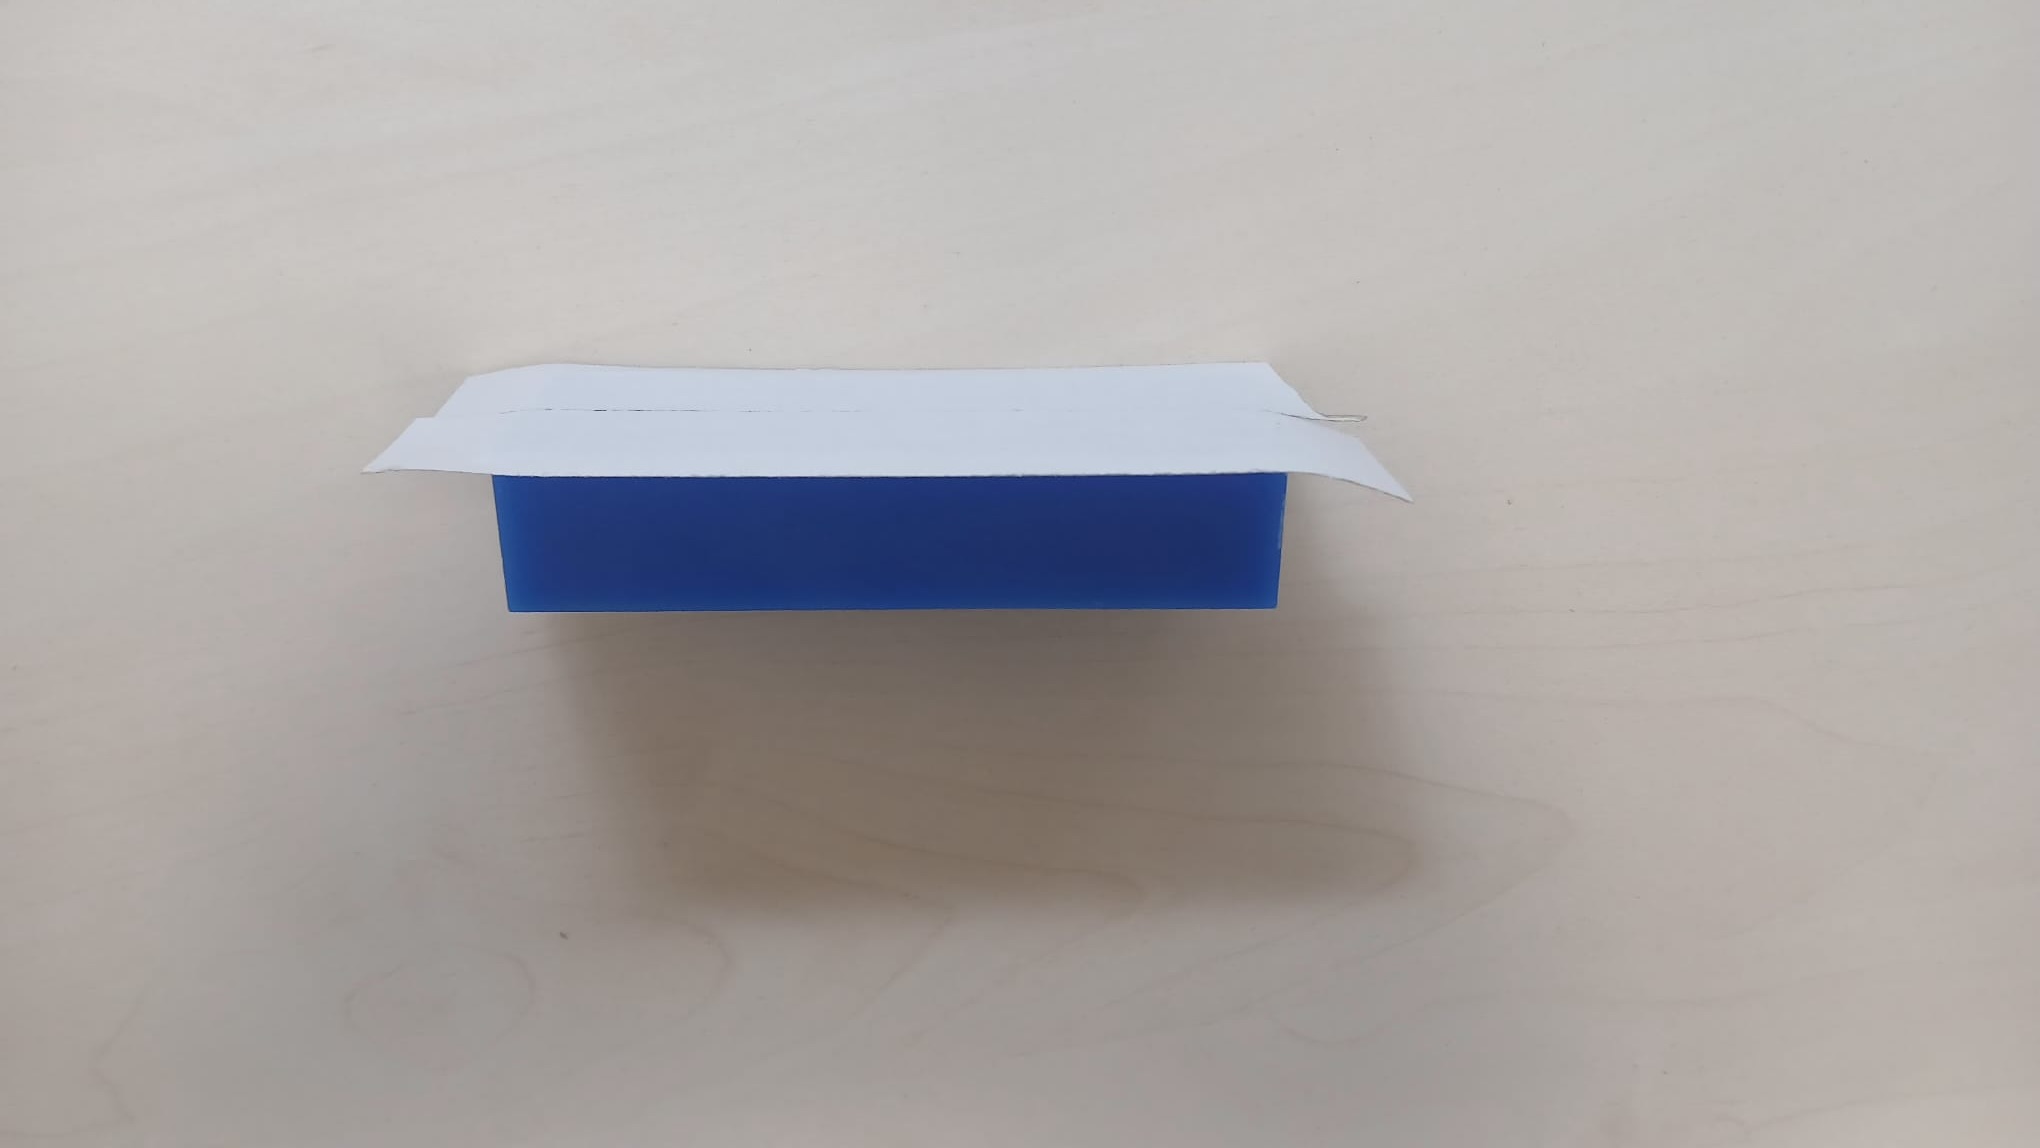
I secured the mold into the cnc machine using double sided tape. The mold was a blue freeman machinable wax.
I uploaded the files produced by Fusion into candle
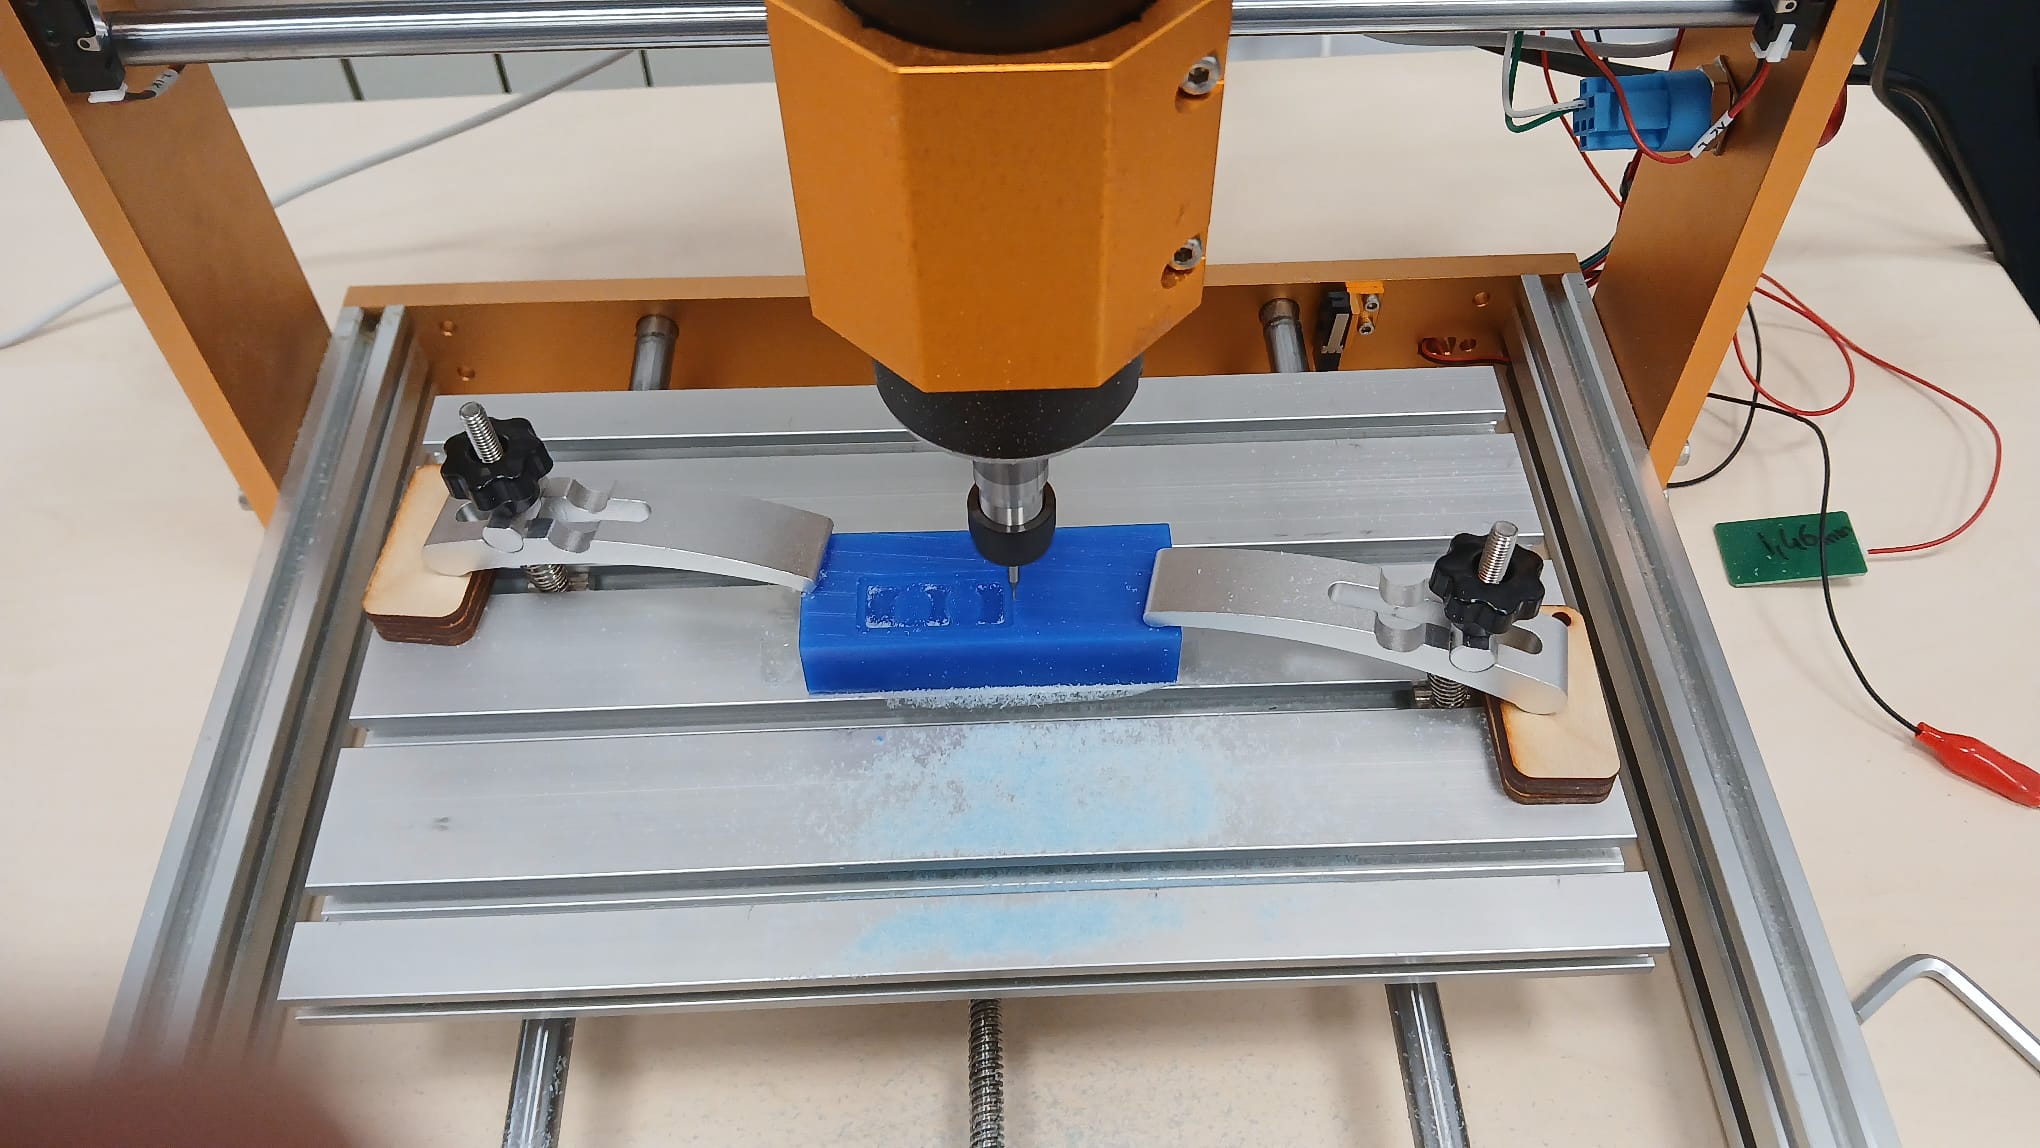
This was the mold I carved. The rough milling took about 5 minutes while the parallel milling took roughly 30 minutes.
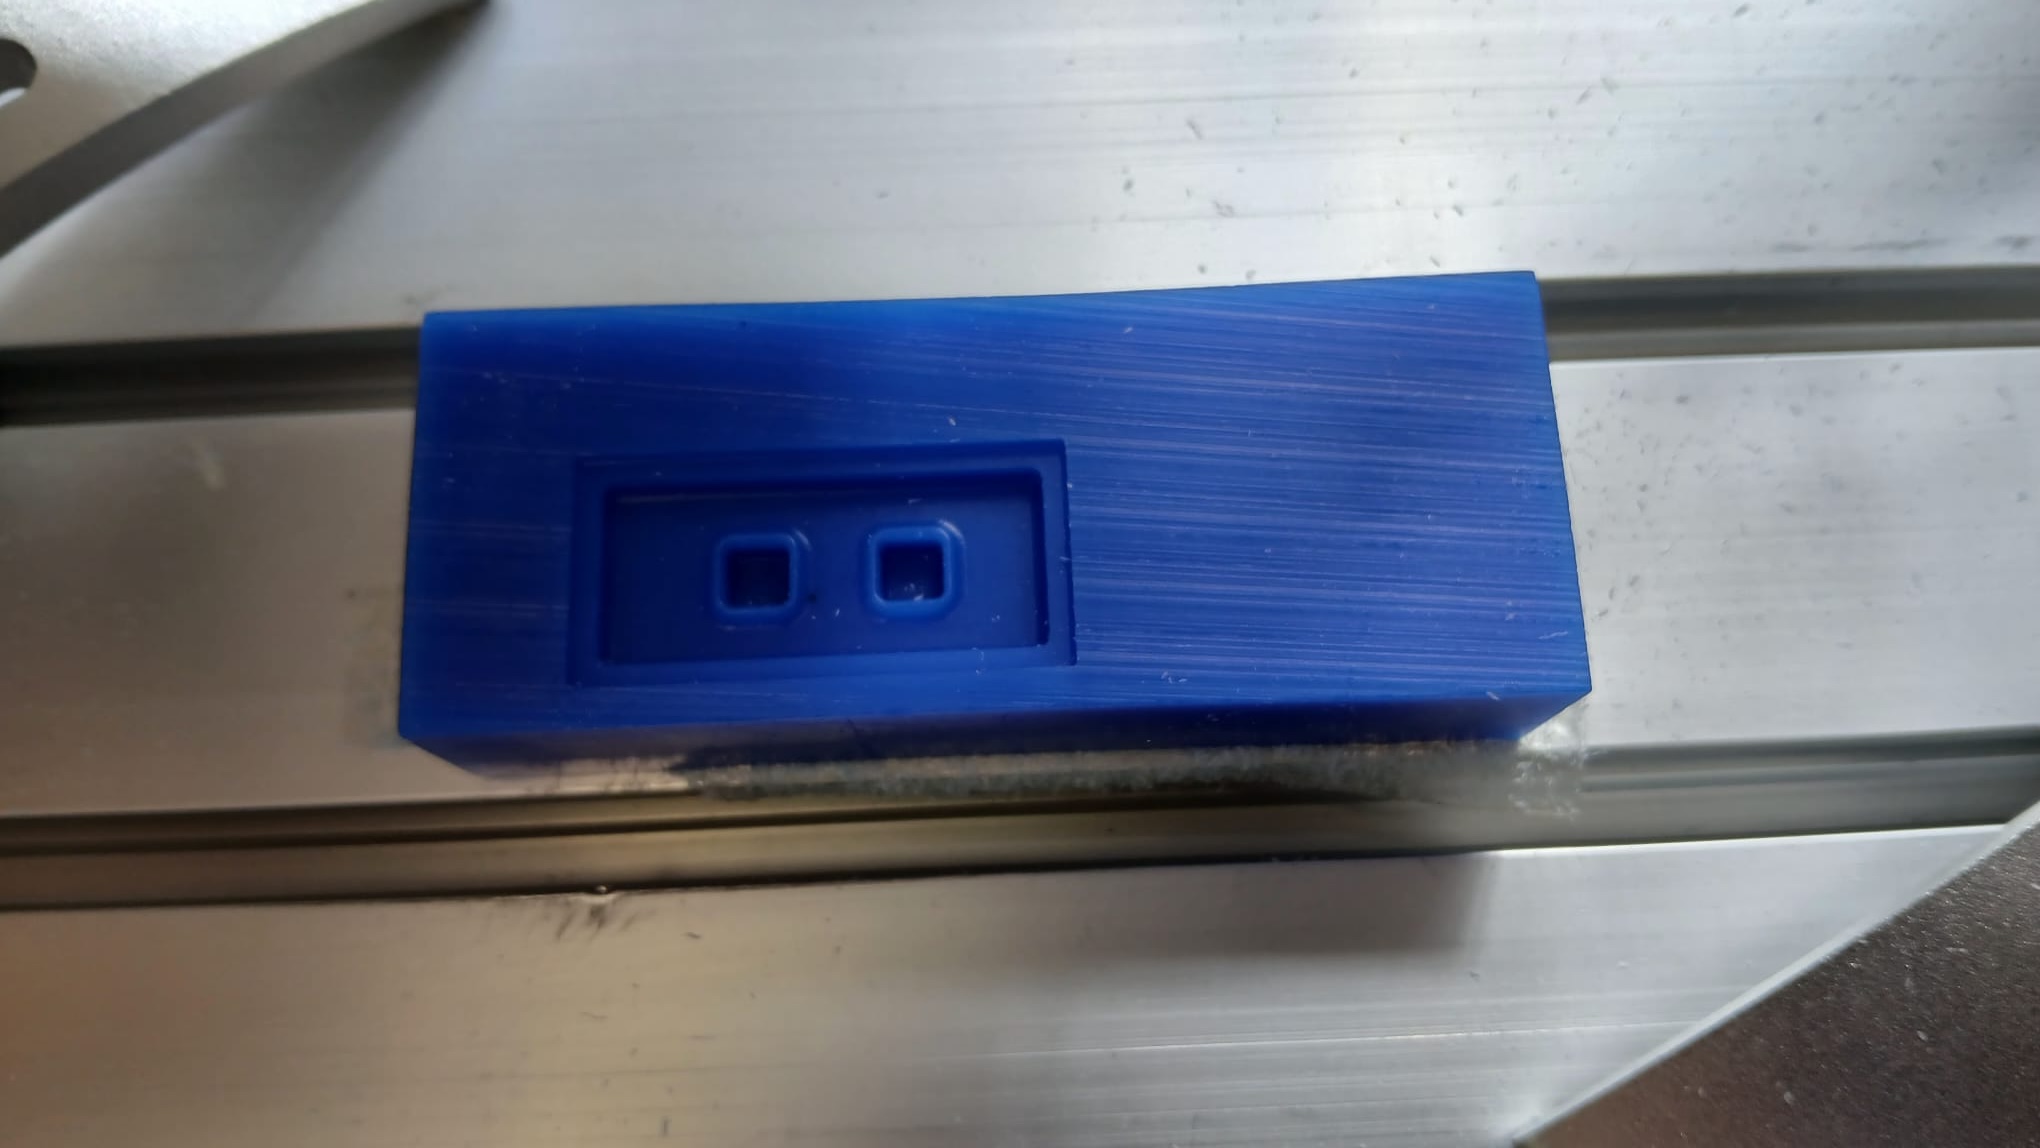
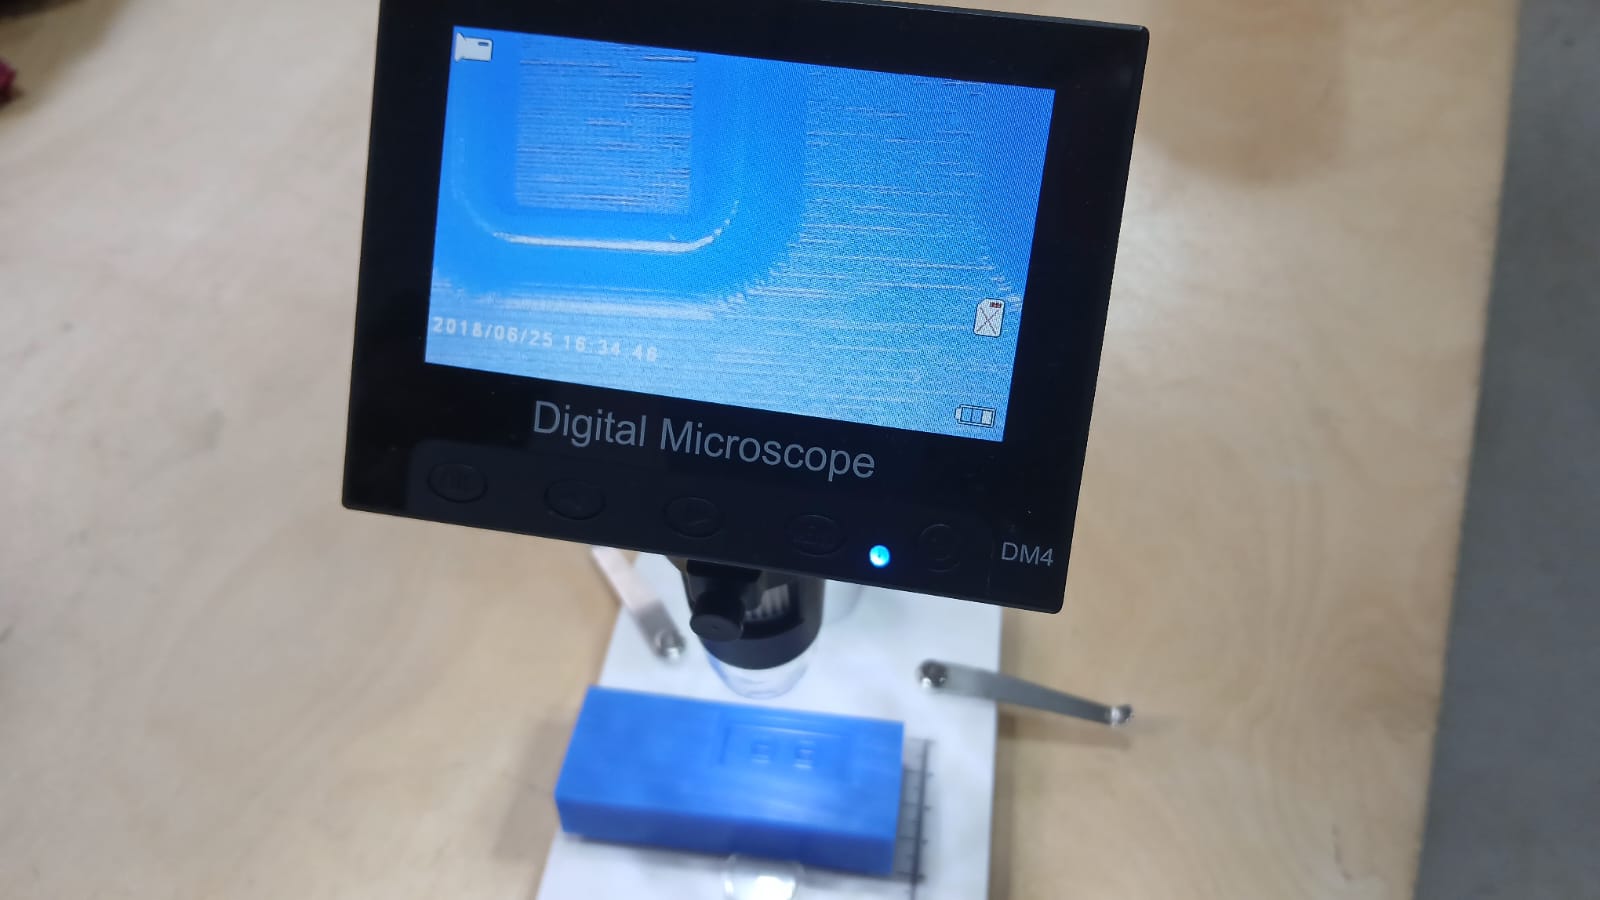
Here, you can see the detail of the passes under a microscope.
Finally, I estimated the volume of material that would go into the mold. This was done using Fusion and a calculator to change this volume into grams given the silicone density.
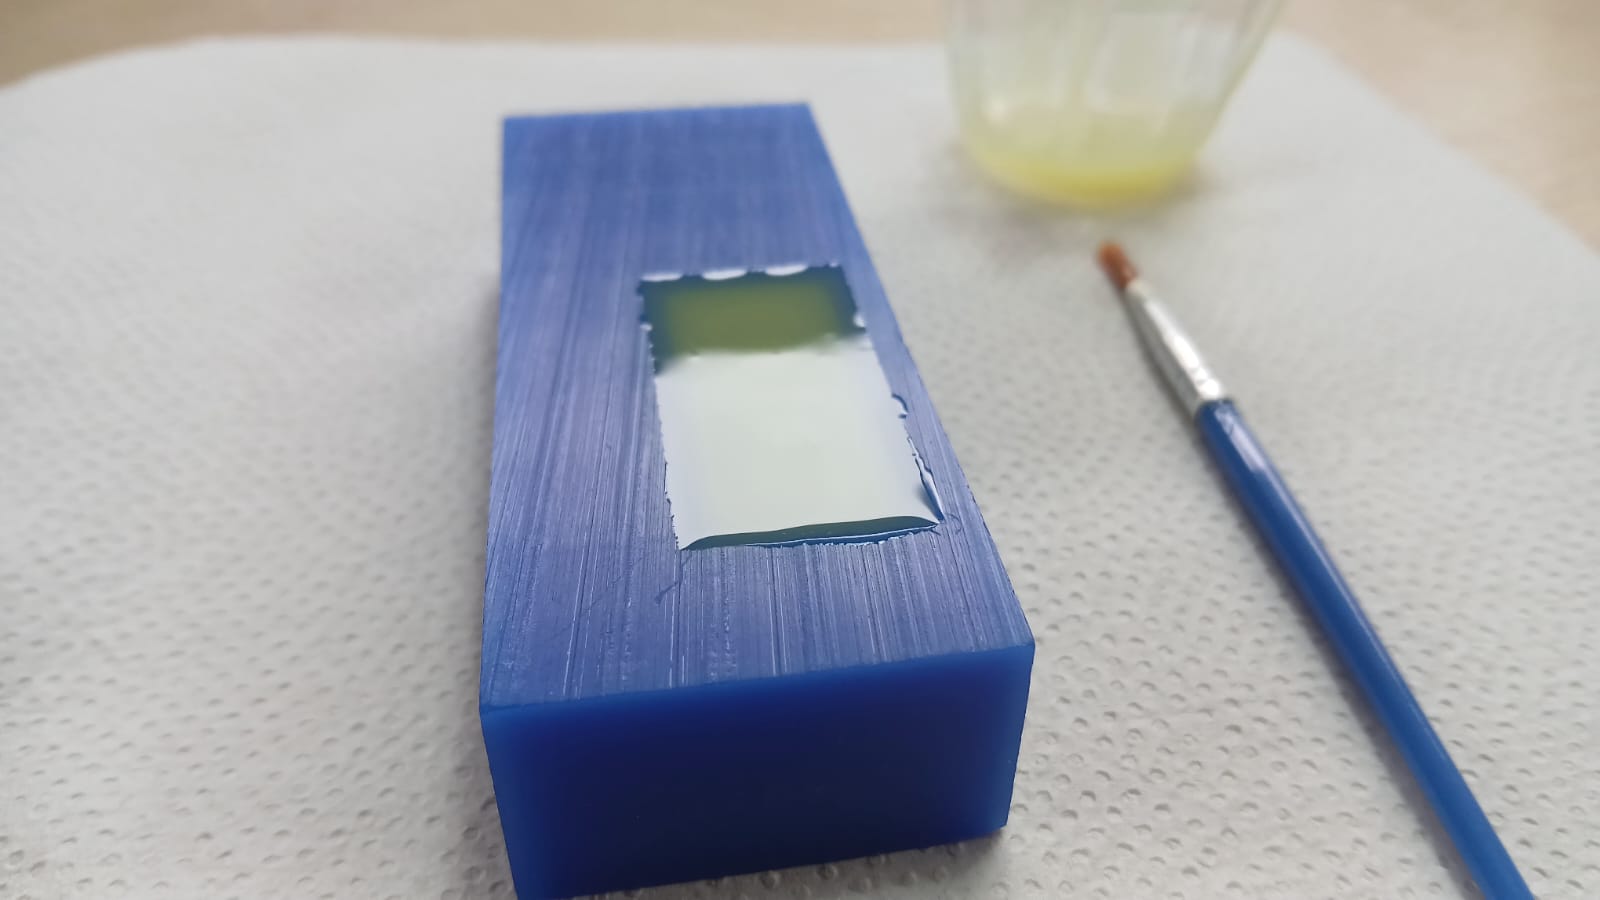
Here we applied silicone based on the piece volume and the silicon density.
After three hours I demolded the button pad.

I did a second casting of the mold as the first one filled overfilled and as a result of this was thicker which is not ideal for the button response.
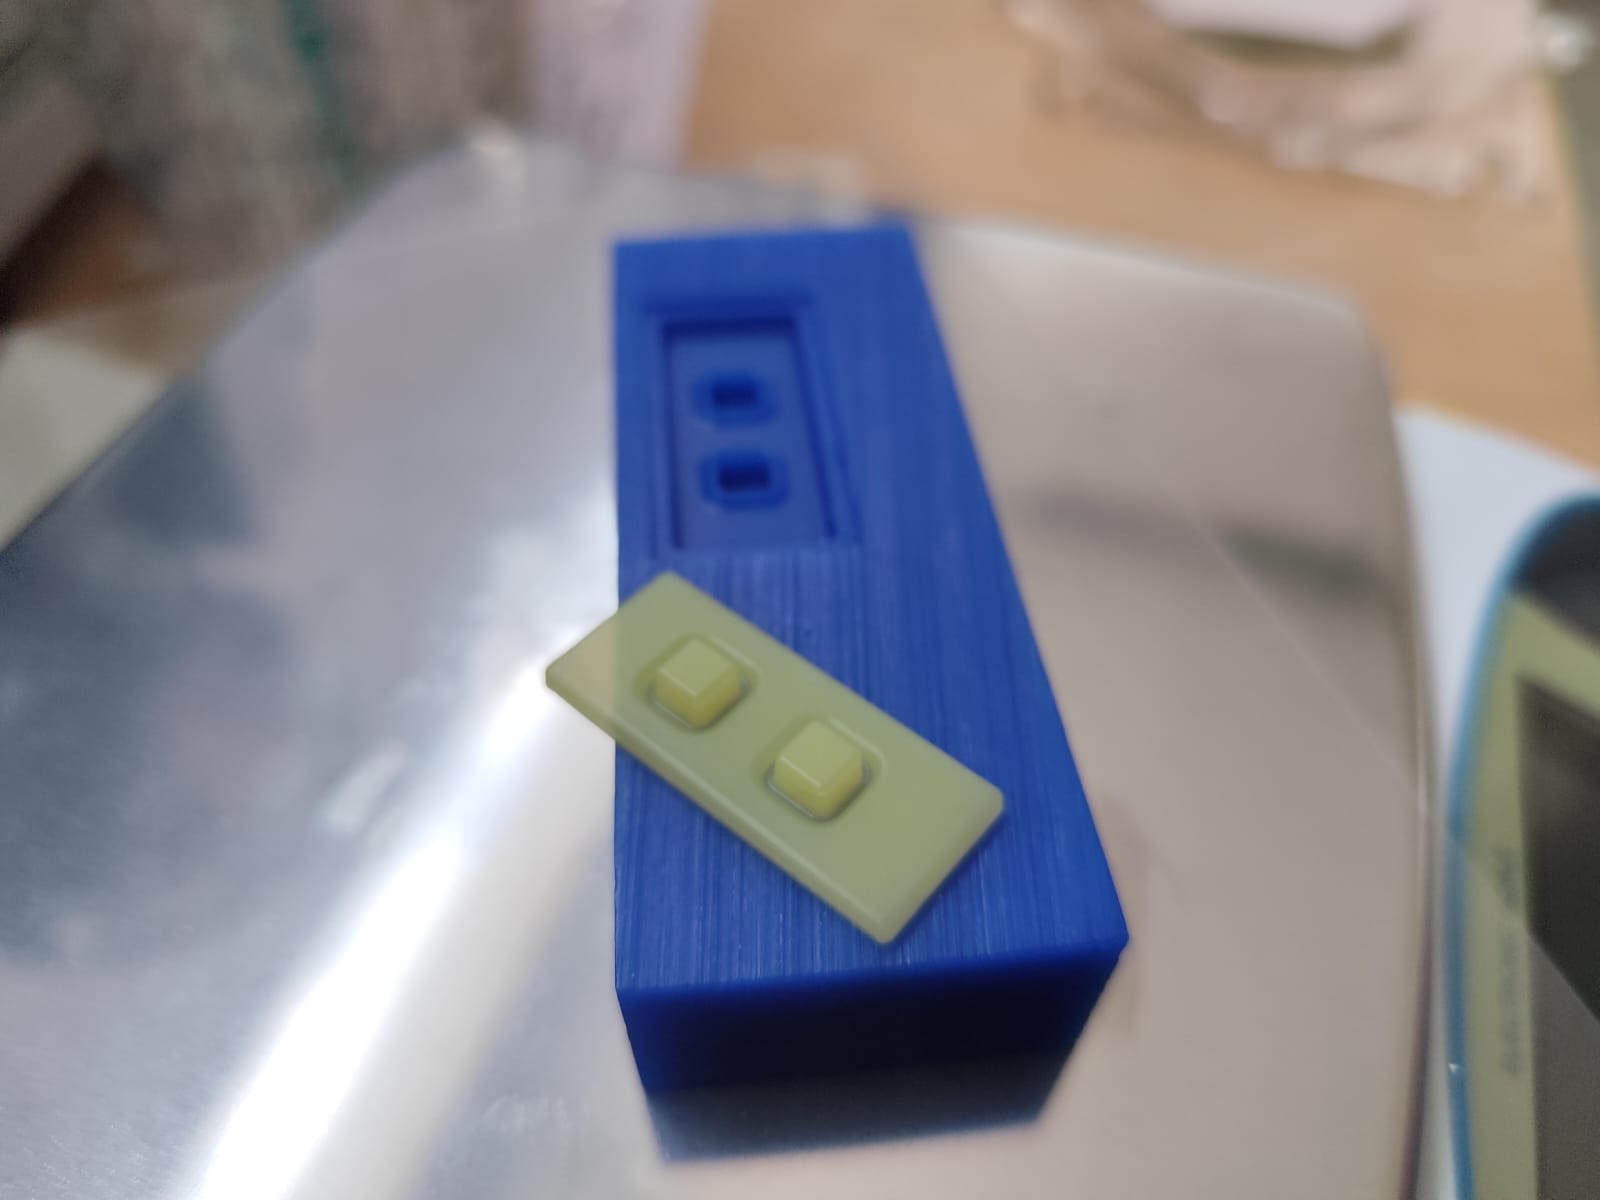
I also printed the same button pad on a 3d printer with TPU filament.
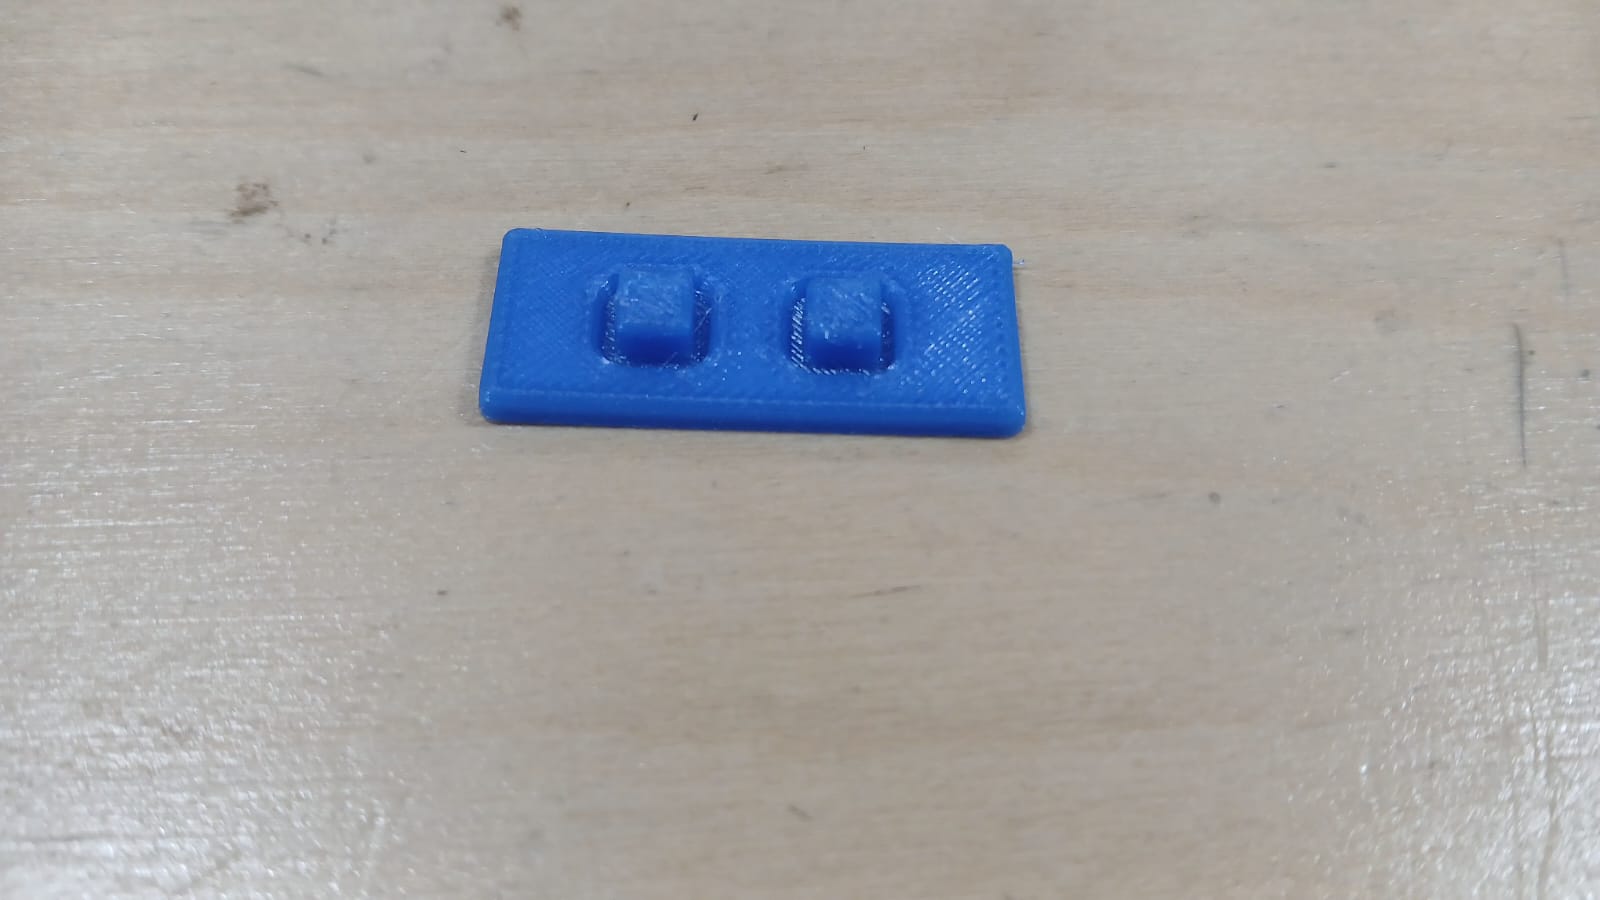
However, the flexibility of the button pad was low when compared to the silicone.
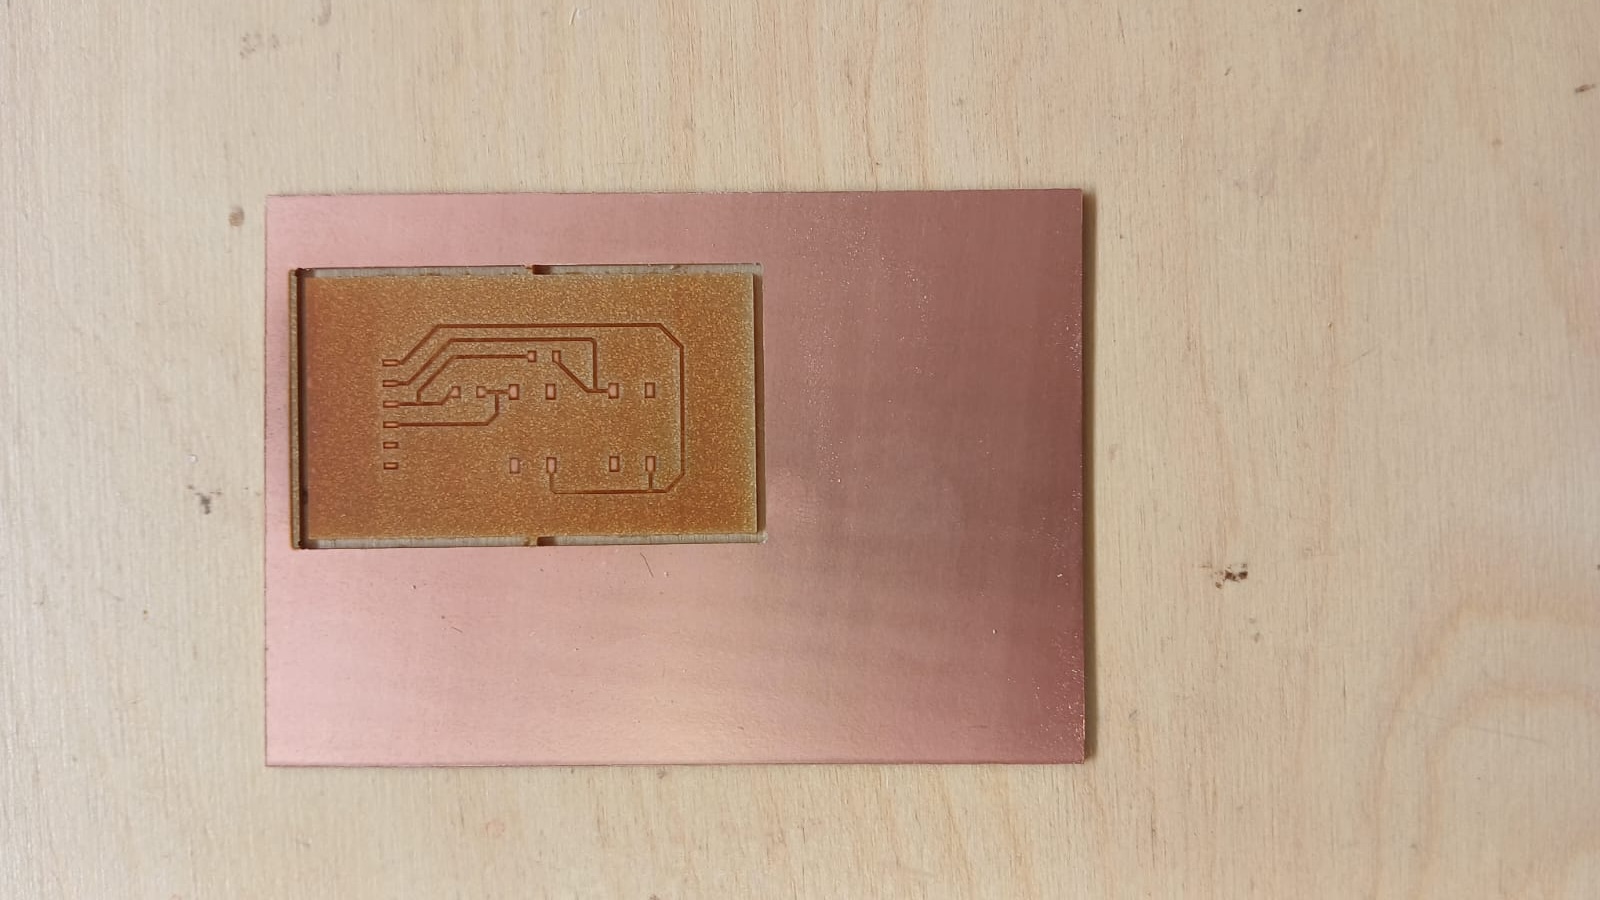
Next I cutted the button PCB in a milling machine and engrave using the fibre laser.
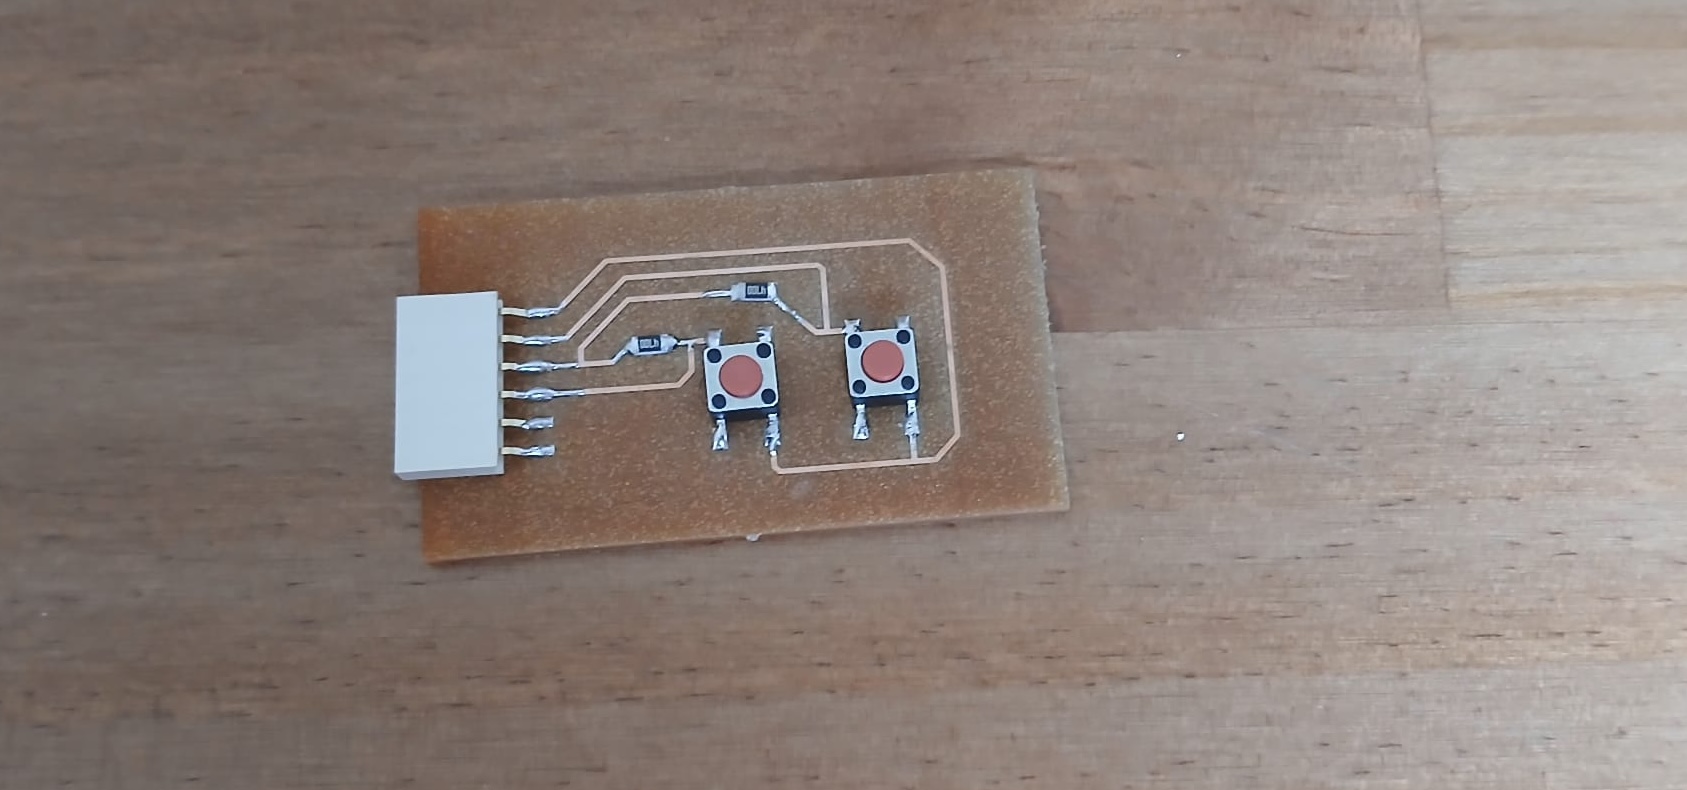
Then, I soldered the components
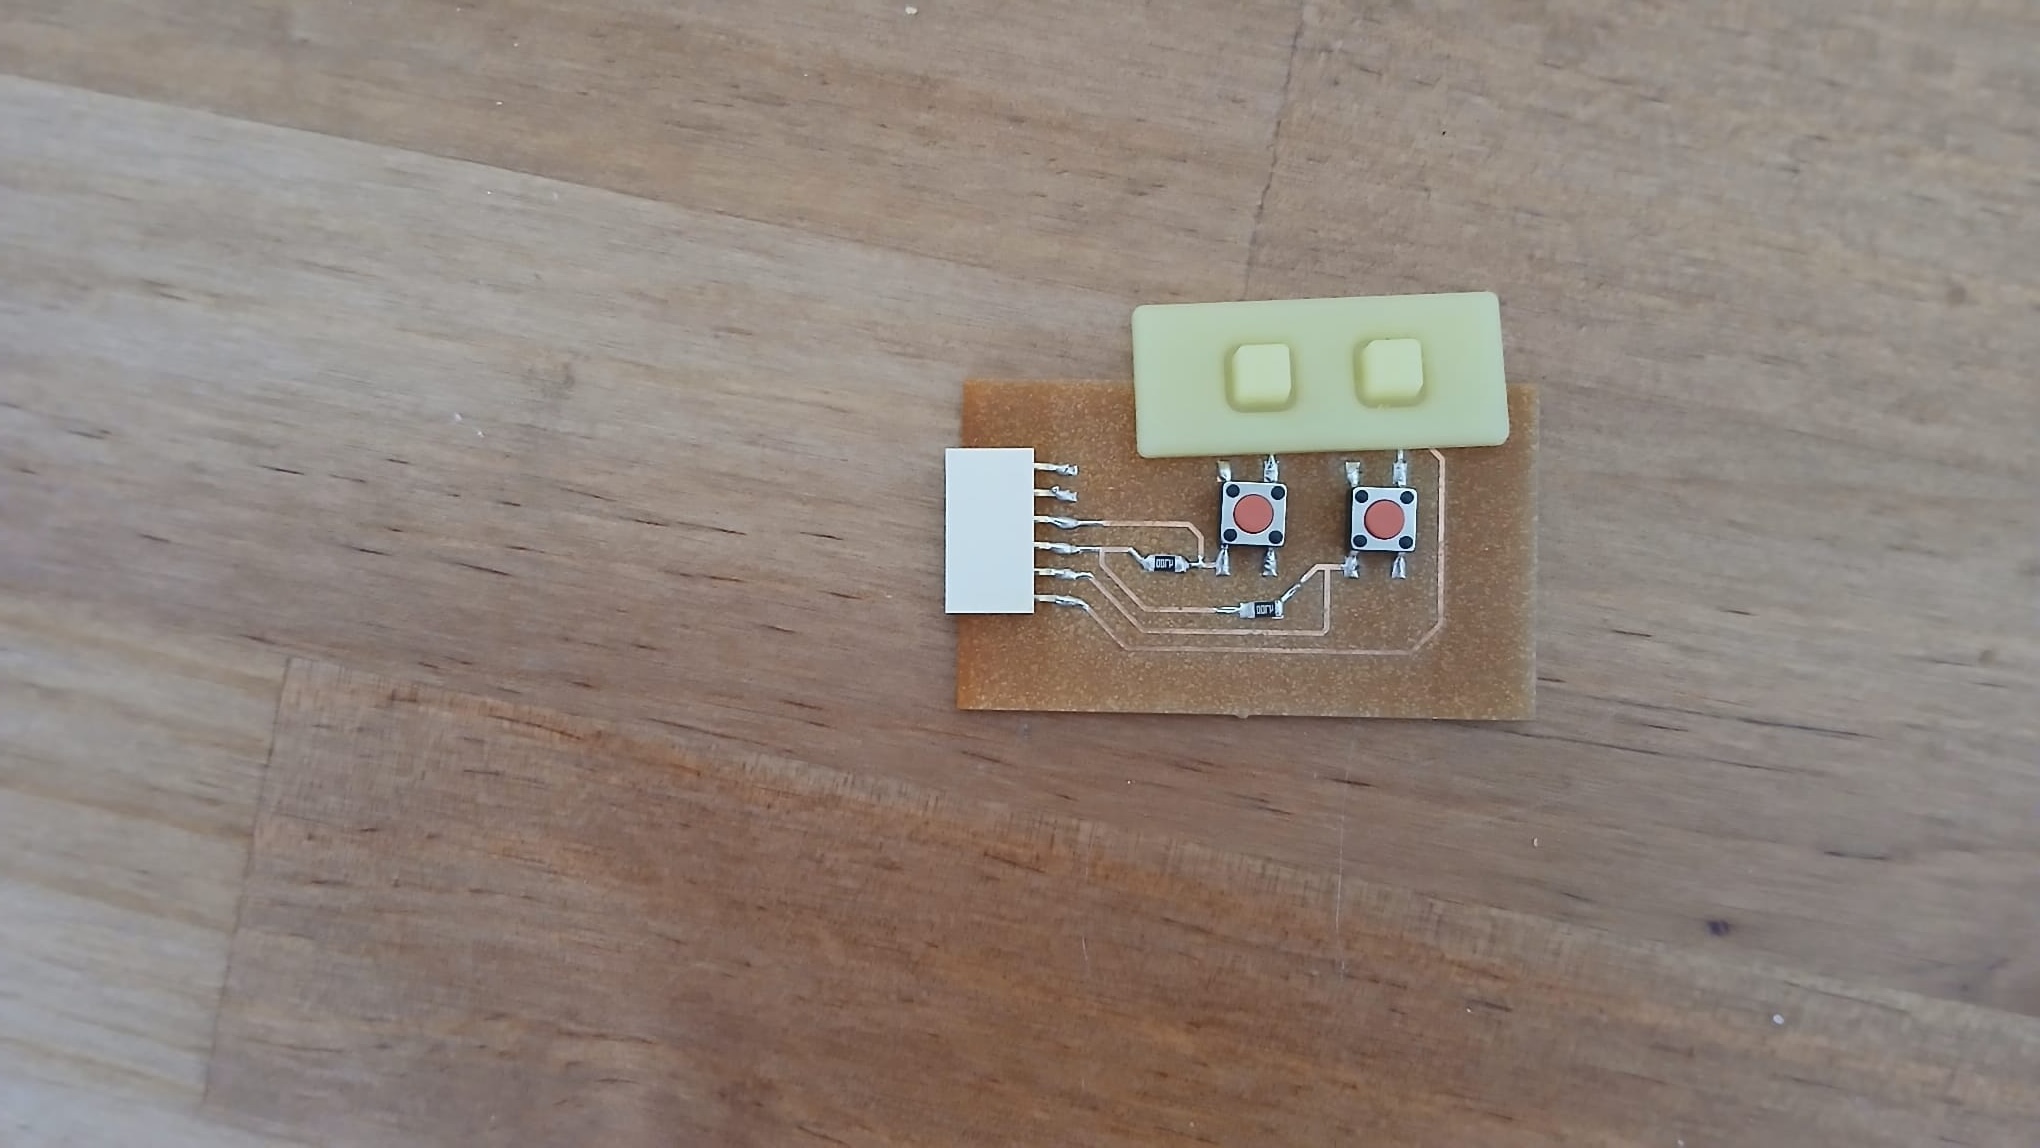
The button pad will be screwed between the PCB and the wall of the server case.
Link to development page
Have you answered these questions?
- Linked to the group assignment page and reflected on your individual page what you have learned
- Reviewed the safety data sheets for each of your molding and casting materials, then made and compared test casts with each of them
- Documented how you designed and created your 3D mold, including machine settings
- Ensured your mold has smooth surface finish, that does not show the production process (by postprocessing if necessary)
- Shown how you safely made your mold and cast the parts
- Described problems and how you fixed them
- Included your design files and ‘hero shot’ of the mold and the final object