- group assignment:
- test the design rules for your 3D printer(s) \(\checkmark\)
- individual assignment:
- design and 3D print an object (small, few cm3, limited by printer time) that could not be made subtractively \(\checkmark\)
- 3D scan an object (and optionally print it) \(\checkmark\)
Group Assingment
The full group assigment can be found:
https://fabacademy.org/2025/labs/cuenca/generic.html#week5
For this week, one of the main goals was to test the design rules for our printers. We split the work and Camila tested the Bambulab Mini while I tested the Prusa Mini and a resin printer Photon Mono X from Anycubic.
3D Extrusion Printers
Some important printer characteristics can be found below:
- Nozzle diameter: will impact the layer thickness of the material being deposed. The tip of the noozle also pushes the material being extruded. The layer should not be larger than the nozzle diameter. Nozzle diameters vary from 0.25 to 0.8mm.
- Working area: important to select the right area for the size of model you are building.
- Table positioning: can impact the attachment of the
piece to the surface. Auto leveling helps control this.
- Chamber: a chamber is useful with materials that shrink when cooling which produce breakage if different parts of the model cool at different rates.
- Temperature: different materials might need different temperatures for being struded.
- Material extruder: whether is direct or bowden.
Slicer Characteristics
Some print characteristics that can be controlled through the slicer are:
- Layer height, however is related to the nozdle size.
- Infill percentage will determine the percentage of material inside the object being printed.
- Number of horizontal and vertical walls.
Nozzle diameter will affect the definition/detail on the horizontal plane while layer height will affect the detail on the vertical and slanted sides . As a rule of thumb layer height should not exceed 80% of nozzle diameter (Prusa’s blog).
https://blog.prusa3d.com/everything-about-nozzles-with-a-different-diameter_8344/
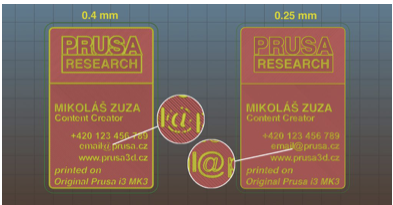

In addition to layer height a slicer will let you specify vertical and horizontal walls as number of layers. For the vertical walls in the image below subtract the shown vertical outside walls rom the walls above the purple surface which should give 3. It is adviced to have more top layers compared to bottom ones as the top will have only the infill for support which could cause the filament to drip contrary to the bottom wich is supported by the printer’s platform. In general the amount of material will vary between a functional print and a aesthetic one.

Similarly, one can specify infill as a percentage are the red layers (rhomboid shape) inside the cube.
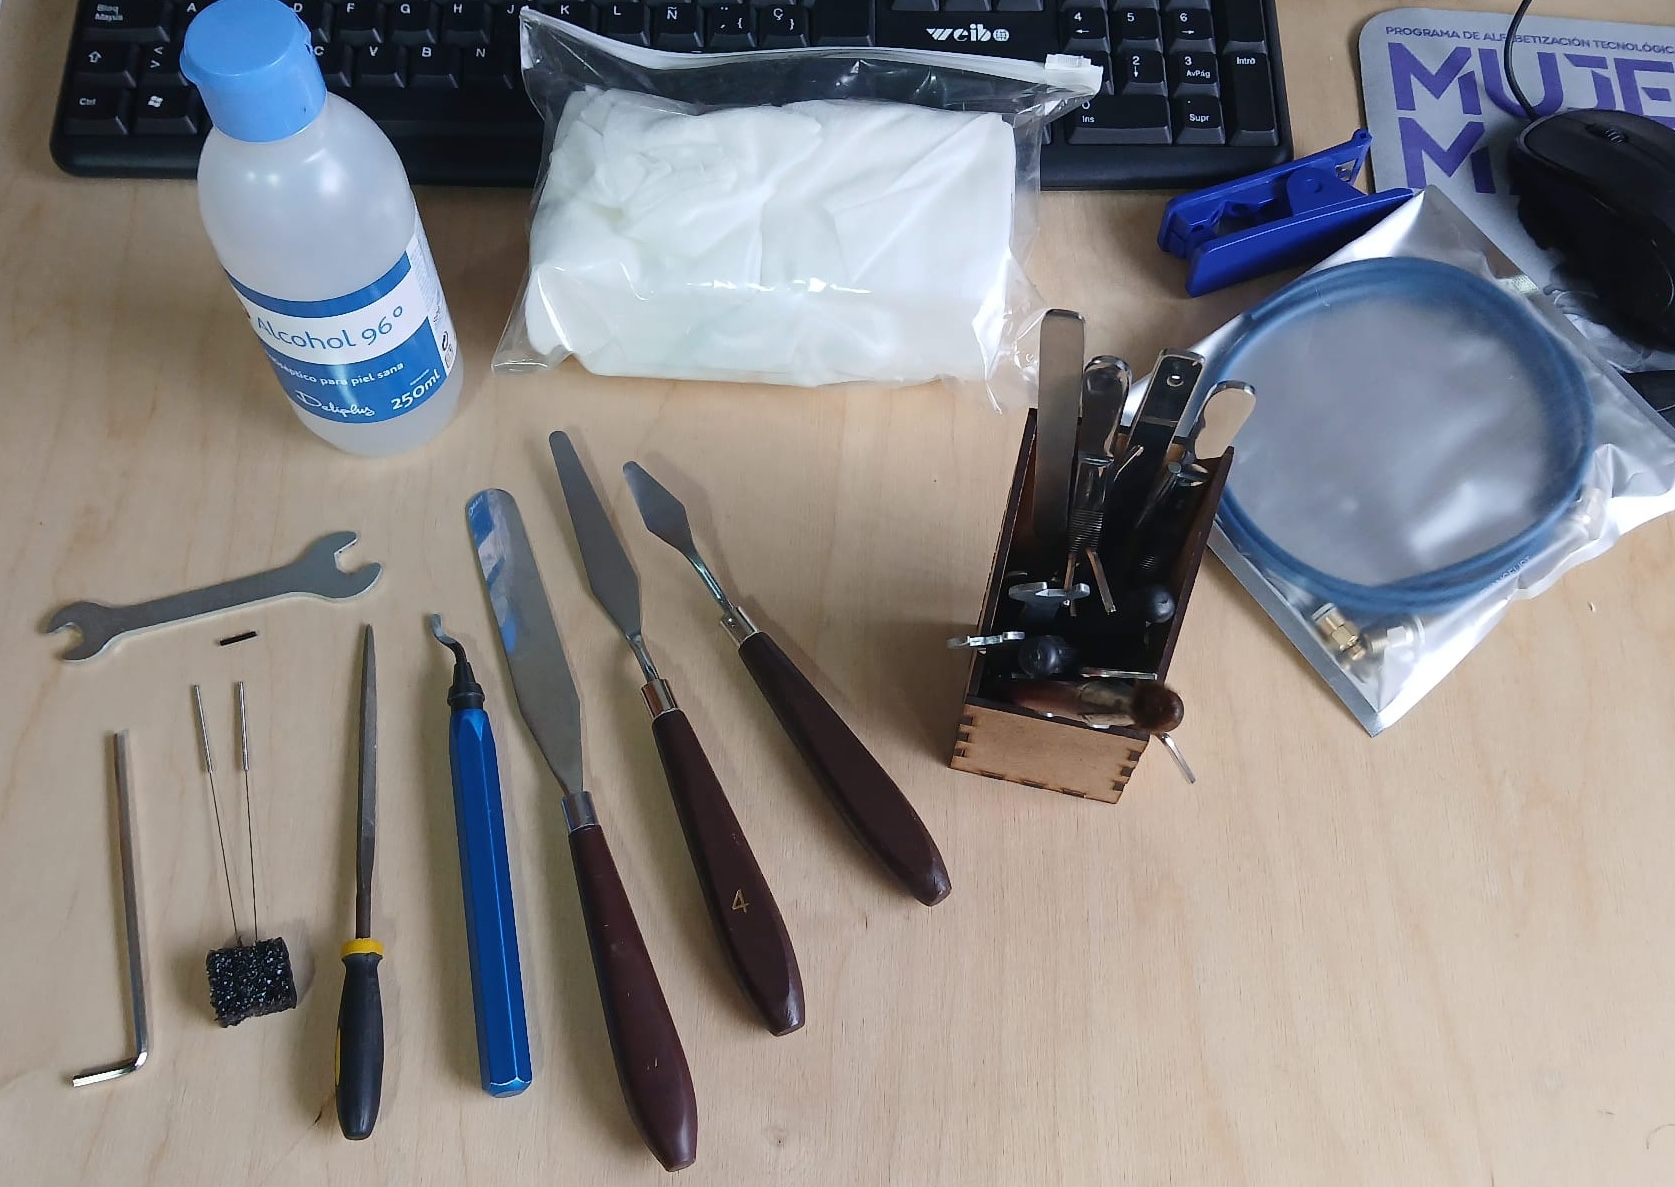
Below you can find a picture of useful utensils that come handy with an extrusion printer.
Safety Guidelines for Extrusion 3D printing [in our lab]
Materials needed for operation
- Filament.
- IIsopropyl alcohol (>90%).
- Spatulas, forceps, cutting tools and tools to dislodge filament.
- Cleaning wipes
Personal Protective Equipment
- Depending on the material being printed you may need:
- Respirator
- Apron
- Gloves
Operation sequence
- Unload filament if a new one is to be used.
- Load filament and
- Purge the remaining filament
- Slice stl file and according to your application adjust for:
- Vertical and horizontal walls
- Infil
- Material,
- Nozzles size,
- Temperature
- Supports
- Etc..
- Make sure it fits on the plate!
- Check your sliced object to make sure there are not problems
- Print G file and save it to a USB or send it throught wifi depending on the printer.
- Keep an eye from time to time on the printer
- Collect your print and clean the area.
Operation Precautions (People)
- Be aware of the characteristics and safety guidelines of the materials you are using.
- Use filaments that correspond to the printer settings and if possible use ones that have lower emissions.
- Operate the printer in a well ventilated place.
- Avoid standing close to the printer for long periods of time.
- Be careful if you use alcohol to clean the printer’s plate as it is highly flammable.
- Avoid touching heated platforms or hot nozzles.
- Wash your hands after/before utilizing the printer
- Disconnect the printer if changin/repairing printer pieces to avoid electric shock.
Operation Precautions (Machines)
- Clean the machine’s plate with alcohol after each print in order to avoid grease build up.
- Use appropriate filaments with their correct settings.
- Avoid build up of dust as this increases.
- If you change a nozzle make sure you update your slicer settings.
- Let the model print cool down before removing it from the printer’s platforms.
- Clean the work area thoroughly when finished.
- Dispose residual filament appropriately.
Prusa Mini
Characteristics:
- Build Volume 180x180x180 mm
- Layer height 0.05 min
- Nozzle 0.4 mm included
- Filament diameter 1.75 mm
- Supported materials PLA, PETG, ASA, ABS, PC, CPE, PVA/BVOH, PVB, HIPS, PP, Flex, nGen, Nylon, Woodfill
- Max travel speed 200+ mm/s
- Max nozzle temperature 280 °C
- Max heatbed temperature 100 °C
- Extruder Bowden system with 3:1 gearing
- Print surface Removable magnetic steel sheets
Below you can find a diagram of the Prusa Mini from:
https://help.prusa3d.com/article/glossary-mini_125081
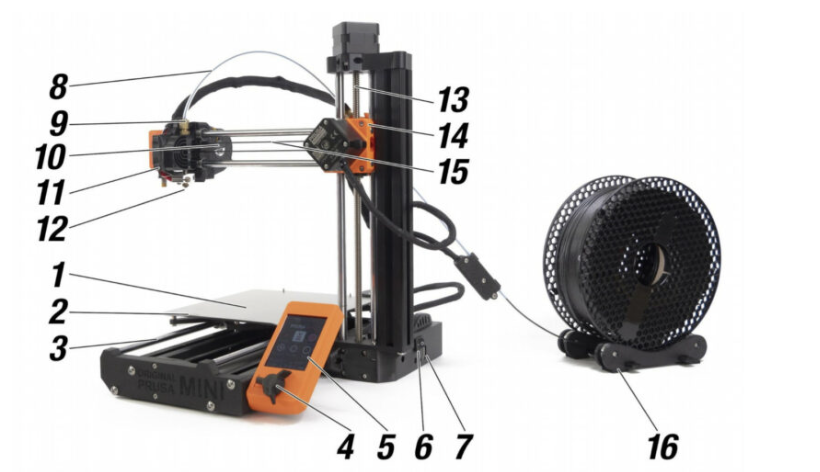
From this article is important to note:
8-Main PTFE tube (Bowden-tube): leads the filament strand from the extruder into the print head/nozzle. Inspect it from time to time to make sure there is no debris inside that would prevent the filament strand from reaching the nozzle.
10-Print fan: cools the printed object, and improves print quality. Comes with RPM monitoring.
11-Print head: Lightweight print head consisting of the hotend (printing nozzle), M.I.N.D.A. sensor, and two fans. The heaviest parts of the extruder were moved onto the Z-axis tower to improve print quality.
14-Extruder / Extruder motor: as opposed to 3D printers like MK2 or MK3S, the extruder motor is not moving along the X-axis. Instead, it’s fixed on the side and pushes filament through the PTFE tube towards the print head.
which make the Prusa Mini is a bowden extruder. Bodwen extruders present the following pros and cons:
Pros: - Cleaner movements: as the extruder is not located in the printer head allowing faster movements and better print quality. - Larger build volume: as it allows for a smaller head carriage.
Cons: - Needs a more powerful motor. - Slower response times due to the distance between the print head and extruder. - Material complications flexible materials can bind or wear in bowden tubes.
from: https://all3dp.com/2/direct-vs-bowden-extruder-technology-shootout/
The slicer for the Prusa Mini was configured as:
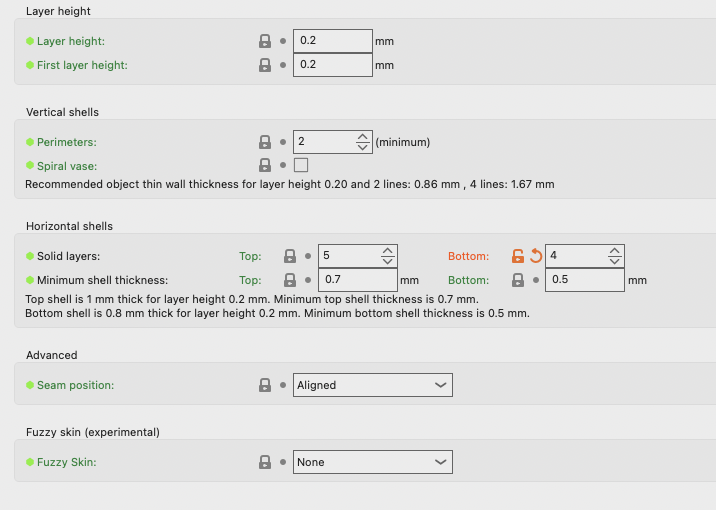
with an infill of 15% and using the generic PLA setting for type of material.
Resin 3D Printers (SLA)
Important Resin Printer Parameters
The documents that follow describe some key parameters of resin printers:
and
I have summarize these in ChatGPT with the following prompts: Summarise in 3 to 4 lines:…
Exposure time: controls how long resin is cured with UV light, affecting print quality and accuracy. Too short or too long exposure can cause weak, brittle, or swollen prints. Factors like resin type, temperature, and layer thickness influence the ideal exposure time.
Bottom Exposure time: The bottom layer is the first printed layer, and its exposure time affects adhesion to the platform. A longer bottom exposure time improves adhesion, preventing warping or detachment. Both bottom exposure time and the number of bottom layers determine print stability. Model size, weight, bottom contact area and resin properties.
The optimal operating temperature for the resin is around 24°C, which may vary slightly depending on the resin type.
Number of Bottom layers: Bottom layers are the initial layers exposed for a longer time to ensure strong adhesion to the platform. More bottom layers increase adhesion but can make the base larger than other layers. Around six layers are recommended, but the ideal count depends on model size, weight, and resin type. Taller models generally require more bottom layers for stability.
Off time: is the interval between the platform stopping and the next exposure, typically 1-3 seconds. It allows resin to flow back and stabilize, ensuring even layer formation. Higher viscosity, low temperatures, or large print areas require longer off times.
Z Lift Distance: Z lift distance is the vertical movement of the build platform between layers, ensuring proper layer separation. A precise distance prevents print or platform damage while optimizing print time. Reducing lift distance speeds up printing but may cause separation issues due to FEP film elasticity. It is generally recommended to use the default settings.
Z lift Speed: Z lift speed is the rate at which the build platform rises between layers, affecting print stability. If too fast, it creates high tensile force, risking cracks or failures; if too slow, it increases print time.
Anti-aliasing: smooths jagged edges in resin prints, improving surface finish and reducing layer stepping. Higher settings enhance edge quality but increase slice time and file size. It works alongside gray level and image blur techniques to refine pixel patterns in each layer.
Safety Guidelines for Resine Printing [in our lab]
Materials needed for operation:
- 405nm UV-resin. Resin types for the Photon Mono X and printing parameters can be found:https://store.anycubic.com/blogs/news/resin-settings-for-anycubic-3d-printers?srsltid=AfmBOoo1EzQdeN-_s_7_FxLSeghJwu5SCRzCA3sgt_XB7r4Y5dTT5Jfo
- Isopropyl alcohol (>90%)
- Airtight containers for washing.
- Spatulas, forceps, cutting tools.
- Funnel
- Cleaning wipes
- Colanders
Personal Protective Equipment(PPE)
- Googles
- Gloves
- Respirator
- Apron
Operation sequence
- Raise built area and allow for resin to drain.
- Remove cover from the printer
- Unlock the build area platform and remove it with care.
- Pry the print object apart from the build area with the spatulas [Check with MPI]
- Replace build platform and cover to the printer
- Perform an initial wash to remove the excess of resin and clean the tools used to pry open the print model.
- Open the Anycubic wash container and place the print.
- Close the lid of the wash container and set the washing clock, press knob to start.
- Once time is over unlock the washer, take out the print and dry it. Replace the cover of the washer so the isopropyl won’t evaporate.
- Once dry, place in the curing machine and place the UV protection cover.
- Set the timer and wait until the print model is cured.
Operation Precautions (People)
- Be aware that many resins are toxic.
- UV exposure can be harmful to skin and eyes.
- Be also aware that isopropyl alcohol is highly flammable and take appropriate precautions.
- Prior to operating the machine read the safety data sheet for the resin to be used and be aware of what are the procedures if you were exposed to them.
- Warn someone that you will be working with this resin 3D printer.
- Make sure that the area of work is well ventilated.
- Wear personal protective equipment described above at all times.
- Operate machines with lids closed.
- Make sure you close the lids of all containers you open after their use.
- Ask the lab manager if you have any doubts.
Operation Precautions (Machines):
- Clean equipment and machines if they are contaminated with
resin.
- Replace the printer resin container if you find a leak.
- Remove resin from the printer container if you will not print anything else in the next 48 hours.
- Dispose of residues appropriately, do not flush them down the sink.
- Clean the work area thoroughly when finished.
- Inspect and clean your protective gear thoroughly after each use.
Our Lab Safety Guidelines for Resine Printing (Photon Mono X)
Photon Mono X
The Photo Mono X is a fairly big size resin printer from Anycubic
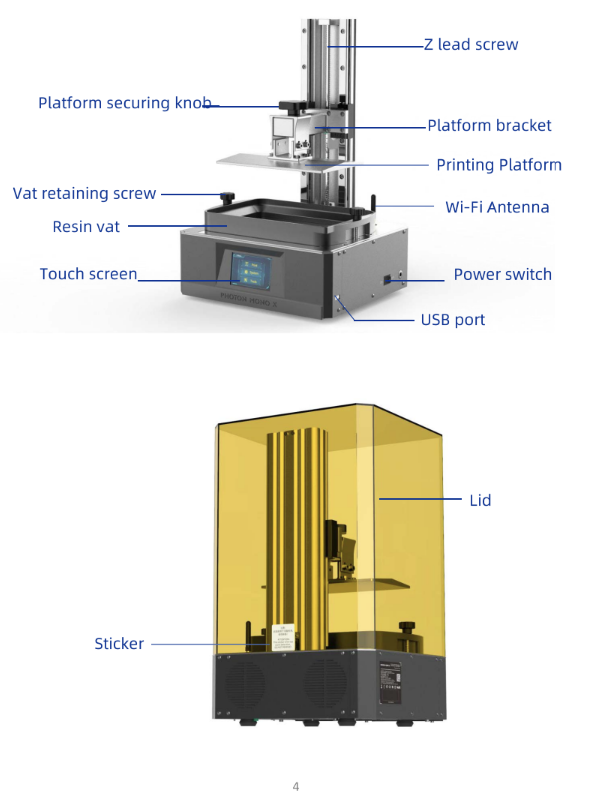
Some of printer characteristics:
- Build Volume: 192mm(L)x 120mm(W)x 245mm(H)
- Light-source: high-quality filament(wavelength 405nm)
- XY Res.: 0.050mm 3840*2400(4K)
- Z Axis Res.: 0.01mm
- Layer Res.: 0.01-0.15mm
- Printing Speed: MAX 60mm/h
Resin Printer Configuration
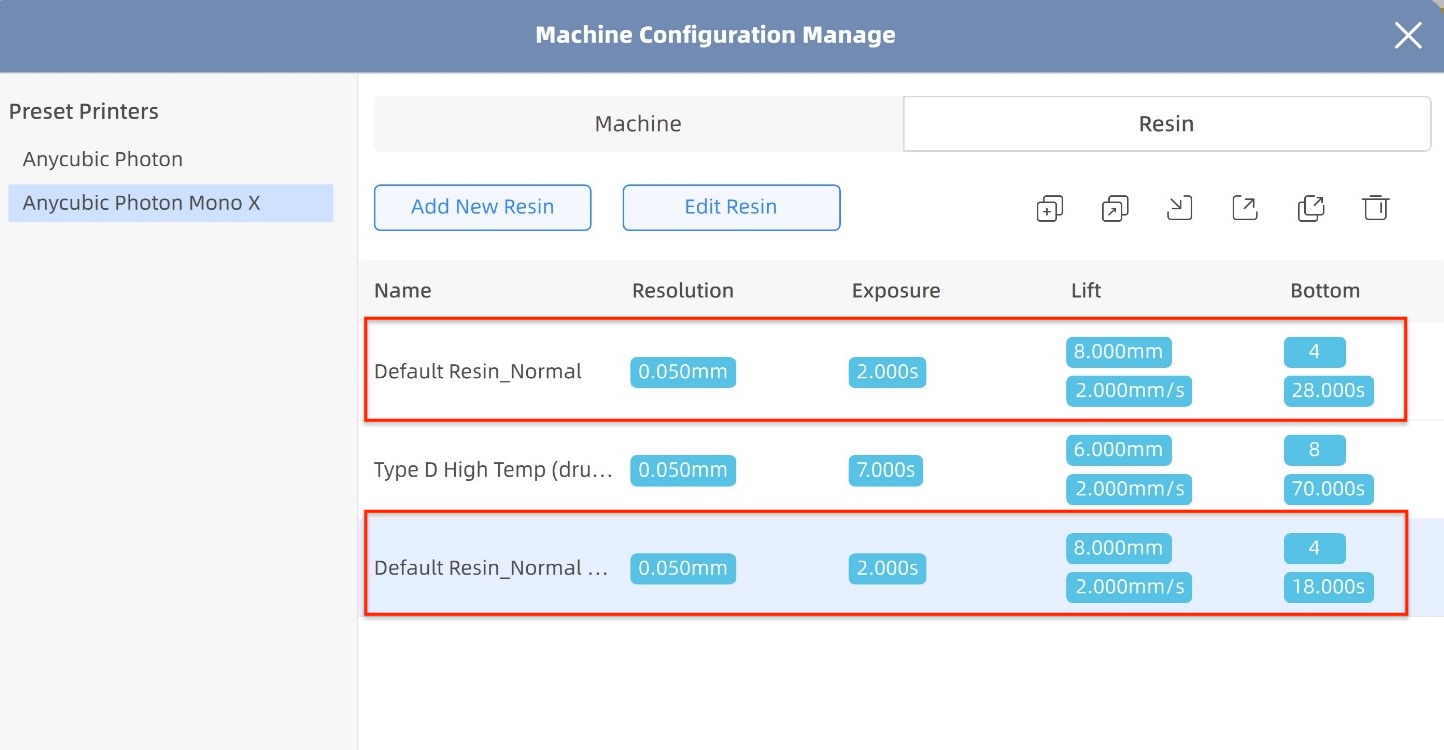
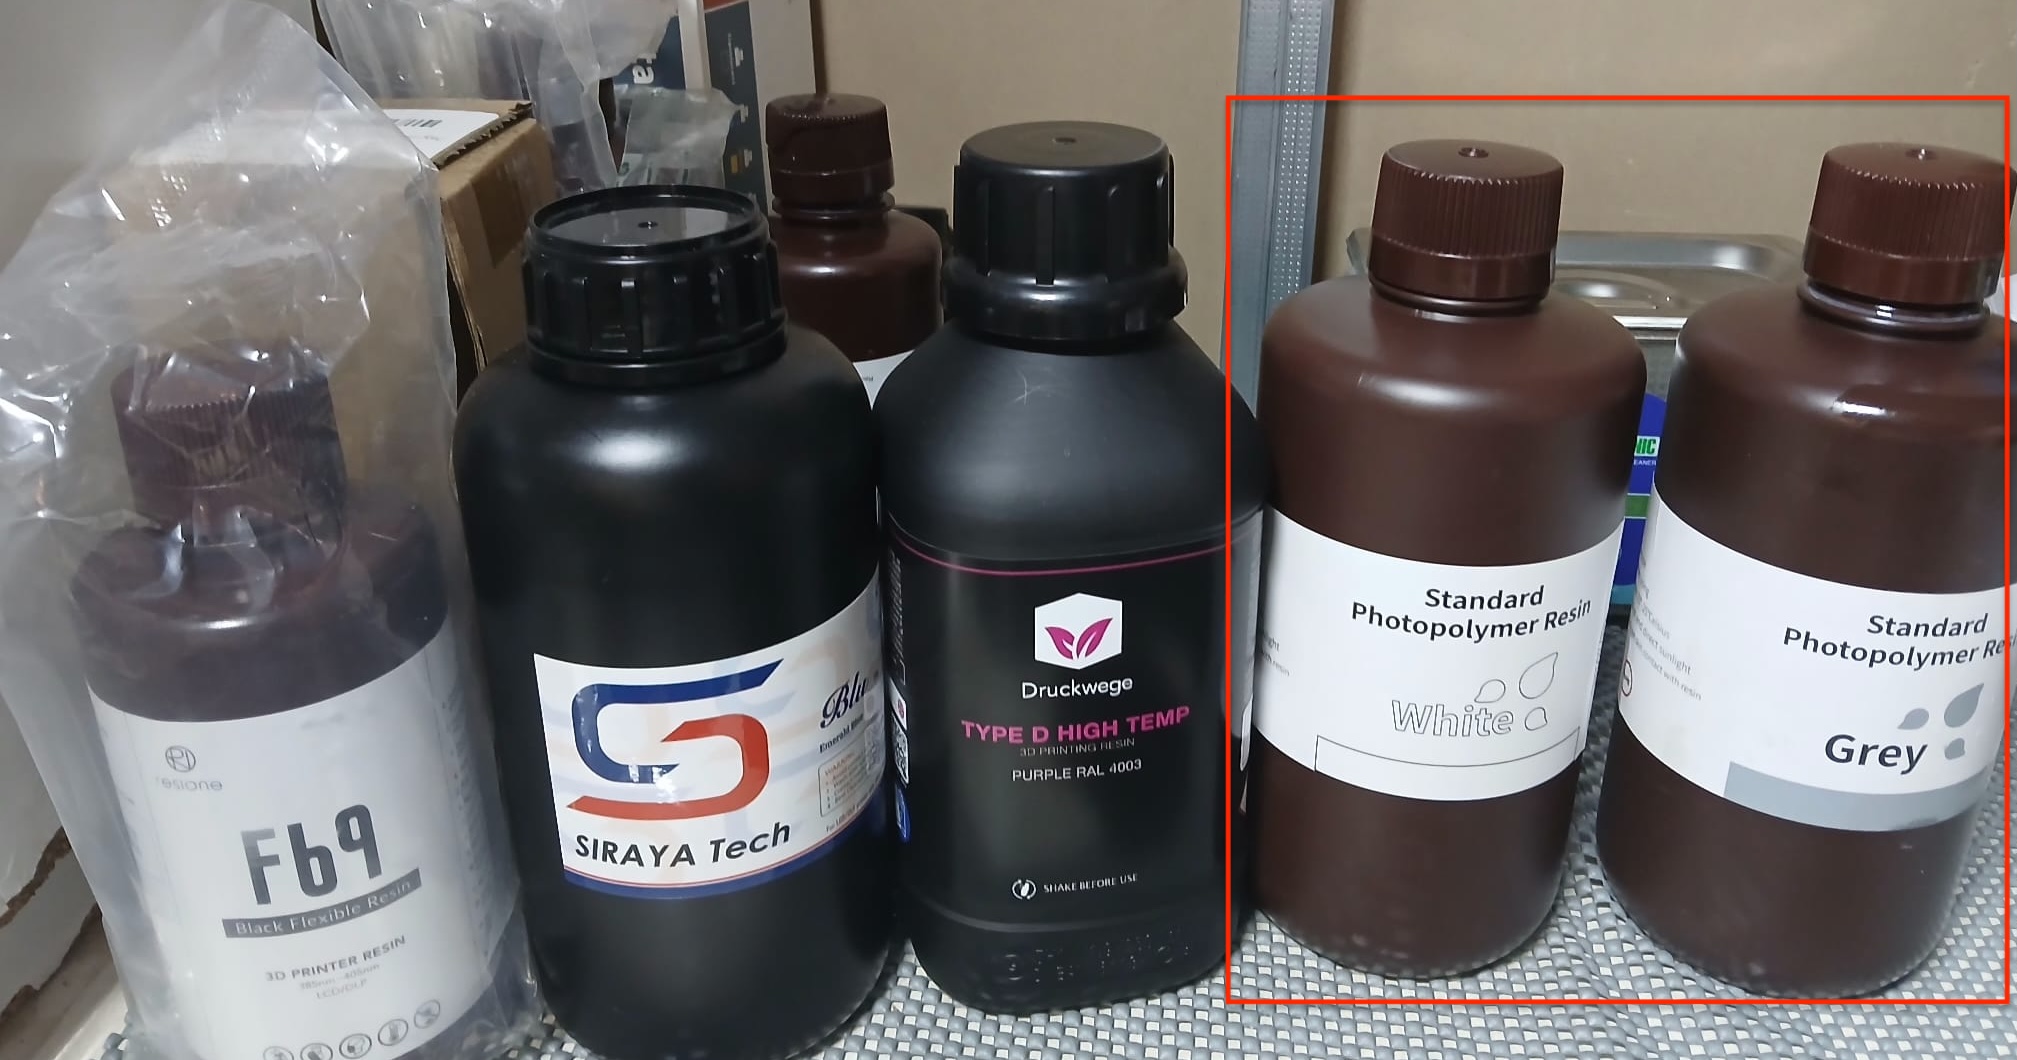
For the resin printer there were two settings as for the first print (in grey) we observed an elephant foot. For the second the exposure time for the bottom layer was reduced from 28 to 18. The resin was also changed (white.)
Test design Rules
Negative Tolerance Test
I found that 0.05 and 0.10 millimeter would lock in the two pieces. The former is too tight and might not be the most appropriate size difference between the two pieces.
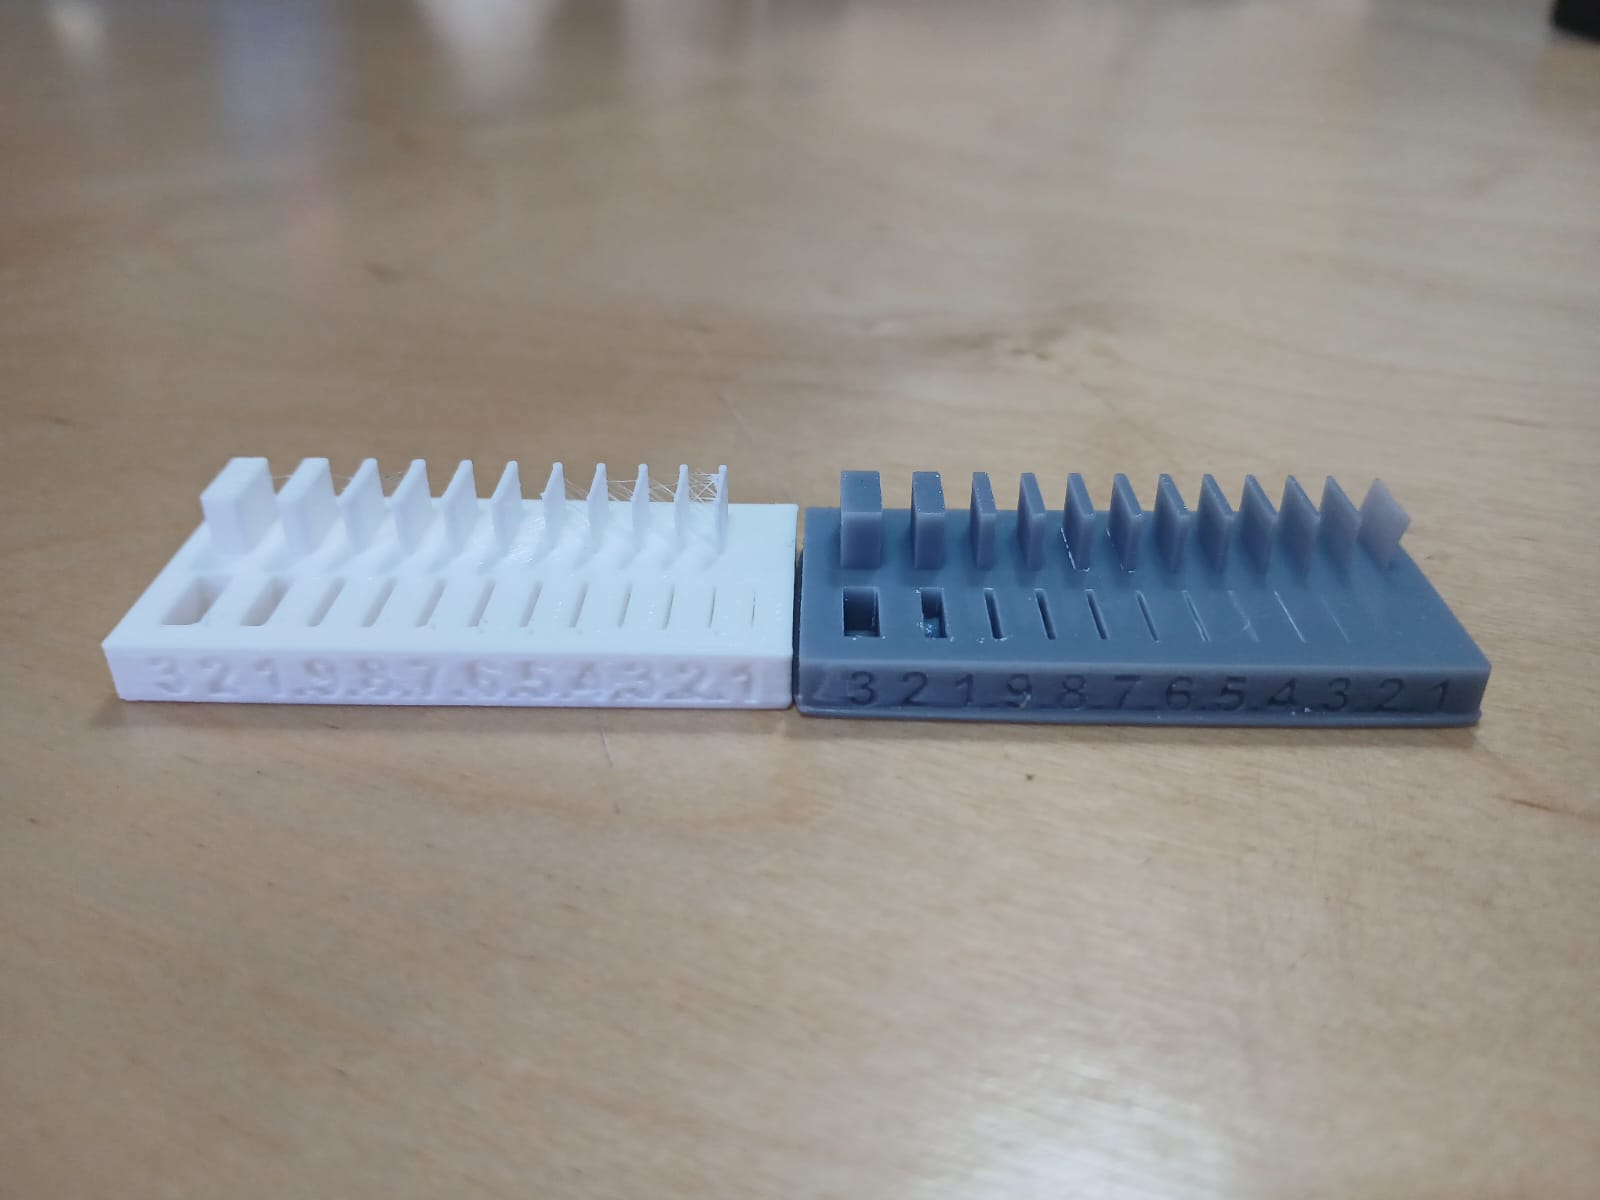
Thickness Test
Overall, for the thickness test I found the thickness to decrease from left to right for the Prusa printer(white). However, it would seem that given the diameter of the nozzle is 0.4, some of the smaller width repeated. This was not the case for the resin printer(grey) which printed one additional thickness, and were you can see that all the thickness decrease from left to right.
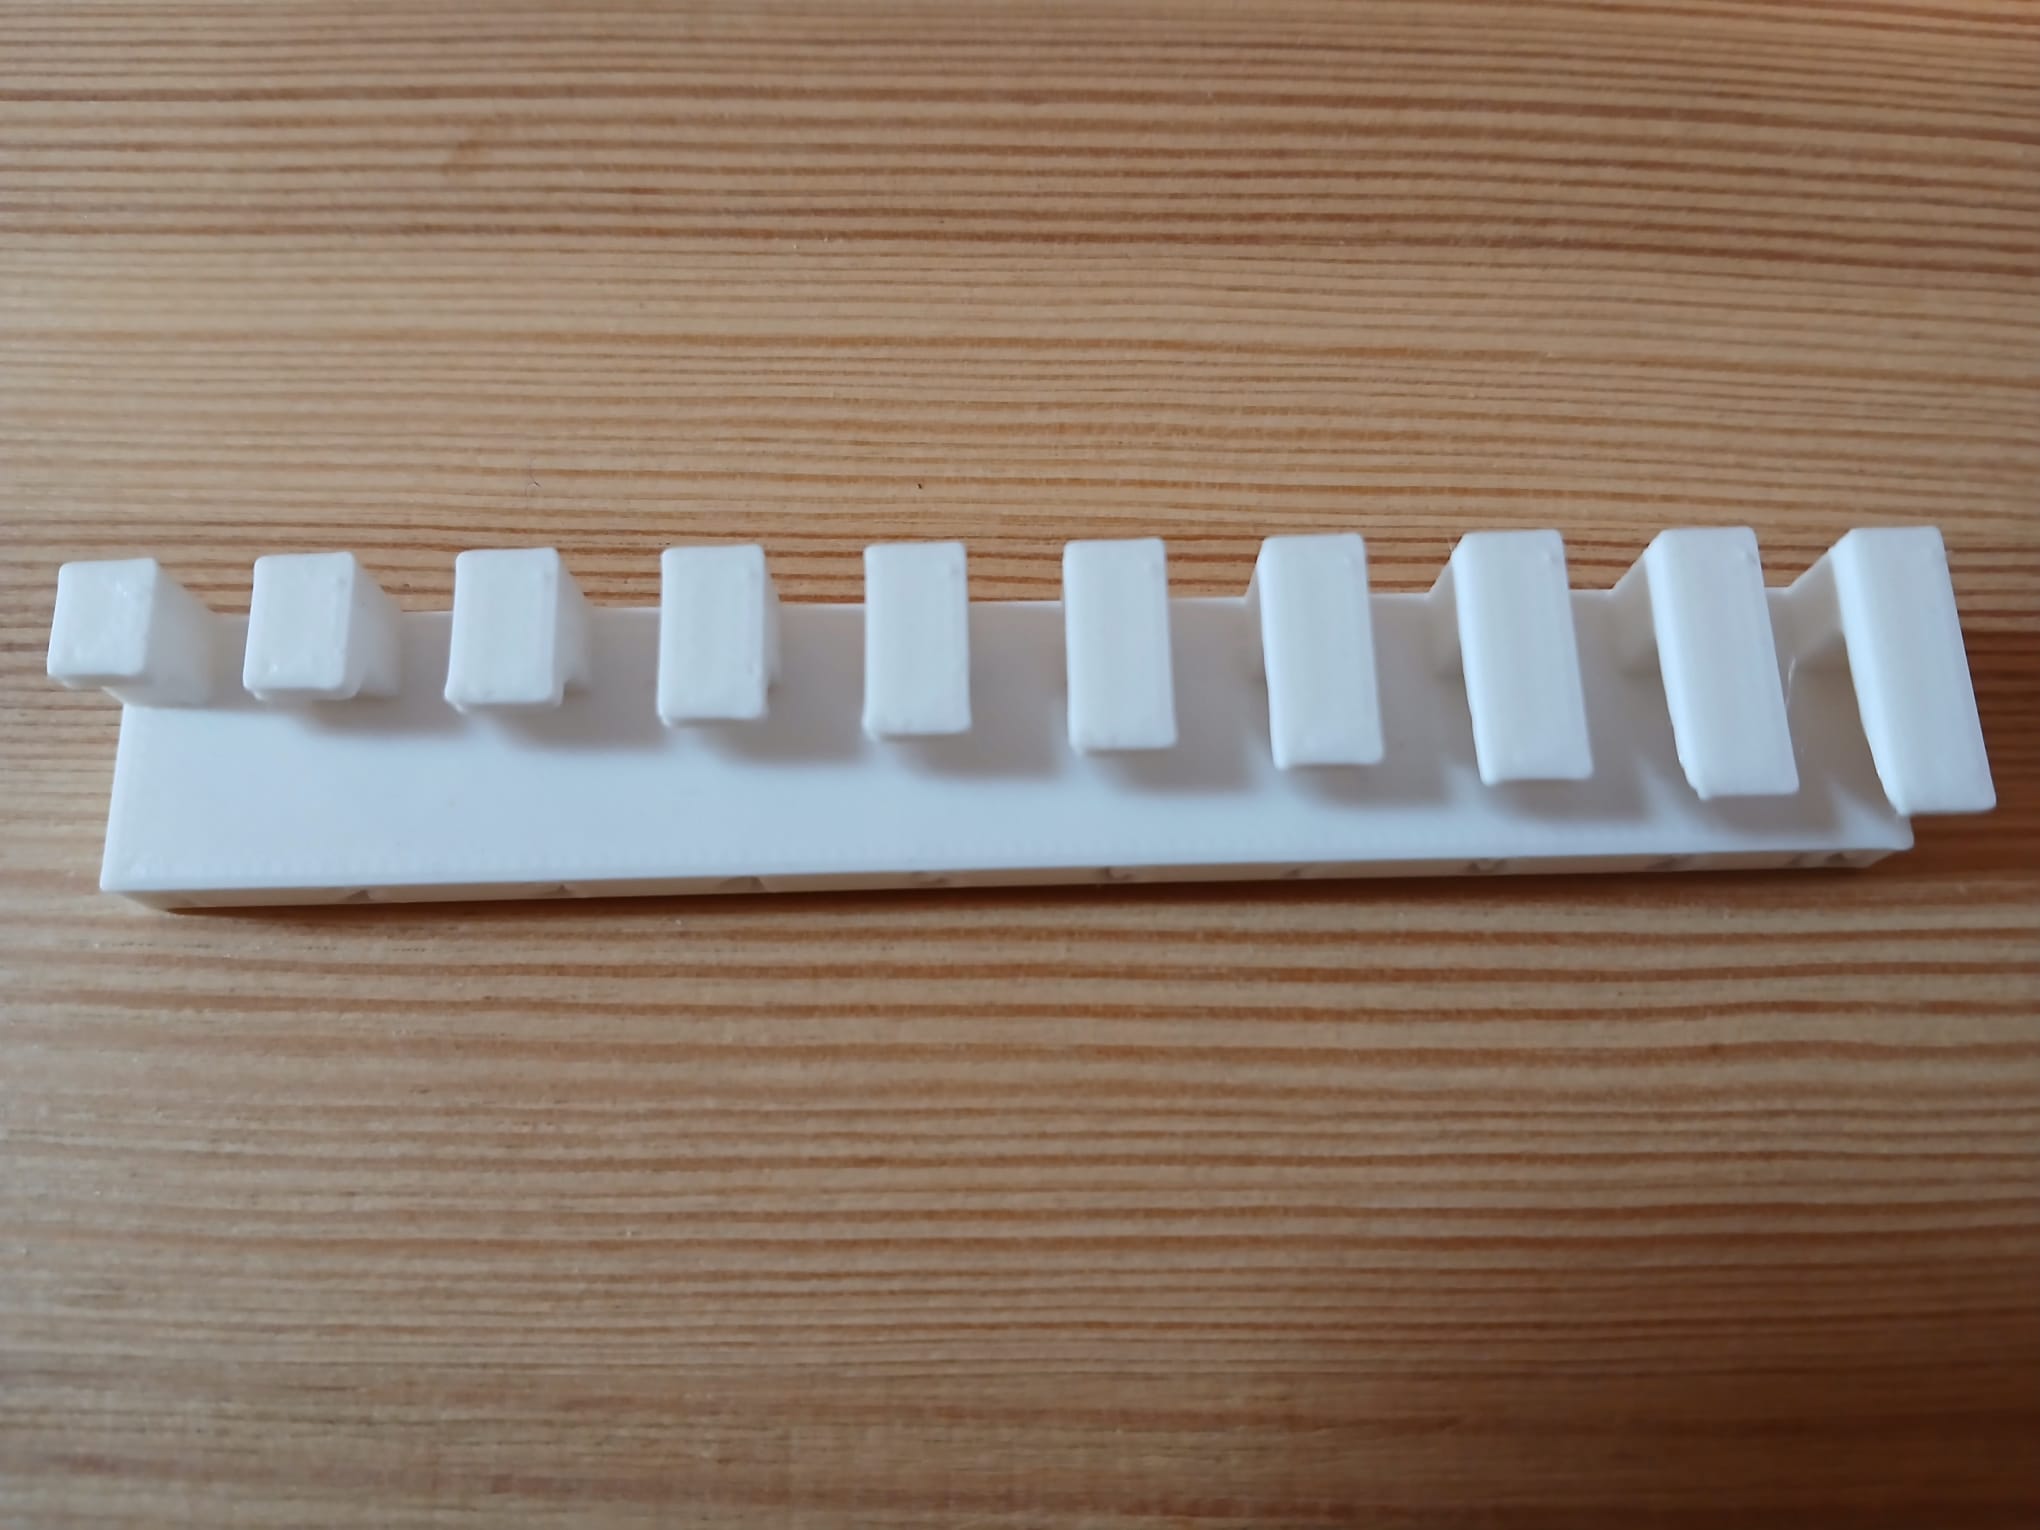
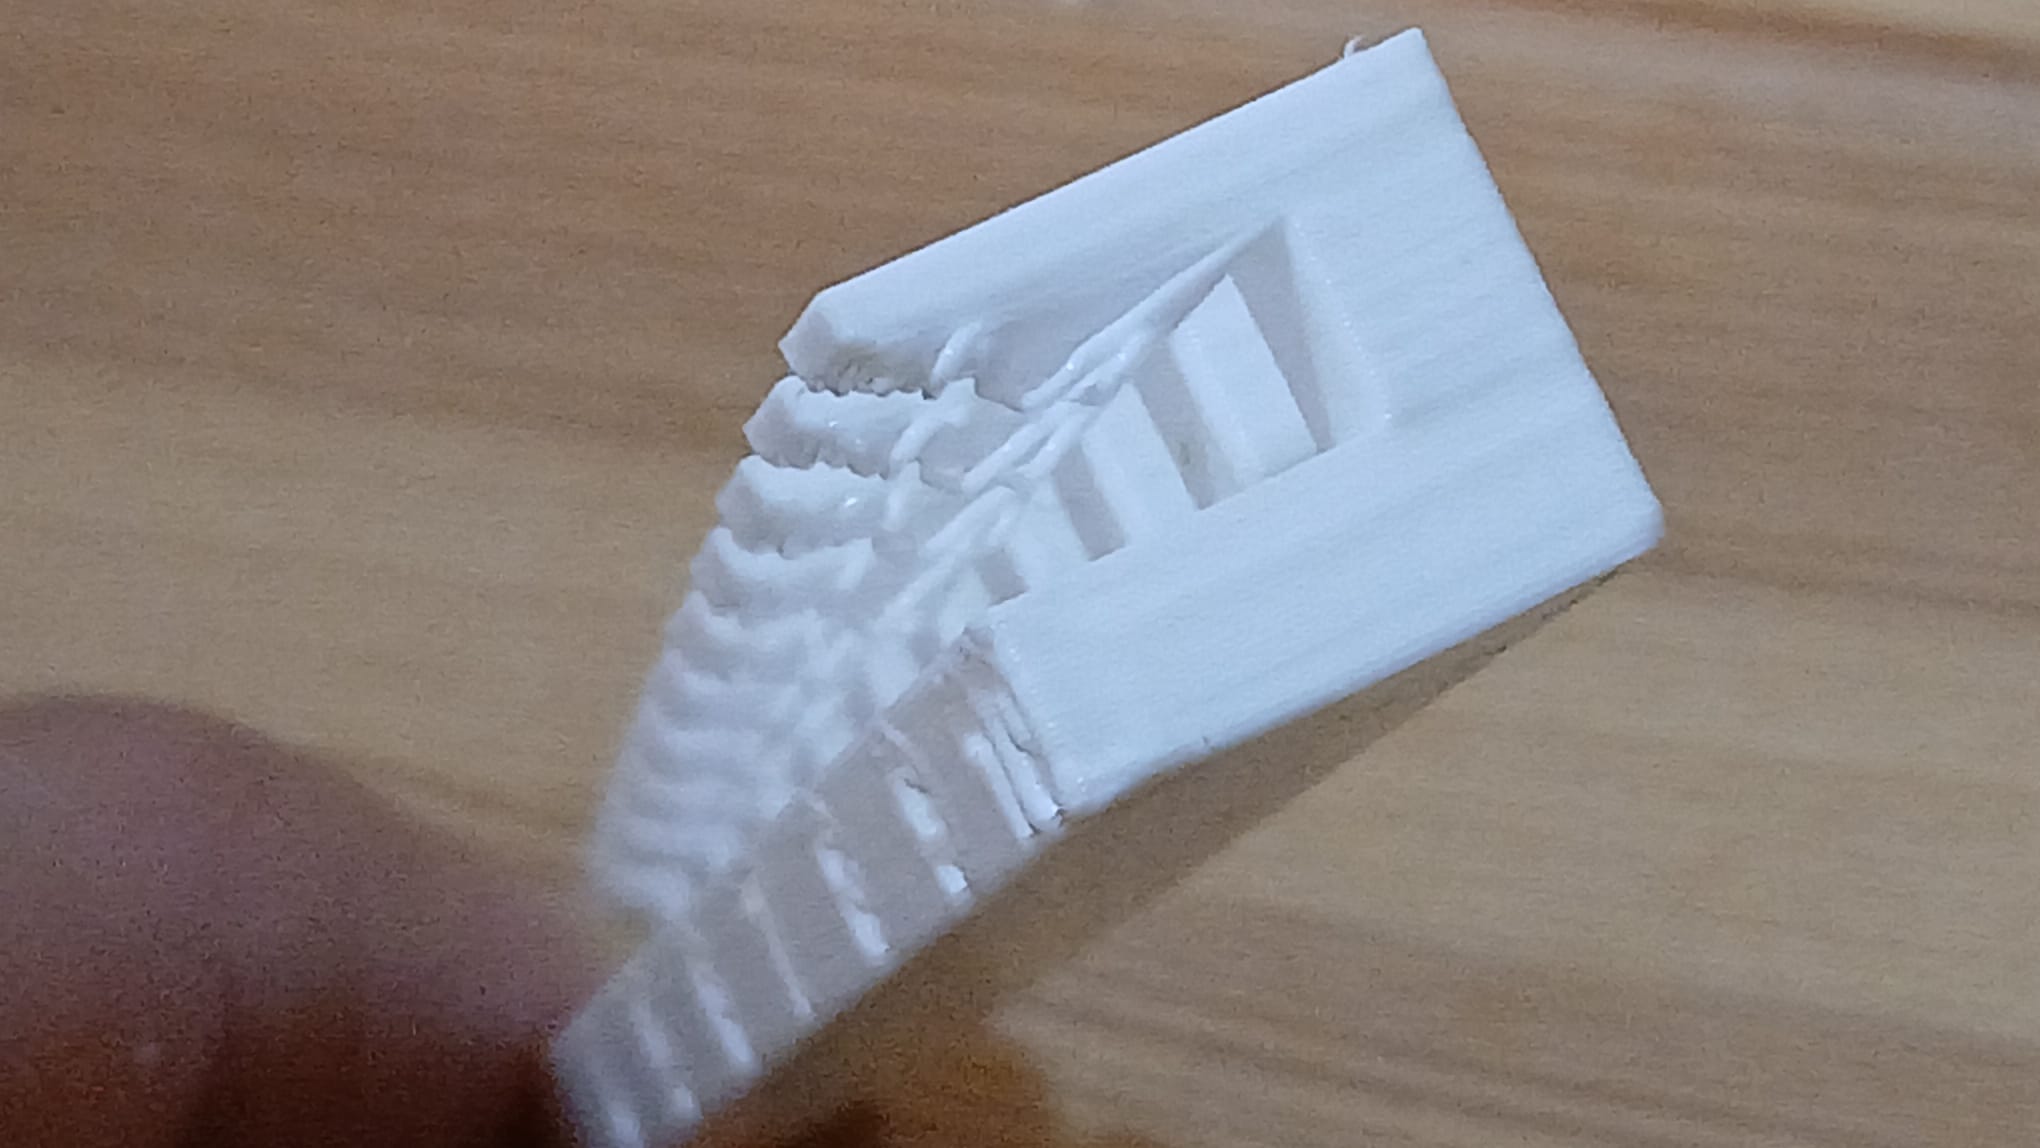
Overhang Test
The overhang and bridging test was successful for the Prusa printer. For most overhangs length there were some lines of filament that hanged from the overhang bottoms.
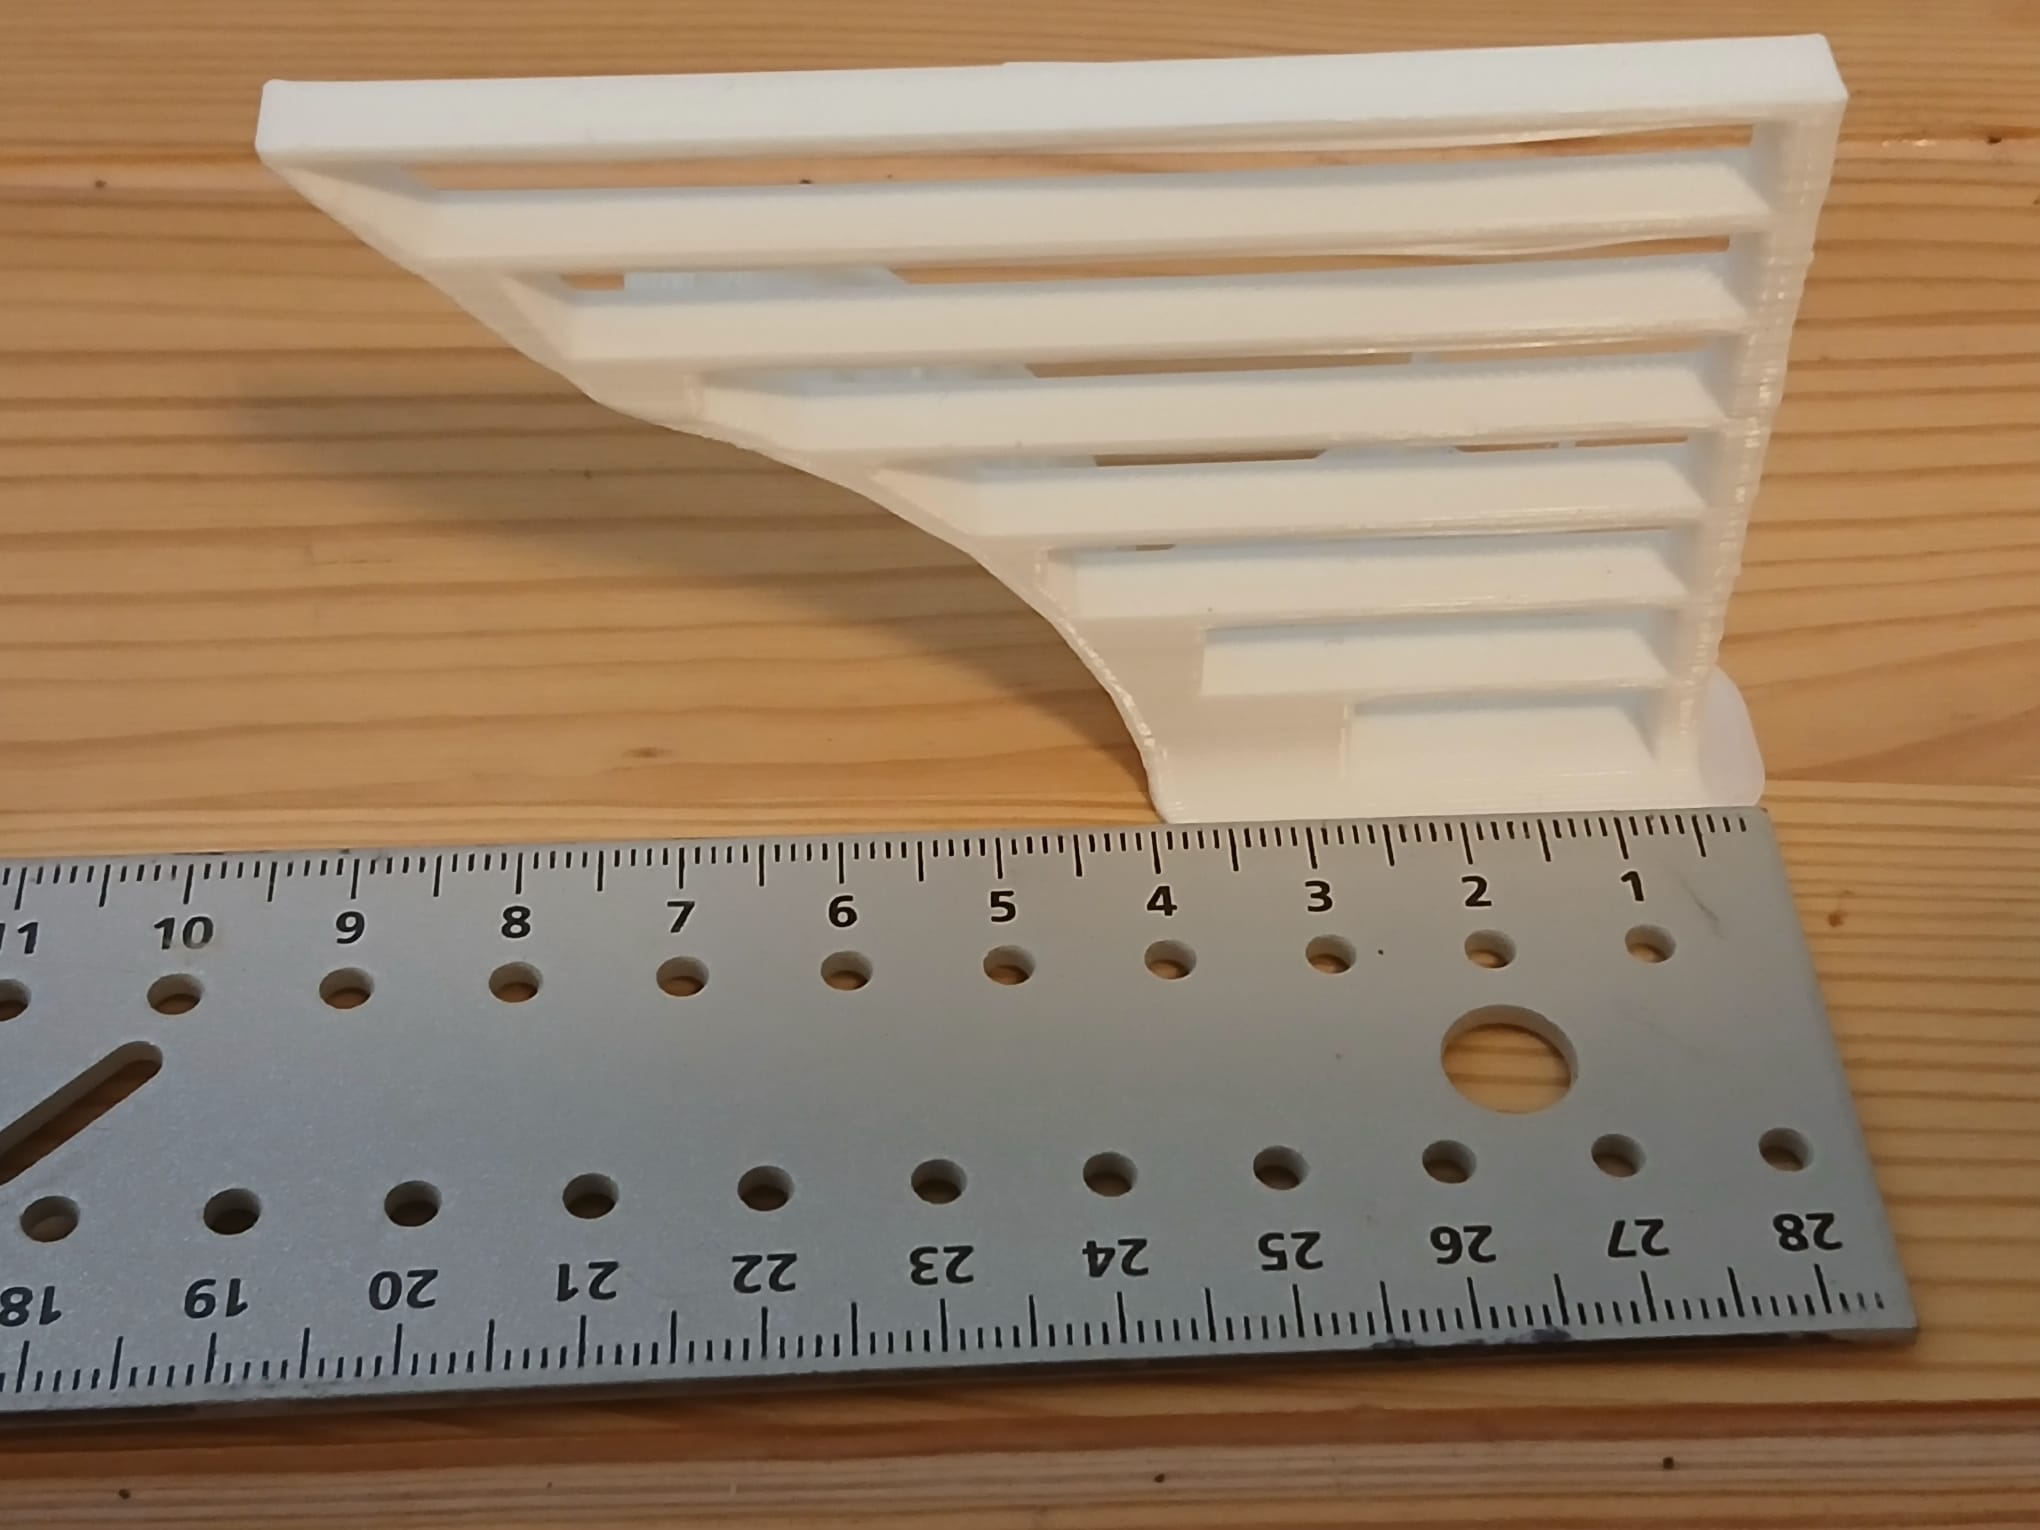
Bridgin Test
The maximum bridge length attained was 8 cm.
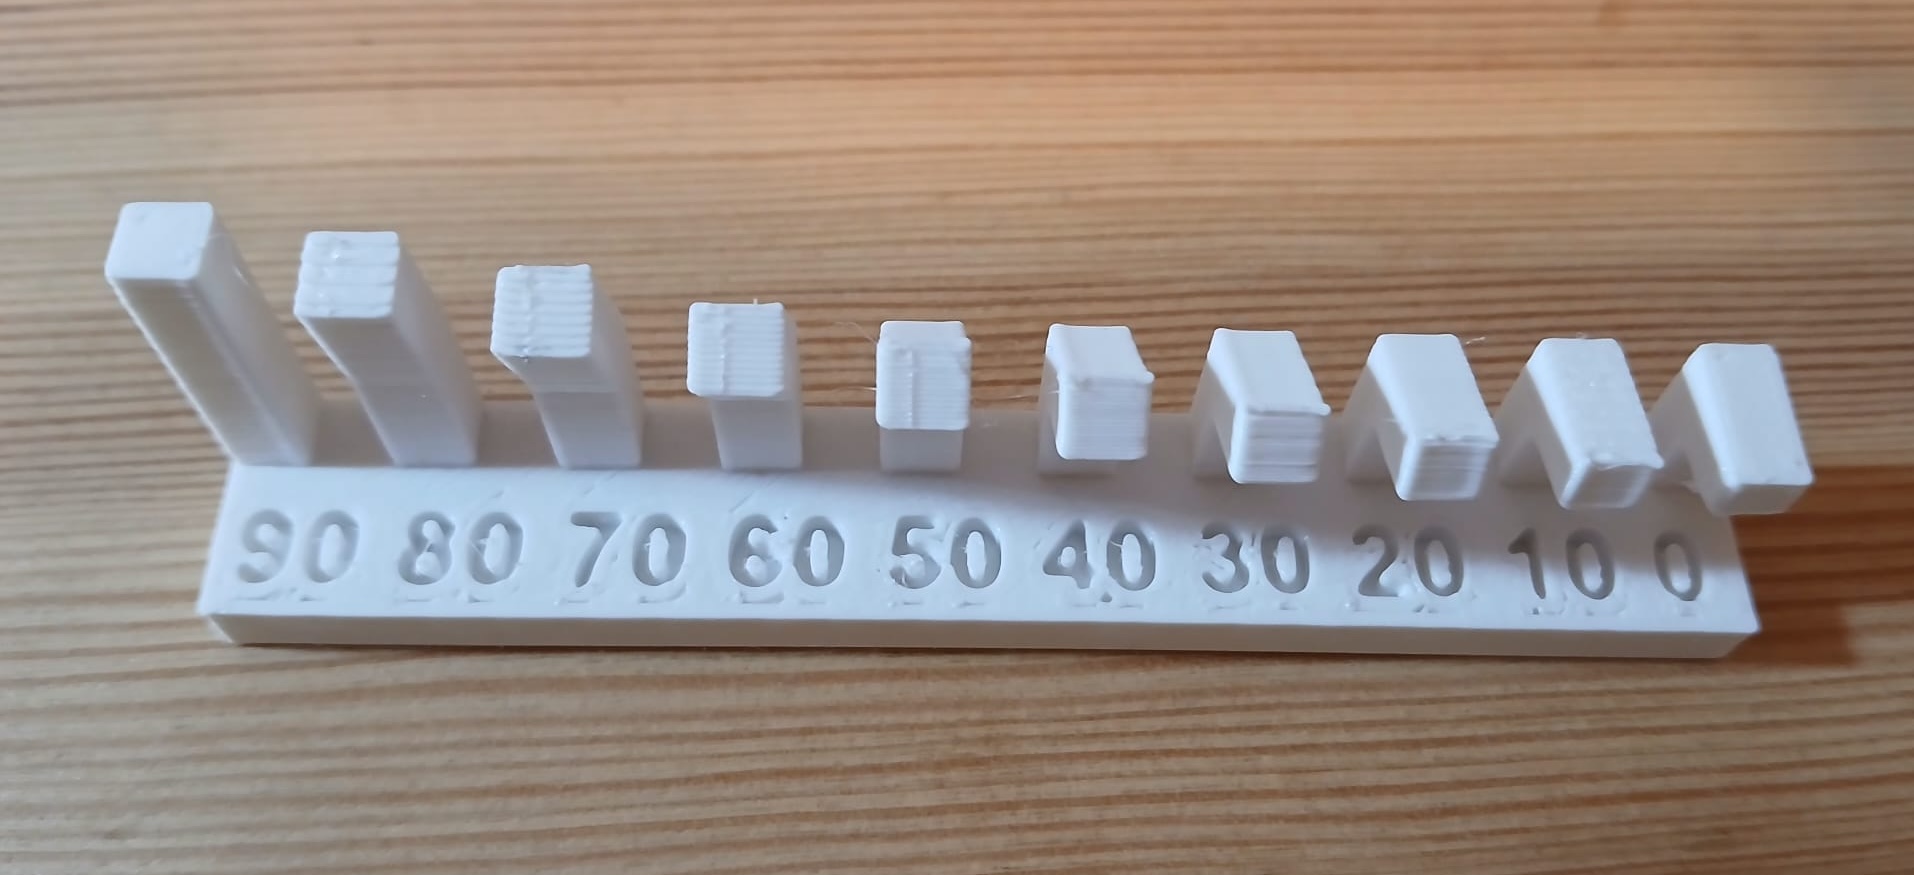
Angle Test
The angle test was a bit redundant as we had already seen that “parallel to the ground” bridge construction was possible. However it was interesting to see that there were some residual filaments only on 0 and 10 degrees from a plane parallel to the ground.
Overall test resin
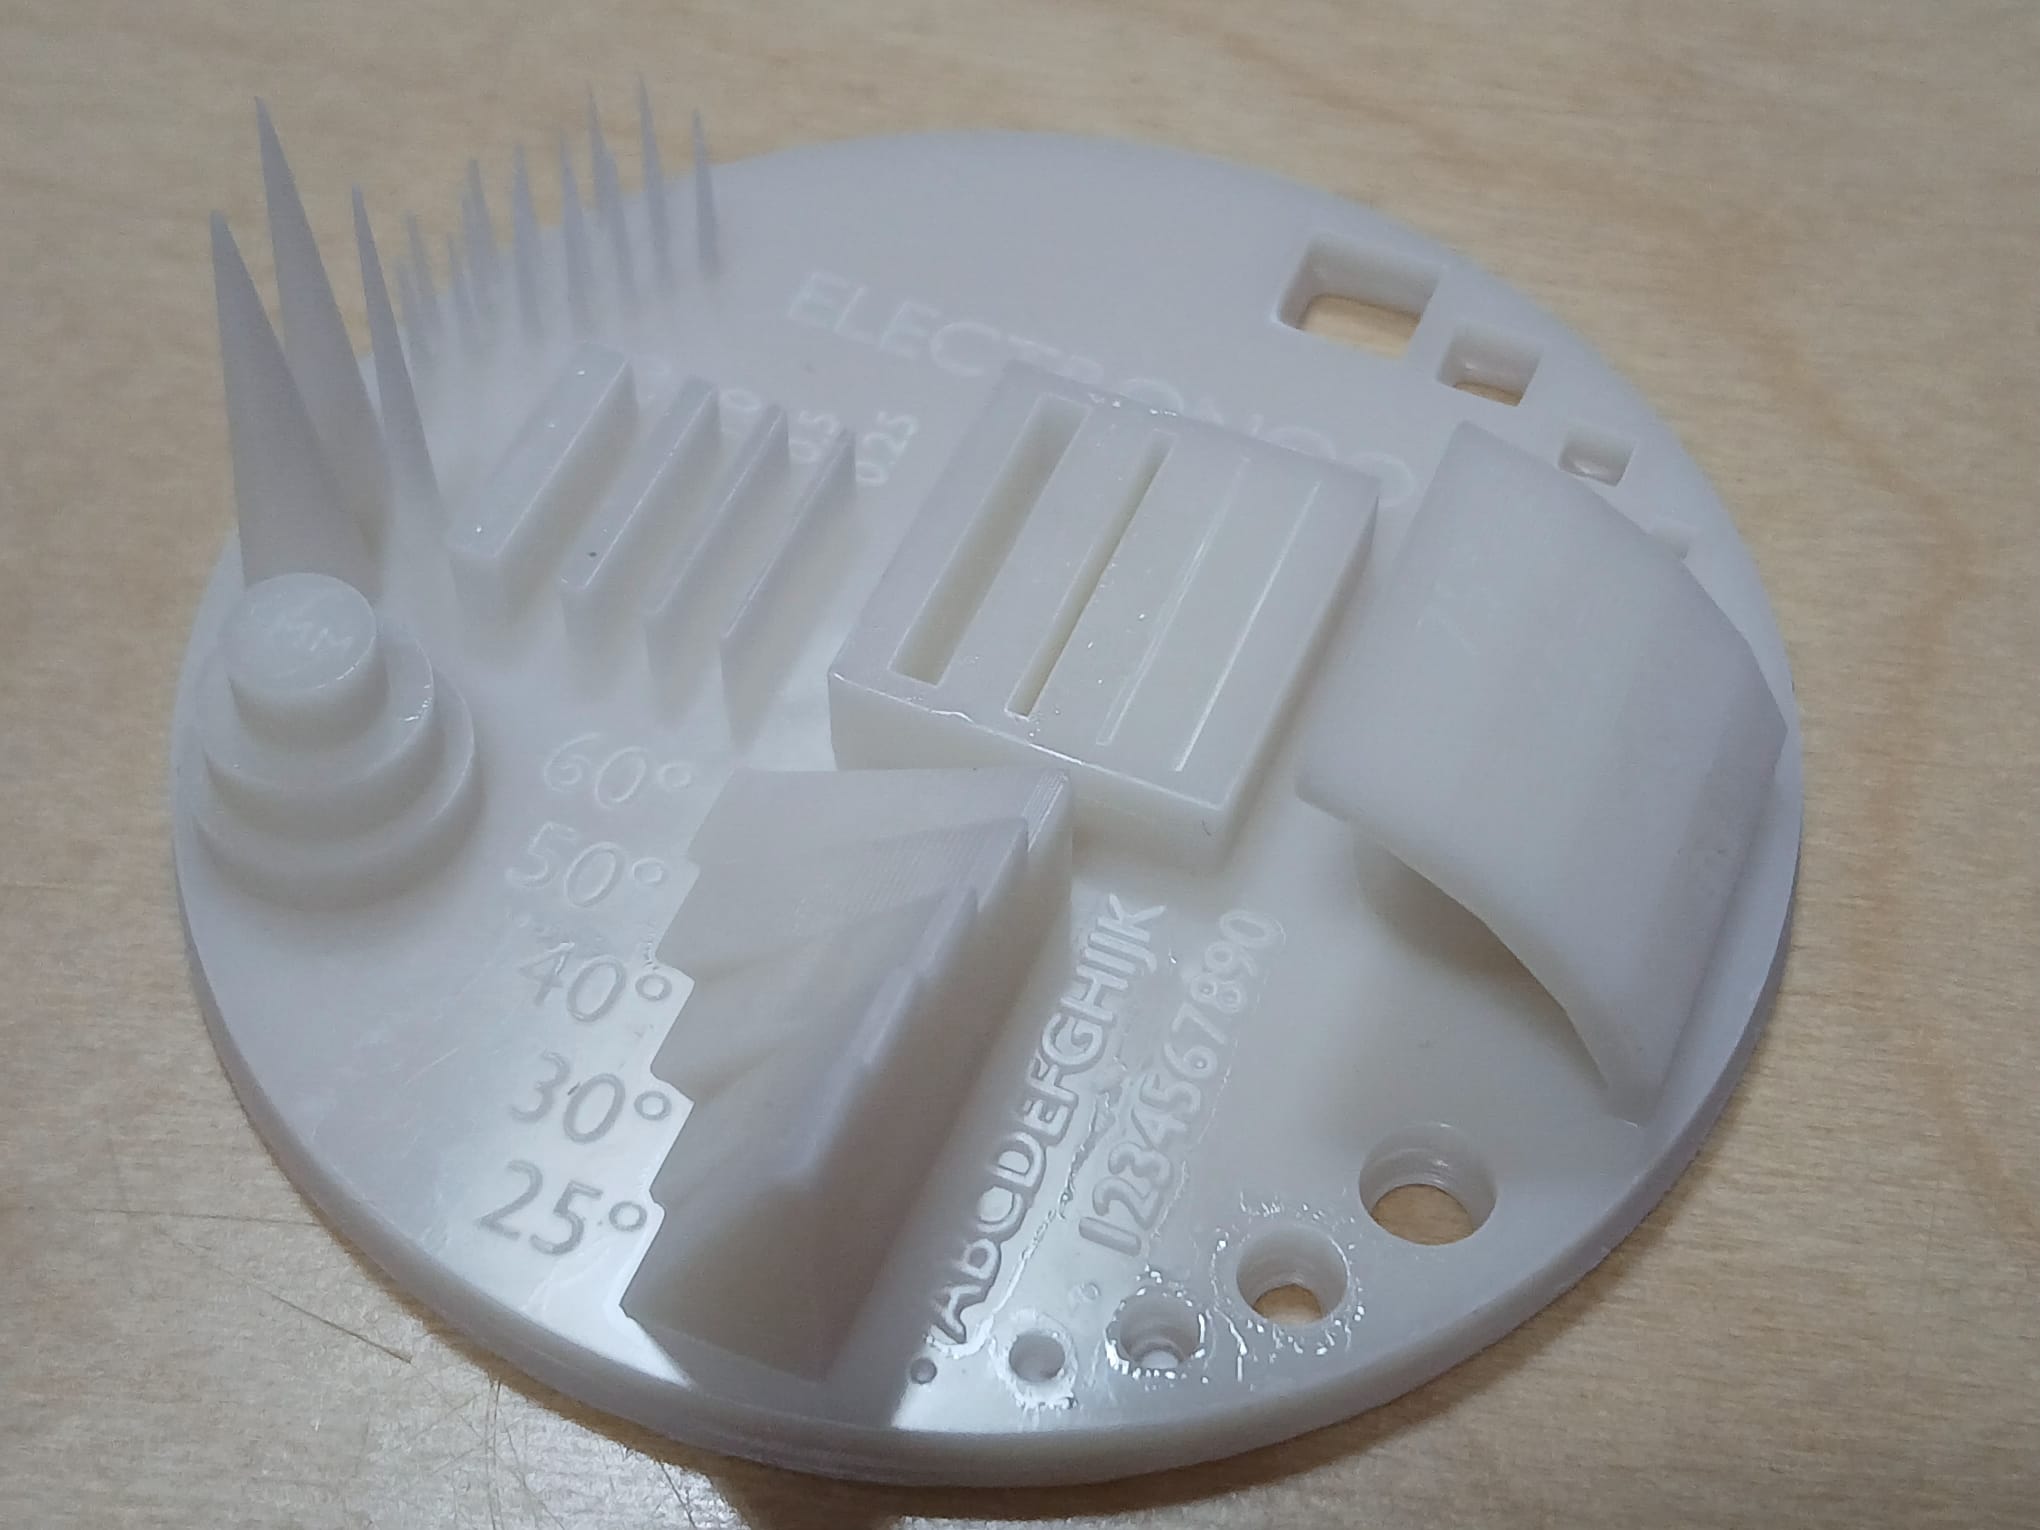
We could observe that in resin we were capable of building very fine structures. You can that there is not sagging of the material at very sharp angles as one would see in the filament extrusion printer. Also the material thickness that can be achieved is quite fine. Moreover, in the surface of the circle below one cannot see any lines as one would see a filament extrusion printer.
Individual Assingment
Rodin
I was interested in looking at a some AI tools to generate 3d models from pictures. I found an online program that specializes in that called Rodin which is a paying service. I try the non paying version to test it on a nudibranch or sea slug picture.
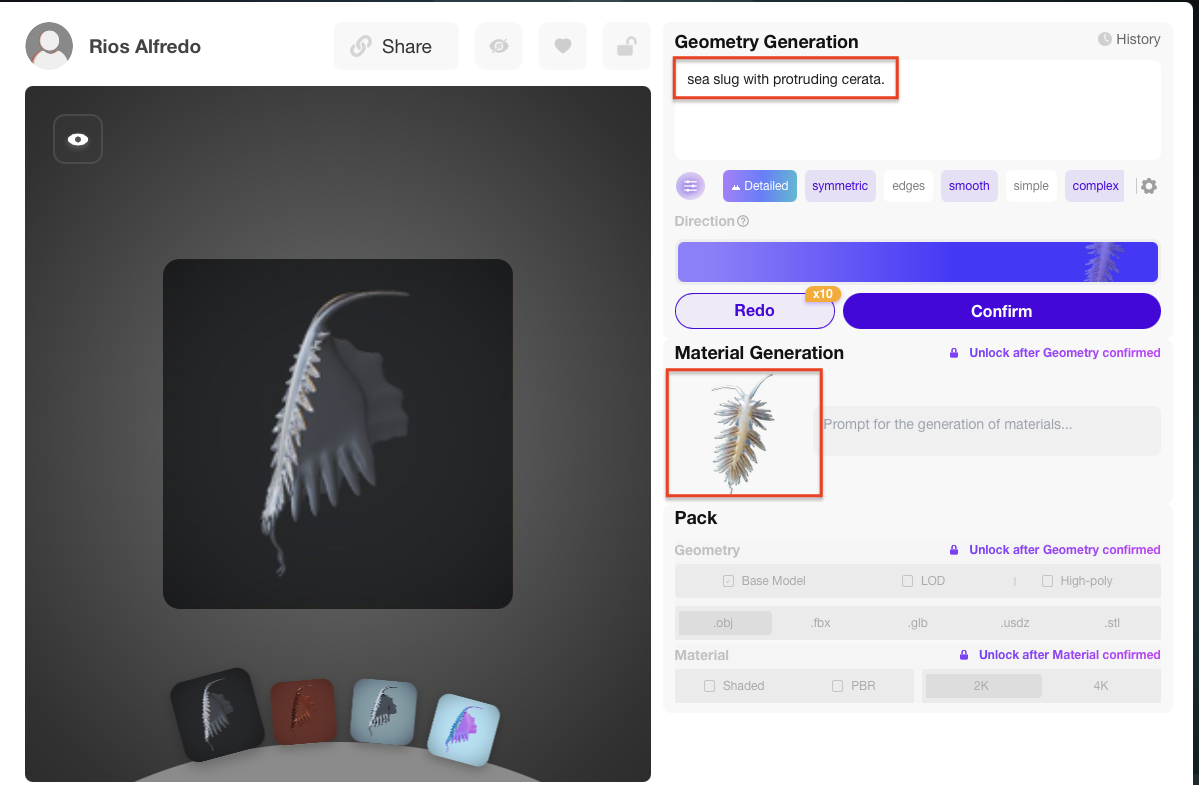
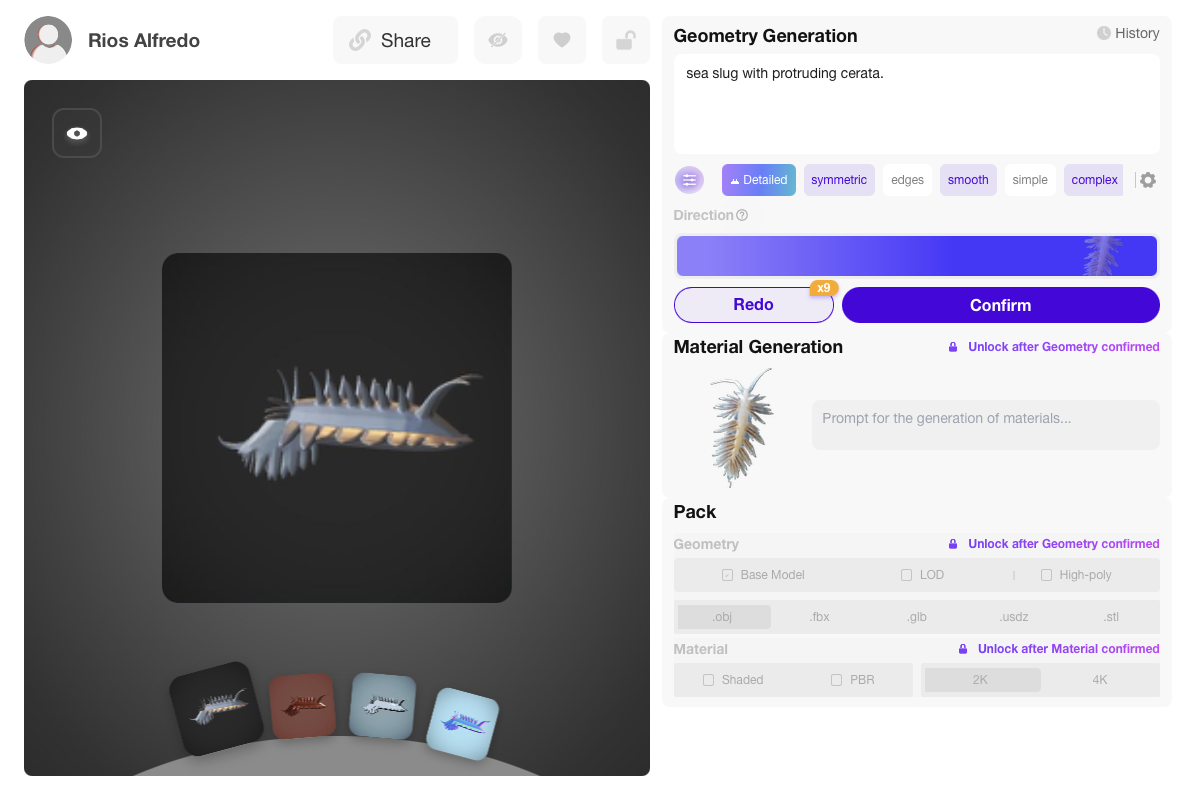
As you can see the results were not particularly great.
3D Scanning
Octopus scanning
For my individual project I scanned a ceramic octopus. Initially, I feared it could not be a good subject for scanning as it was shiny which could pose a problem due to light reflection.
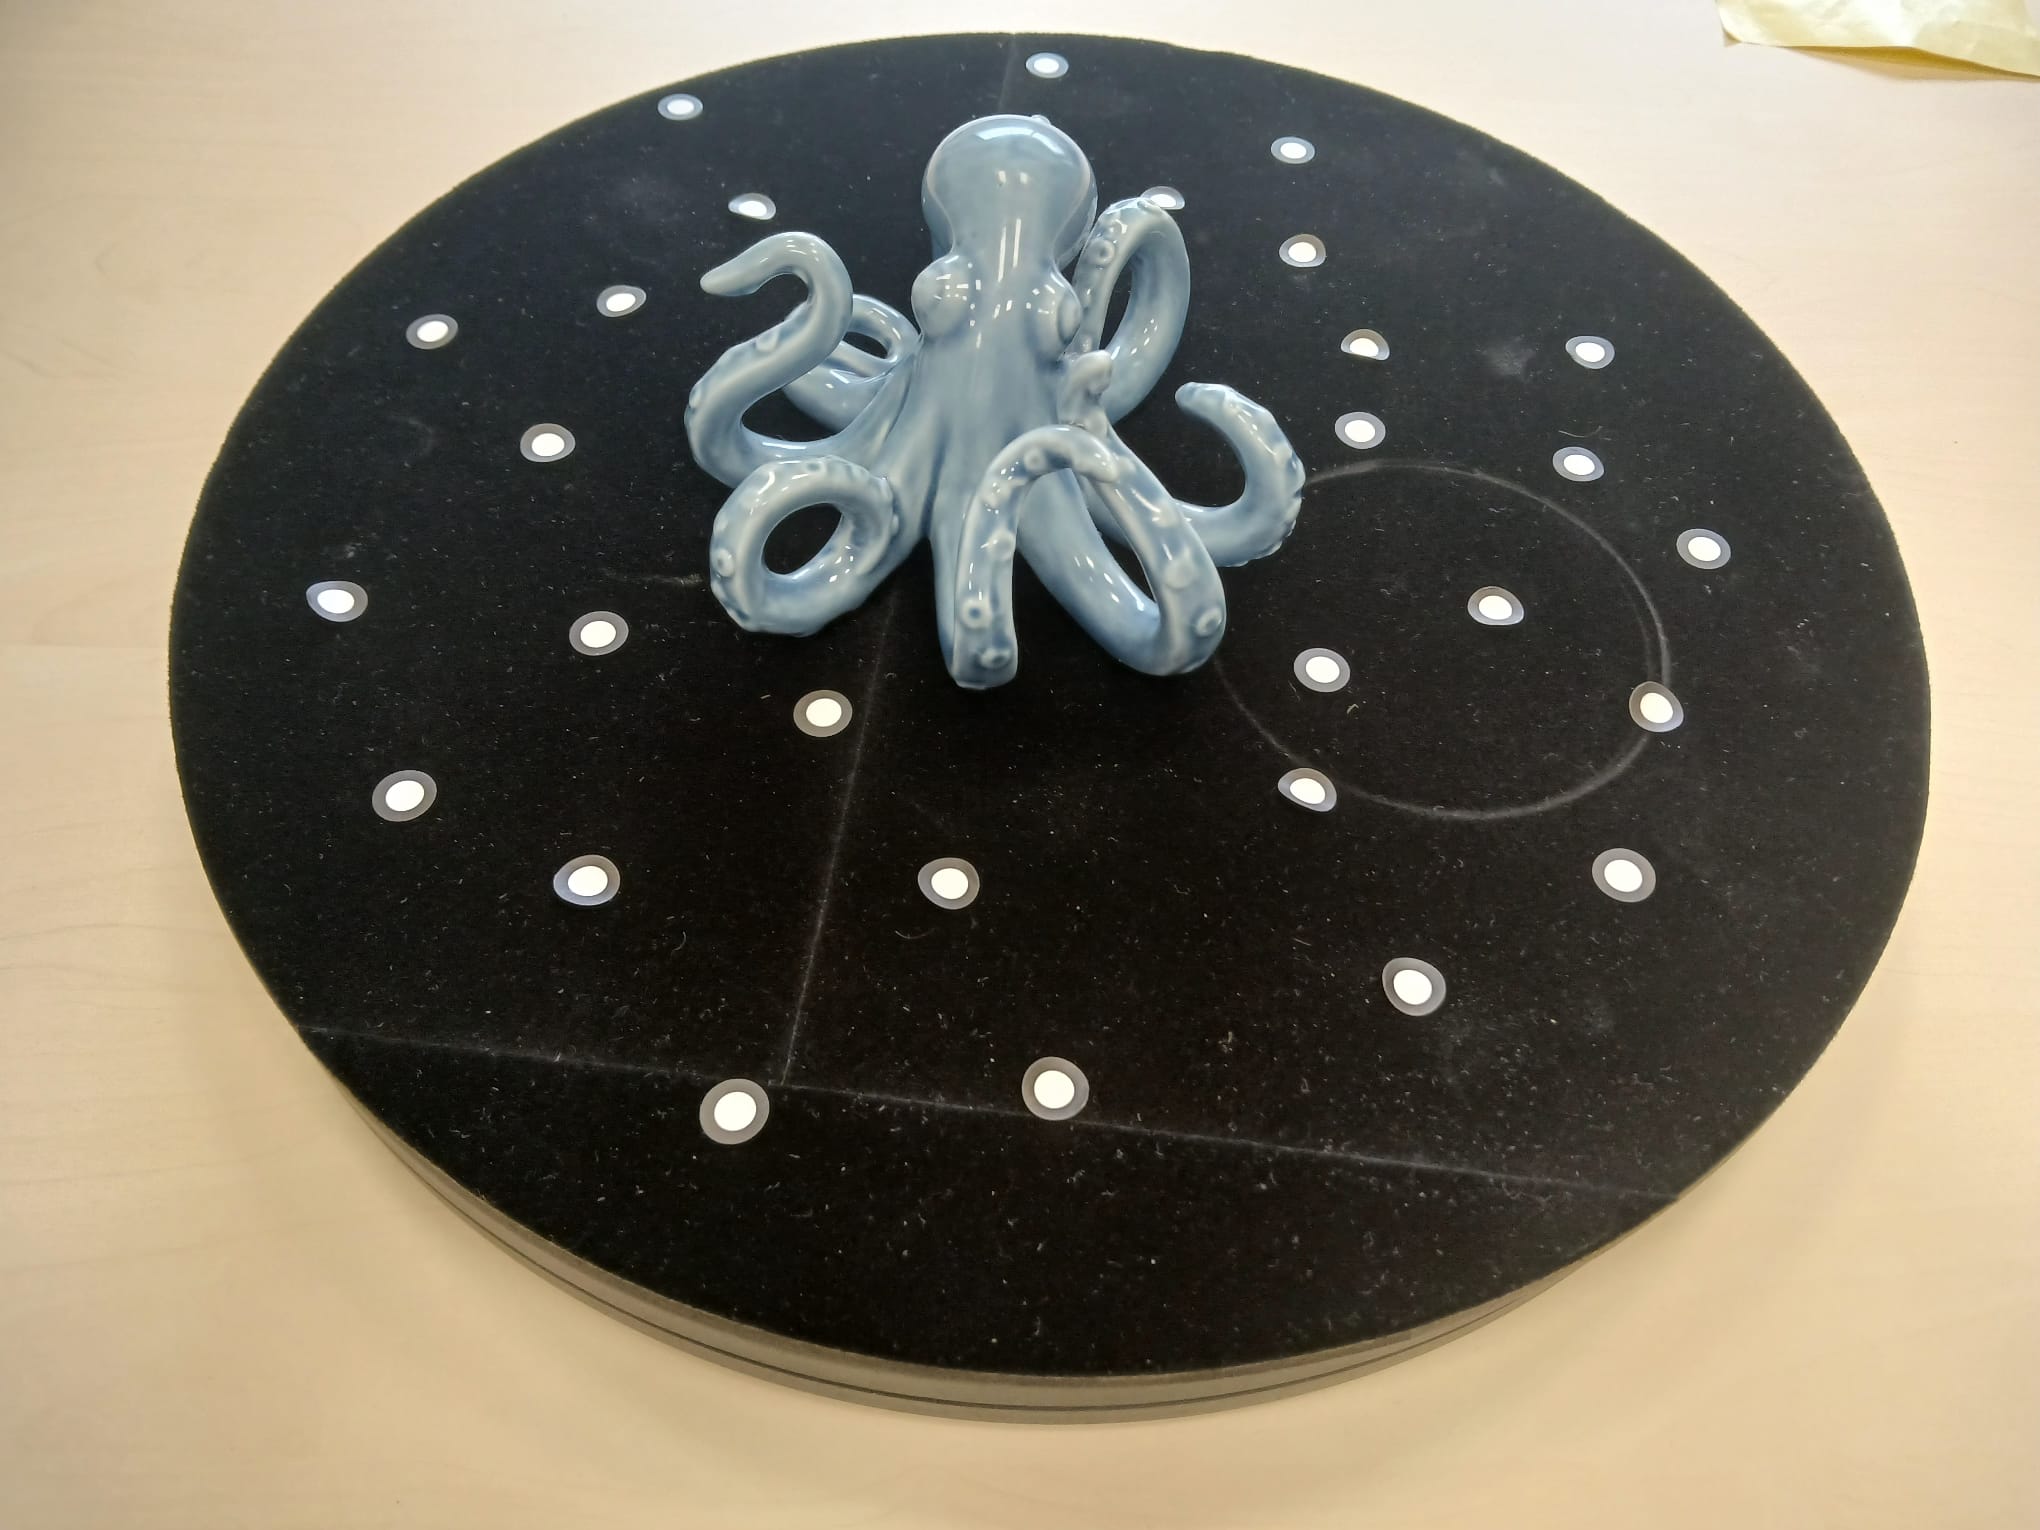
In order to scan the octopus we used a black rotating plate covered in black velvet in order to have good color separation between the two objects. We used reference points which were placed both in the plate and on the octopus. The ones on the octopus did not work well while we were scanning so we removed them and left only the ones on the plate.
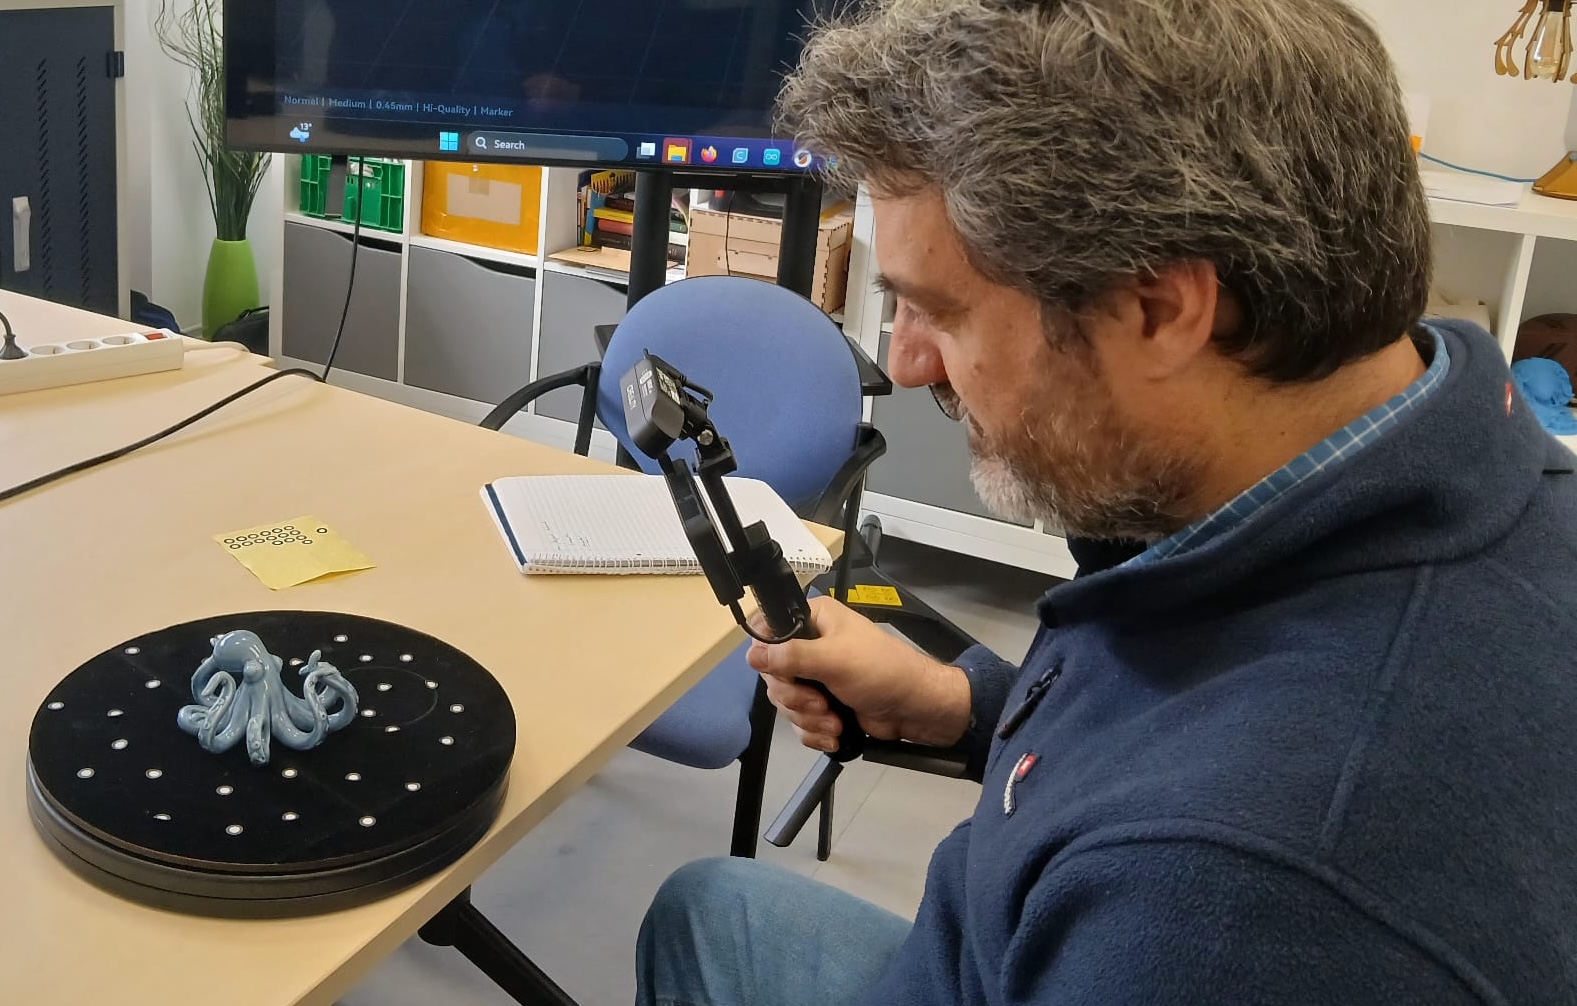
During the scanning process a green color indicated that enough information was recorded while red indicated the contrary. We paused the scanning and we realize that we were lacking some information from the bottom of the figurine. We continued scanning.
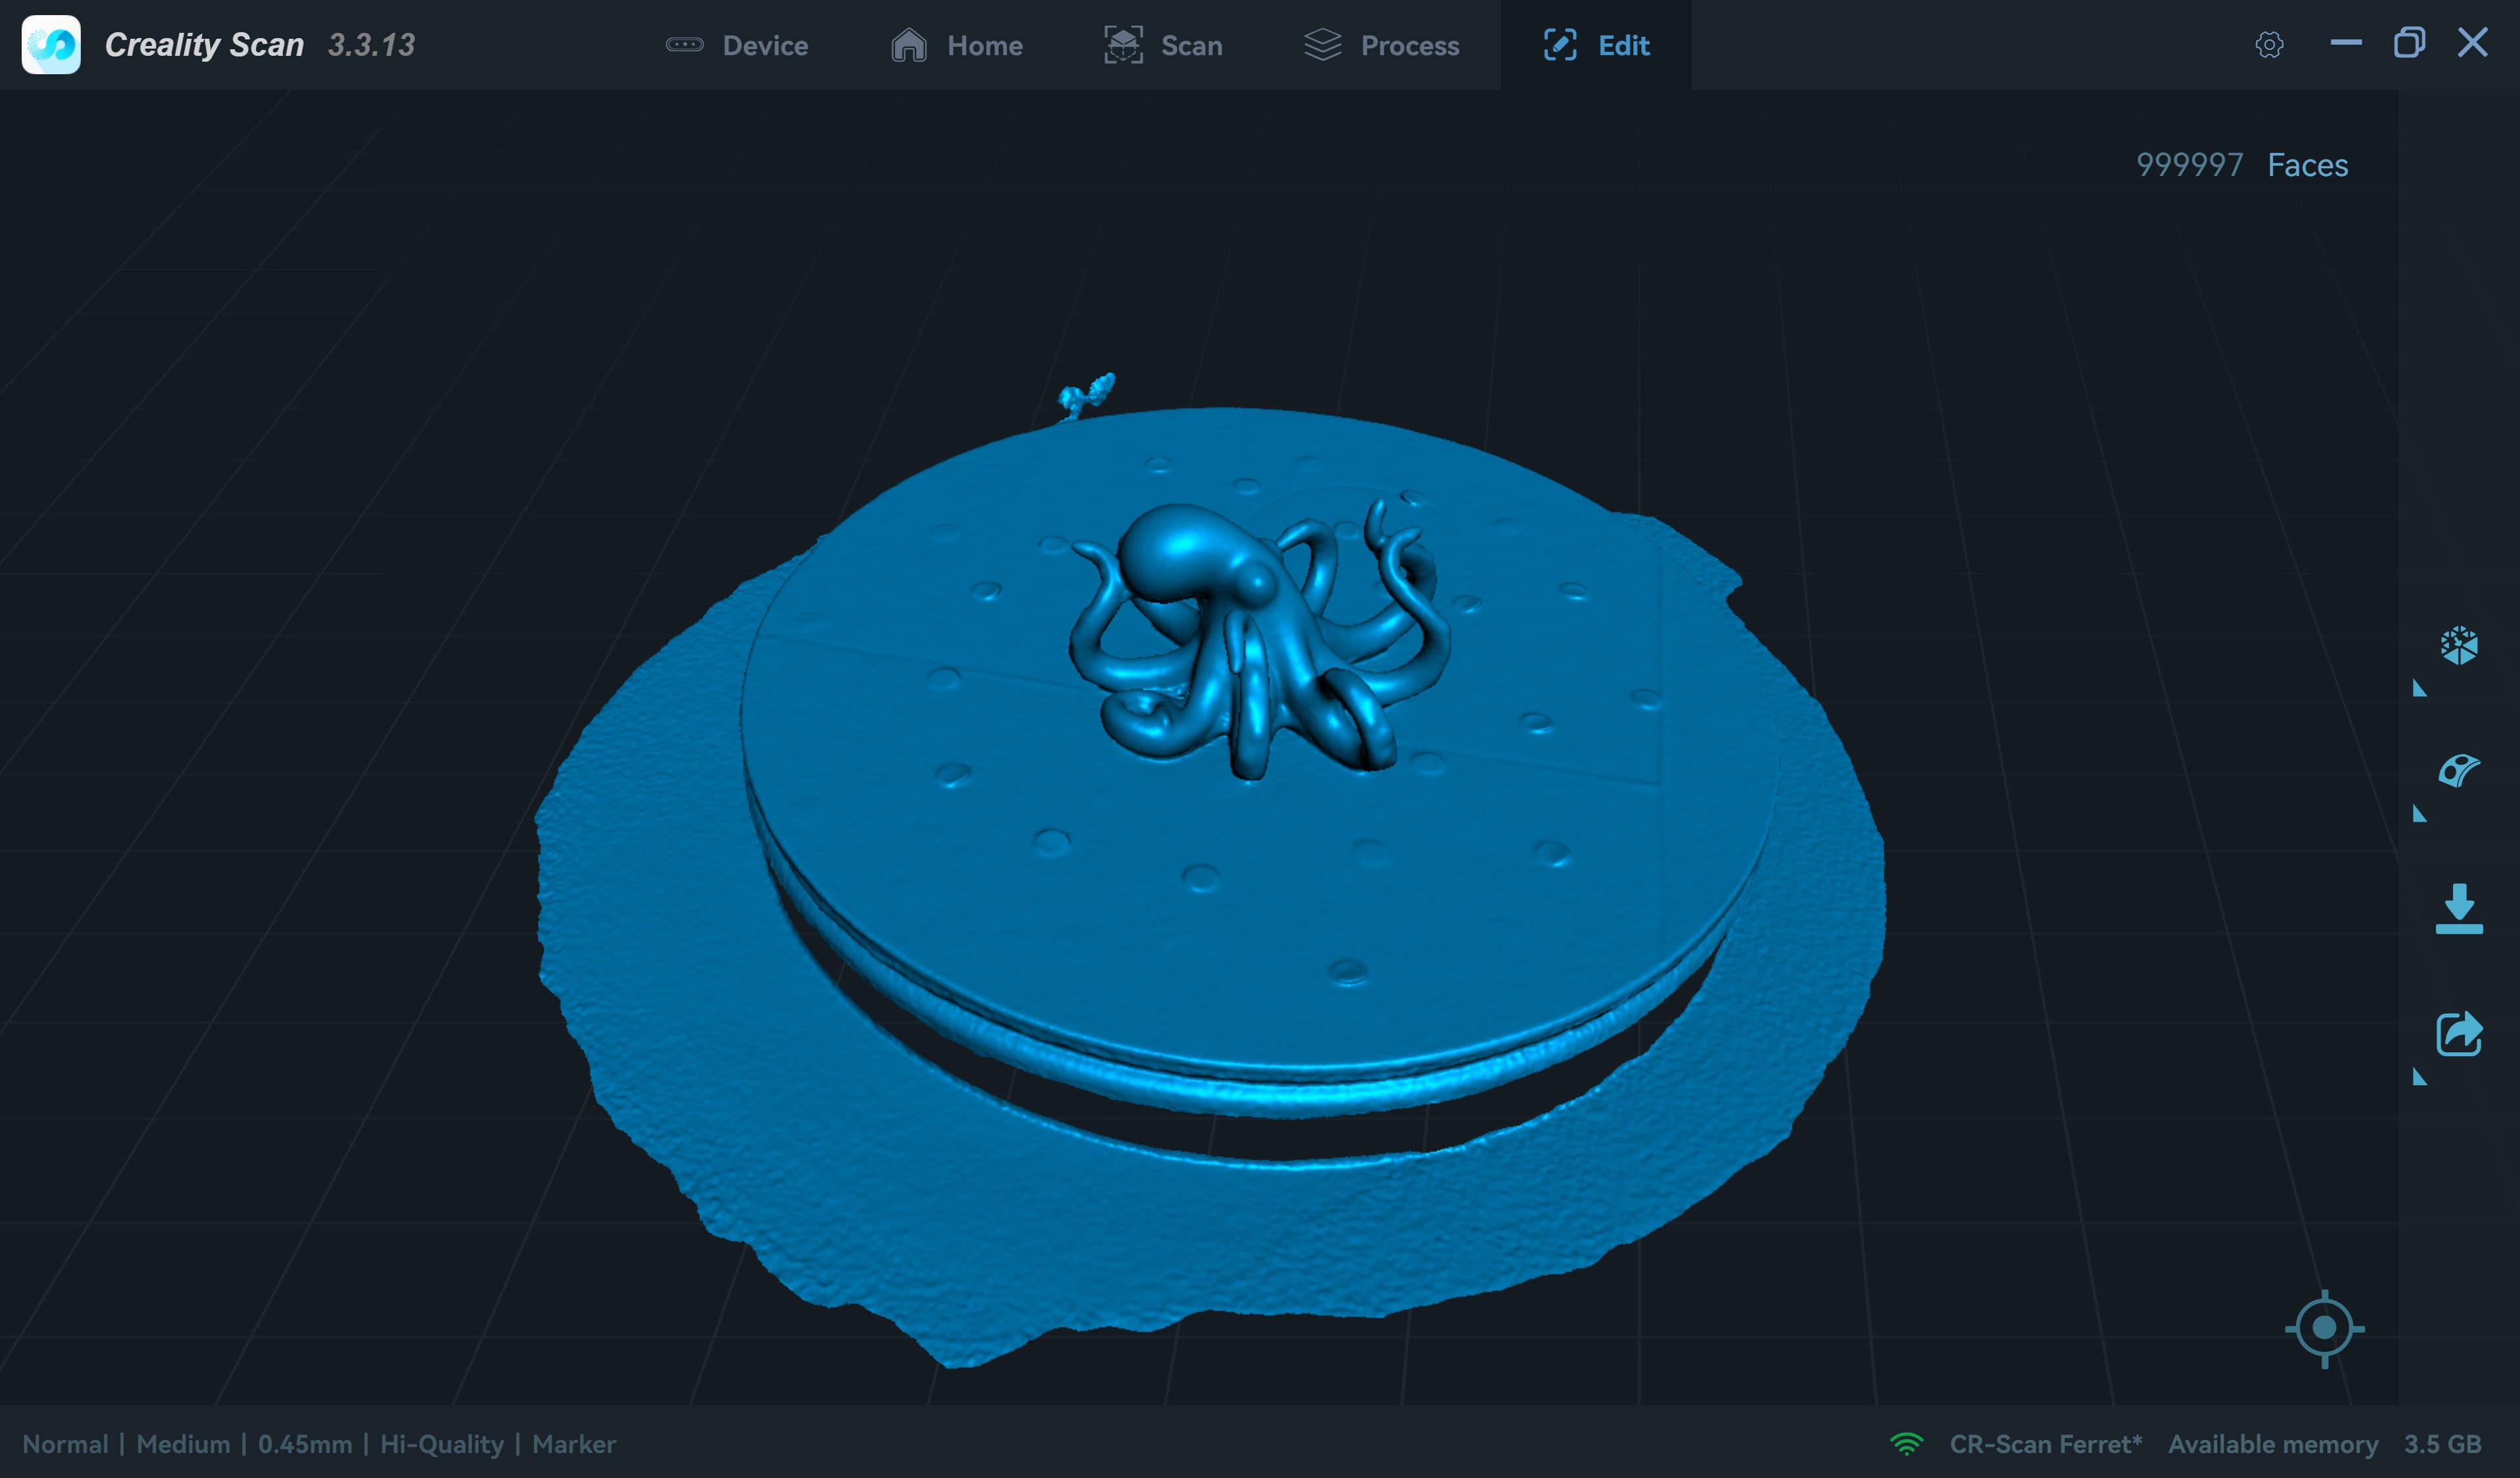
We had to complete some areas adding data to the scan because of gaps in the mesh.
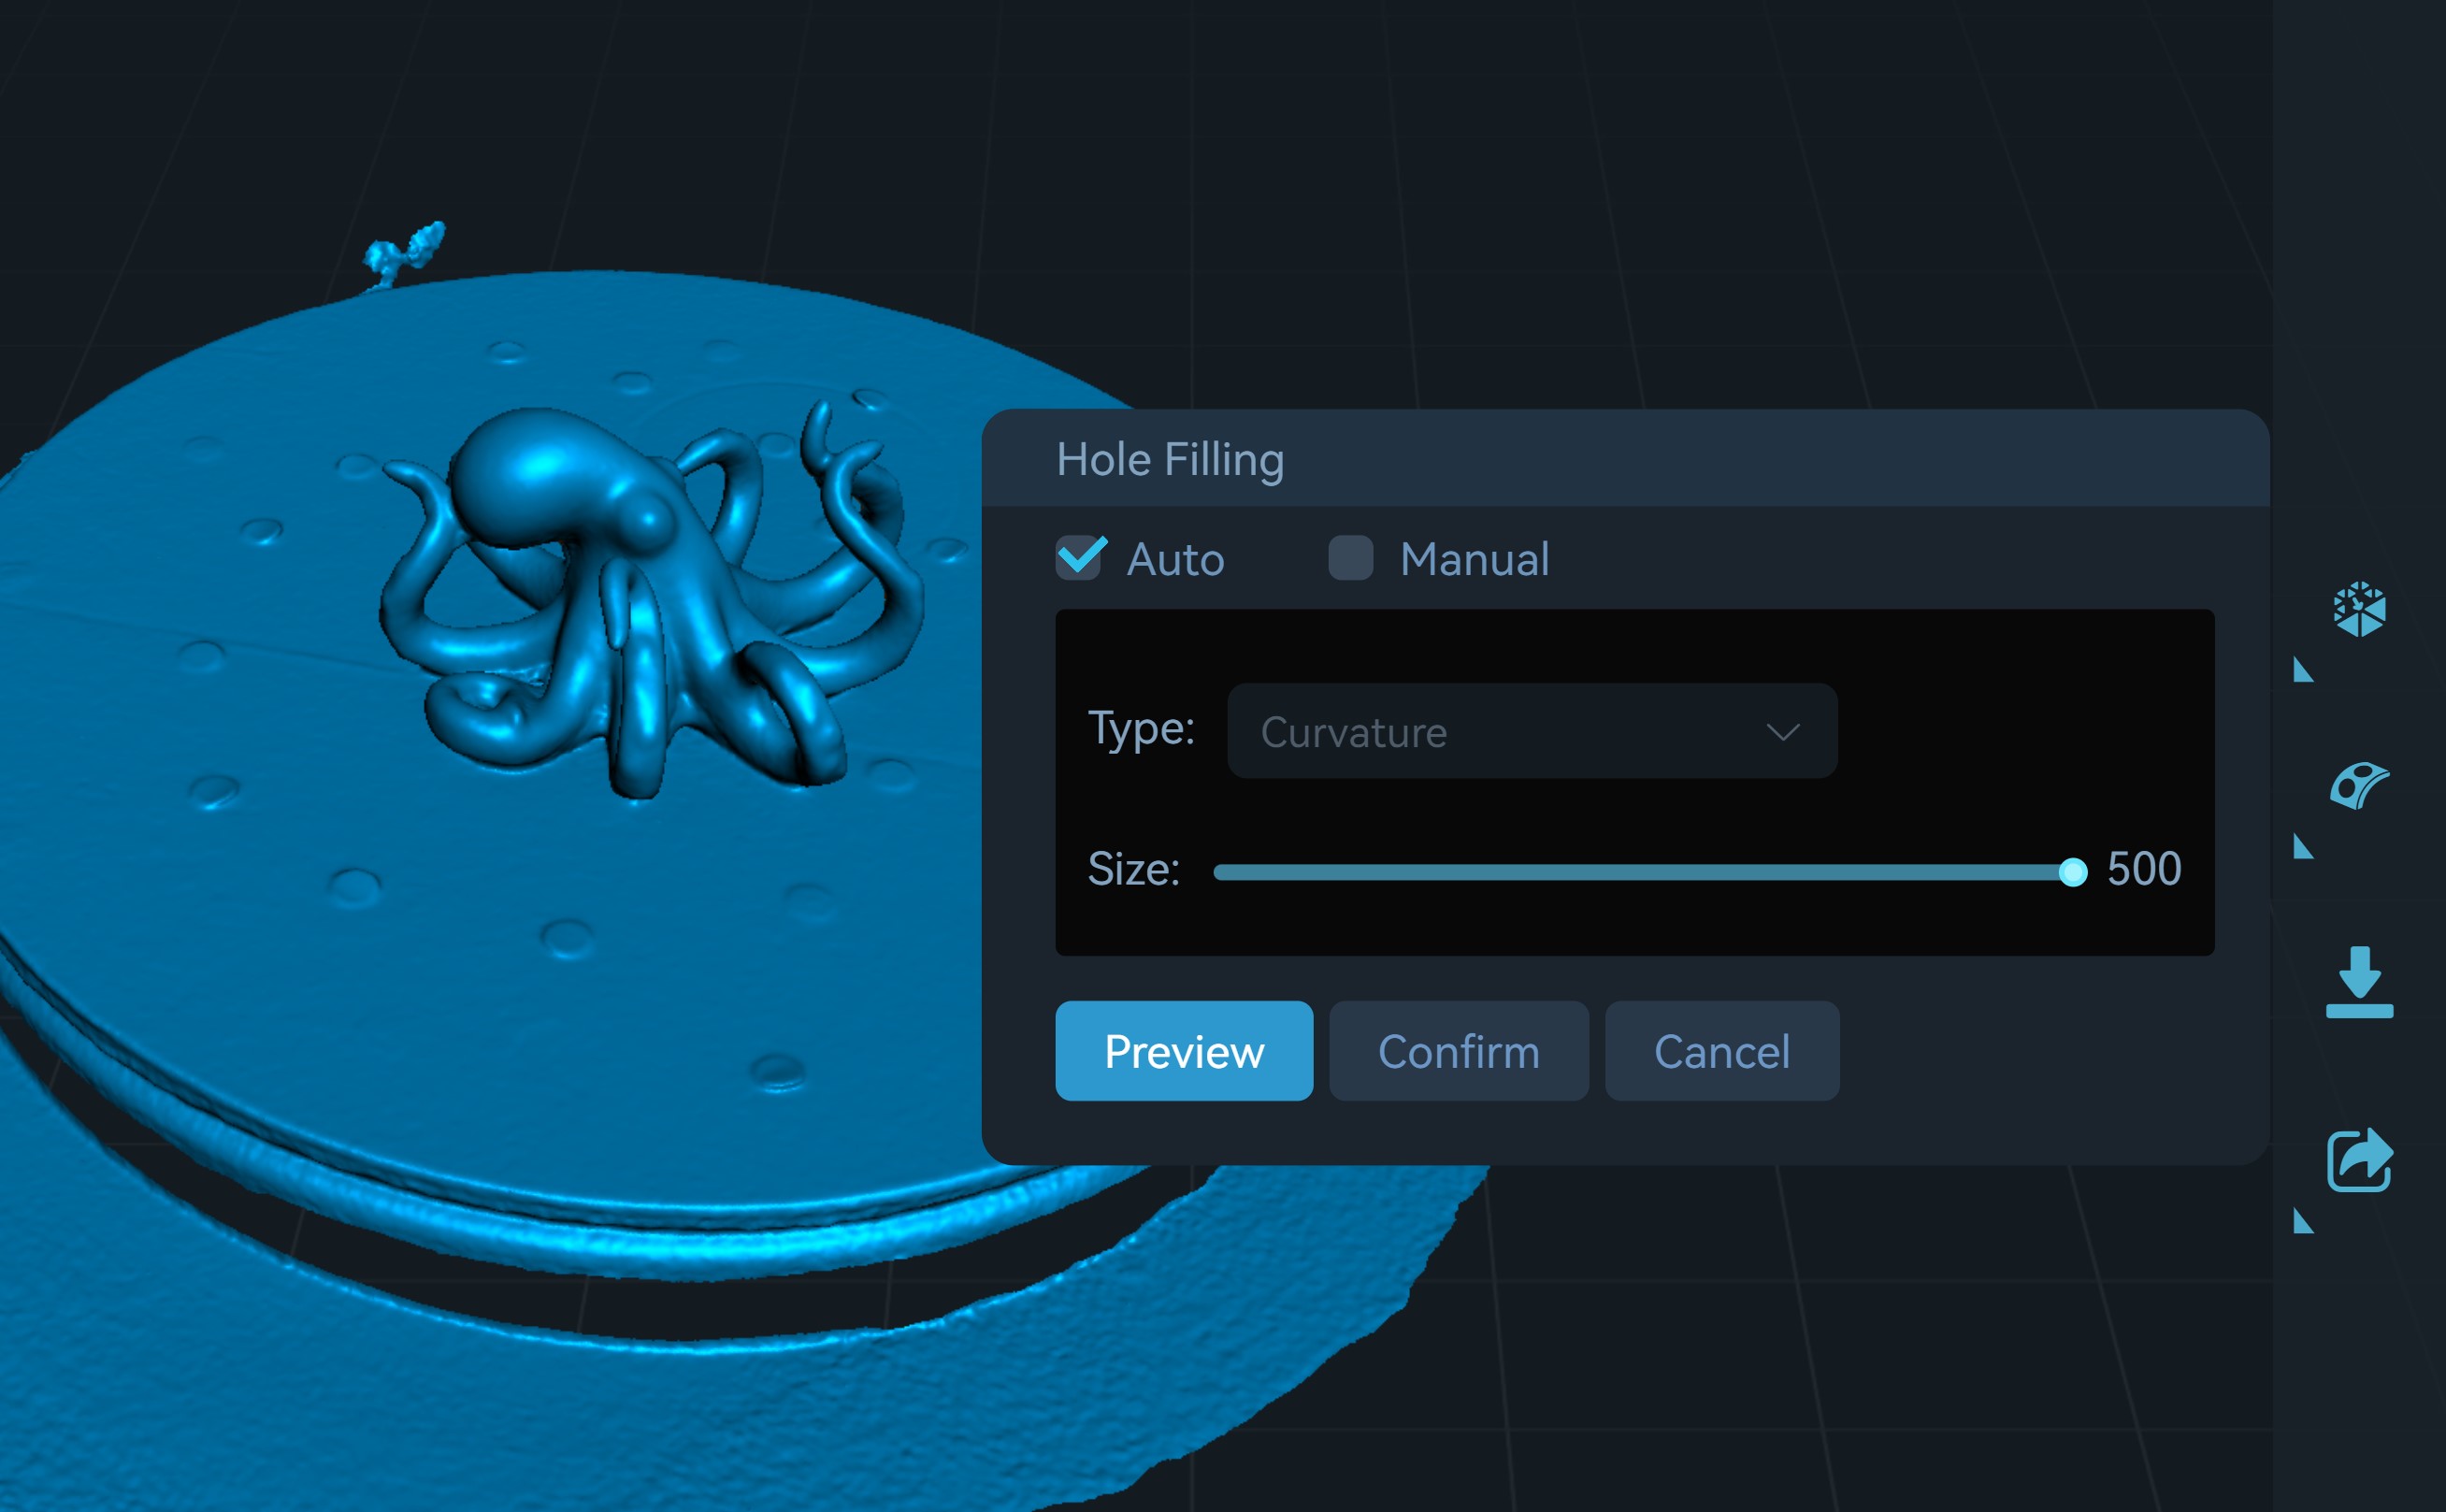
And thereafter we clean up the model and removed the platform. For this we used 3d builder.
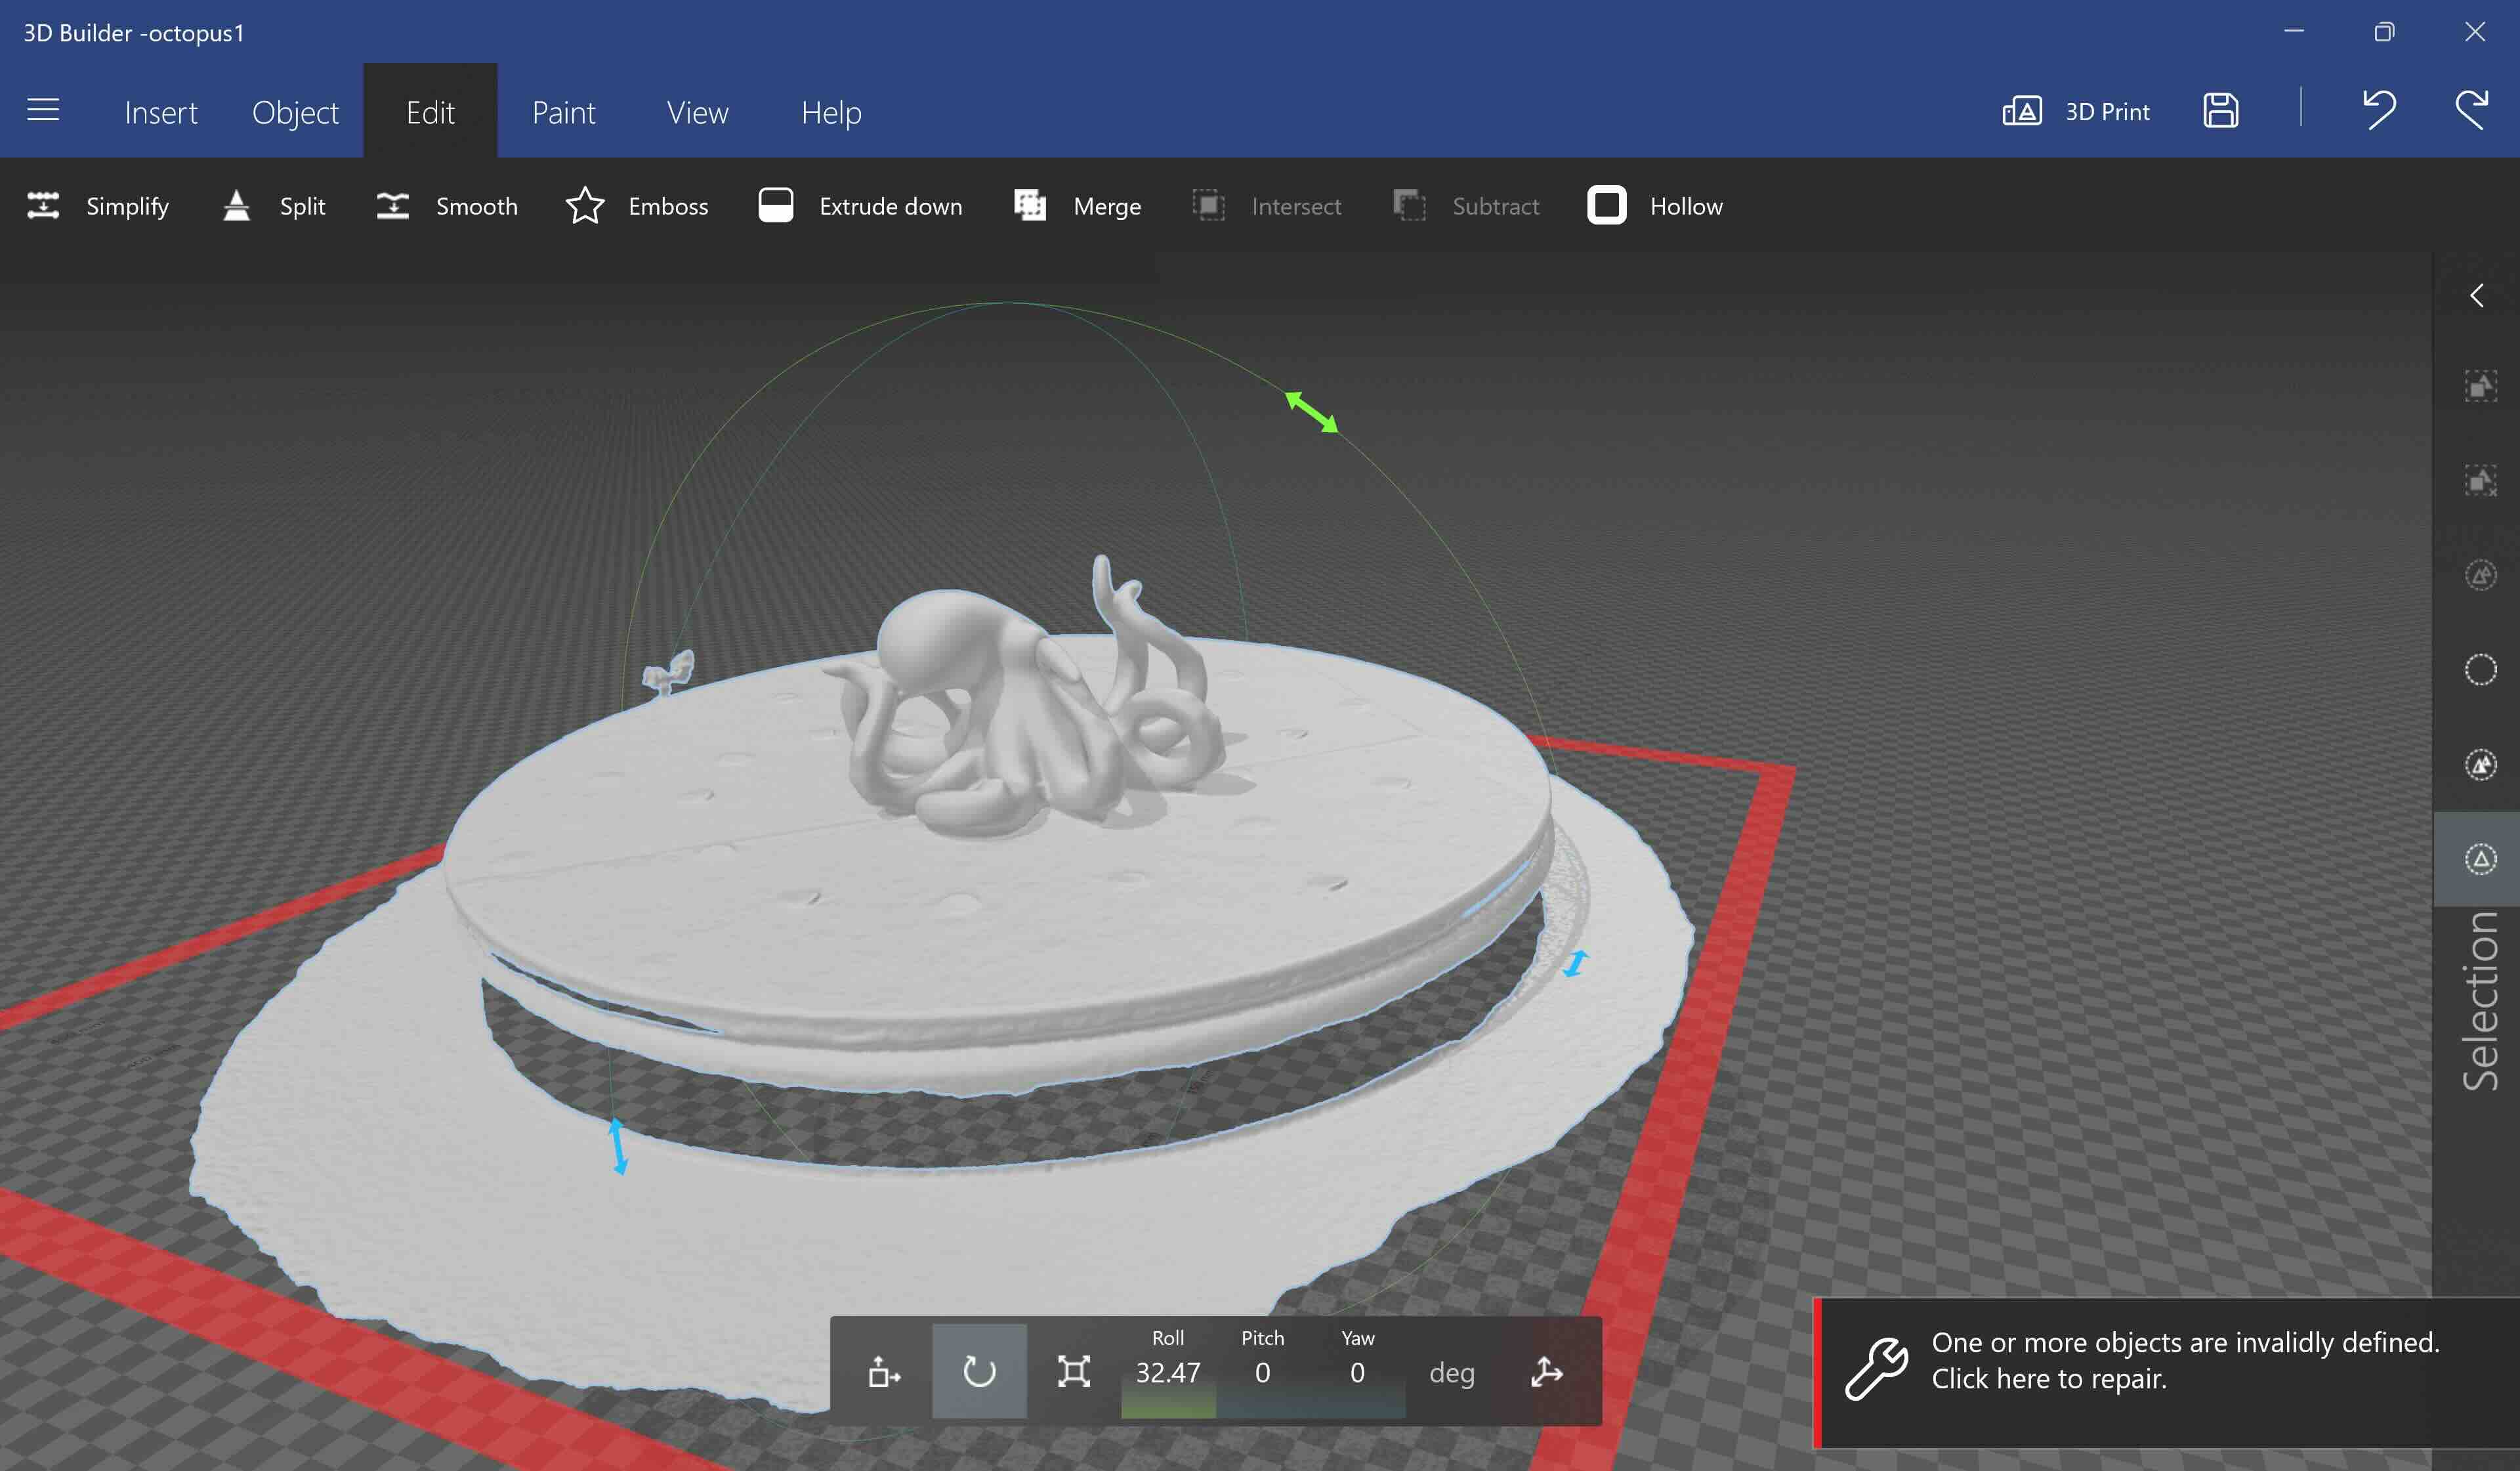
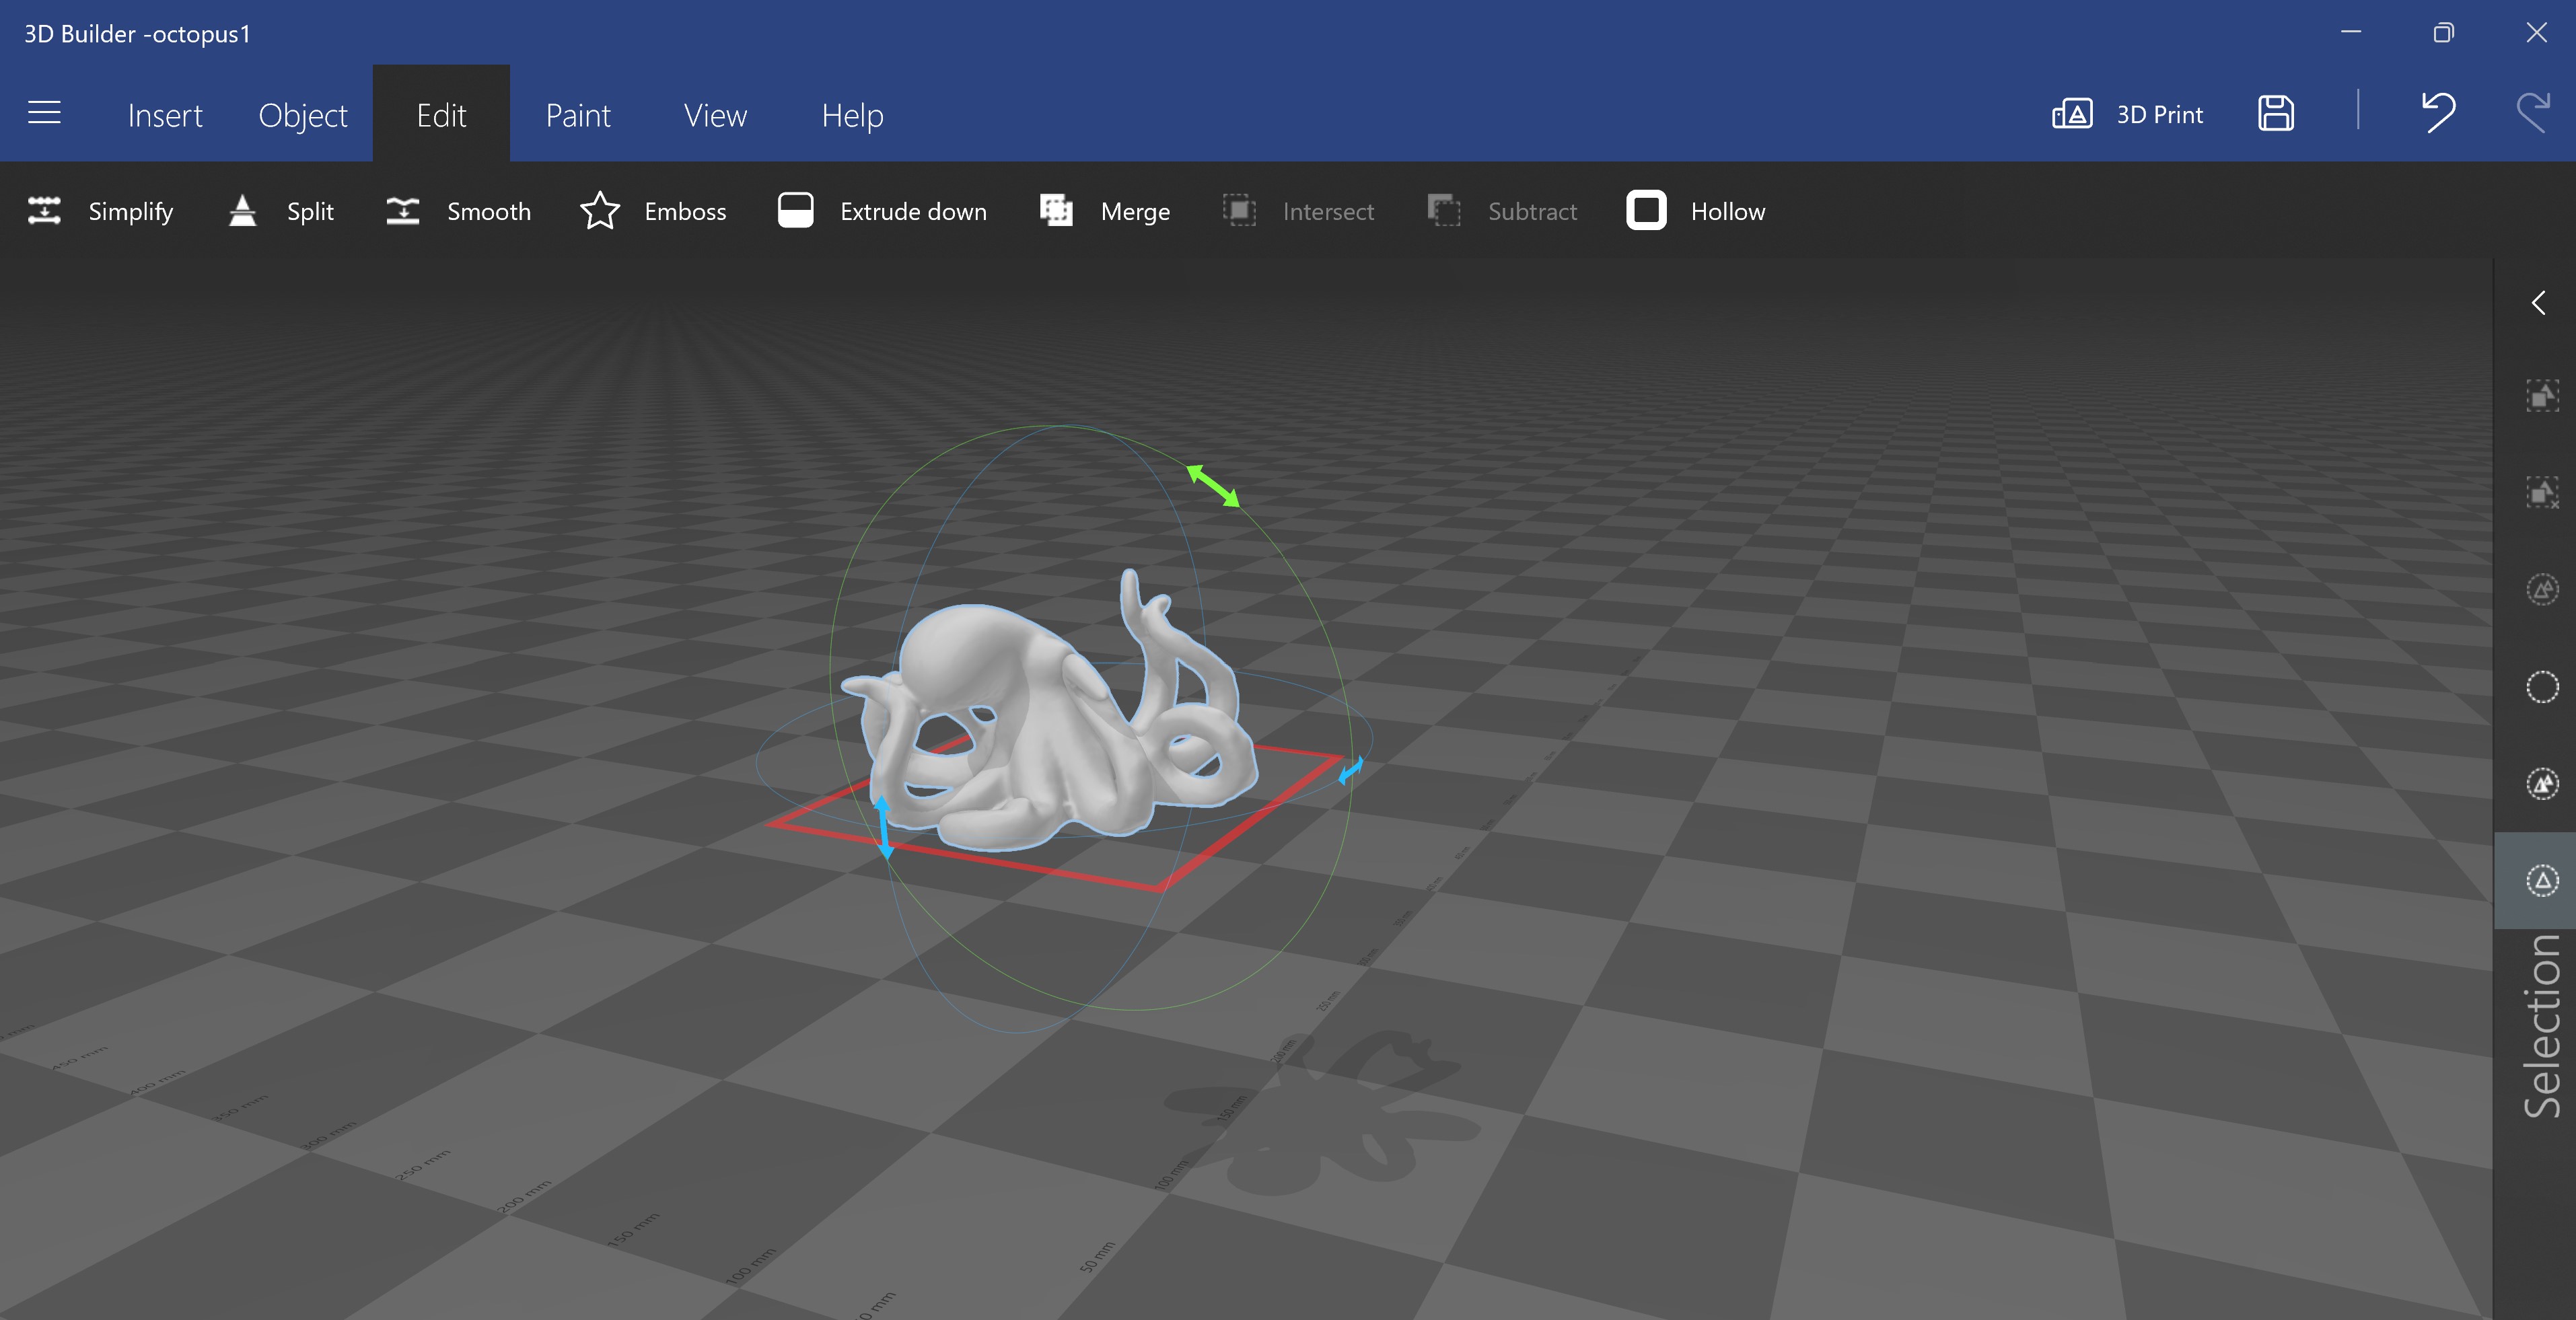
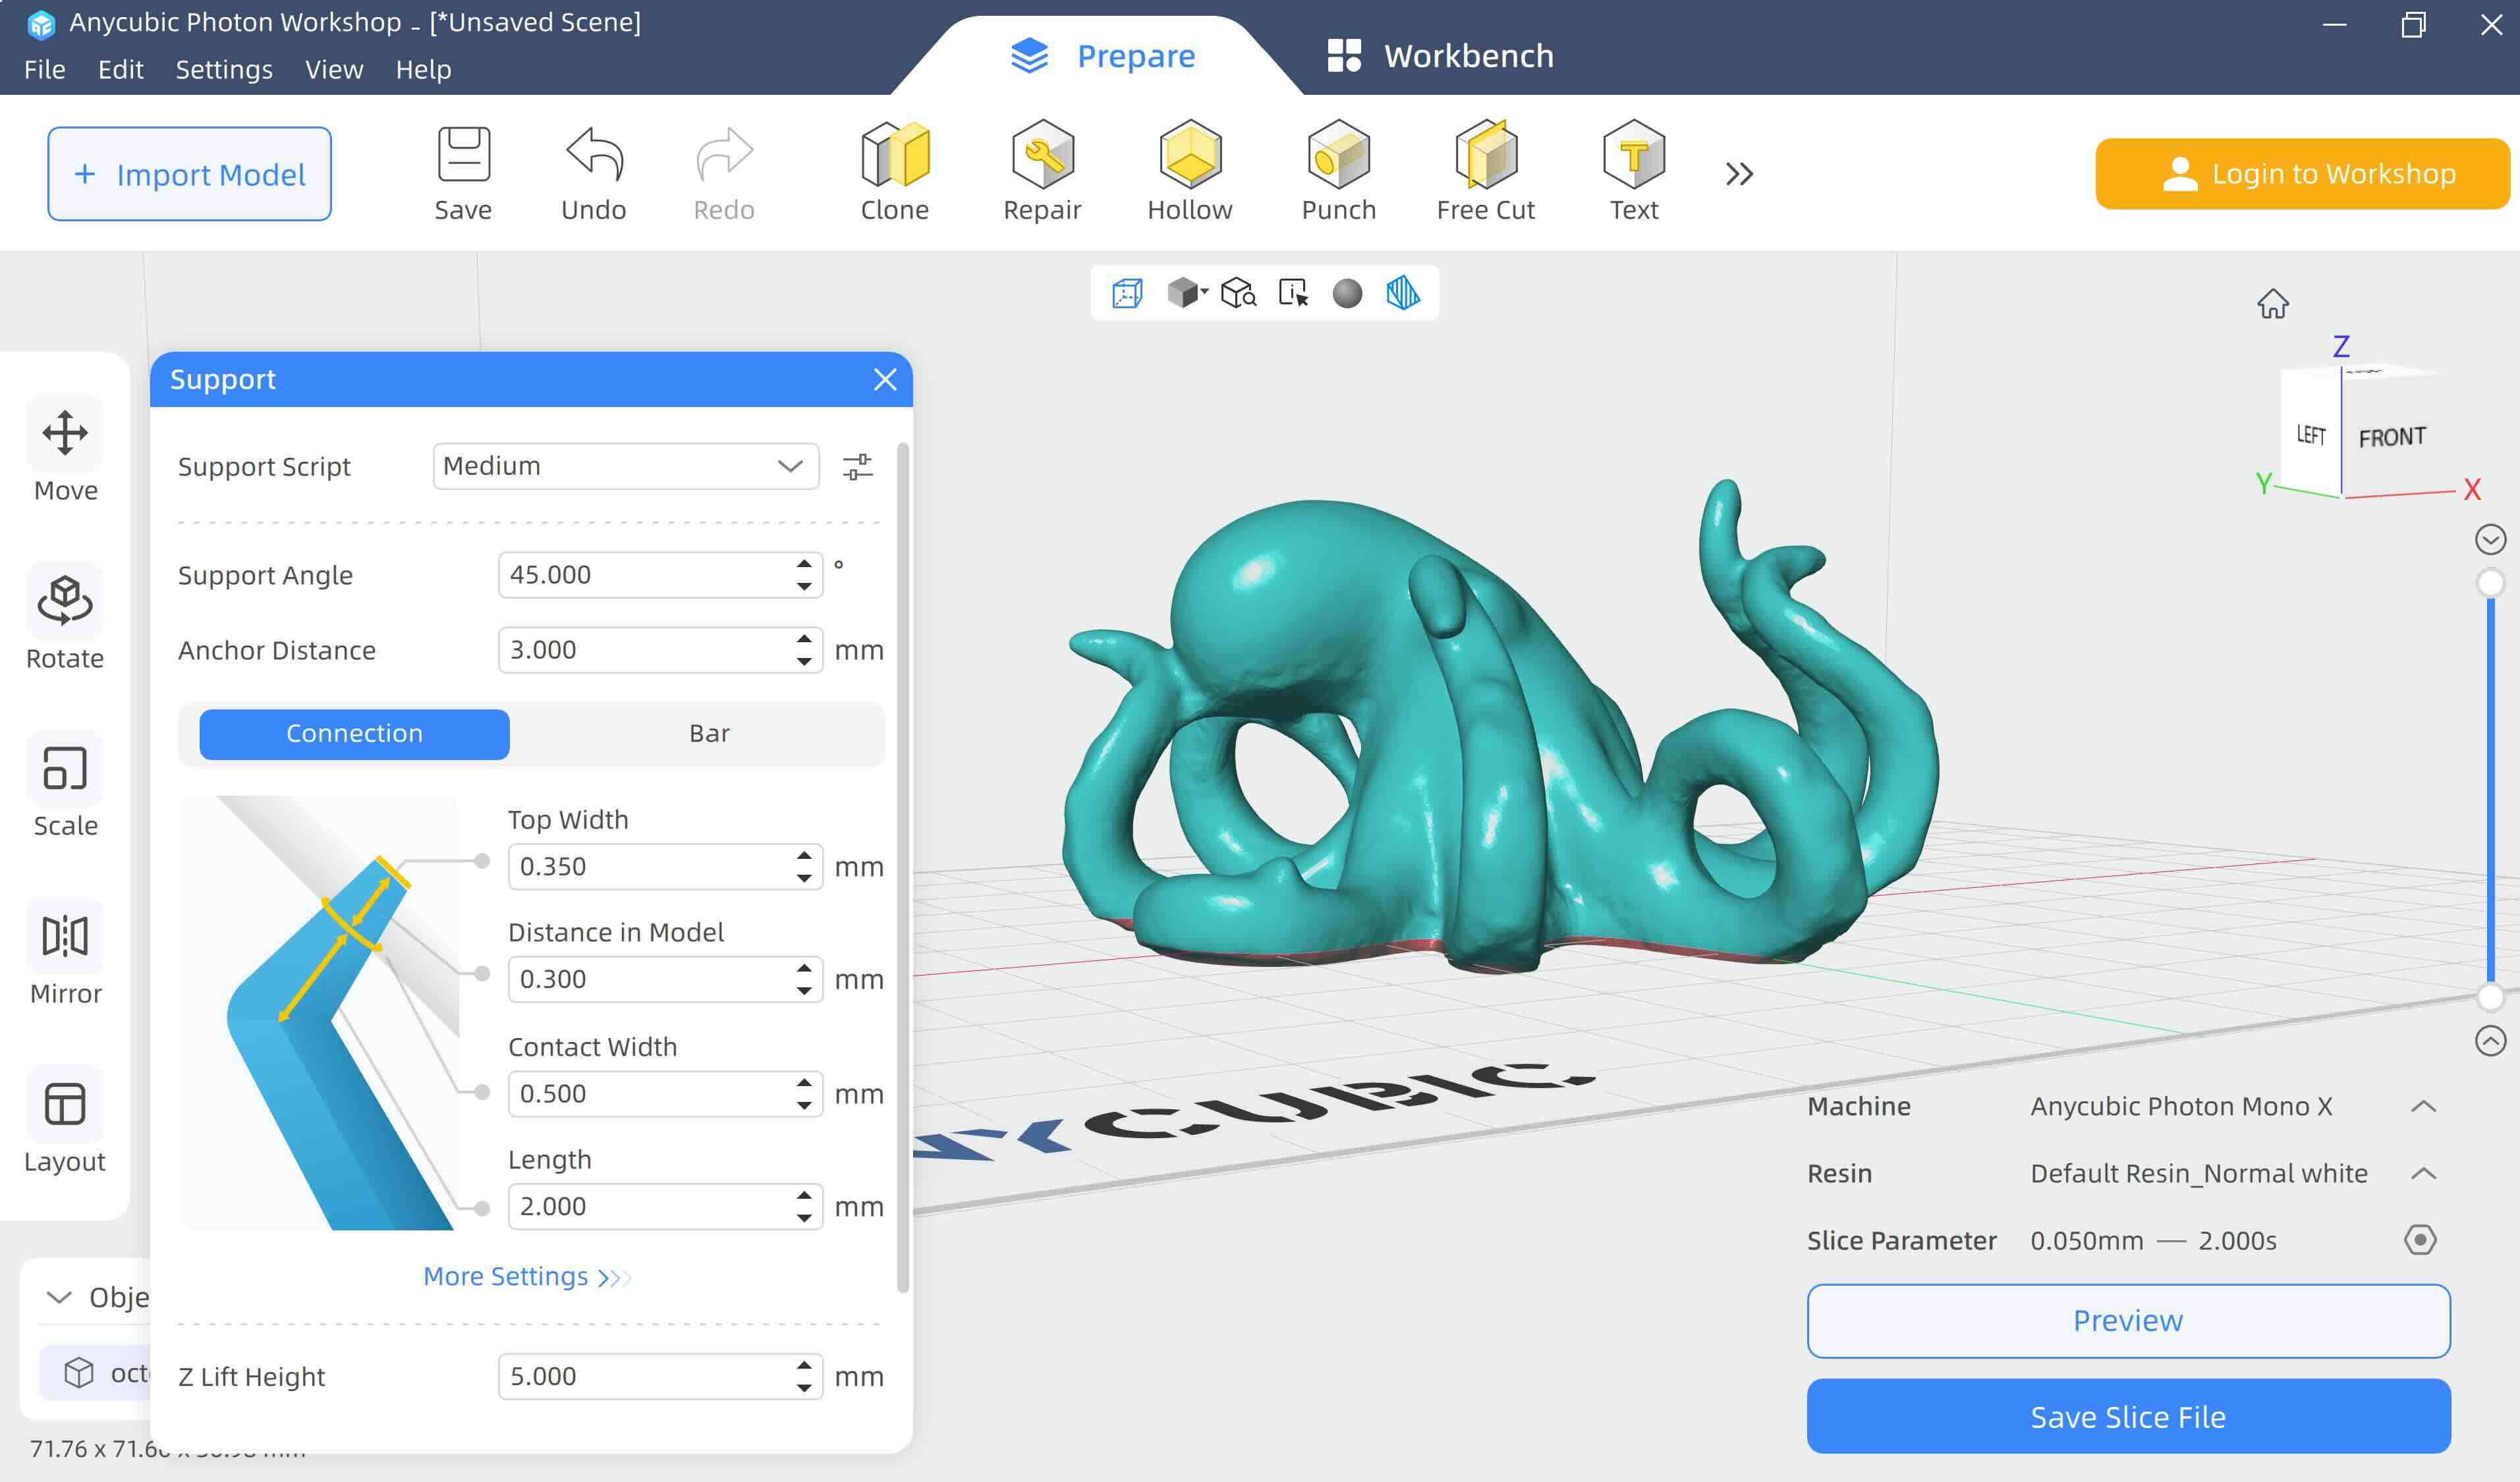
Finally, we exported the file to the photon printer slicer
Octopus printing
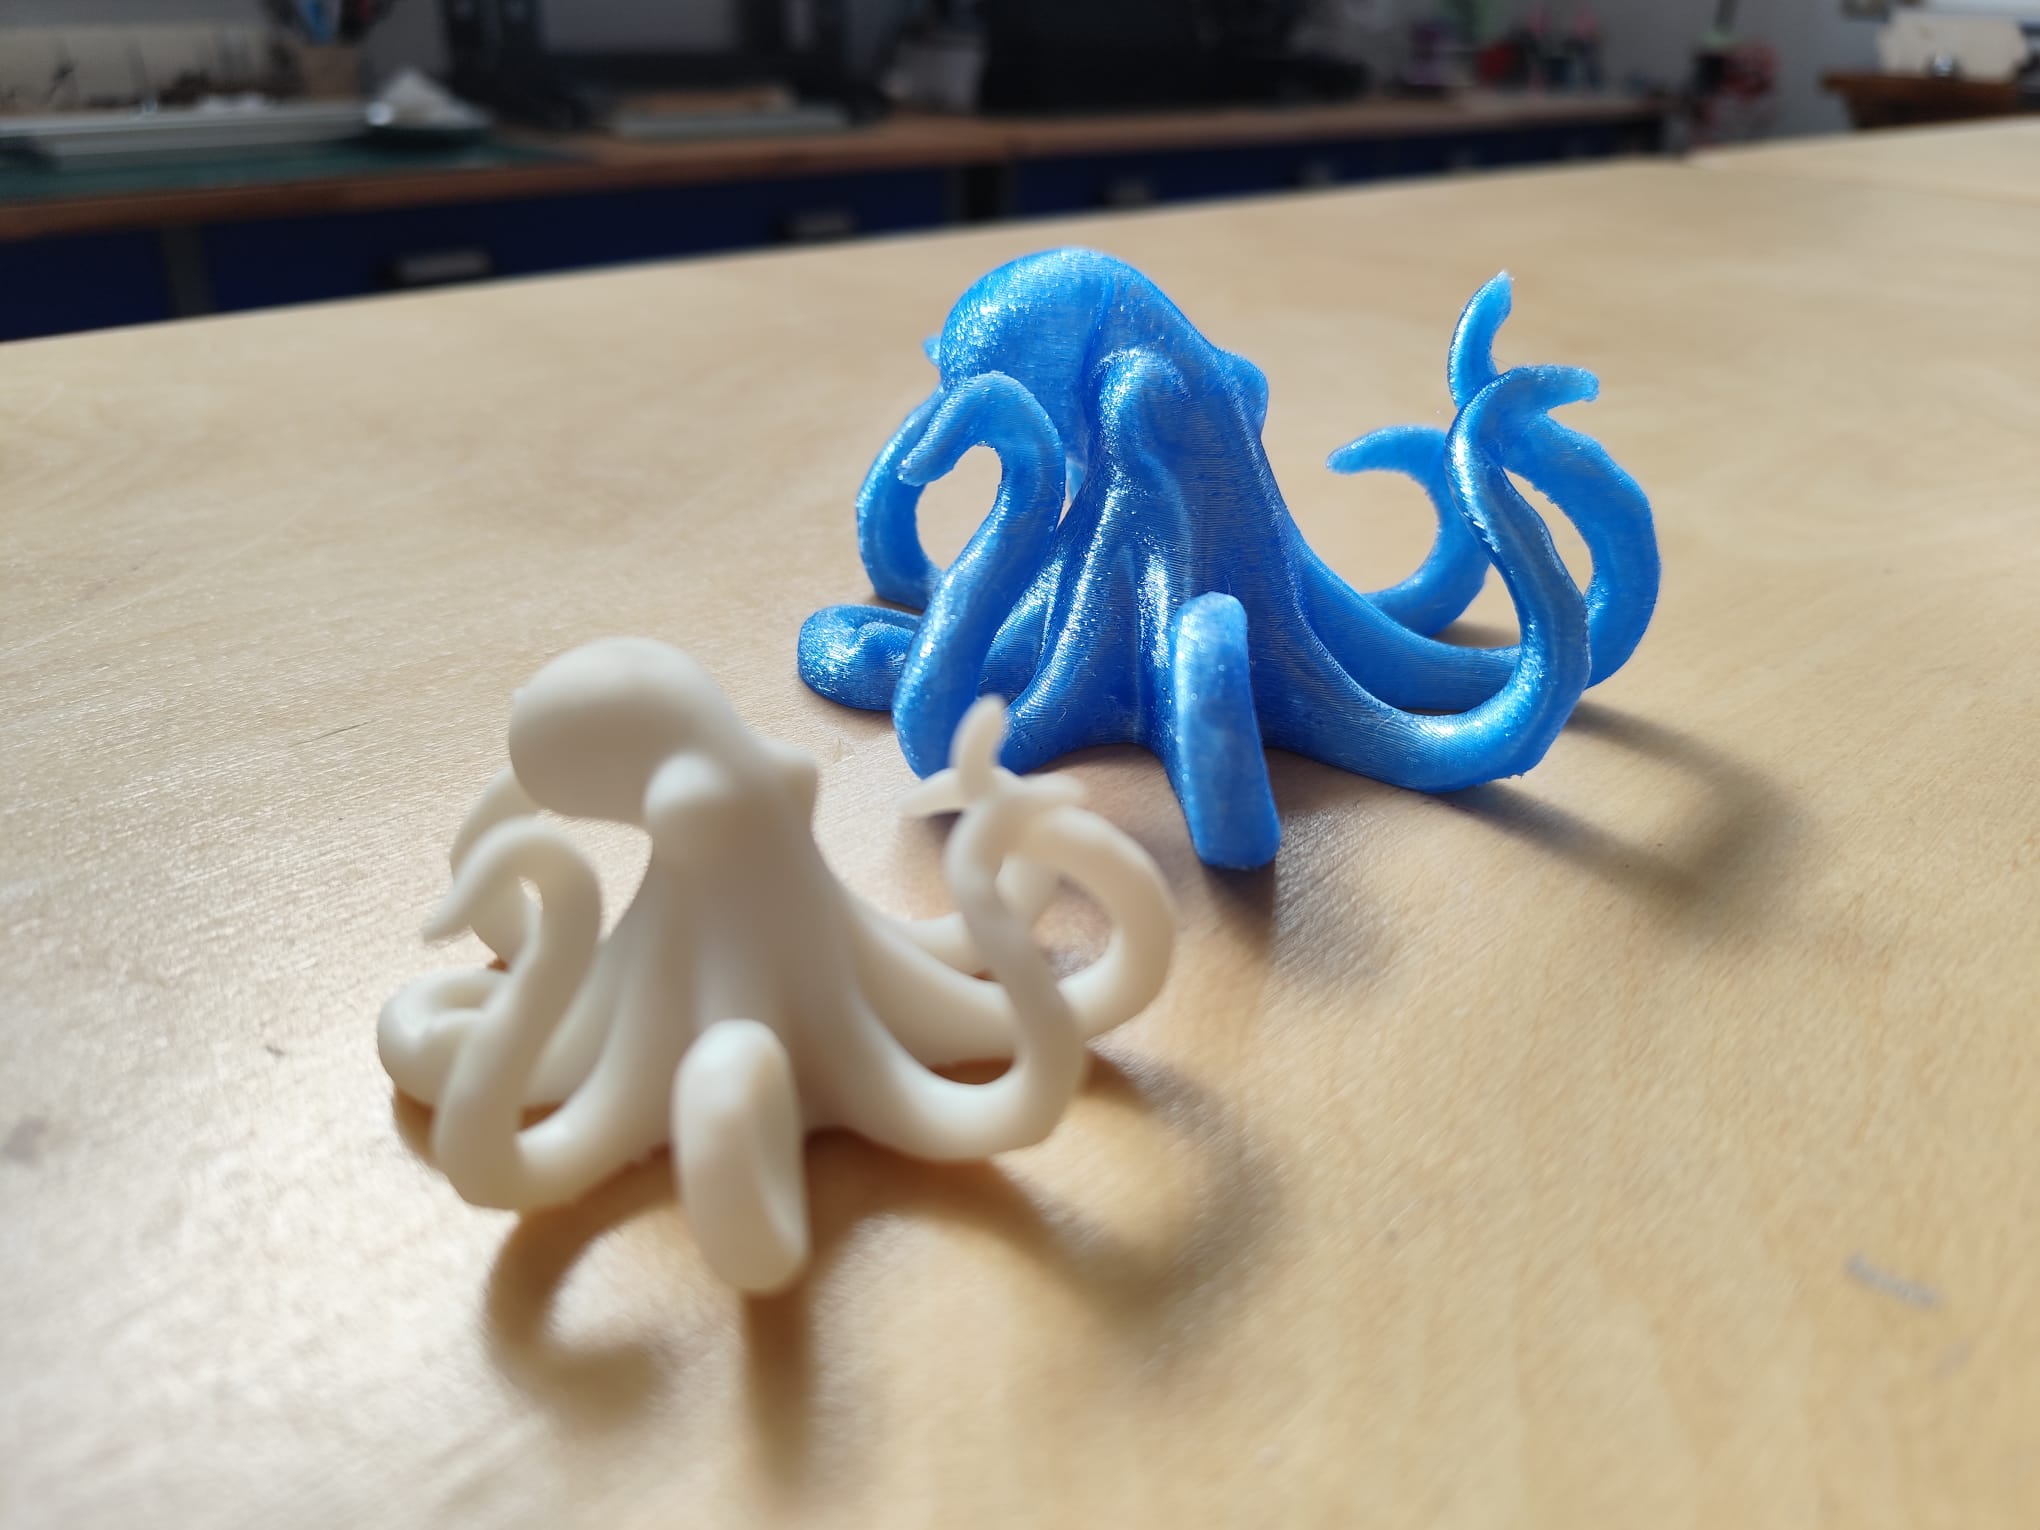
After scanning the model we decided to use the Photon mono X printer.
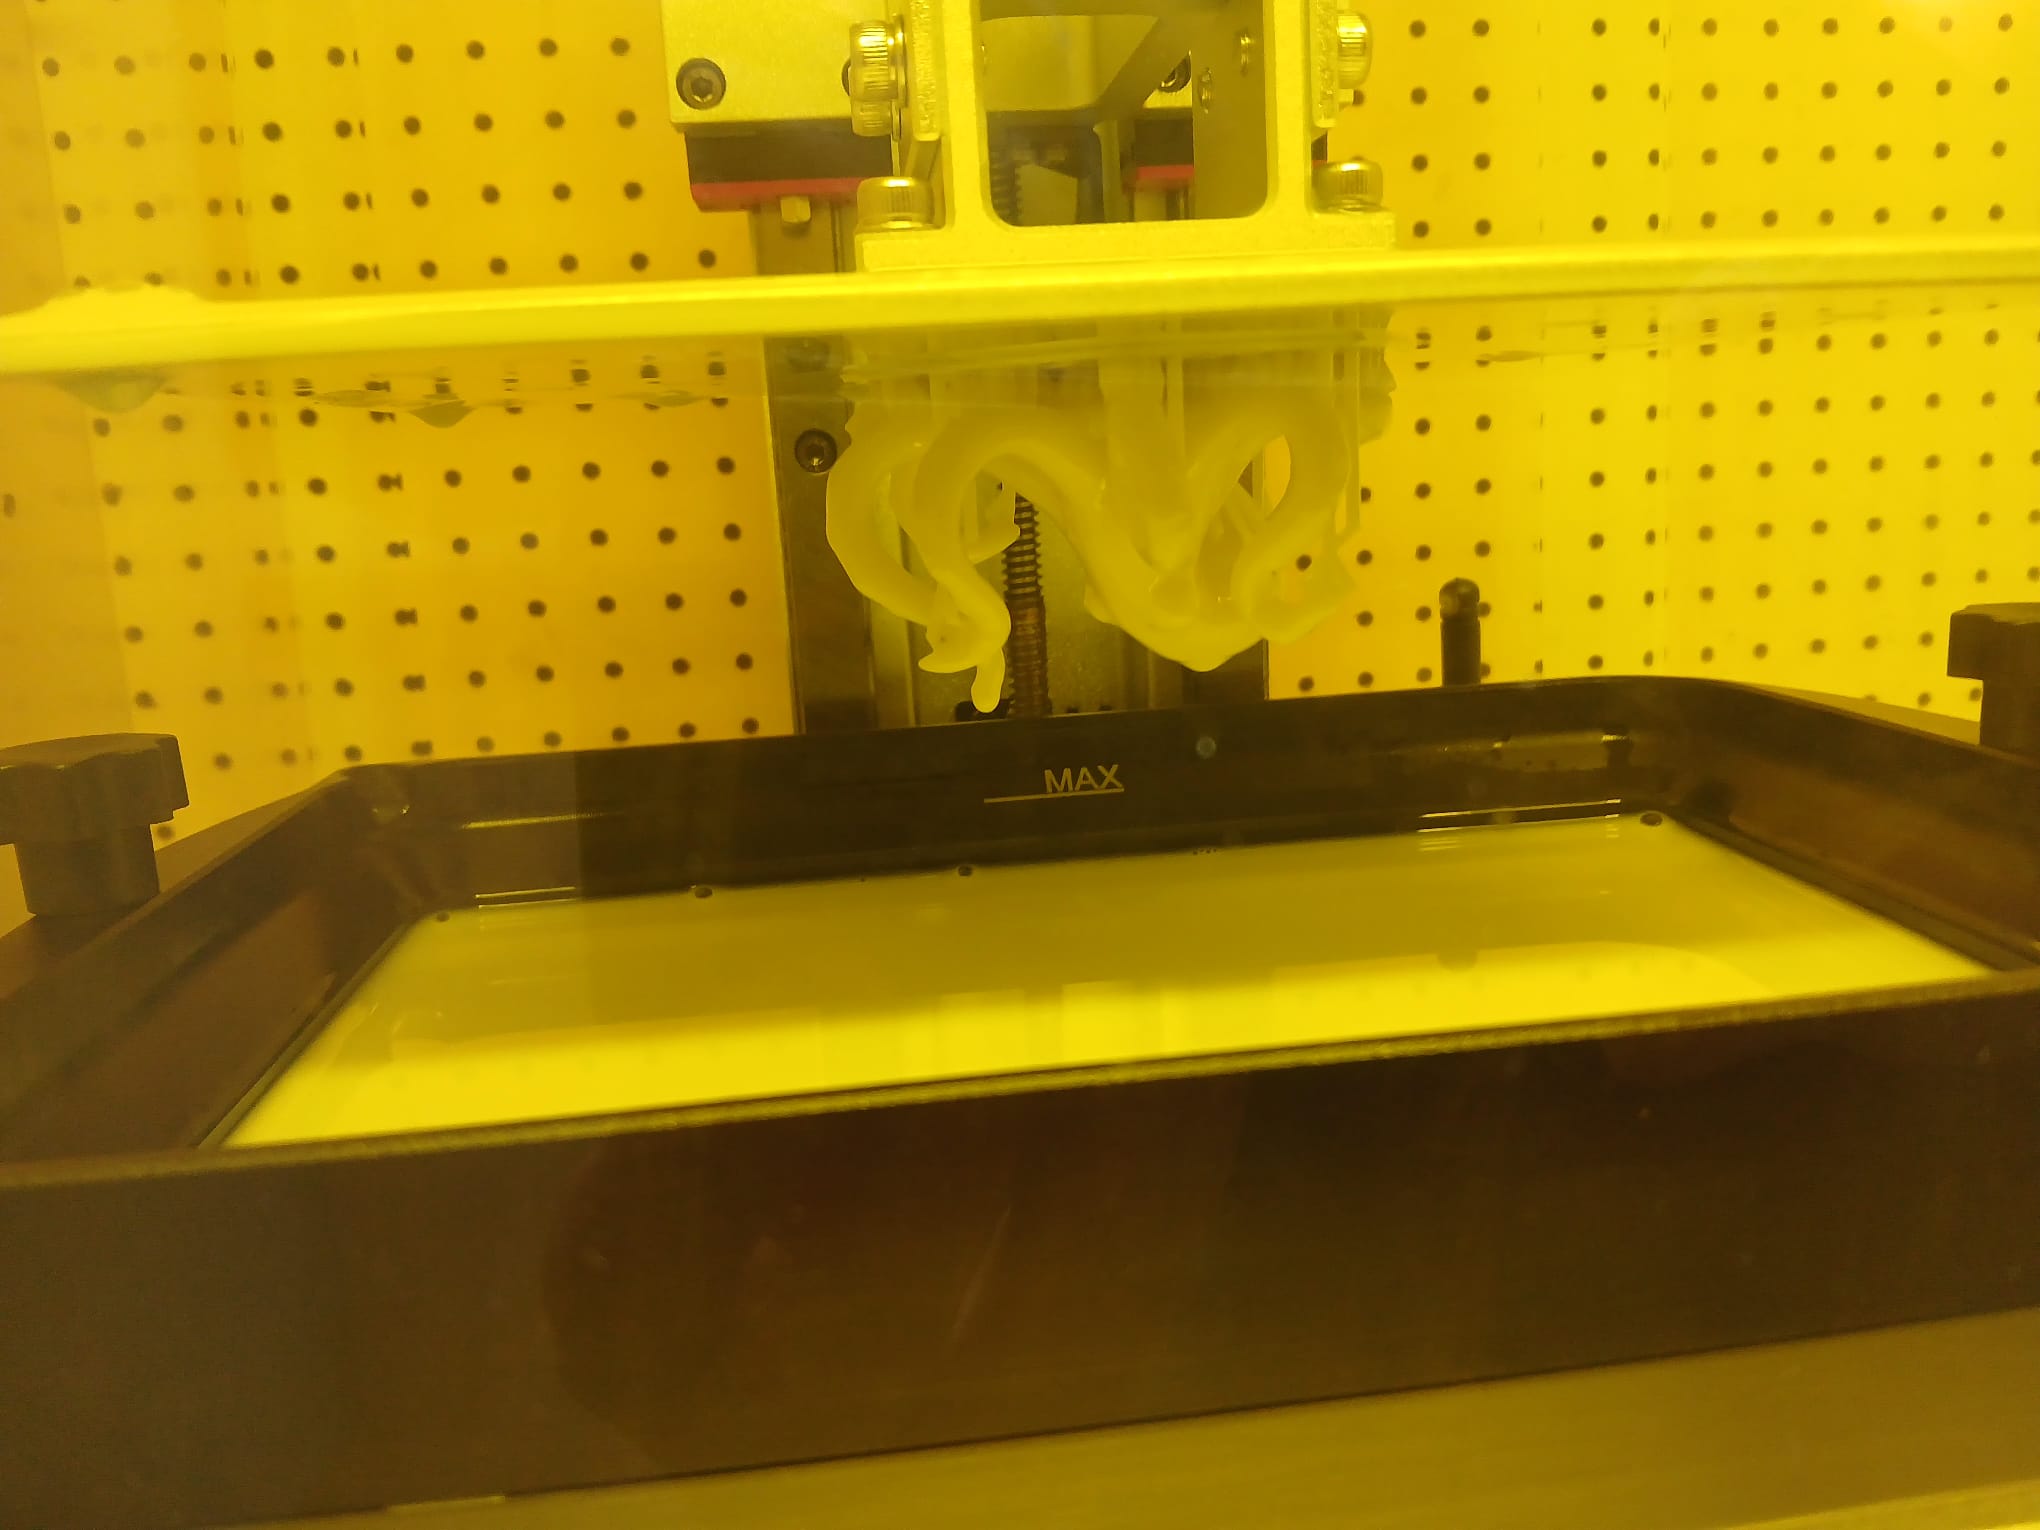
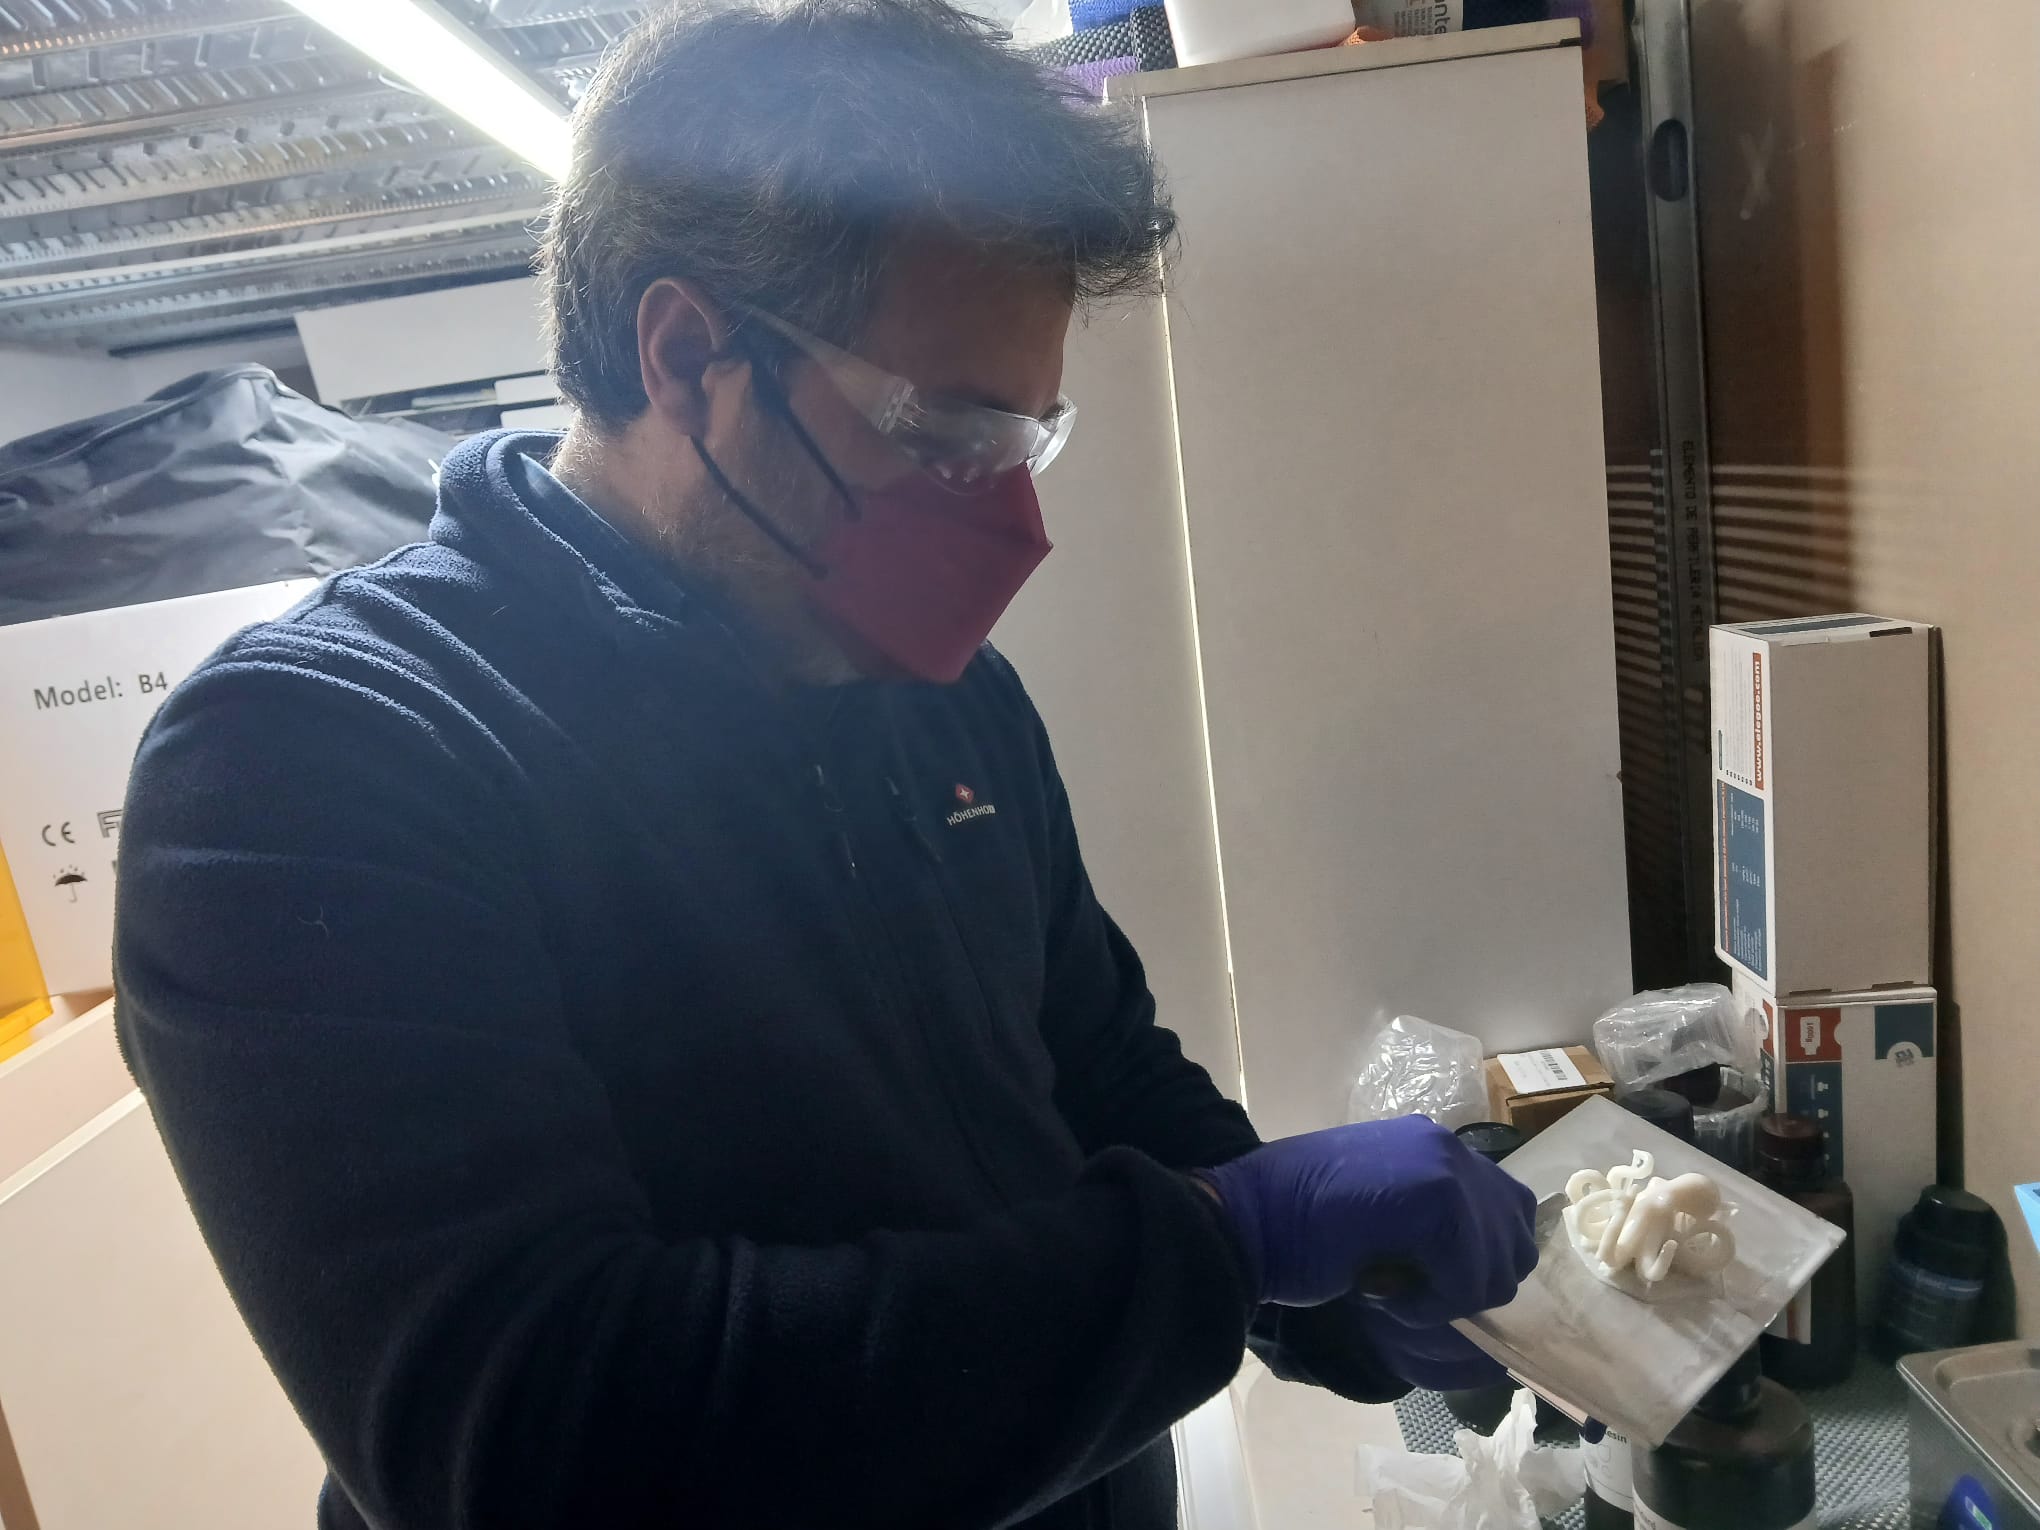
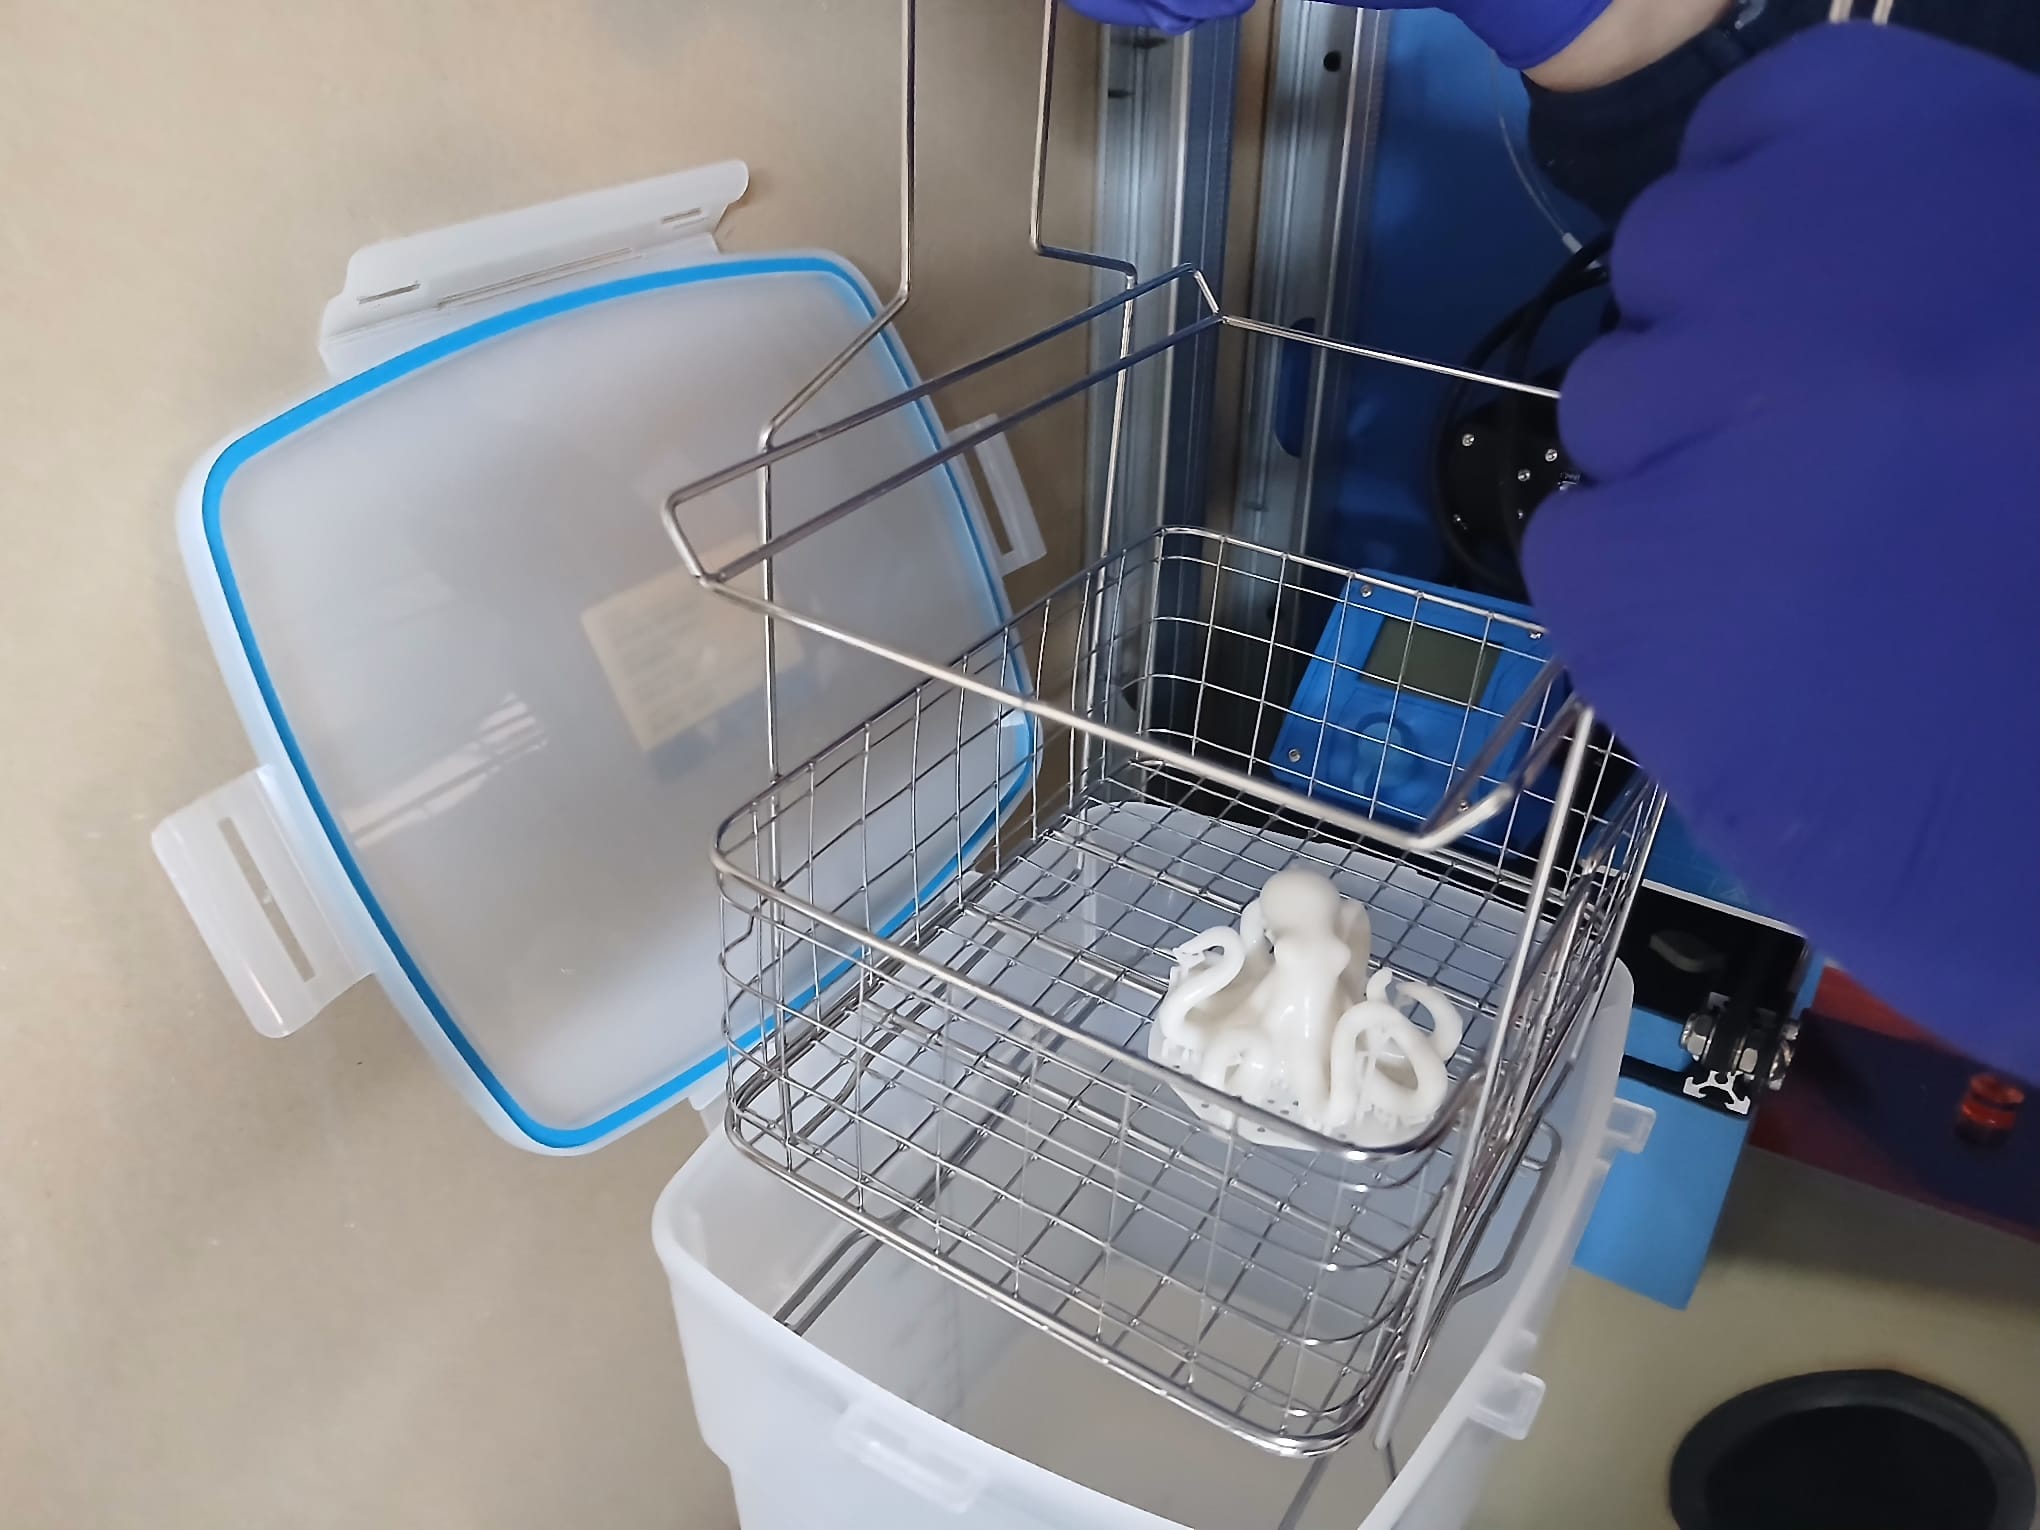
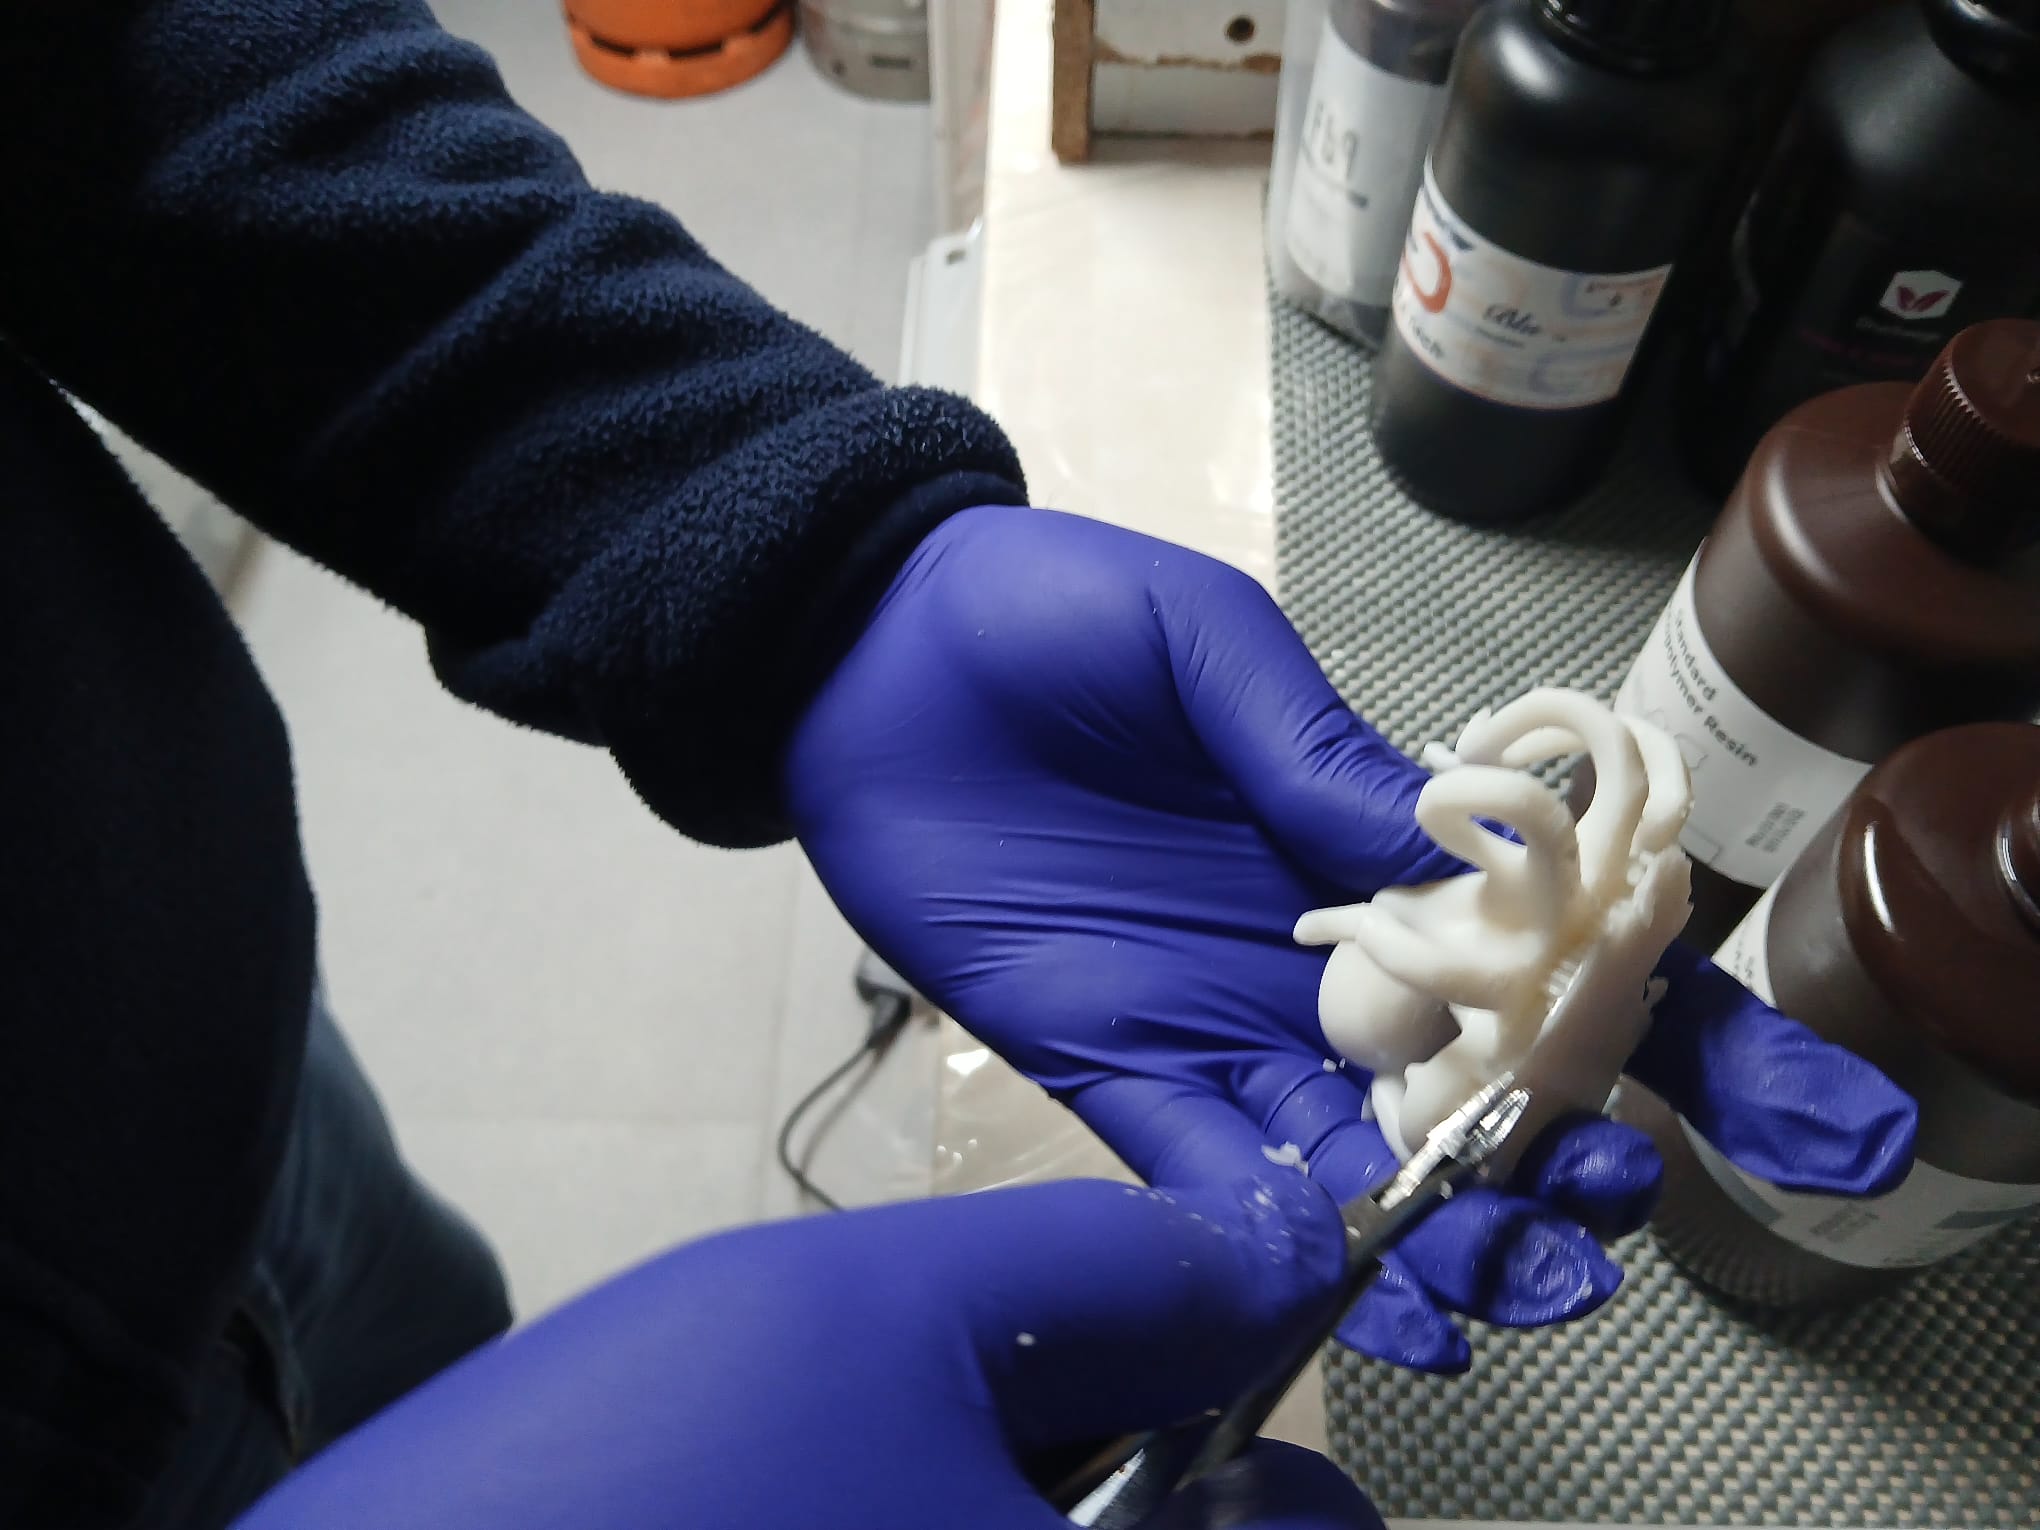
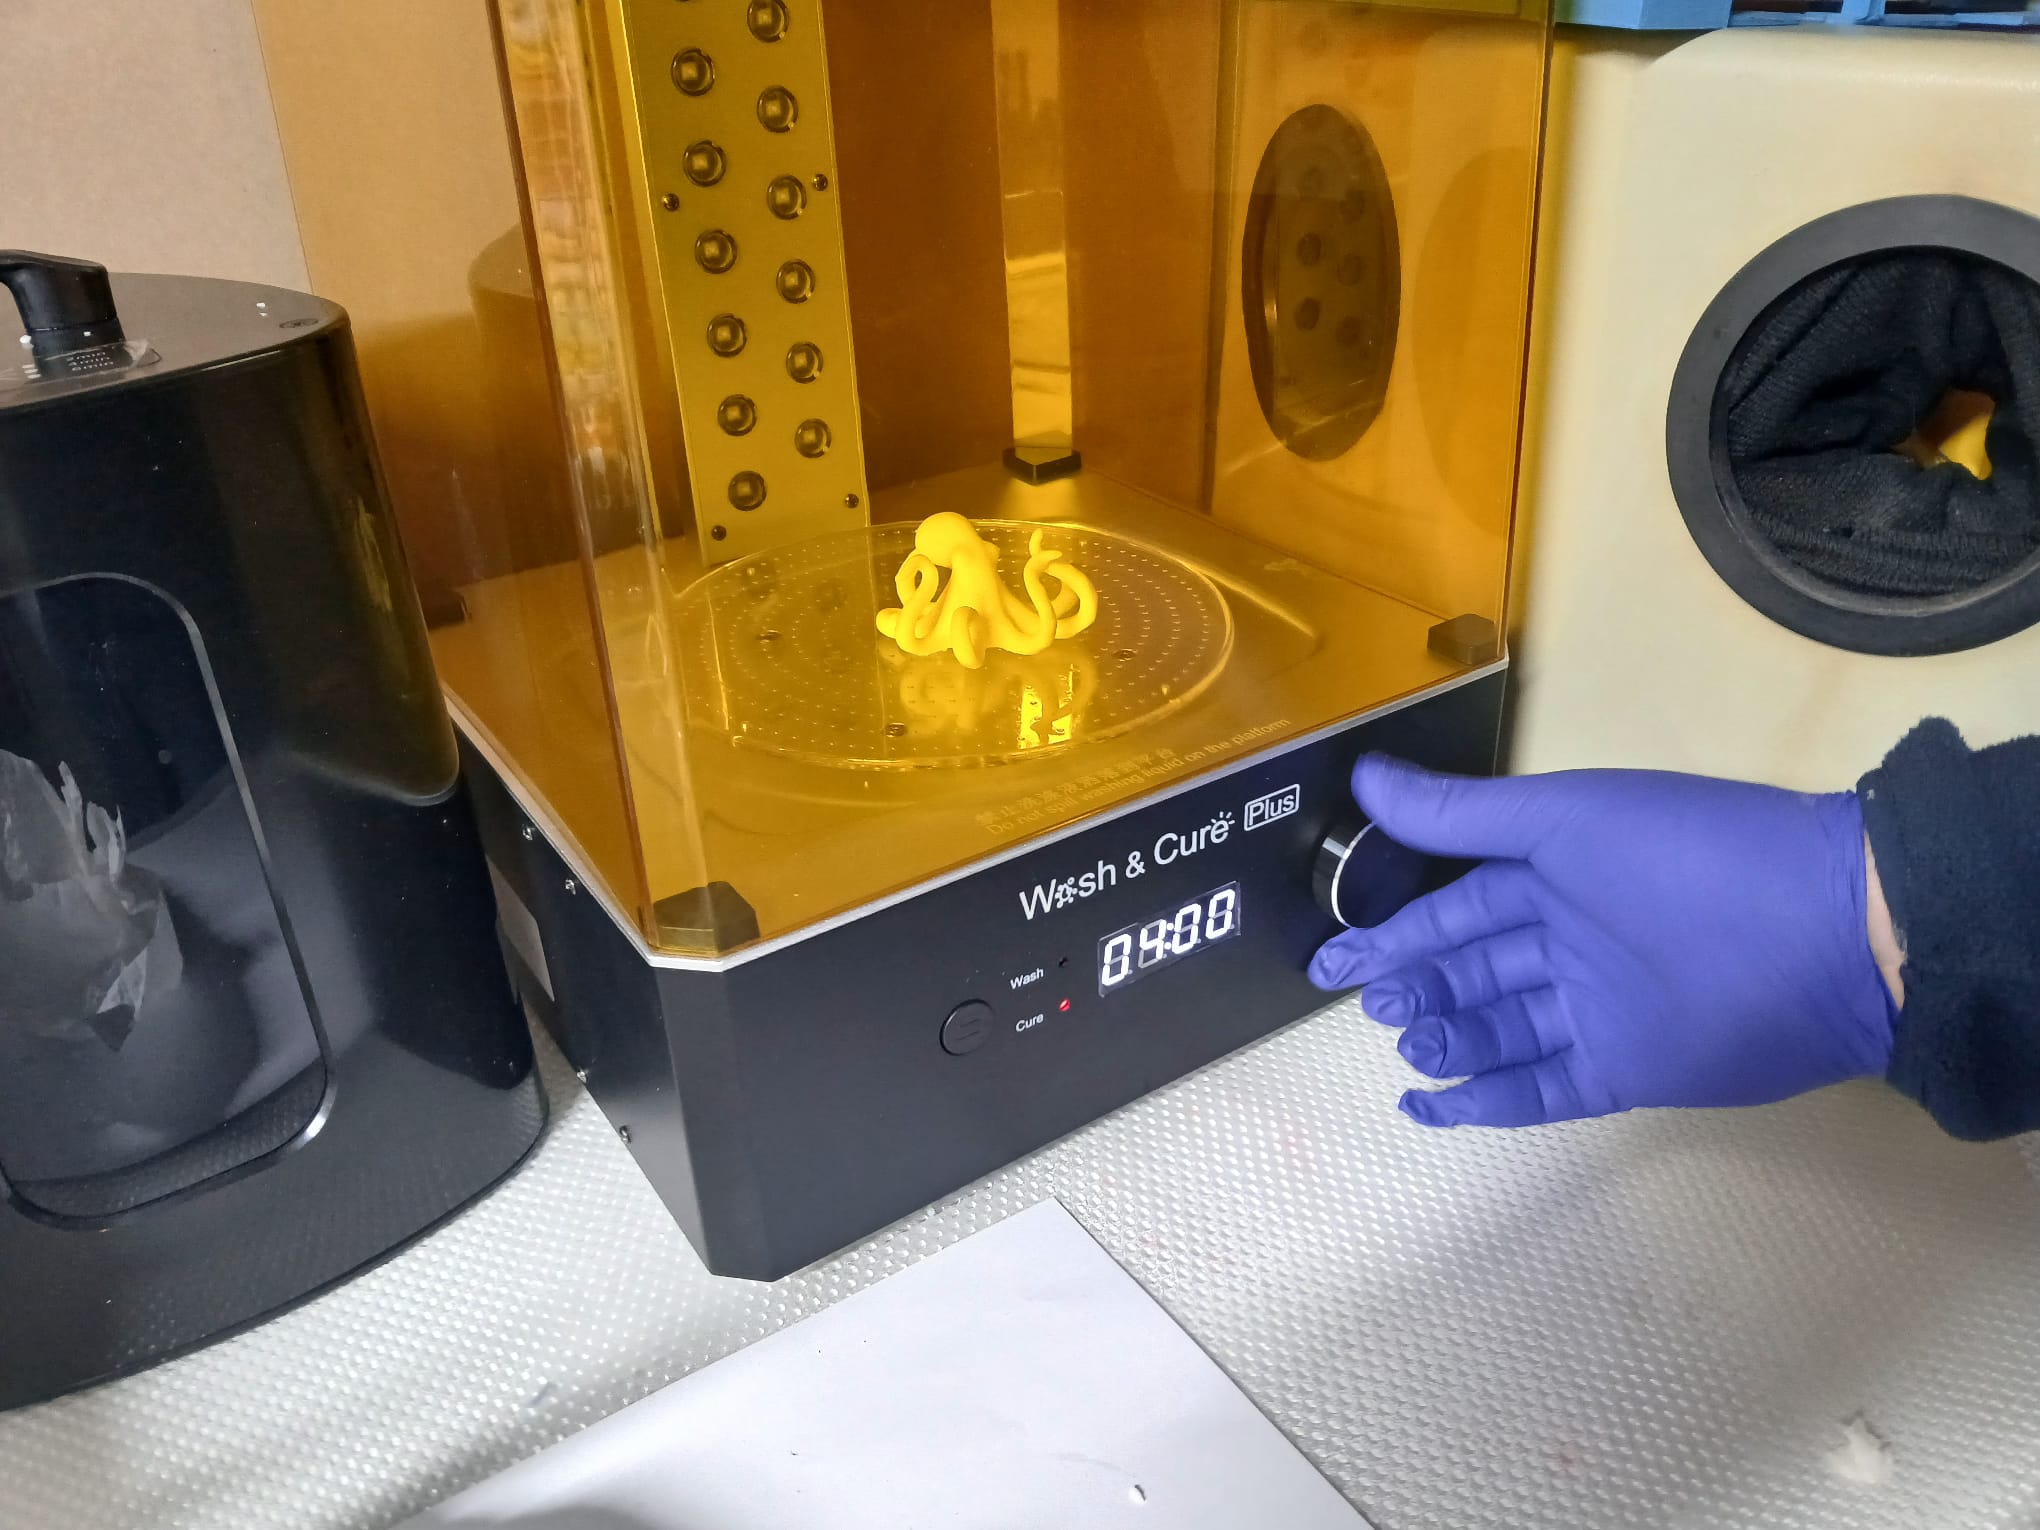
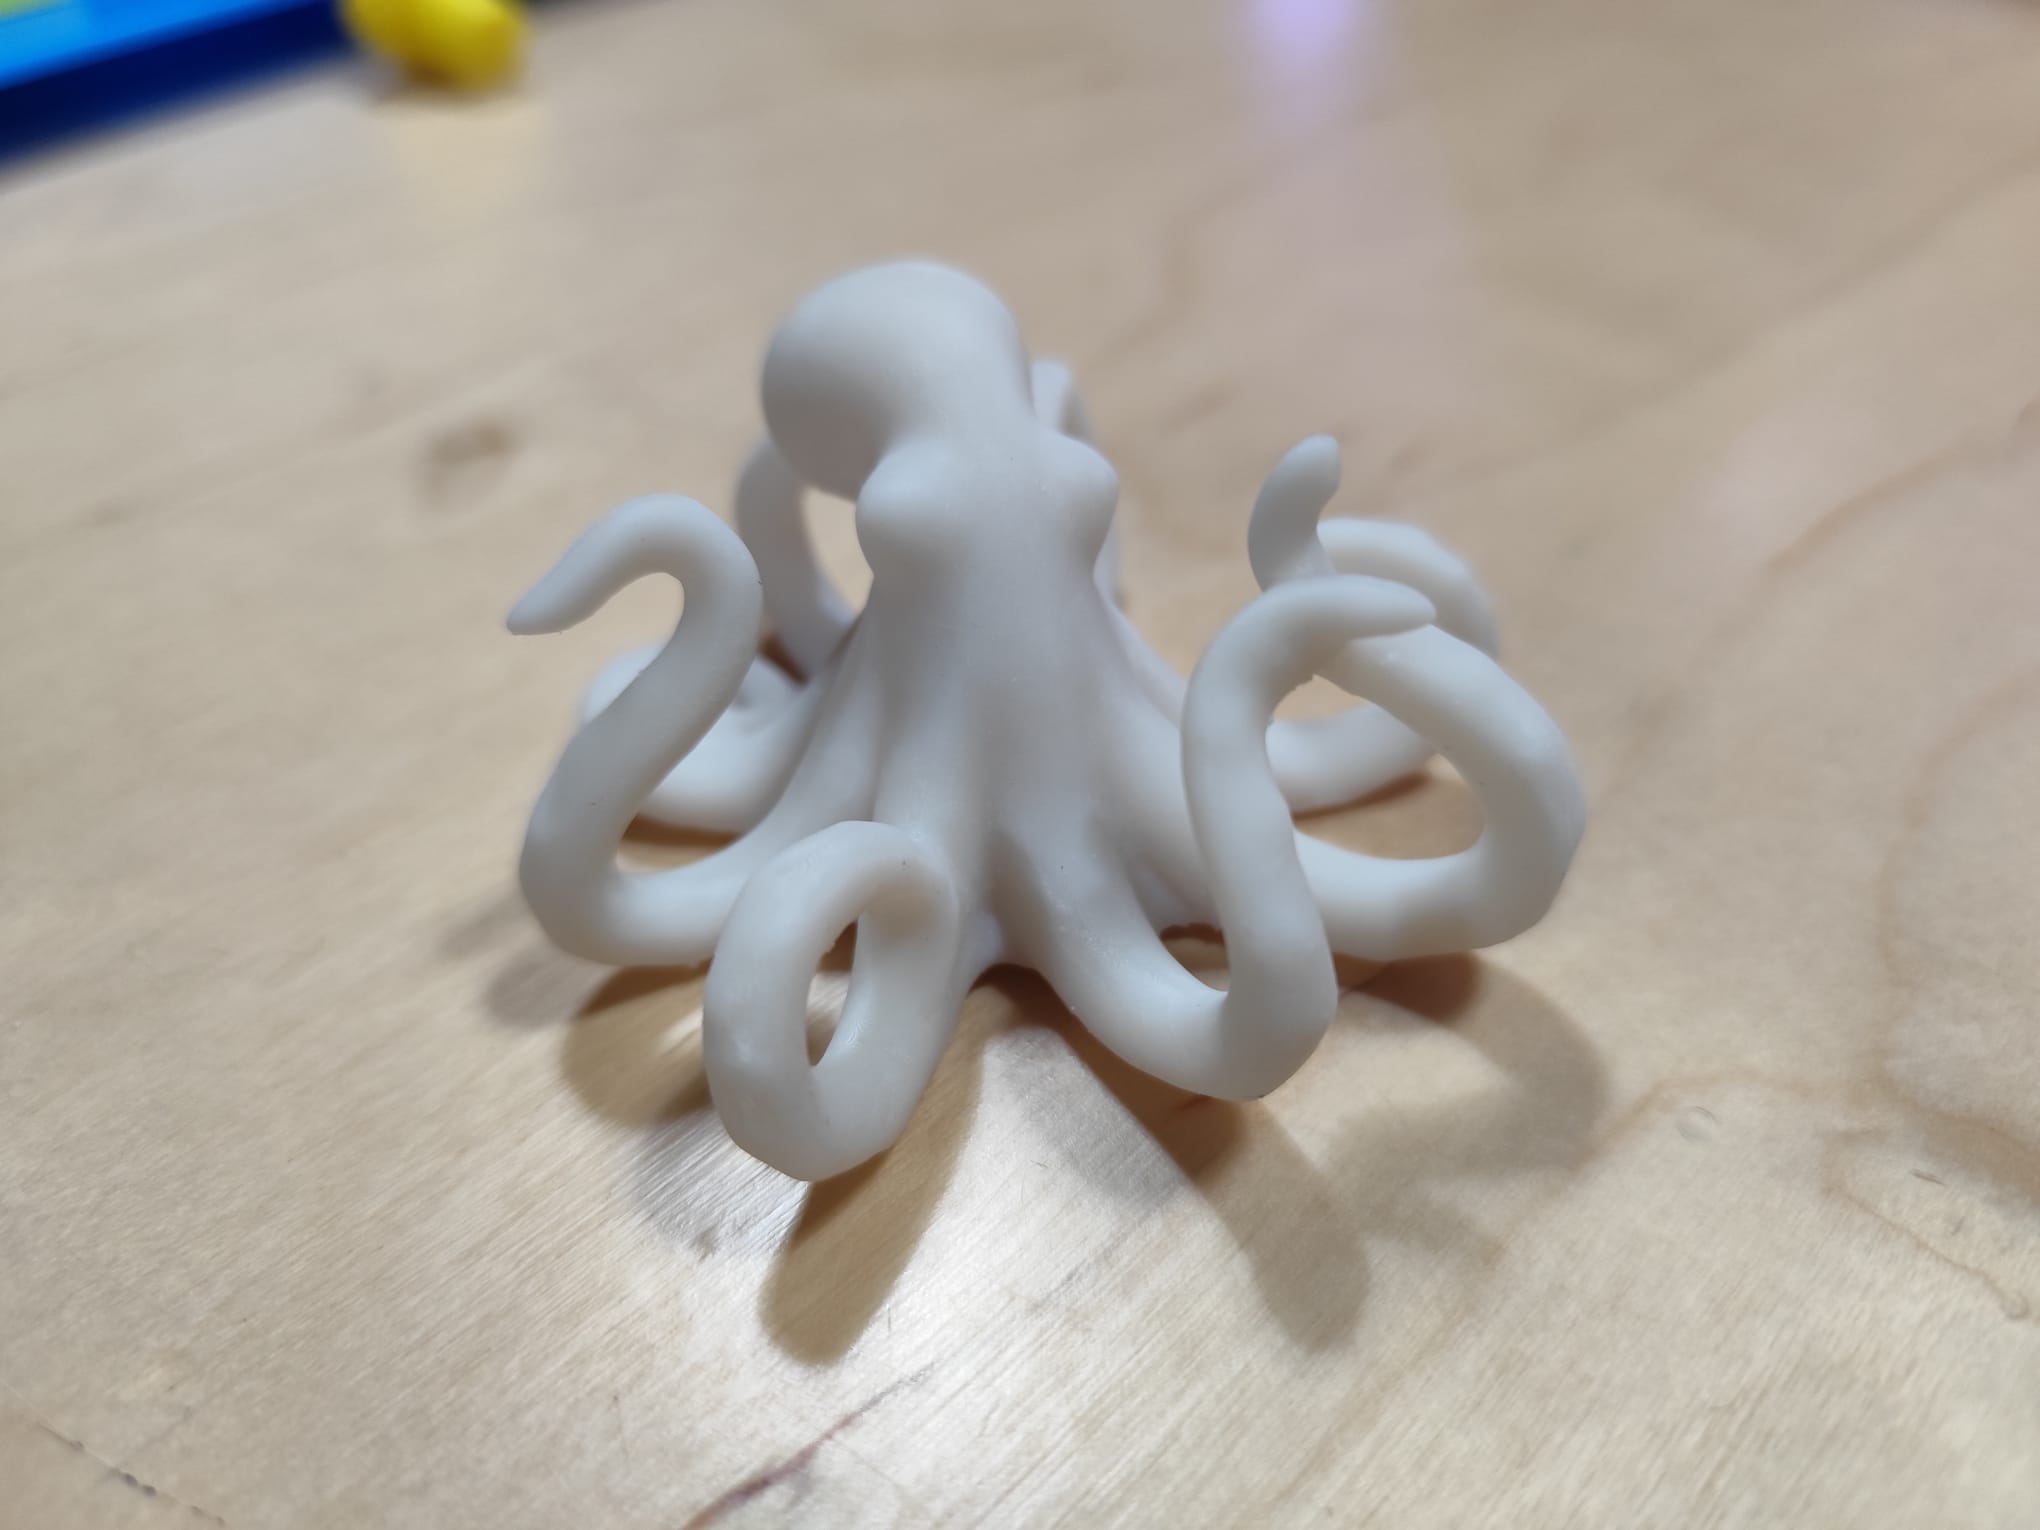
We also printed another version of the octopus in PETG with the Prusa Mini printer. You can see them side by side. The layers in the blue print are quite evident.
Scanning ourselves
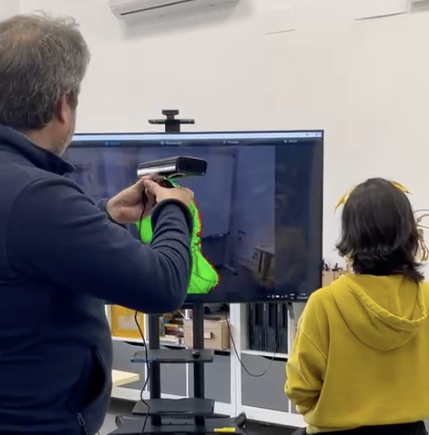
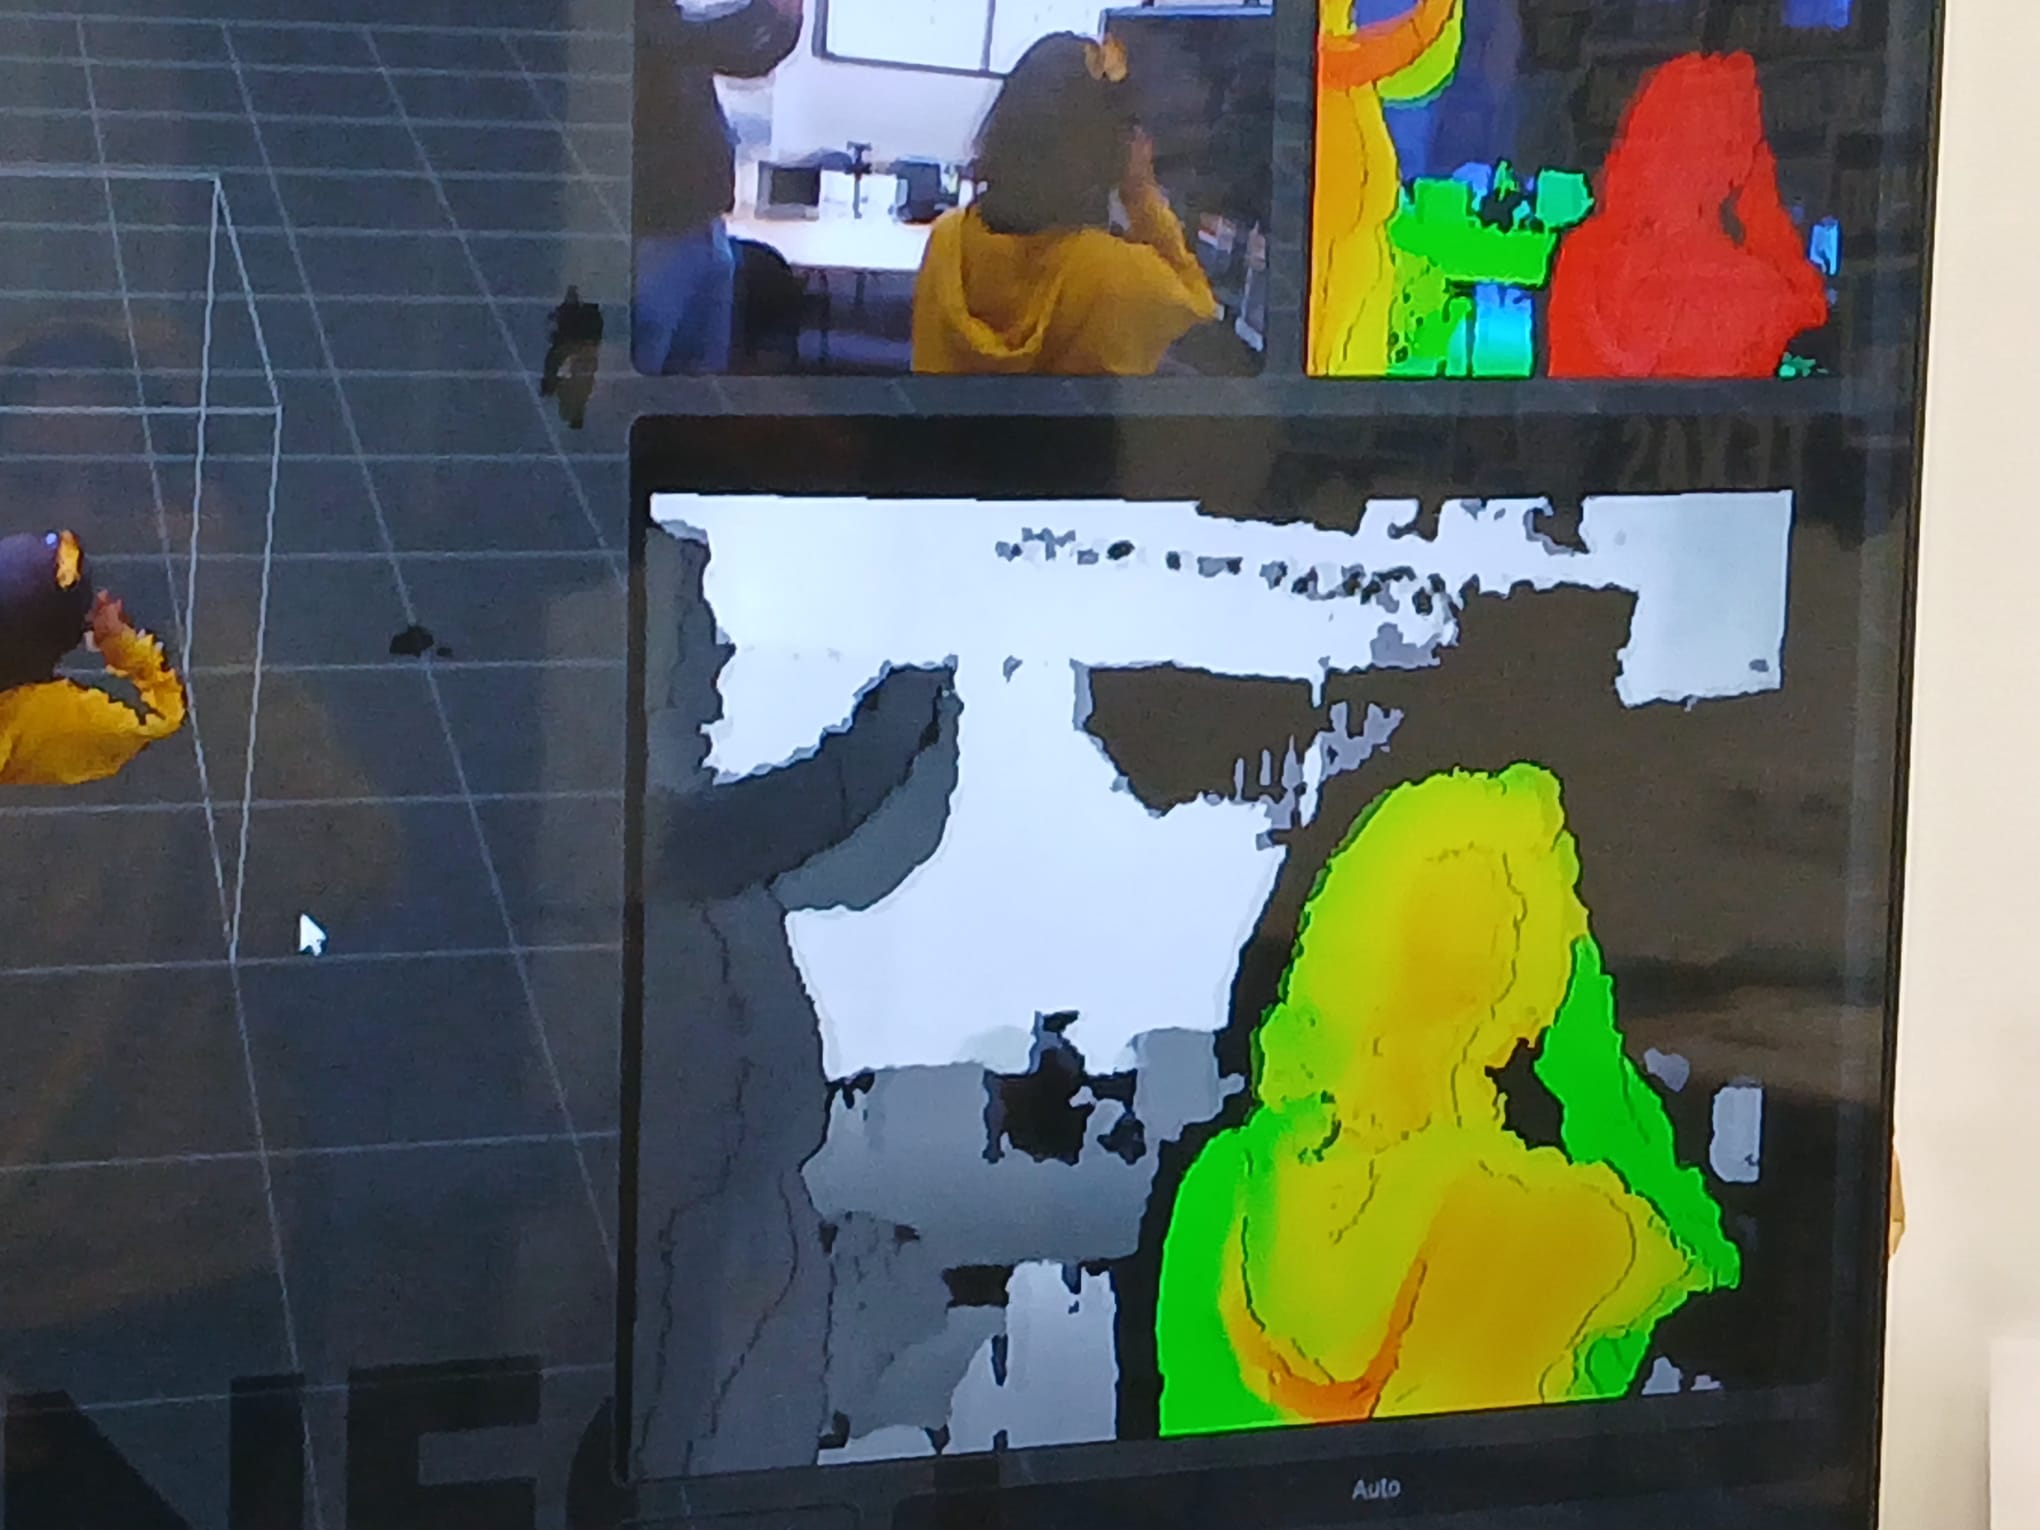
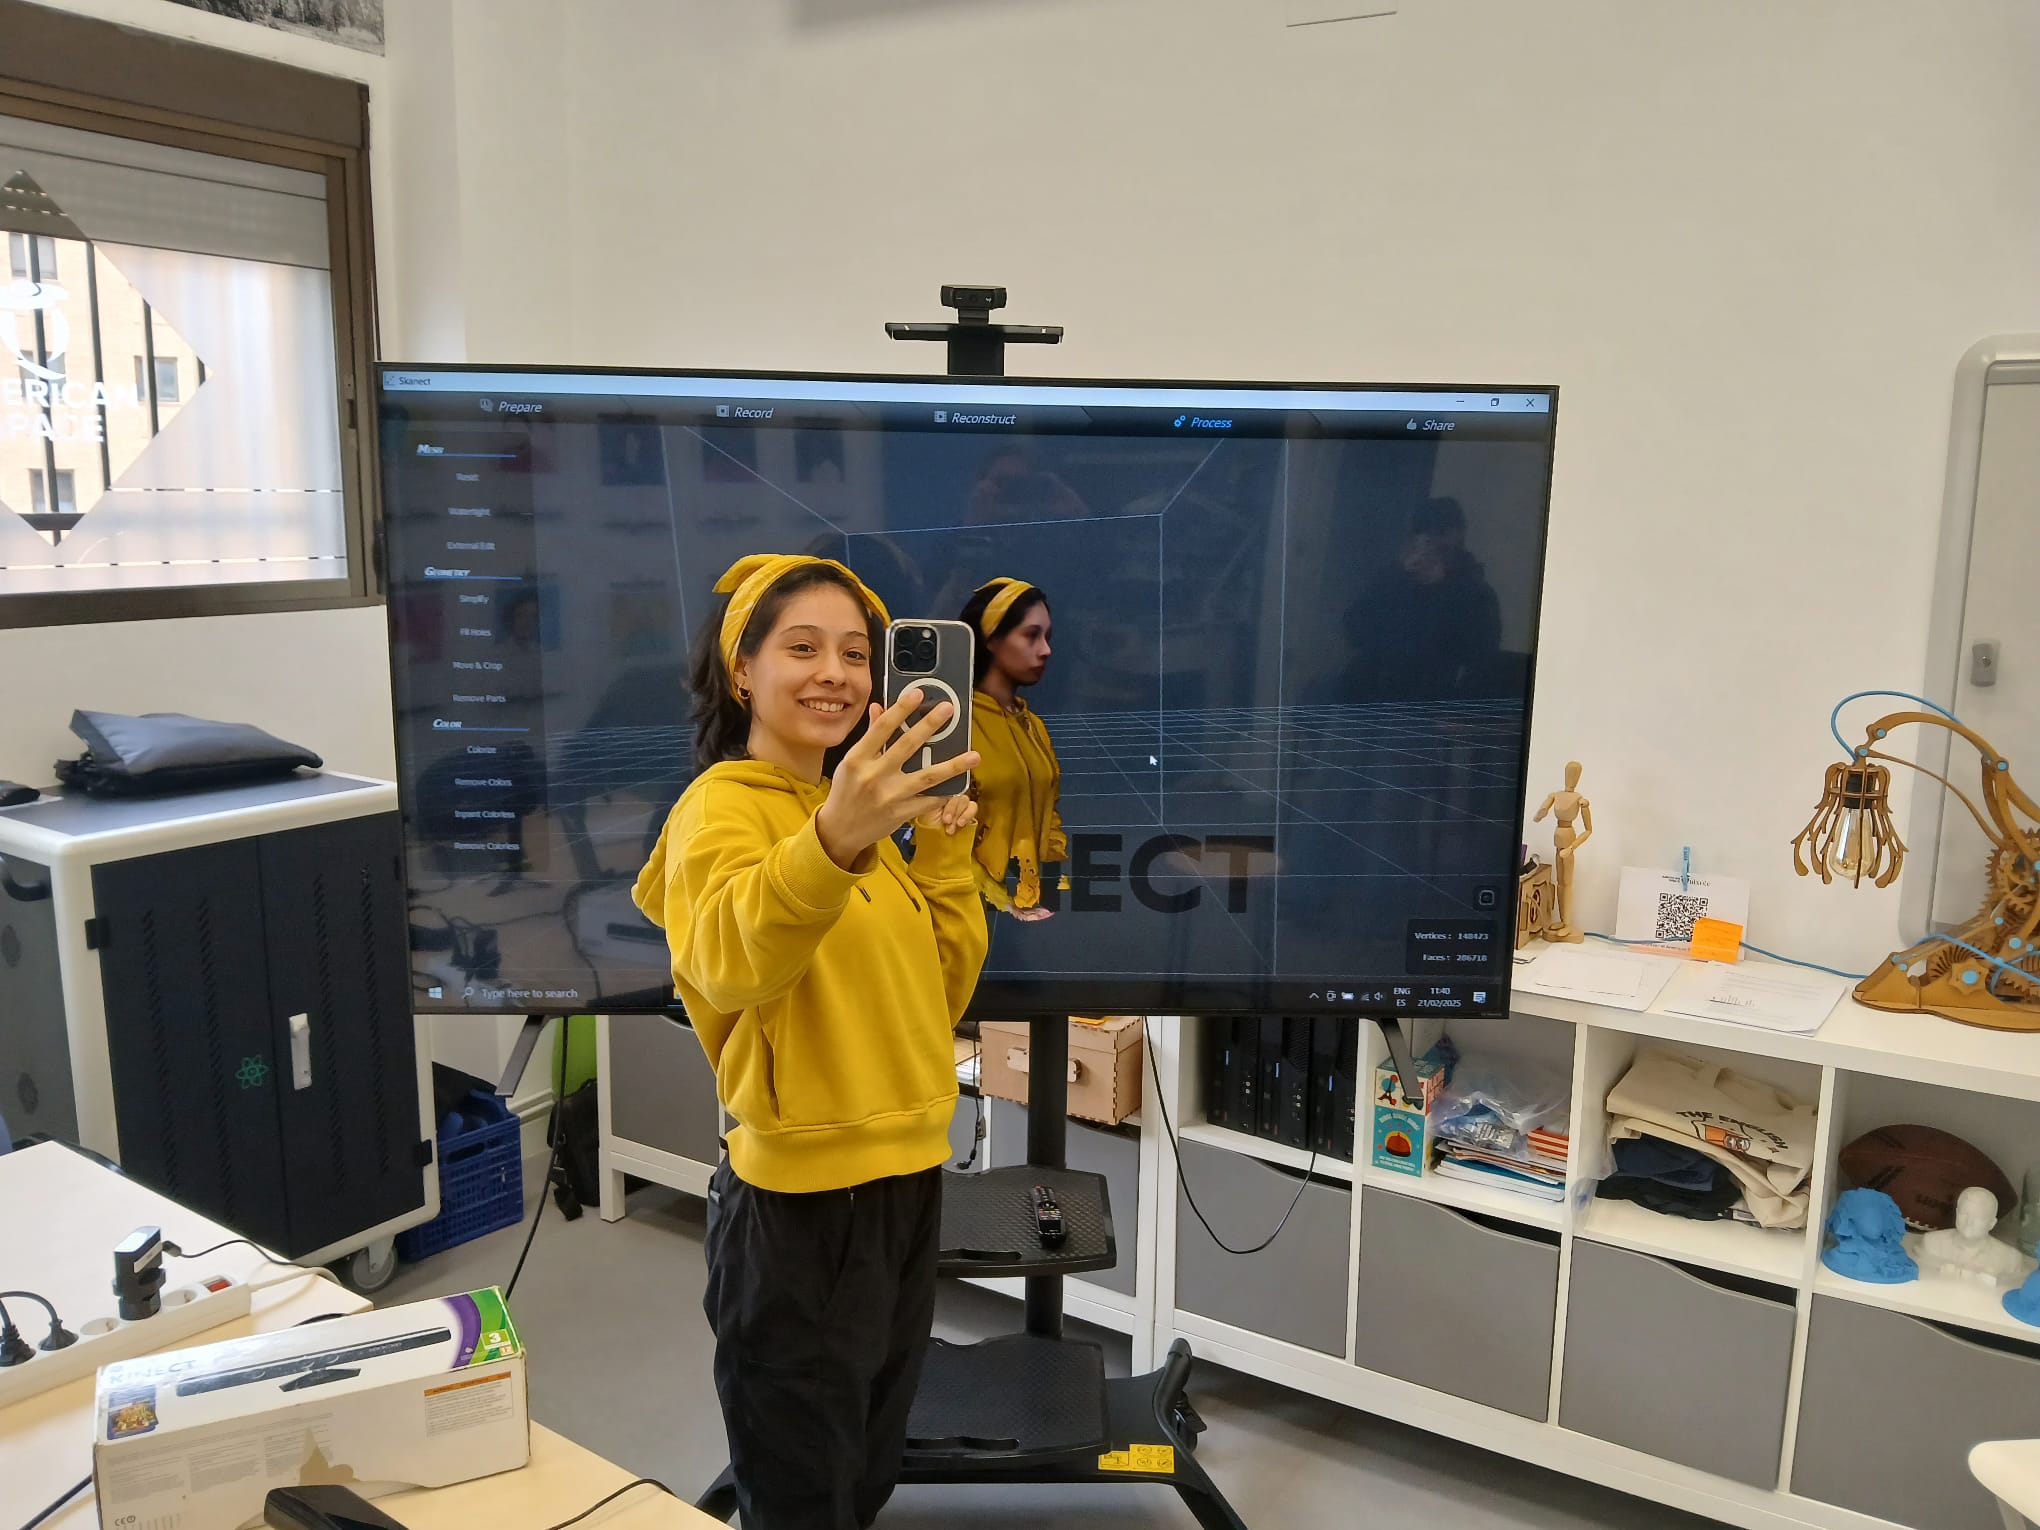
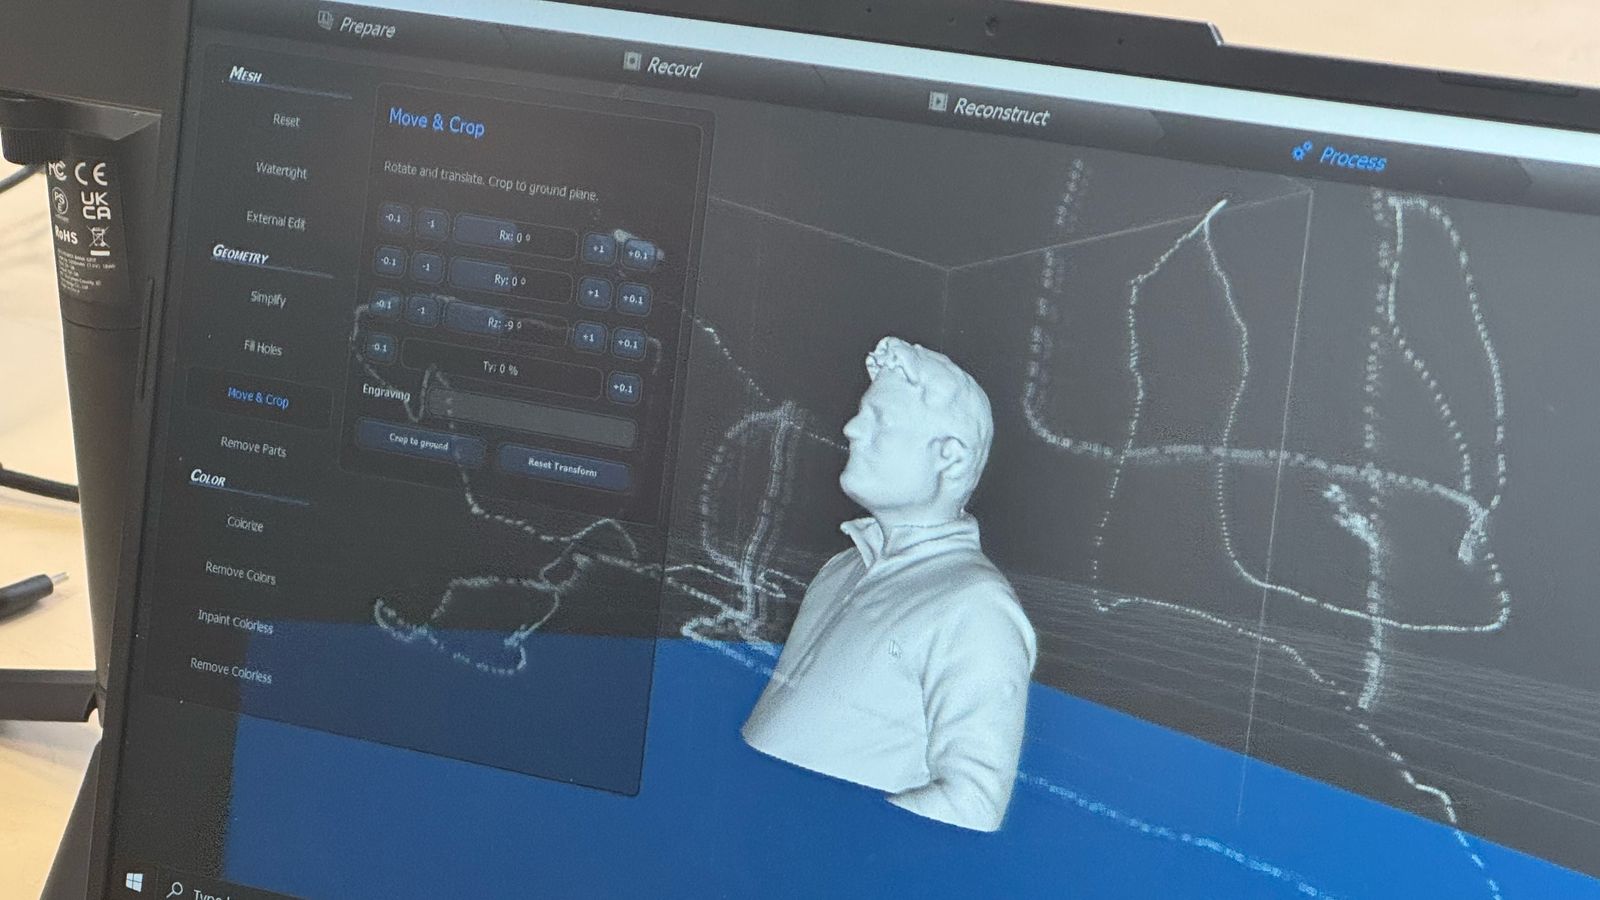
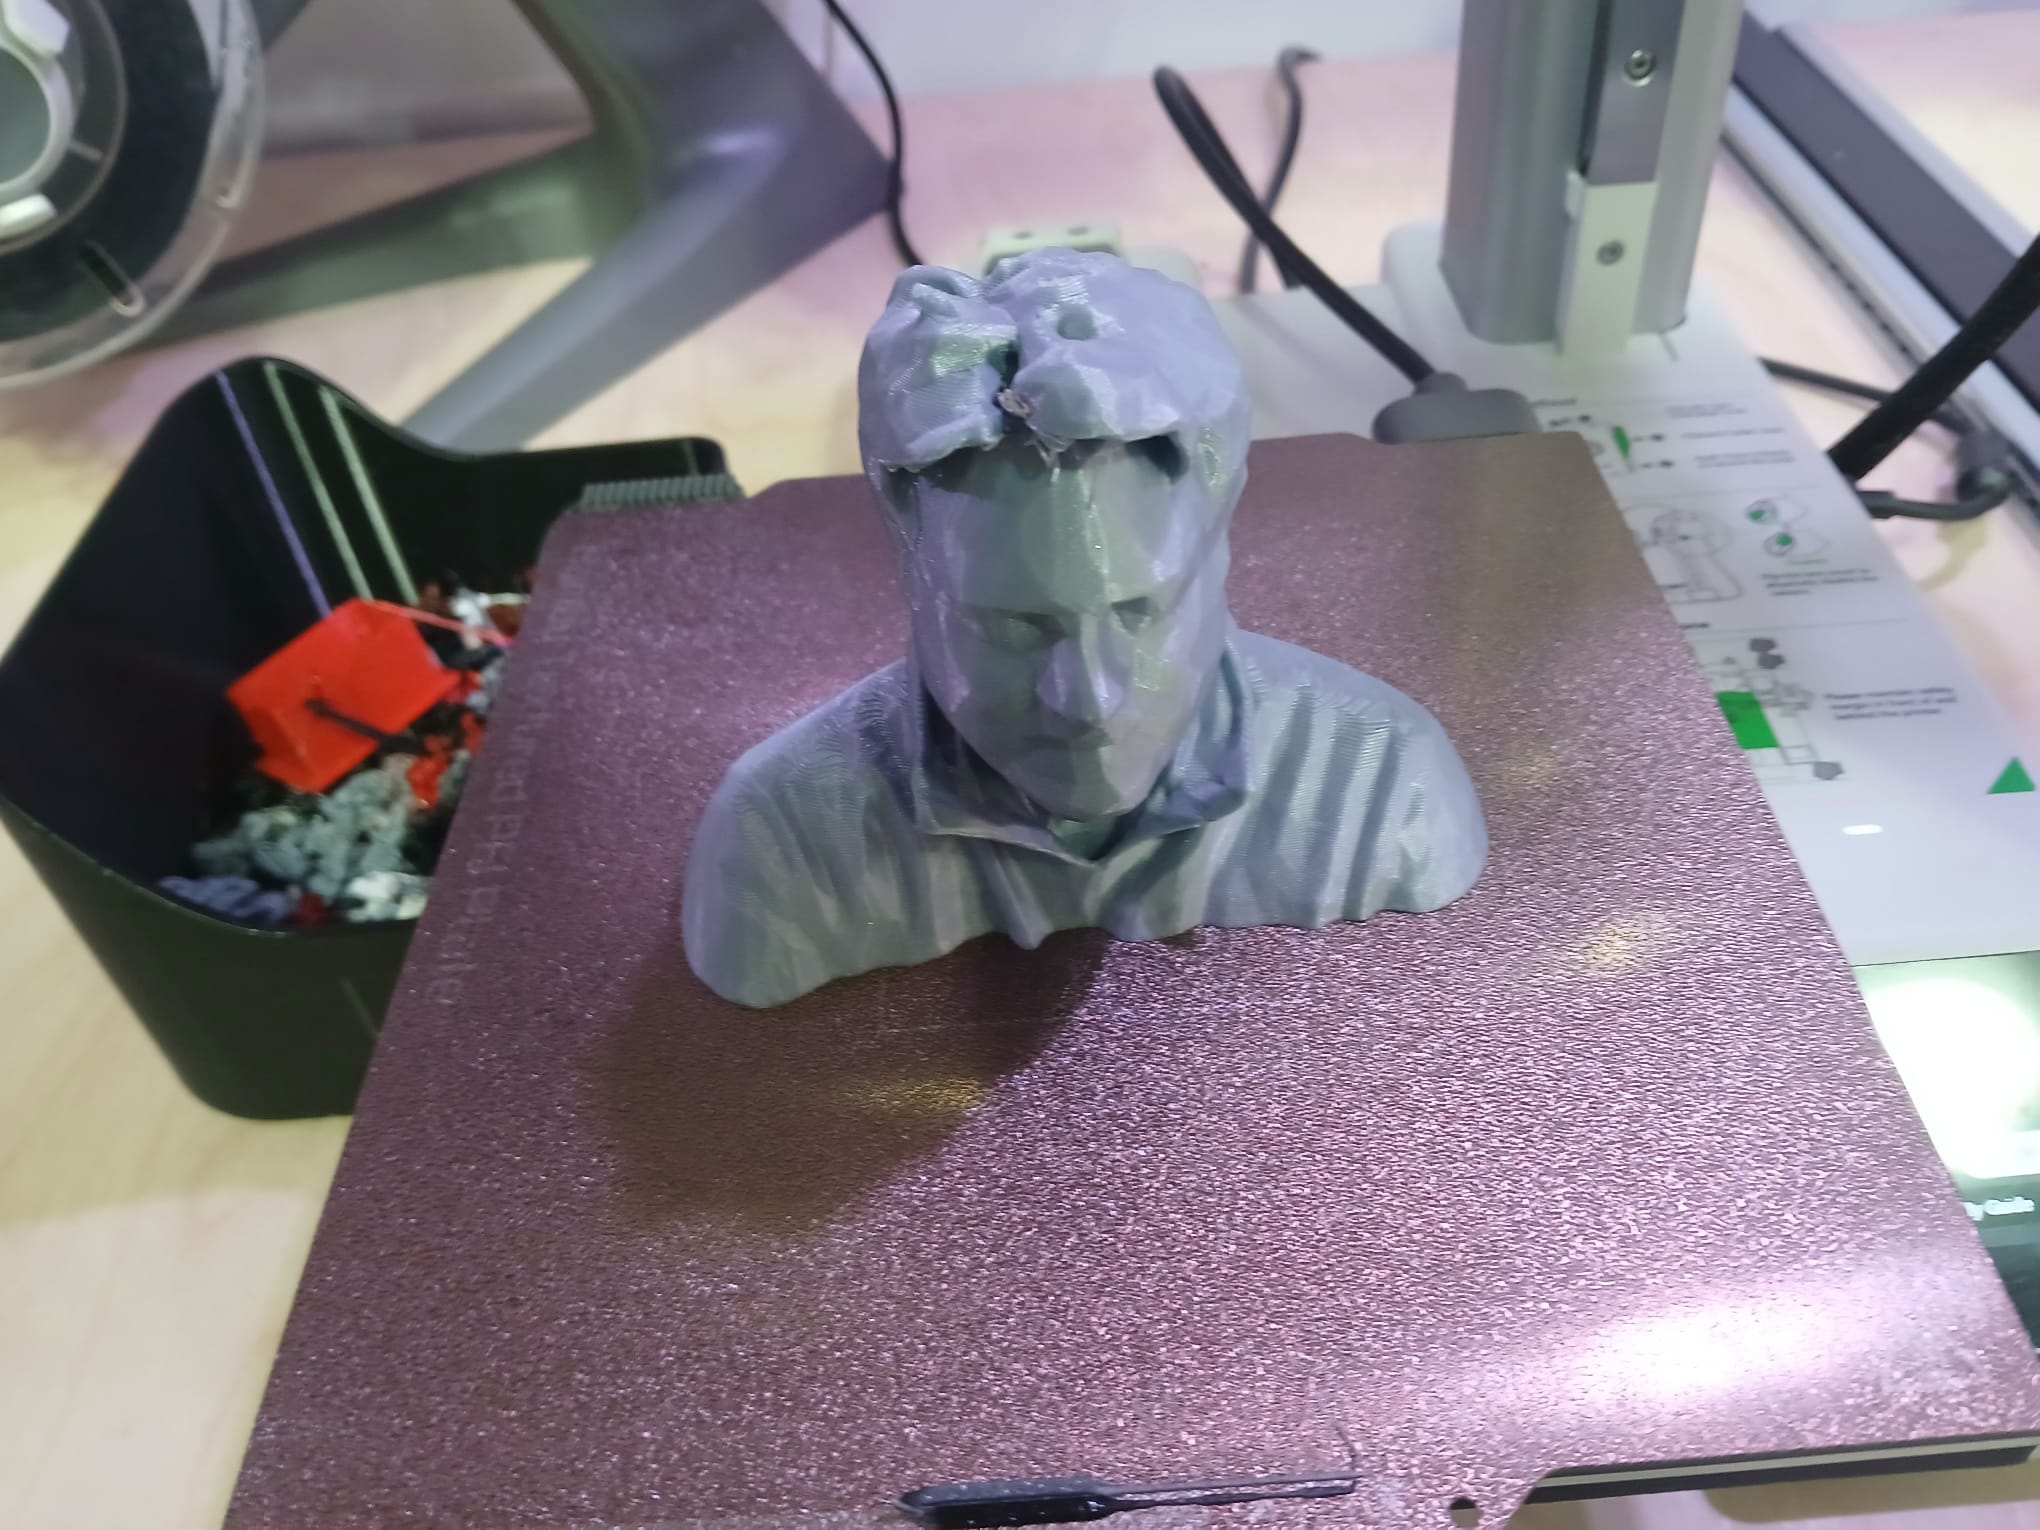
We used Kinect and xbox accesory to scan each other and then we printed the 3D models
Model design and printing
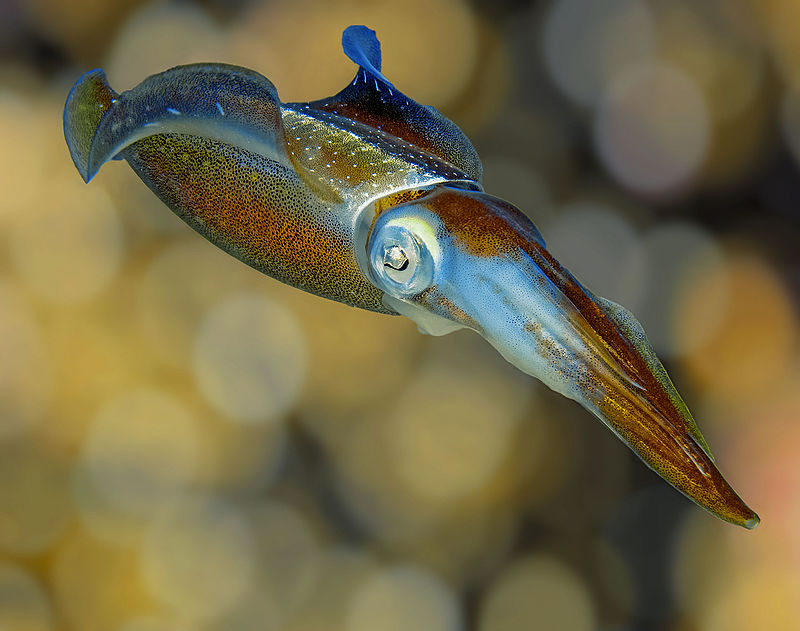
For my model I wanted to design another mollusk but using a simpler shape. I decided to built a squid. I wanted to try using the sculpt function in fusion and found this great two short tutorials from the hardware guy:
https://www.youtube.com/watch?v=L3HsWz-5-Pw
https://www.youtube.com/watch?v=SYLJyOuDKmo
Below, I will show a few actions that helps to modify a regular object to shape it as one wishes.
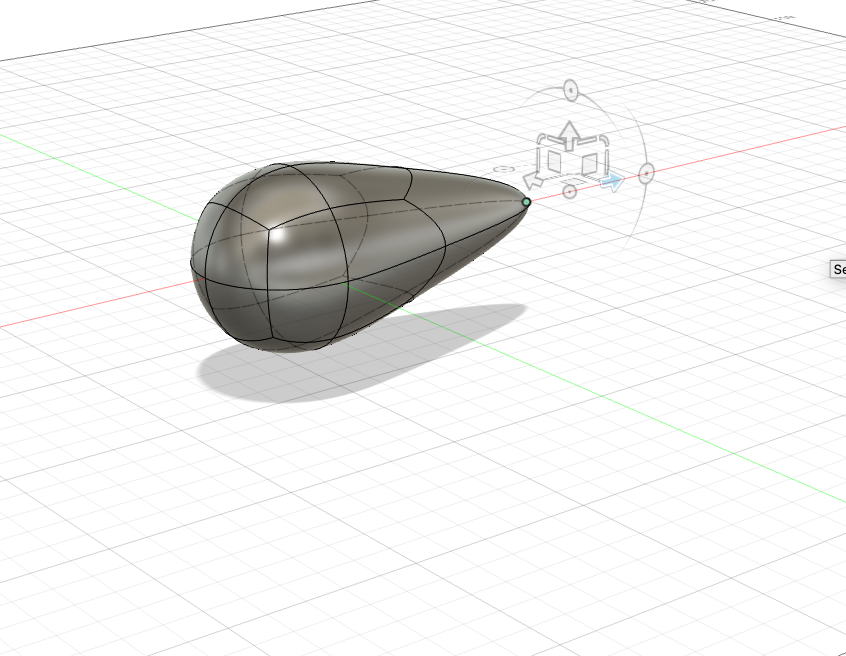
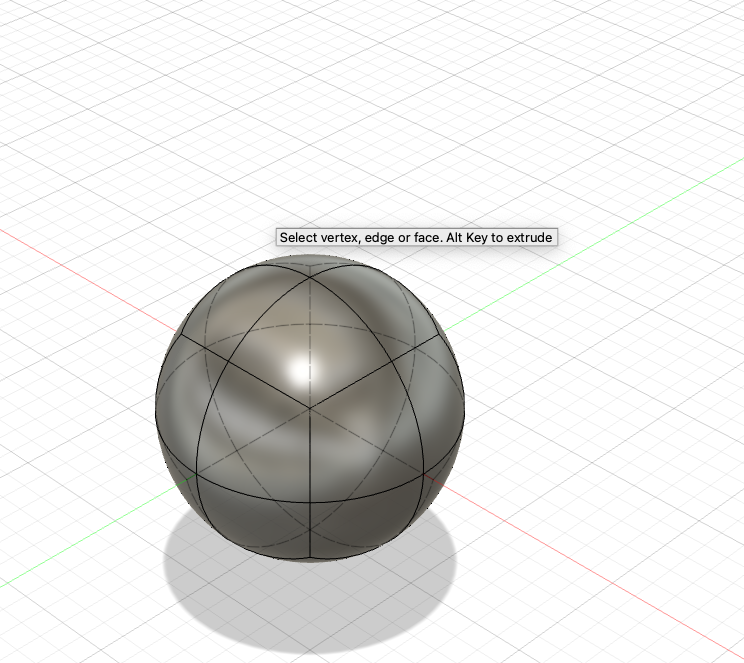
First one creates an sphere or quadball:
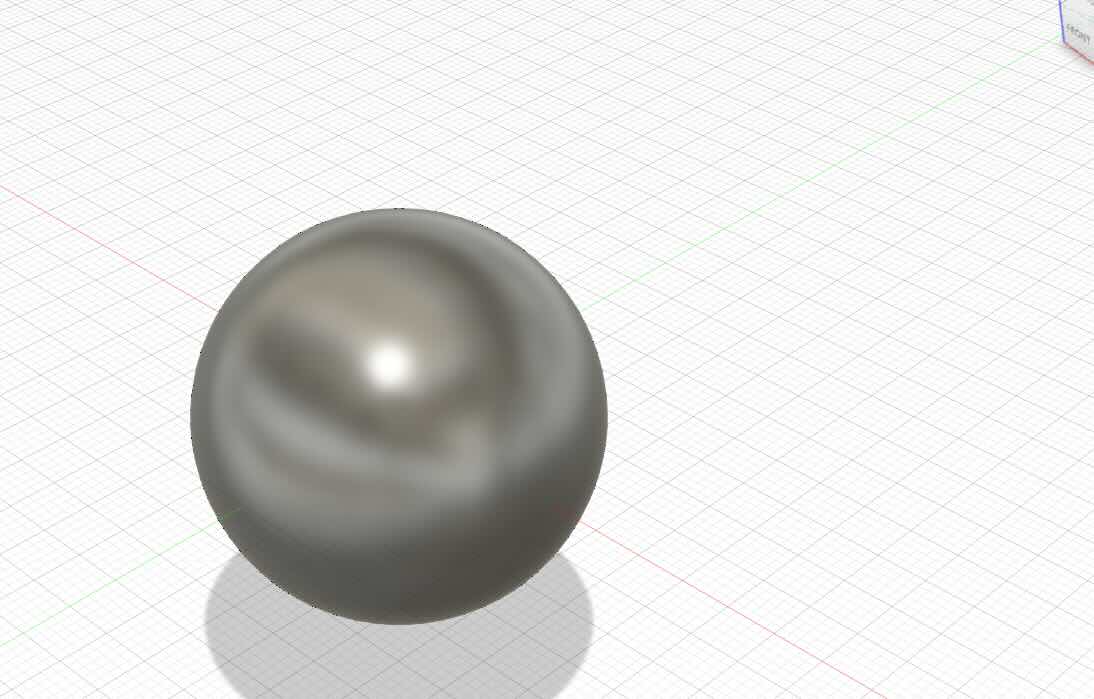
The quadball is composed of several phases that you can select.
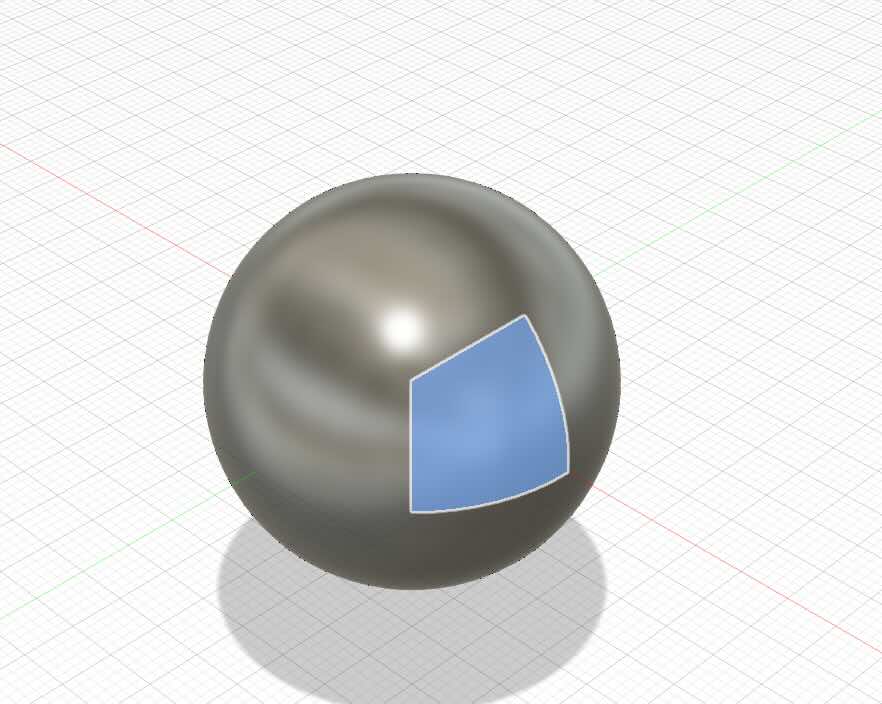
As in the solid section we can use the mirror function to make sure we replicate what we do in one phase is done in another one. We could create symmetry this way if we needed to.
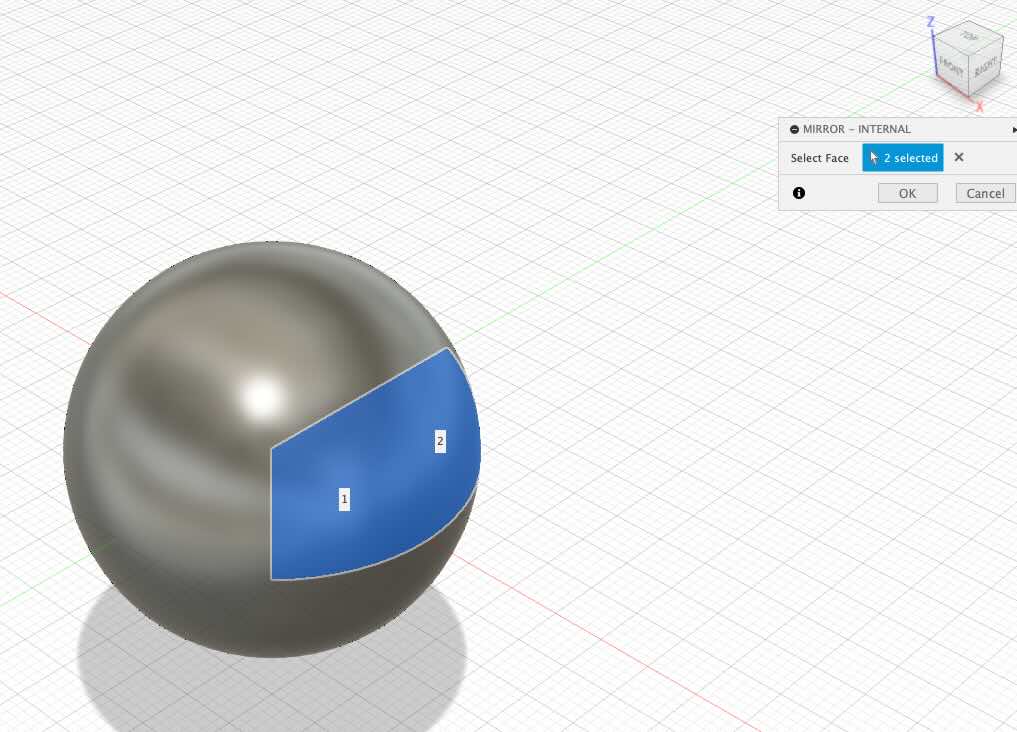
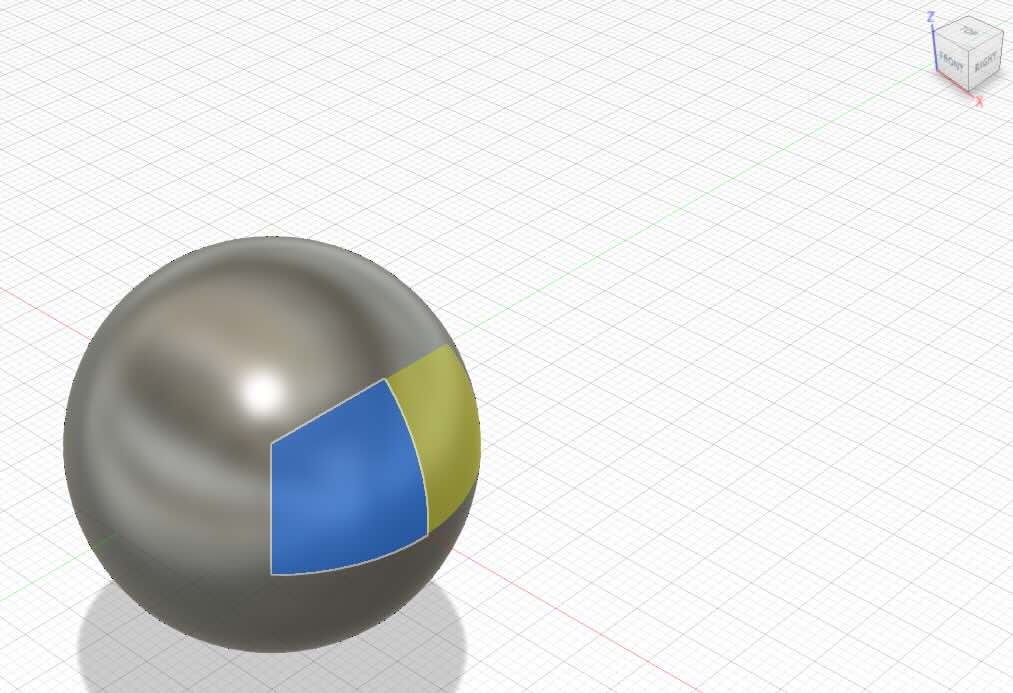
We can use the modify command to expand, compress a feature to change its shape. You can select different features. In this case I have selected a phase and have pulled it.
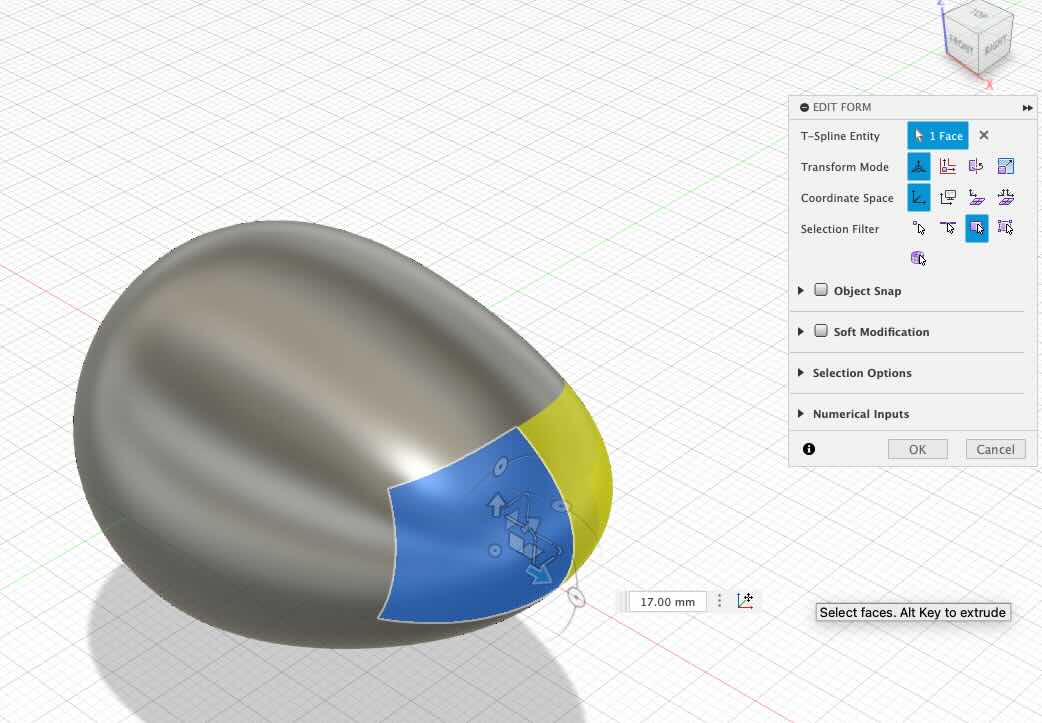
We can as well subdivide a phase if we wanted to create more detail within that phase as I have done it below.
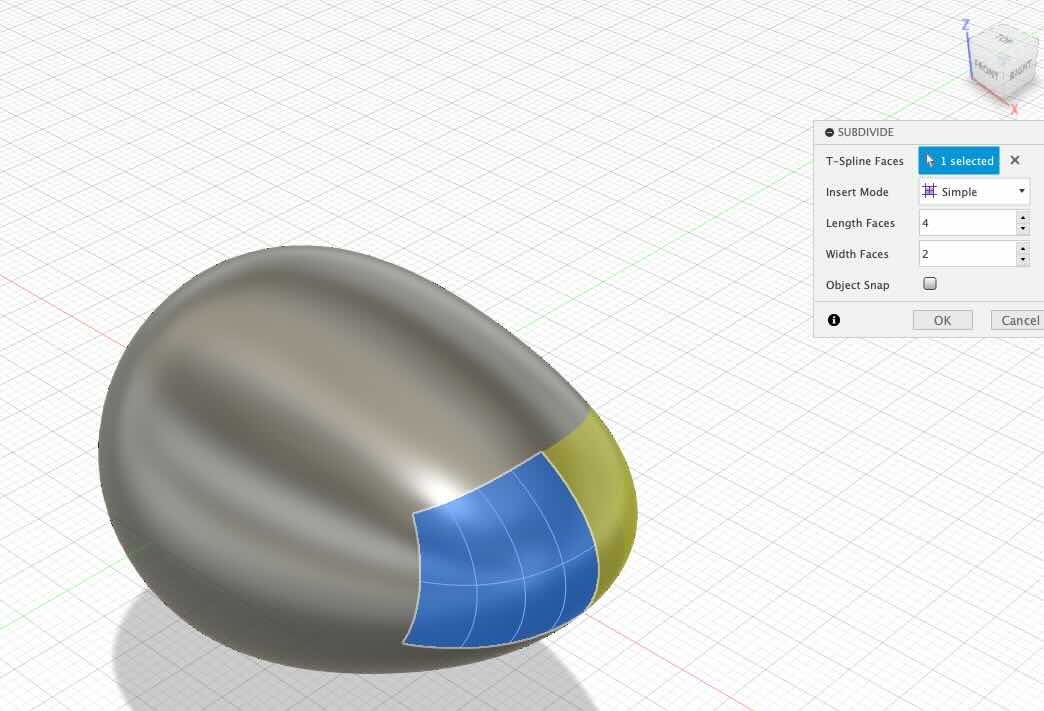
One can select different features to be modified for example I could have selected a vertex point.
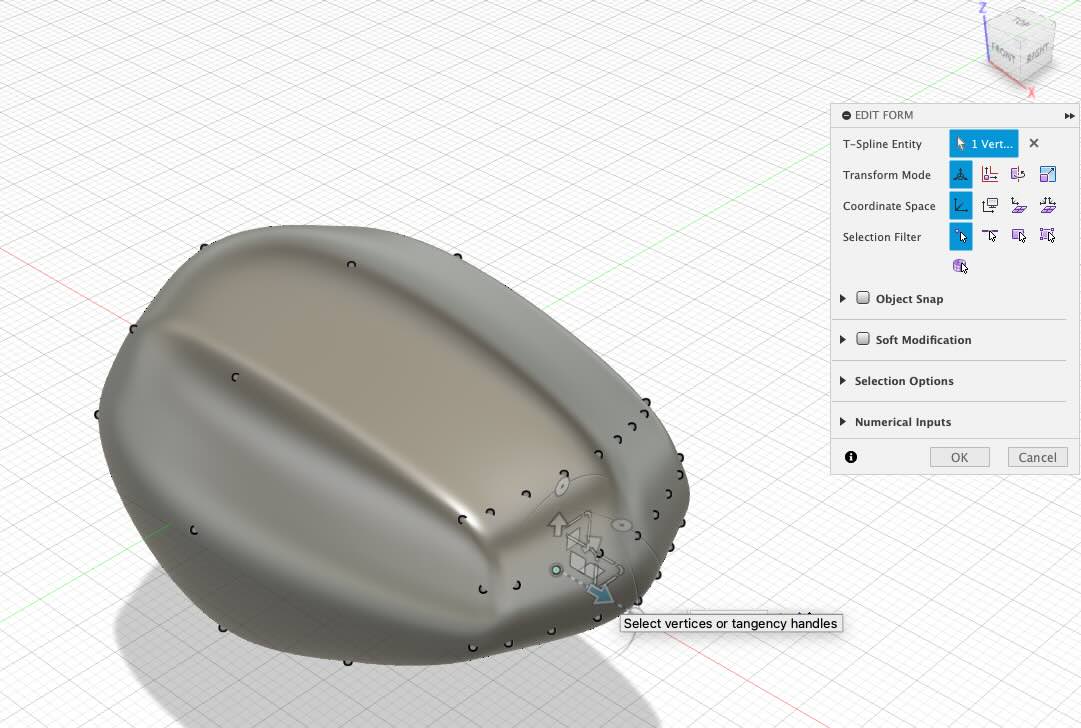
Finally, you can see that what I did to a vertex point was done to the other one in the mirrored phased.
For my assignment I wanted to create a squid I used the image below.
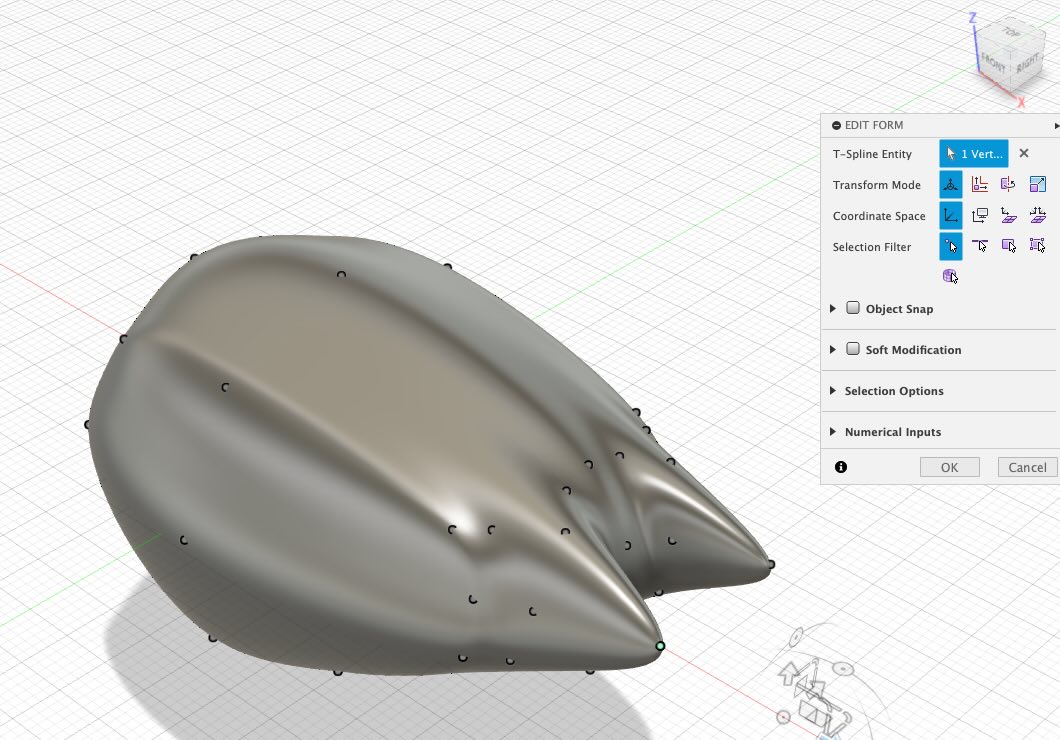
For this, I chose a sphere as the initial point. You can see a few images of the evolution of the form I created.
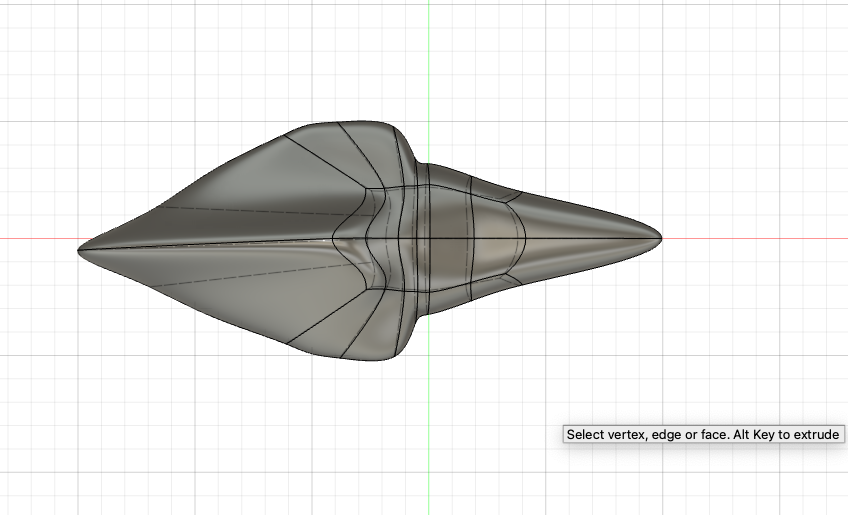
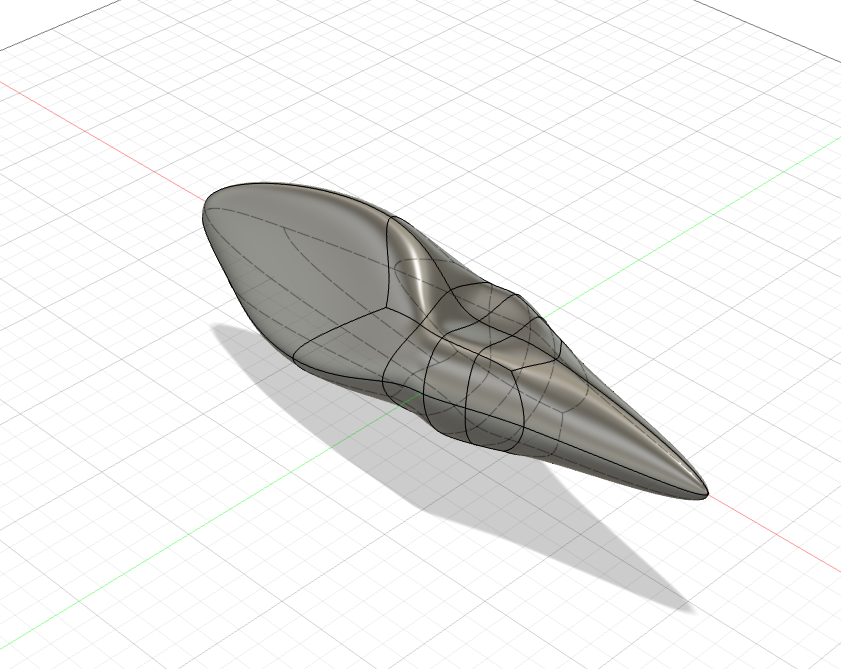
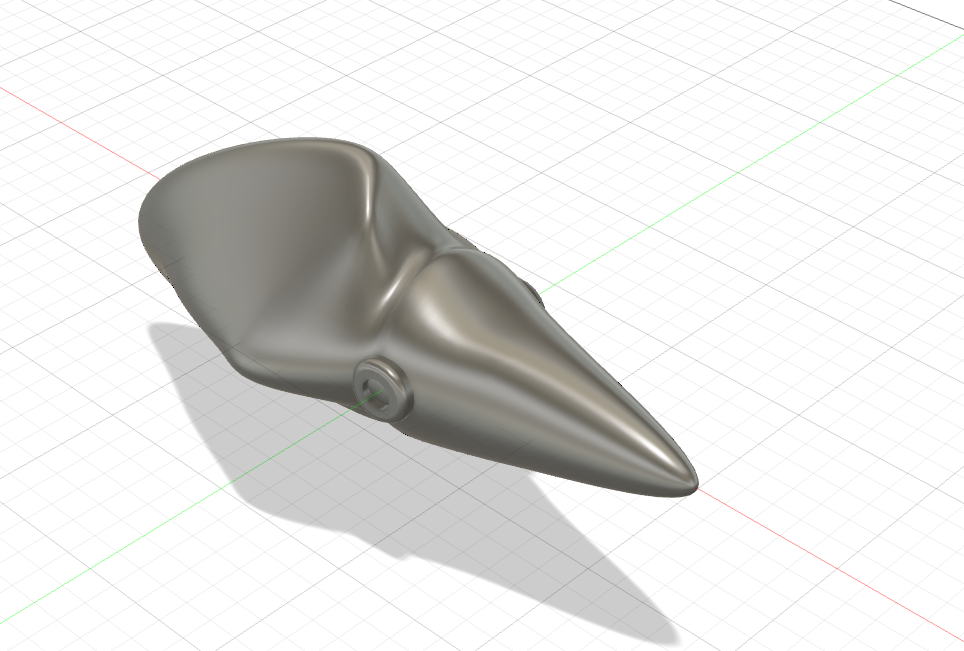
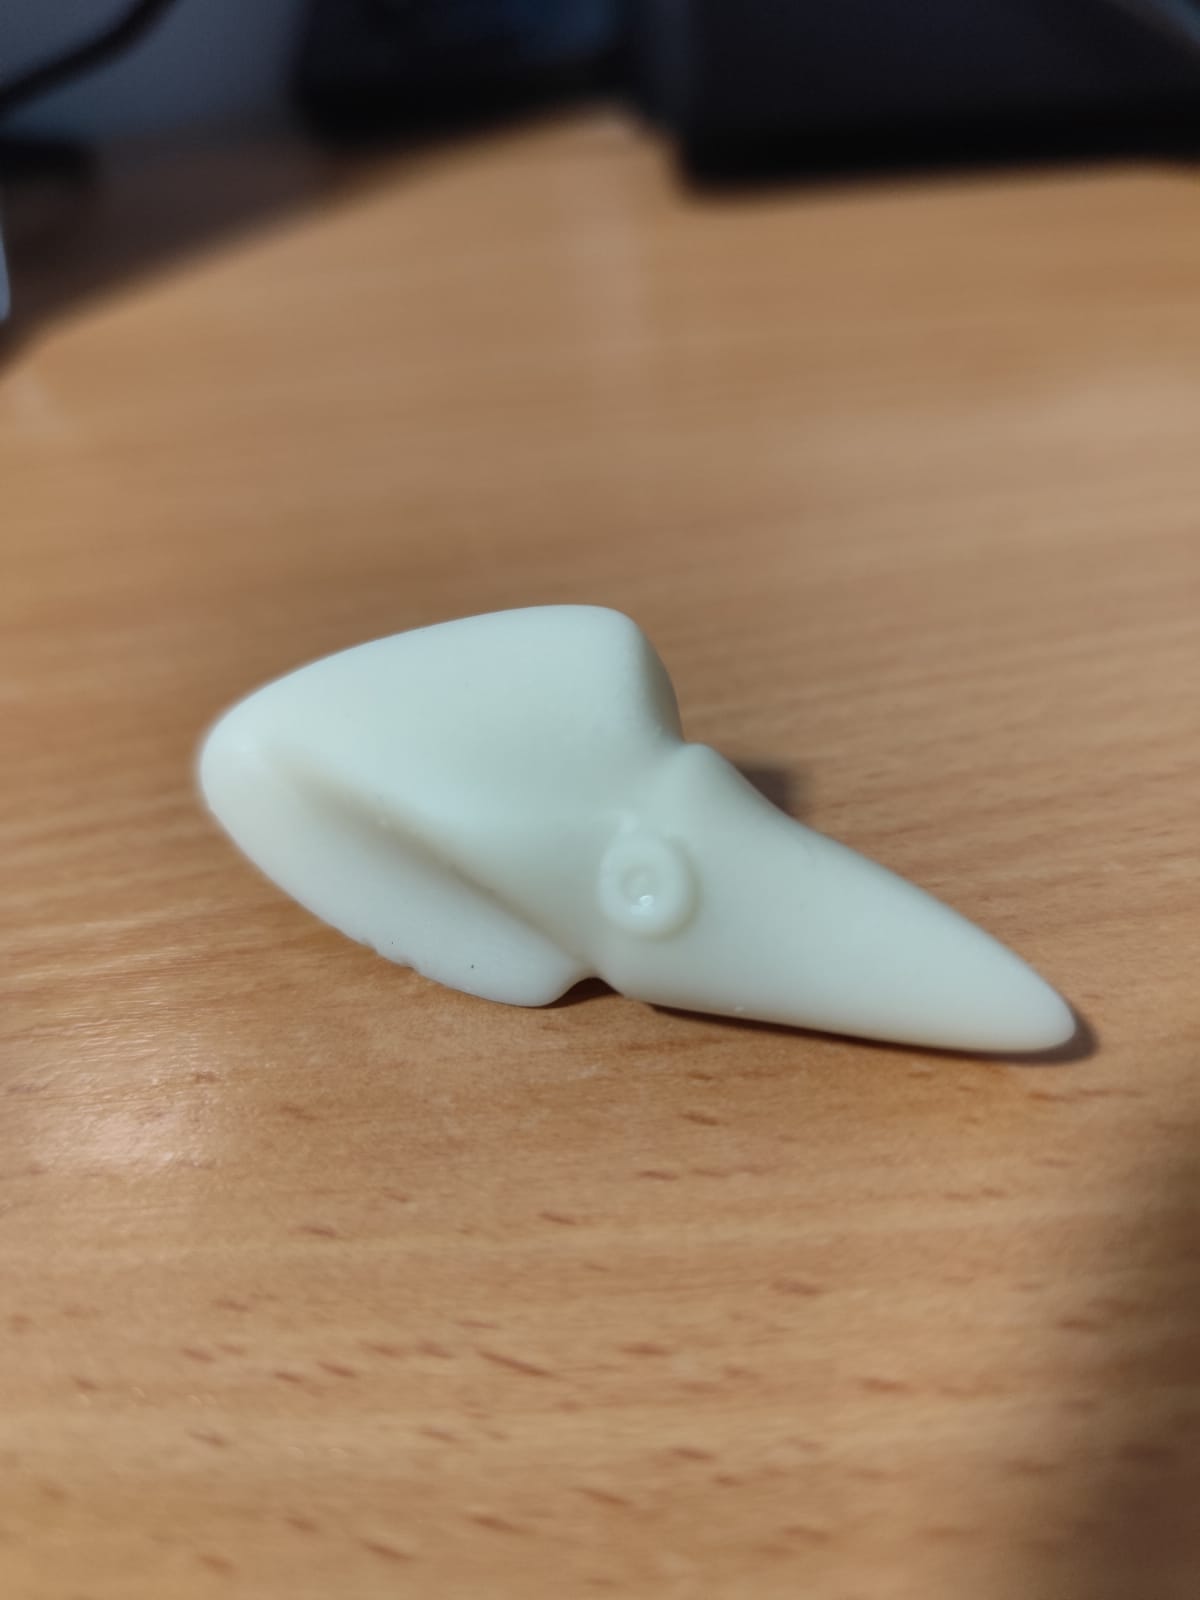
This figure would be difficult to make subtractively as some of the groves would be difficult to access with a linear tool. In addition to this you would need a multiaxis tool.
Given that the squid is an intricate organic form characterized by its numerous angles, it was ideally suited for resin printing. The decision to use the resin printer was driven in order to achieve y smooth surface, eliminating the layer lines inherent in filament extrusion printing. Furthermore, the risk of material sagging due to the complex geometry of the model is lessened by using a resin printer over a filament extrusion one.
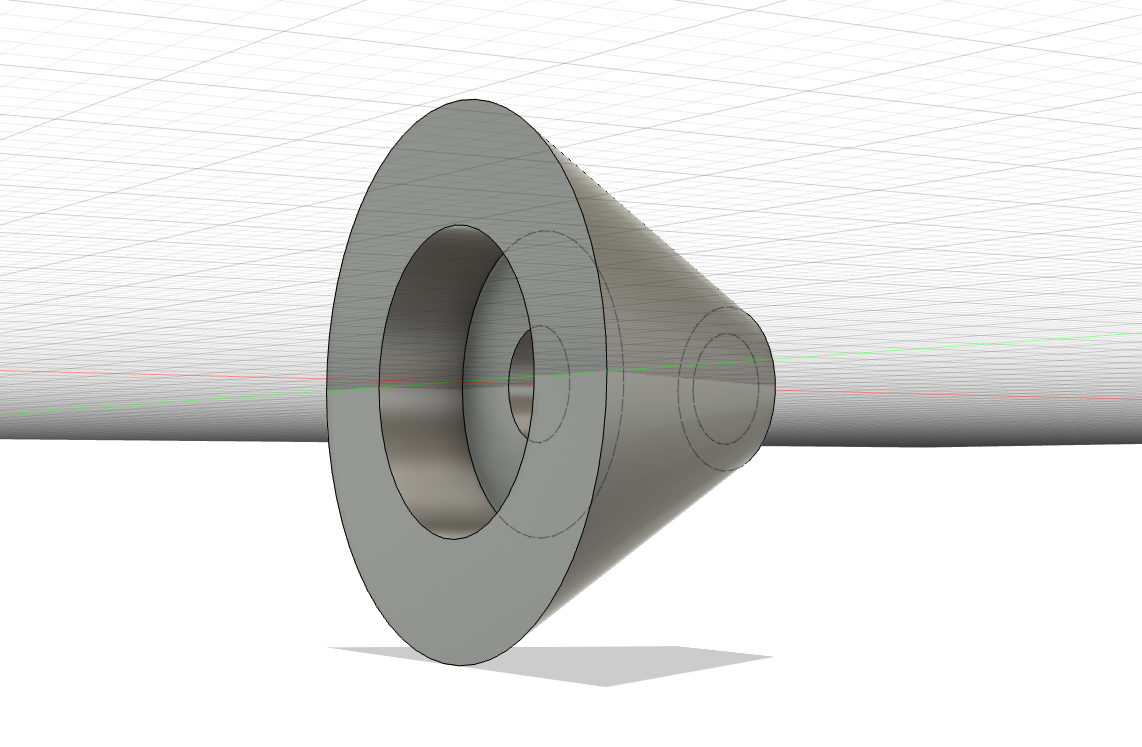
Bearing holder
This week I printed some holders for holding the bearings that will help facilitate the rotation of the sticky trap roll. I printed the piece in white PLA filament.
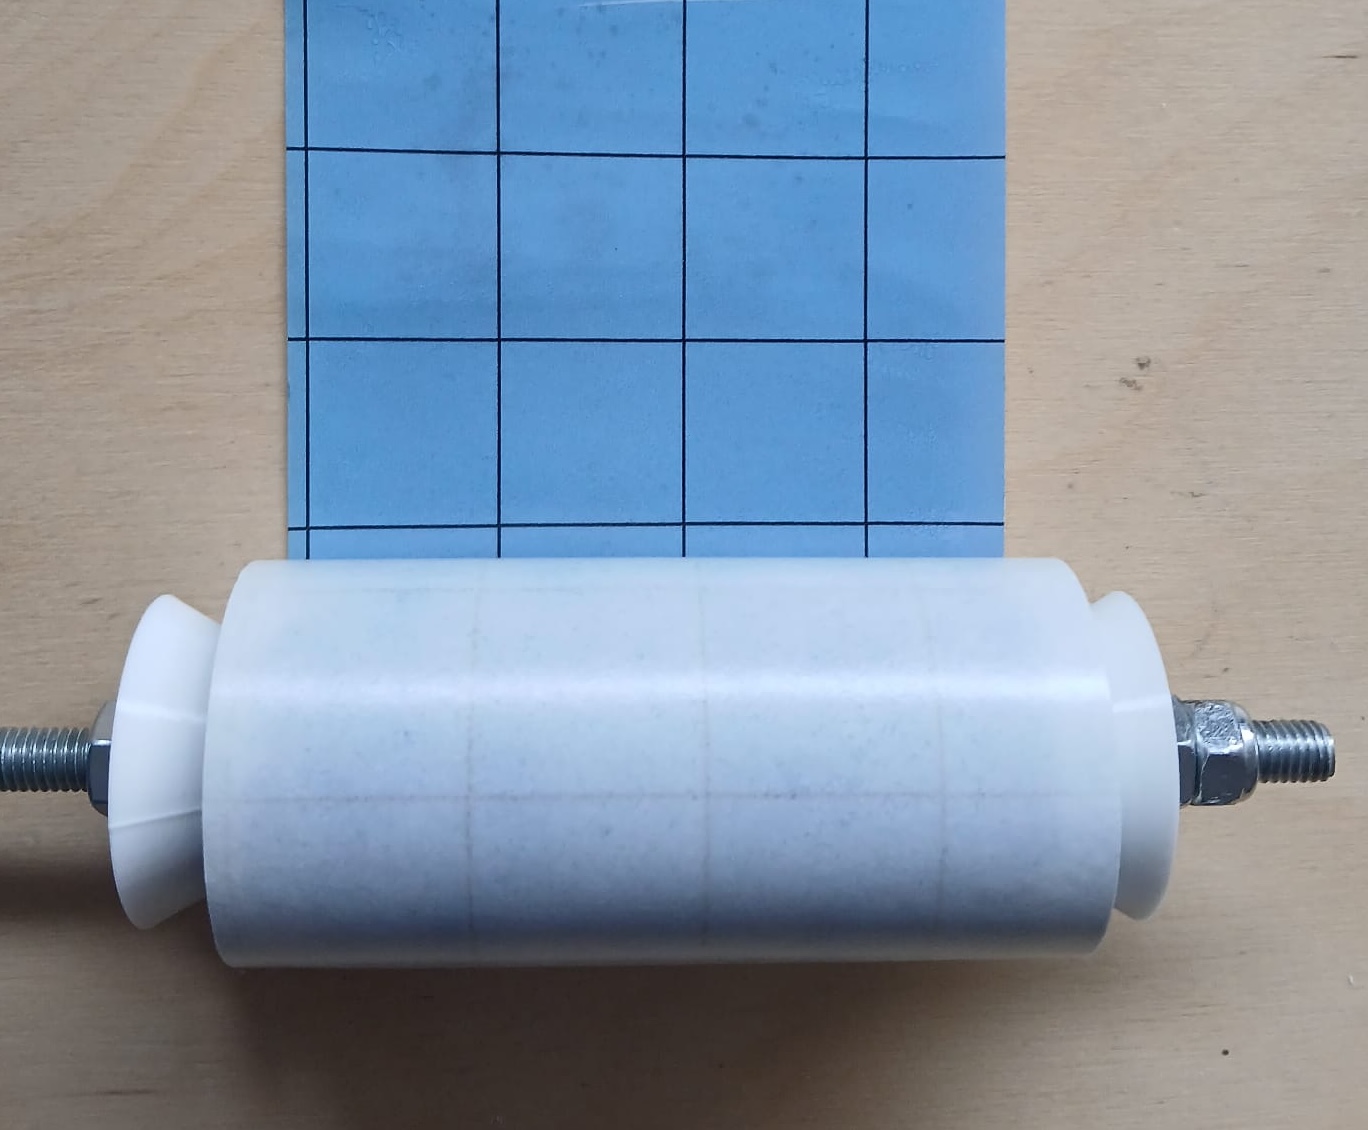
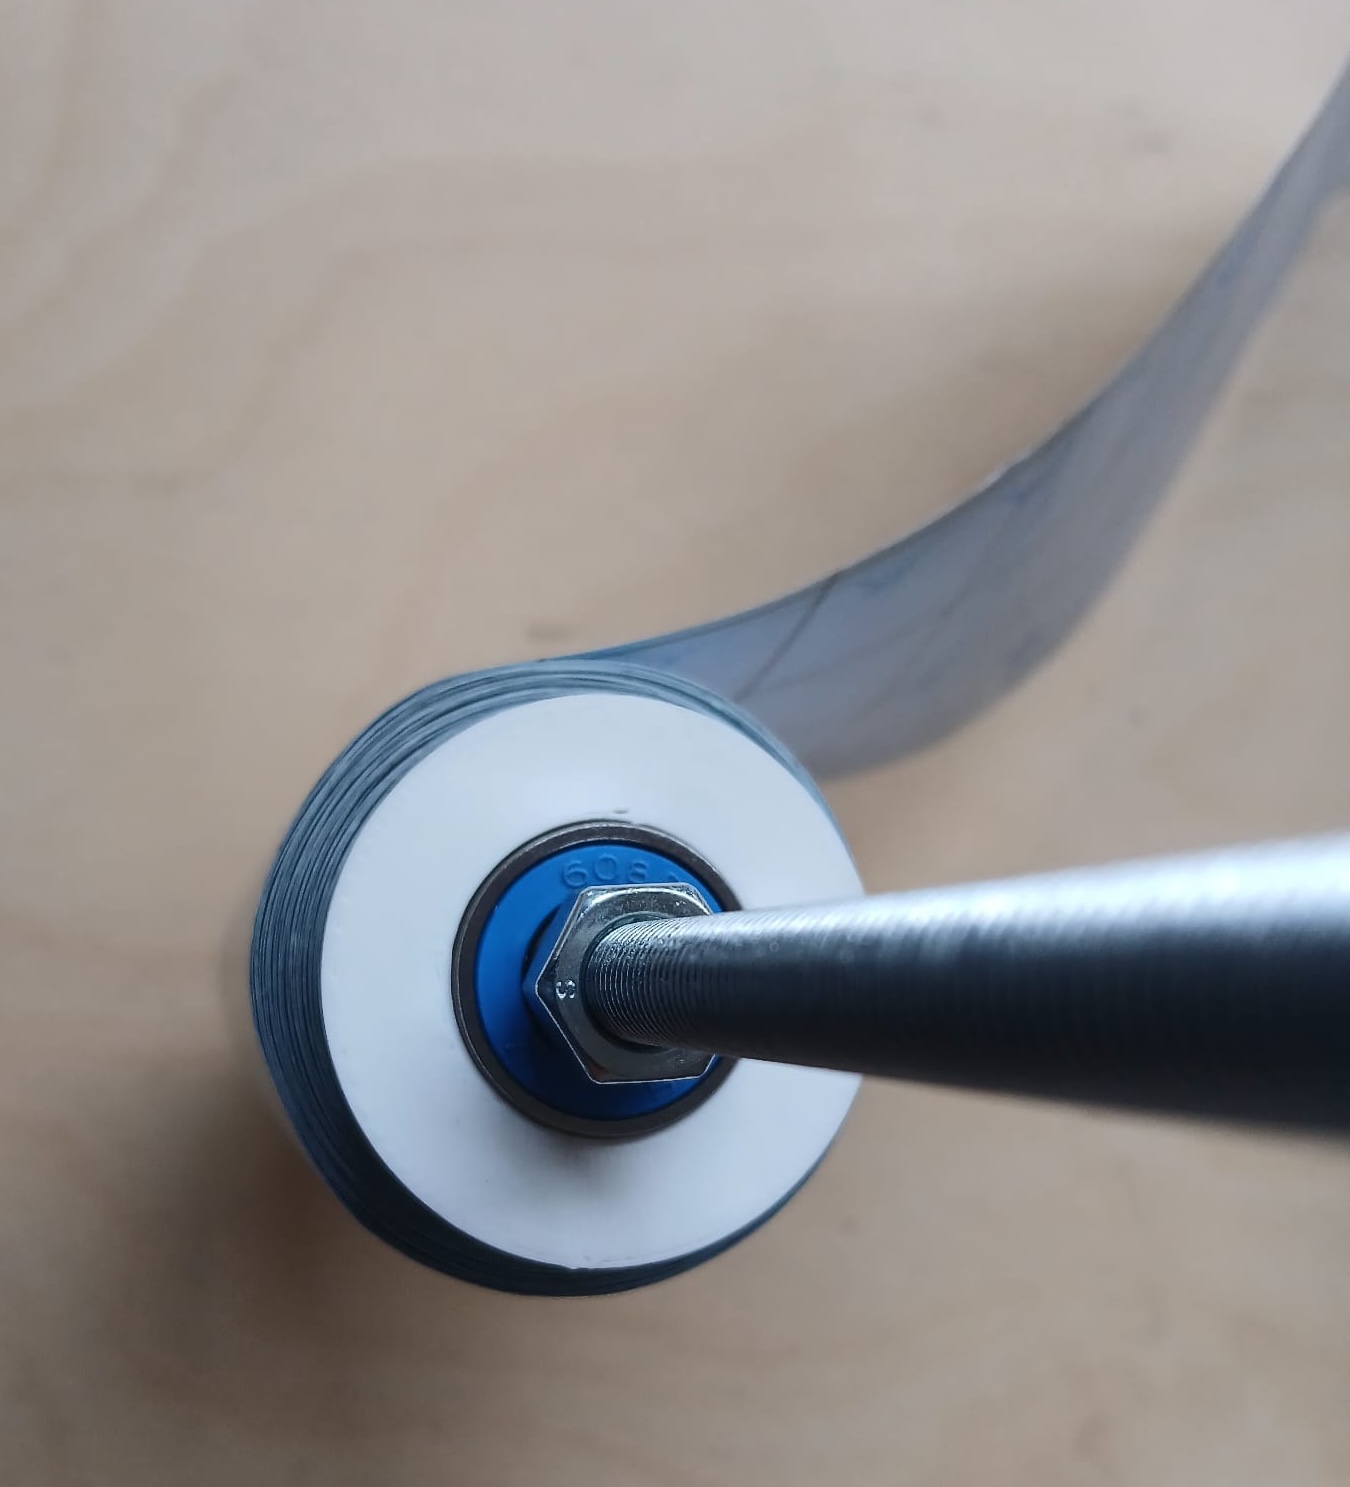
And here you can see how they look like holding the roll of sticky tape.
Below you can find a link to the final project development page for this week: link
Final reflections
- This was a fun busy week we learned a lot about additive manufacturing.
- It was evident that for organic shapes a resin printer might be better at hiding layer lines. Also is an interesting tool for detailed objects as it can achieve fine resolutions.
- It was very interesting to test some of the limitation of our printers, at very extreme angles you can see some defects. However with the help of supports one can overcome this production challenges. However, one has to be thoughtful with the support quantities added as it might be hard to remove them and might leave marks on the produced piece.
- As in the cutting week if working it assembling an object from multiple pieces it is important to do some negative tolerances test to confirm that pieces will interlock.
- Scanning also has its limitation as how light can penetrate different parts of an object.
Have you…?
- Linked to the group assignment page
- Explained what you learned from testing the 3D printers
- Documented how you designed and 3D printed your object and explained why it could not be easily made subtractively
- Documented how you scanned an object
- Included your original design files for 3D printing
- Included your hero shots
