Molding and Casting
This weeks individual assignment:
- design a mold around the process you'll be using
- produce it with a smooth surface finish that does not show the production process toolpath
- use it to cast parts
This weeks learnings:
This week I learned that you should always double-check whether the necessary materials are in stock. I also learned that I never want to sand and fill a 3D print eight times again to get a smooth surface finish and that there must be smarter ways than this.
ideation and design
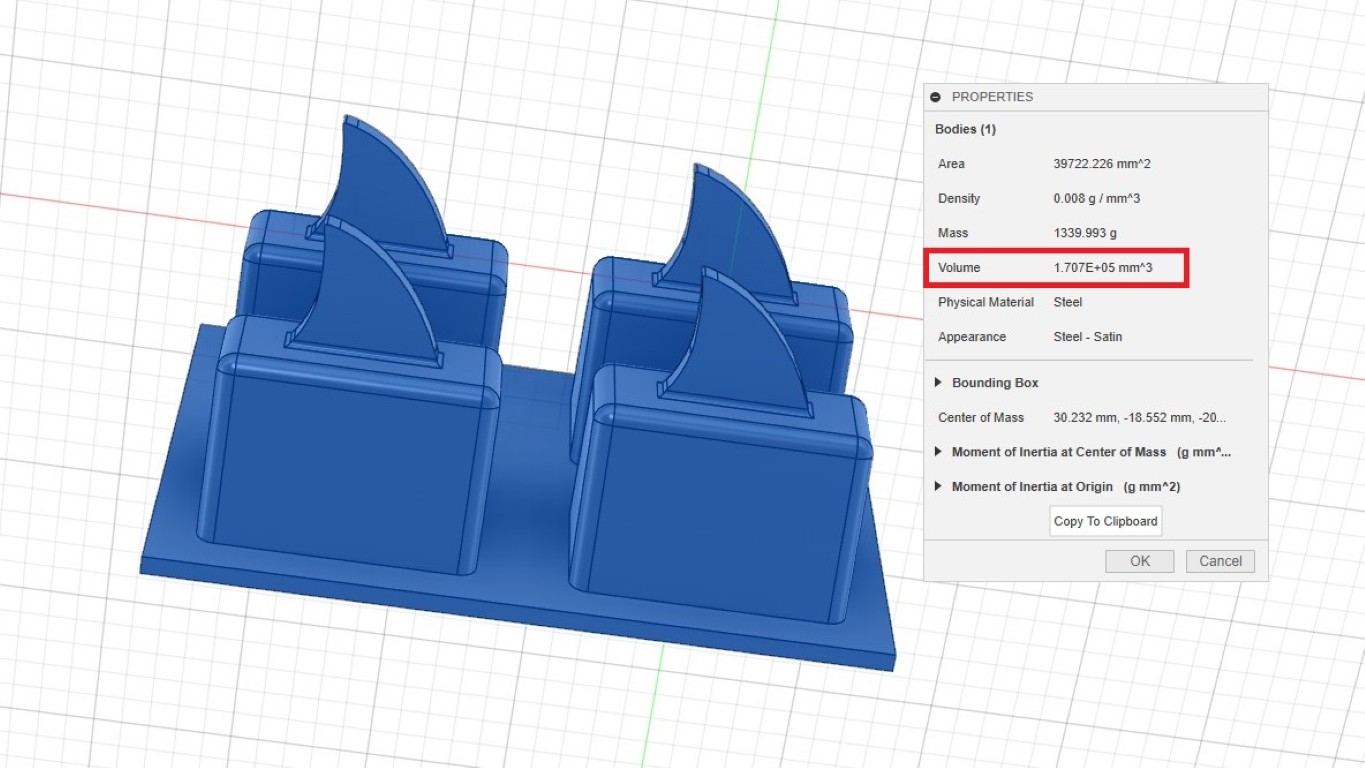
As always: The idea comes first. Things get complicated when things get complicated at this point. Since we're already preparing for the graduation ceremony, and the weather in Germany is already inviting us to cool drinks (I'm not lying), I thought the best way to create an ice cube tray would be to use it. Water has the pleasant side effect of being largely safe to handle, depending on the amount, of course. To offer something as silly as possible to keep up with my recent weeks, I thought you could scare people by pretending there's a shark swimming in their glass. As should be common knowledge from various films, you use the silhouette of a fin gliding through the water. That's exactly what I do.For this, I downloaded a suitable silhouette of a shark fin as an .svg file and then imported it into Fusion360. I extruded it and added a larger body at the bottom, tapering it to create a larger mass at the bottom. I hope this will allow the shark fin to sit in the drink in a way that will create a sense of fear and terror.
Here is a quick video of my design:
3d-printing and finishing
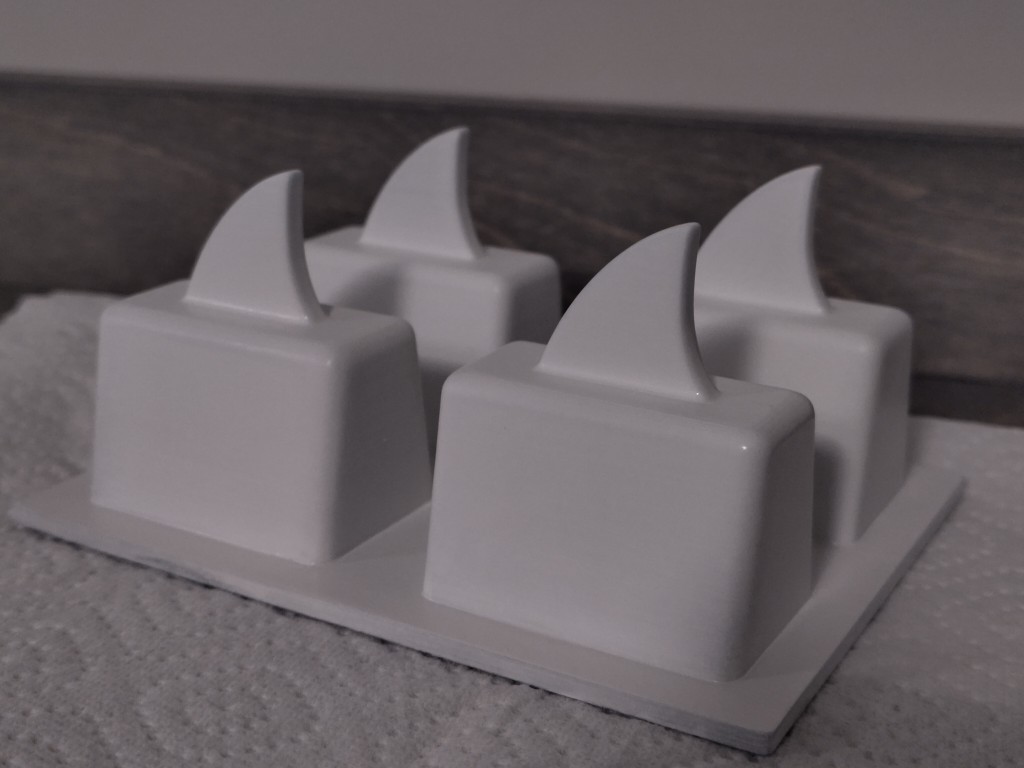
Then I 3D printed the model using FDM. If I'd been smart at this point, I would have fine-tuned the print settings. That wasn't the case. I very carelessly printed with a 0.2 mm layer thickness, which I regretted during post-processing. Don't be like me; print with a 0.1 mm layer thickness if you're planning something similar. Honestly.My printed result looked like this:
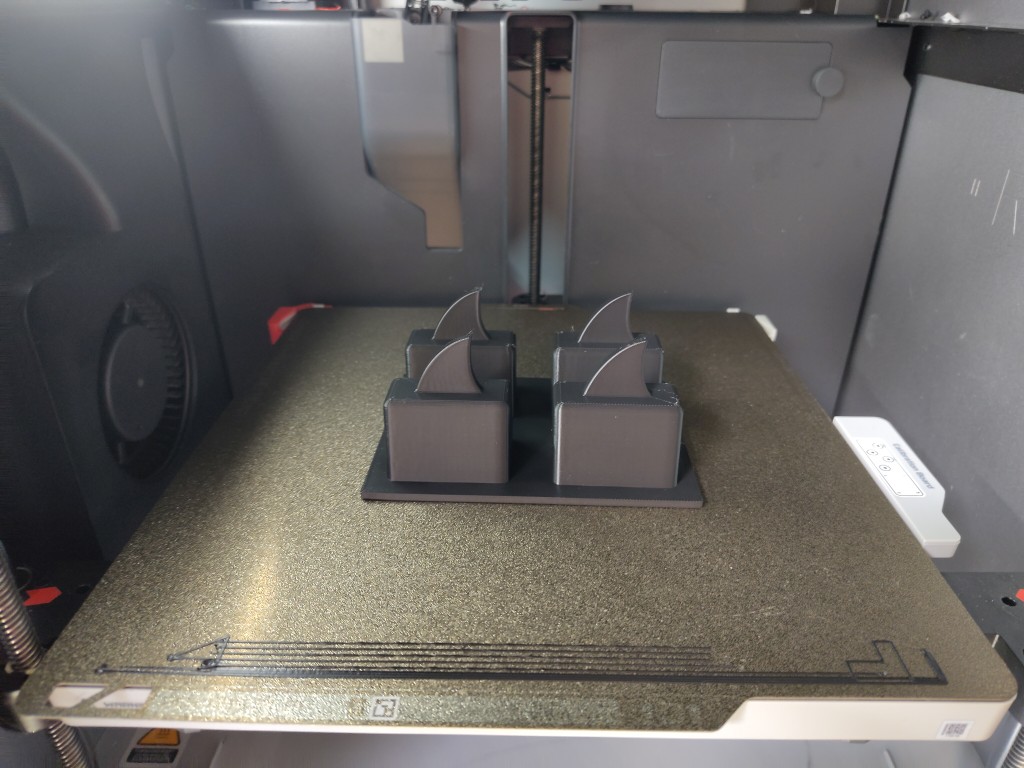
1 / 4
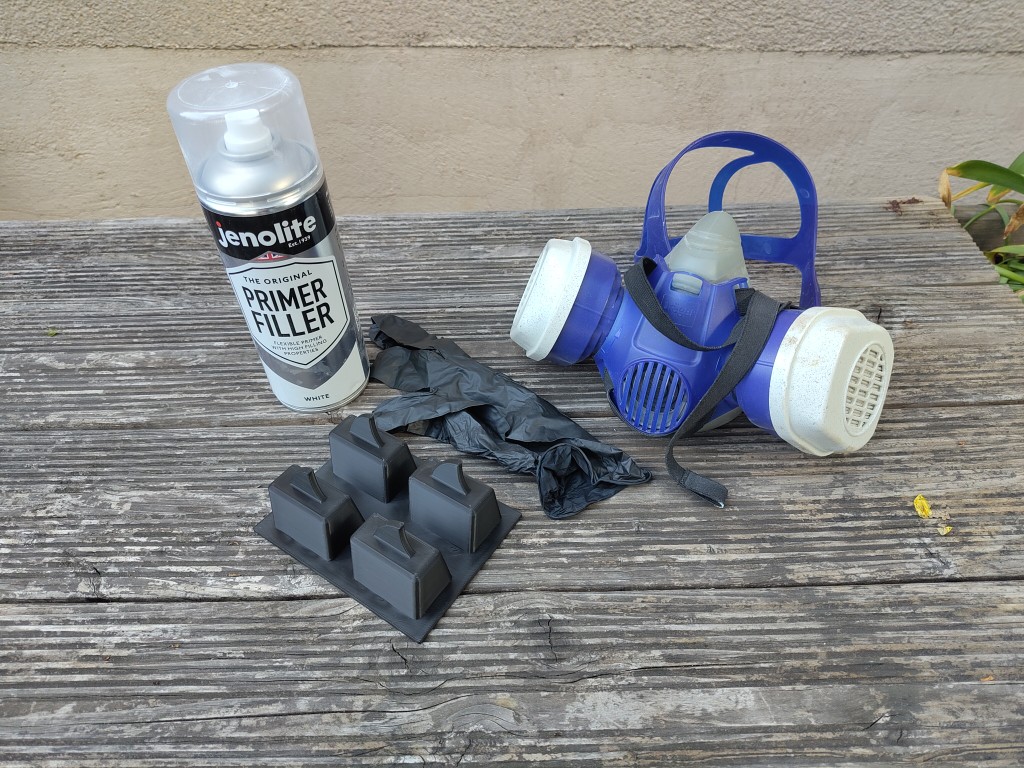
material and protective equipment for finishing
2 / 4
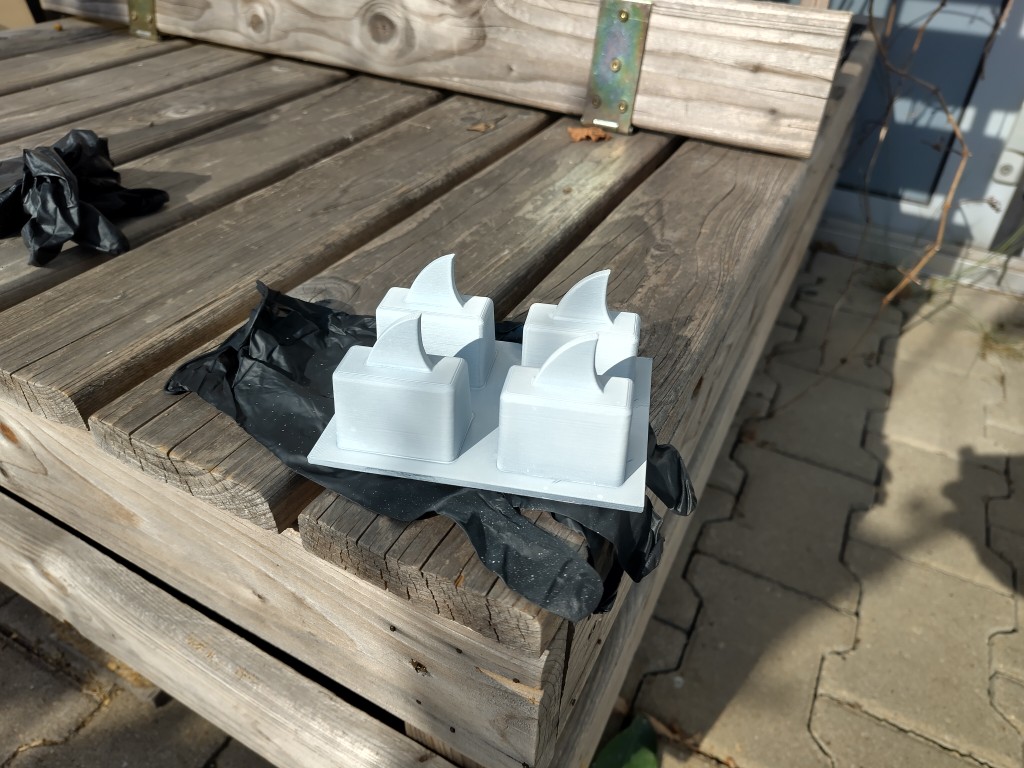
the first layer of filler
3 / 4
the result after six times filling and sanding, still a little moist
4 / 4
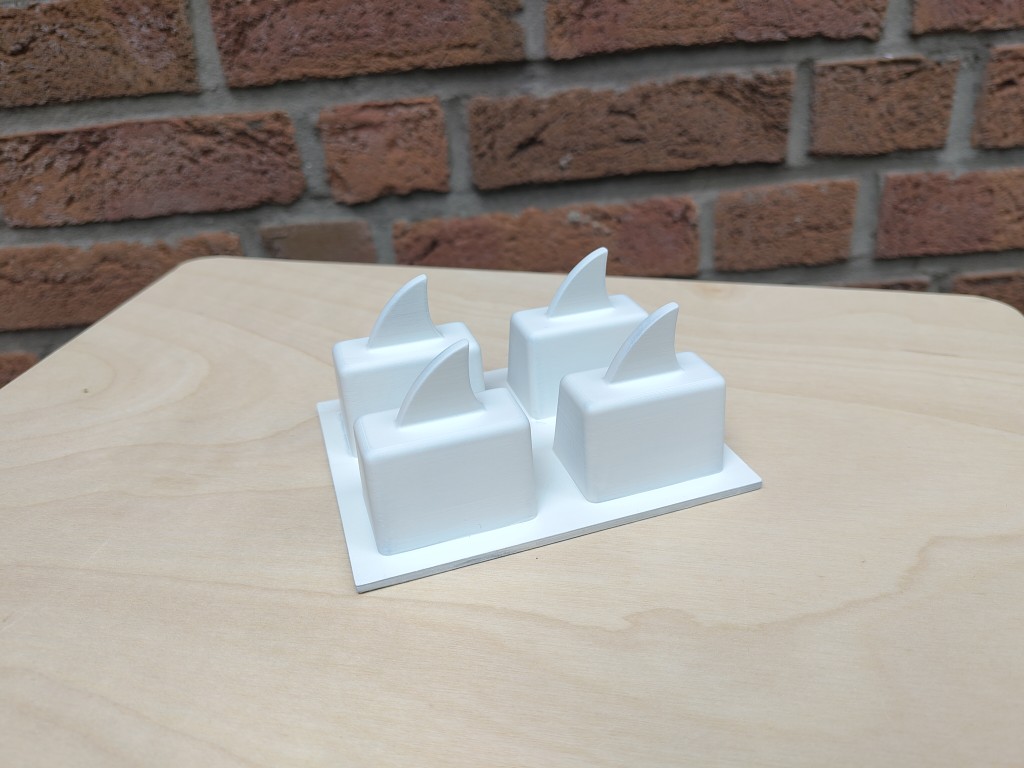
the final result after a total of eight rounds
mold making
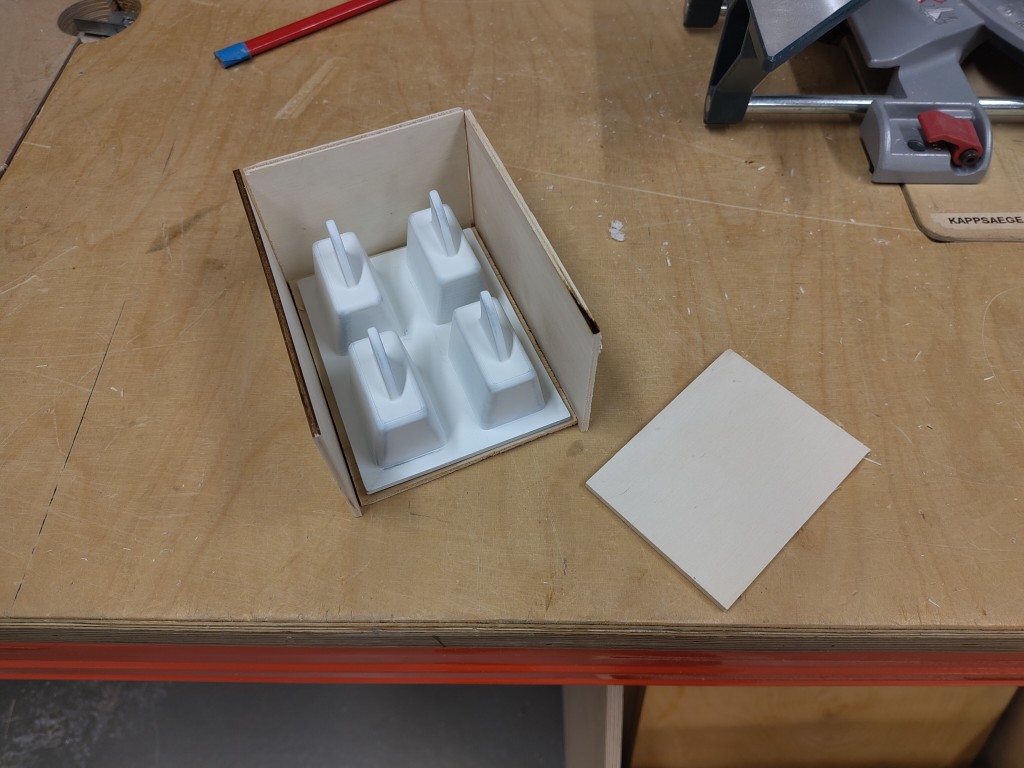
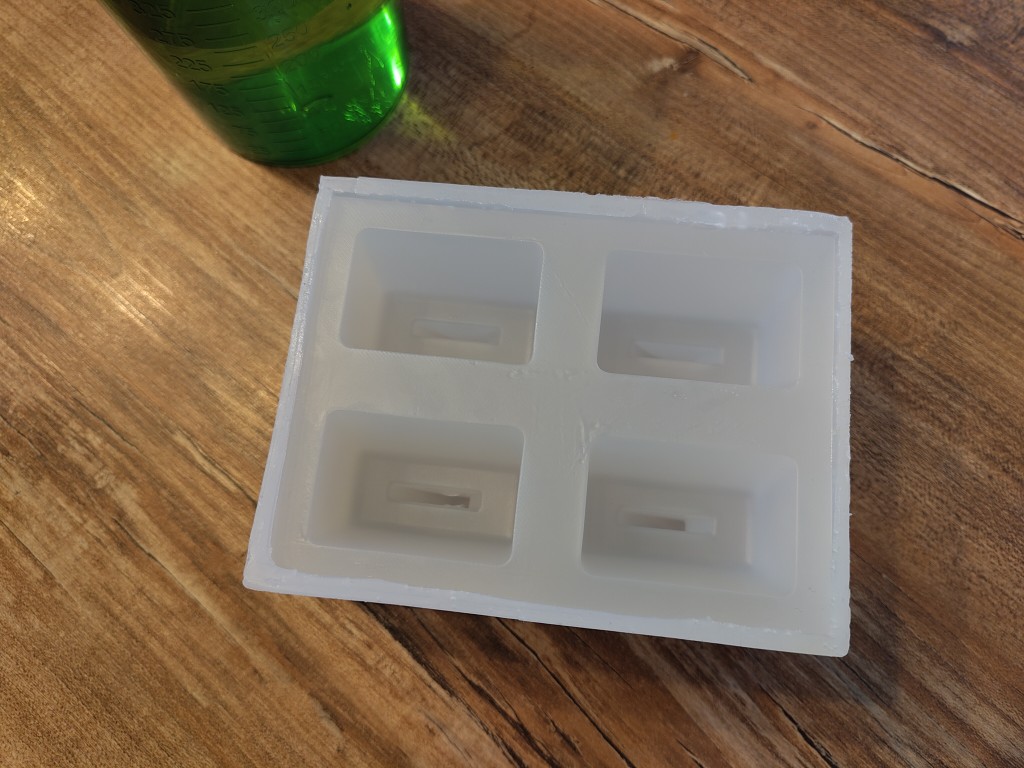
For the mold-making process, or rather, the casting of my negative mold from food-safe silicone, I quickly assembled a small box from scrap wood and wood waste from the FabLab. It fits the dimensions I need to safely and comfortably house my shark pack. After sealing the corners, I filled the mold with silicone and let it cure according to the data sheet. The process can be followed in the following slideshow.1 / 9
sawn leftover wood
2 / 9
my box
3 / 9
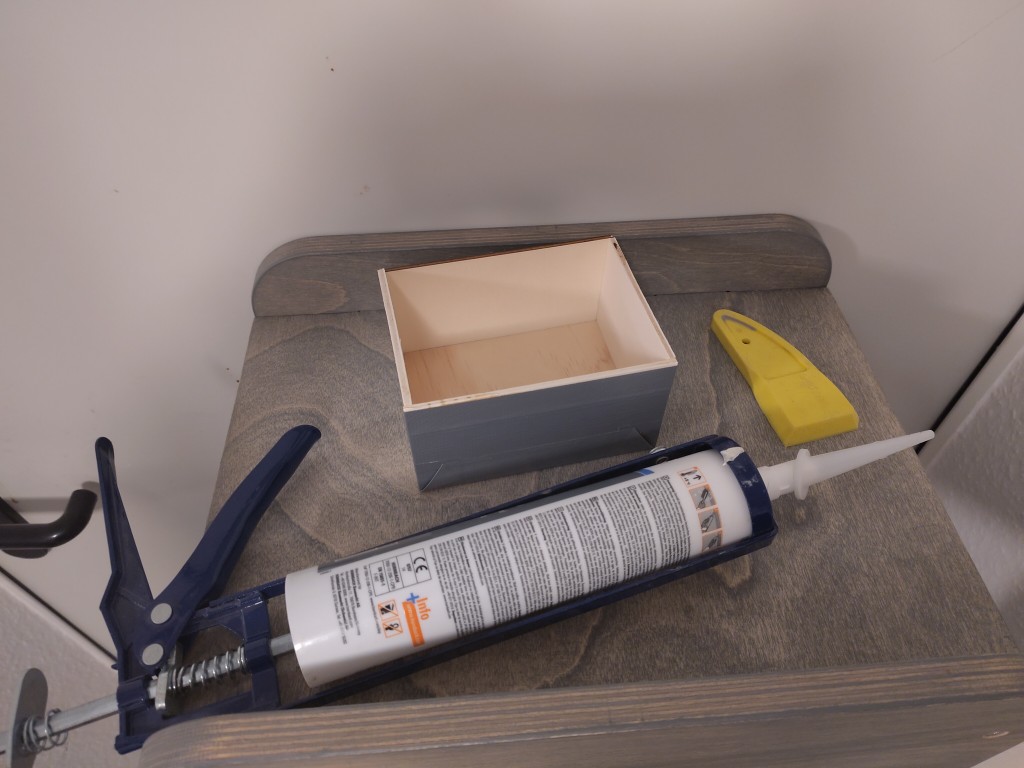
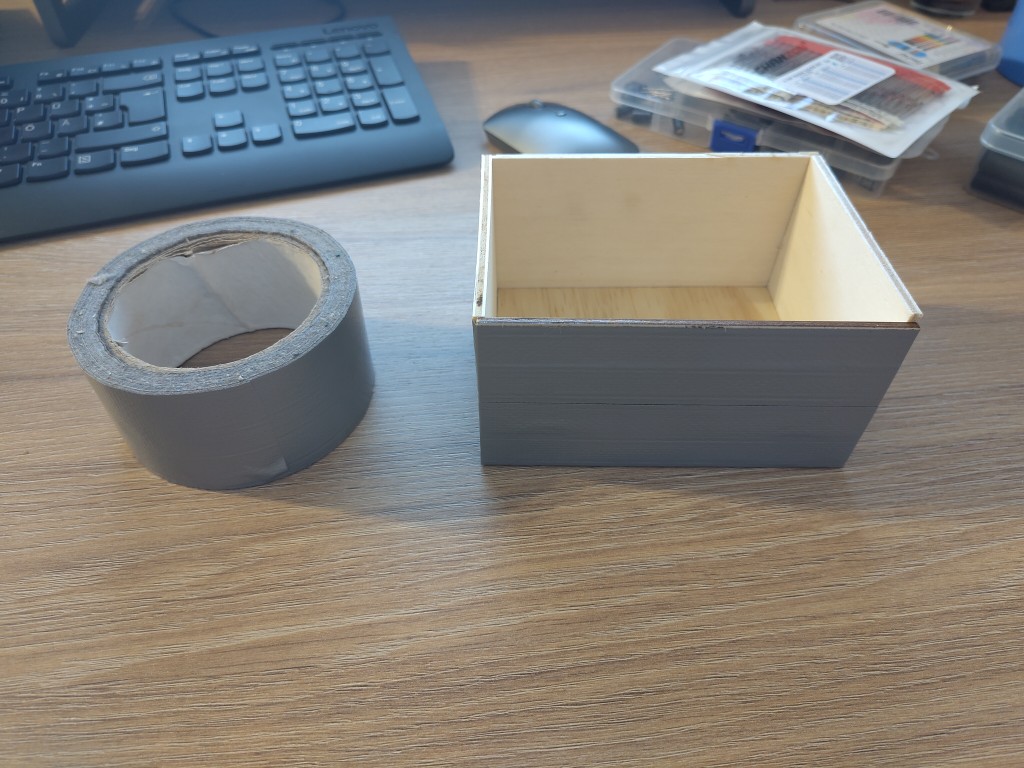
sealing the corners with acrylic
4 / 9

the box with sealed corners
5 / 9
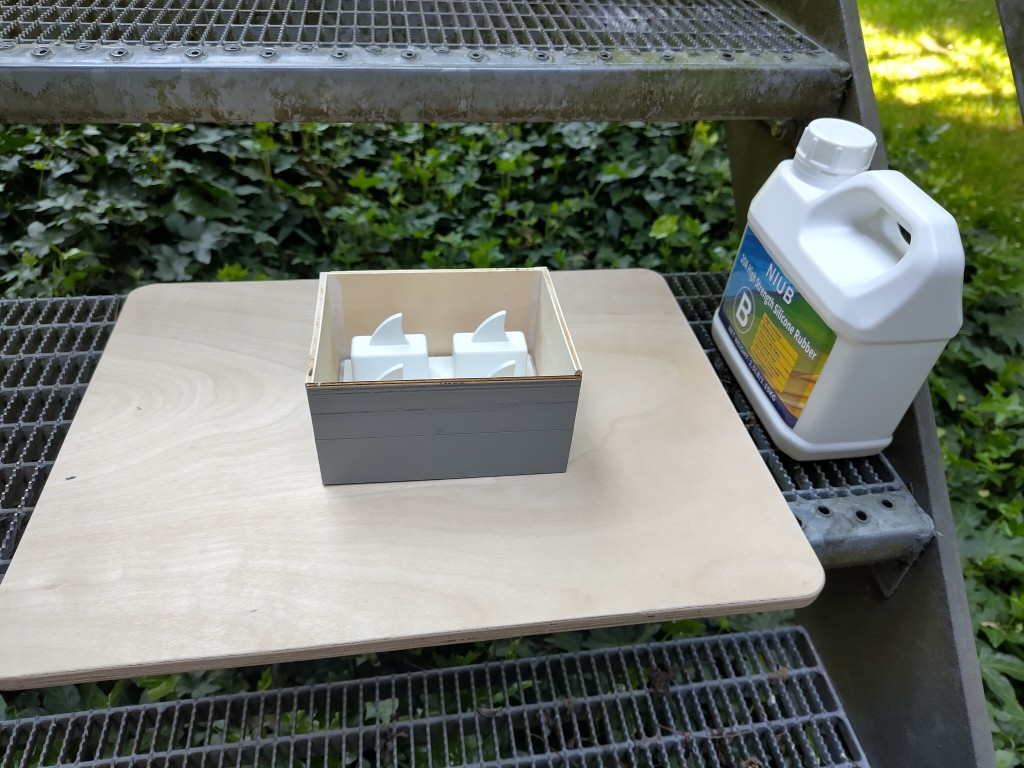
with inserted positive part
6 / 9
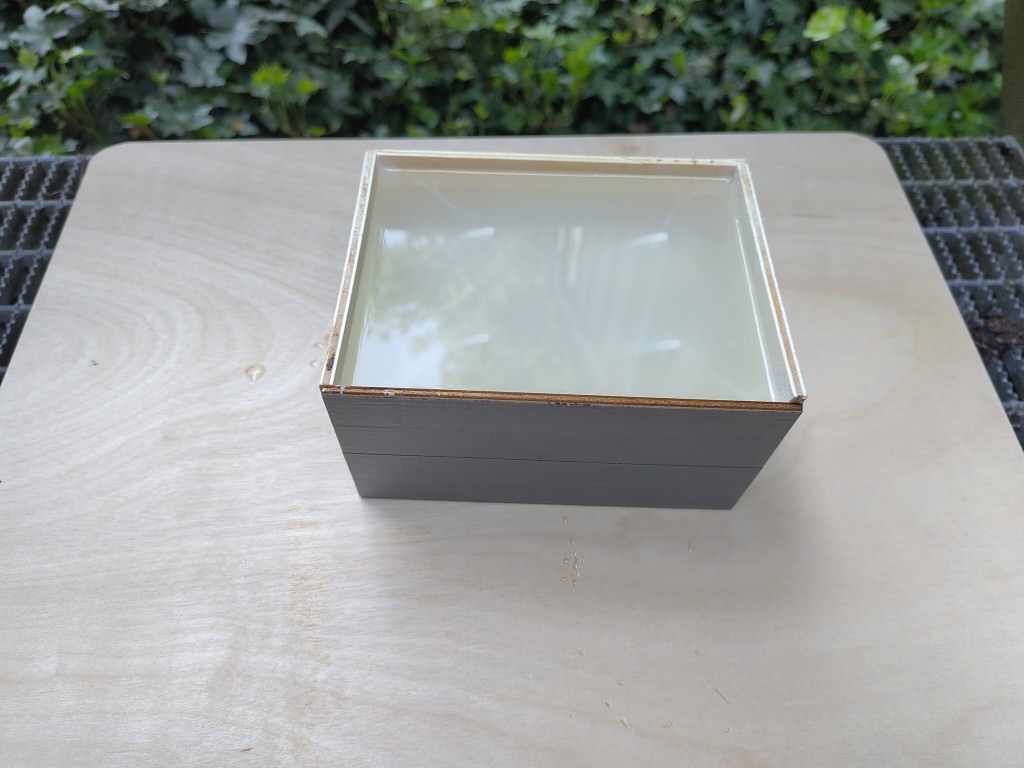
after casting the silicone
7 / 9
the result after a few hours
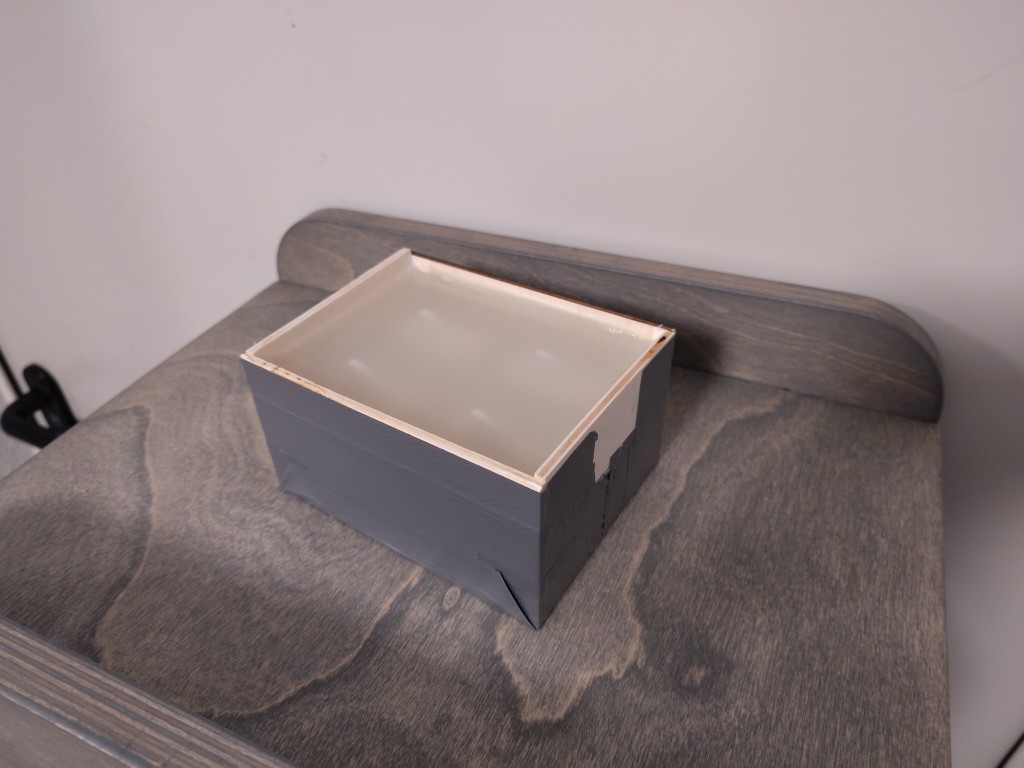
8 / 9

after removing the gaffer tape
9 / 9
after removing the wooden box
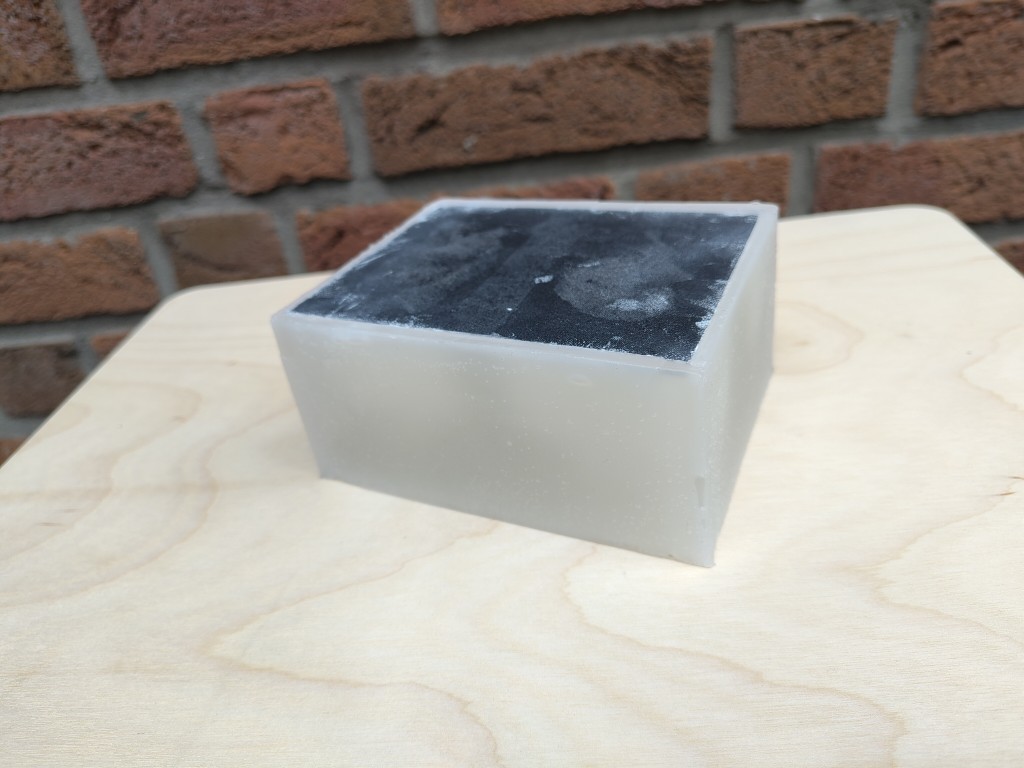
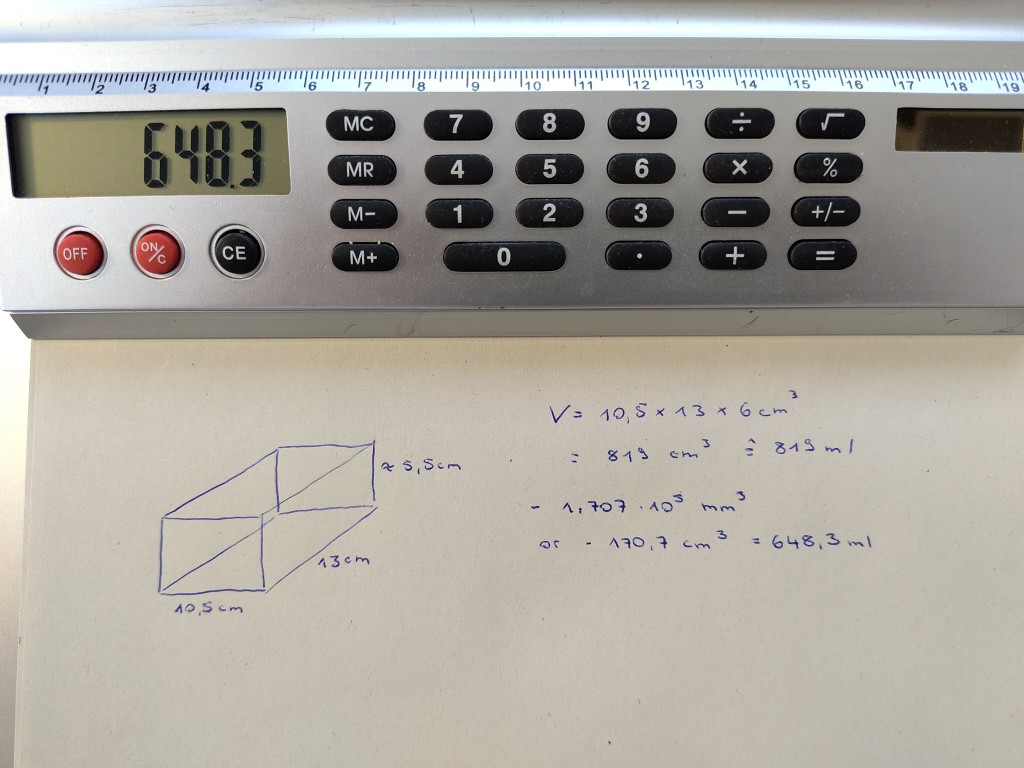
Maybe worth a note: I calculated the silicone required to avoid unnecessary waste. The volume of the mold is quickly calculated (just be careful about the actual height!) – I got the volume of my positive part from the bodies properties in fusion itself.
The result of the process was this beautiful ice cube tray that I can now call my own.
castings
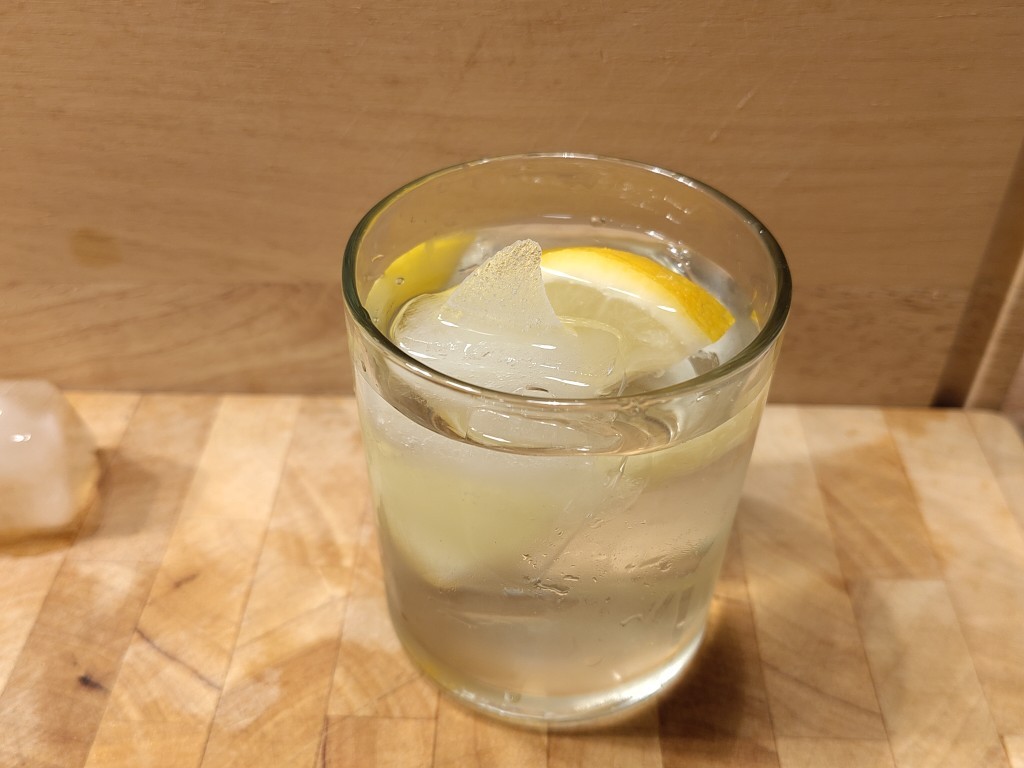
I made my first attempt at casting with water, because, as I said, I'm aiming for ice cubes. To test the material a bit, I then ventured into chocolate. Accordingly, there are now various foods that spread fear, which brings us to this week's hero slide.1 / 6
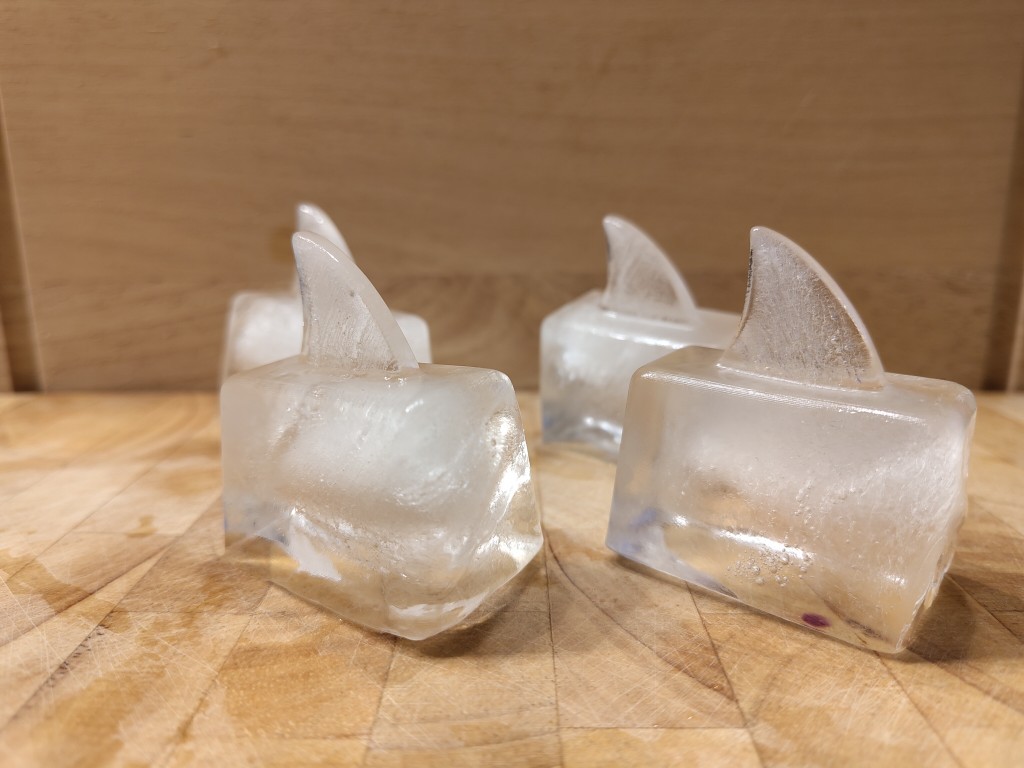
ice cubes
2 / 6
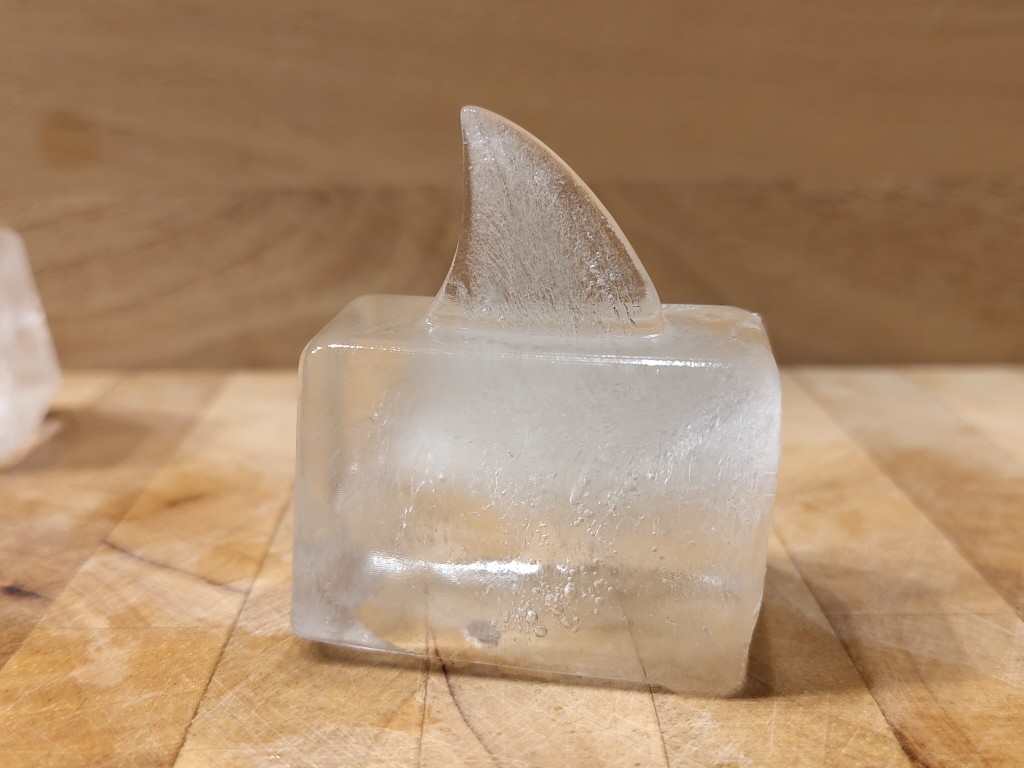
single ice cube
3 / 6
on patrol in the drink
4 / 6
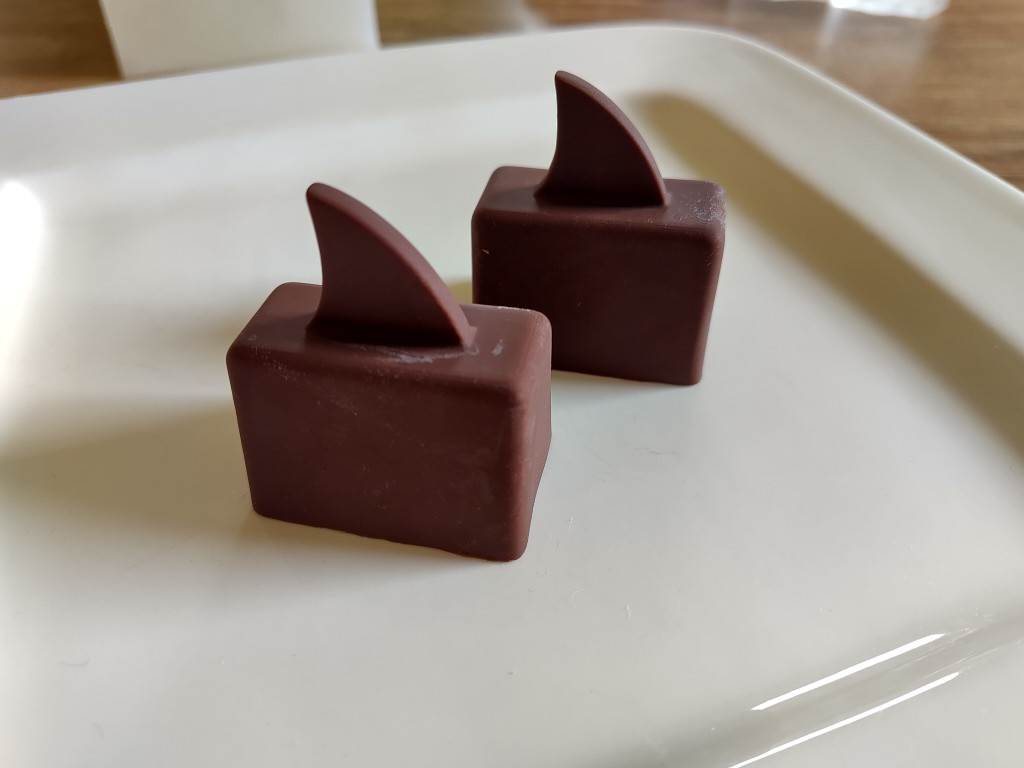
chocolate
5 / 6
well camouflaged on the lookout
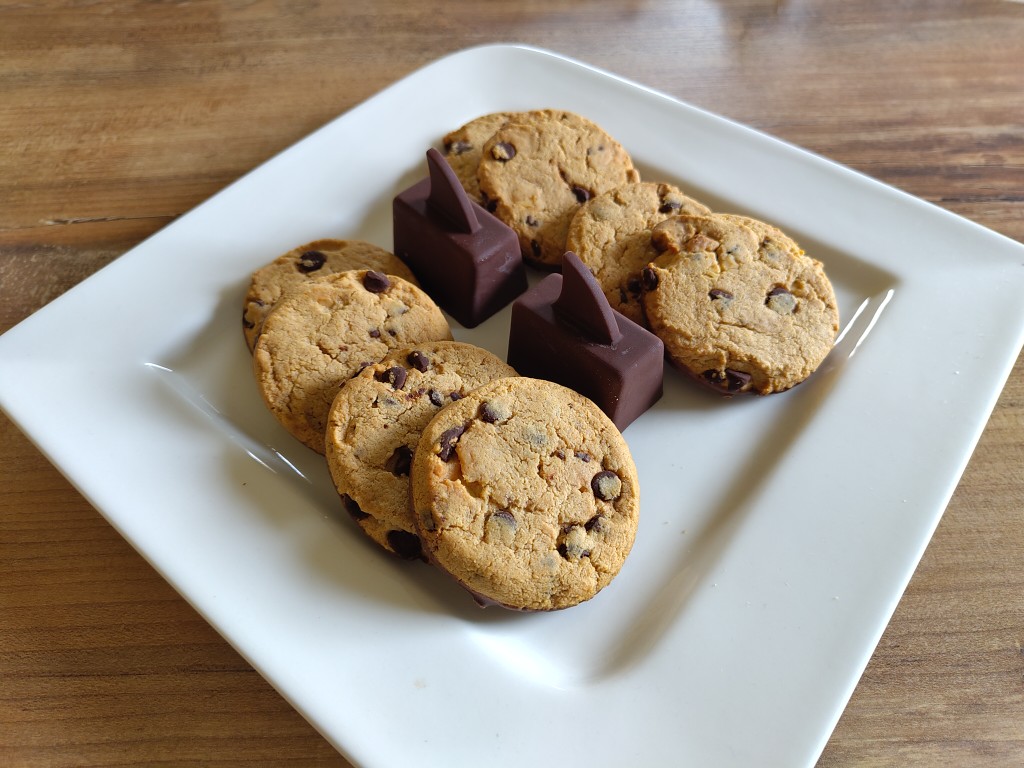
6 / 6

separated in material, united in design
To be honest, my Shark Ice Cube pack is relatively lazy; their preferred position is on their sides. Personally, I find that all too human.