7. Computer controlled machining
This week I am going to take a look at some equipment used in electronics like a power supply, AVO-meter and an Oscillosope and take a look at what is going on. I will aslo design a extension board for Seeed with connections for each pin and some buttons, push and slide. Maybe I will have time to design a case around it.
Group assignment:
- Do your lab´s safety training.
Test runout, alignment, fixturing, speeds, feeds, materials and toolpaths for your machine.
Individual assignment:
- make (design+mill+assemble) something big (~meter-scale)
- extra credit: don't use fasteners or glue
- extra credit: include curved surfaces
Useful links
Group Assignment
The Shopbot is a big and powerful machine and needs to be treated with respect. Regarding safety, it is necessary to wear eye protection as well as ear protection while operating the machine and depending on the material, a mask would be a good idea.
And at NO POINT do you get near the spindle while it is running.
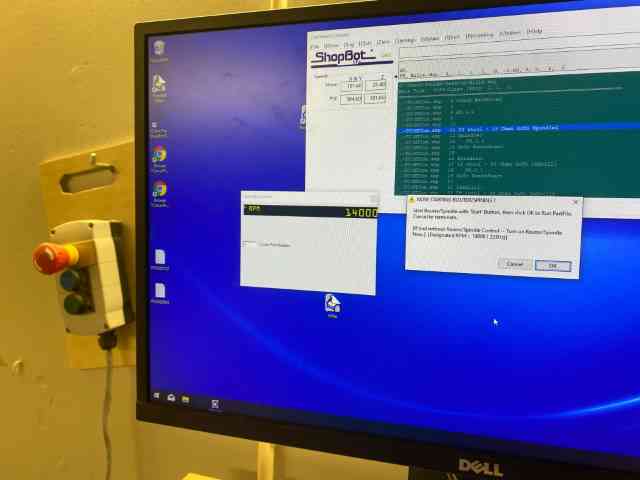
It is important to be aware of the emergency stops. There is one located on the machine itself and portable one at the computer. There is also a possibility to pause the program by hitting space-bar on the computer keyboard.
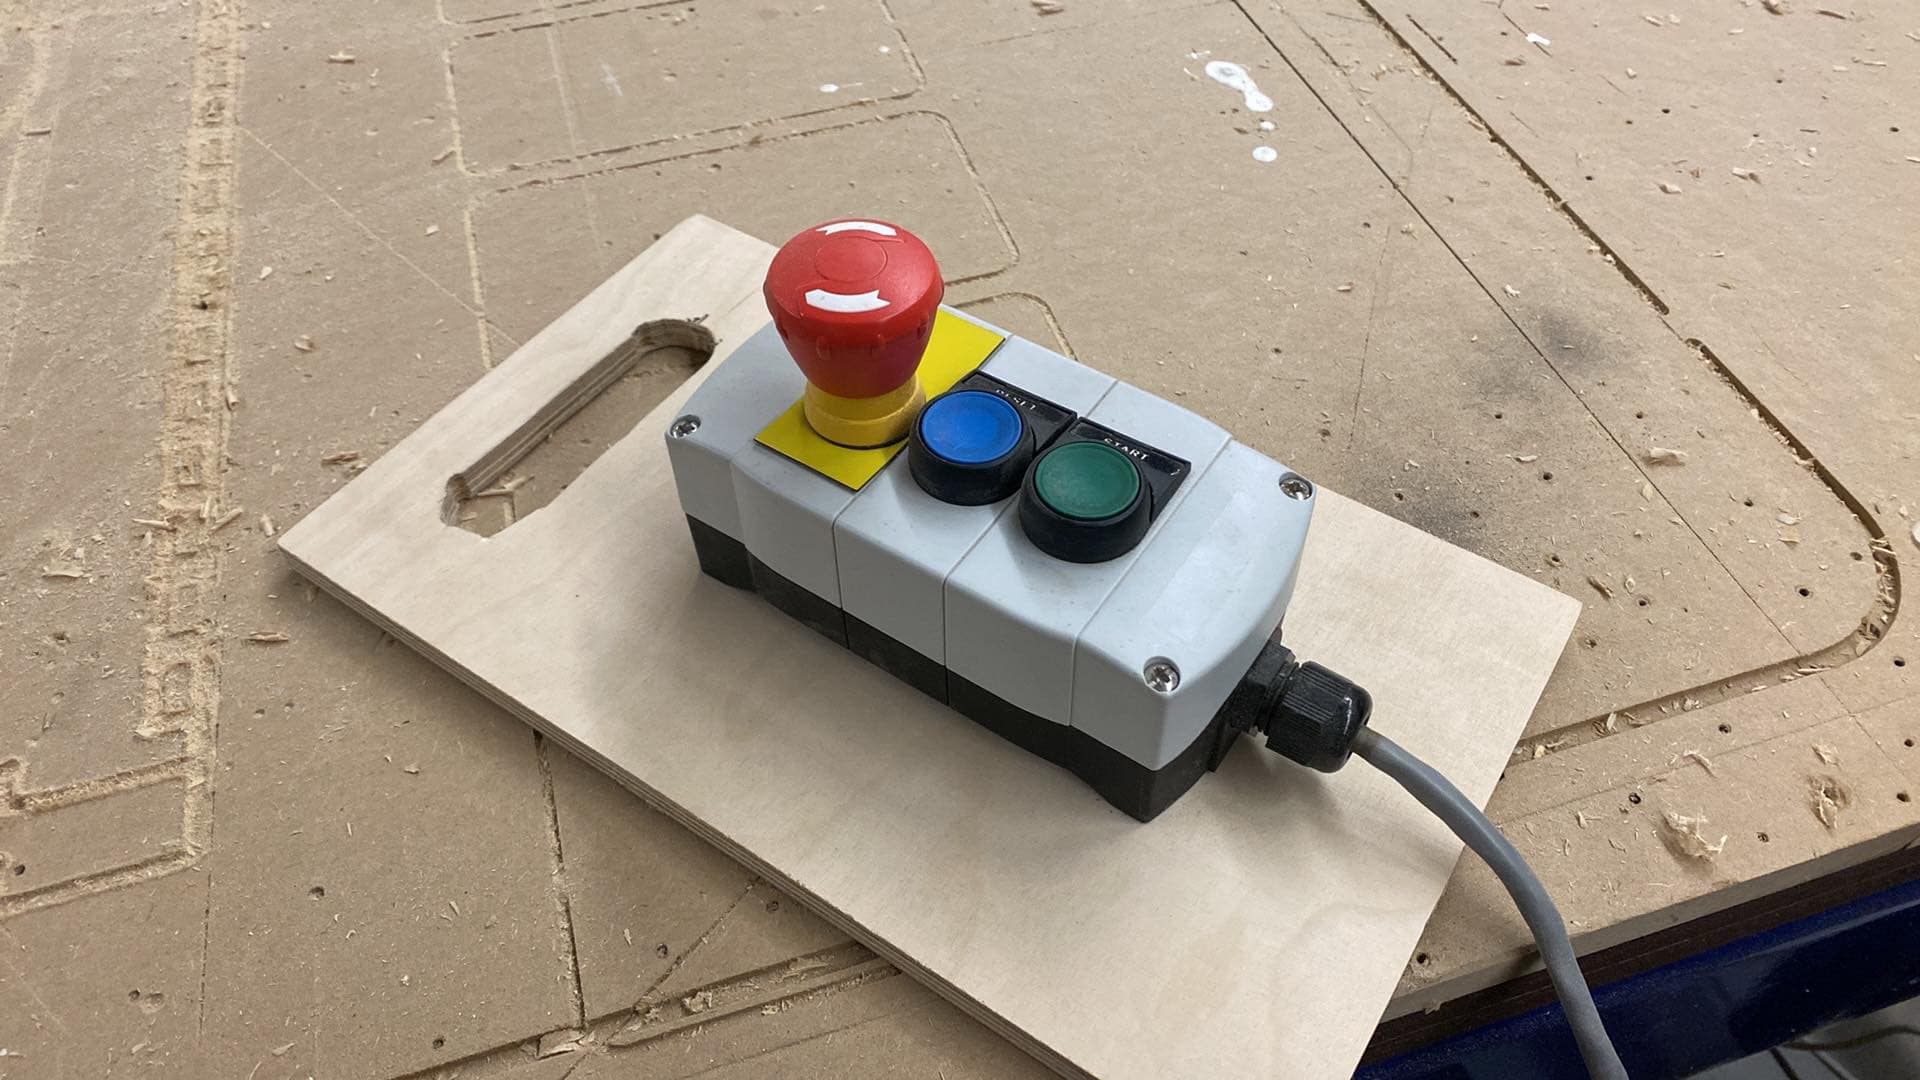
This is the emergency stop located at the control computer, it can be moved so you can have it near you at all times.
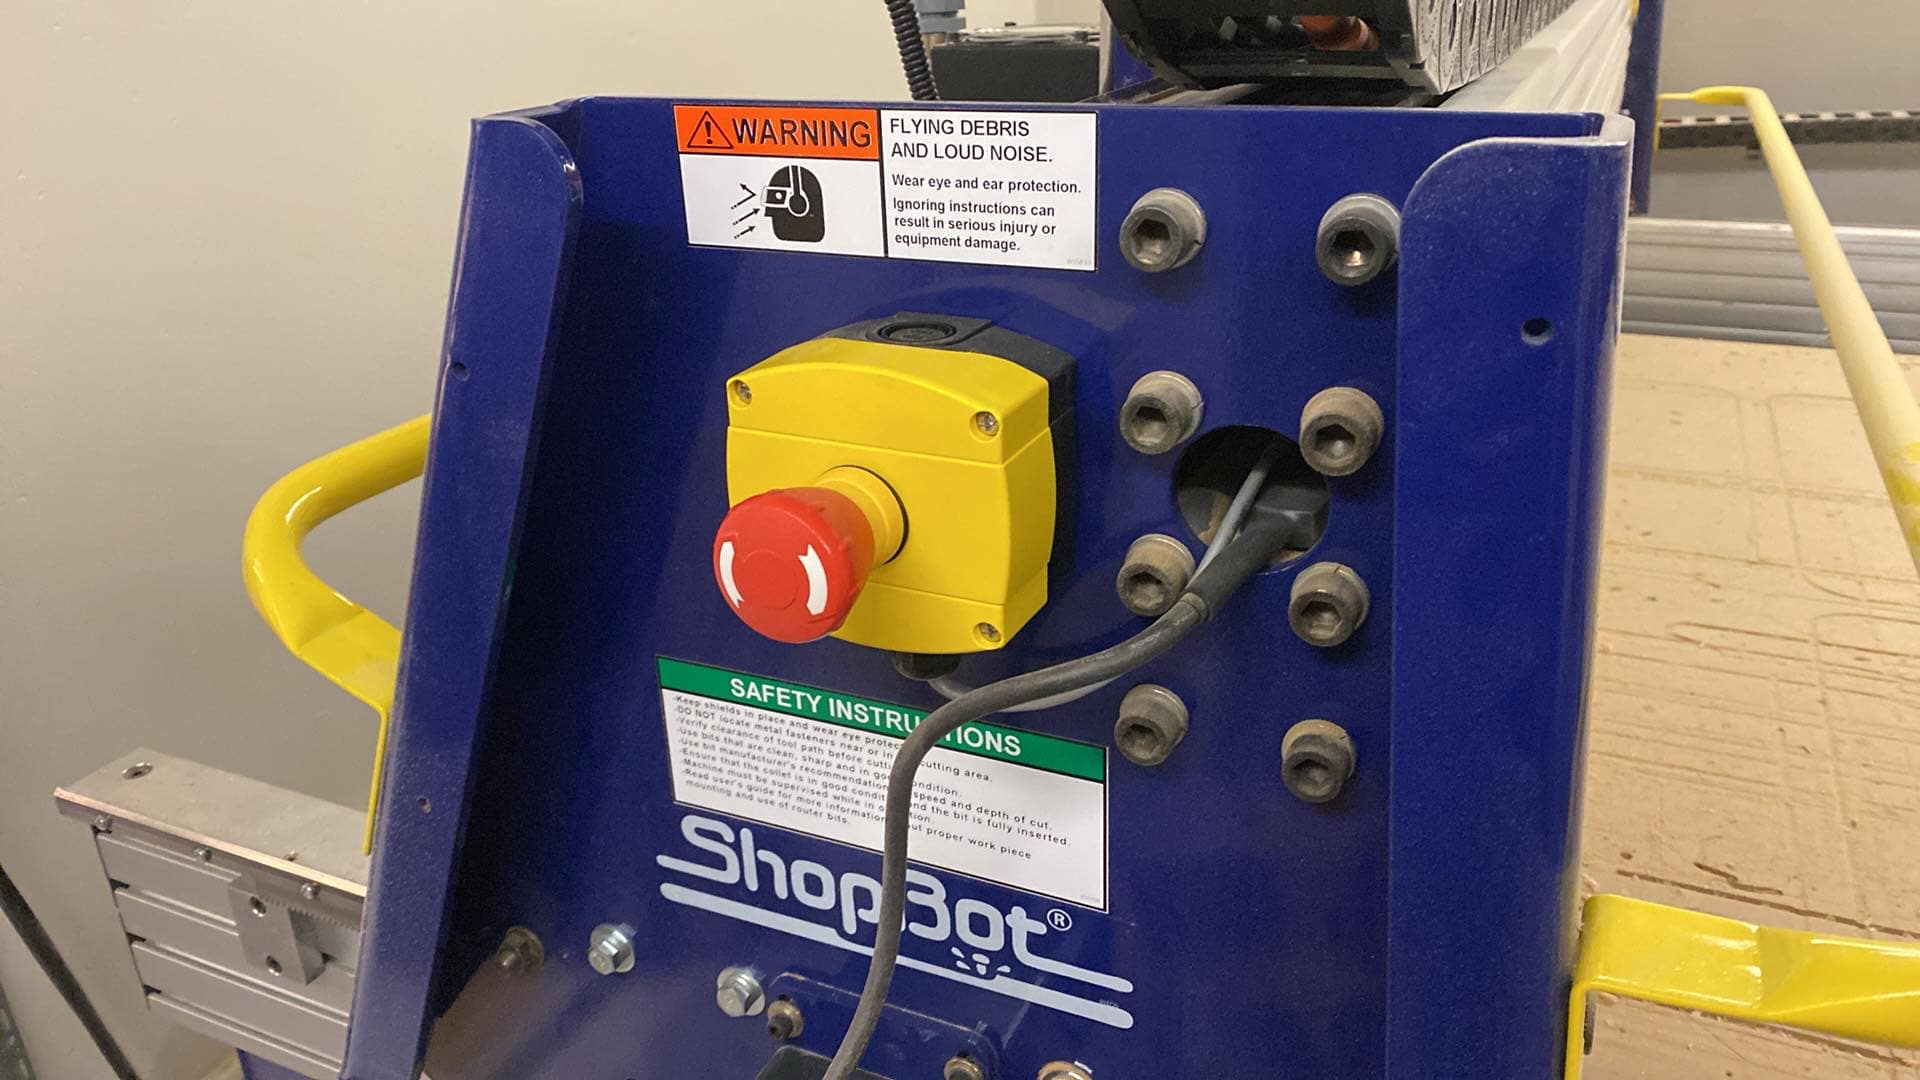
This is the emergency stop located on the machine.
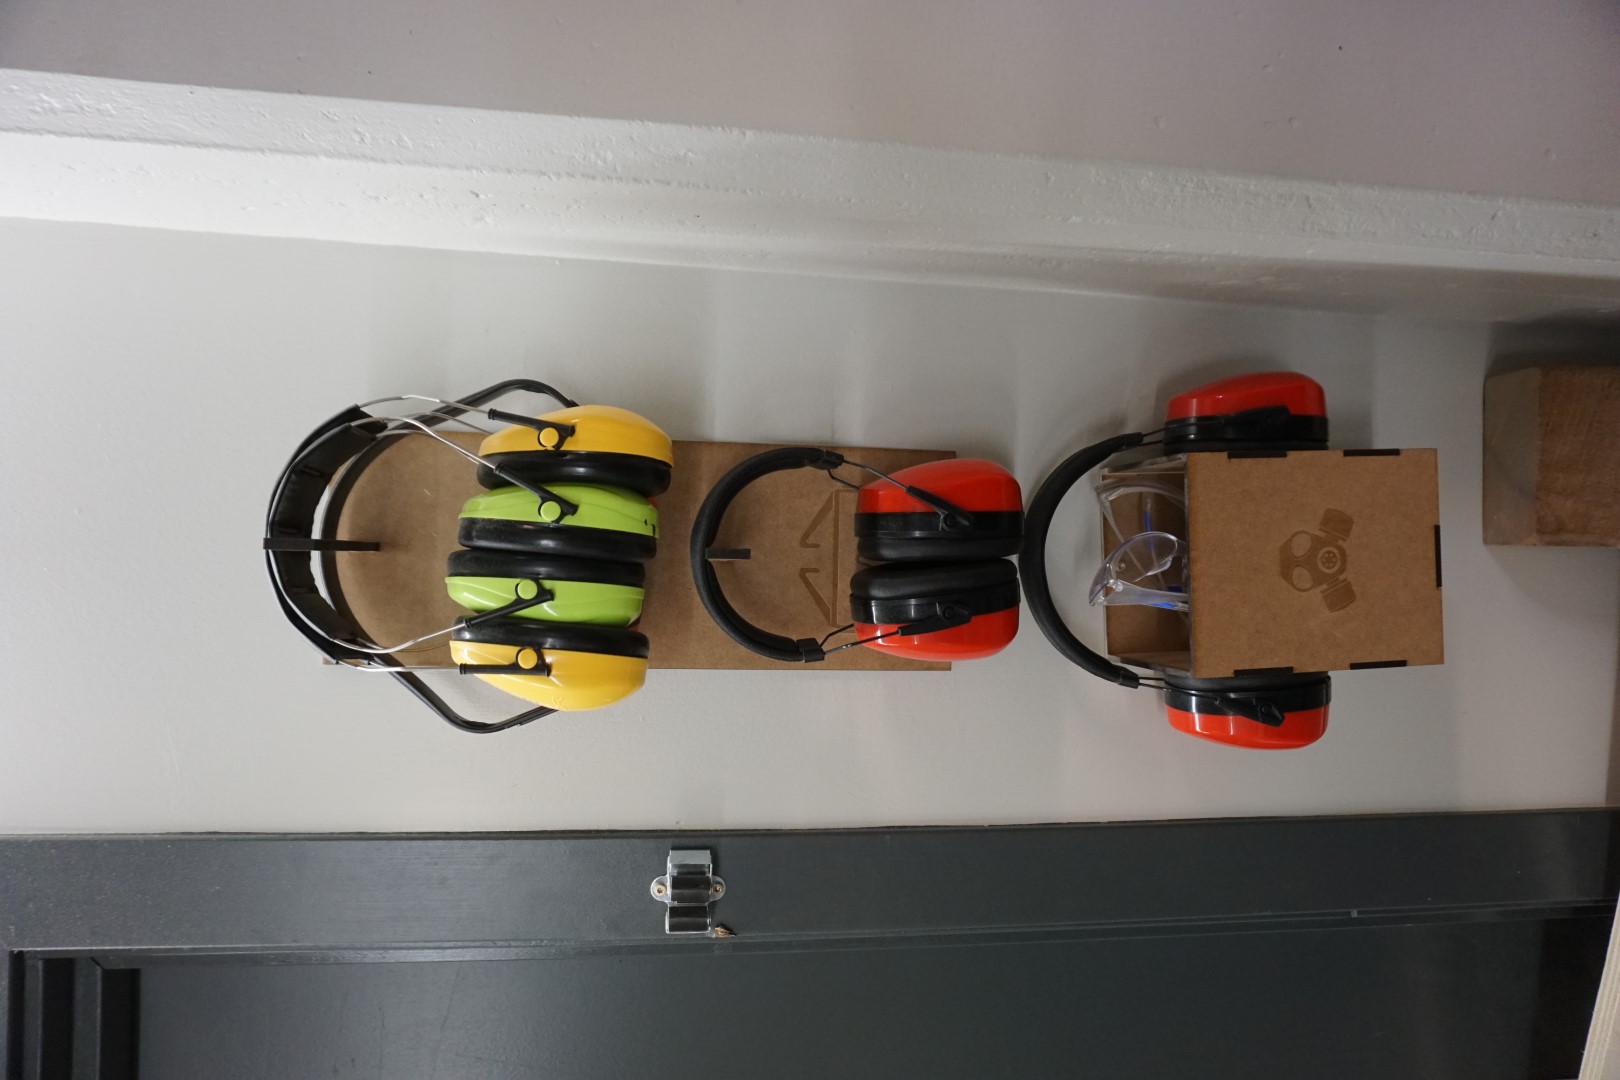
Here we have some Personal Protective Ezuipment. (Picture borrowed from Árni Björnsson)
So I started by doing two little pieces, a square and a circle.
I have done a little work on V-Carve so I decided to use that to draw the two pieces.
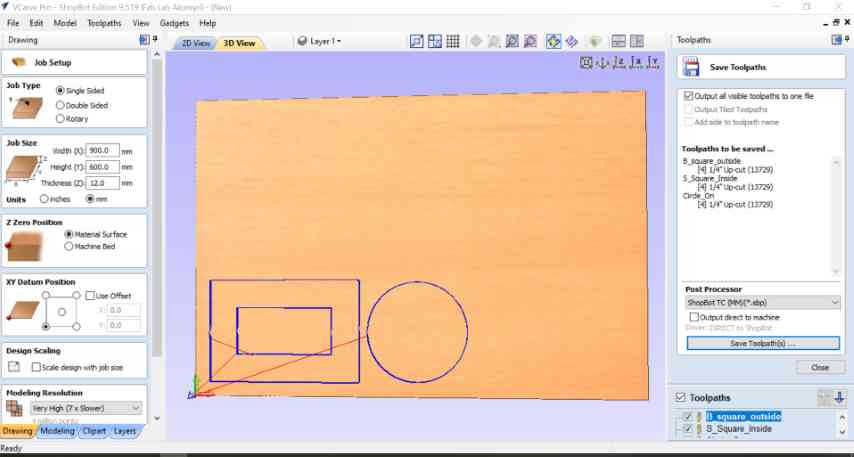
Here are the two pieces.
I started by setting up the job, the size of the piece i found the the thickness of the material.
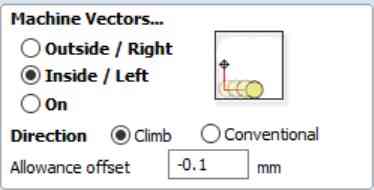
Then I set up the toolpath, the cutting depth, selected the tool and number of passes, the vector inside/outside/on,then I added some tabs to hold the pieces in place and finaly I added ramps to the toolpaths.
When this was finished, I calculated the paths and ran a simulation. Everything looked good so I saved the project to my USB-stick an next stop was the Shopbot.
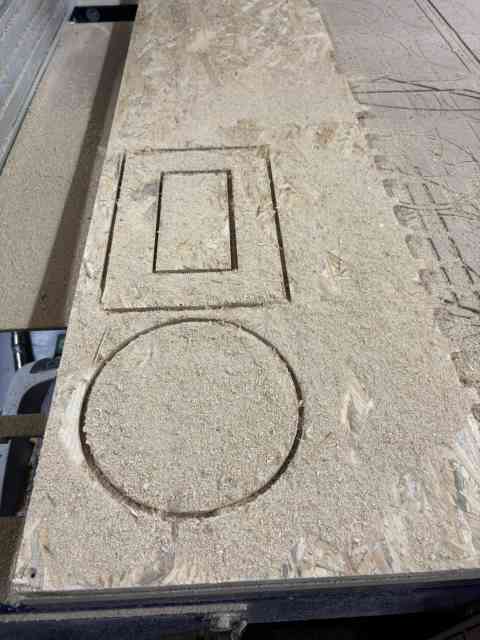
I forgot to take pictures while setting this up, to busy listening to Jón but here it is.
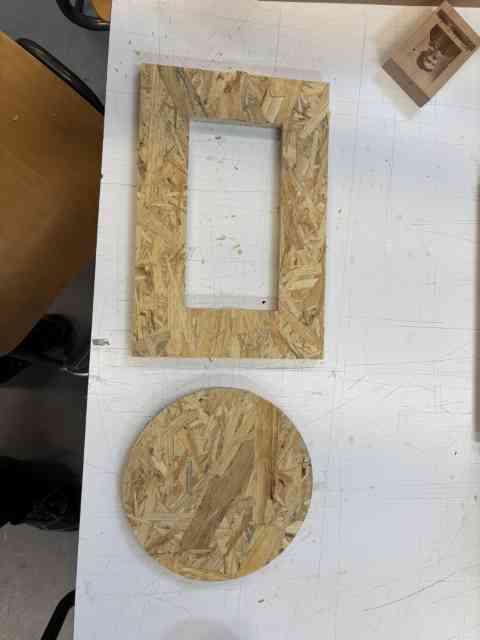
Here they are, all nice and clean and ready to be measured.
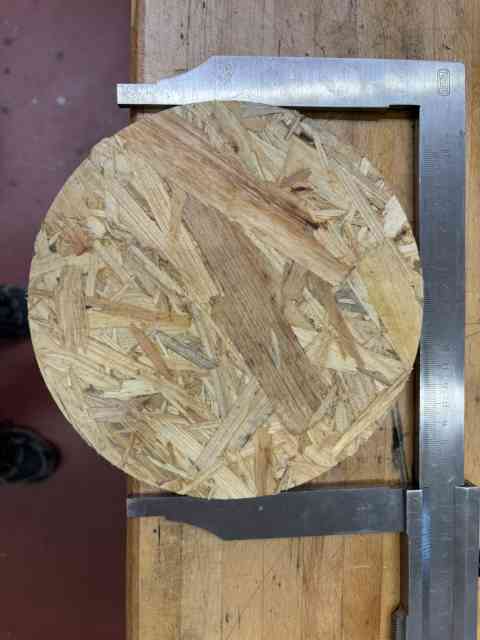
Measuring the circle.
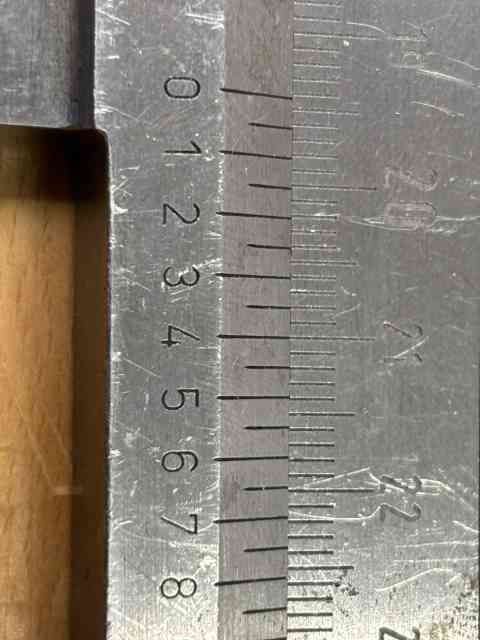
Not quite as good as had hoped for, -0,35mm.

Measuring the big square, 300mm.
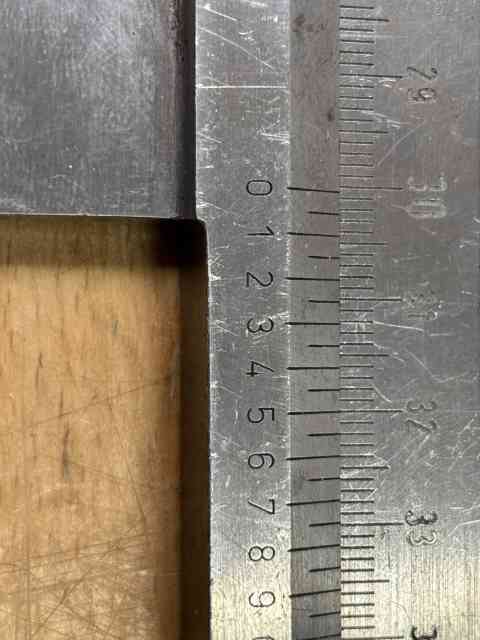
Also not as good as I hoped for, -0,5mm
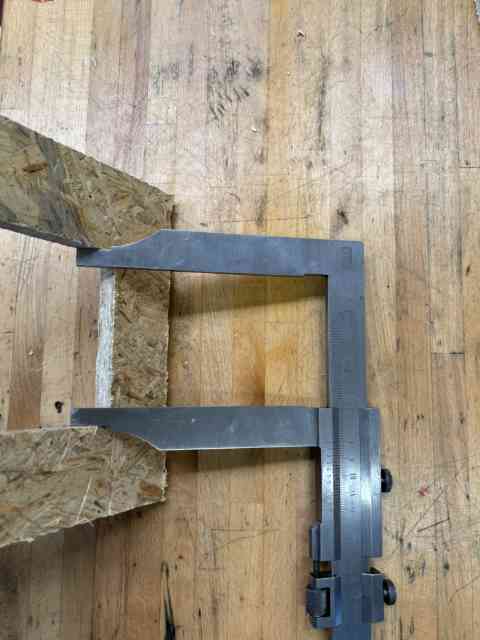
Measureing the inside of the square.
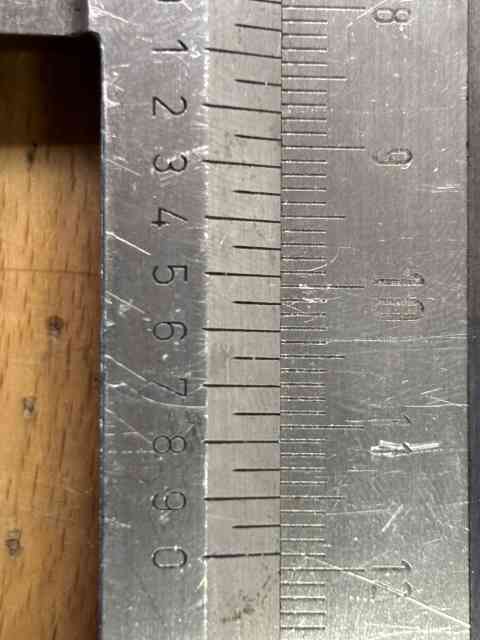
This was the worst, -0,9mm. But after talking to Jón, he told me it has been a while since he adjusted the Shopbot so this was not a surprize according to him.
So maintenance is important when working with a presice instrument like the ShopBot if you want the end resault to be good.
Click the button above to get the V-Carve file for these pieces.
Individual Assignment
For my individual assignment I had no idea what to do so I asked Jón and Árni at the Fablab if there was something that was needed for the Lab. Some shelves for materials for the laser cutters was something they mensioned
so I decided to to that.
I started with MakerCase for the design and it was supposed to be quick and easy but that was not tha case. MakerCase did not want to do dogbone for me, some glitch in the proram. I restarted it over and over again an redid
the project but no luck. So I had to do it a little differently. But I got most of my plans from MakerCase.
The material I used was some OSB that Árni donated to the Fablab and was ideal to put to good use.
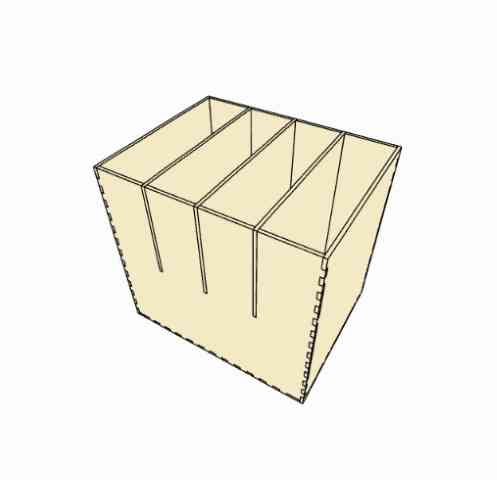
This is the design in MakerCase
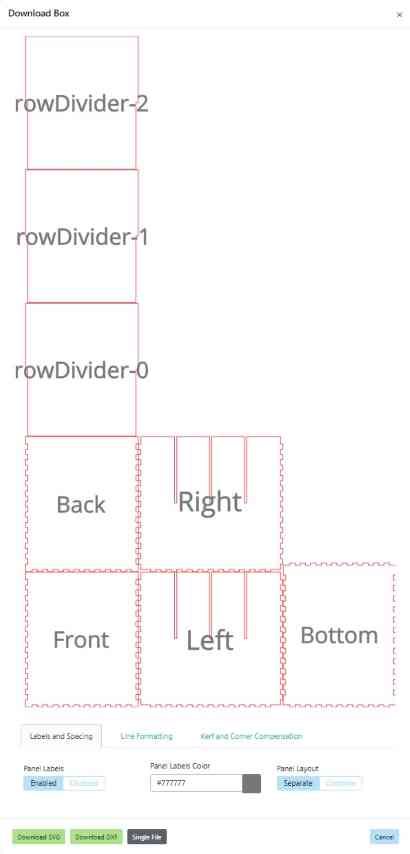
Theese are drawings for each piece.
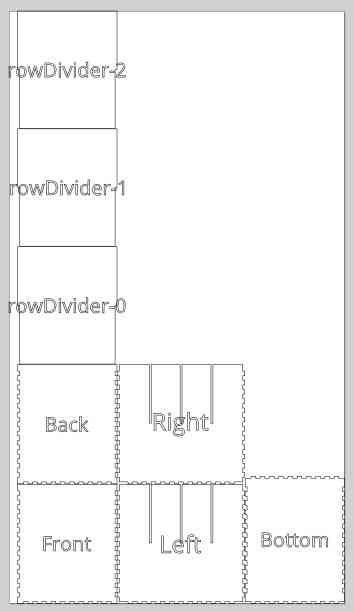
I imported the MakerCase drawings into Inkscape for a little modification.
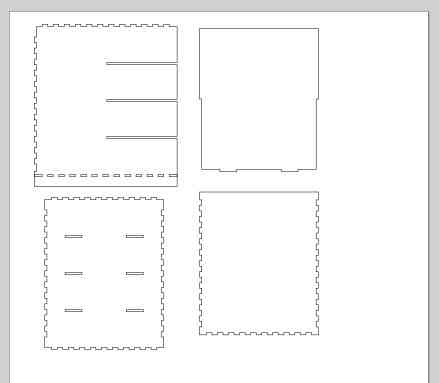
I decided to lift the bottom shelf a little of the floor and make some groves on the back of the shelves to hold them up.
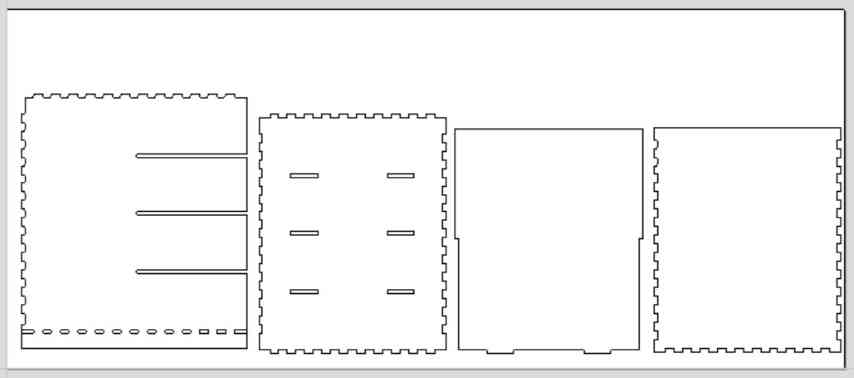
Then from Inkscape to V-Carve to fix the dogbone issue from MakerCase.

Here you can see what the dogbone is all about.

When I started routing we noticed a little problem with the holes, so a little fix had to be made.
We then fixed it before we routed the second plate.
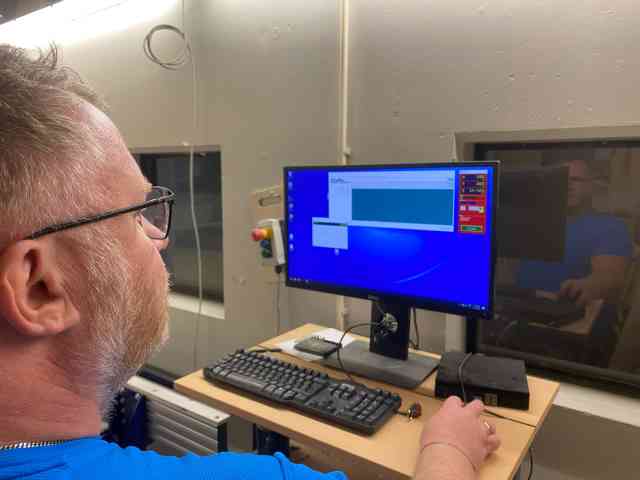
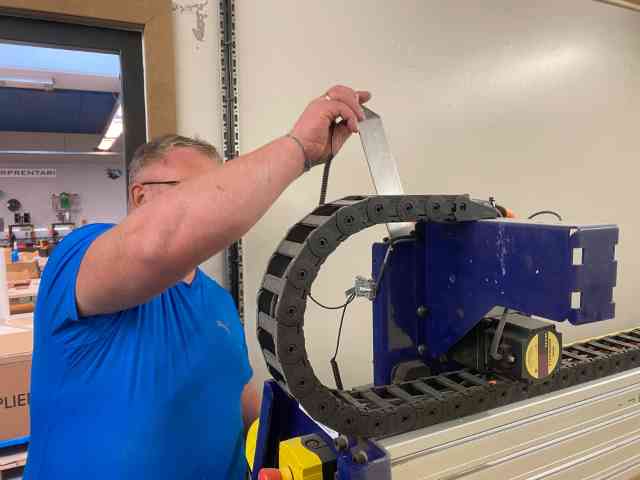
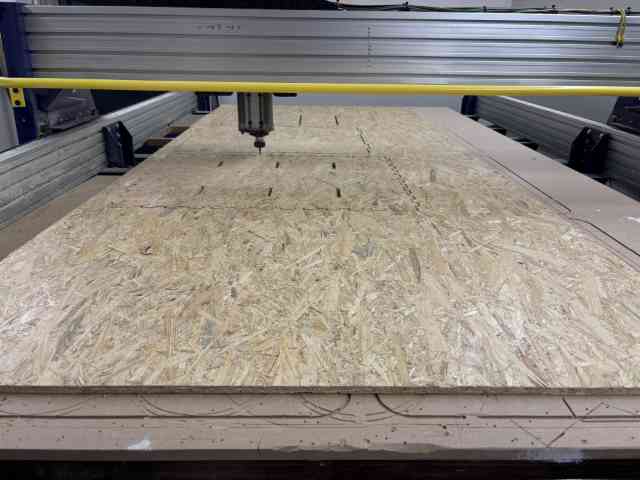
Below follow pictures form the process, I am not going to comment on each one, they speak for them selves.
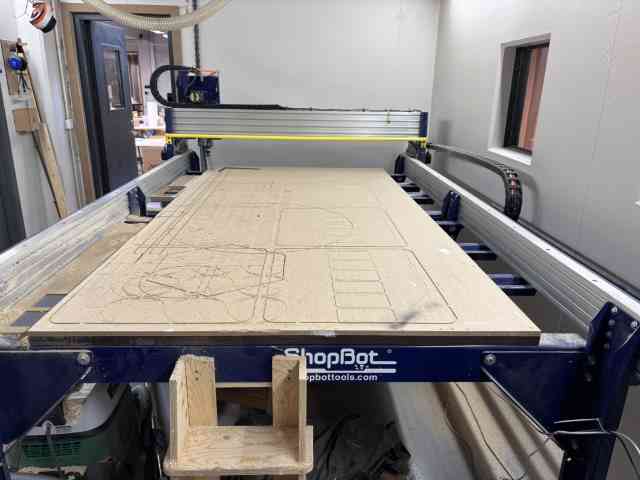
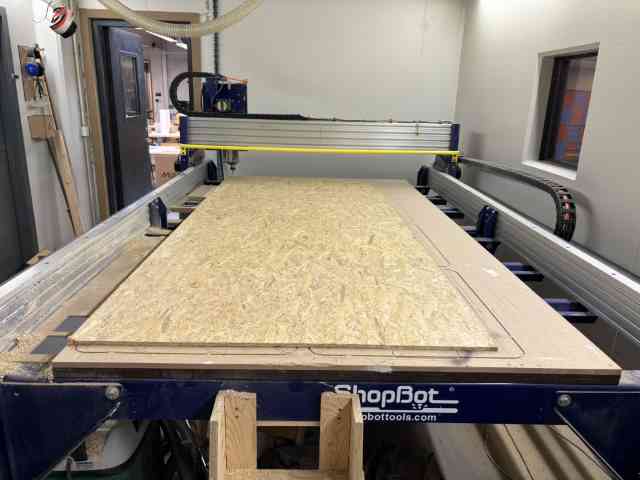
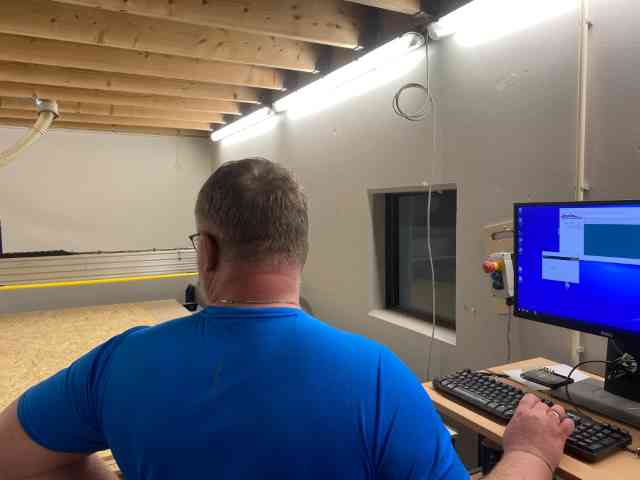
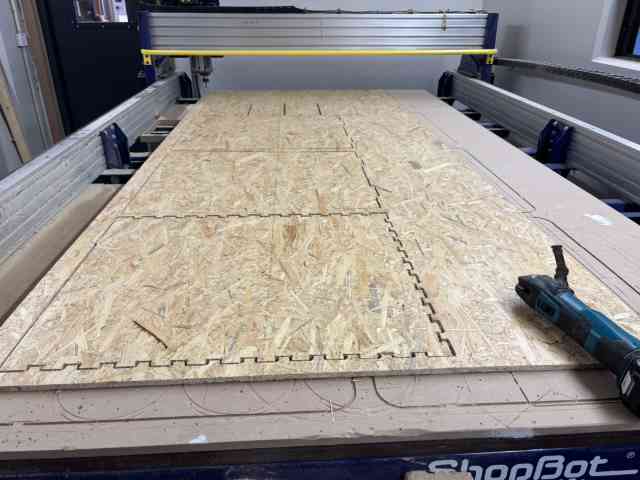
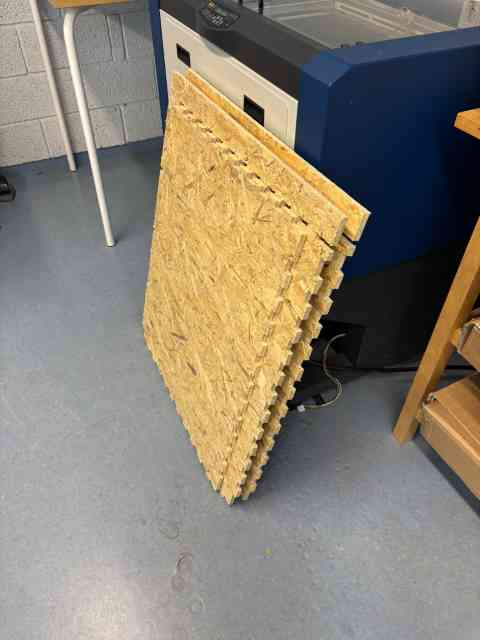
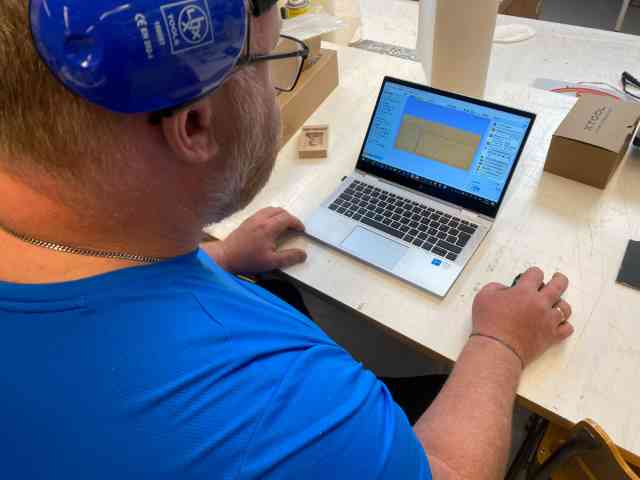
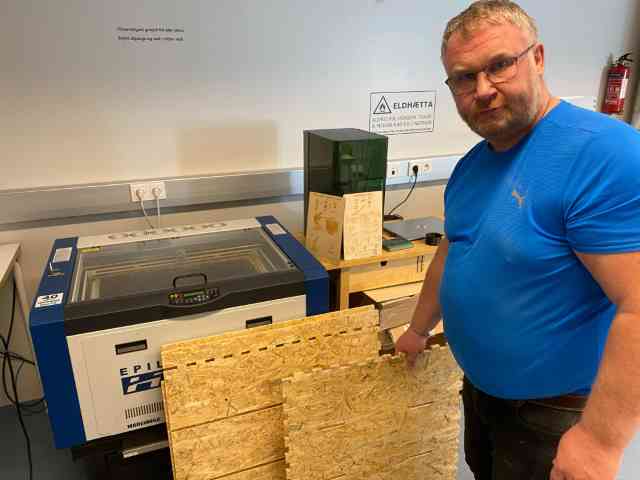
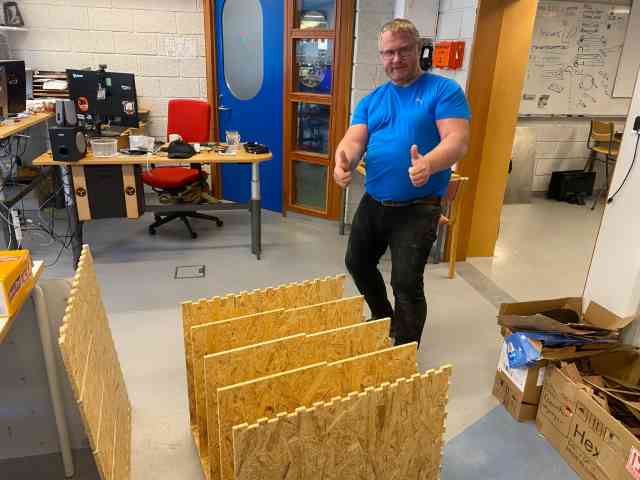
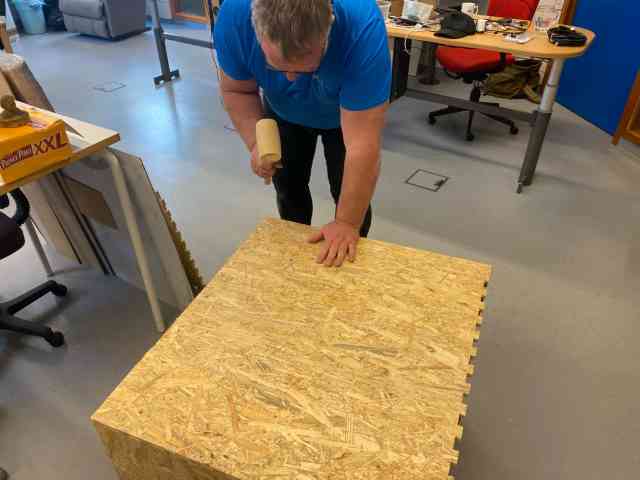
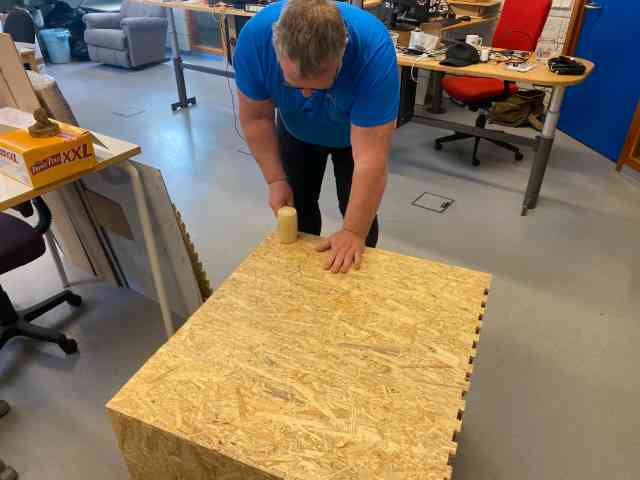
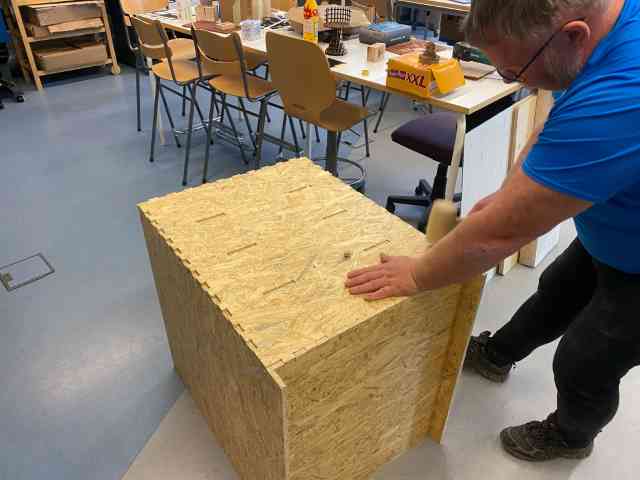

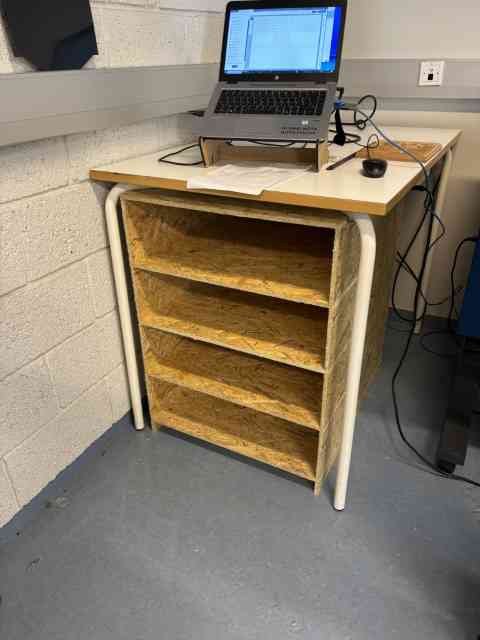
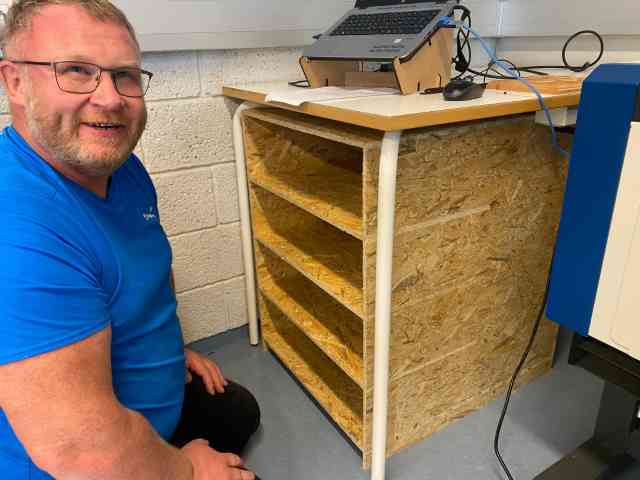
Here is the final product. No glue or screws were used to put this together so I guess extra credit is in order.
This design did not give me the chance to make curved surfaces so that one has to wait another time and project.
Click the button above to get the InkScape file for the shelves.
Click the button above to get the V-Carve file for the shelves.