5. 3D scanning and printing
This week I am going to compare two different apps I can use to 3D scan objects. These apps are Polycam and Scaniverse. I will try and 3D scan with both of them and compare the outcome. I will also test the design rules for my 3D printer. I am using my IPhone 15 for the scans and pictures.
Group assignment:
- test the design rules for your 3D printer
Individual assignment:
- design and 3D print an object (small, few cm3, limited by printer time) that could not be made subtractively
- 3D scan an object (and optionally print it)
Useful links
Group Assignment
Design Rules
I have a Prusa Mk4 3D printer and I have done quite a bit of printing, mostly for projects for students at school. I have never printed anything from the internet, only things I have drawn myself.
So this is a first for me. Aftere talking to my instructor, Árni Björnsson, I desided to go on the internet and find the same model that he used. That way, I don´t have to draw it but then we can compare the models from Prusa Mk3 and Mk4.
I found the link to 3D Printing Stress Test on his web page, downloaded it and printed with no support what so ever and default settings.
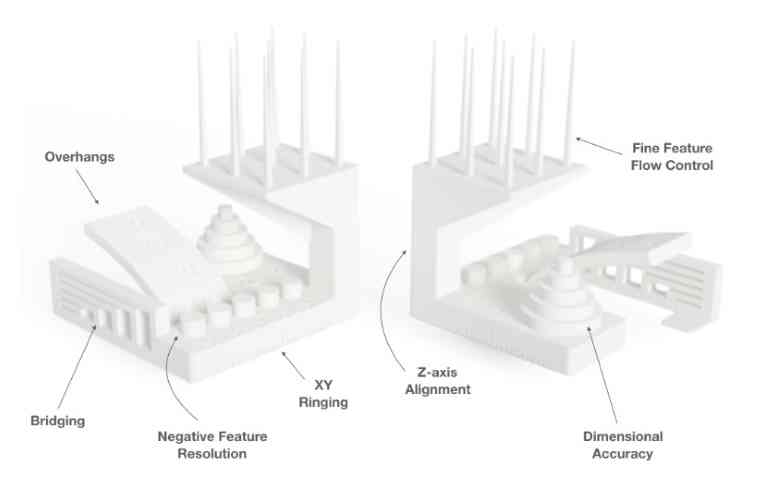
In this picture the stress test model is explained.
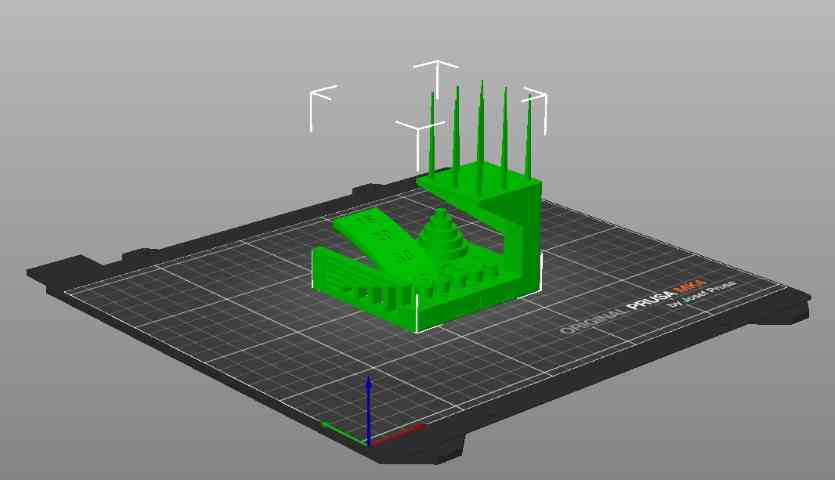
Here the model is in PrusaSlicer, ready for print.
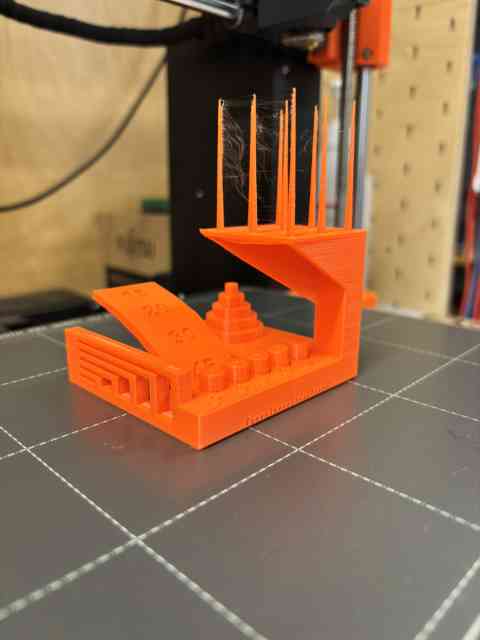
The printer has finished the job.
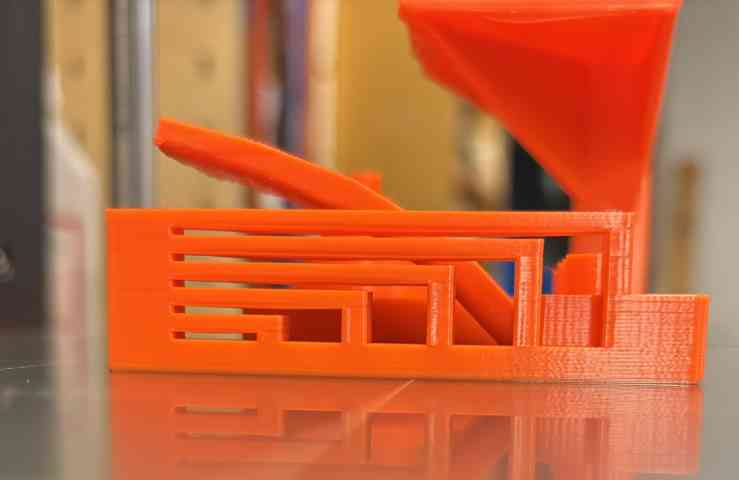
In this picture you can see the bridges. I am a little disapointed how this turned out, was hoping for better resaults.
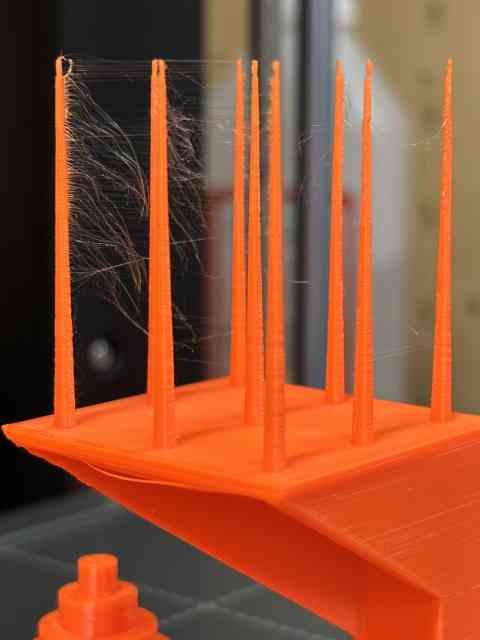
Fine flow control. This is a littlel bit better than the Mk3 Árni was using in his project, but I was hoping for better.
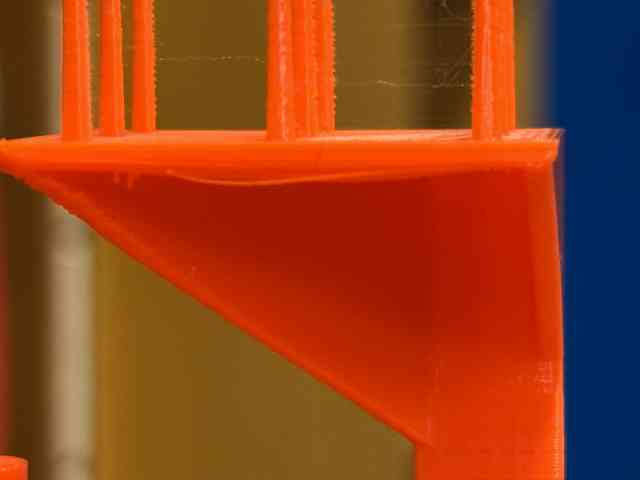
Under the platform where the pins are sitting. I´m not suprised, this is quite a distanse.
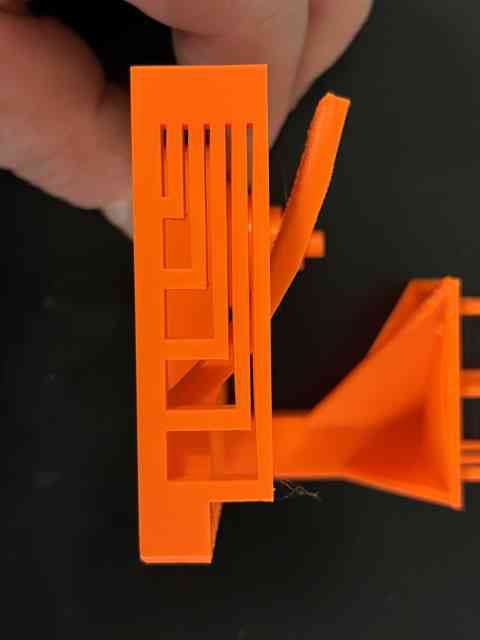
Here is another view of he bridging, not bad if I may say so.
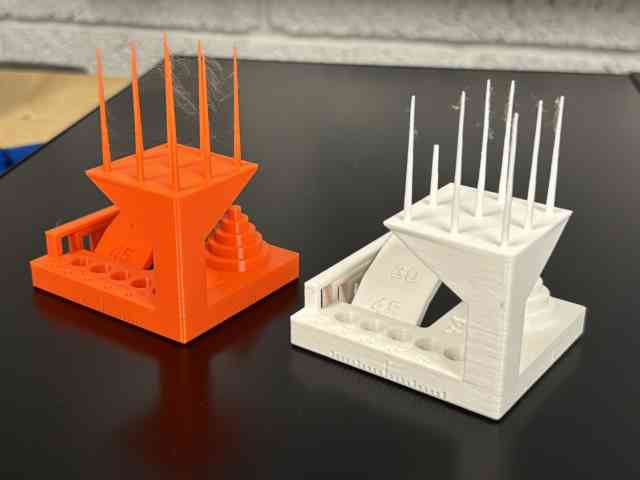
A little history. My model and the one Árni did couple of years ago.
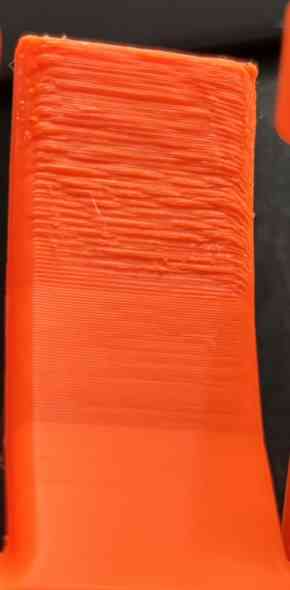
This is underneeth the 15 and 20 degree overhang. A little rough..
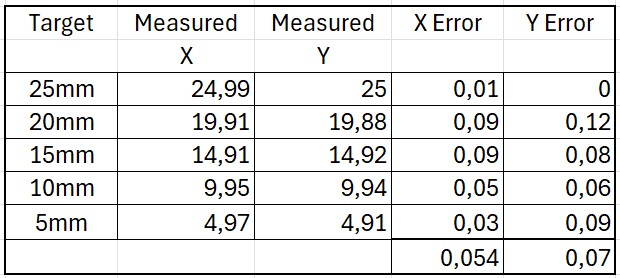
X and Y measurements of the Circles. Not perfect but not bad if you ask me..
I am not going to grade this print. That would be such a subjective evaluation of the quality of the print that is has no point what so ever in my opinion.
It is not perfect and should it be. There is no support what so ever and I would not expect a better job without it.
Individual Assignment
Apps
Polycam
Polycam is a 3D scanning app that lets users create high-quality 3D models with their smartphones or tablets. It supports LiDAR and photogrammetry scanning, making it easy to capture objects, spaces, and environments.
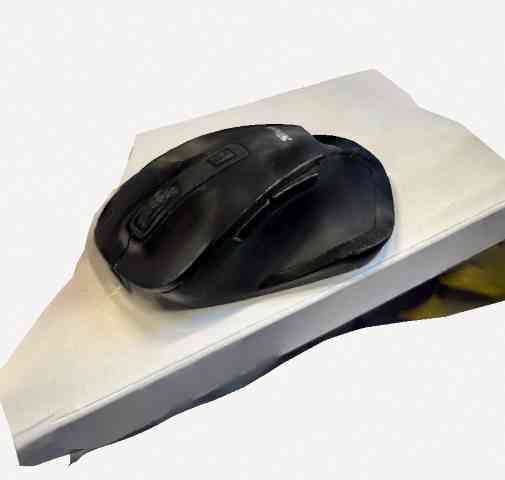
This is the first scan I did after downloading the app.
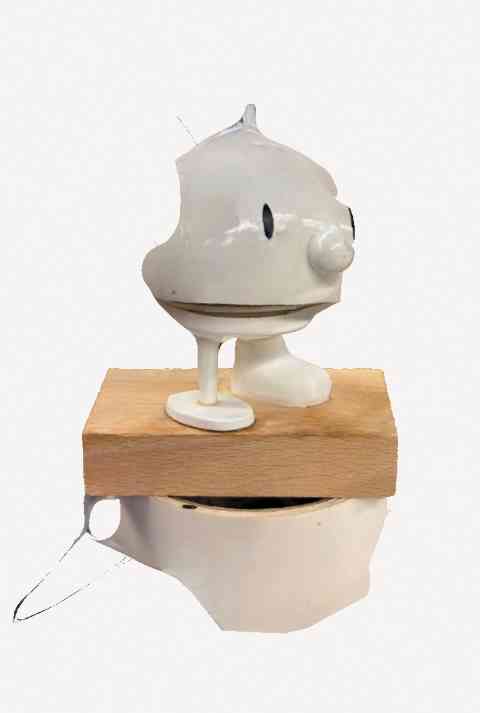
When I was doing the assignment, this is the first try.
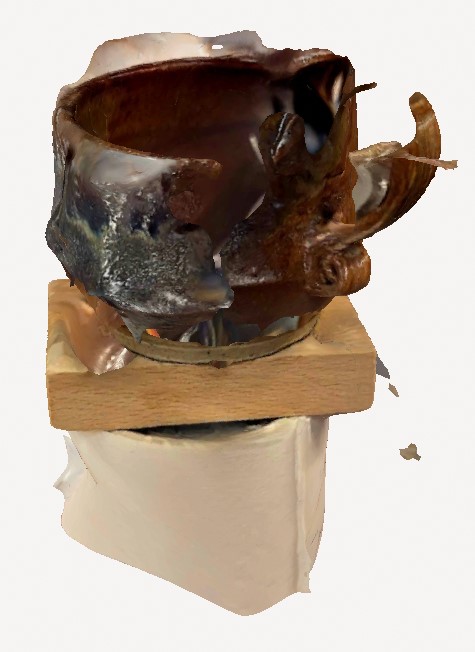
Not all scans turn out like they are supposed to, but I think this is very cool.
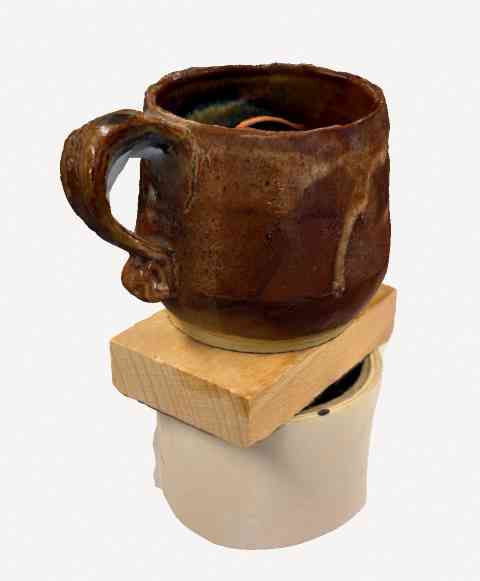
This one turned out much better.
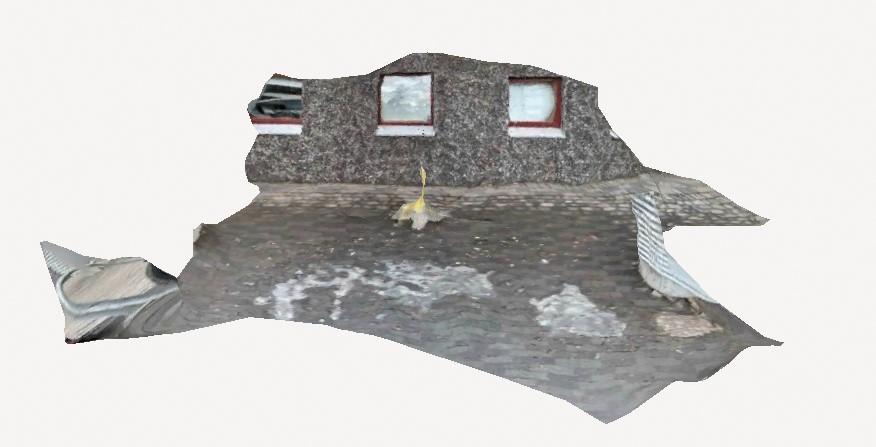
Then I went outside for more natural light but that did not work out as plannes.
Above is the export zip from PolyCam
Scaniverse
Scaniverse is a 3D scanning app for iOS that uses LiDAR to create high-detail 3D models of objects, people, and environments. It allows easy editing, exporting in multiple formats, and sharing of scans. The app is optimized for iPhones and iPads with LiDAR sensors.
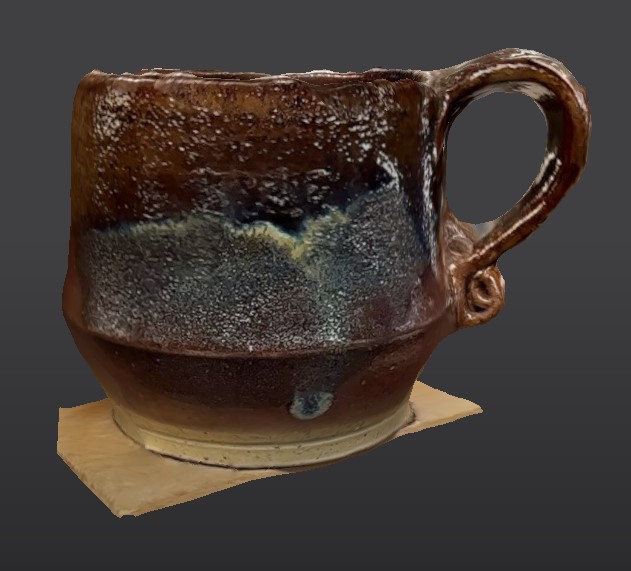
First scan with this app was inside the FabLab with fluorcent lighting.
Turned out much better than expected.
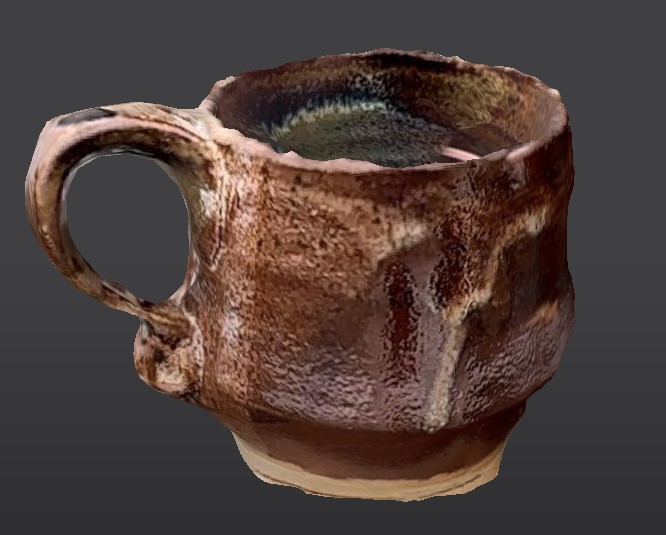
Second scan was outside in natural light. I think the inside scan turned out better.
Meshmixer
Meshmixer is a free 3D modeling software by Autodesk designed for editing, repairing, and optimizing 3D meshes. It offers tools for sculpting, smoothing, and modifying models, making it ideal for 3D printing and digital fabrication.
I used Meshmixer to work on the 3D model I got from Scaniverse. I thougt that was the better model. The inside was not very good so I had to do some work there and push the bottom down to make more space on the inside.
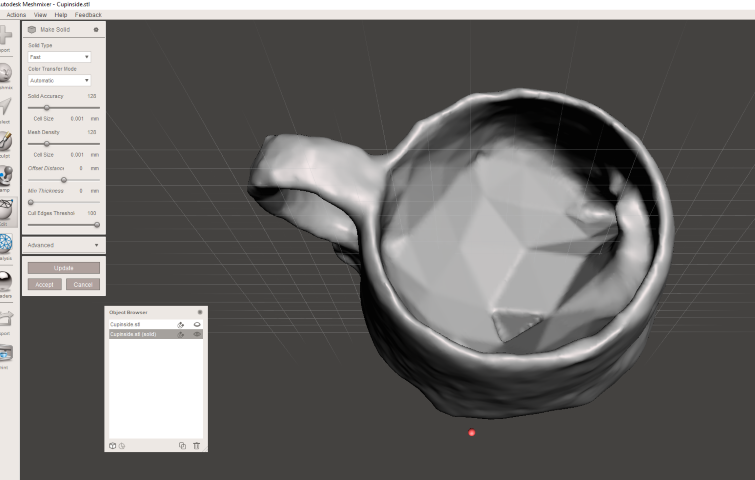
The inside needed some work.

The bottom was missing so I had to add it.
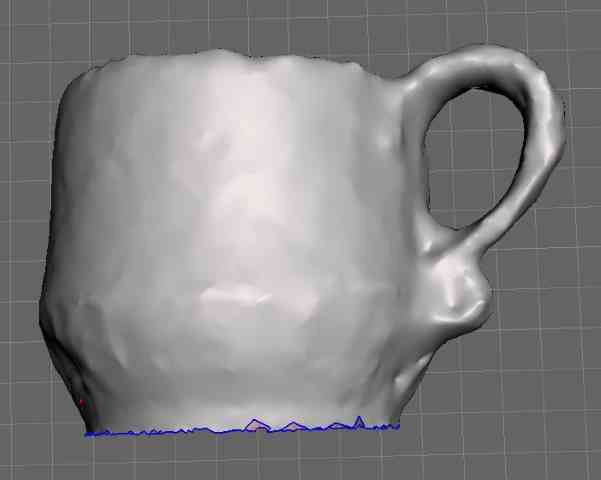
Then I had to cut the bottom to get a flat surface.
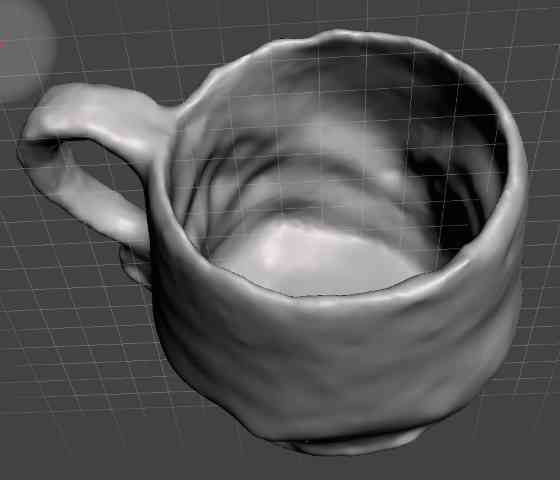
And this is the final resault from Meshmixer.
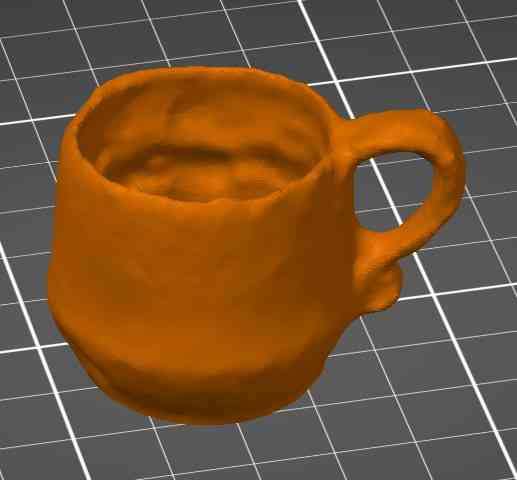
And there it is in the PrusaSlicer, ready to be printed.
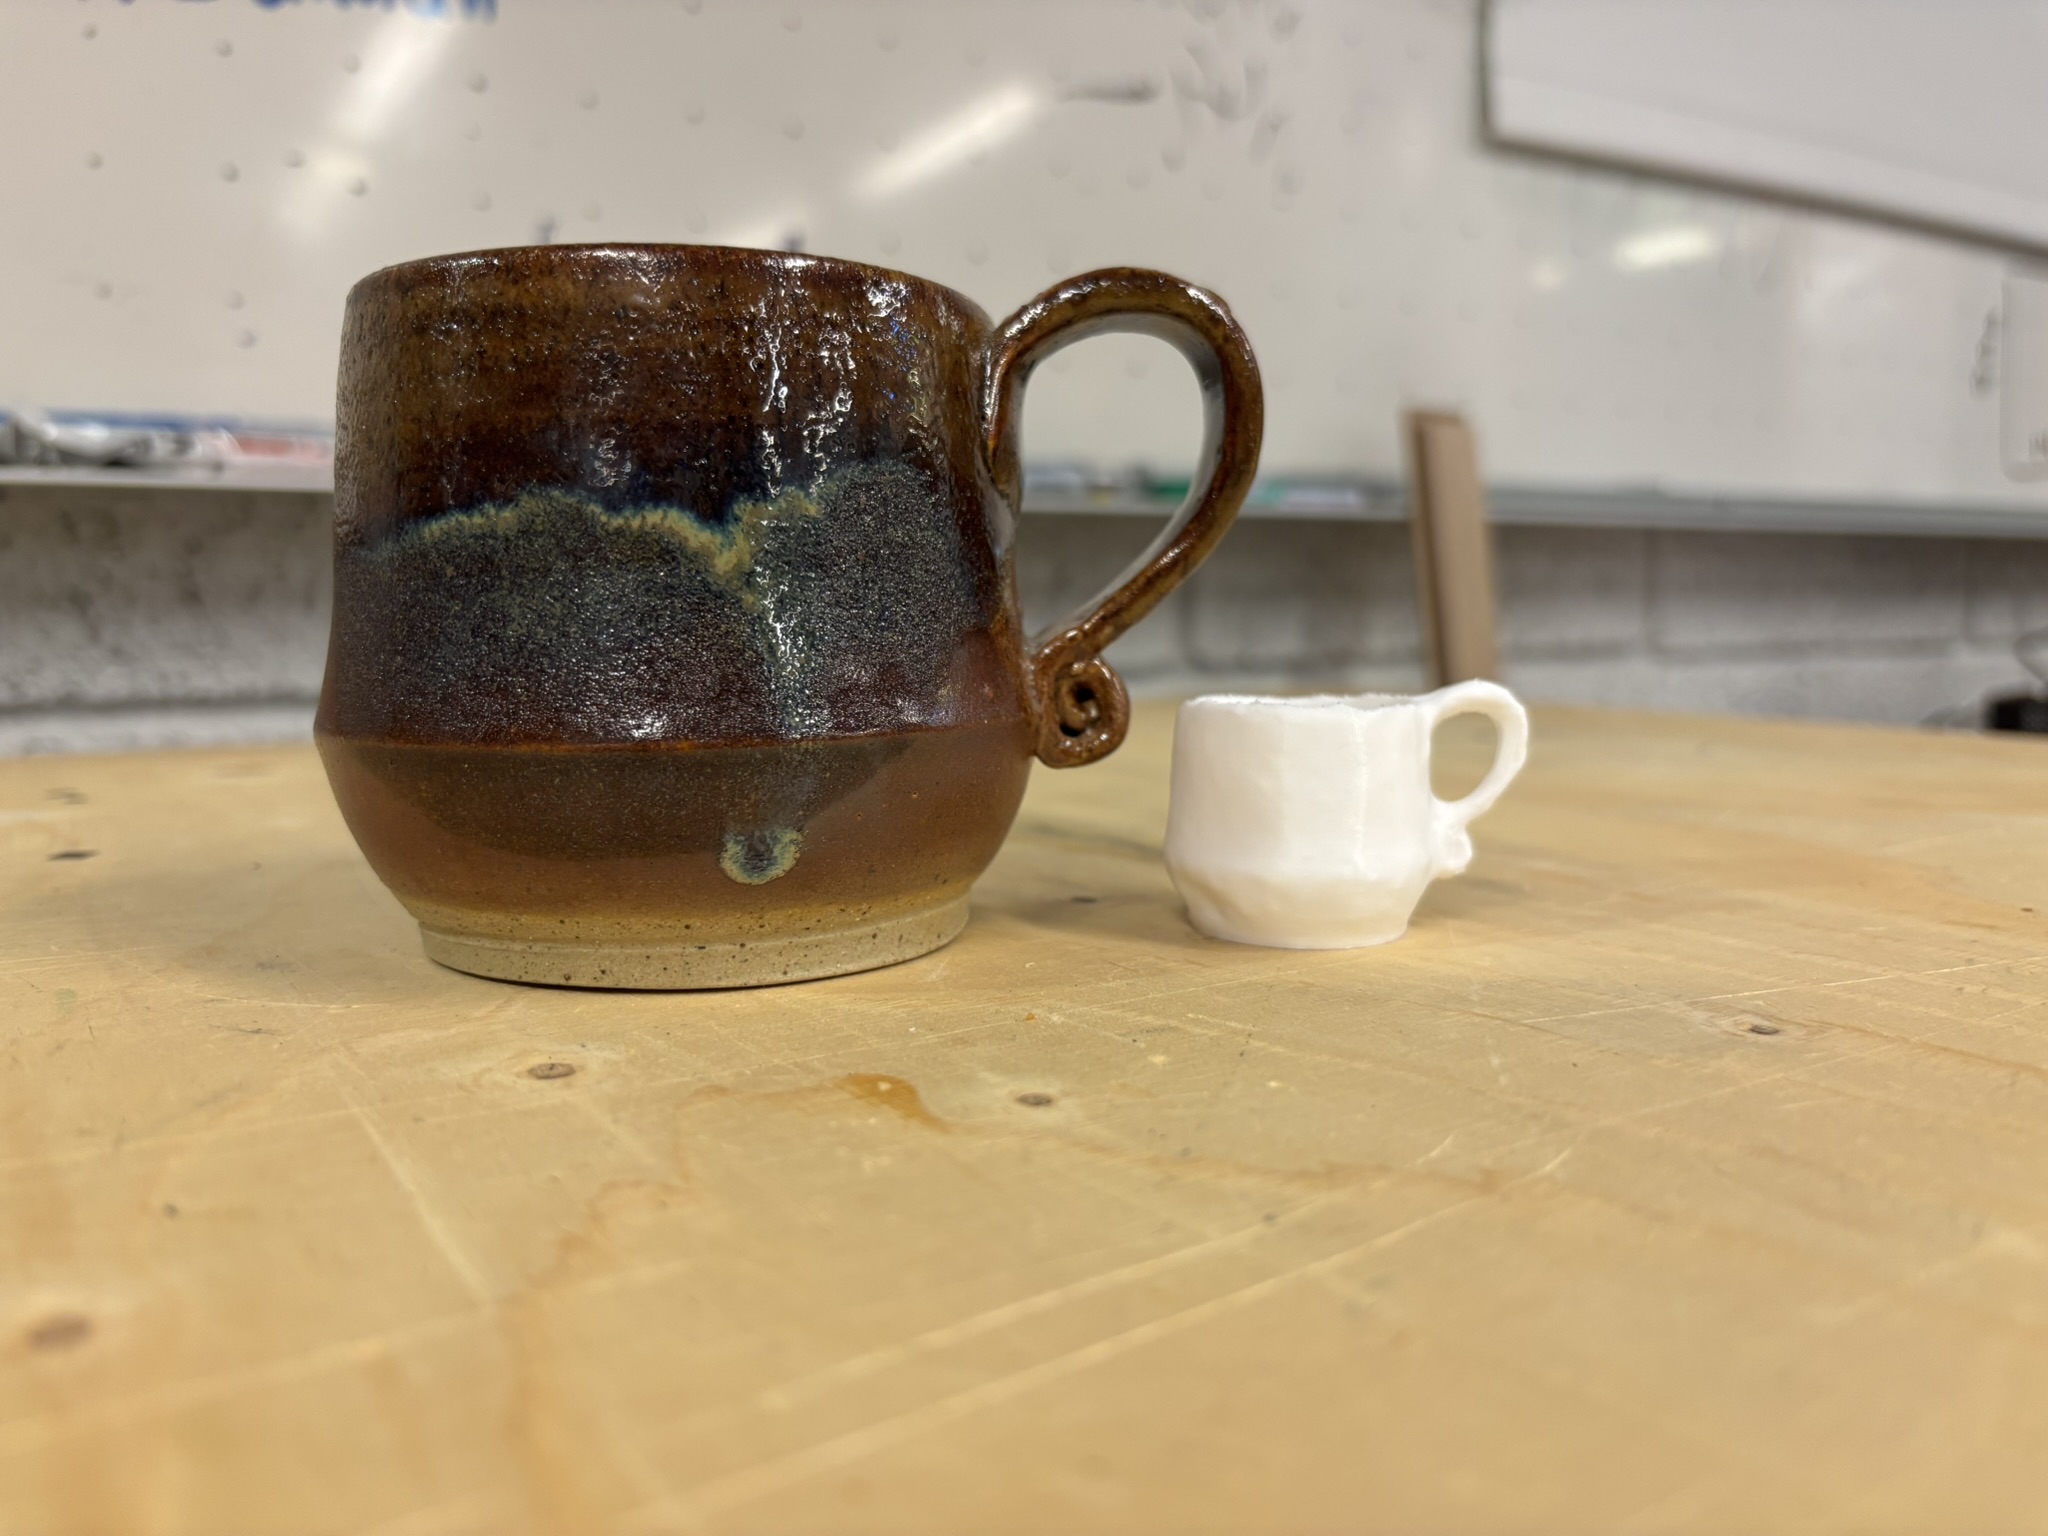
And there it is, a miniture version of Jón´s (FabLab Akureyri) coffee cup.
Design and 3D print a small object
I took the easy way out on this one. I did not design the object, but an idea was planted in my head so i decided to try it. I drew it from scratch in Fusion360 and 3D printed it.
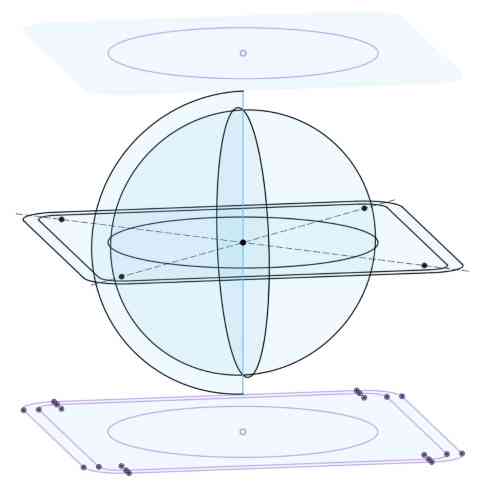
I started by drawing all the different things I needed to make the object. On different axis and different planes.
The ball is 40mm in diameter but the holes of the cube are only 35mm so the ball can not fit through.
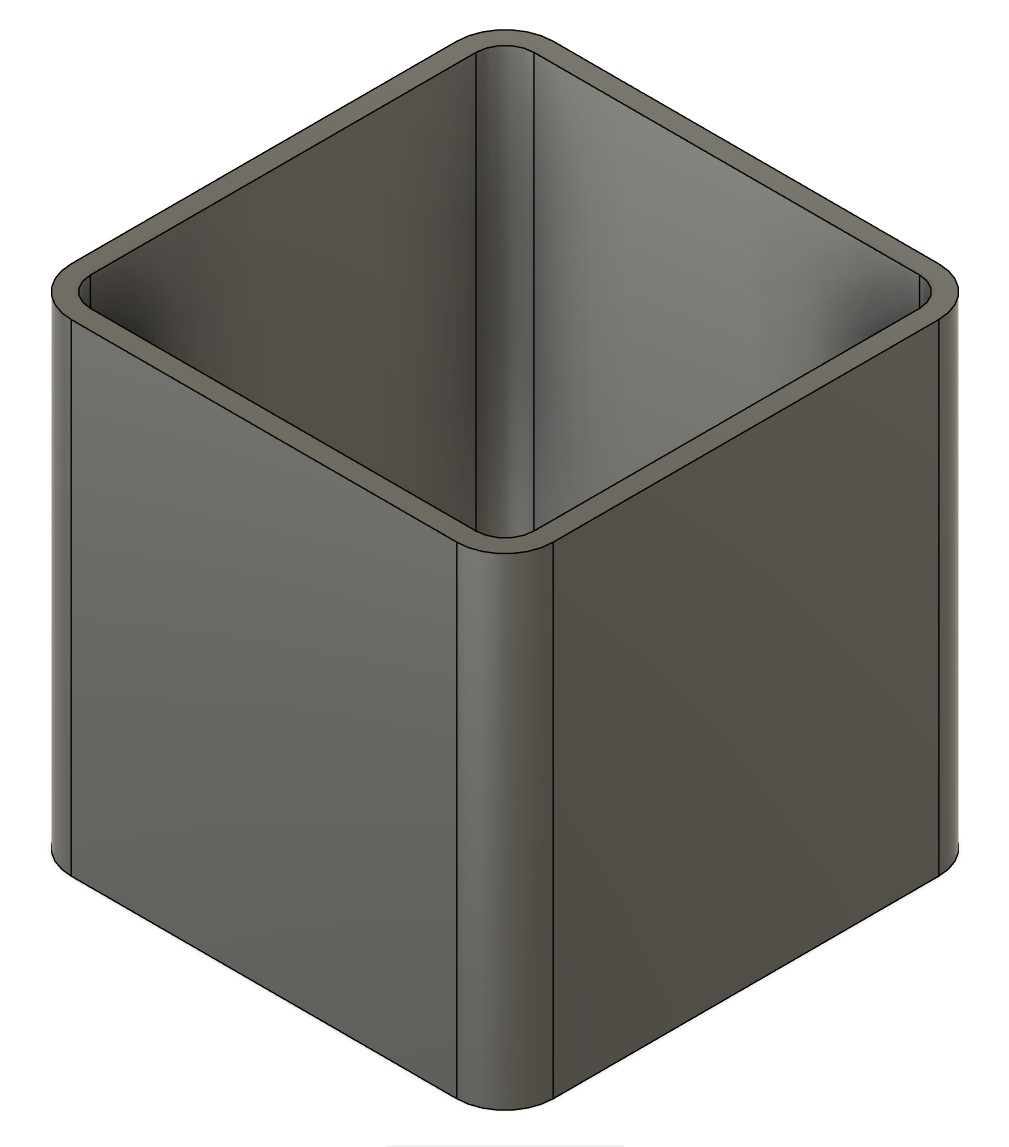
Then I extracted the cube two ways symmetrically.
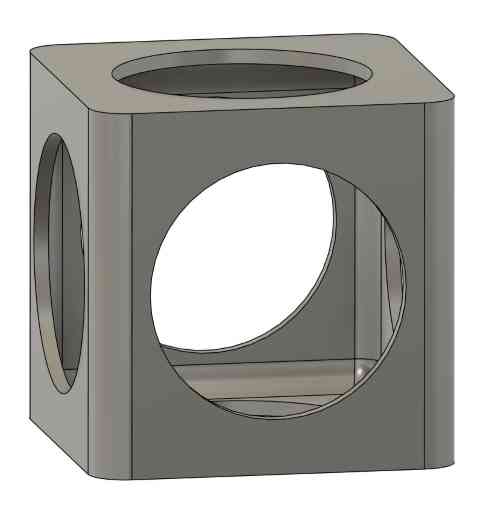
Then I added the top and cut out all the holes.
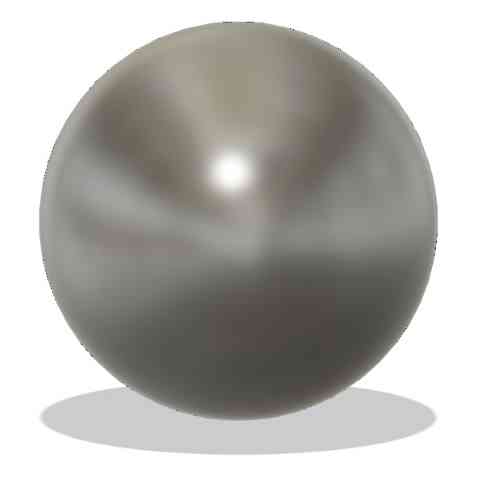
Then I used the Revolve function to make the ball.
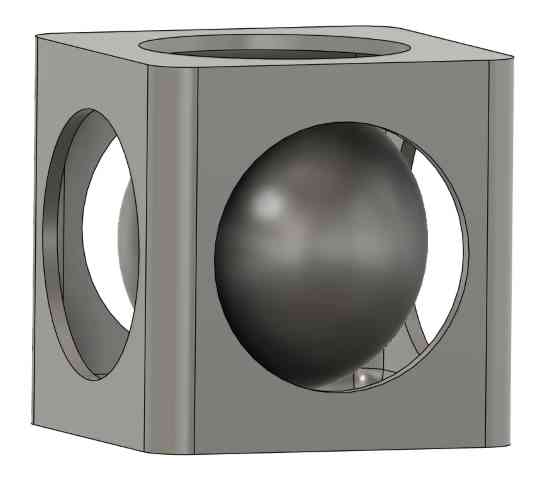
And there it is, all ready to be exported to PrusaSlicer.
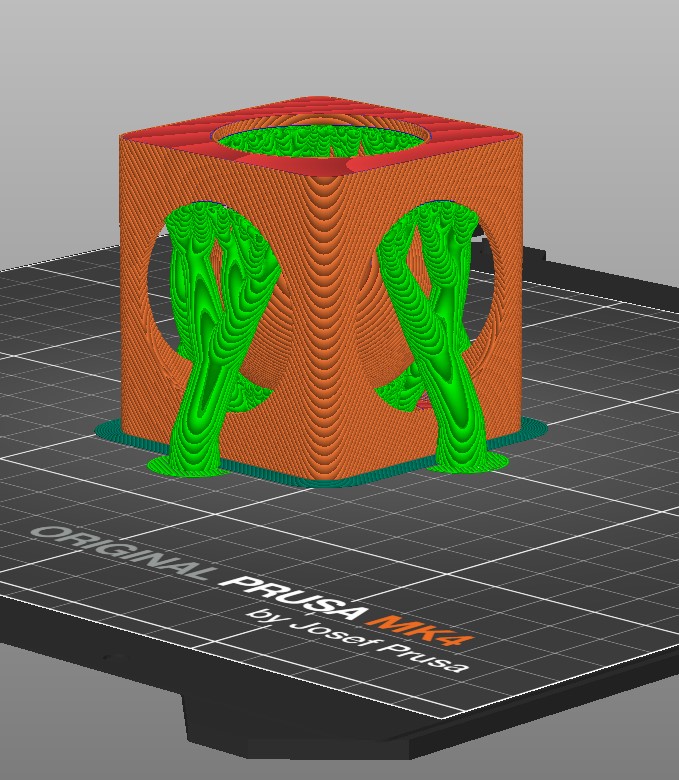
All set with organic support.
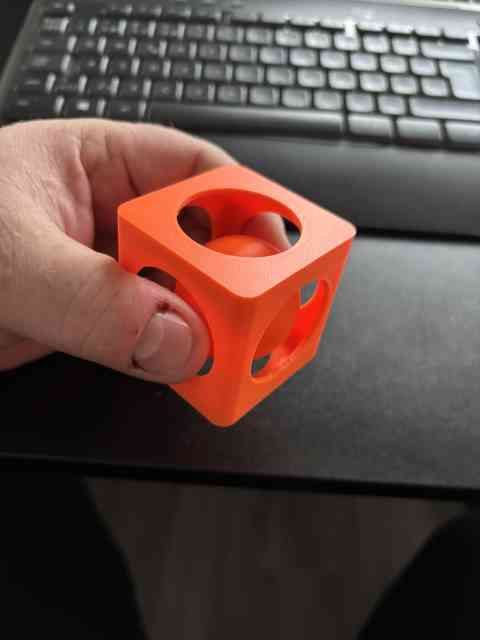
And there it is, 3D printed and the ball stuck inside the cube. 40mm ball and 35mm holes.
Advantages and Disadvantages of 3D Printing
✅ Advantages
- Rapid Prototyping – You can quickly create and test physical models of your designs.
- Customization – Easy to make custom or one-of-a-kind parts without extra cost.
- Low Waste – Compared to subtractive methods (like CNC), 3D printing only uses material where needed.
- Accessibility – Desktop 3D printers are becoming affordable and easy to use.
- Complex Shapes – Can produce geometries that are hard or impossible to make with traditional manufacturing.
❌ Disadvantages
- Limited Materials – Most desktop printers use only specific types of plastic (like PLA or PETG).
- Strength and Durability – 3D printed parts are often weaker than injection-molded parts.
- Print Time – Large or detailed prints can take many hours to finish.
- Post-Processing – Prints often need cleanup, support removal, or finishing (like sanding).
- Reliability – Printers can fail mid-print, and print quality depends on good calibration.
In my personal experience, 3D printing is an awsome process. Being able to draw and print within ours spare parts or prototypes is something I never thought was possible before I visted FabLab. Being a beginner (almost) lack of materials is not a problem for me yet as everything I have printer is PLA based. In time, hopefully, I can/will experiment with different materials. I never get tired of watching my printer, the details are so amazing.