3. Computer controlled cutting
This week I have also been a bit behind schedule because of a family emergency but trying hard to catch up. I took a look at the laser in our Fablab and did some experimenting with the laser and the Vinil cutter. I did not complete the group assignment but did some of it.
Group Assignment:
Individual Assignment:
🔒 Safety Procedures in Our Fab Lab
In our Fab Lab, we follow clear safety procedures to ensure a safe and responsible working environment for everyone. These rules apply to the use of all machines, materials, and shared spaces.
🧑🔧 General Safety
- ✔️ Always receive training before using any equipment.
- 👥 Never work alone when using machines.
- 🧼 Keep your workspace clean and organized.
- 🚫 No eating or drinking near machines or electronics.
- 🦺 Wear personal protective equipment (PPE) when required, such as:
- 🕶️ Safety glasses
- 🧤 Gloves
- 🎧 Hearing protection (if needed)
⚙️ Machine Safety
- 💥 Laser Cutter:
- Never leave the machine unattended while cutting.
- Do not cut forbidden materials such as PVC.
- Keep a fire extinguisher nearby at all times.
- 🛠️ CNC Milling Machine:
- Wear safety glasses and secure the material firmly.
- Never place hands near rotating tools.
- 🖨️ 3D Printer:
- Avoid touching hot parts (heated bed and nozzle).
- Use the printer in a well-ventilated area, especially when using ABS.
🔌 Electronics and Power Safety
- Turn off power before working on circuits.
- Use insulated tools and avoid metal jewelry.
- Handle batteries carefully and store them properly.
- Be cautious with high-current or high-voltage systems.
🧪 Material Handling
- Read Material Safety Data Sheets (MSDS) before using chemicals or adhesives.
- Work in ventilated areas when using glue, resin, or solvents.
- Clearly label and store all materials safely.
🆘 Emergency Procedures
- Know the location of:
- ⏹️ Emergency stop buttons
- 🔥 Fire extinguishers
- ⛑️ First aid kits
- 🚪 Emergency exits
- Report any accidents or unsafe conditions to the lab supervisor.
Research
Looking at Fusion 360 Did some drawing in Fusion 360.
Useful links
Laser Cutting
My First Laser Cutting Process After thinking about what I wanted to make, I decided to design a parametric construction kit in Fusion 360. I used parameters so I could easily change the thickness and size of the parts later if needed. Once my design was ready, I exported it as an SVG file and opened it in Inkscape. There, I arranged all the pieces to fit nicely on the material and prepared it for laser cutting. I also made sure the lines were the right thickness so the laser would recognize them as cuts. After that, I saved the file as a PDF, which I could open on the computer connected to the laser cutter. At the laser machine, I set the power and speed for the material I was using. I also had to set the focus (height) and choose the origin point (zero point) before starting the cut. Then I sent the file to the laser, and it started cutting my design!
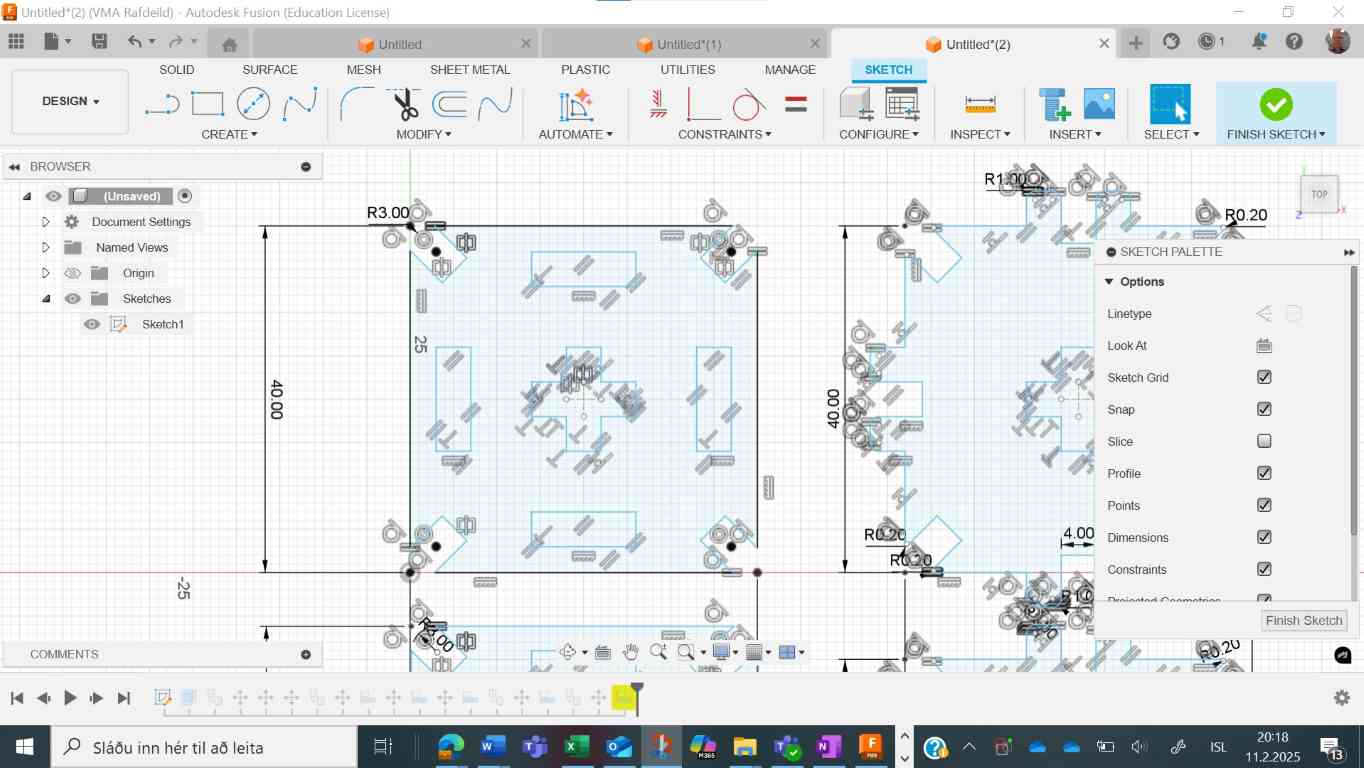
Drawing parametric construction kit in Fusion 360. Sketch view.
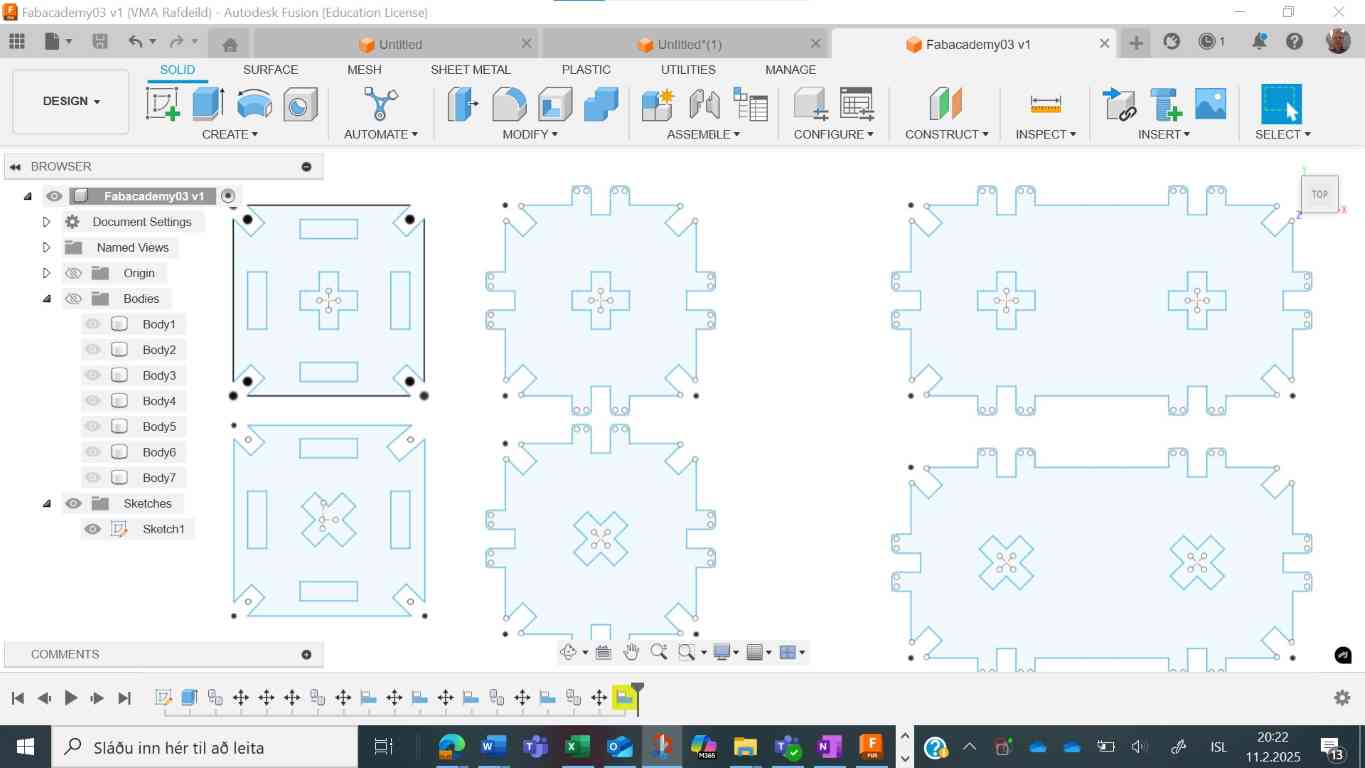
Here I have finished the sketch after some changes, getting ready to cut.
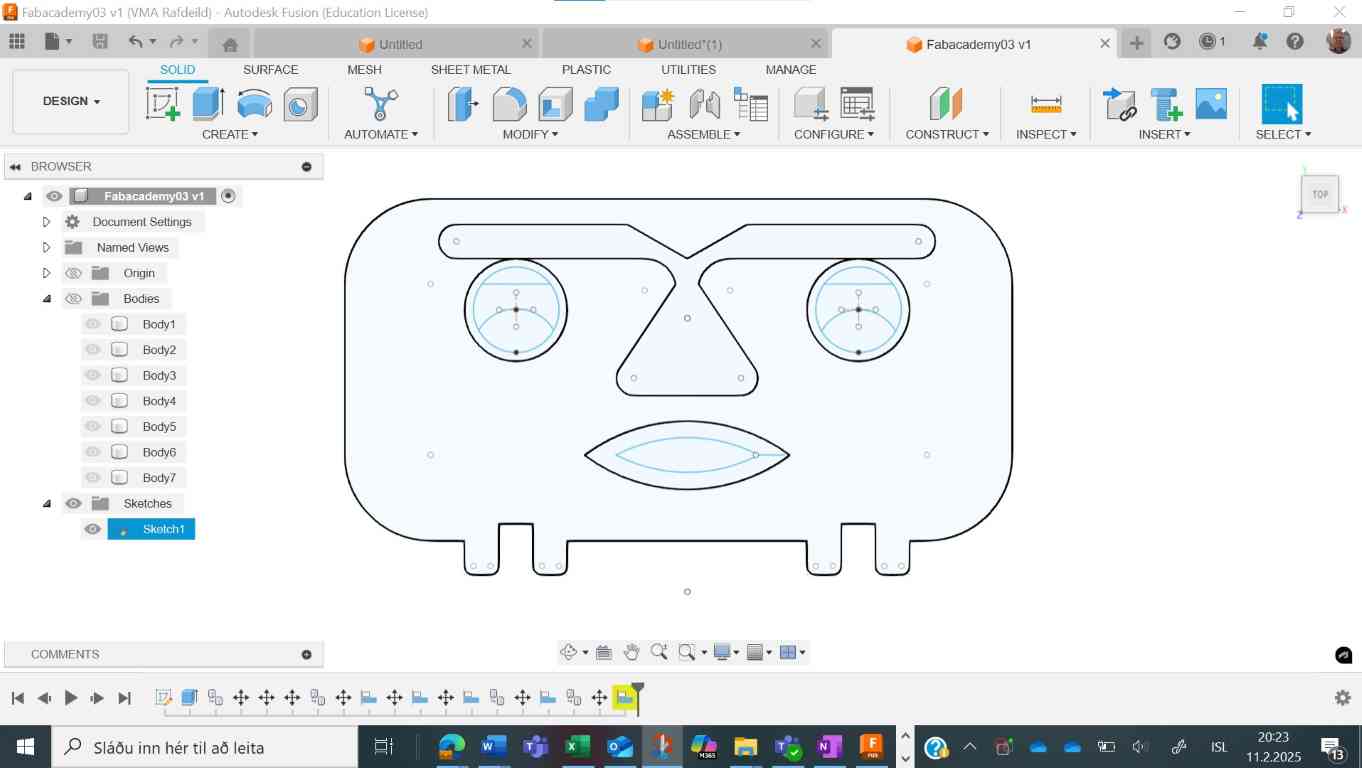
When I started assembling the kit, it started to look like a figure so at the end it needed a head. So, back to Fusion 360 and drew a head for the figure.
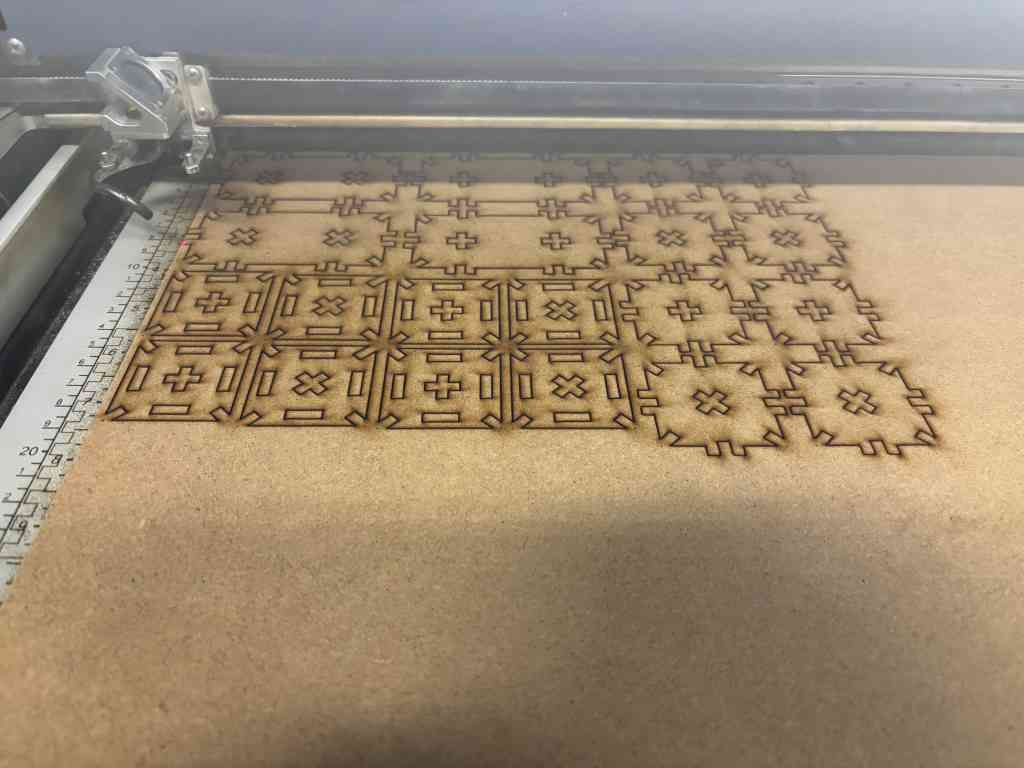
Cutting my parametric construction

Pieces out of the laser
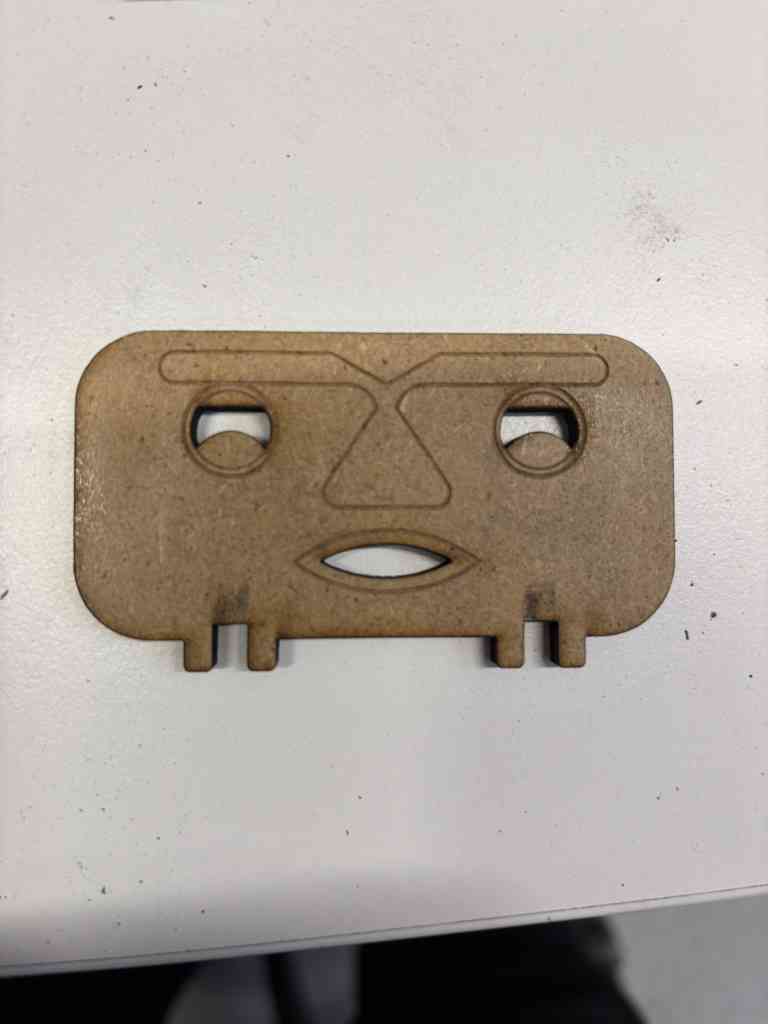
Made a head for my figure.
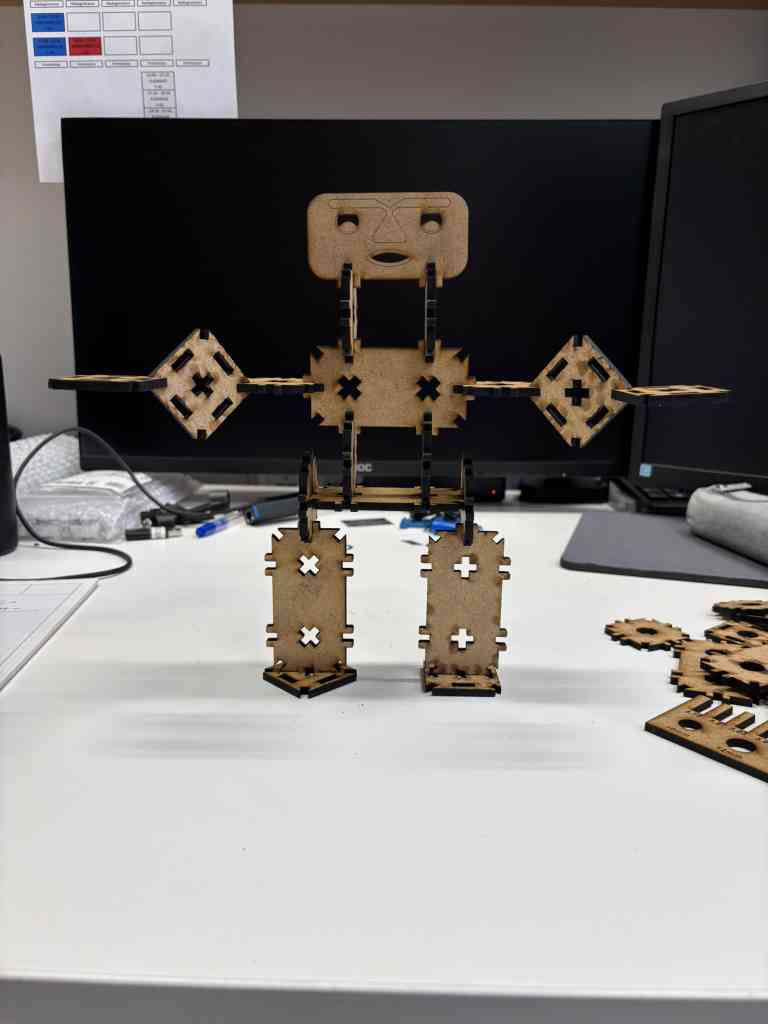
Finally allt put together.
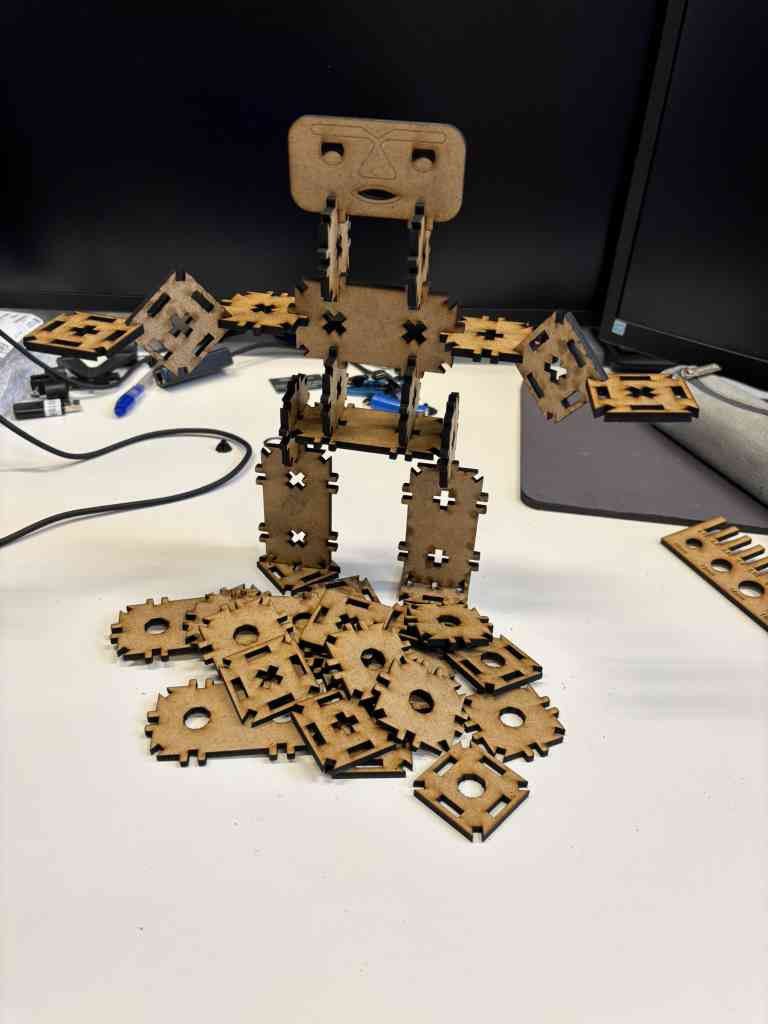
My figure with a pile of chips.
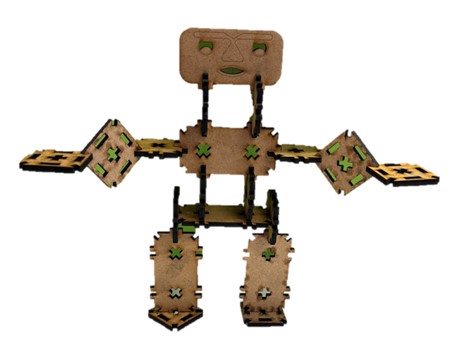
My figure, tried to remove background.
Click the button above to get the Fusion 360 file for the figure.
Vinil Cutting
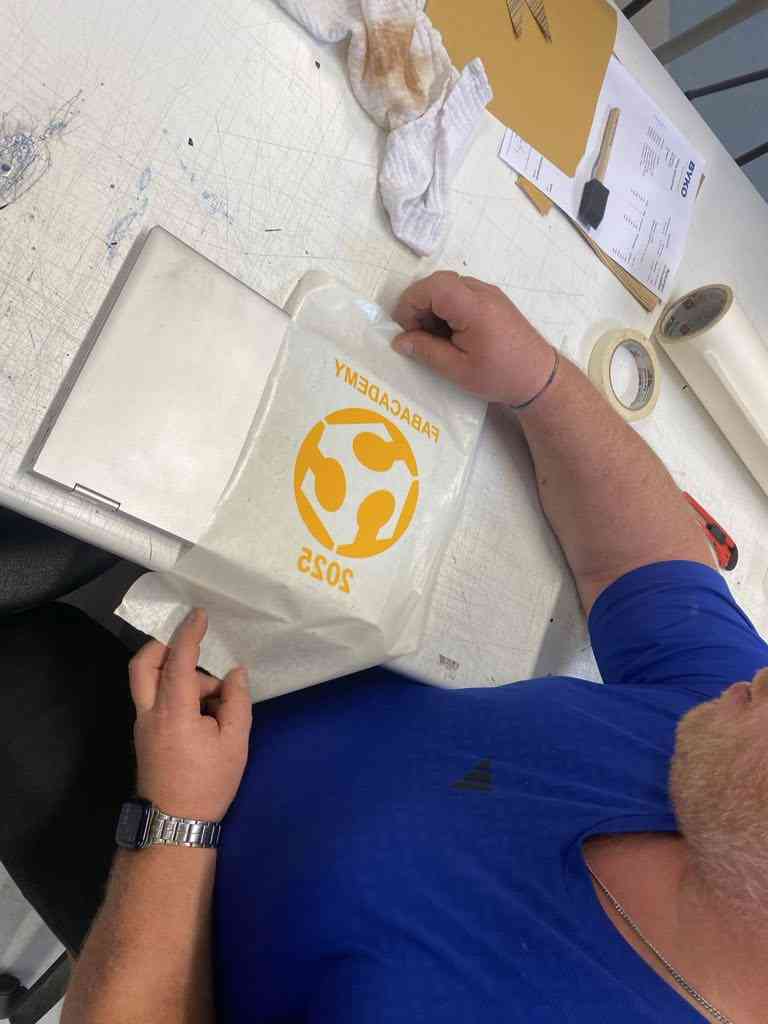
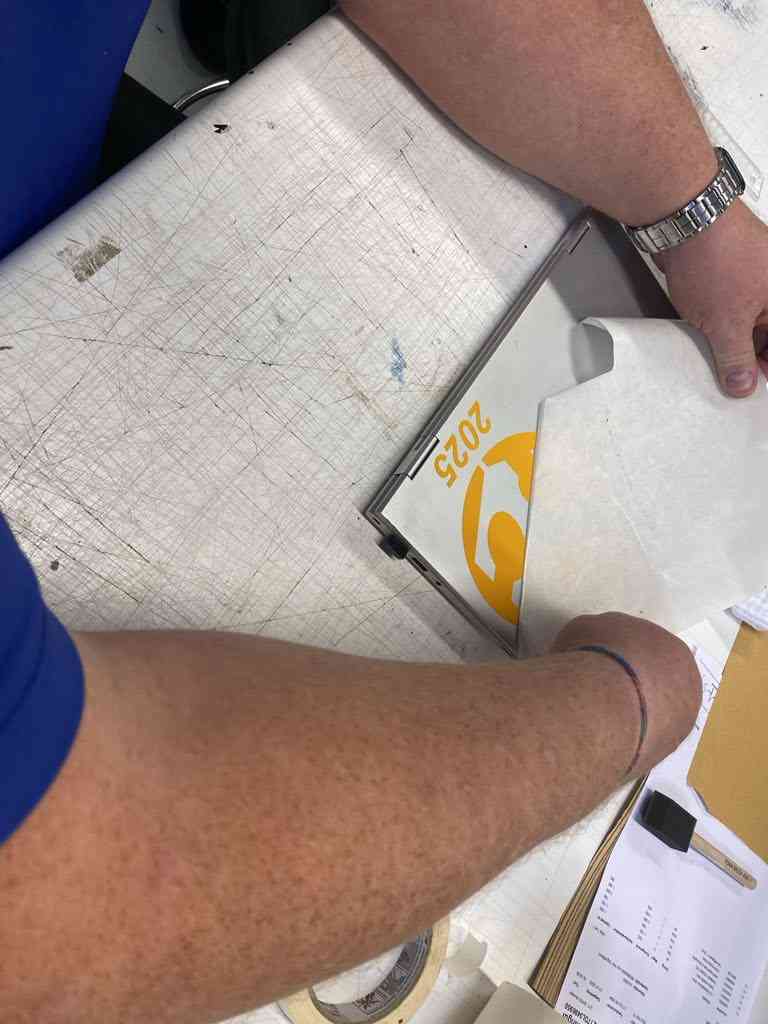
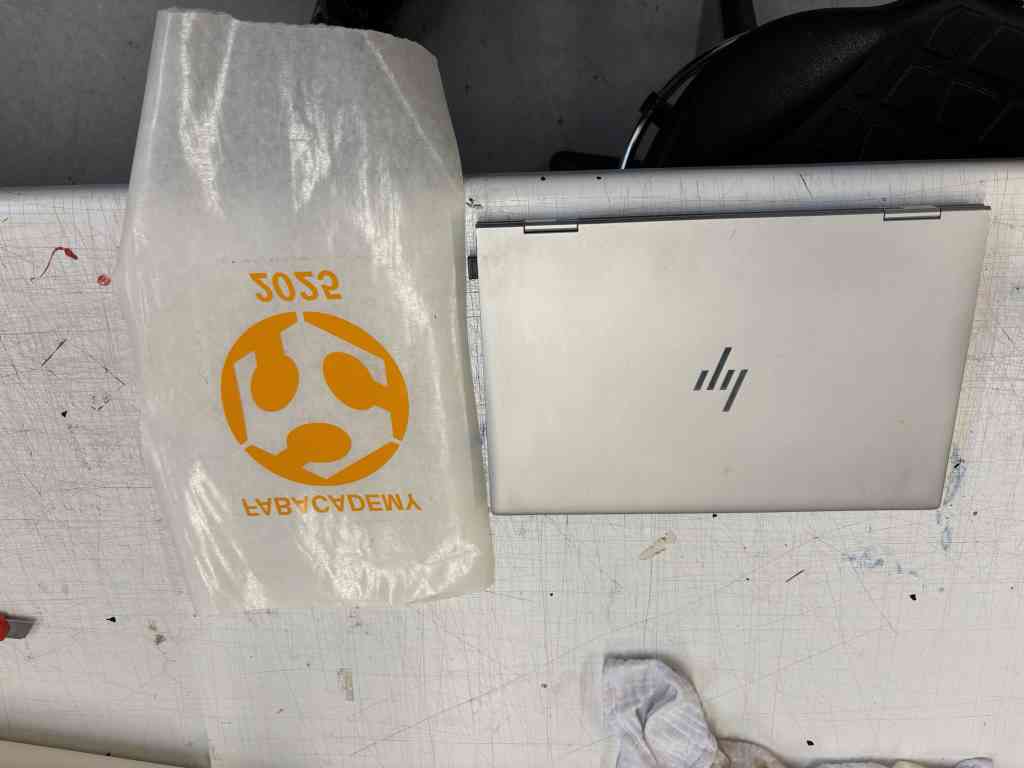
This process was preatty simple, I did not want to do anything complex so I did the FabLab logo with the text FabaAcademy 2025. I did that in Inkscape and saved as a PDF document. I took that file over to the vinil cutter, selected a piece of vinil for the project, alligned it in the cutter and pressed Cut. The rest is history and the pictures speak for the rest I think.
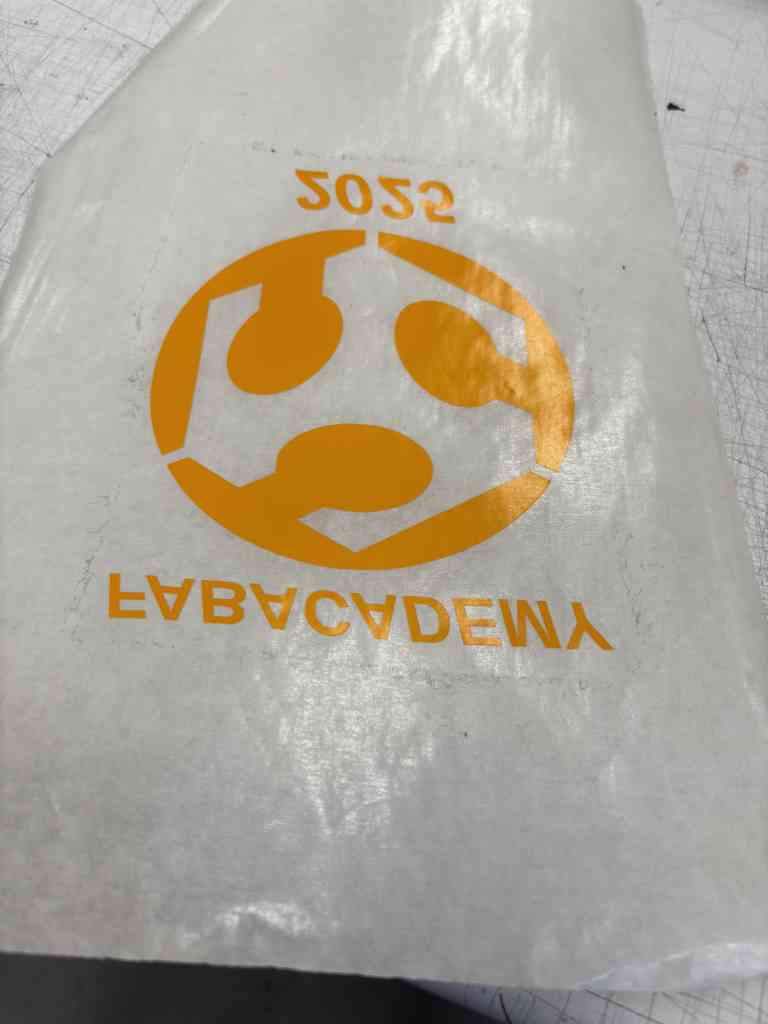
Fresh out of the vinil cutter.
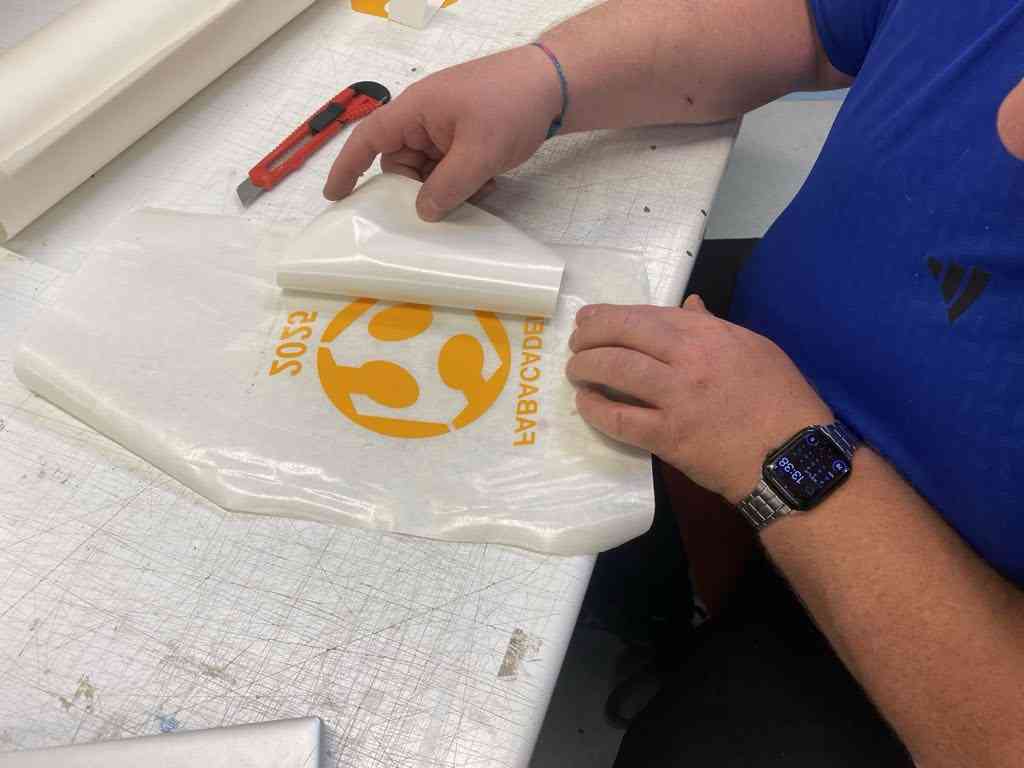
Transfering it to the transfer tape.
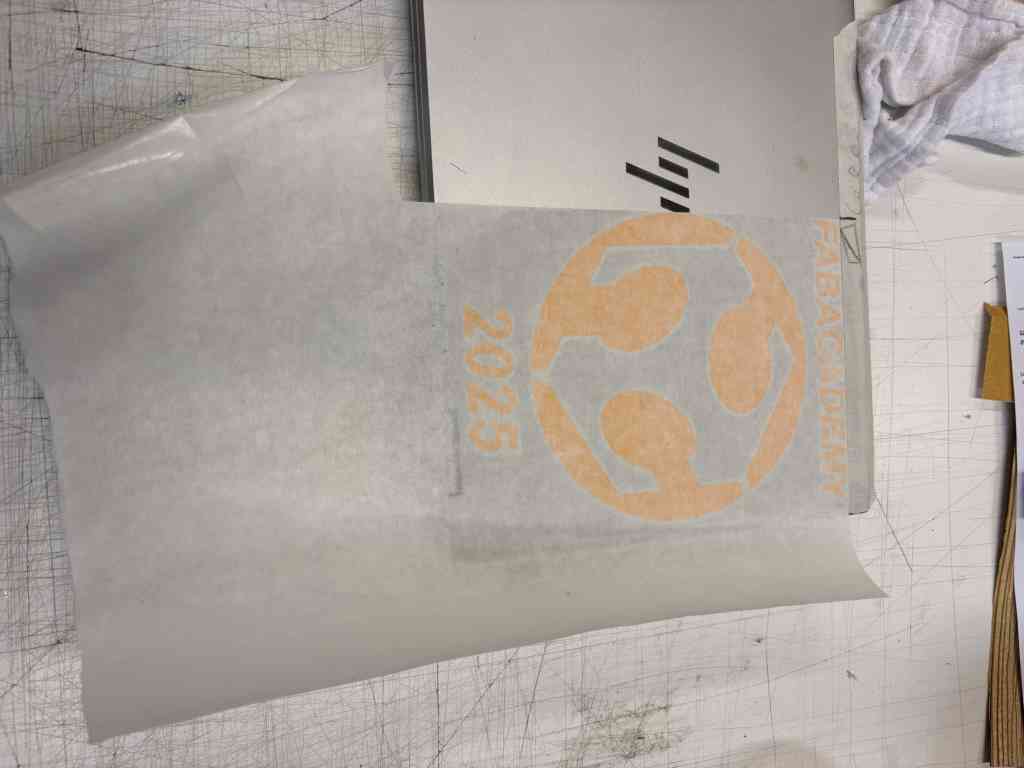
Fitting.
Pulling the transfer tape.
Decided to put it on my computer.
The vinil is on, time to pull.
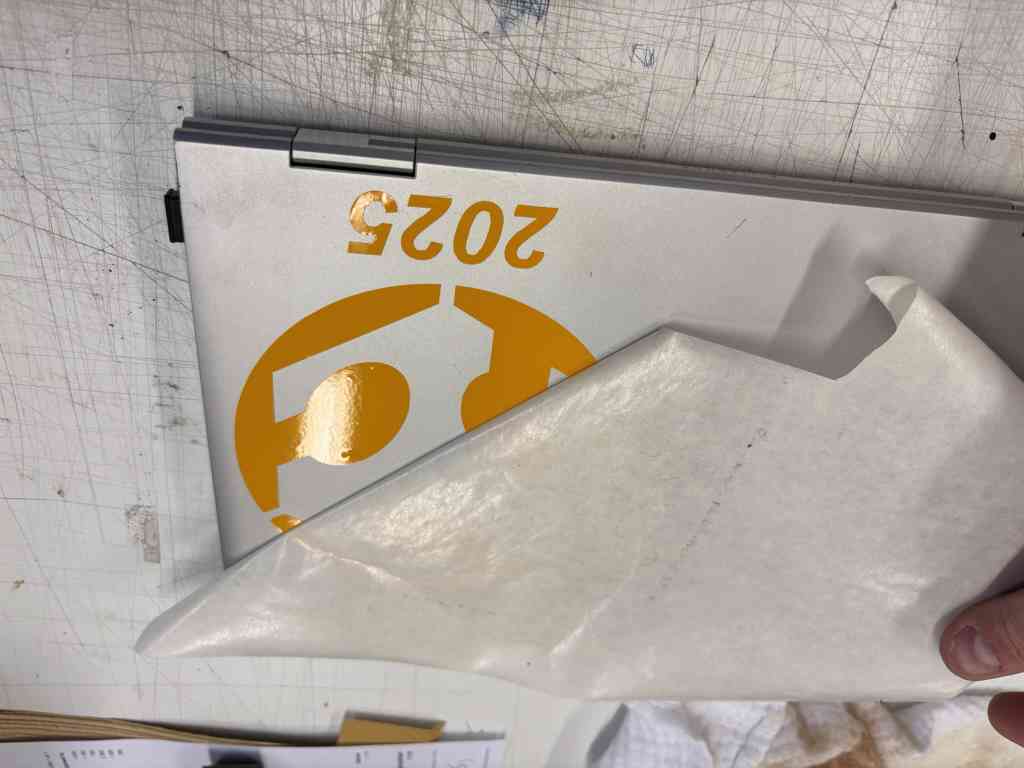
Carefully pulling the transfer tape off.
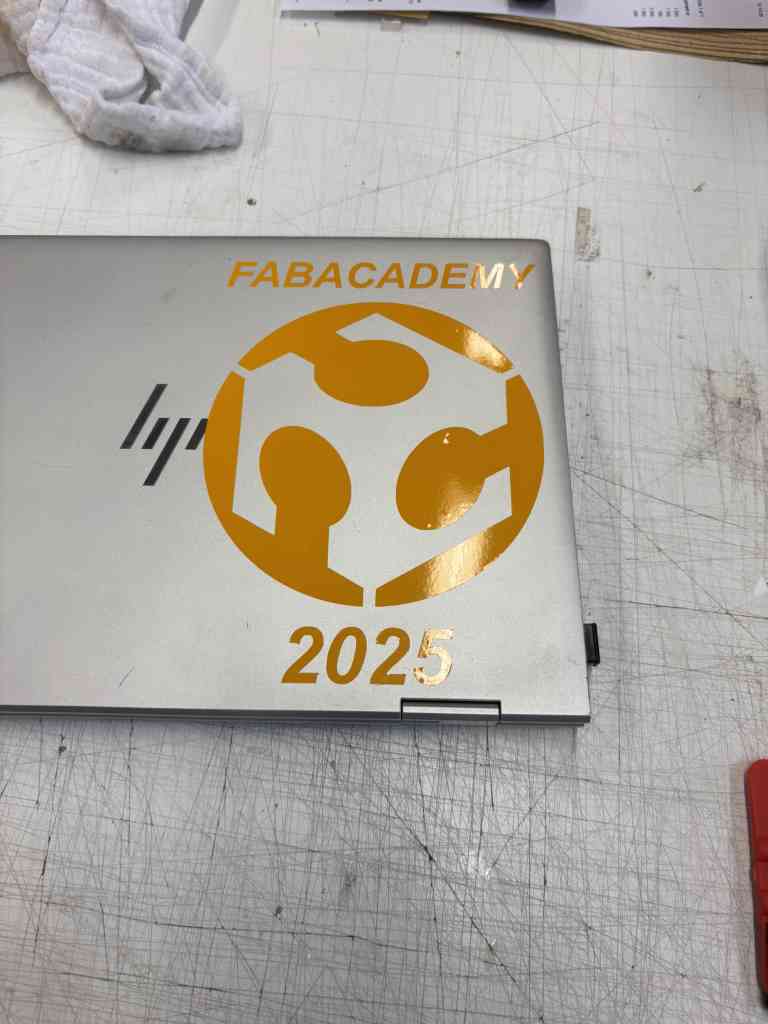
Here my vinil project is finished on my computer.
Click the button above to get the InkScape file for the sticker.