Week 07
Computer-Controlled Machining
Brief Overview
This week, I will use a computer-controlled machine to create an object out of 12mm thick plywood. The object will have one dimension set to 1 meter, either in its length, width, or height. For this assignment, we need to create something substantial, so I decided to make a useful article for our ashram. I have designed and will cut a Wall Mount TV showcase. First, I will design the Wall Mount TV showcase using Fusion360. Once the design is complete, I will use VCarve software to generate the ".cnc" file necessary for the CNC router machine. Next, I will import the ".cnc" file into the CNC machine's software. I will then set all the required parameters and coordinates for the machine. Finally, I will proceed to cut the TV showcase using the CNC machine and assemble the final product.
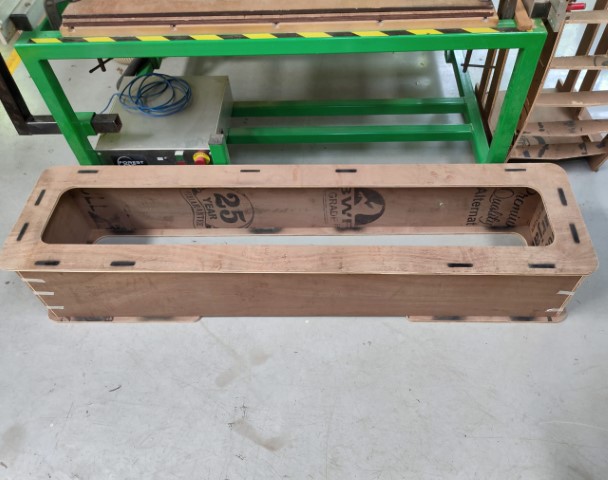
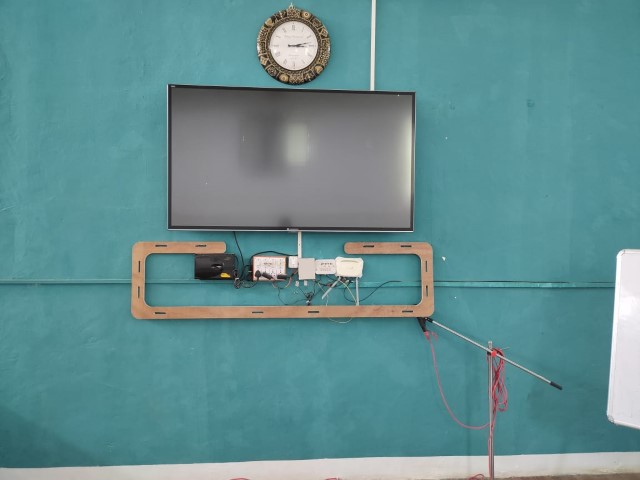
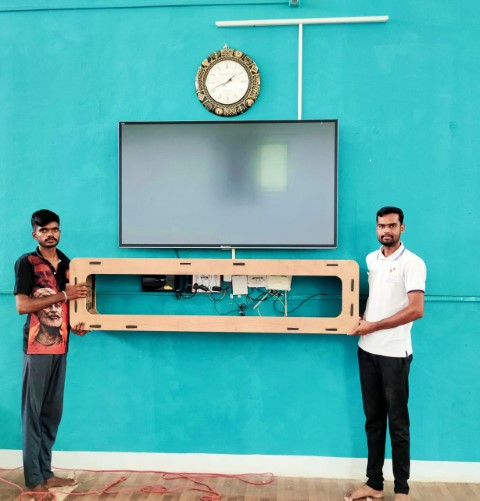
My Heroshot for this Week
 |
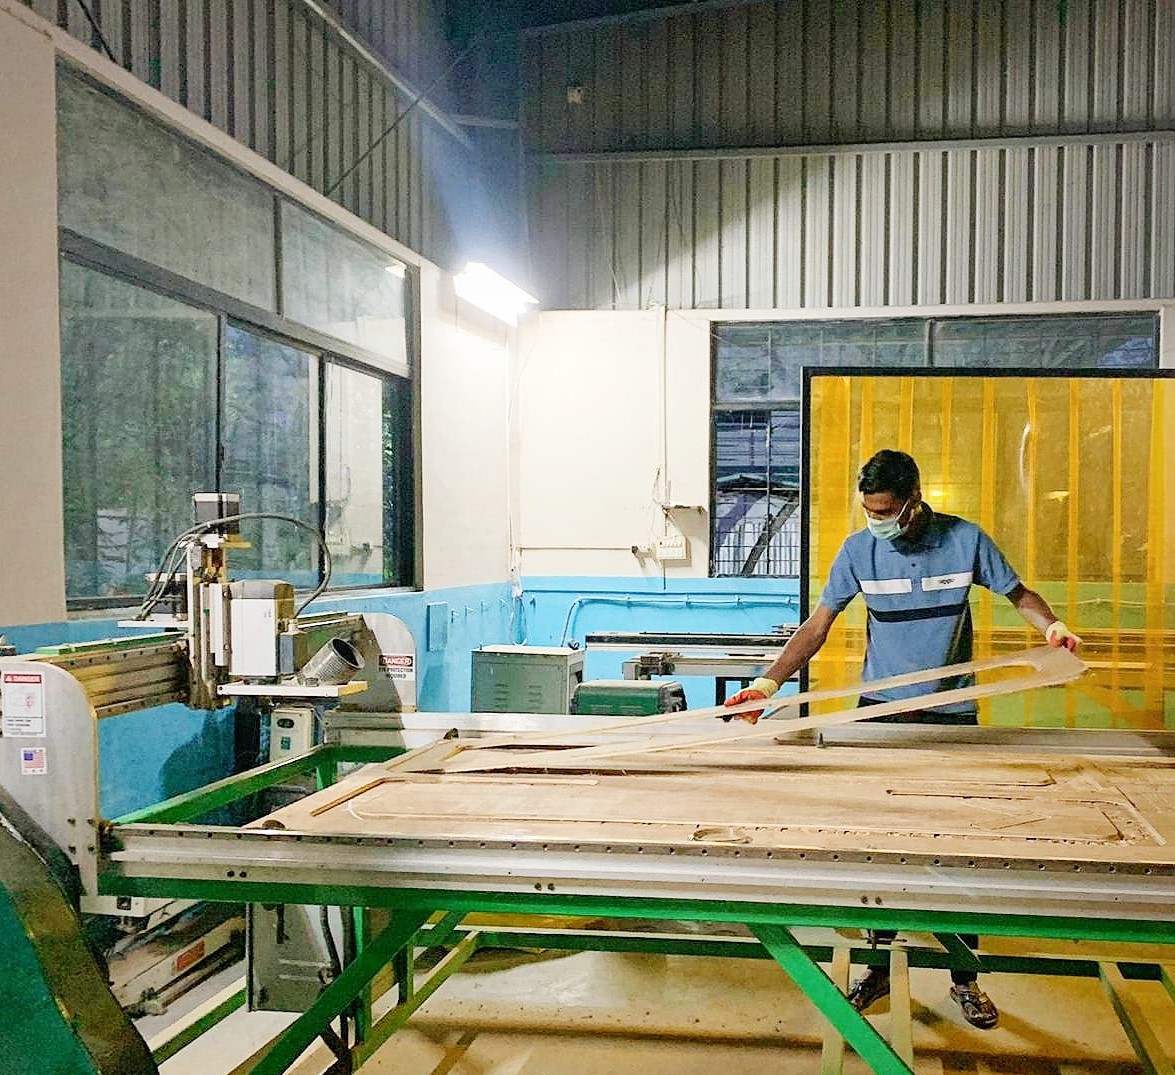 |
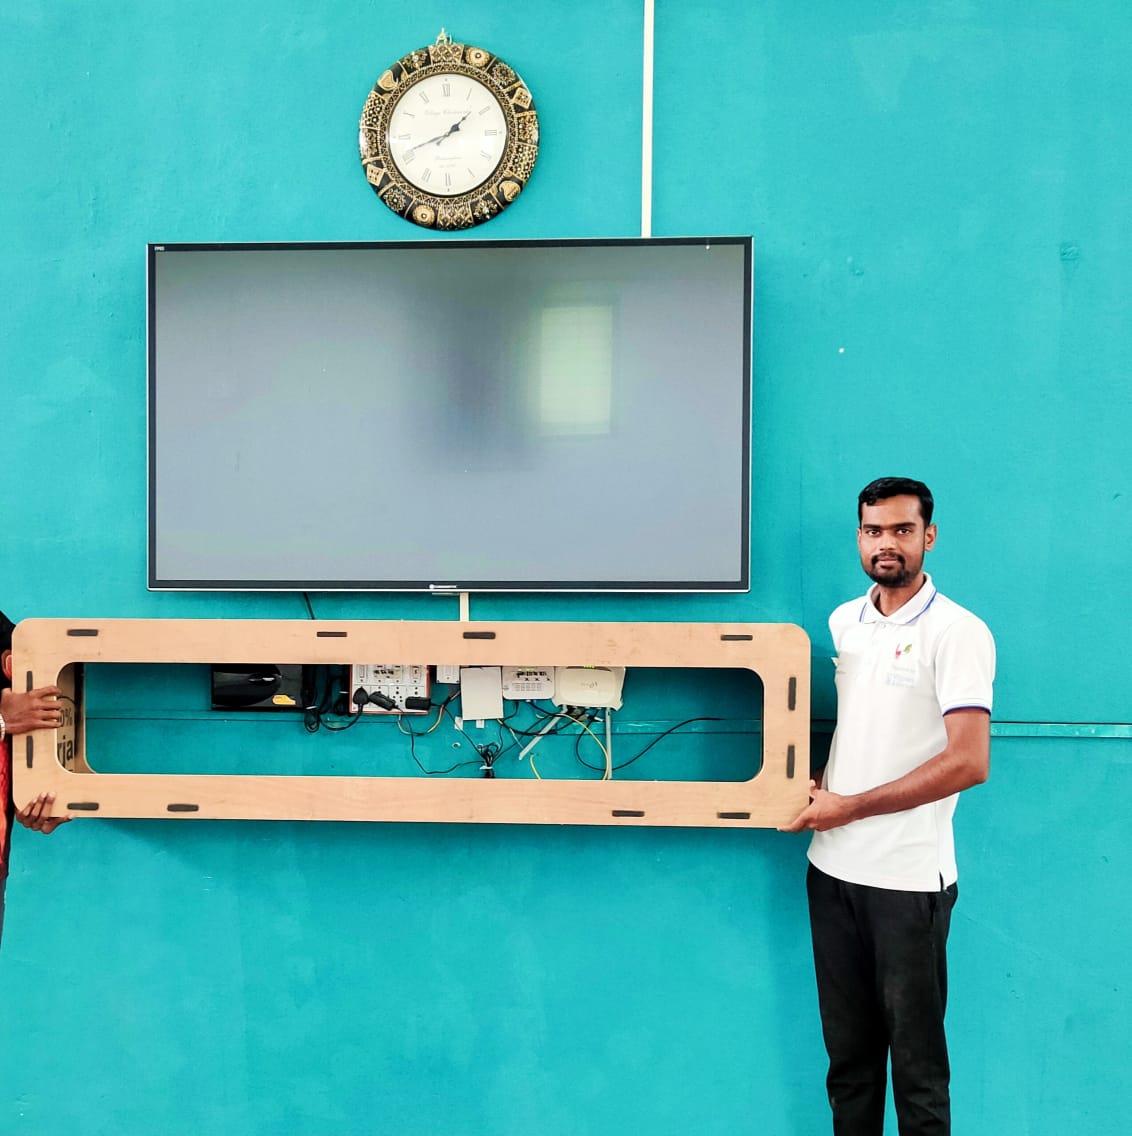 |
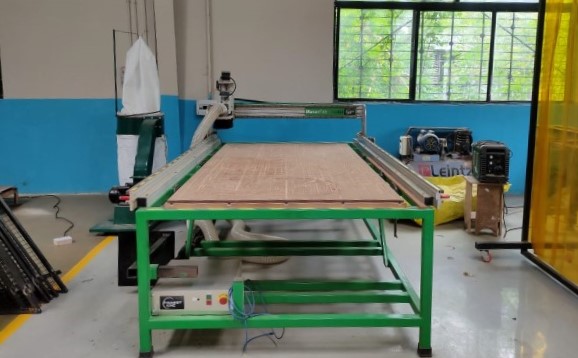
CNC Wood Router
A Forest CNC wood router is a sophisticated machine designed for automated, precise cutting, carving, and shaping of wood and other materials.
Specifications
Construction and Frame
- Material: Steel or cast iron
- Size: Table sizes range from 2’x3’ to 5’x10’ or more
Spindle
- Power: 2.2 kW to 12 kW
- Speed: 6,000 to 24,000 RPM
- Cooling: Air-cooled or water-cooled
Axes
- Number of Axes: 3-axis (X, Y, Z)
- Movement: Ball screws or rack and pinion
- Resolution: Down to 0.01 mm or better
Controller
- Type: Dedicated CNC or PC-based controllers
- Software Compatibility: AutoCAD, SolidWorks, VCarve, etc.
- User Interface: Touch screen or handheld pendant
Cutting Area
- Dimensions: Common sizes are 4’x8’ or custom sizes
- Z-Axis Travel: 0 inches to 12 inches.
Group Assignment Brief:
In your lab's safety training for the Fab Academy assignment, focus on proper use of PPE, emergency procedures, and safe handling of materials and tools. Provide practical demonstrations and emphasize maintaining a clean workspace to prevent accidents.
For technical training, conduct test runs to ensure machine alignment and functionality. Teach proper fixturing methods, appropriate speeds and feeds for different materials, and designing effective toolpaths for precision and efficiency.
Visit our Group assignment page here
Individual Assignment:
To designing and milling a meter-scale project, start by creating detailed CAD models, ensuring all dimensions and specifications are accurate. Plan the toolpaths meticulously to optimize cutting efficiency and material usage, considering the size and capabilities of your milling machine.
Assemble the parts together without using any Fastner or glue.
Designing an Cutting file for wood routing:-
So I have choose to continue a design on Fusion 360 Software
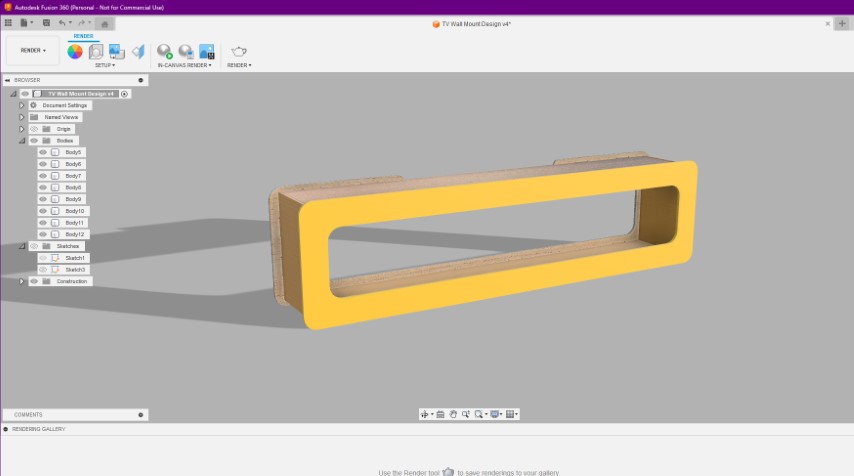
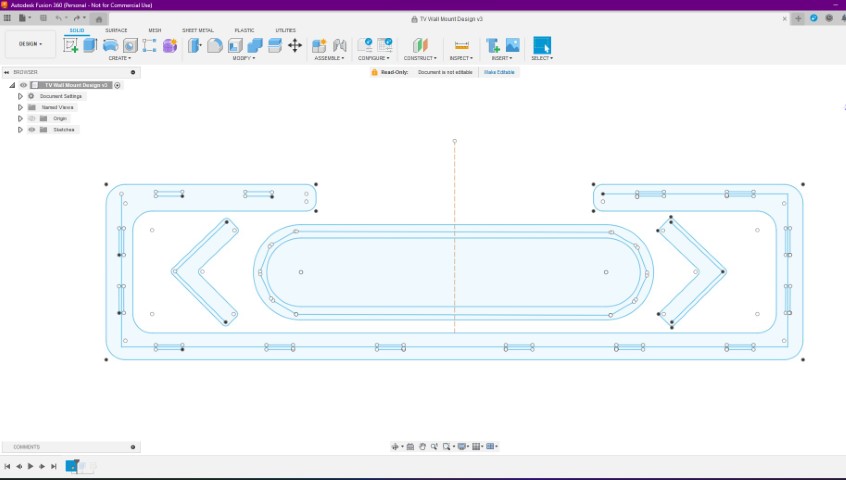
AutoDesk Fusion 360:-

Creating a new design on Fusion
Select a new plane to trace the slot and new part design.
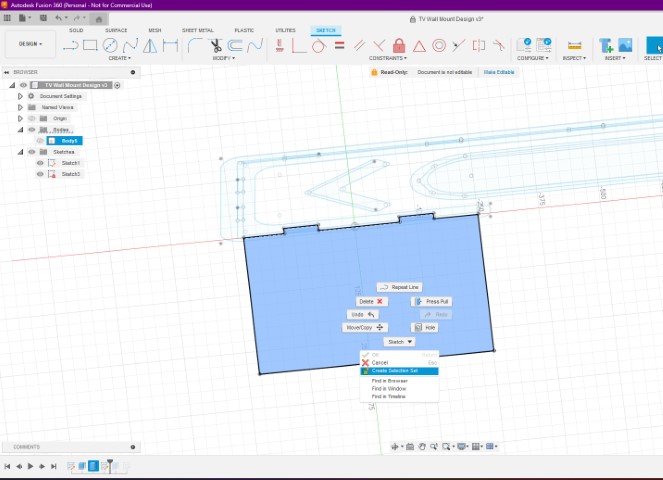
Trace the Line or points of the projected object
You can select the object and click 'P' for project of object.
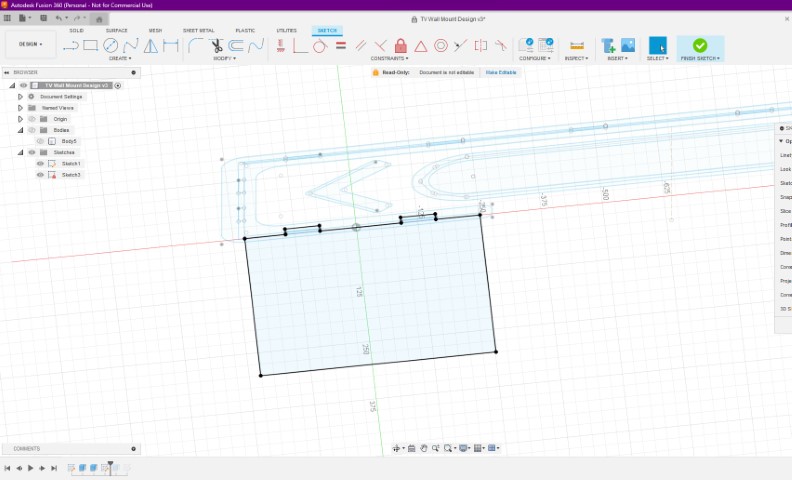
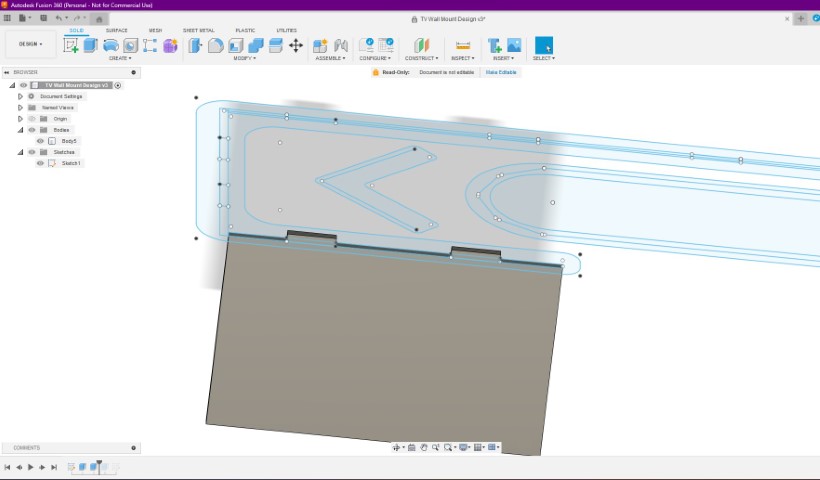
Similarly follow the same steps for creating the sketch of other panels
Remember to provide thr dogbone slot for better fixing and interlocking of the parts
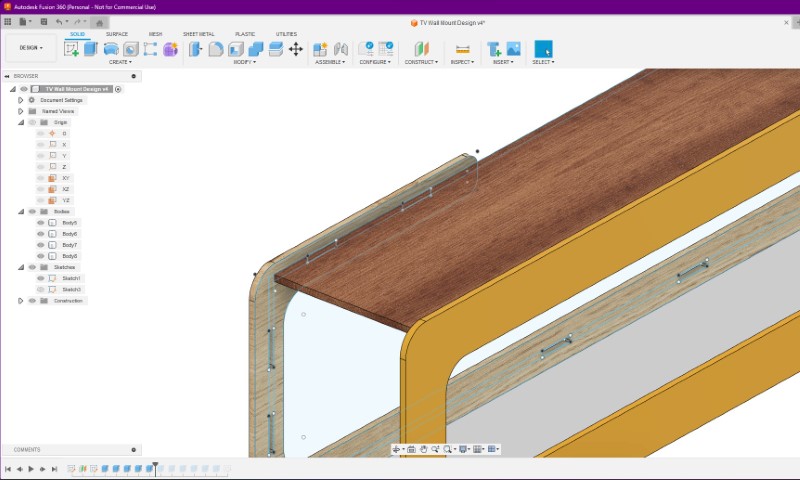
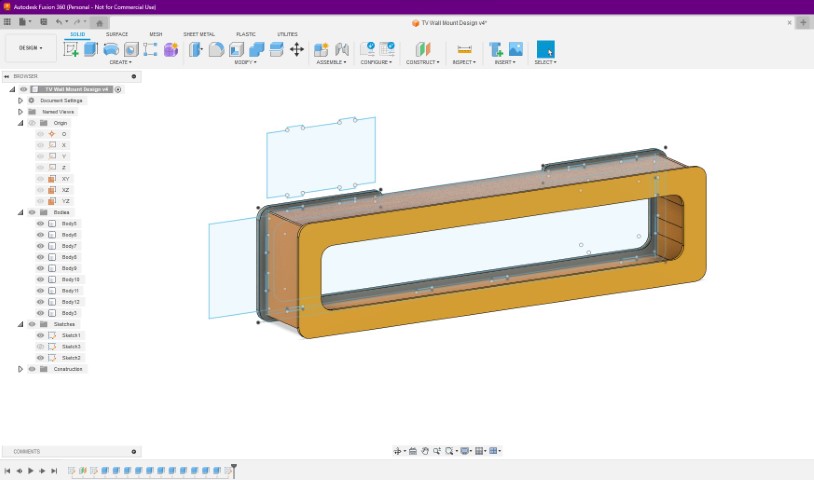
And here is the final rendered model of our Showcase mount.
Software to Create Tool Path

VCarve is a powerful software program for 2.5D milling. In machining, 2.5D refers to an object that is a projection of a 2D plane into the third dimension.
Although the object itself is three-dimensional, it cannot have 3D contours, which are smooth transitions between different heights of the material.
Step 1: Create New File

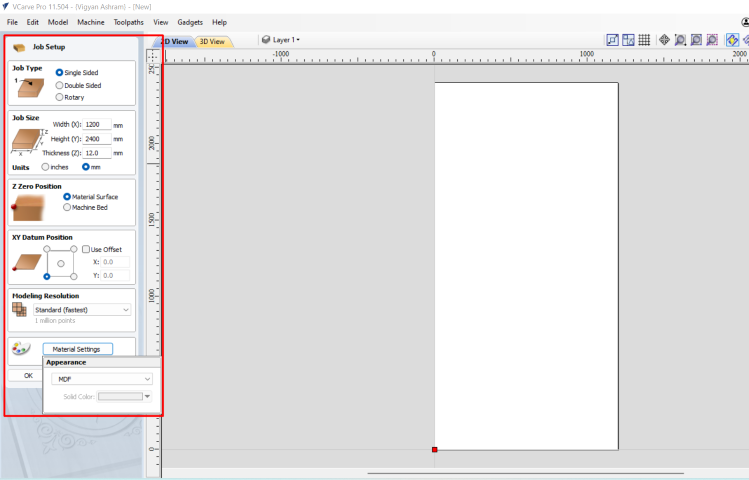
Step 2: Set the Job Parameters
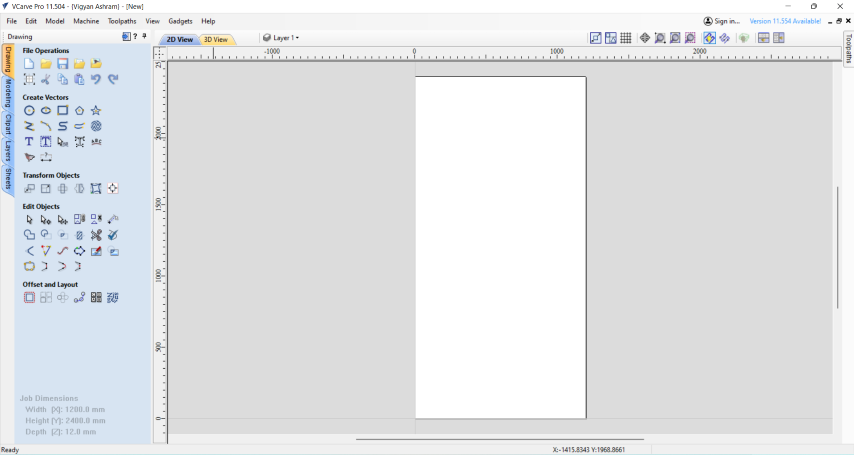
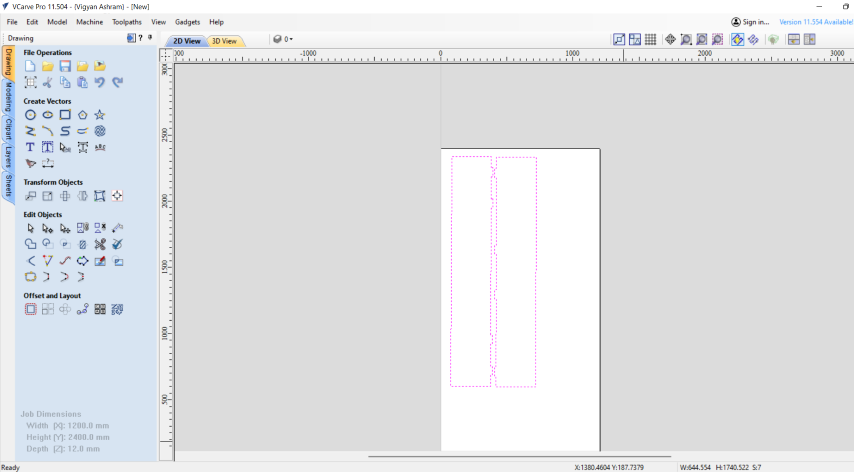
Step 3: A New File Window will be opened
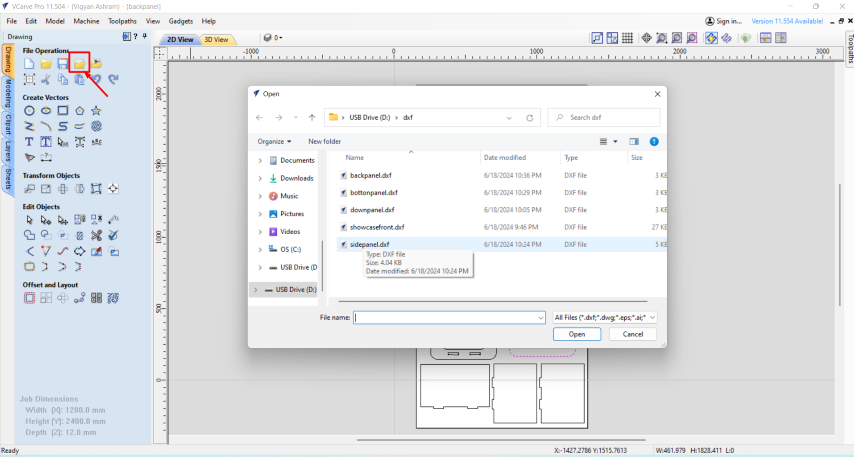
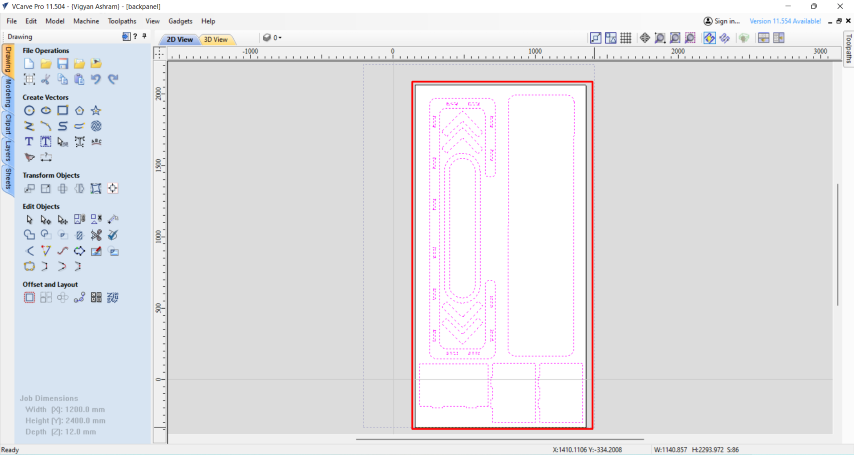
Step 4: Import New File
Step 5: Set all vectors togheter on the cutting plane
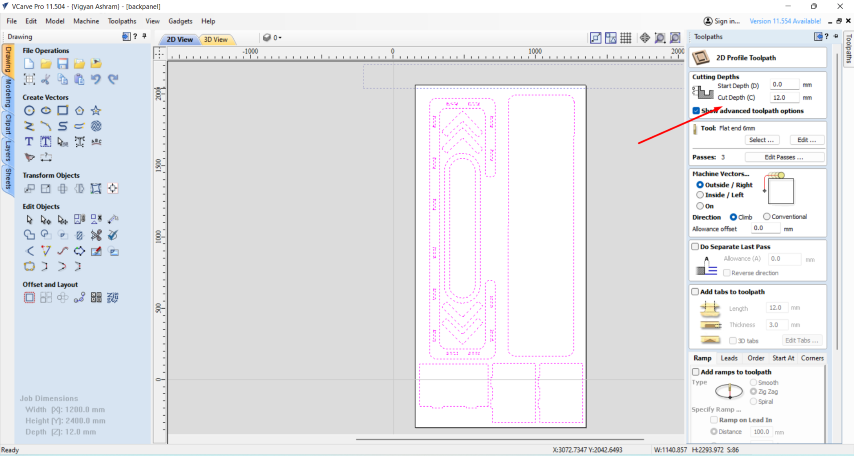
Step 6: Click on the right corner for toolpath

Step 7: Set the cutting parameters
Step 8: Scroll down to check all the default parameters, if you want ot change you can edit the parameters.
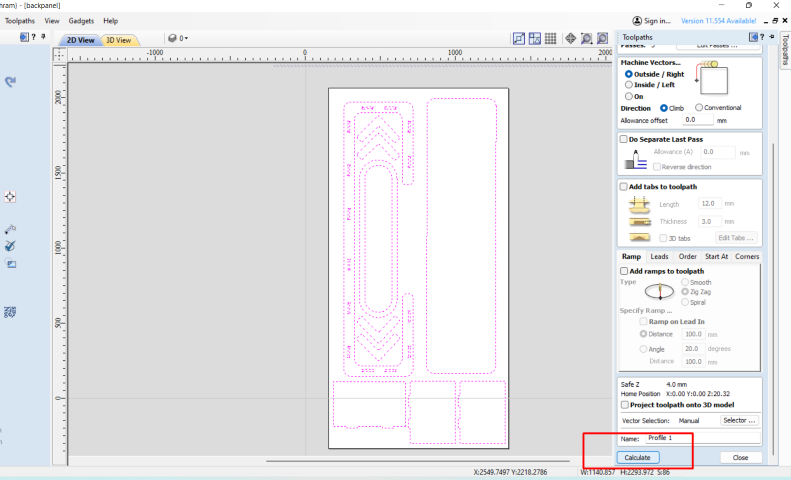
Step 9: A new window will open to save the toolpath and other options.
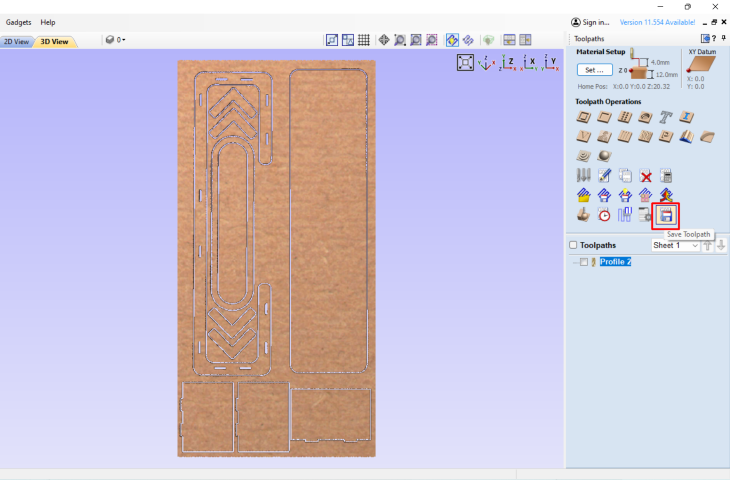
Step 10: Click on the save button to create and save toolpath

You Tool Path will be saved in the folder you browse.
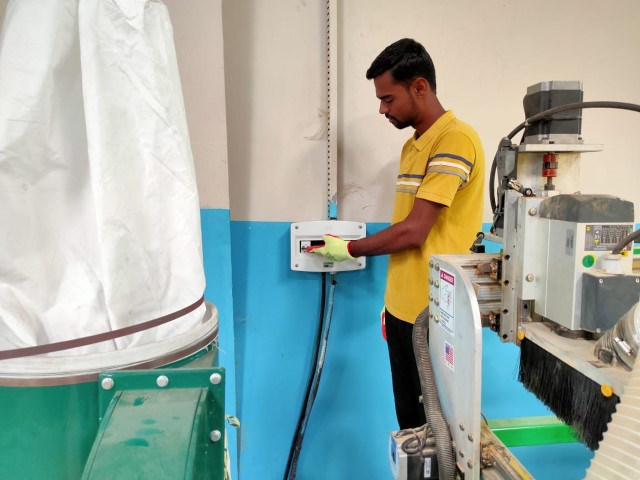
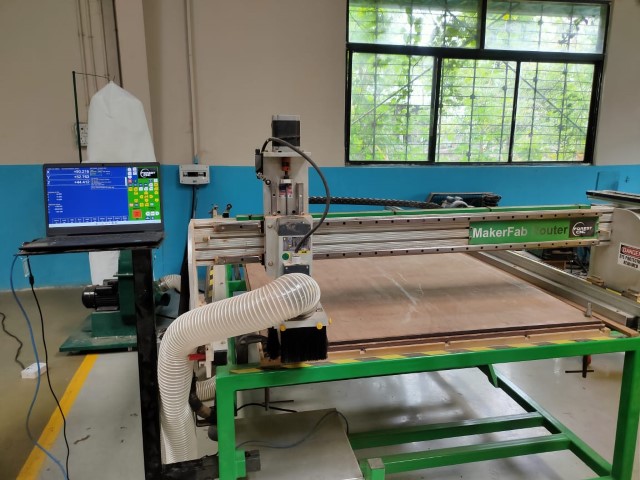
Turning on the Machine and Mounting a fresh Sheet and Clamping
First of all turn on the Powersupply to switch the machine ON
Mount a End Mill on the Spindle as per your requirement, in our case I have used 6mm Flat end Mill, which has been already considered while creating toolpath.
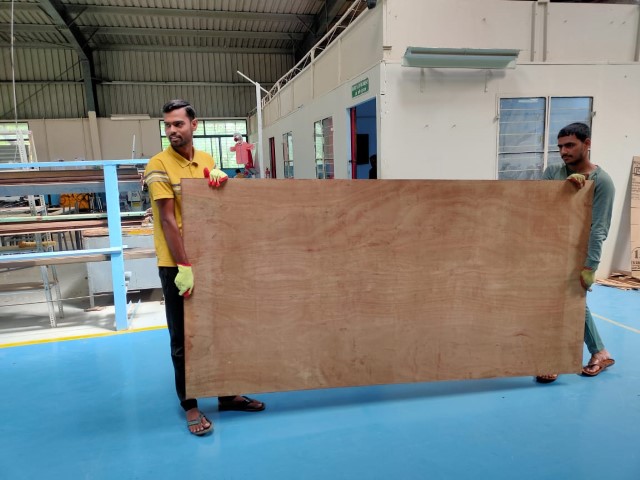
Bring a new sheet from your stock, I have used a 12 mm Thick Plywood sheet.
Mount the Sheet on the Machine, Bed and Clamp it properly at all the edges and corner.
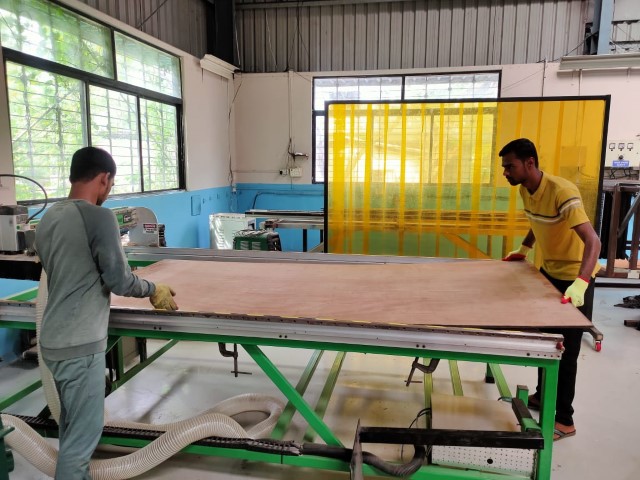
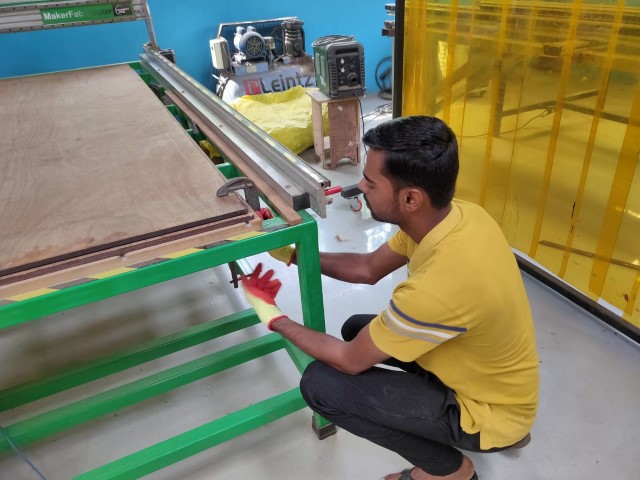
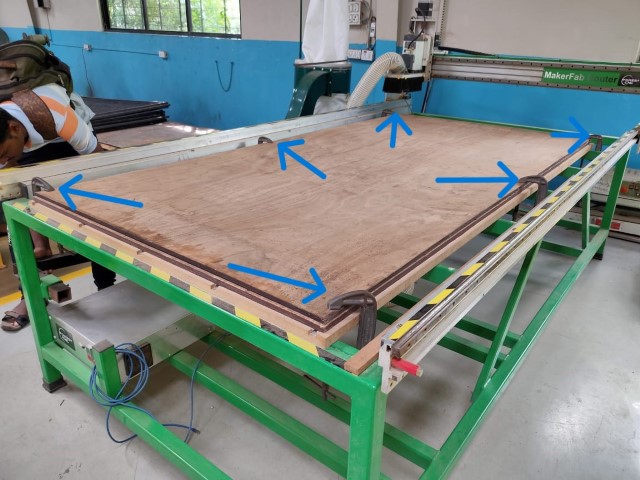
Now the Setup is ready for routing work.
Loading the File and Cutting on CNC Wood Router
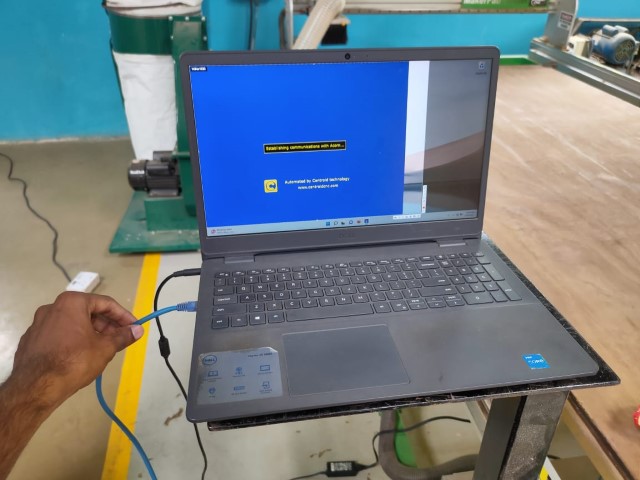
Step 1:First connect the Data Cable of the Machine with your Authorised Licenced System provide Forest CNC
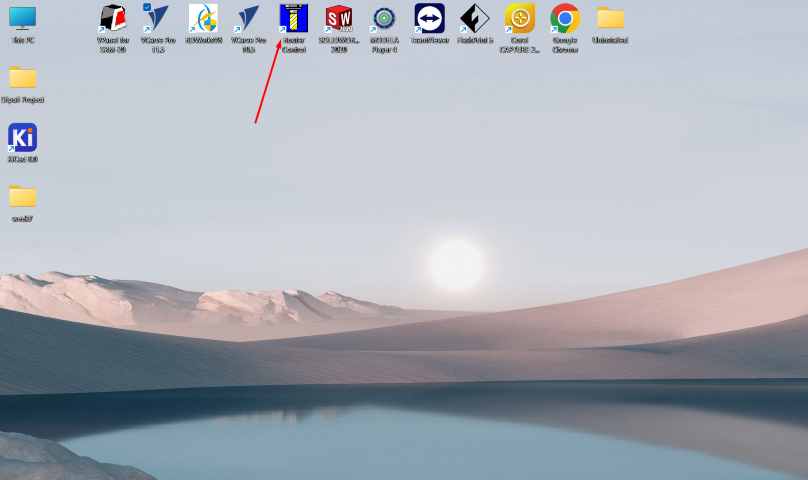
Step 2: Open Router Controller on your System
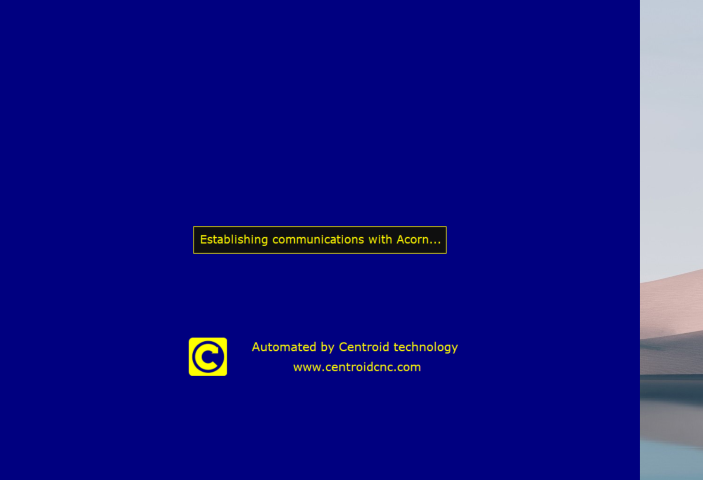
Step 3: A new window will open "establishing commmunication with the machine
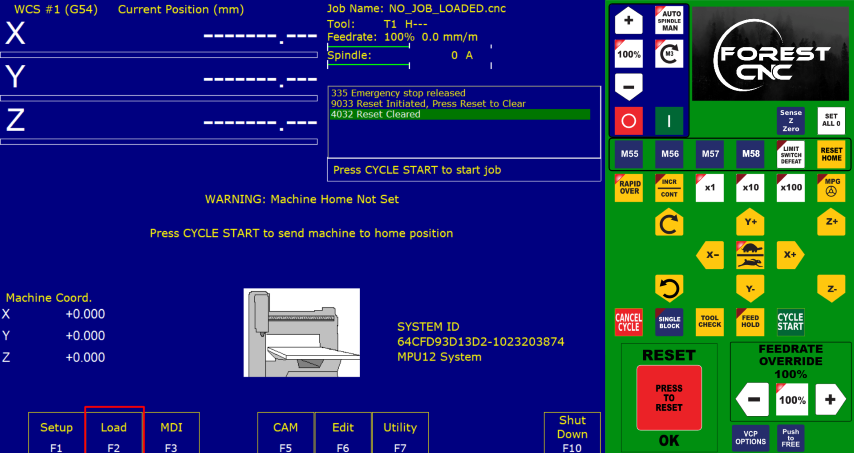
Step 4: Now the Software Interface/Controll will opened
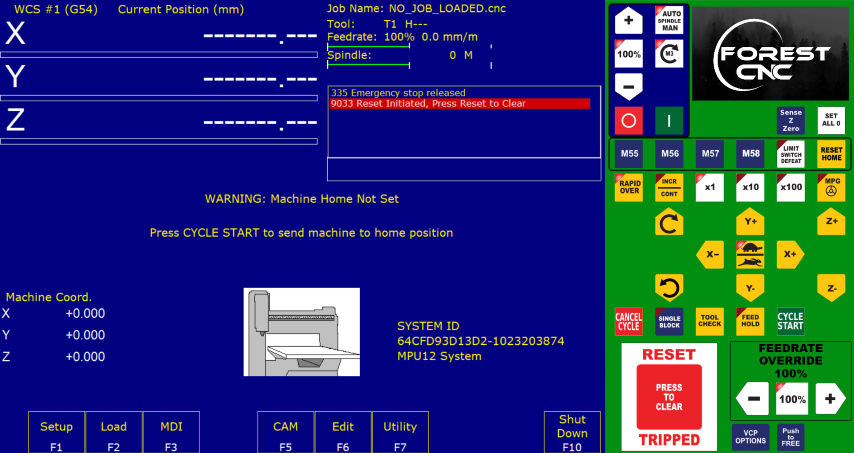
Step 5: Press the Red Colour "Reset" button.
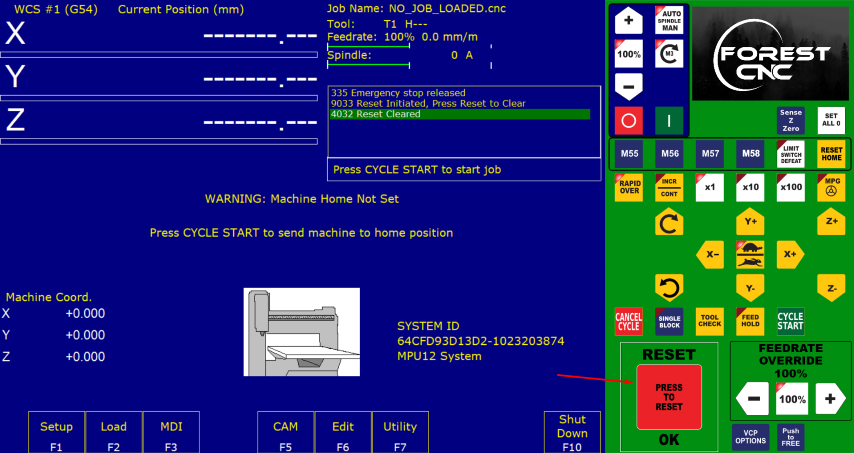
Step 6: Now take the Machine to Home Position by click on the "Reset Home Button"
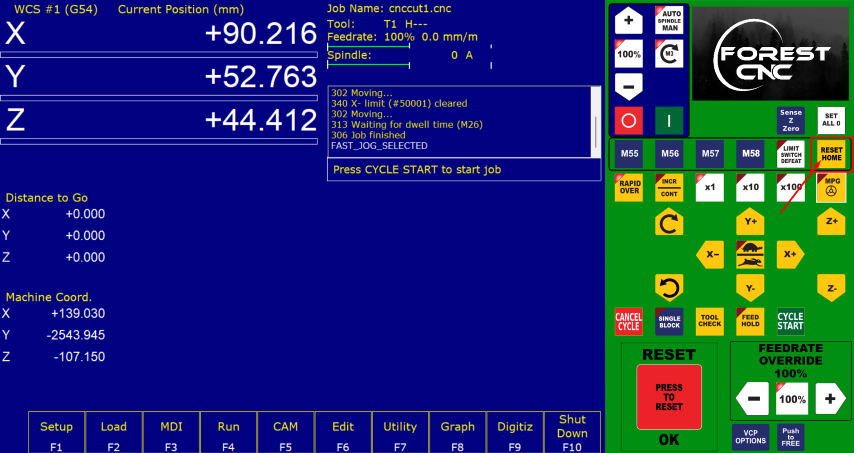
Step 7: Load a New Toolpath File
Step 8: Manually move the X,Y,Z at desired location to Set the Origin.
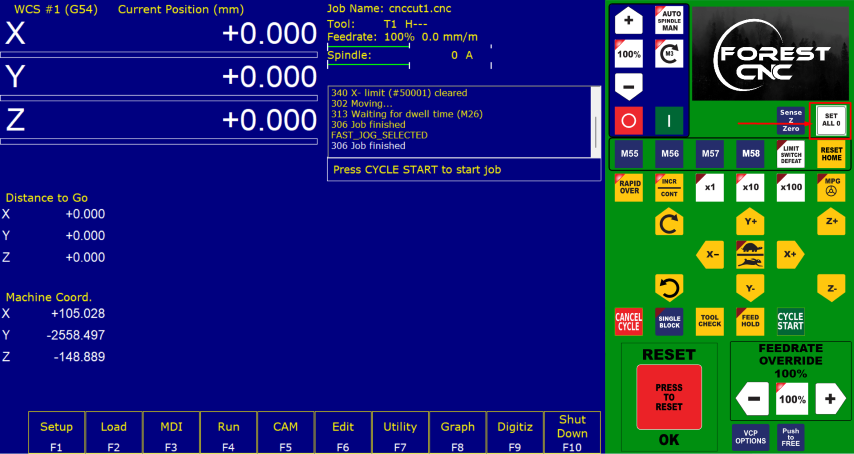
Step 9 : Click Start cycle button

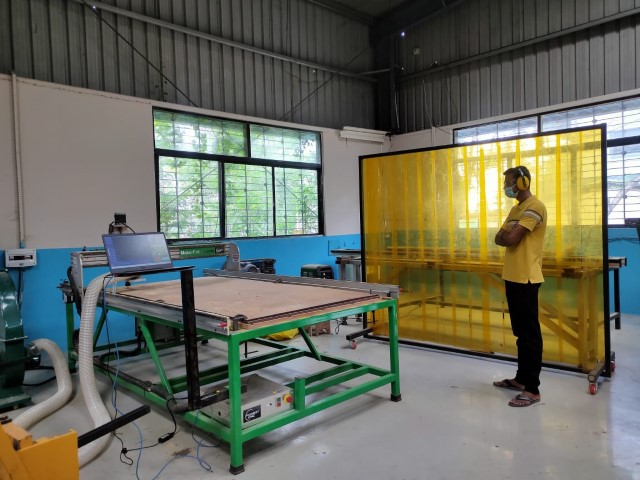
Note: 1. To Maintain a Safe distance while the machine is in operations
2. Wait near the machine till the job is done and where its easily accesible for emergency switch.
3. Follow all the safety Guidlines.
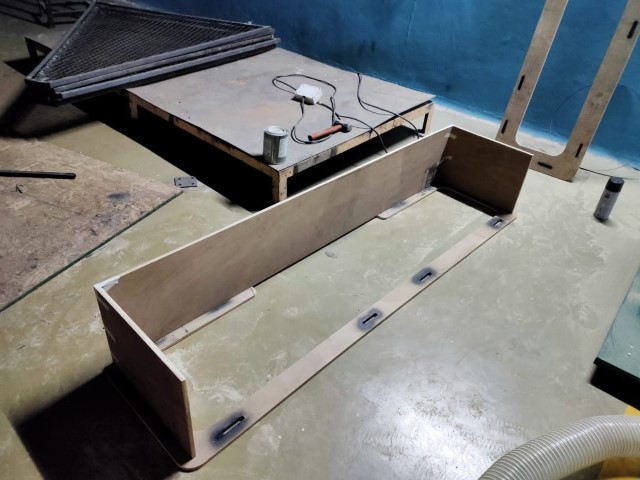
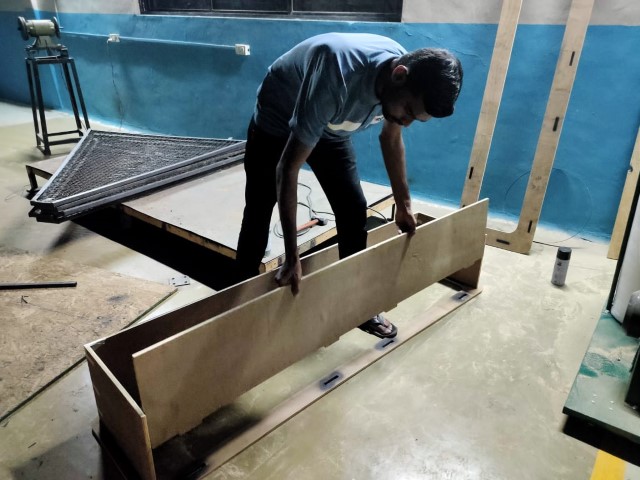
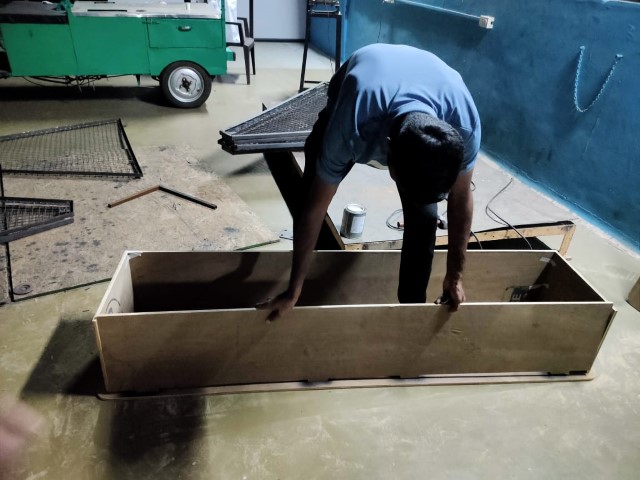
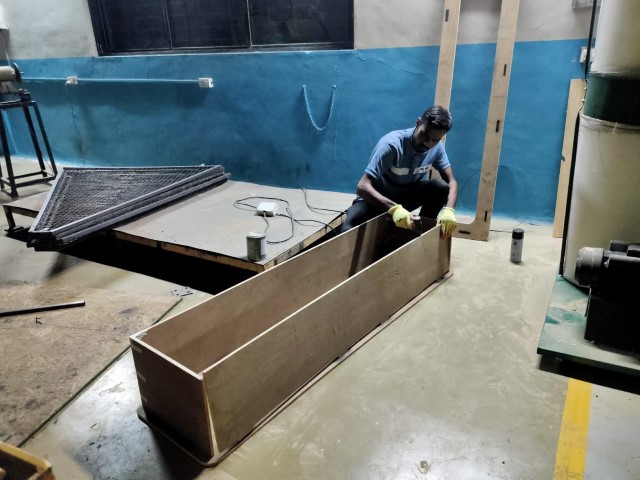
Taking out the Cutted Part and Assembly
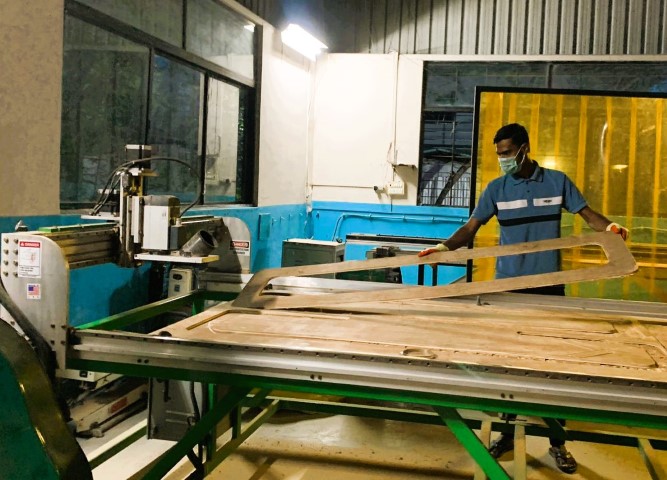
Assembling all the parts together to form a Model of our Showcase.