
Wildcard week
assignment
- Design and produce something with a
digital process (incorporating computer-aided
design and manufacturing) not covered in another
assignment, documenting the requirements that your
assignment meets, and including everything necessary to
reproduce it.
So for this week I tried a few different things!
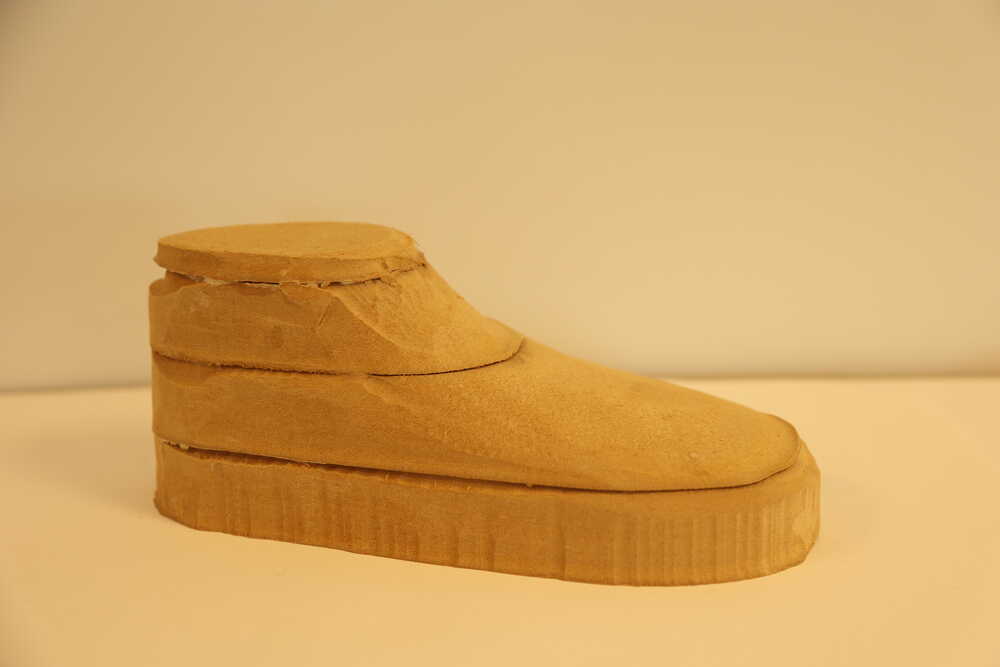
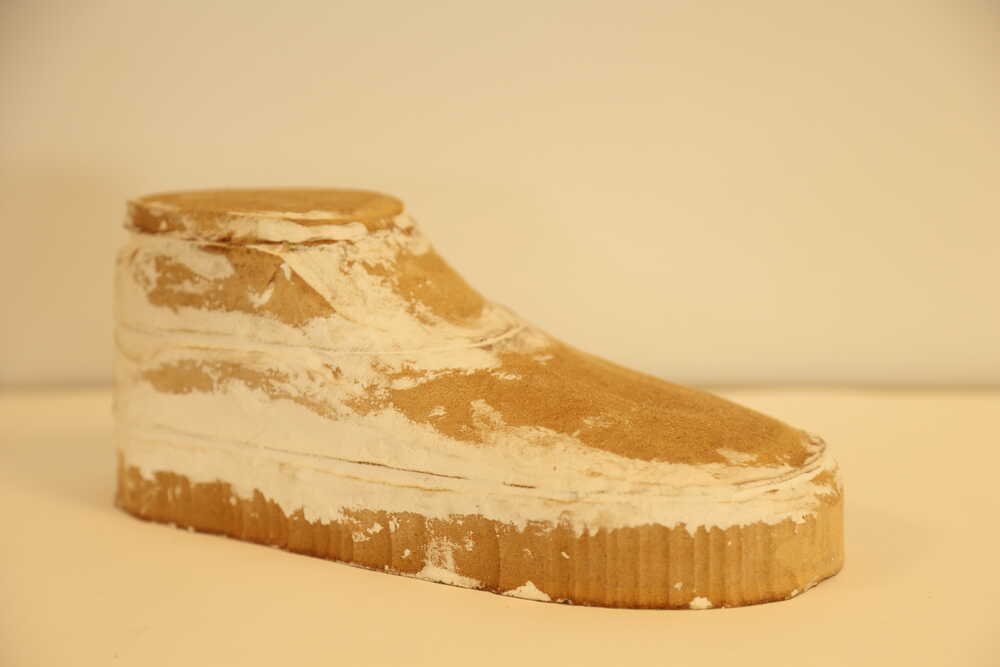
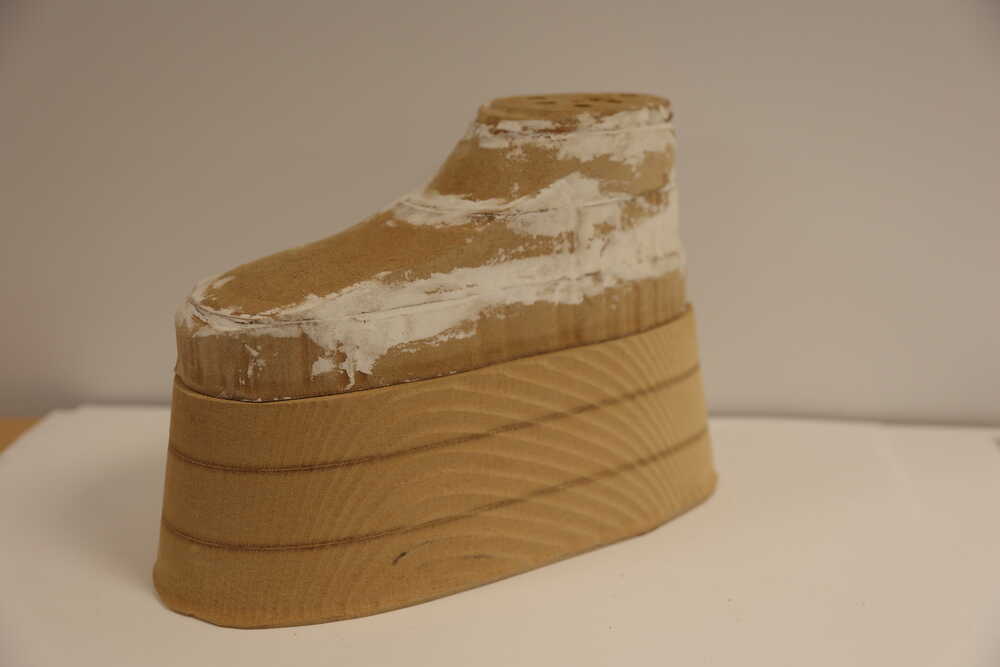
- I used the big milling machine to make a 3D last of my foot (85% smaller so it would fit my sister)
- 3D printing on textile
- Composites - I covered the shoelast in fabric covered in
epoxy
- Vacuum forming (using rastered 3mm acyrlic)
Modeling
I began by free-form modeling around a 3D scan I had of
my foot in Fusion. I then shrunk it by 85% because I wanted
the shoes to fit my sister.
I followed this youtube
tutorial
In this video you can see my modeling process for the
shoelast. I used a 3D scan of my foot from the previous 3D scanning week
video showing the other processes
- 3D milling process.
- For the 3D milling I used VCarve and ShopBot.
- I printed the town that went under lava on fabric -PrusaSlicer
- I used epoxy and fabric and covered the shoelast in it to make the shoe
- I then put it in a plastic bag, used the vacuum to
take out the air and wrapped it in plastic wrap.
- I rastered the acyrlic in the laser with a pattern I
designed using Krita and Inkscape.
- I used the vacuum former to form the bottom of the
platform
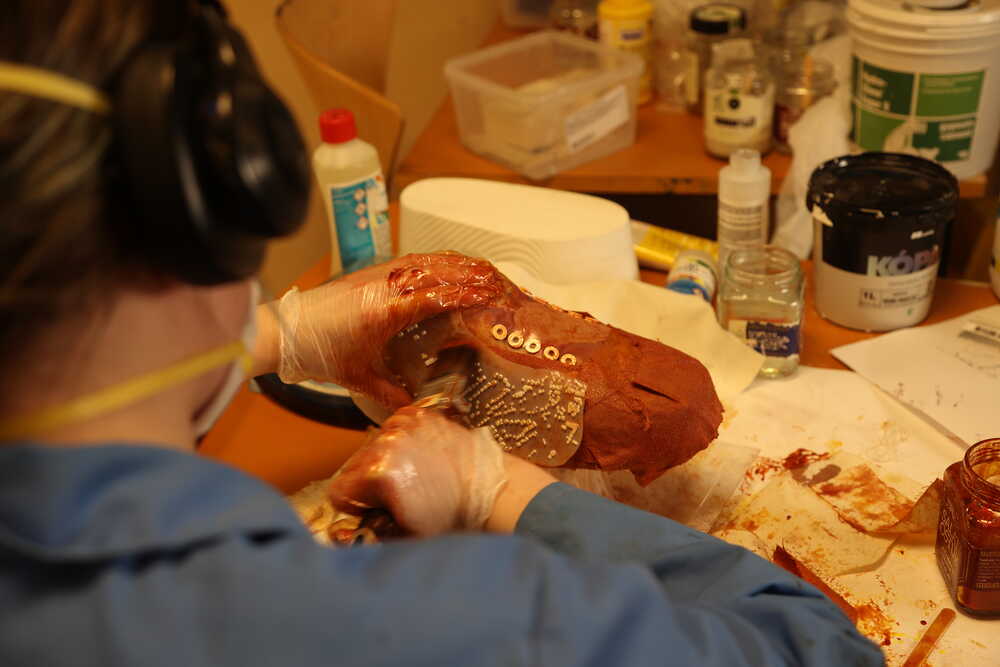
Composites
I mixed the resin into jars and cut the fabric into
parts. I then began covering the fabric in resin using a
paintbrush we were willing to sacrifice.
I began wrapping the fabric around the shoelast. I had
put a lasercut bottom underneath the shoelast and
covered the resin around that as well. This was to give
the shoe a stronger bottom so the weight would be
carried out more evenly throughout the shoe. I did many
layers of the fabric and mixed a colourant into the
resin to give it a more fiery look (although admittedly
it did make the workspace look like a crimescene)
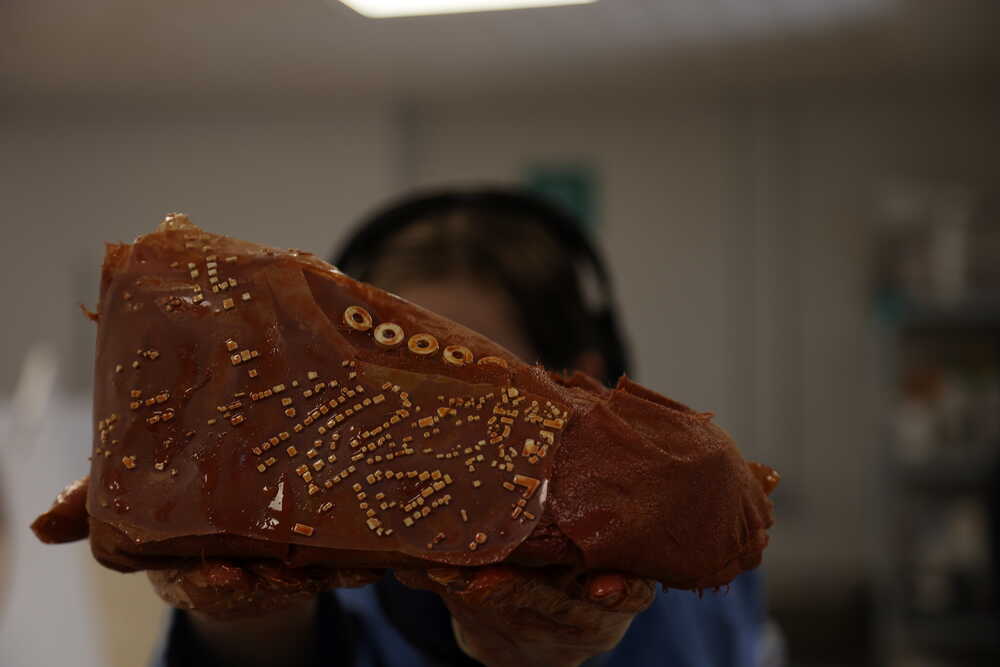
At the last layer I added the fabric I had 3D printed
on. One was for the holes of the shoelaces. The other
was a 3D map of the houses that went under lava in the
eruption that happened in the Westman Islands in 1973.
After the final layer of fabric and epoxy I put the shoes in a bag and used the vacuum on it. The bag I wanted to use that was especially made for this sort of thing unfortunatly would not close properly, leading to the air leaking out. I ended up simply putting it in a regular plastic bag, using the vaccuum on it, sealing it and then wrapping plastic as tightly around it as possible.
This is the shoe before it hardened:
Software
Files
Rings for laces SVG file
Houses SVG: SVG
HOUSES 3MF 3D
Platform
Platform_noshell_fixed1.stl
platform_shell_bottomfix1.stl
shopbot_platform_lowerpart.crv
shopbot_platform_lowerpart_1_2_inch_ballnose.sbp
Rig for lasering platforms
3_rig_85percent_bigger_mirrored.pdf
3_rig_85percent_smaller_mirrored.pdf
3_rig_85percent_smaller_mirrored.svg