Week 2: Computer-Aided Design
This week, I research and acquired insights into a 3D CAD program, the idea is to find a program that not only encompasses both 2D and 3D functionalities but also offers rastering and animation capabilities. After thorough consideration between SolidWorks, Fusion 360, Onshape, among others. I ended utilizing Inventor Professional due to its extensive array of tutorials and interactive features, which greatly facilitate its usage for individuals with limited prior experience.
Autodesk Inventor Professional stands as a robust solution for design across multiple dimensions, offering a seamless integration of 2D drafting, 3D modeling, rastering, and animation functionalities. Its versatility makes it a preferred choice across various industries.
Additionally, I evaluated 2D design programs, including Adobe Illustrator, GIMP, and Inkscape. I chose Inkscape for its powerfull capabilities and user-friendly interface, also its accessibility as it is a free software for anyone to learn and use.
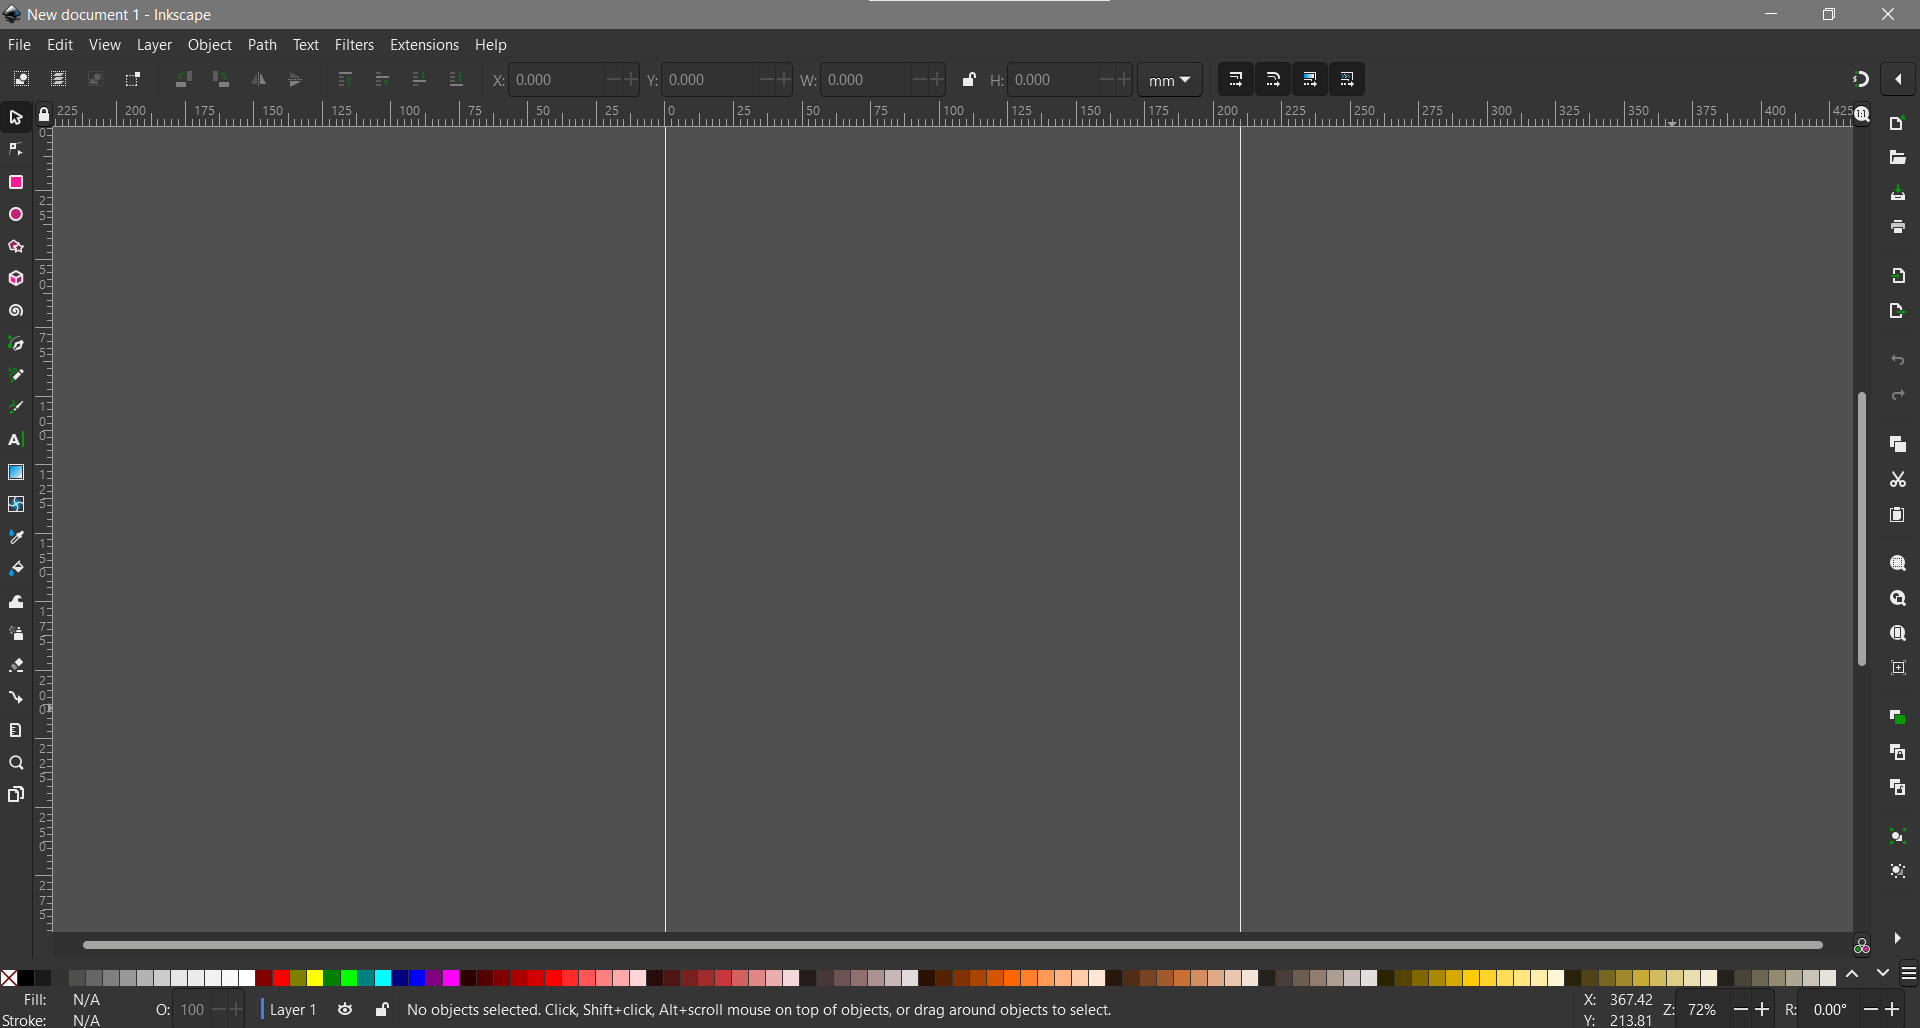
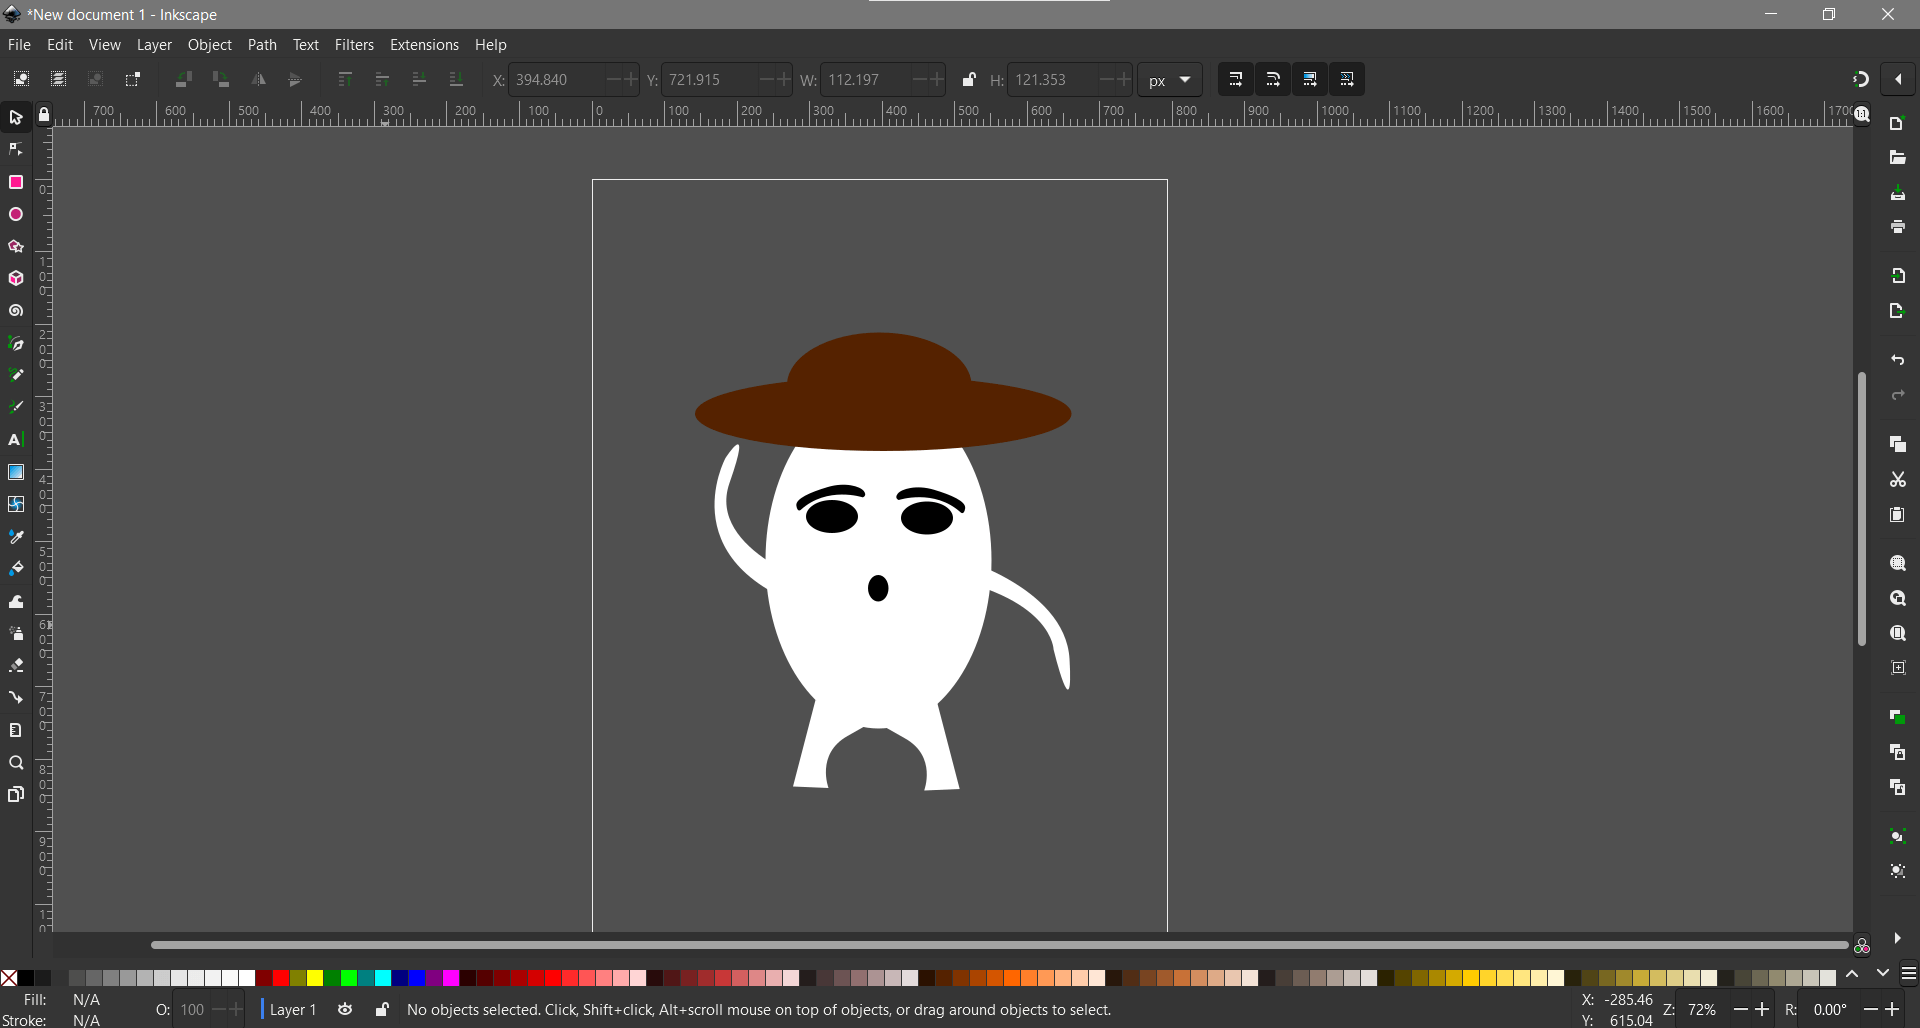
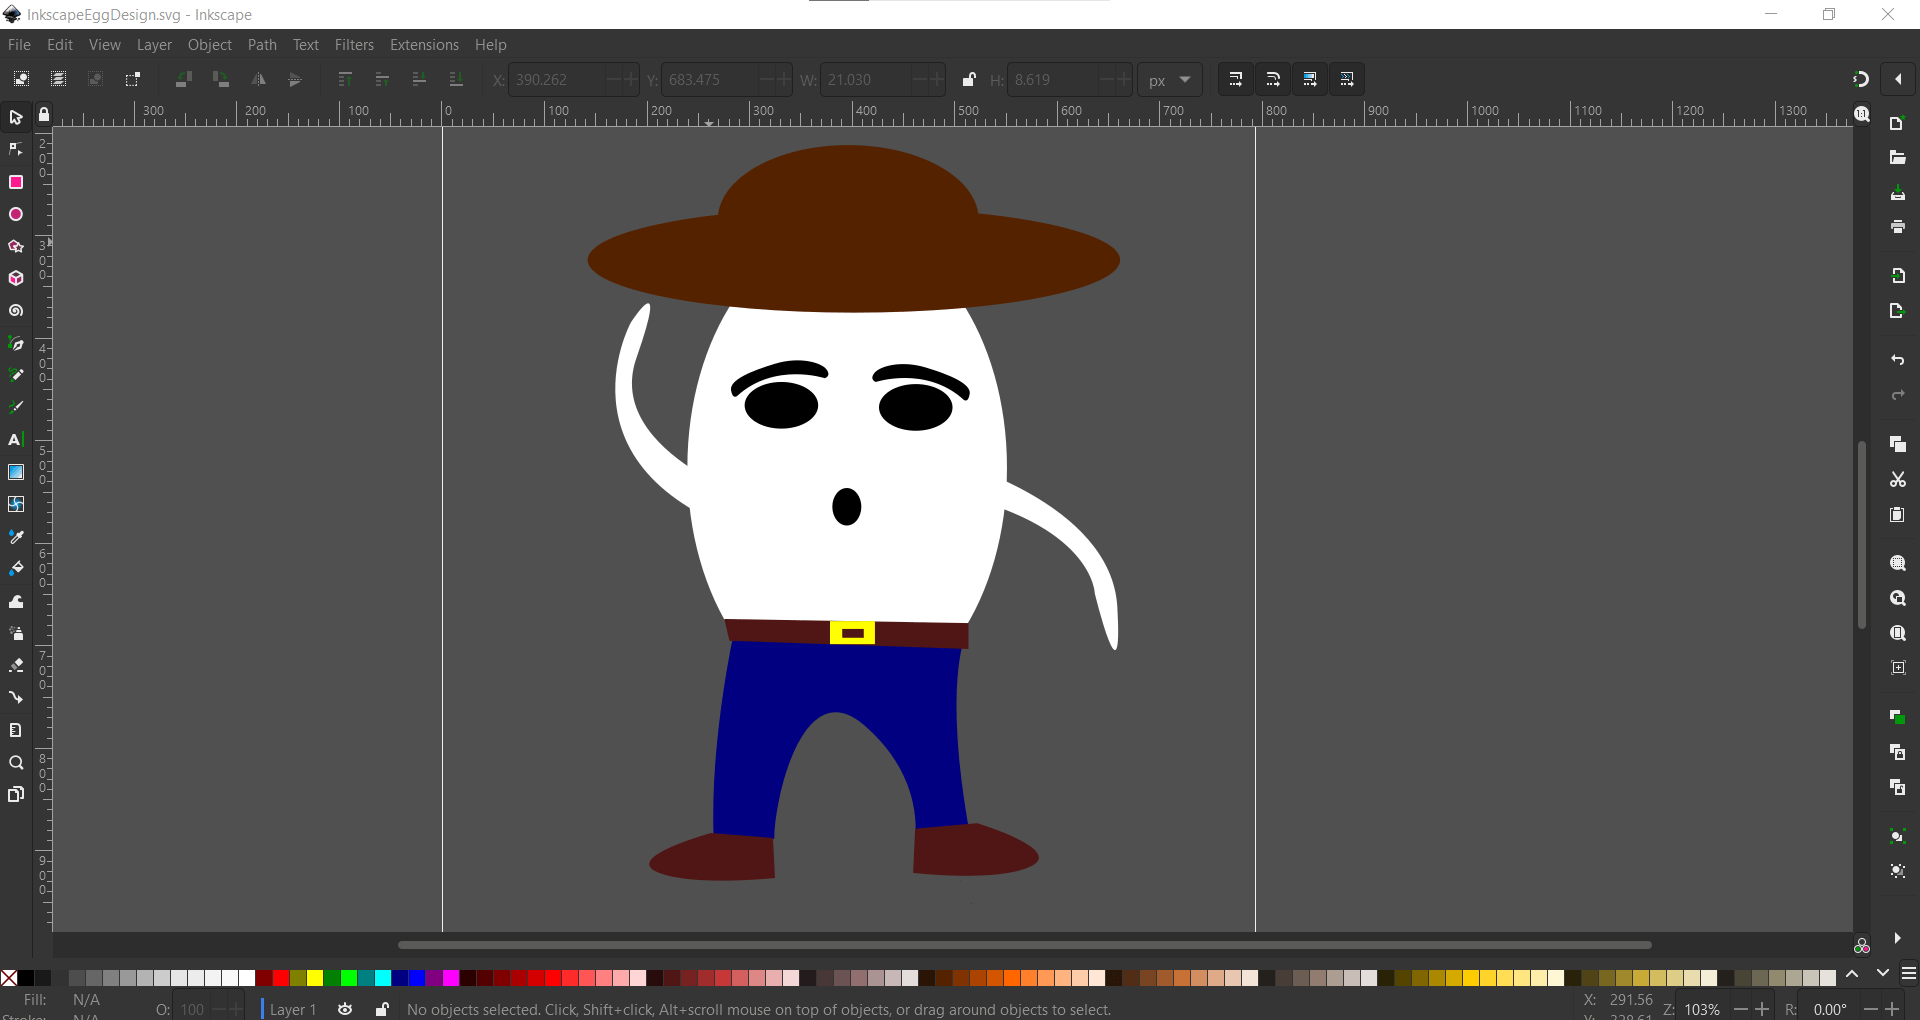
I started experimenting with this 2D vector software to create a simple logo featuring a Cowboy Egg. While the software offers a way to measure designs for functionality, it's not exactly meant for that. Taking that into account, Inkscape is a suitable alternative if your focus is on graphic design for creating logos, rather than precision.
I experimented with the functionalities that Inkscape offers, but I'm not accustomed to this type of program since I'm an engineer, not a graphics designer. However, it was a lot of fun to play around with this method of designing; it's like a more sophisticated version of Microsoft Paint.
For this design, I utilized the Rectangle/Square, Circle/Ellipse/Arcs, Bezier Curves, and Straight Lines functions, as well as the Mirror and Duplicate features. There is a lot more functionality in this piece of software that I have yet to discover and learn, but as a starting point in the world of graphic design, Inkscape helped me learn quickly since there are plenty of online tutorials available to address your needs.
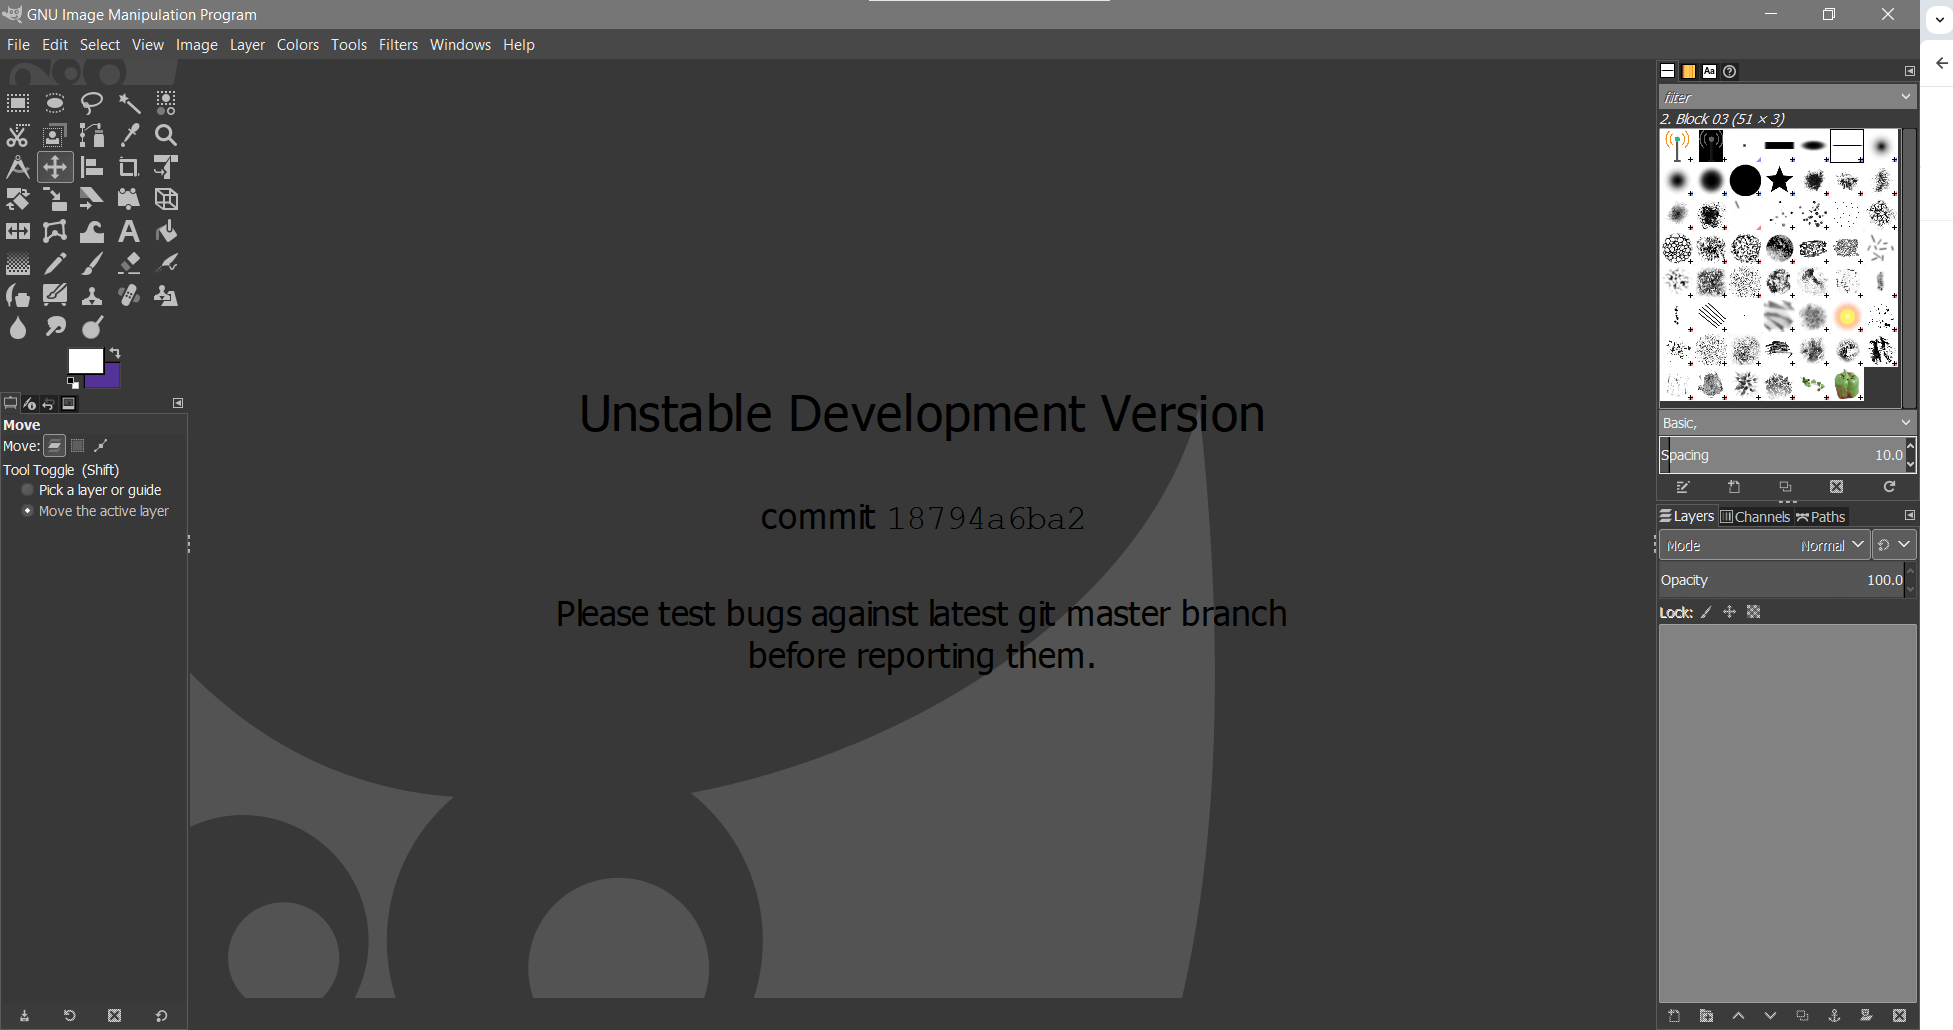
GIMP is a free, open-source image editor that's great for all kinds of projects. You can customize it to fit your workflow perfectly and take advantage of its professional-grade features for photo retouching and image composition. With extensive plugin support, like G'MIC for extra filters and effects, it becomes even more powerful. Plus, being open-source means it's constantly being improved by a dedicated community, and you can find plenty of tutorials on YouTube and across the internet to help you get started.
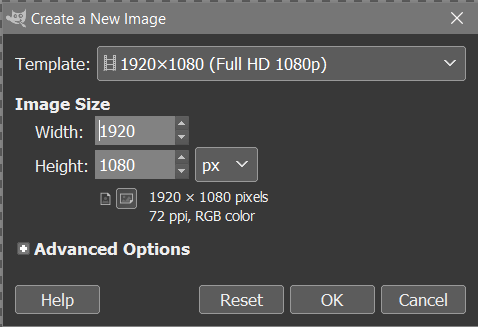
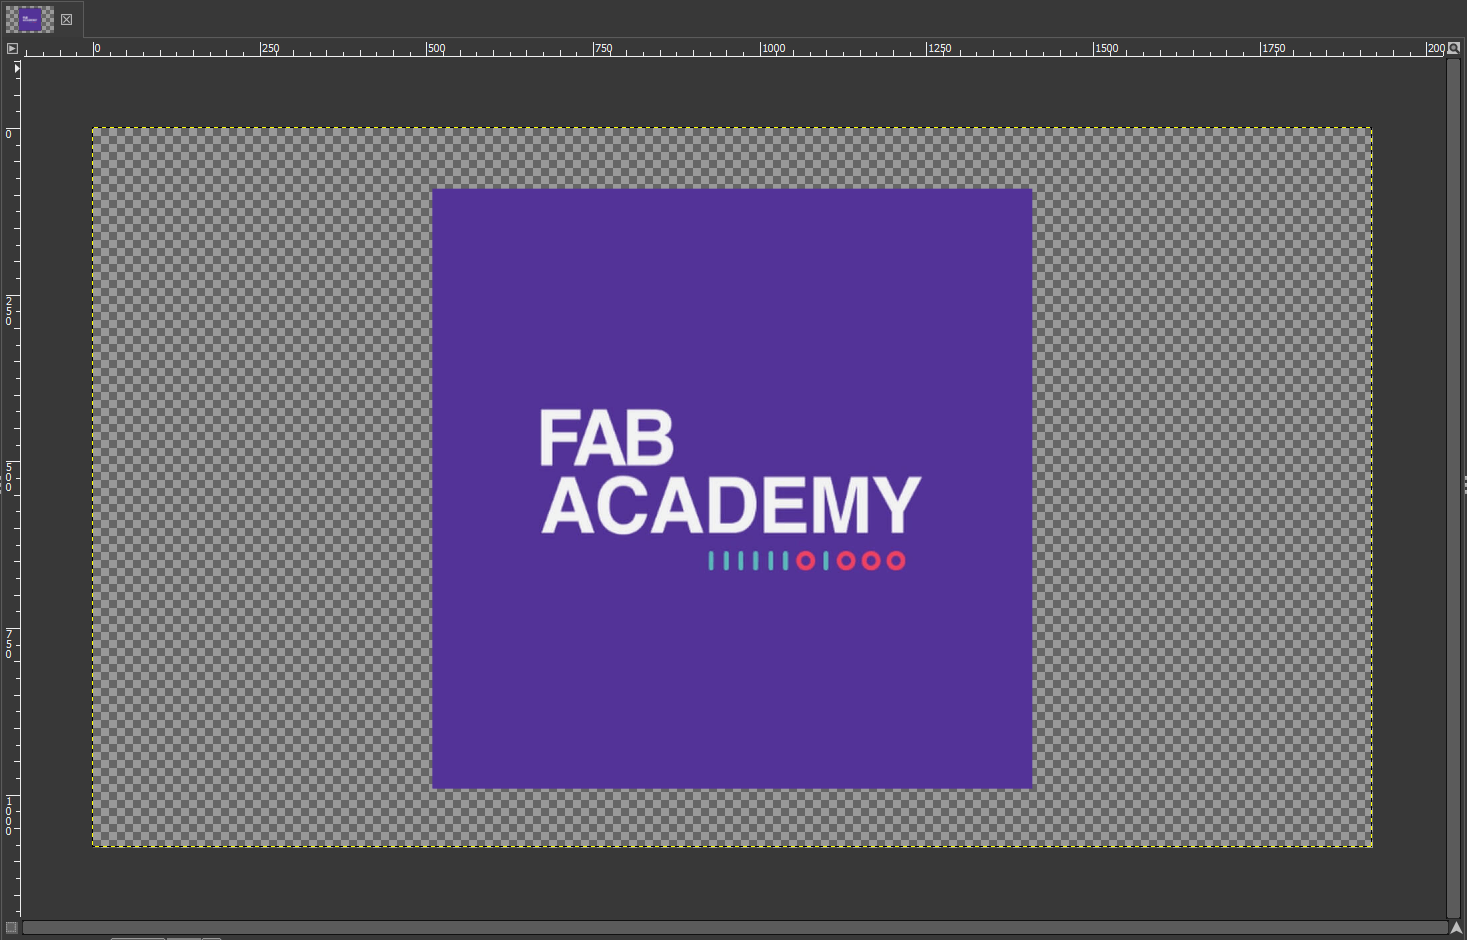
For this project, I'm using a default template for a Full HD 1080p image (1920x1080 pixels). Additionally, I define it as a transparent layer to provide a clear and flexible starting point for any design or editing work.
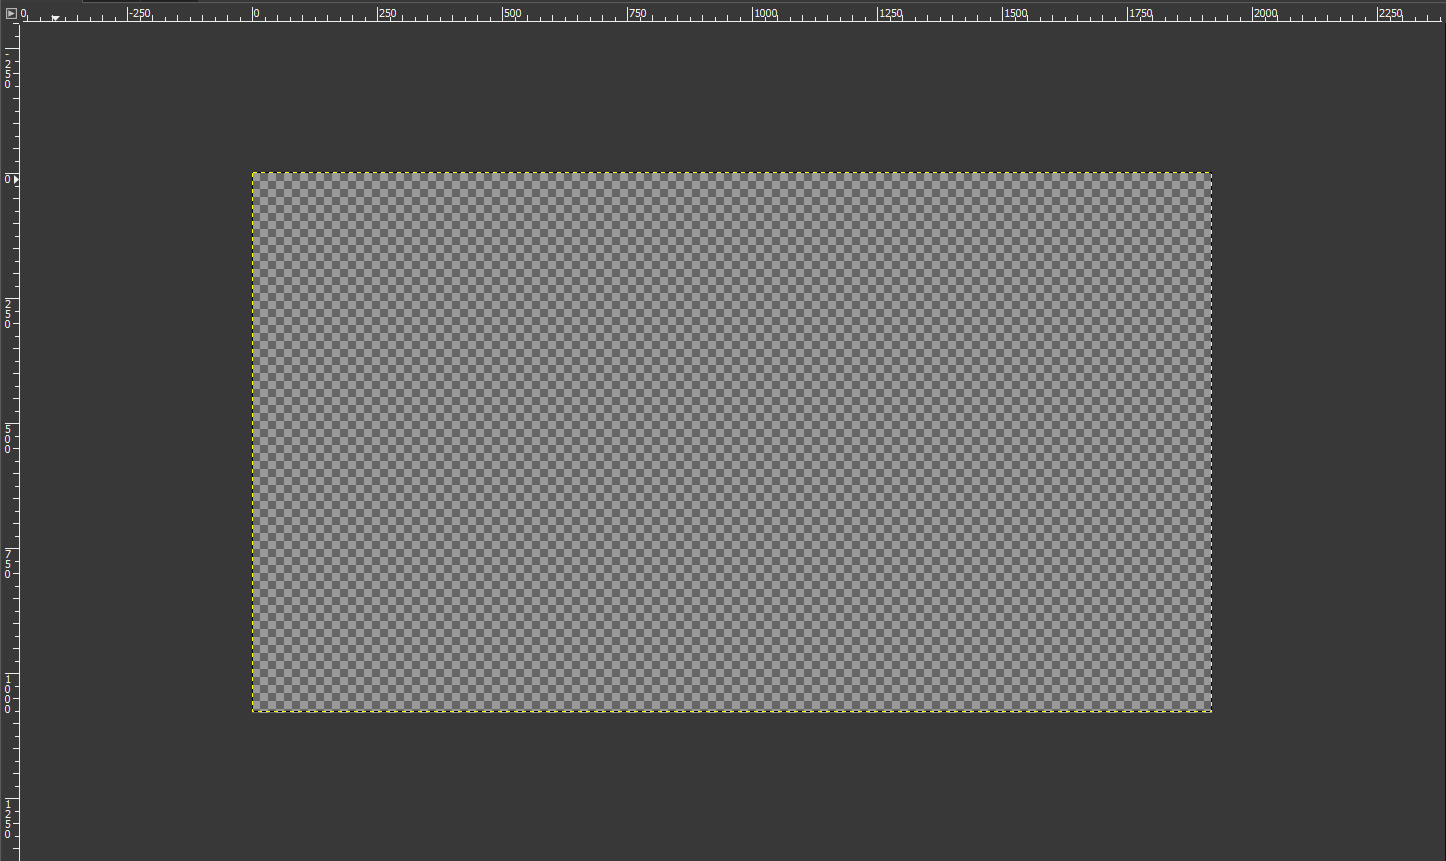
To import an existing image, go to File and select Open as Layers. This will open the image into a new layer. Sometimes, you might need to open a new document to edit the images and then copy-paste them into the main project. This trick has helped improve my workflow.

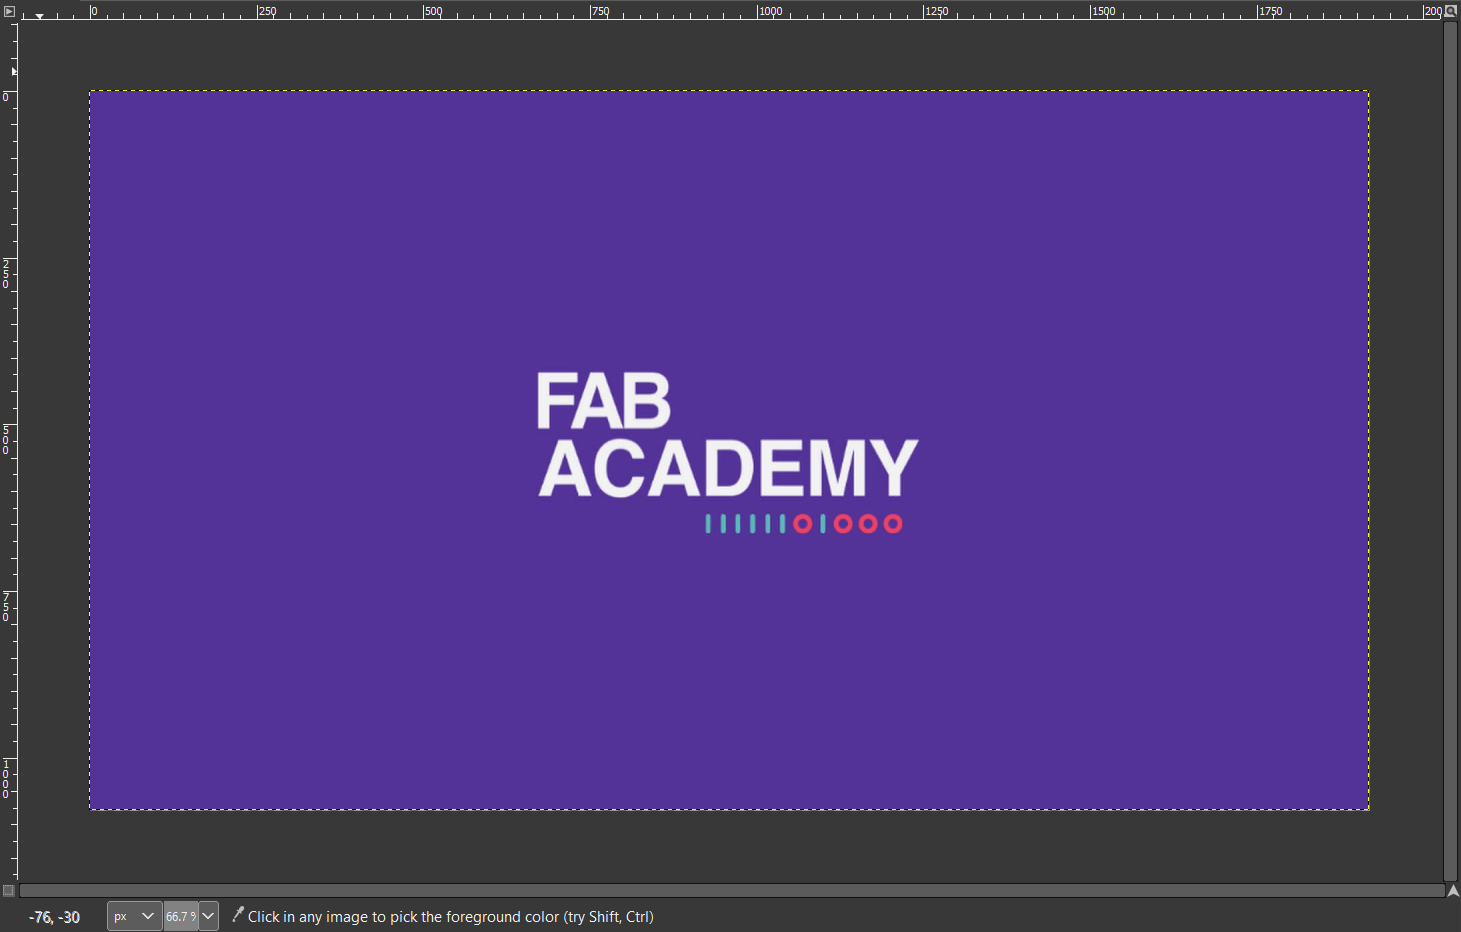
The next step was to extract the background color of the existing image and color match the rest of the background.
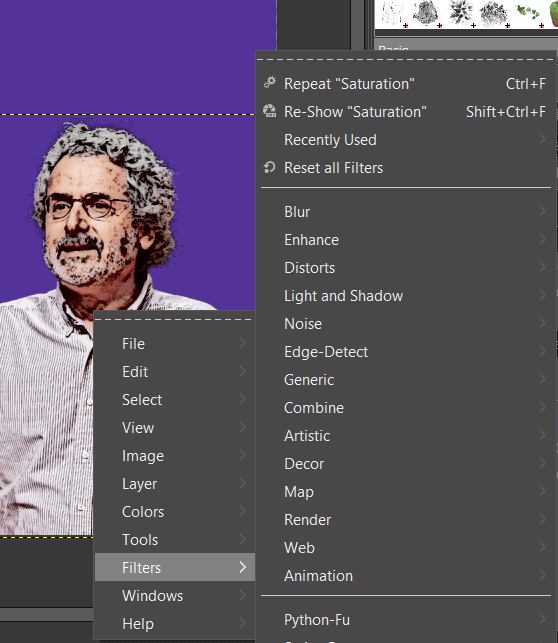
For the photos of Neil and me, I used the filter options by right-clicking on the image and selecting preferred filters. The idea was to simulate a cartoon-like picture. The photos had a transparent background, so it was easy to manipulate them using the Move Tool. Additionally, I utilized the Text Tool to add "2024" below the "Fab Academy" text.
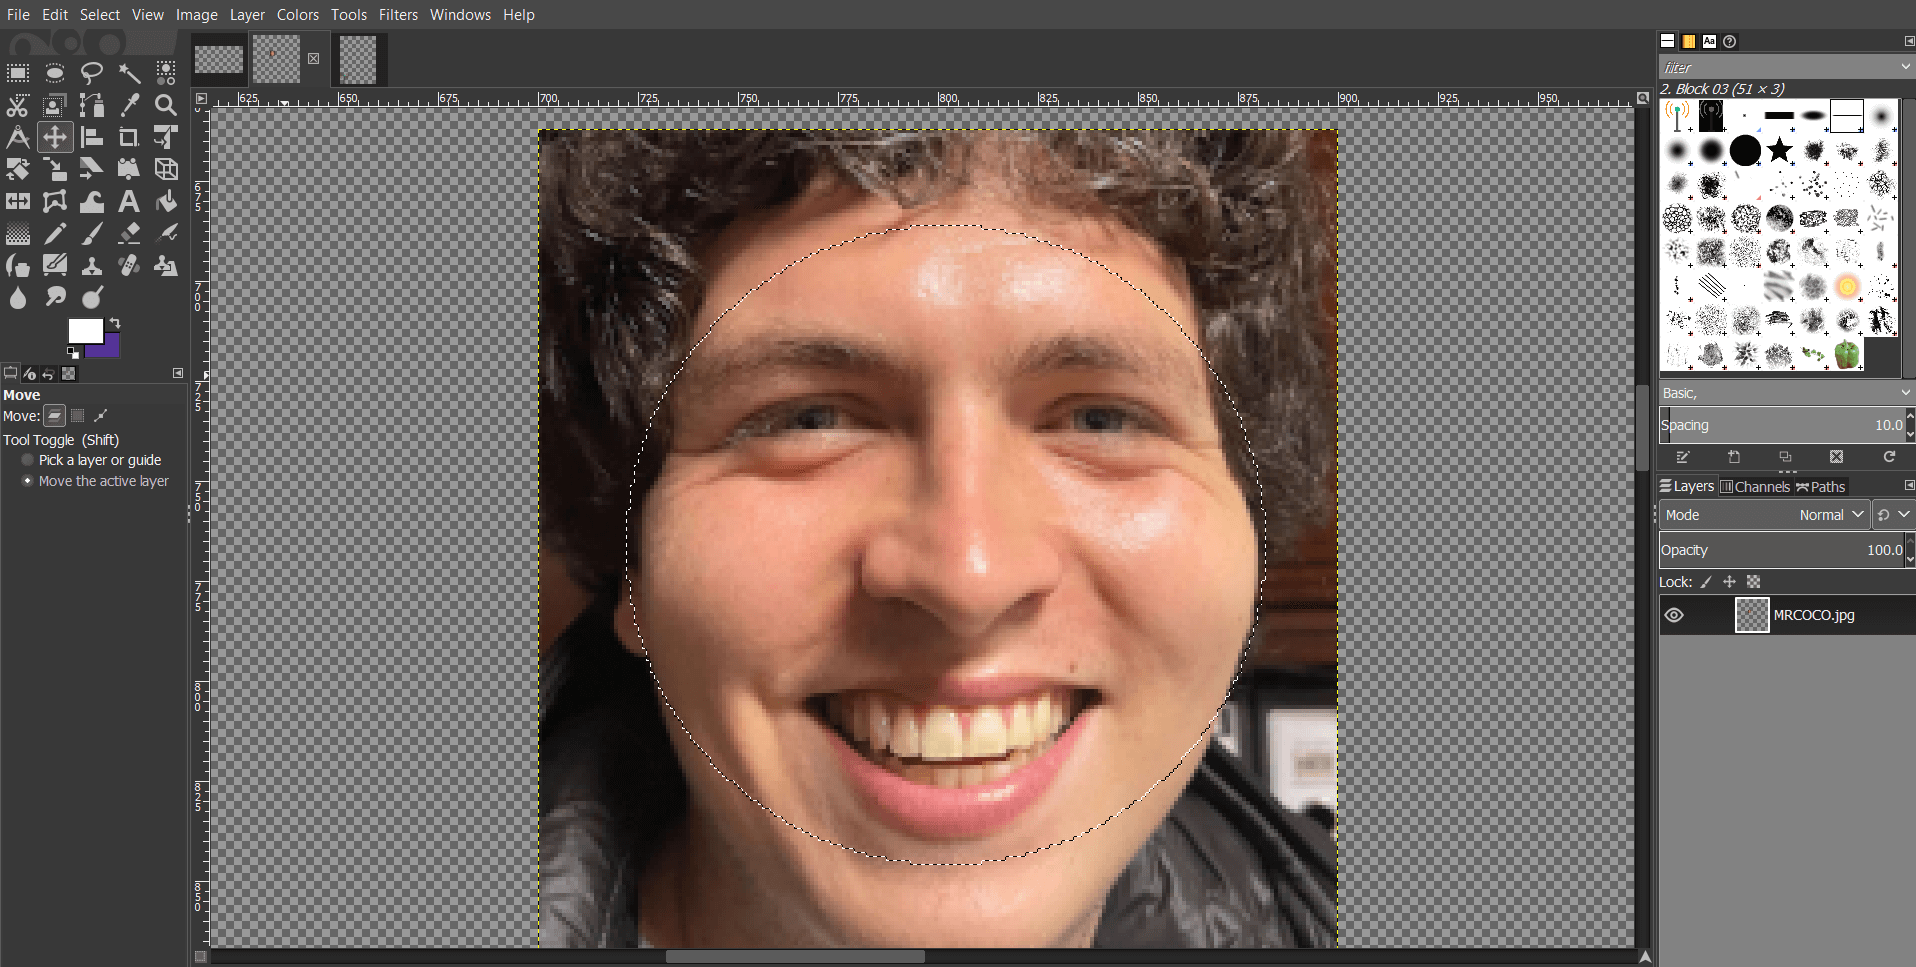
For Mr. Electric, I needed to crop a selfie of mine using the elliptical selection tool and setting the size to 160px x 160px to ensure a circular crop. After copying and pasting it into the main project as a new layer, I integrated it accordingly.


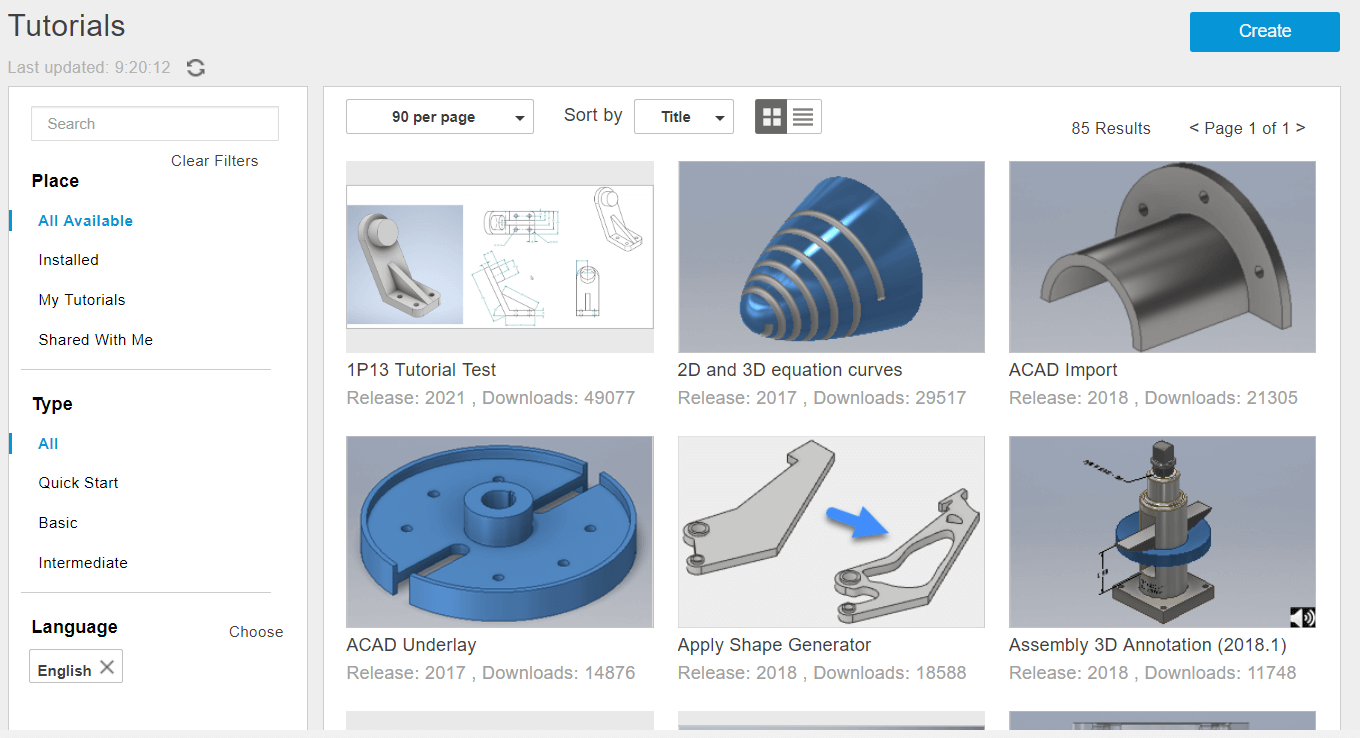
The wealth of tutorials and interactive features within Inventor Professional serves as a valuable resource, significantly reducing the learning curve and enabling users to quickly grasp its intricate features. Moreover, the inclusion of rastering and animation capabilities further enhances its utility, providing a comprehensive platform for design and visualization projects.
Undoubtedly, mastering a new software environment demands dedication and perseverance. However, with consistent practice and exploration, proficiency in Inventor Professional can be attained, unlocking endless possibilities for design innovation and creativity.

Picture Taken From: Autodesk Inventor Overview
Comprehensive Design Capabilities: Inventor Professional provides a comprehensive set of tools for 2D drafting, 3D modeling, assembly design, simulation, rendering, and animation. Its robust feature set enables users to create complex designs and visualize them effectively.
Parametric Modeling: Inventor Professional utilizes parametric modeling techniques, allowing users to create models that are driven by parameters and relationships. This feature enables easy design iteration and facilitates quick modifications without the need to recreate geometry from scratch.
Integrated Simulation and Analysis: With built-in simulation and analysis tools, Inventor Professional allows users to test the performance, strength, and behavior of their designs under various conditions. This helps identify potential issues early in the design process and optimize designs for improved functionality and efficiency.
Collaboration and Data Management: Inventor Professional integrates seamlessly with Autodesk Vault, a data management solution, enabling efficient collaboration and version control across design teams. Users can easily manage design files, track changes, and streamline workflows, ensuring smooth collaboration throughout the project lifecycle.
Automation and Customization: Inventor Professional supports automation and customization through APIs (Application Programming Interfaces) and scripting capabilities. Users can automate repetitive tasks, create custom workflows, and develop specialized tools to suit their specific design requirements, thereby enhancing productivity and efficiency.
Interoperability with Other Software: Inventor Professional supports interoperability with a wide range of CAD/CAM software, allowing users to import and export designs in various file formats. This interoperability facilitates seamless collaboration with clients, suppliers, and partners who may use different software platforms.
Extensive Learning Resources: Autodesk provides extensive learning resources, including tutorials, online courses, and documentation, to help users get started with Inventor Professional and expand their skills. Additionally, the Inventor community offers forums and user groups where users can seek advice, share best practices, and troubleshoot issues.
Industry-Standard Solution: Inventor Professional is widely used across industries such as manufacturing, automotive, aerospace, and consumer goods, making it an industry-standard solution for design and engineering. Familiarity with Inventor Professional enhances job prospects and facilitates collaboration within the global engineering community.
For me, one crucial rule is to never find myself at an impasse. Here, Inventor Professional's interactive ribbon emerges as a pivotal tool for noobies. Inventor Professional's interactive ribbon is a dynamic feature designed to provide users with real-time guidance on how to use various tools and functionalities within the software. It serves as a navigational aid, particularly beneficial for users who are new to the platform or seeking clarification on specific commands.This program's interactive features and workflow enables me to learn as I design, boosting efficiency in the process.

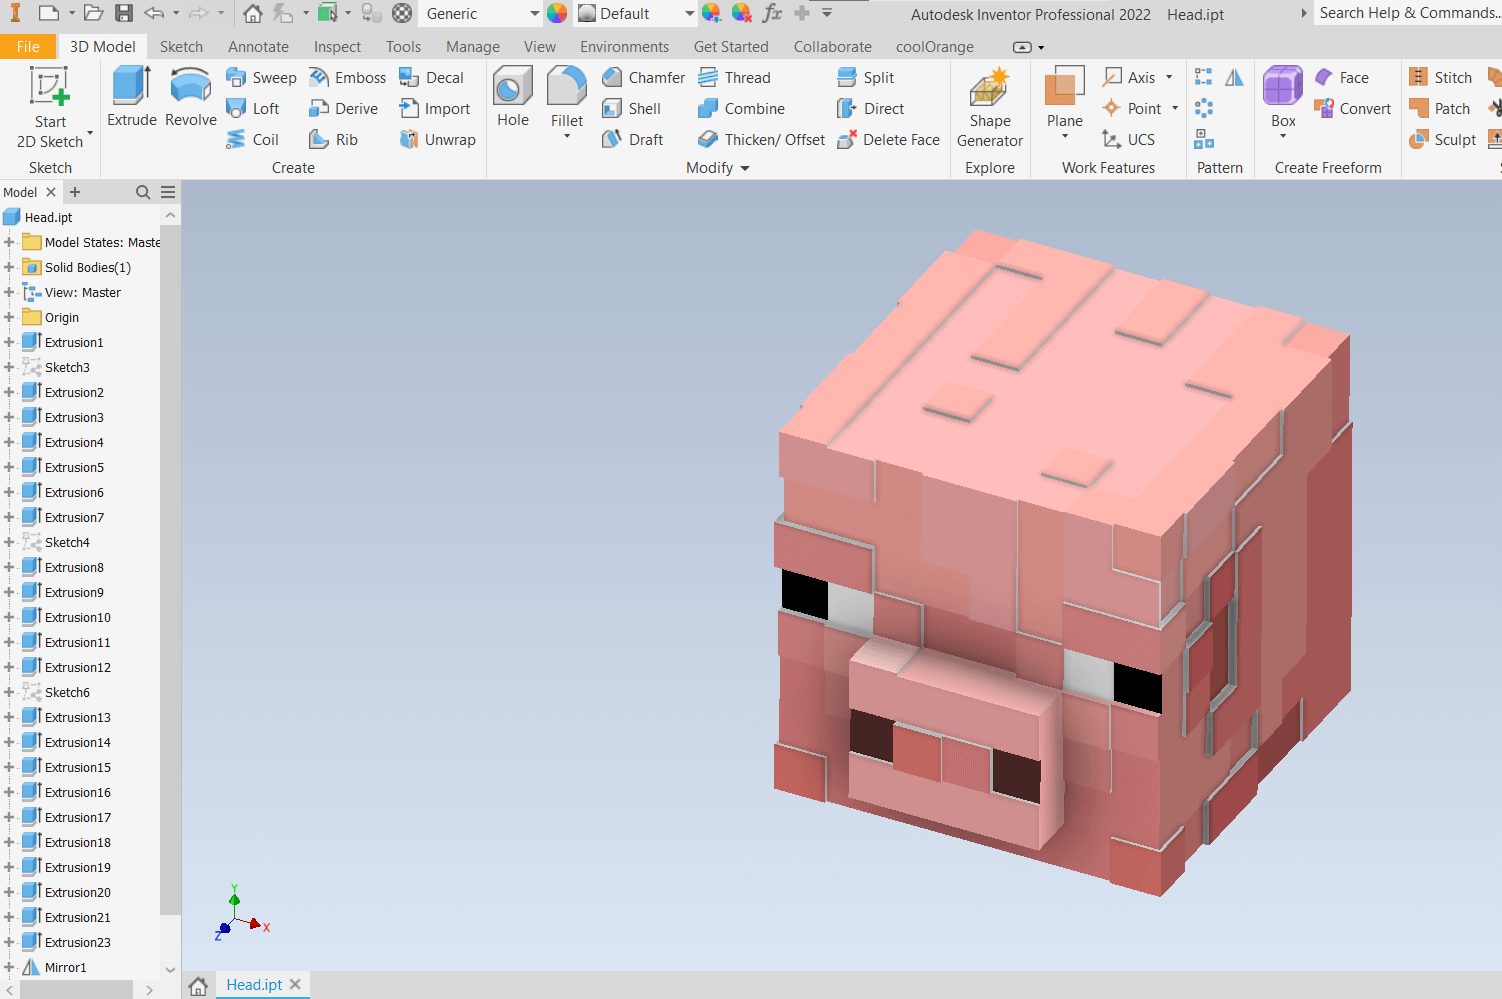
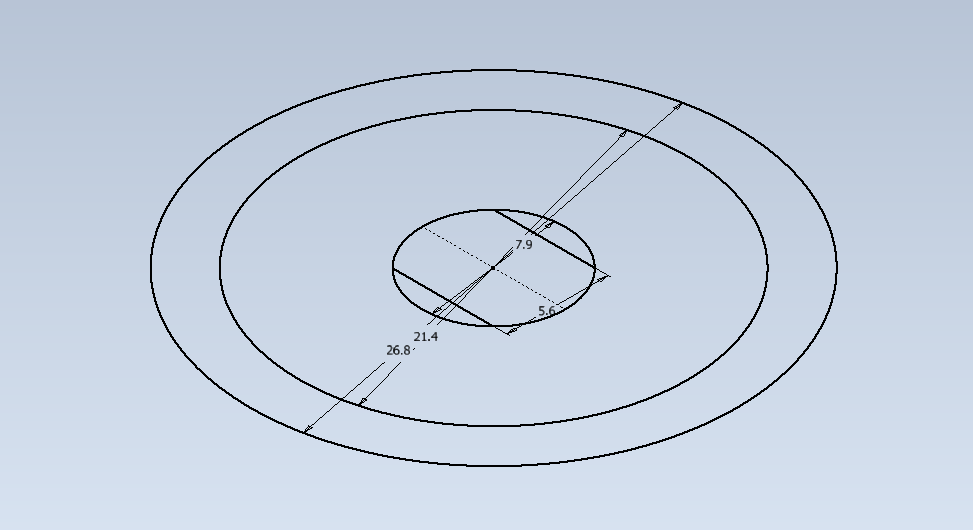
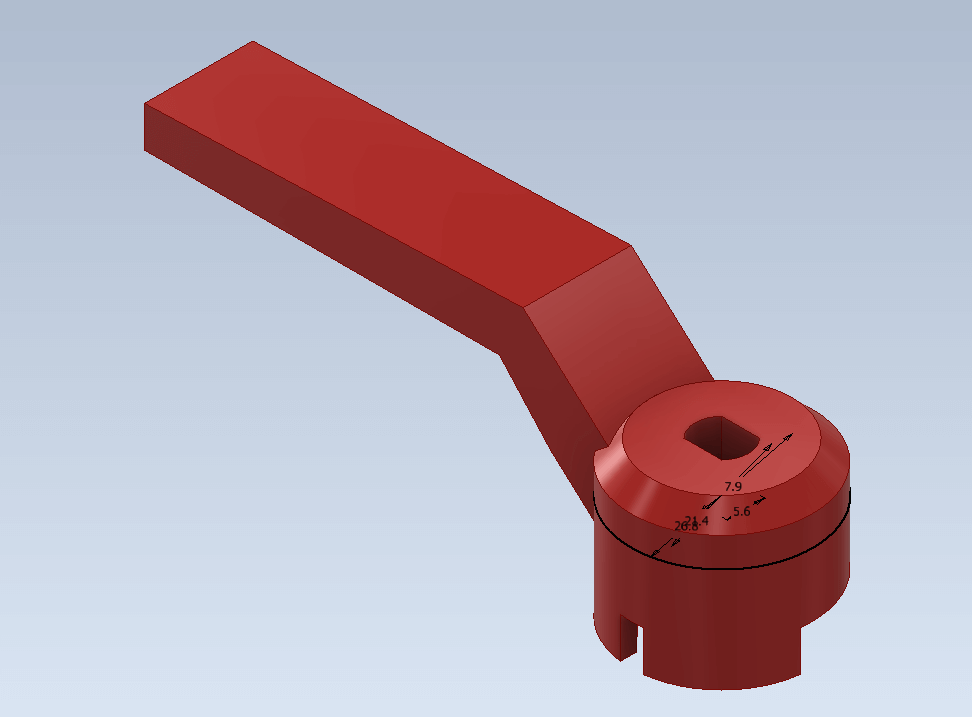
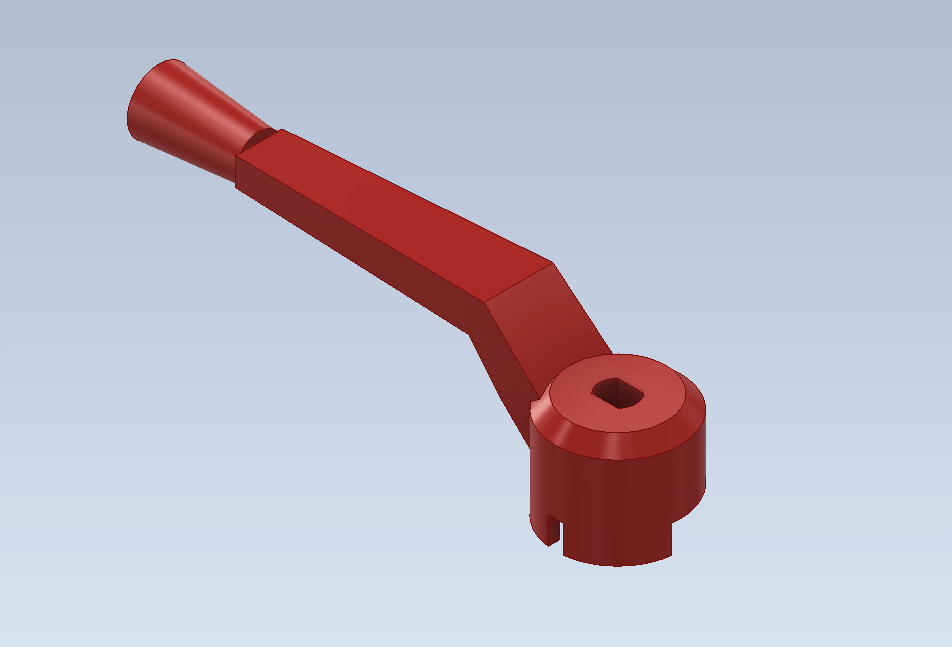
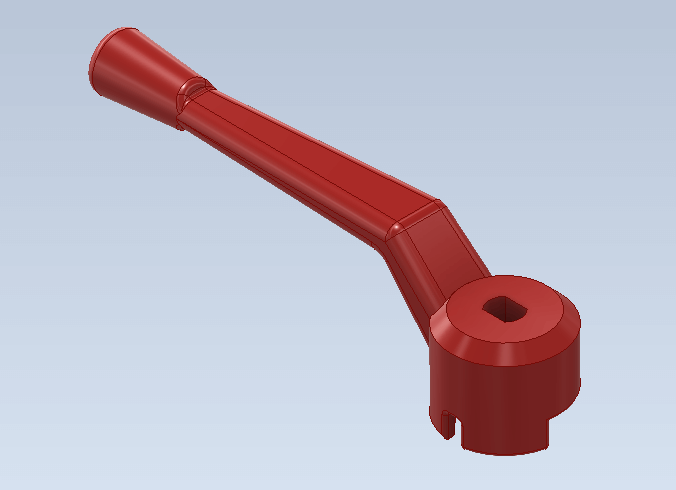
Inventor is typically used to create 2D sketches as a preliminary step to define the dimensions of the final 3D model. These sketches are constructed on planes selected within the 3D space, serving as a foundation for building using various 3D features. In this particular instance, I employed Inventor to design a ball valve intended to replace the corroded metal one at my beach house.
The plan is to utilize 3D printing to fabricate a PETG handle for enhanced corrosion resistance. I precisely measured all dimensions of the valve's handle using a Mitutoyo caliper to ensure precise fitting.
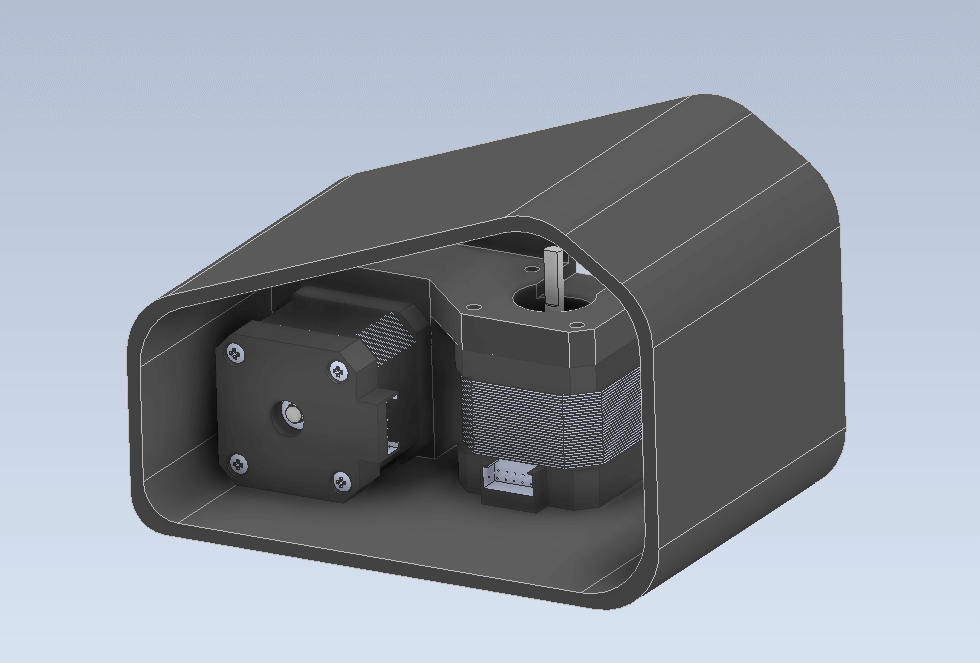
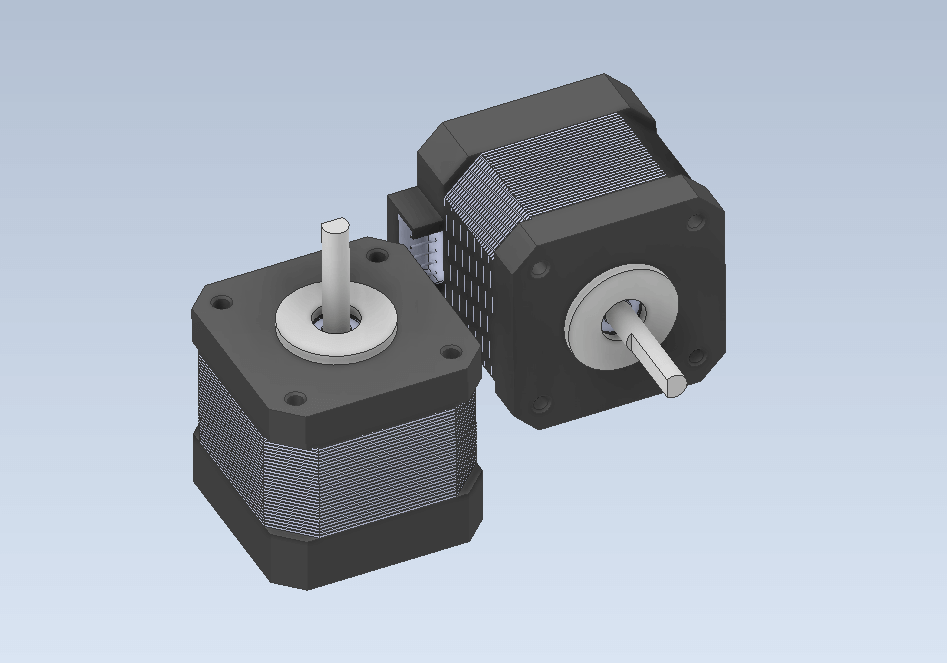
Additionally, I incorporated reference models into a component of my final project to simplify the design process for complex parts.
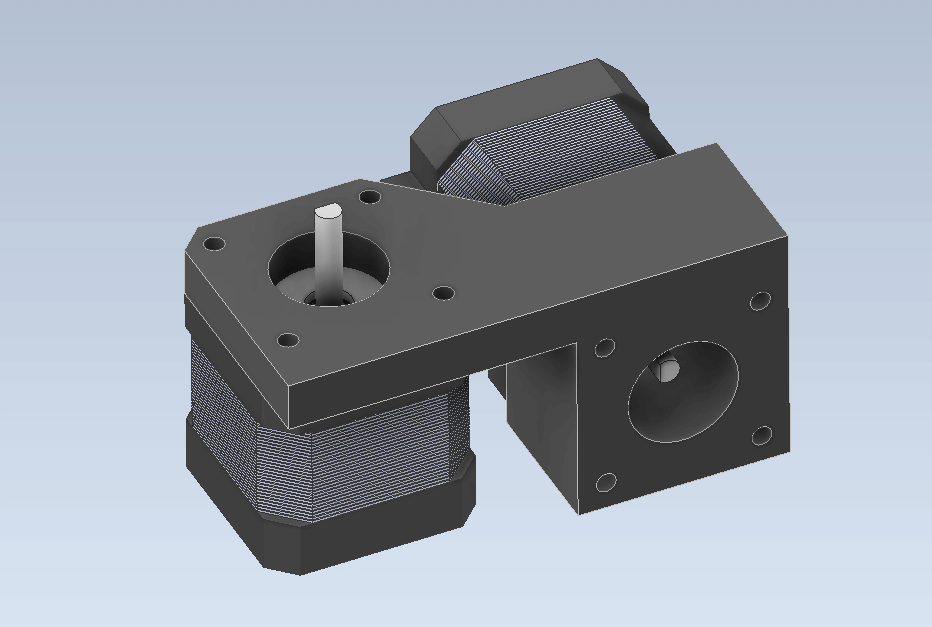
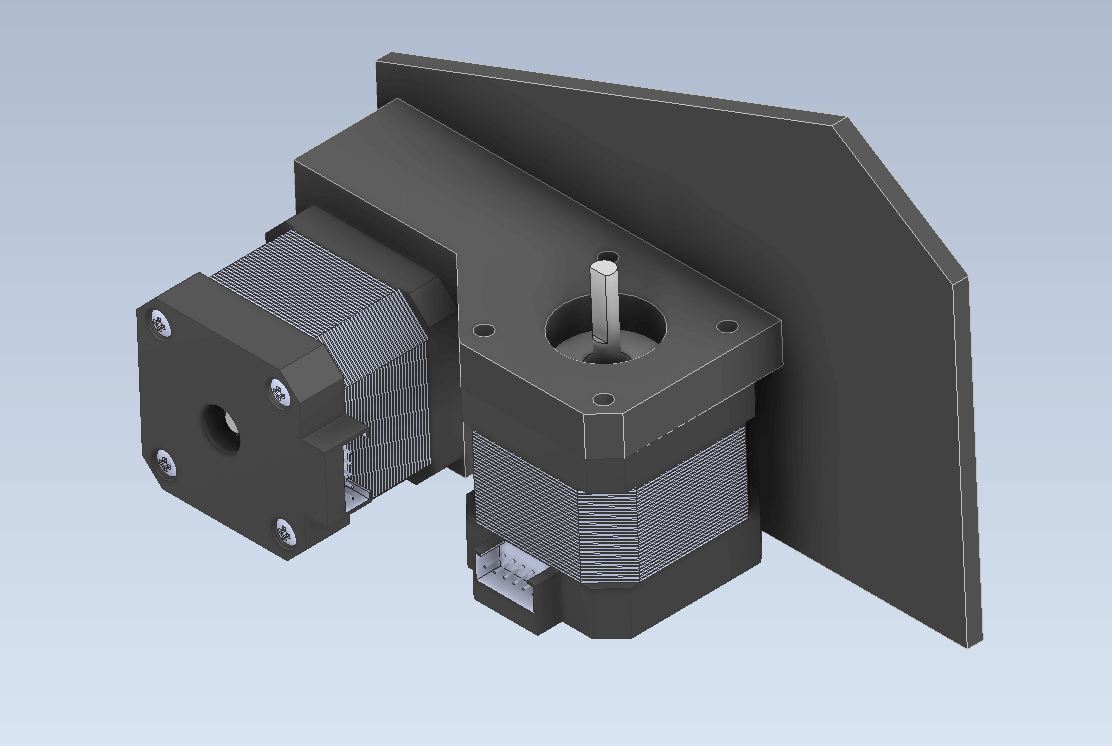
This component is responsible for securing the stepper motors of the Braille printer, with additional space allocated for all electronic components and a display if required.