Week 16: Wildcard Week!!
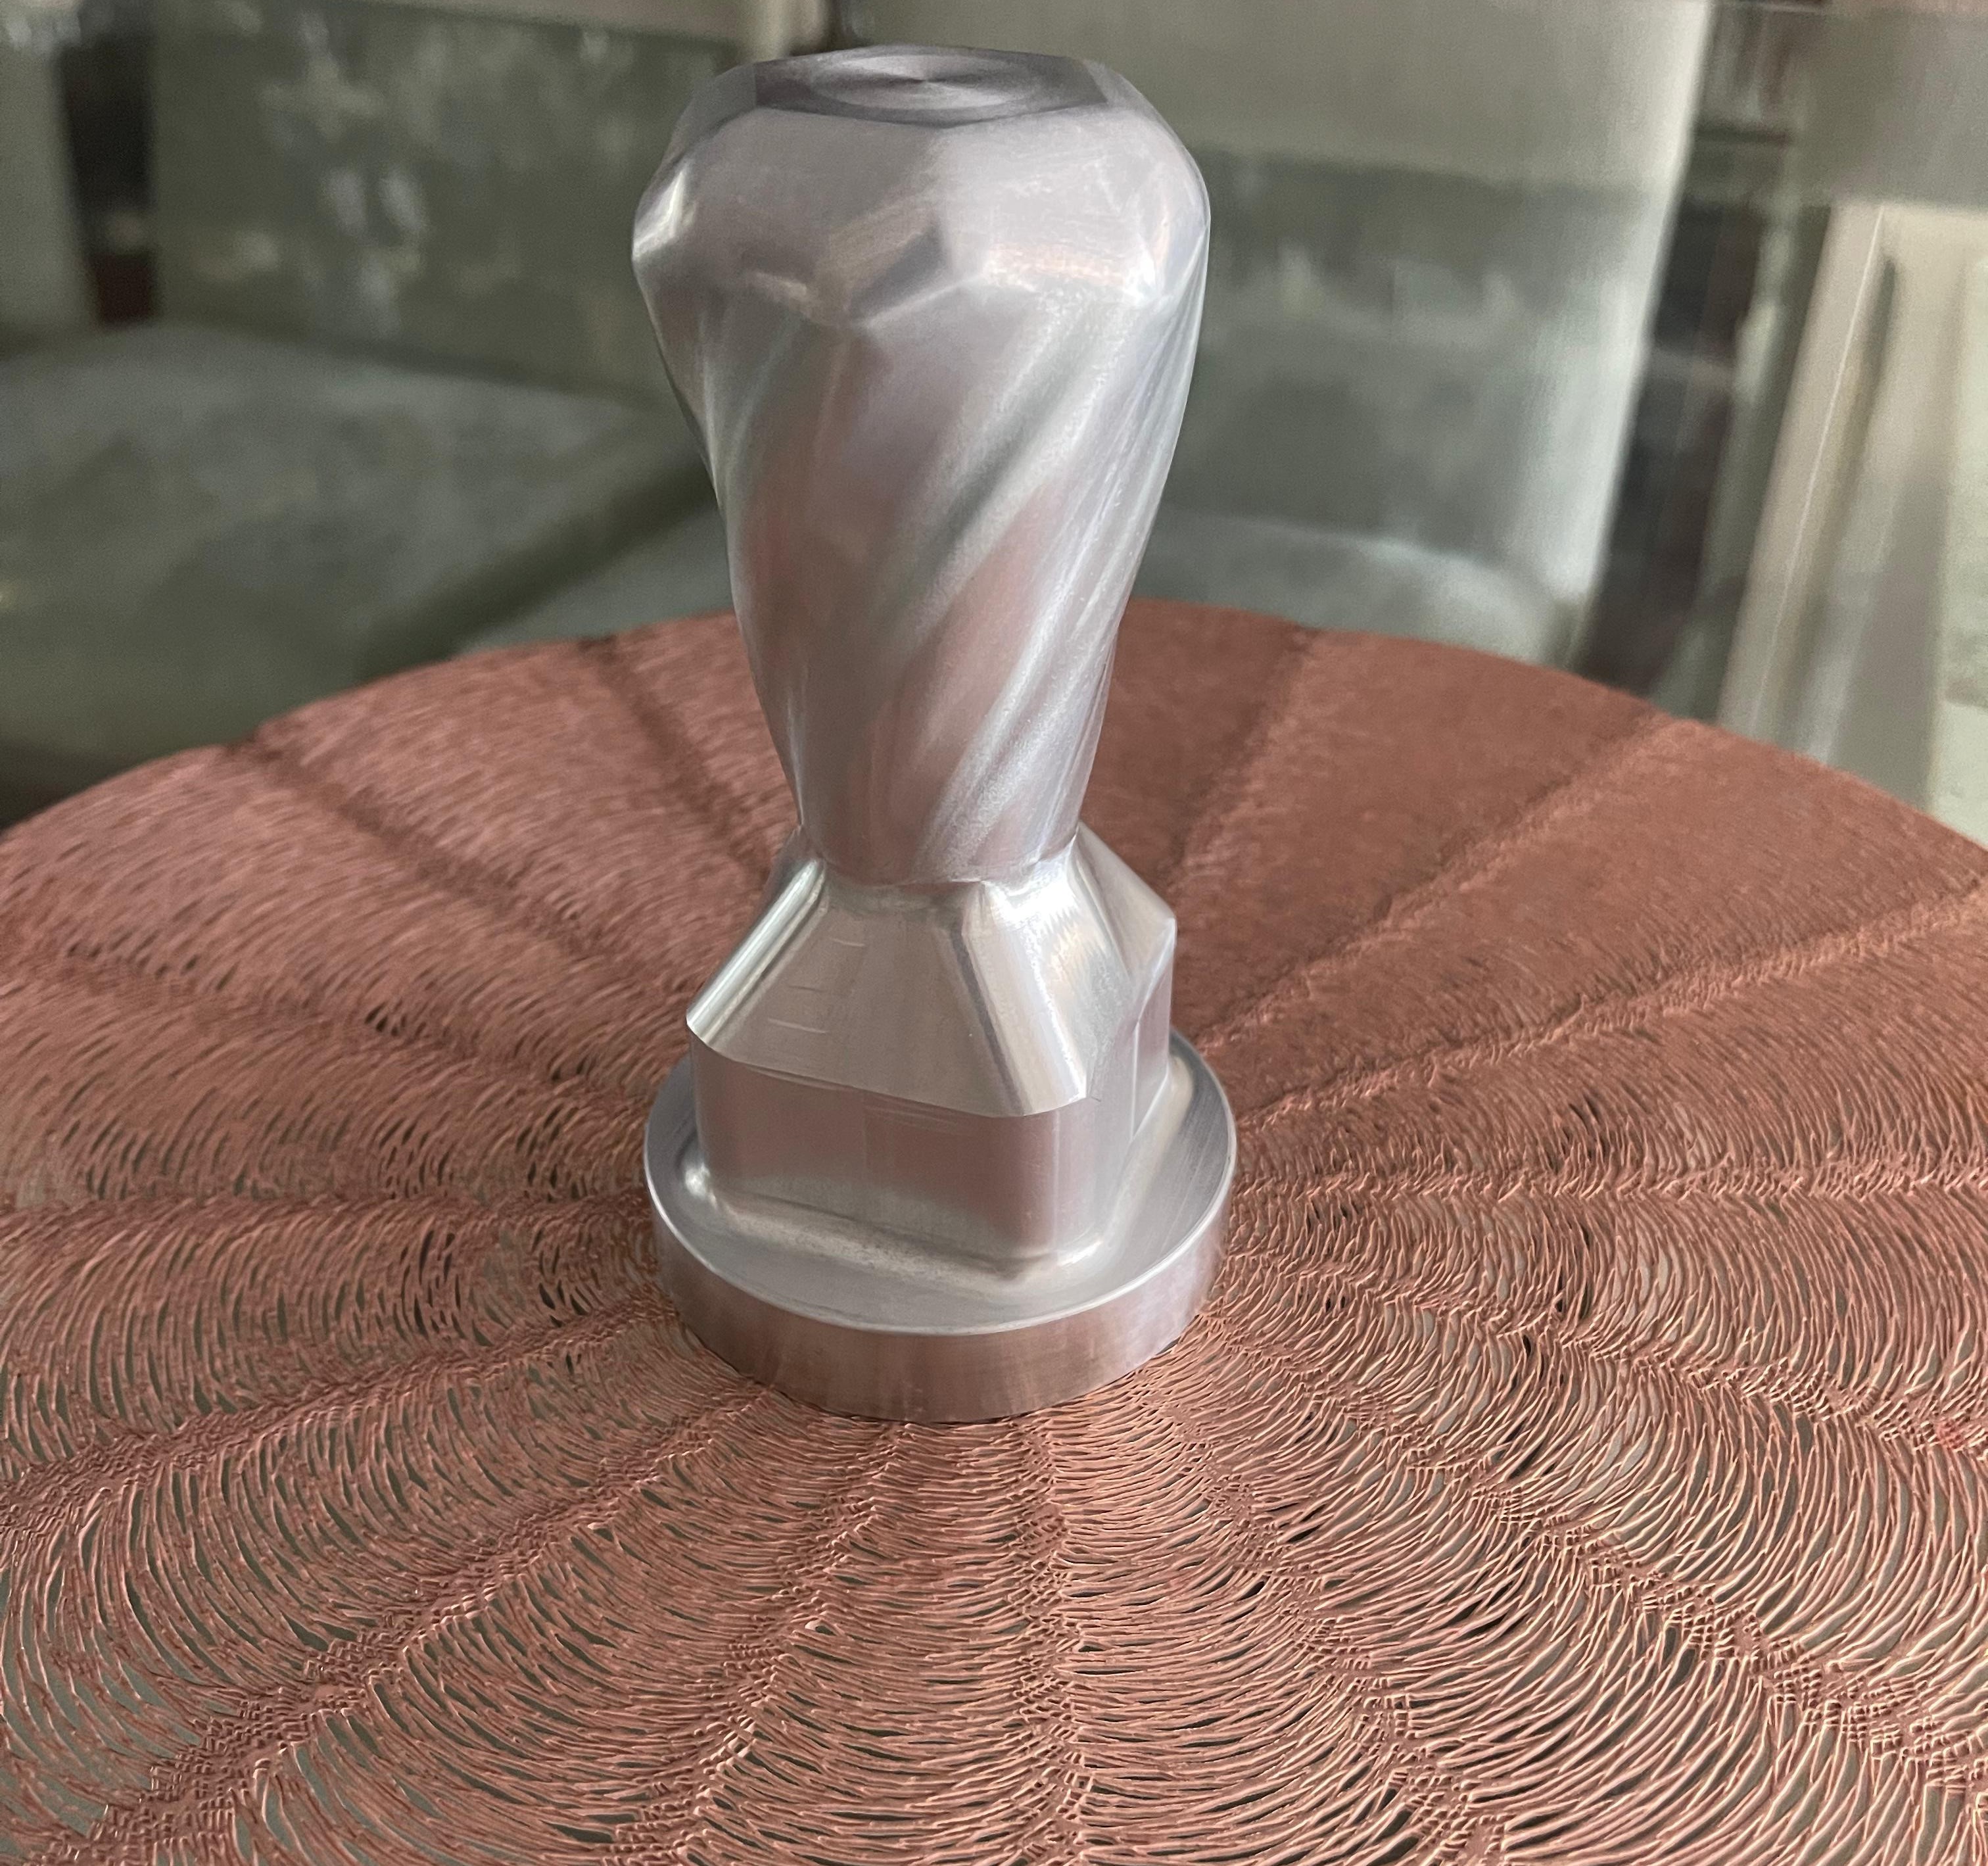
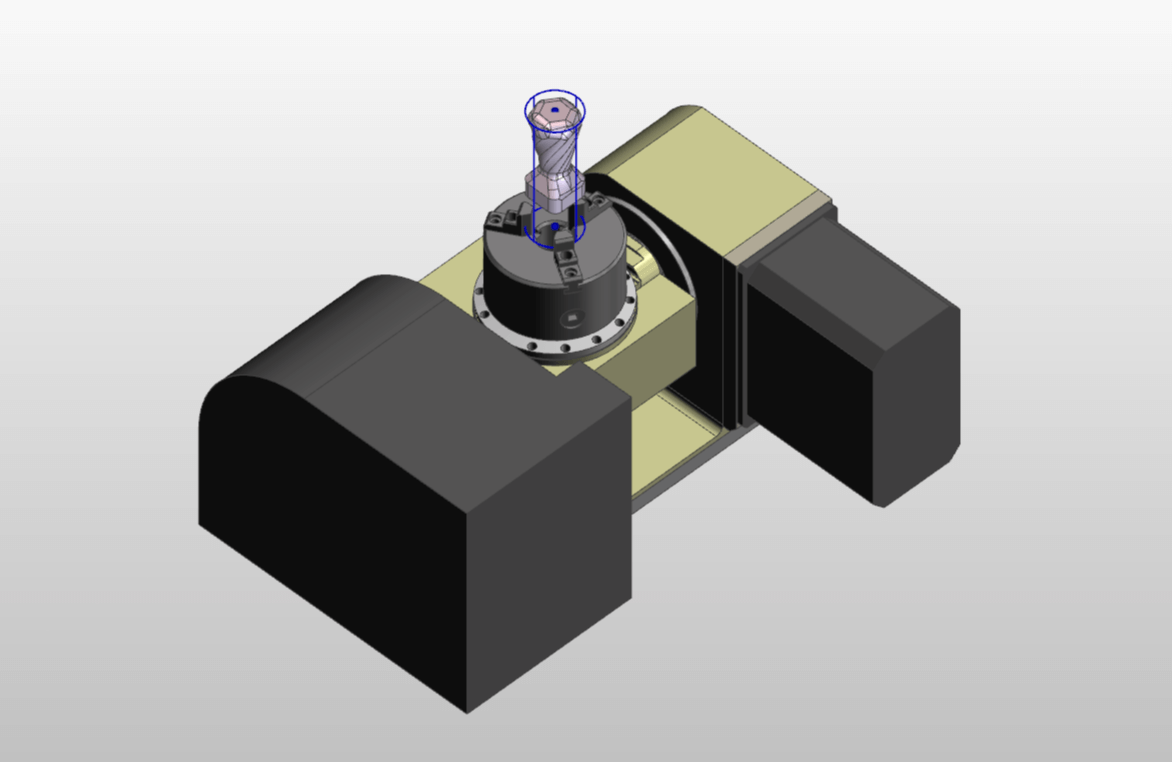
For this week's wildcard assignment, I decided to explore the fascinating world of 4-axis machining. Utilizing a Kitamura Mycenter 3XG 5-axis CNC mill, I designed and created a paperweight out of duraluminum. This project not only expanded my understanding of CNC machining but also provided hands-on experience with advanced manufacturing techniques. Throughout the process, I was guided by an experienced machinist to ensure safety and precision.
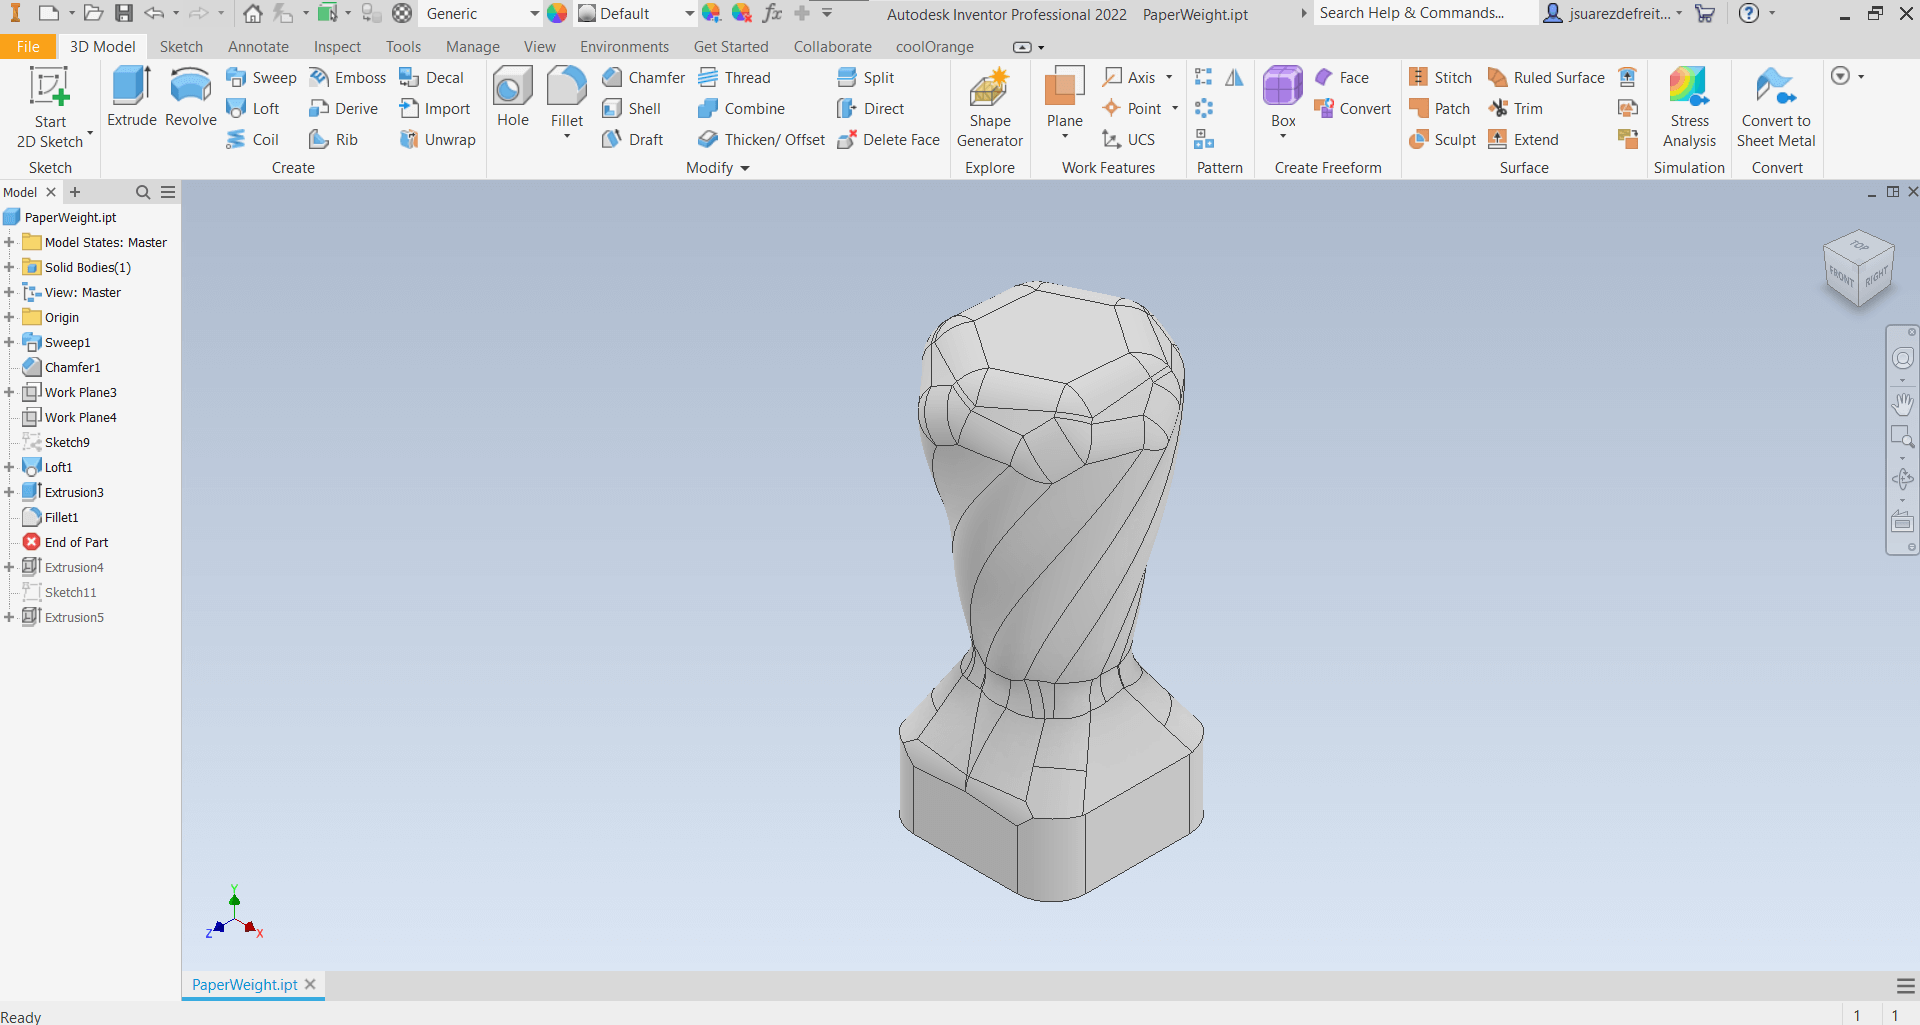
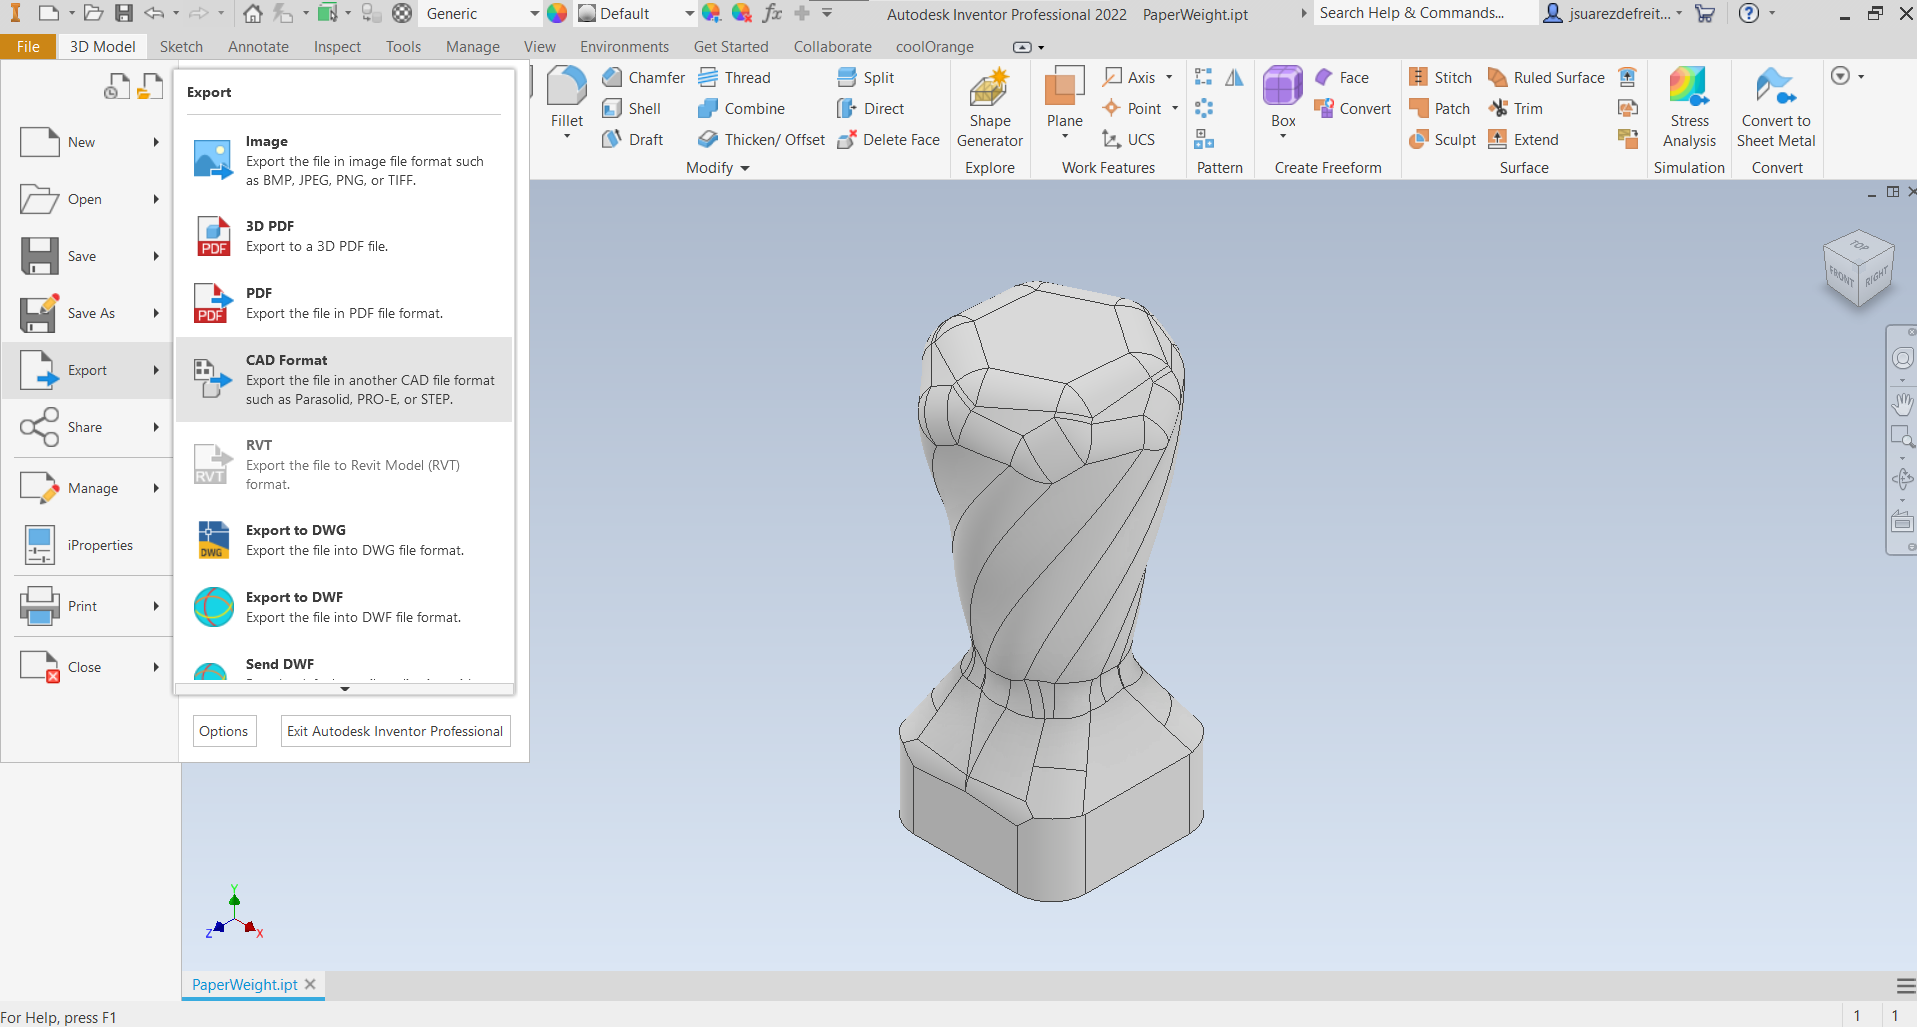
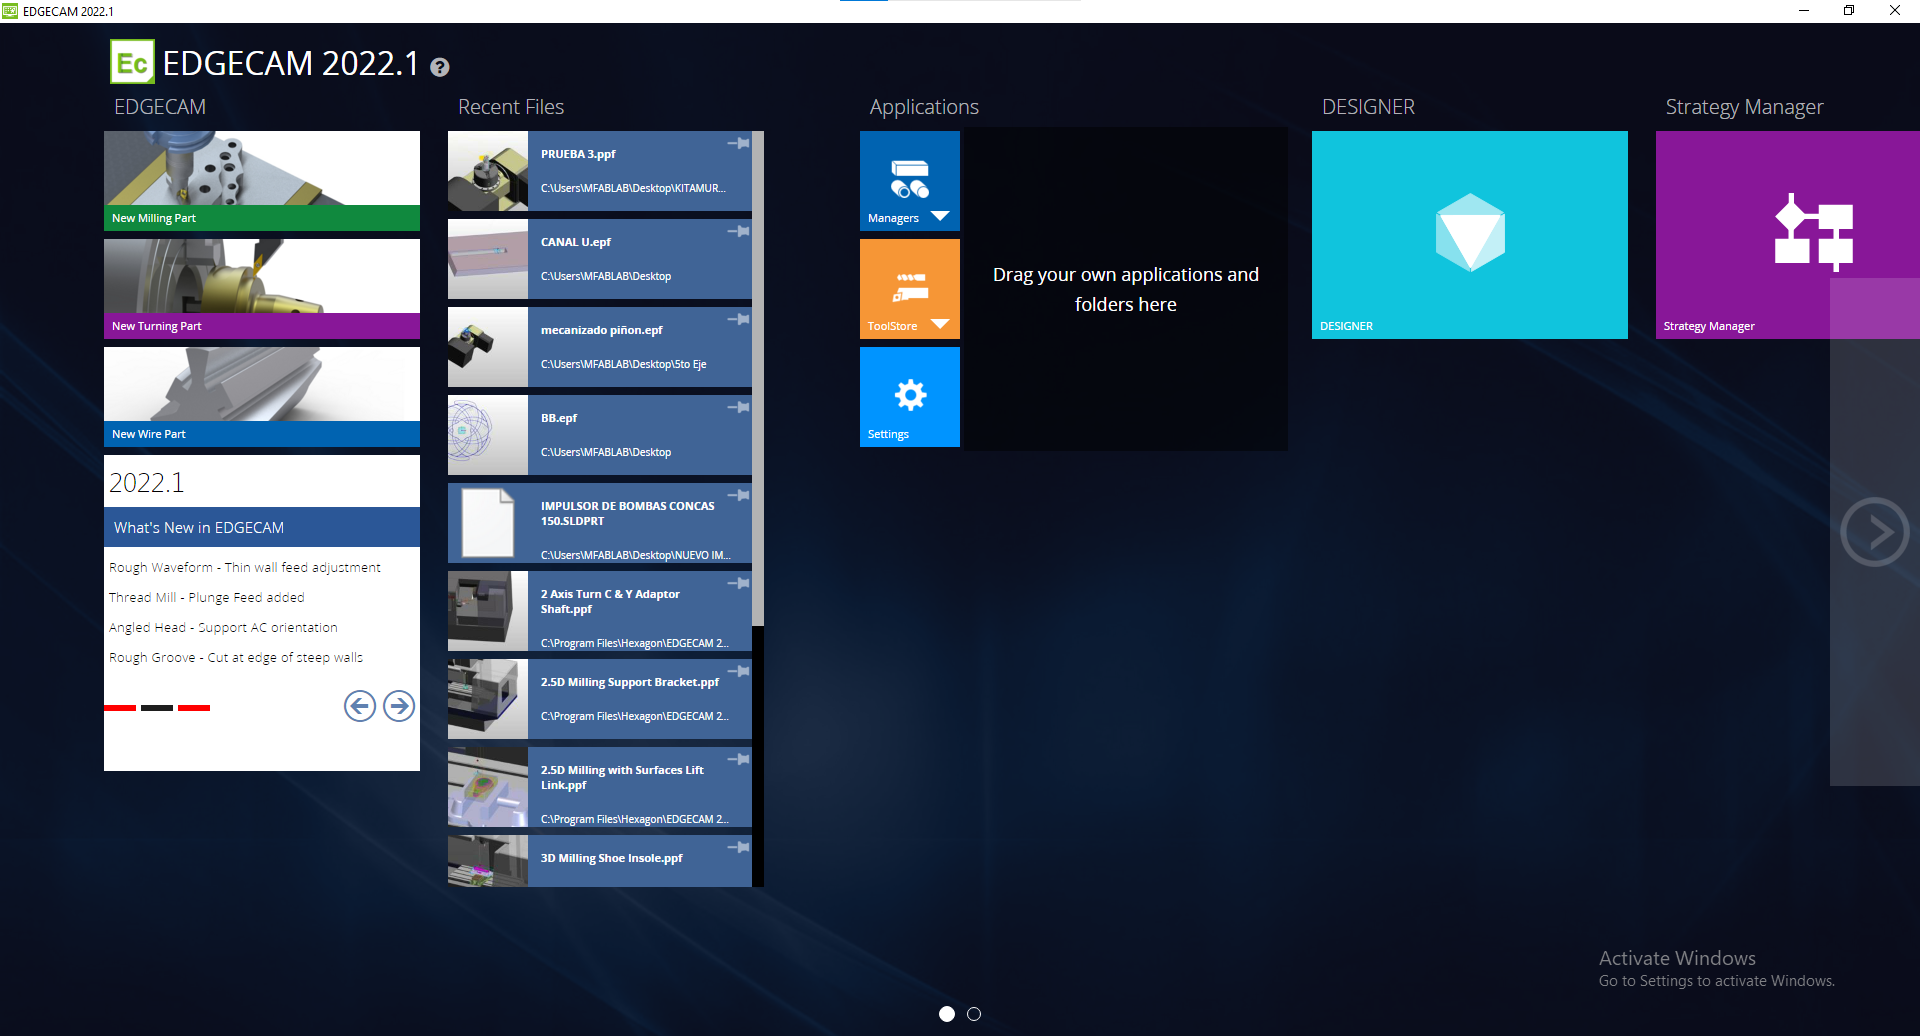
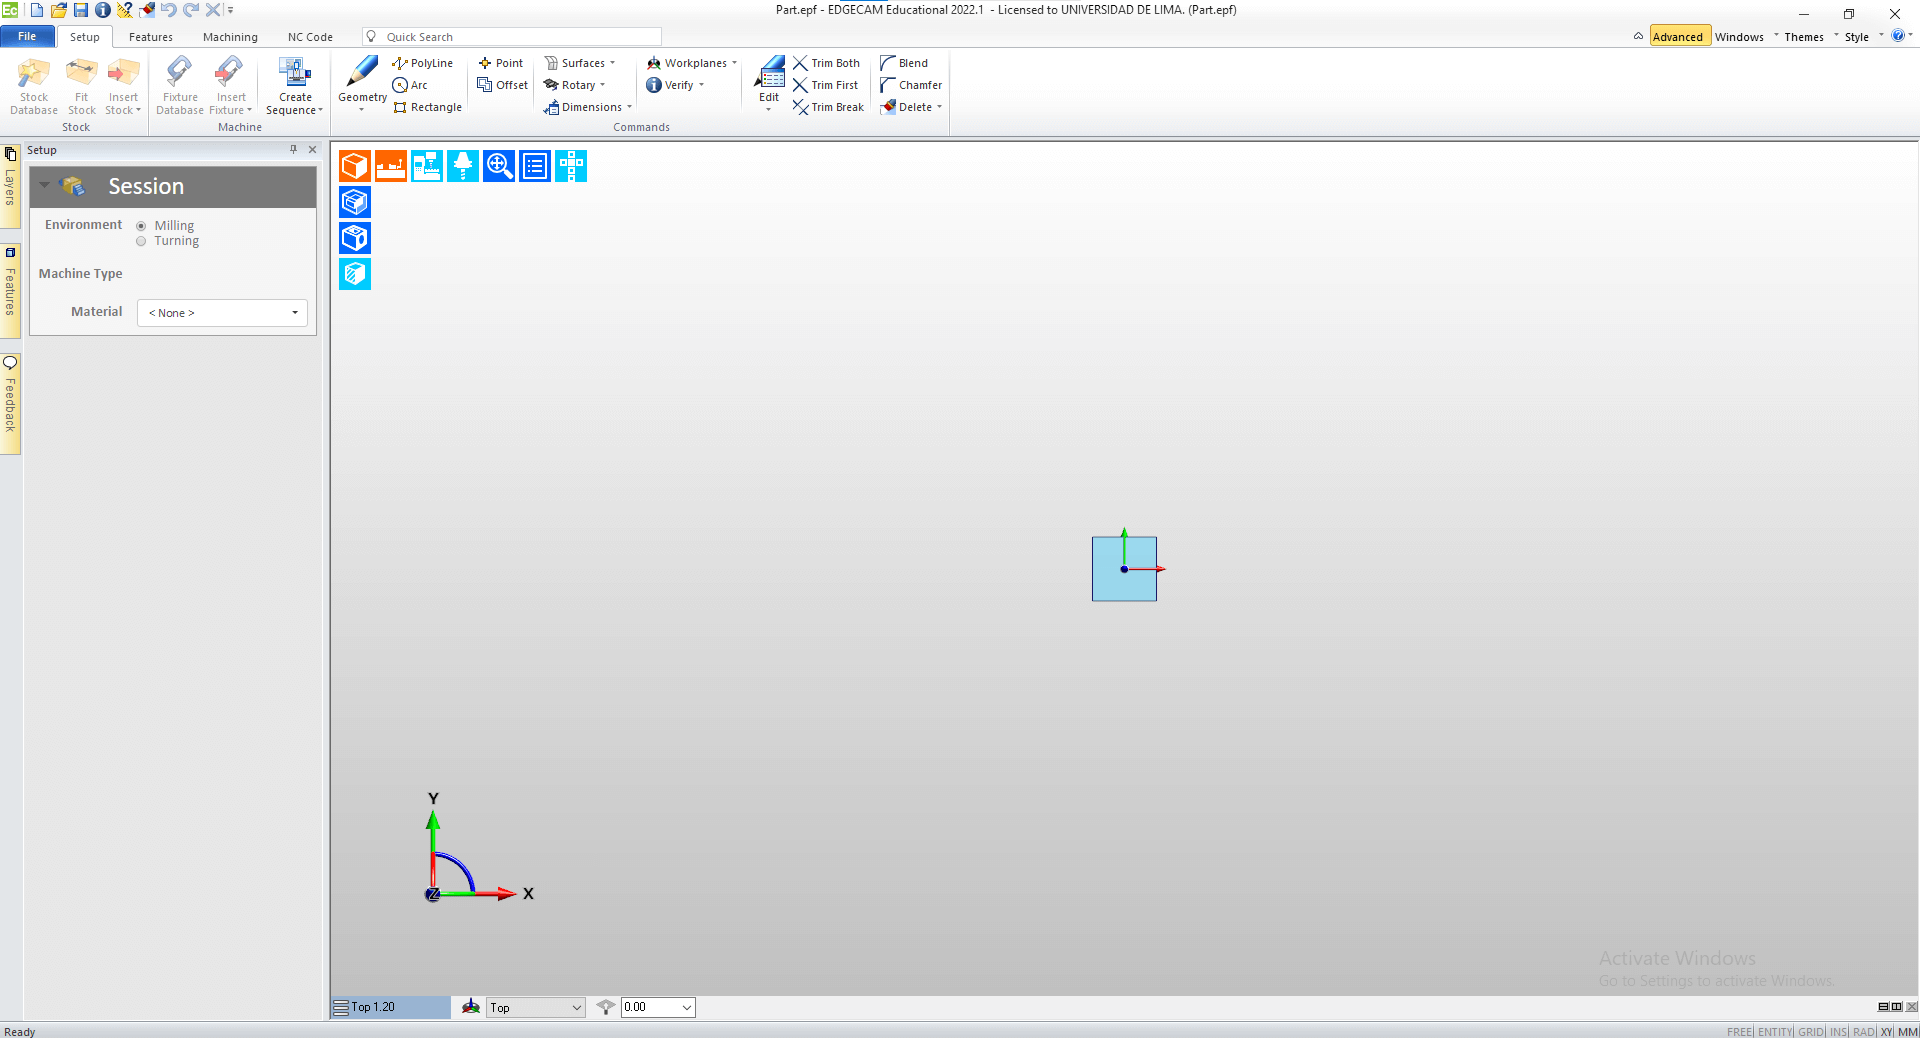
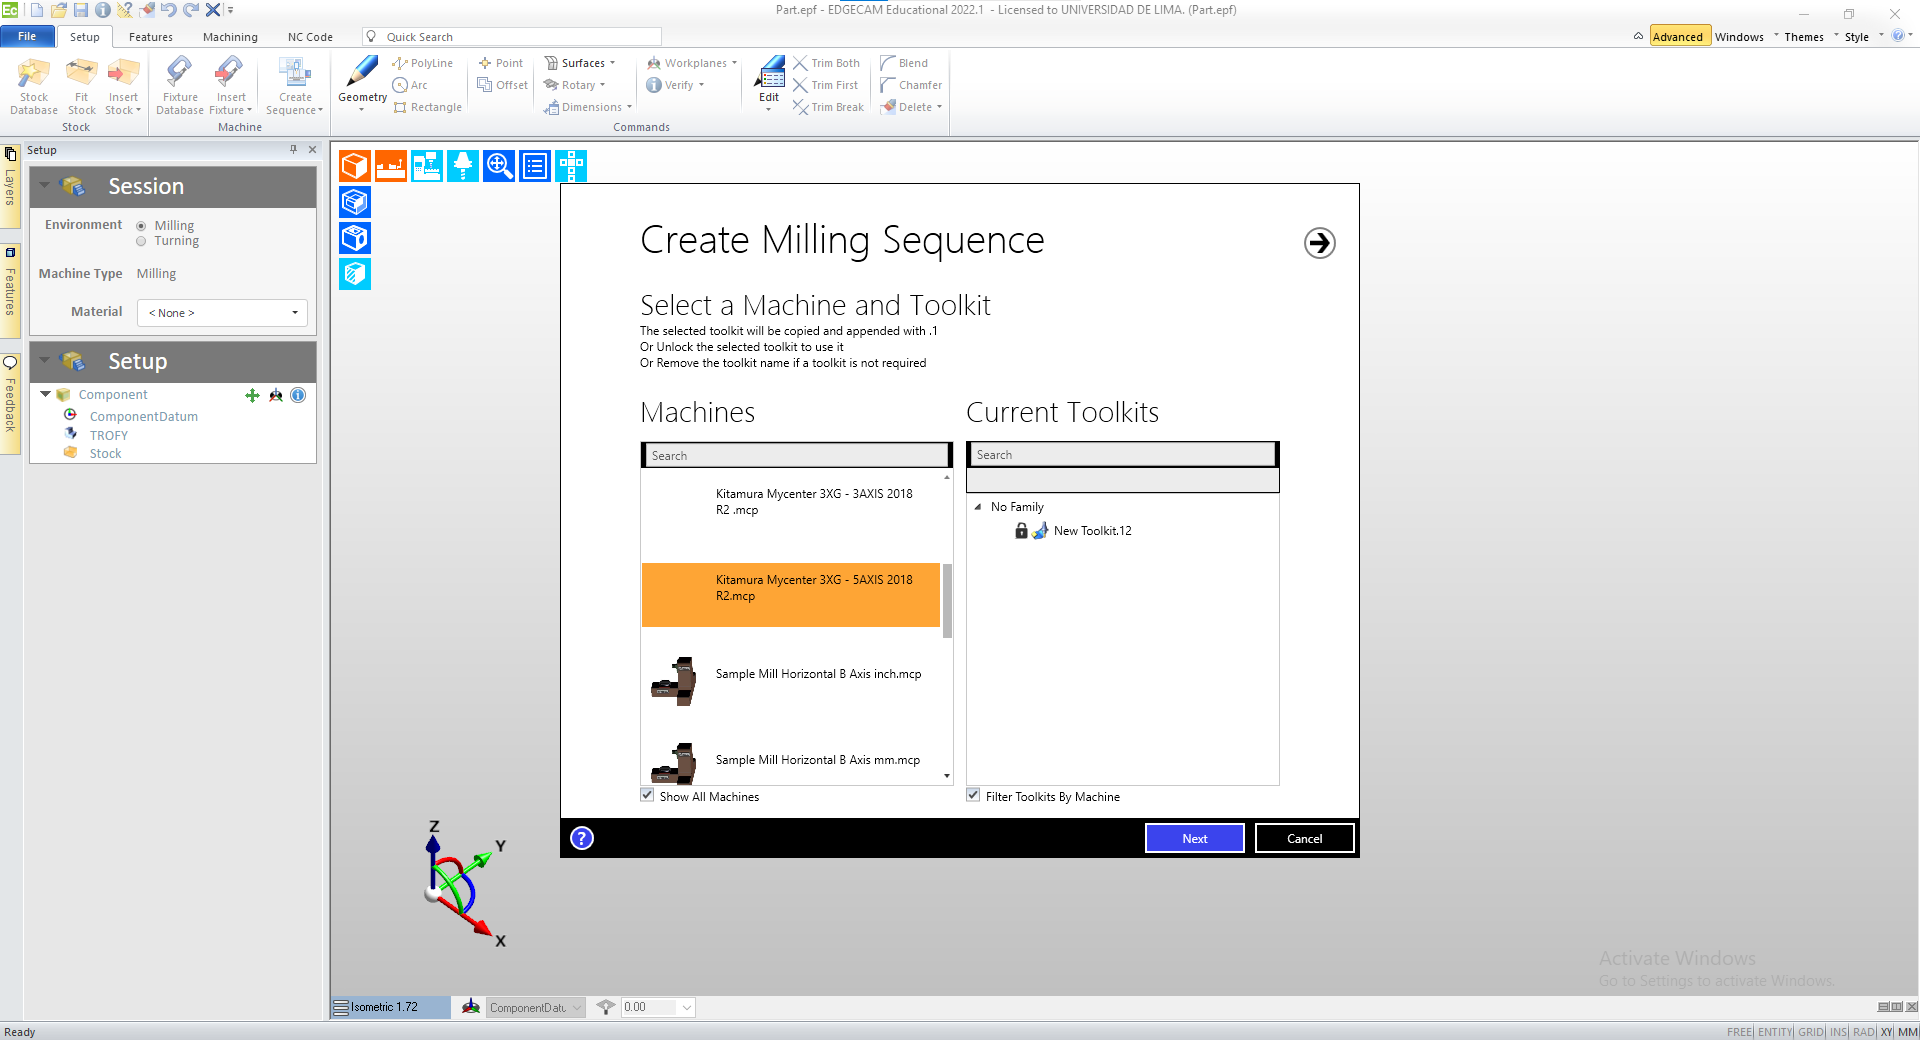
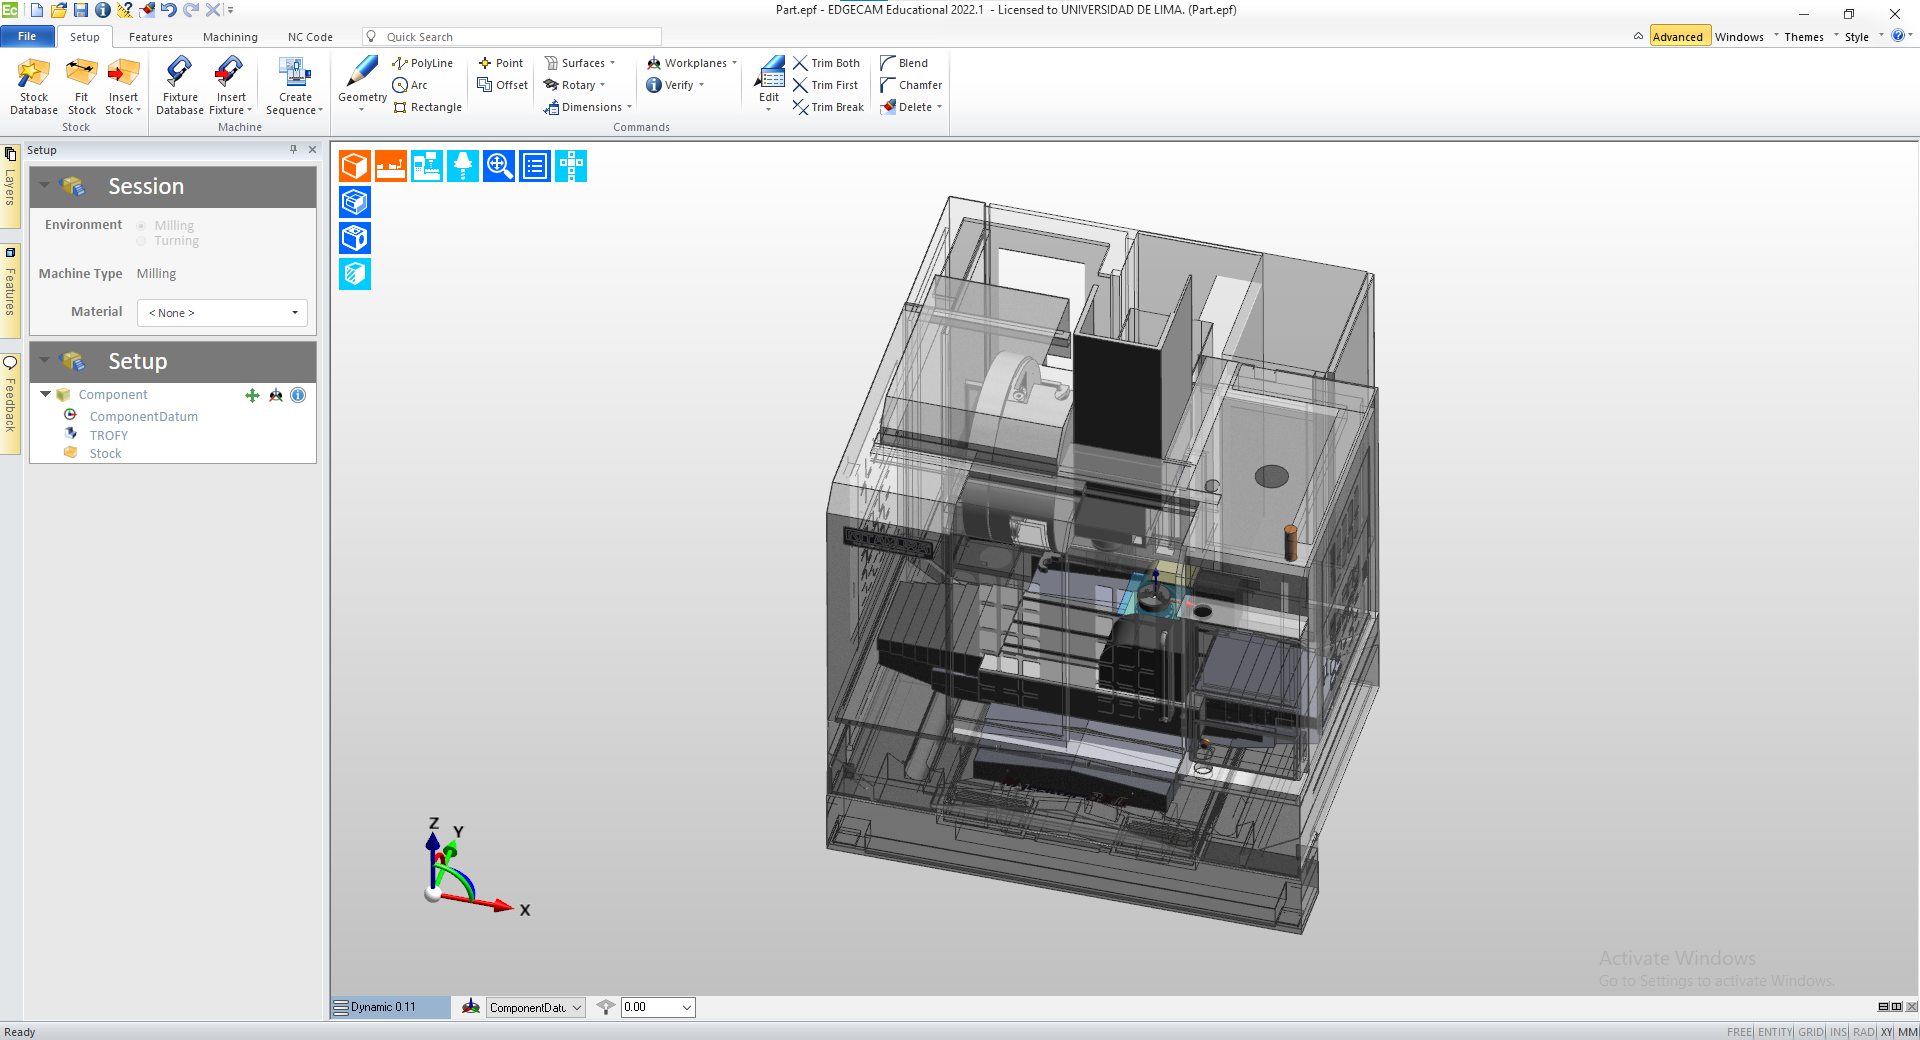
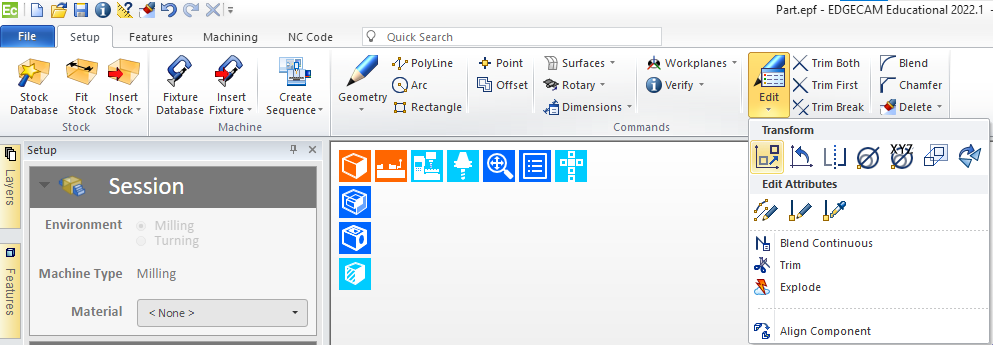
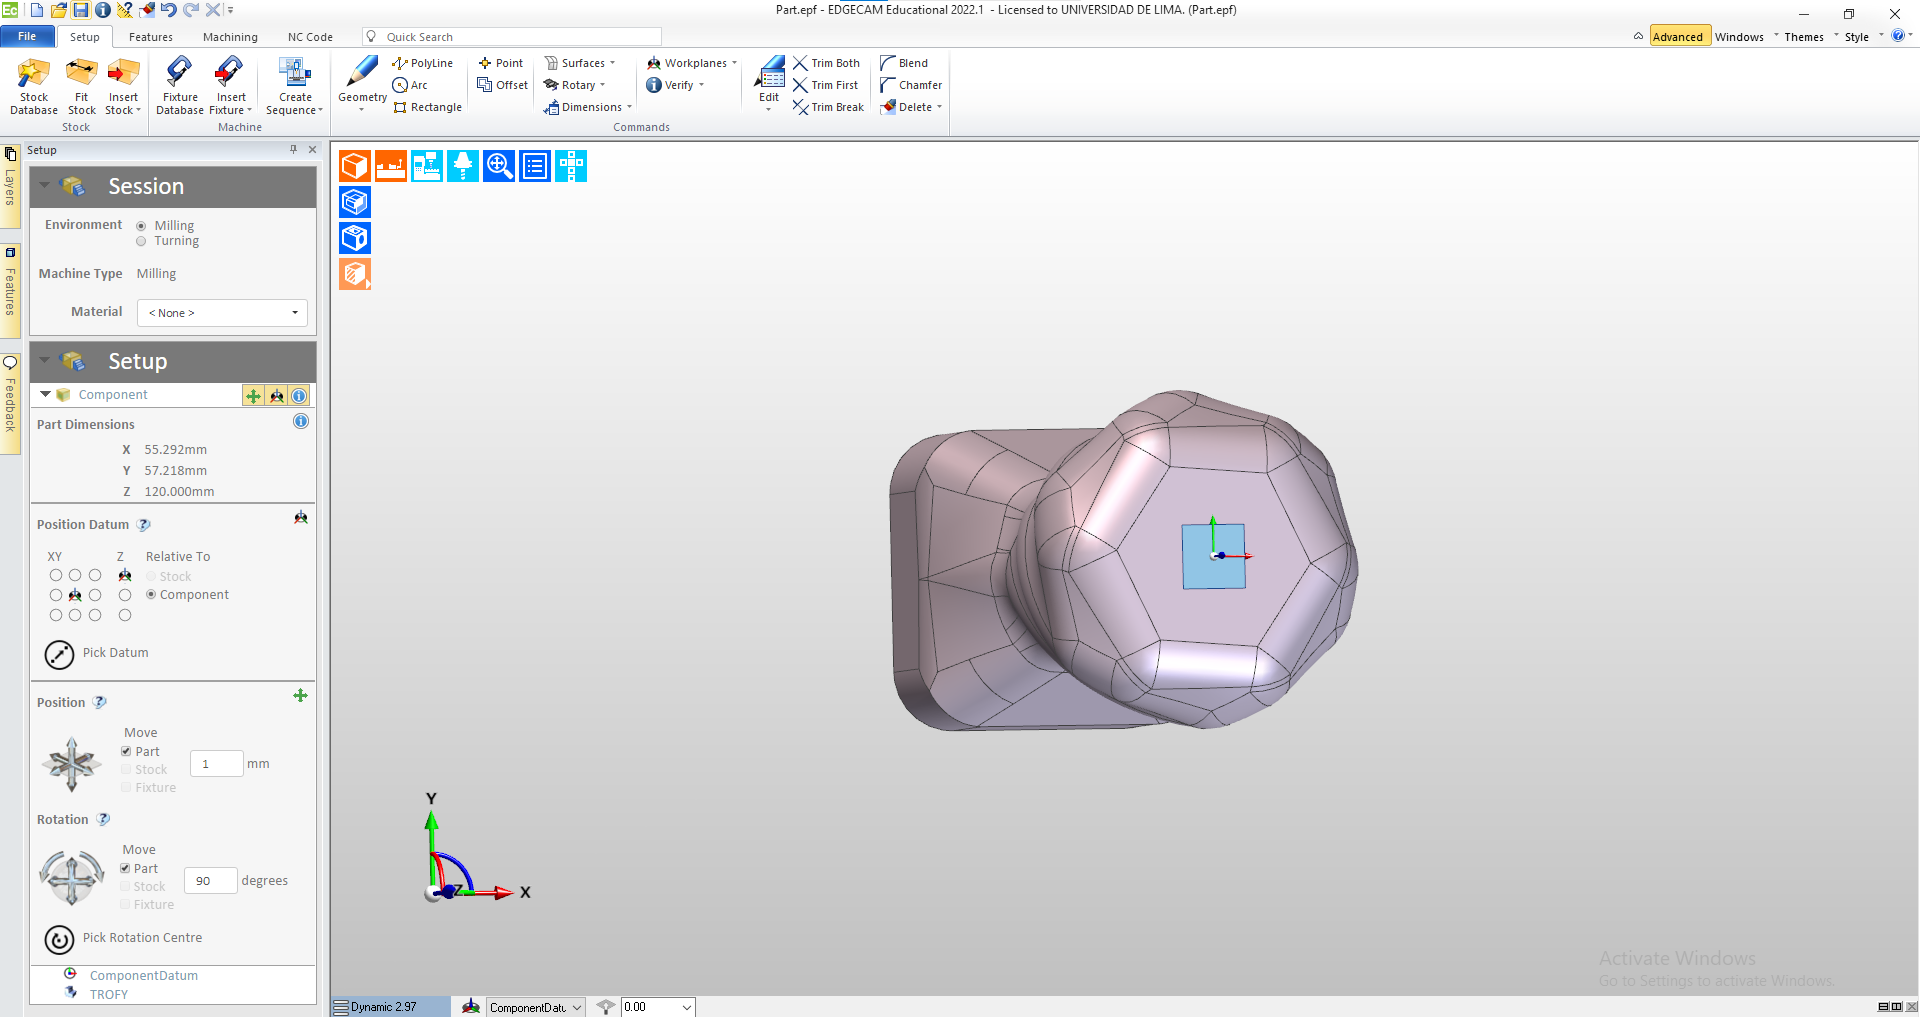
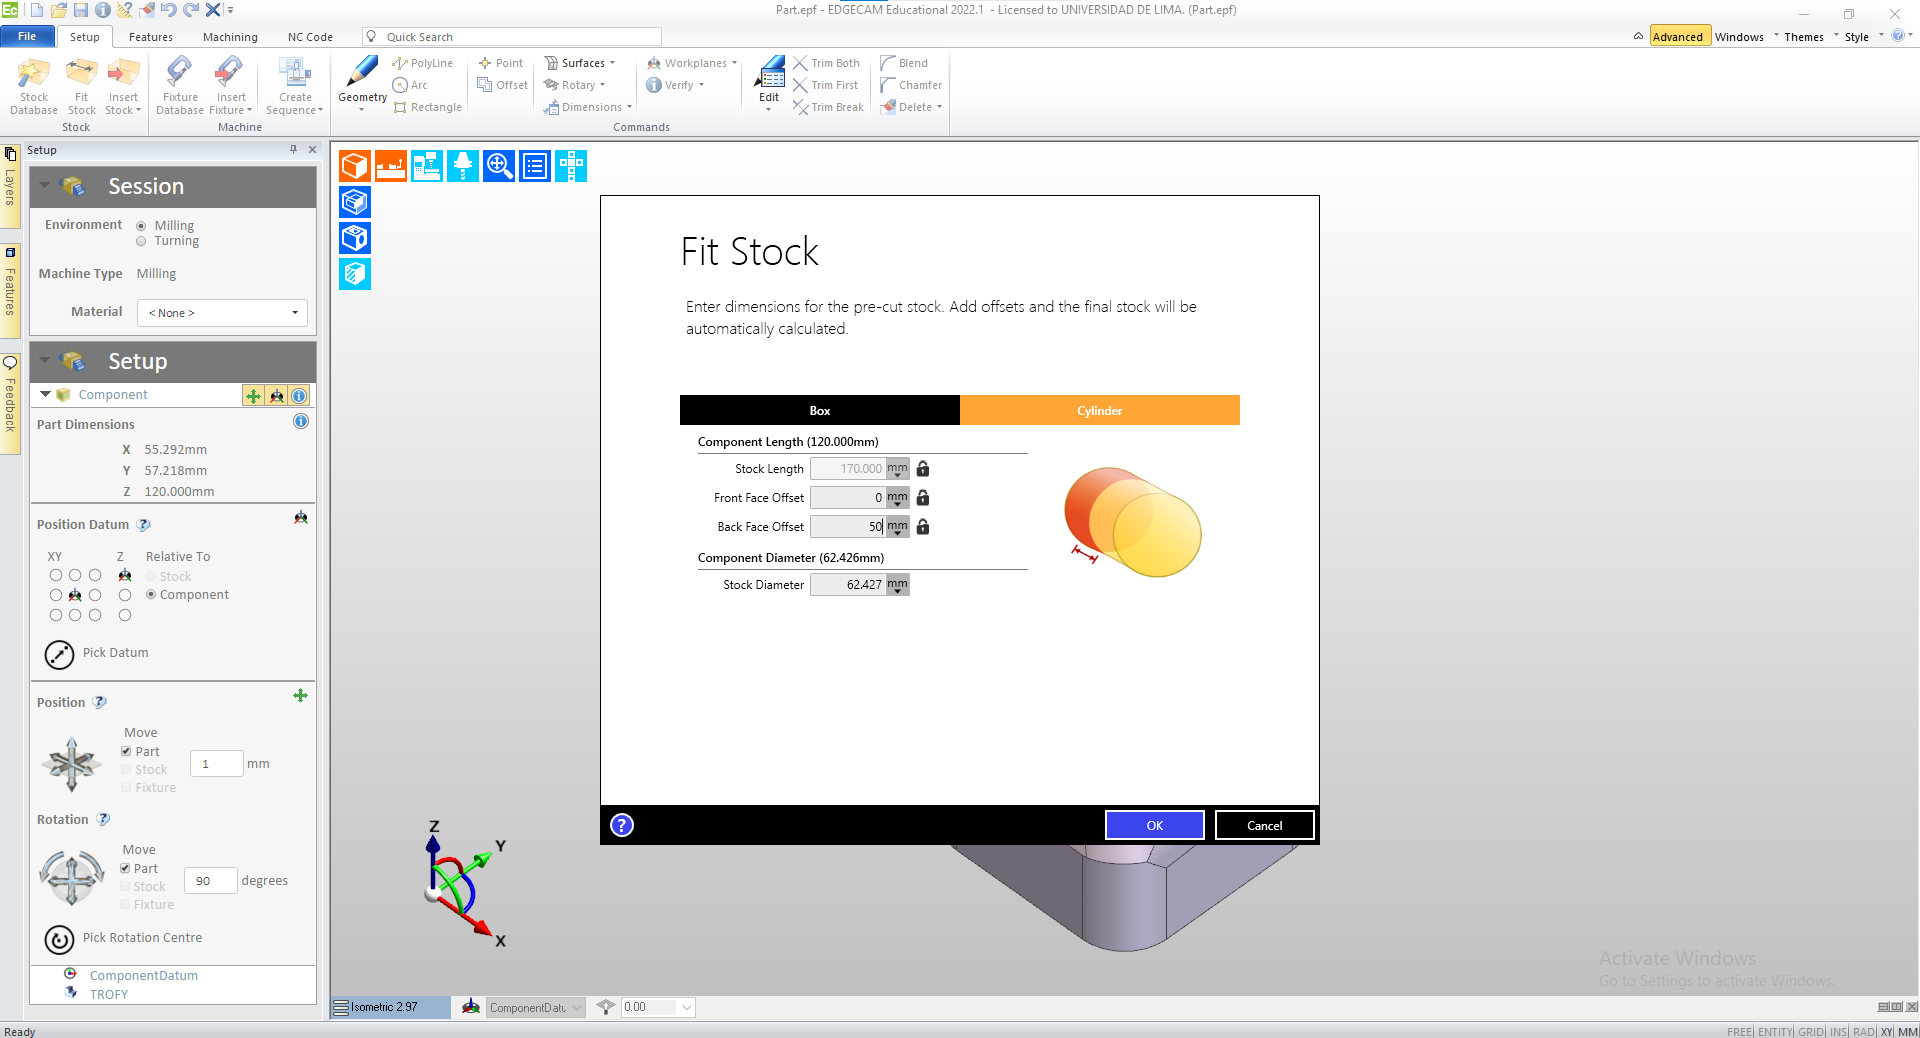
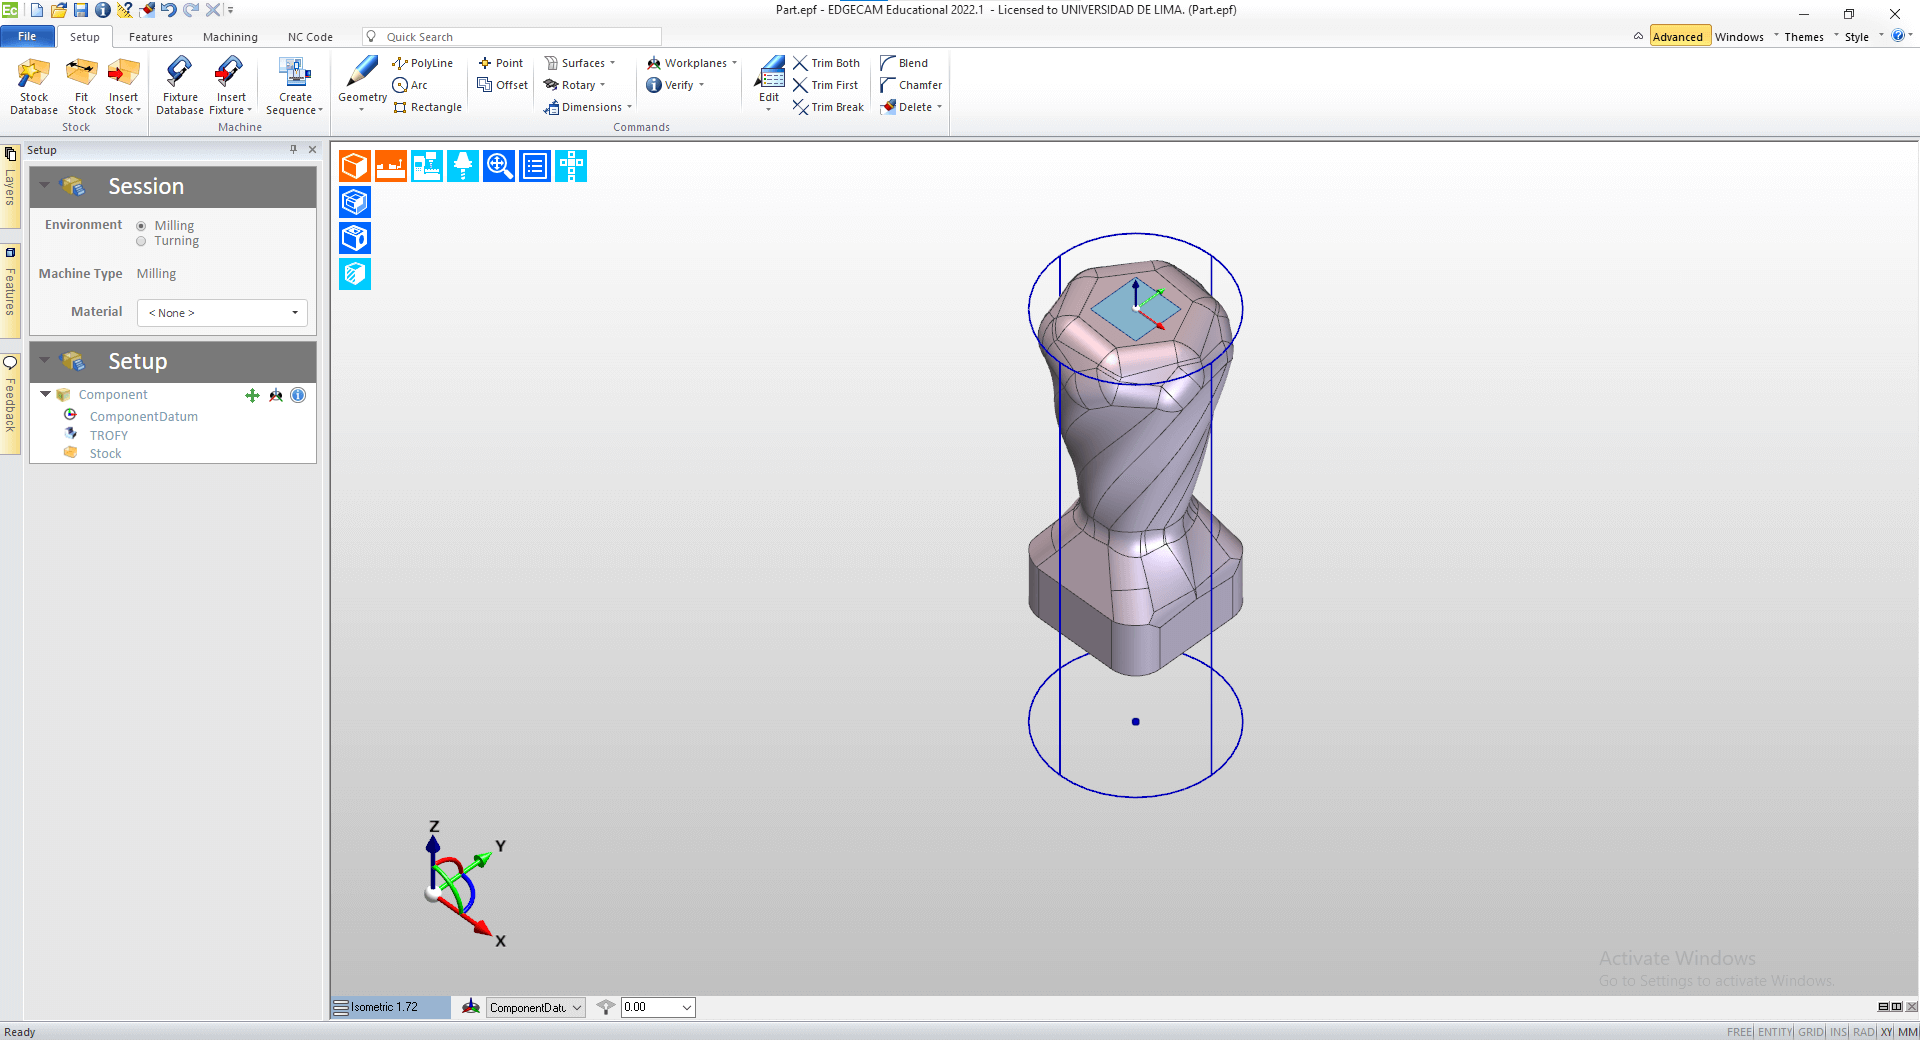
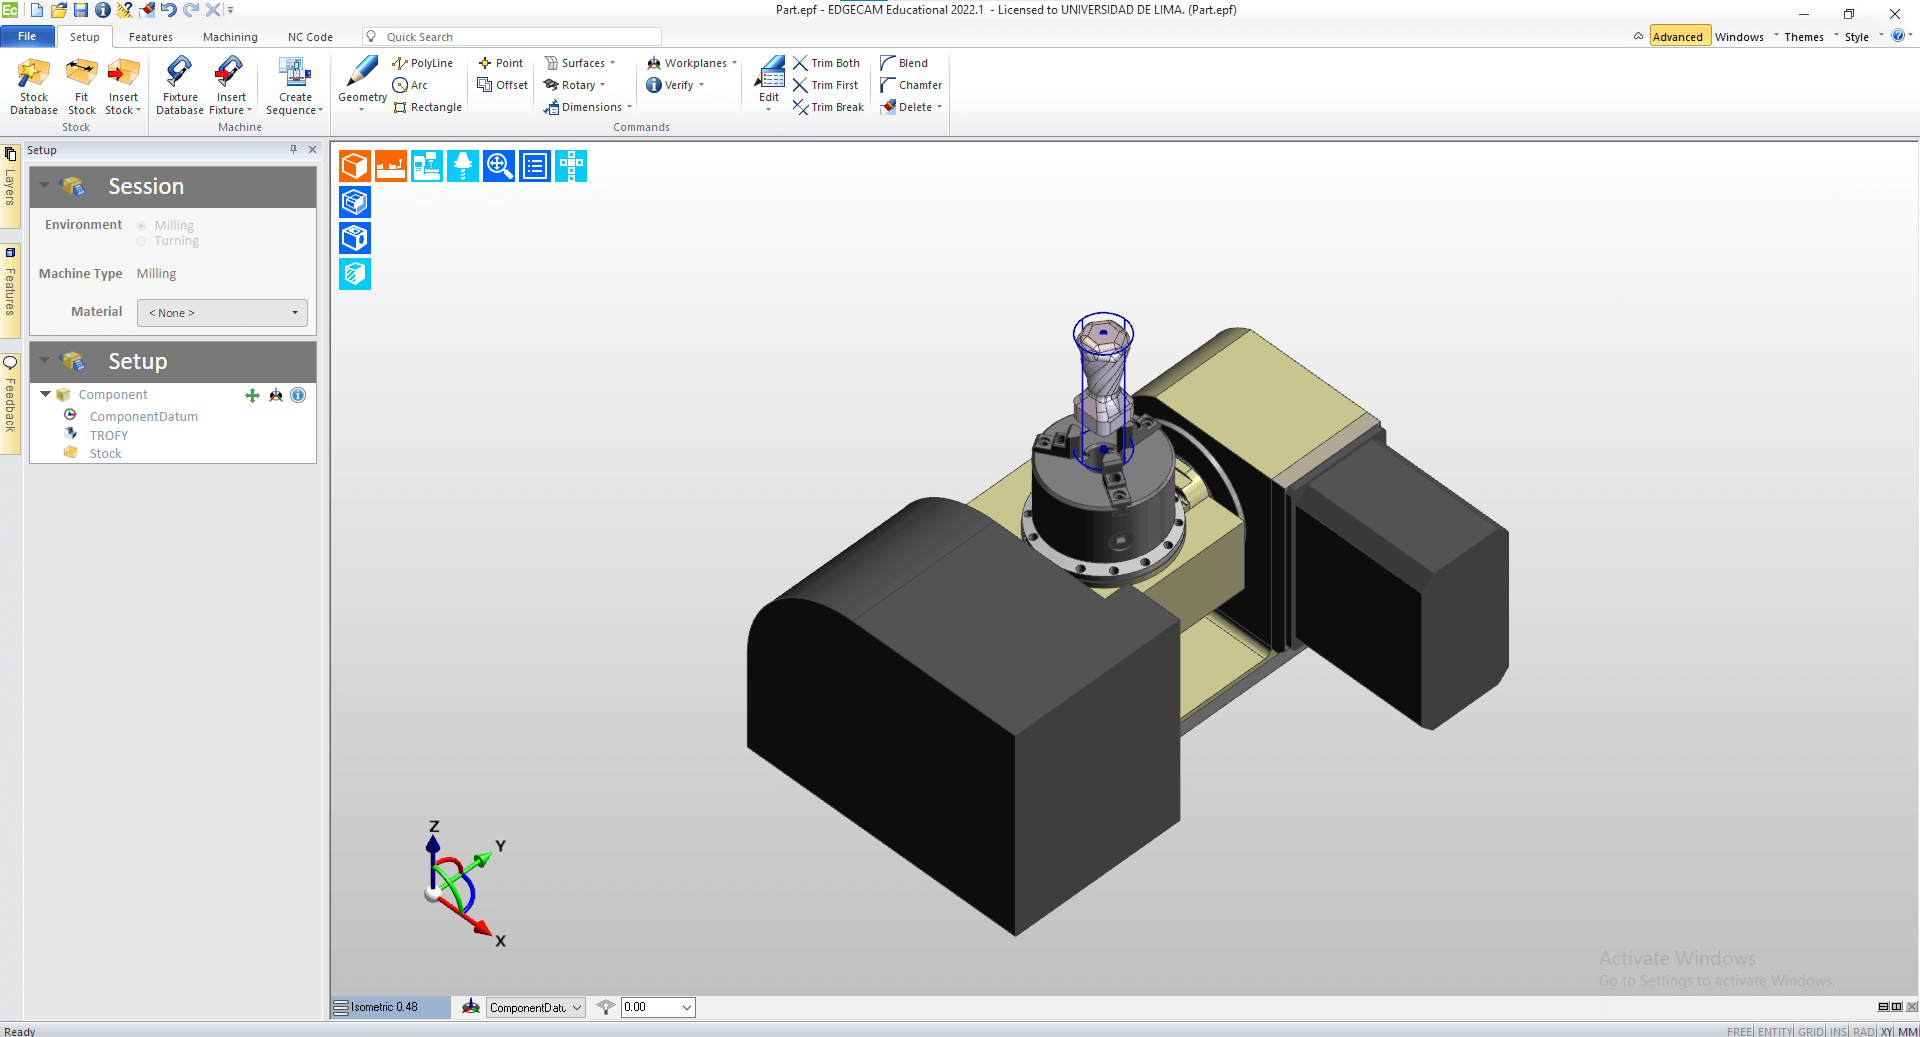
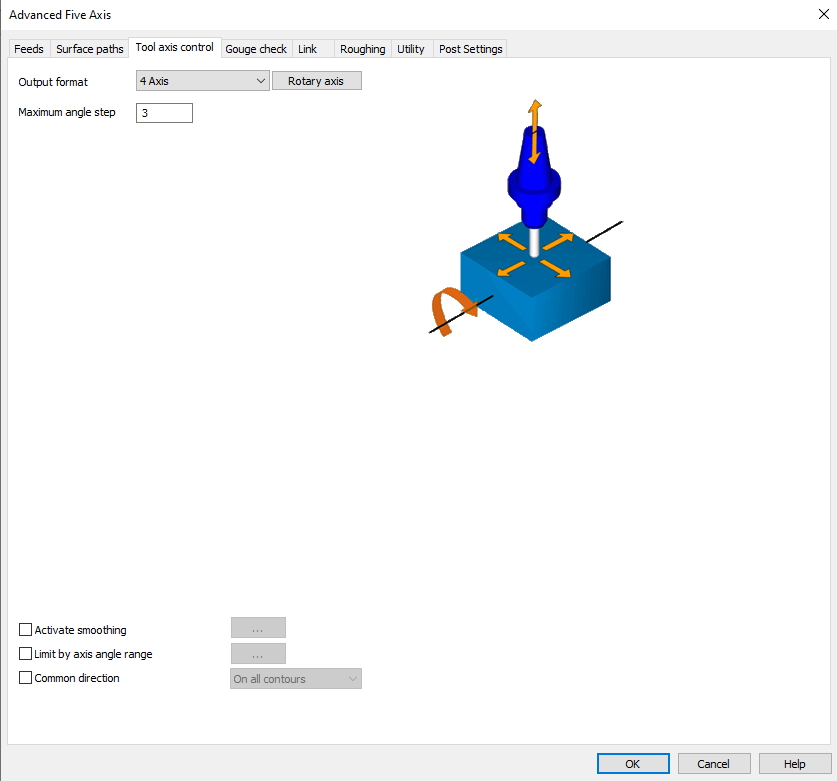
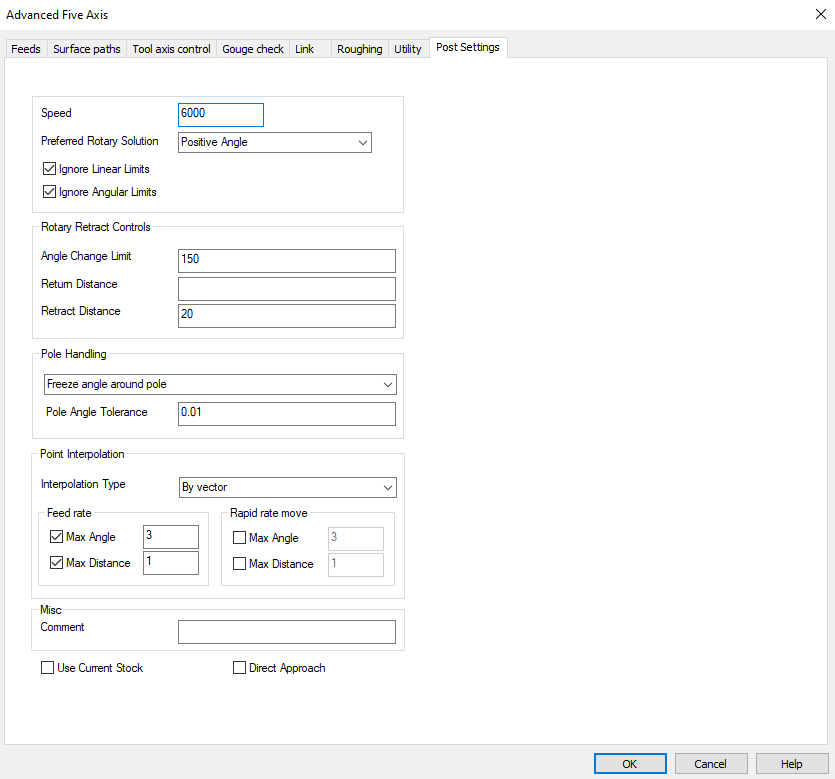
The design was created in Inventor software and exported as a .stp file. This file was then imported into Edgecam software, which prompted us to specify the model of the machine being used.

.png)
.png)
.png)
.png)
.png)
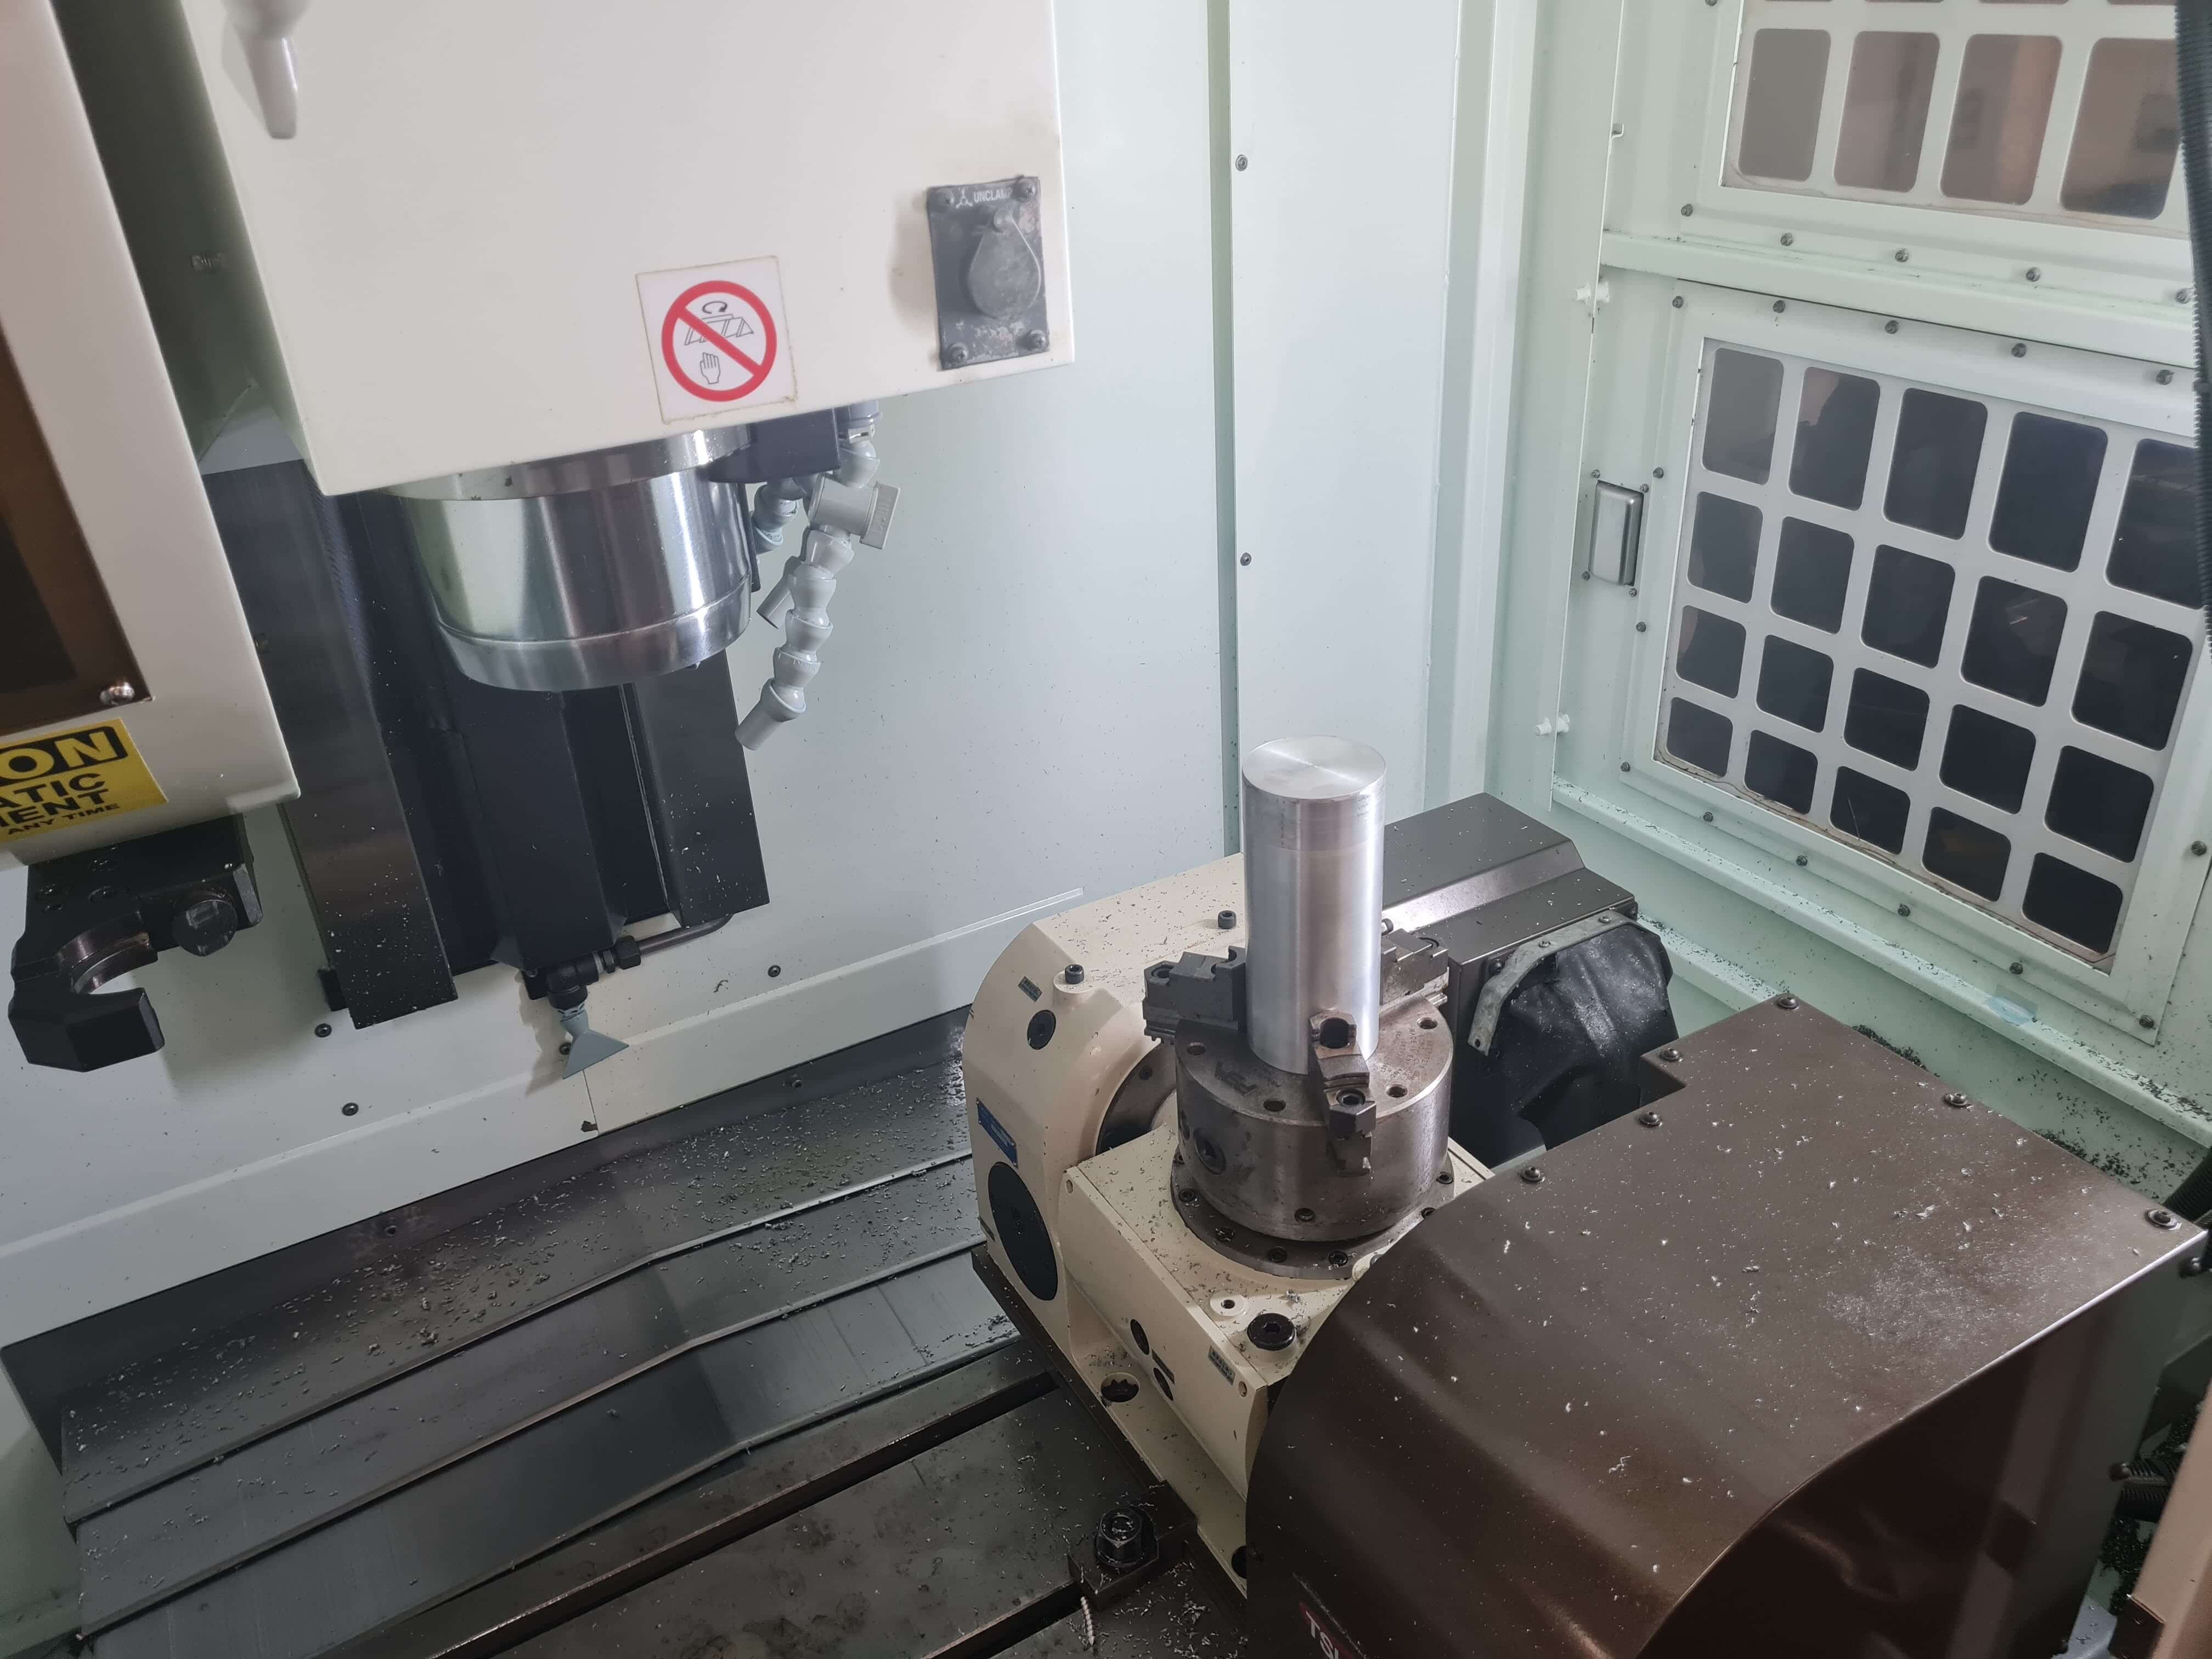
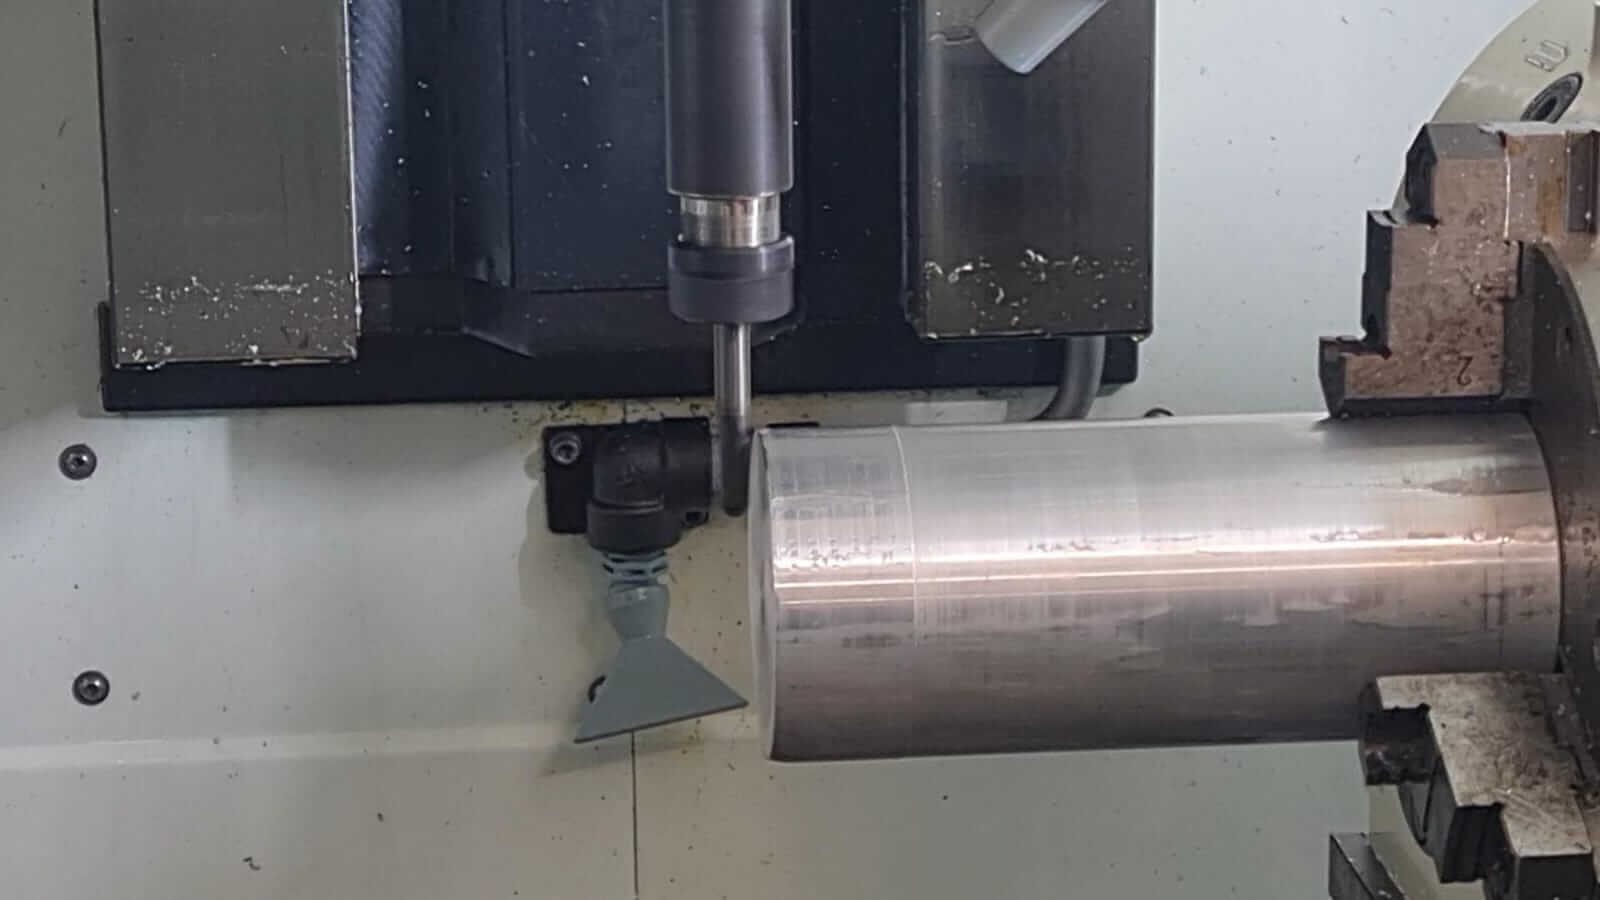
The stock material, a 3-inch round bar with a length of 170mm, needed thorough cleaning before any machining could take place. The rough surface would hinder proper alignment, so I cleaned the sides, top, and bottom to ensure a smooth clamping surface for the 5-axis chuck.
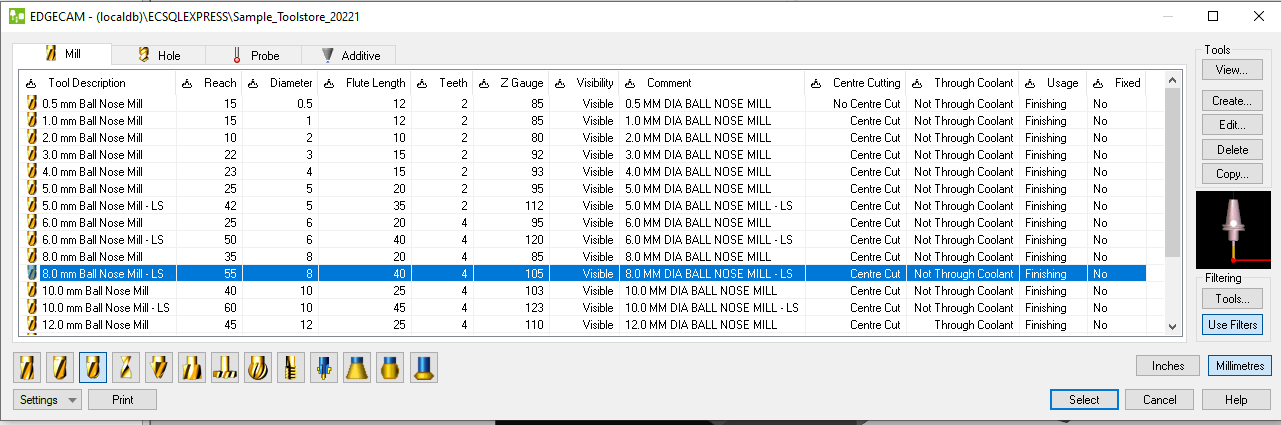
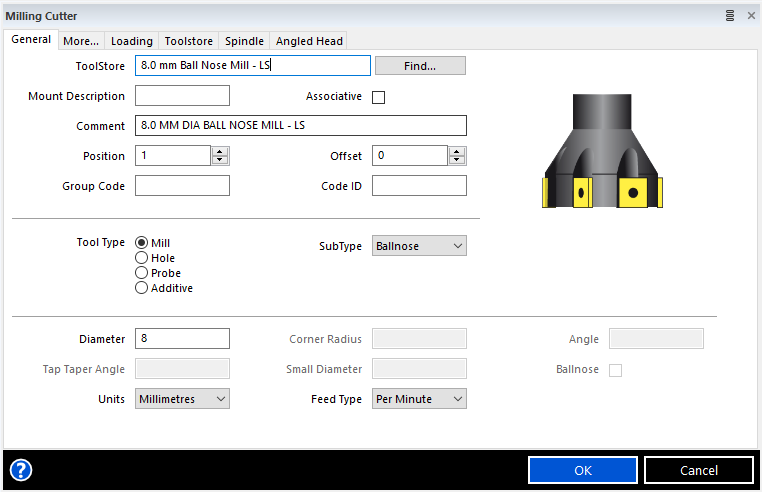
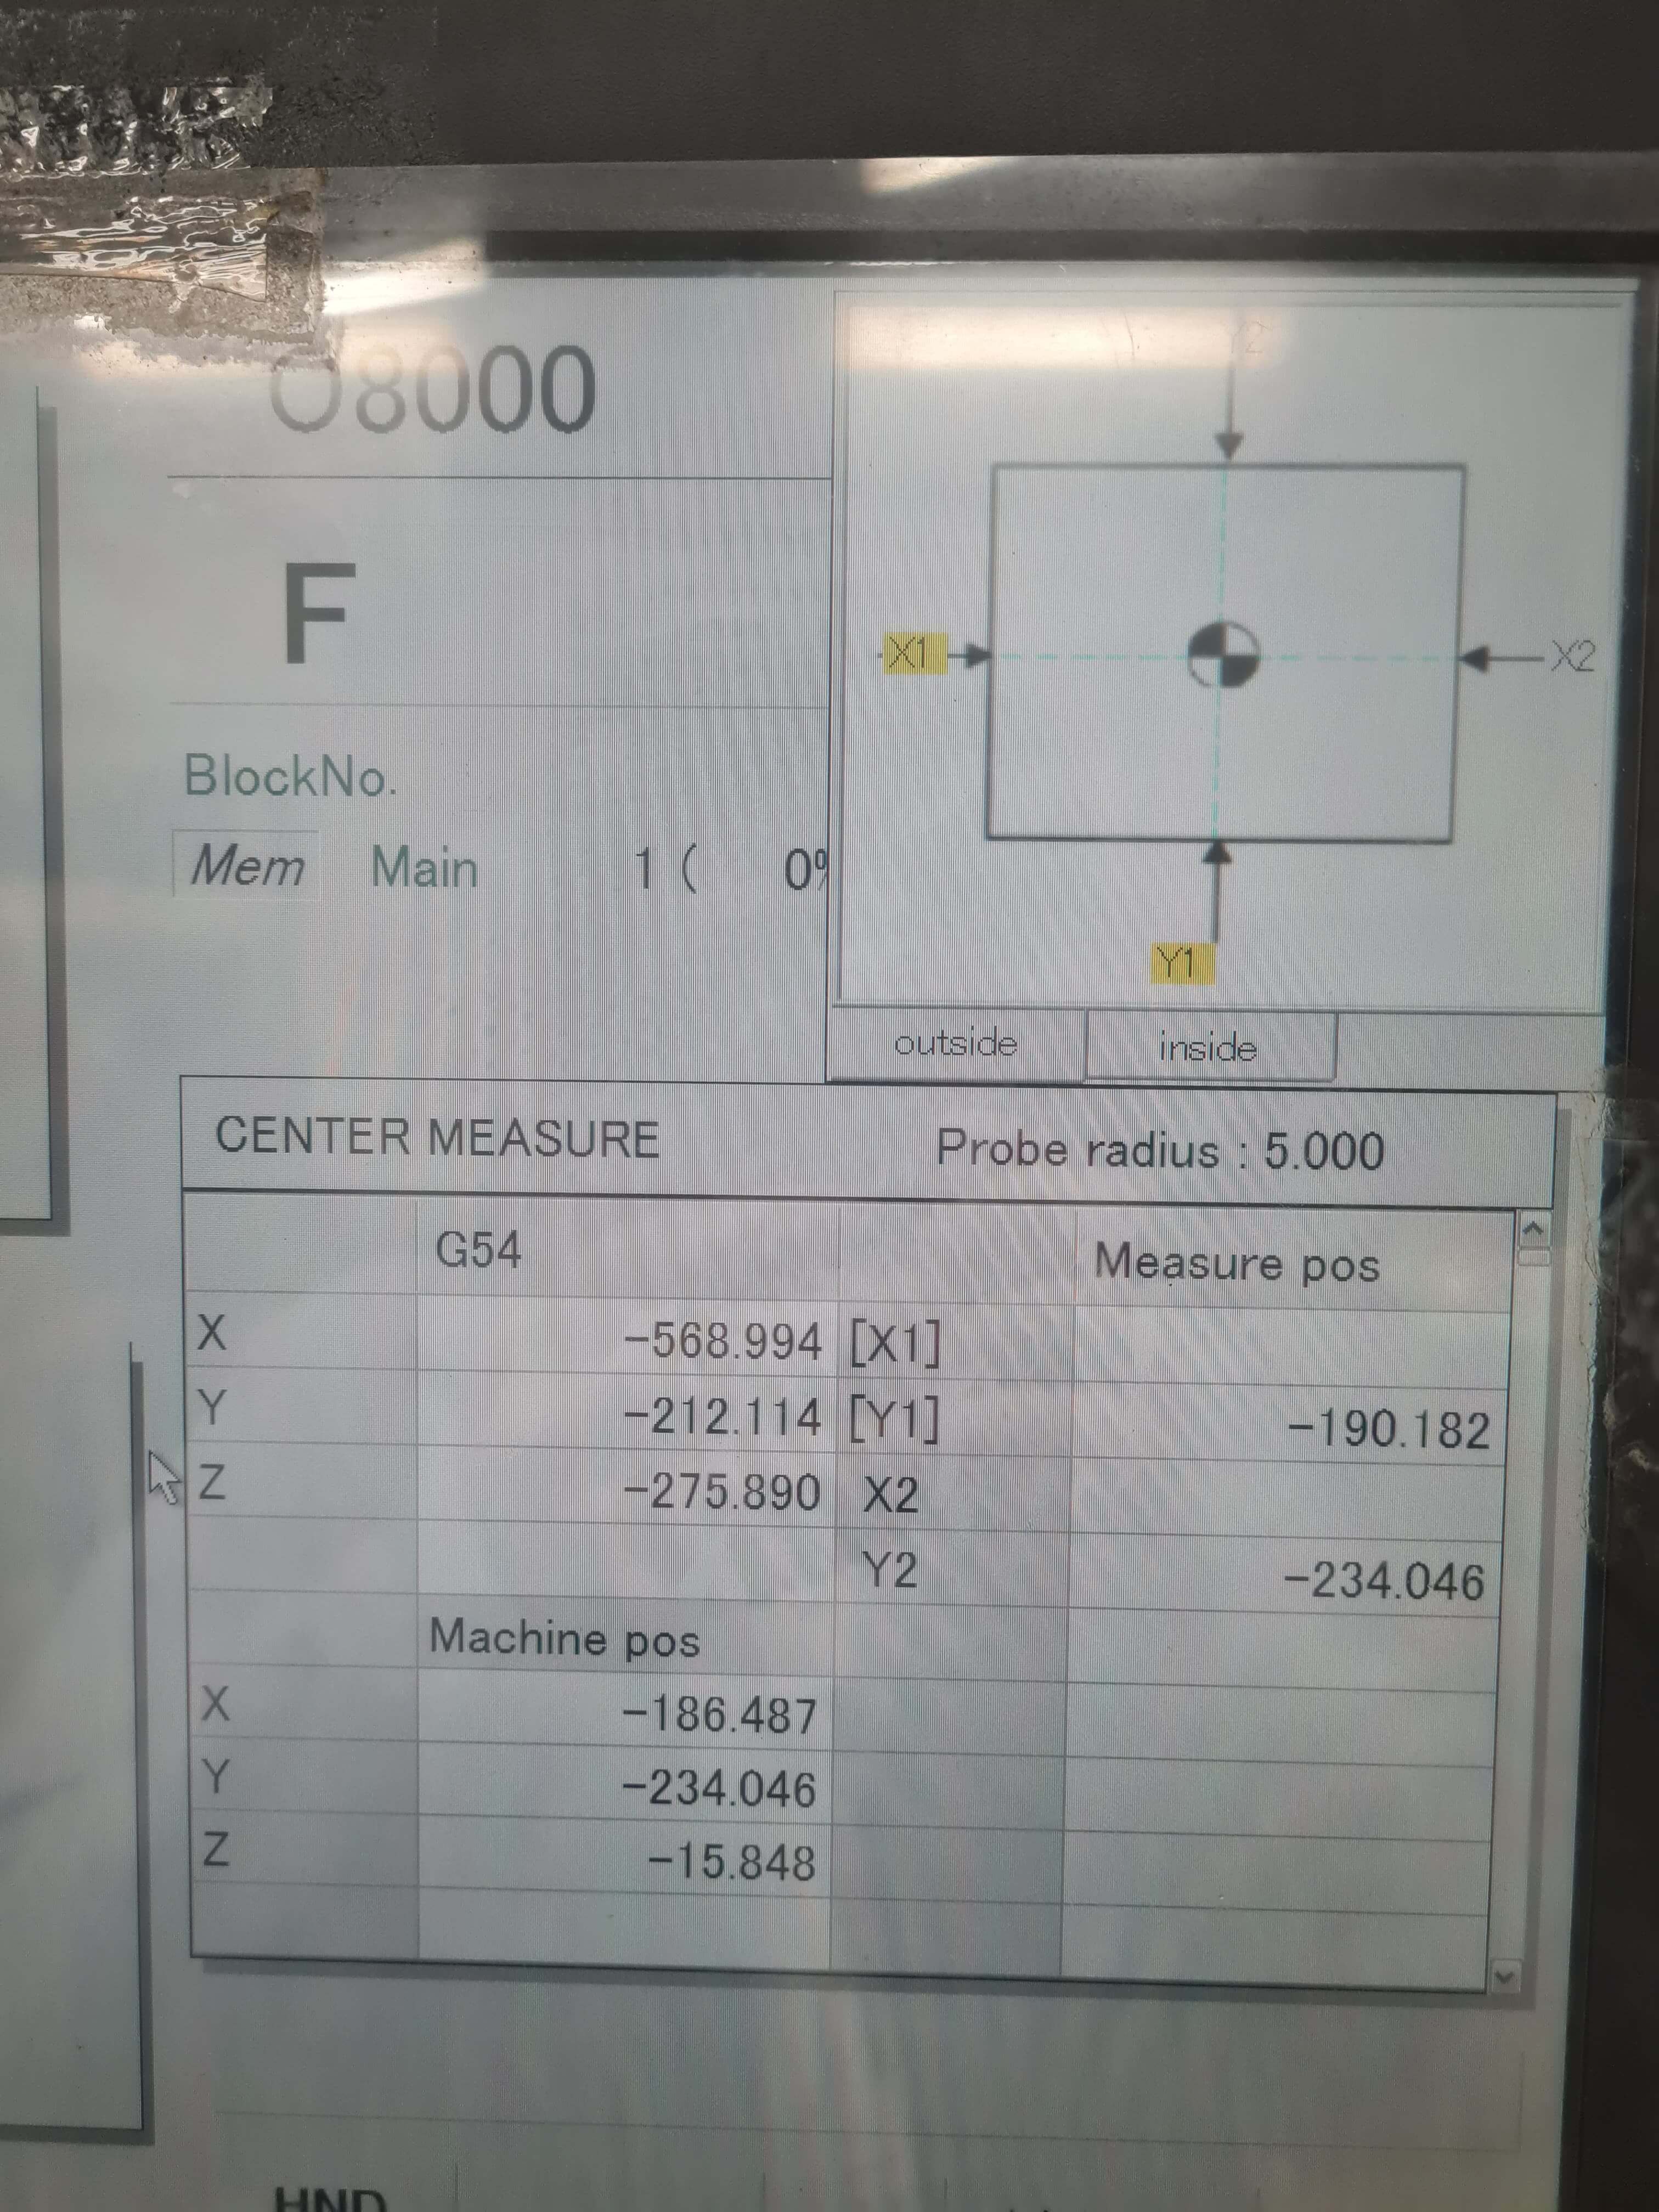
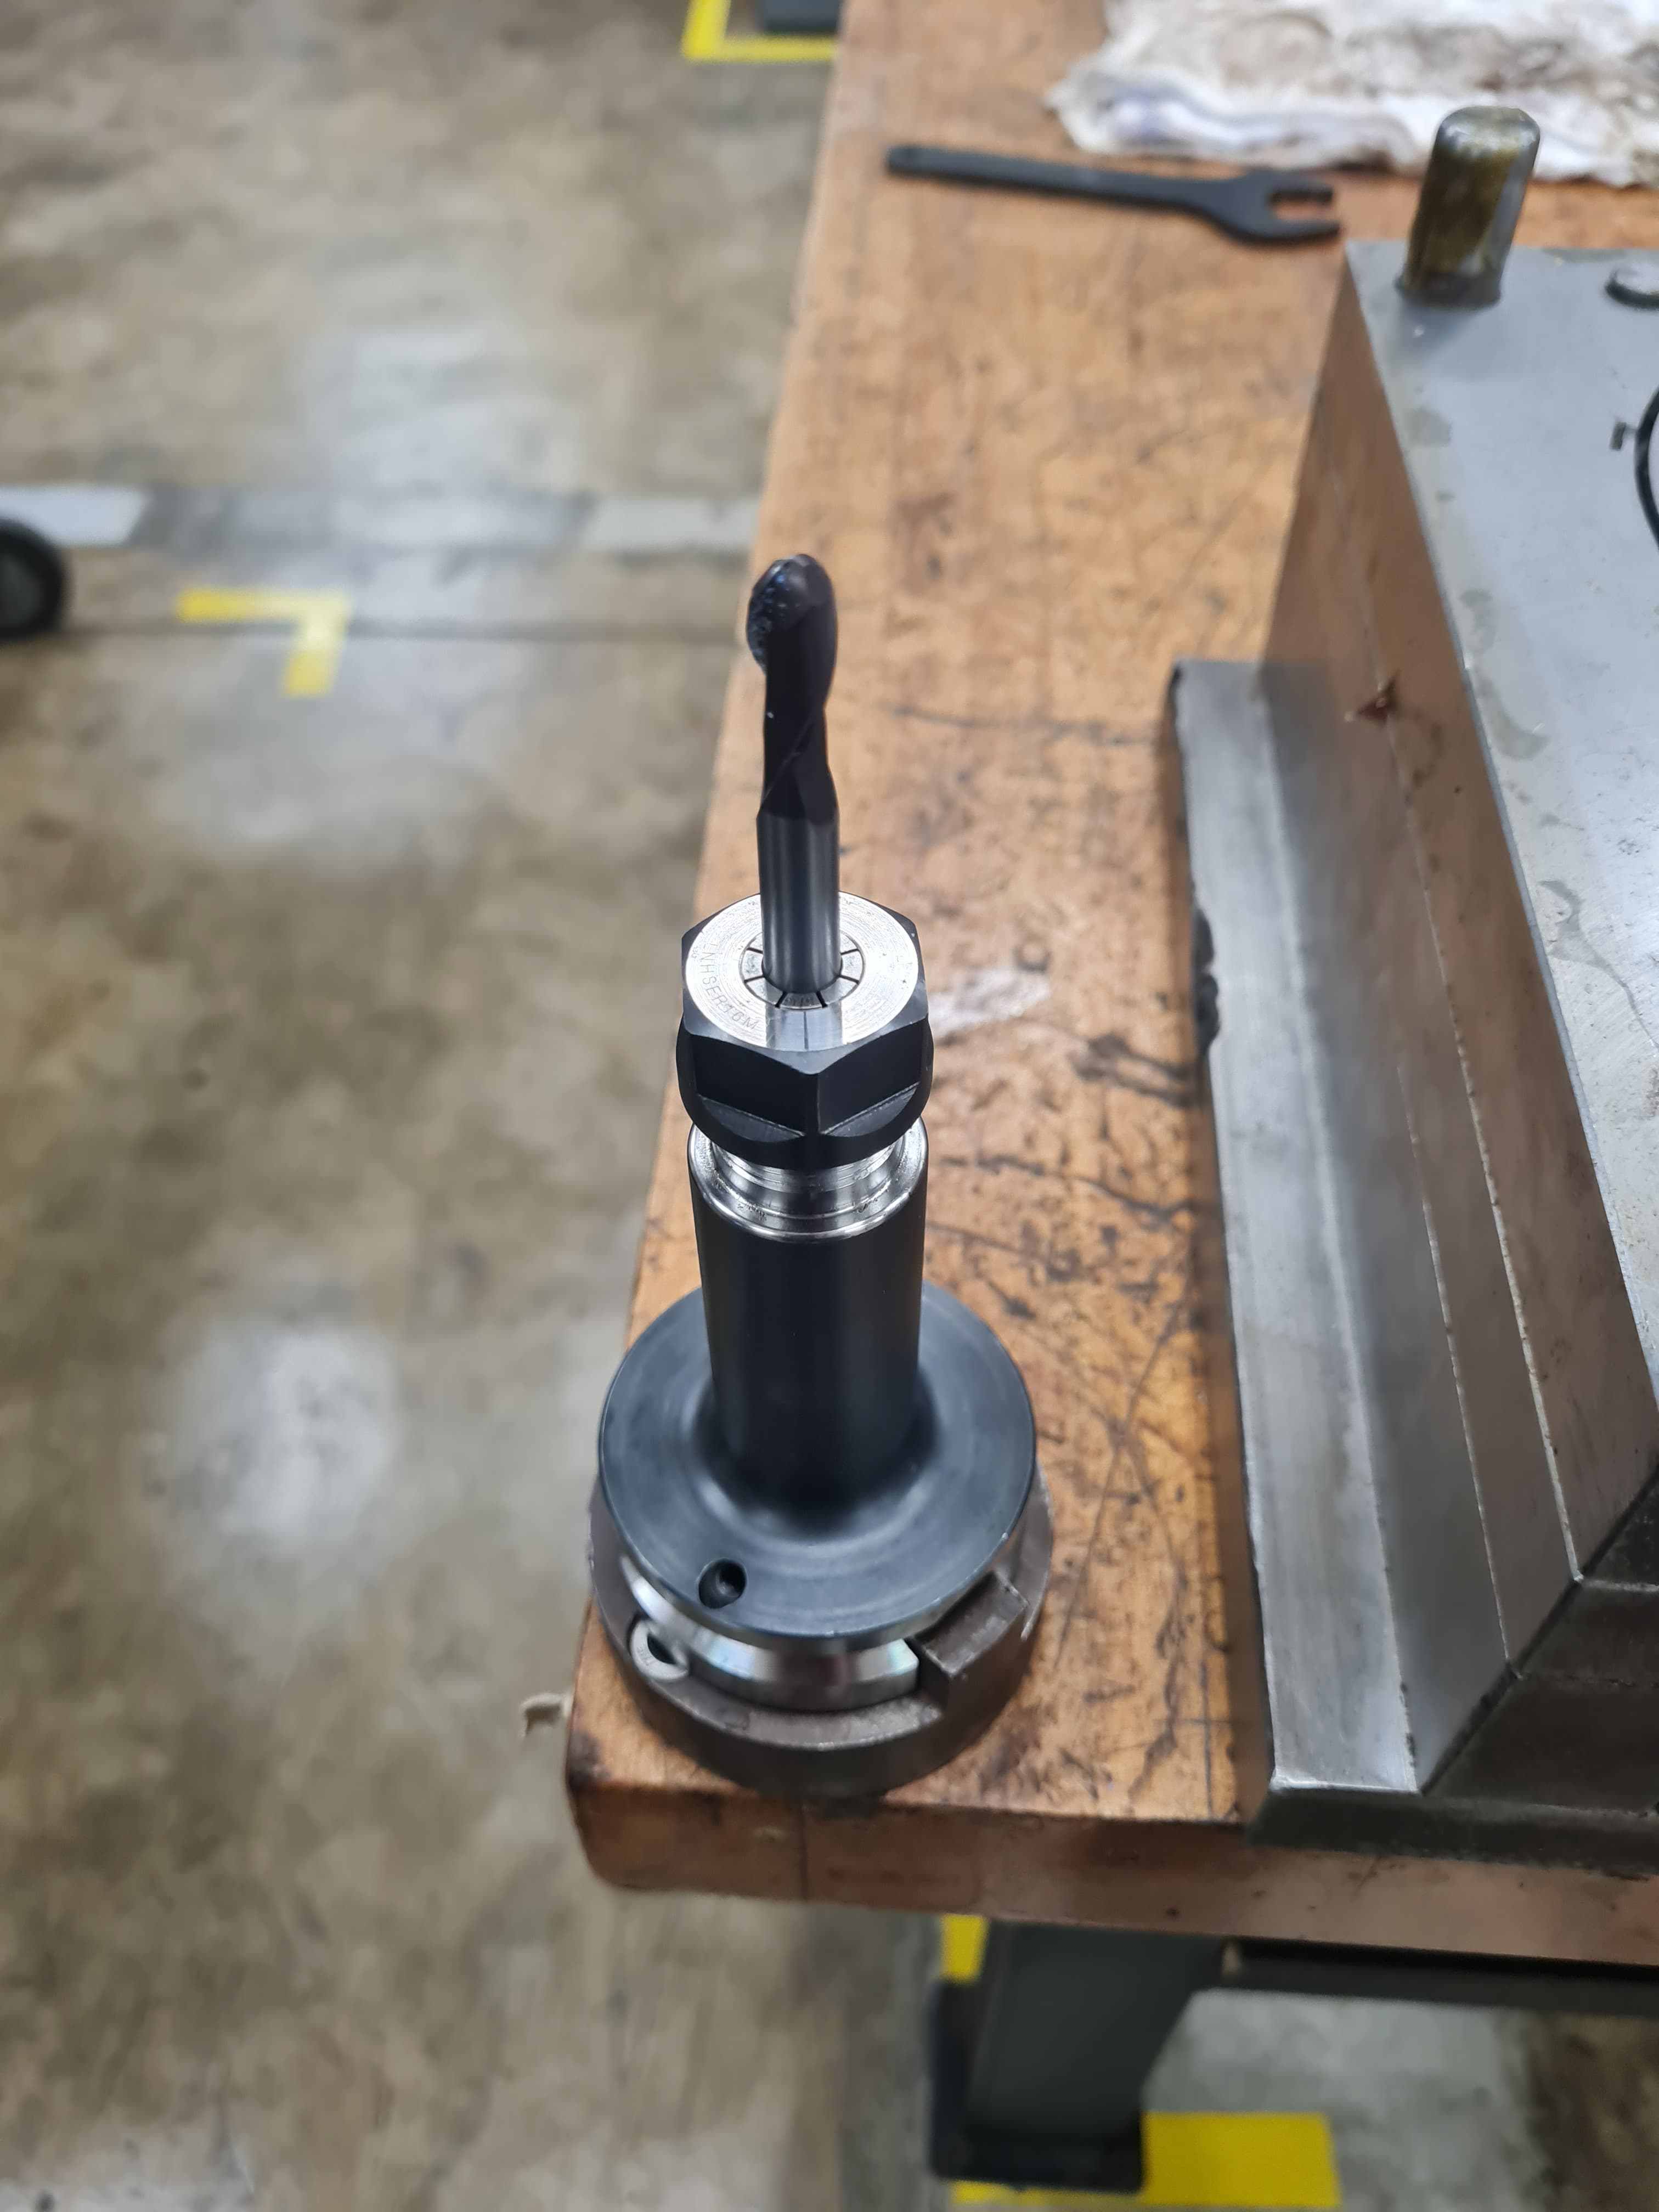
The Kitamura Mycenter 3XG is equipped with a center calculator assist, which simplifies the process of locating the stock's origin. By inputting the necessary coordinates, the machine calculated the origin at the center of the stock. Additionally, we used a Z-probe tool to accurately determine the Z origin. With the X, Y, and Z origins set, we were ready to generate the G-code.
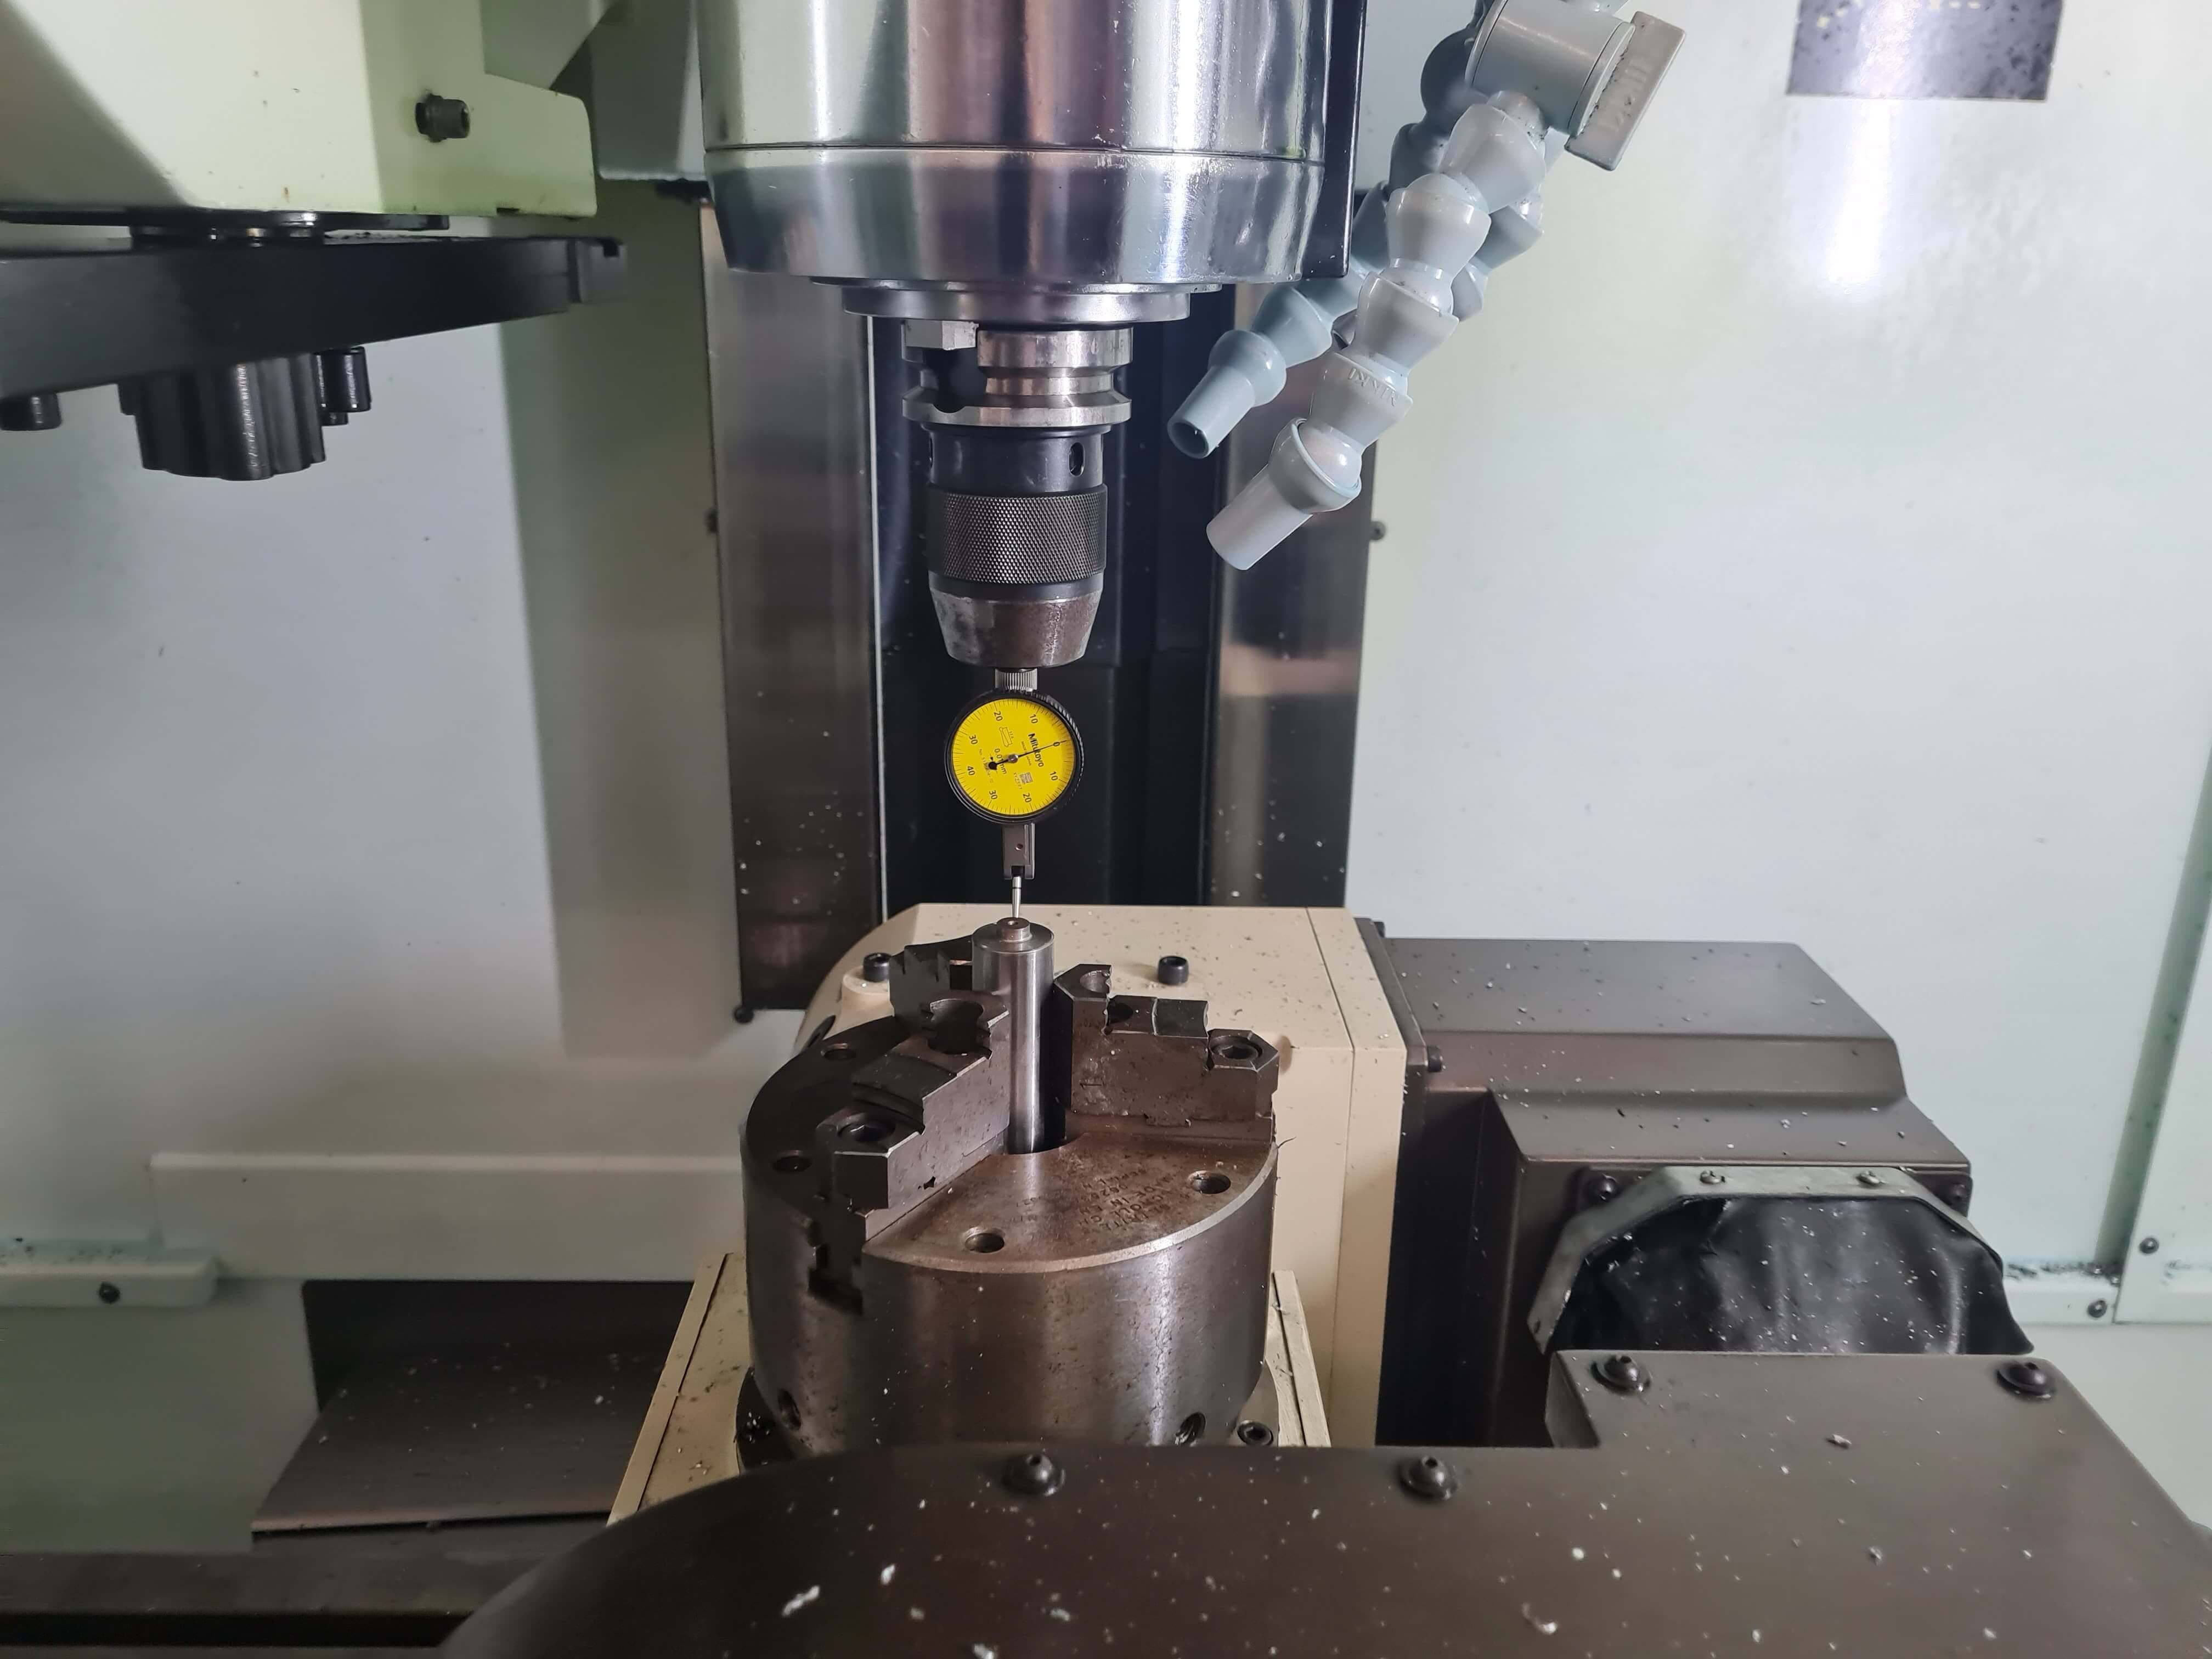
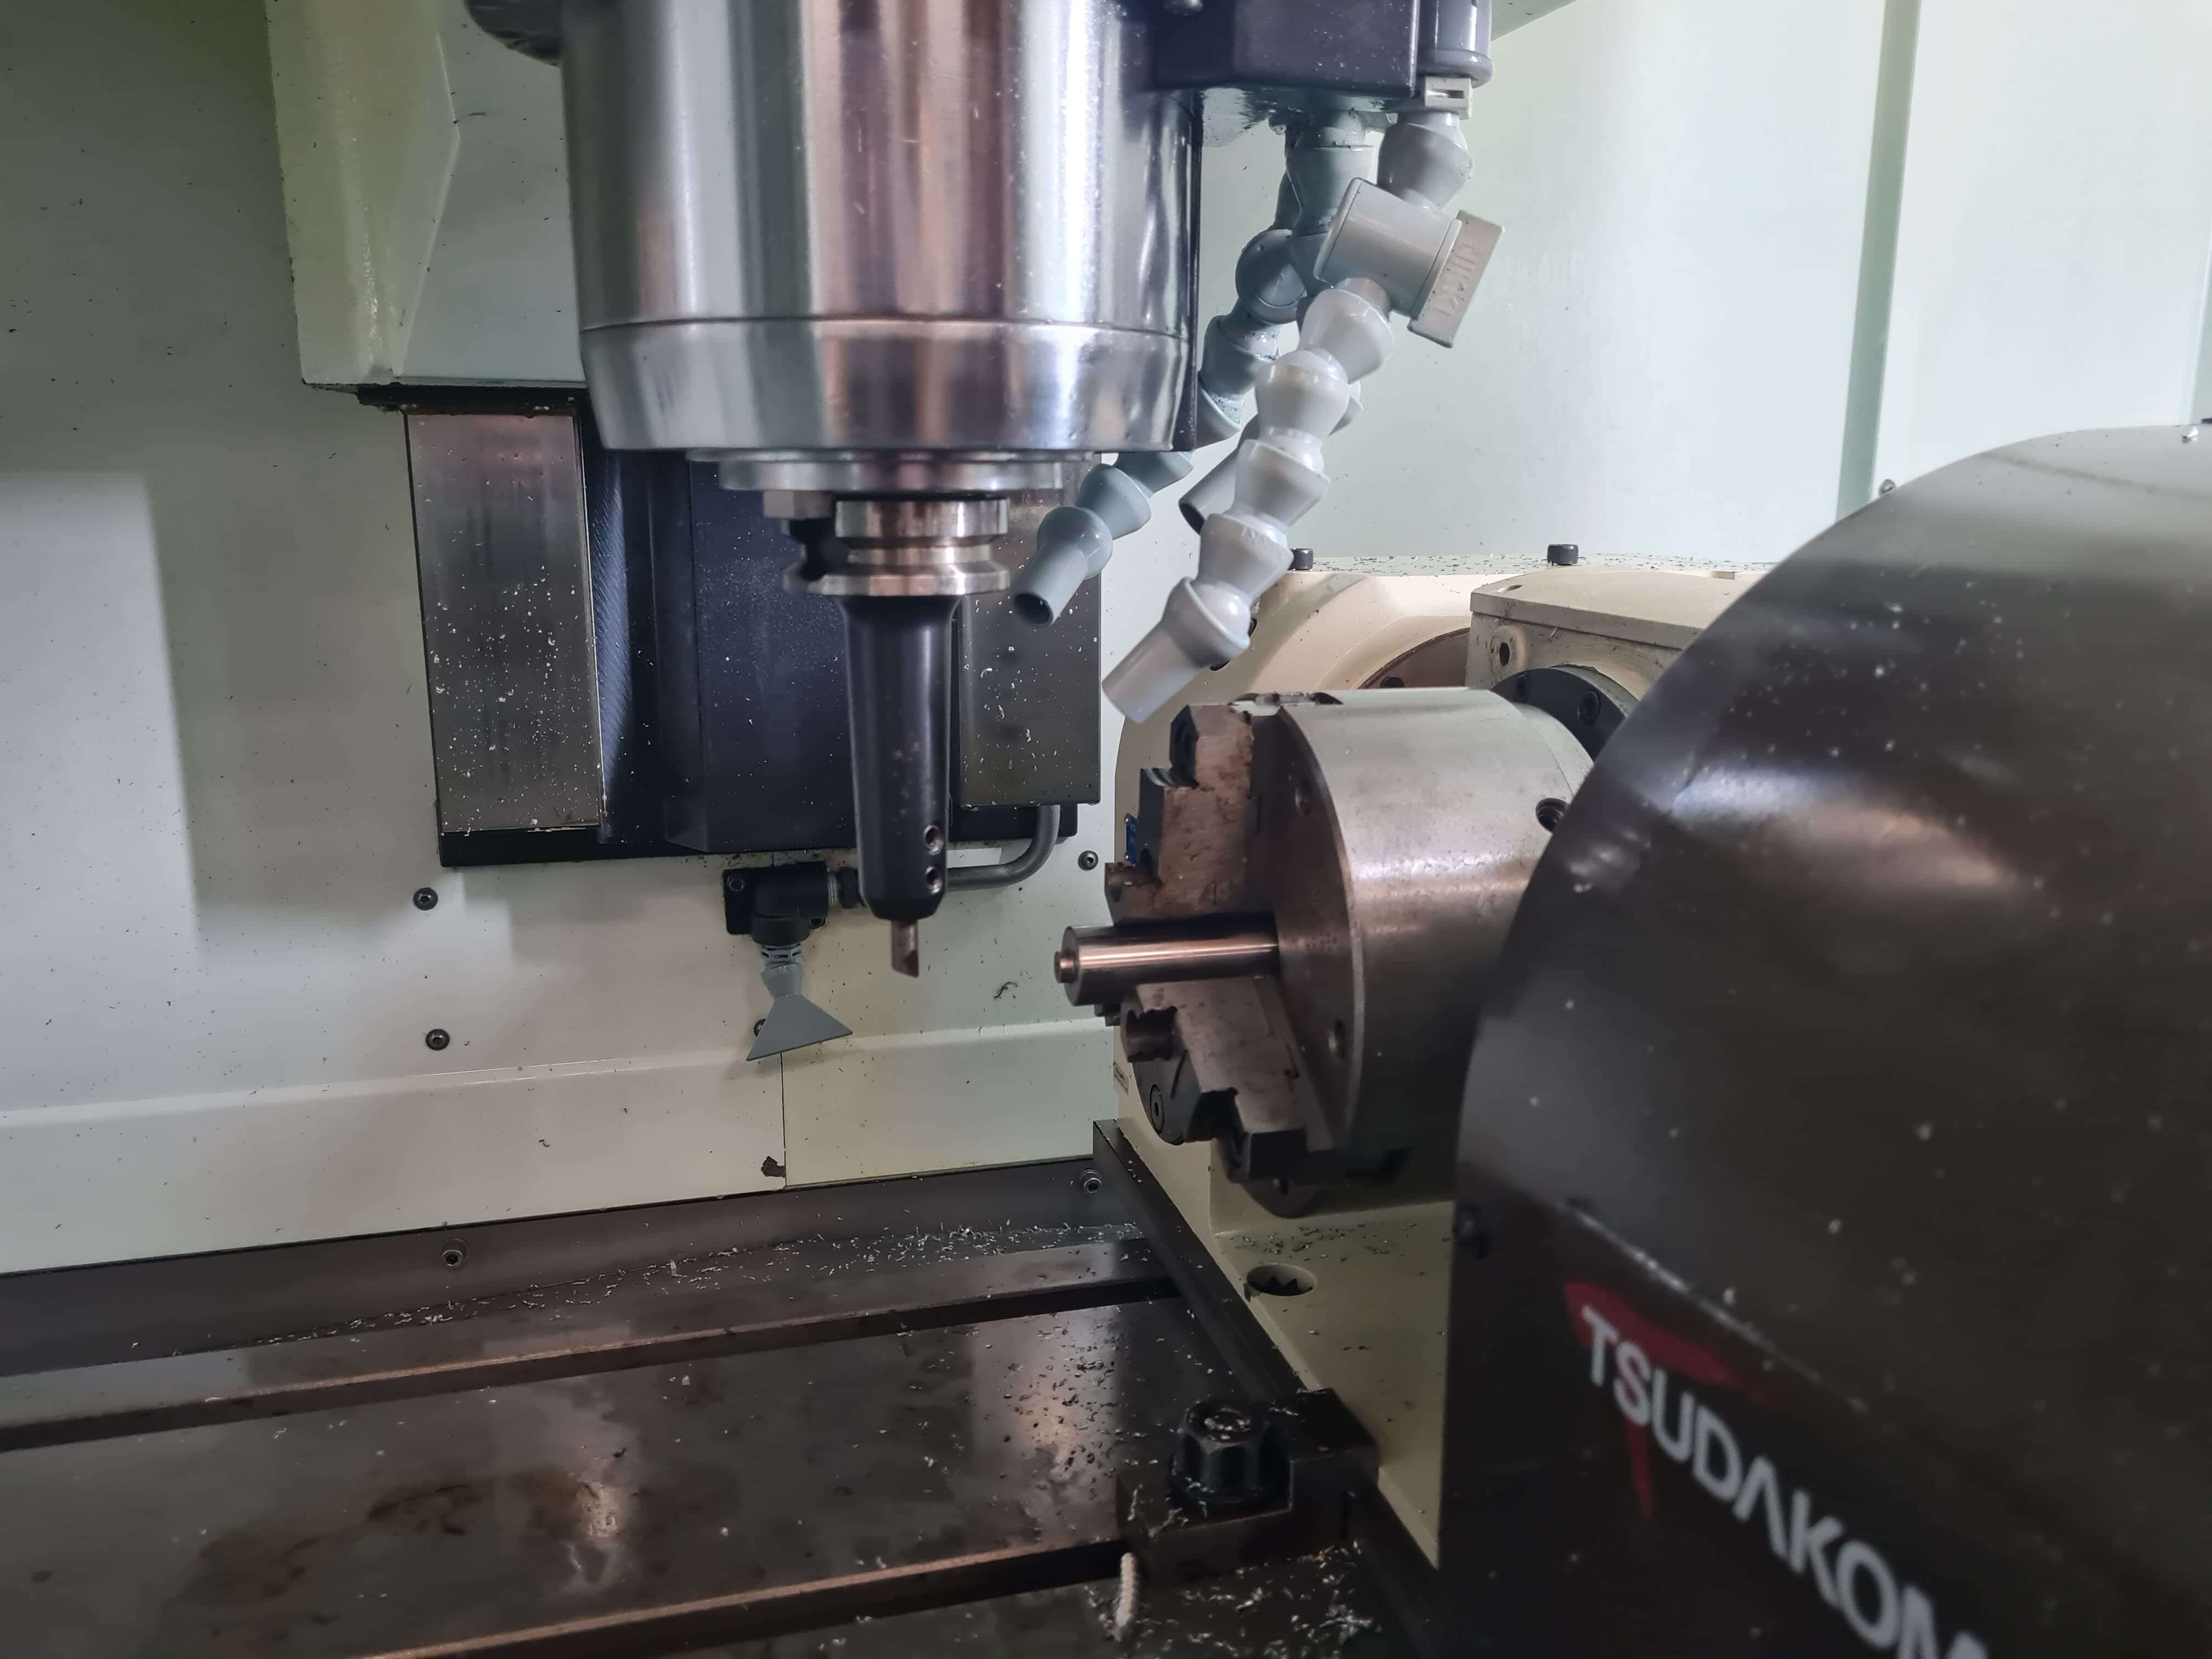
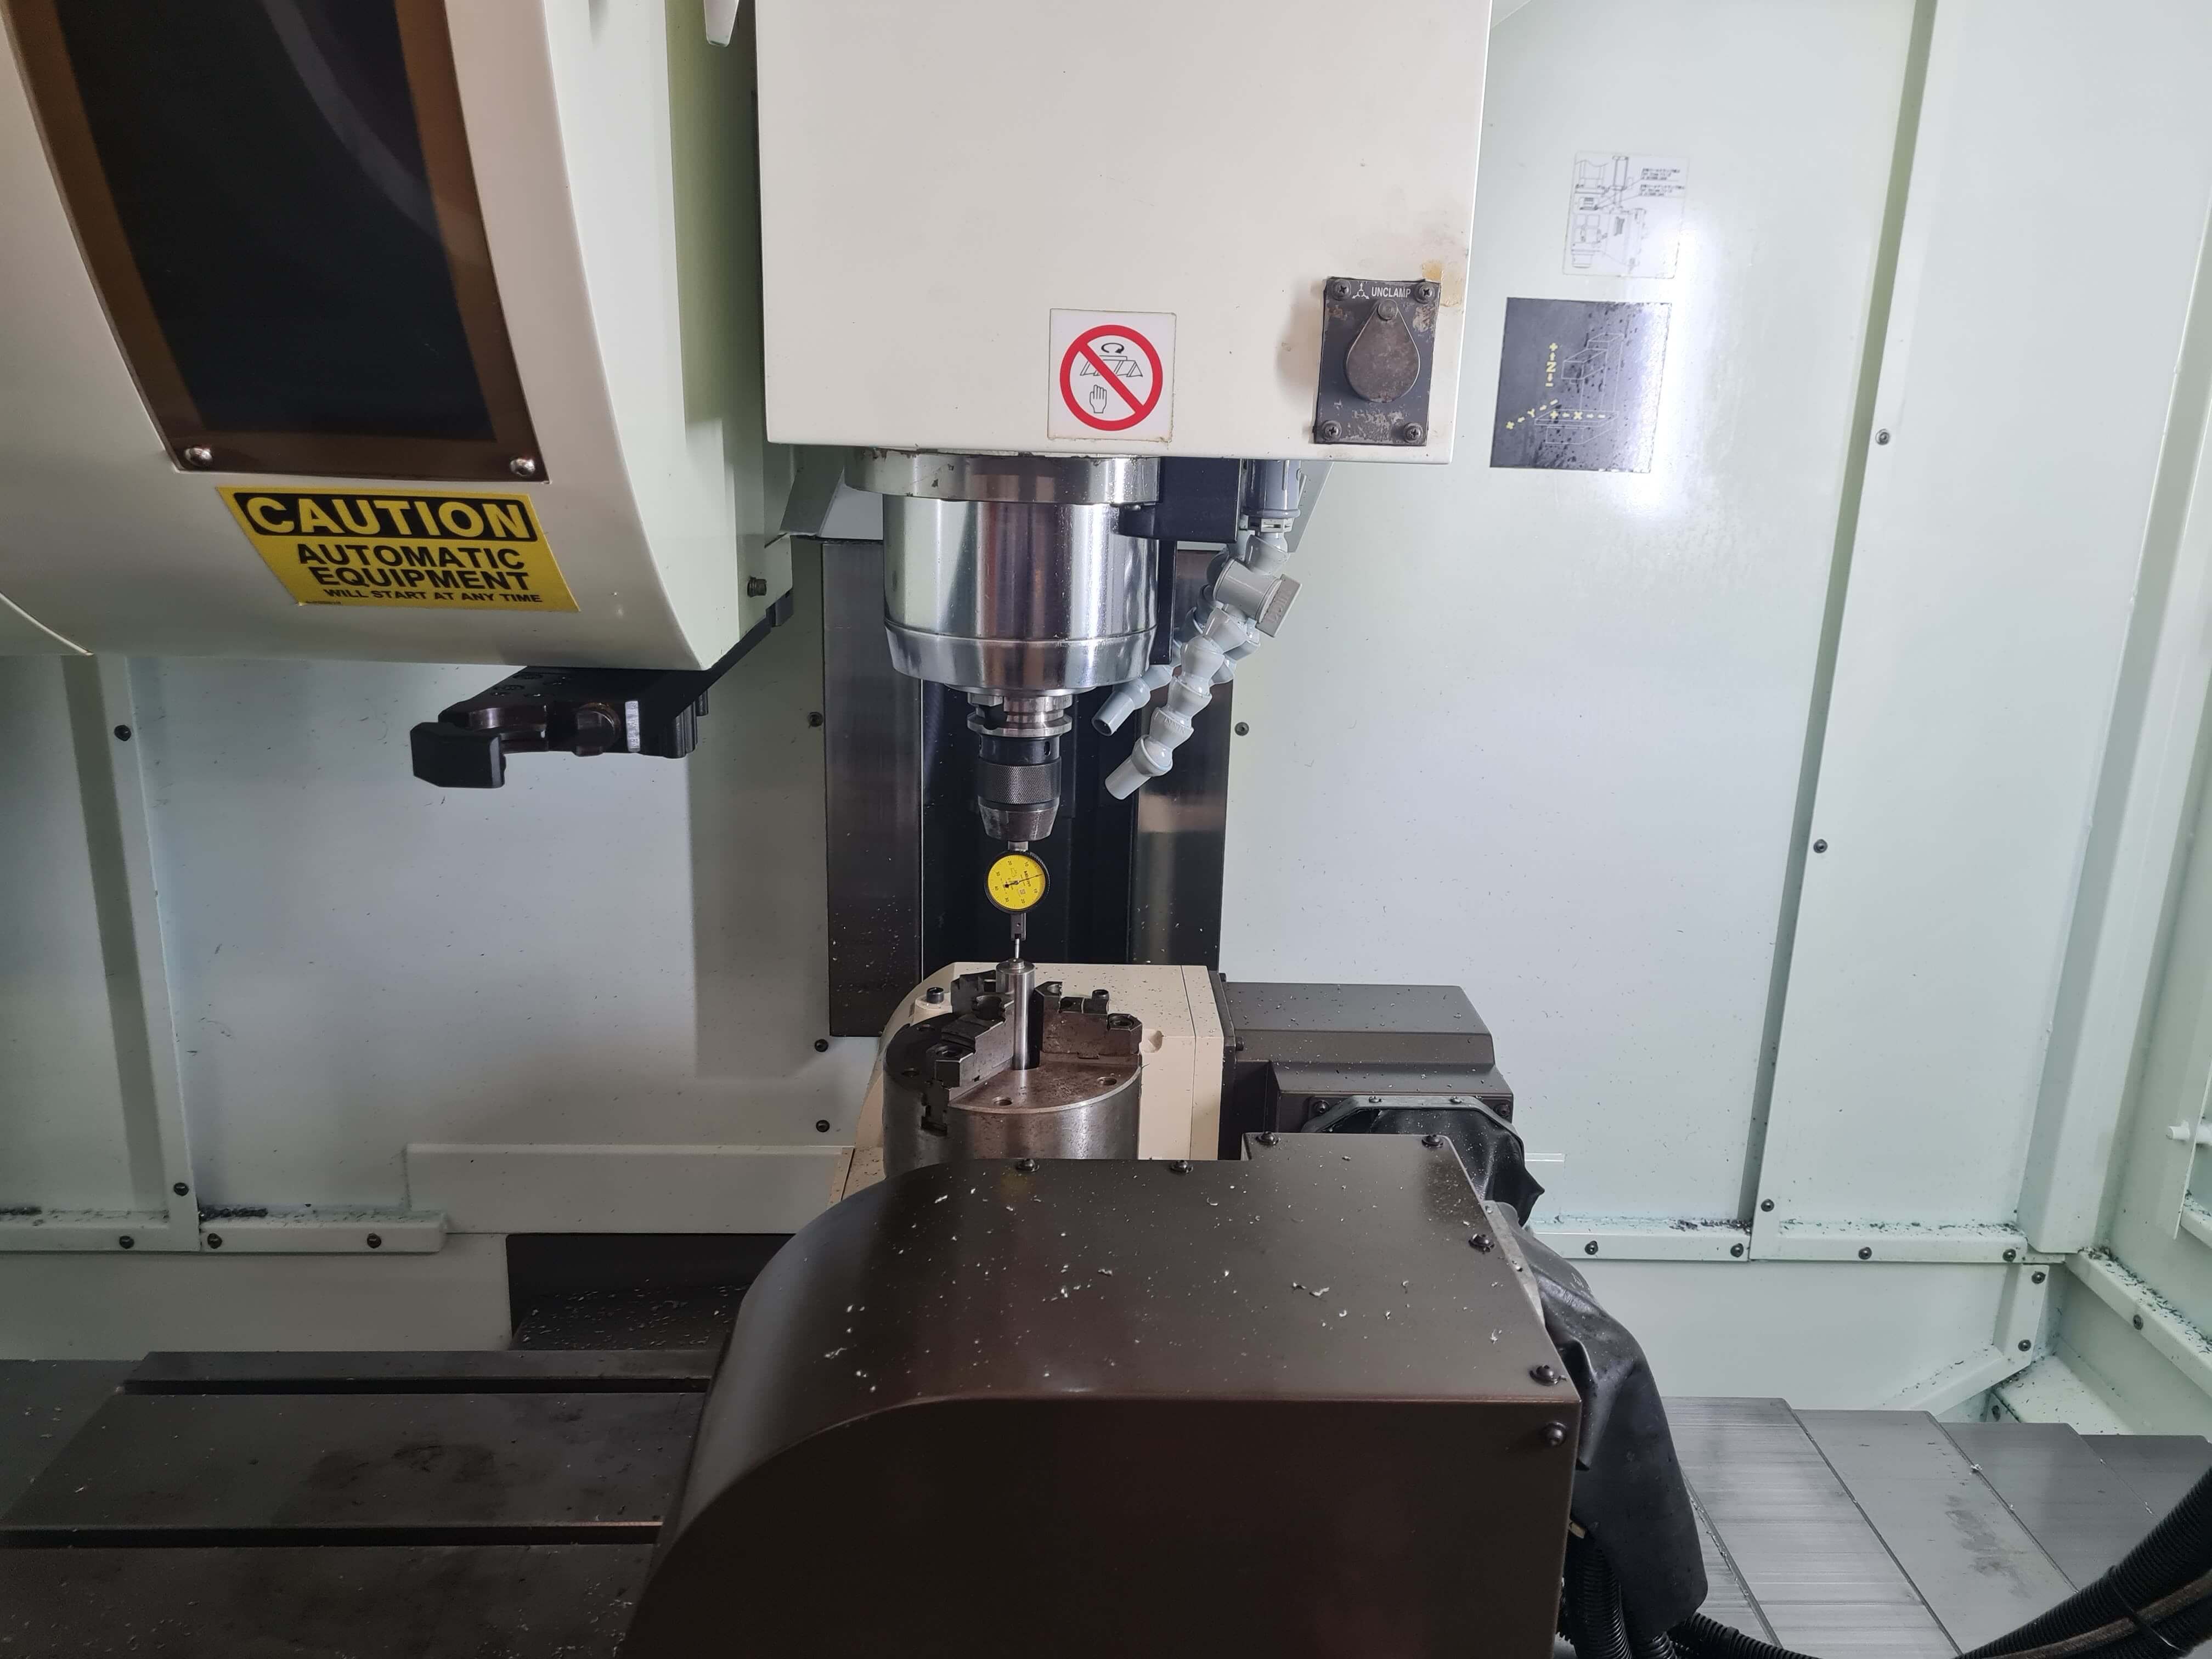
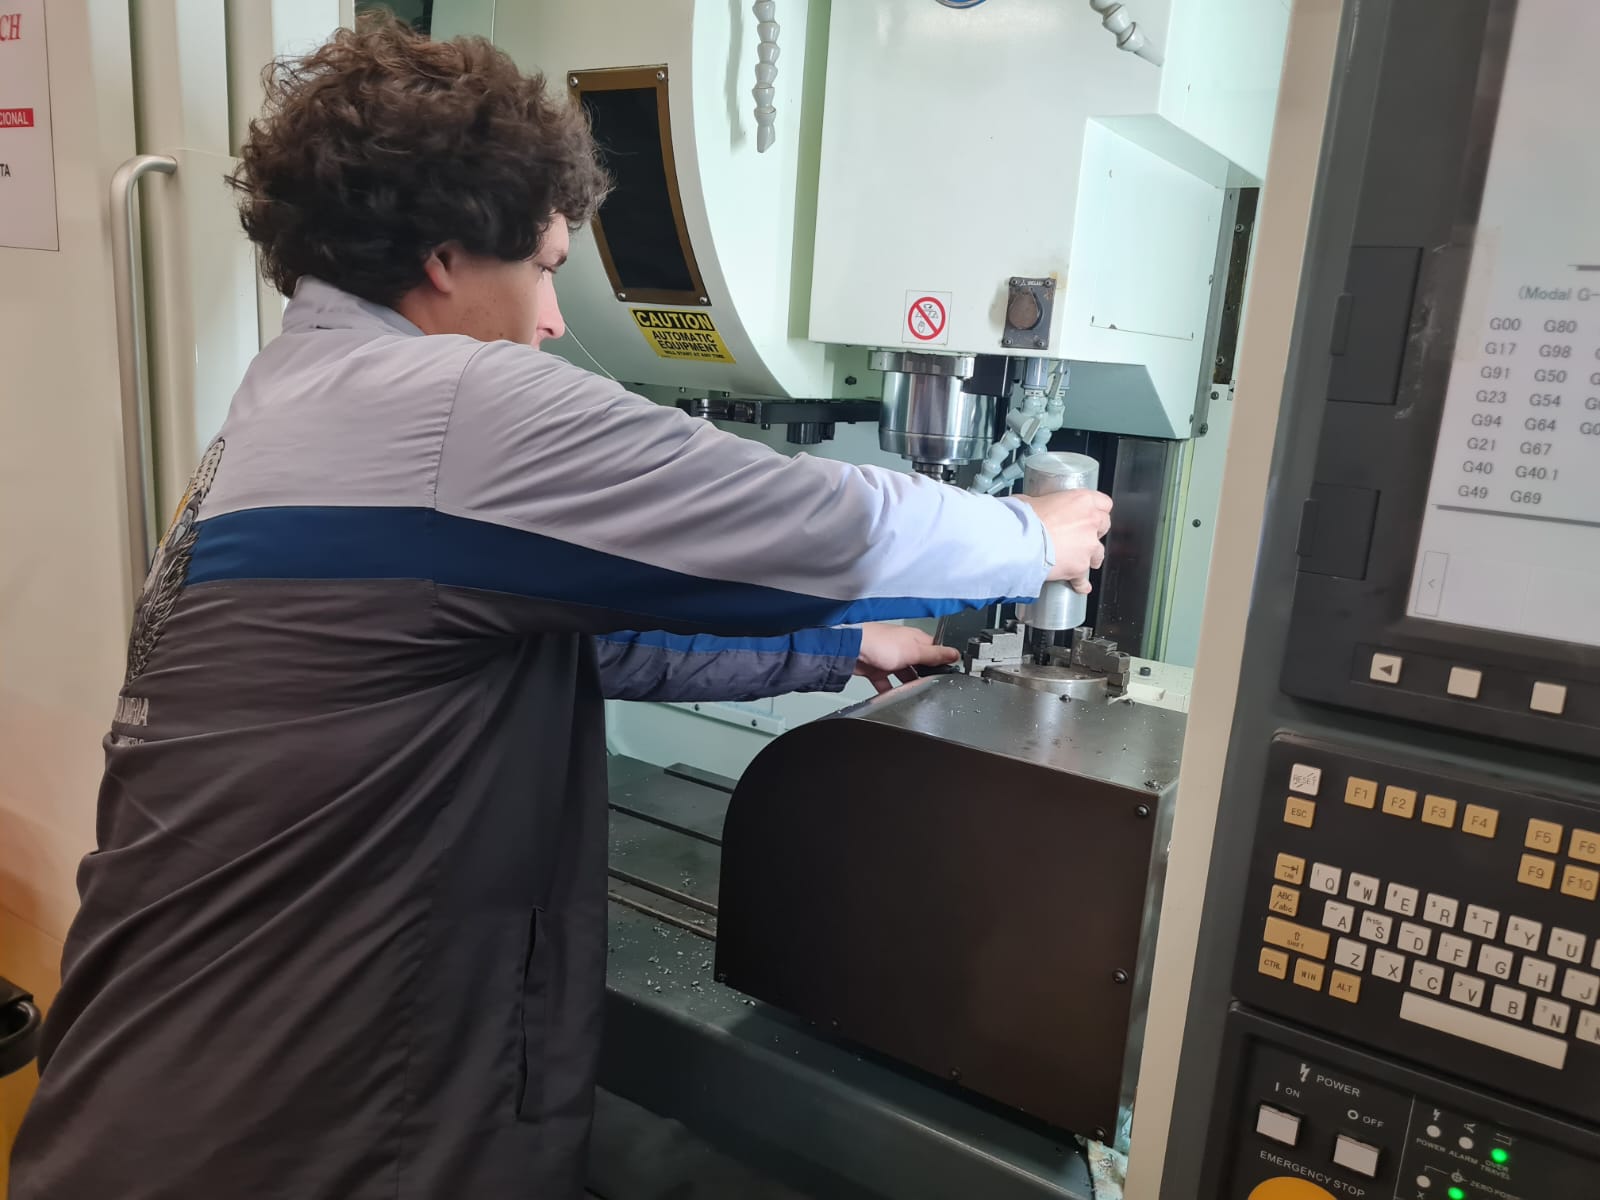
After cleaning, the stock was securely viced into the machine's 4-axis chuck. Proper alignment is crucial for precision machining, so we used a Mitutoyo lever gauge to ensure the stock was perfectly aligned. This step was essential to prevent errors during the machining process.


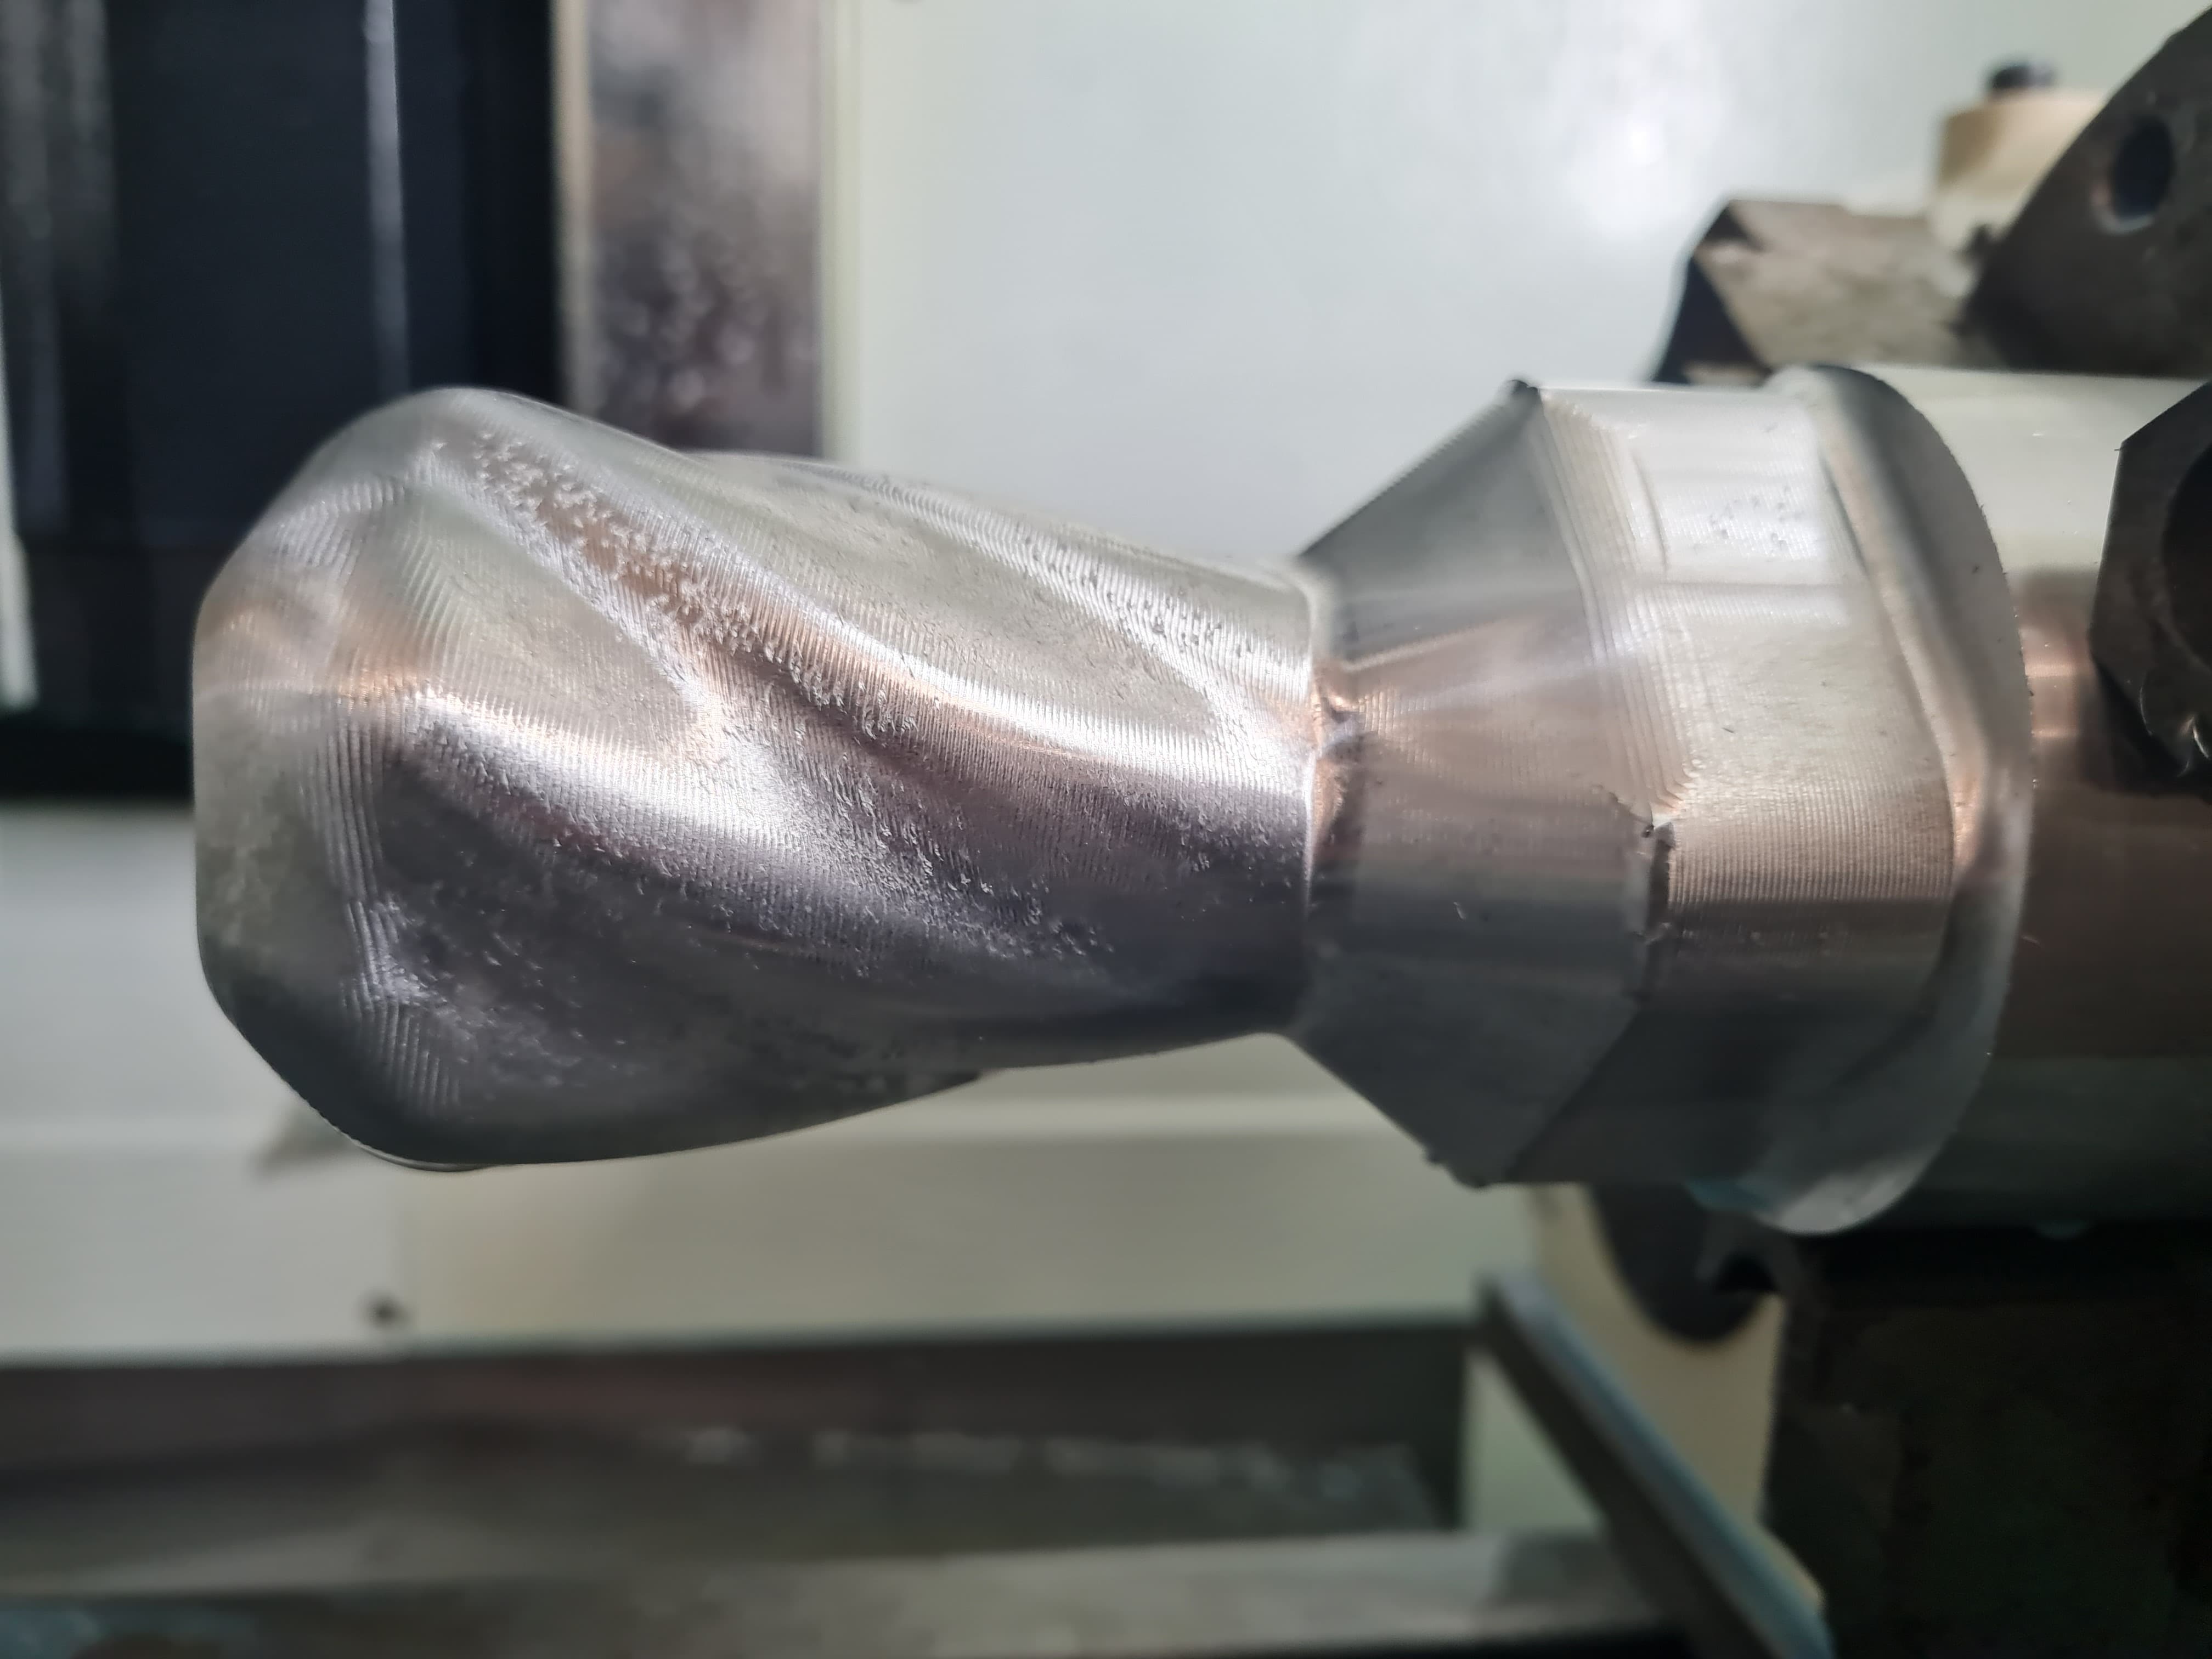
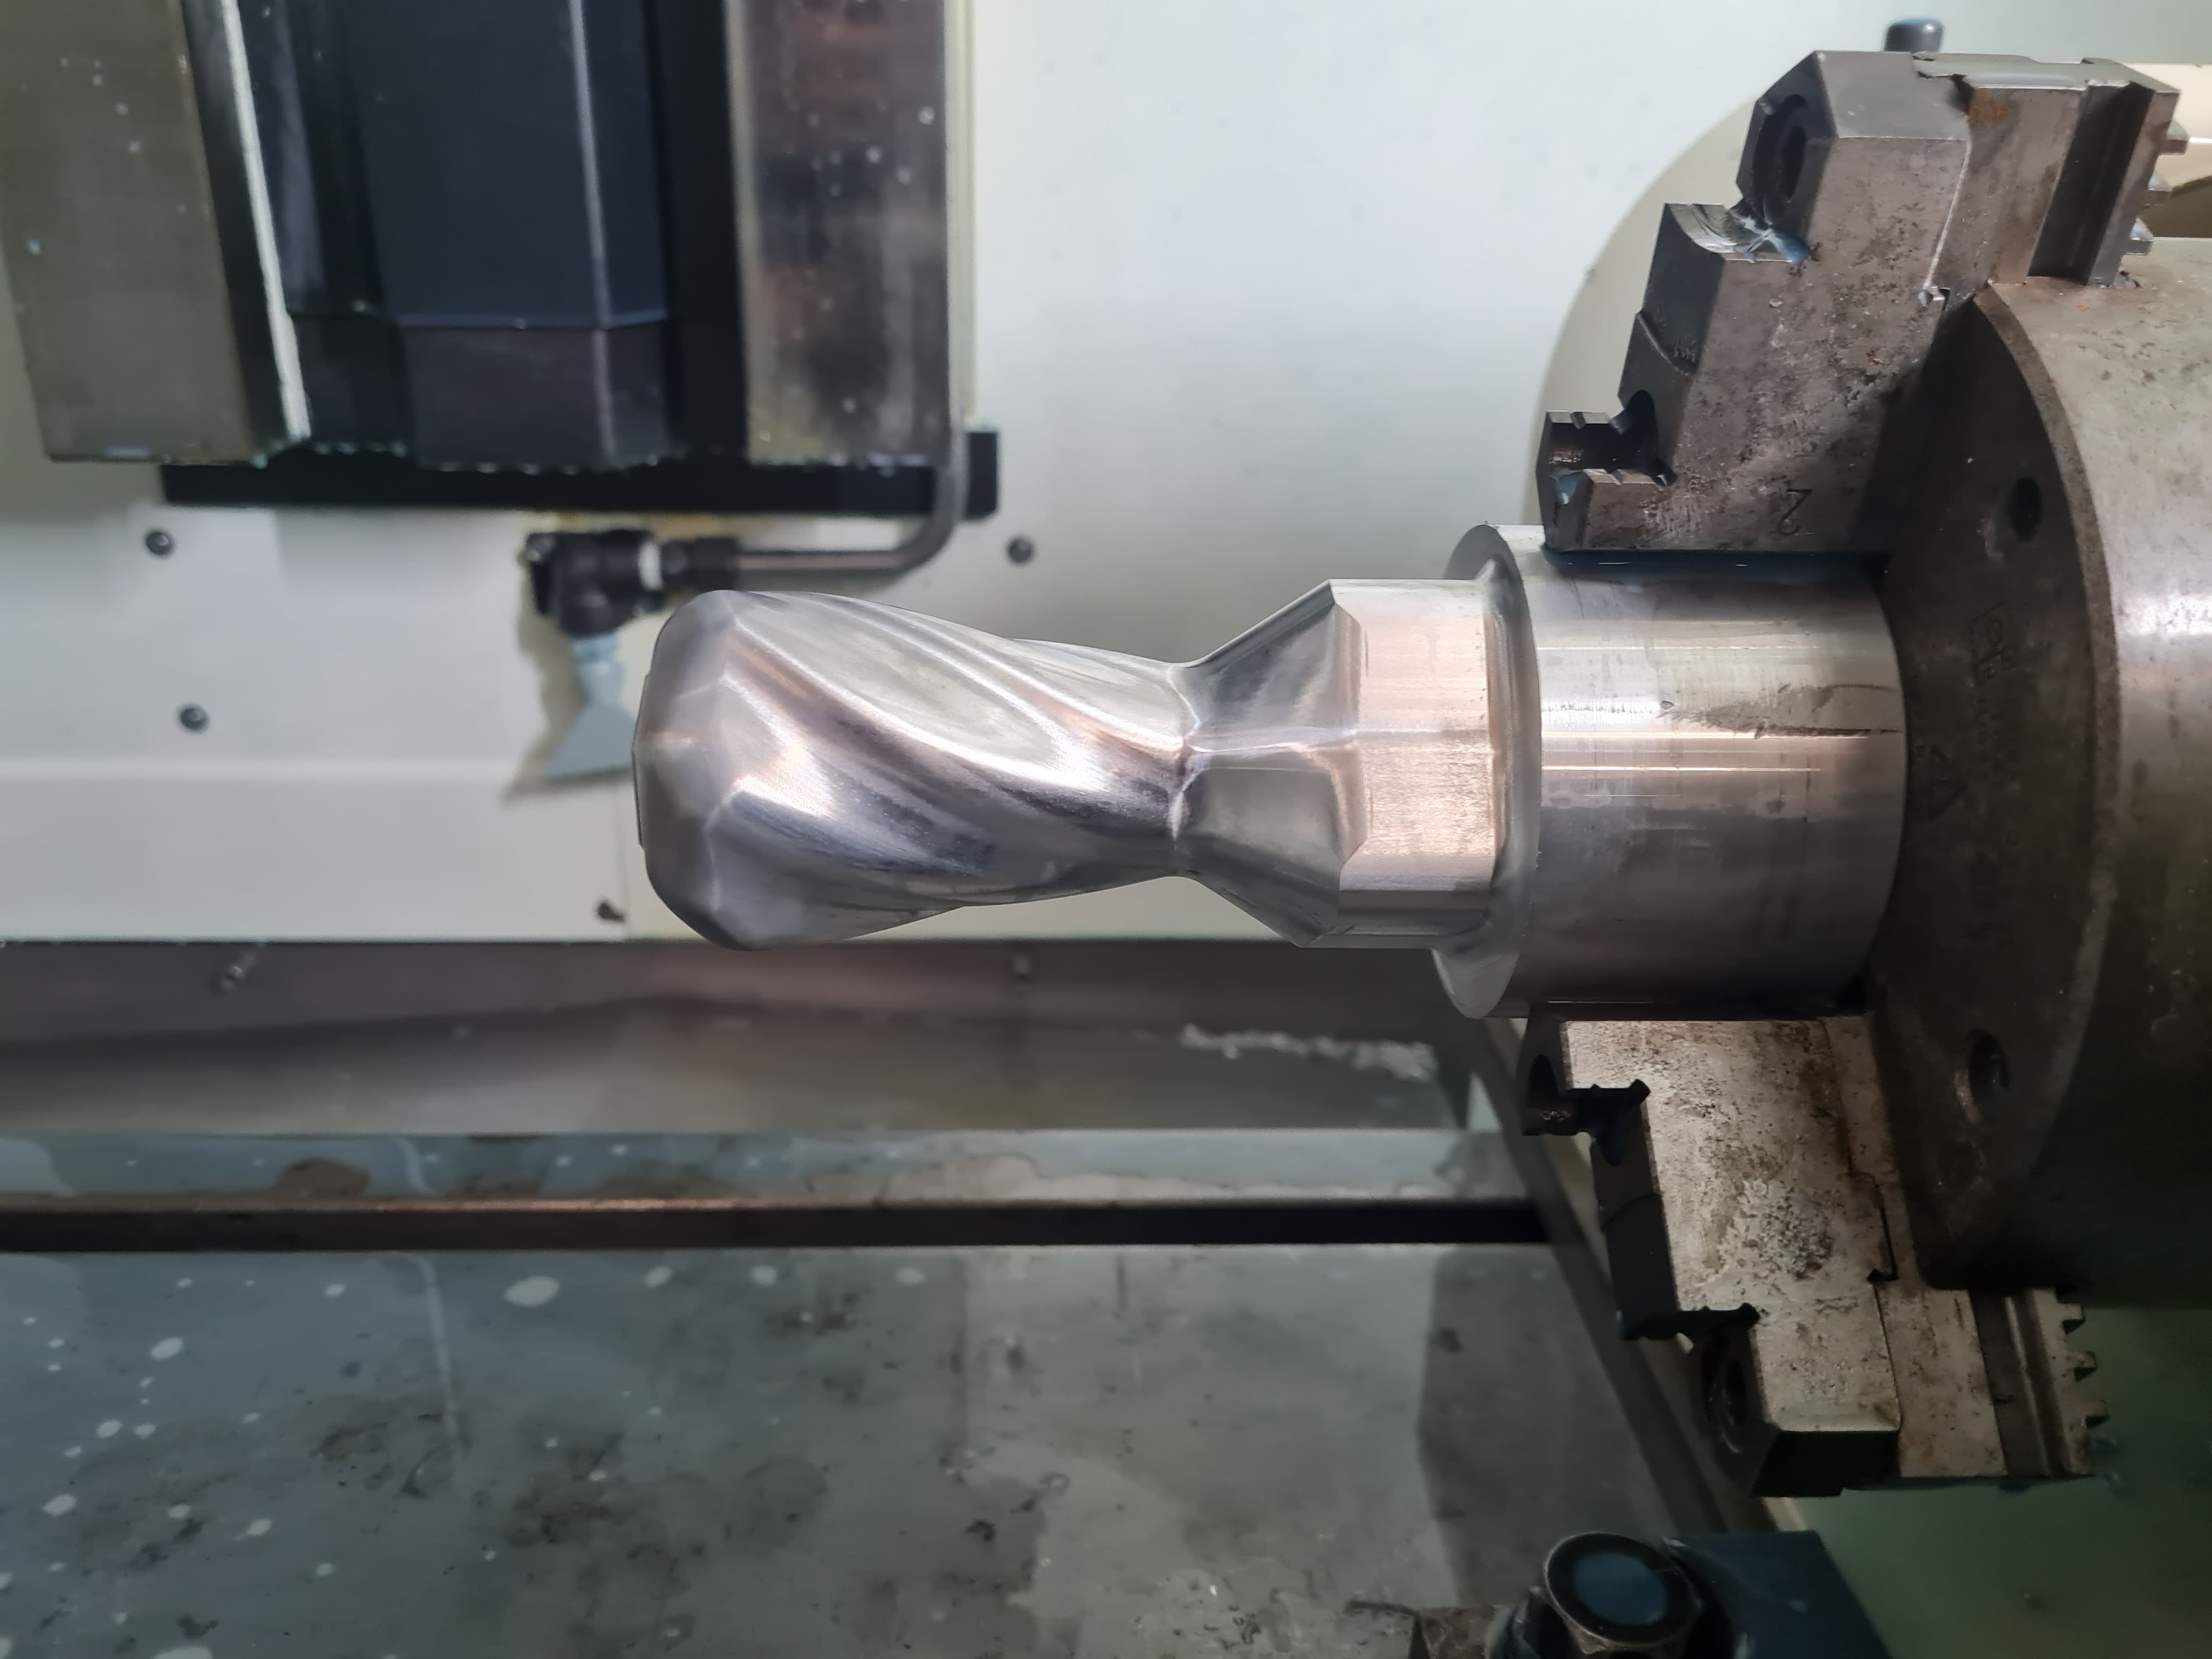
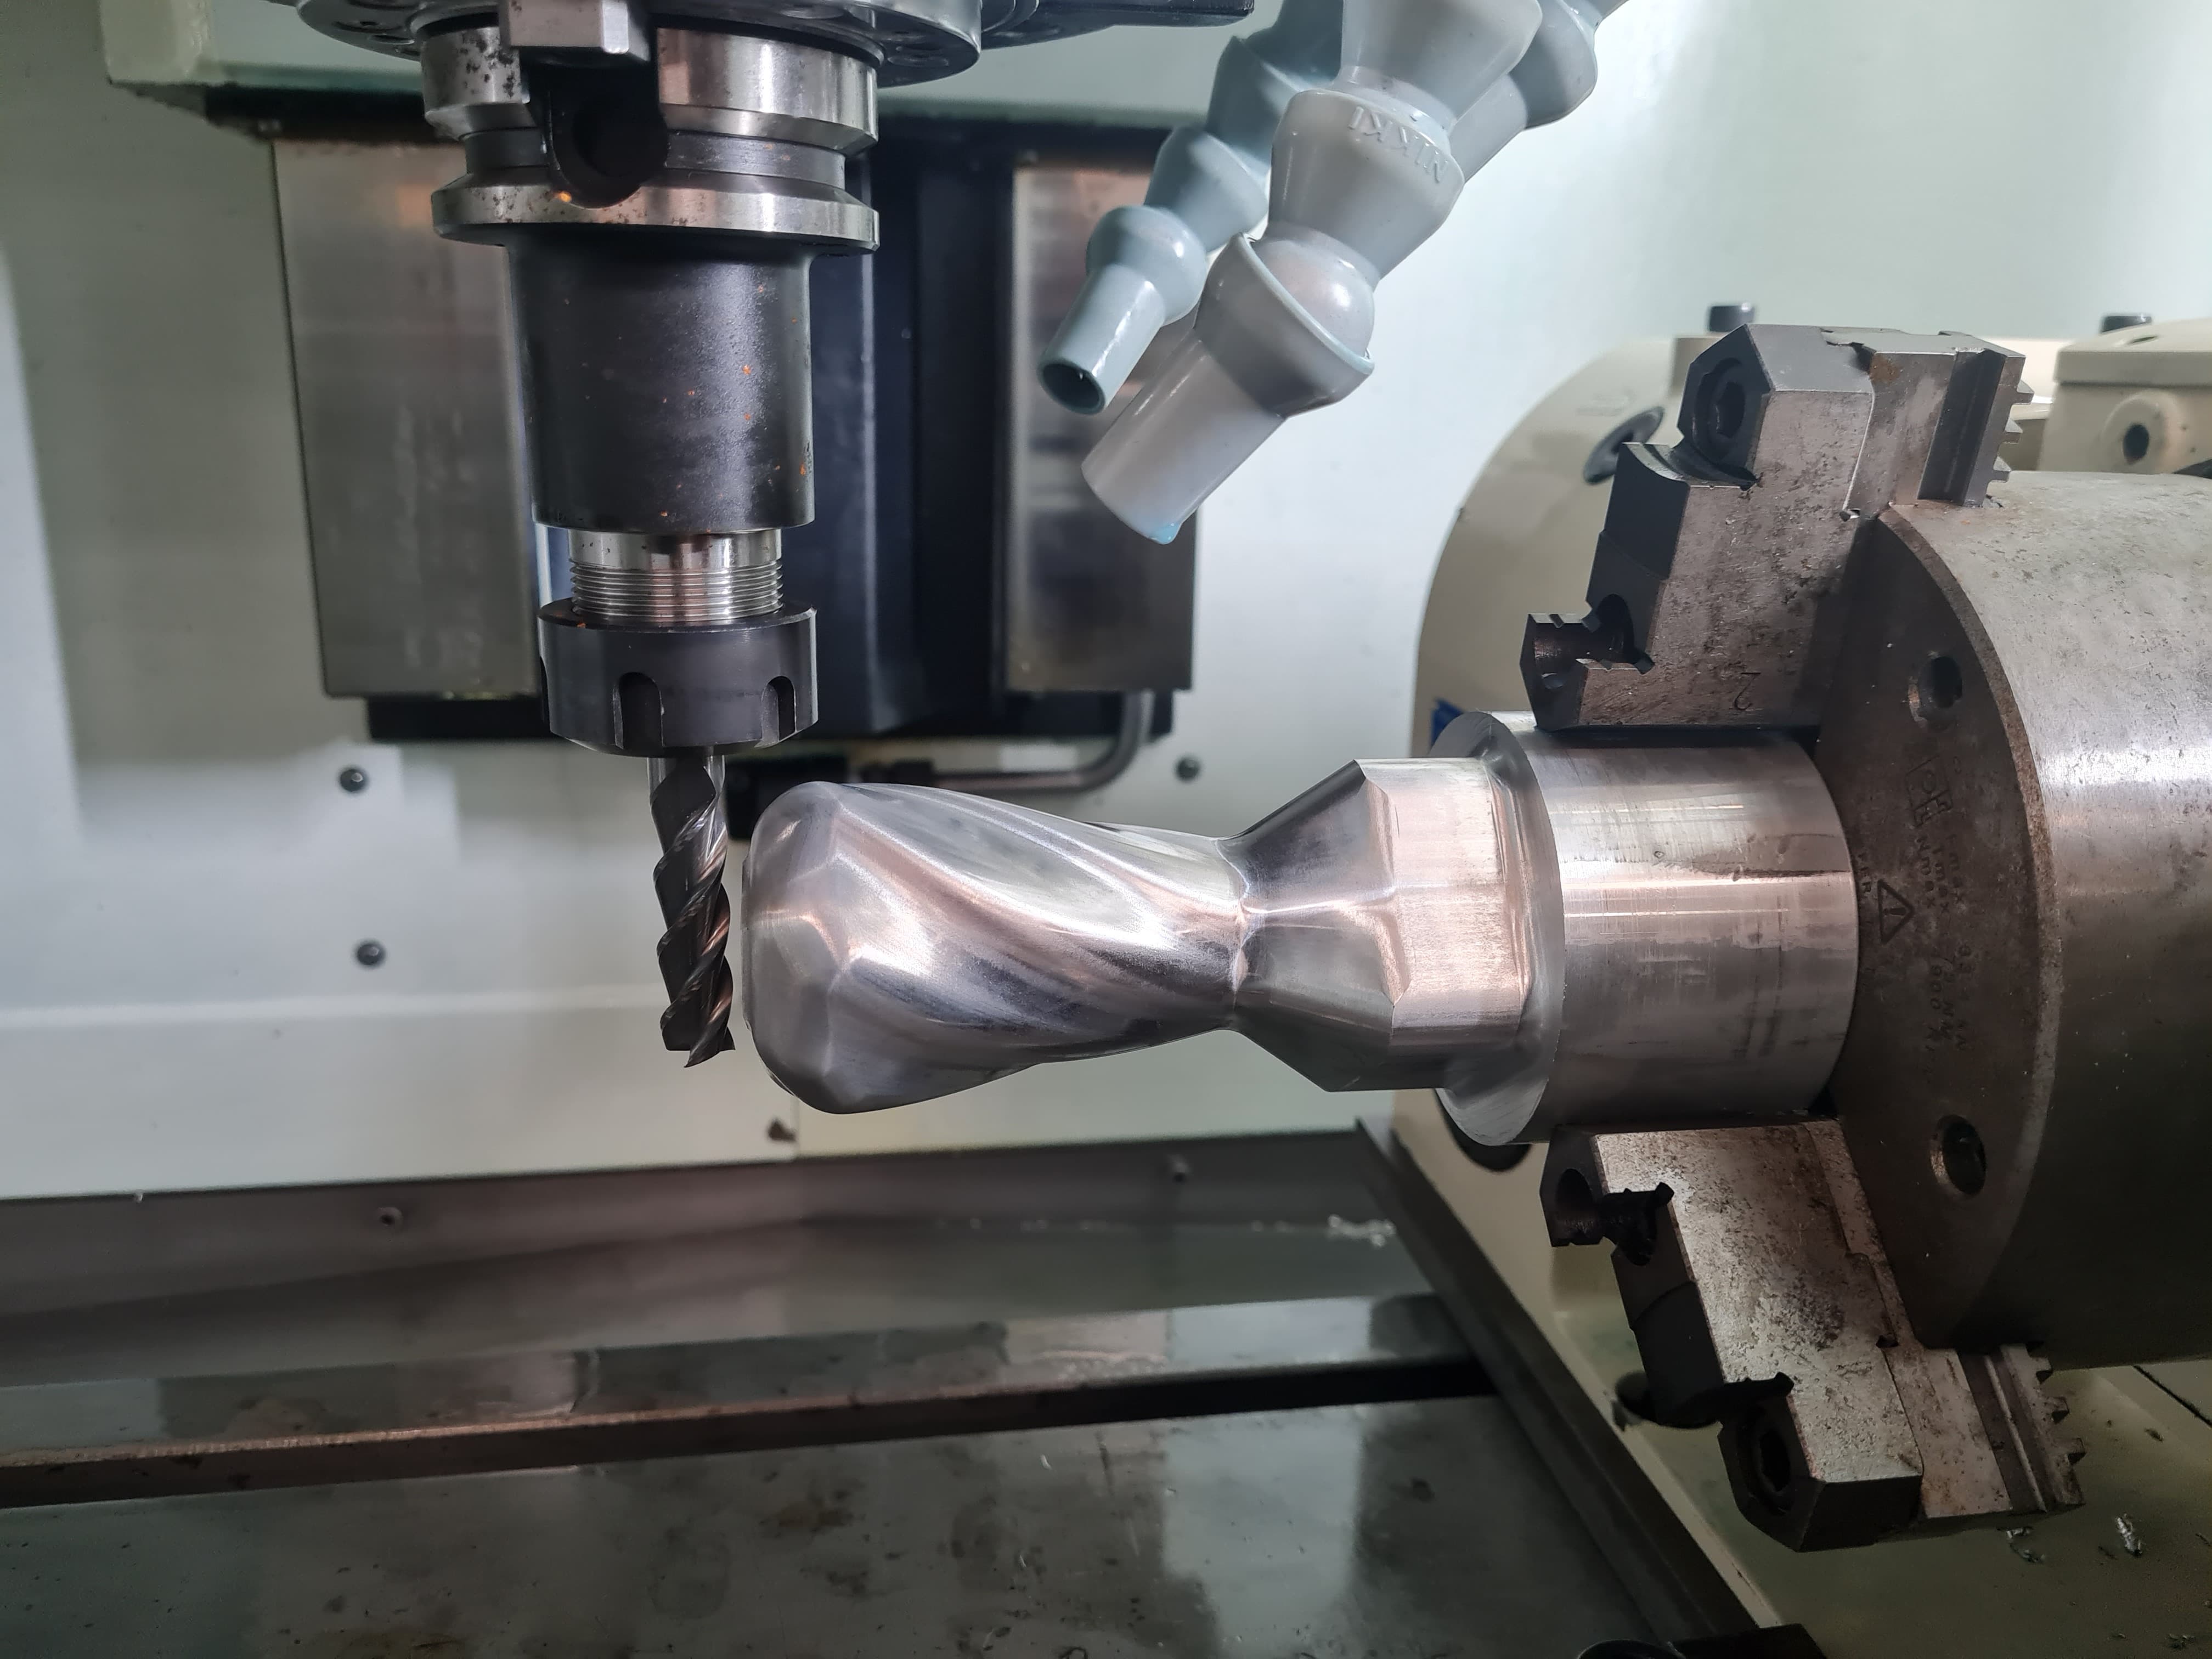
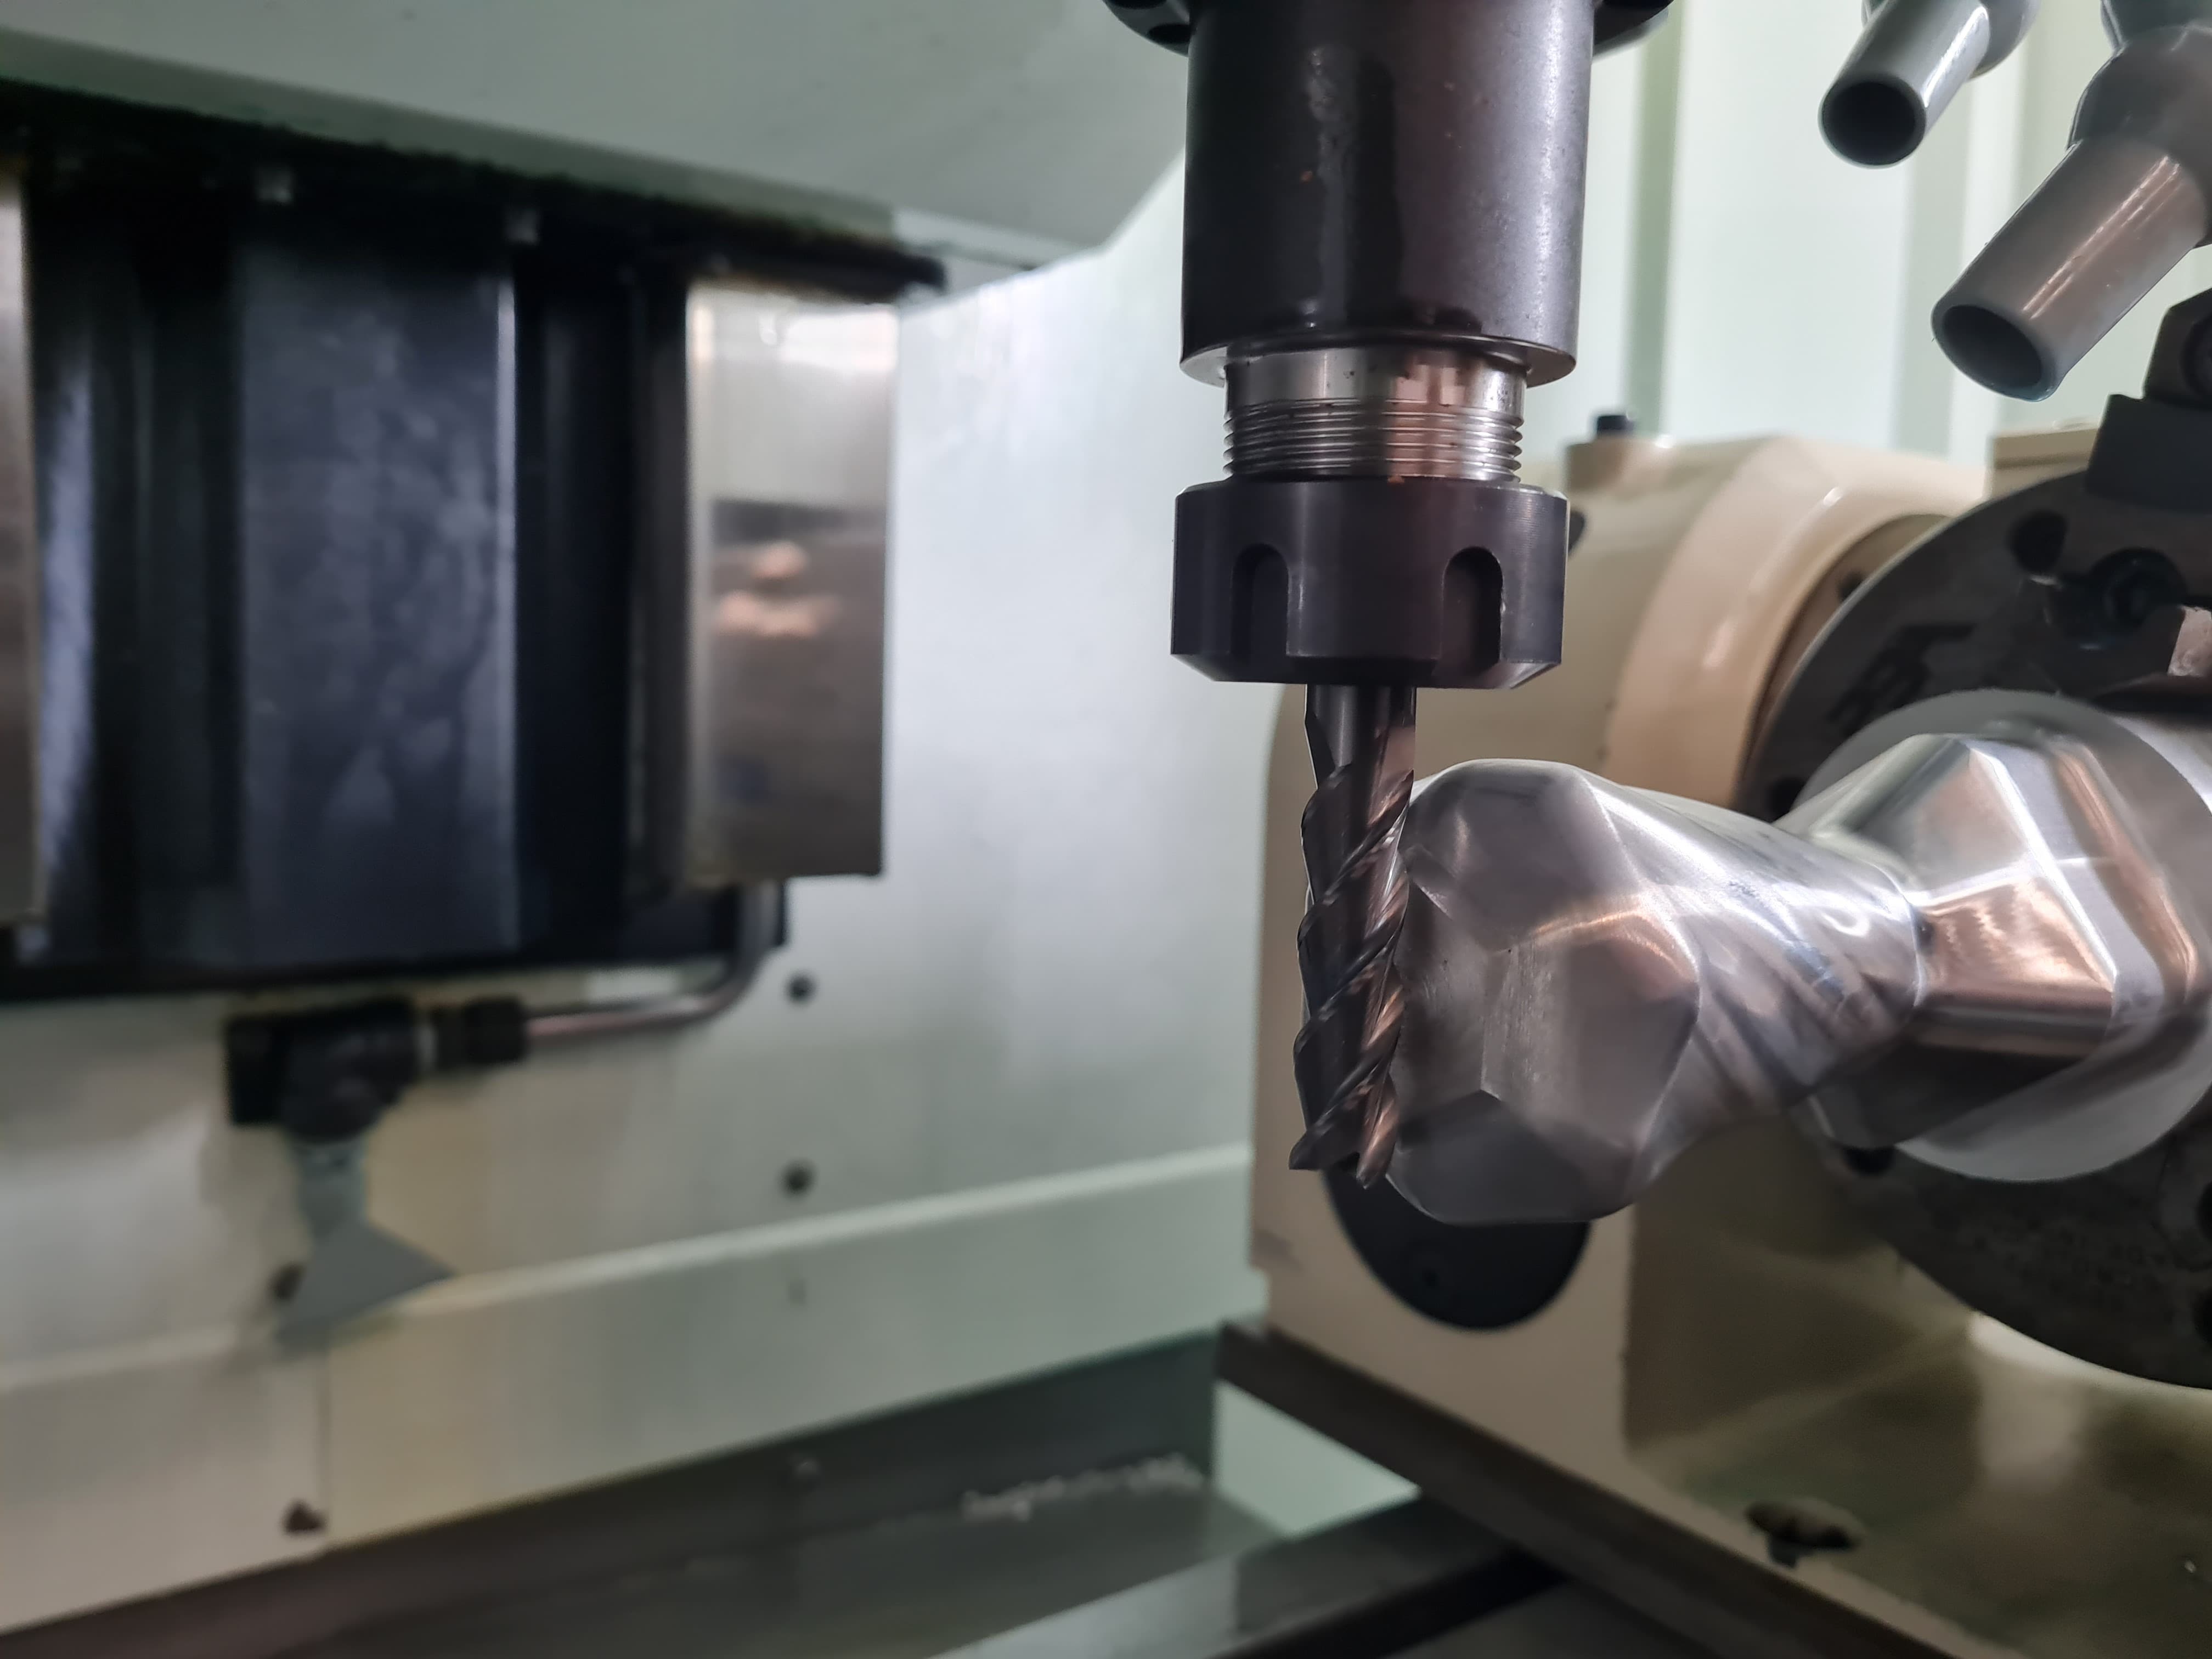
I decided to leave a 3-inch base for the paperweight to add more stability. This choice was made to ensure that the paperweight remains firmly in place and less prone to tipping over. By increasing the base width, the center of gravity is lowered, providing better balance and support for the structure. This enhancement not only improves functionality but also ensures the paperweight serves its purpose effectively.