Week 1: Project management
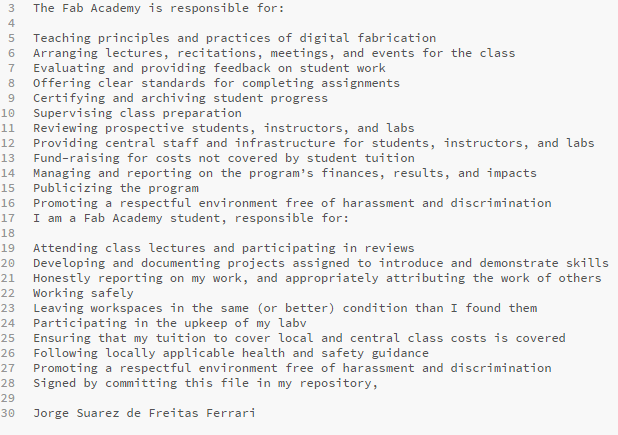
This week, I worked on defining my final project and began reading the documentation. The first assignment of the course, involves sketching a potential final project and creating a personal website to describe both myself and my final project. To achieve this, I had to learn how to use HTML5, CSS, and Git.
The first step was to download GIT for windows, and follow the steps in the git tutorial to generate my key and then add it to my Gitlab Fabcloud account. Then I created a folder to store my repository in my desktop and used the command “git clone YOUR_GIT_URL” to get my repository from the Gitlab Fabcloud to my local folder. I make some modification to the HTML and then tried some commands to have a grasp of the process of uploading the changes from my local git repo to Gitlab Fabcloud repo.
Generating the key:
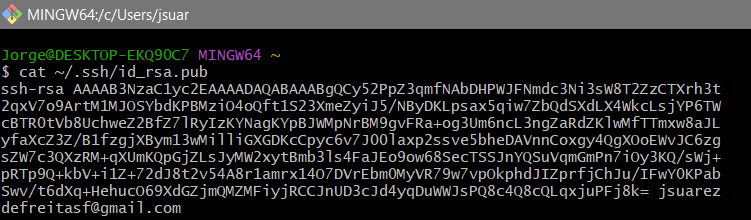
To link your Git to the repository, you need to set up an SSH key. Here's how you can do it:
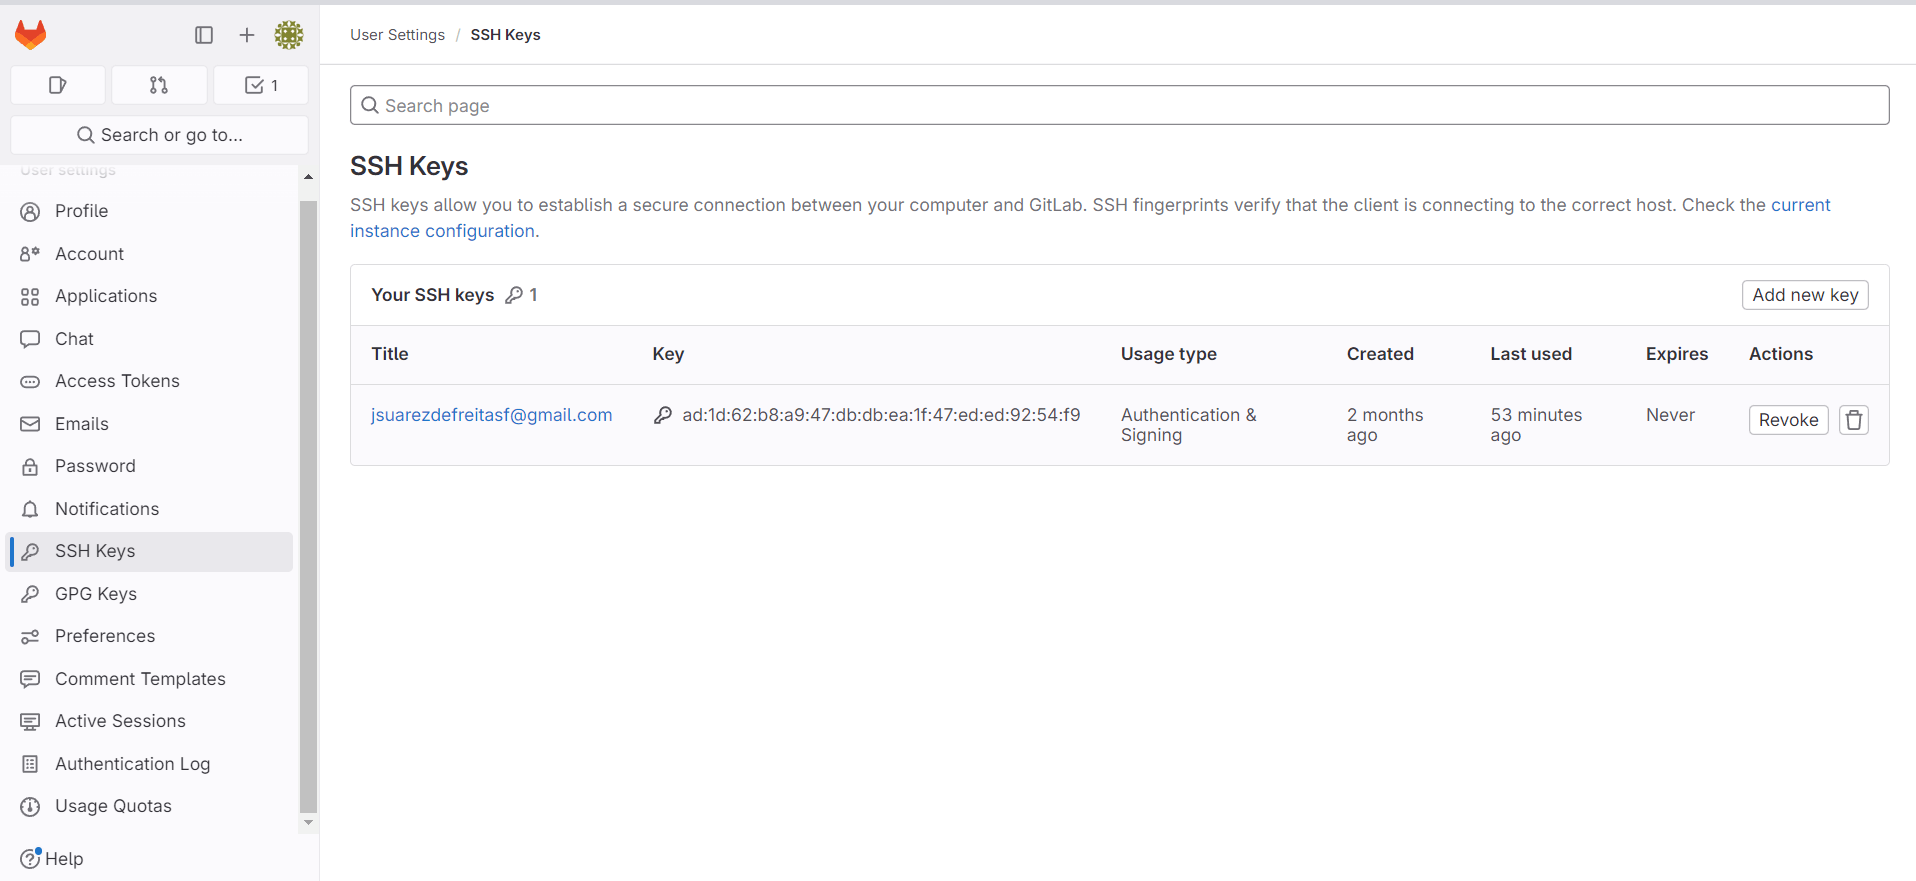
1. Access your web repository and navigate to the preferences section.
2. Look for the SSH key settings.
3. Generate an SSH key pair on your local machine if you haven't already done so.
4. Add the generated public key to the SSH key settings in your repository.
5. Once the procedure is successful, you'll receive confirmation that your Git is connected to the repository via SSH.
Here are some important git commands i used
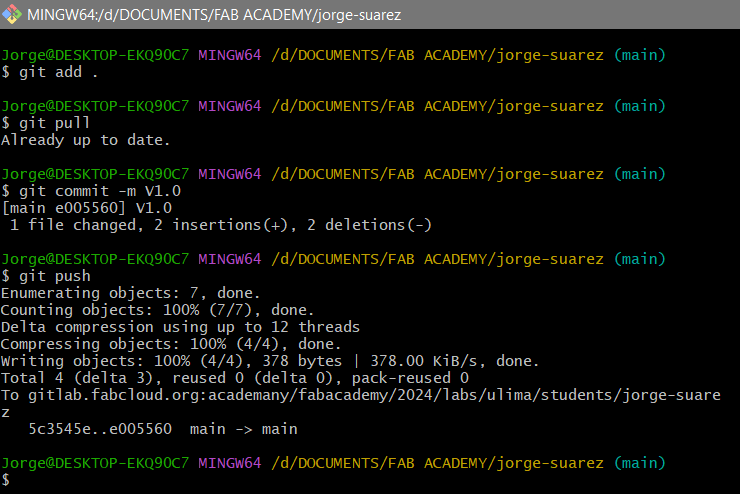
Uploading my local repository changes to my remote repository:
To begin, open Git Bash in the folder containing your information, which, in my case, is the Public folder of my repository. Next, type git add . to update the information, adding or deleting files as necessary. Once you've successfully added the changes, you'll need to establish a name for the new version of your repository using the git commit -m command. The commit tool is invaluable for maintaining a history of versions, enabling users to track updates more effectively. After assigning a name to the commit, use git push to add all the information to the repository. However, be aware that if you exceed the maximum file size of 10MB, you won't be able to push additional commits until you address this issue. One solution is to clone your previous repository and gradually add the information, ensuring that you do not exceed the 10MB limit. It's crucial to address this problem promptly because the commit file size will not update, leaving you stuck with the 10MB error.
HTML is the standard markup language used for creating the structure and content of web pages. It consists of a series of elements, each represented by tags, which define different parts of the web page such as headings, paragraphs, images, links, and more. HTML provides the foundation for organizing and displaying content on the web.
Brackets is an Open-Source text editor specifically designed for HTML, CSS, and JavaScript coding. It offers a user-friendly interface and a range of powerful features tailored to streamline web development workflows. Brckets provides real-time preview functionality, enabling developers to visualize changes instantly without switching between tabs or windows. Additionally, it offers robust code hinting and auto-completion features, facilitating faster and more accurate coding. With its built-in support for Git integration, Brckets allows seamless collaboration and version control within projects. Overall, Brackets serves as a comprehensive tool for web developers, enhancing productivity and efficiency in HTML coding tasks.
W3.CSS is a CSS framework developed by W3Schools, offering a range of pre-designed CSS styles and classes for quick webpage styling. Lightweight, responsive, and beginner-friendly, W3.CSS includes features such as grids, typography, buttons, forms, and navigation components, facilitating visually appealing and consistent designs.
To utilize W3.CSS, simply include the W3.CSS file in your HTML code. Then, apply the predefined classes provided by W3.CSS to your HTML elements for styling. W3.CSS follows a class-based approach, where you assign class attributes to HTML elements to implement specific styles defined in the W3.CSS file.
HTML, CSS, and tools like Brackets, along with frameworks like W3.CSS, are fundamental in web development, enabling efficient creation and styling of web pages.
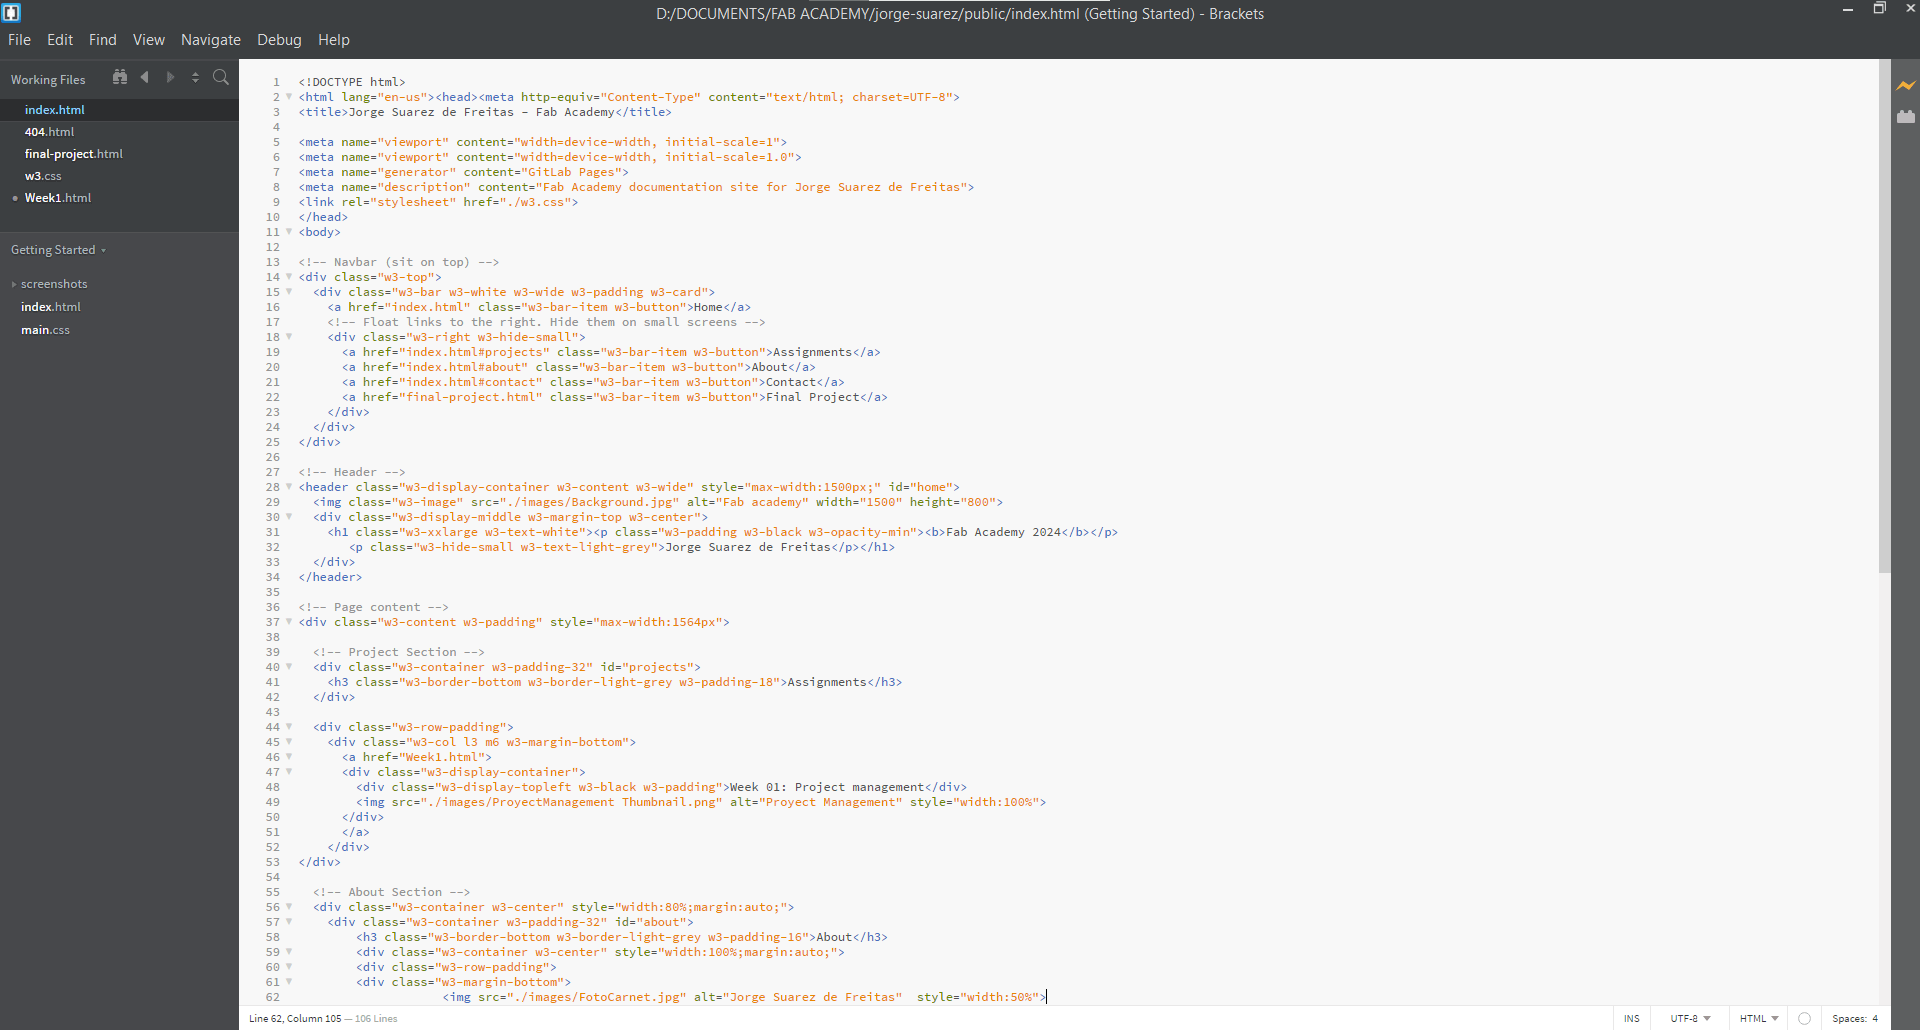
To commence my webpage development, I opted for Brackets as my code editor due to its capability to display web pages during editing, providing a more engaging and interactive experience. After watching instructional videos to grasp the HTML and CSS structure, I extracted the source code of an existing page and customized it to suit my preferences.
I also search for a free templates in w3schools to understand better the estructure and how to do it correctly. I ended up using the Architechture Template from W3Schools and for reference Samuel Zegarra's repository.
And here you can see how that piece of code looks in the actual webpage

The estructure is still a work in progress, each week will have a separate html file and will be added to the main page. I will be working improoving the website's styles.

FINAL Project: Text-to-Braille Printer
I am currently working to develop a Braille printer. The concept is to input text into the machine, which then converts it into G-code. Finally, the printer utilizes the G-code to emboss the document in Braille.
Developing a Braille printer involves several key considerations:
Input Interface: The printer needs an interface for users to input text. This could be through a keyboard, touchscreen, or even a computer interface where users can upload text files.
Text-to-Braille Conversion: The input text needs to be converted into Braille characters. This conversion process involves mapping the characters of the text to their corresponding Braille representations.
G-code Generation: Once the text is converted into Braille characters, the next step is to generate G-code, which is the language used by 3D printers and CNC machines to control their movements. The G-code instructs the printer on where and how to emboss the Braille characters onto the paper.
Printing Mechanism: The printer needs a mechanism to emboss the Braille characters onto paper. This could involve using pins or embossing wheels to create the raised dots that form Braille characters.
Accuracy and Precision: Braille printing requires a high level of accuracy and precision to ensure that the Braille characters are correctly formed and spaced for readability.
User Interface and Feedback: A user-friendly interface is essential for users to interact with the printer and provide feedback on the printing process.