Week 3 assignment: Computer-Controlled Cutting
Individual assignments:
Design, lasercut, and document a parametric construction kit, accounting for the lasercutter kerf, which can be assembled in multiple ways.
Cut something on the vinyl cutter.
Group assignment:
Characterize your lasercutter's focus, power, speed, rate, kerf, joint clearance and types.
Process
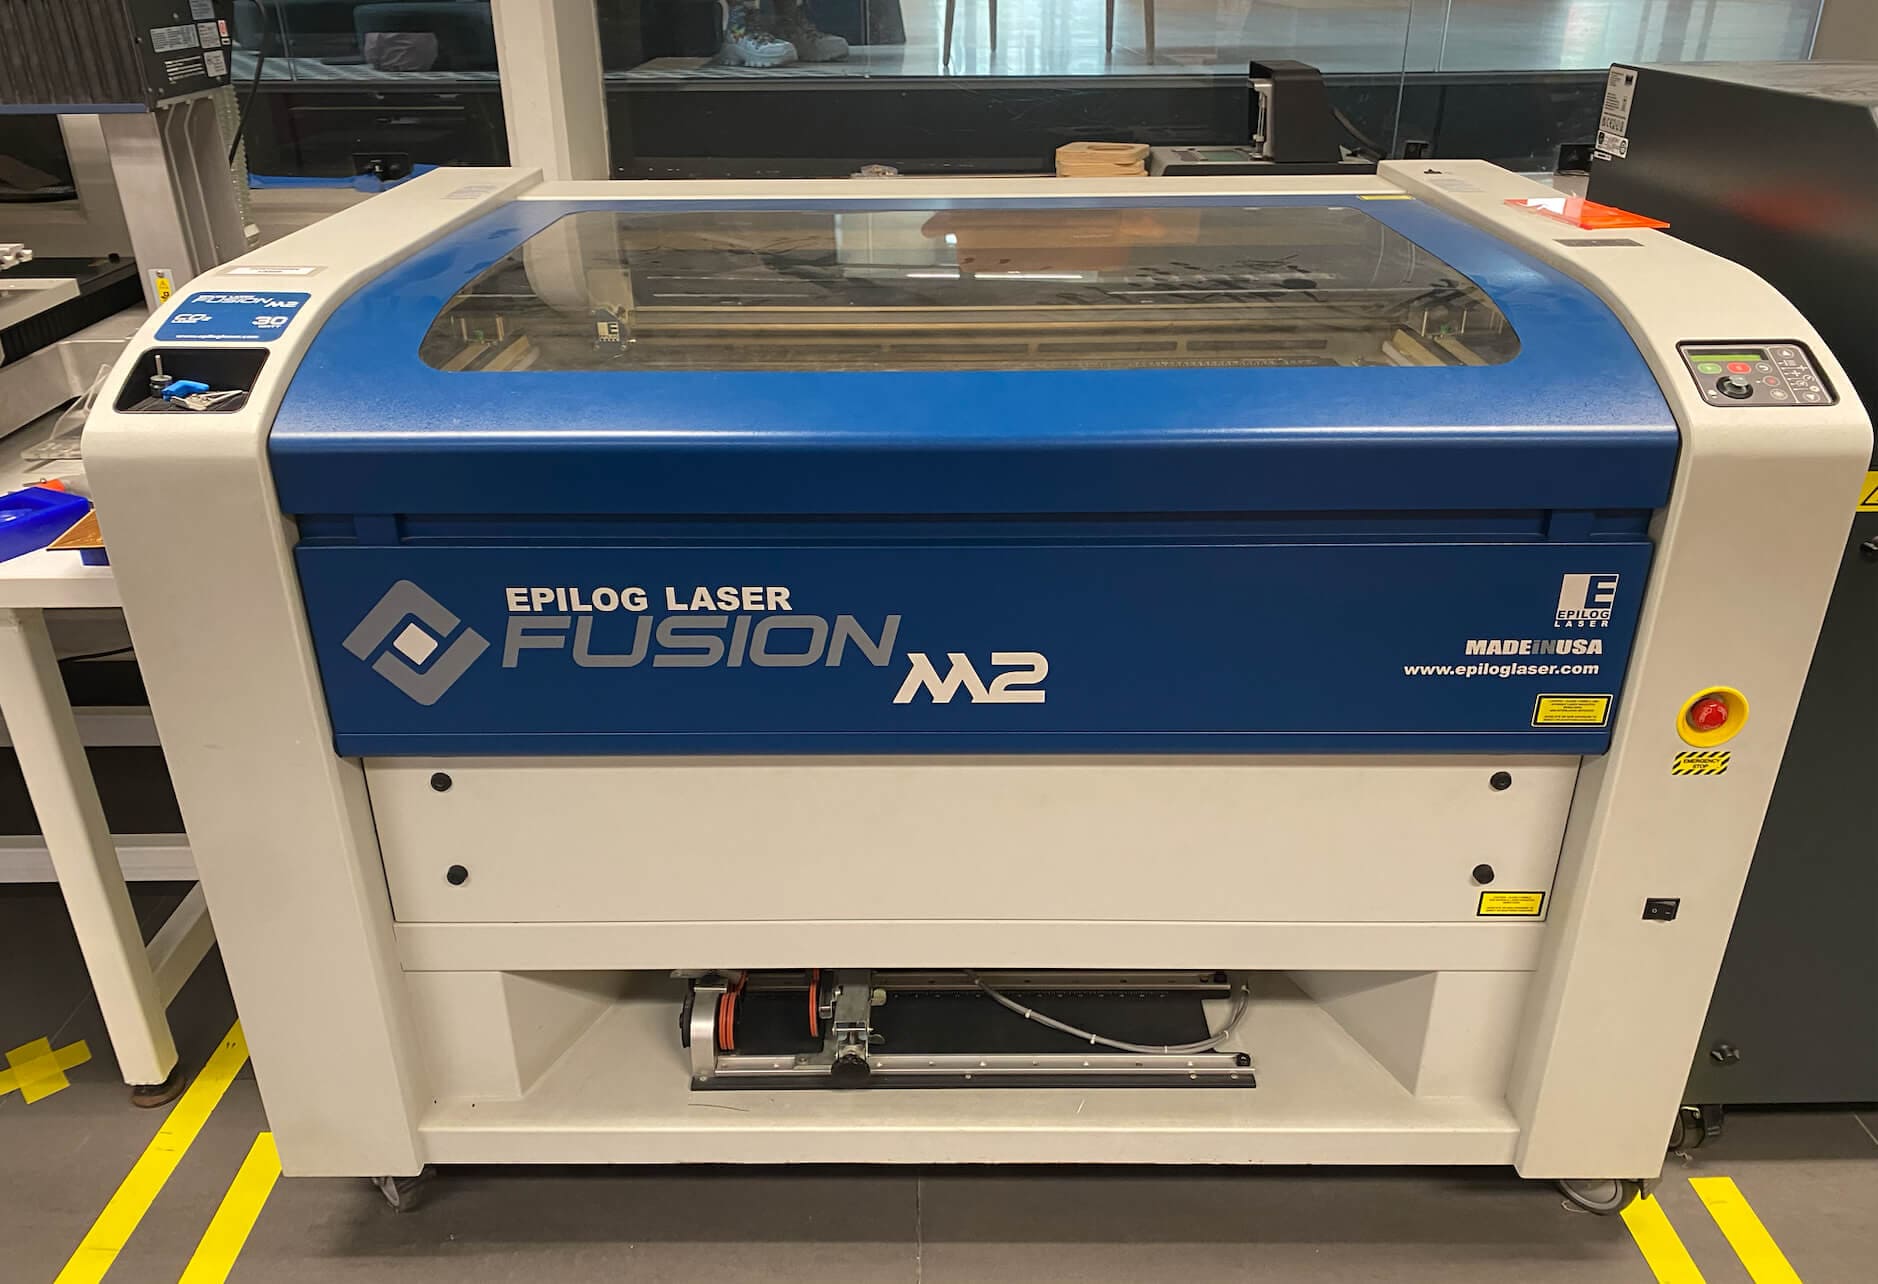
The laser cut used is the Epilog laser fusion m2 of 30 watts with a working area of 1000mm * 700mm. Here are some indications about using this machine:
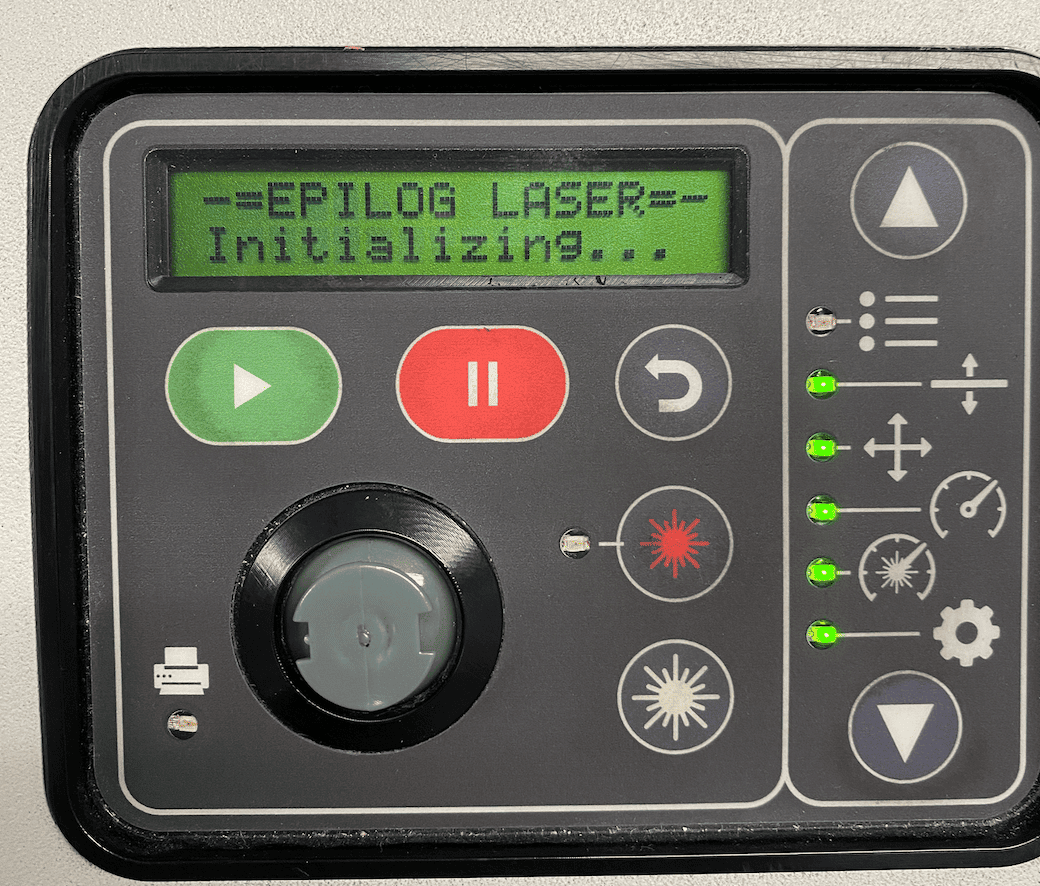
- The machine has a screen where various parameters are configured. Here the cutting files from the computer are loaded and then initialized.
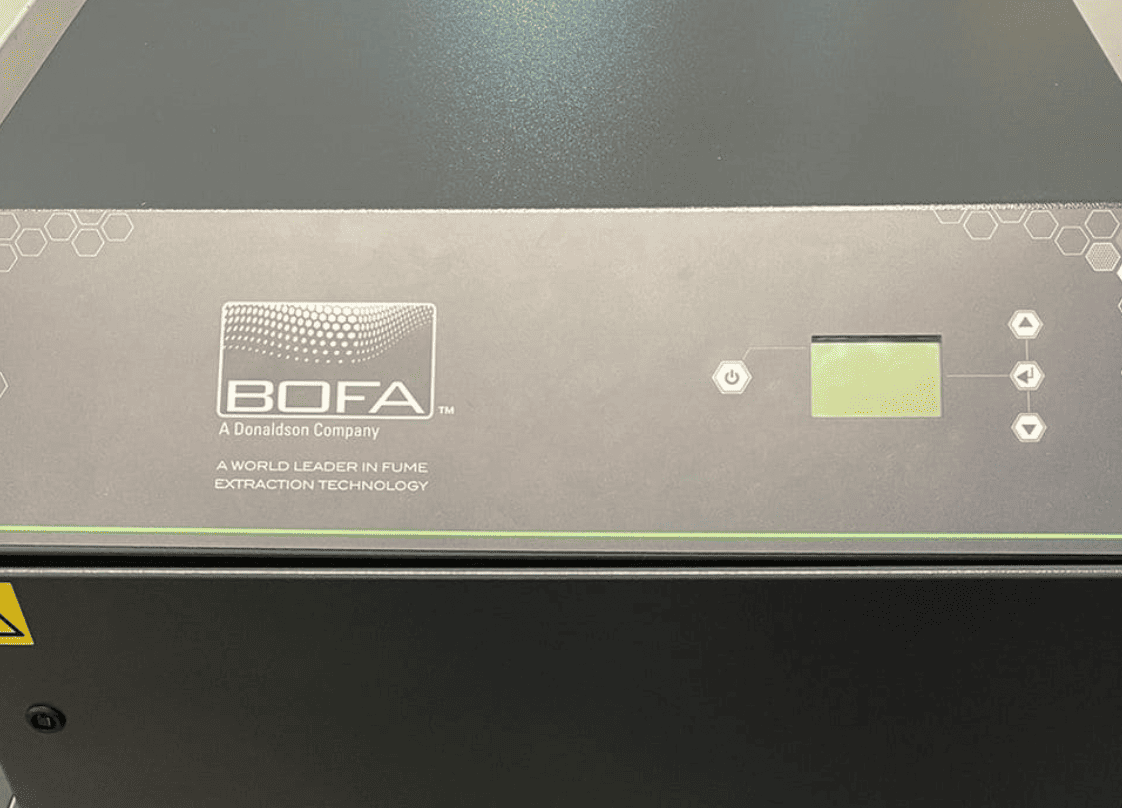
- It must always have to work with the air extractor on, whose function is to suck and filter the gases that are generated when working with the cutting material.
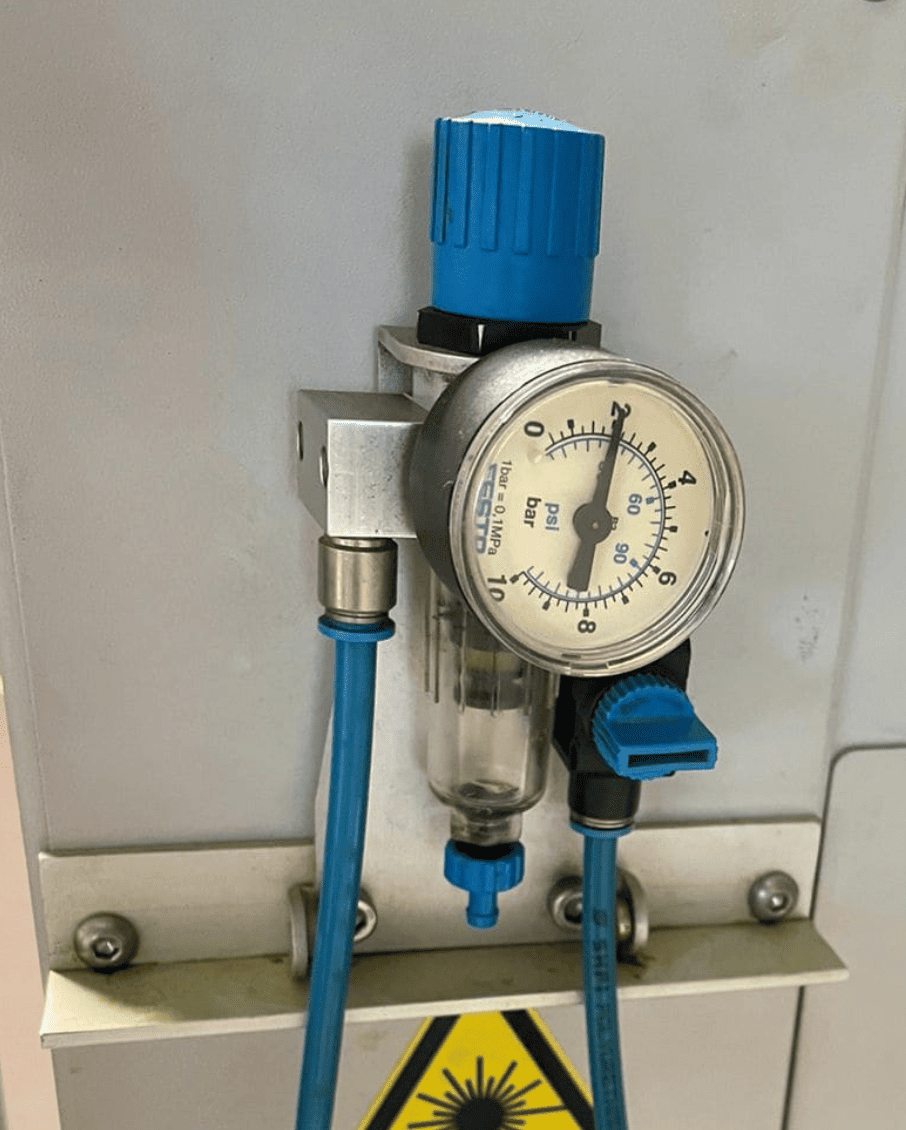
- Always check that the valve on the back of the laser cutter is activated and that there is airflow.
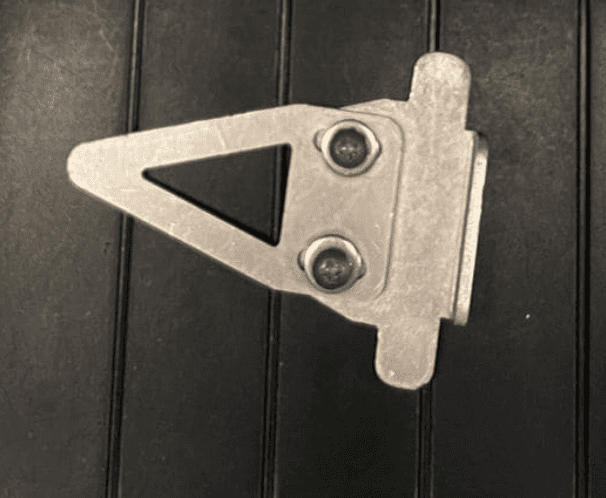
- It is also important to calibrate the 2 axes 'X' and 'Y' with the laser screen. For the 'Z' axis, it is necessary to use a calibration tool that is placed in the image shown below, and using the joystick, it is moved until the tool touches the material. At that point, the joystick needs to be pressed down to set the axis.

Parametric construction
The software chosen for this task was Autodesk Fusion 360. The design consists of a polygon inscribed in a circle with parametric measurements, so that if you want to change any dimension you can modify any of it automatically.

With the design done, a figure could be formed from the replica of several pieces using the joint function of the software.
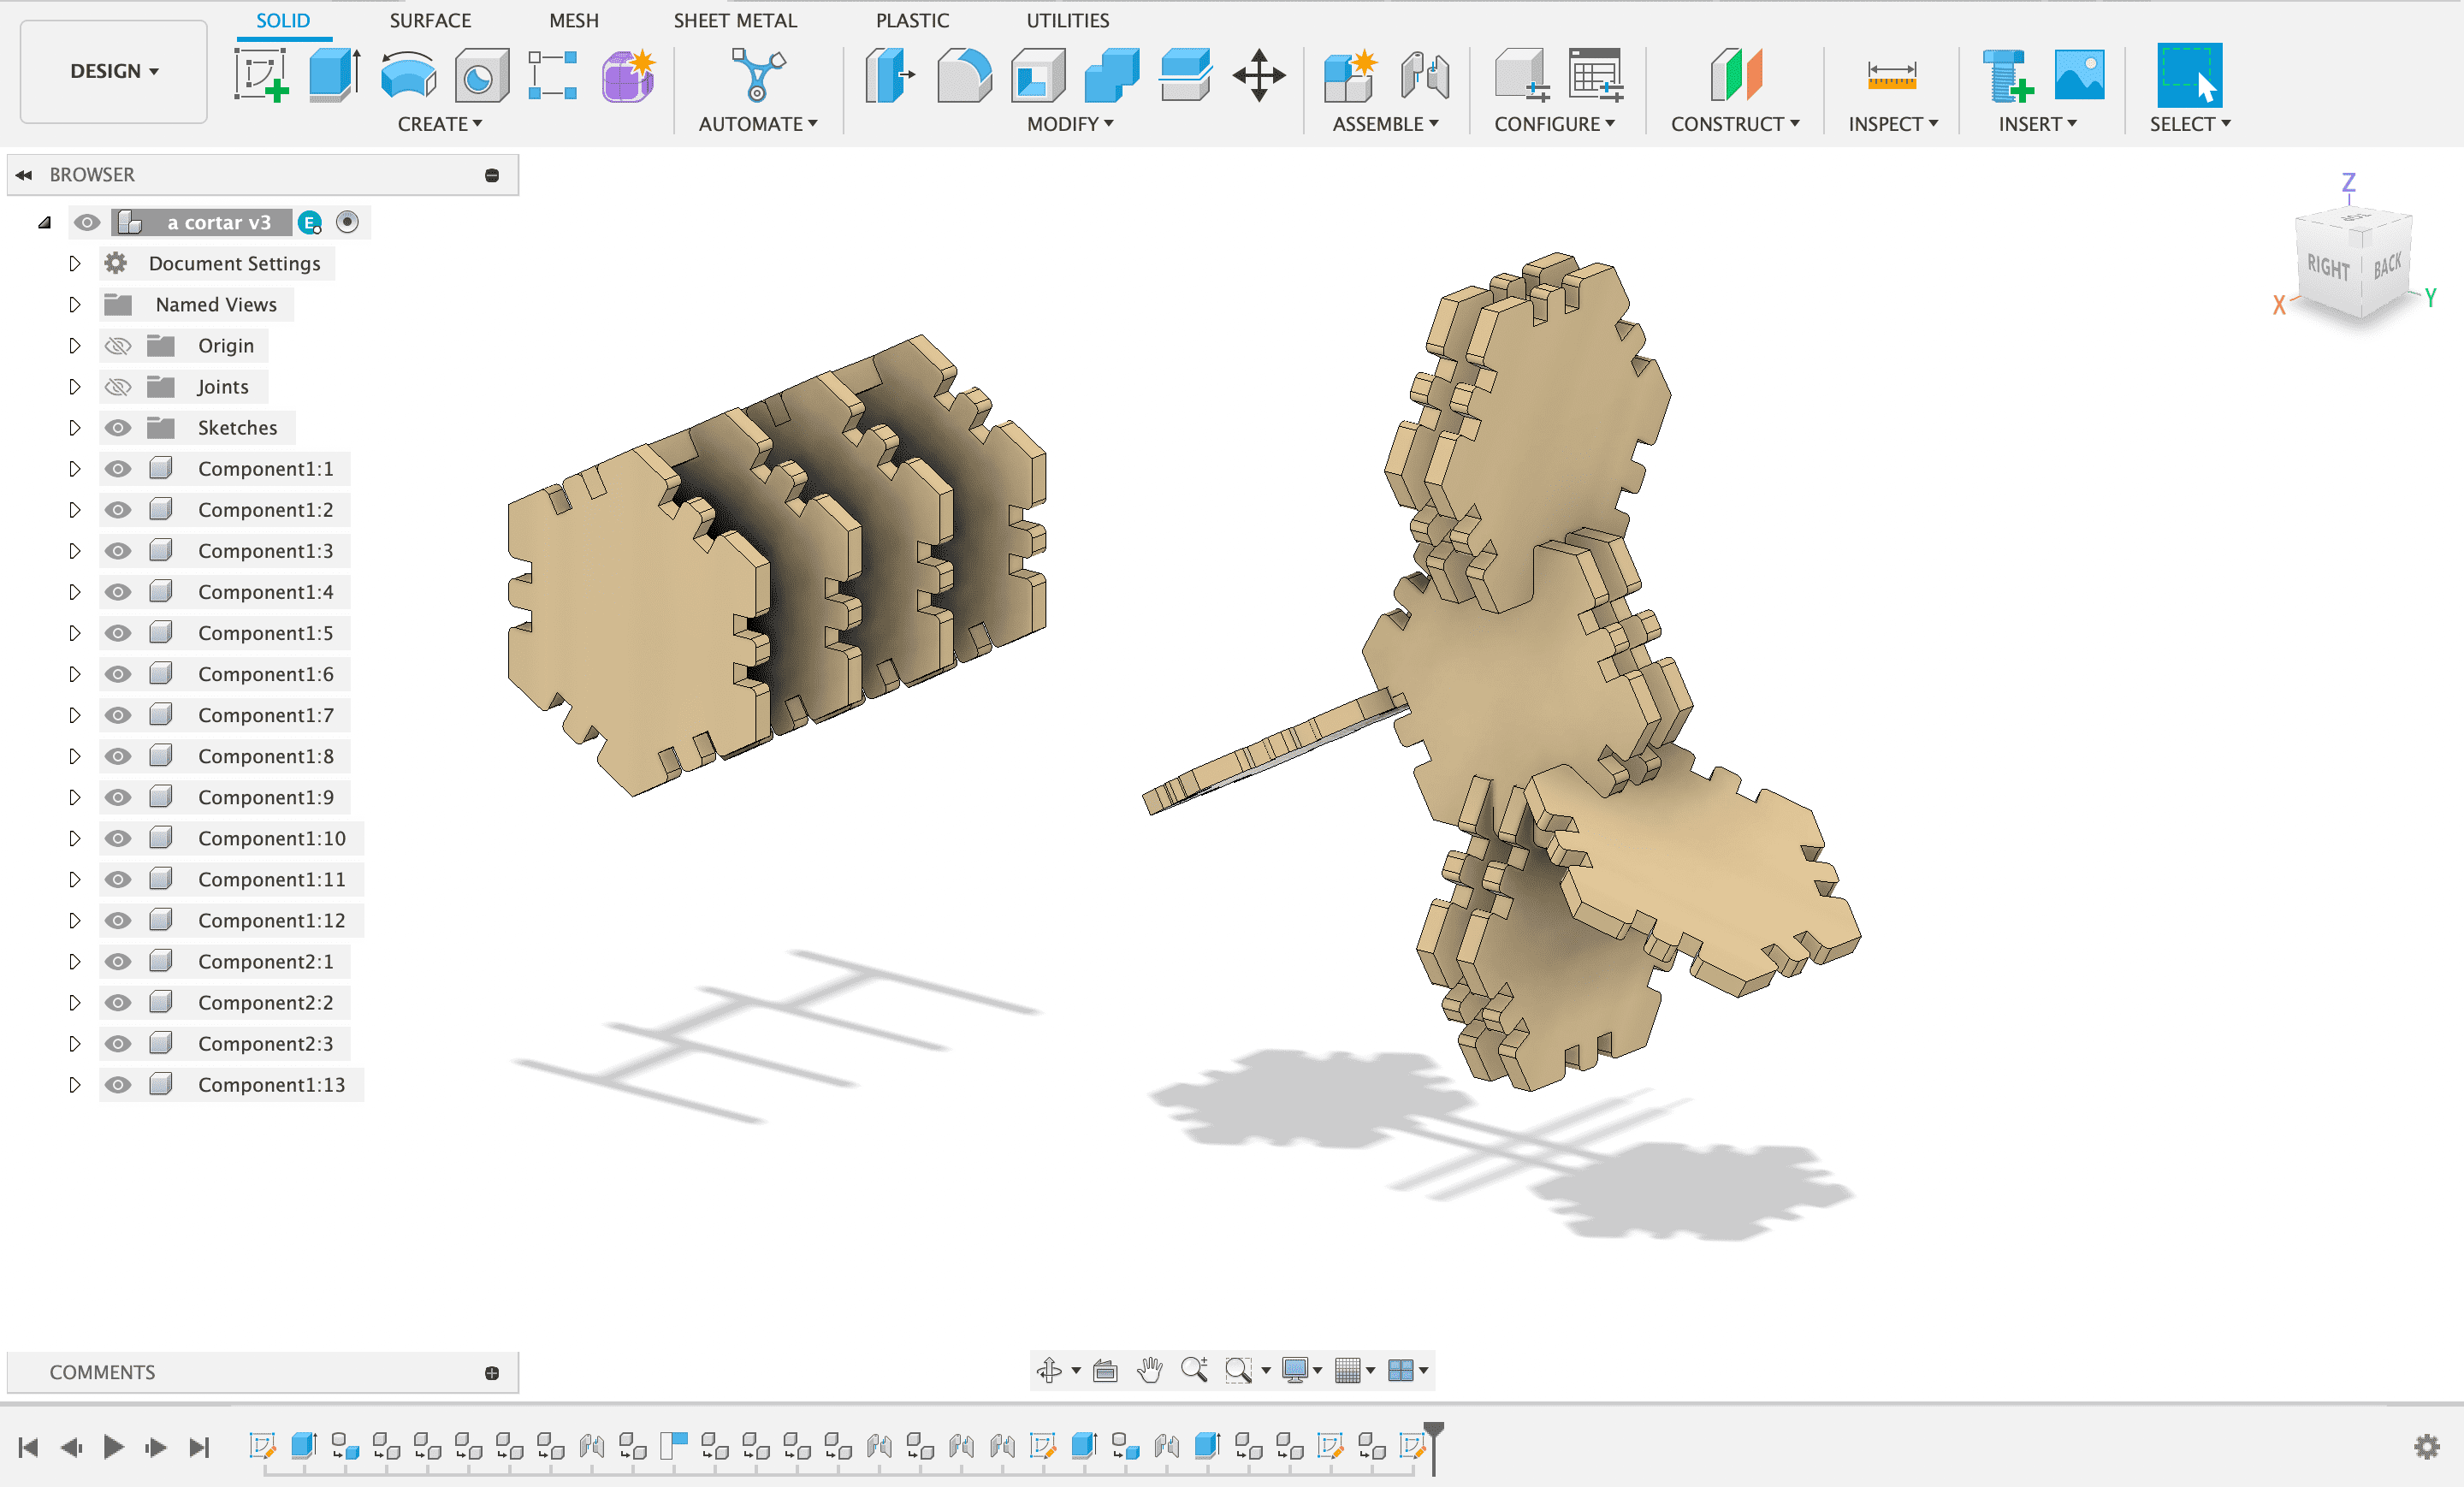
Once we have our design defined, an additional width (Kerf) had to be considered so that when cutting and assembling the pieces, they remain rigidly joined, without the need to use any glue. According to the plan shown, the initial measurement of 3mm was changed to 2.8 (using a 0.2mm kerf) so that the union of the pieces remains rigid.

Laser cutting
The designed sketches are exported to a "dxf" file and opened in the Adobe Illustrator software that is connected to the laser cutter. In this software we define the cutting parameters according to the type of material we are going to use. We must select the work to be done as a vector because we are going to cut the material.

The parameters shown in the image follow what is indicated by the manufacturer according to the cutting material.
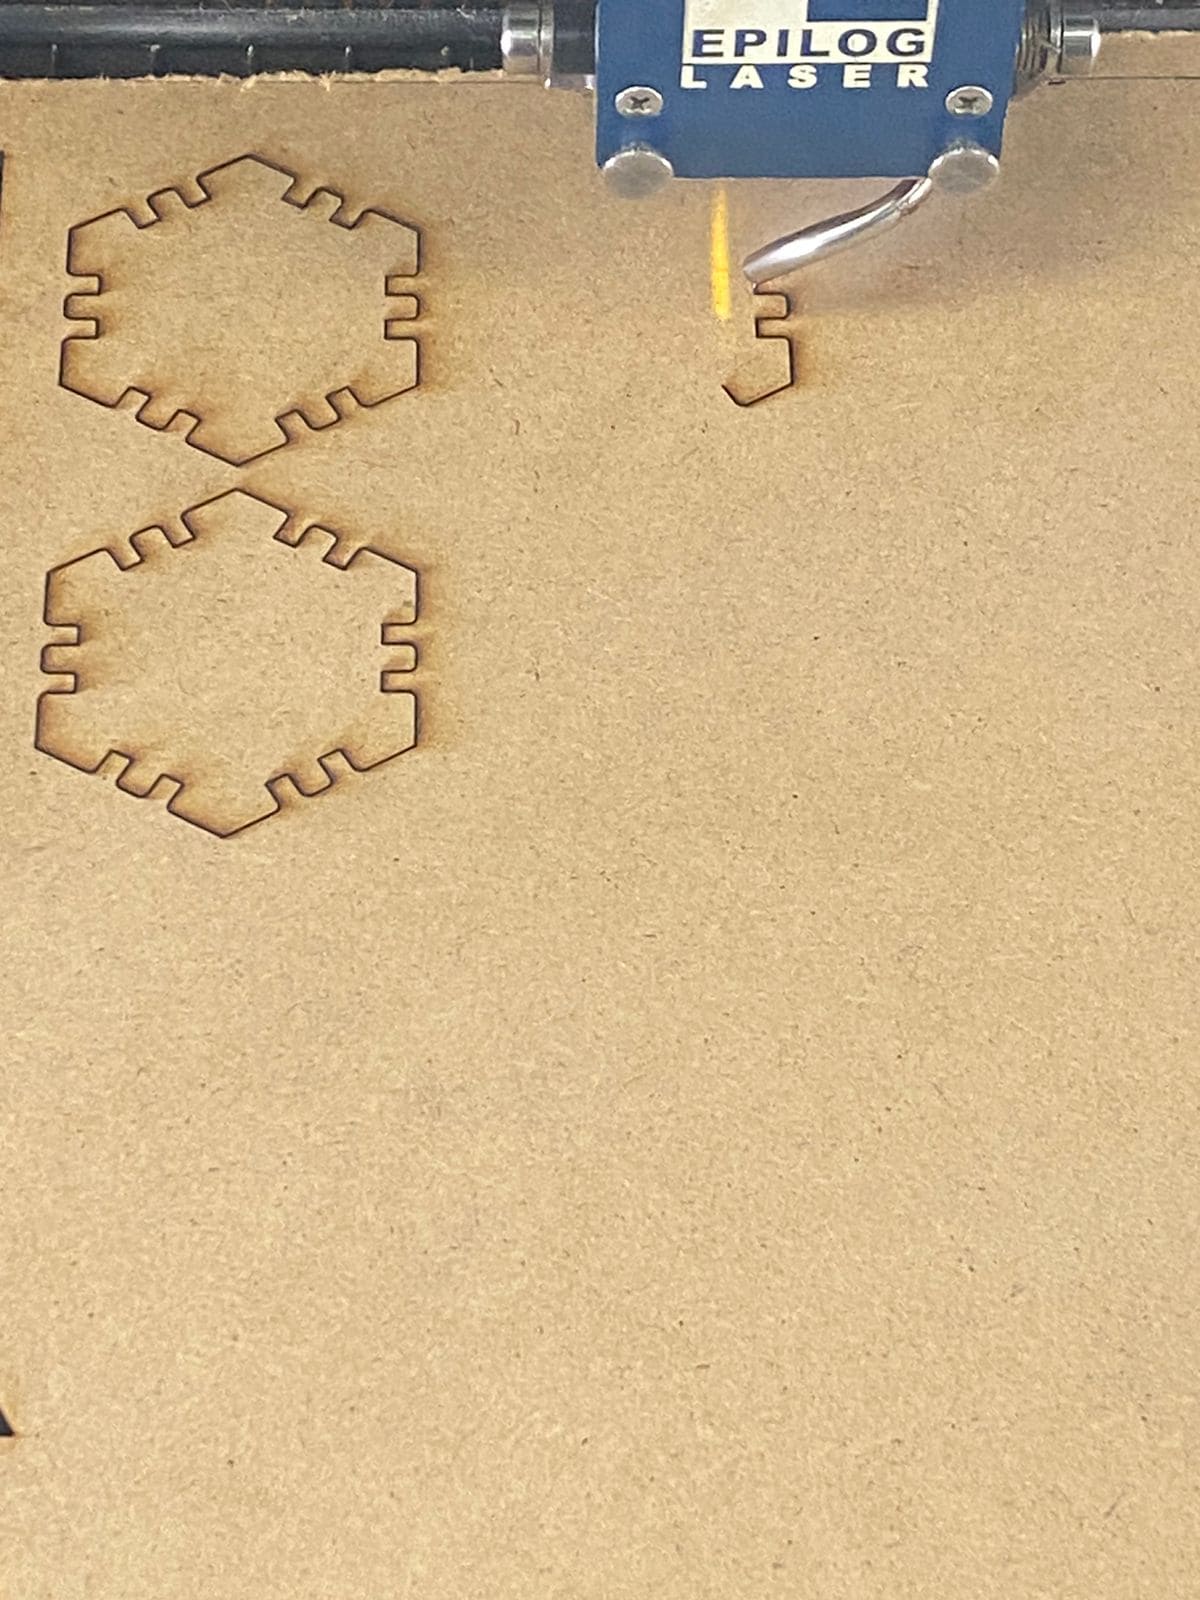
Finally, several pieces are cut out of 3mm thick MDF wood. The time it took to cut was approximately 9 minutes.


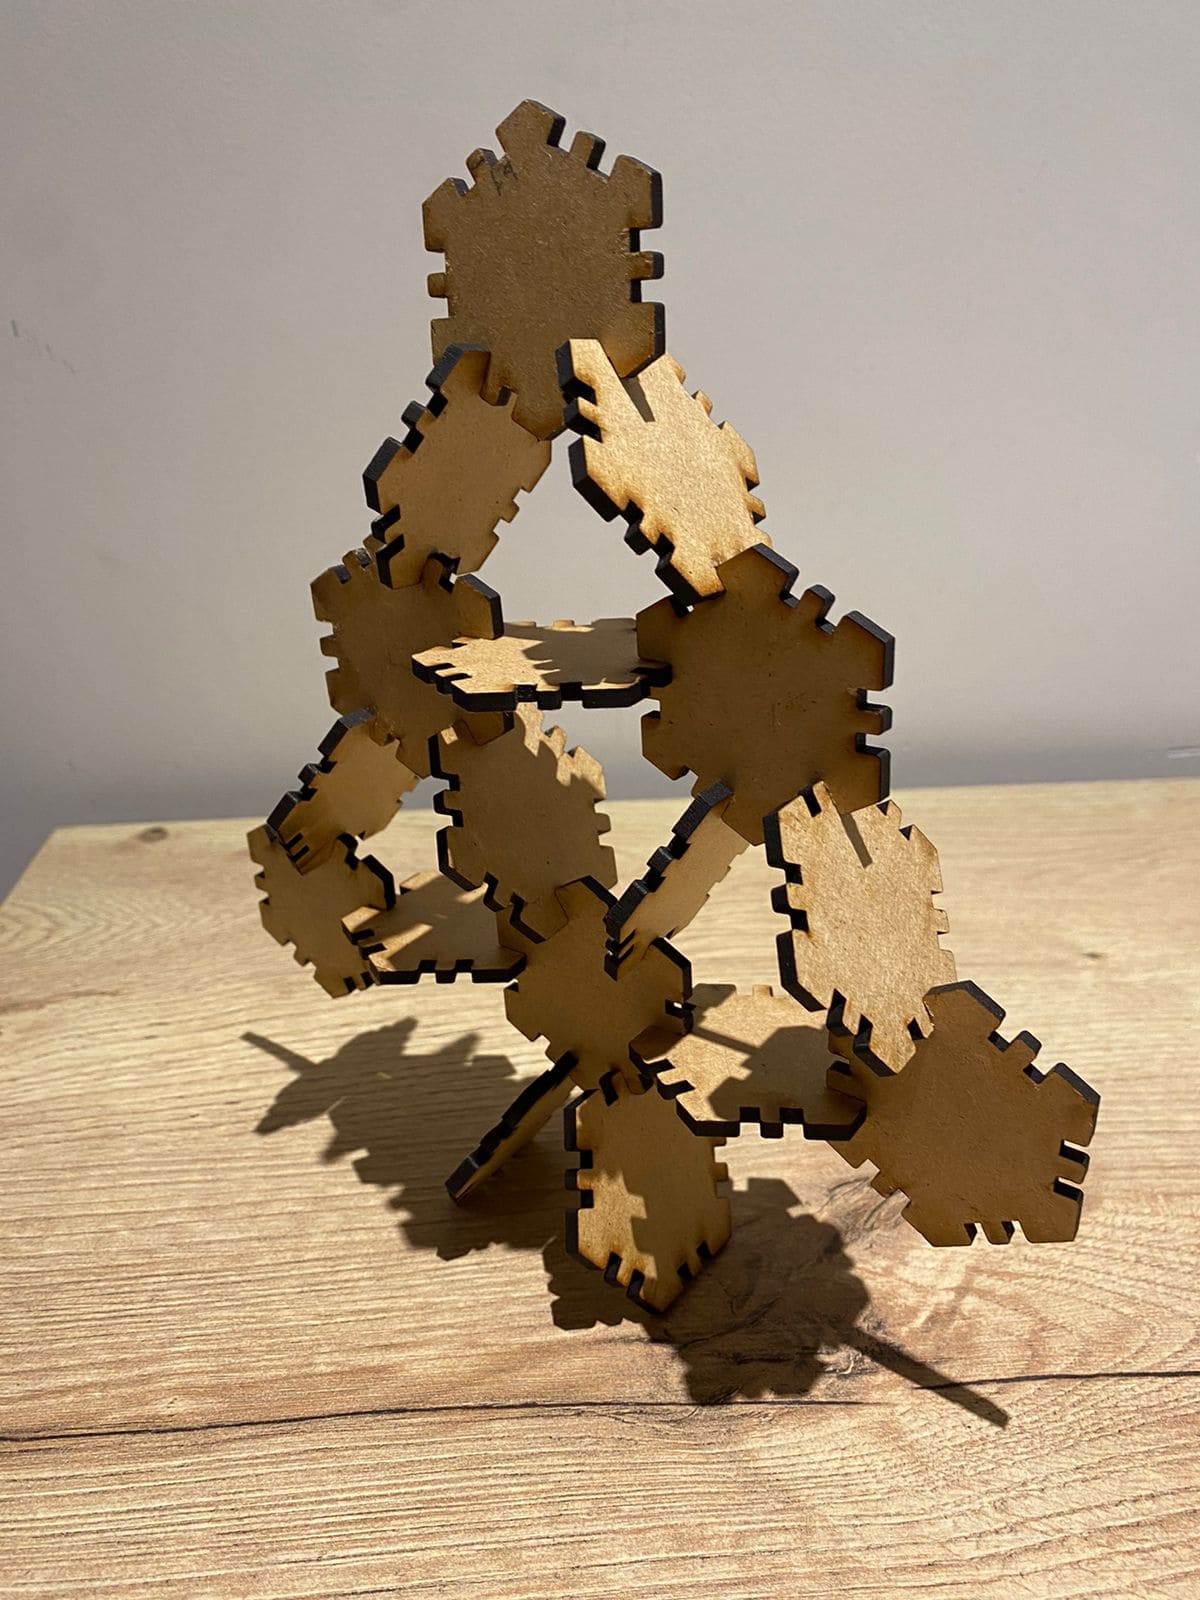
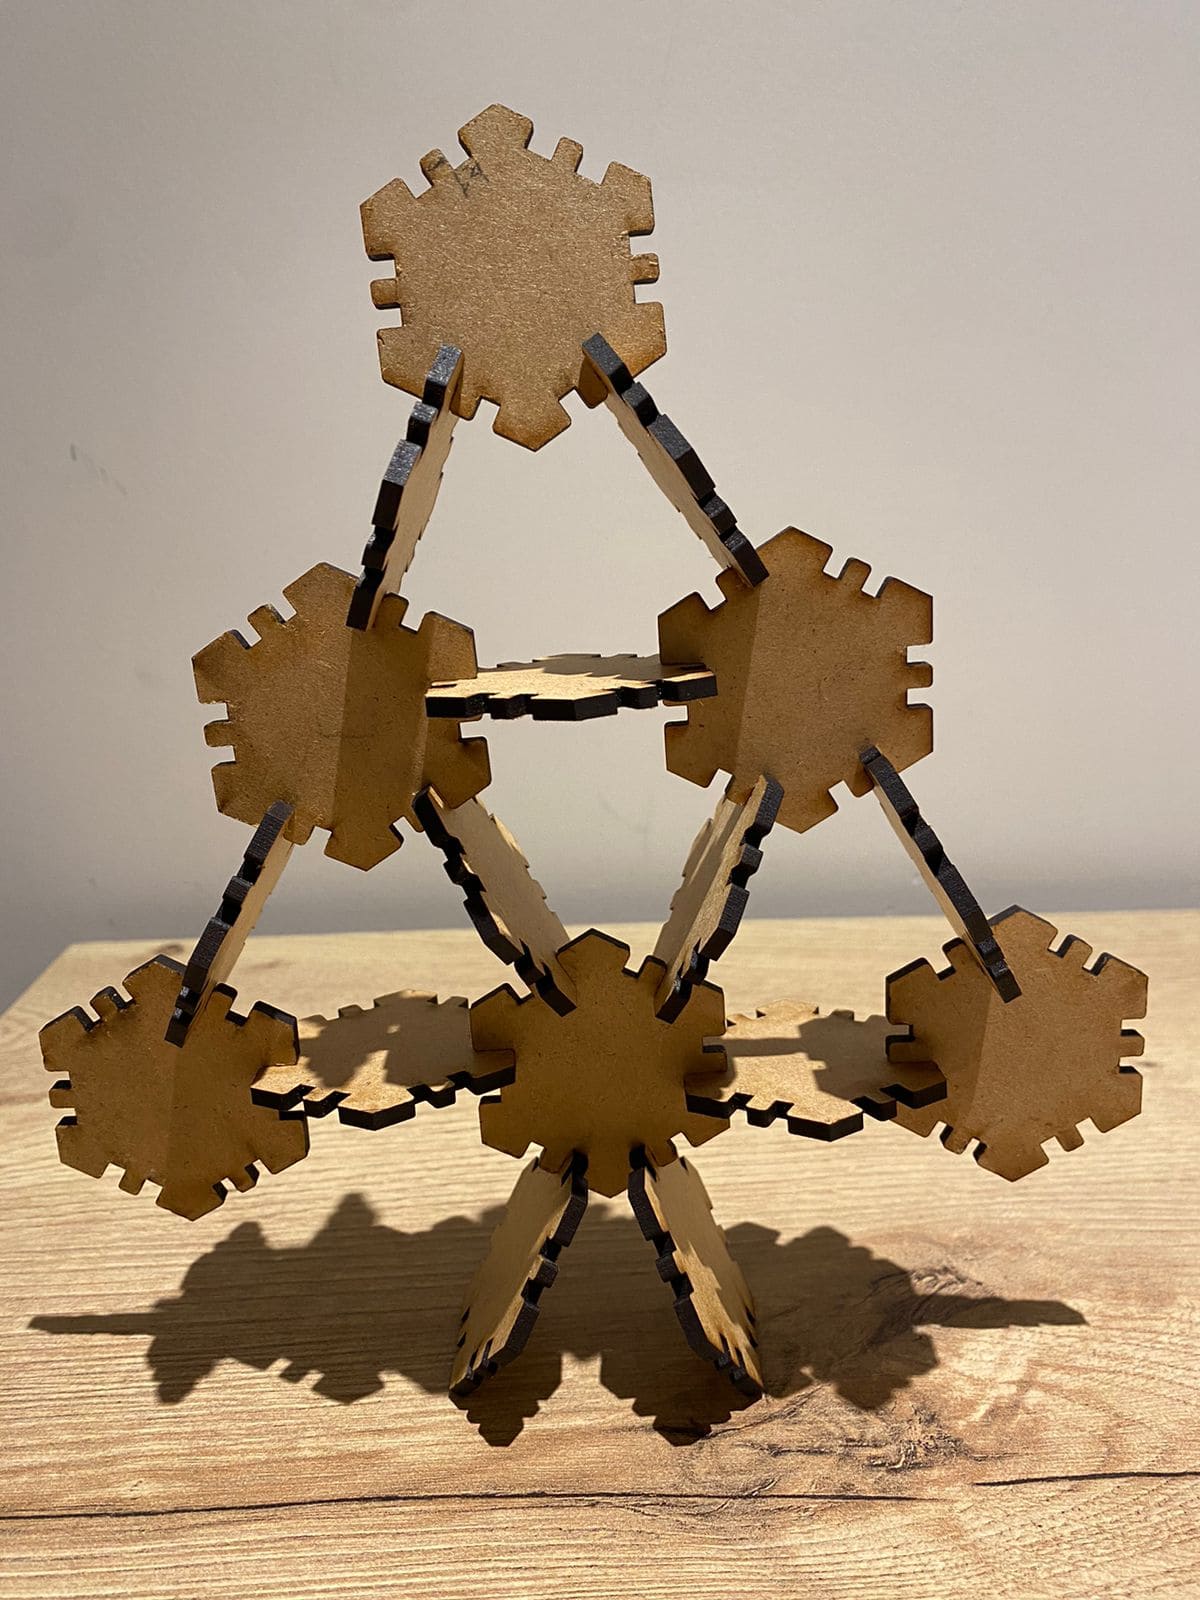
The final joined figure can be of any shape, like the tree shown in the following image.
The following video show how the laser cut works. The loud sound is because the air valve is open and the particle extractor is on.
Finding the kerf
My part of the group assignment was to obtain the measurement of the kerf in order to join the cut pieces in a rigid way and without room for movement. The first step was to cut ten pieces of equal size, in the image shown below each square measures 10mm per side.
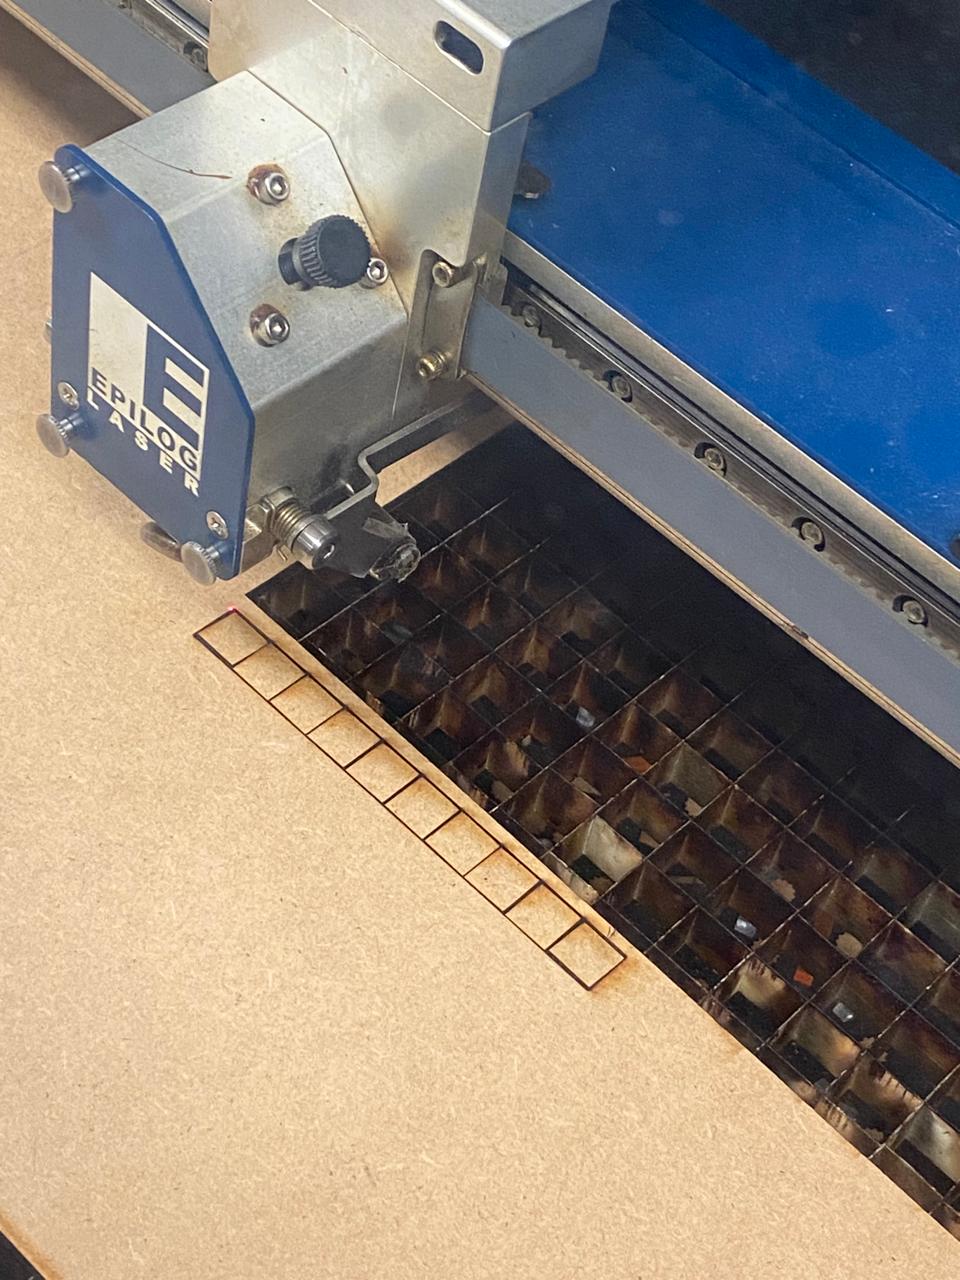
This video show the cut process of the 10 squares in the laser cut.
Afterwards, we proceed to measure the distance between all the squares together with their initial measurement. We use a vernier with a precision of 0.05mm.
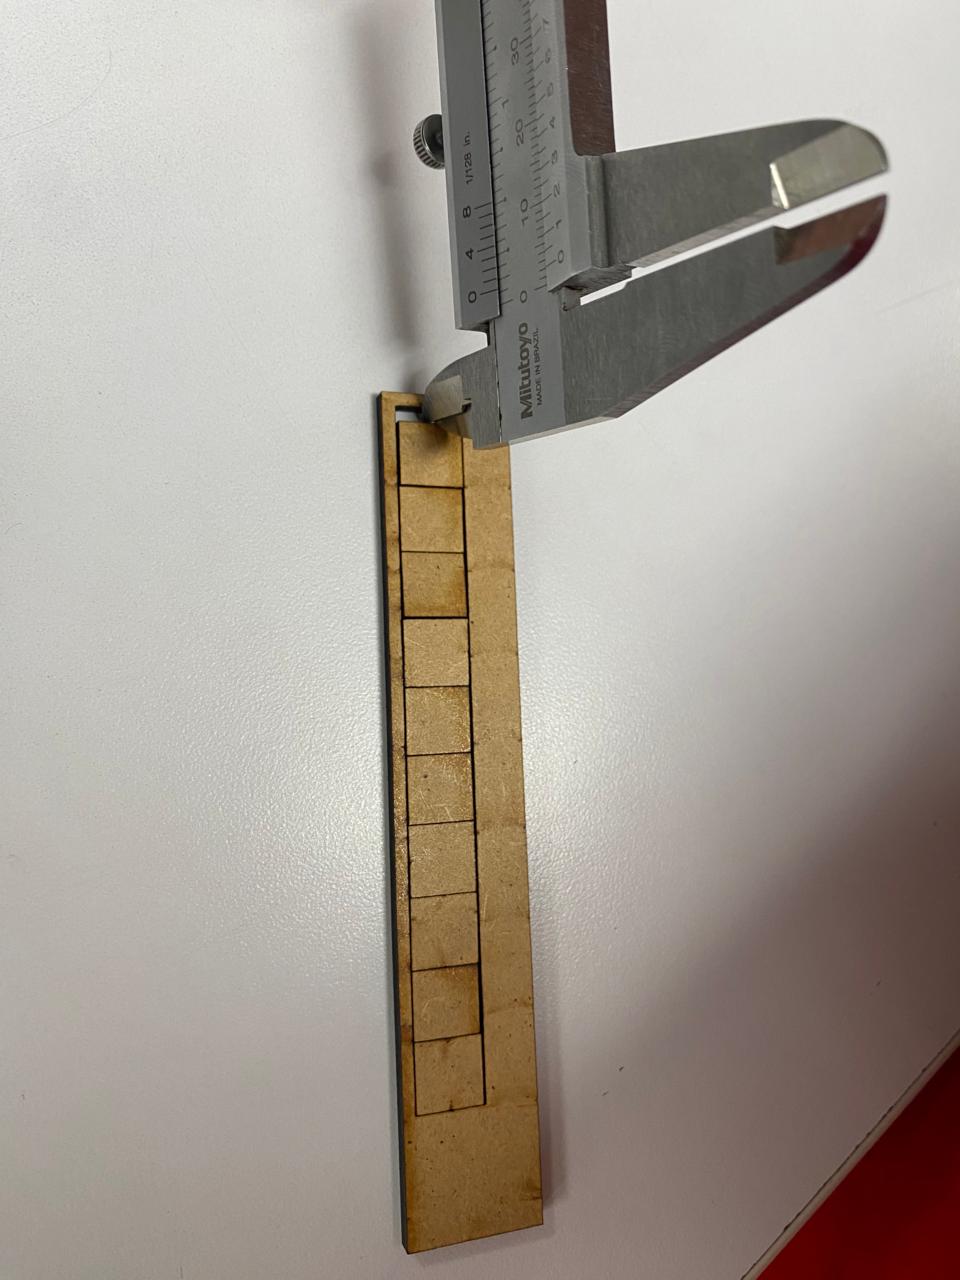
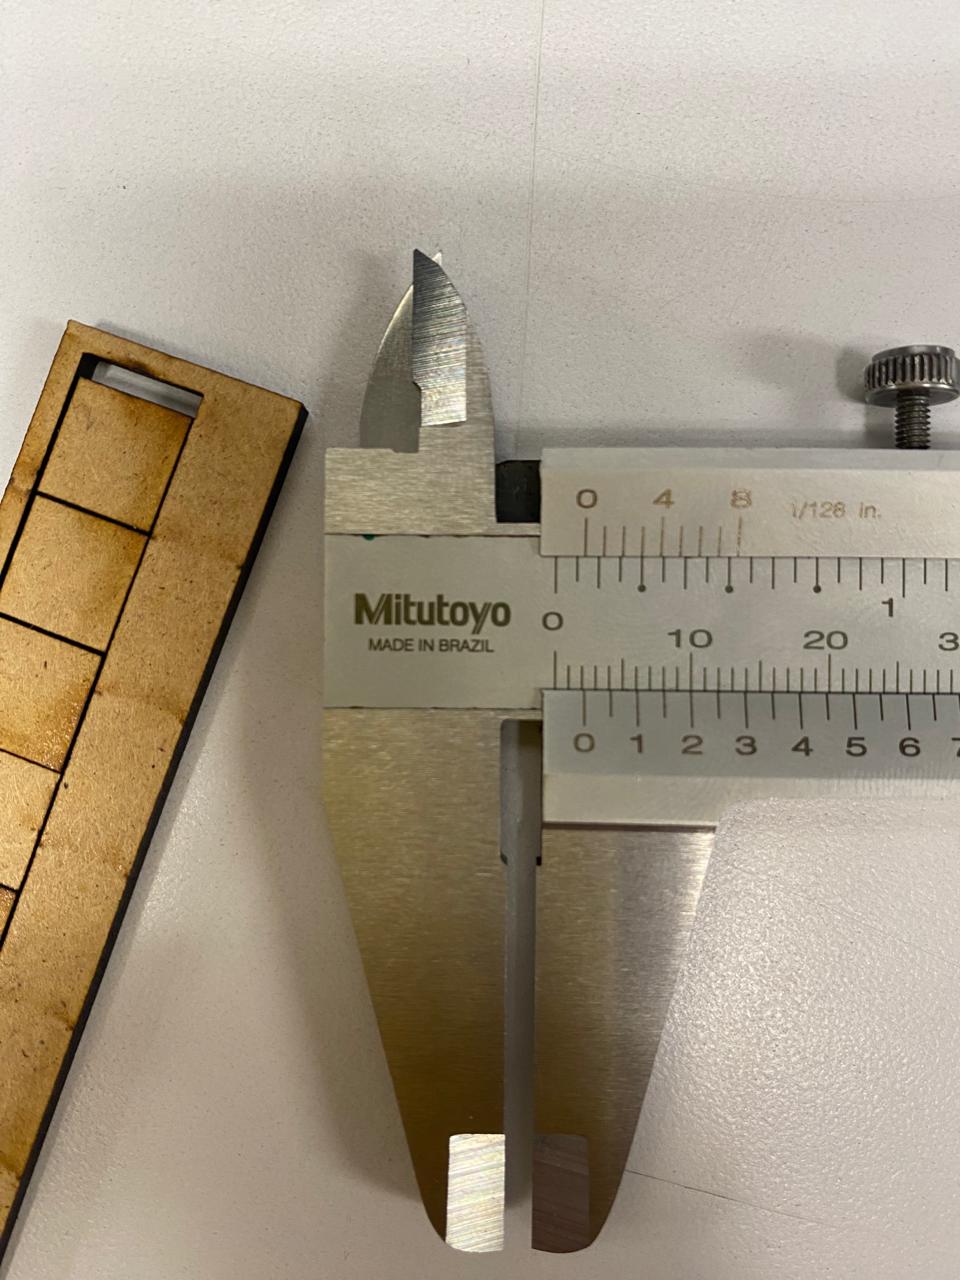
We also measured the total distance that the ten equal squares occupied.
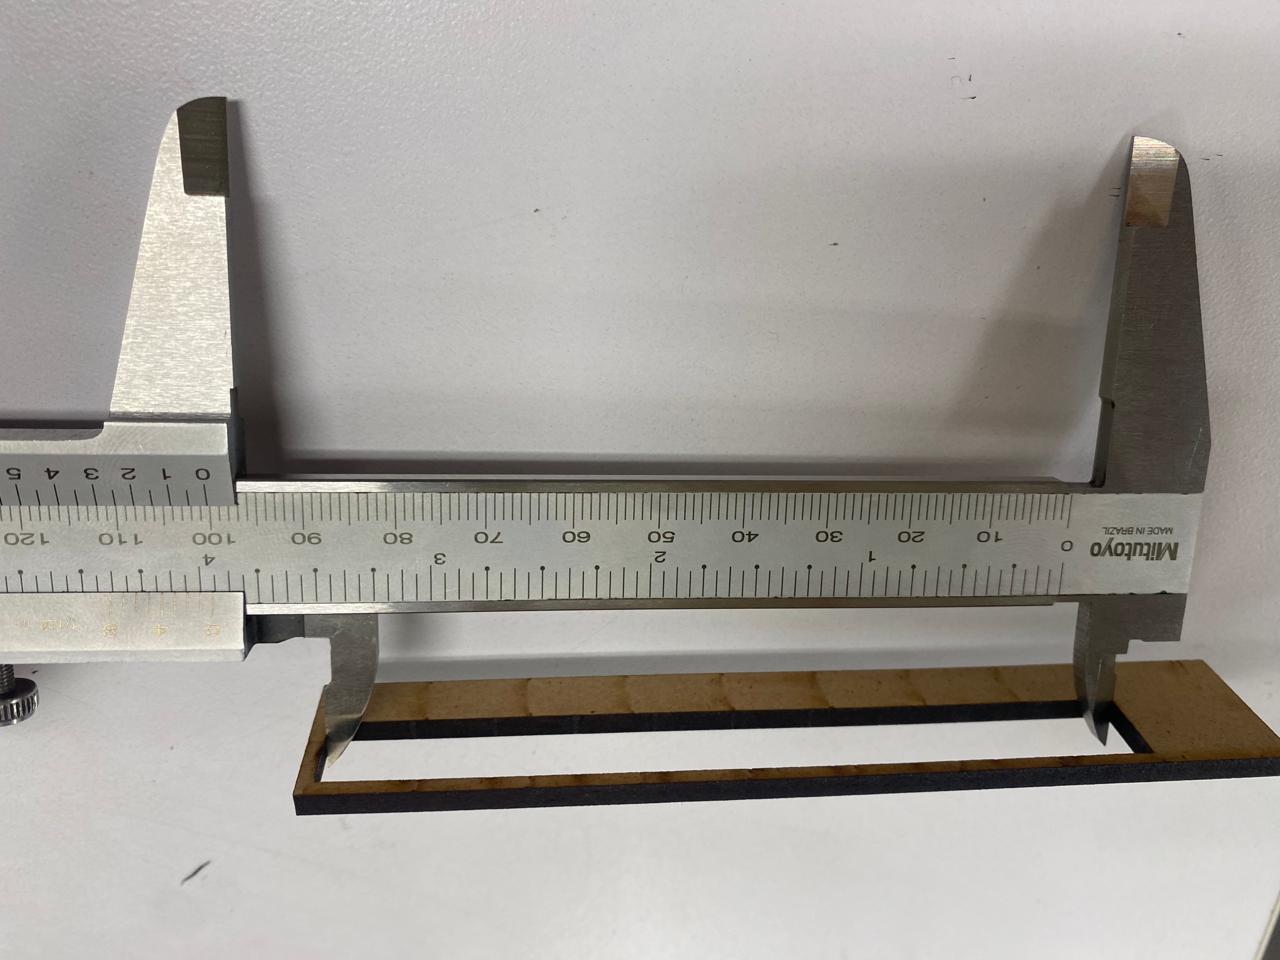
Finally, we apply the following formula to find the kerf, resulting in a kerf of 0.20 mm. This kerf was then used for edit the model in the software Fusion 360.

Vinyl cutting
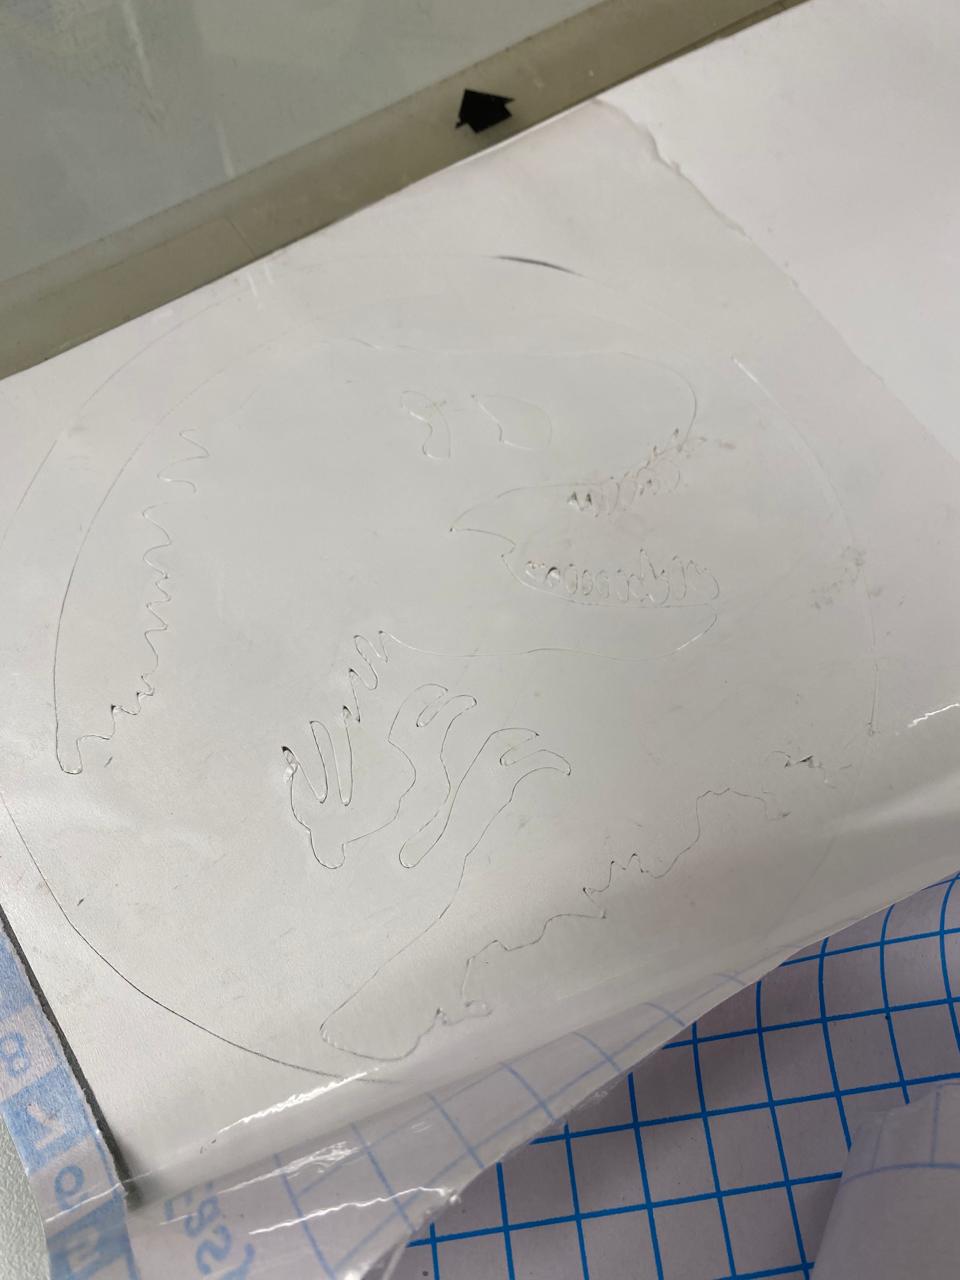
We use the vinyl cutter to make stickers of the design we want. The sticker I chose was Jurassic Park, since I am a fan of that film series.
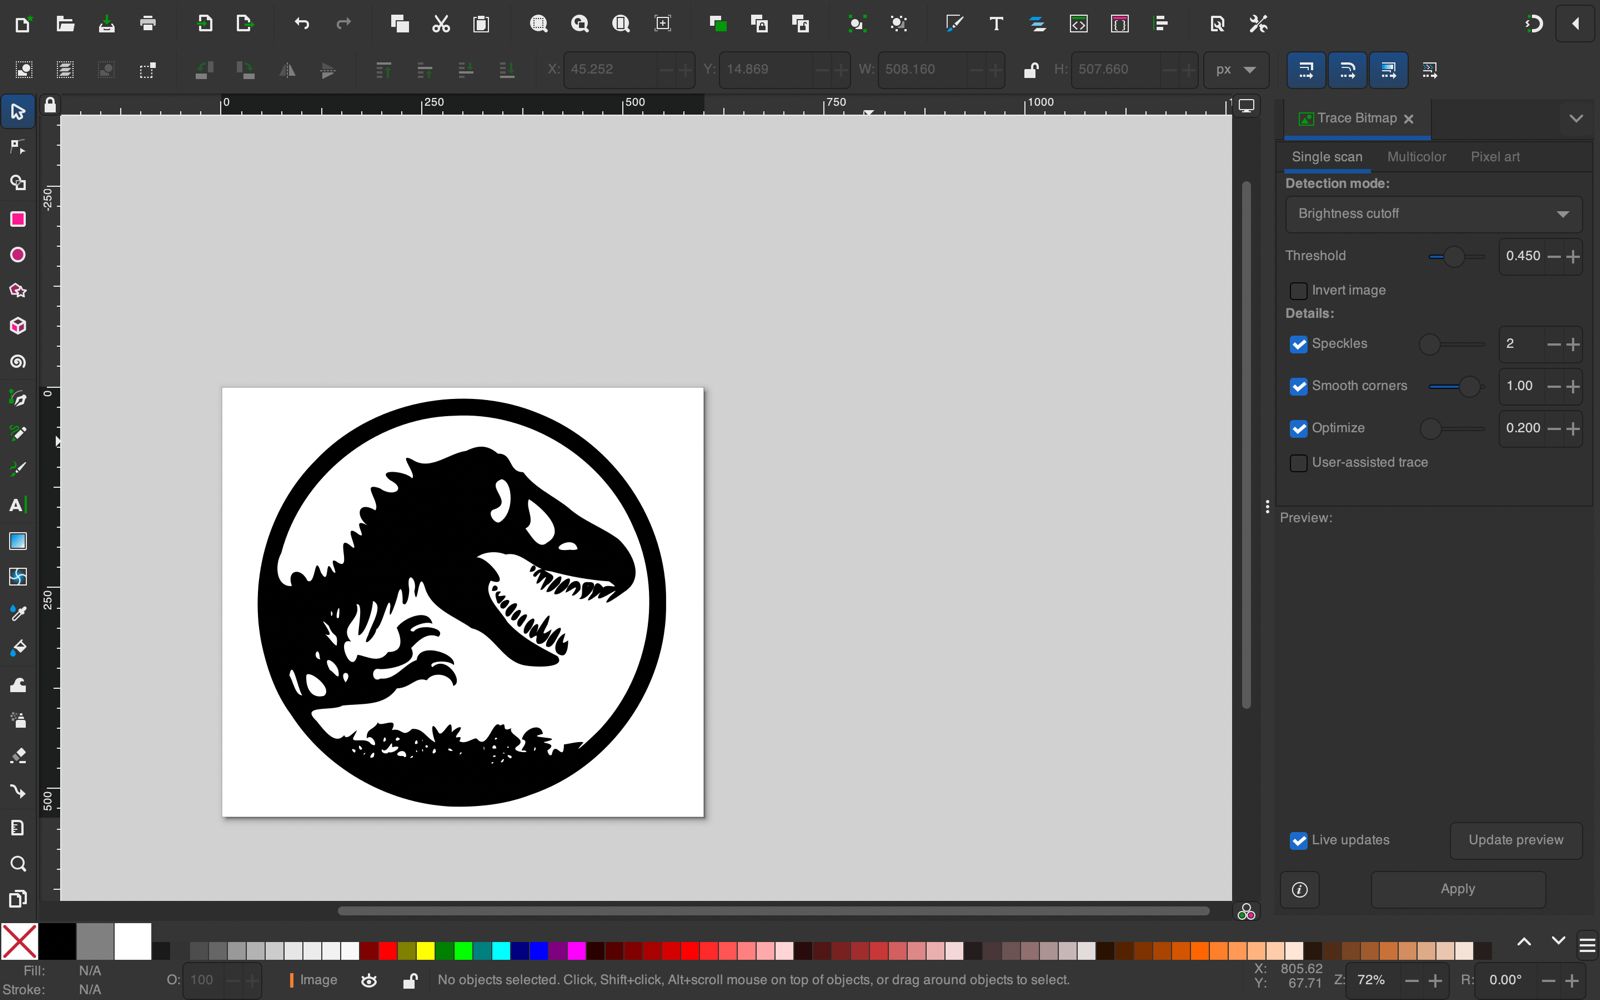
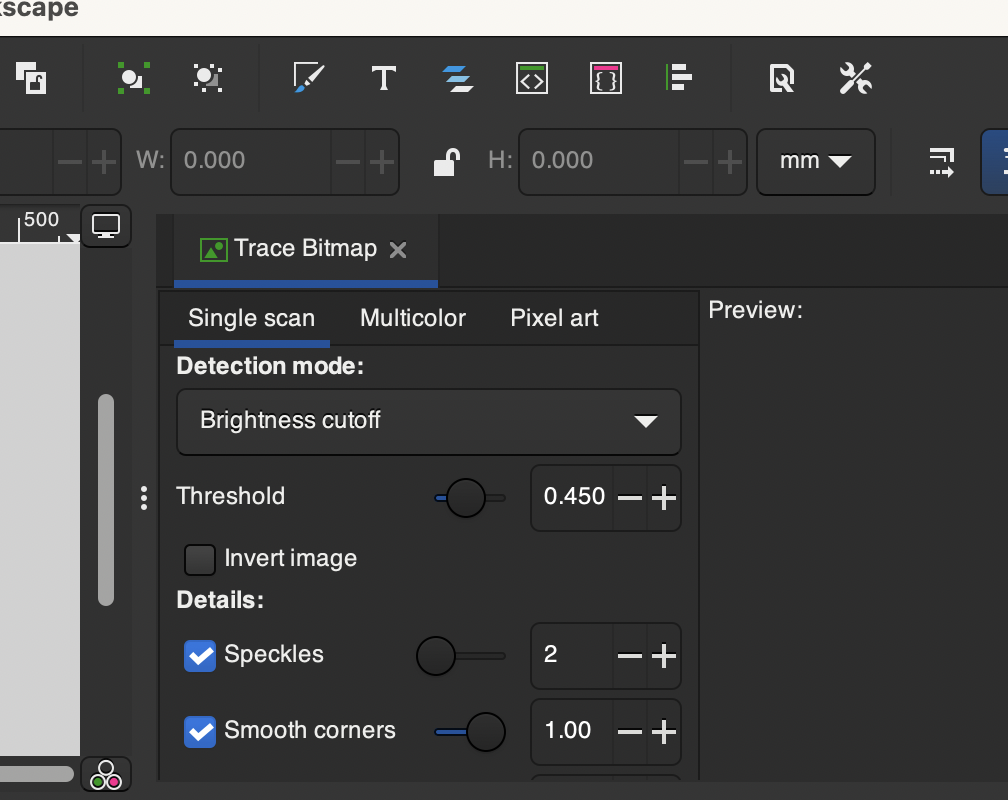
This design was worked in inkscape using the trace bitmap option, as seen in the following images:


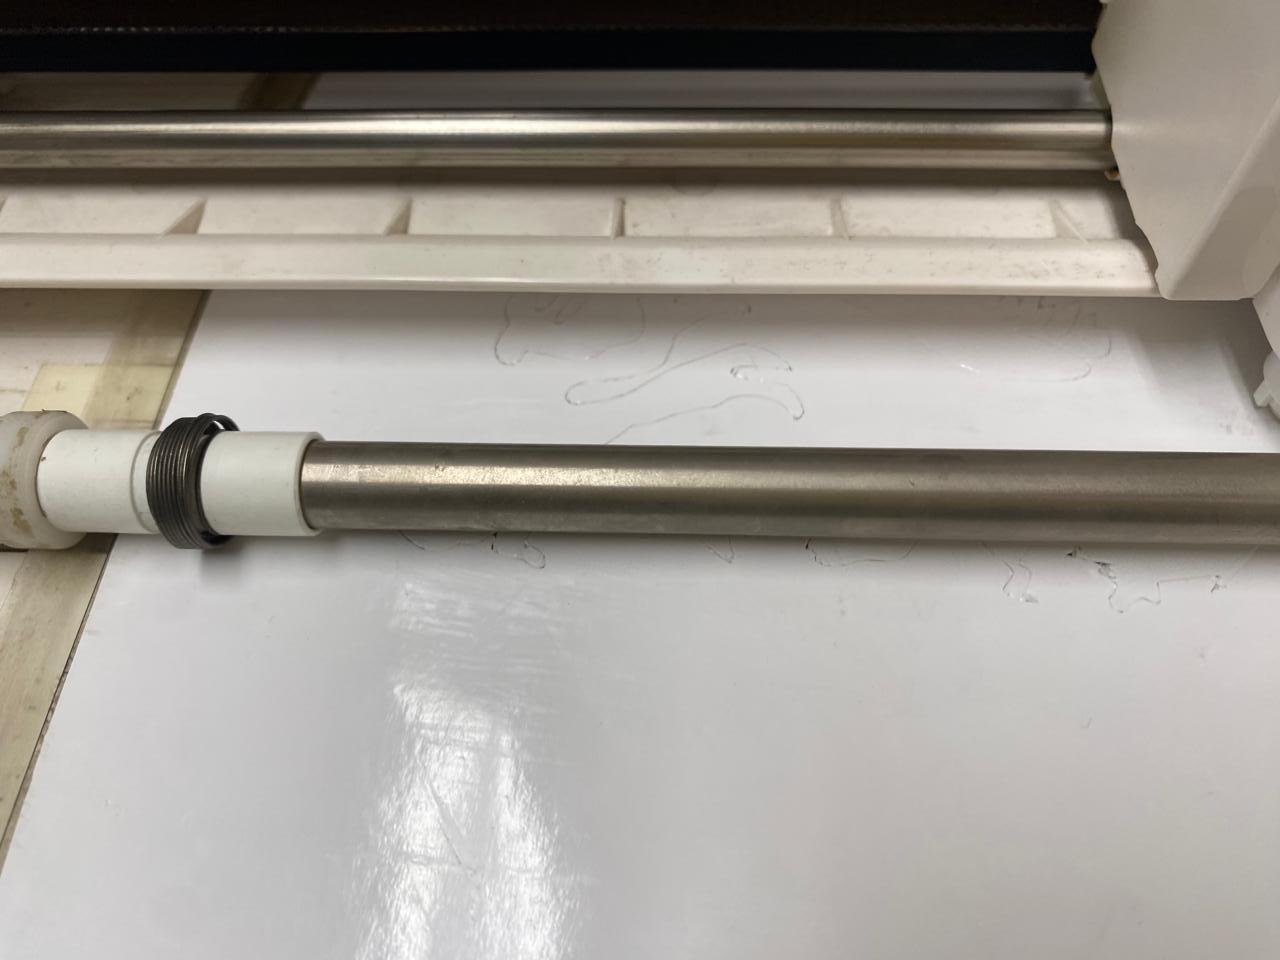
First we start by loading the vinyl to the printer. The mica was glued using a special glue that was quite strong and durable.
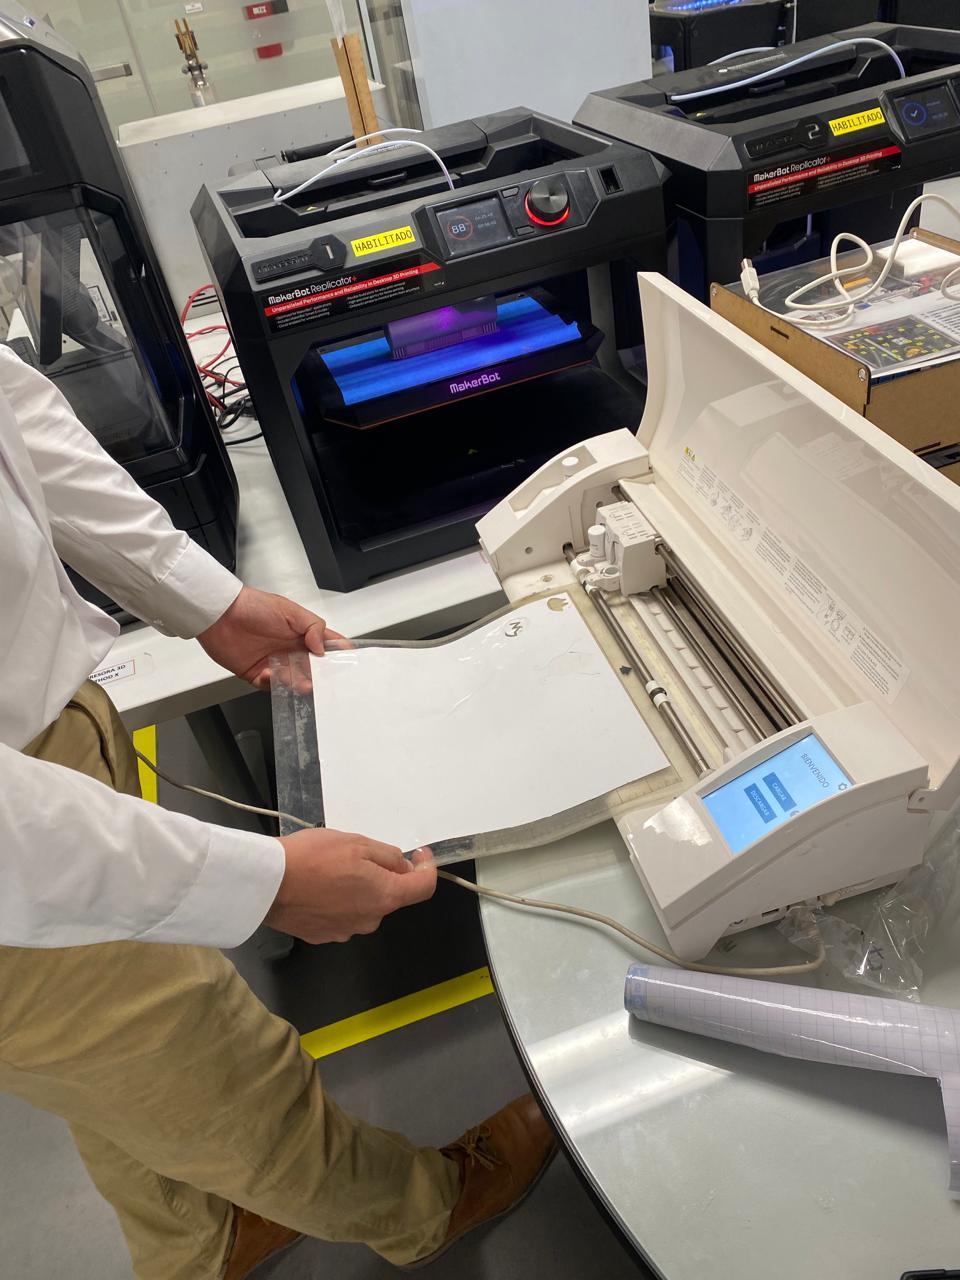
Then, the design was loaded into the printer by setting it to a pressure of 2; speed of 7; and 1 pass.

The vinyl cutting process did not take as long as I thought, and was done quickly and with quite a bit of precision.
Finally, we must finish separating the remainder of the figure that we cut, being careful not to cut the impression too much. It is advisable to use a blade that is sharp so that the cut is exact and without burrs.
The vinyl was glued to the front of my computer and it fixed correctly.
Group assignment
What I learned from this group experience was the fundamental components and operation of a laser cutter, including how to set it up and safely use it. Also, how to measure and understand the kerf (the width of the cut made by the laser), as it was mas part of the group assignment. Finally, how experimenting with different power and speed settings affected the quality and depth of cuts and engravings.
Here is the link to the group assignments:
Files: