Week 13 assignment: Molding and Casting
Summary
This week I had to design a mold, produce it with a smooth surface finish, and use it to cast parts.
Process
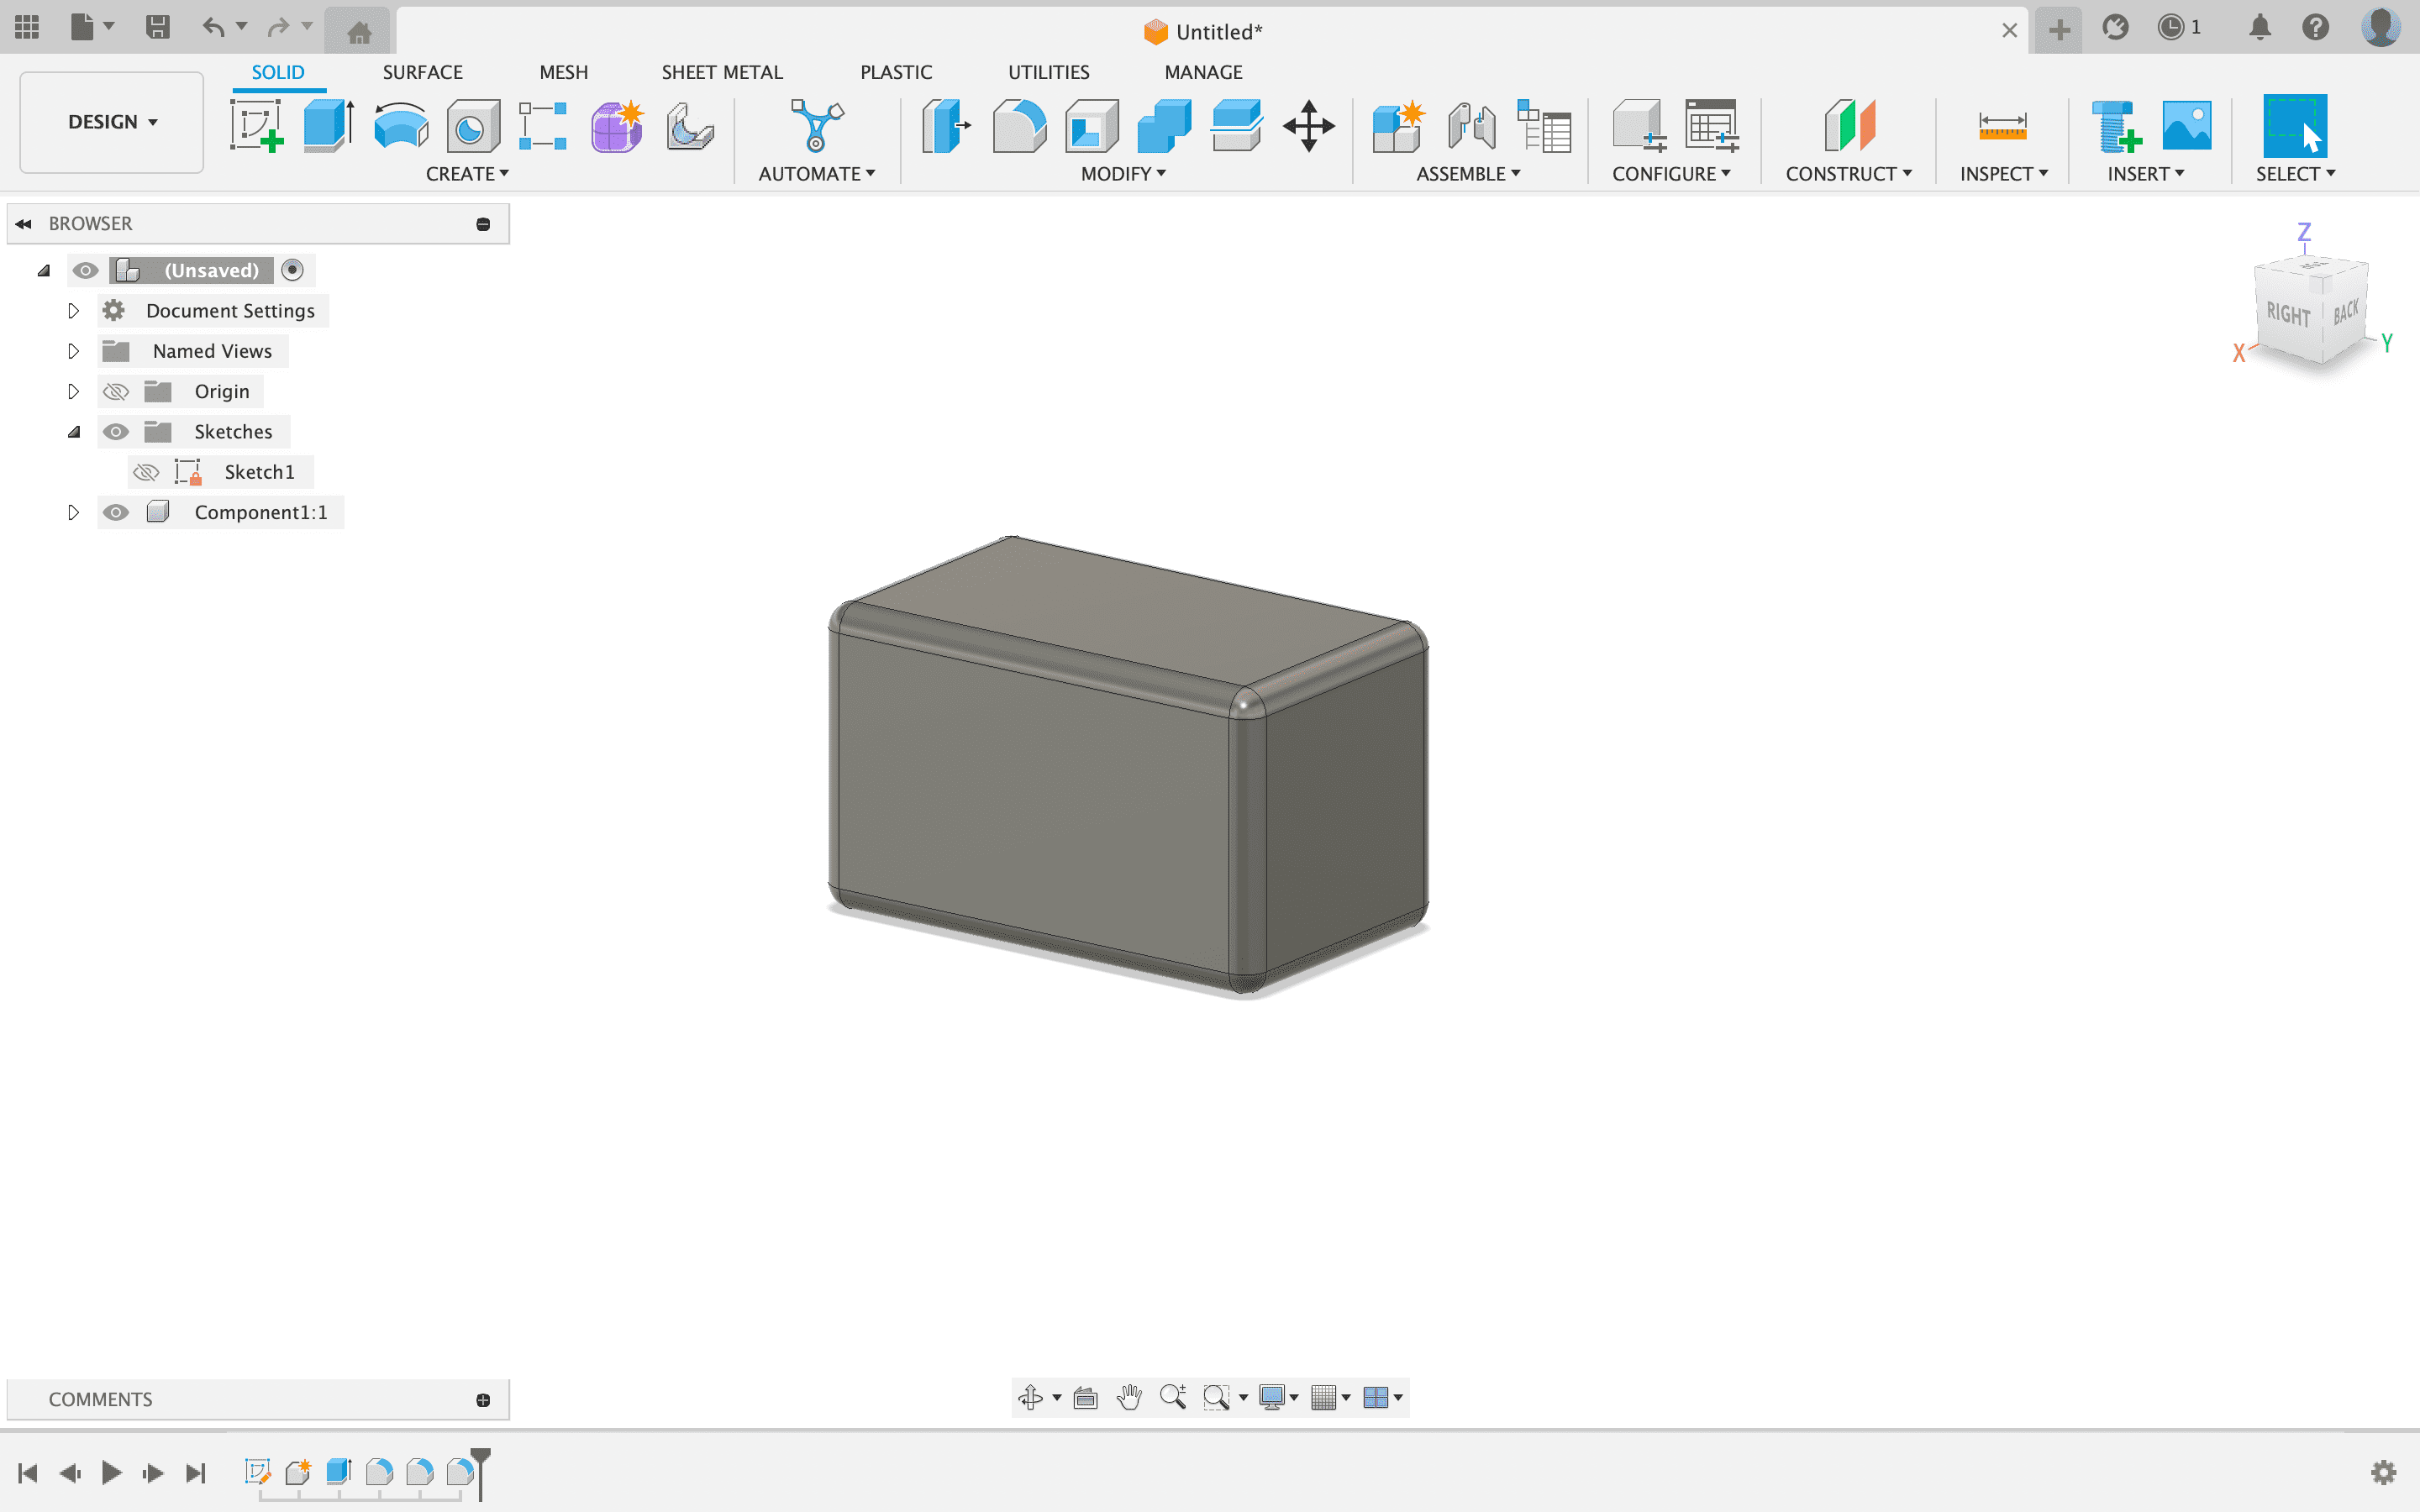
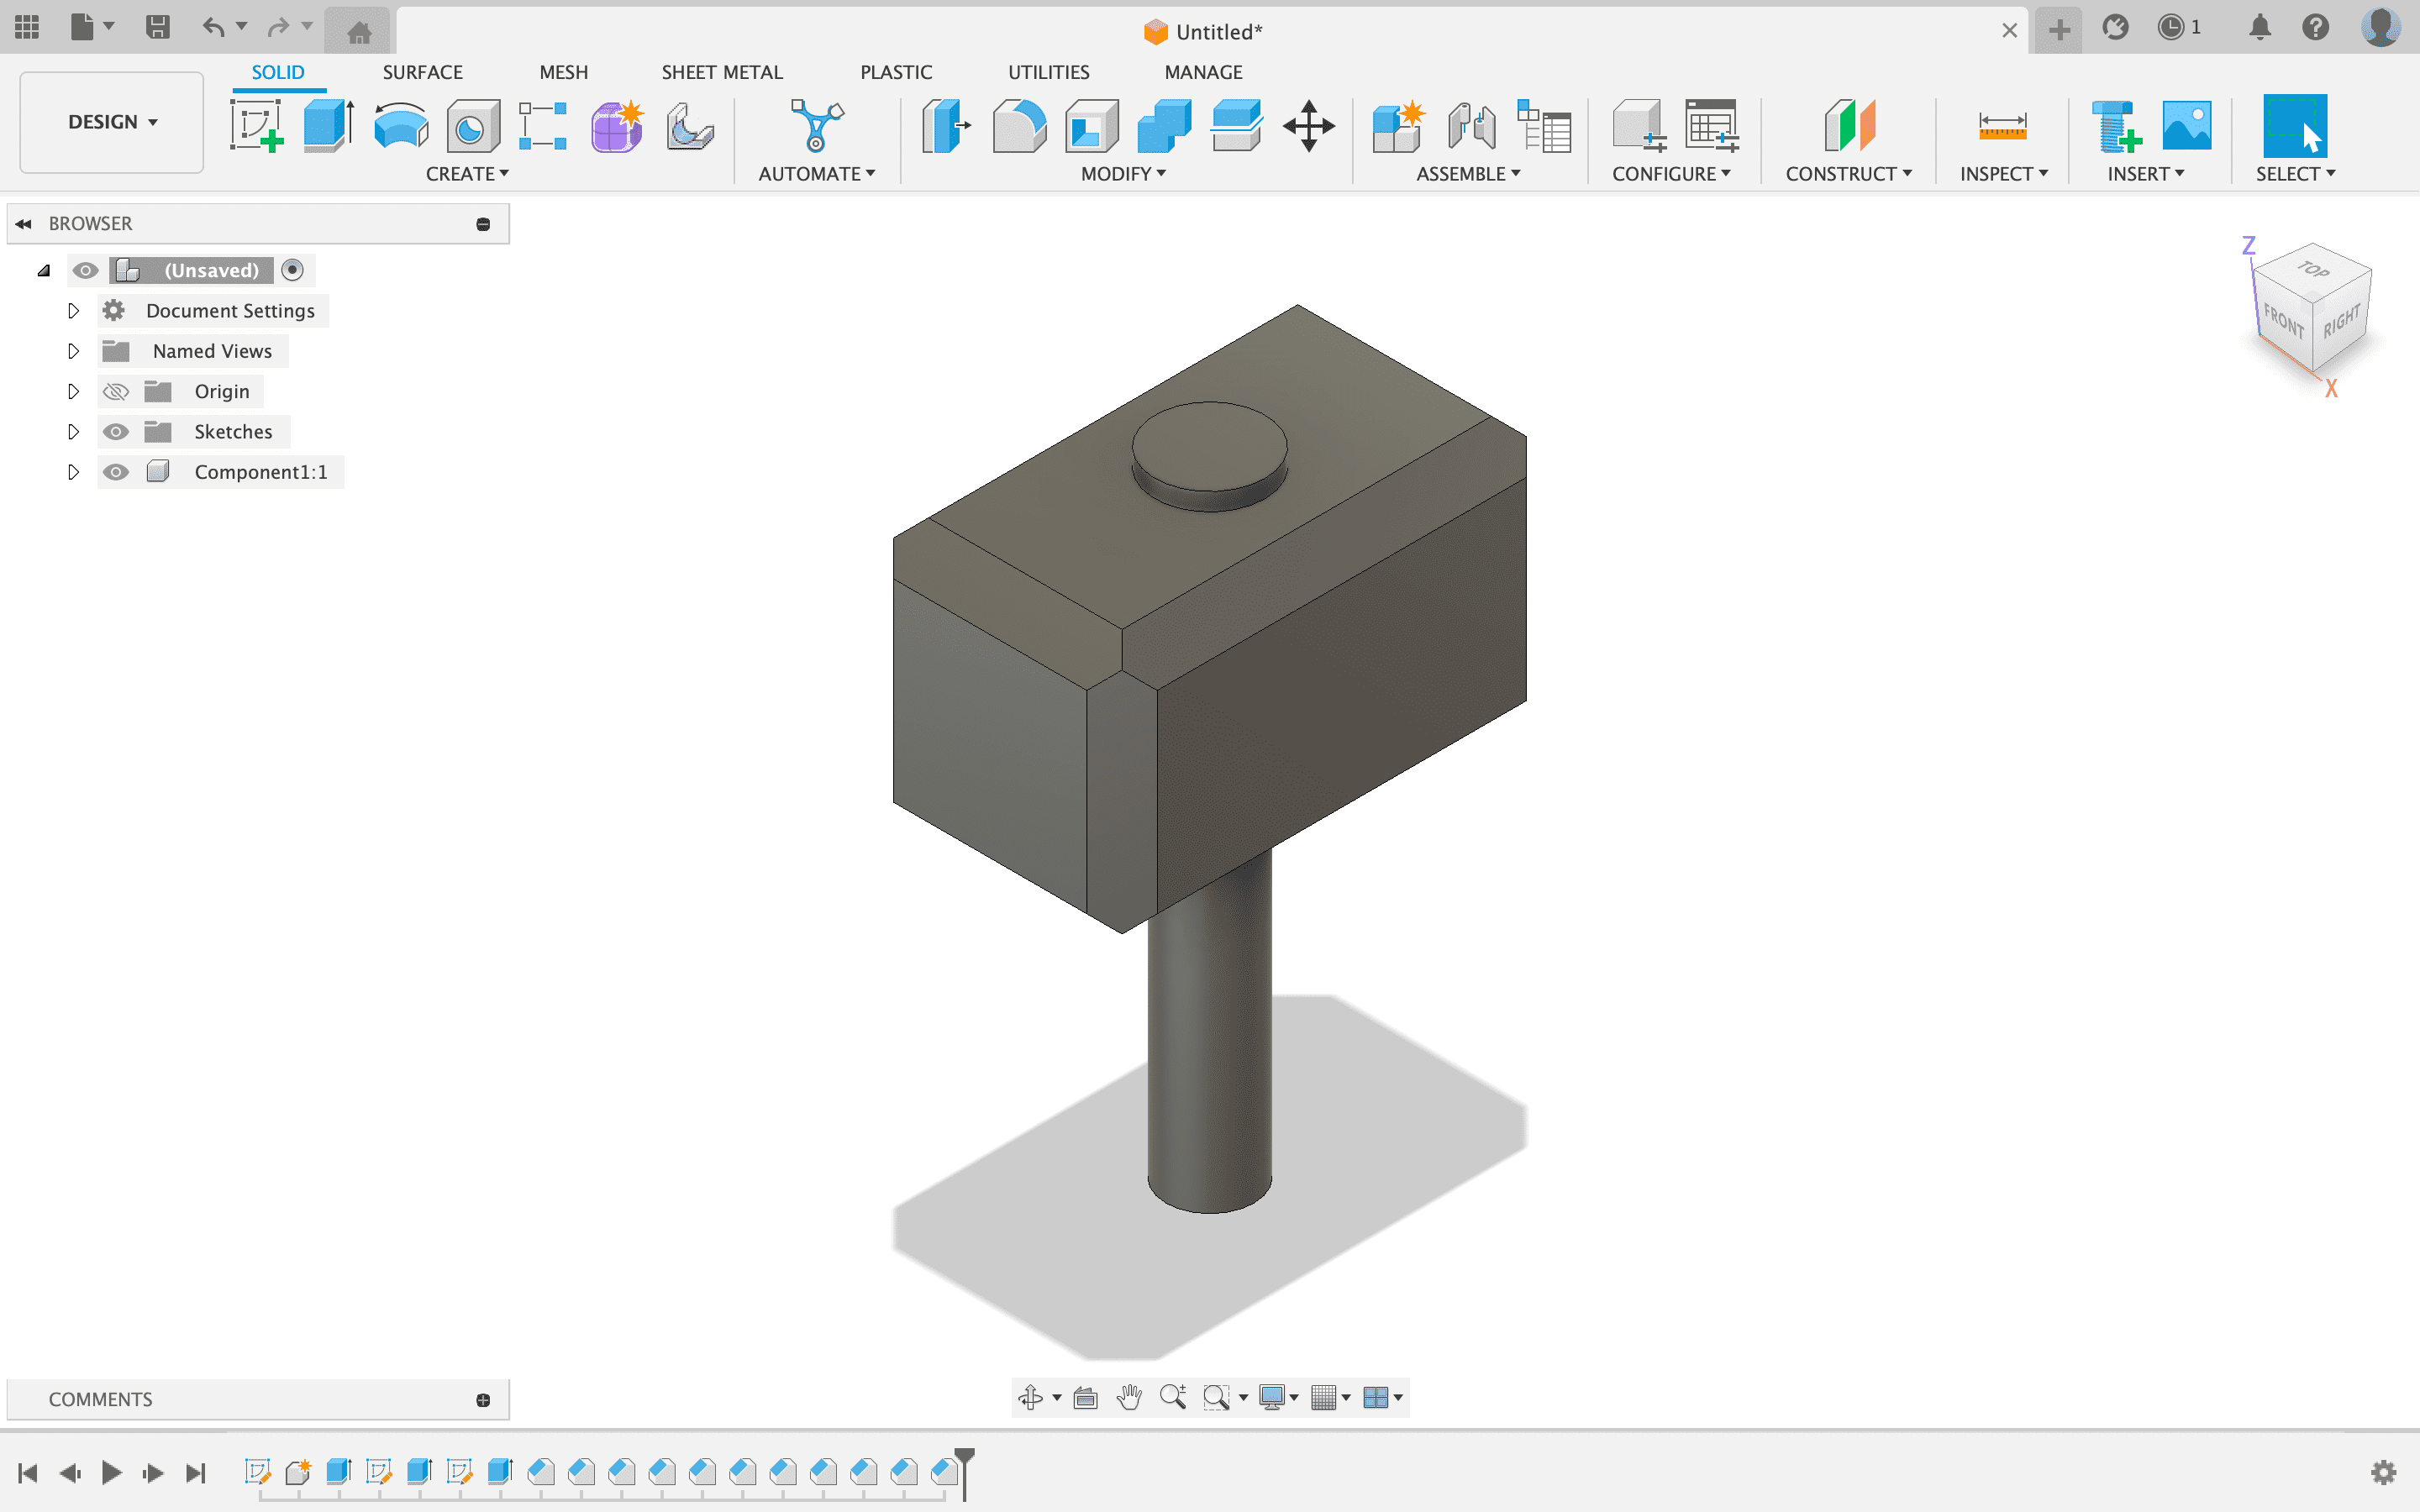
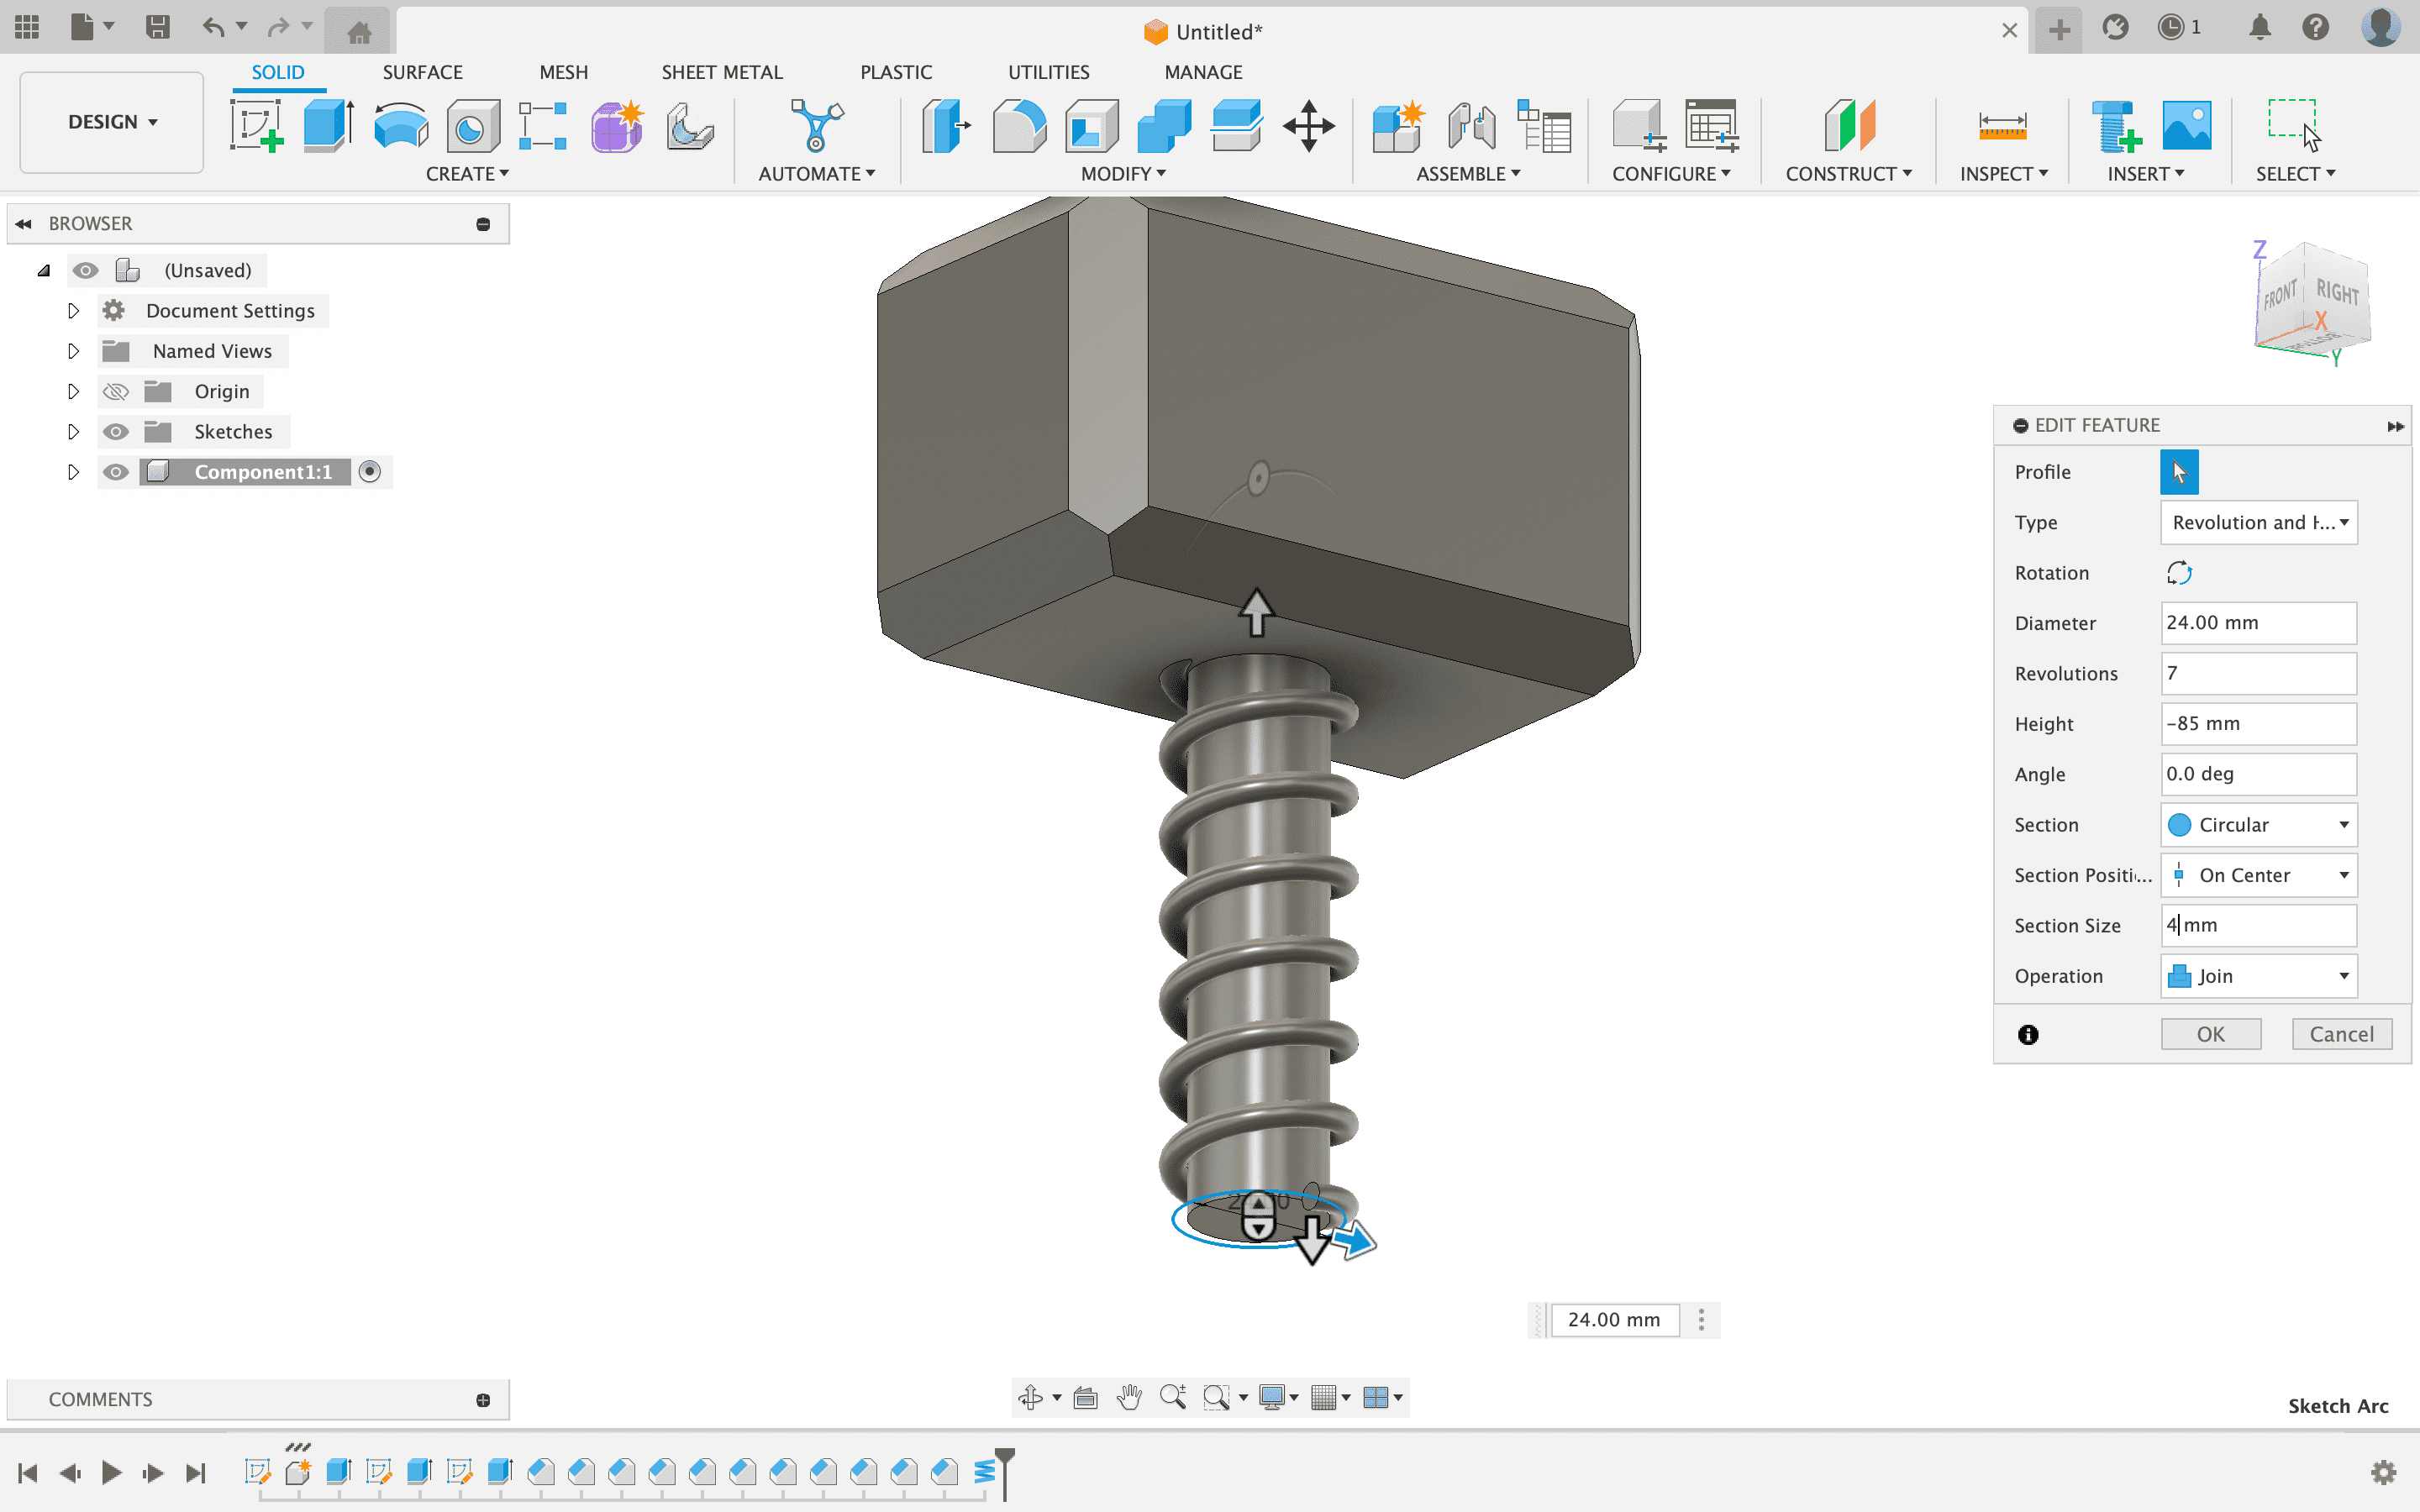
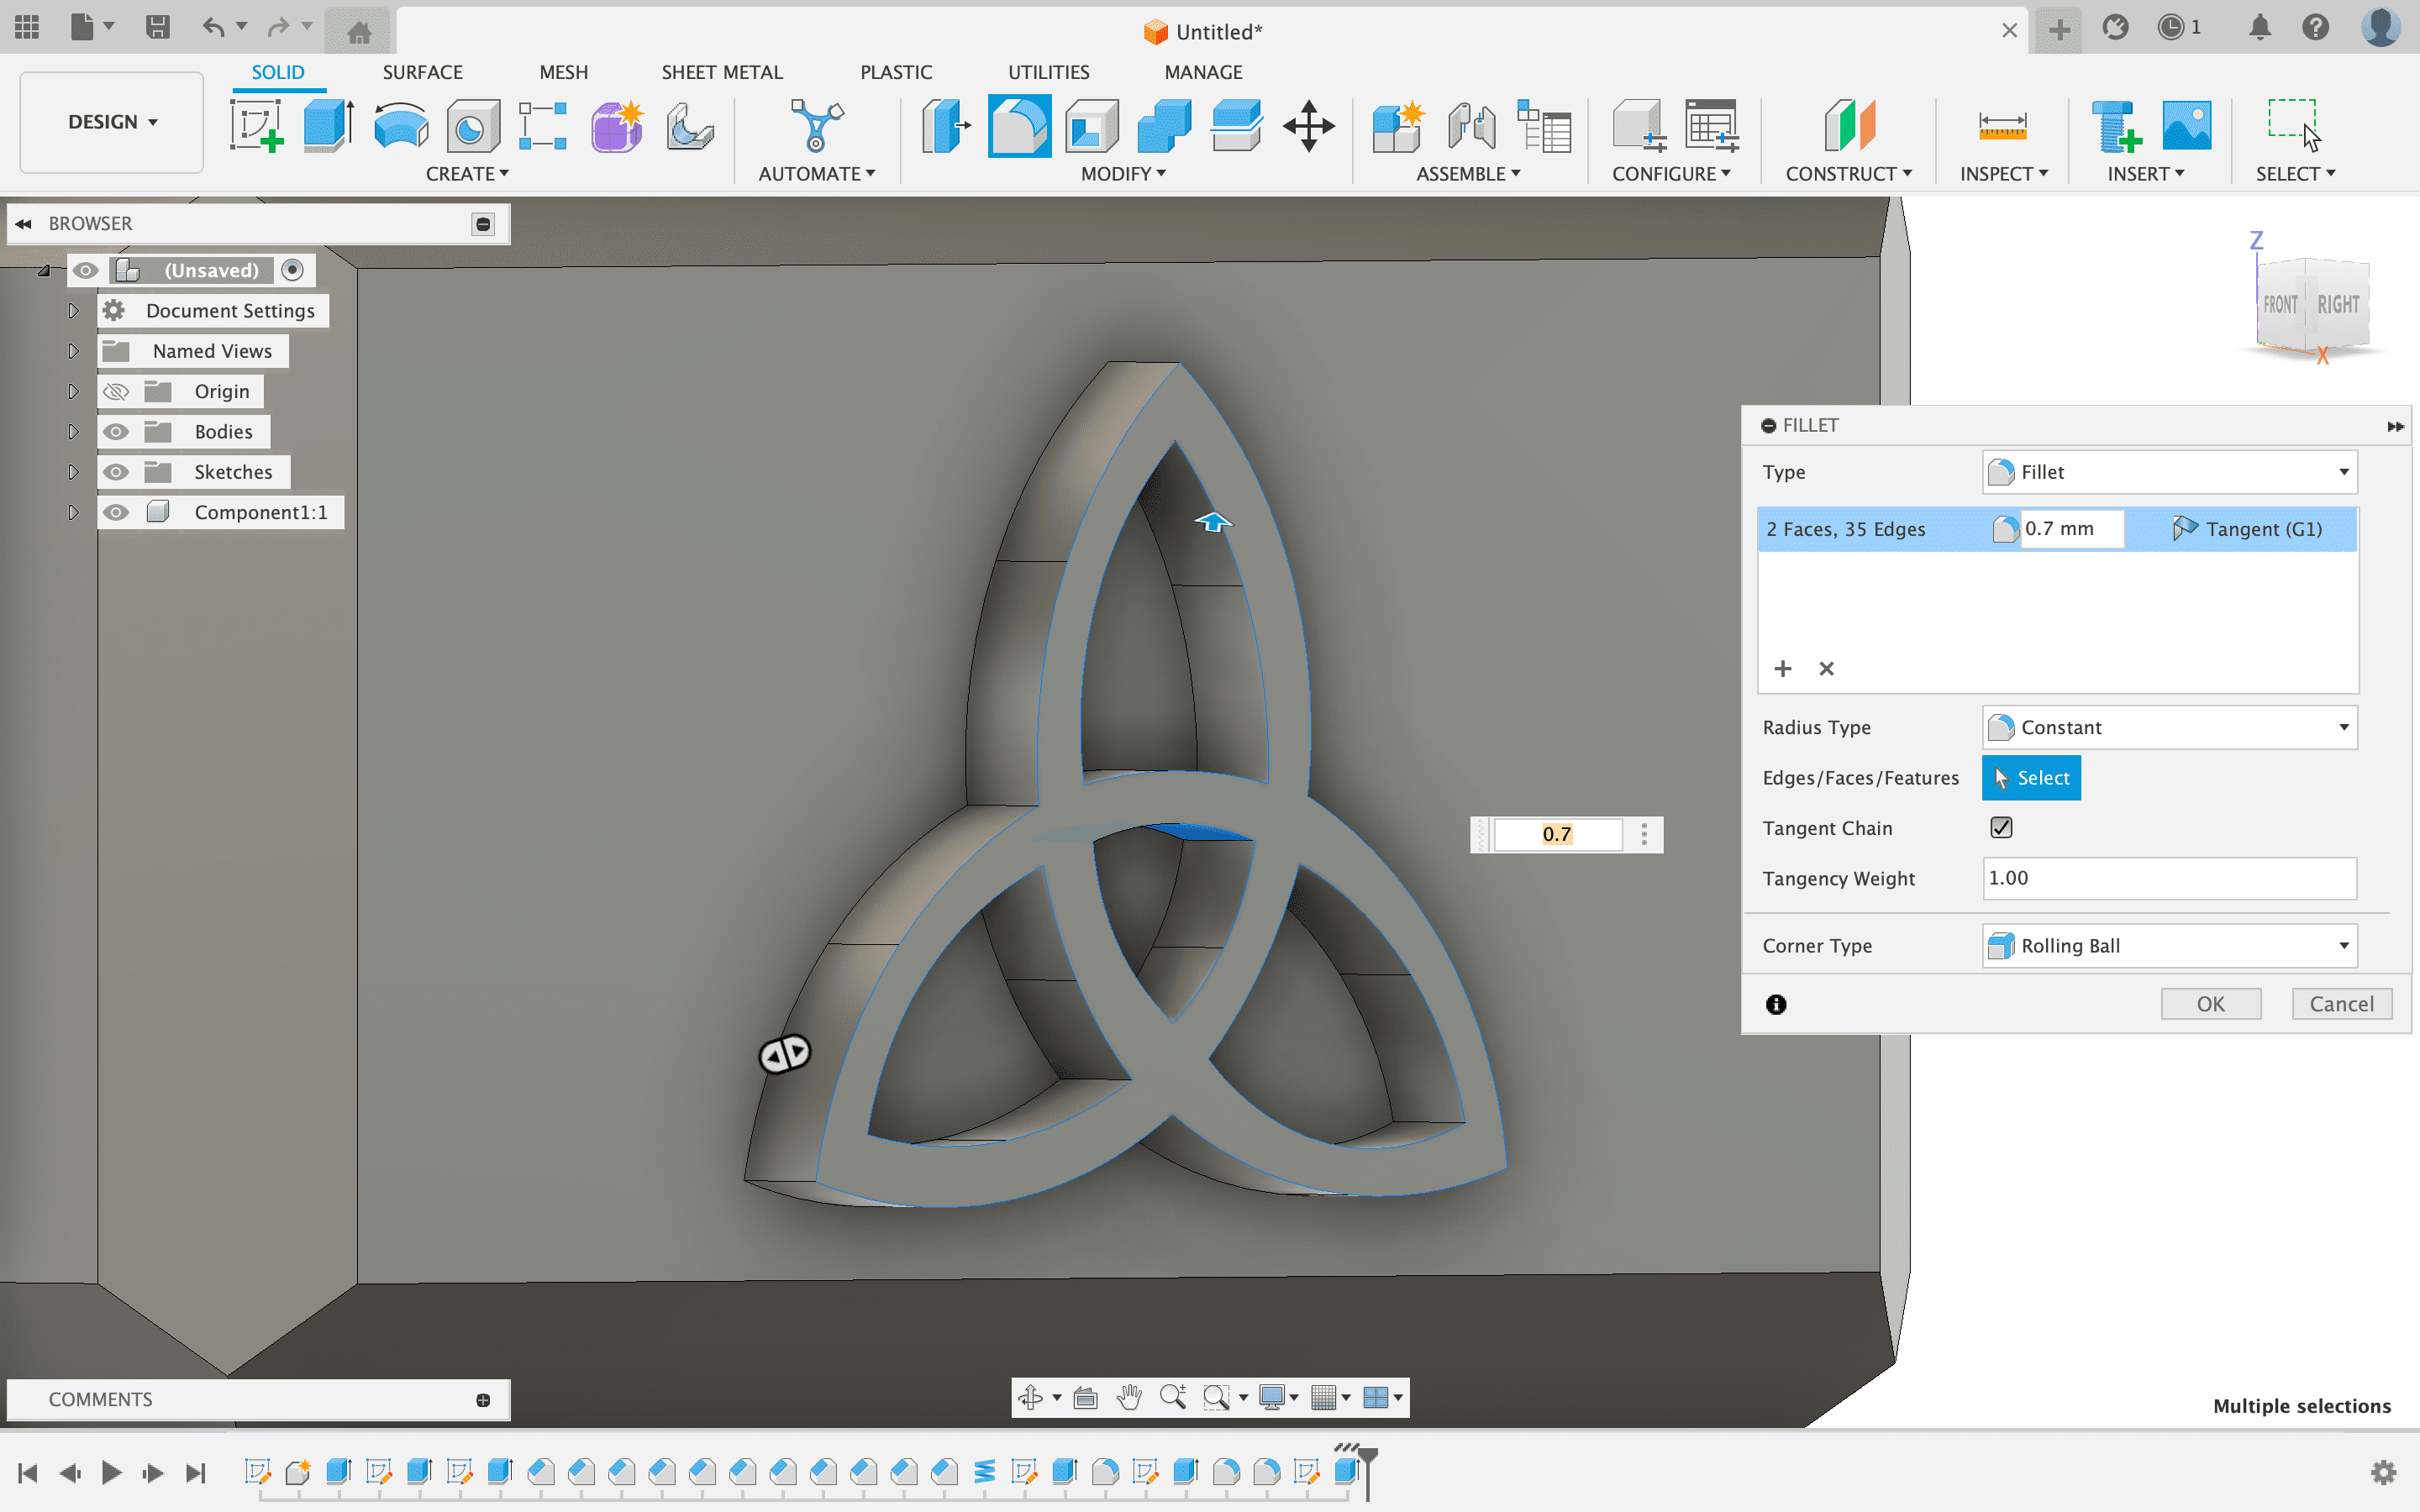
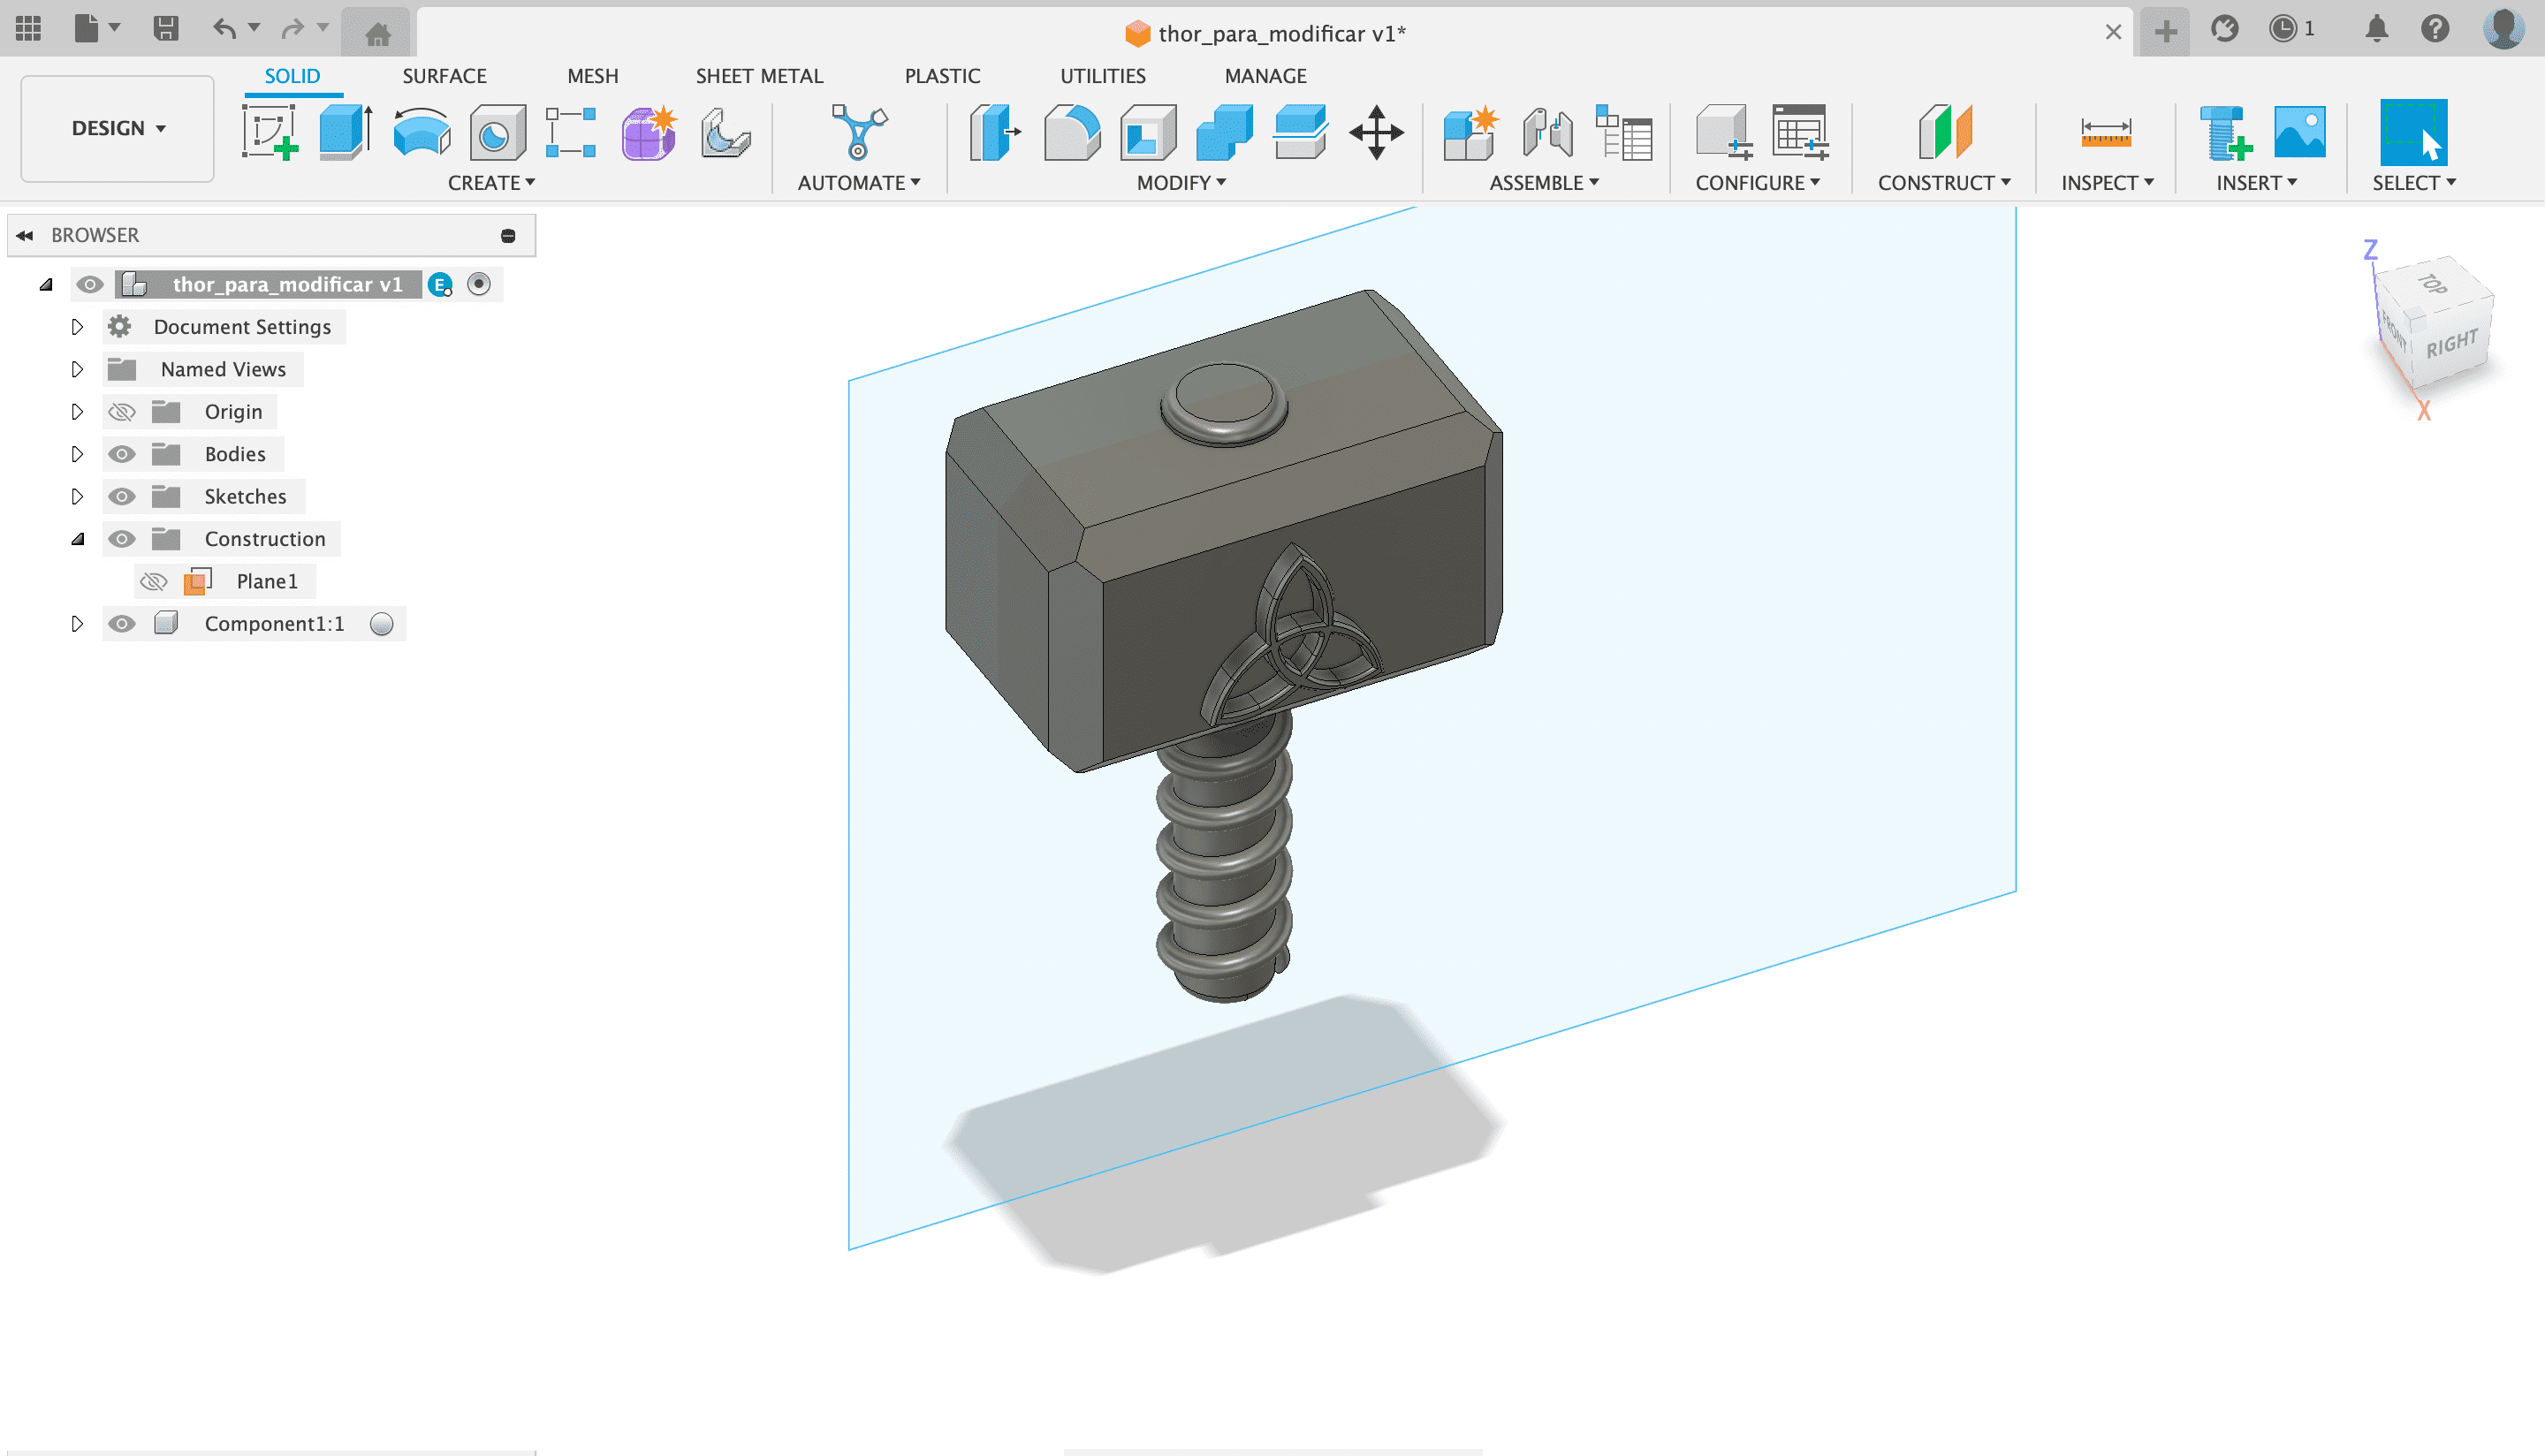
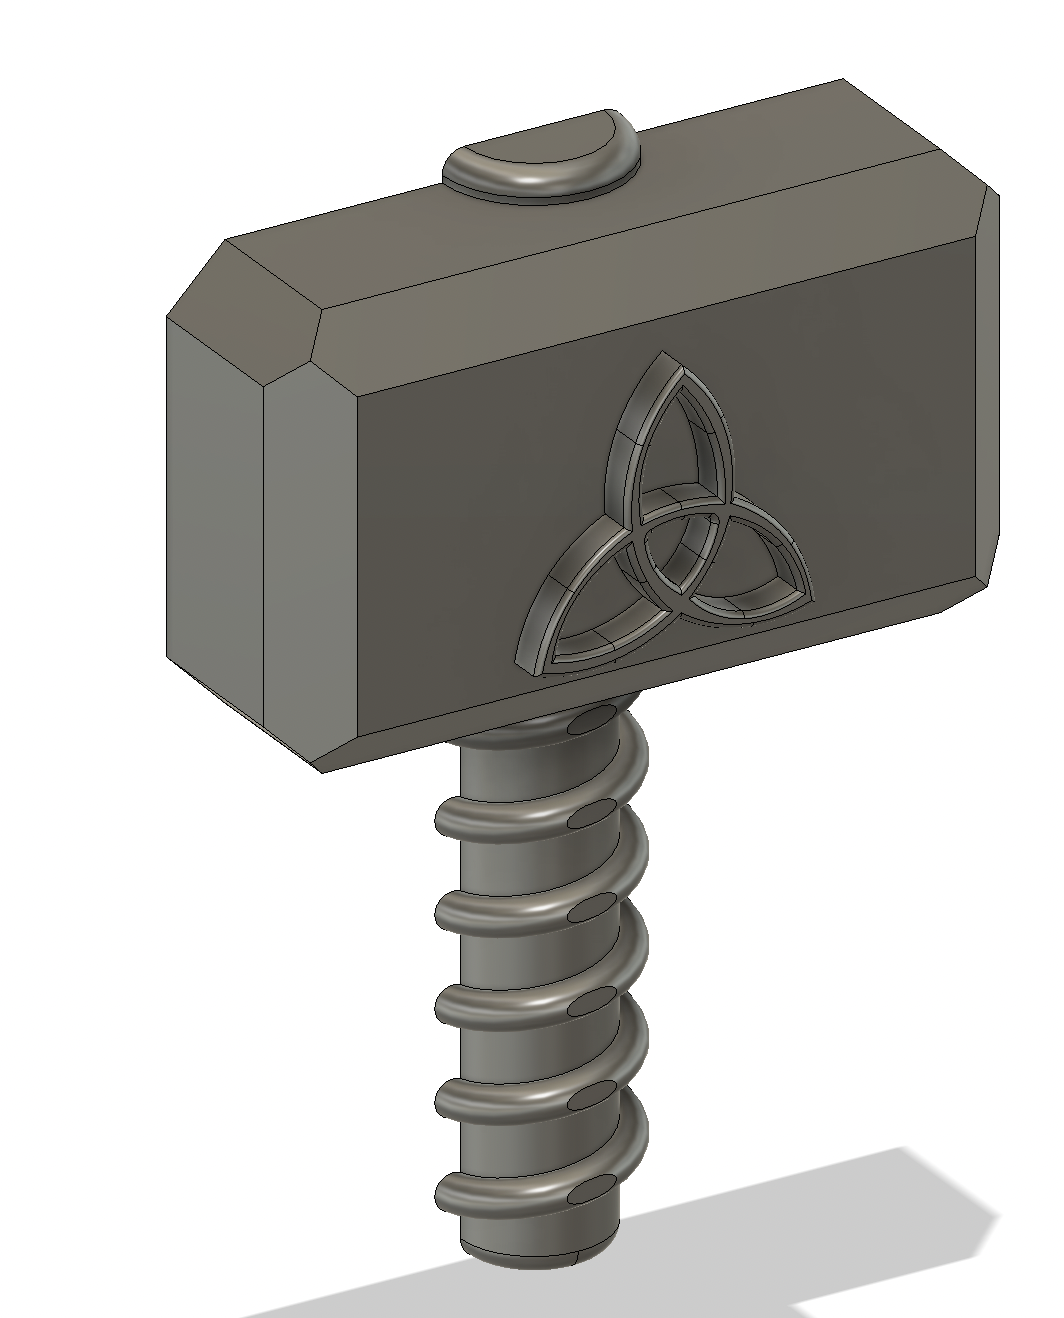
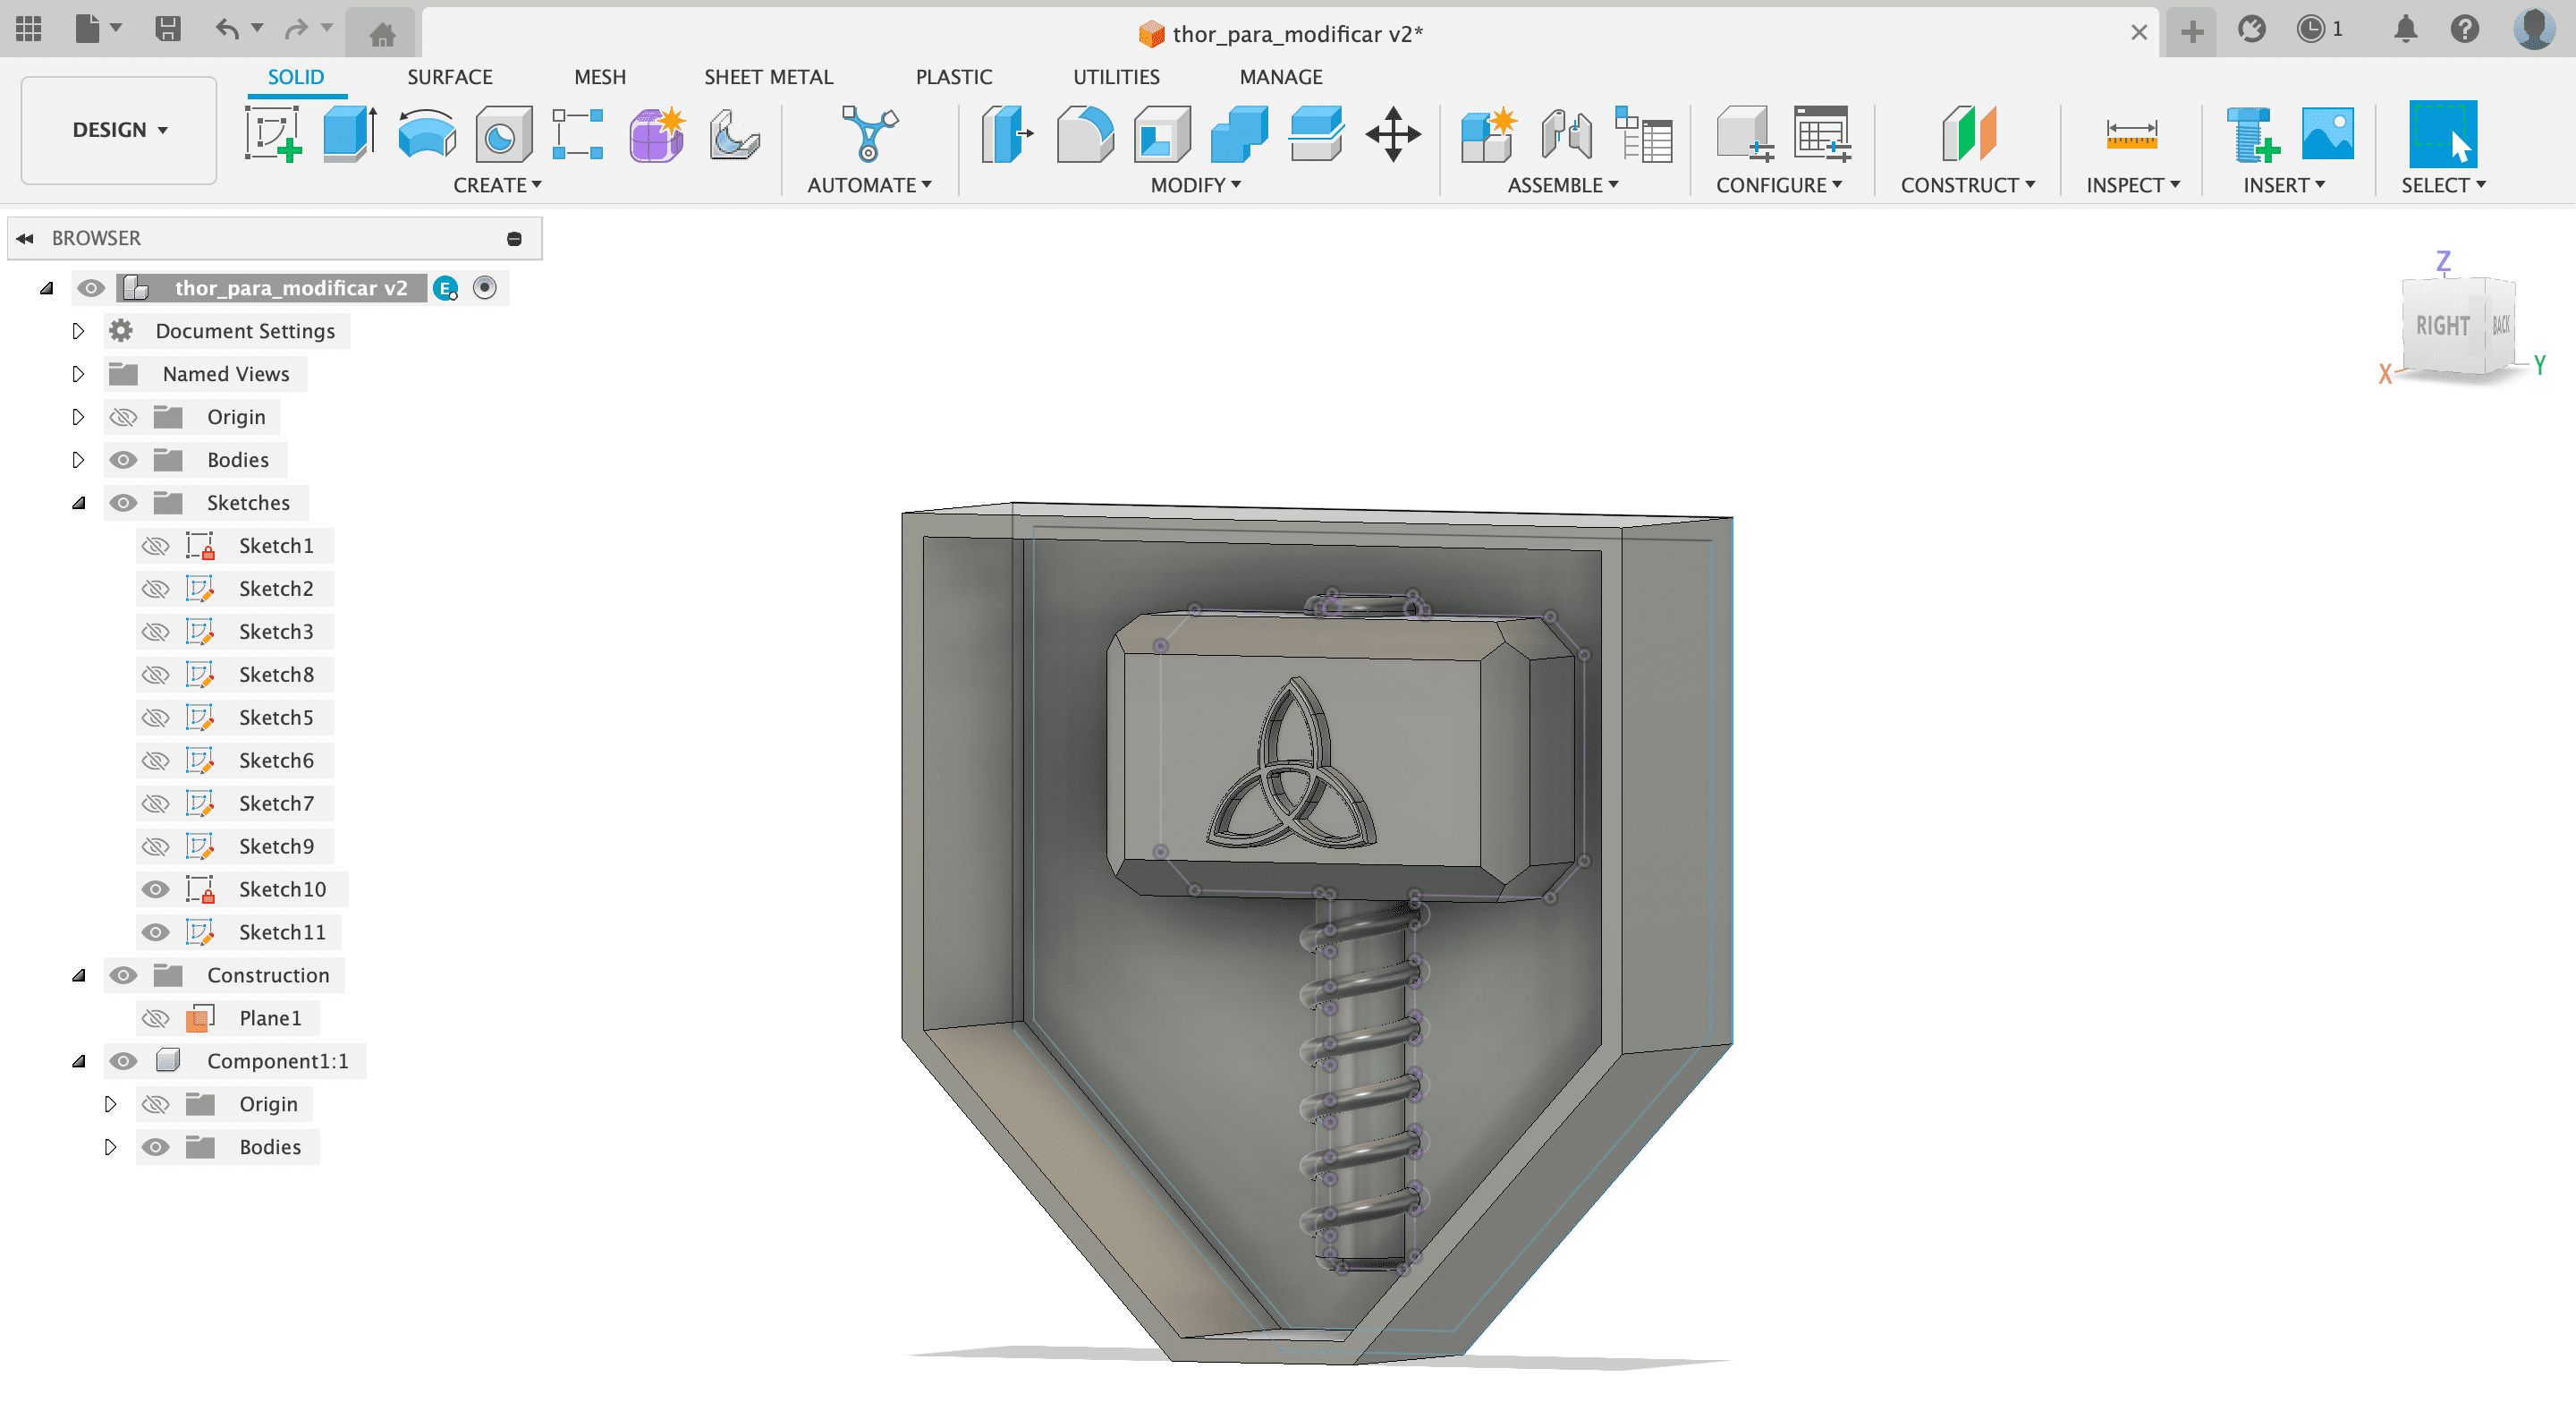
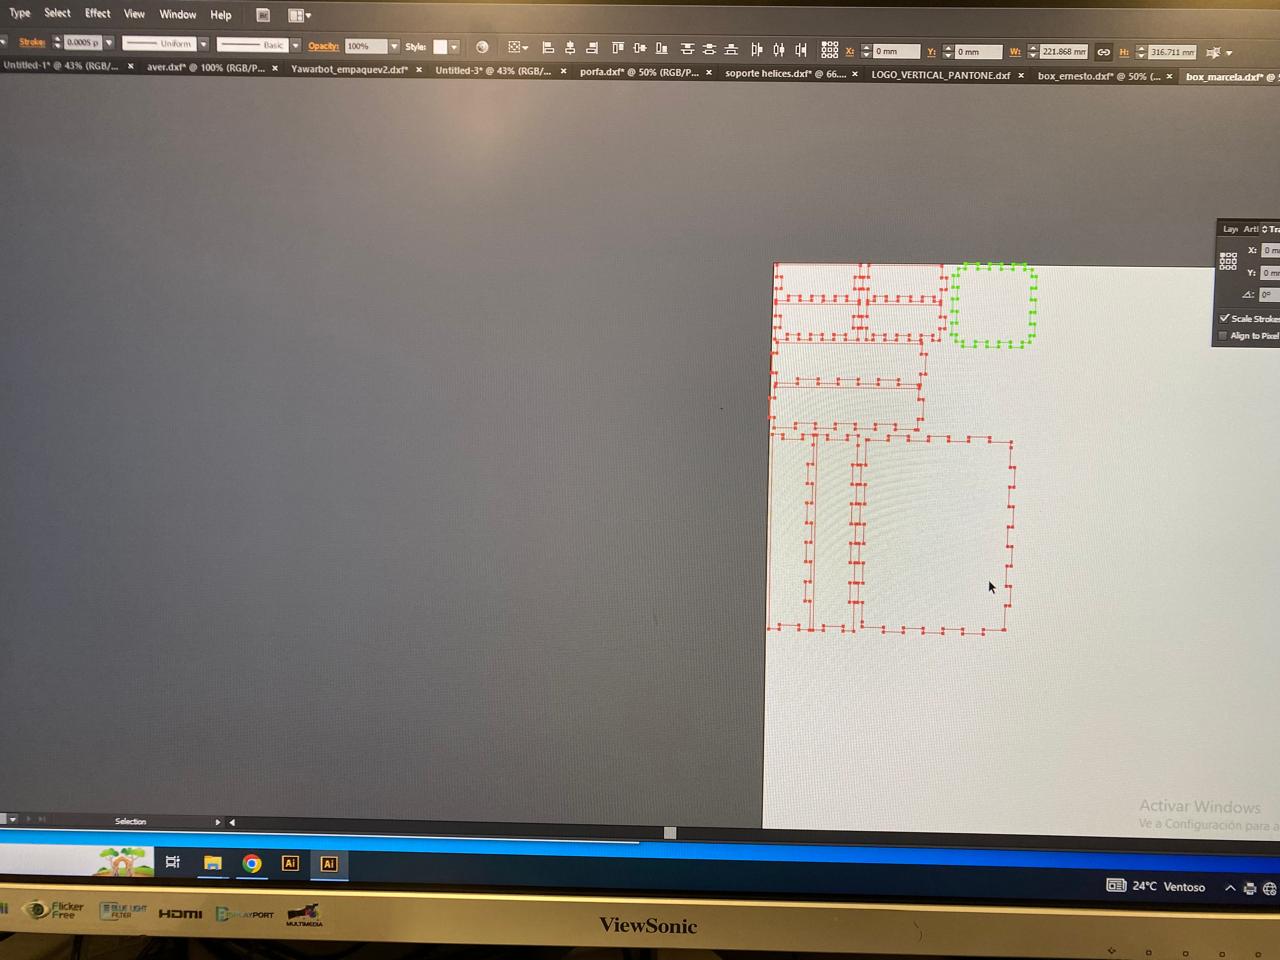
The first step was to make the design in the fusion 360 software. For this project I made the design of Thor's hammer, from the Avengers series. It seemed like a good idea to me because this design has curves and parts where the quality and resolution of 3D printing with SLA resin was tested.
In the following images you can see the design process:

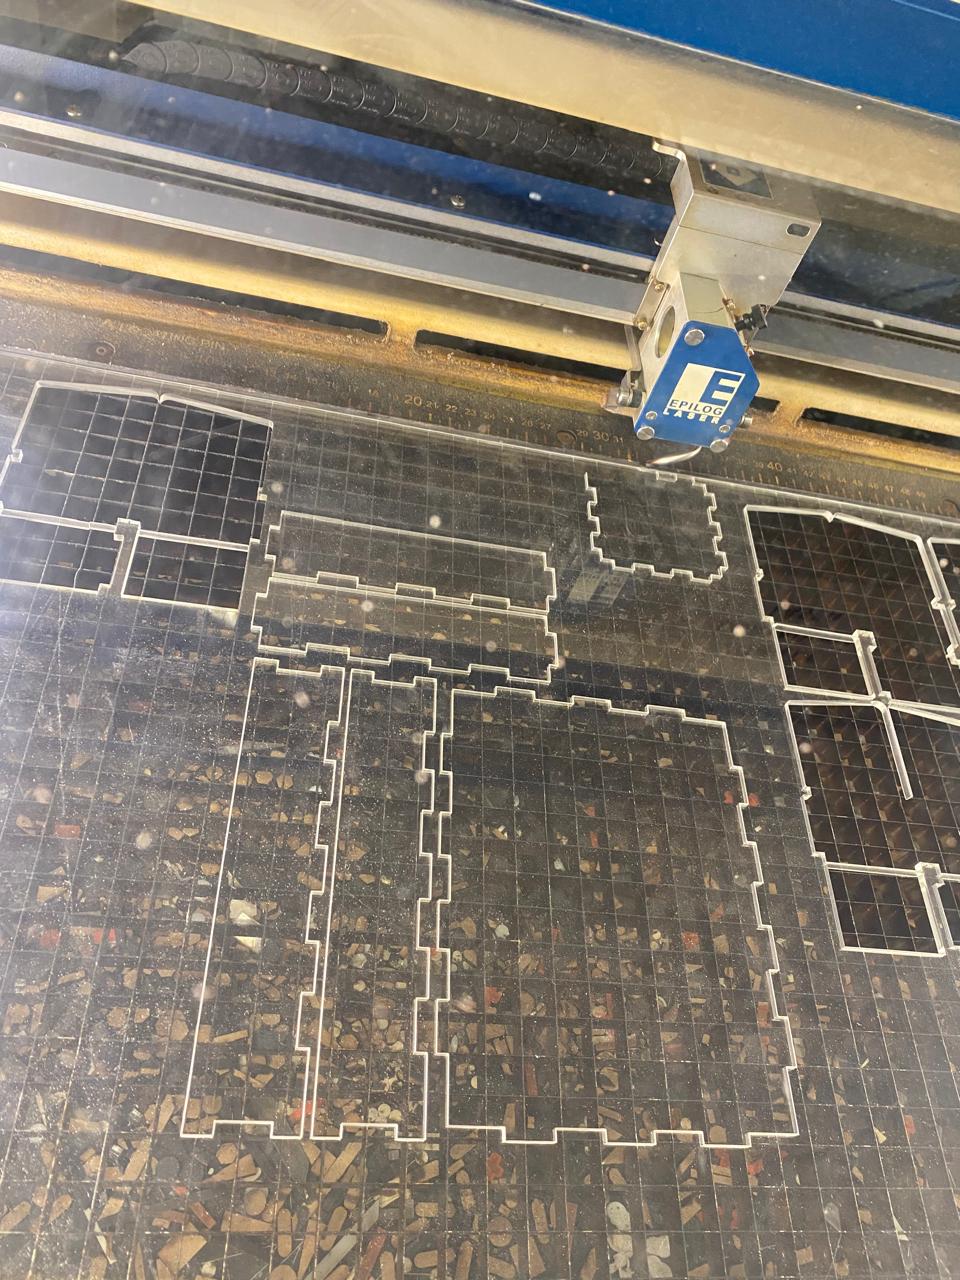
With the Thor's deck design finished, I proceeded to print it on a PHROZEN SONIC MEGA 8K printer using SLA technology with resin.
The SLA printing parameters I use are as follows. The resin used was Aqua resin ivory - 4k.

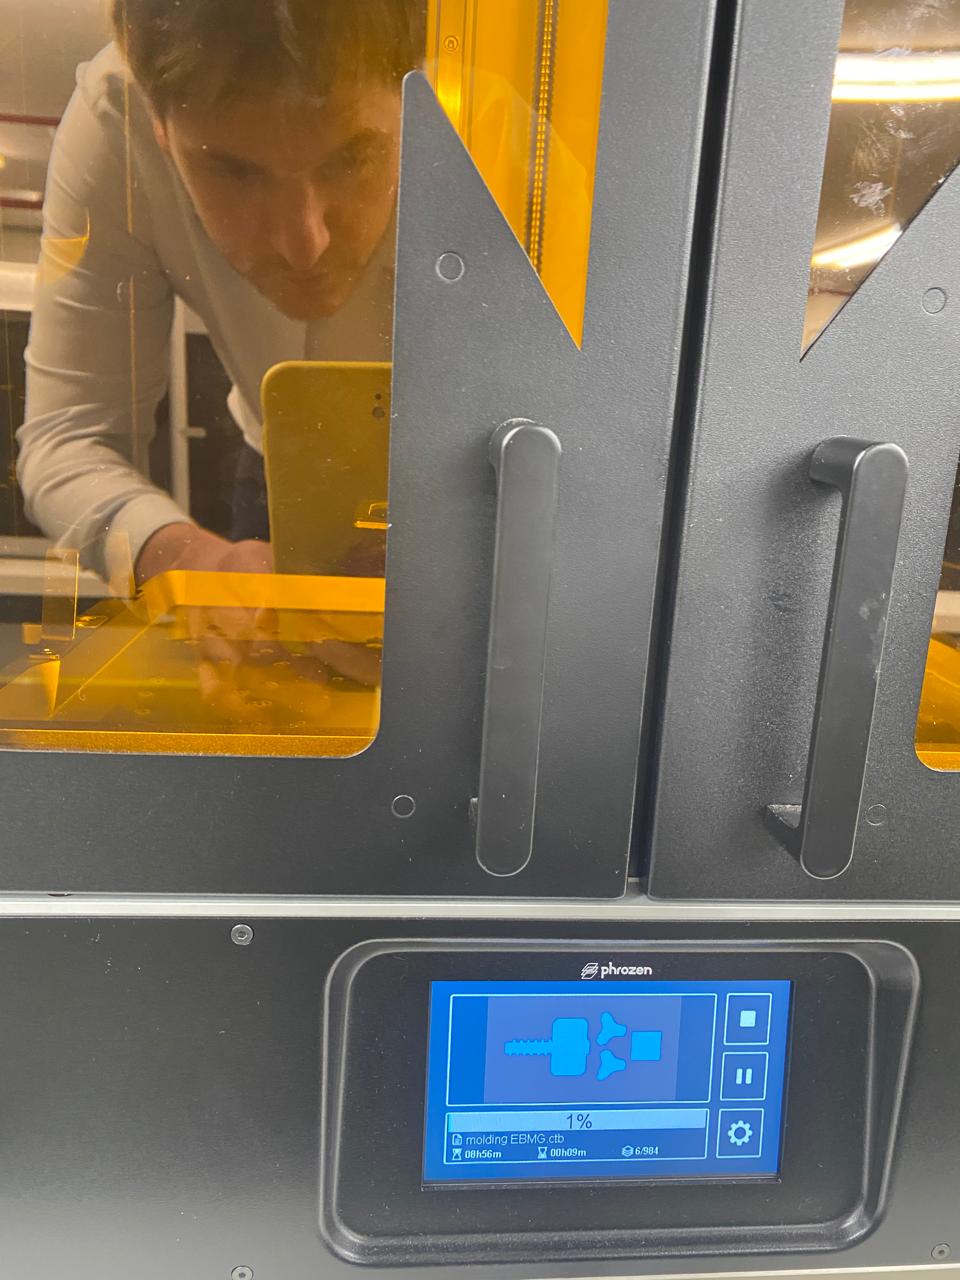
As this process is long and the number of pieces sent to be printed does not matter, another 3 pieces are put together so that all 4 can be printed together.
Once time had passed, the good print quality and adequate resolution of the finished piece could be appreciated.
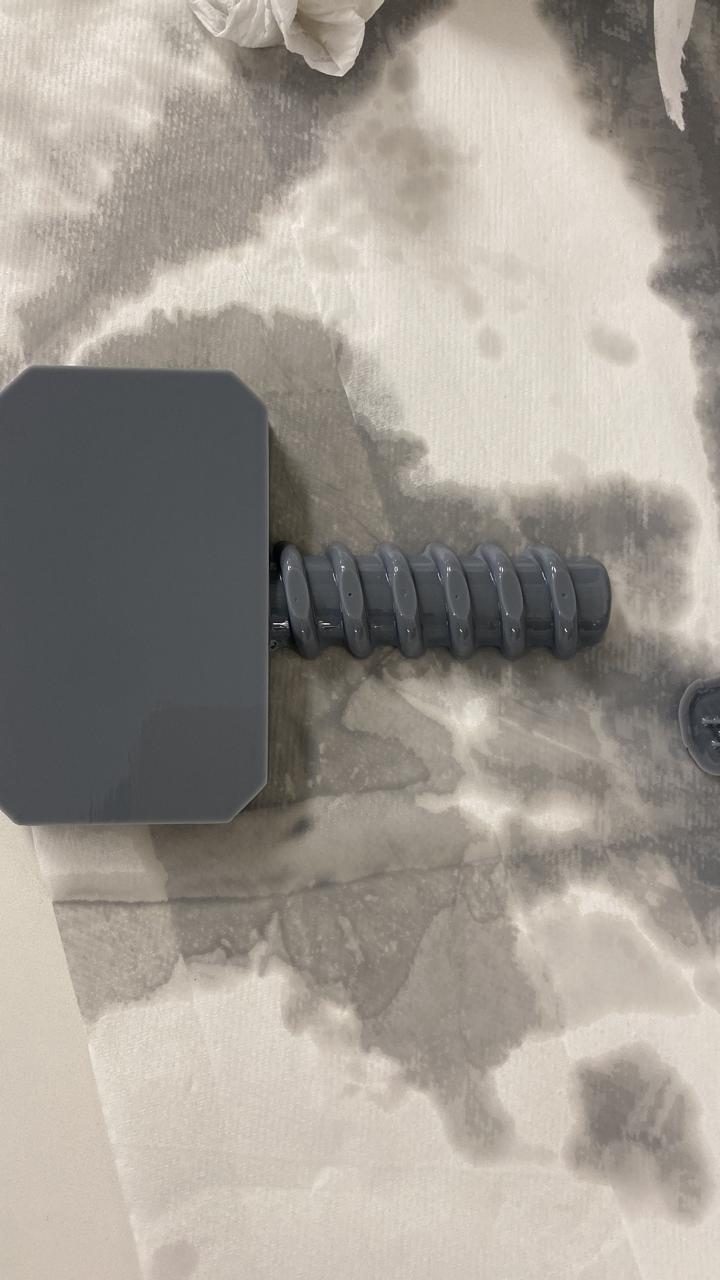
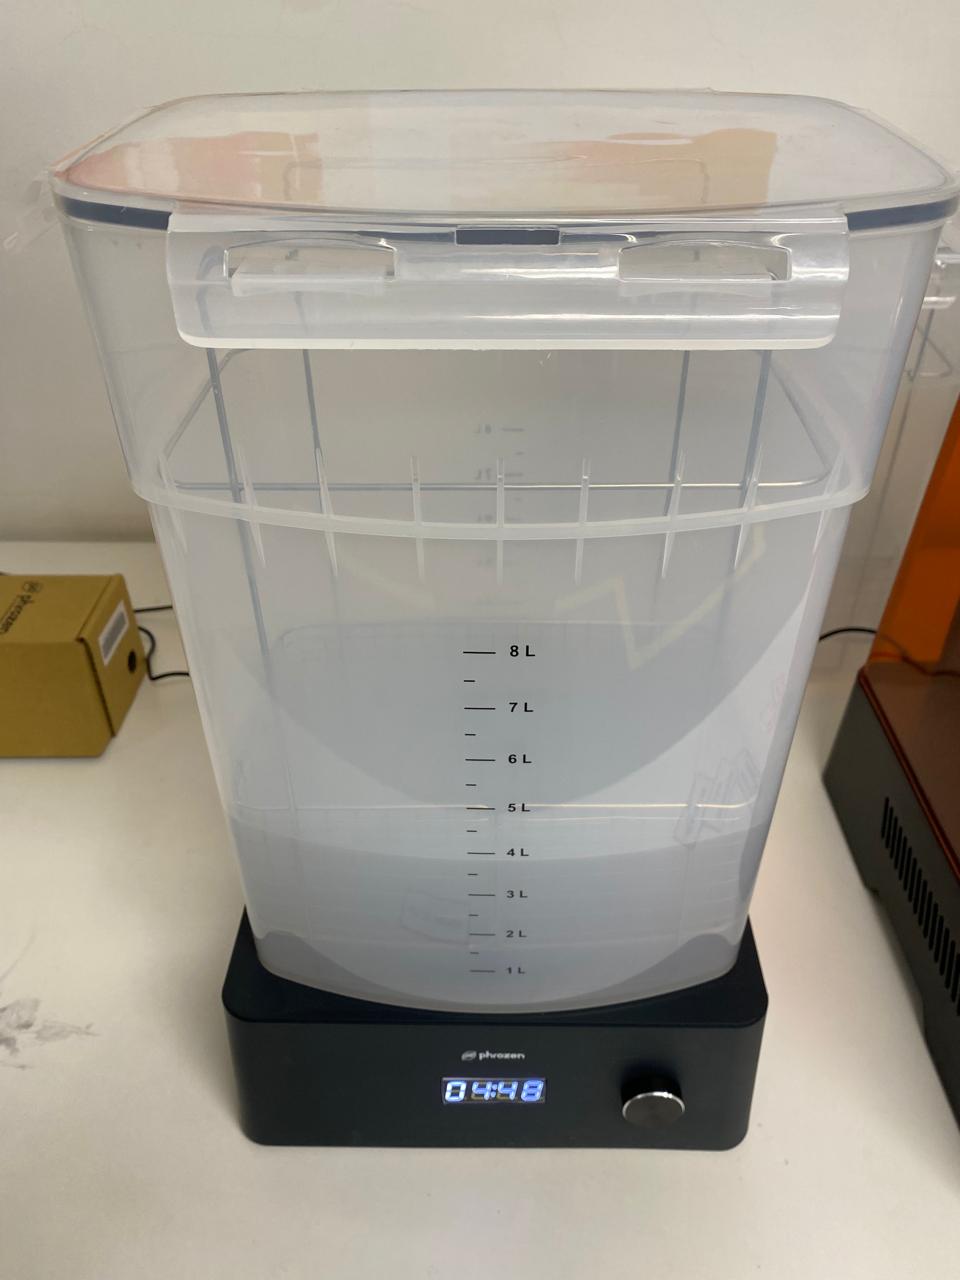
After printing, the piece was cleaned in a tank with alcohol and then went through the curing process with a powerful 405 nm ultraviolet light and a 360-degree rotating support.
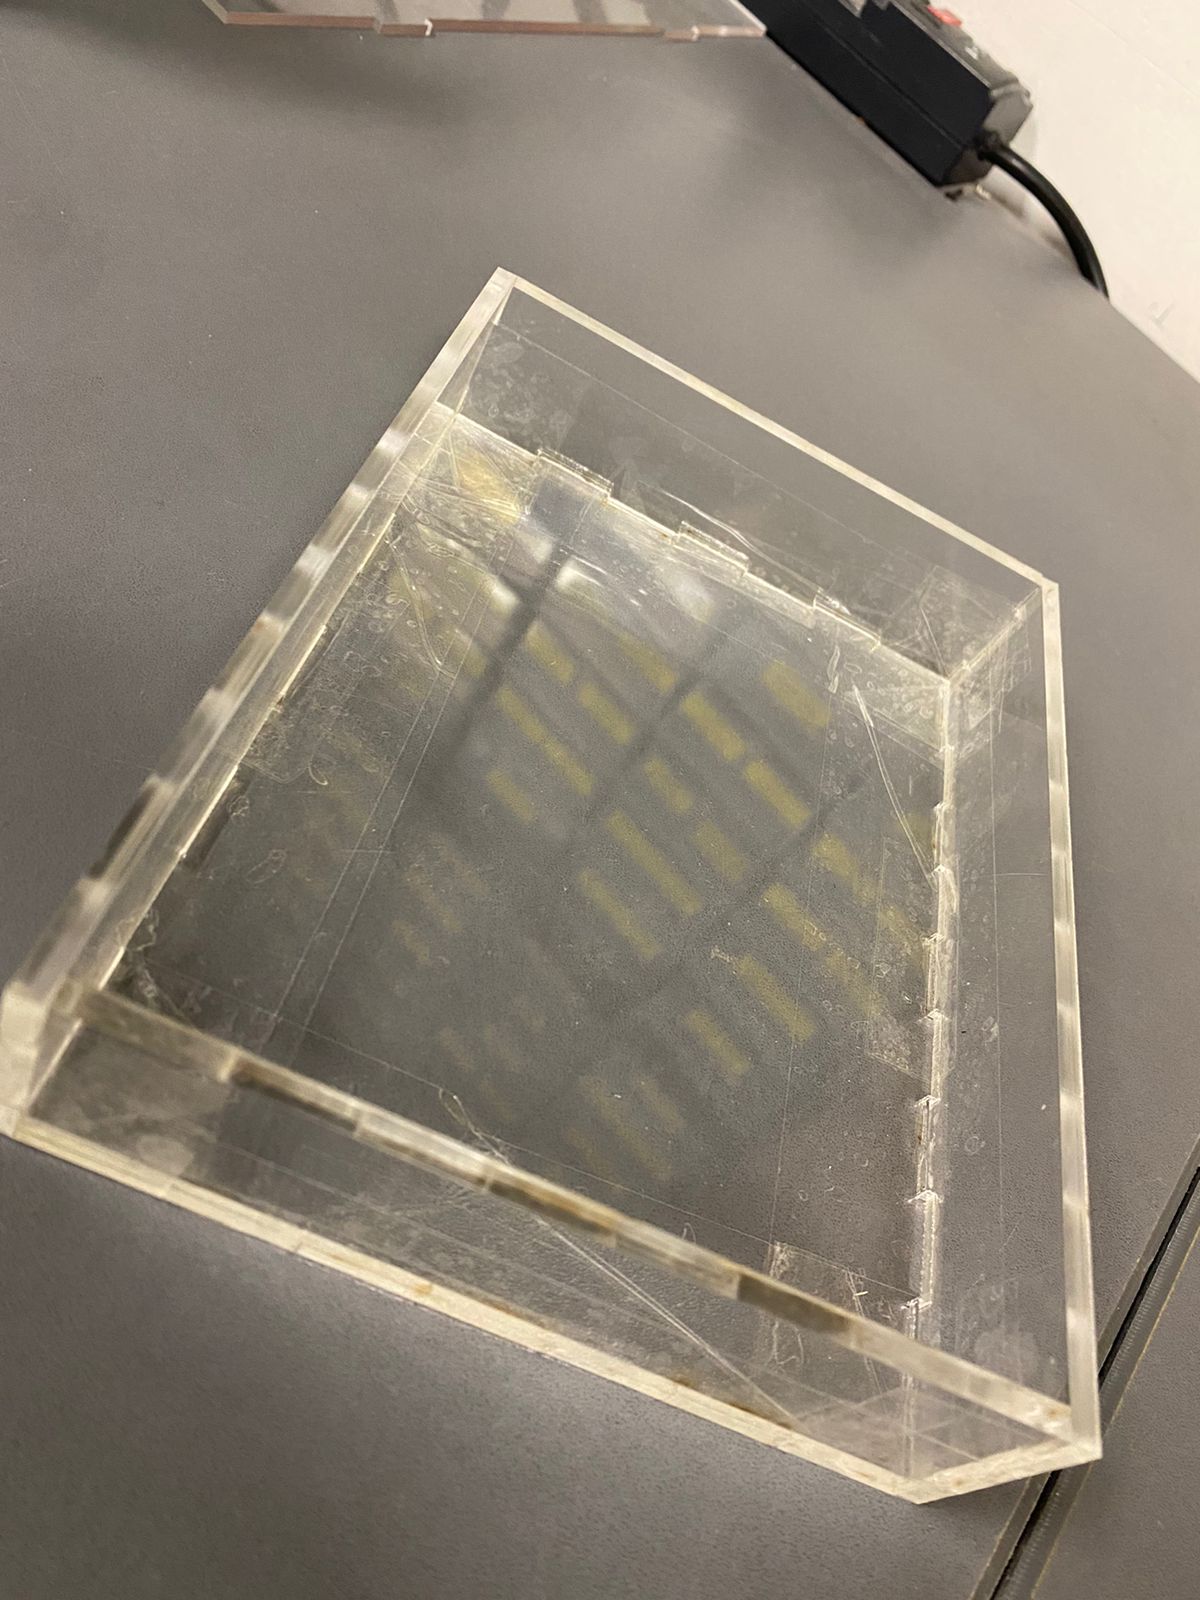
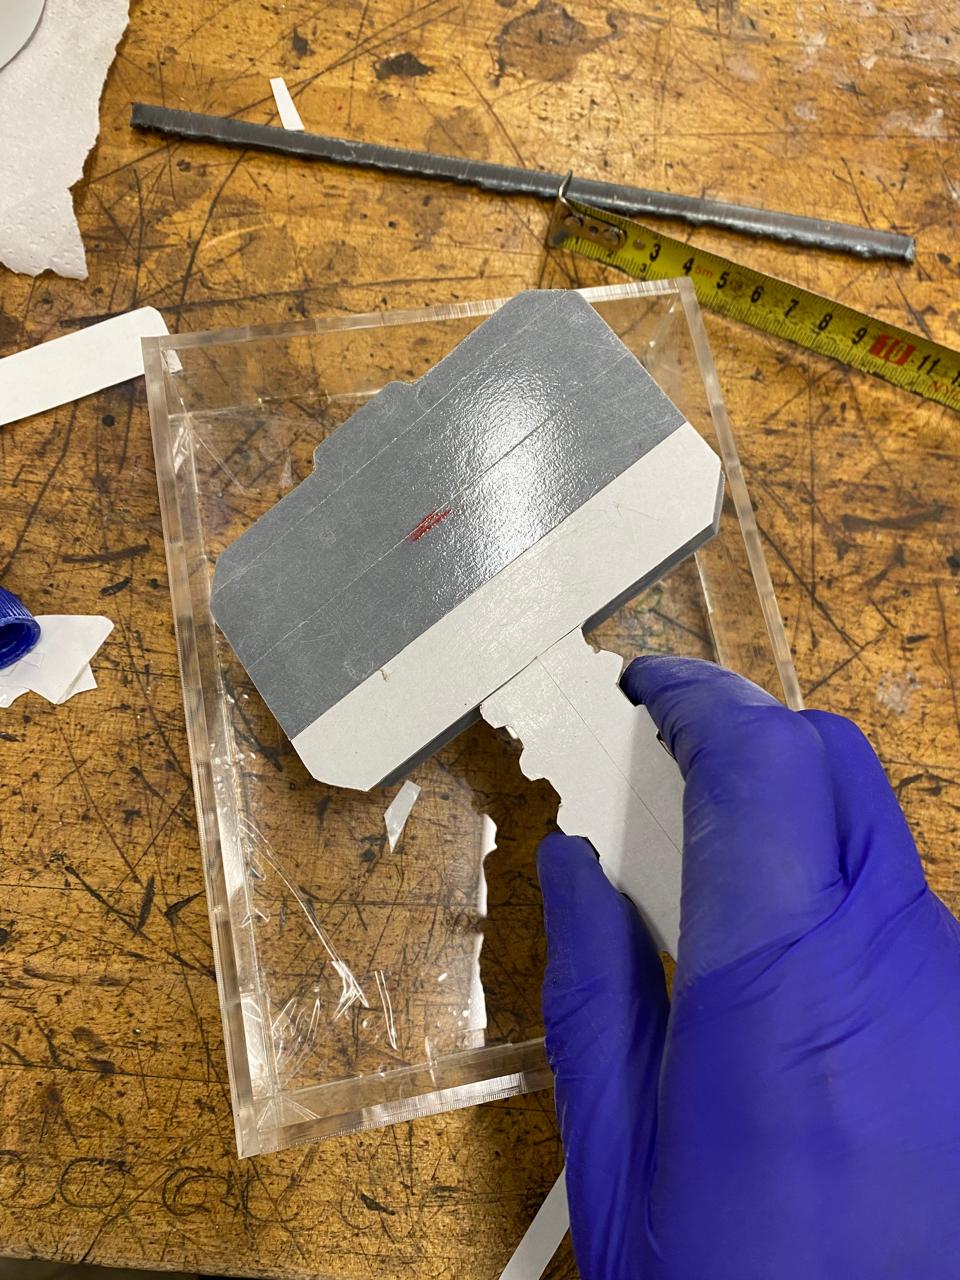
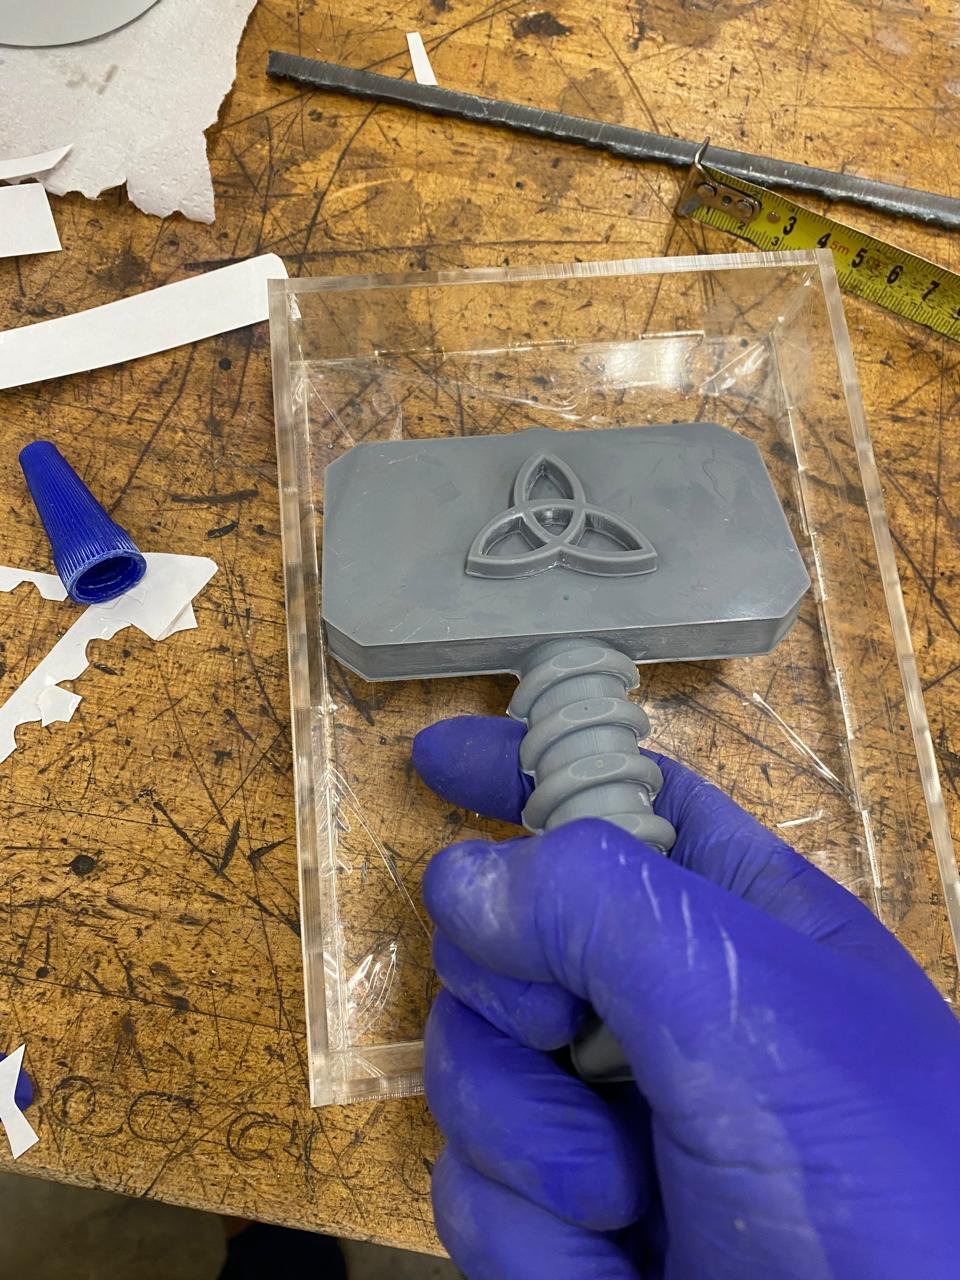
The compartment where I placed Thor's hammer to make his mold was made of acrylic given its ease of cutting and pasting:
I Had to use a double contact tape to prevent the part from moving:

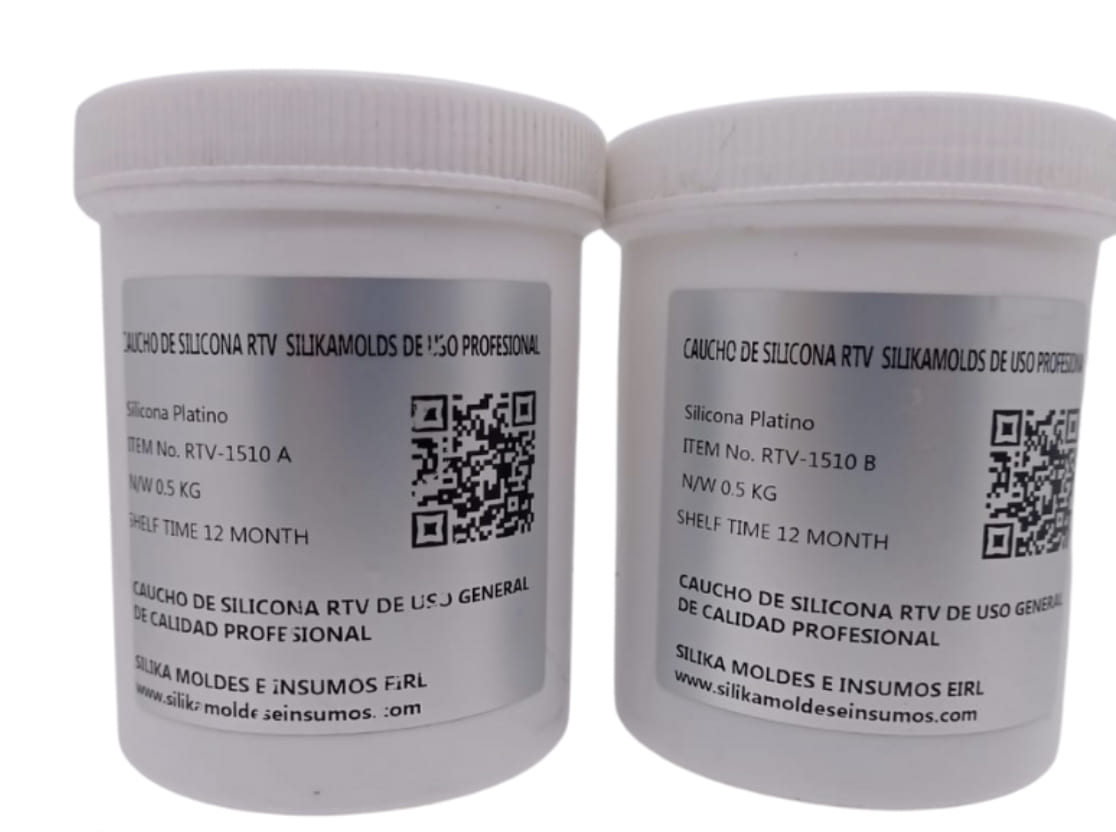
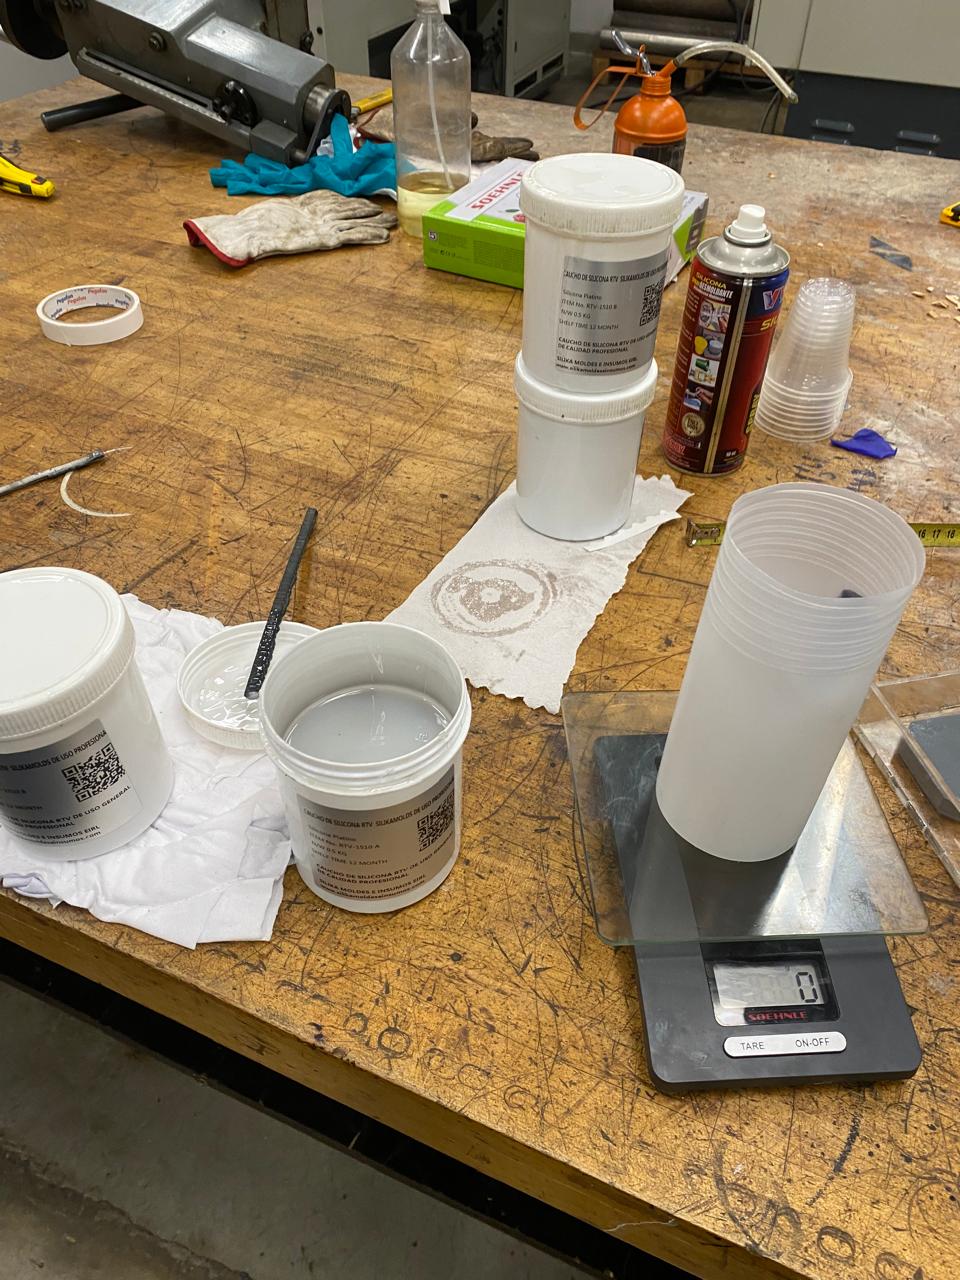
After the piece was secured, I used the RTV PLATINUM 1510 Silicone Rubber in 1kg presentations. This product must be mixed in equal parts from container A and B. It is a Semi-Translucent and colorless Silicone Rubber in GEL and has a Shore hardness of 10-A.
It can also be used in the production of molds that require high resistance to acids, alkalis, high temperatures (250°C), and aggressive solvents. These are some technical characteristics that I found on the website of the company that sells the product:
Excellent Flexibility and Elongation
Compatible with all addition-cure or platinum-cure silicones
Color: SEMI-TRANSLUCENT
Mixing Ratio: 1:1 by weight or VOLUME
Working Time: 15-20 minutes
Curing Time: 4-6 hours
Available Packaging: 500g part A + 500g part B
Does NOT require a catalyst
Medium Viscosity
Shelf Life: 1 Year
Store Covered, in a Dry and Cool Place
The website where I acquired this information is from this: Caucho silicona RTV platino
These are all the products that the company "SILIKA modes e inputs" has for RTV Platinum Silicone Rubber.
On this website, I search for the product that says: Bi-component platinum silicone gel 1510.
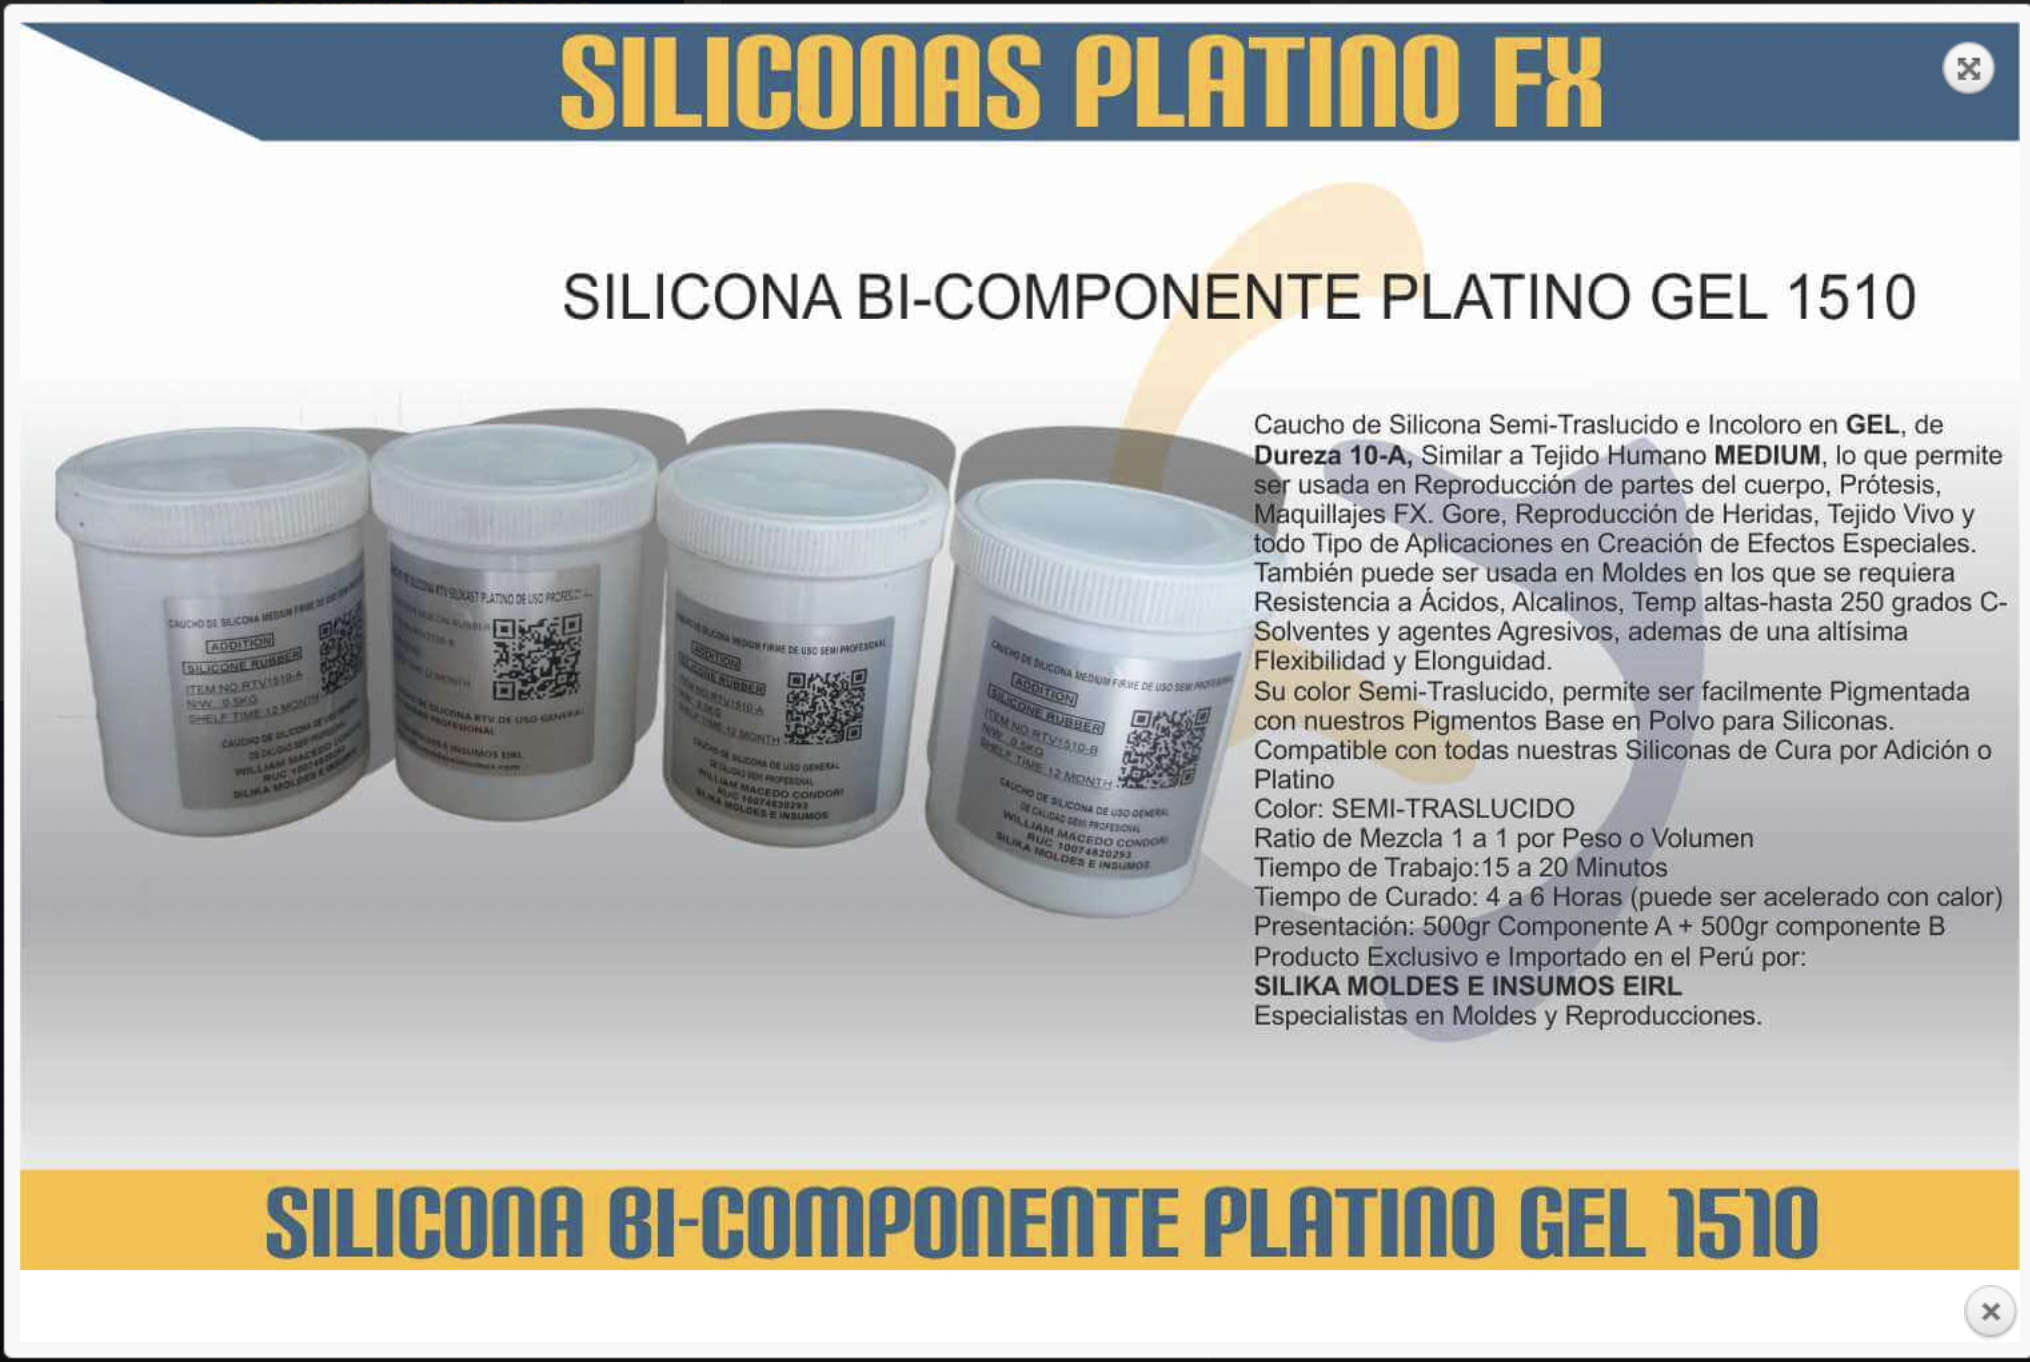
Its translation is the following:
Semi-Translucent and Colorless Silicone GEL, with 10-A Hardness, Similar to MEDIUM Human Tissue, which allows it to be used in Reproduction of body parts, Prostheses, FX Makeup. Gore, Wound Reproduction, Living Tissue and all Types of Applications in Creating Special Effects. It can also be used in Molds in which Resistance to Acids, Alkalis, High Temperatures - up to 250 degrees C - Solvents and Aggressive agents is required, in addition to very high Flexibility and Elongation.
Its Semi-Translucent color allows it to be easily Pigmented with our Powder Base Pigments for Silicones.
Compatible with all our Addition Cure or Platinum Silicones
Color: SEMI-TRANSLUCENT
Mixing Ratio 1 to 1 by Weight or Volume
Working Time: 15 to 20 Minutes
Curing Time: 4 to 6 Hours (can be accelerated with heat) Presentation: 500gr Component A+ 500gr component B Exclusive Product and Imported in Peru by:
SILIKA MOLDS AND SUPPLIES EIRL
Specialists in Molds and Reproductions.
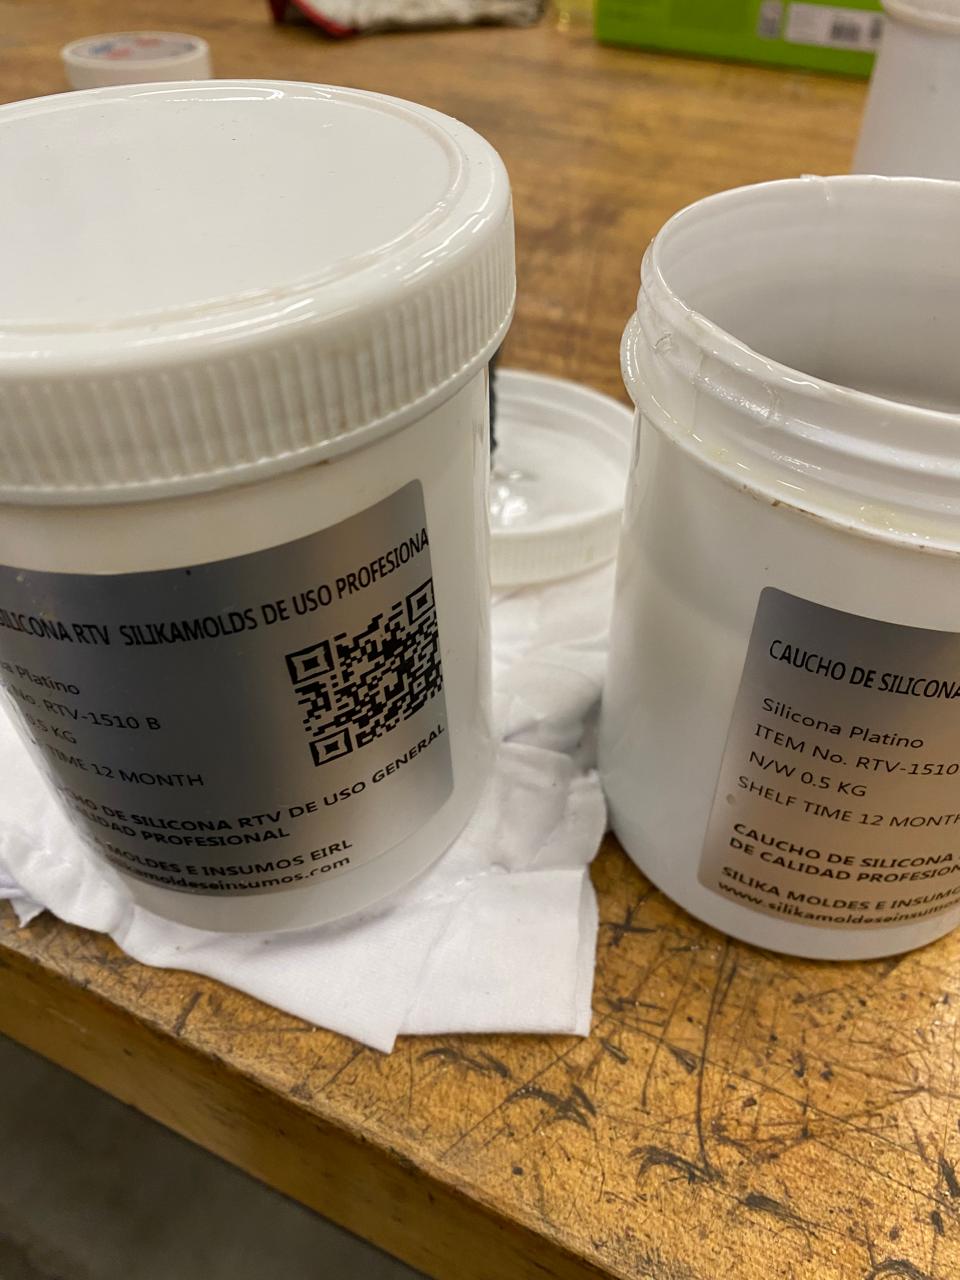
Using a scale, I weighed the quantities and made sure they were the same 1:1 ratio.
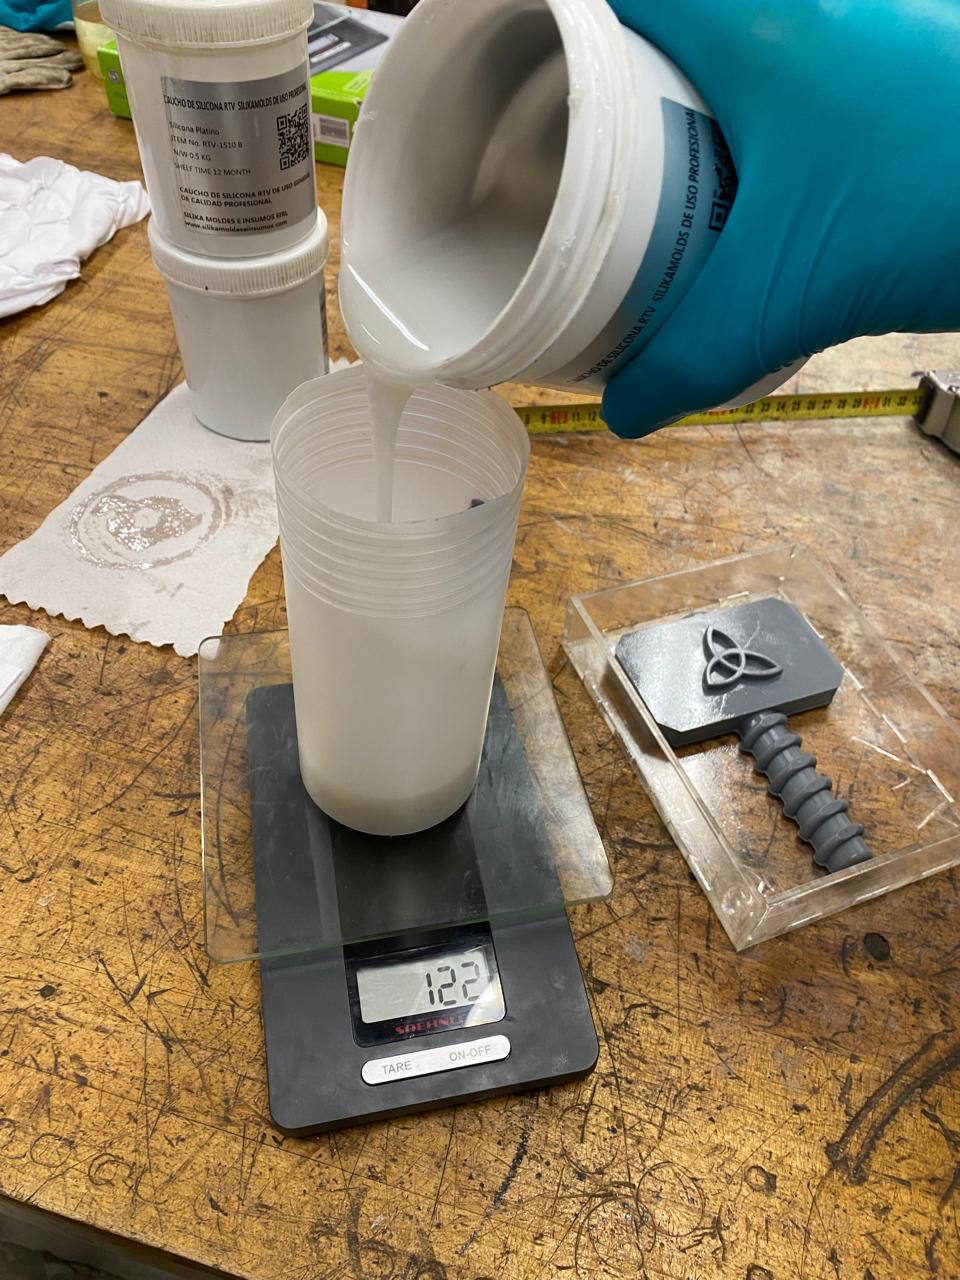

Additionally, once the two parts were mixed, I made sure that it was completely homogeneous by making circular movements and preventing air from entering the mixture.
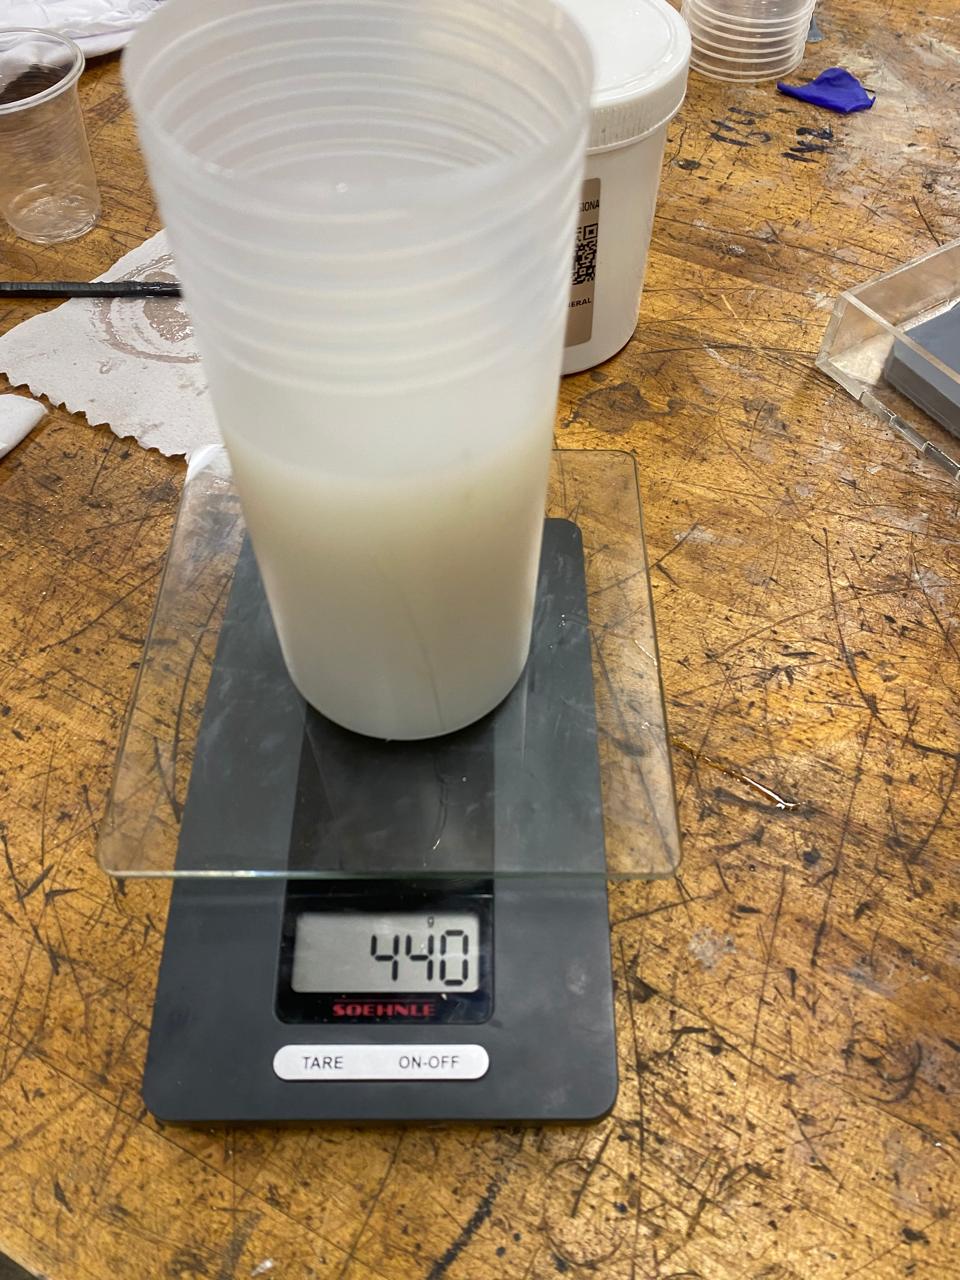
Something important to keep in mind is to mix both containers (A and B) continuously and with enveloping movements trying to avoid generating bubbles.
To remove the bubbles that were generated when mixing or pouring the dough into the mold, I proceeded to heat it and lightly tap the base.
After 24 hours I removed the mold but the results were not satisfactory, leaving a little undried silicone in the mold. This led me to perform the experiment again, repeating all the steps but letting the mold air dry for 4 full days.
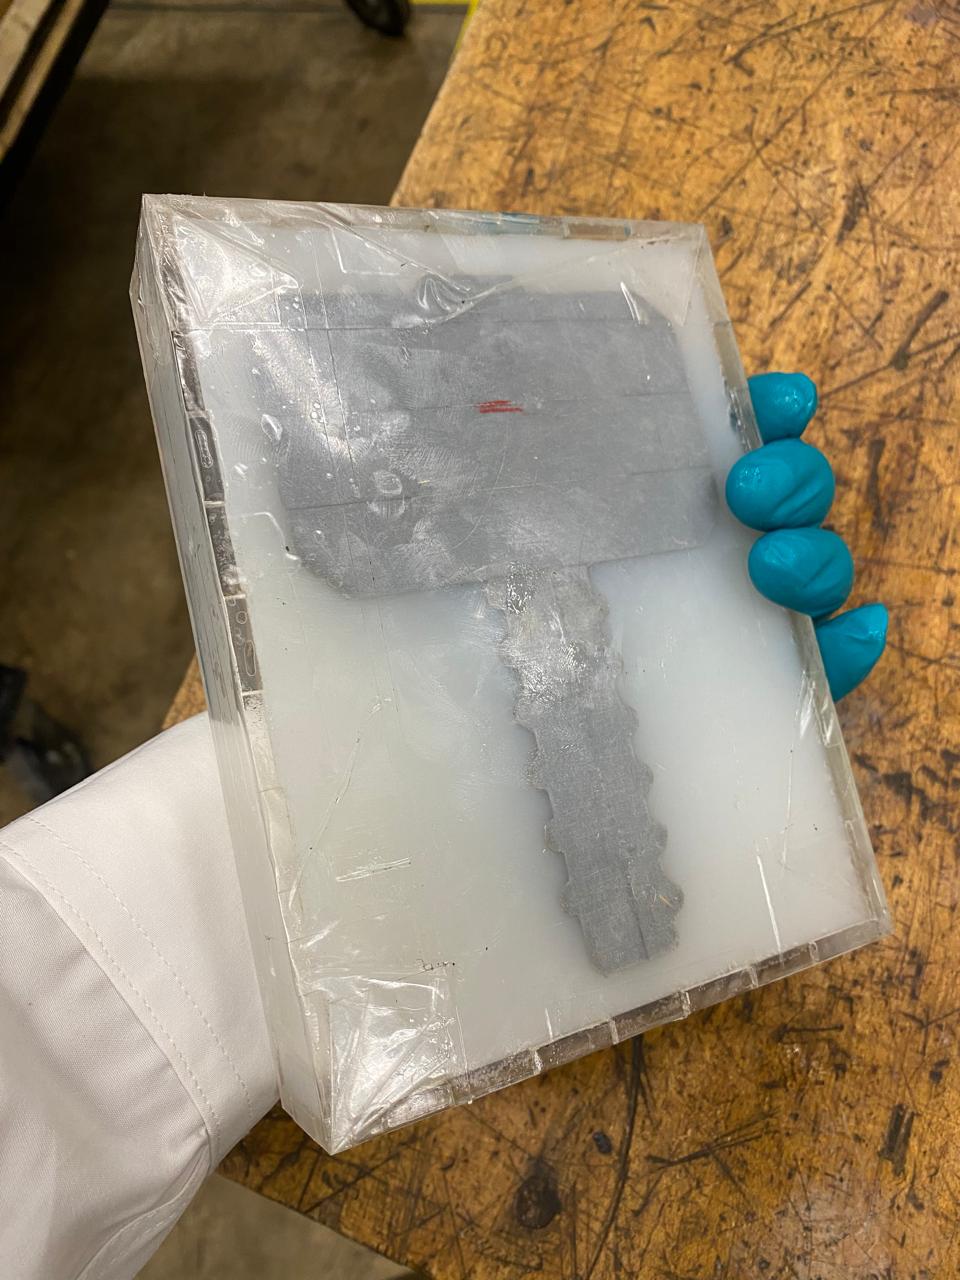
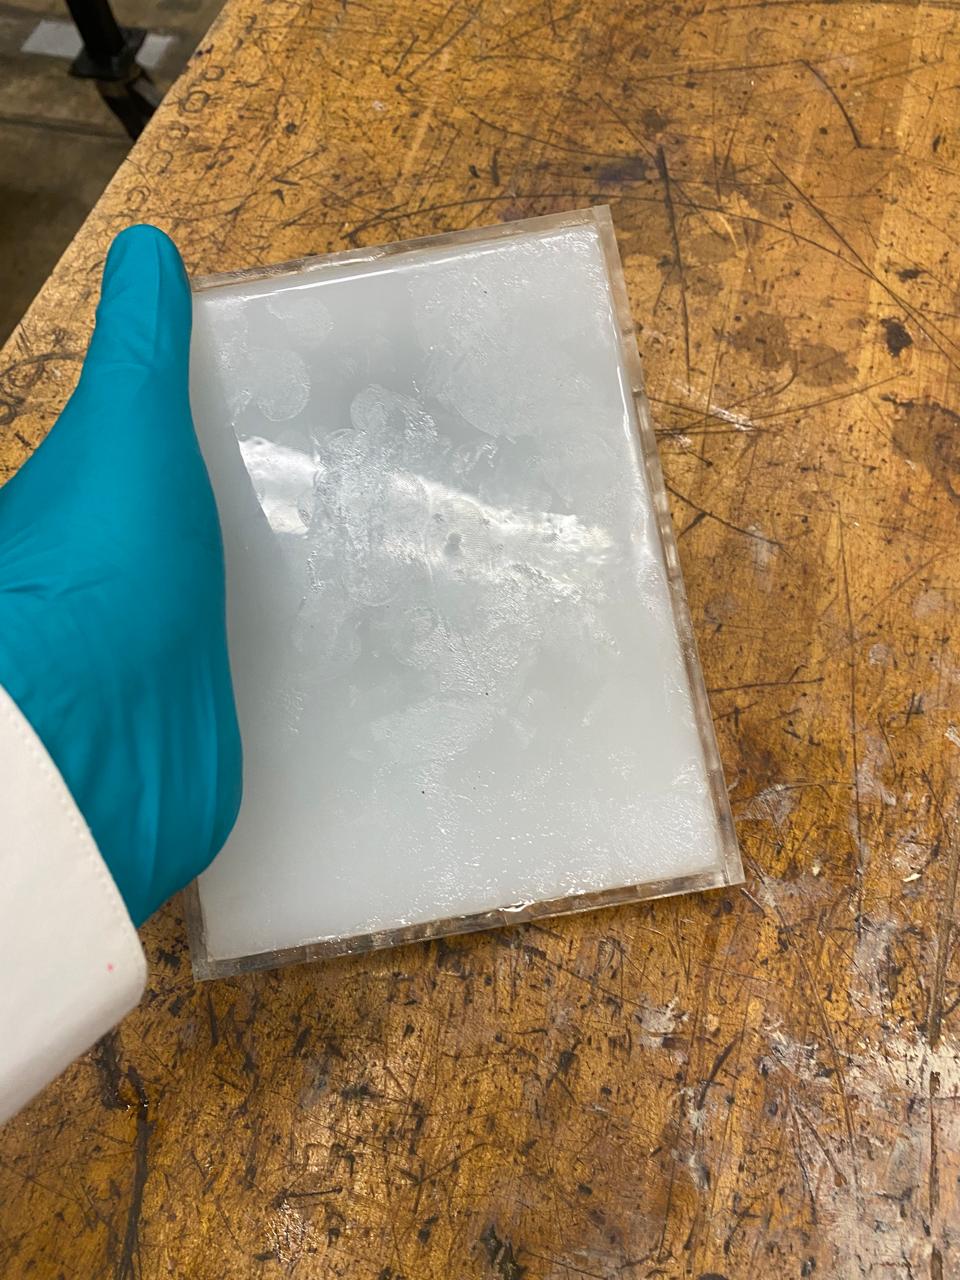
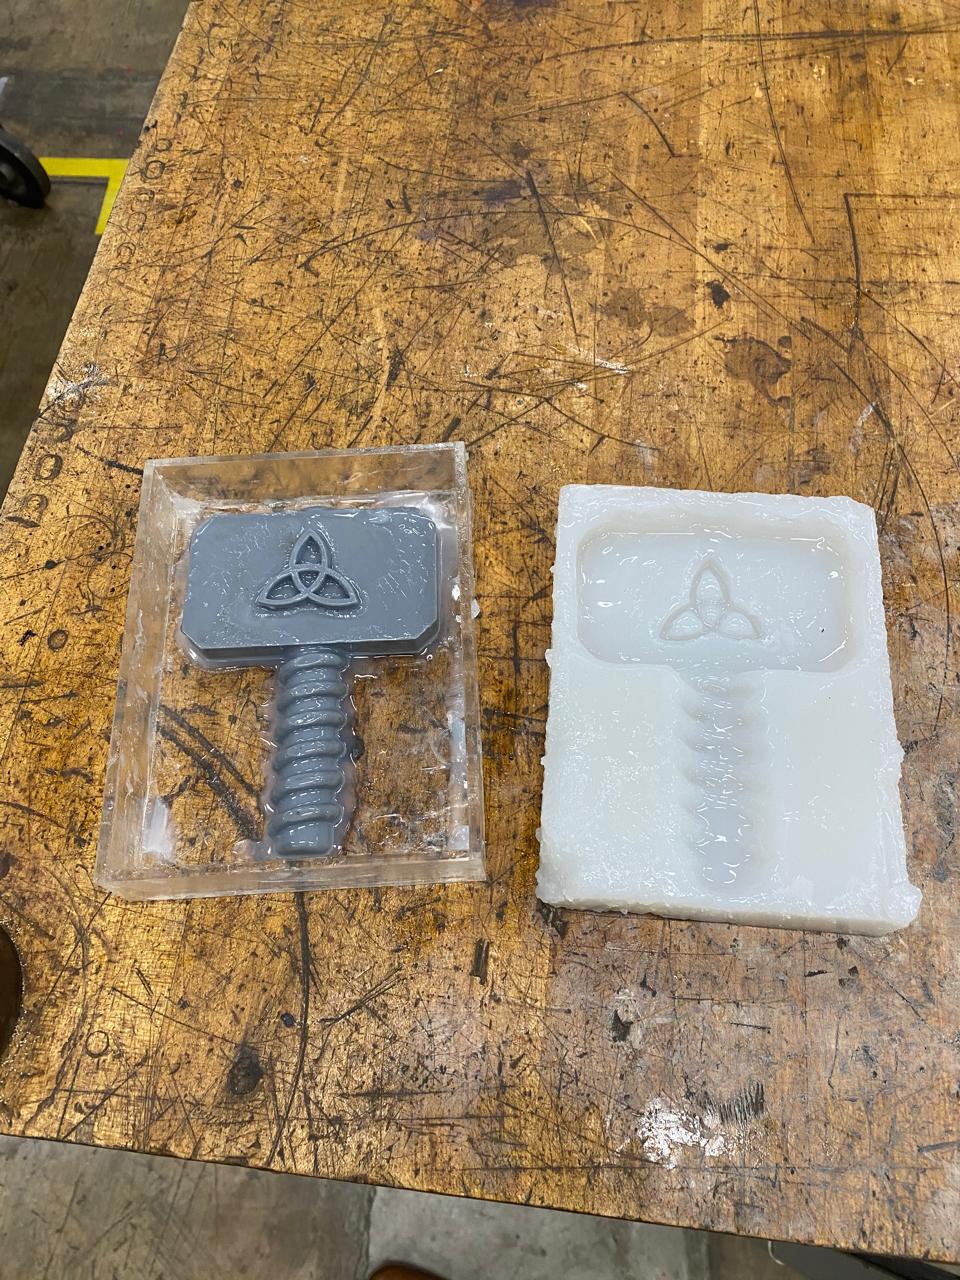
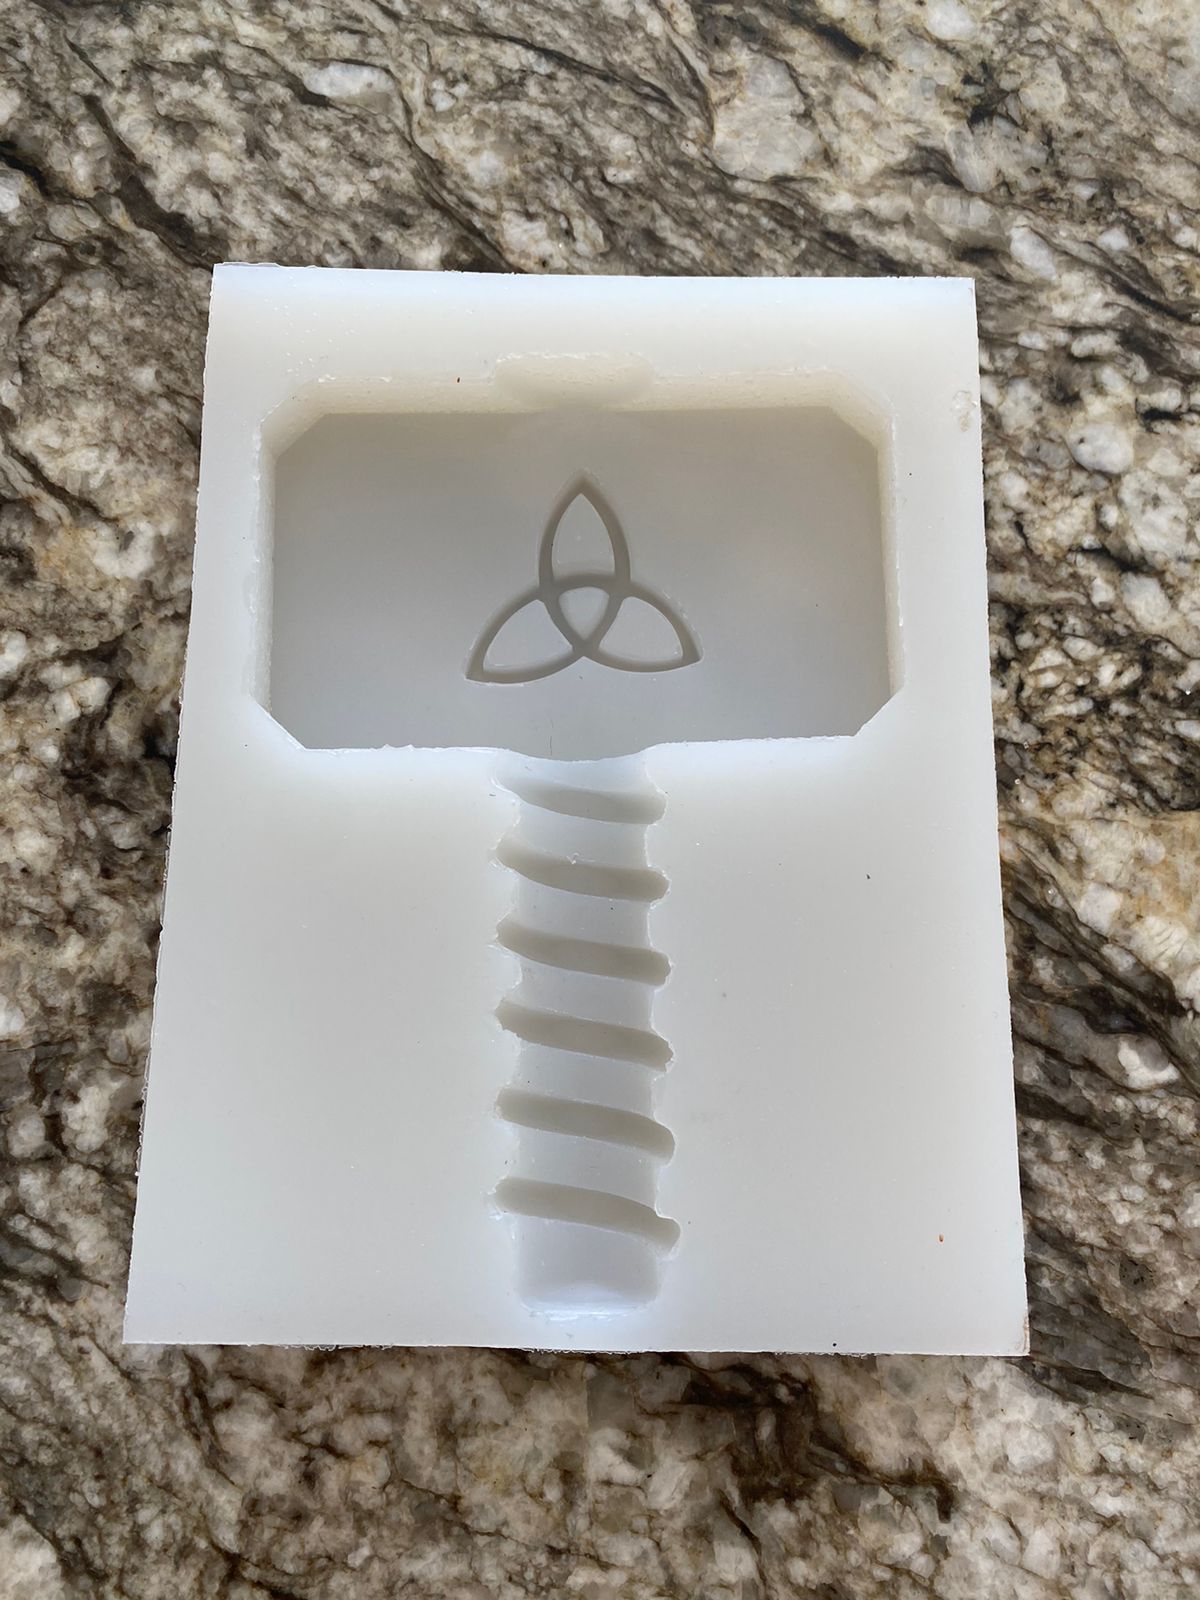
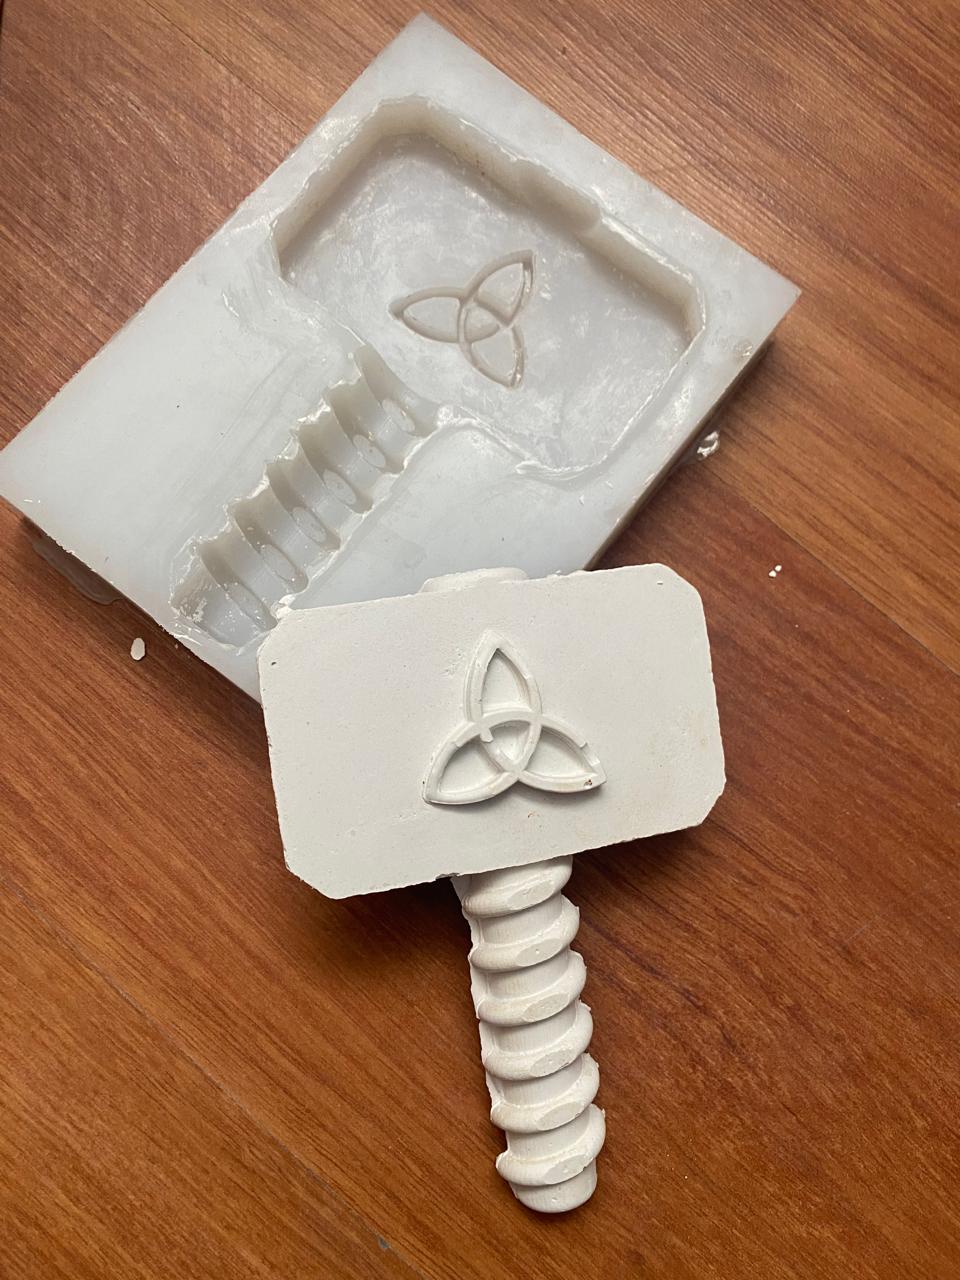
This time was adequate to be able to have a completely finished mold, without any trace of liquid silicone and with a good finish, as seen in the following images:

IMPORTANT NOTE: this is the finished mold, however, something extremely important to clarify is that it is not suitable for use with food because although the silicone is food grade, the cured resin used in the 3D printing has contaminated it. .
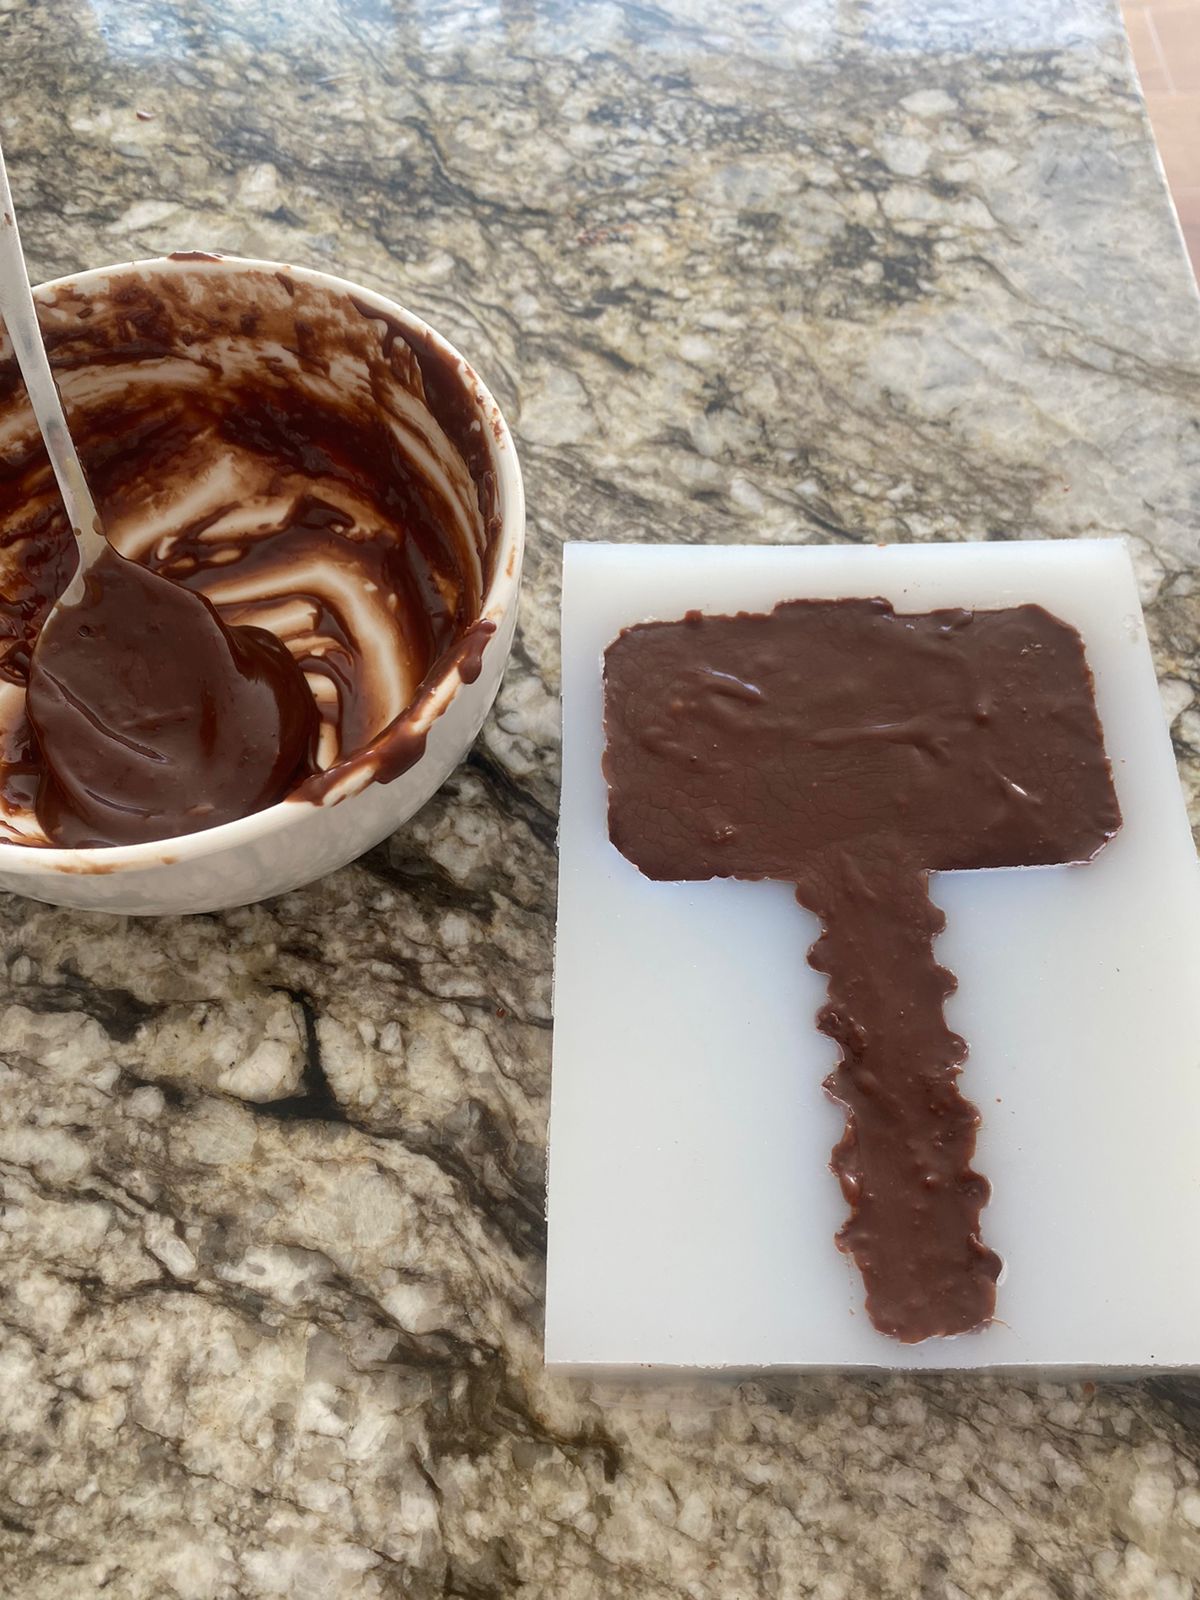
Once I had the silicone mold made, I proceeded to heat chocolate bars in a bain-marie and pour them into the mold. After 5 hours the chocolate set and hardened so it could be slowly removed from the mold. IMPORTANT: This is only a chocolate test, and is not suitable for consumption due to contamination of the resin in the silicone mold.

In addition to the chocolate casting, I made another plaster casting with a little cement to give it a better finish. The proportion was 3 parts plaster to 1 part cement:
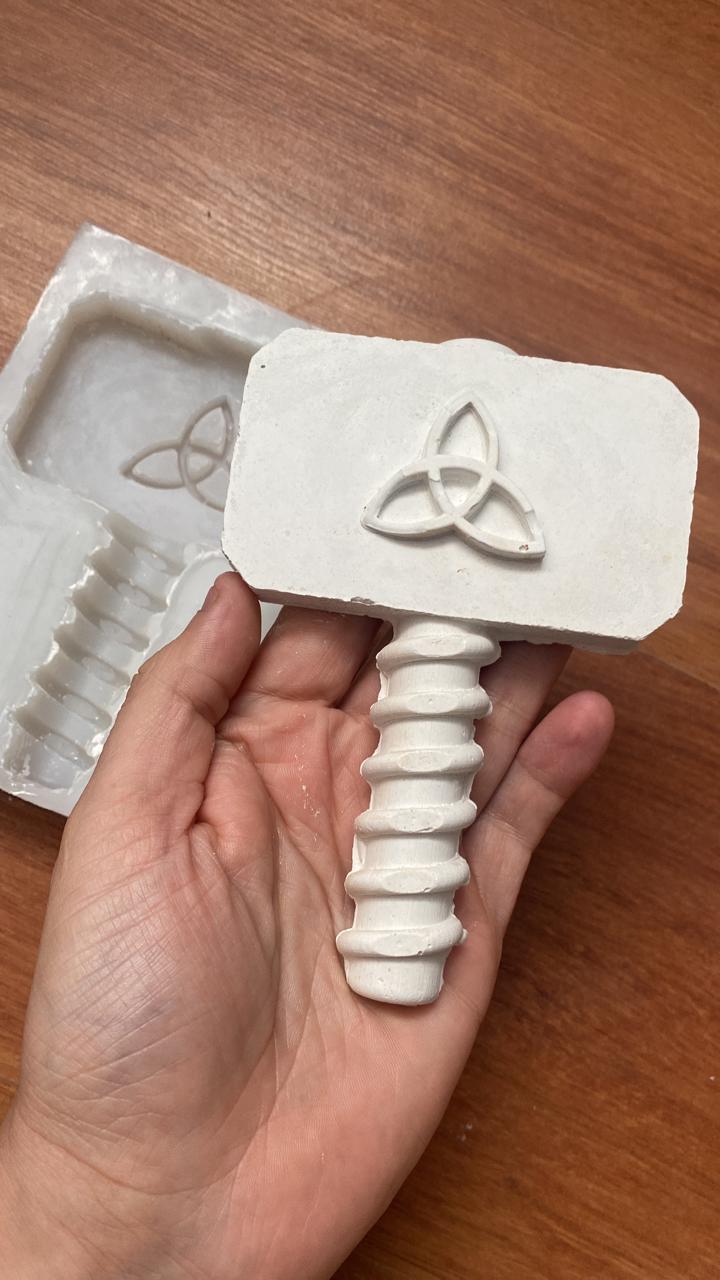
IMPORTANT NOTE: once we use the mold for a non-food casting, it is prohibited to use it for food later. Having used the plaster with cement contaminates the mold and we cannot do castings with food again.
Group assignment
This was one of the best group weeks. Doing several tests with the molds we had was fun but at the same time demanding, since on several occasions we had to repeat the tests.
My contribution to the group work was pouring the plaster with cement, and the casting of chocolate.


Here is the link to the group assignments:
Files: