Assignments
- Compare as many tool options as possible.
Individual apport
- Ernesto: My contribution to this week's group work was to find information and characteristics of the operation of the Blynk application, for IoT connectivity.
- Jorge: My contribution to this week's group work was to find information and characteristics of the operation of the App Inventor MIT application.
- Marcela: My contribution to this week's group work was to find information and characteristics of the operation of the Node-RED platform, for IoT connectivity.
Process
Compare as many tool options as possible.
Arduino IDE: open-source electronics platform based on easy-to-use hardware and software.

MIT App Inventor: web-based application integrated development environment originally provided by Google, and now maintained by the Massachusetts Institute of Technology (MIT).

JavaScript with p5.js: library that starts with the original goal of Processing to make coding accessible for artists, designers, educators, and beginners.

Node-RED: flow-based development tool for visual programming originally developed by IBM for wiring together hardware devices, APIs, and online services.

Flutter: is an open-source UI software development kit created by Google. It is used to develop applications for Android, iOS, Linux, Mac, Windows, Google Fuchsia, and the web from a single codebase.

Unity: is a cross-platform game engine developed by Unity Technologies, primarily used to develop video games and simulations for computers, consoles, and mobile devices.

Blynk: is a platform with iOS and Android apps to control Arduino, Raspberry Pi, and other microcontroller boards over the Internet. It's designed to simplify the creation of IoT projects by providing a user-friendly interface and an easy way to connect your hardware to the internet.

In addition, each of us uses another partner's application to know and to learn how it operates.
Marcela: APP inventor
MIT App Inventor is an online platform developed by the Massachusetts Institute of Technology (MIT) that allows users to create mobile applications through a web-based interface. The platform is designed with simplicity in mind, featuring a drag-and-drop interface that makes app creation accessible even to those without prior programming experience.
The user interface of MIT App Inventor is divided into several key sections:
- Designer: This is where you design the layout of your app. You can drag and drop various components such as buttons, text boxes, and images onto the screen. The Designer section allows you to see how your app will look on an actual device, providing a visual representation of your interface.
- Blocks Editor: This section is used for programming the behavior of your app. Instead of writing code, you connect blocks that represent different functions and operations. This visual programming approach simplifies the development process, making it intuitive and easy to understand.
- Components: On the left side of the Designer, you'll find a palette of components that you can use in your app. These include basic elements like labels and buttons, as well as more advanced components such as sensors and connectivity options like Bluetooth.
- Properties: When you select a component in the Designer, its properties appear in a panel on the right side of the screen. Here, you can customize various aspects of the component, such as its color, size, and text.
- Viewer: The central part of the Designer shows the current layout of your app. You can drag and drop components here to build your interface.


MIT App Inventor offers numerous tutorials and resources to help users get started and learn how to use its various modules effectively. For his individual assignment, Jorge created an application for Bluetooth devices using this platform. He explained how he built the APK and programmed it with blocks to display a list of available Bluetooth devices, enabling connections to a Bluetooth module. Jorge also demonstrated how he programmed the buttons to send serial commands to turn LEDs on and off. The blocks programmed needed to be in the same format; in this case, Jorge used single number text to send commands.
One of the key advantages of MIT App Inventor is its ability to simplify the development process, making UI creation straightforward and accessible. While it provides medium-level customization through predefined blocks, it does not allow full control over every aspect of APK creation. After developing the app, it is essential to enable all necessary permissions to ensure the app can access Bluetooth features on the Android device.
On the Arduino side, the commands are received using the following code:
    void loop() {
  if (mySerial.available() > 0) {
    char chr = mySerial.read();

    if (chr == '1') {
      // Code to do something
    }
    else if (chr == '2') {
      // Code to another something
    }
  }
}
This code will receive the message and use the first character of the string sent. It does not read entire strings; instead, it only processes the first character. For example, if the Bluetooth module sends the text "1LED", the code will only read chr = '1' and ignore the rest of the string. This simplification allows for straightforward command processing, ensuring reliable communication between the app and the Arduino.
Jorge:Blynk
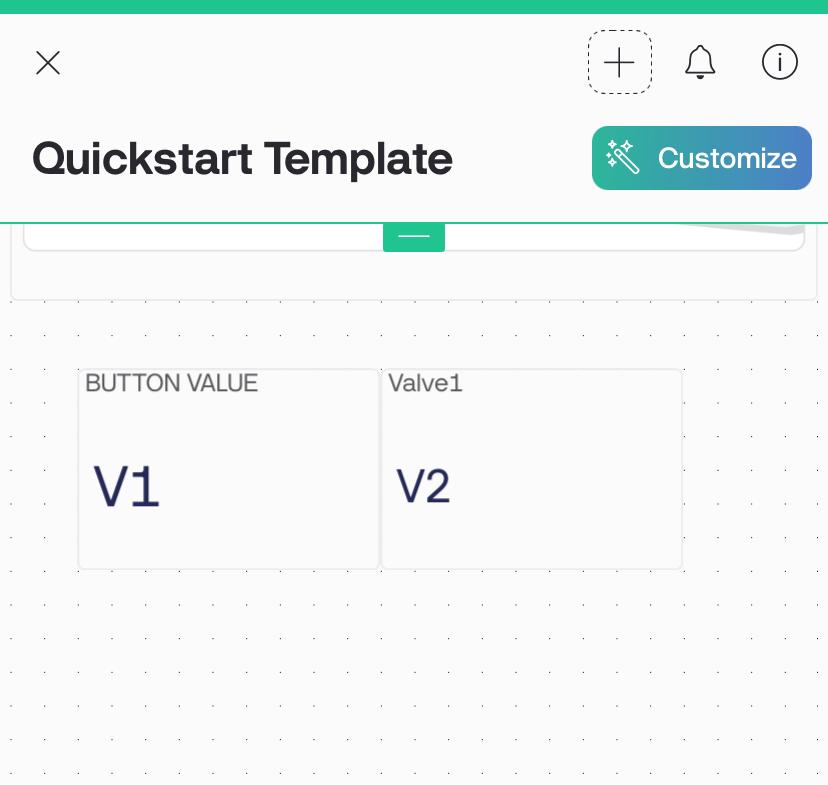
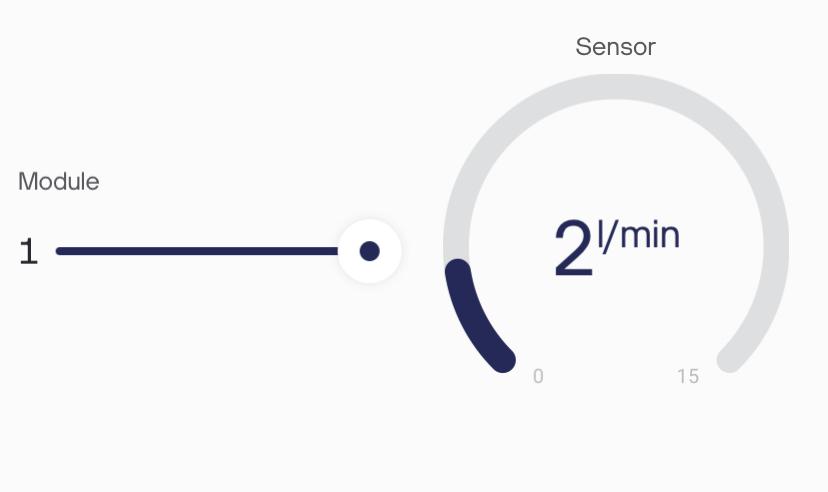
Blynk app is a platform designed to create Internet of Things (IoT) applications. It provides tools to build a graphical interface for your project using various widgets that can interact with hardware like Arduino, ESP32, Raspberry Pi, and others. When I used it, I felt like a easy interface for building mobile apps without the need for deep programming skills, its all intuitive.
The widgets are wide like buttons, sliders, graphs, and displays to see all my process in the mobil phone app. What I like a lot is that it can provide real-time data updates from sensors and other input devices and has a notification system that sends an alert to inform a problem or a variable you define.


Ernesto: Node-RED
First, to install Node-RED, I had to download the software from the official website, install it, and start Node-RED using the command line. Then, open the web interface by navigating to http://localhost:1880 in your browser. Begin programming by dragging nodes from the palette to the workspace, connecting them to define the flow, and configuring each node's properties. The detailed installation process is shown in the image. It is important to keep the window open, as indicated by the exclamation mark in the step, to ensure the program runs correctly. While setting up Node-RED, the initial example was challenging to get working correctly. Therefore, this guide only covers the installation process and the basic interface parts to start programming.

