16. Wildcard Week
The primary objective of this week is design and make a logo for the final project using the sewing & embroidery machine Brother Innovis F480.
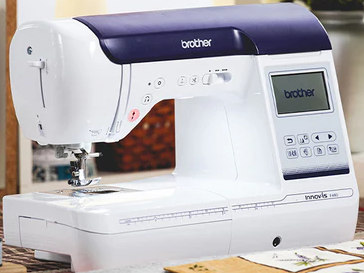
Sewing & Embroidery machine Brother Innovis F480
Research
Embroidery is an ancient craft technique that involves the use of threads of various materials to create decorative designs on textile surfaces. These designs are achieved through the use of a needle and various stitches, including cross stitch, scallop stitch, and filling stitch. The resulting patterns, motifs, and textures are used to embellish garments, accessories, tablecloths, cushions, and other items. Embroidery is an artistic and manual expression that has been practiced throughout history in different cultures. It has become a way to enrich and personalize fabrics for both decorative and practical purposes.
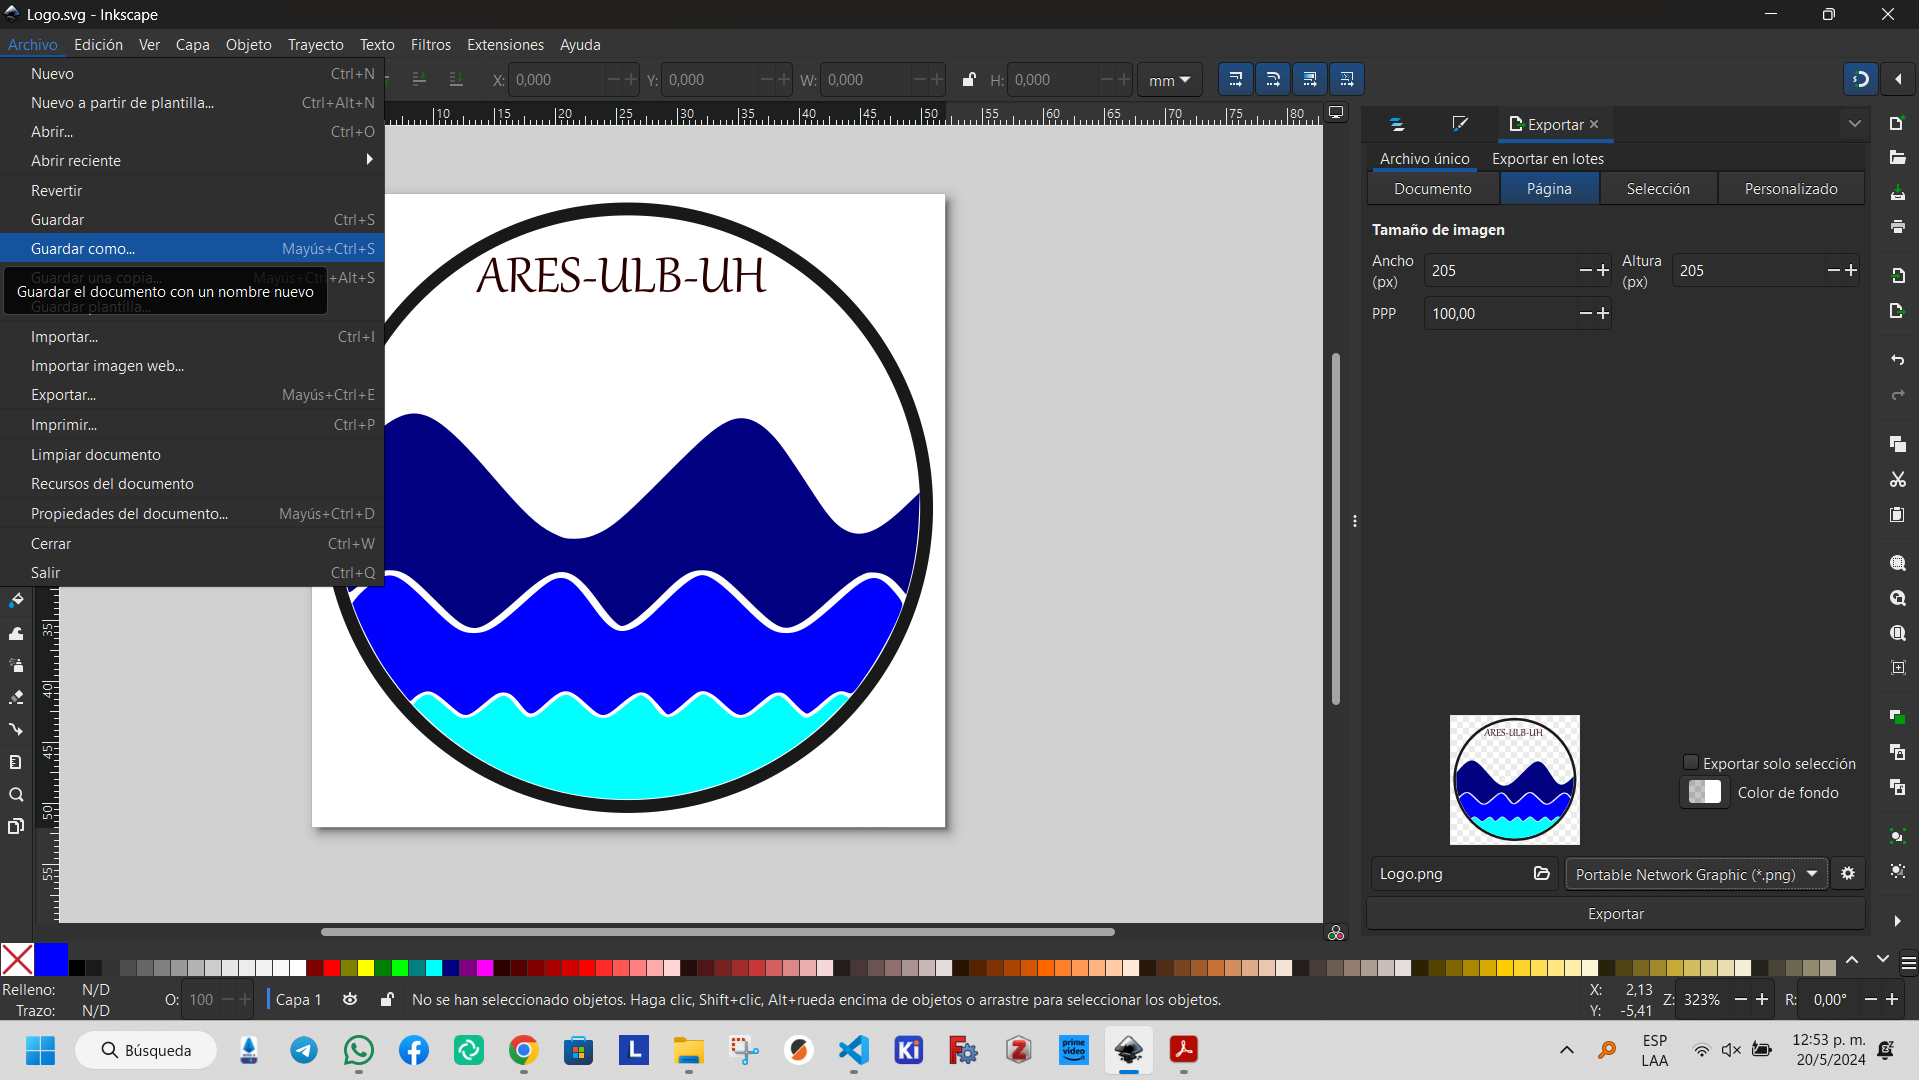
The initial step in the design process was the creation of the logo using the open-source vector graphics editor Inkscape.
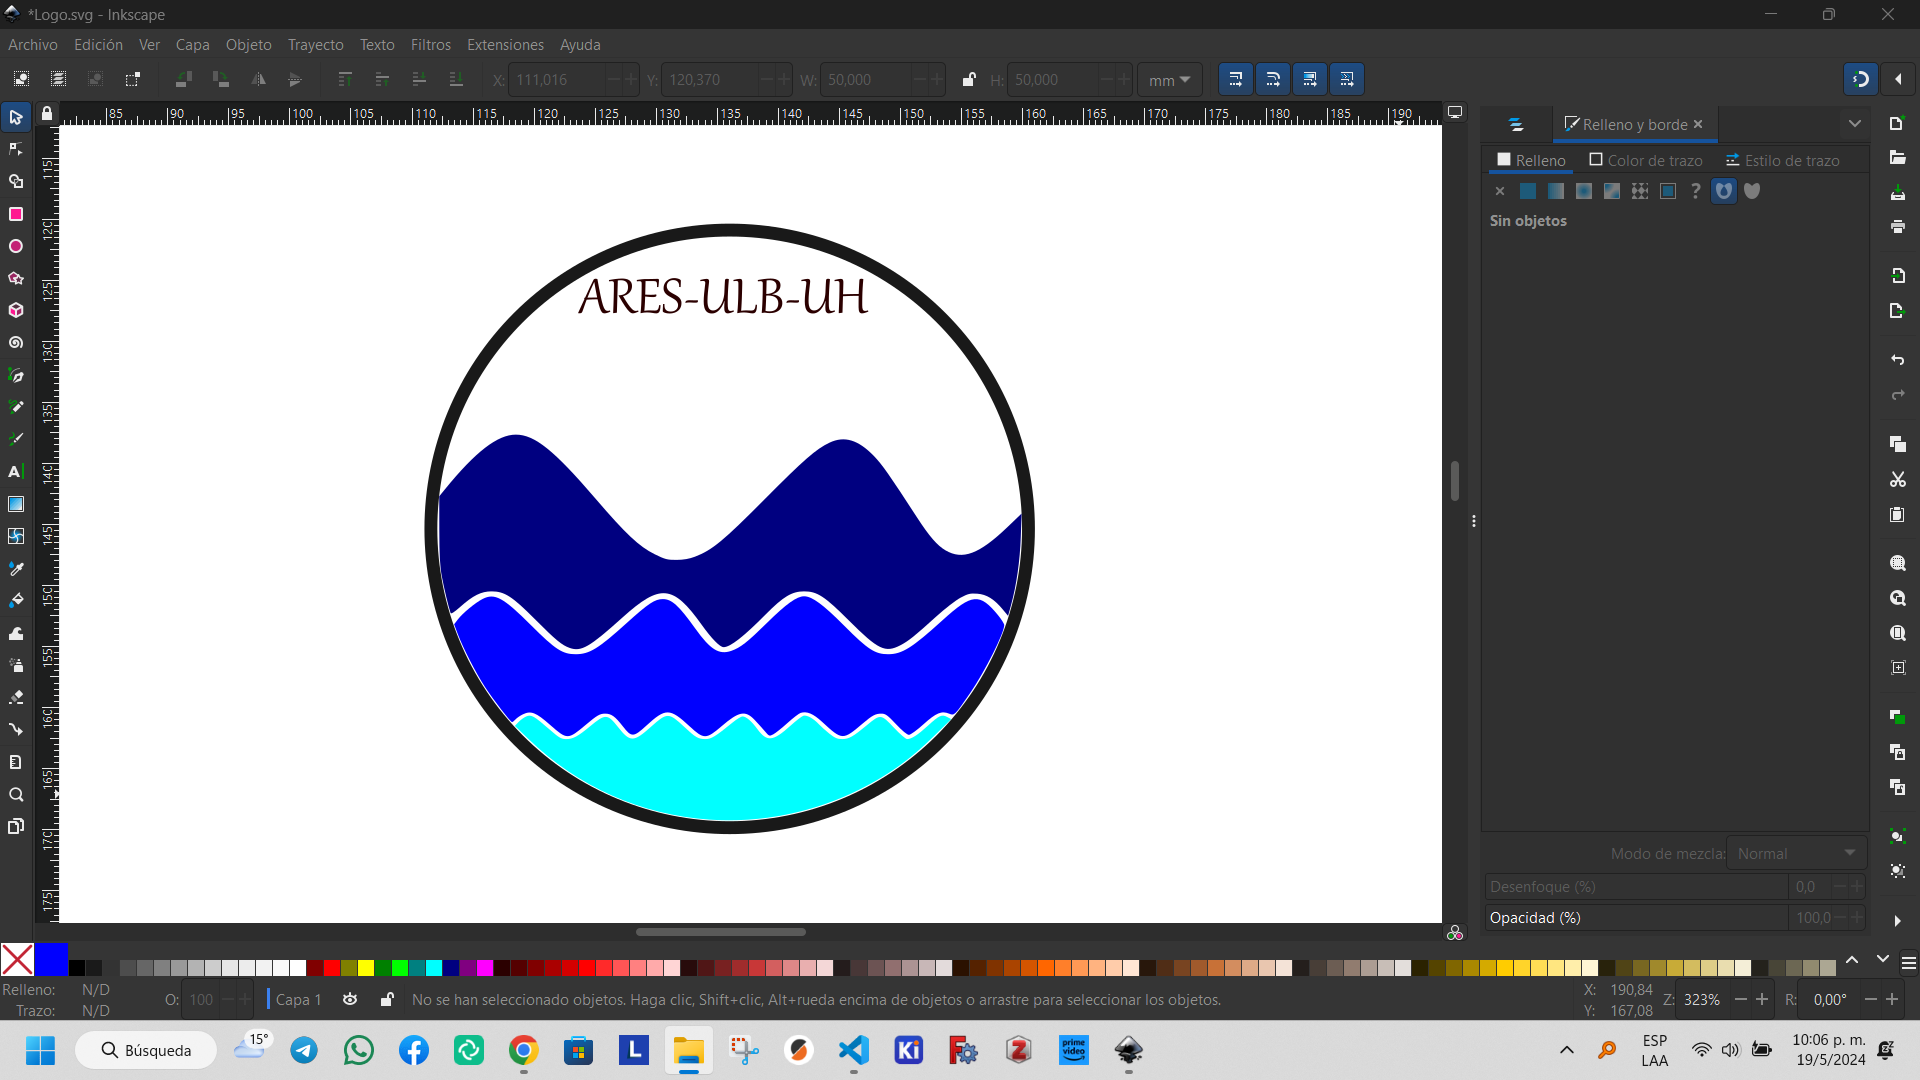
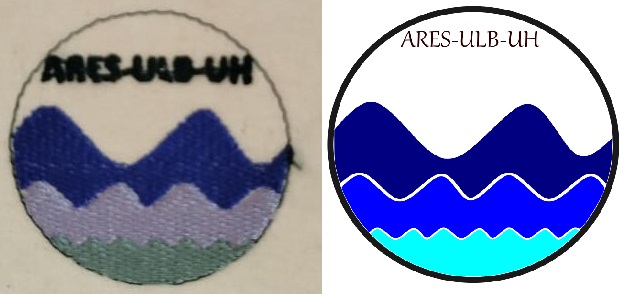
Logo designed for the wave flume
The logo represents the three types of wave classifications according to relative depth in Airy's Linear Wave Theory: deep waves, waves of intermediate depth, and waves of shallow depths. It also includes the names of the three entities linked to the project that has allowed me to take the Fab Academy 2024 here in Brussels: Académie de Recherche et d'Enseignement Supérieur (ARES), the Université Libre de Bruxelles (ULB), and the University of Havana (UH).
Logo designed for the wave flume. To download press the following button.
In order to embroider an image generated by Inkscape, it is necessary to download the Ink/Stitch extension, which can be accessed via the following link: https://inkstitch.org/docs/install/. This extension enables the separation of image colours into thread colours. It is compatible with the three main operating systems: Windows, Linux and macOS.
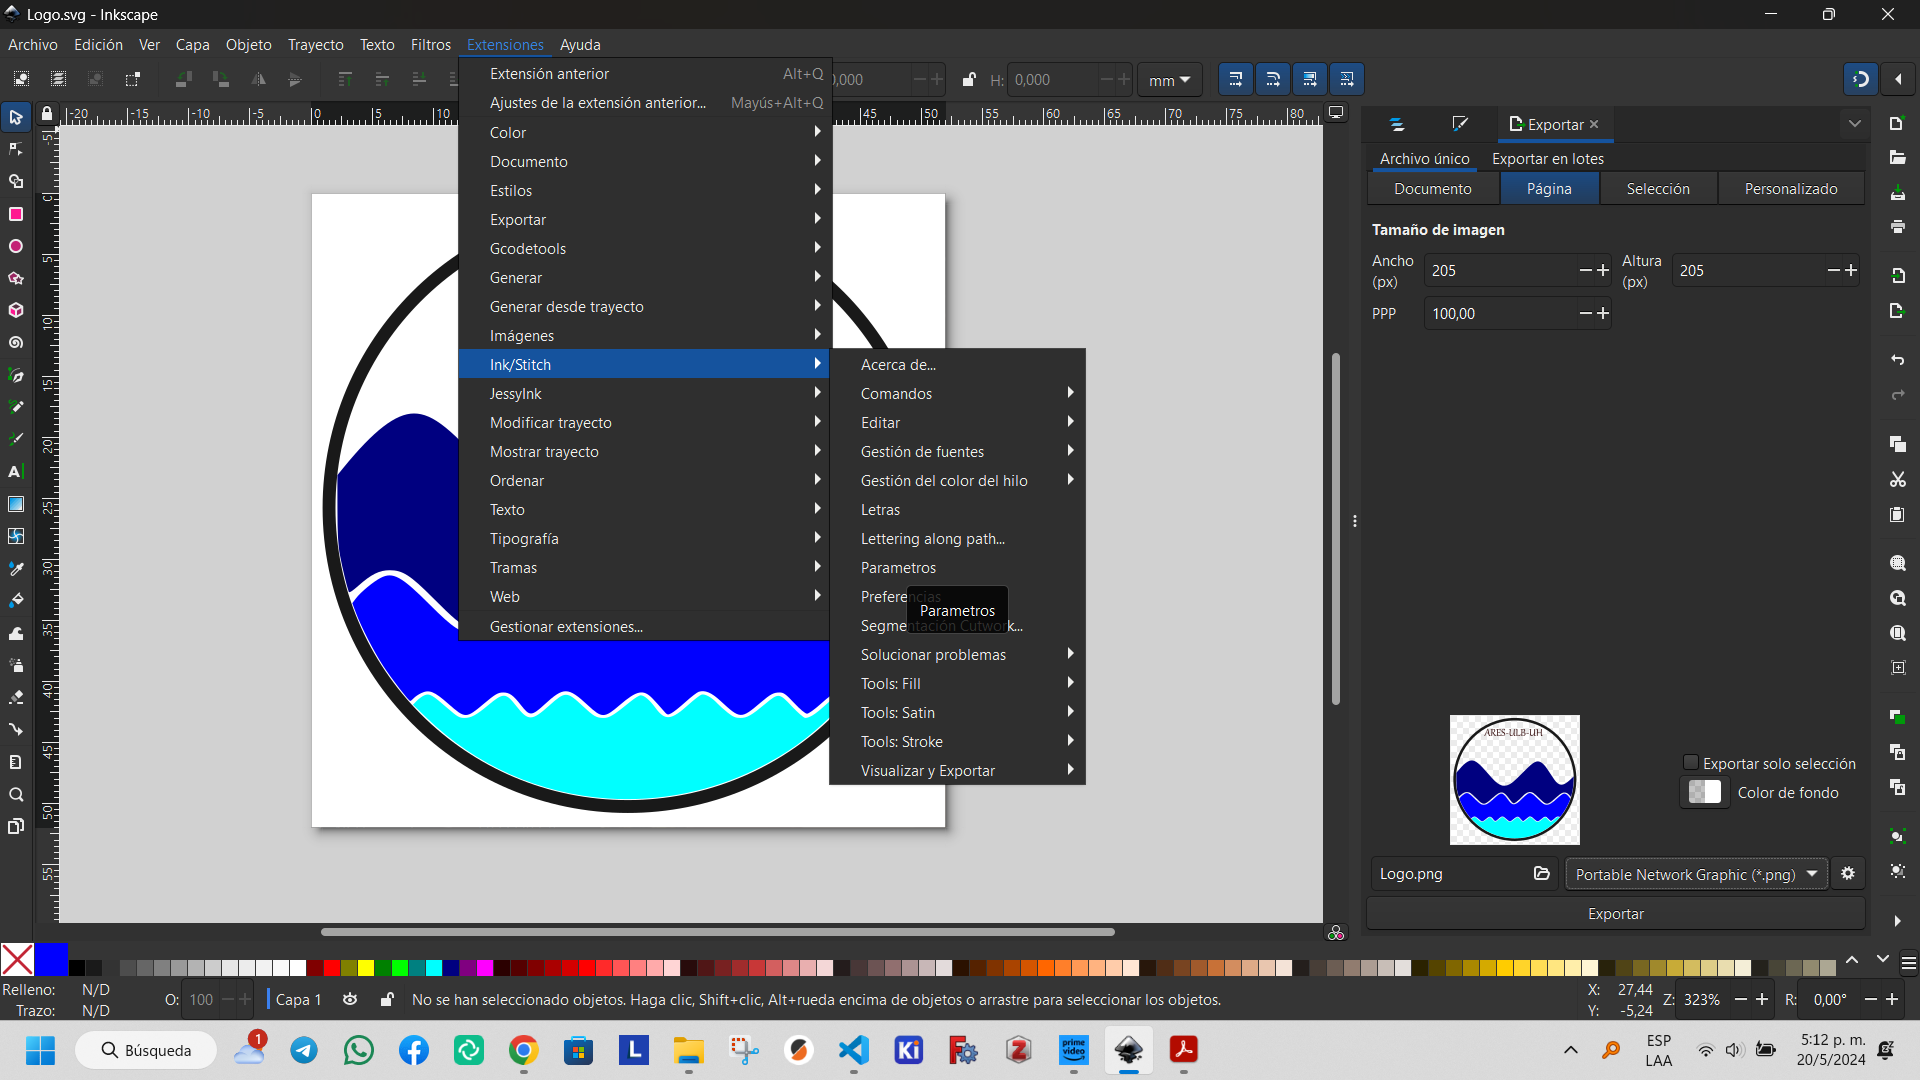
Once the extension has been installed, navigate to the Inkscape extensions button and adjust the embroidery parameters as necessary.
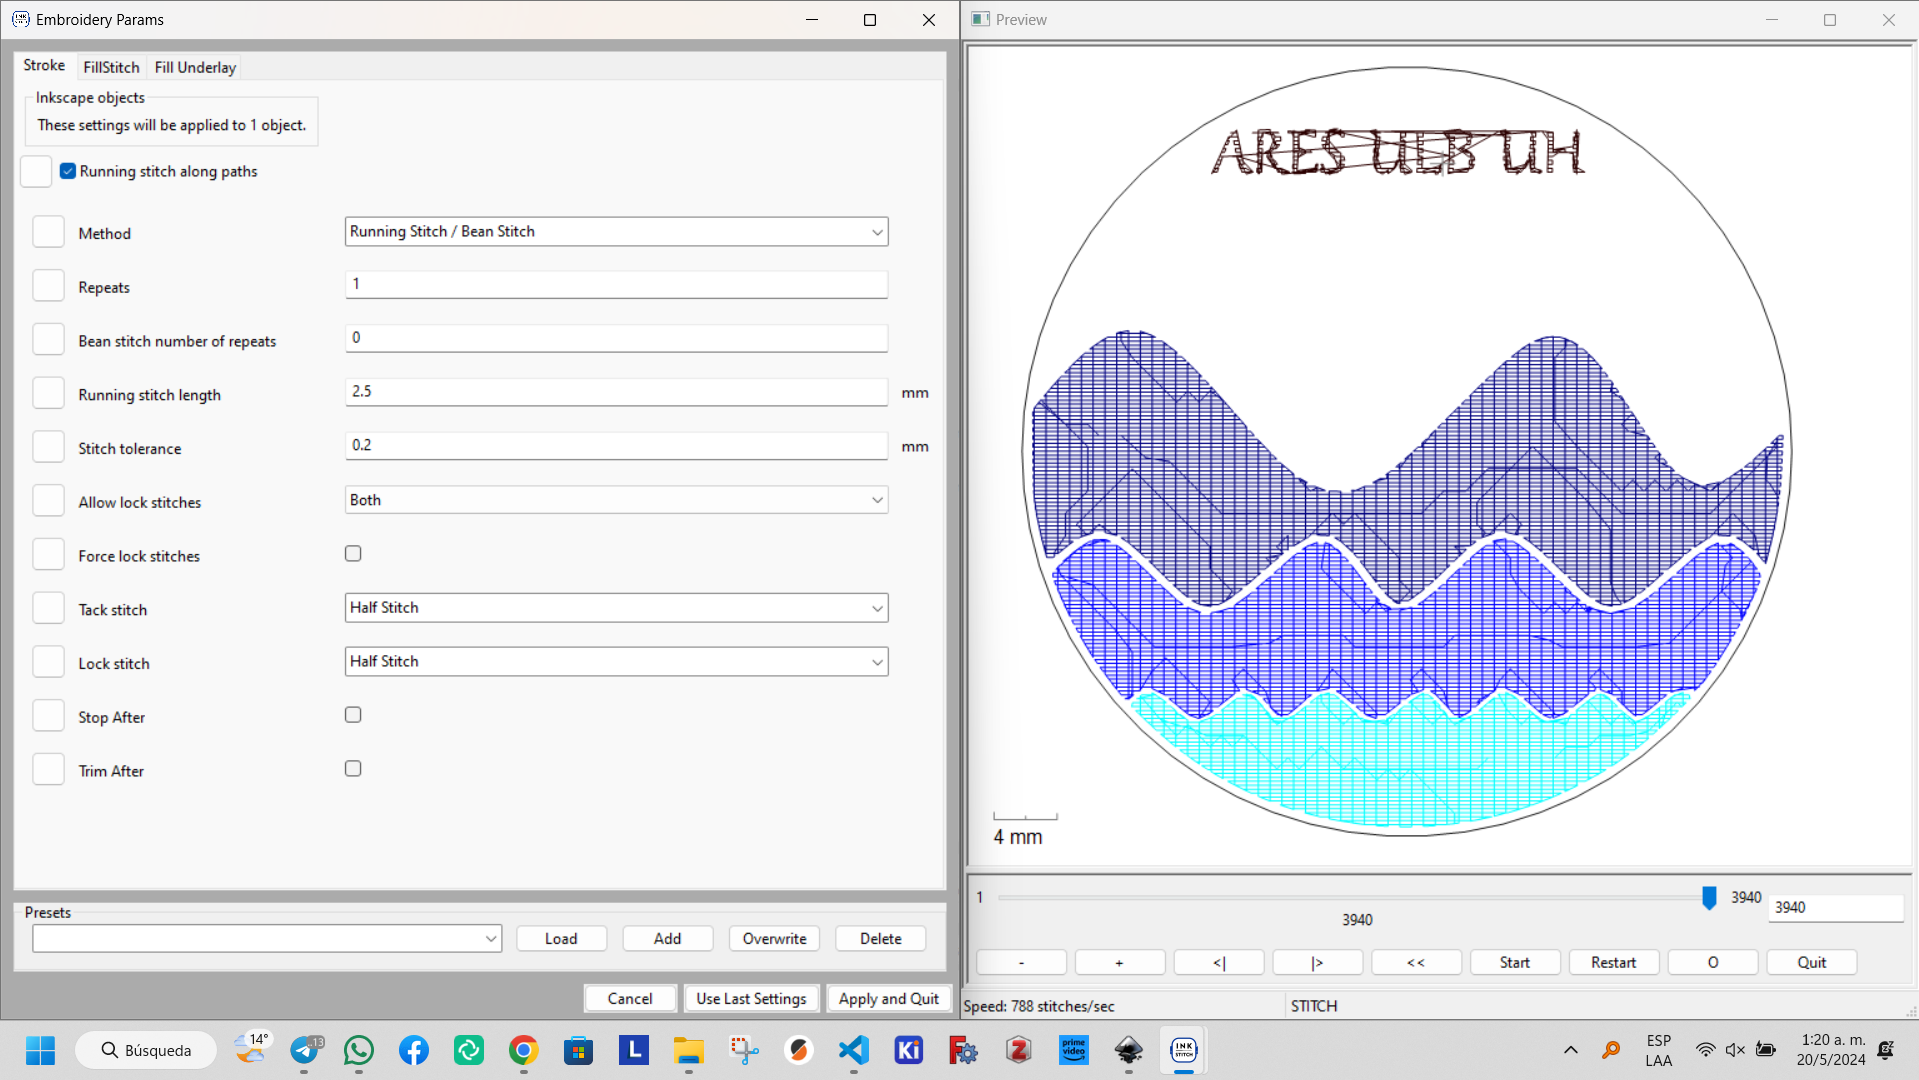
This will result in the opening of two windows. One of these will allow the user to set the parameters, while the other will display a simulation of the embroidery process.
Embroidery process simulation.
To download the embroidery file press the following button.
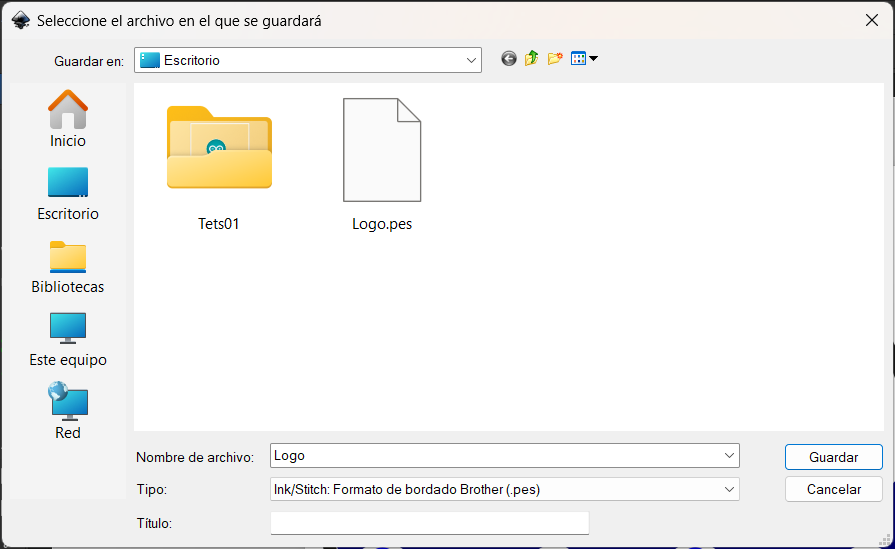
Finally, the logo is saved in PES (Personal Embroidery System) format, which is utilized to generate embroidery designs and images for Babylock, Brother, and Bernina's own embroidery formats. The PES files are encoded using lines of code that are subsequently converted into an embroidery base image, which is utilized by the aforementioned machines to embroider the desired elements. This image employs a color palette provided by the software utilized by the machine. Further information regarding this and other formats utilized in embroidery machines can be accessed via the following link:https://www.embroidery.com/help.ec?docid=225.
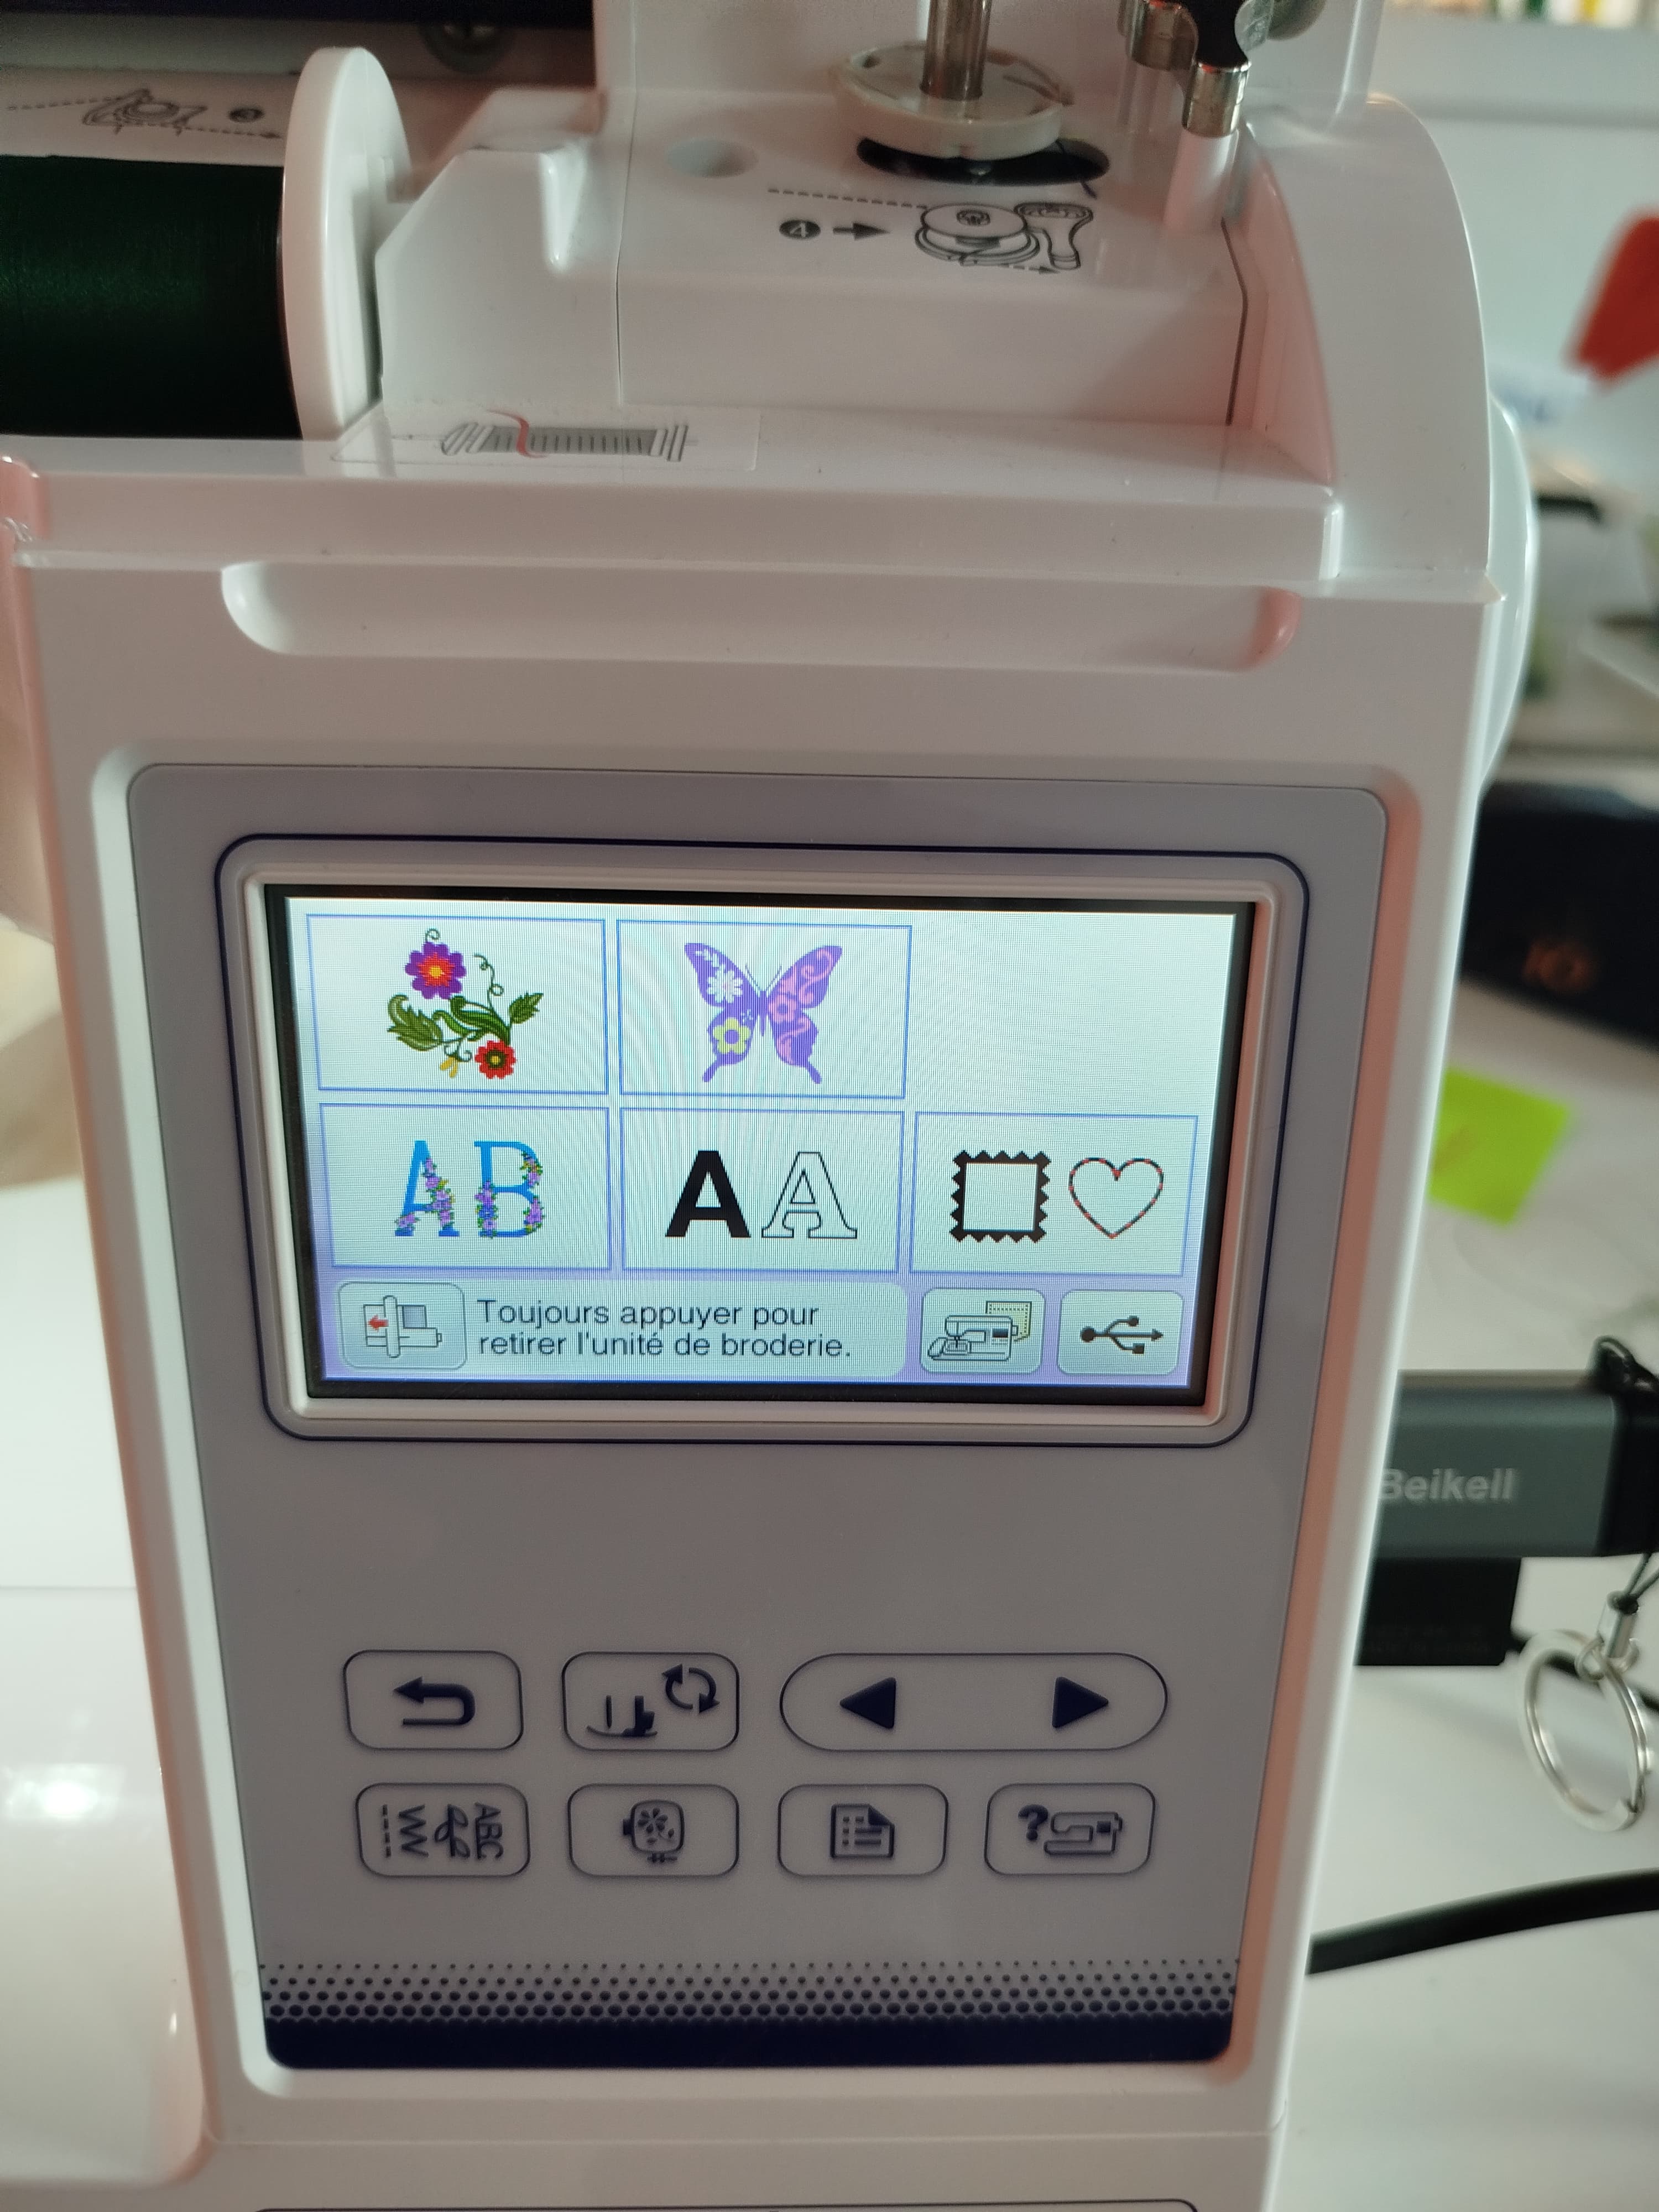
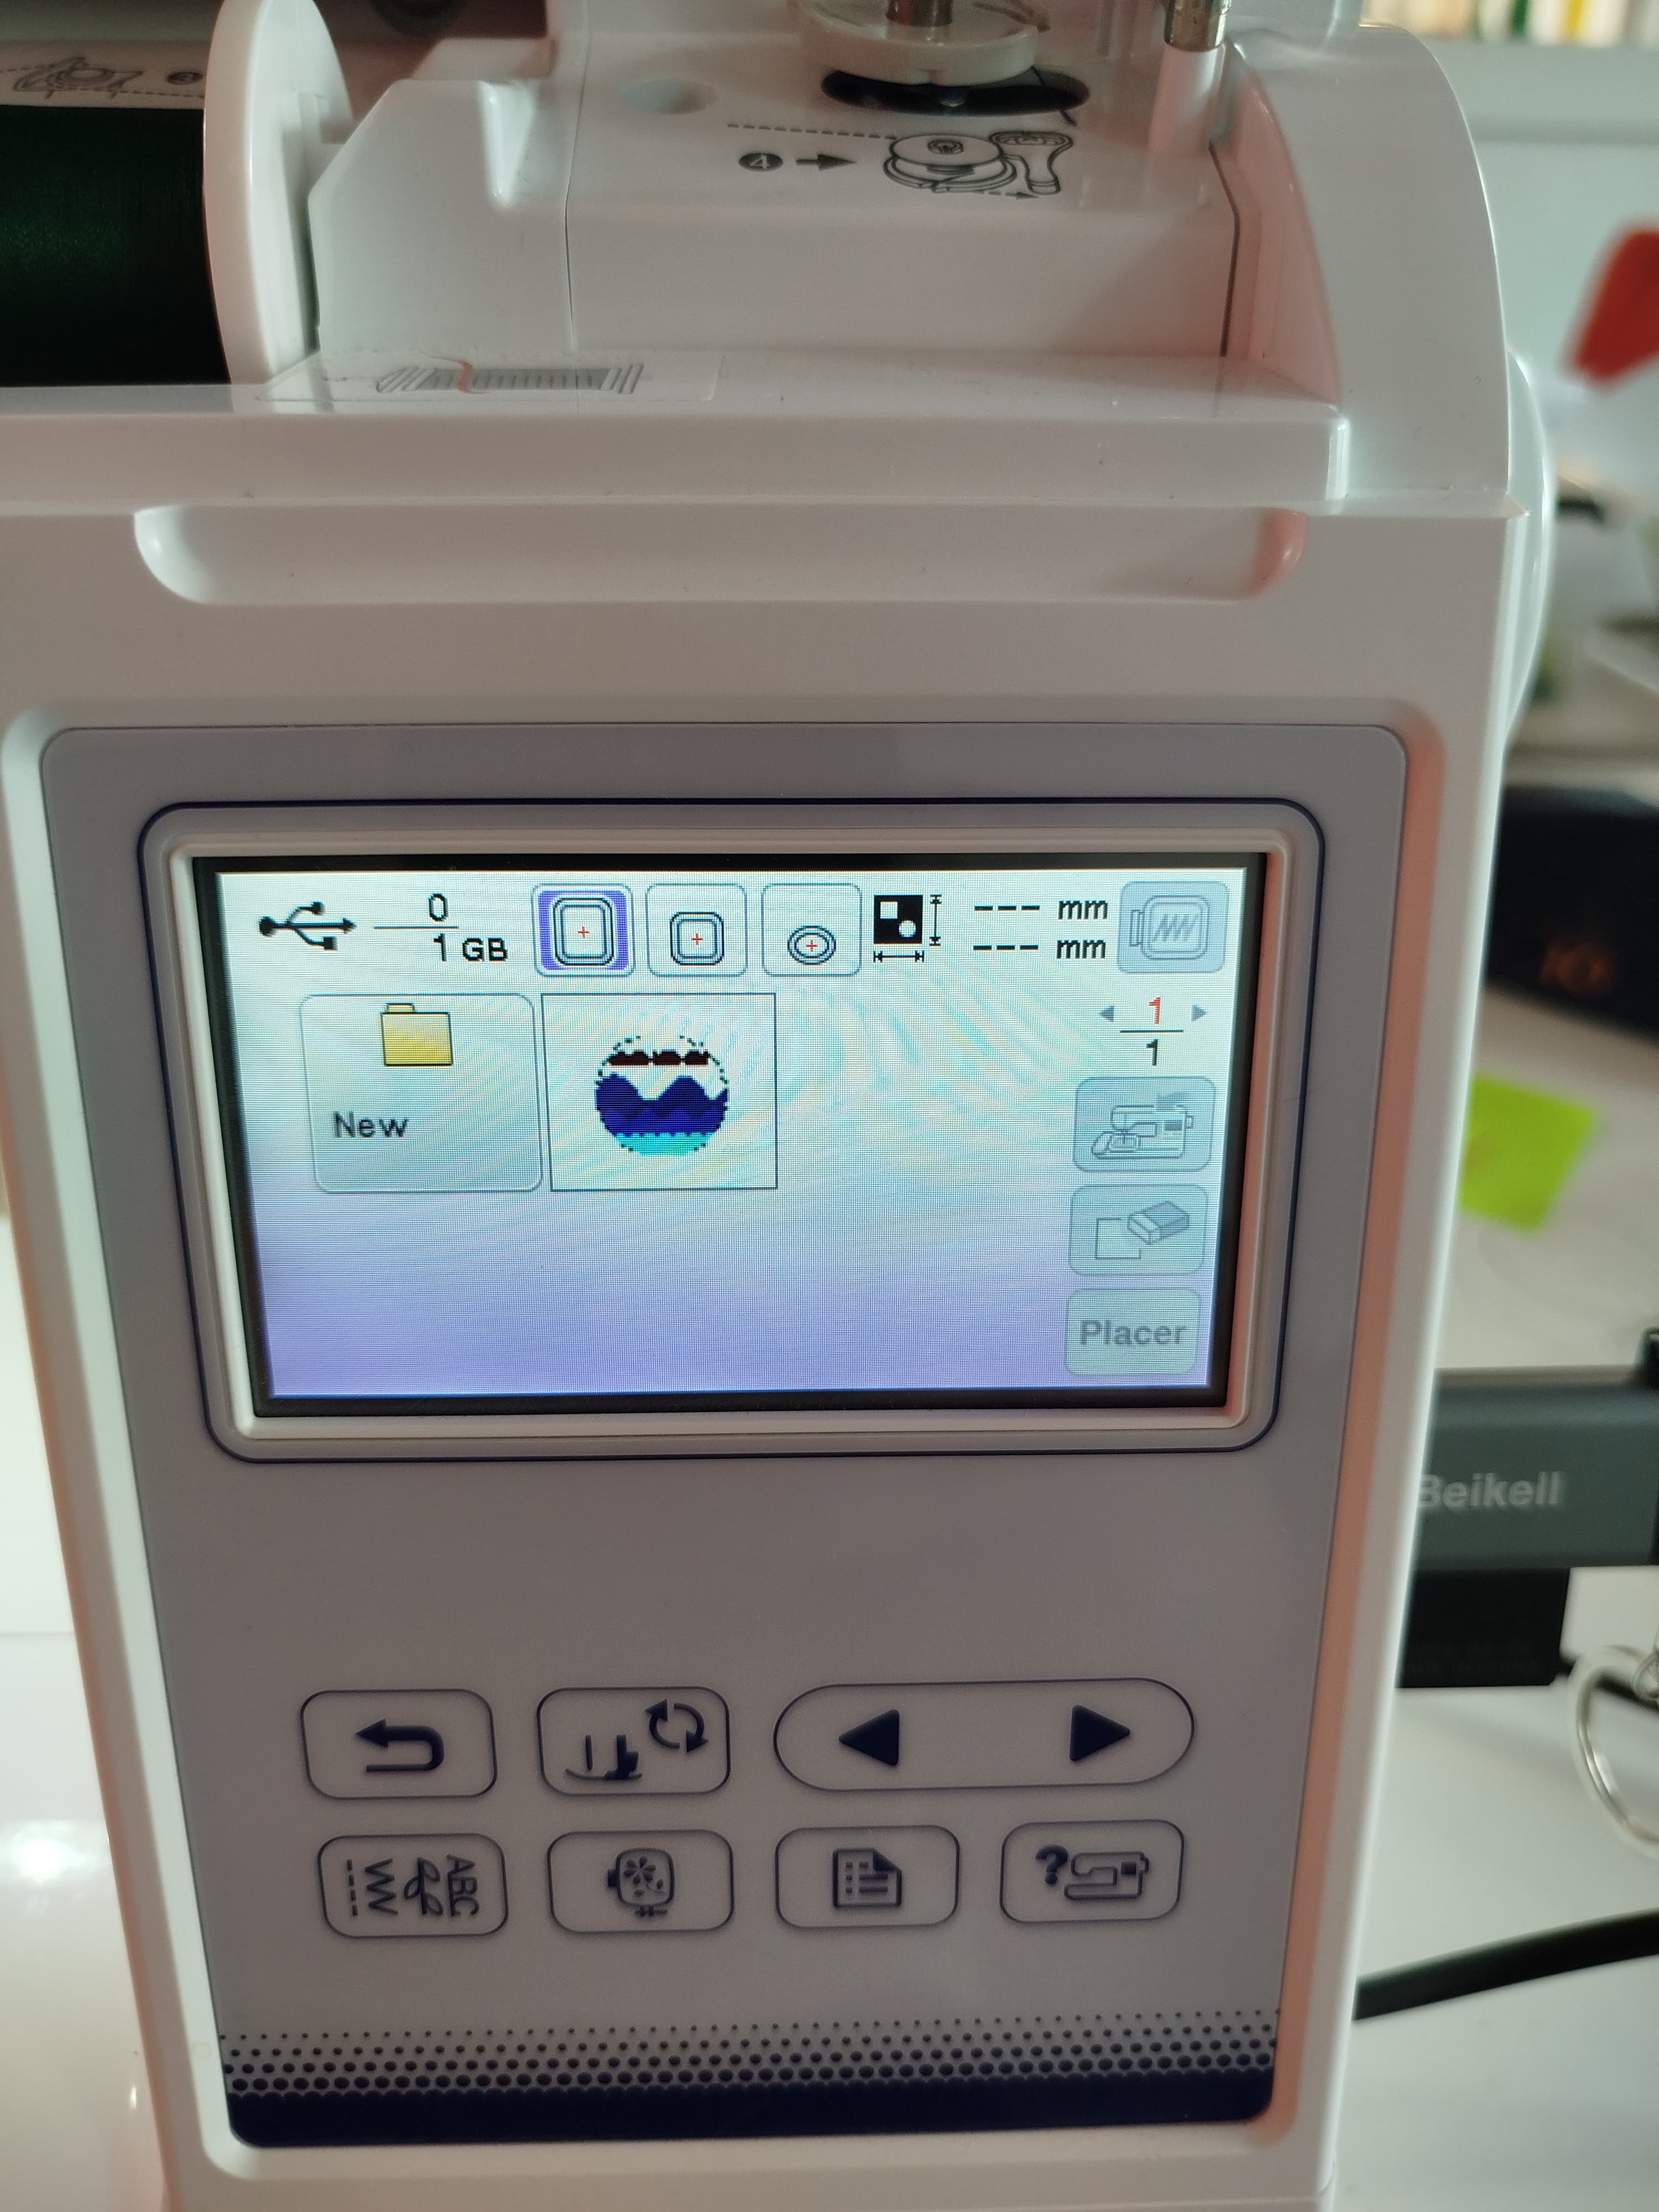
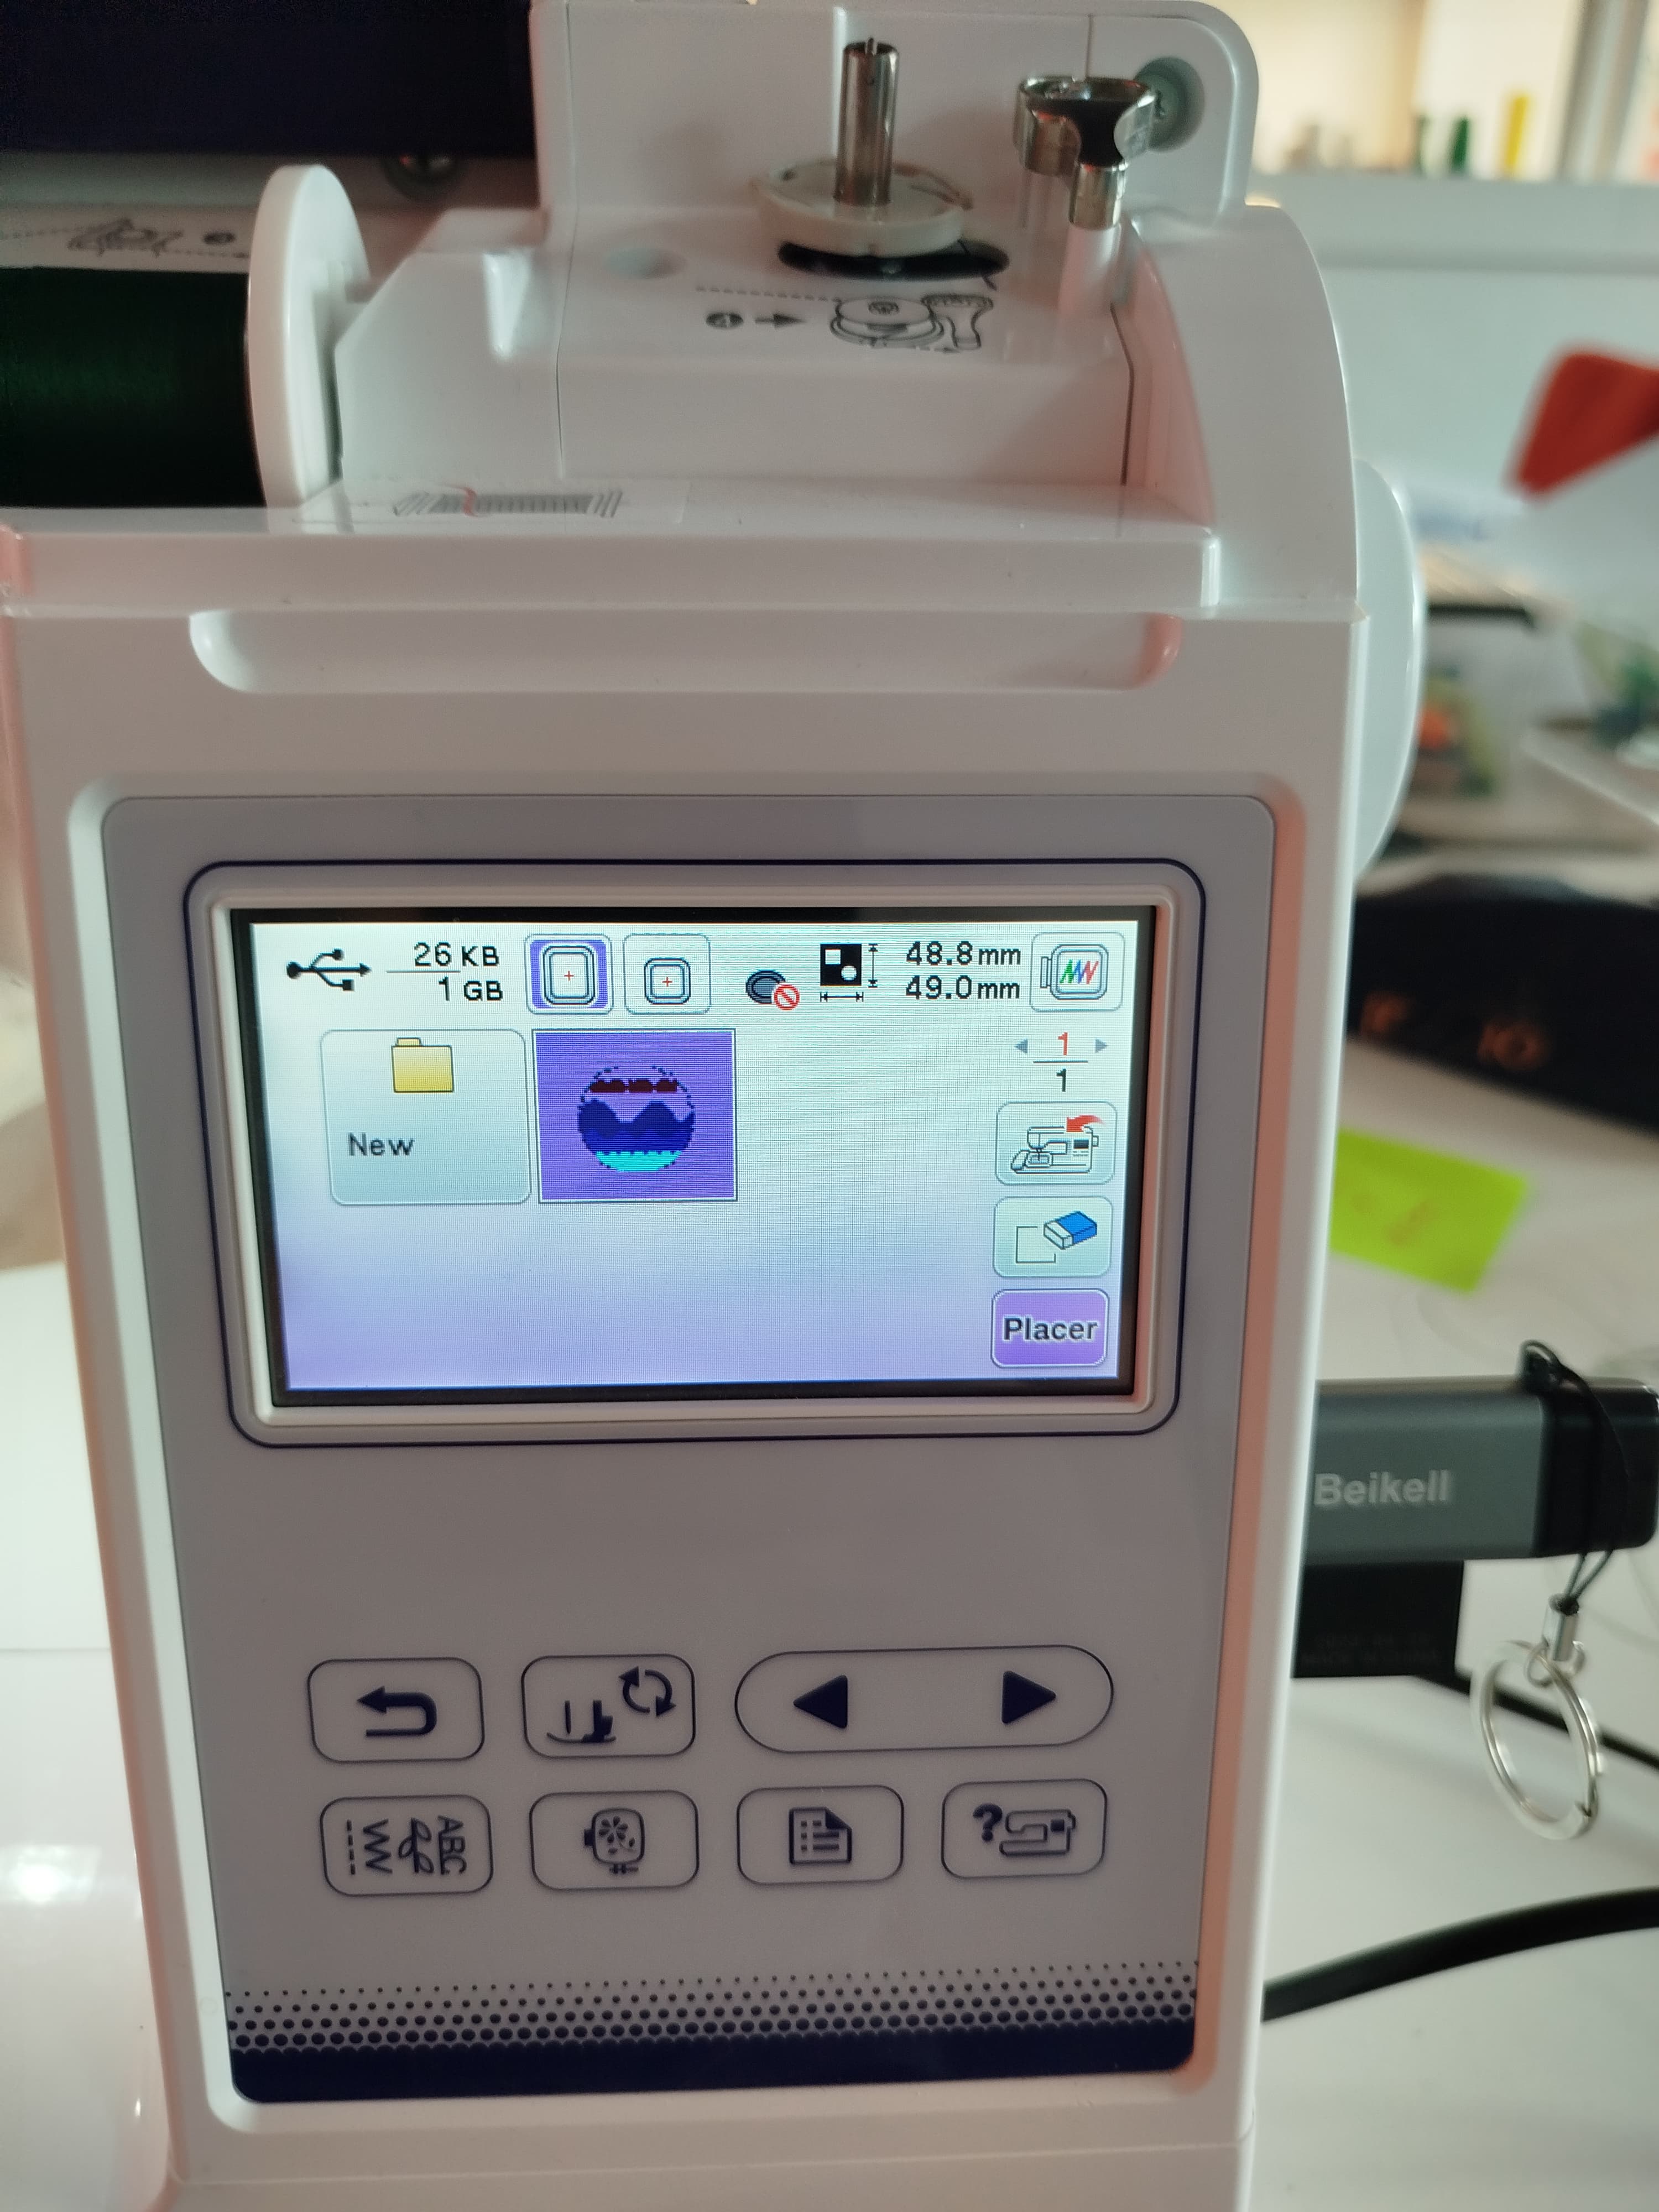
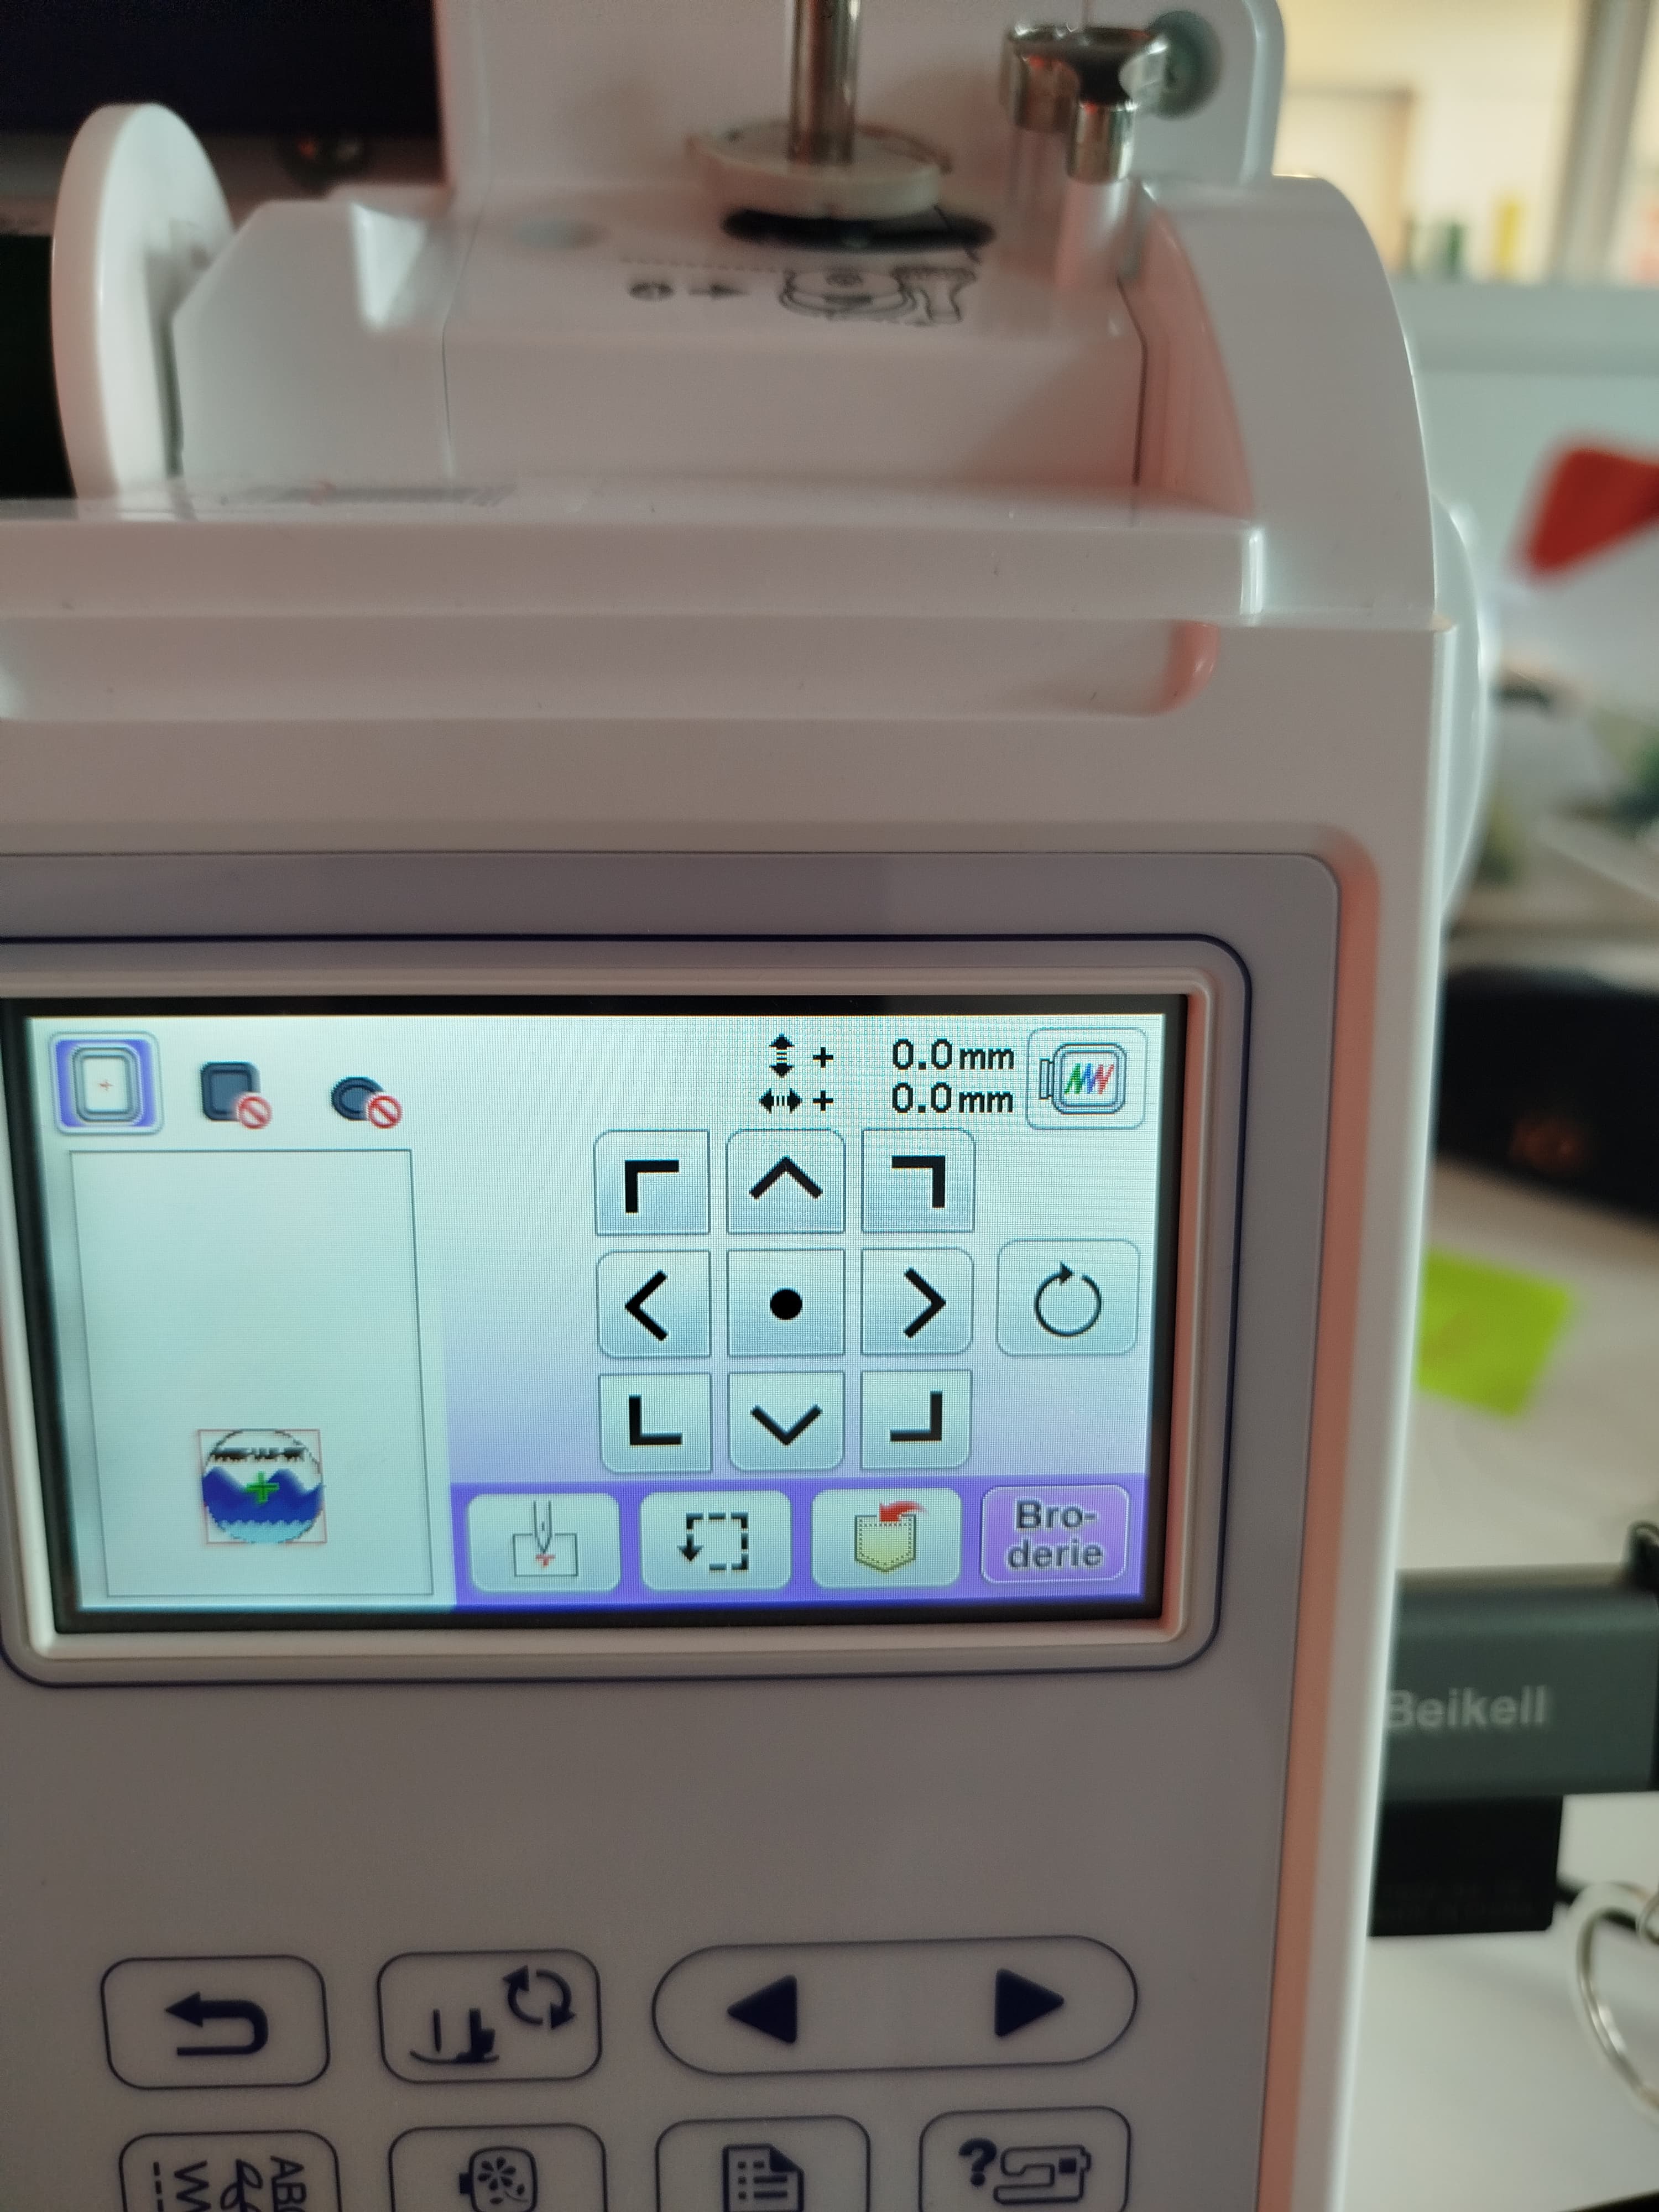
The flash memory must be placed in the USB port of the embroidery machine and activated. The PES file must then be loaded and the sequence of steps before starting to embroider executed. This sequence consists of placing both thread spools in their respective locations, placing the fabric and the protective paper on the embroidery template tightly, and placing the design in the area of interest. For further information on the procedure, including a step-by-step illustration, as well as other pertinent details, please refer to the user manual and other documents about the machine, which can be accessed via the following link:
https://support.brother.com/g/b/manualtop.aspx?c=es&lang=es&prod=hf_inovf480euk.
The following images illustrate the outcomes of embroidering with a single color for the entire design and alternating colors for each layer of embroidery. Additionally, the initial design created in Inkscape is presented, along with the final embroidery result.