5. 3D Printer and Scaning
3D printing is a groundbreaking technology that allows for the production of three-dimensional objects from digital models. Utilizing a range of materials, including plastic, metal, and ceramic, 3D printers construct designs layer by layer, providing unparalleled versatility and precision. Their applications span various industries, from manufacturing, where they are utilized for rapid prototyping and customized production, to medicine, where they are used to fabricate prostheses and anatomical models.
On the other hand, 3D scanners are devices that capture the three-dimensional shape of physical objects and convert it into digital models. These scanners use various technologies, such as lasers or structured light, to collect precise data from the surface of objects. Their applications are diverse, ranging from reverse engineering and industrial design to archaeology and medicine. Today, 3D scanning technology has advanced significantly, offering more accurate, faster, and more affordable scanners for a wide range of users.
Research
Image generated by Microsoft Bing Image Creator |
During the fifth week, we will explore the technology of 3D printing and its versatility in creating custom parts using FreeCAD software. Additionally, we will learn about three-dimensional scanning and how to accurately reproduce real objects in 3D prints. This process will enable us to experiment with materializing ideas, transforming abstract concepts into tangible and functional objects. By immersing ourselves in technological innovation, we will expand our knowledge in the field of digital fabrication and discover the endless possibilities that 3D printing offers. Using FreeCAD as our primary tool, we will explore the creative and technical capabilities offered by this parametric design software. This will allow us to shape our ideas with precision and creative freedom. By combining design skills with expert use of the 3D scanner, we will immerse ourselves in a world of limitless possibilities. Our imagination can become reality through the magic of 3D printing. |
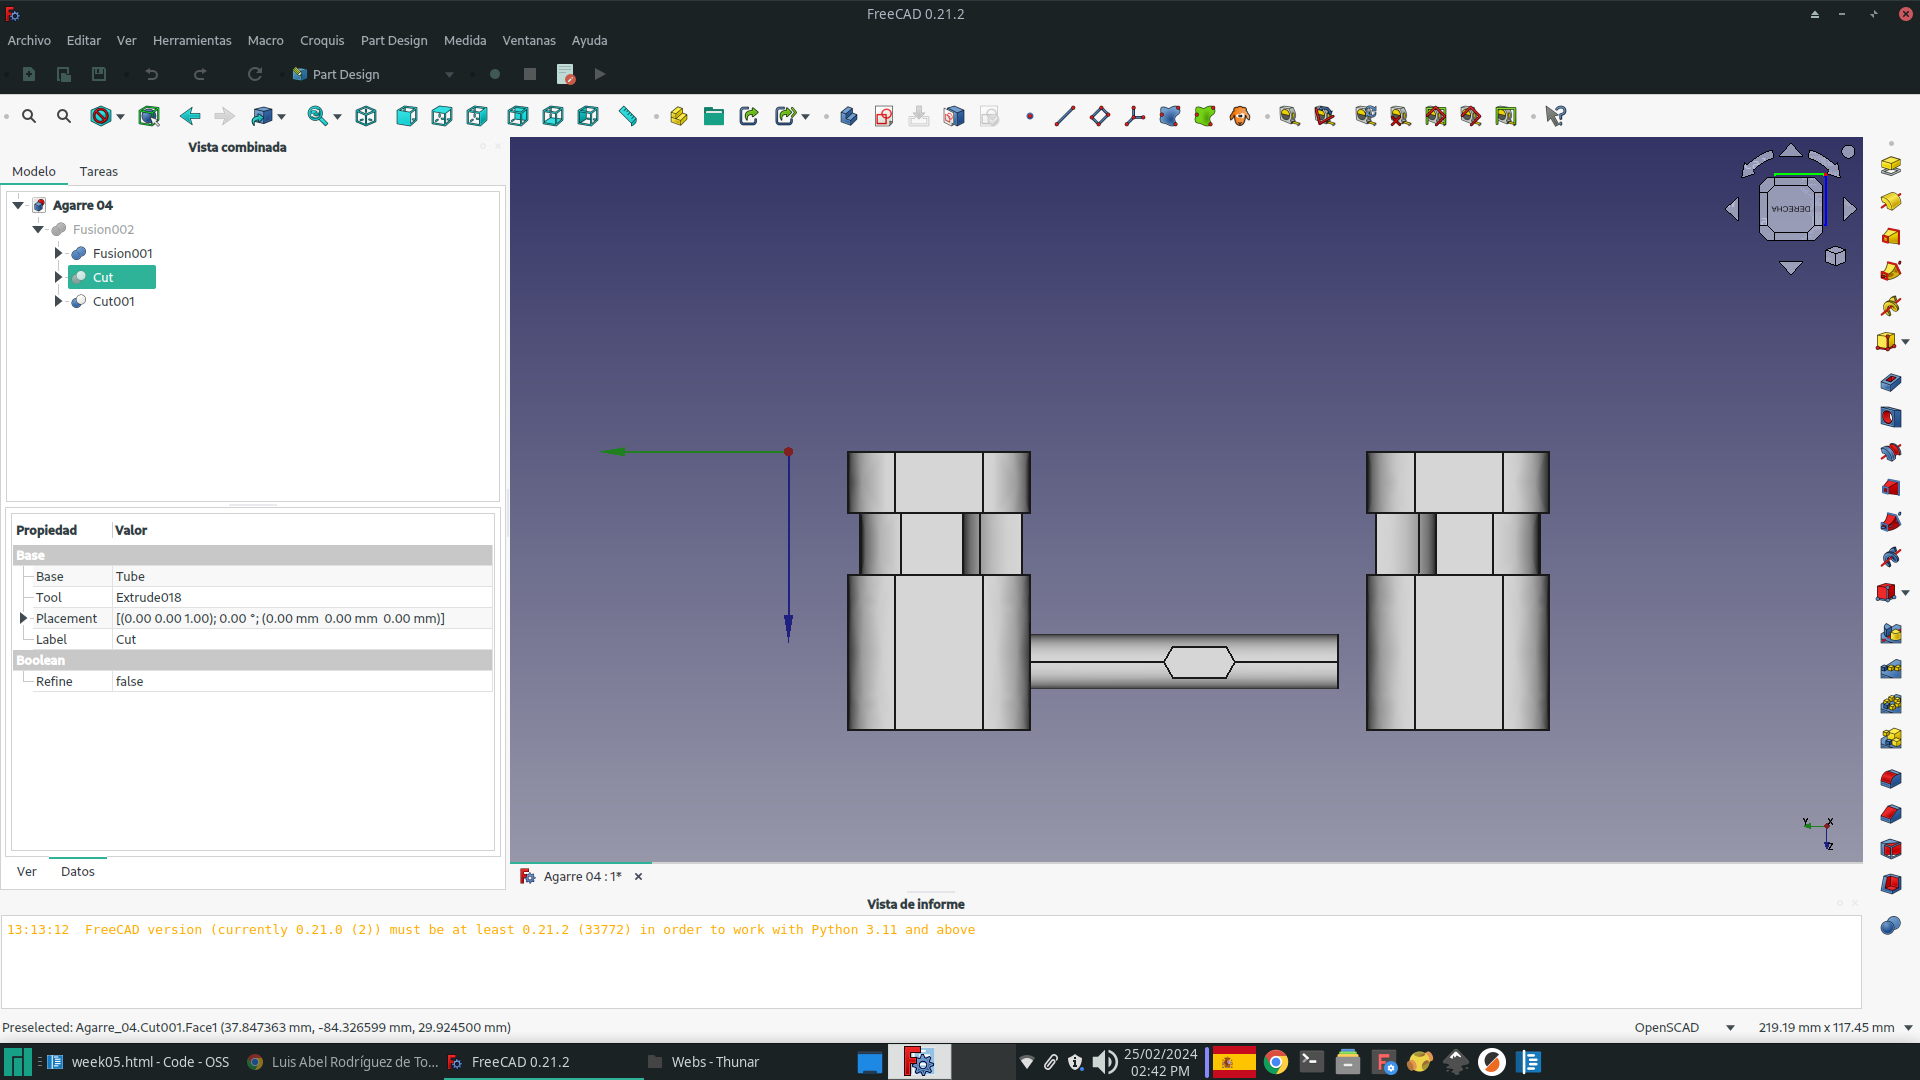
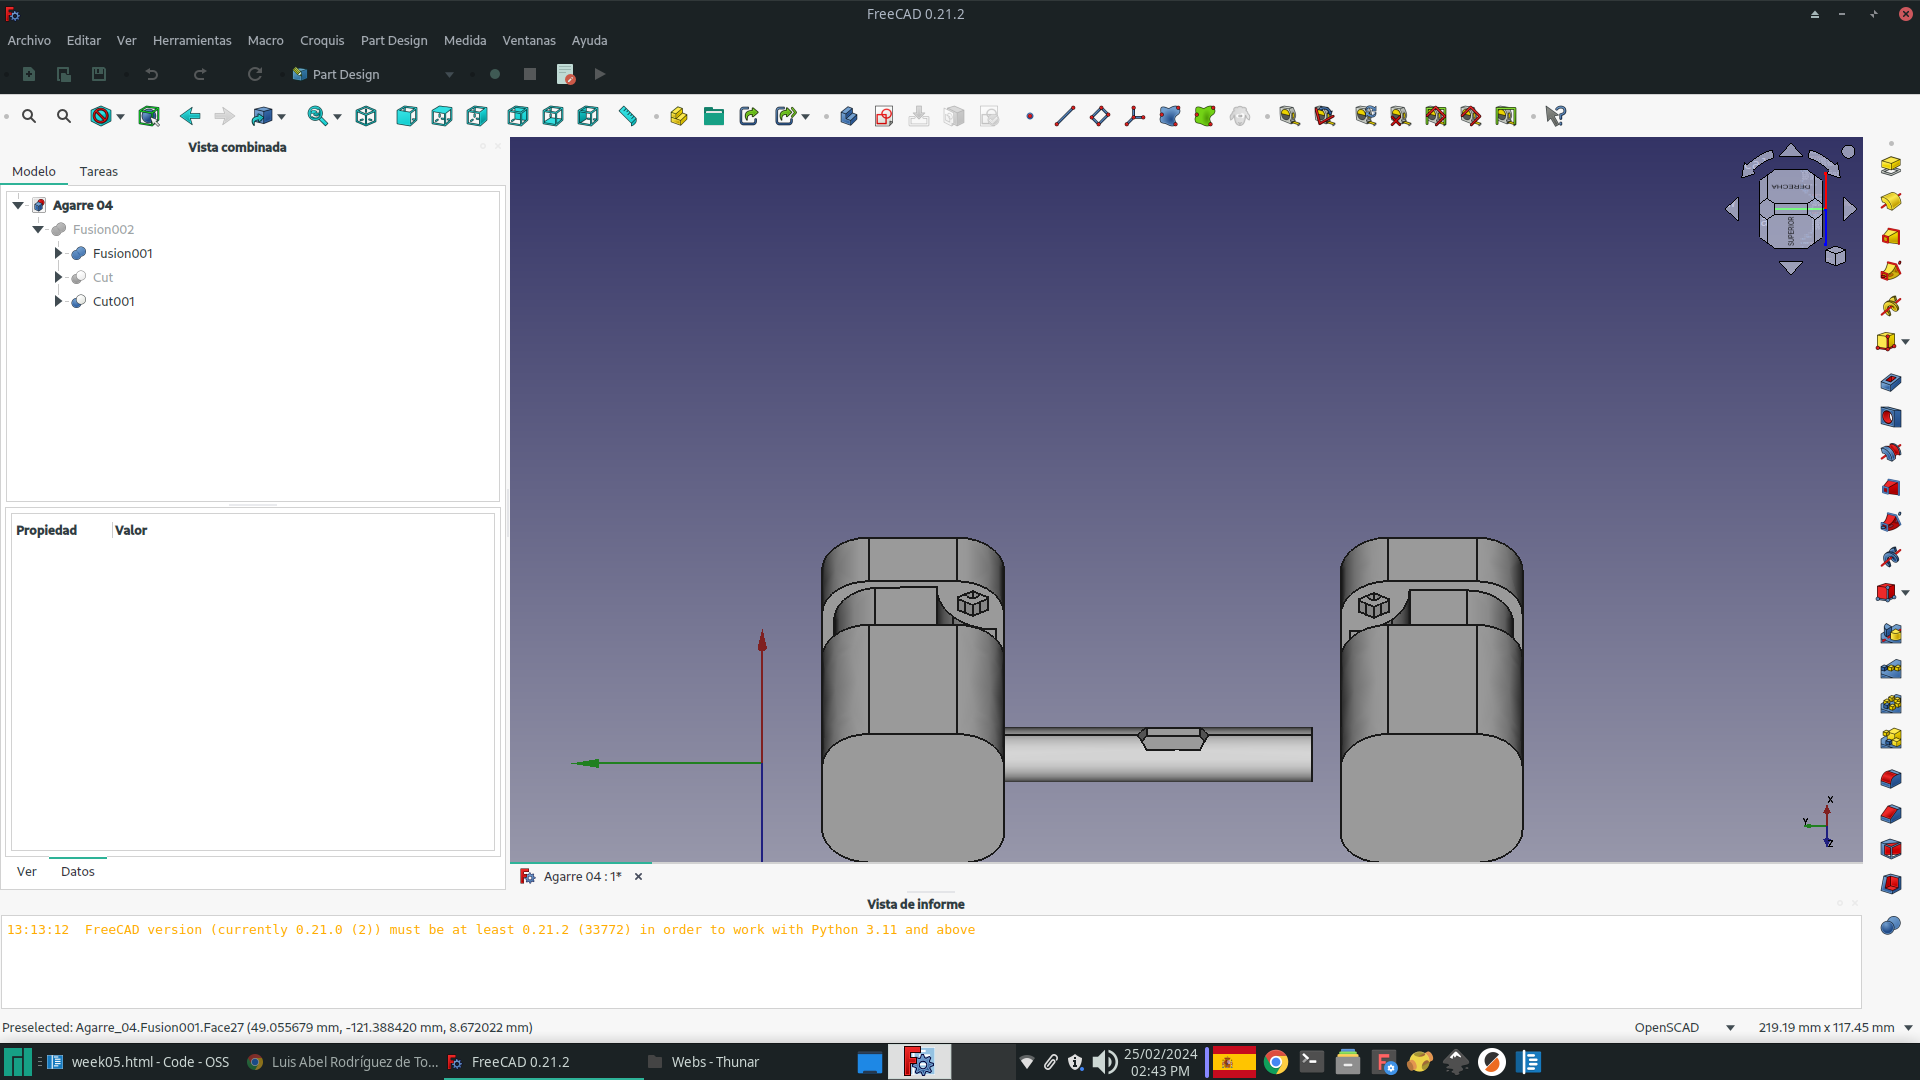
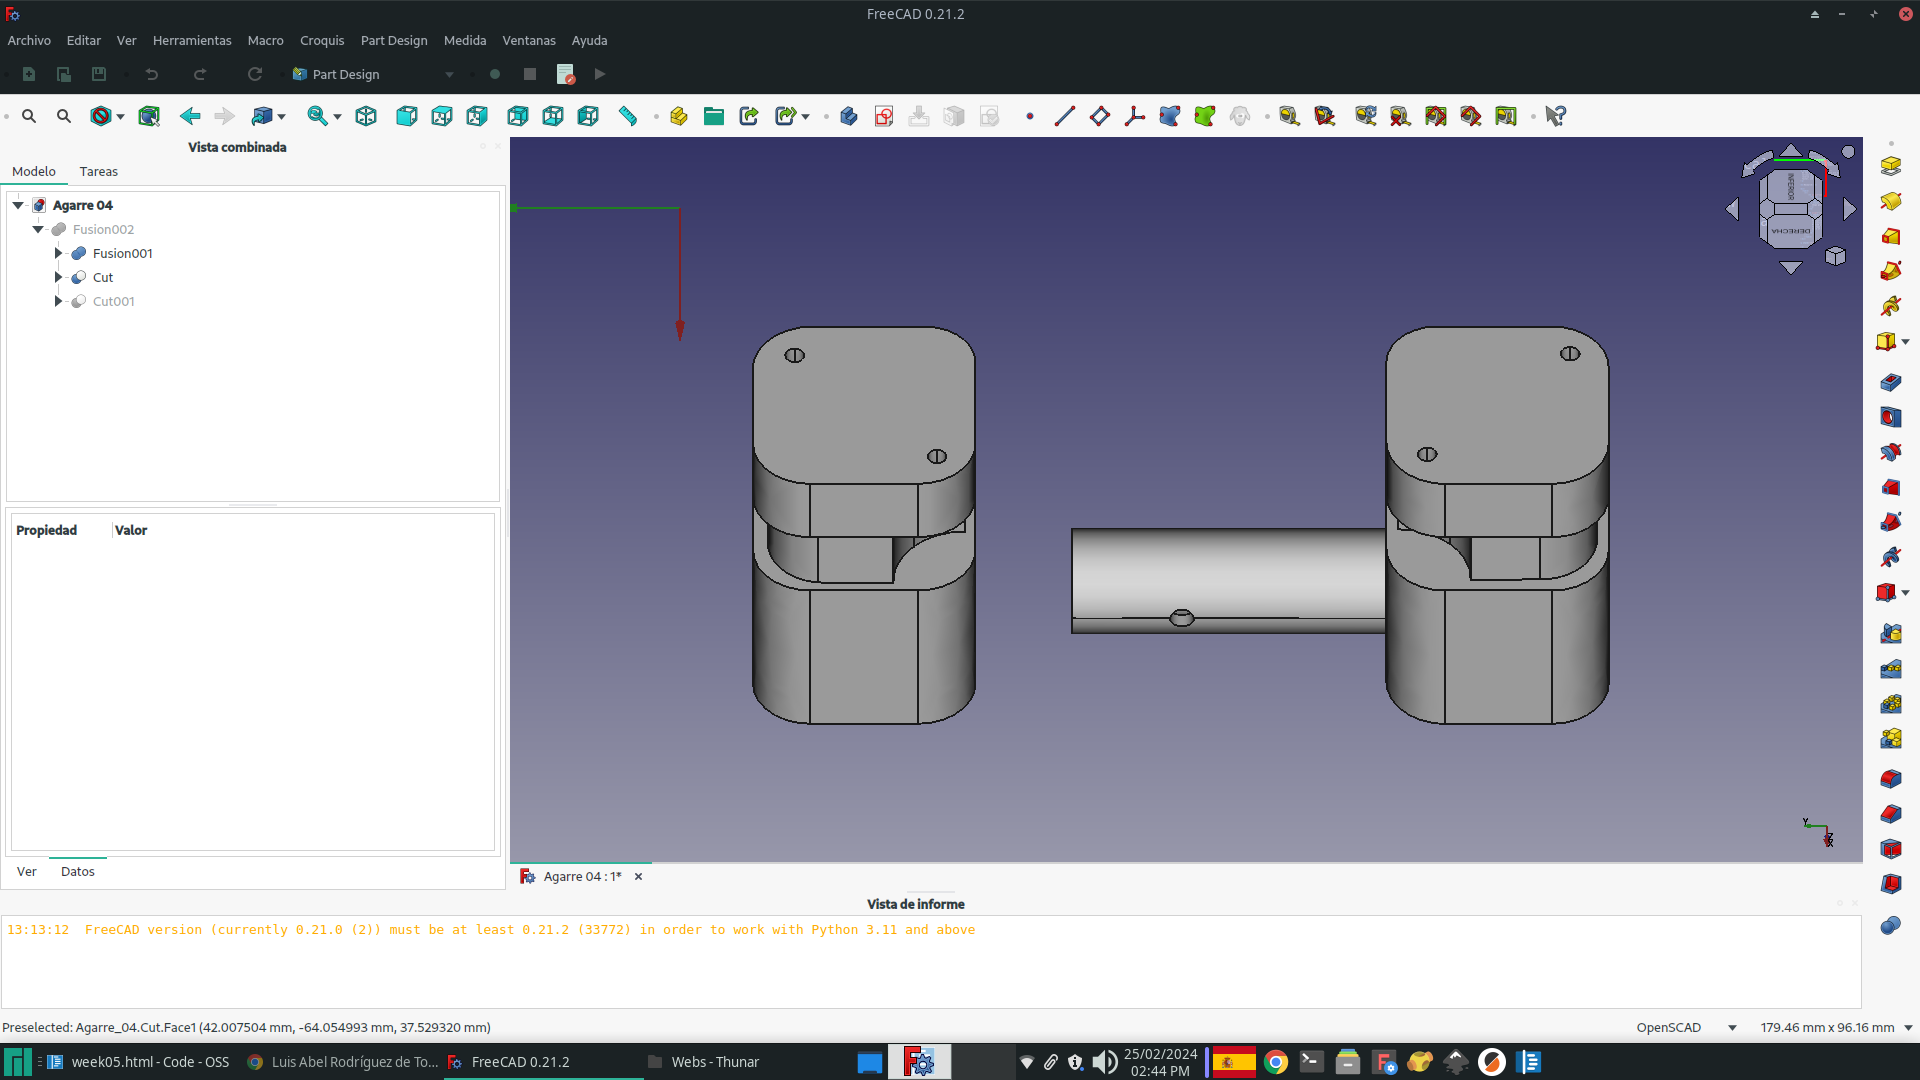
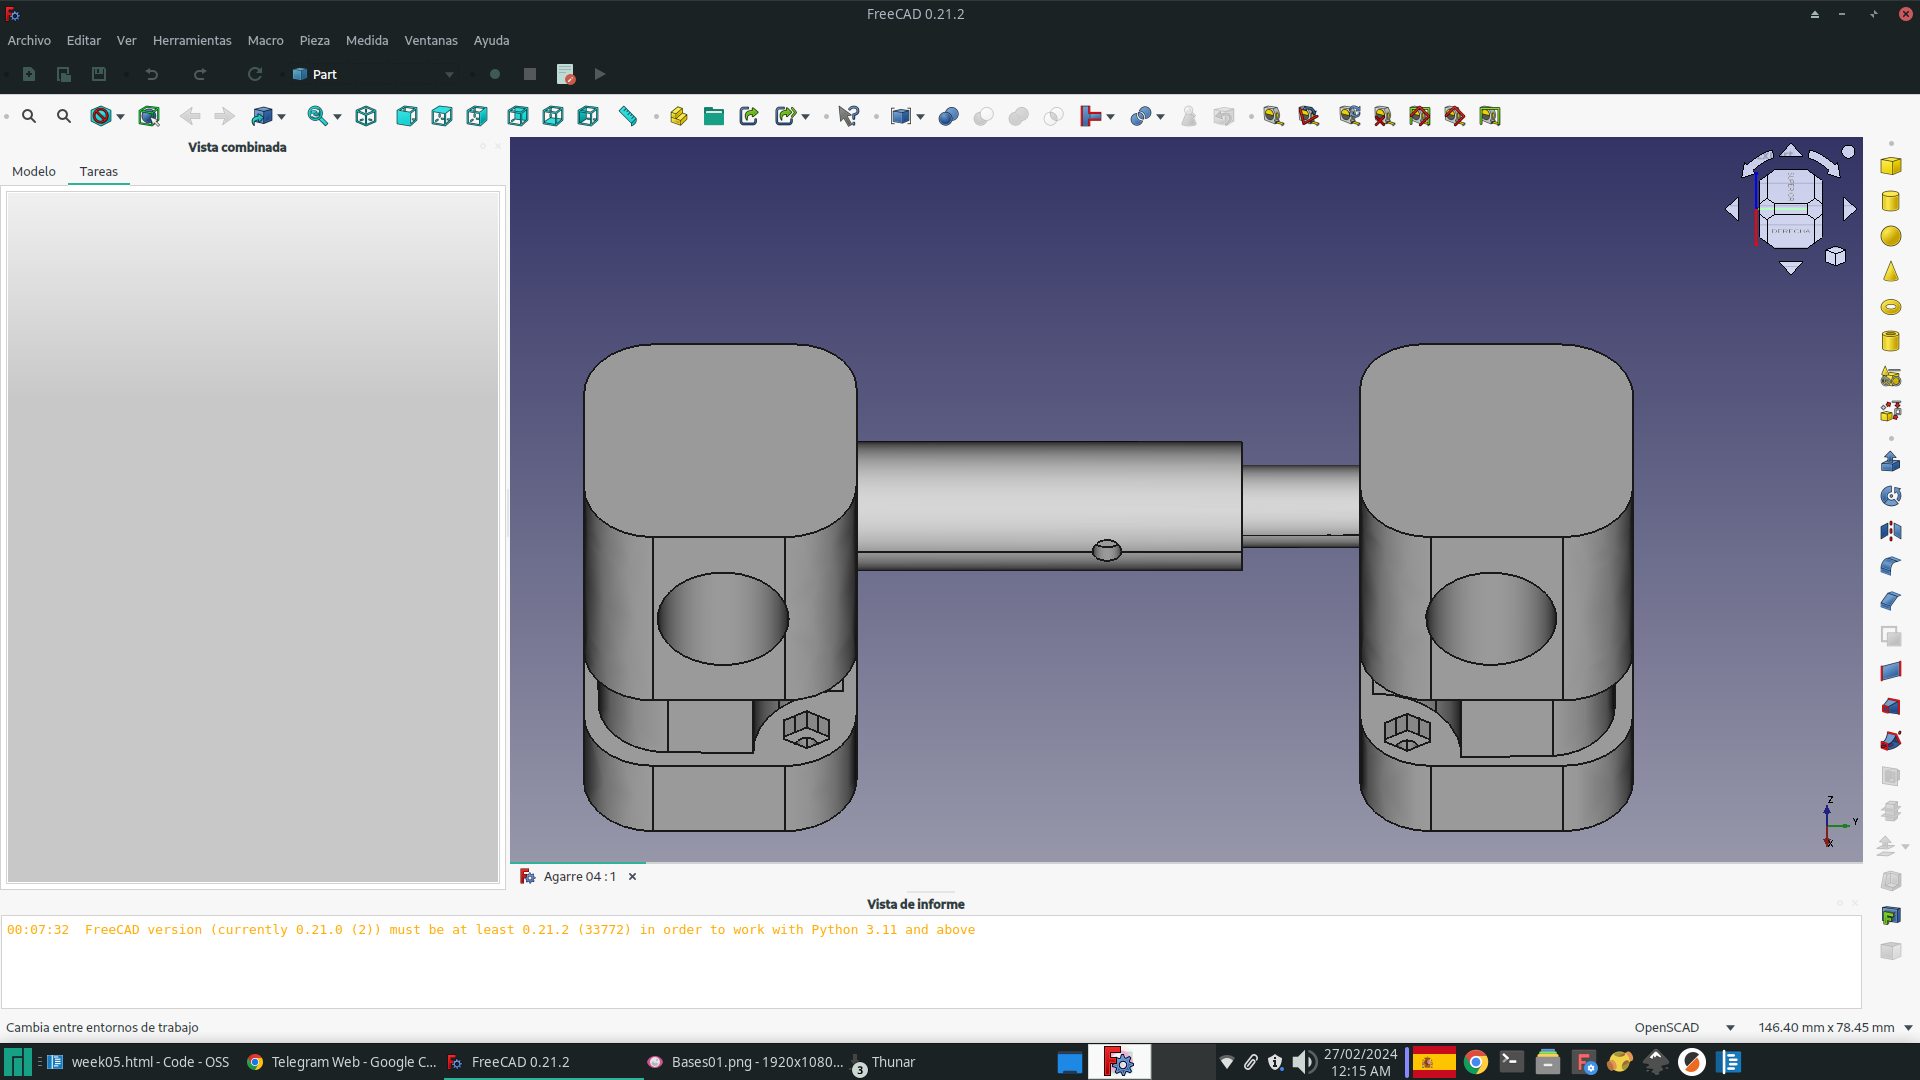
For my individual assignment, I focused on designing the wave generator paddle grips. These grips are crucial elements for integrating the paddle with the rack and pinion system responsible for its movement. I used FreeCAD software to gradually add components to the structure based on the previous design created during the third week of work with the paddle. The final structure consists of three parts, which can be seen in the following figure showcasing different views of the desing process:
|
|
|
|
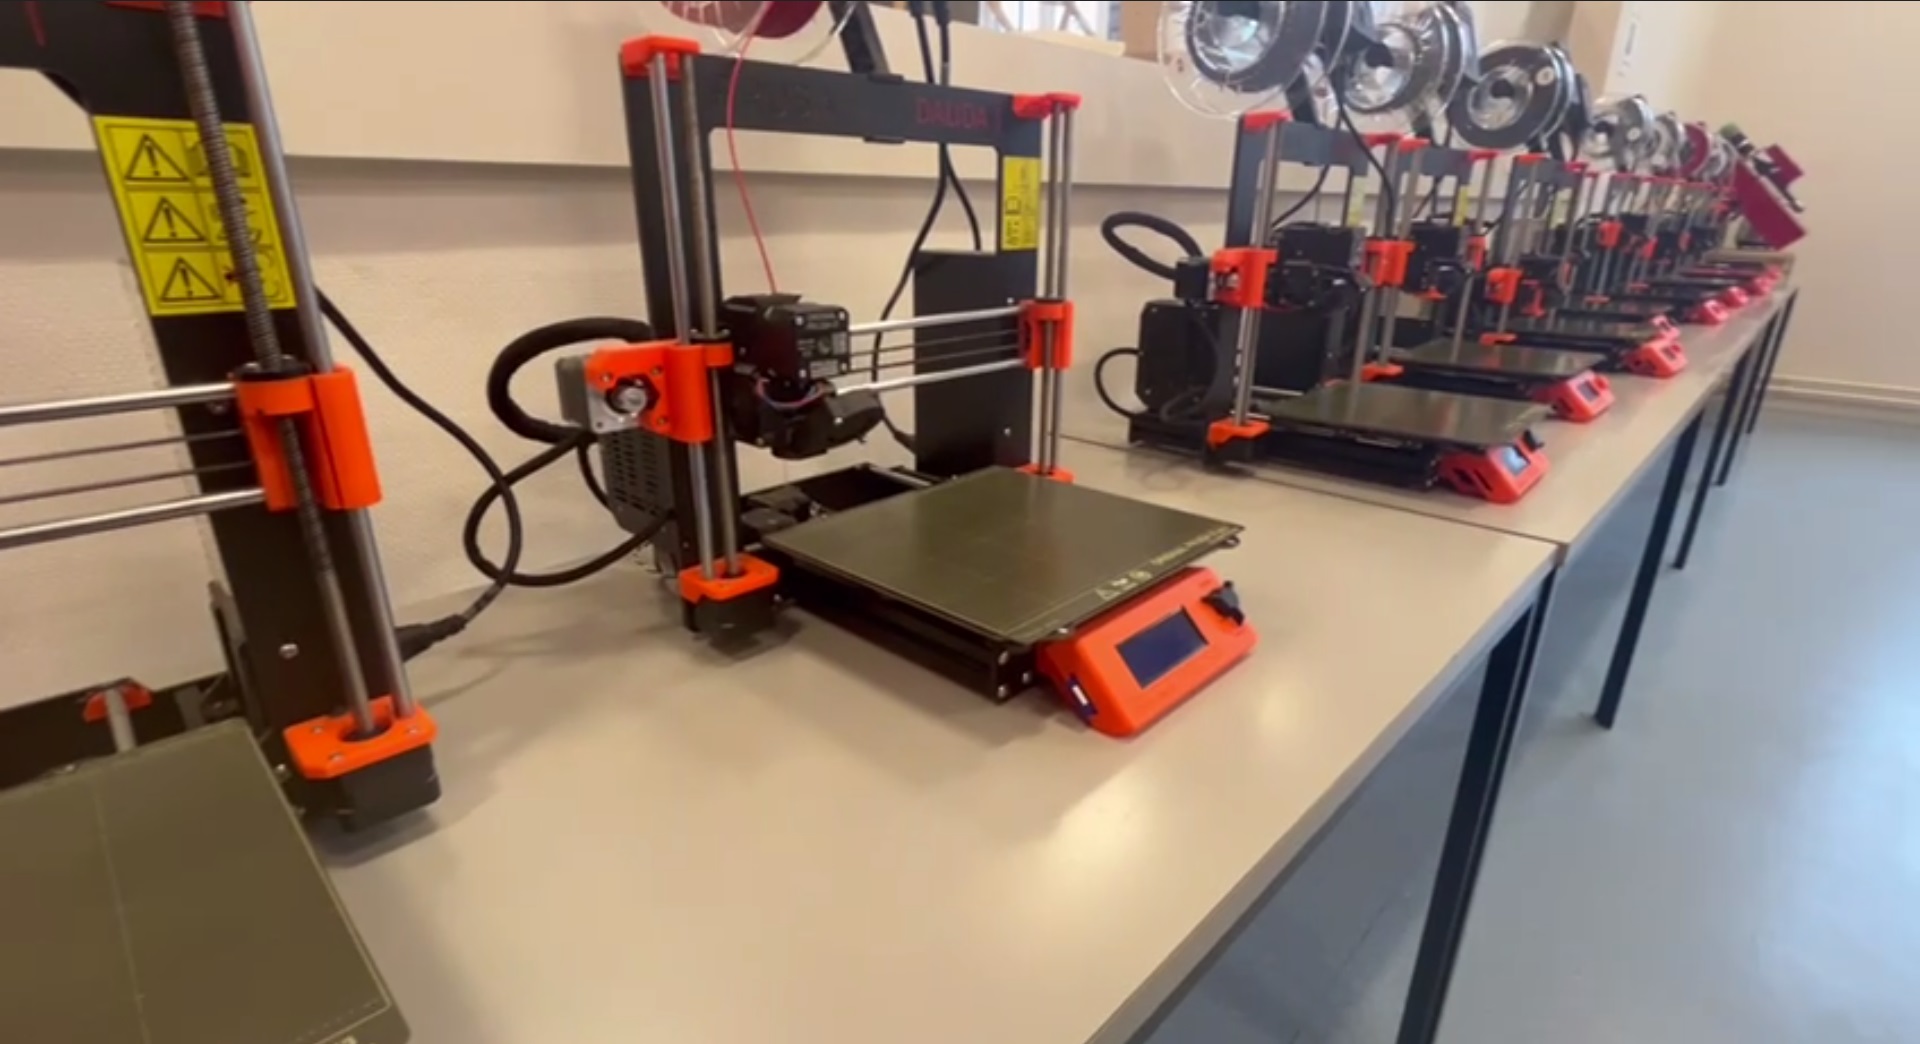
Our laboratory, FabLabULB, has 16 3D printers from the renowned brand Prusa available for use by ULB students, researchers, and the public. The printers are divided into two main models: Original Prusa i3 MK3S & MK3S+ and Original Prusa i3 MK3S & MK3S+ 0.6 nozzle. The former have 0.4 mm nozzles, while the latter have 0.6 mm nozzles. To print all necessary parts, I chose to use printers with 0.6 mm nozzles because of their wider width, which significantly reduces printing time.
|

|
| Original Prusa i3 MK3S & MK3S+ | Original Prusa i3 MK3S & MK3S+ 0.6 nozzle |
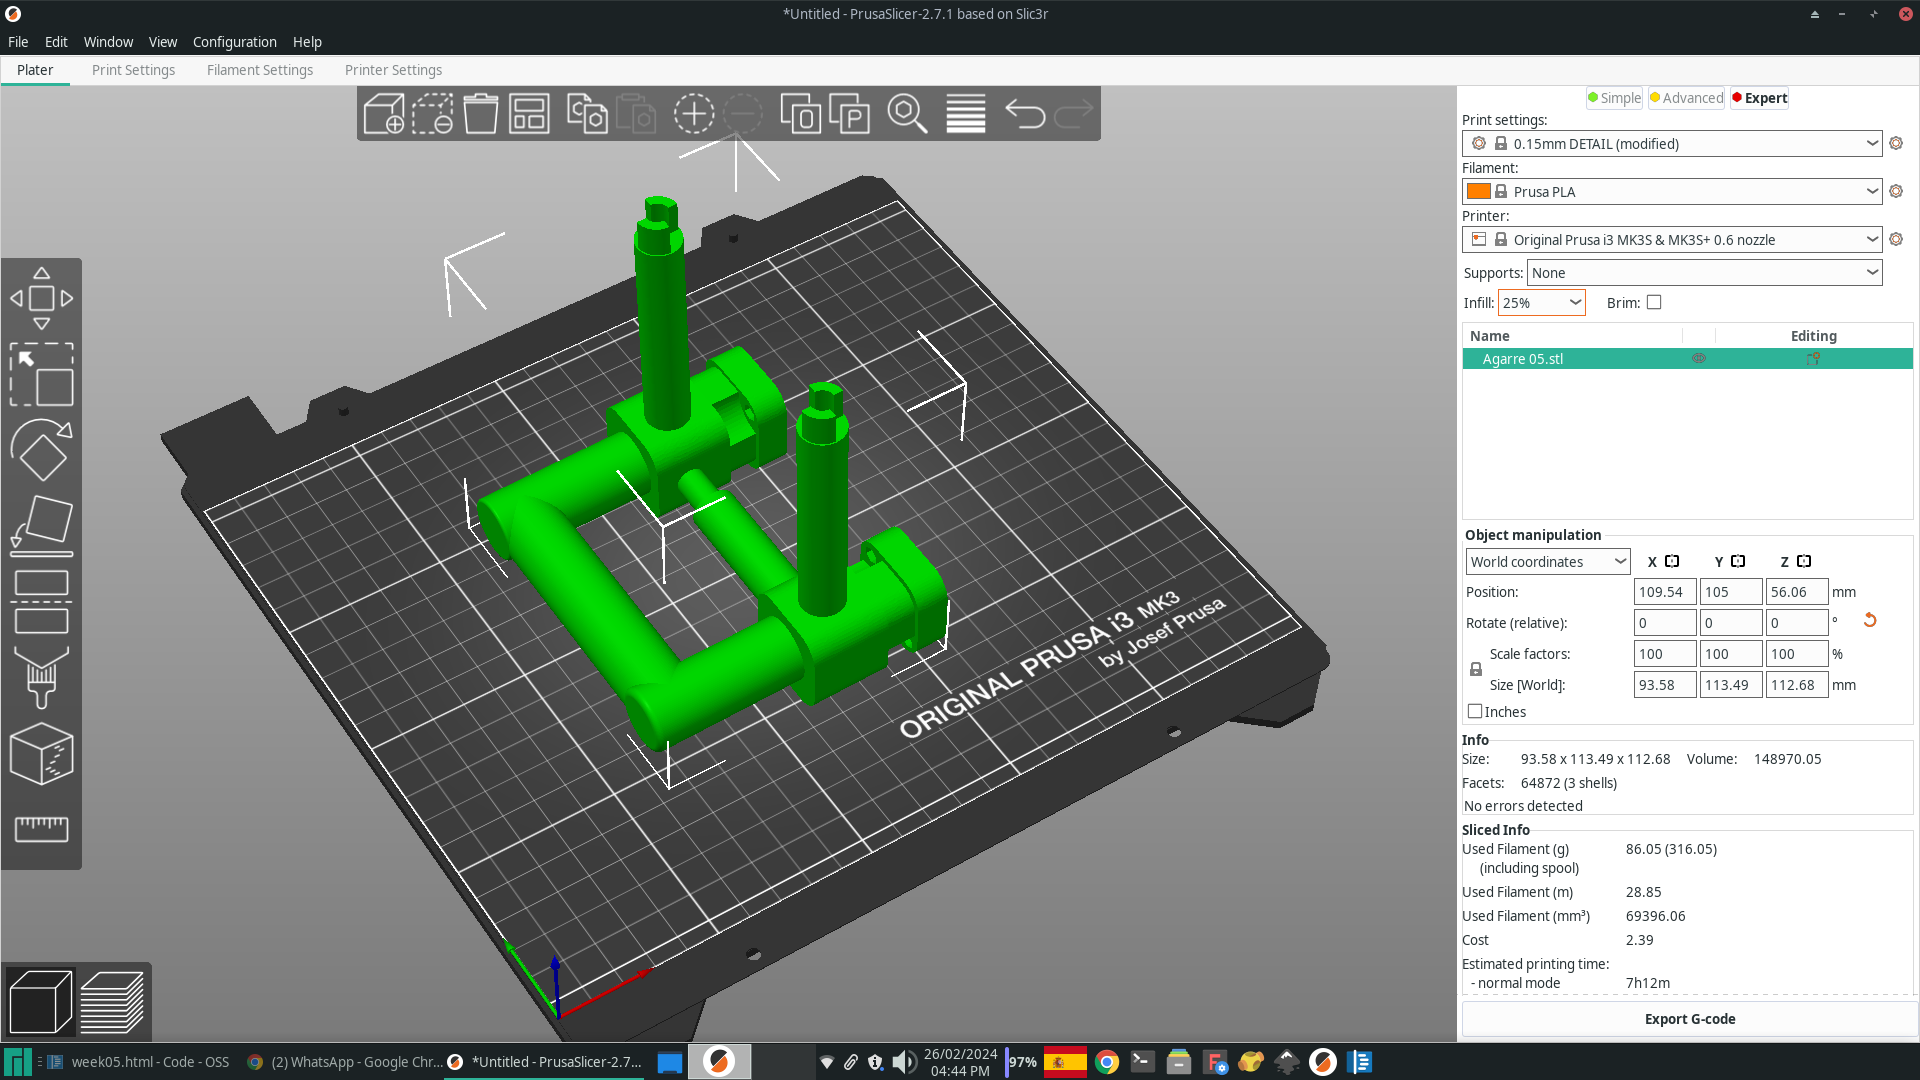
For printing all the parts, I utilized the default settings of the printer, with the exception of a few parameters.

|
|
|
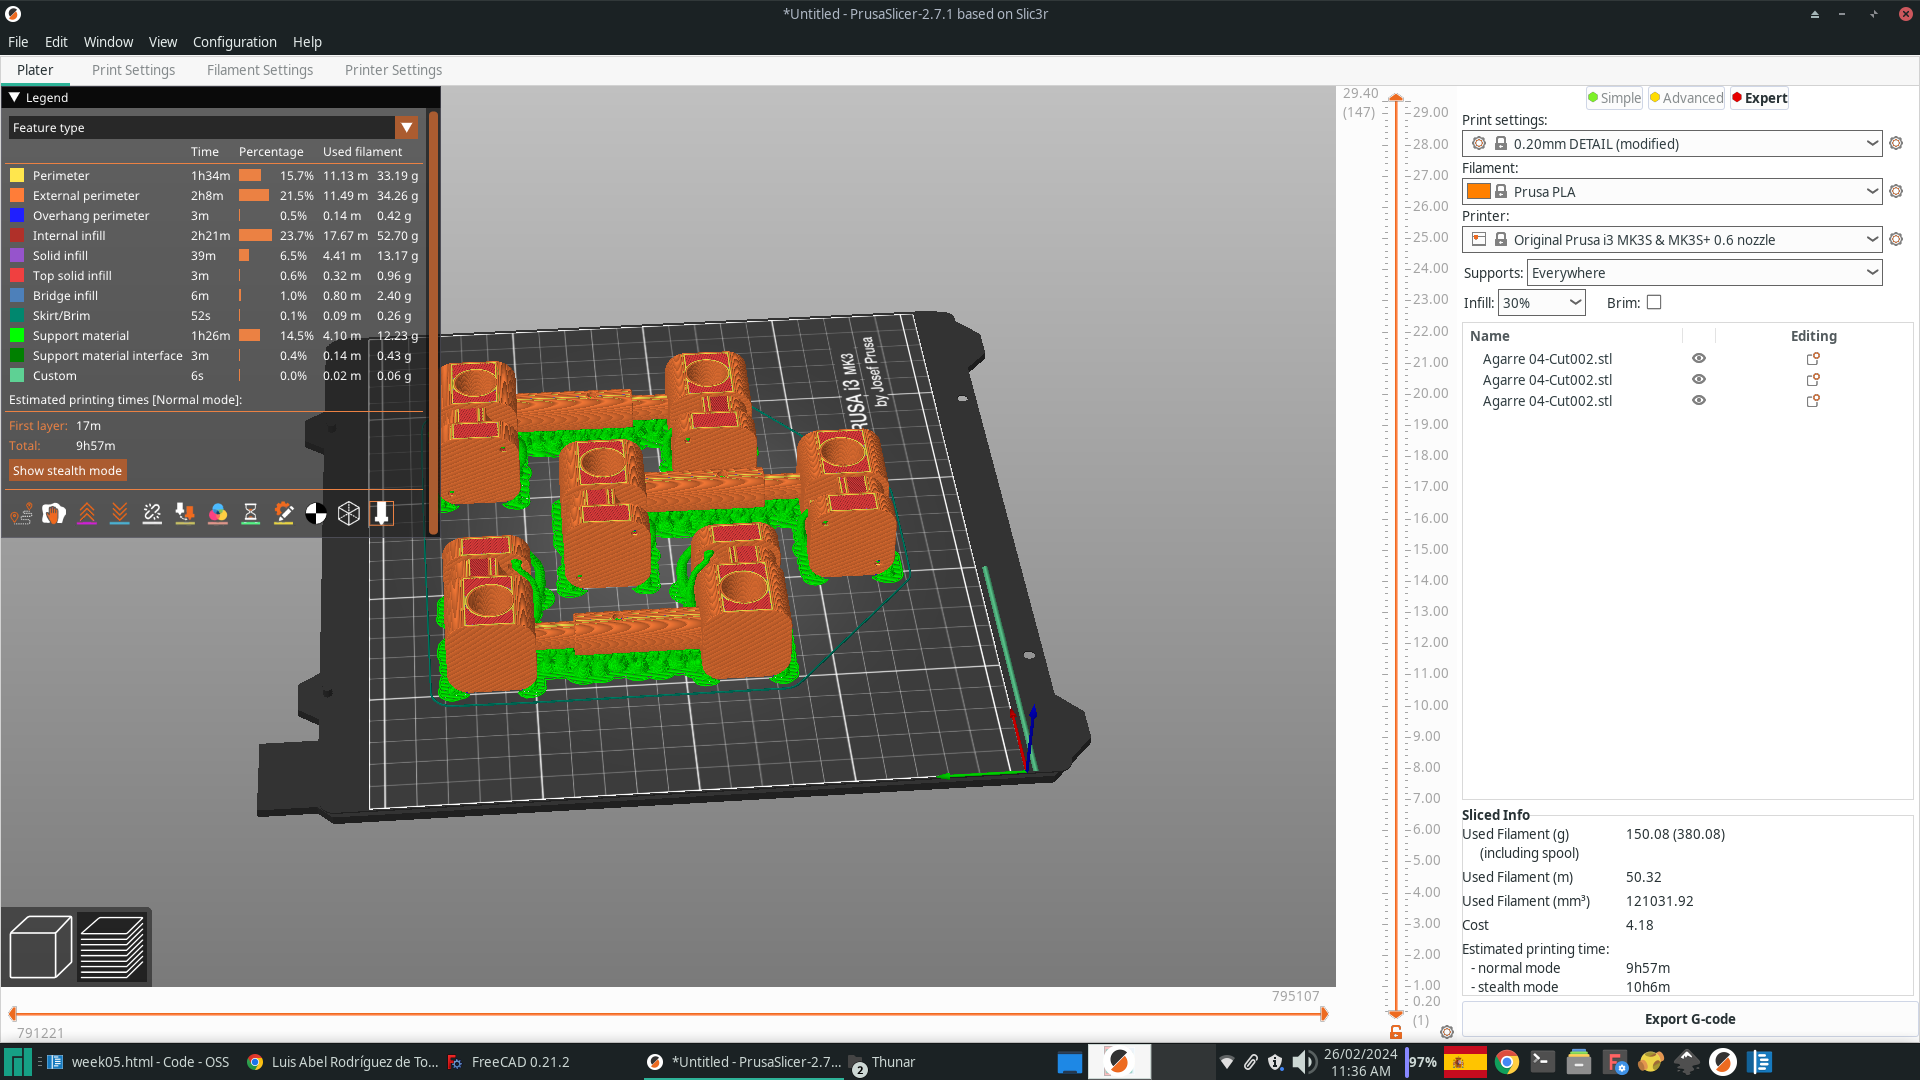
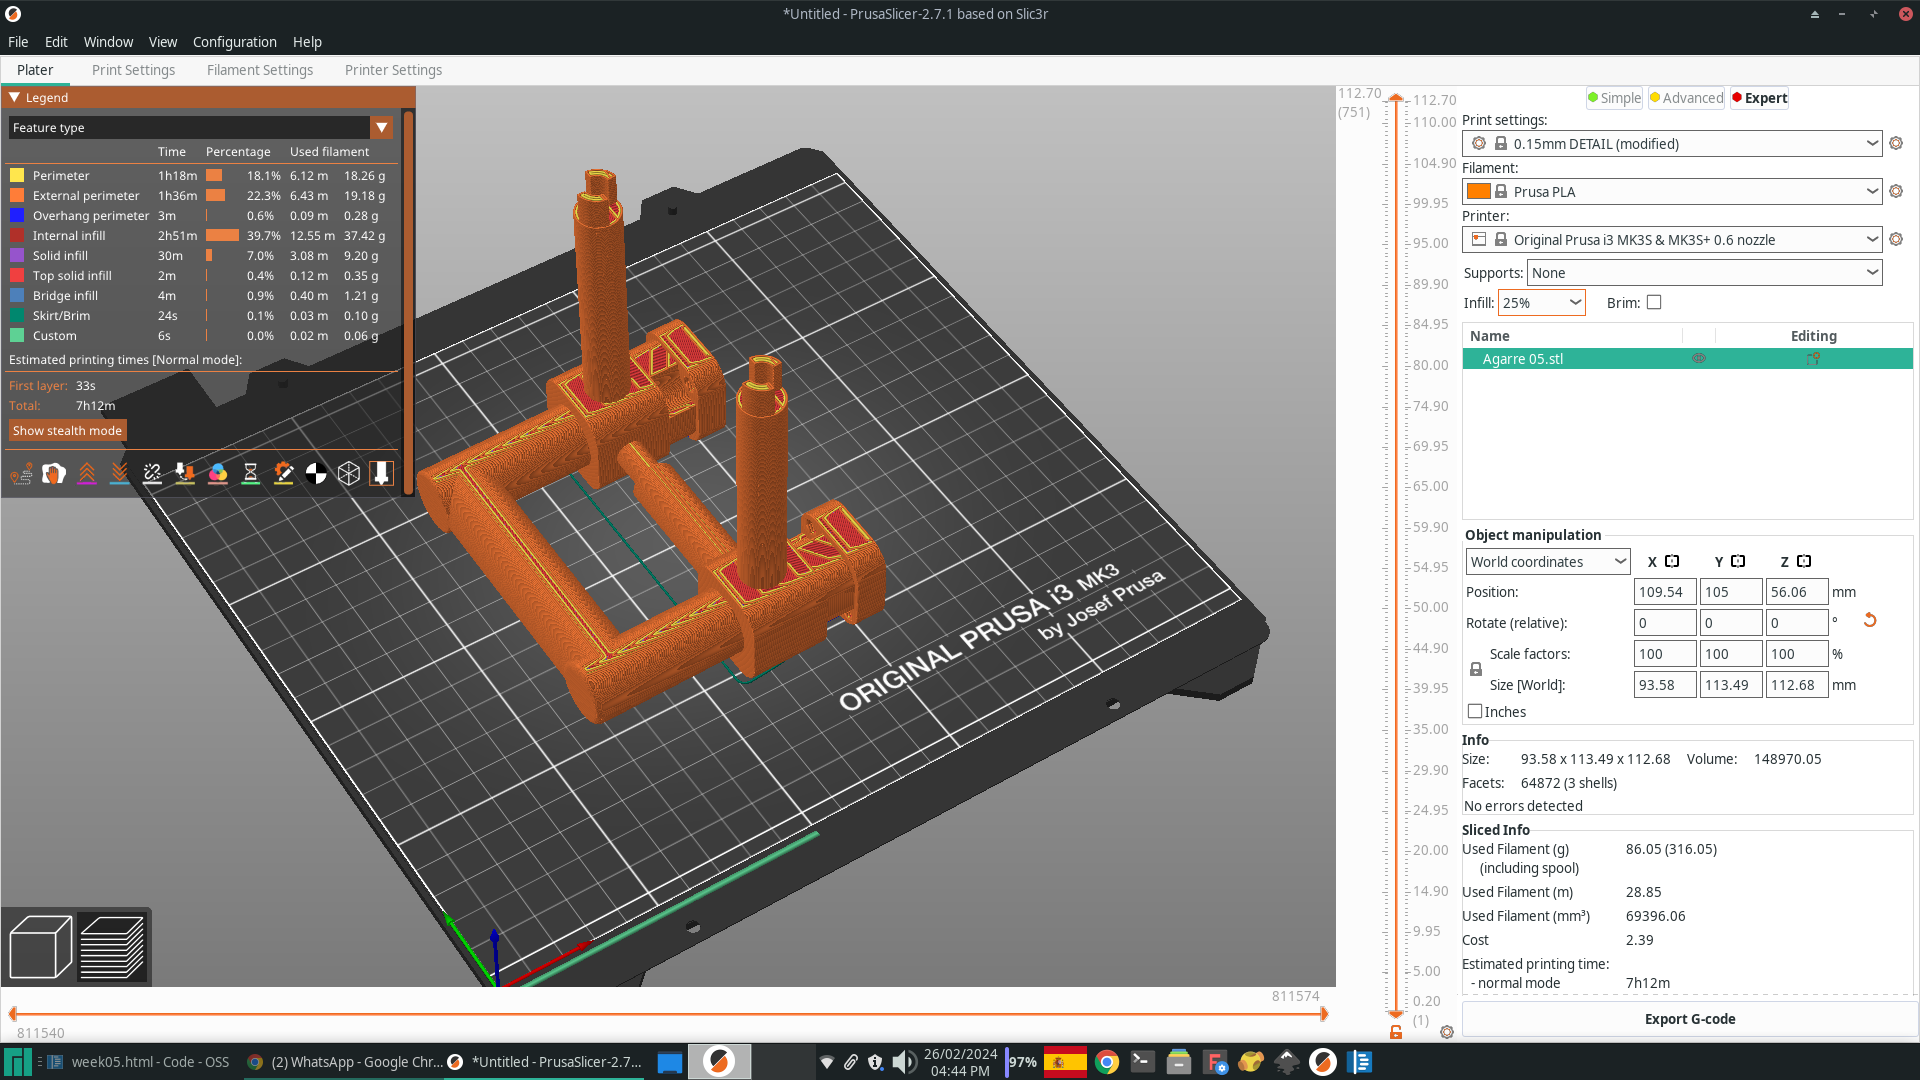
To ensure accurate printing, I added supports to the parts to avoid possible failures due to protruding areas. This precaution was taken based on the results of the week's group assignment, which can be found here. Organic supports were used to minimize material consumption during the printing process. This choice not only improved production efficiency but also contributed to more satisfactory and accurate results. |
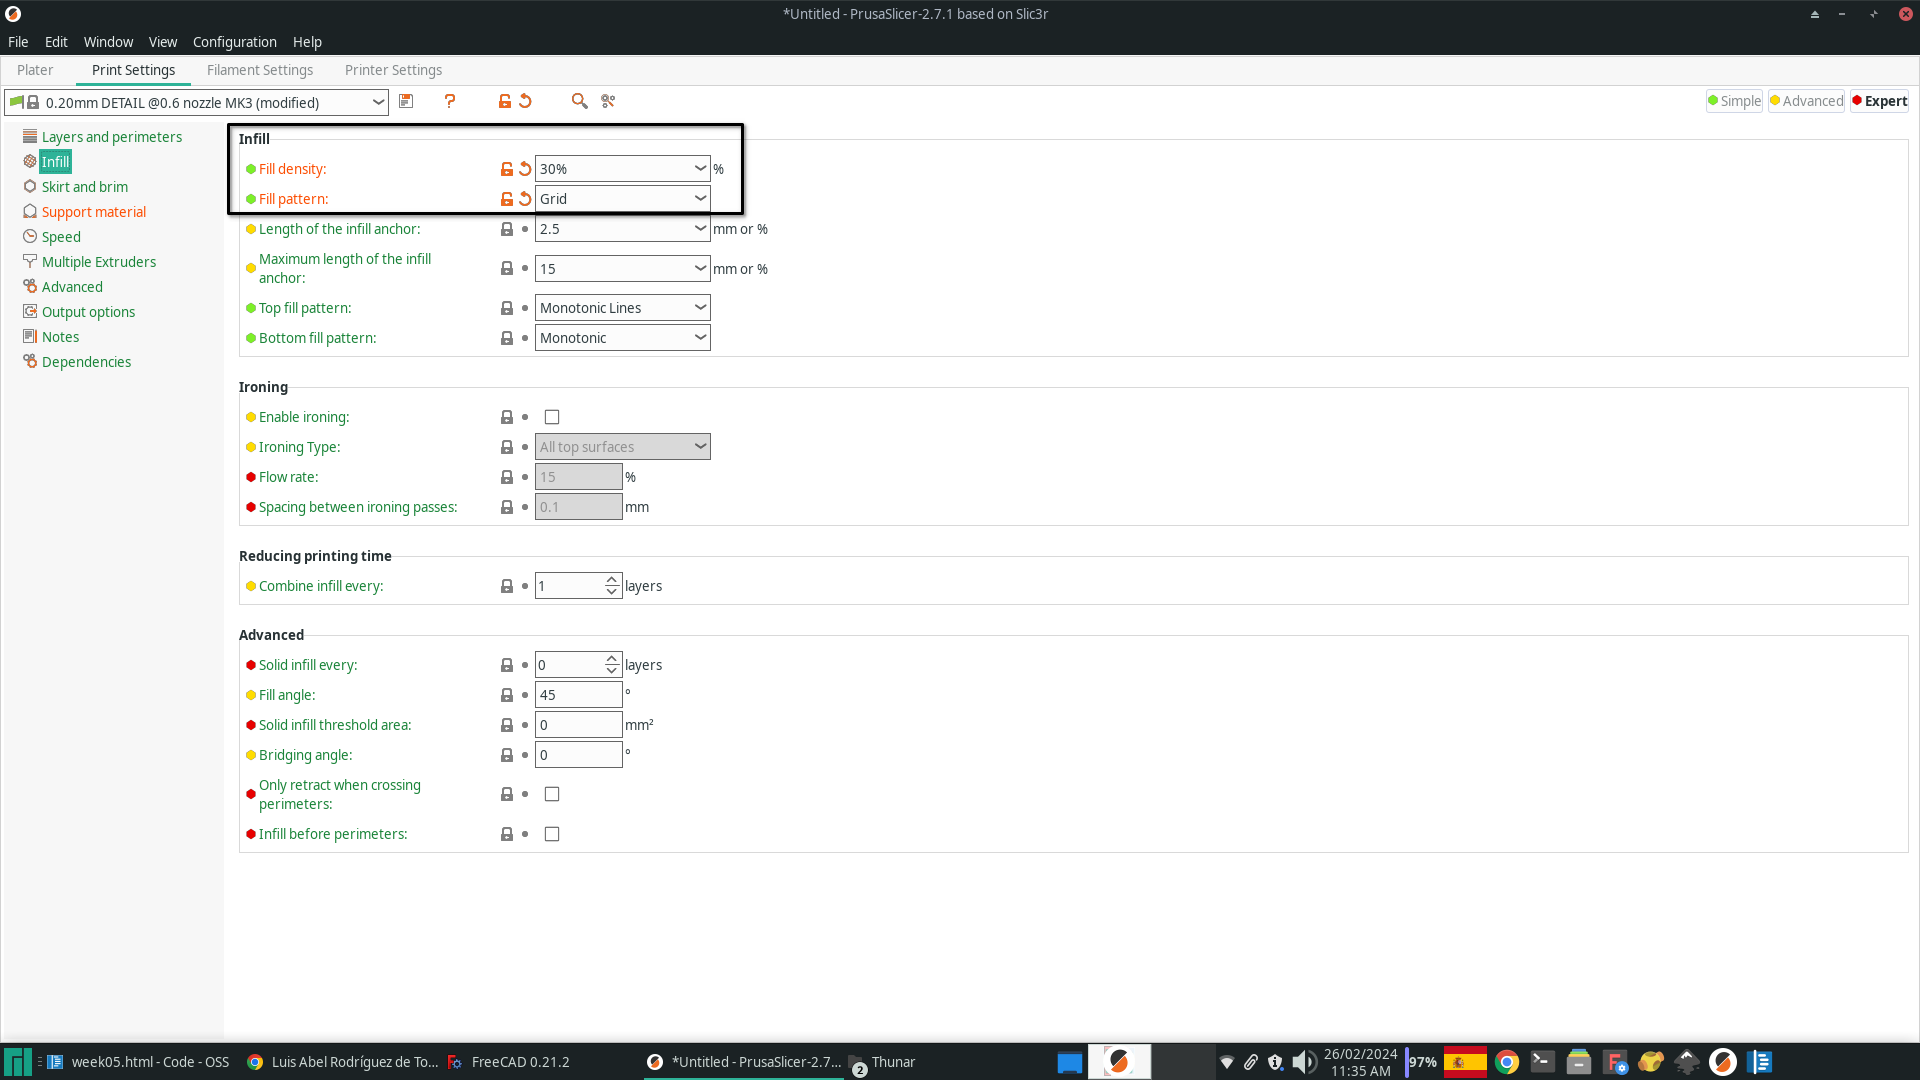
A grid filler with a density of 30% was used to ensure greater robustness in the printed parts, despite the minimum recommendation being 25%. This decision was based on the need to achieve additional strength in the parts to meet the application requirements. The same configurations were maintained to ensure maximum mechanical strength of the final 3D printed part. |
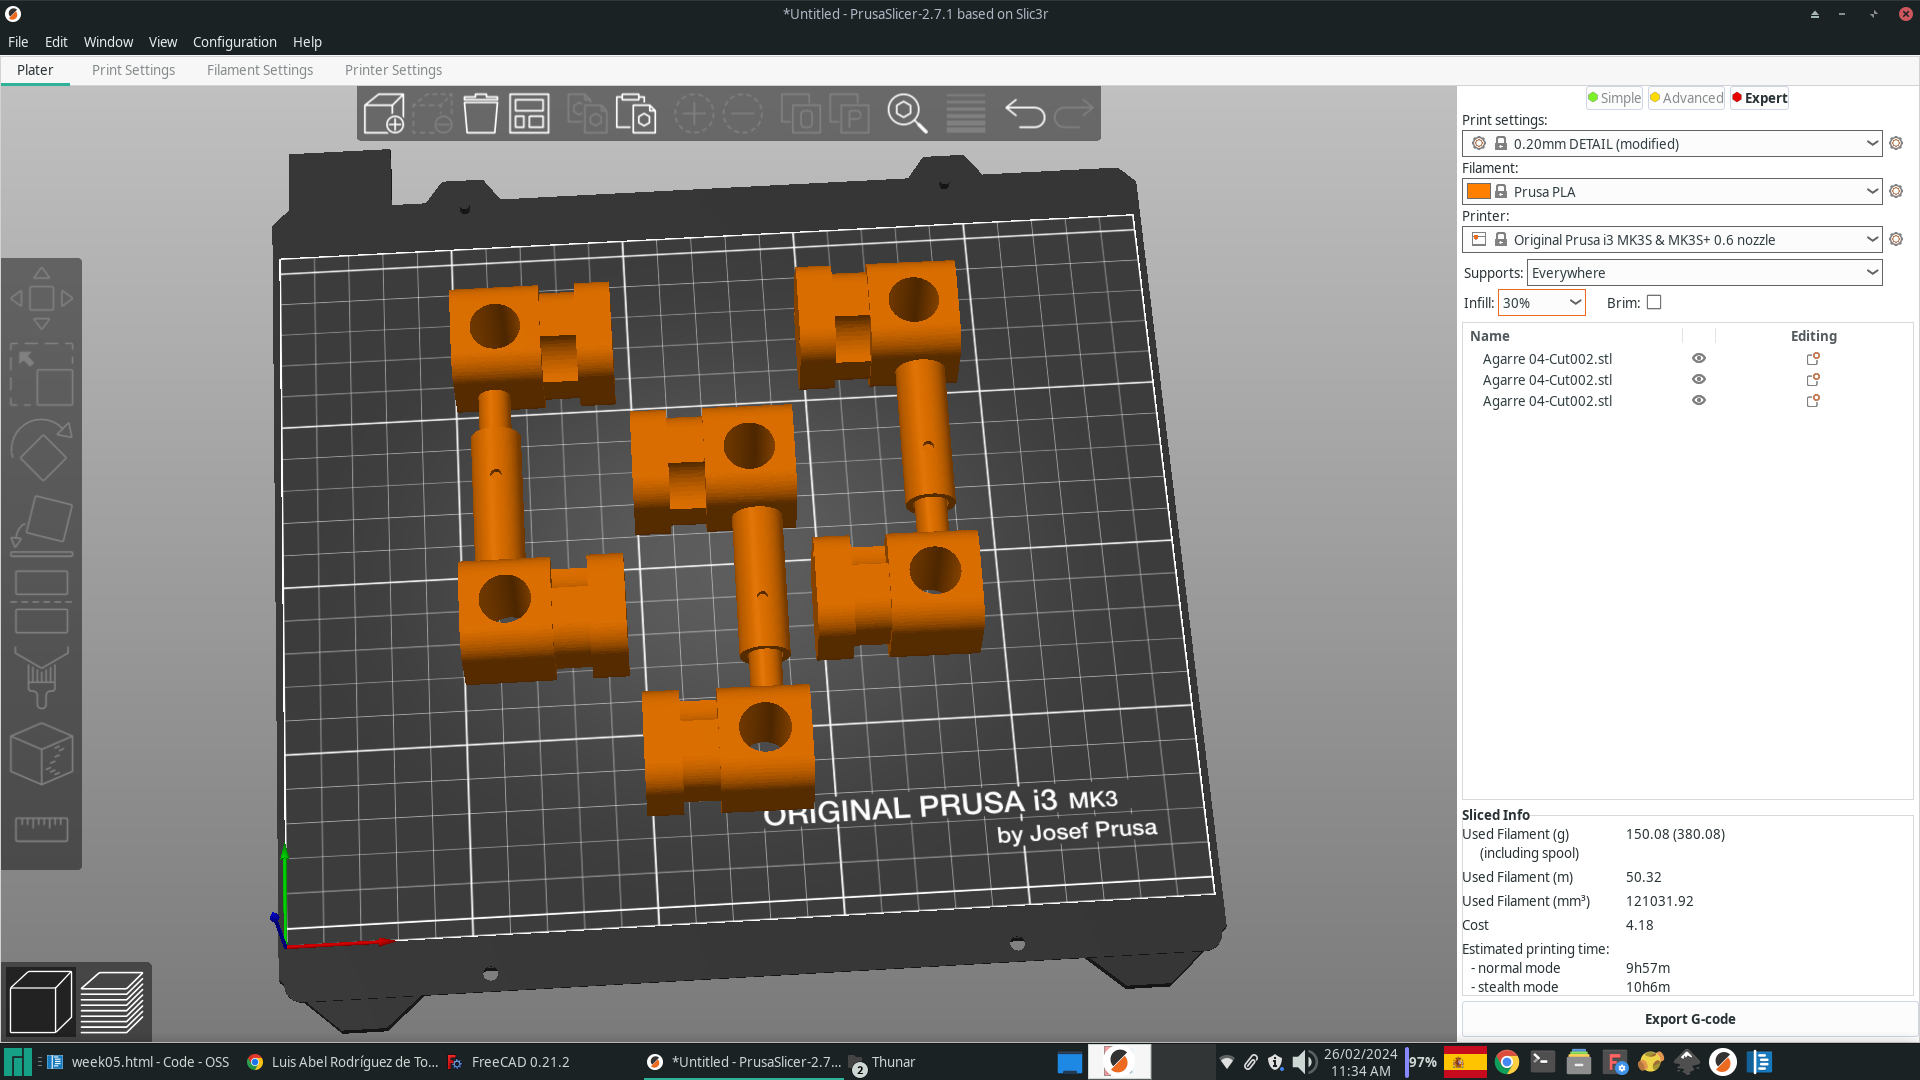
The Prusaslicer program, which is available for free on the official Prusa website, is used to print with printers from this brand.
|
|
| Objects to print | Slicer |
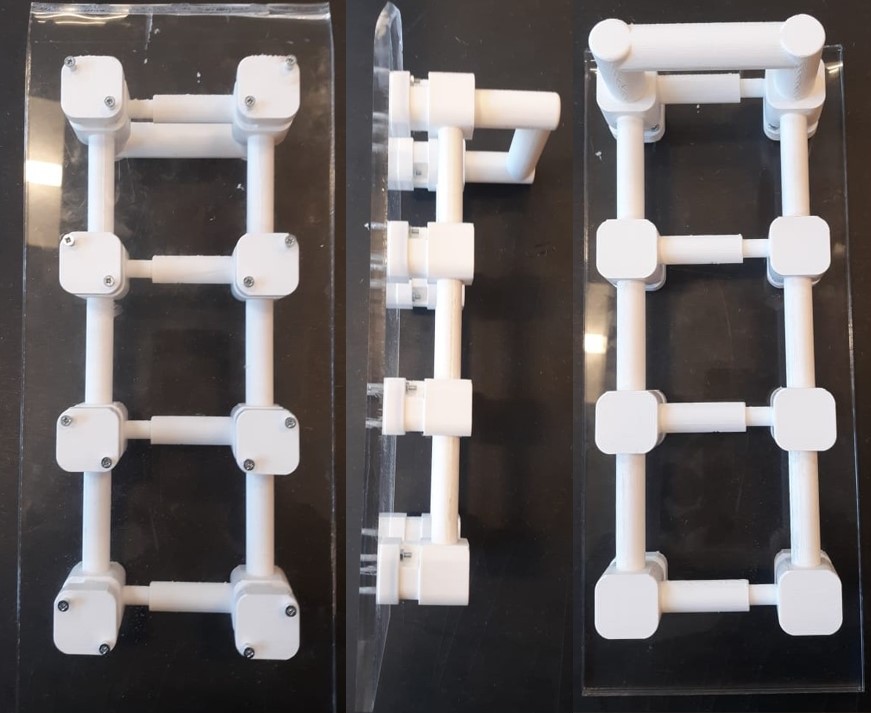
The outcome is displayed below:
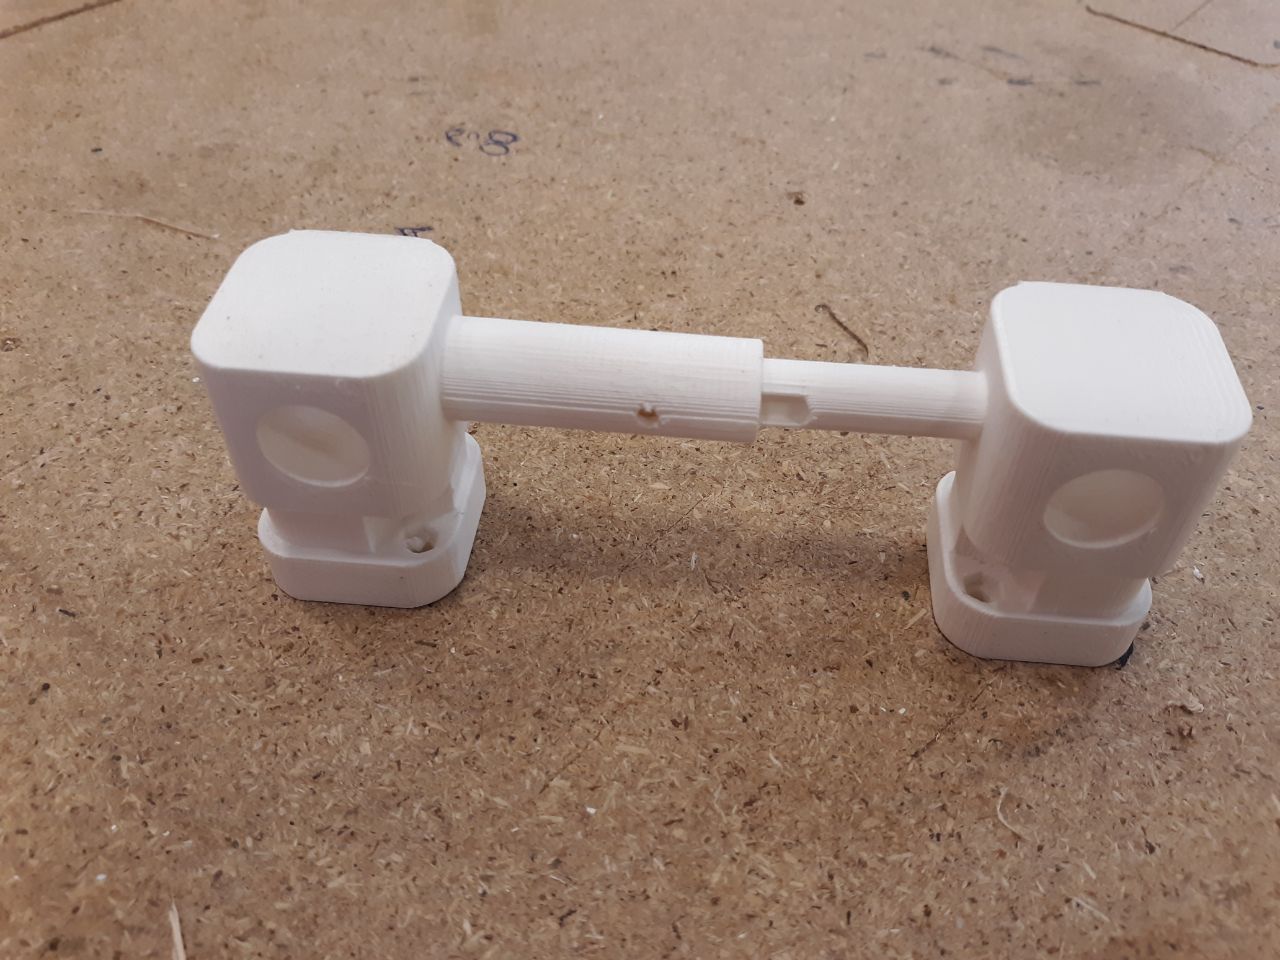
Subsequently, we designed printed joints for the three bases.
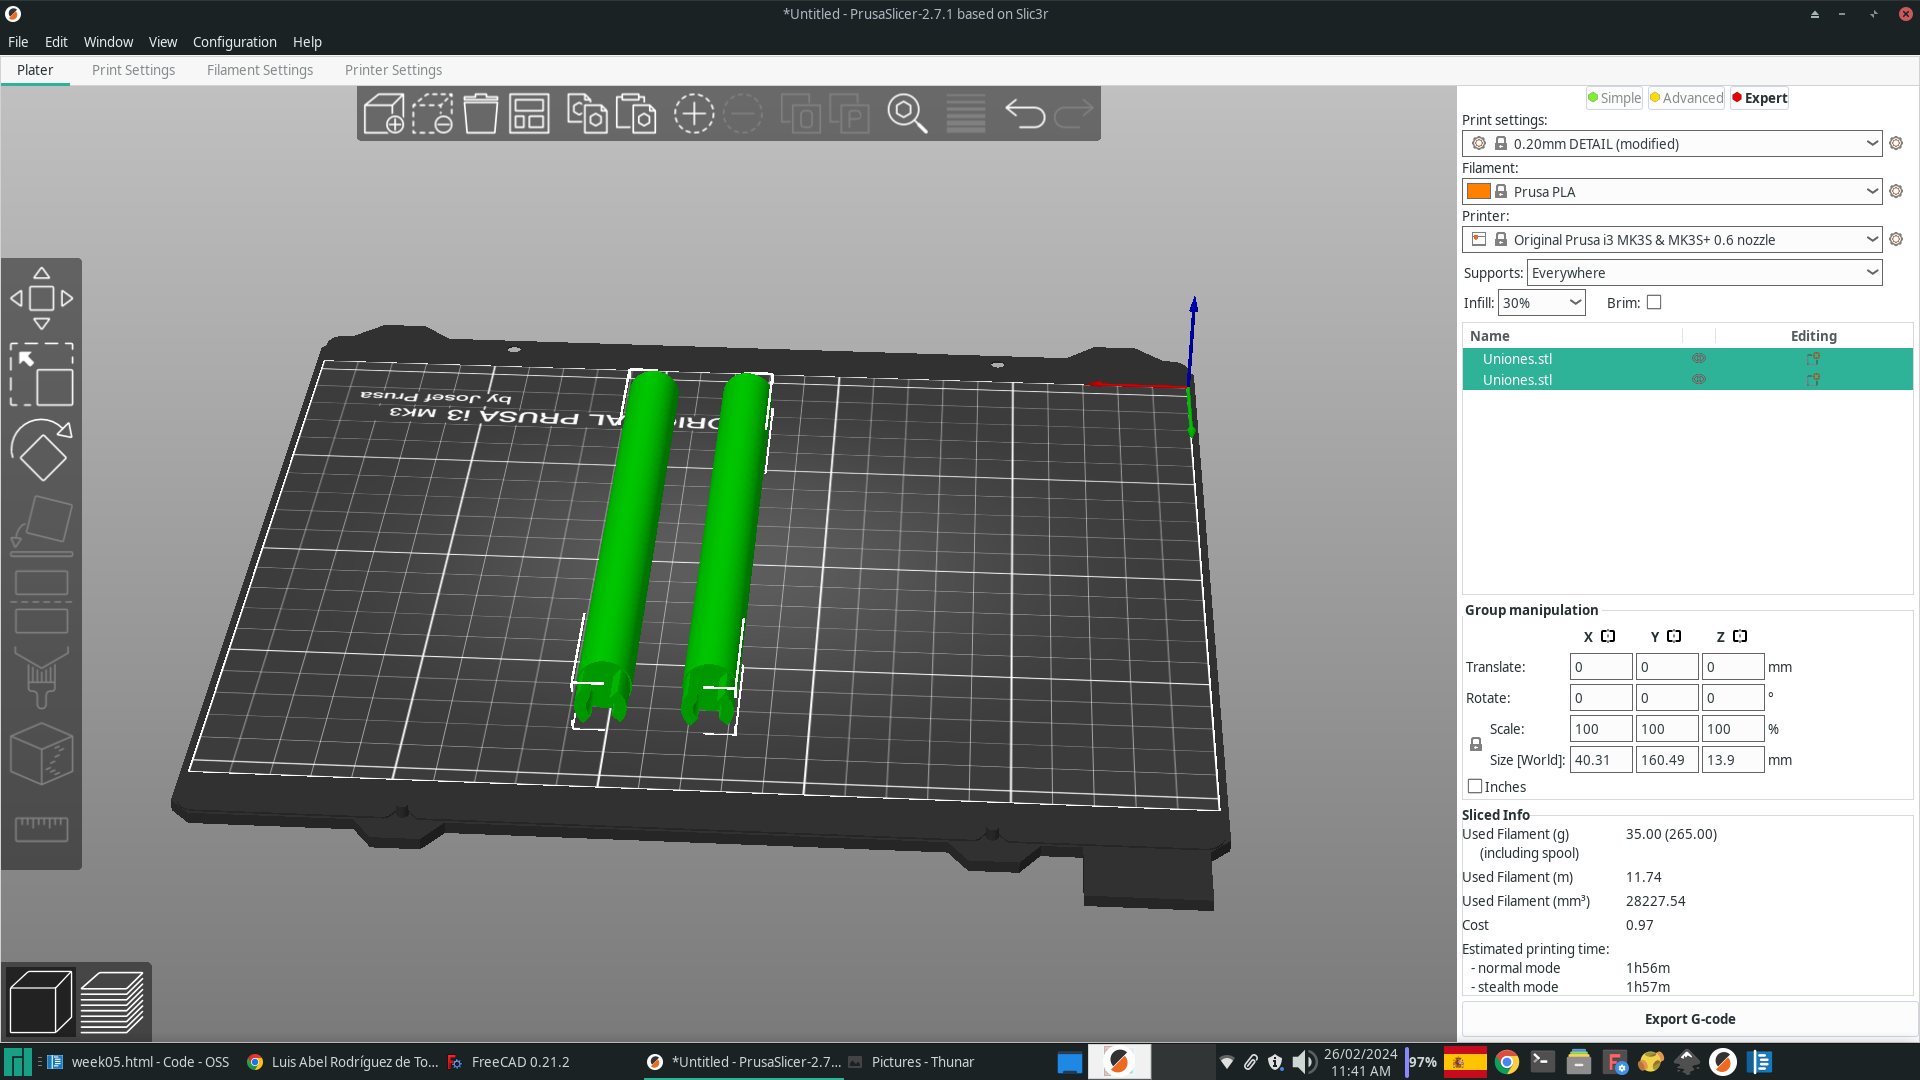
|
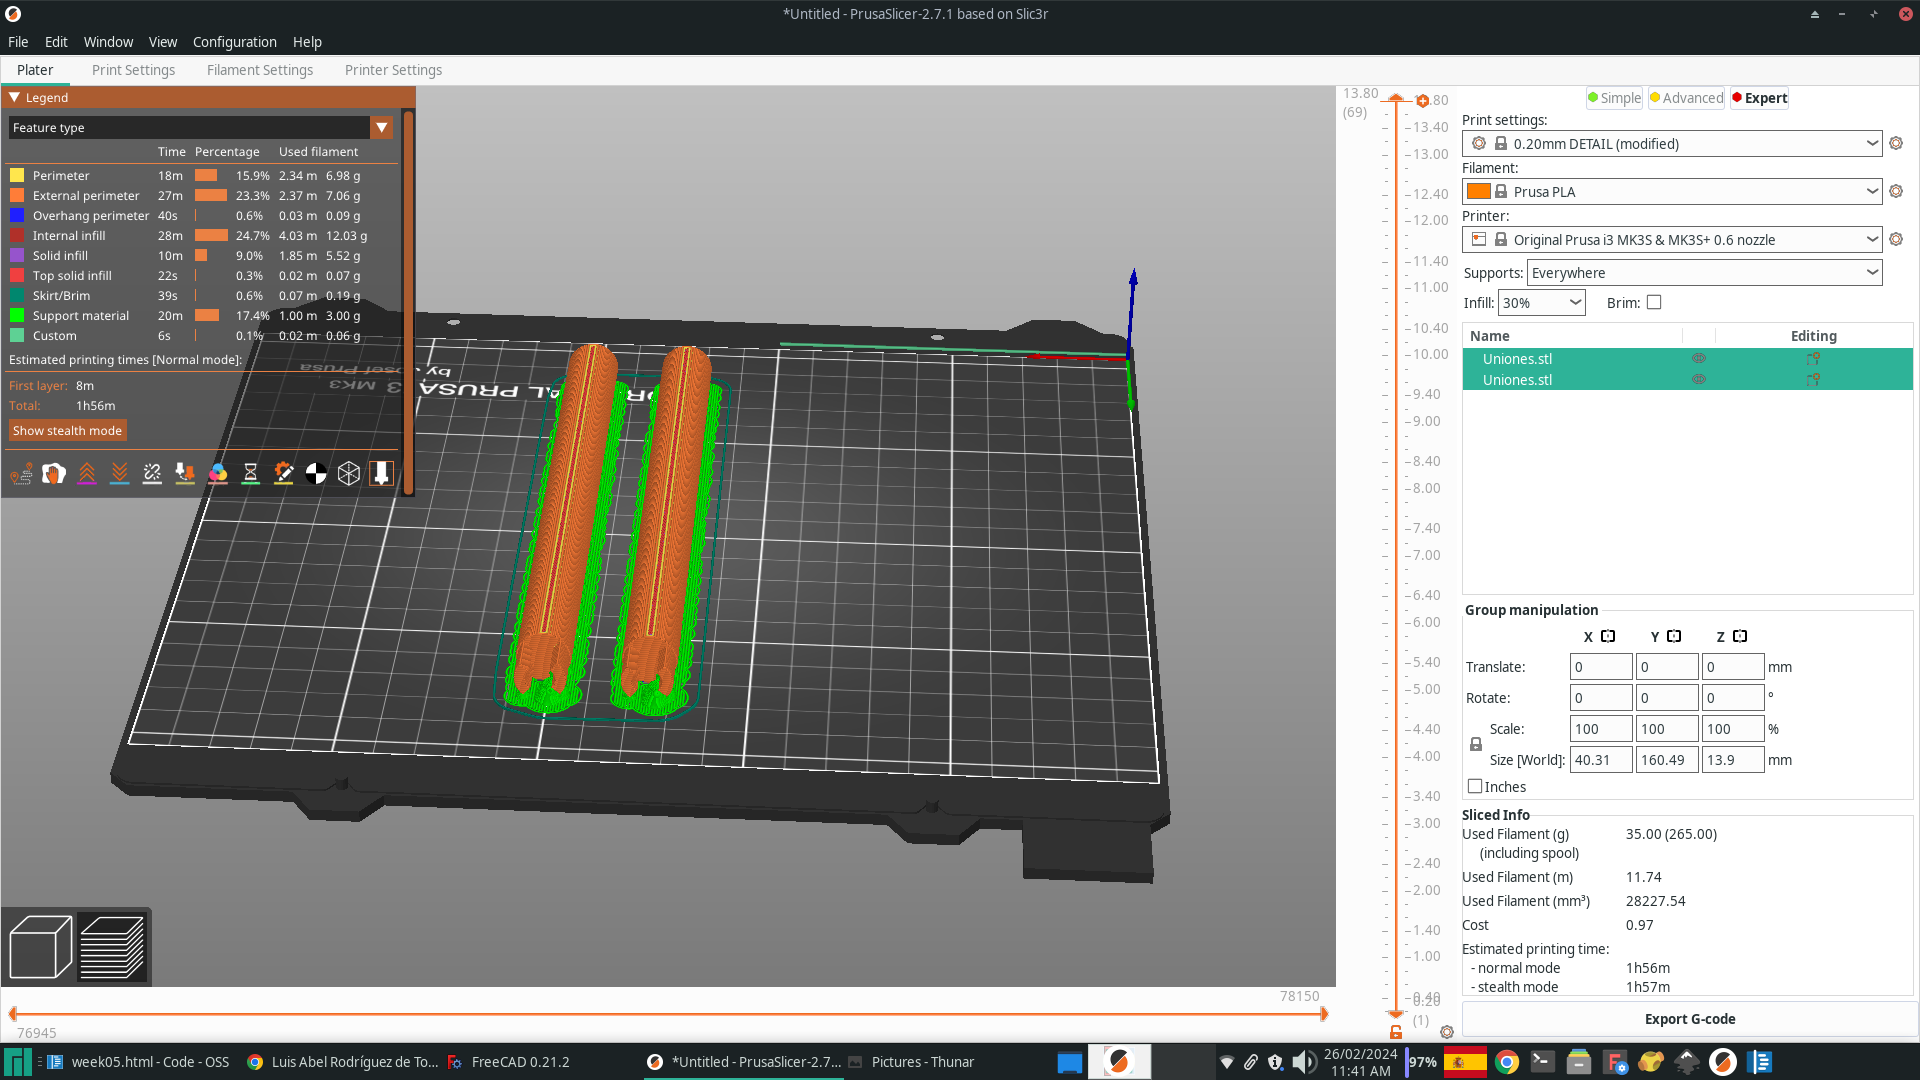
|
| Objects to print | Slicer |
Finally, the last base was designed and printed. It connects with the joints and enables the union with the rack and pinion system that will move the pallet.
|
|
| Objects to print | Slicer |
The image below shows the wave flume paddle:
The files you can download here:
3D Scaning
To complete the weekly assignment I had to scan an object. I started by choosing a small servomotor, but its somewhat complex geometry and small size made me discard it. The main reason for eliminating this option was the small size of the shaft and its shiny surface. When scanning it did not show up clearly. These are aspects to take into account when performing this type of process: small and very smooth objects are difficult to scan. To help with this it is possible to use anti-reflective spray or simply paint, but in my case this could cause the servo motor to not work properly.
First scanning option.
I finally decided on a paint can, as shown in the picture.
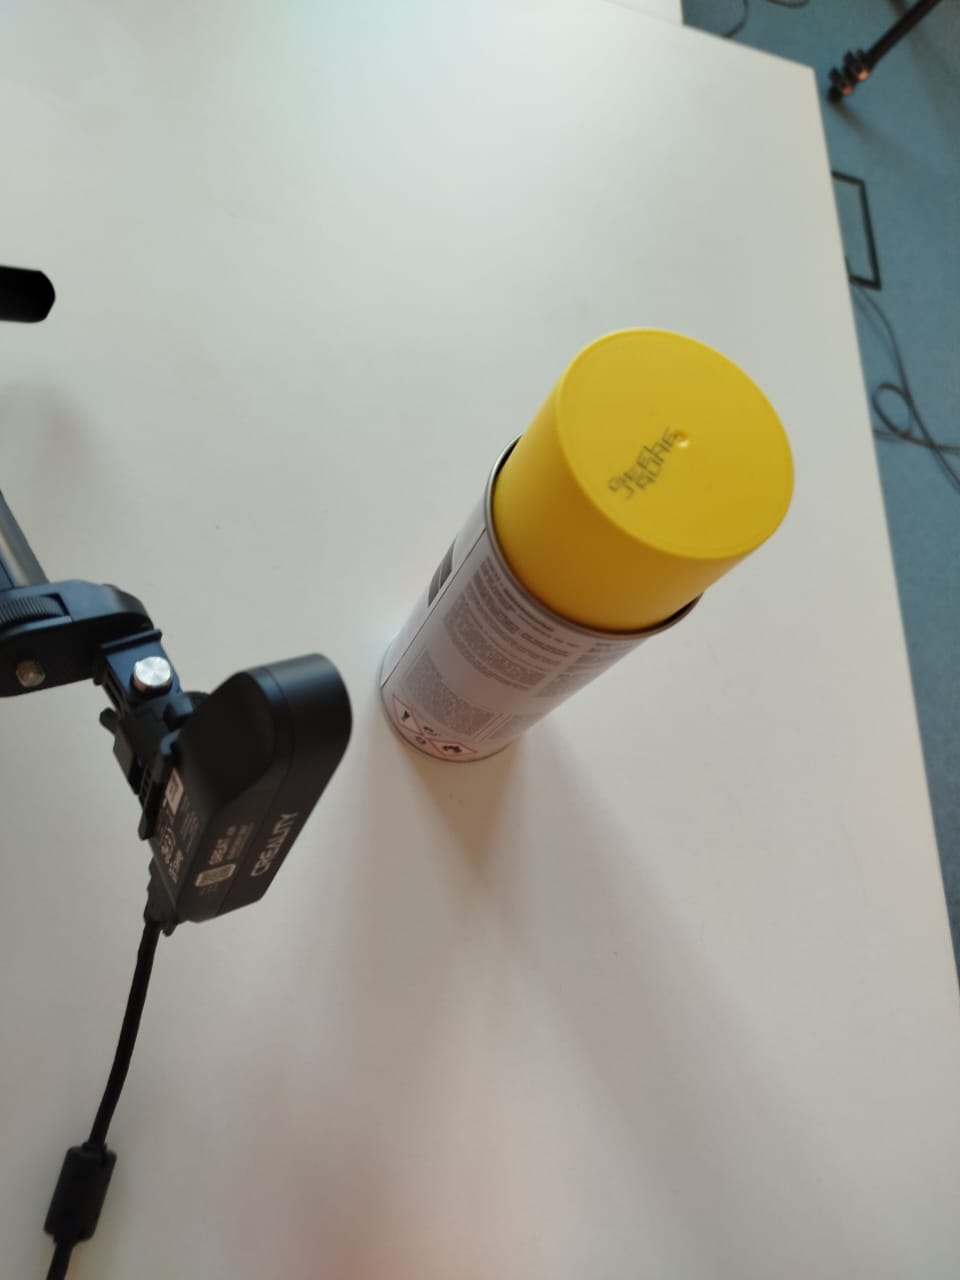
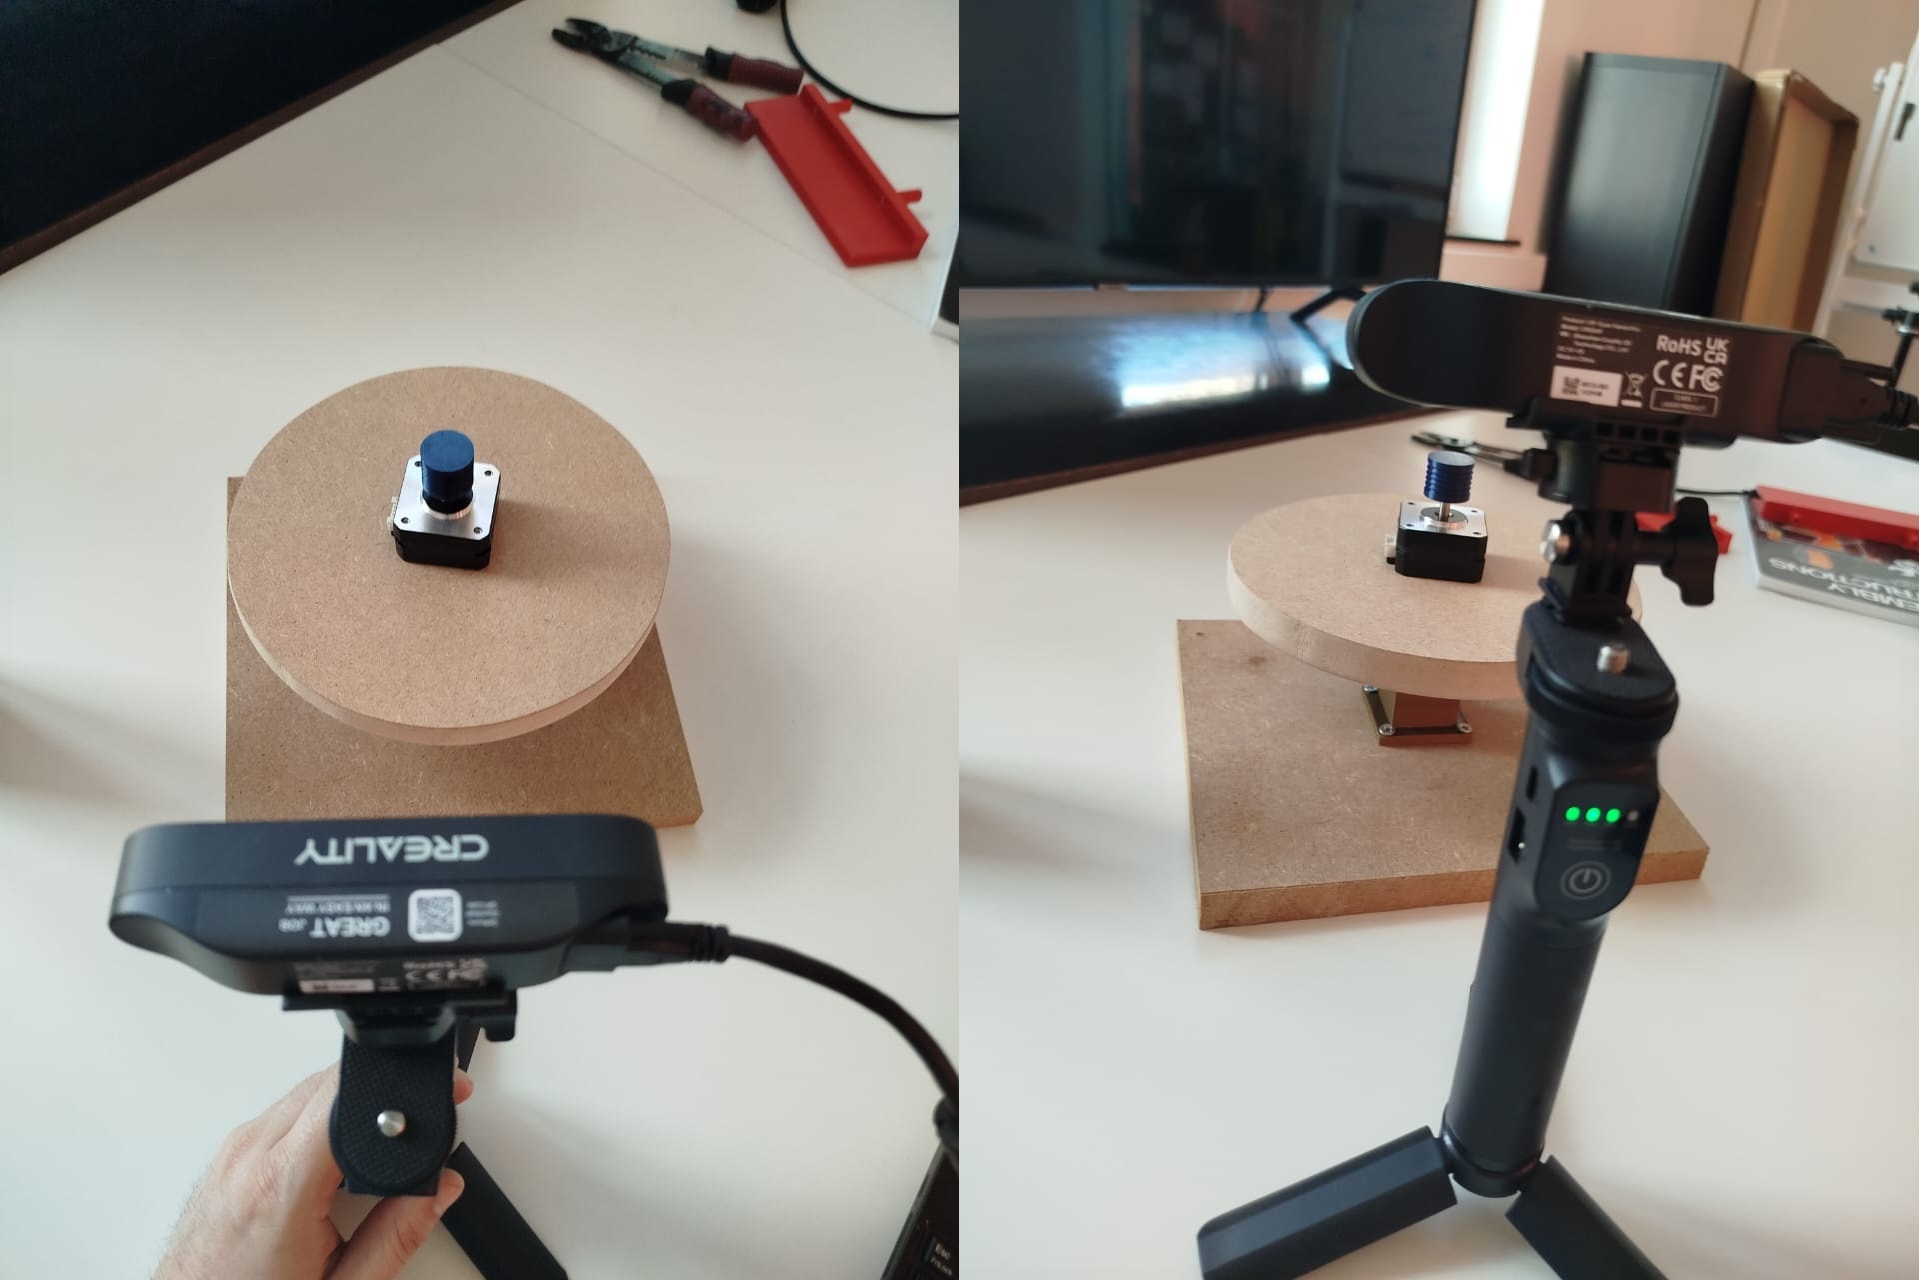
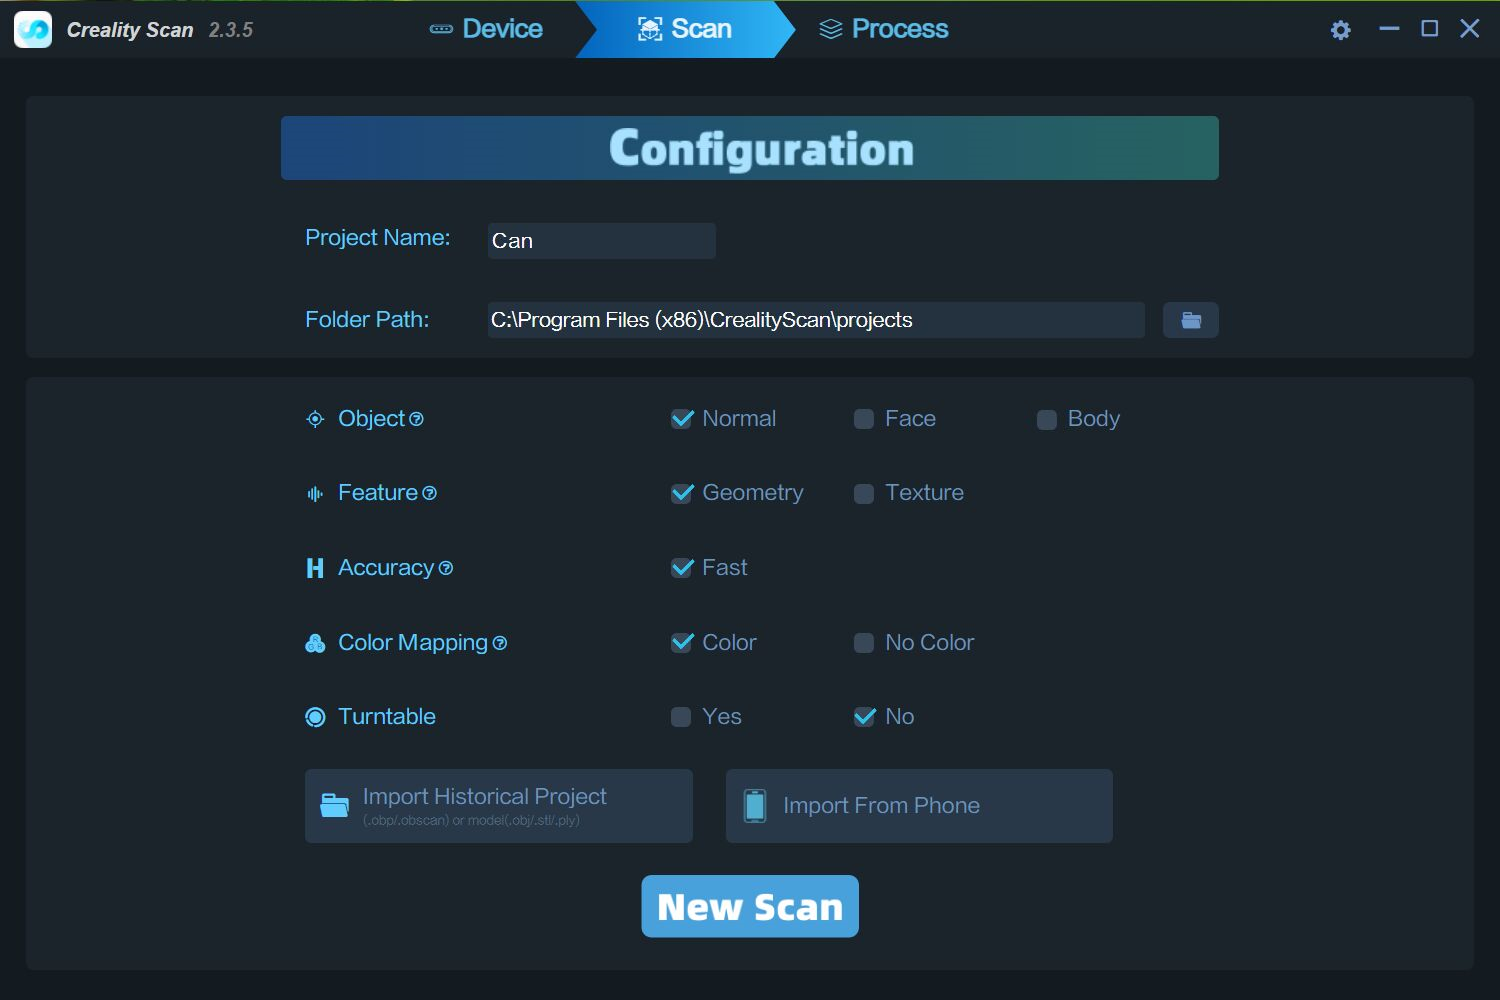
To scan the can I used the CR-Scan Ferret Pro 3D Scanner. When you open its software and connect it to the computer you have to select the appropriate options for the object to be scanned. In the case of the can, they are shown below:
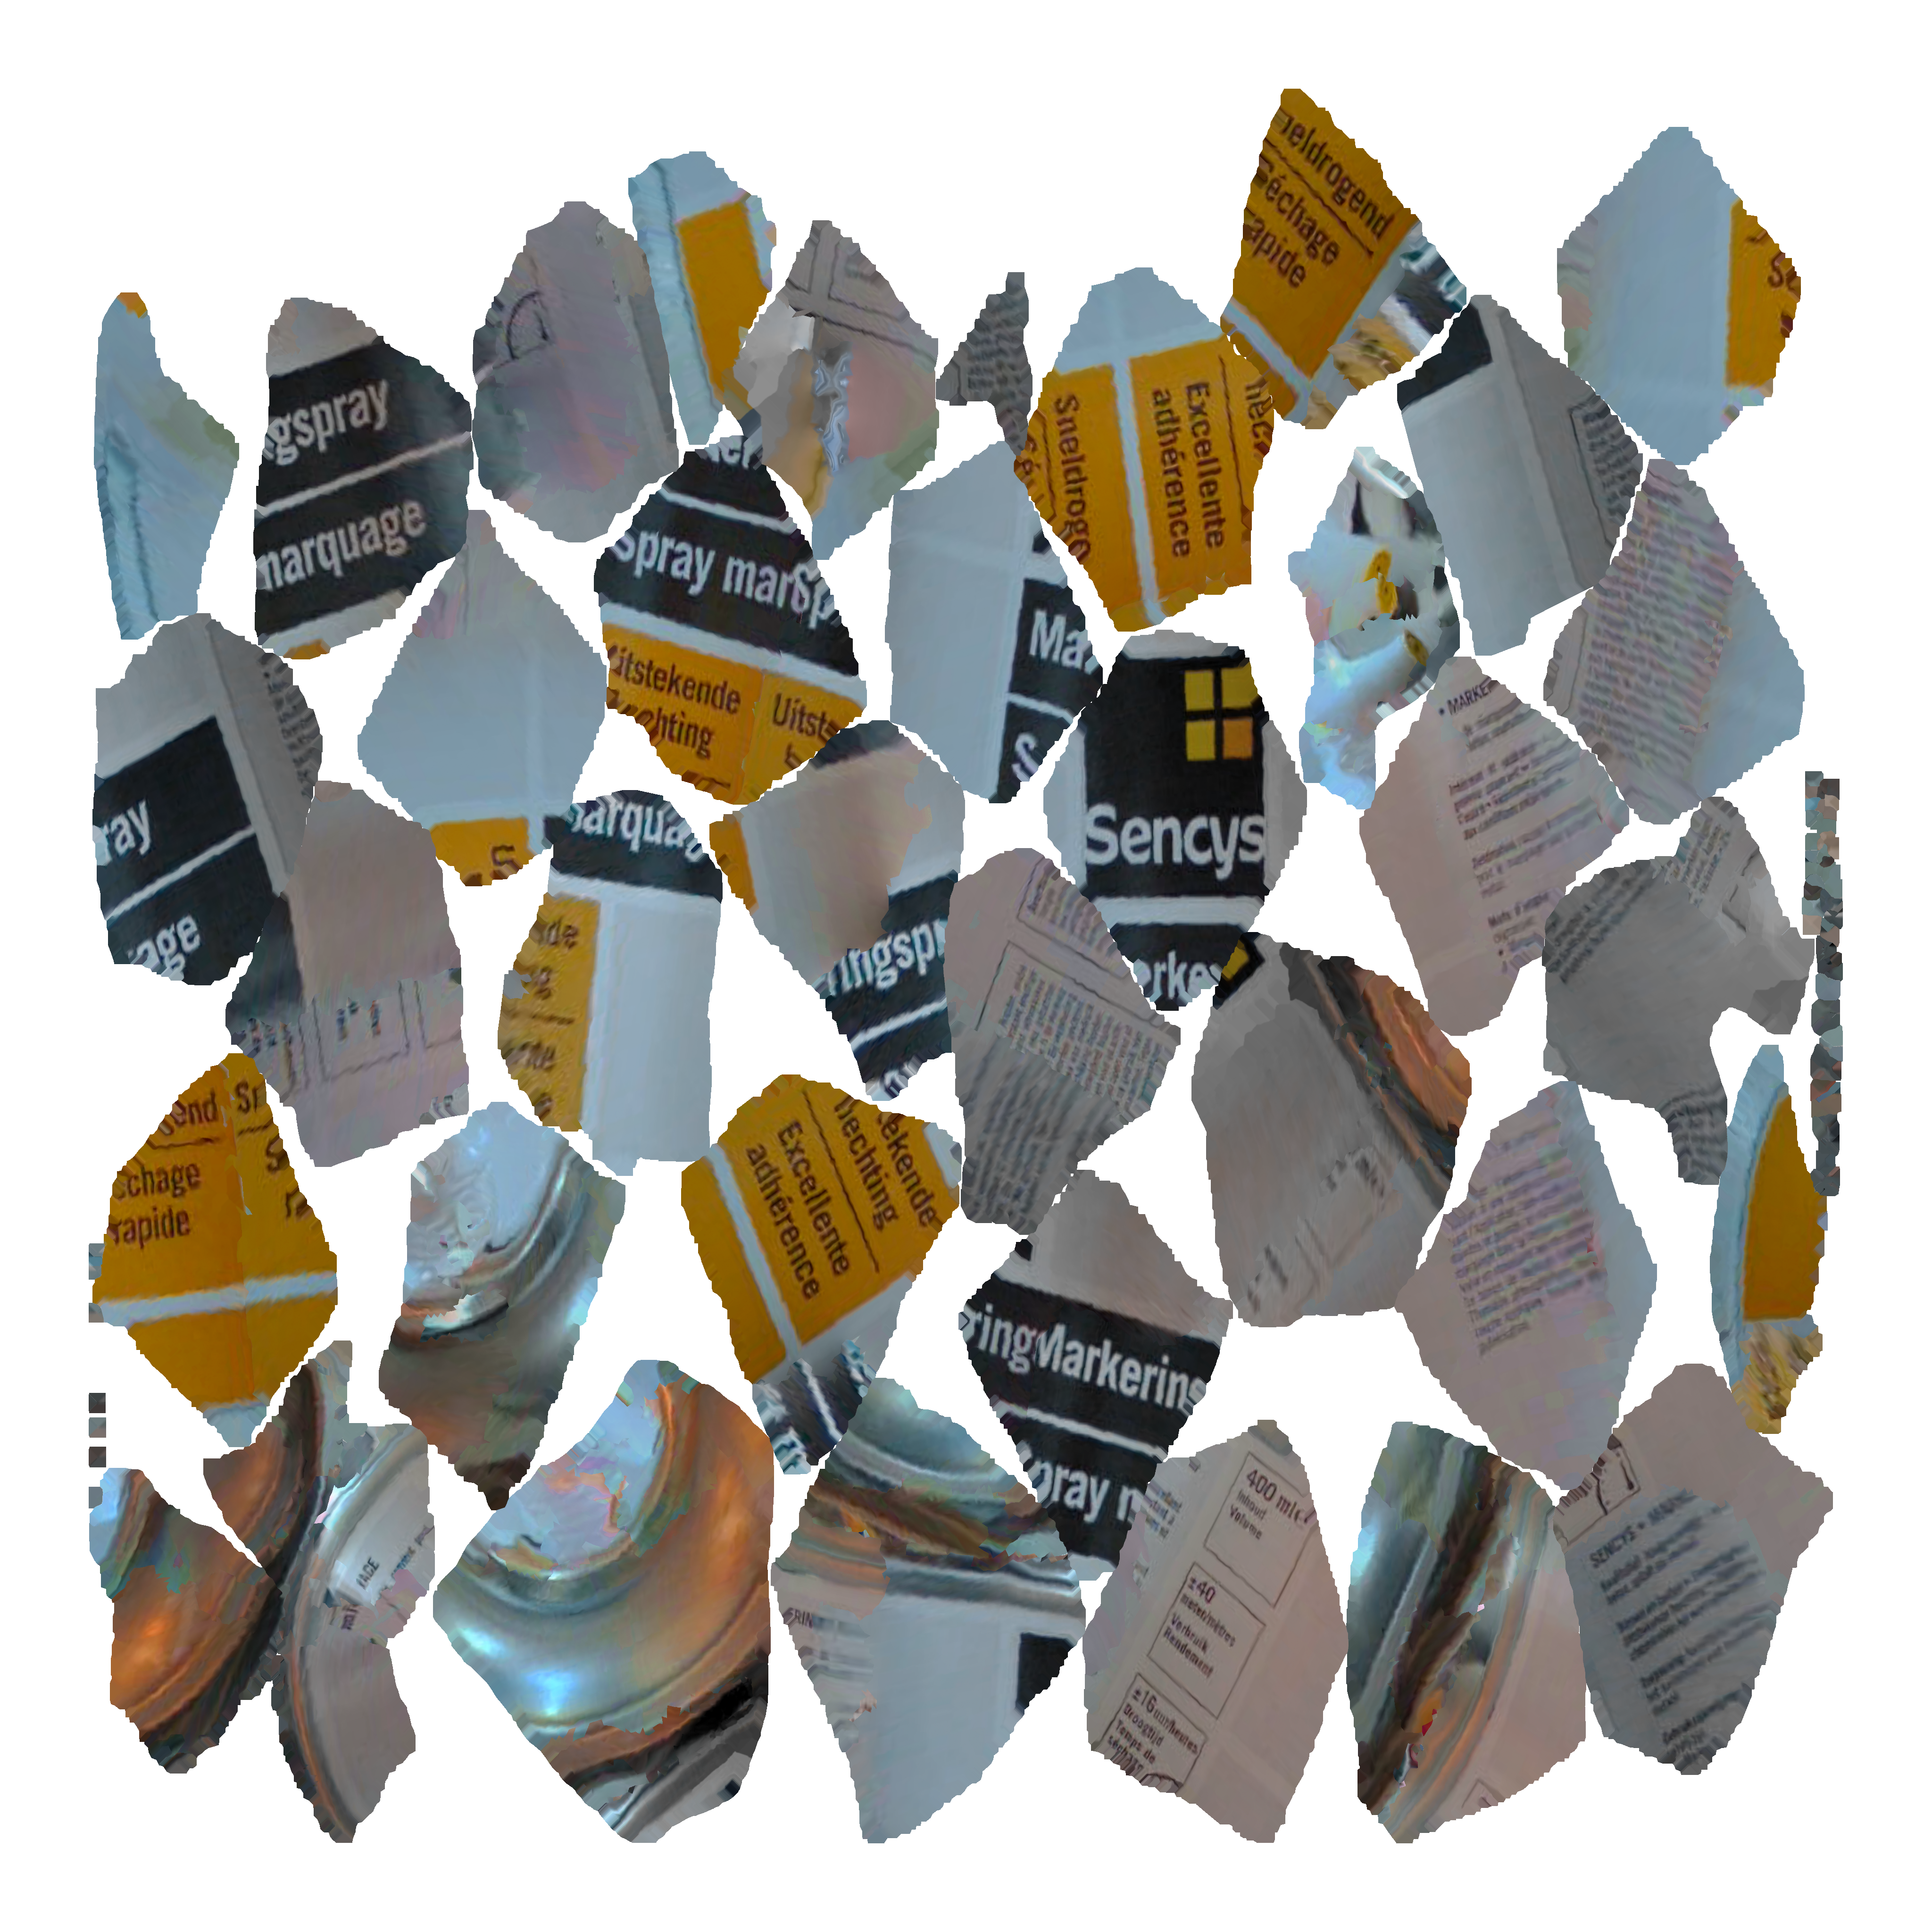
When exporting the scanned object Creality returns three files: an .obj, an .stl and a .png. The first two are the scanned object and the last one is the set of all the photos that the scanner used to build the object. That is the image shown below:
More information about this scanner can be found in its User Manual.
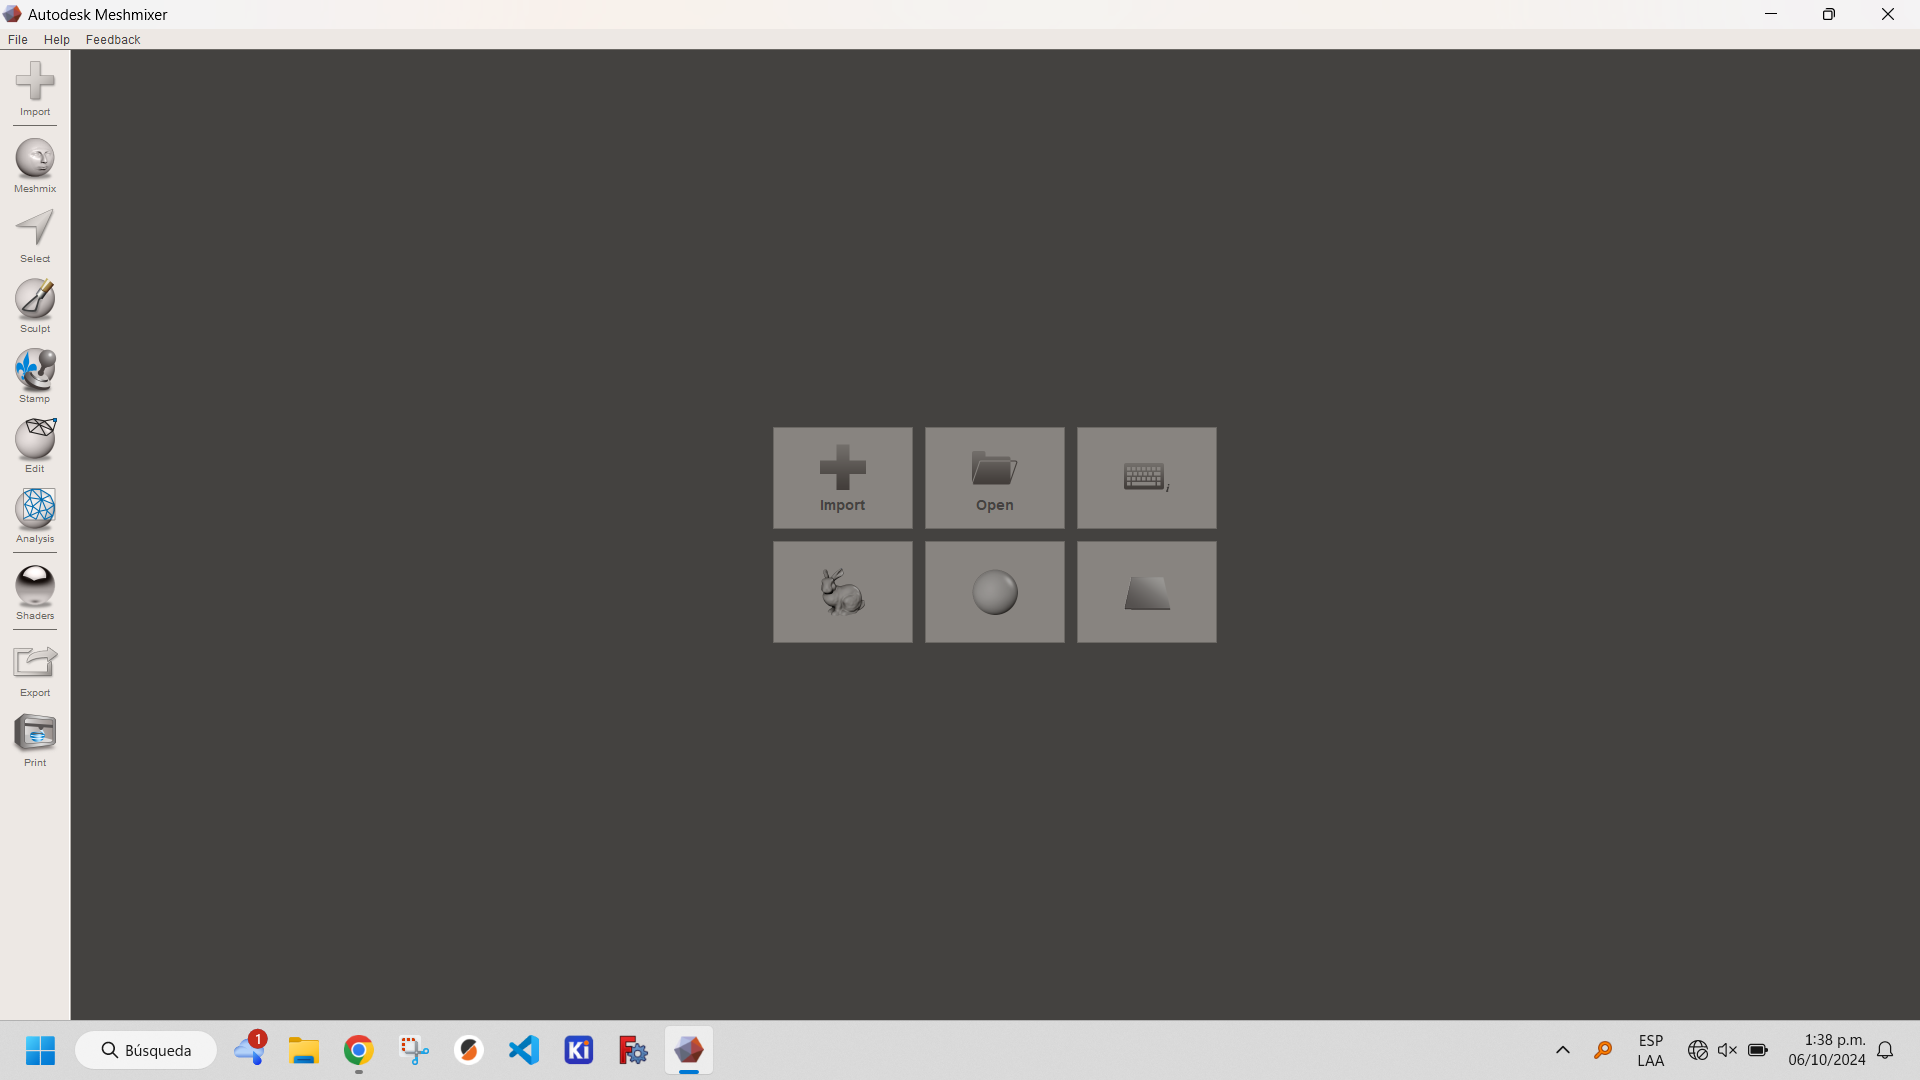
In general, when scanning objects, they are usually damaged and must be repaired afterwards to be able to print or manipulate them in any other way. One of the best options to fix these problems is Autodesk Meshmixer.
Object after scanning. It is possible to see the defects of the process.
First we import the file. Meshximer is able to import .obj and .stl to work with them.


With the Select window we can select areas of interest. In my case, the areas that overlap the design at the top of the can. These will be eliminated, as shown in the following images.
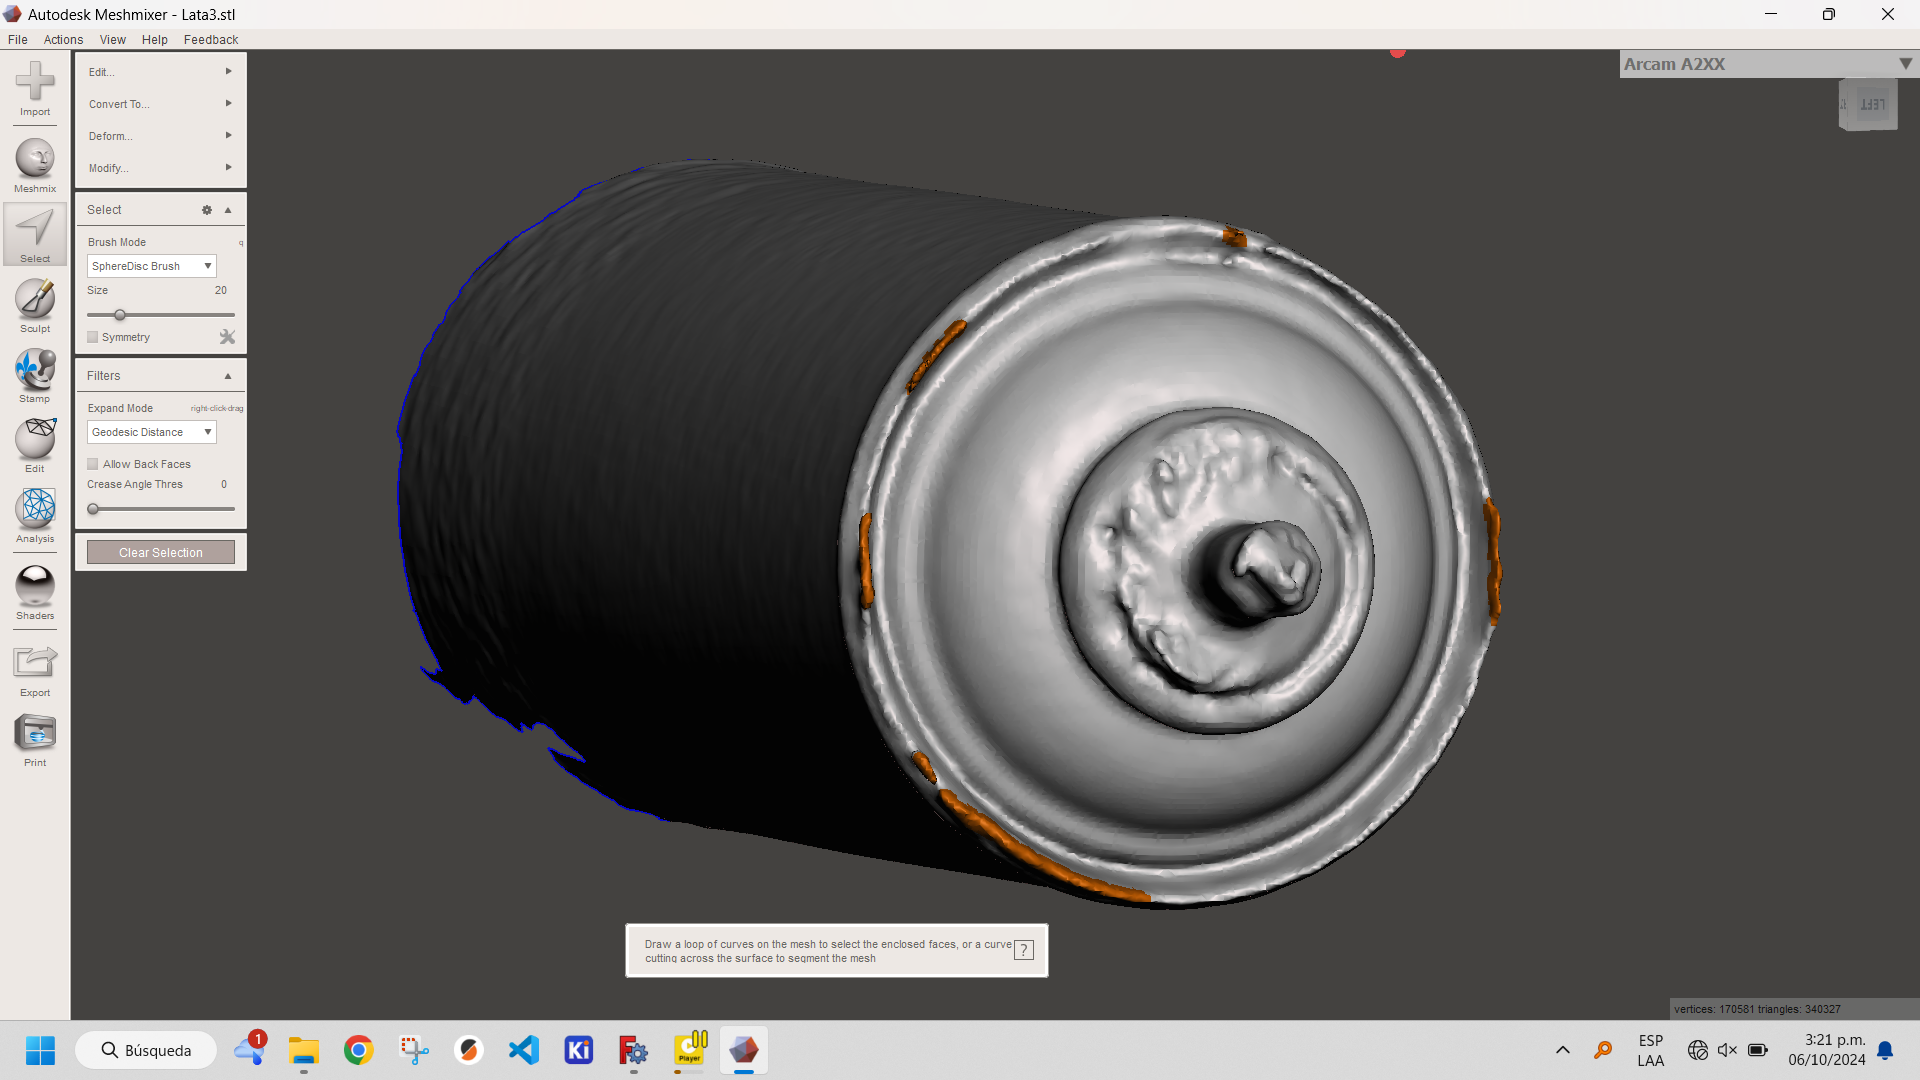
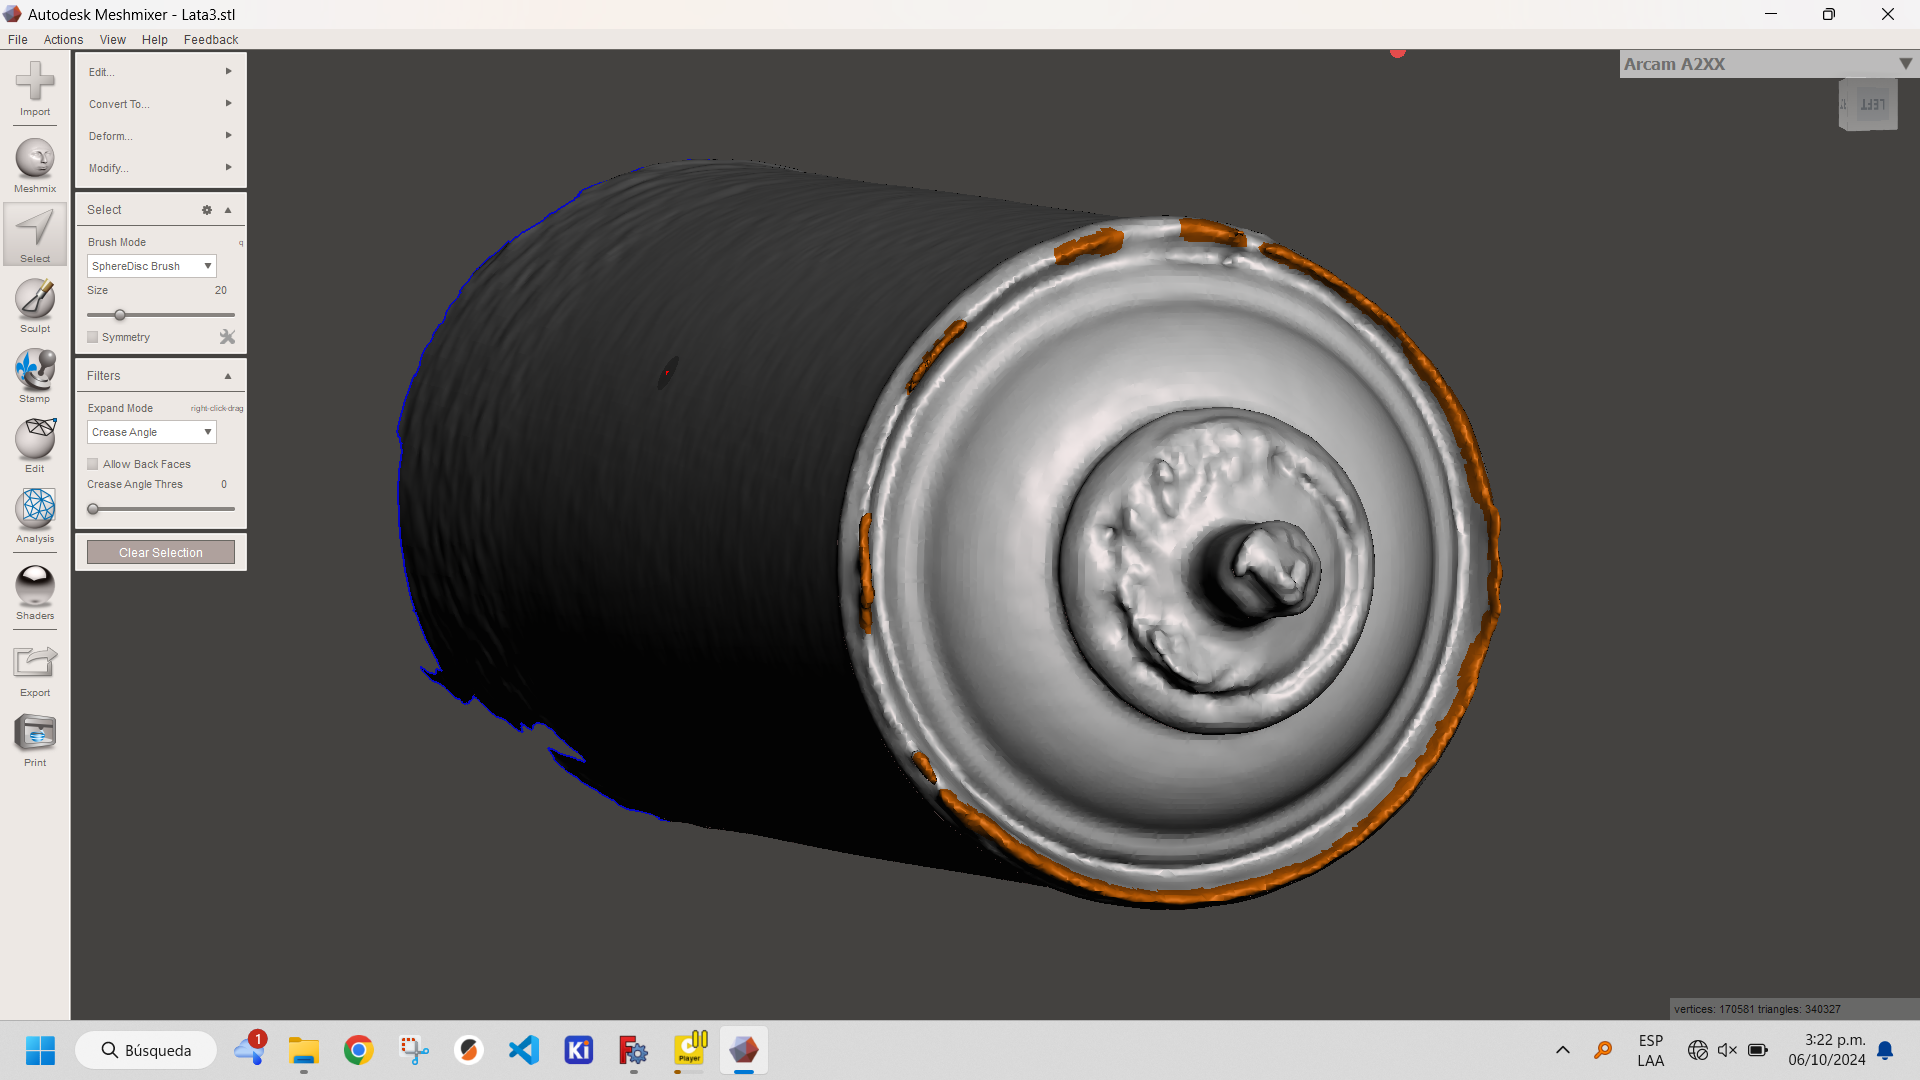
Pressing the W key will activate the wire mode which will facilitate the selection process.
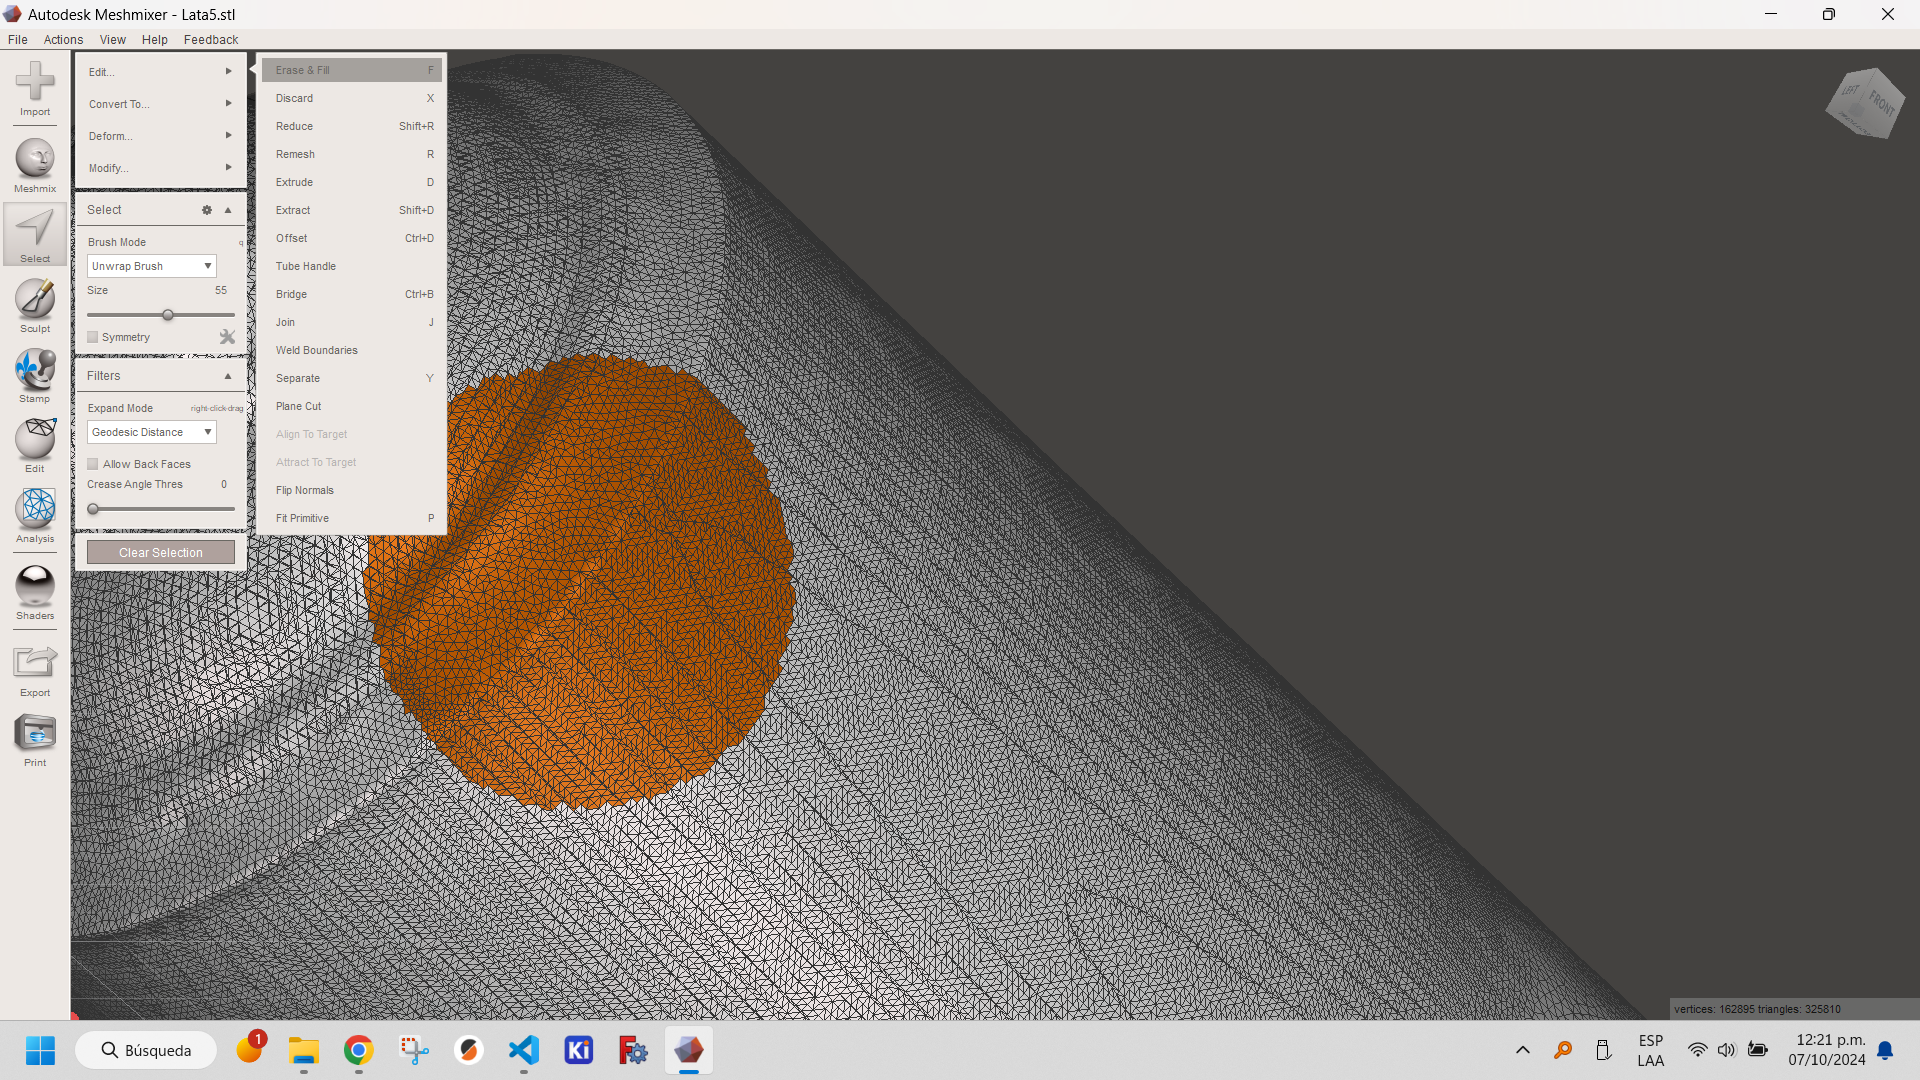
Subsequently, we smooth the surface. This is a procedure that makes it possible to minimize the amount of areas with strong transitions, facilitating the subsequent printing and a better finish.

Smoothing of surfaces.
Finally we export our object in the format required for our purpose (.stl in my case).
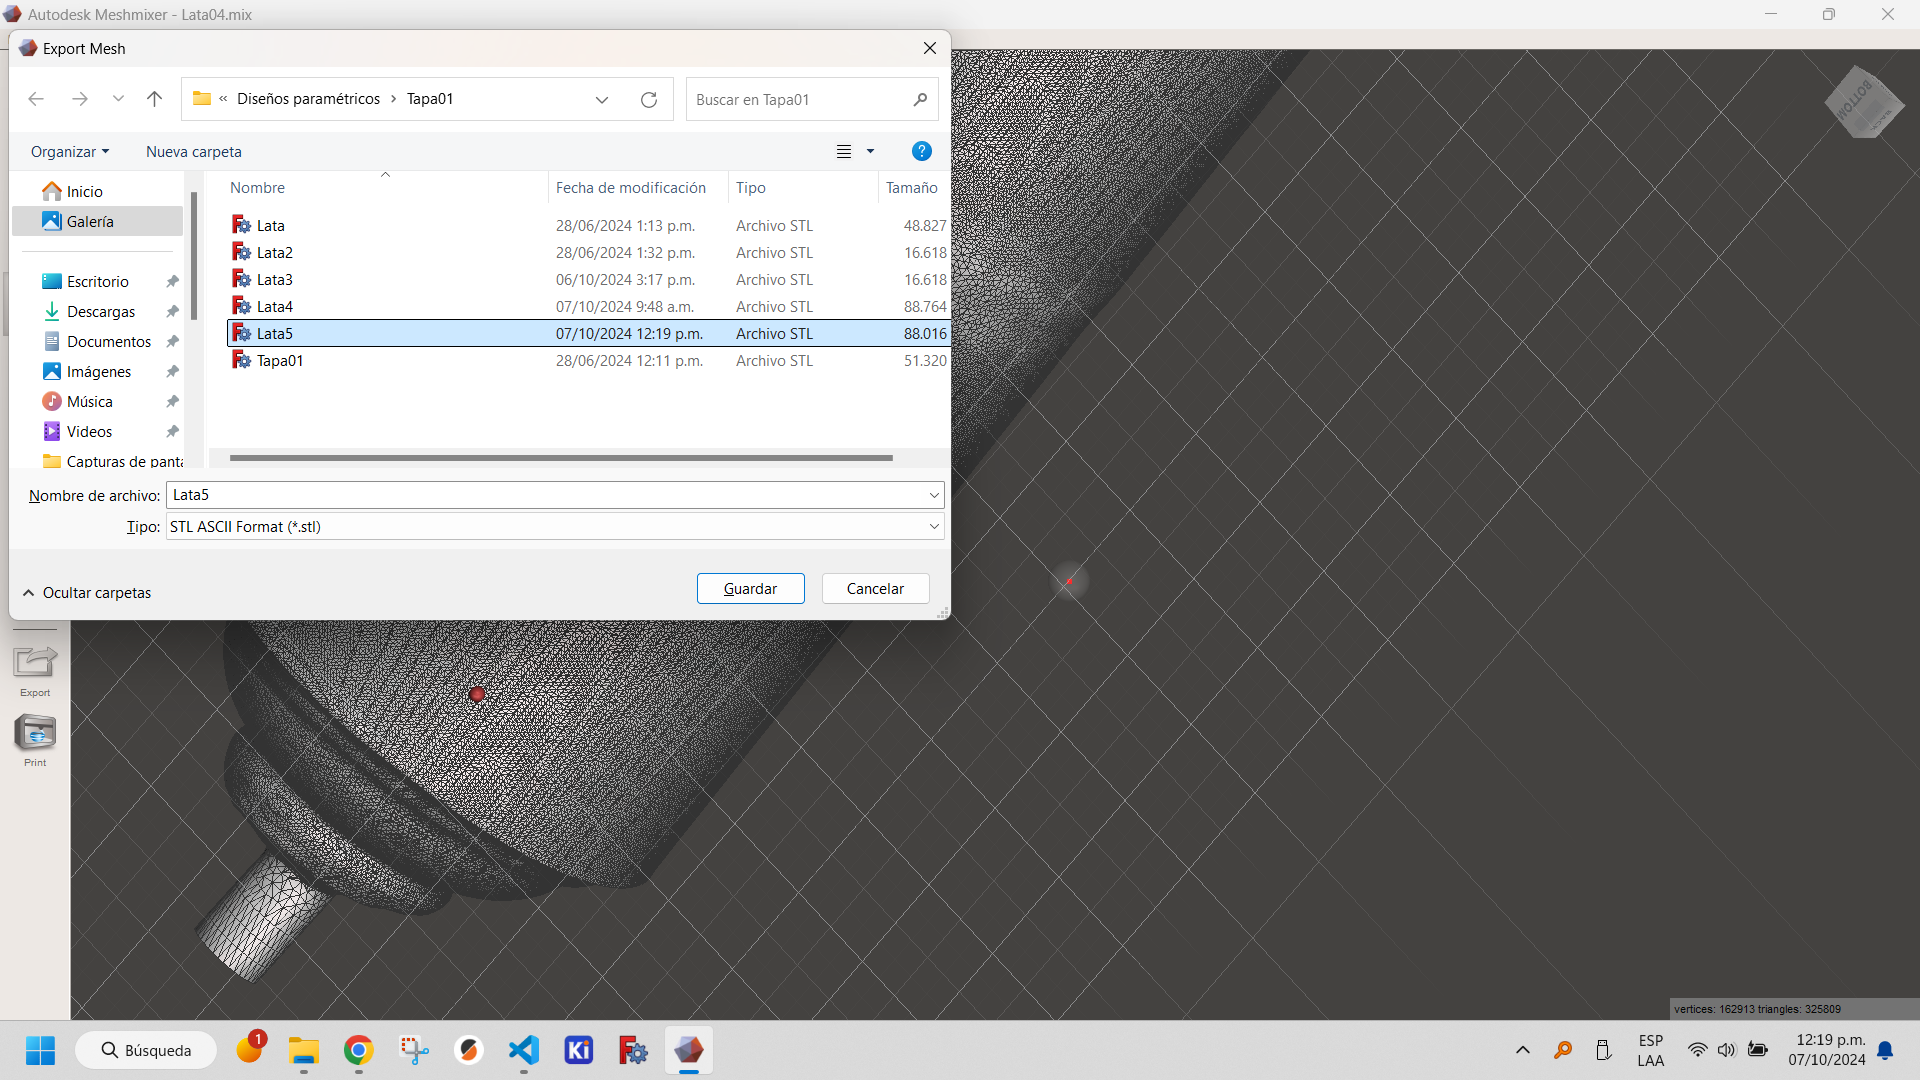
More information about Meshmixer can be found here.
The final result can be seen below:
Final result
Following the steps described above we proceed to print.
The printed can can be seen below.
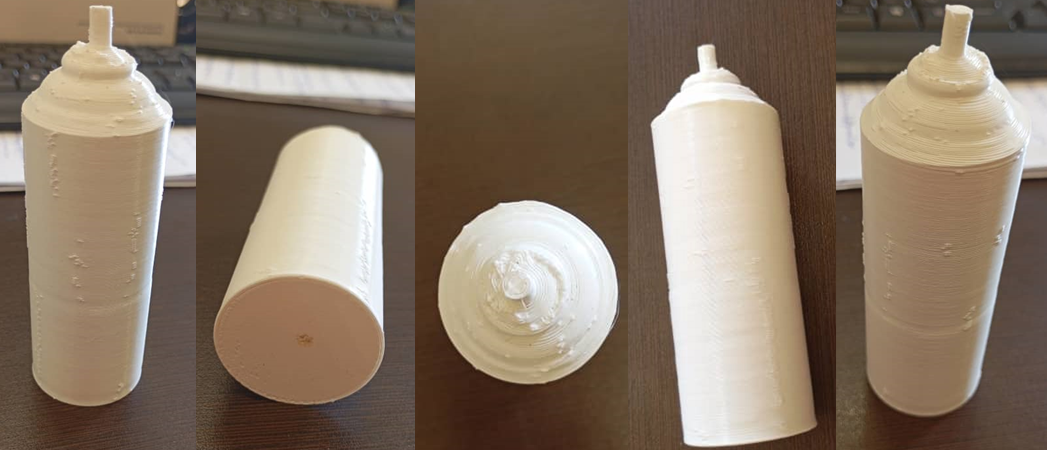
All files related to the scan can be downloaded here: