Final Project
Hello, I will explain the final idea of my project, I hope you like it.
Attention deficit hyperactivity disorder is one of the neurodevelopmental disorders that manifests in childhood and usually lasts until adulthood, according to InfoMED 5% of the child population is affected by this syndrome, it is common in these cases the difficulties to attend, some children talk so much and fast that they forget the words, have a different pace of learning, they are usually restless . The main characteristics are hyperactivity, impulsivity and poor attention span. The prevalence is between 2% and 12% in infants and in adults it is estimated b e t w e e n 2.5% and 5%; likewise ADHD begins to reveal itself before the age of 7 years compared to girls, boys comprise 4 to 1 because they are the most likely to suffer from this disorder.
In these conditions it is very important to improve learning using various techniques such as self-instruction, this aims to achieve the academic integration of the individual. There are 3 types of mild ADHD when the child has difficulty remaining still or sitting in the classroom, moderate ADHD presents difficulty in maintaining attention and has impulsive behavior, severe ADHD persists with attention problems and in this case should be medicated.
Project Background
There are various alternatives to support ADHD, toys, programs, songs, among others, let's look at some of them to help us generate our final project idea.
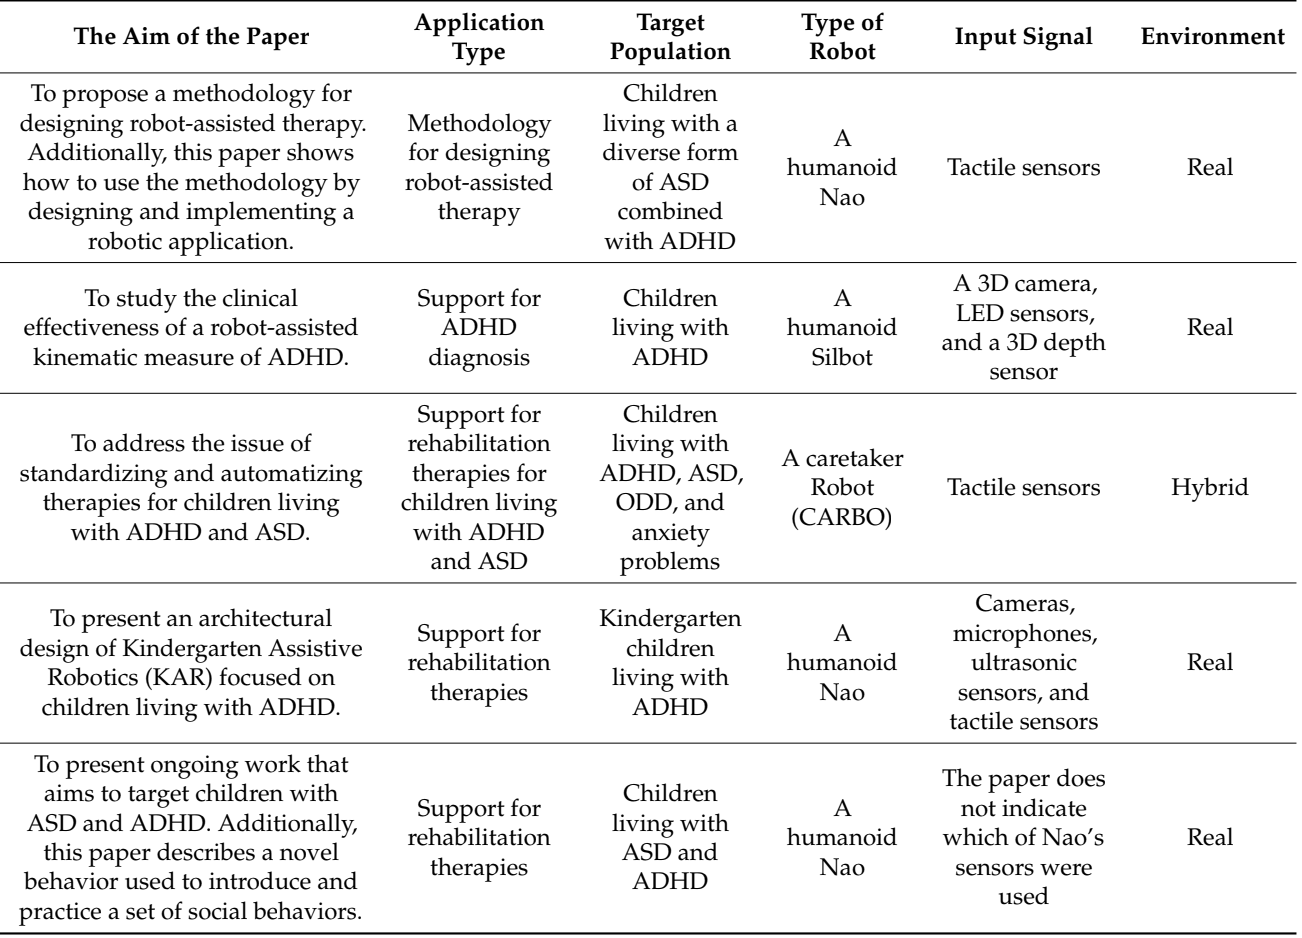
Here we can see some background, taking into account the type of application, target audience and sensors used,
Now let's look a little more closely at the first proposal, which shares the approach we want to have regarding age and other factors.
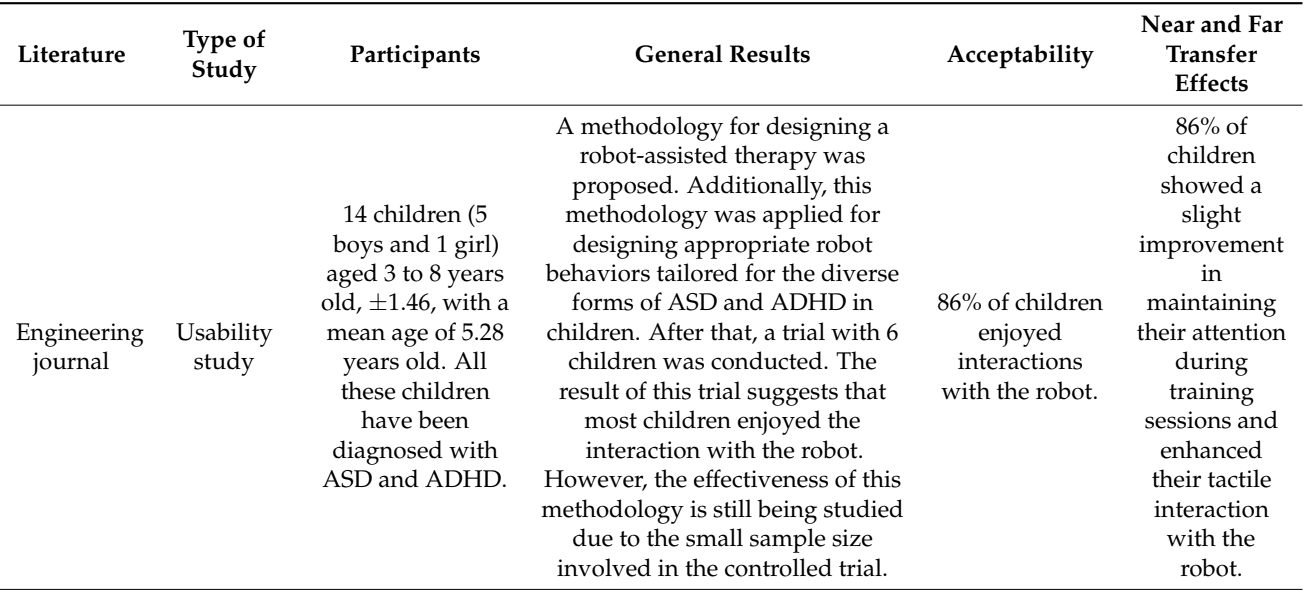
This study had a good result and gave us many ideas to consolidate the final project.
My first sketch is this:
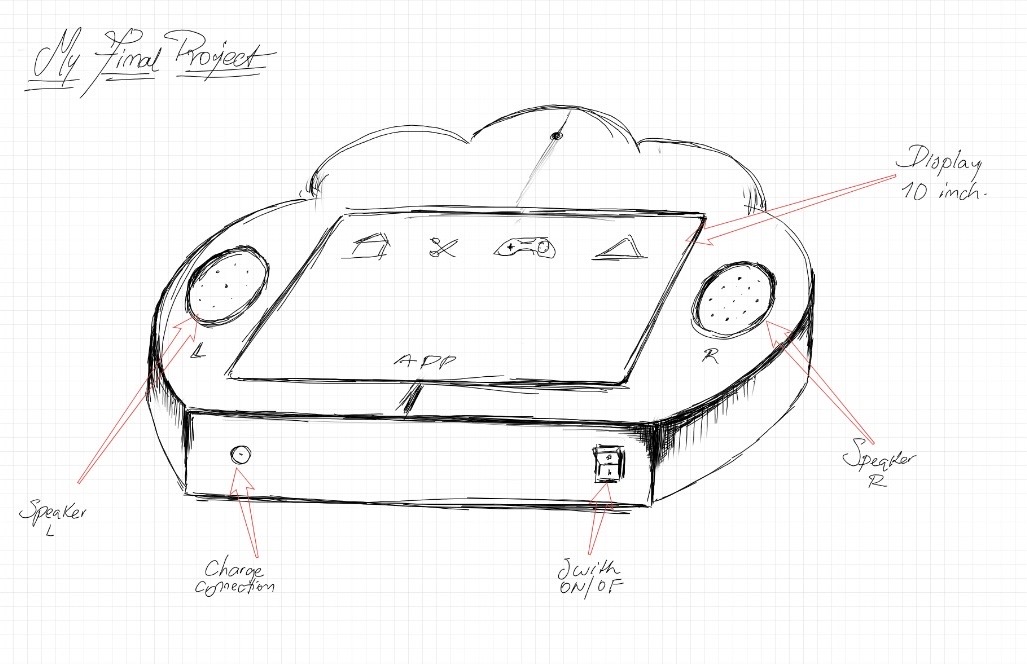
This project will help improve the quality of education and increase concentration in children in a didactic and playful manner.
To carry out this project we will define the dates and progress according to a gantt to better organize the development

My project idea is based on the development of a tool generated with digital fabrication. This tool will allow us to enhance learning and provide support to children with attention deficit hyperactivity disorder (ADHD), creating a space for greater concentration through various musical and visual elements. It will take the friendly form of a cloud, which will possess a teaching system through educational apps, all aimed at improving the child's level of concentration.
Structure Design
Within week two I took the opportunity to design the structure that my project will have, being friendly and above all maintaining a striking image for the children.

But how will I do it?
The central screen will have an interface which has games already designed to increase concentration and focus attention deficit, in addition to this it will be accompanied by white noise emitted by the two speakers placed on the back.
Who has done what beforehand?
For the final project, we worked previously, in different weeks to be able to integrate processes, in week 2 the structural design was carried out, in week 5 printing tests were carried out, within week 8 the electronic production was carried out to the light control system, in week 14 we learned about interface programming which will be used for the development of the final project.
What will you design?
This question led me to ask why I chose a cloud, now I will explain it to you...... among the many shapes that I could choose, a cloud was the best because it has a pompous shape and lends itself to adding accessories such as ears and horn which makes it more eye-catching, the 7-inch screen makes the interface very visible for the little one and they can use it like a tablet.
What materials and components will be used?, Where will they come from?, How much will they cost?
In terms of materials used, they were electronics found within the laboratory, such as a 7-inch Rapsberry screen, a module developed in the electronic production assignment, LEDs and speakers. In addition to this, use digital manufacturing such as 3D printing, laser cutting, vinyl cutting and electronic production.

What parts and systems will be made?,What processes will be used?
First, after having the 2D design, I started with the 3D printing of my pieces, taking into account what was seen in assignment 5, inclination and horizontal expansion tolerances.

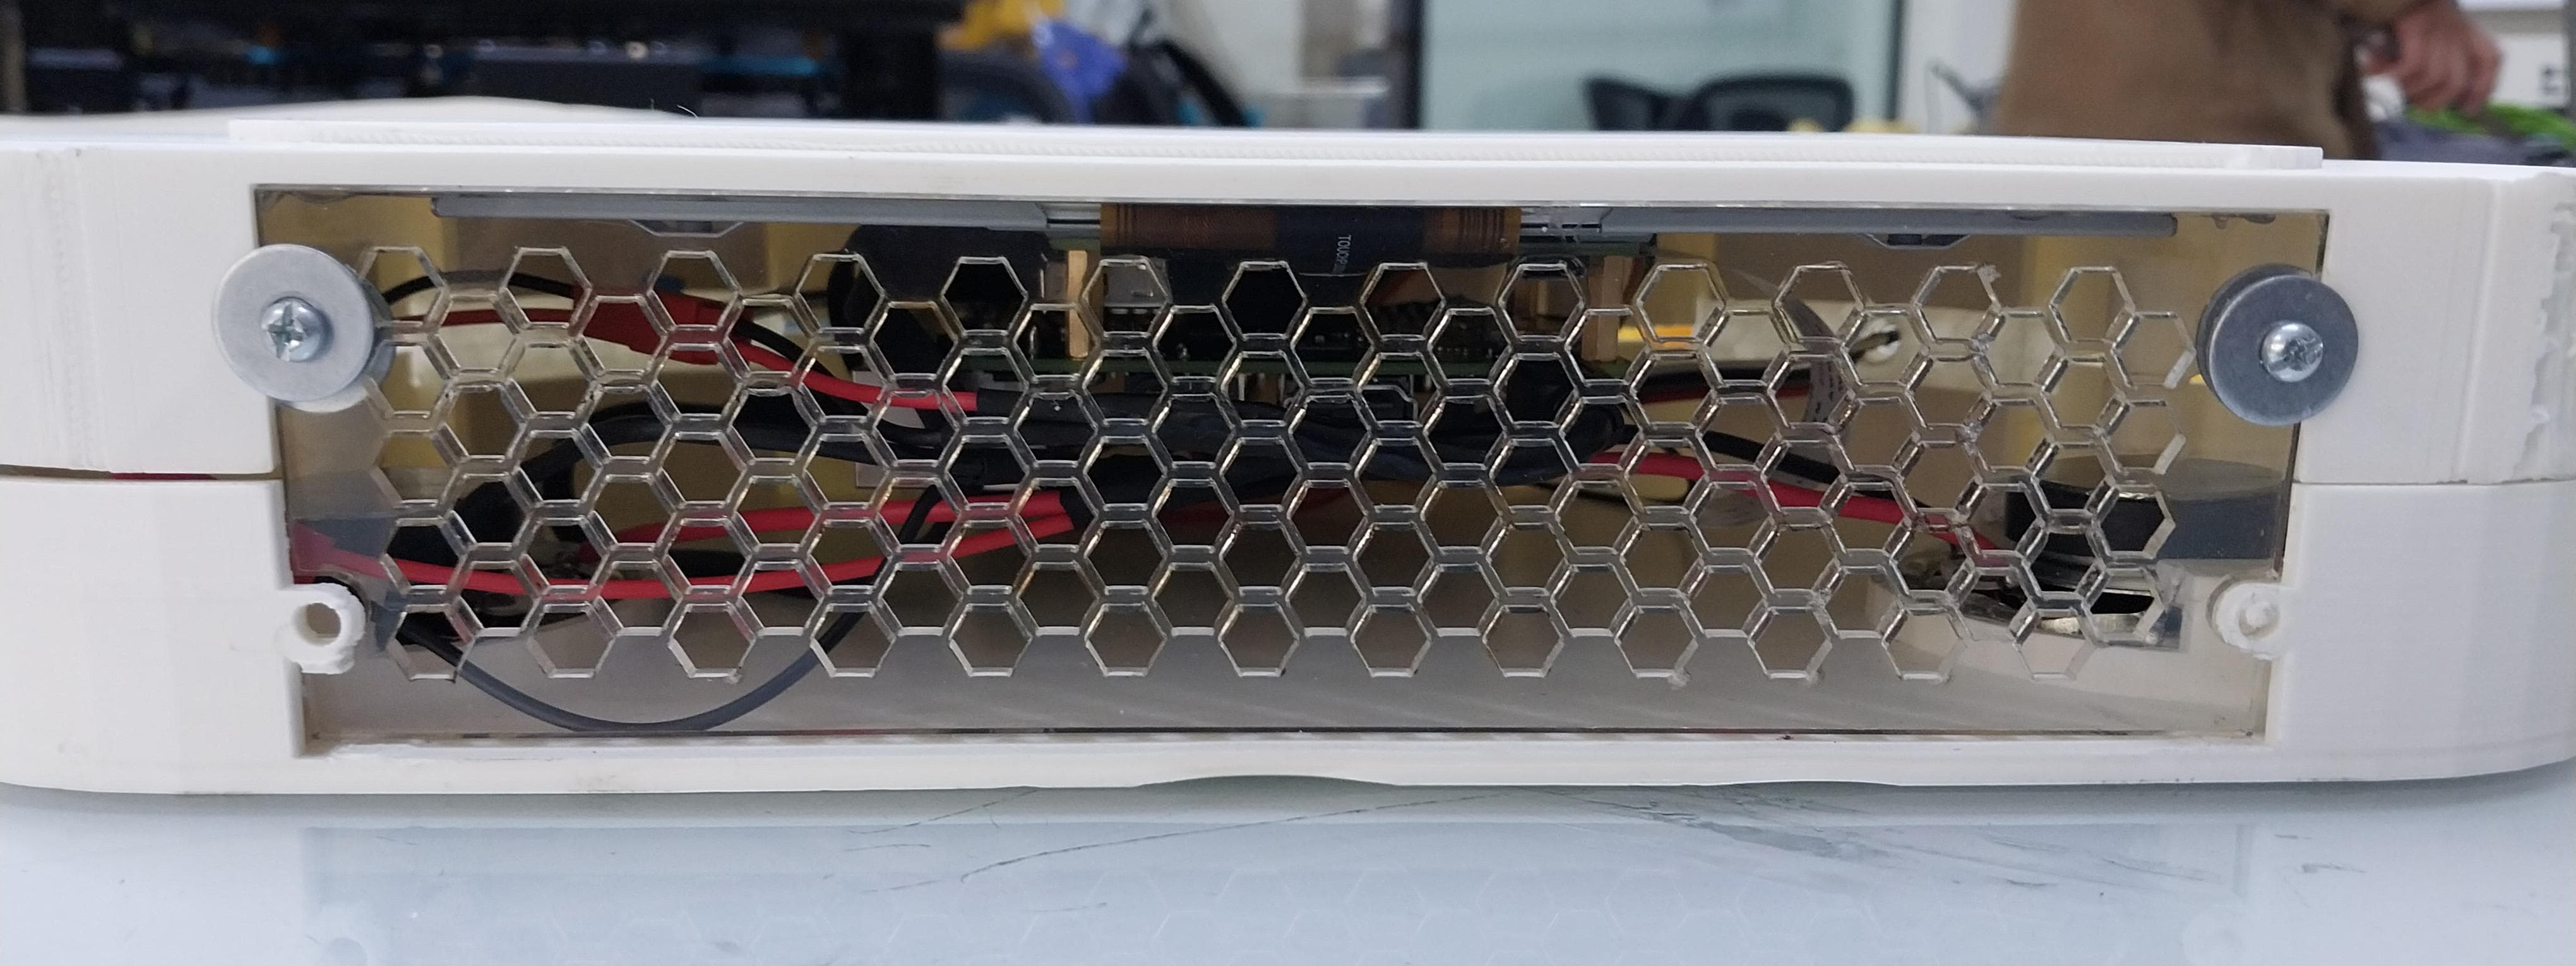
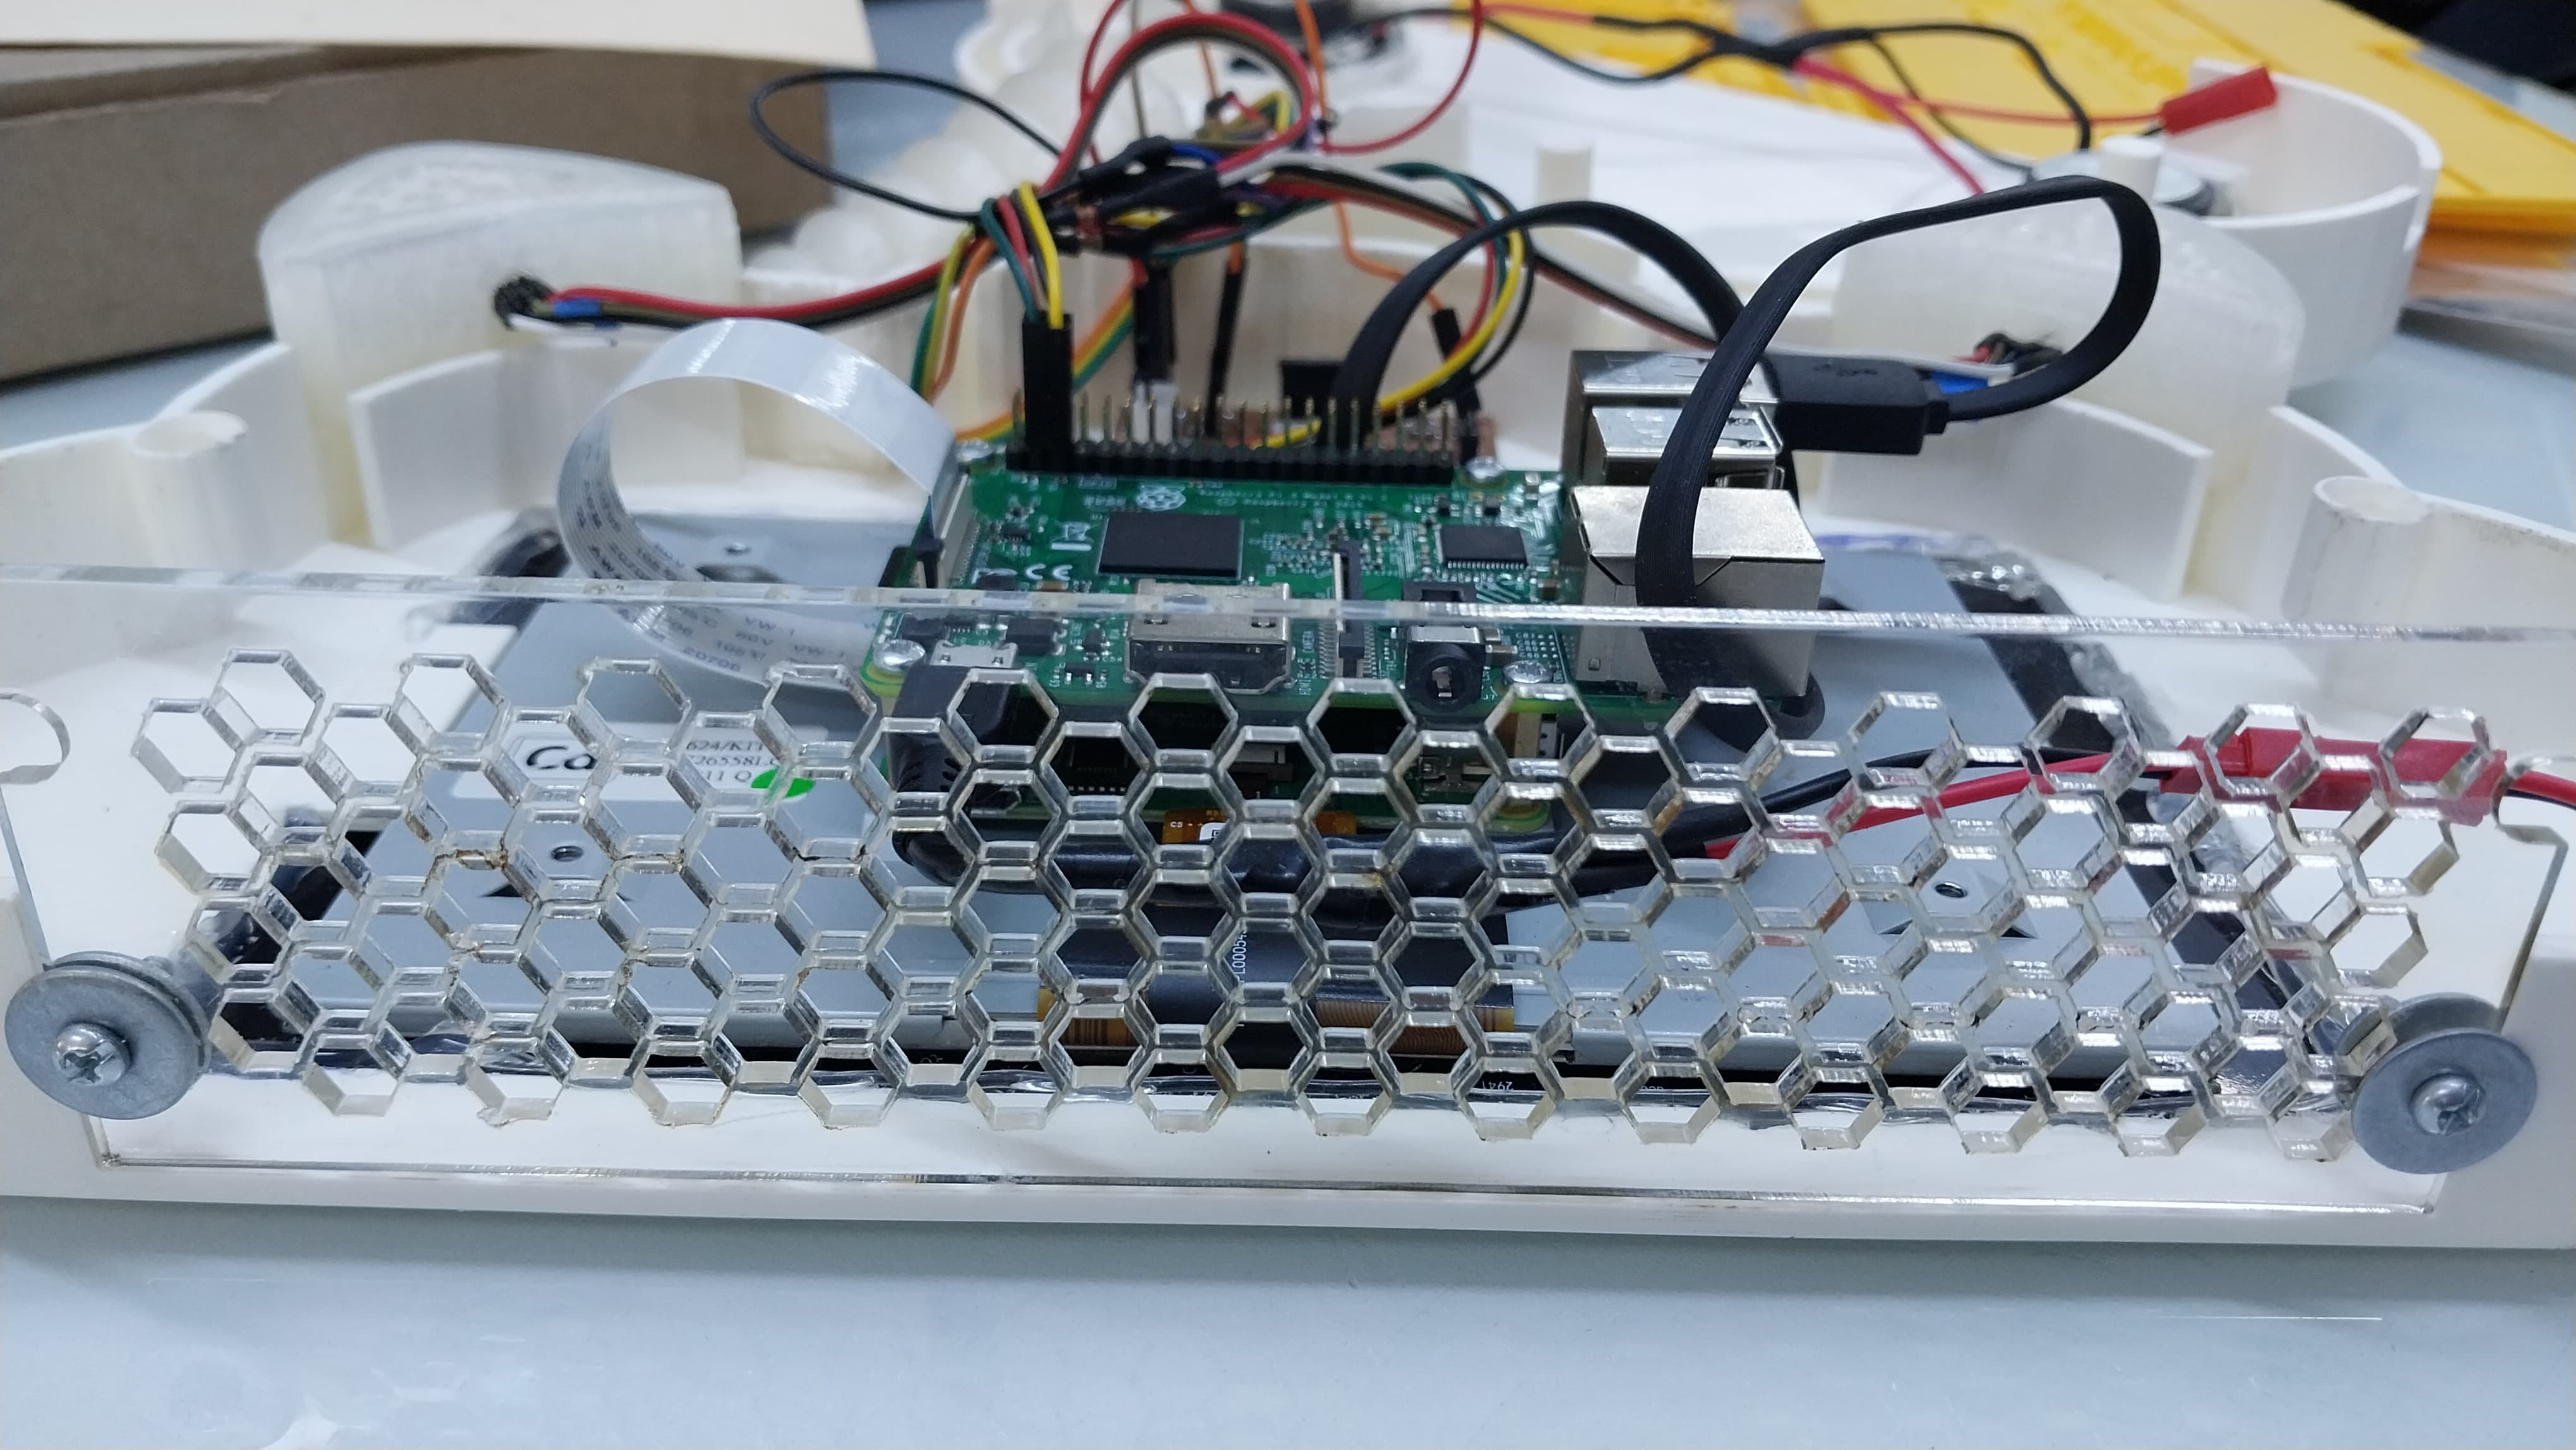
Assembling all the pieces it would look like this:



First, go to consticang.com. Once there, scroll down to find the highlighted link that allows you to download the necessary ISO file. Click on the link, select the primary download option, and wait for the file to download completely.
Download HereAfter downloading the ISO file, you need a tool to flash the microSD card. Go to the second link in the video description or visit the website balena.io/etcher . Download and install the Balena Etcher tool on your computer. This tool will be used to write the operating system image onto the microSD card.
Download HereOnce you have downloaded the flashing tool and the ISO file, use a compression program like WinRAR or 7-Zip to extract the contents of the ISO file. This step is necessary because the ISO file is compressed and needs to be decompressed before it can be flashed correctly onto the microSD card.
With the ISO image extracted, open the Balena Etcher application. In the application, select the extracted ISO file as the image to be flashed. Next, choose the microSD card you want to write the image to (a 16GB card). Finally, click "Flash" and wait for the flashing process to complete.
Once the flashing process is complete, remove the microSD card from your computer and insert it into the Raspberry Pi. Connect the Raspberry Pi to a power source and wait for it to expand and boot up the operating system. Complete the basic Android setup process, similar to how you would set up any other Android device.
Now a little test with the screen

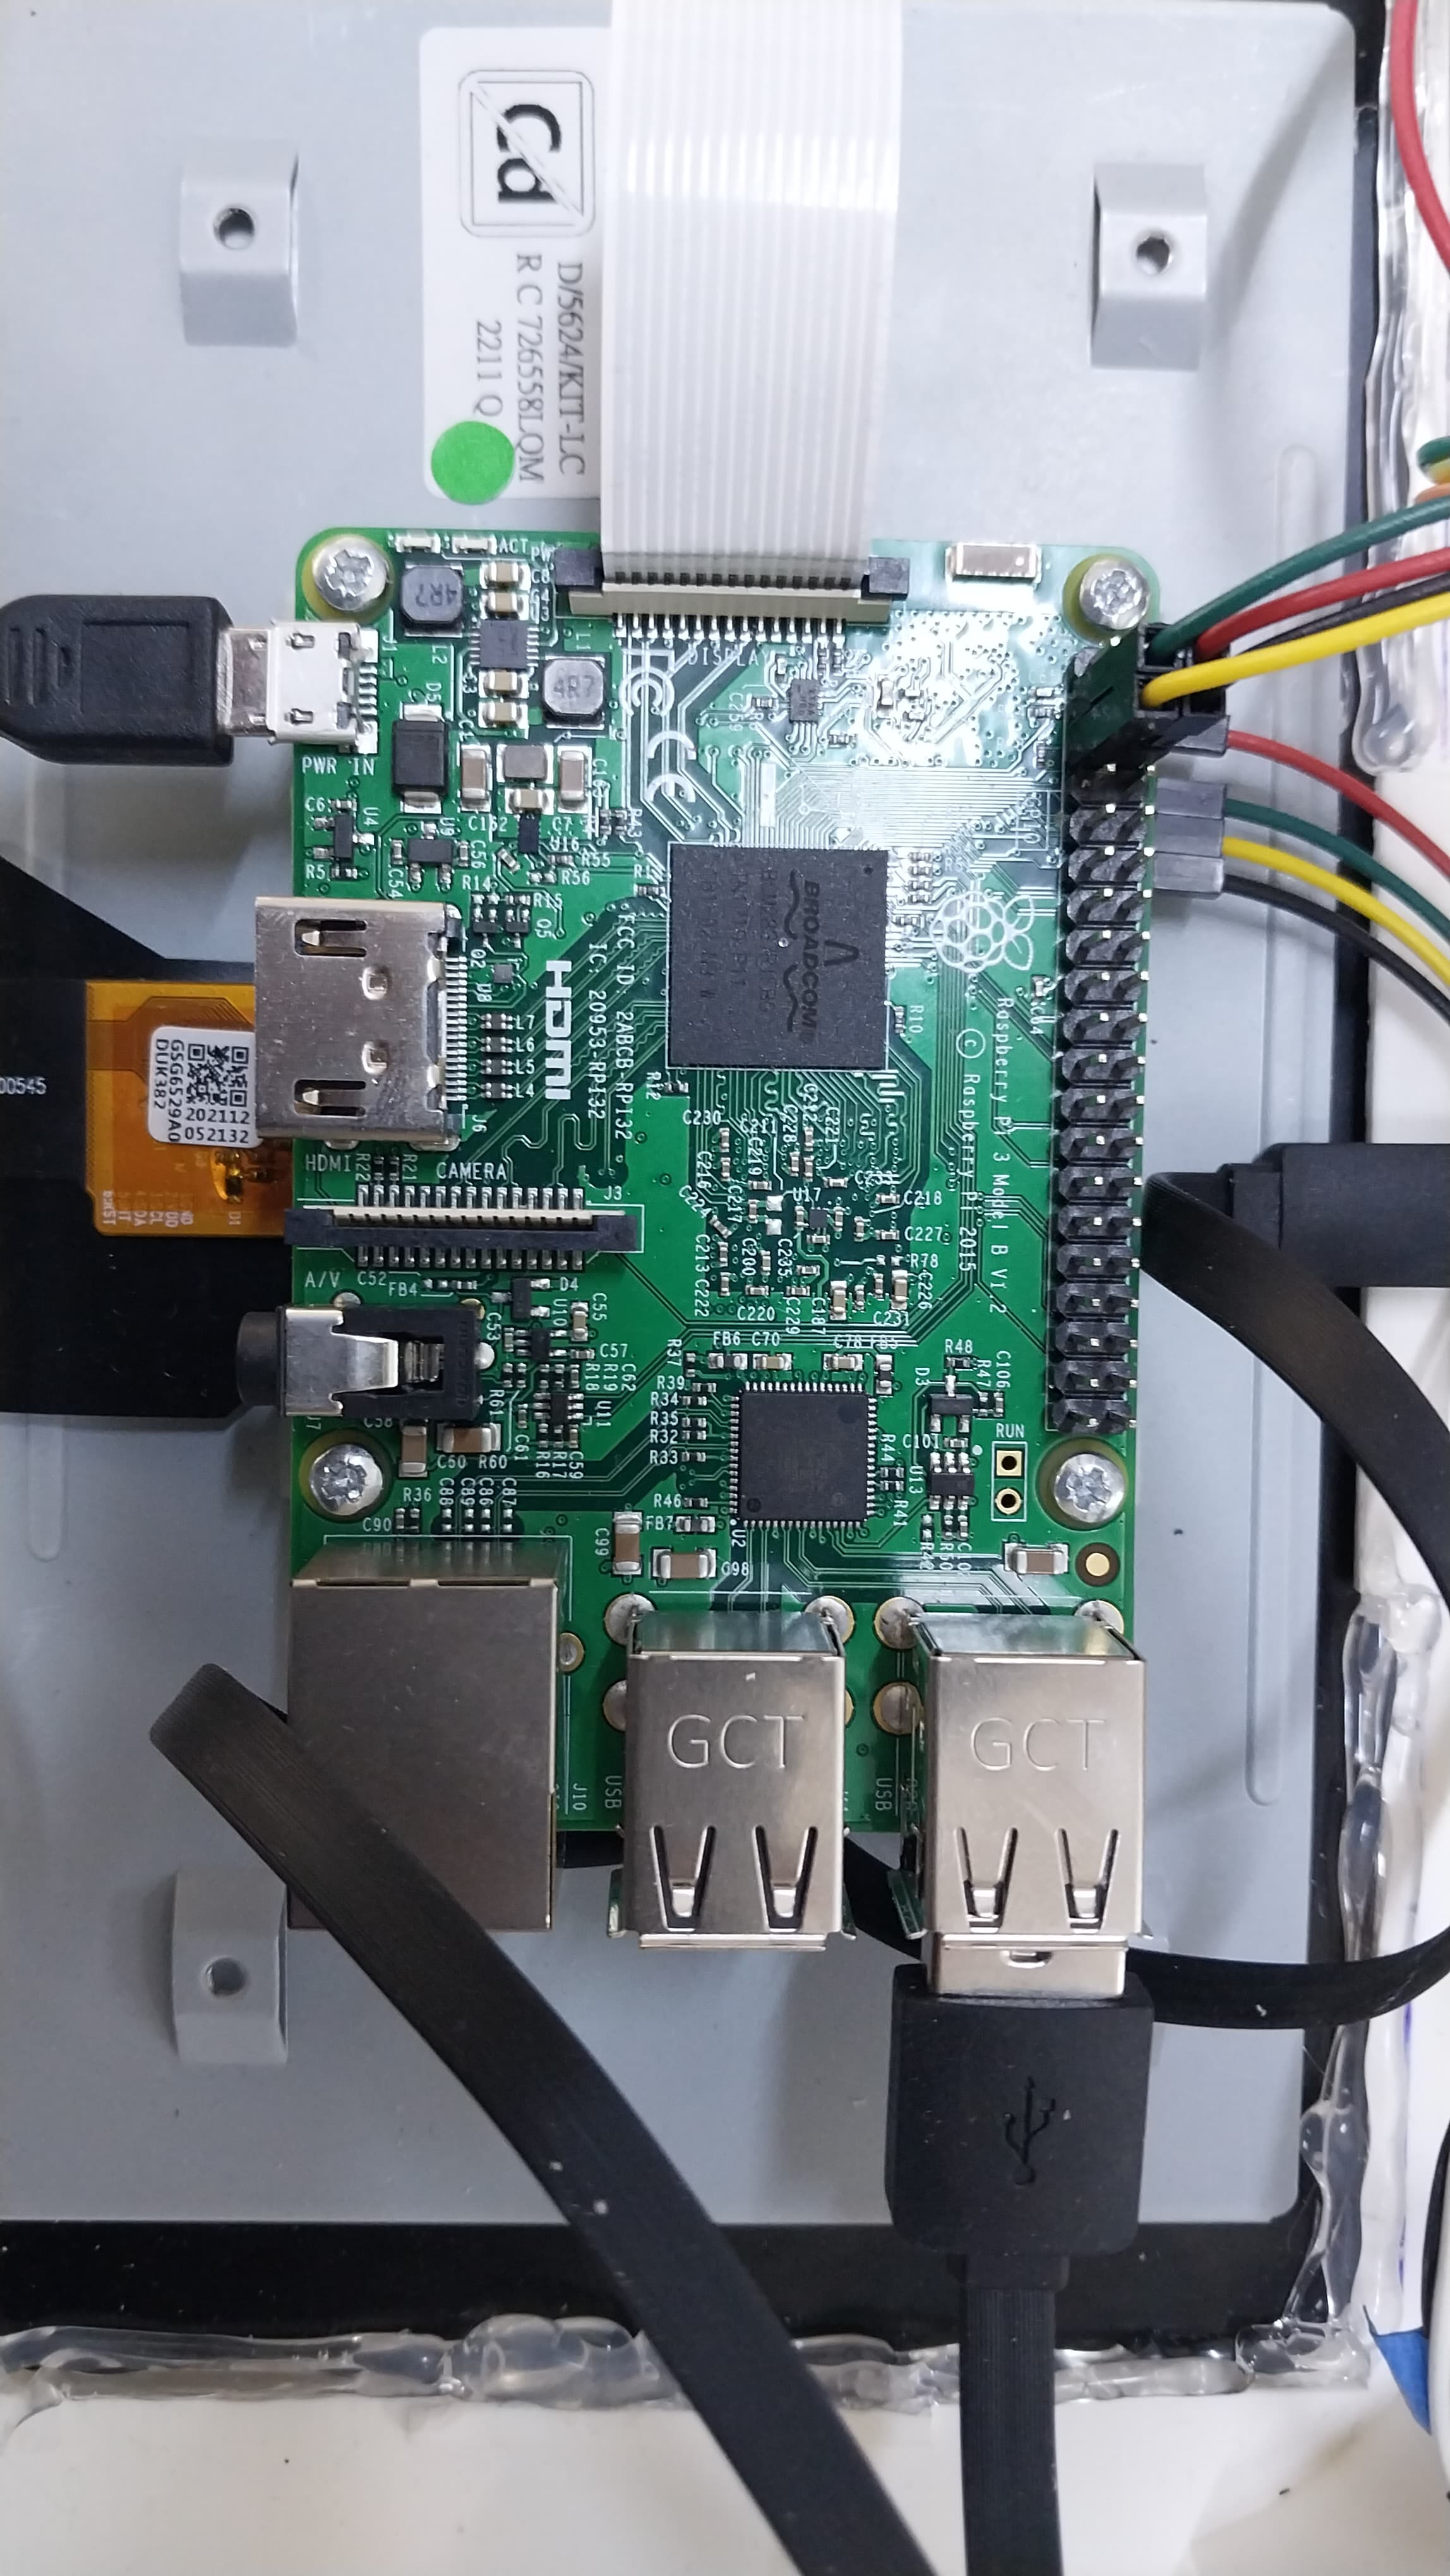
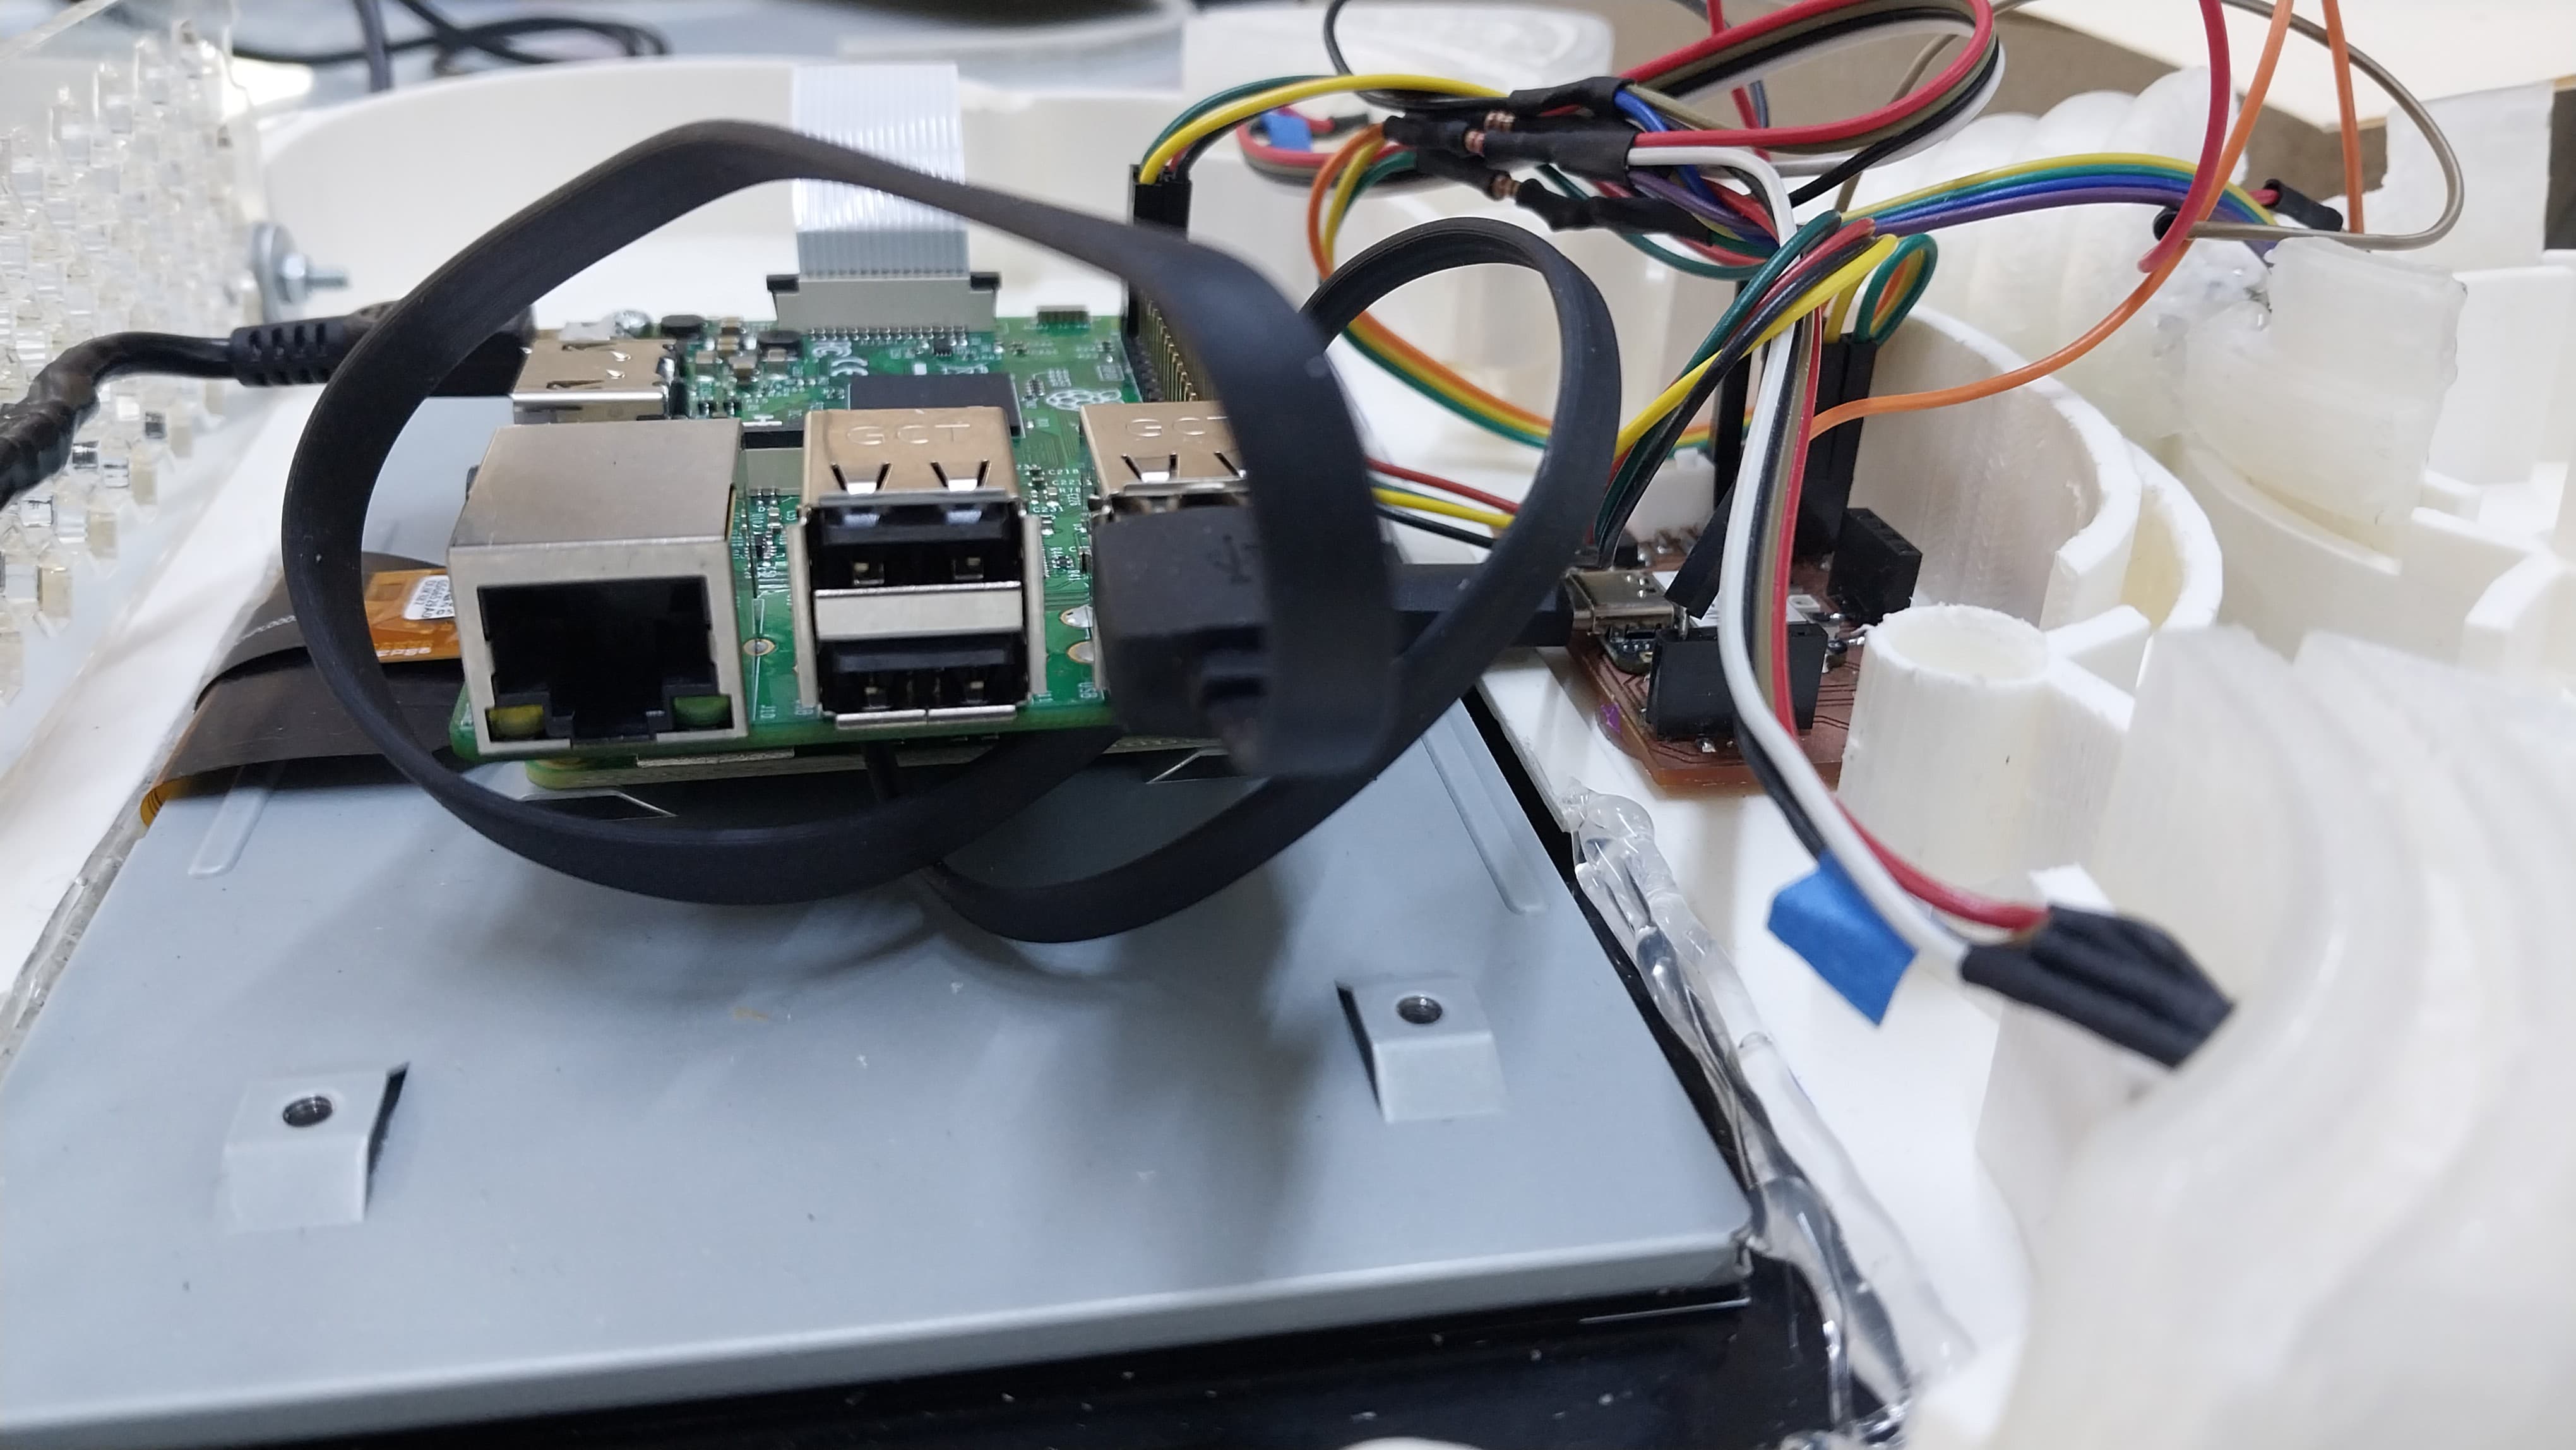
For the electronic part I will work with a cpu in this case raspberry and in addition to that my development board worked on throughout the academy which will be a complement to the cpu


We will use the raspberry as a PC, to run the programs and games which will help the children increase their concentration.
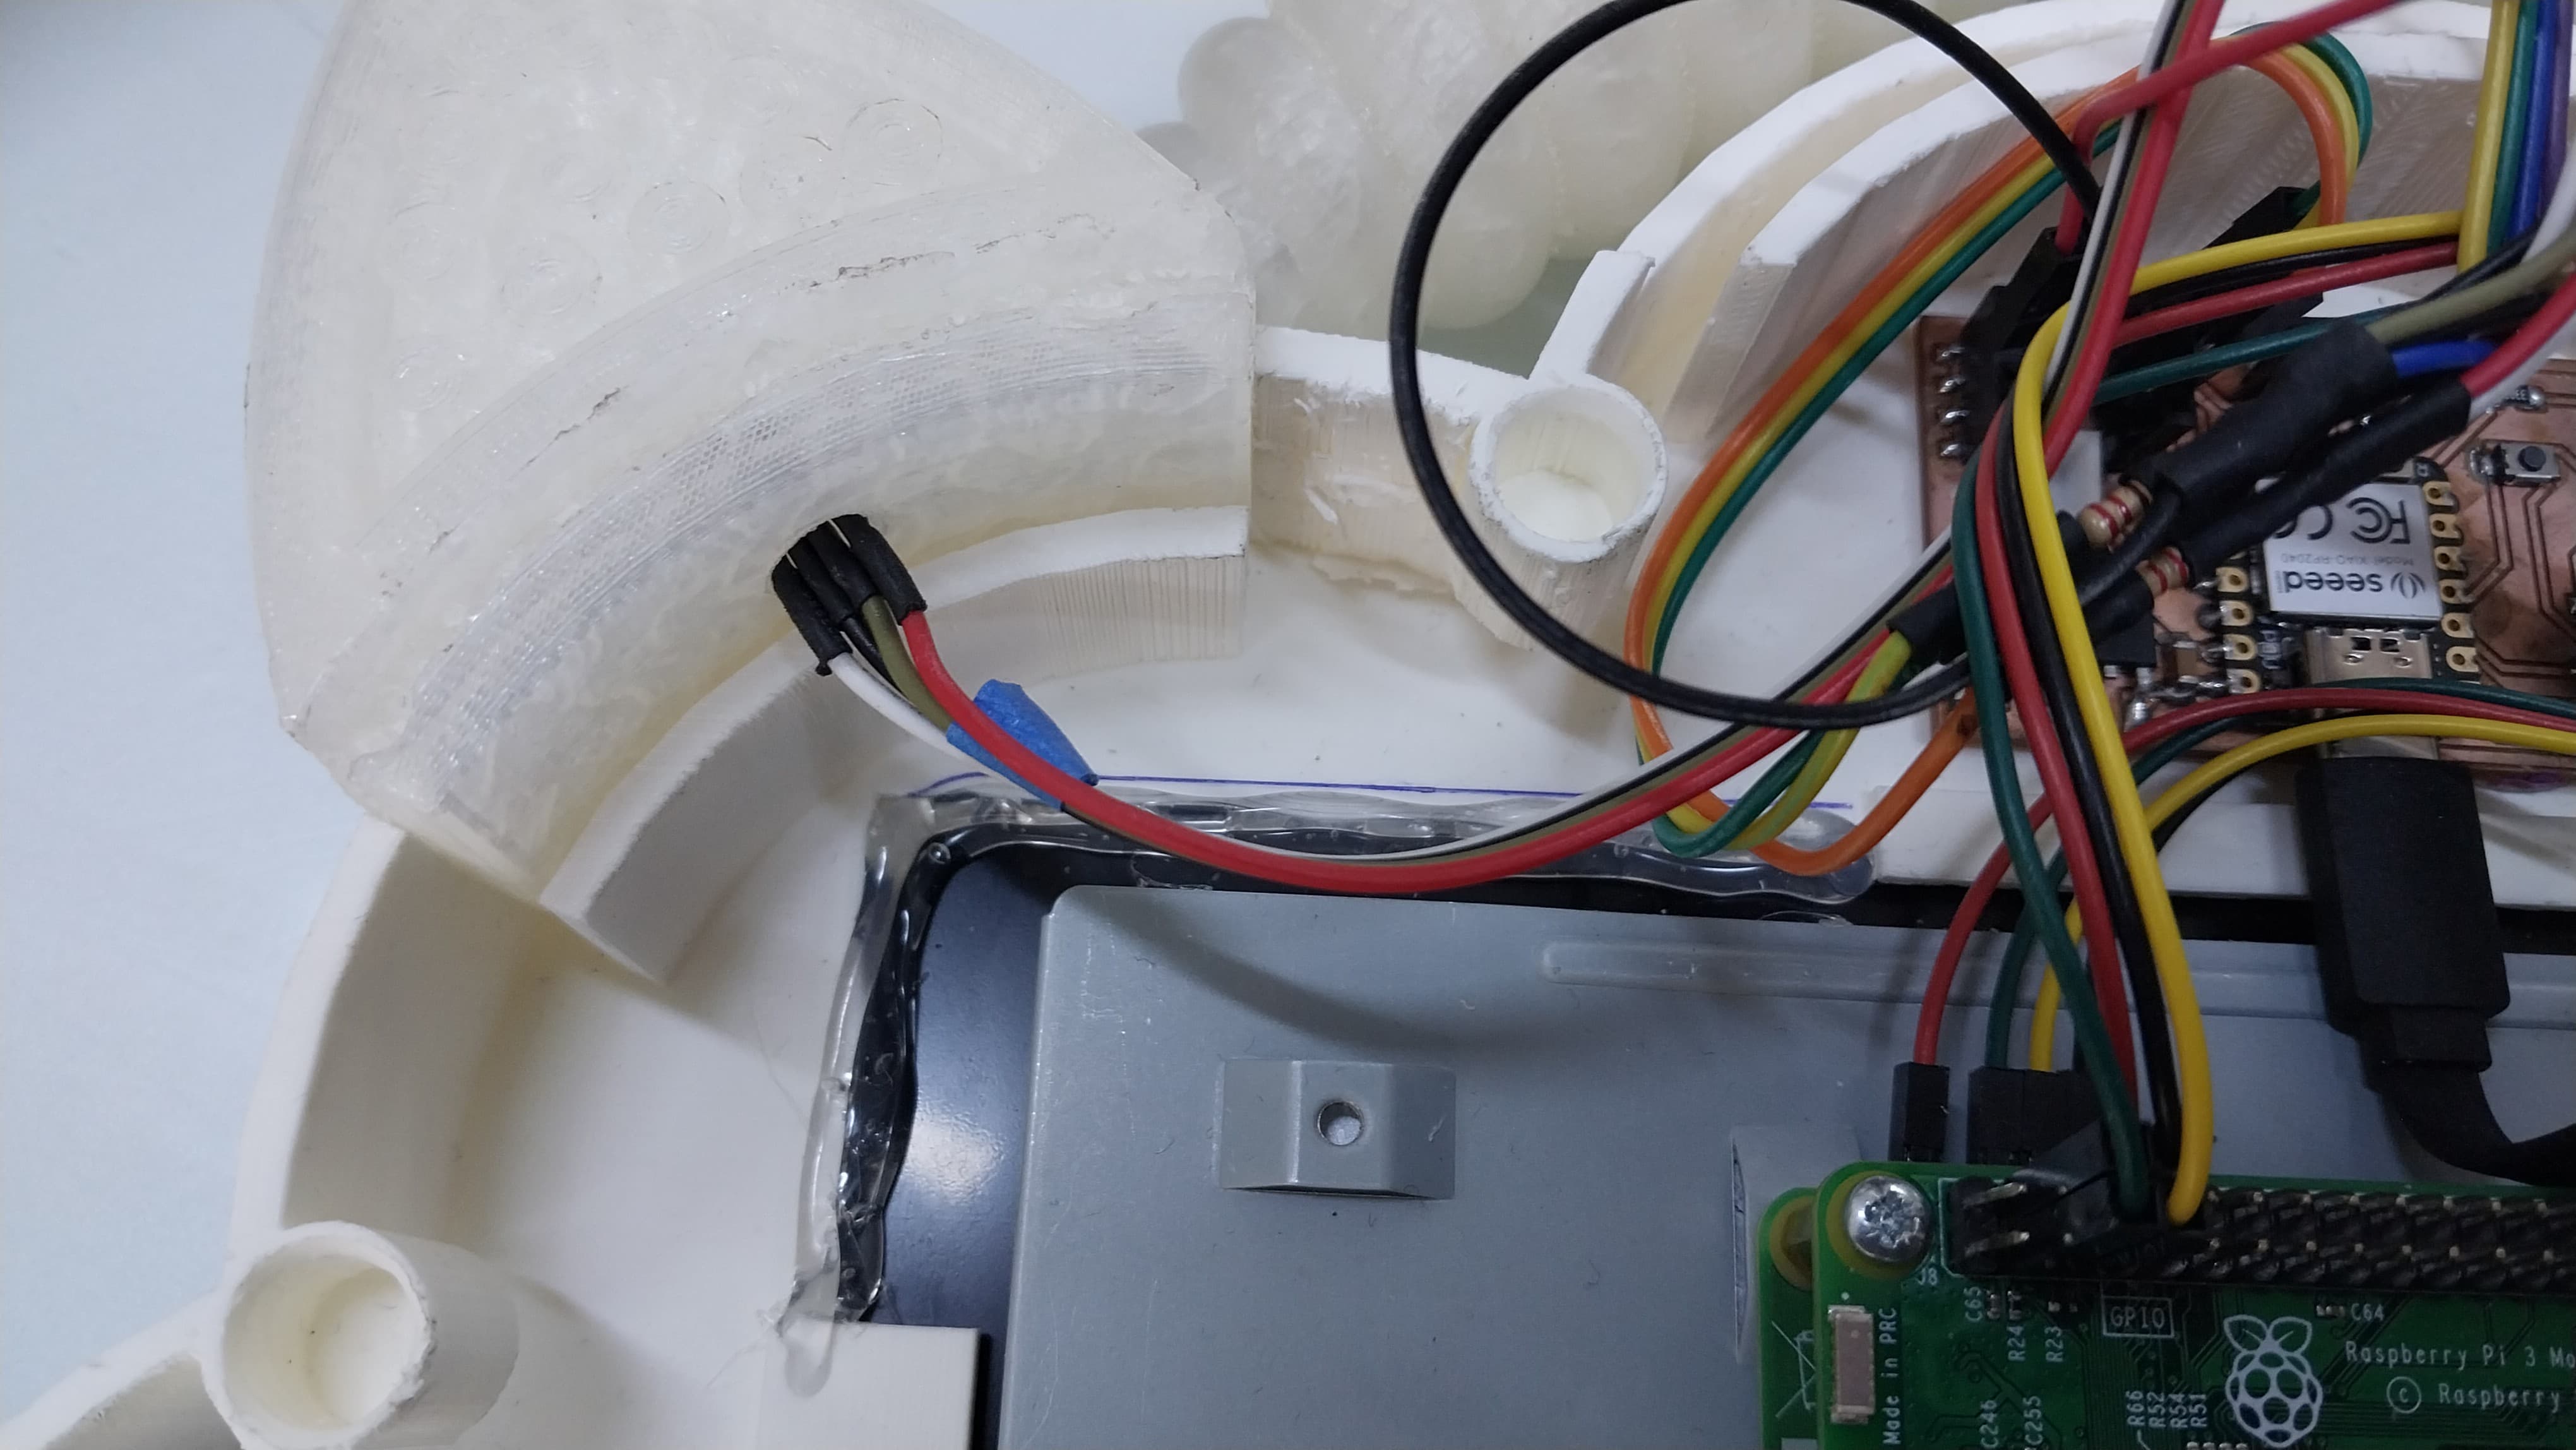
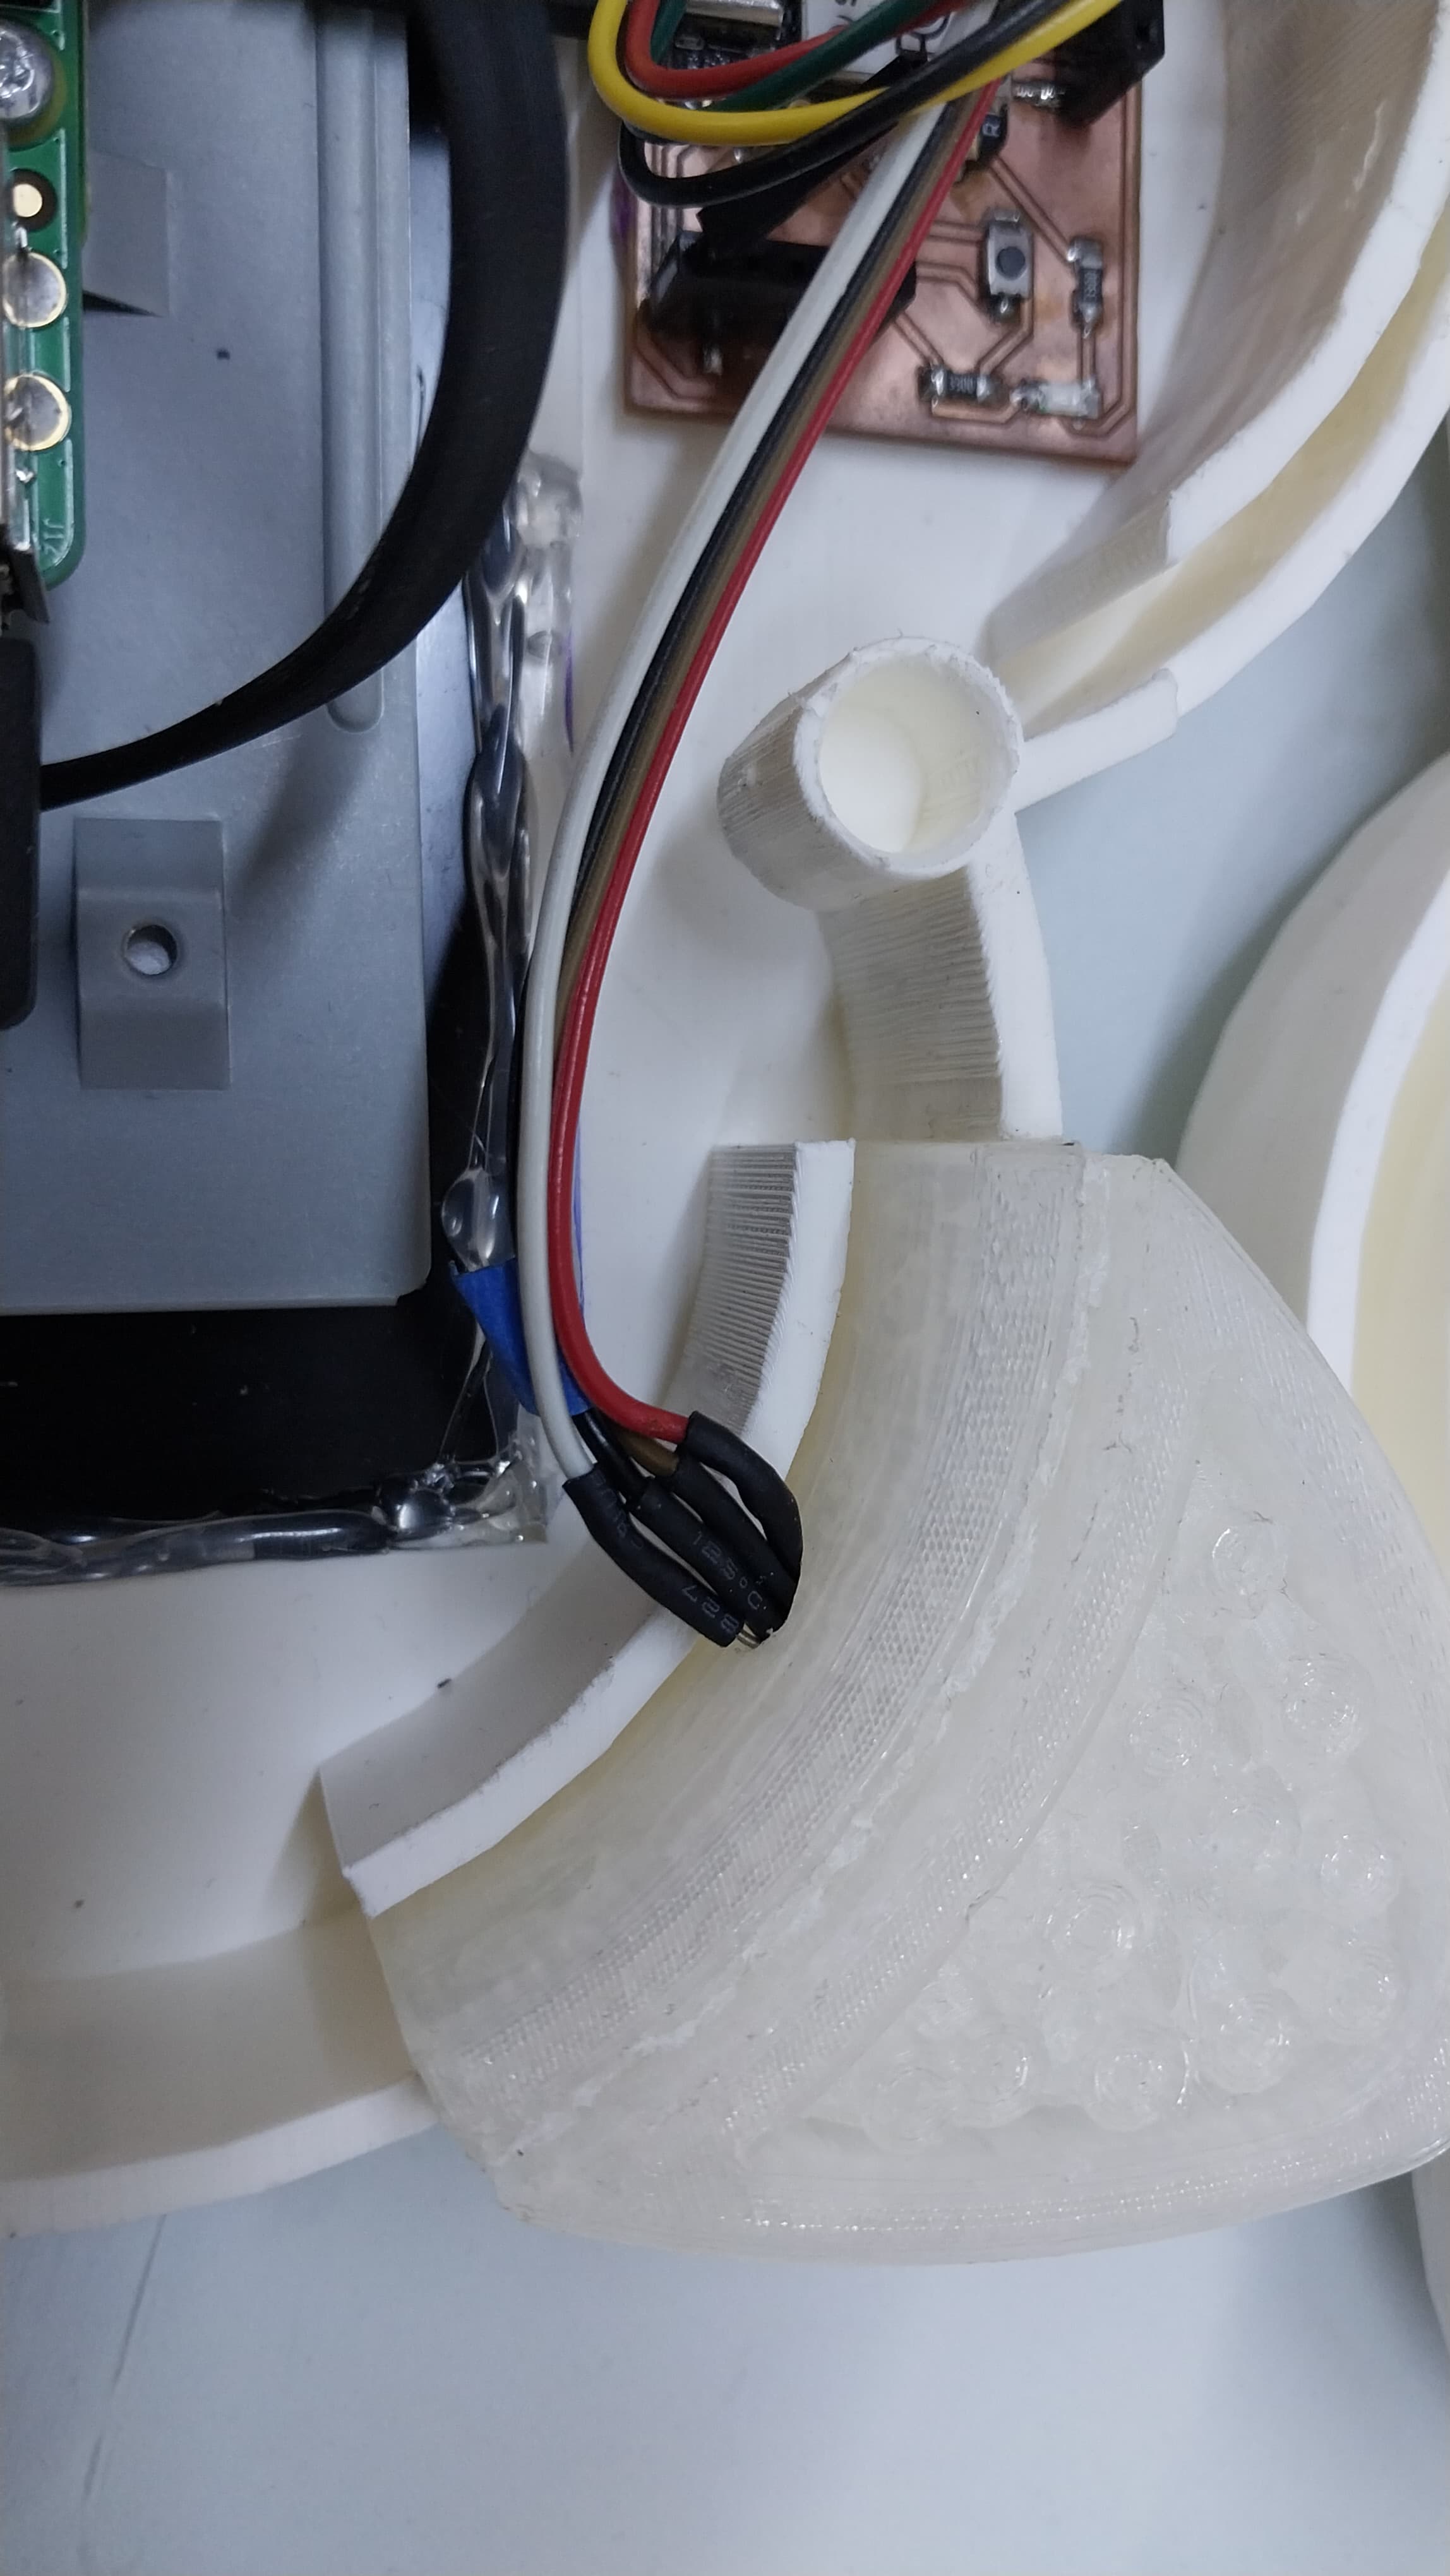
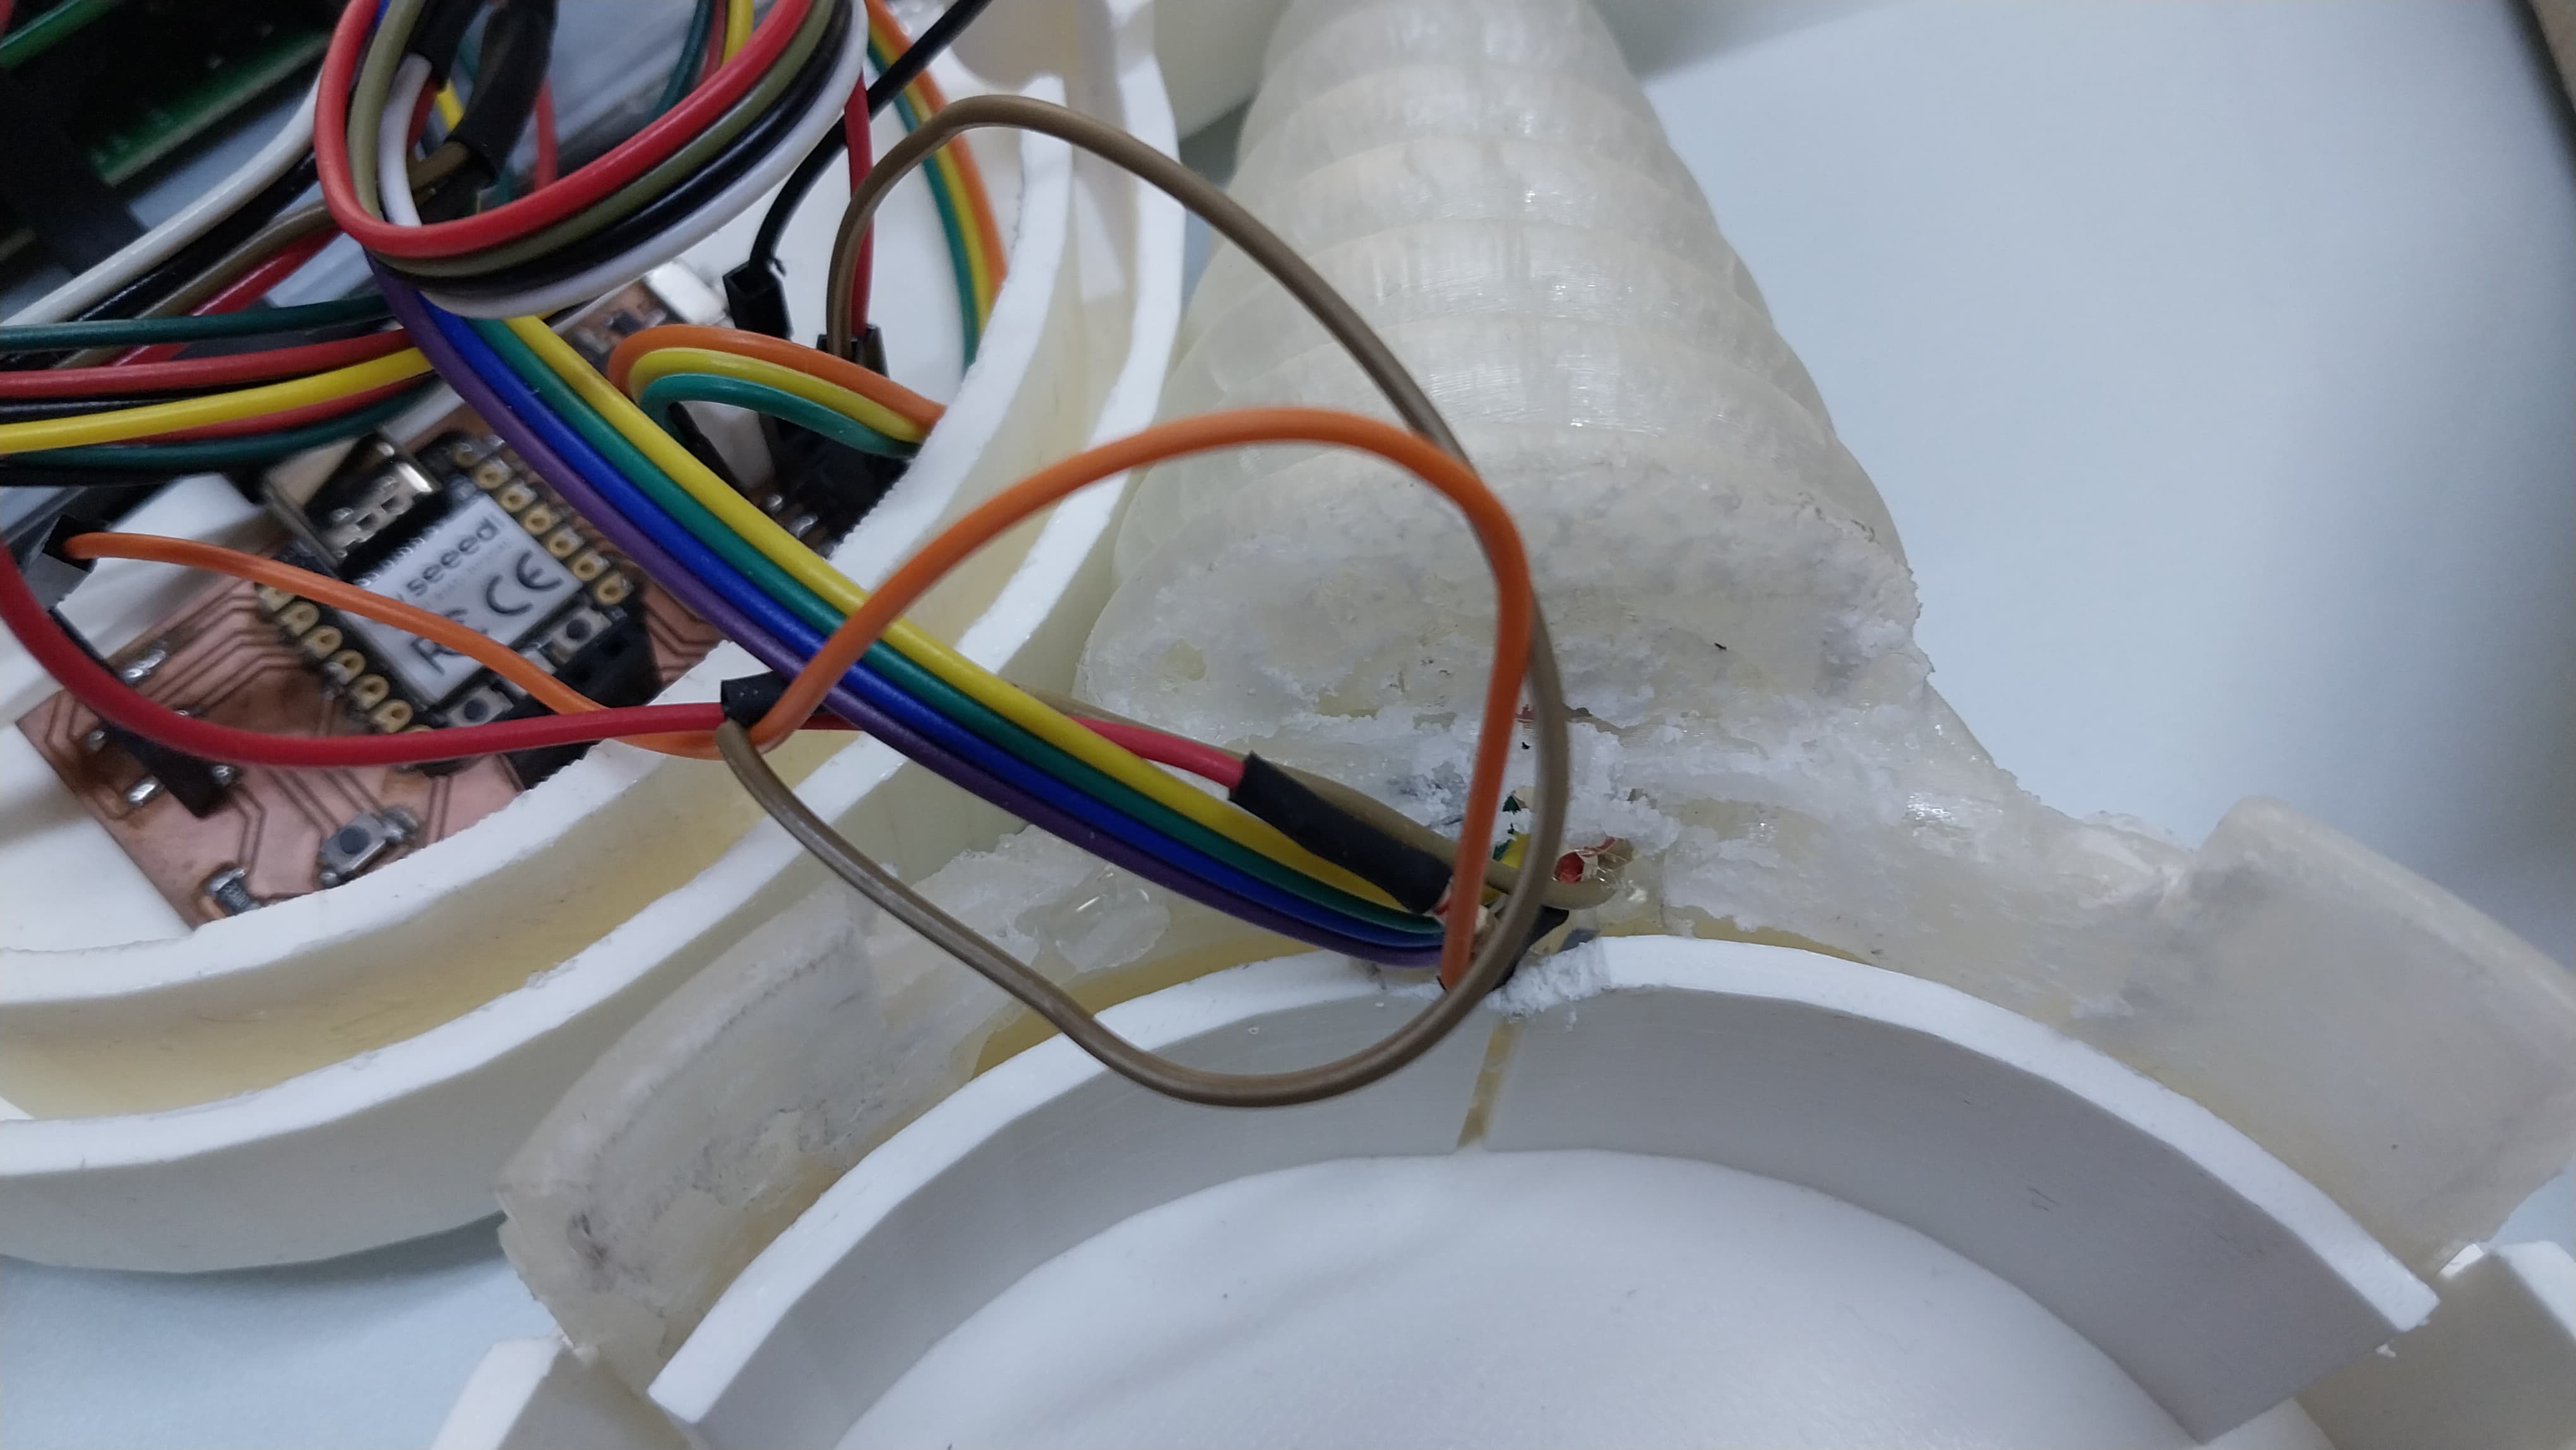
In addition to this, I will use the board with Seeed Xiao RP2040 which I use throughout my assignments, this will have a function to control external lights, with a light sensor which when the light decreases will activate the lighting immediately through Cloud

So that it can be visualized, it is on a breadboard, however the LEDs will have a location in each piece of the nubox and the sensor also has its fitting.
Here is the code we use for this program and the download link for the board files . Download Here
      1 const int ldrPin = D0;  // Pin del LDR (fotodiodo)
      2 const int ledRedPin = D1;  // Pin del LED rojo
      3 const int ledGreenPin = D2;  // Pin del LED verde
      4 const int ledBluePin = D3;  // Pin del LED azul
      5
      6 int threshold = 400;  // Umbral de luz (ajusta según la sensibilidad del LDR)
      7
      8 void setup() {
      9   pinMode(ldrPin, INPUT);
      10   pinMode(ledRedPin, OUTPUT);
      11   pinMode(ledGreenPin, OUTPUT);
      12   pinMode(ledBluePin, OUTPUT);
      13 }
      14
      15 void loop() {
      16   int lightValue = analogRead(ldrPin);  // Lee el valor de luz del LDR
      17   if (lightValue < threshold) {  // Si la luz es baja
      18     // Enciende los LEDs RGB en arcoíris
      19     for (int i = 0; i < 3; i++) {
      20       analogWrite(ledRedPin, 255);  // Rojo
      21       delay(50);
      22       analogWrite(ledRedPin, 0);
      23       analogWrite(ledGreenPin, 255);  // Verde
      24       delay(50);
      25       analogWrite(ledGreenPin, 0);
      26       analogWrite(ledBluePin, 255);  // Azul
      27       delay(50);
      28       analogWrite(ledBluePin, 0);
      29     }
      30   } else {
      31     // Apaga los LEDs RGB
      32     analogWrite(ledRedPin, 0);
      33     analogWrite(ledGreenPin, 0);
      34     analogWrite(ledBluePin, 0);
      35   }
      36   delay(50);  // Espera un poco antes de leer de nuevo el valor de luz
      37 }
And for the final steps
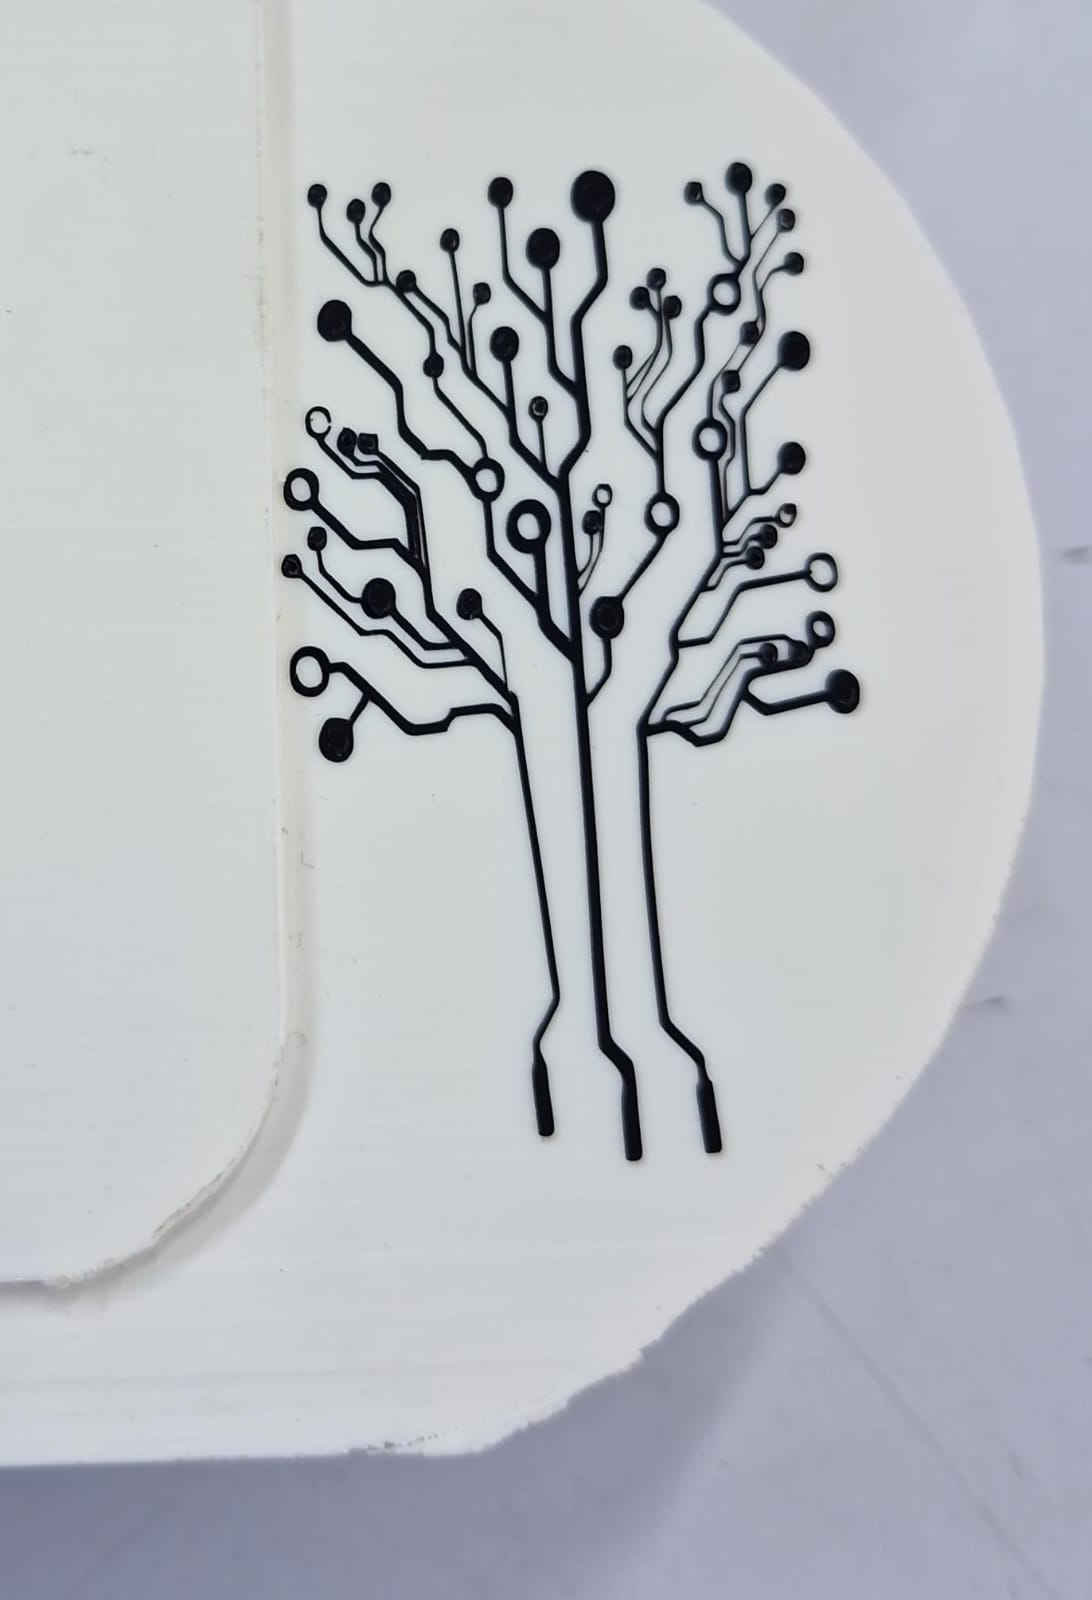
For the last step we will add some vinyl cut stickers to decorate our project.



How will it be evaluated?
Well, for the evaluation and validation of my project I will do tests on children between 6 and 8 years old, measuring the time and degree, visually of concentration in the nubox and the practicality of use.
What worked? What didn’t?
Within the operation, it was possible to observe the correct development of the app as well as the light control, the control system was independent of where the iteration system was emulated.
I developed a video with the integration of the project as well as the validation carried out with a little girl with ADHD
You can find the files necessary for the construction of the project in the following link
