
Welcome to Week 5
3D Scanning and Printing.
Hello! this time, let’s learn about 3D Scanning and Printing, for this week we have the following group and individual assignments:
- Group assignment:
- Individual assignment:
o Test the design rules for your 3D printer(s) - ✅ Done
o Document your work on the group work page and reflect on your individual page what you learned about characteristics of your printer(s) - ✅ Done
o Design and 3D print an object (small, few cm3, limited by printer time) that could not be easily made subtractively - ✅ Done
o 3D scan an object (and optionally print it) - ✅ Done
GROUP ASSIGNMENT
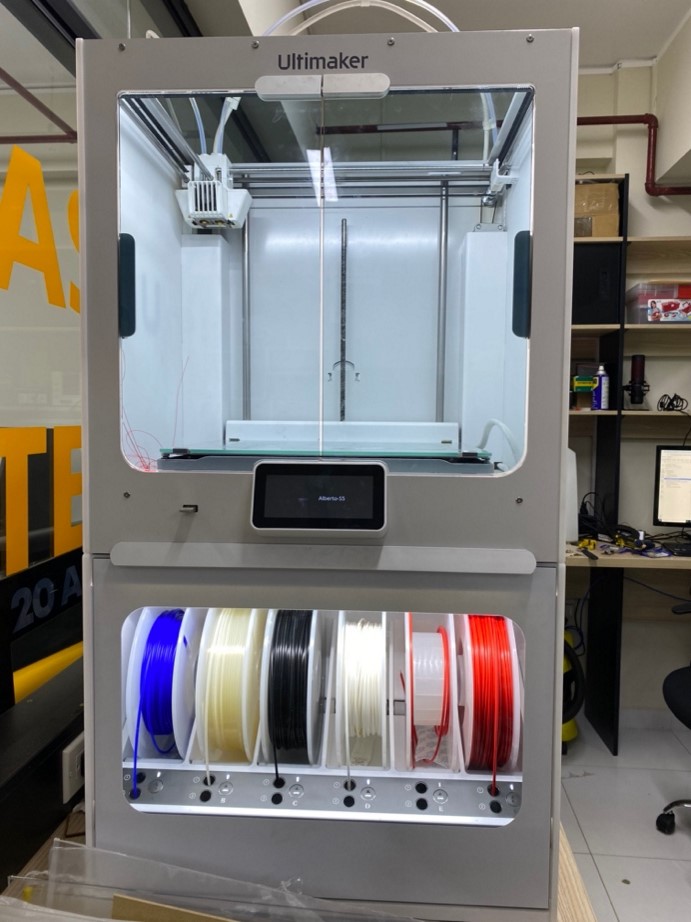
Now, let's learn about 3D scanning and printing, at Continental University we have different 3D printers, however the main one is the Ultimaker S5, we will see some specifications of this machine.
| PRINT VOLUME | 330 x 240 x 300 mm (13 x 9,4 x 11,8 in) |
|---|---|
| LAYER RESOLUTION | 0.25mm nozzle 60-150 microns, 0.4mm nozzle 20-200 microns, 0.8mm nozzle 20-600 microns |
| SUPPORTED MATERIALS | PLA, PLA PRO, Nylon, ABS, CPE, CPE+, PC, TPU 95A, PP, PVA, Breakaway and third-party materials |
| PRINTER DIMENSIONS: | PRINTER DIMENSIONS: 495 x D 585 x H 780 mm (W 19,5 x D 23 x H 30,7 in) |
For the tests I will show the steps that are carried out in the 3D CURA software and how we obtain the result of each test
- 3D printer Ultimaker S5
- Ultimaker Cura
- PLA Ultimaker
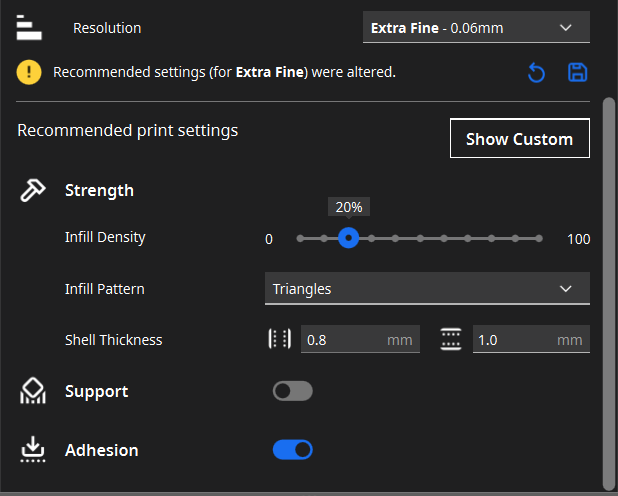
The first step was to know the cura software:
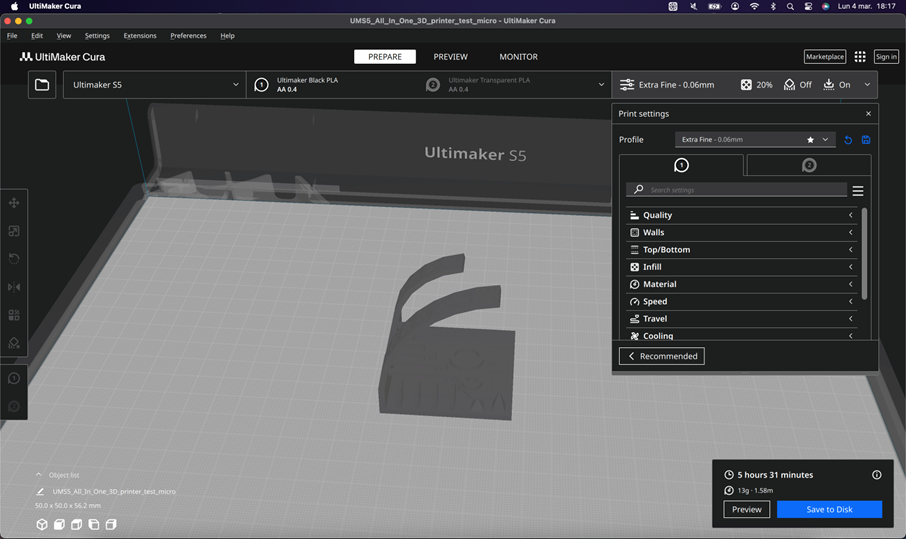
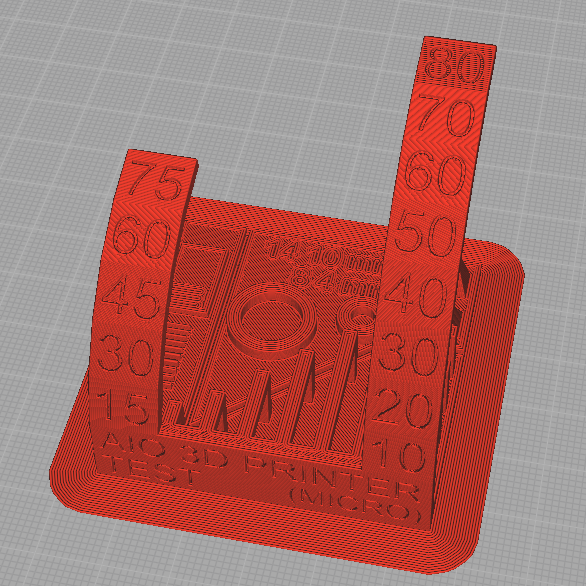
First we’ll make a test print, we are going to print: “All In One 3D Printer test” made by Majda107. You can review his work, Here: https://www.thingiverse.com/thing:2975429
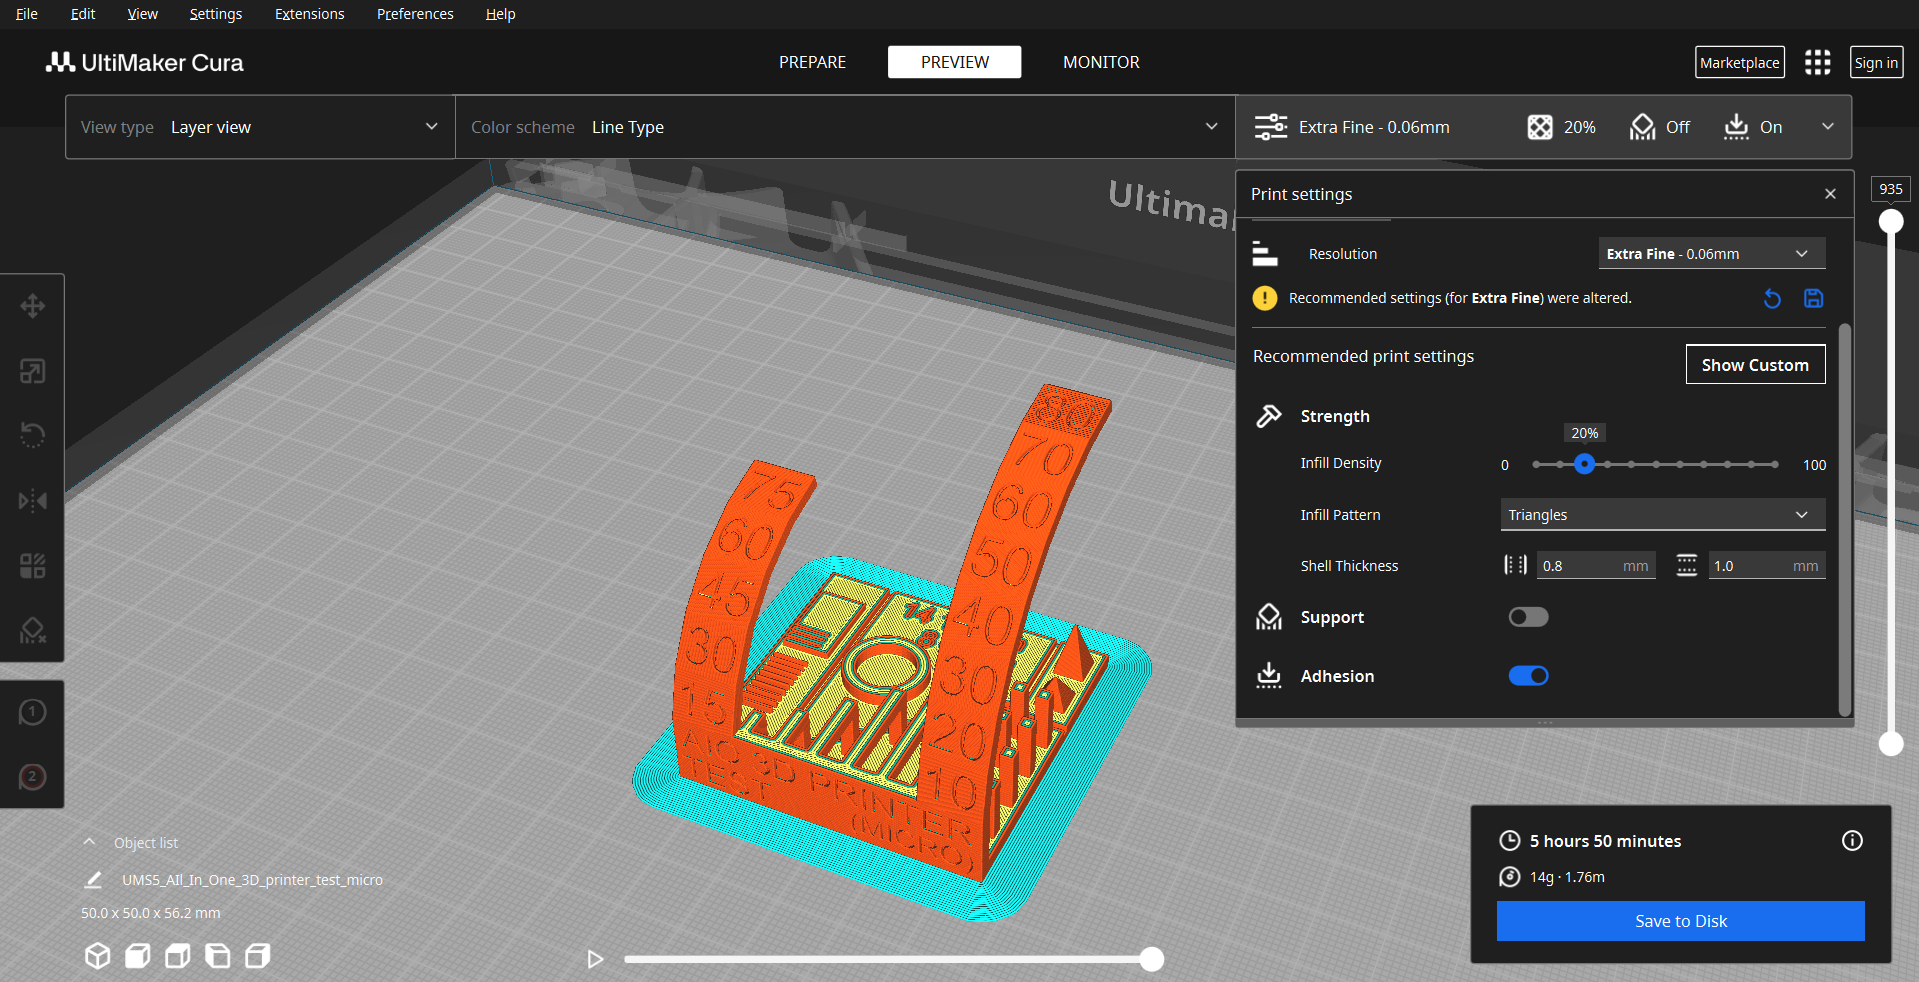
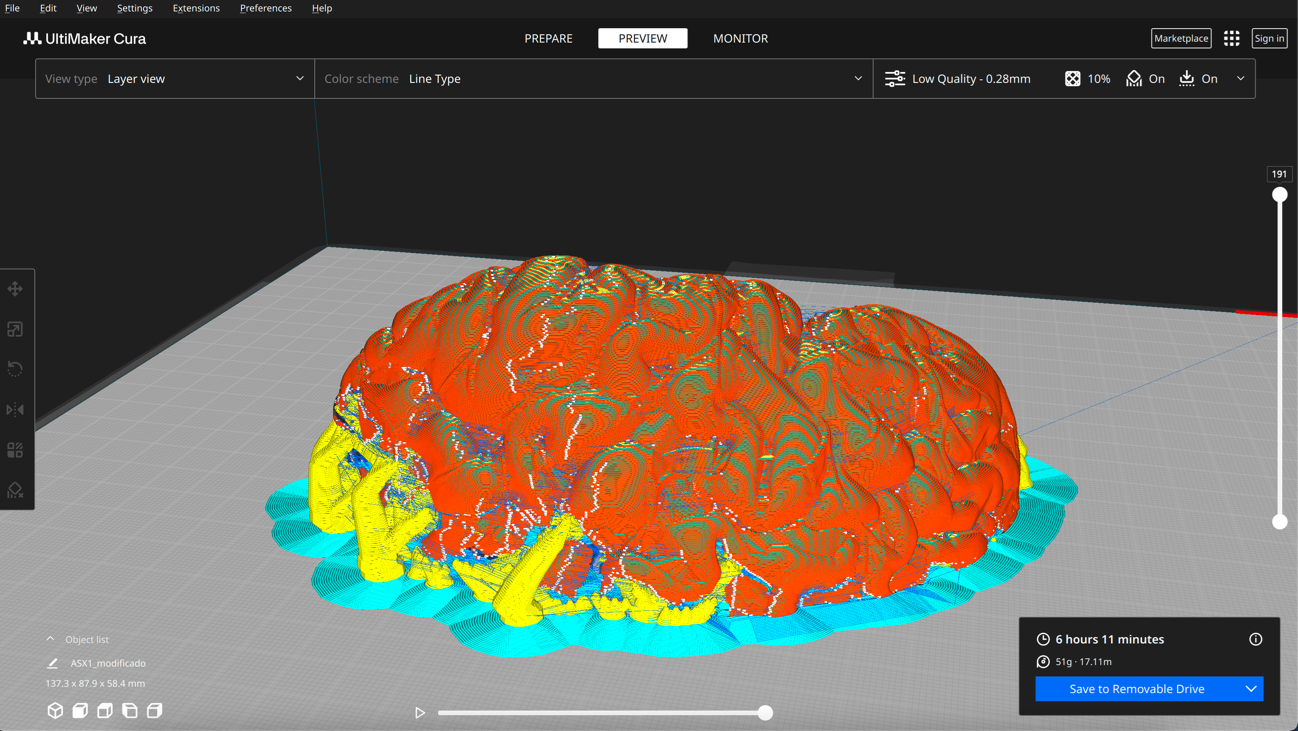
When we click on Slice, the software transforms the solid into a layer scheme.

We can also review the characteristics of printing layer by layer, useful to perceive errors or defects that come from the design.
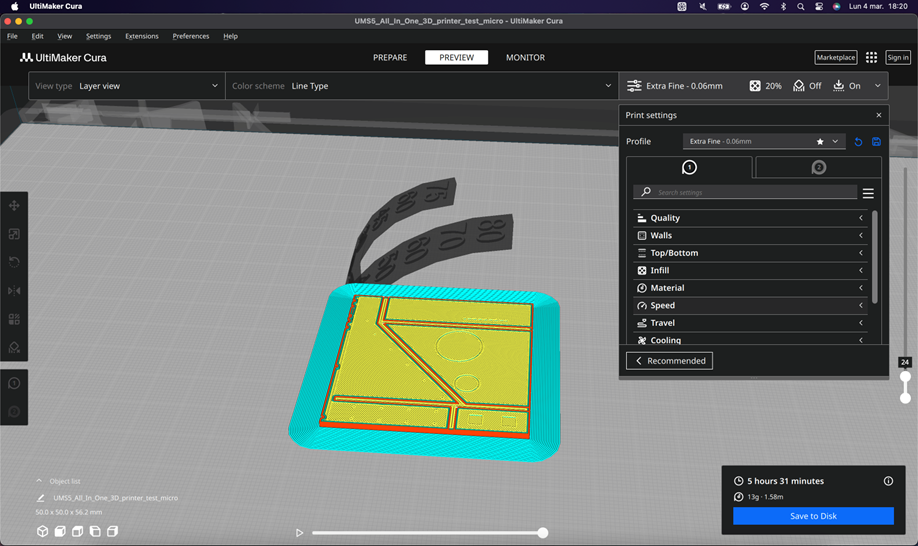
Here you can see them better.
Now it's time to print our test, we save the file on a pendrive and go to the printer.
To learn more about the software and the machine, here are the reference links:
These are the most important parameters I use when making each print on the Ultimaker:
- Layer Height: I usually set the layer height to 0.2 mm to get a good balance between quality and printing time. For finer details, I use 0.1 mm.
- Filler: I usually use a 20% filler, which provides good strength without increasing the printing time too much. For parts that need more strength, I increase the infill to 50% or more.
- Supports: I set the supports to activate at angles greater than 50 degrees. I use a support density of about 15-20%, which facilitates post-print removal without compromising quality.
- Extruder temperature: For PLA, I use an extrusion temperature of 200°C. For other materials such as ABS or PETG, I adjust the temperature according to the manufacturer's specifications.
- Bed Temperature: I keep the bed at 60°C for PLA and adjust according to the material used.
- Print Speed: I generally print at a speed of 60 mm/s. For finer details, I reduce the speed to 40 mm/s.
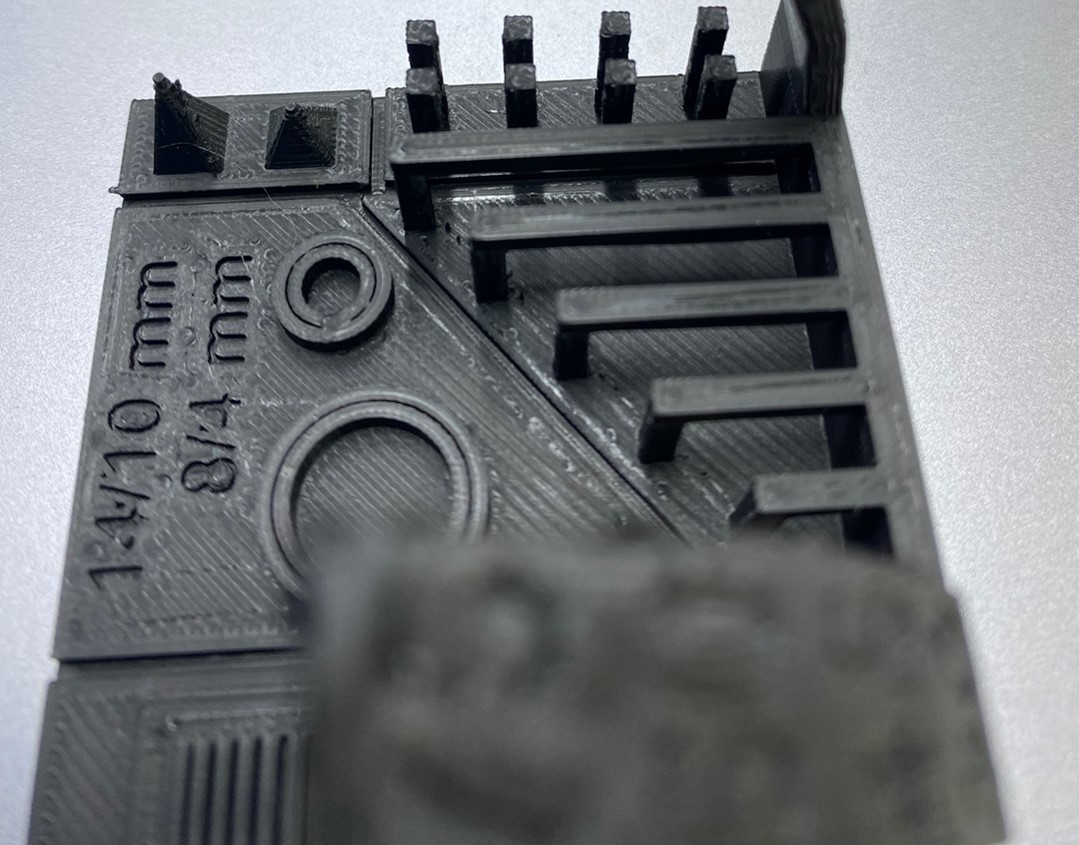
After completing the test, we have drawn some conclusions. As the angle increases, layers begin to descend, and the piece shows signs of deformation.
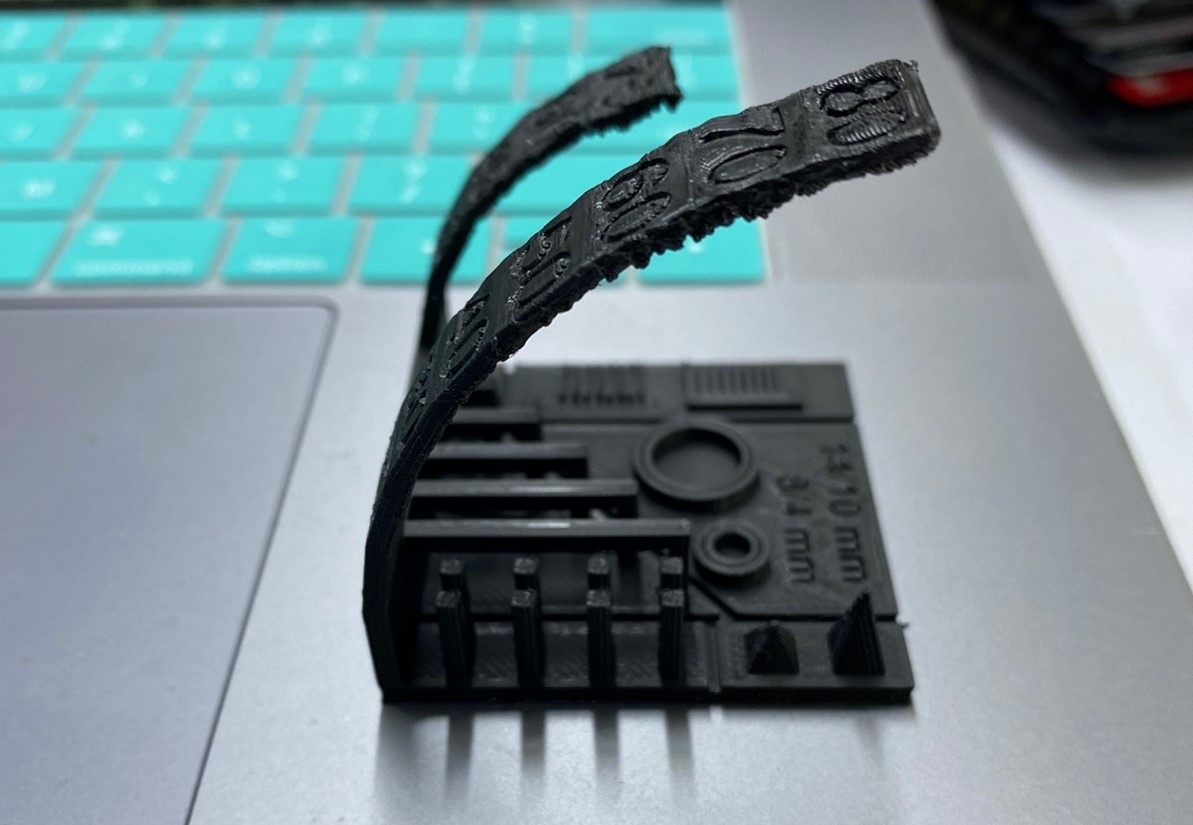
This phenomenon becomes apparent at a 45-degree angle and becomes noticeable at 50 degrees. Therefore, as the inclination increases, additional supports will be required.
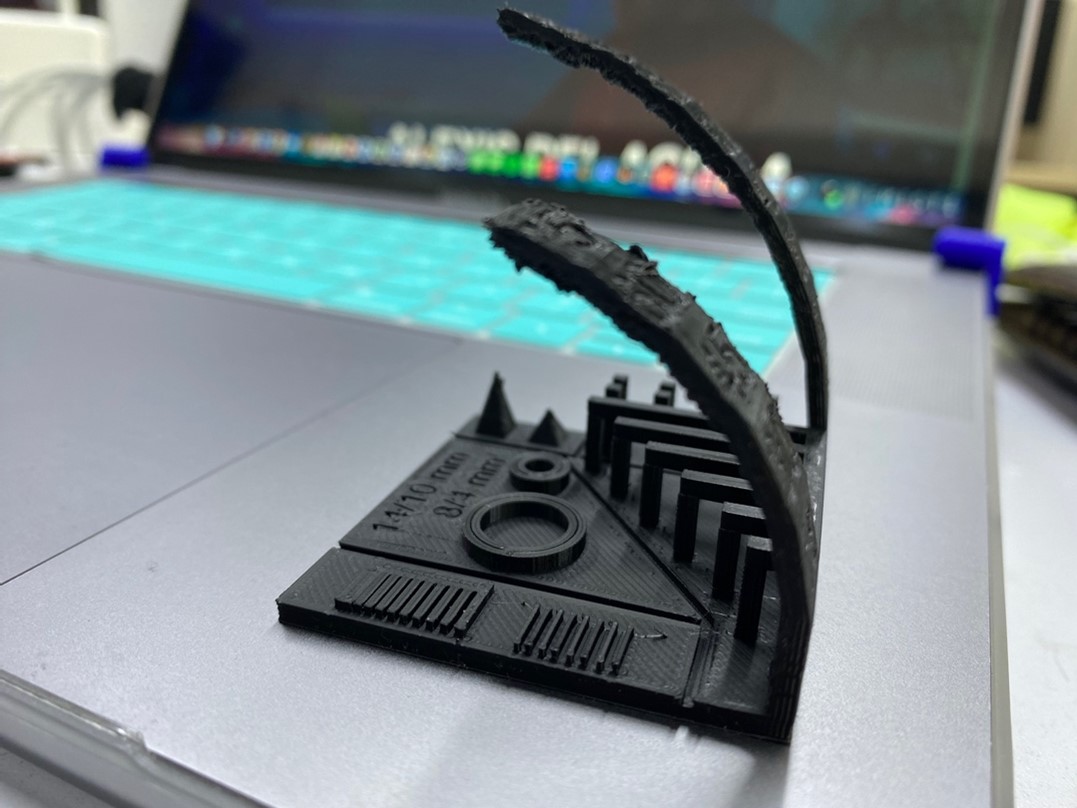
Furthermore, it is evident that the layers remain intact within a 5mm distance; however, beyond this threshold, additional supports will be necessary.
Upon measuring the external dimensions, we observe an excess of approximately 0.18mm compared to the ideal measurement.
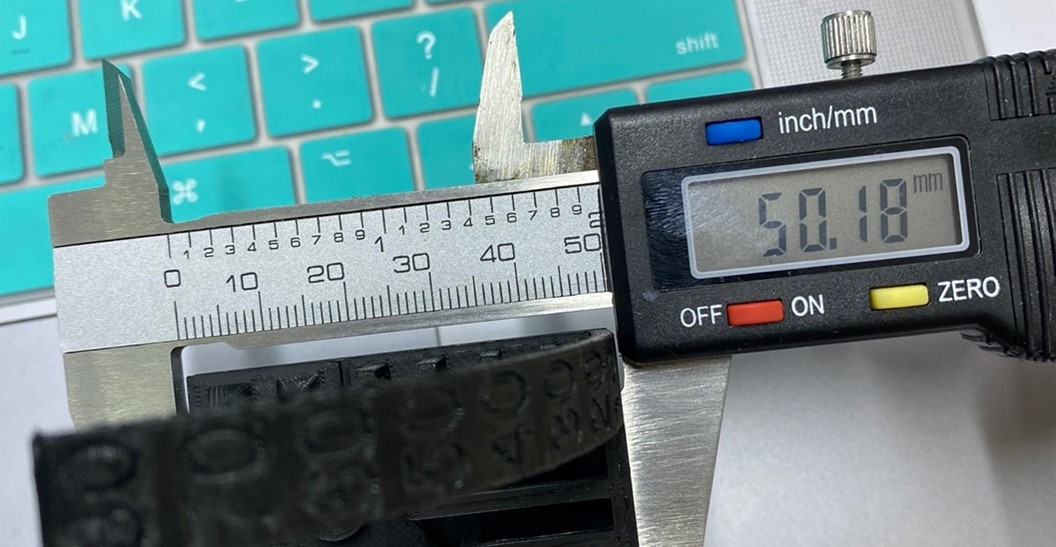
Therefore, since the issue does not stem from the flow, I have adjusted the software parameter for horizontal expansion.
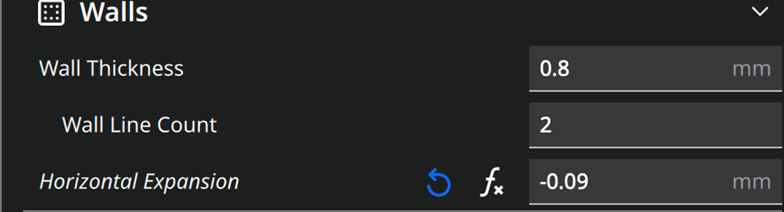
The horizontal expansion was decreased by 0.09, accounting for 0.09 on each side as the expansion occurs bilaterally. Consequently, the total error measures 0.18 when evaluated.
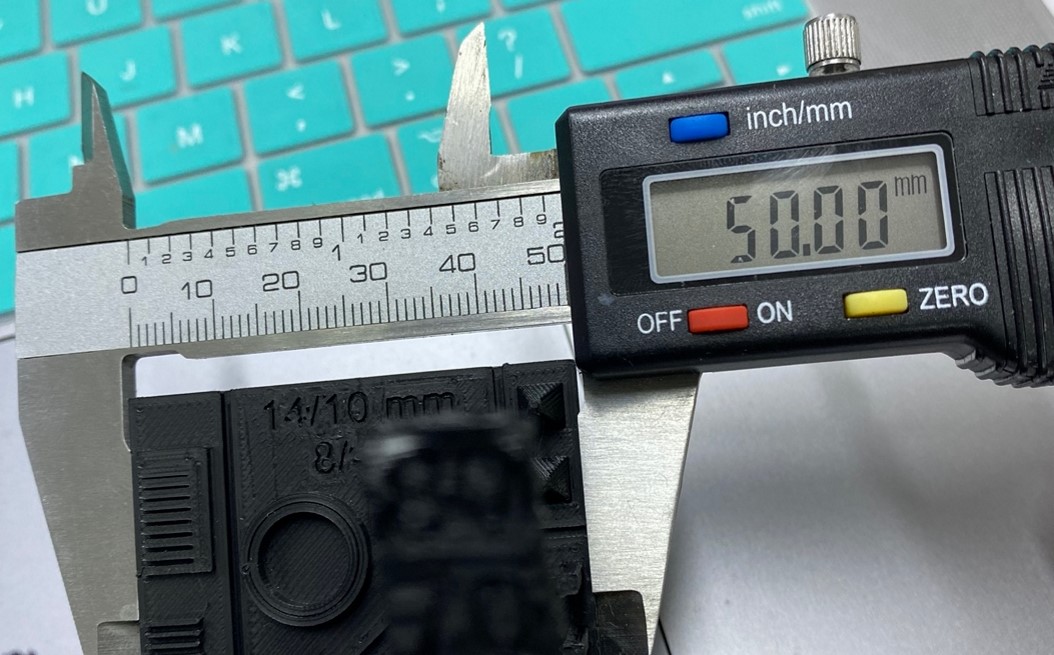
Additionally, I printed a test cube to check the circular fit. I performed this test using an expansion setting of 0.09.
Additionally, with a horizontal expansion of -0.09, the pieces measure accurately with a margin of error of +/-0.01 and the sockets fit together impeccably, with slight friction.
INDIVIDUAL ASSIGNMENT
Now I will proceed to make a print of one of the pieces designed for my final project.
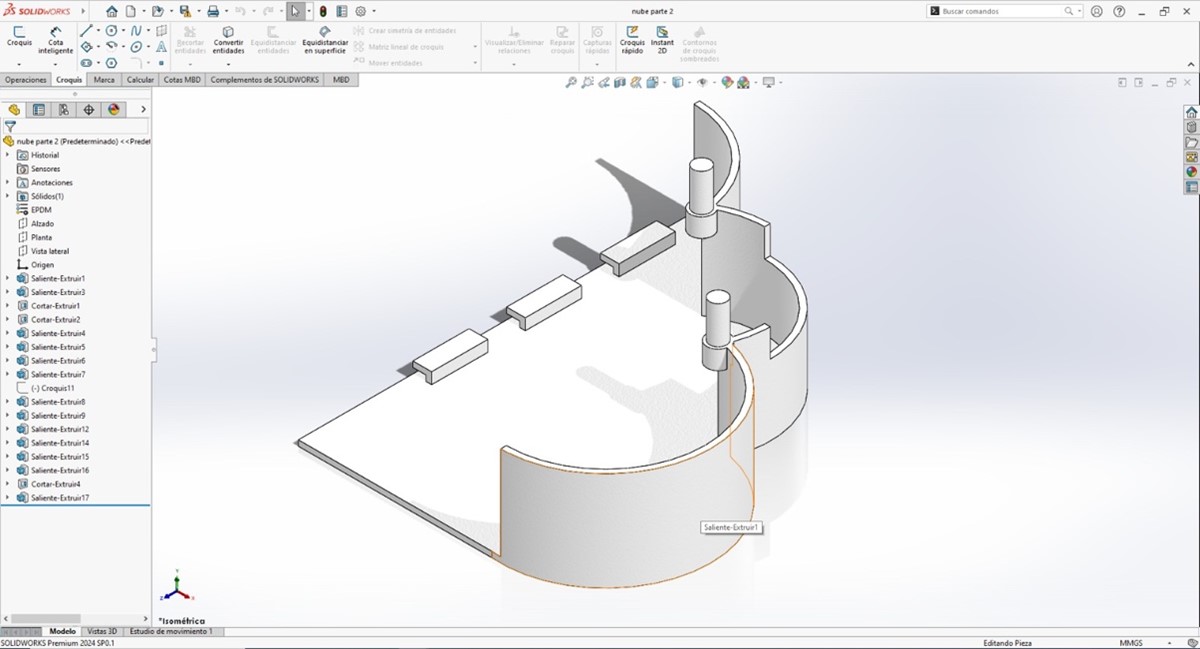
Additionally, the 3D model should be exported in STL format. Open the 3D model using Cura software and modify certain settings. Initially, enable supports and set the support angle to 50 degrees.


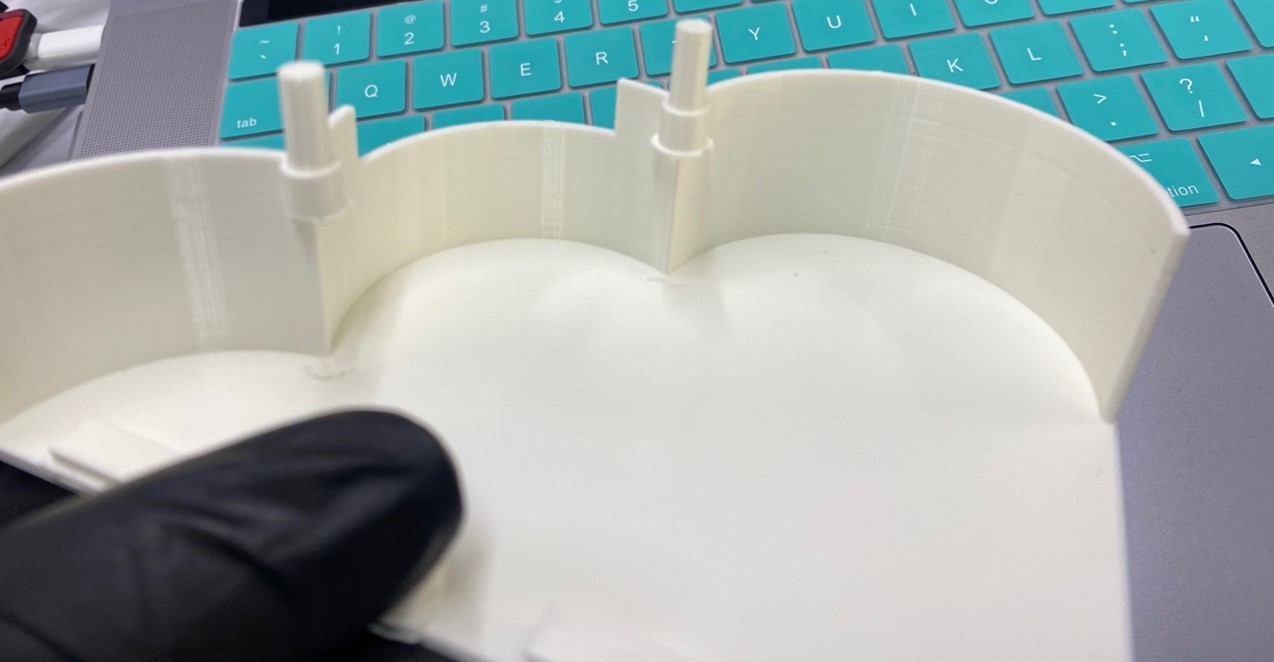
Also, once the printing process is complete, we allow the base of the printer to cool down, and then we carefully use a spatula to remove the piece.

We remove the supports and we will have it ready, keep in mind that this piece cannot be produced subtractively due to the overhangs and the curvature of the walls of the solid.
I leave all the designs and files about 3D printing here.
The walls are round to give a cloud shape, this model was chosen to give greater ease of grip and use for children, 3D printing came out exactly as shown in the design since the model has the specifications previously set in the program for printing were accurate at the time of removing the printed model. According to the scale established at the time of the design, we can confirm a 95% similarity with the printed model.
3D Scanning
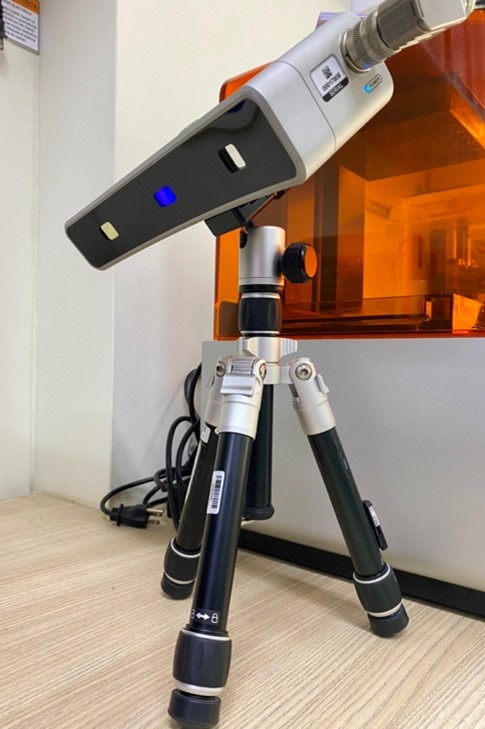
Now, let's learn about 3D scanning and printing, at Continental University we have a 3D scanning, is the Capture 3D. We will need the following requirements
- 3D Scanner
- An object (yes, an object that we want to scan)
- Blender
The scanner model and software being used can be found at these links:
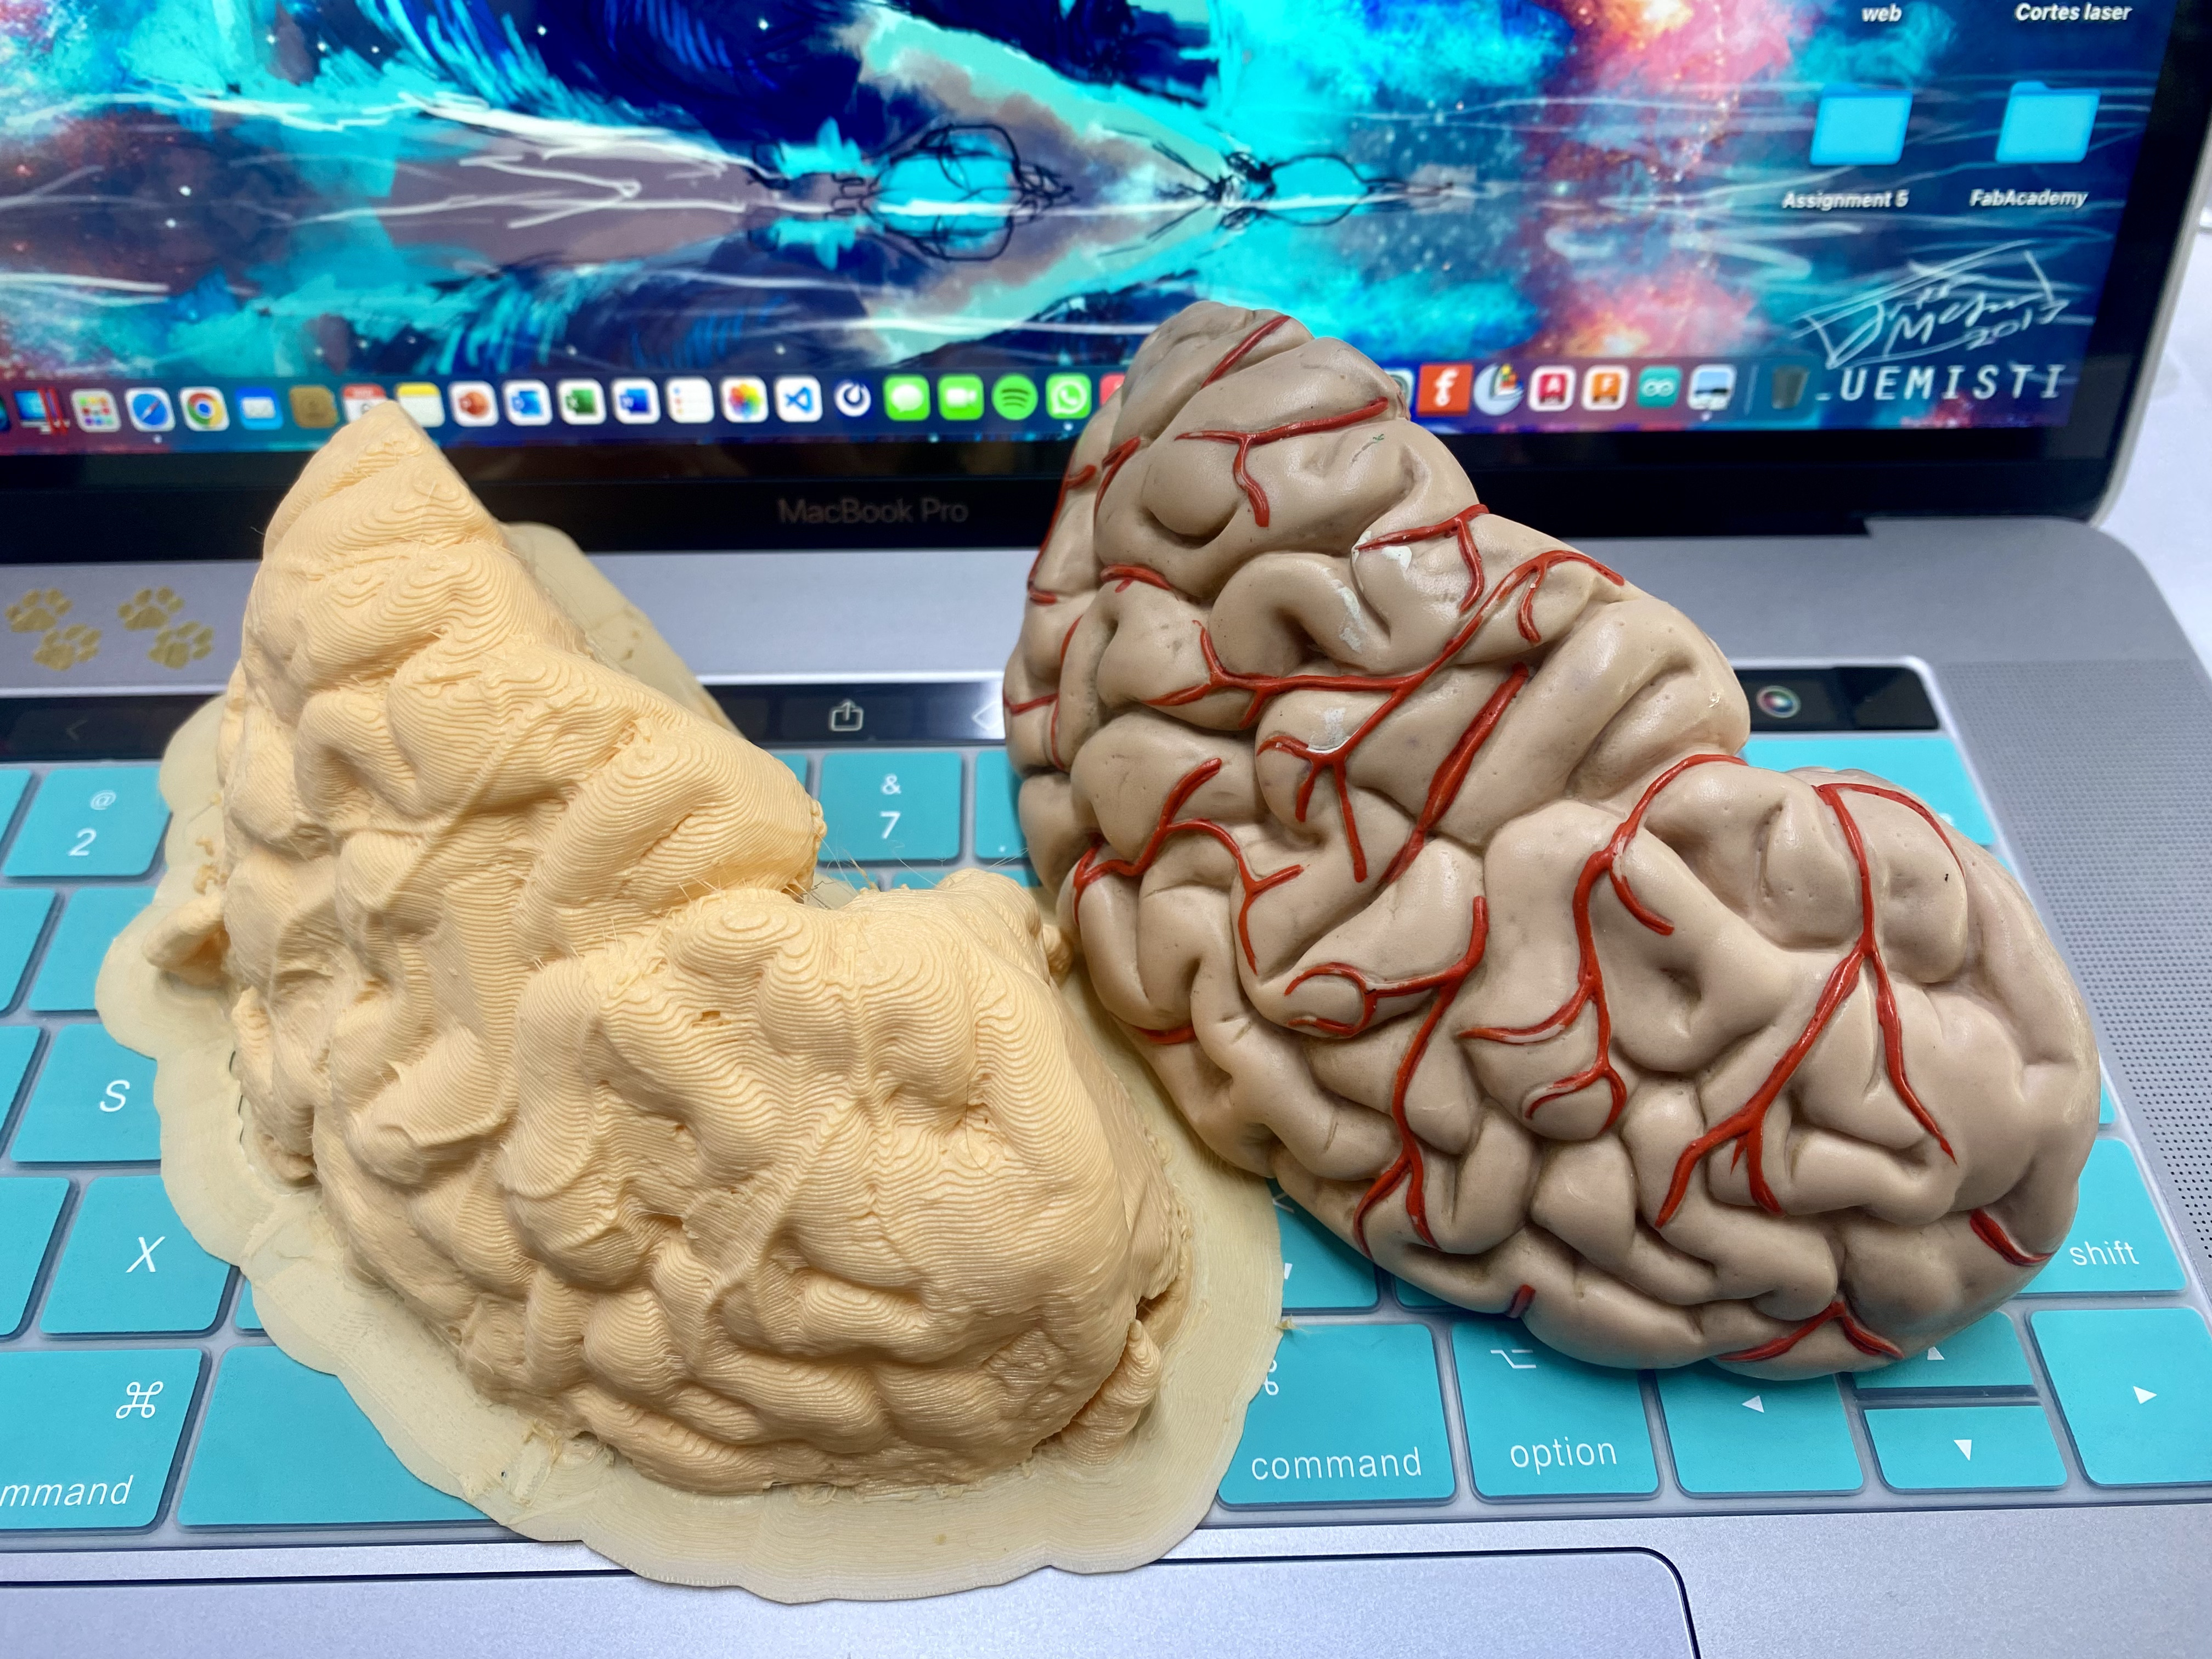
I chose the model of a Model of the left cerebral lobe.
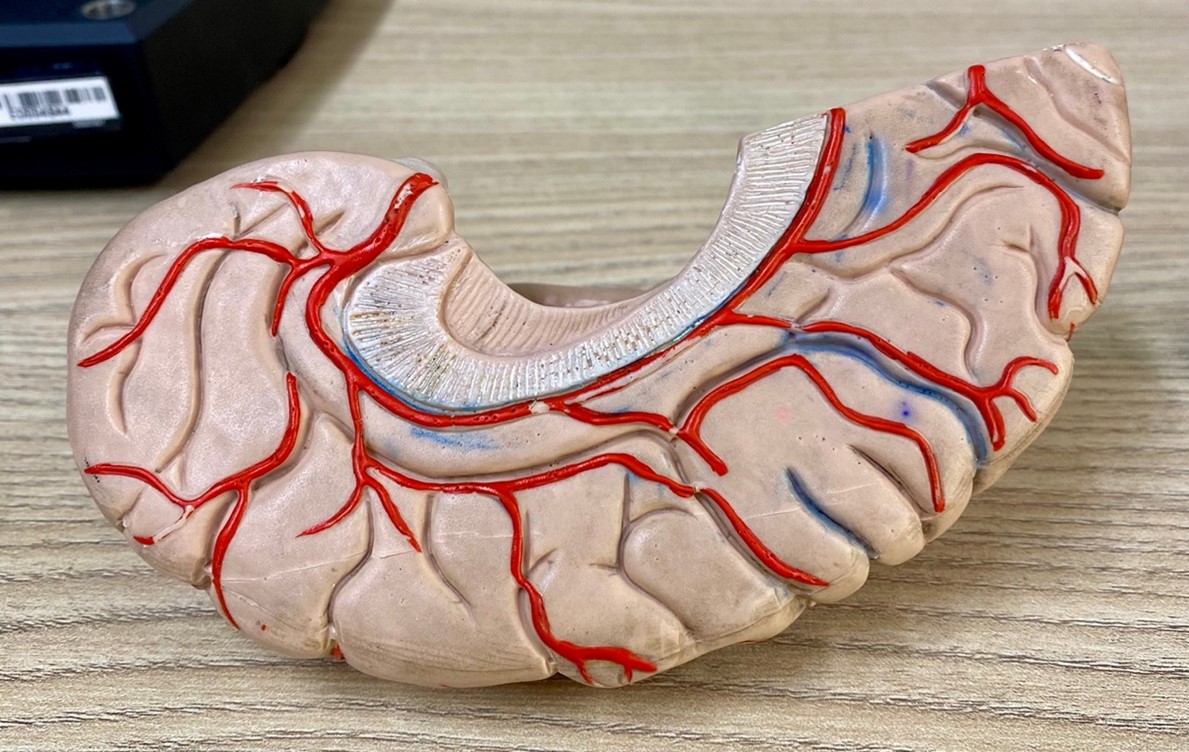
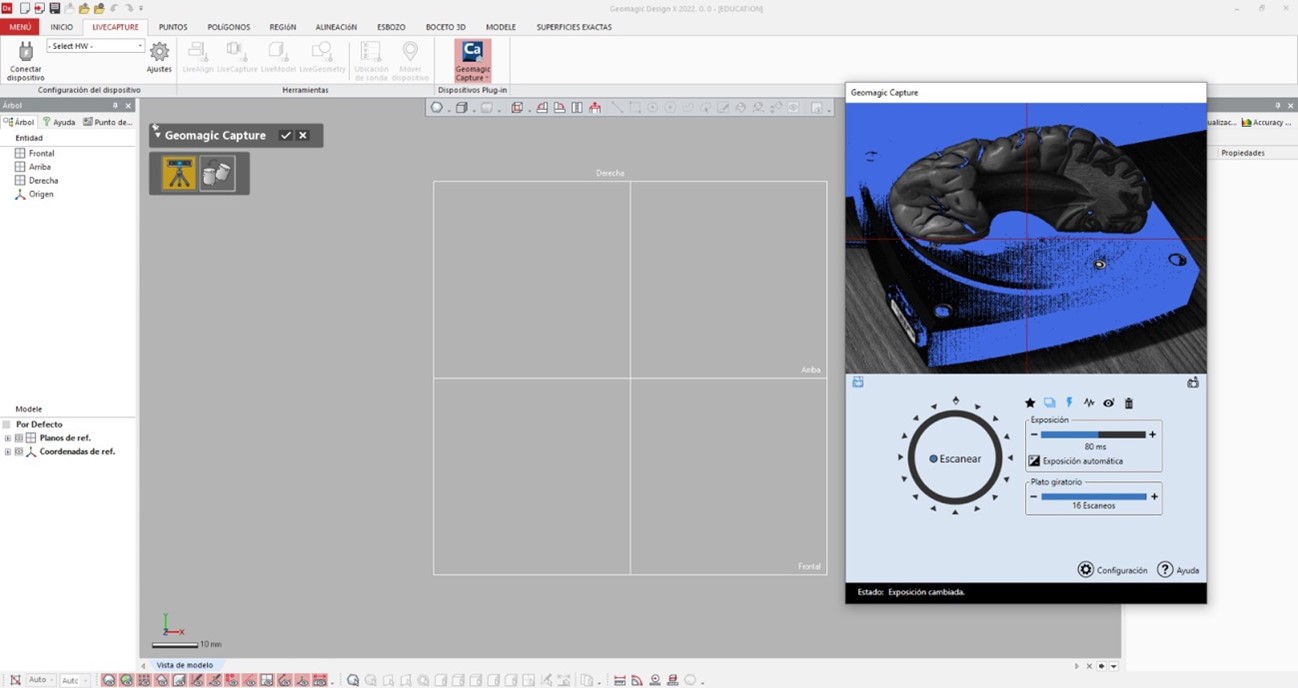
Without delay, we proceed to scan our object using a scanner equipped with a rotating base. The base rotates a specific number of degrees to capture data. This process is repeated until a full revolution is completed, allowing us to gather data from all angles of the object.
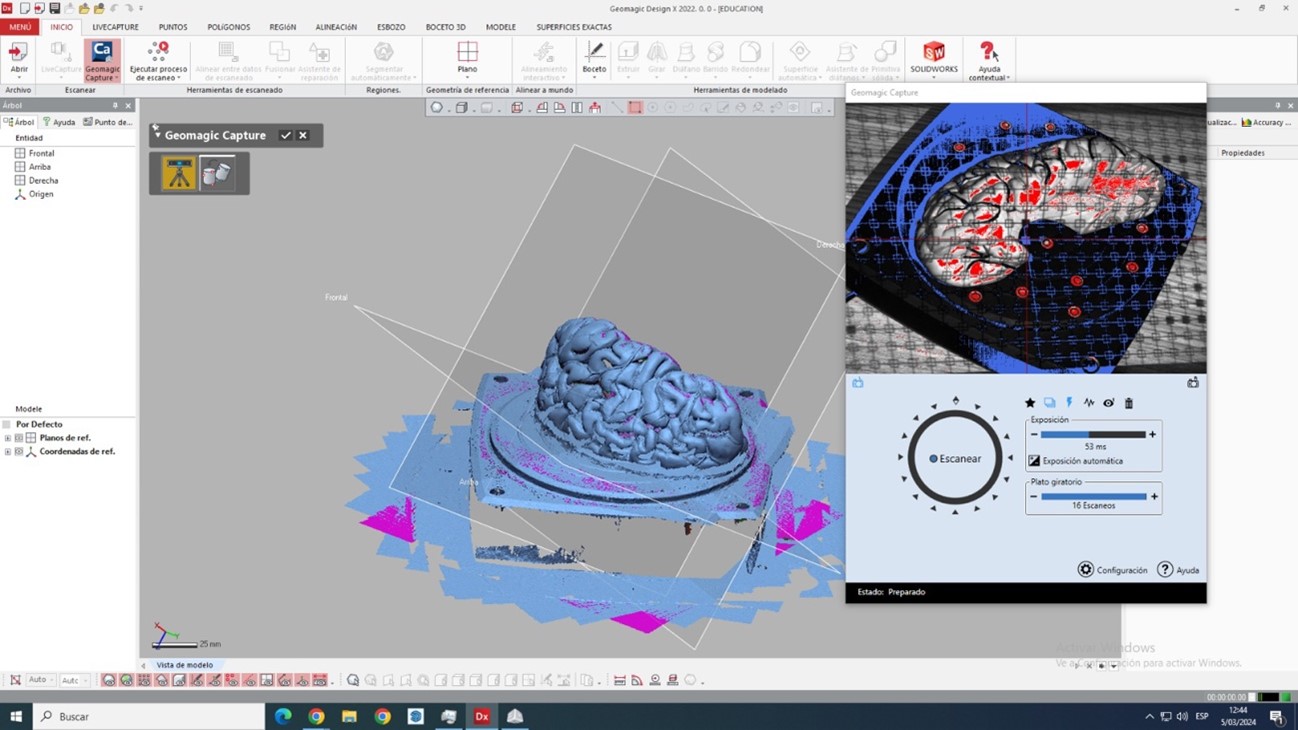
We configure the number of rotations and exposure, the more scans the greater the quality and quantity of details.
Once this procedure is configured we continue to scan the object, I leave you a small video of the process:
Now the scanning process is finished, we export in stl to be able to clean the solid that we want to obtain and we will do it in the Blender program

With the scan result in STL we have the following:
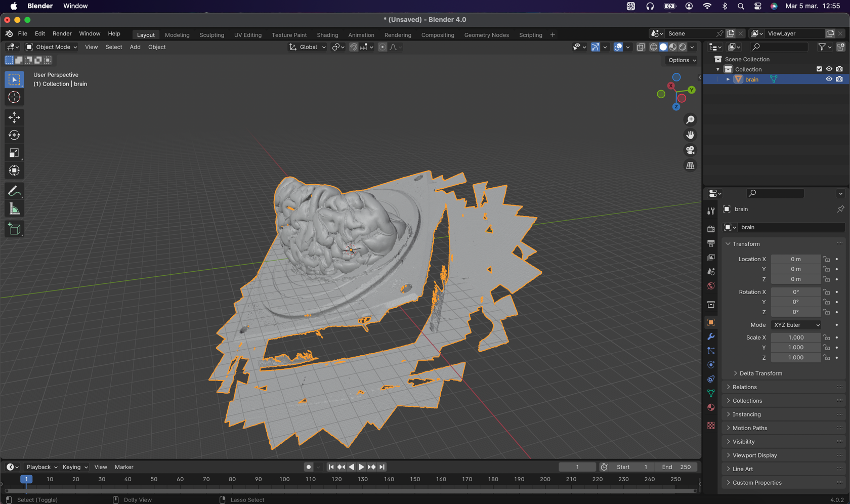
We remove all excess and rotating base:
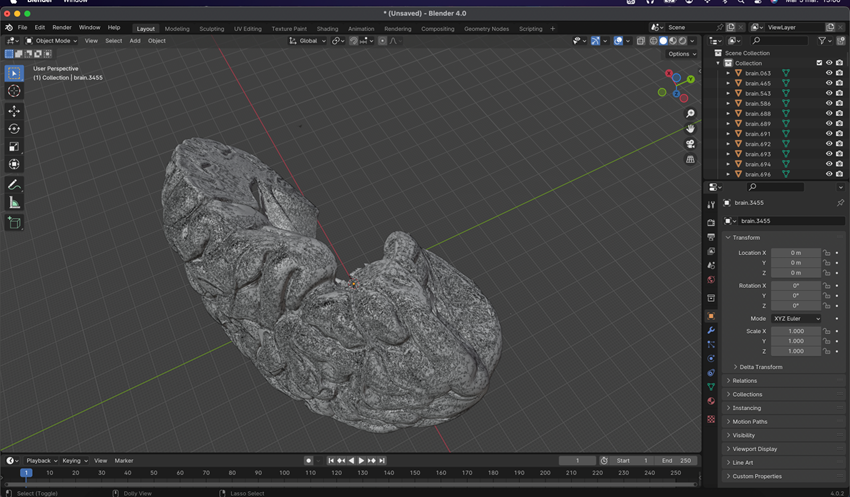
Exporting this work in STL format is crucial for 3D printing, but we must also perform some finishing touches such as joining sections, smoothing surfaces, adding volume to certain areas, and so forth.
And this is the result:
Here is the link to view the scan inside the repository: https://sketchfab.com/3d-models/brain-scanned-0e7b0df5d52f40e4bcbb955c57f2047d
Learning
Well we finished the assignment and we definitely did not take away important learnings:
o The 3D scanner allows us to digitize solids which would be complicated to design even organically.
o 3D printing has various parameters that we must take into account, the main ones are the supports and expansions for a correct impression and a perfect fit.
That`s All my friends, here I leave the files so you can experiment, see you later.