
Welcome to Week 2
Computer Aided Design
Hey! now we will learn about Computer Aided Design, for this week we have the following assignments:
- Computer-Aided Design Assignment:
o Model (raster, vector, 2D, 3D, render, animate, simulate, ...) a possible final project, compress your images and videos, and post it on your class page - ✅ Done
Let's start this task, accompany me to design the structure of my project; He will have a friendly and calm attitude. Let's see what programs we can use:
Software 3D
STEP 1: For the first step i used this software for the design.
They are paid software, you can use the trial version or you can use:
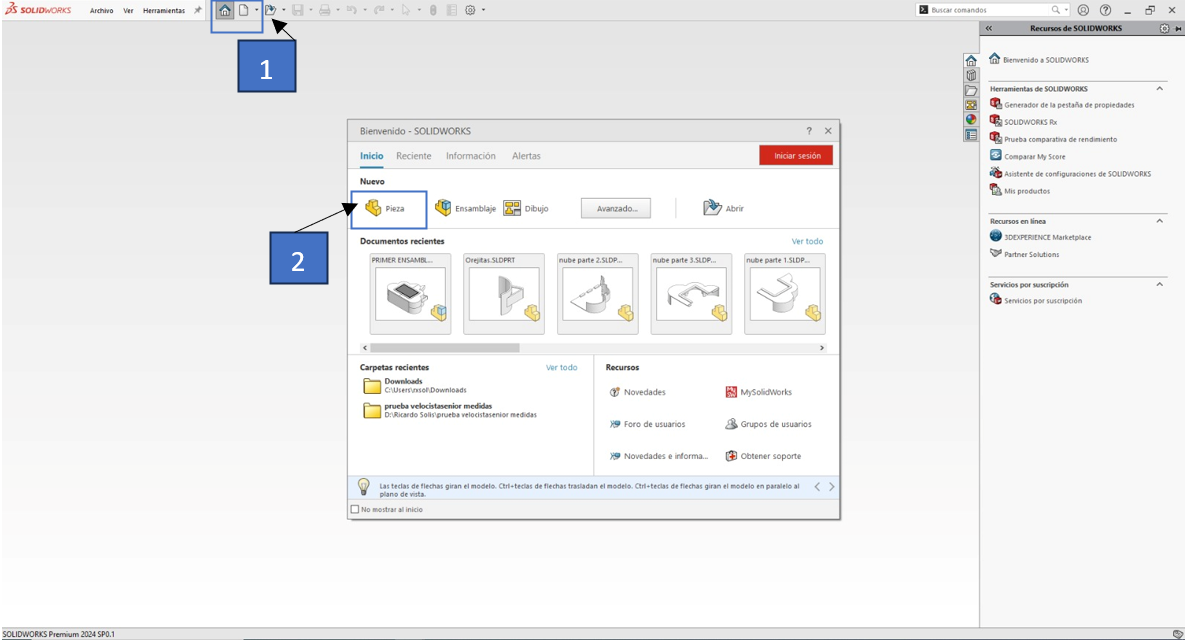
For this design I will use the Solidworks program, because they provided us with an educational license

Start whit the design
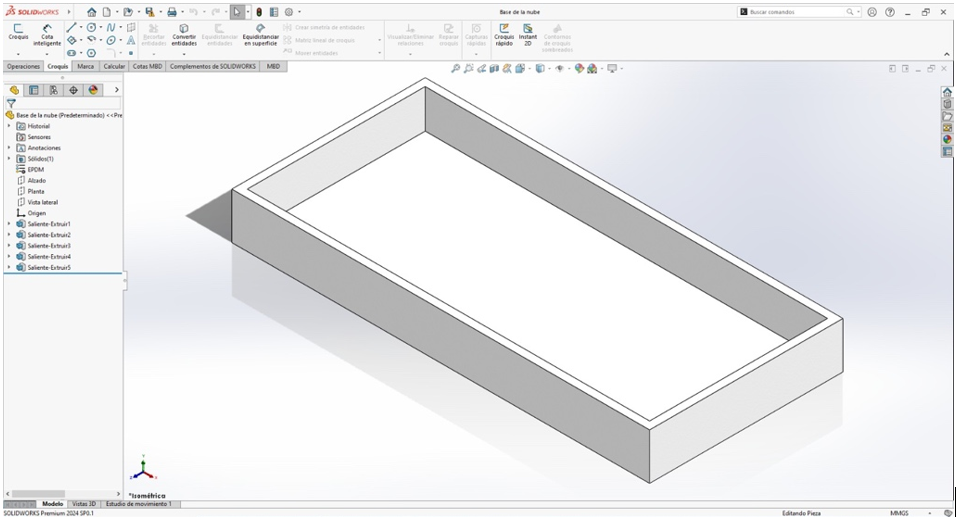
STEP 1: Let's start with the 3D modeling, we set up our workspace.
STEP 2: The design we're working on is more contoured, so we'll input a graphic as the base to use as a reference model.
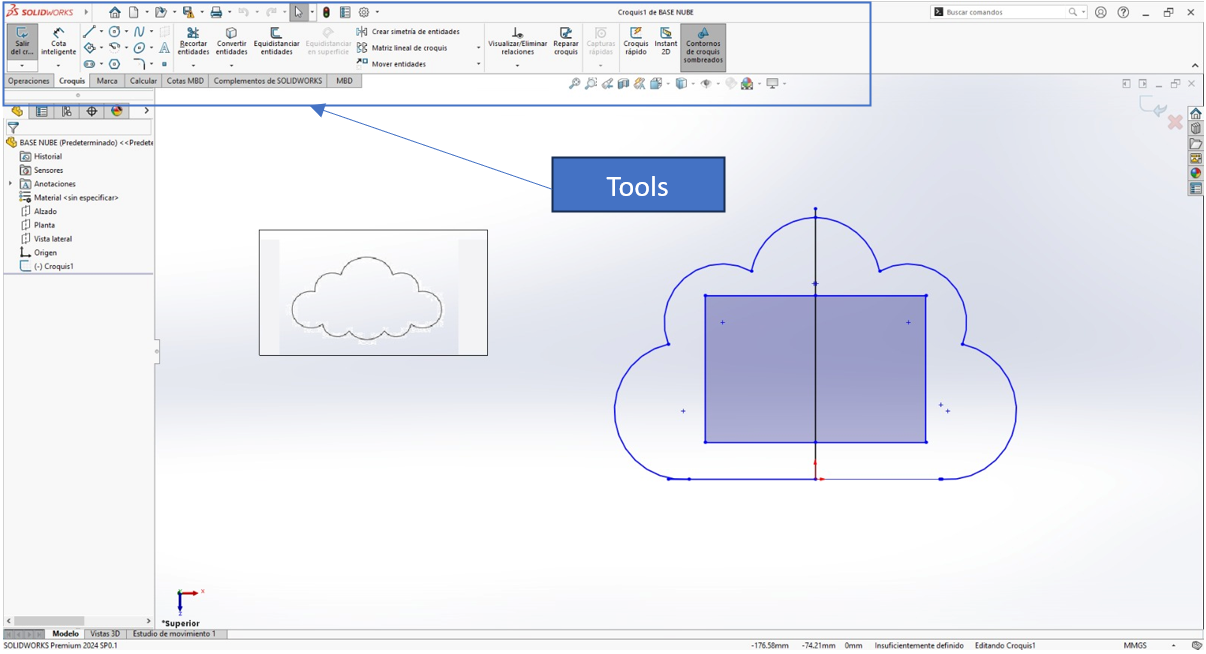
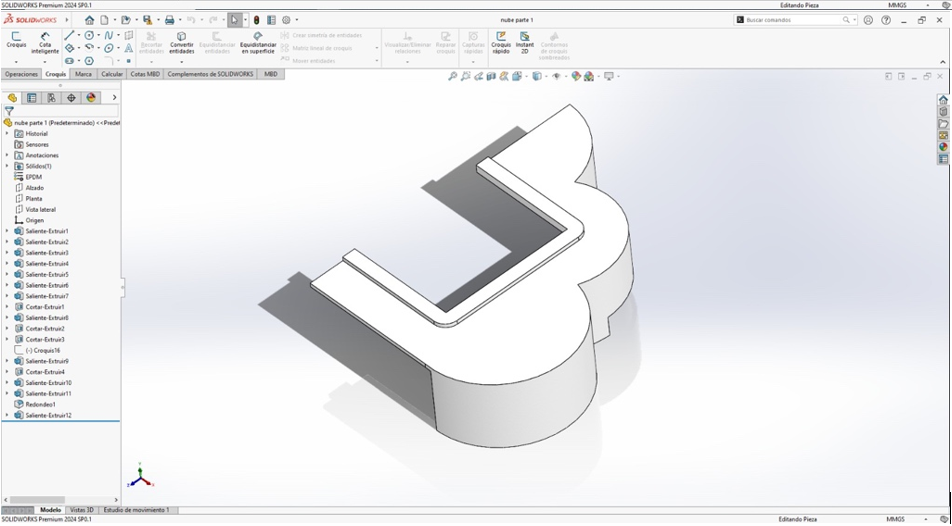
Well, we already know the tools we have, let's continue with the design of our cloud, we proceed to thicken the walls of the cloud, going over the contour lines and giving a thickness of 3mm.
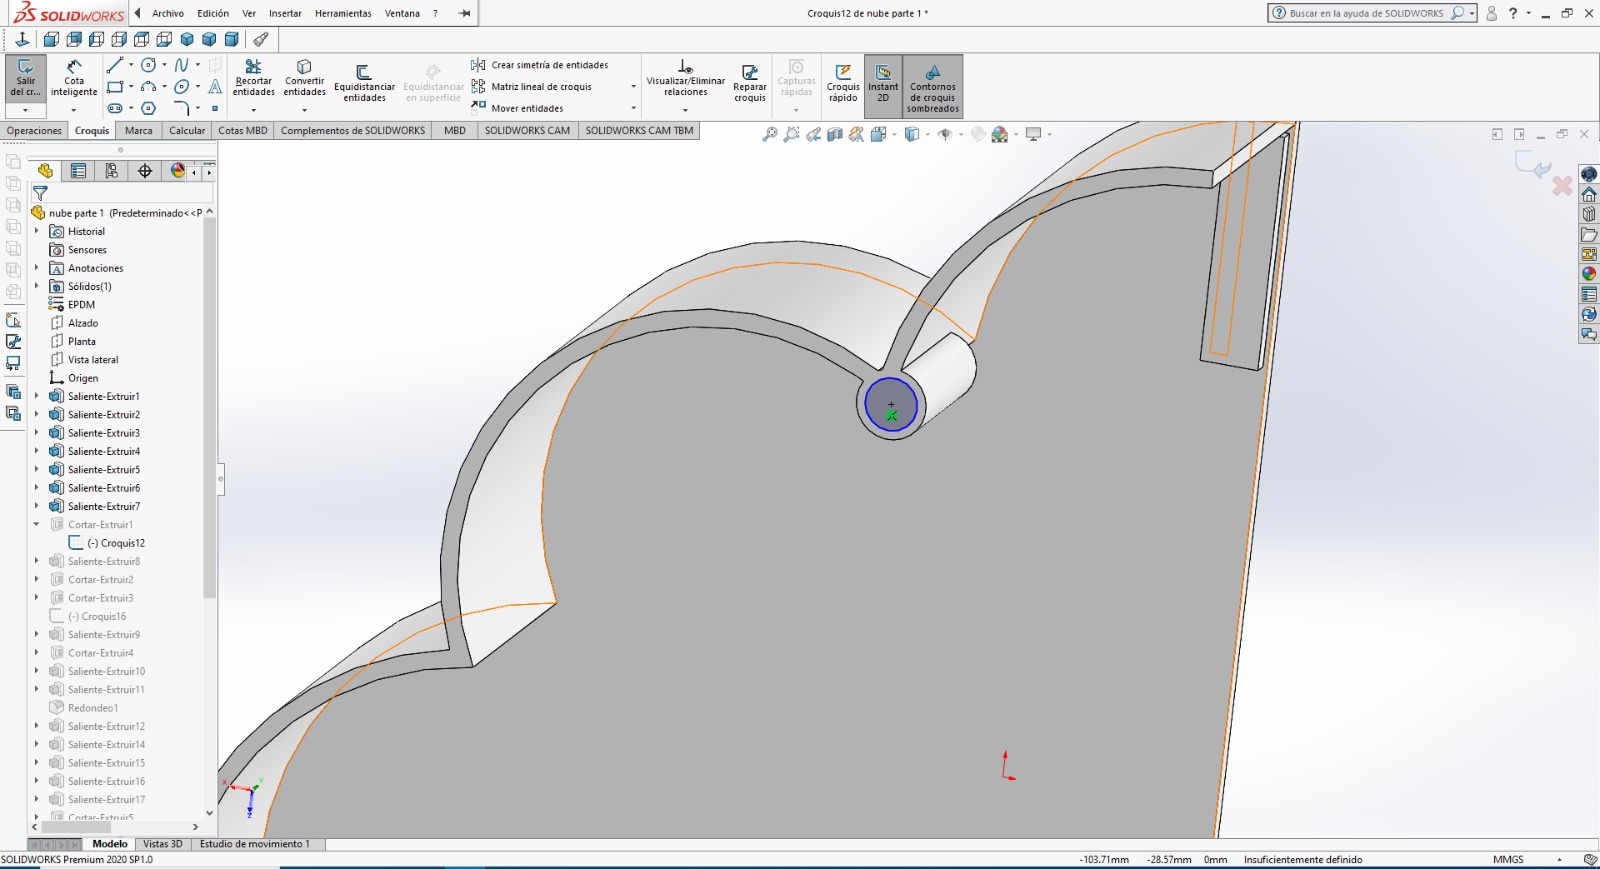
Then we design the fit to join the other pieces, using the circle command and giving a radius of 3mm
For this stage, we use the cut tool that allows us to extract the piece but removing that part of the plane.
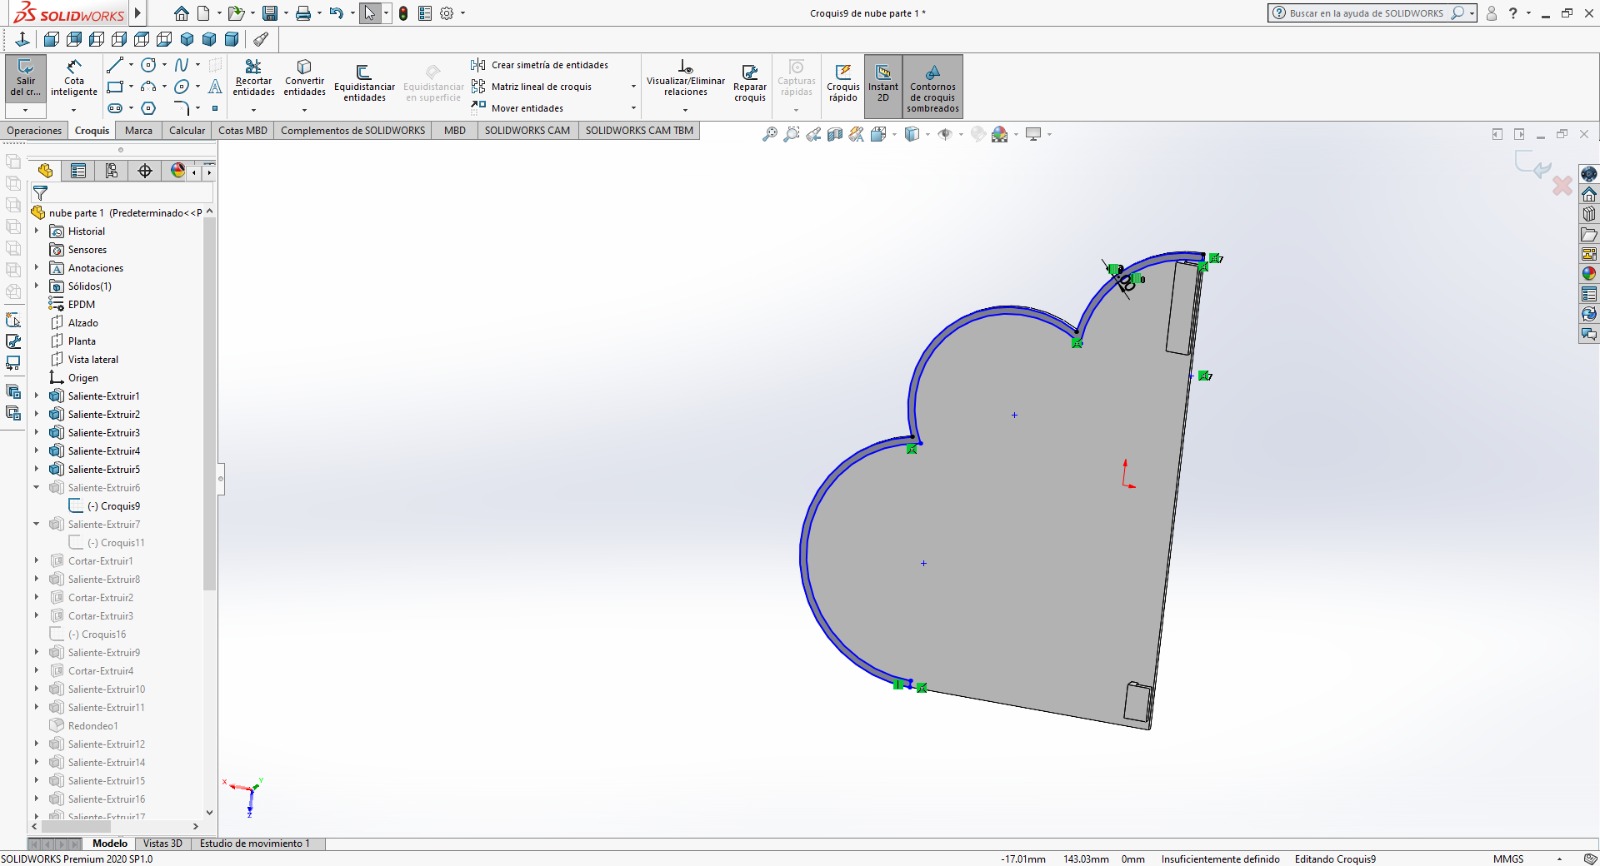
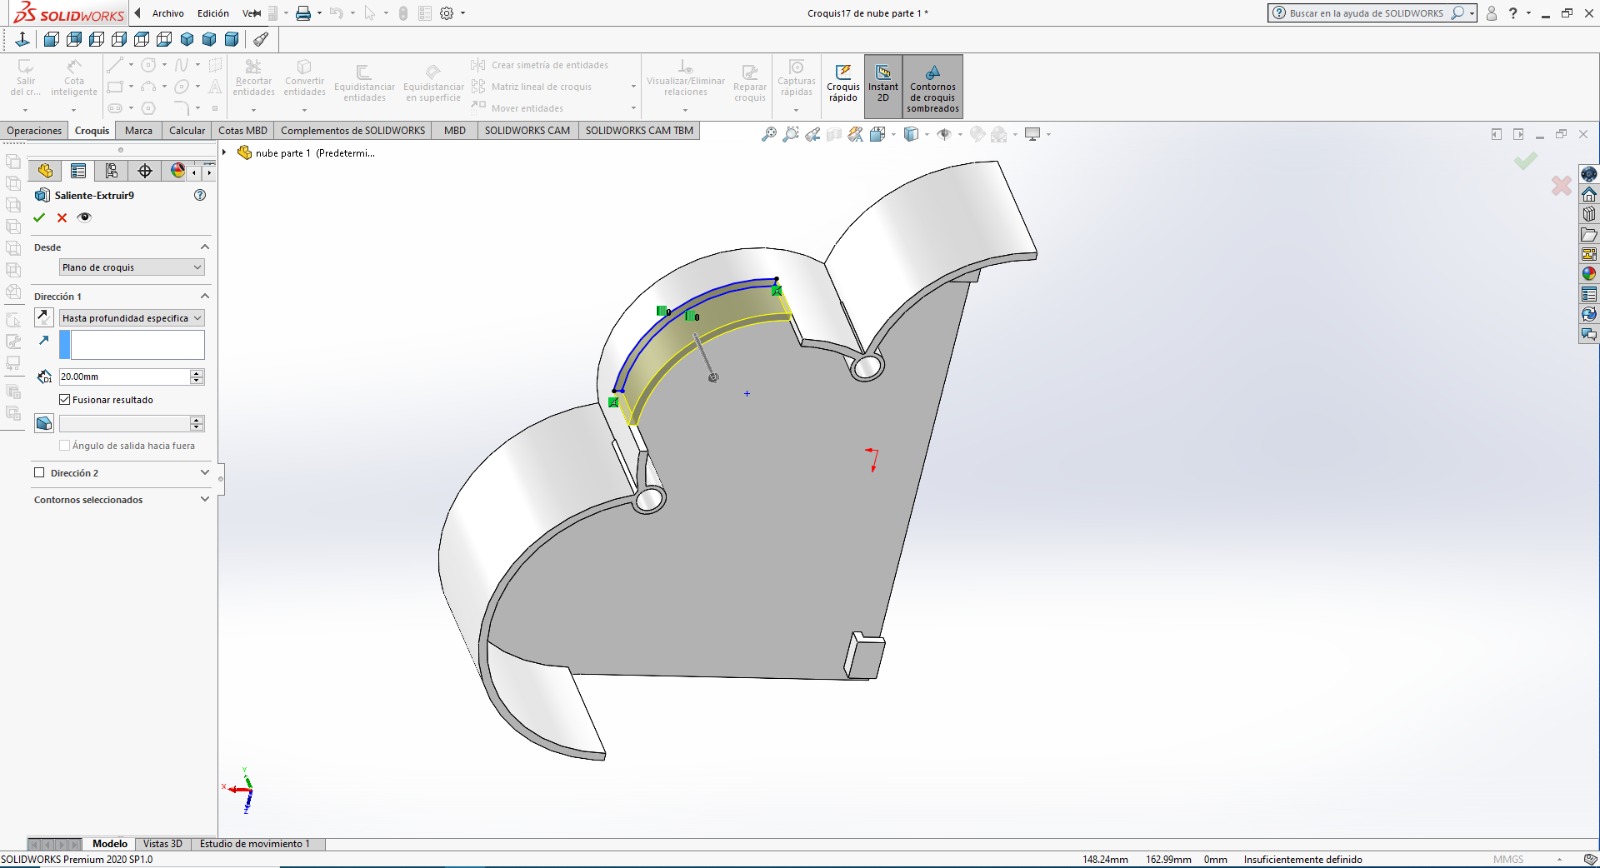
We carry out the same process and leave a space to assemble the ears of the cloud.
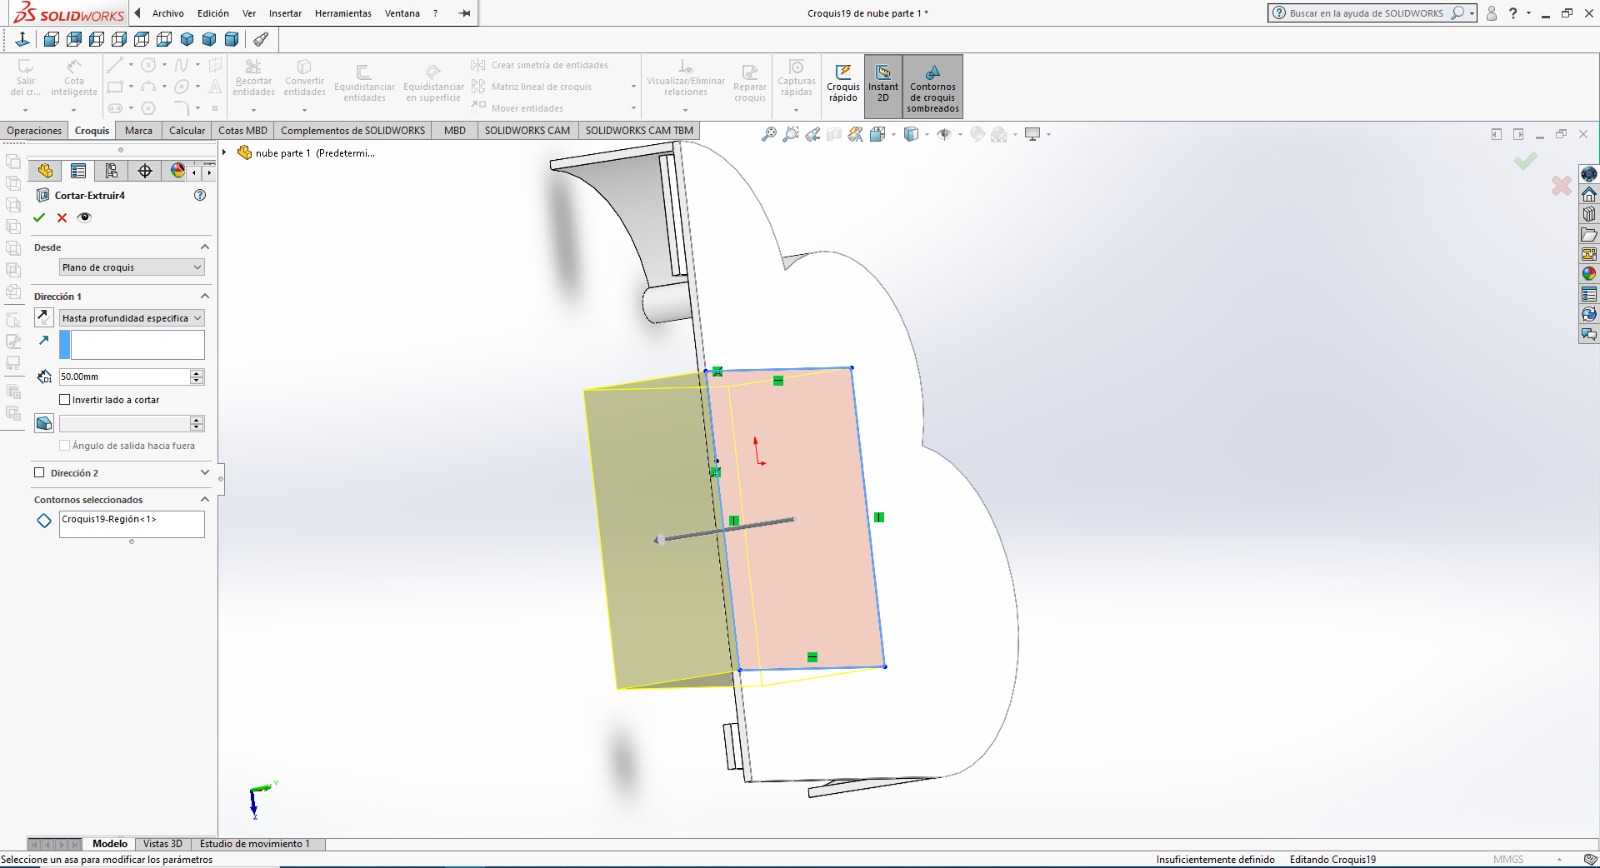
On the front, we design the place where the 7-inch screen will go, we draw a rectangle with the line command according to the dimensions of the screen.
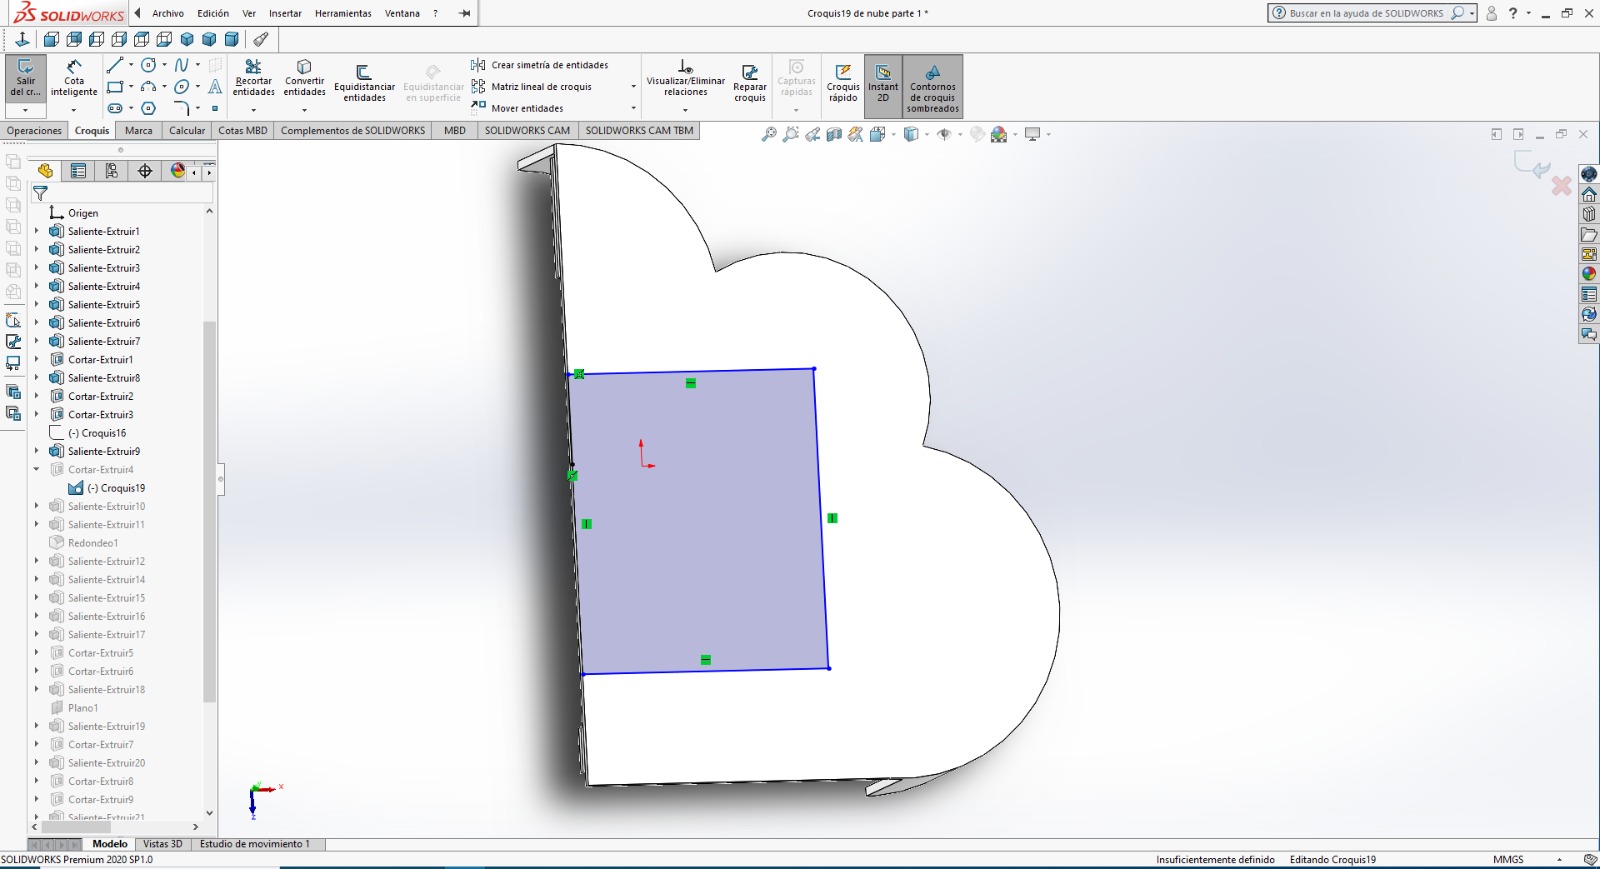
We use the dimensions of the rectangle to cut it and have that empty space for the screen.
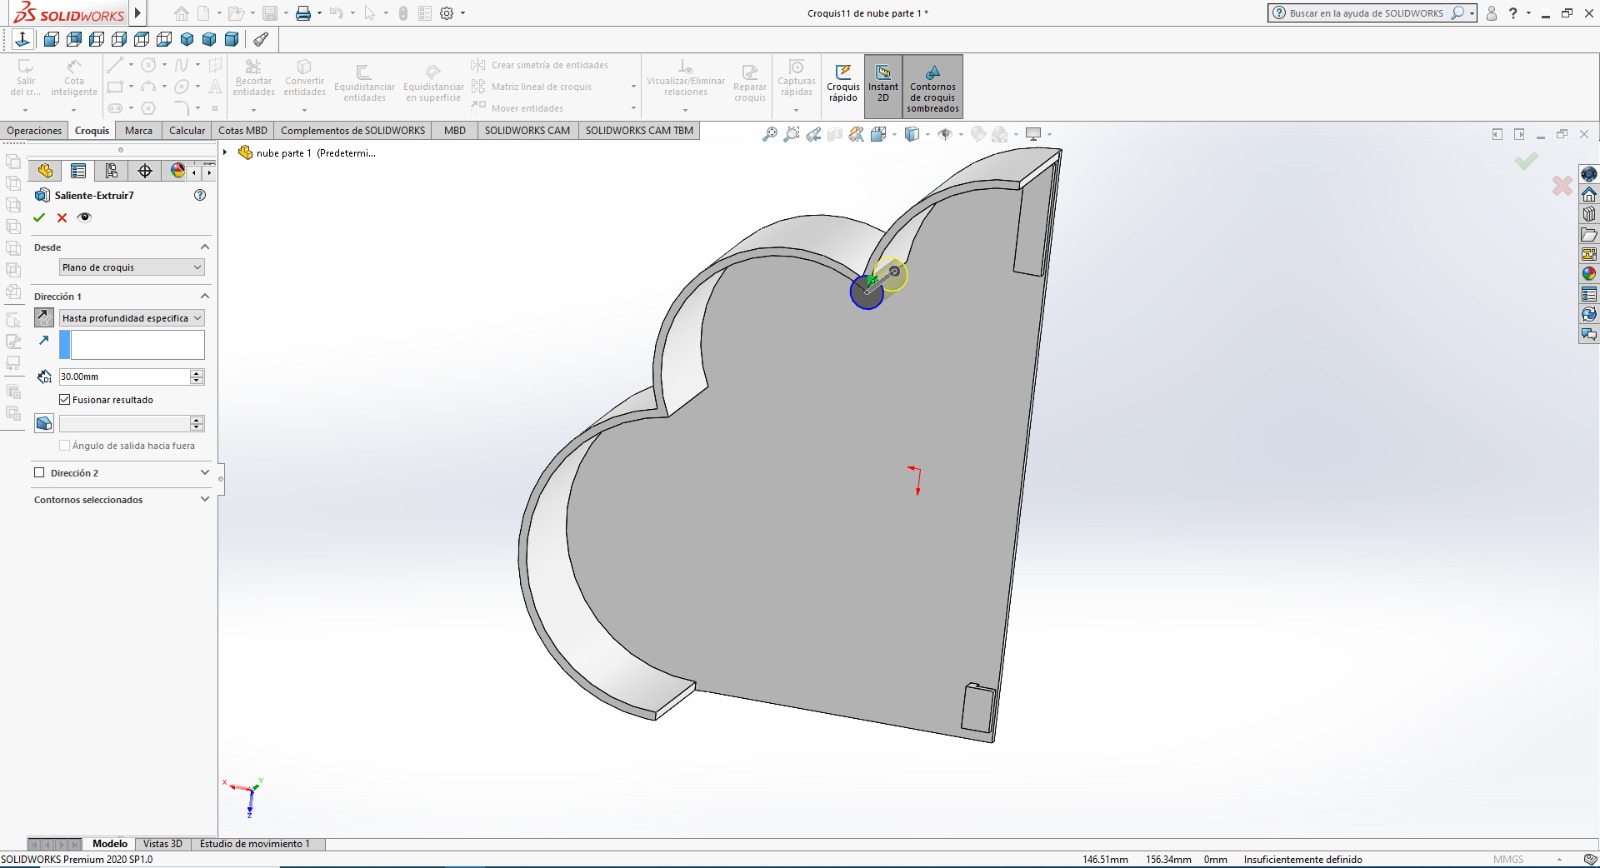
It looked great, with these tools we now have our solid in 3D, this model has a visual appeal for people with ADHD

This 3D design will be partially sectioned for better assembly and positioning of the internal components.

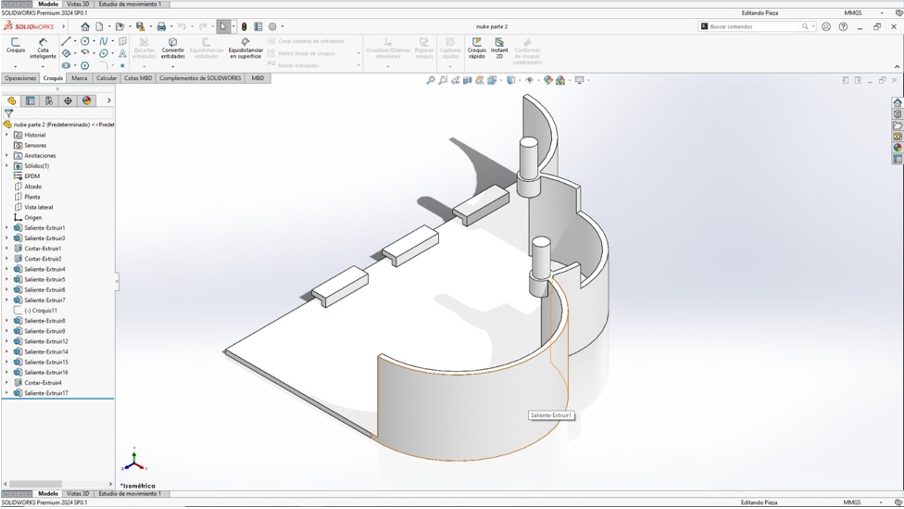
I also leave you some timelapse of my work.
Great, let's start with the 2D design
Software 2D
STEP 1: For the first step i used this software for the design.
Inkscape is a free and open source vector graphics editor. Inkscape can create and edit diagrams, lines, graphs, logos, and complex illustrations
Well, let's start making a simple but quite visual design, which will accompany our project.
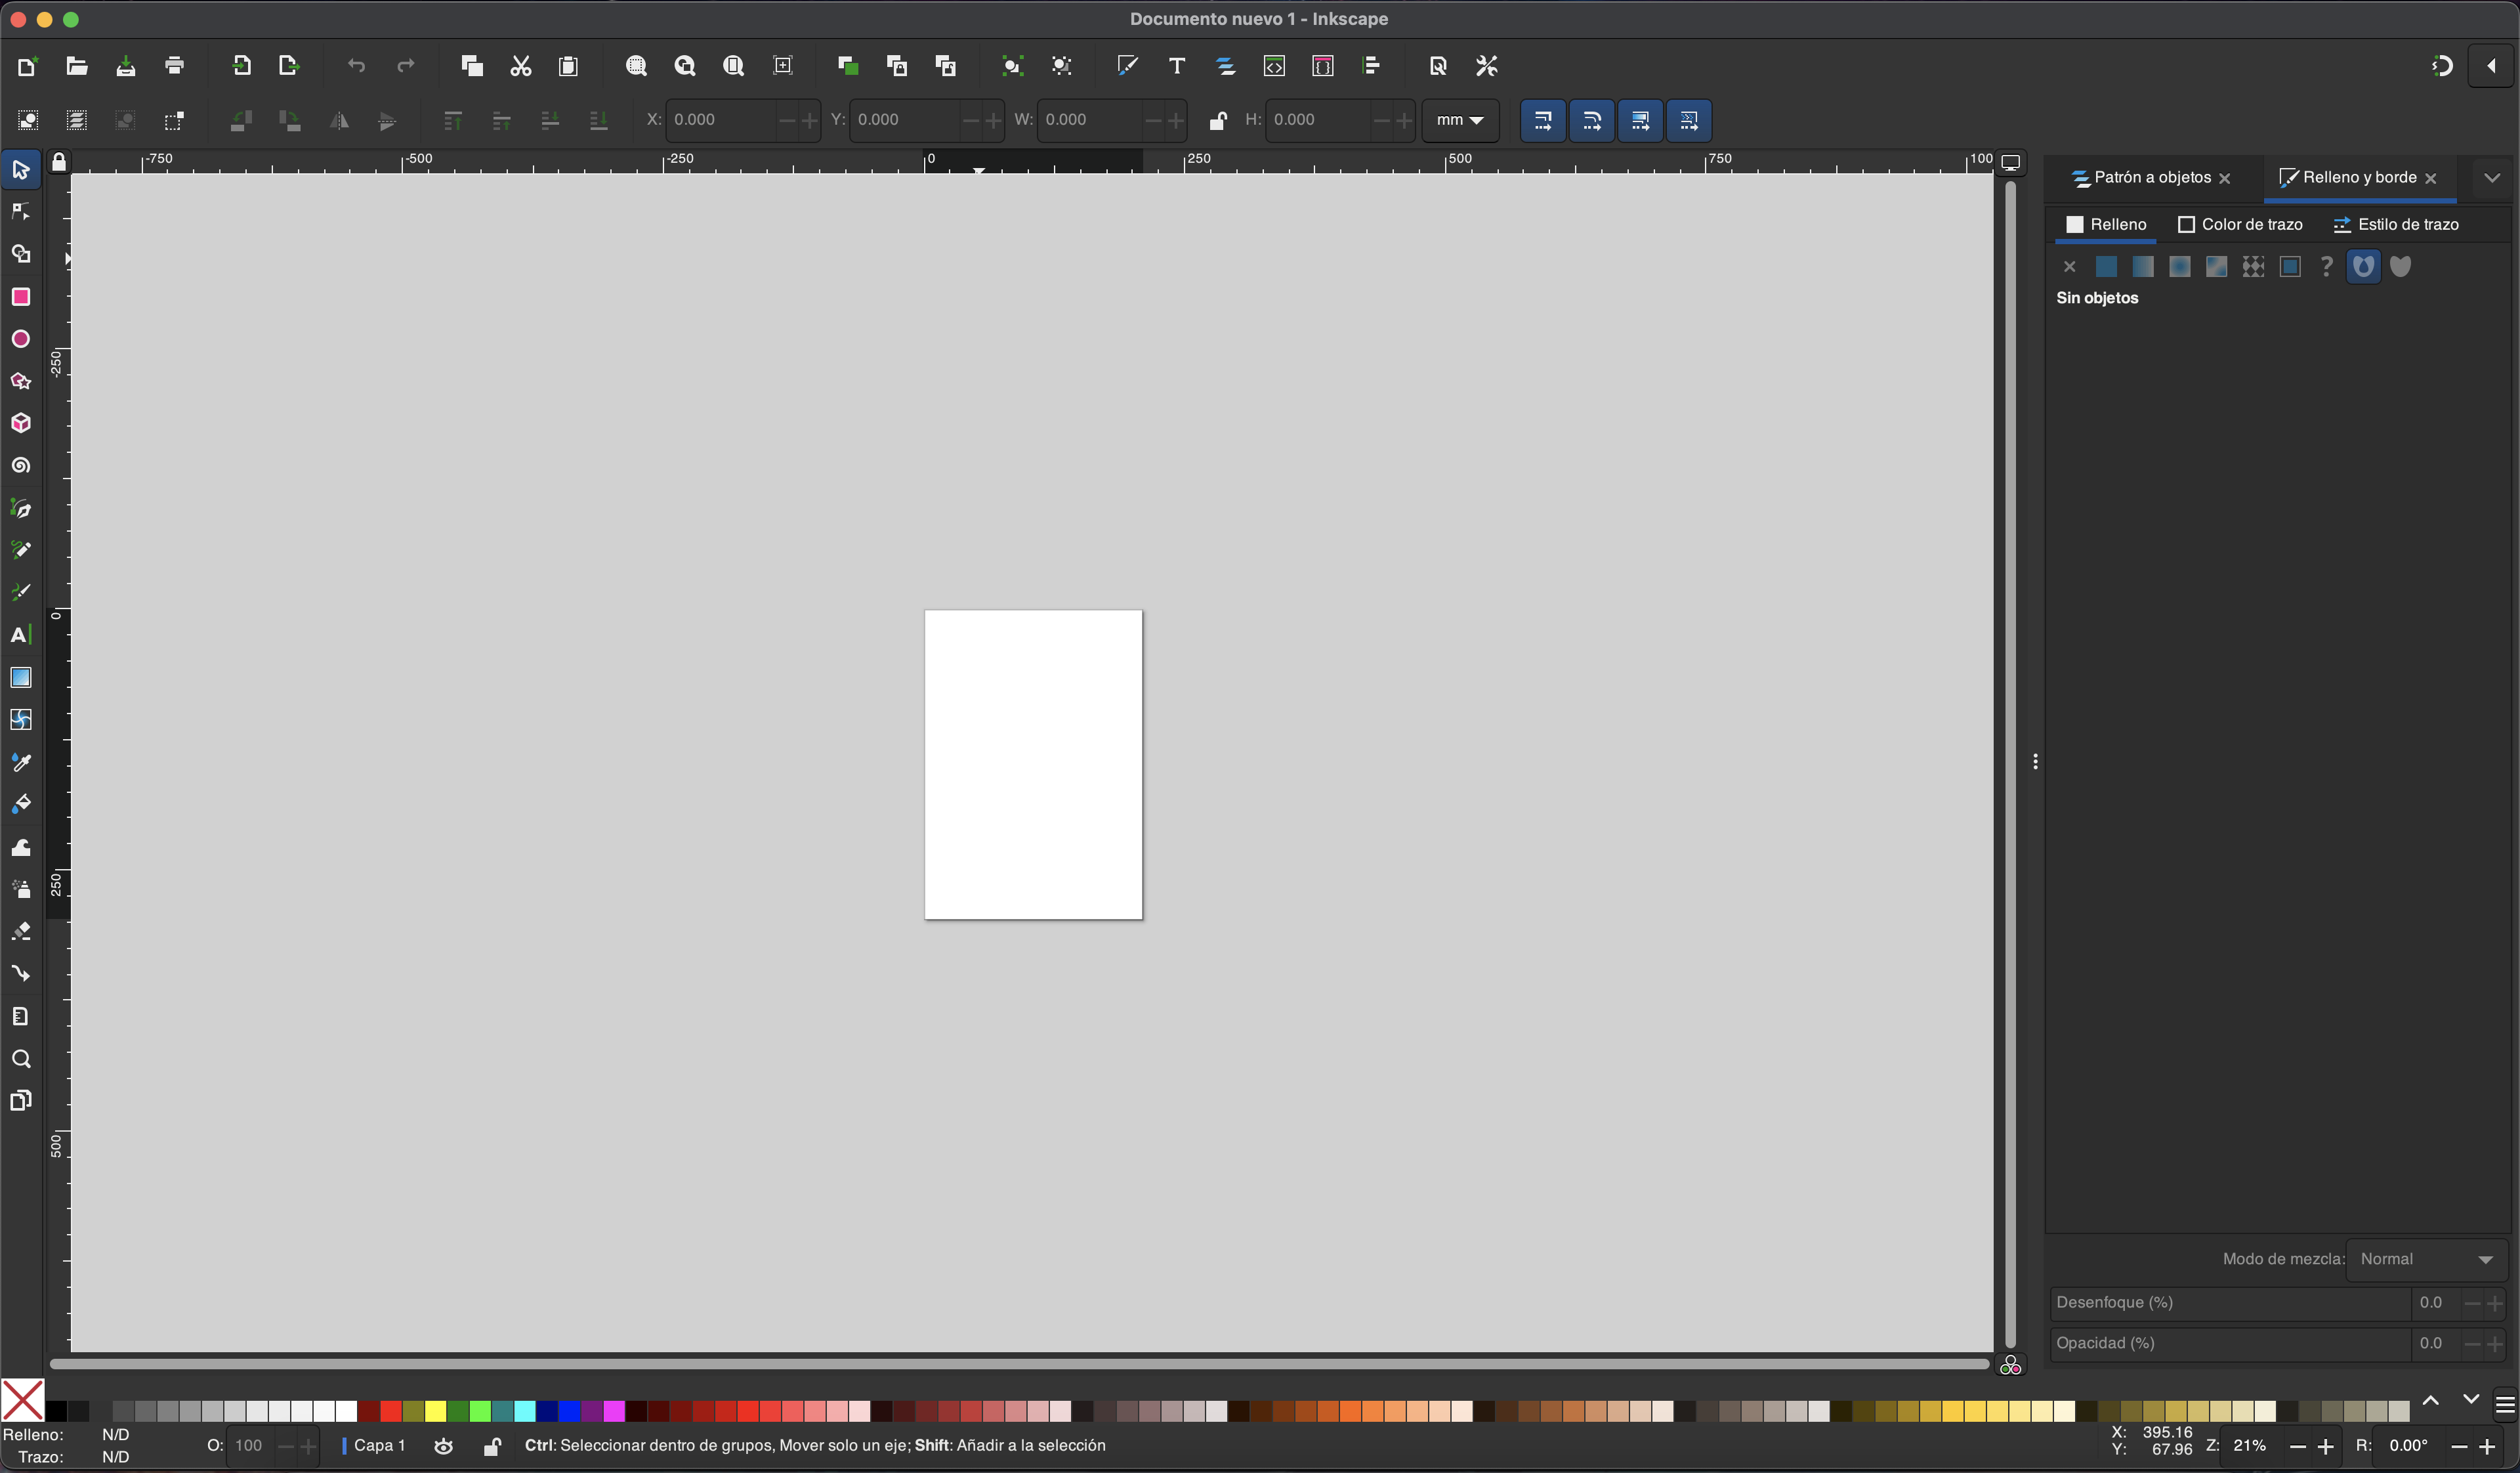
We will vectorize some images of circuits which will be visually attractive to place on our project, so first we import the image to vectorize
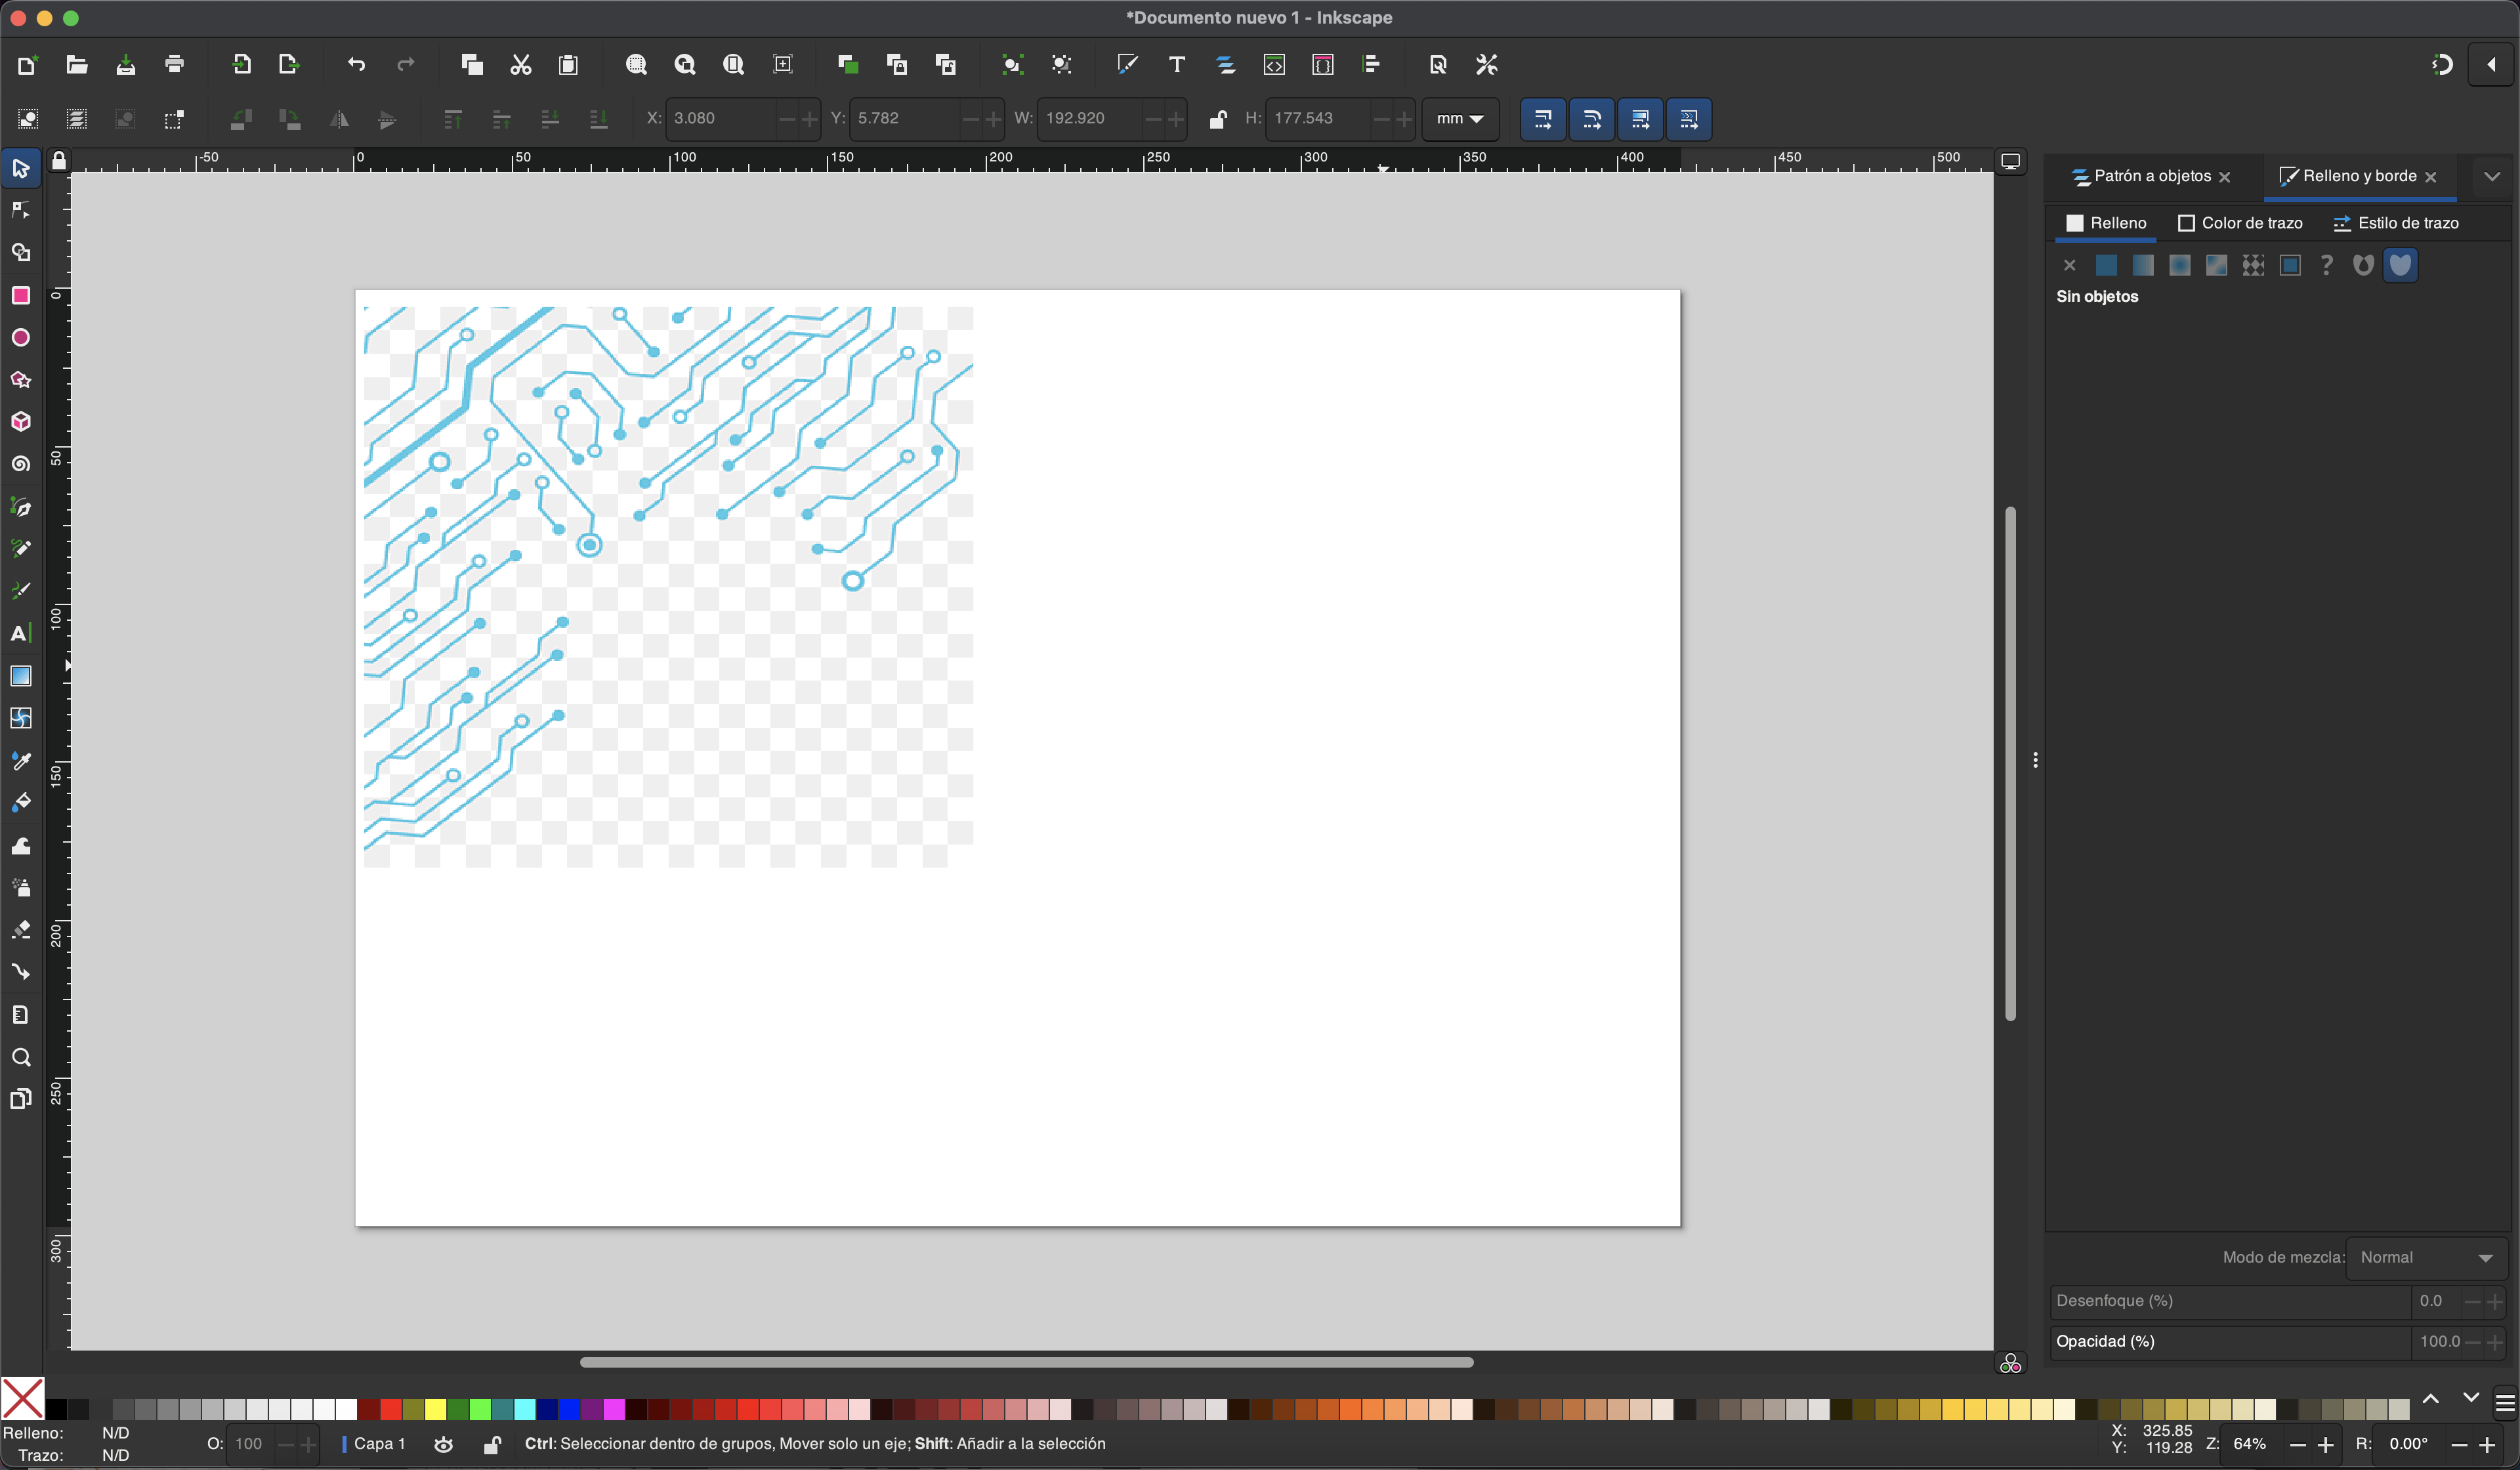
Once imported, we select the image and go to the path tab, there we will find the option vectorize bitmap
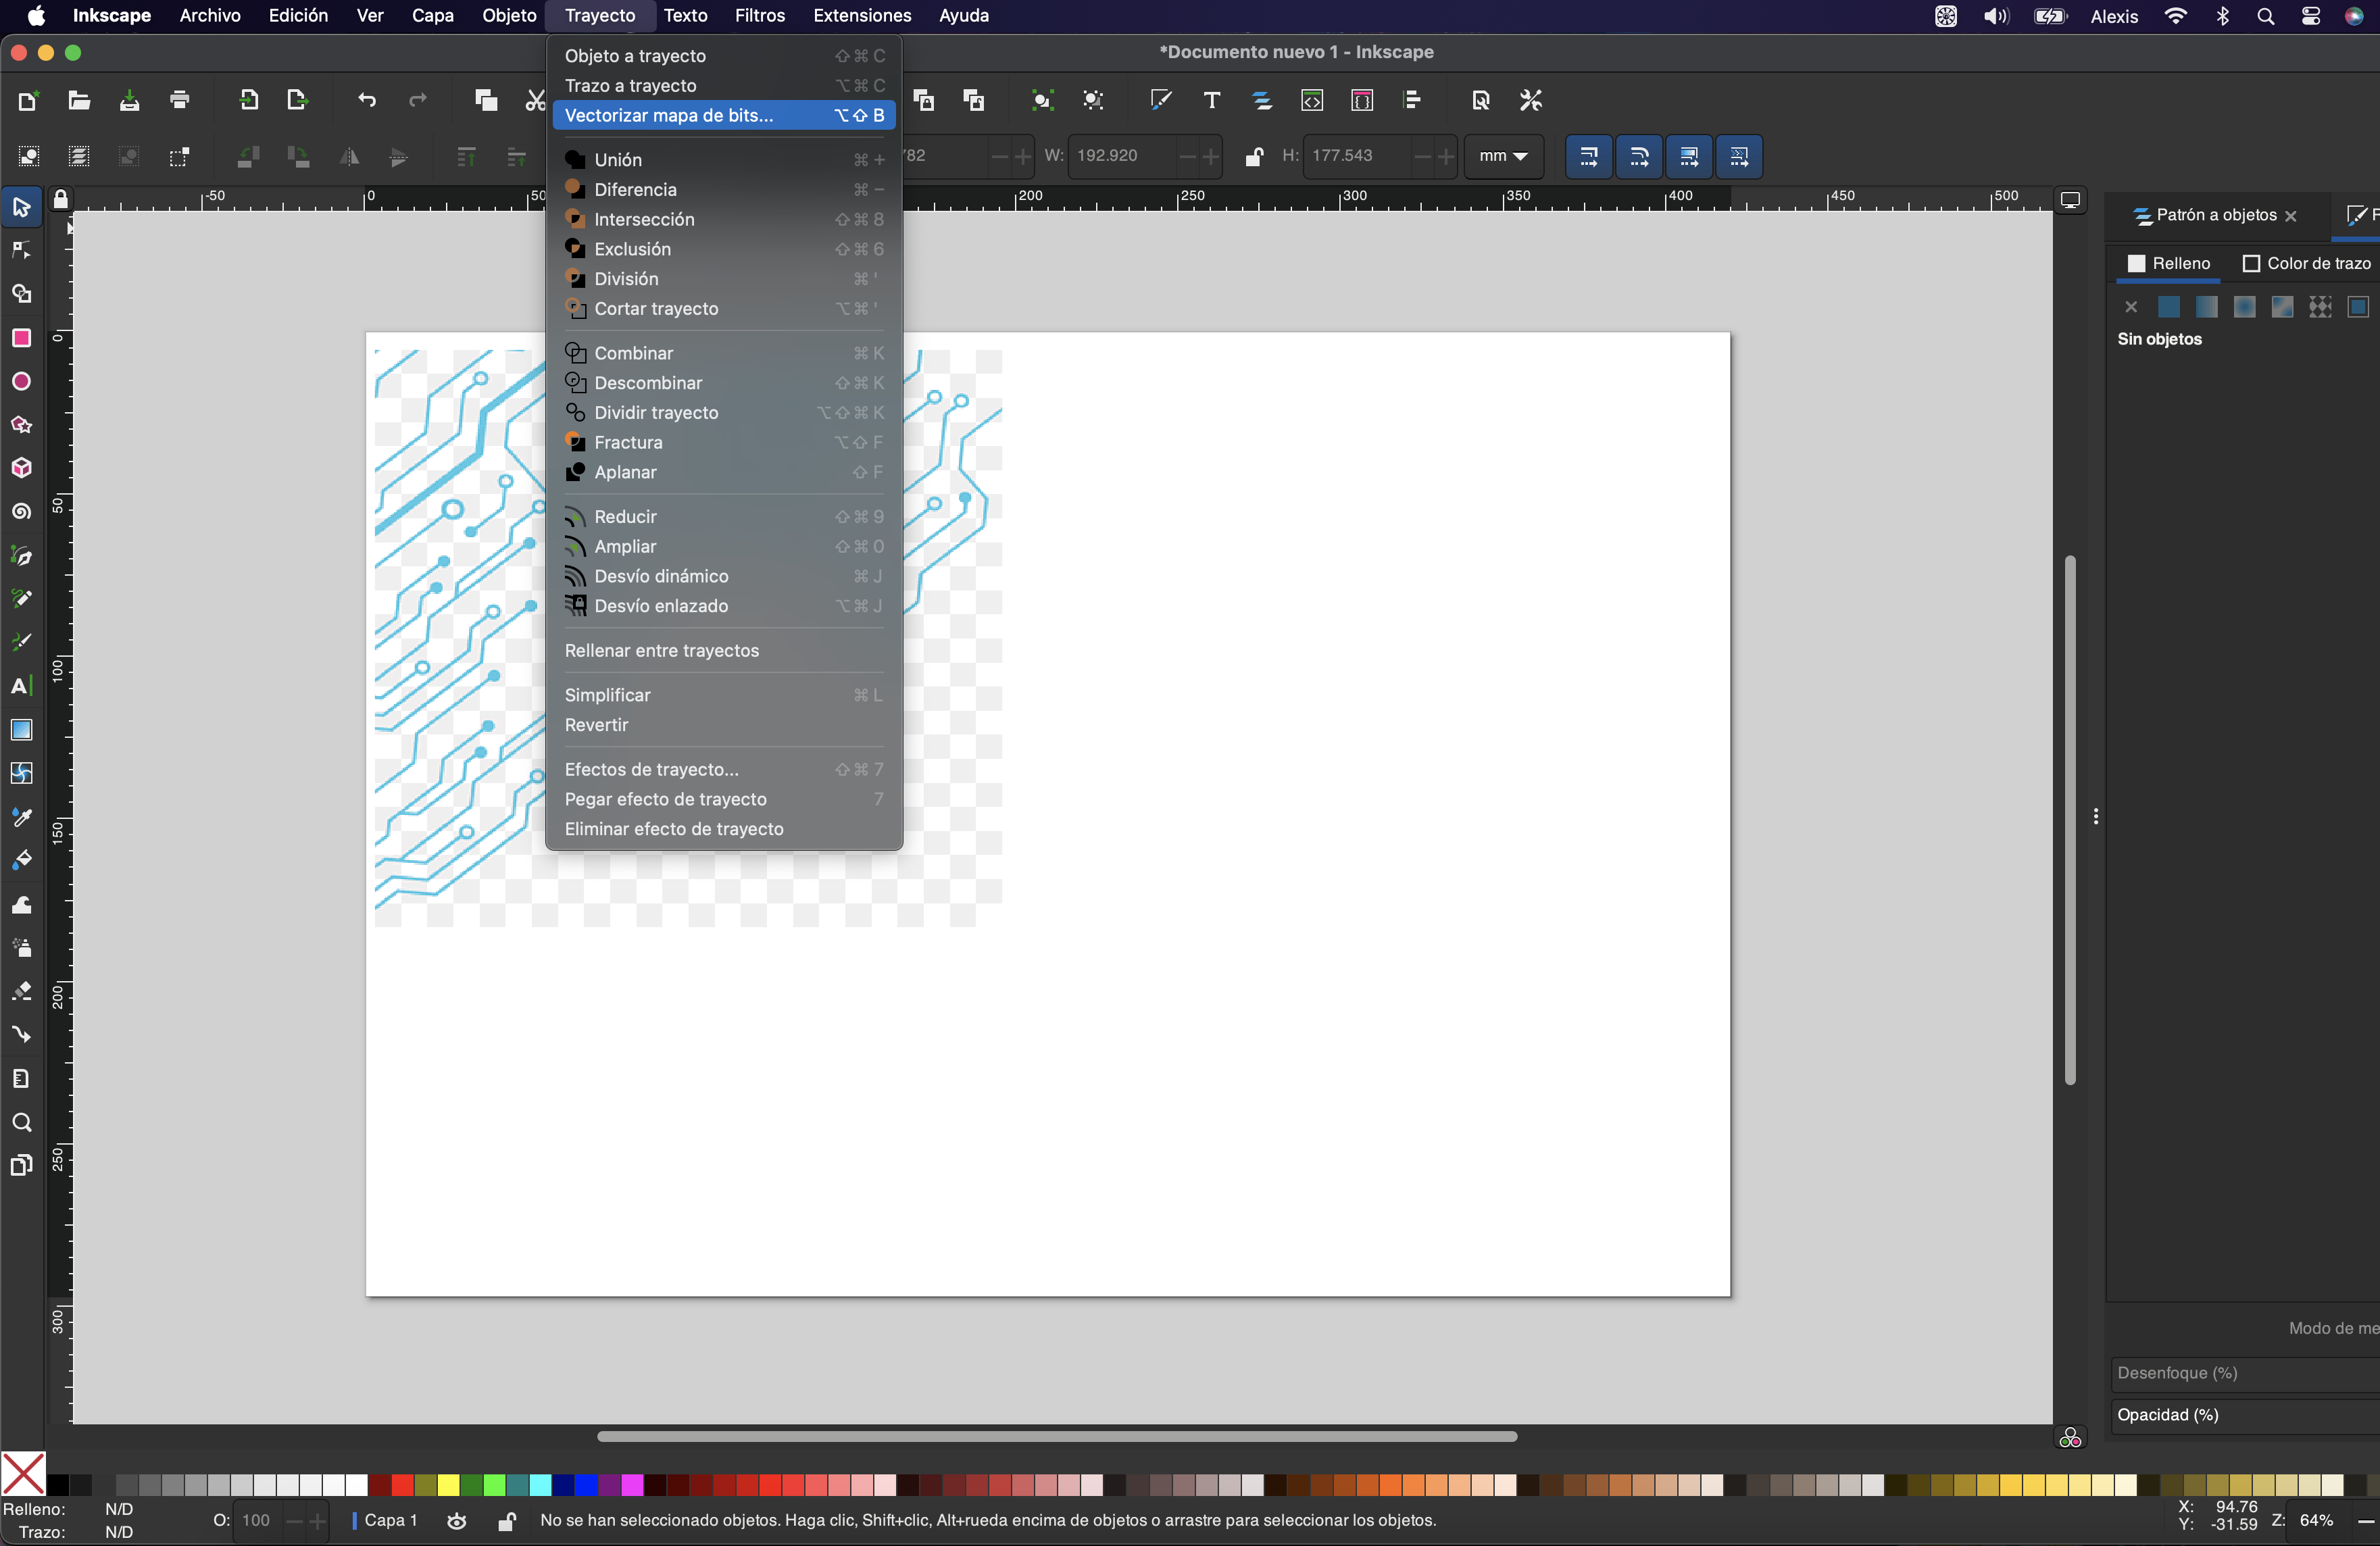
This option will allow us to vectorize the image that we have imported, having controls such as details in which we can vary edges and optimize the strokes, in addition to a preview of the vectorization
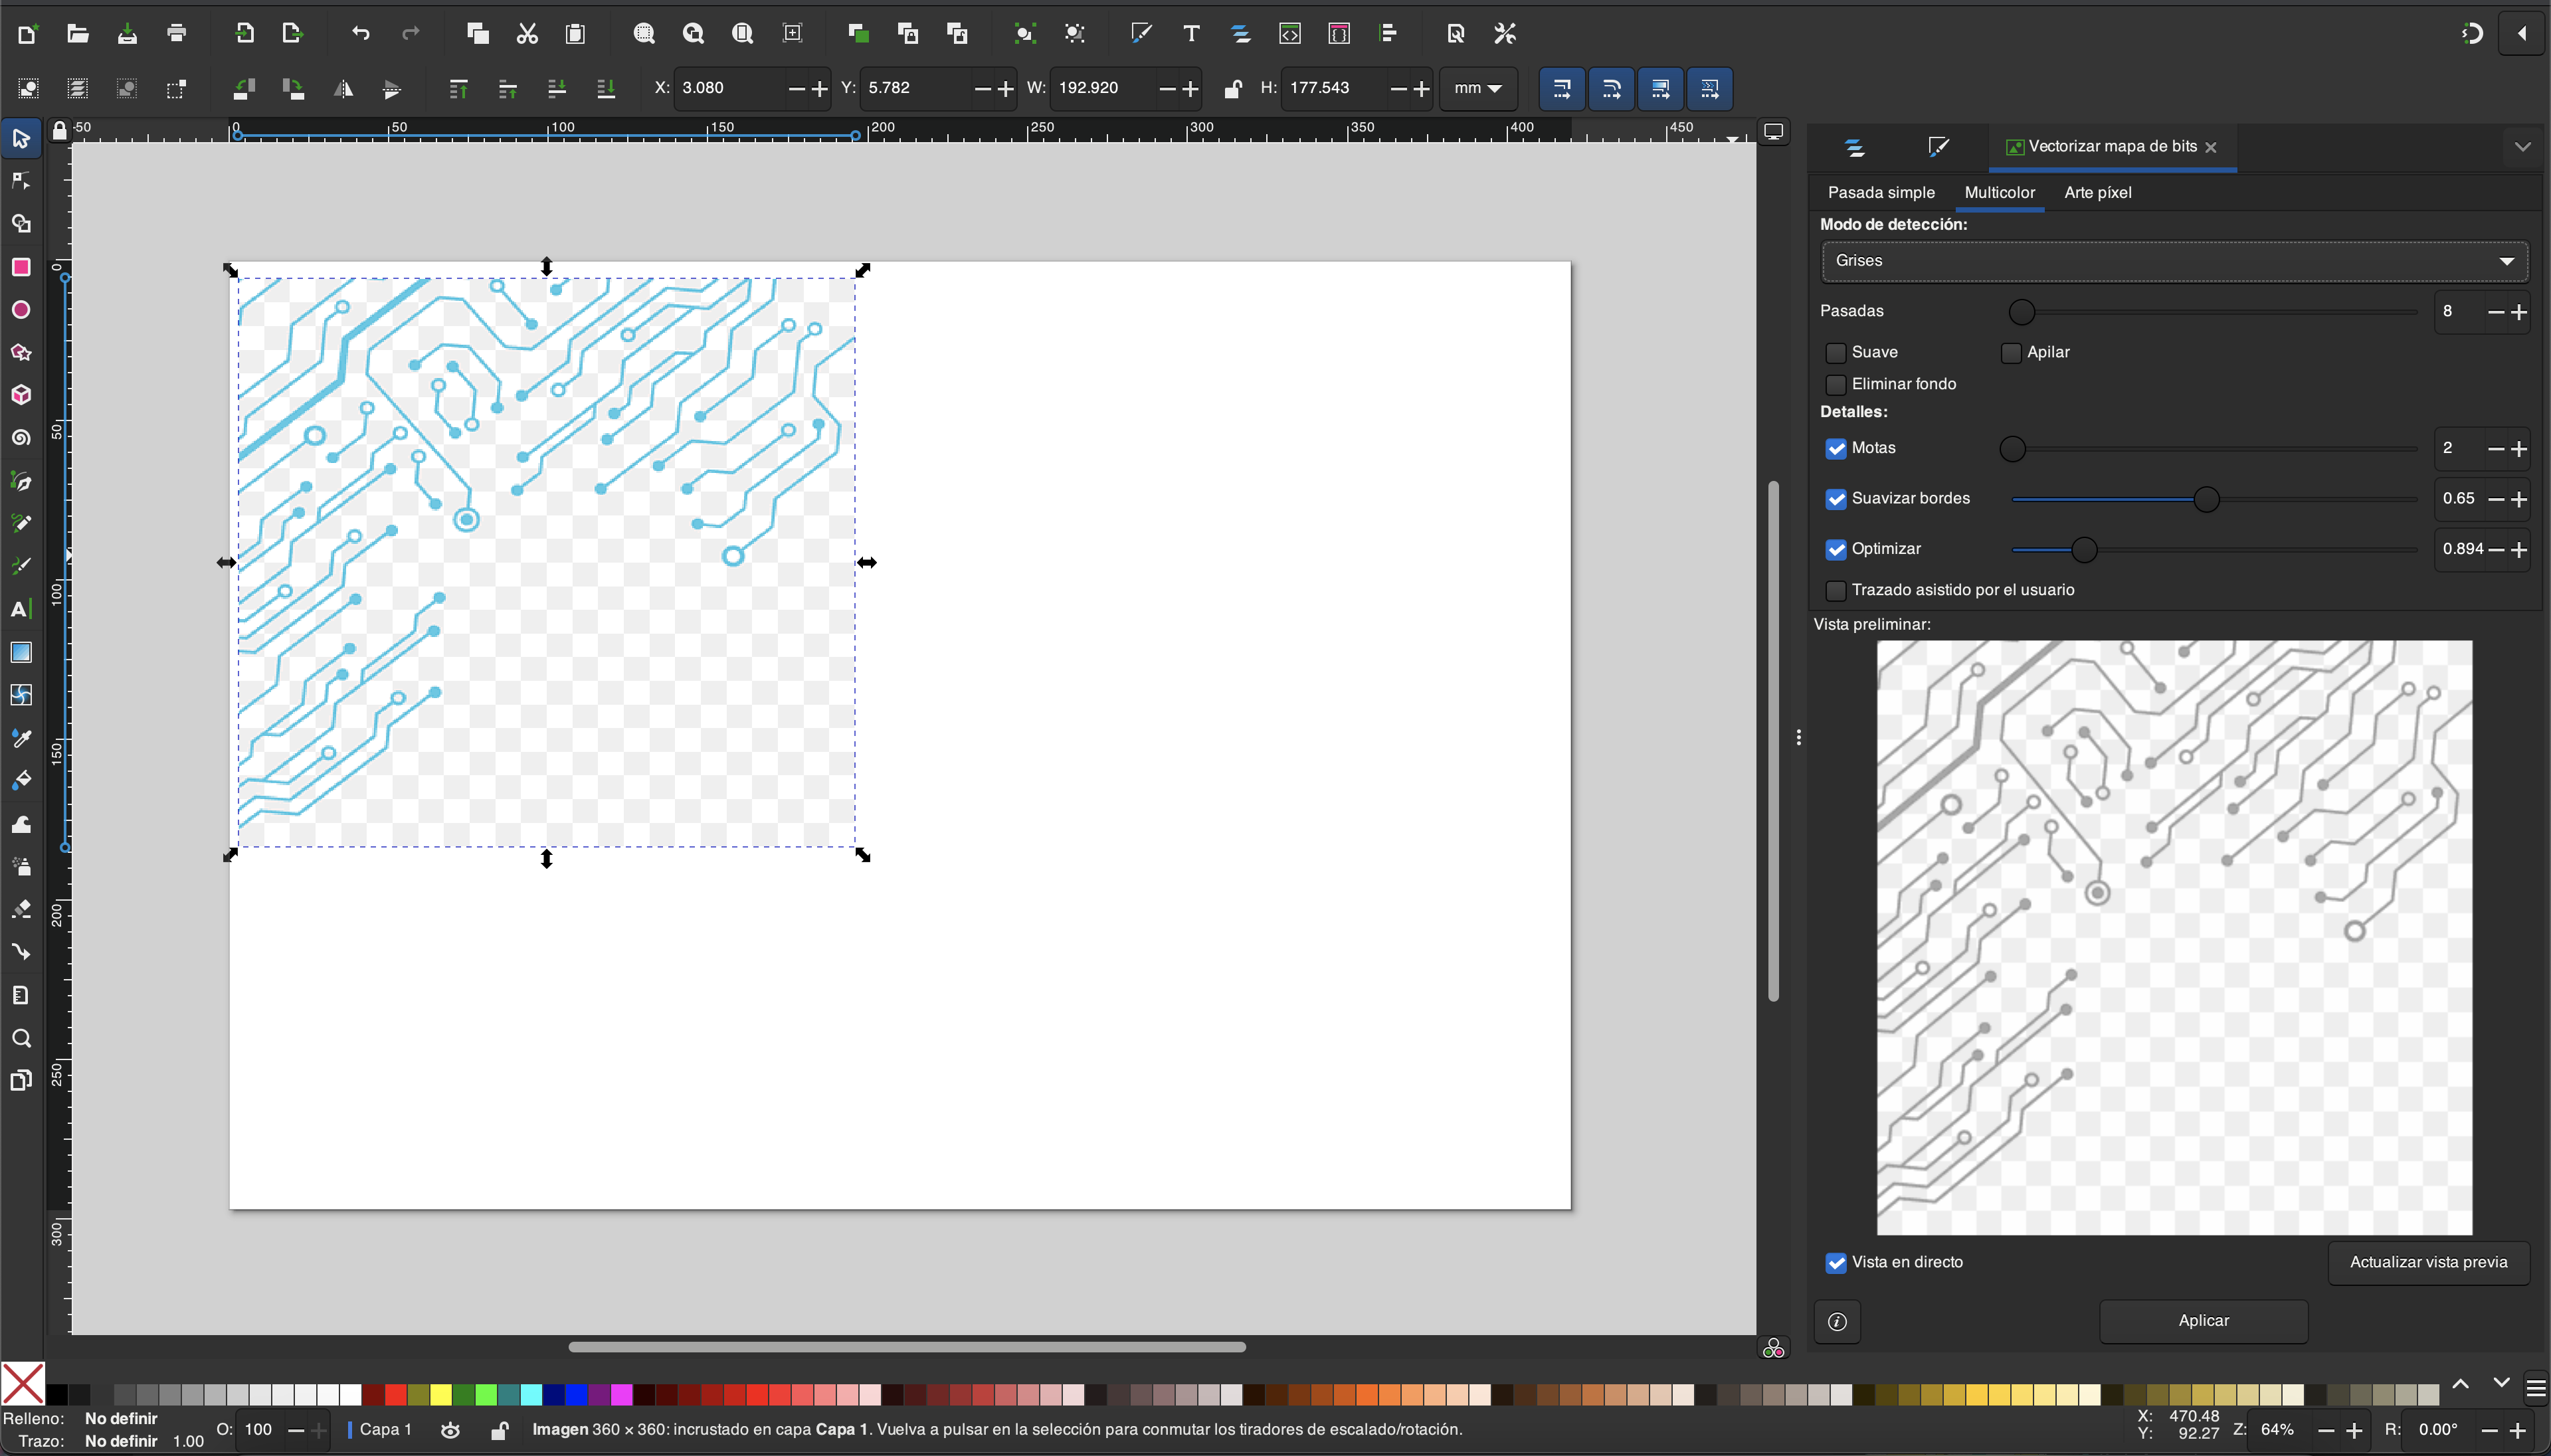
Well, once configured according to how to preview, we click apply and we will have our vectorization, as you can see here
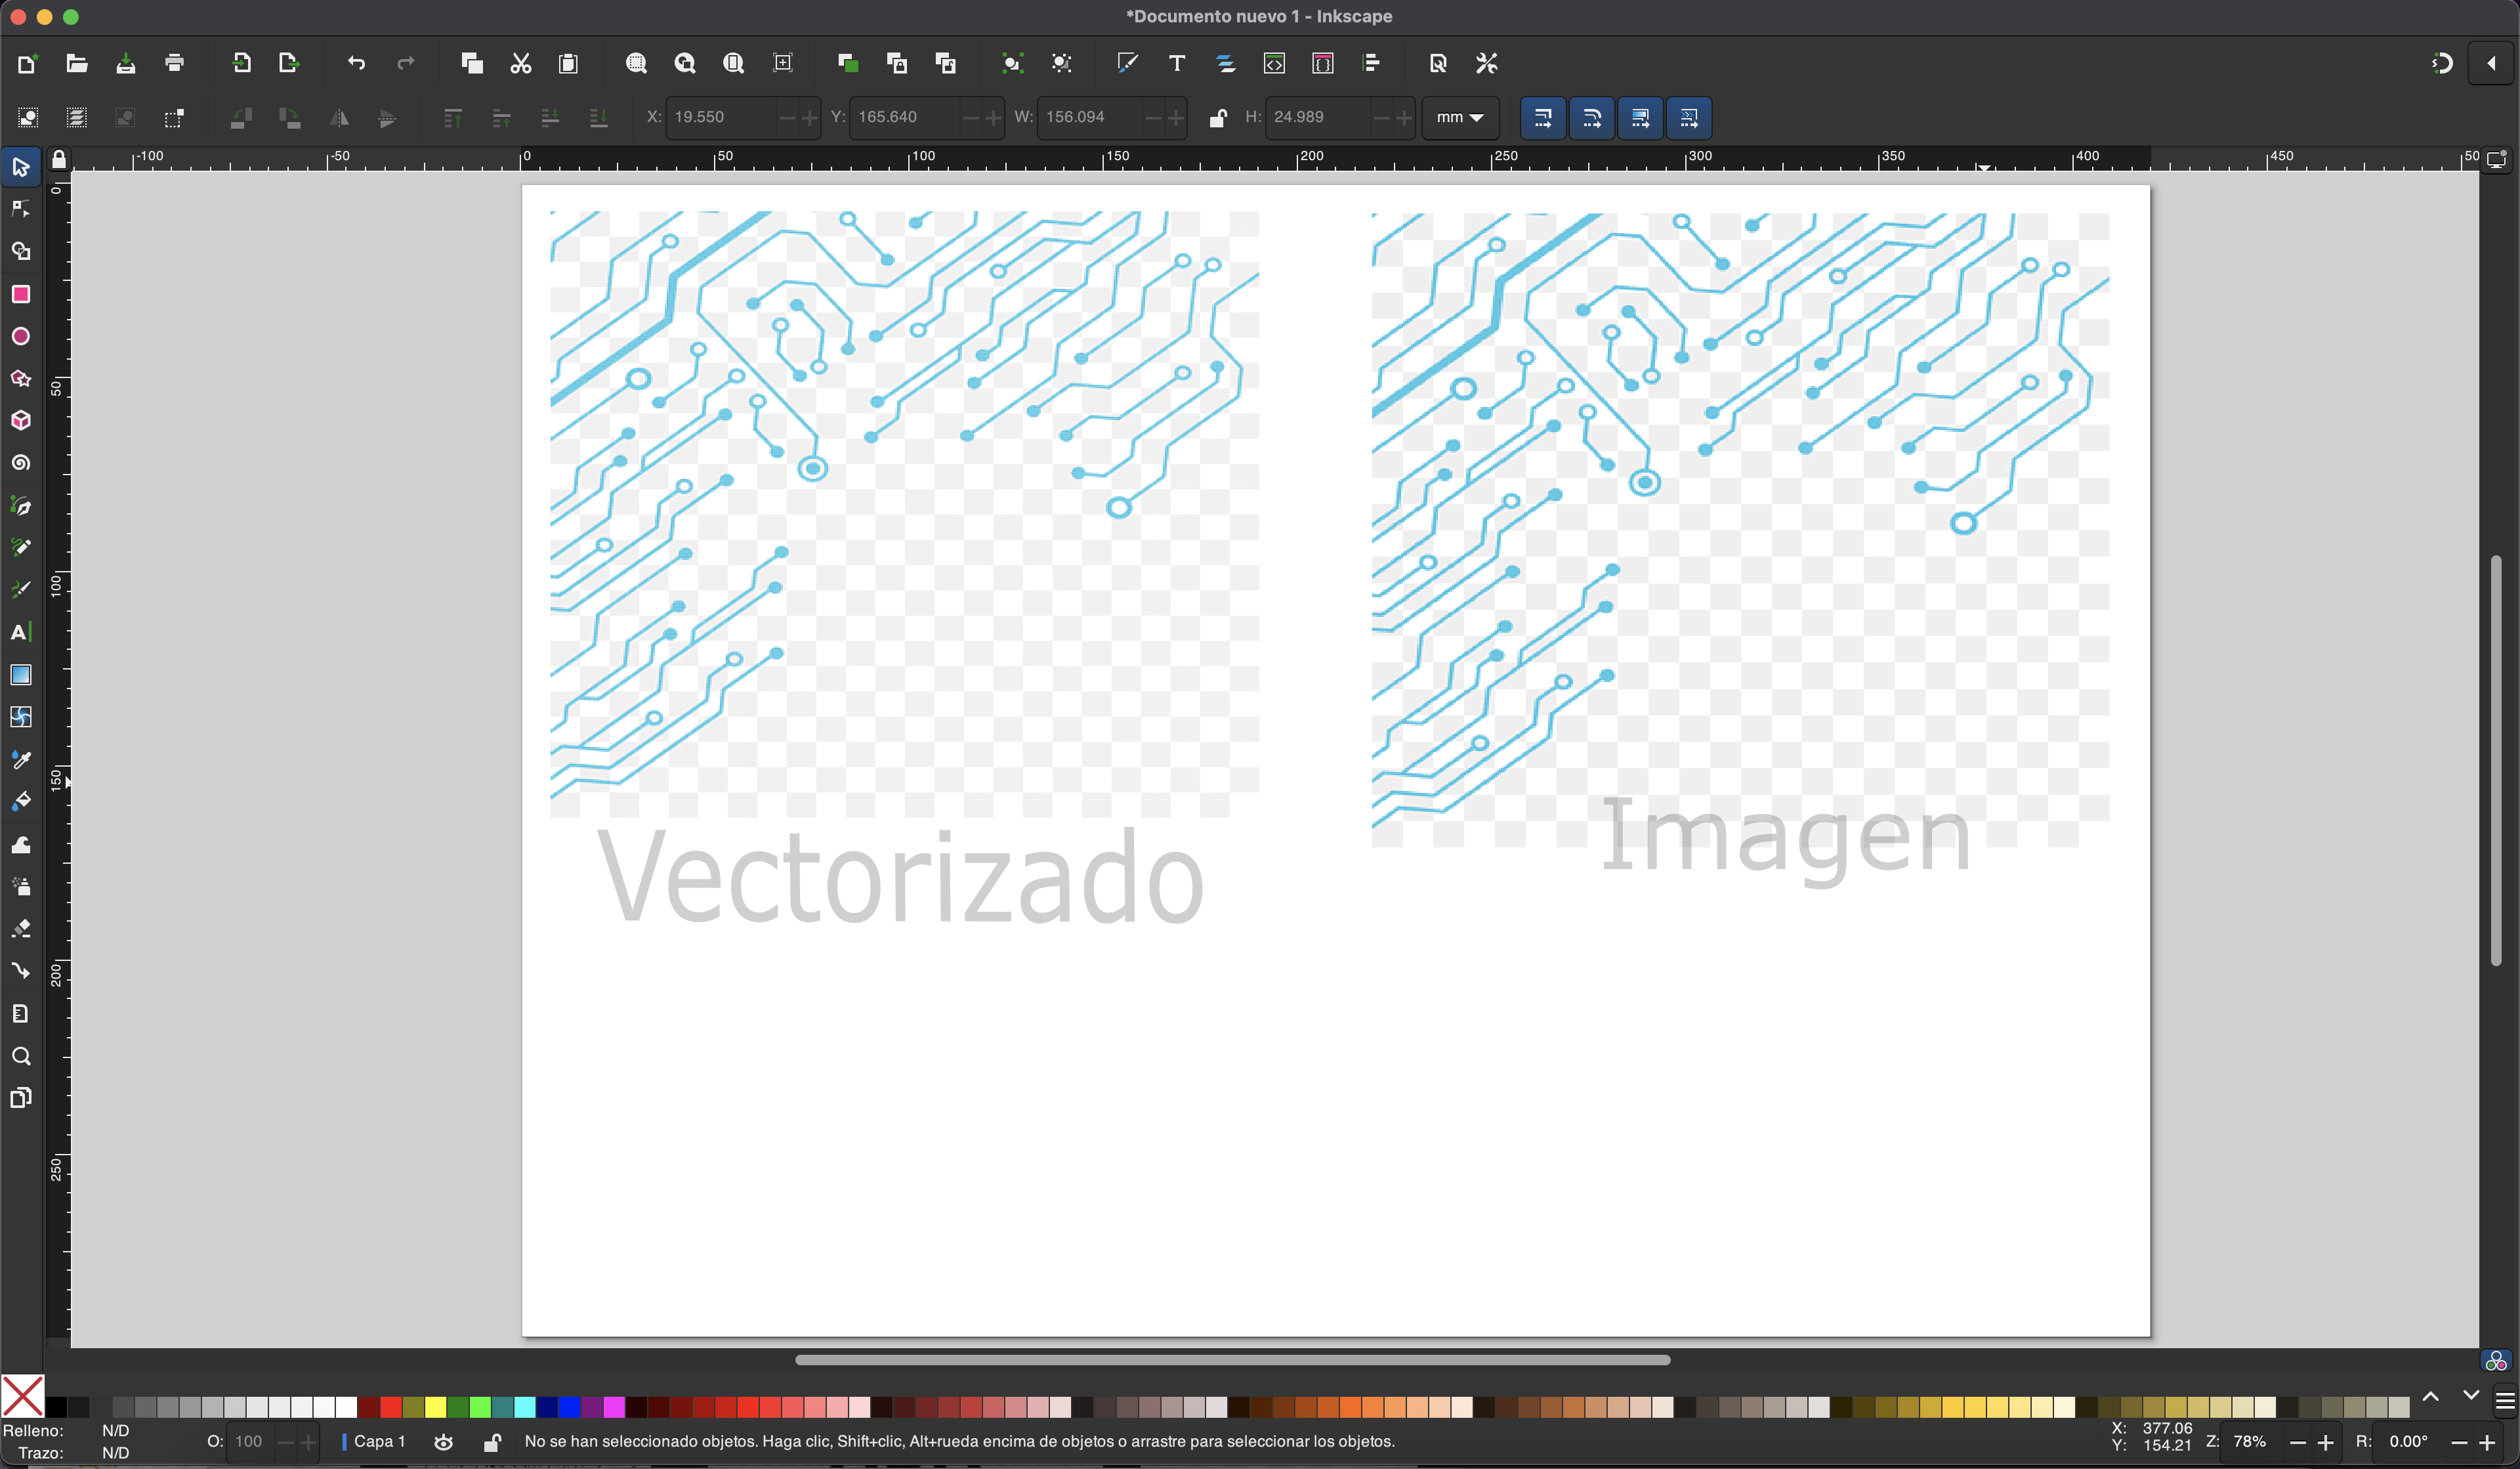
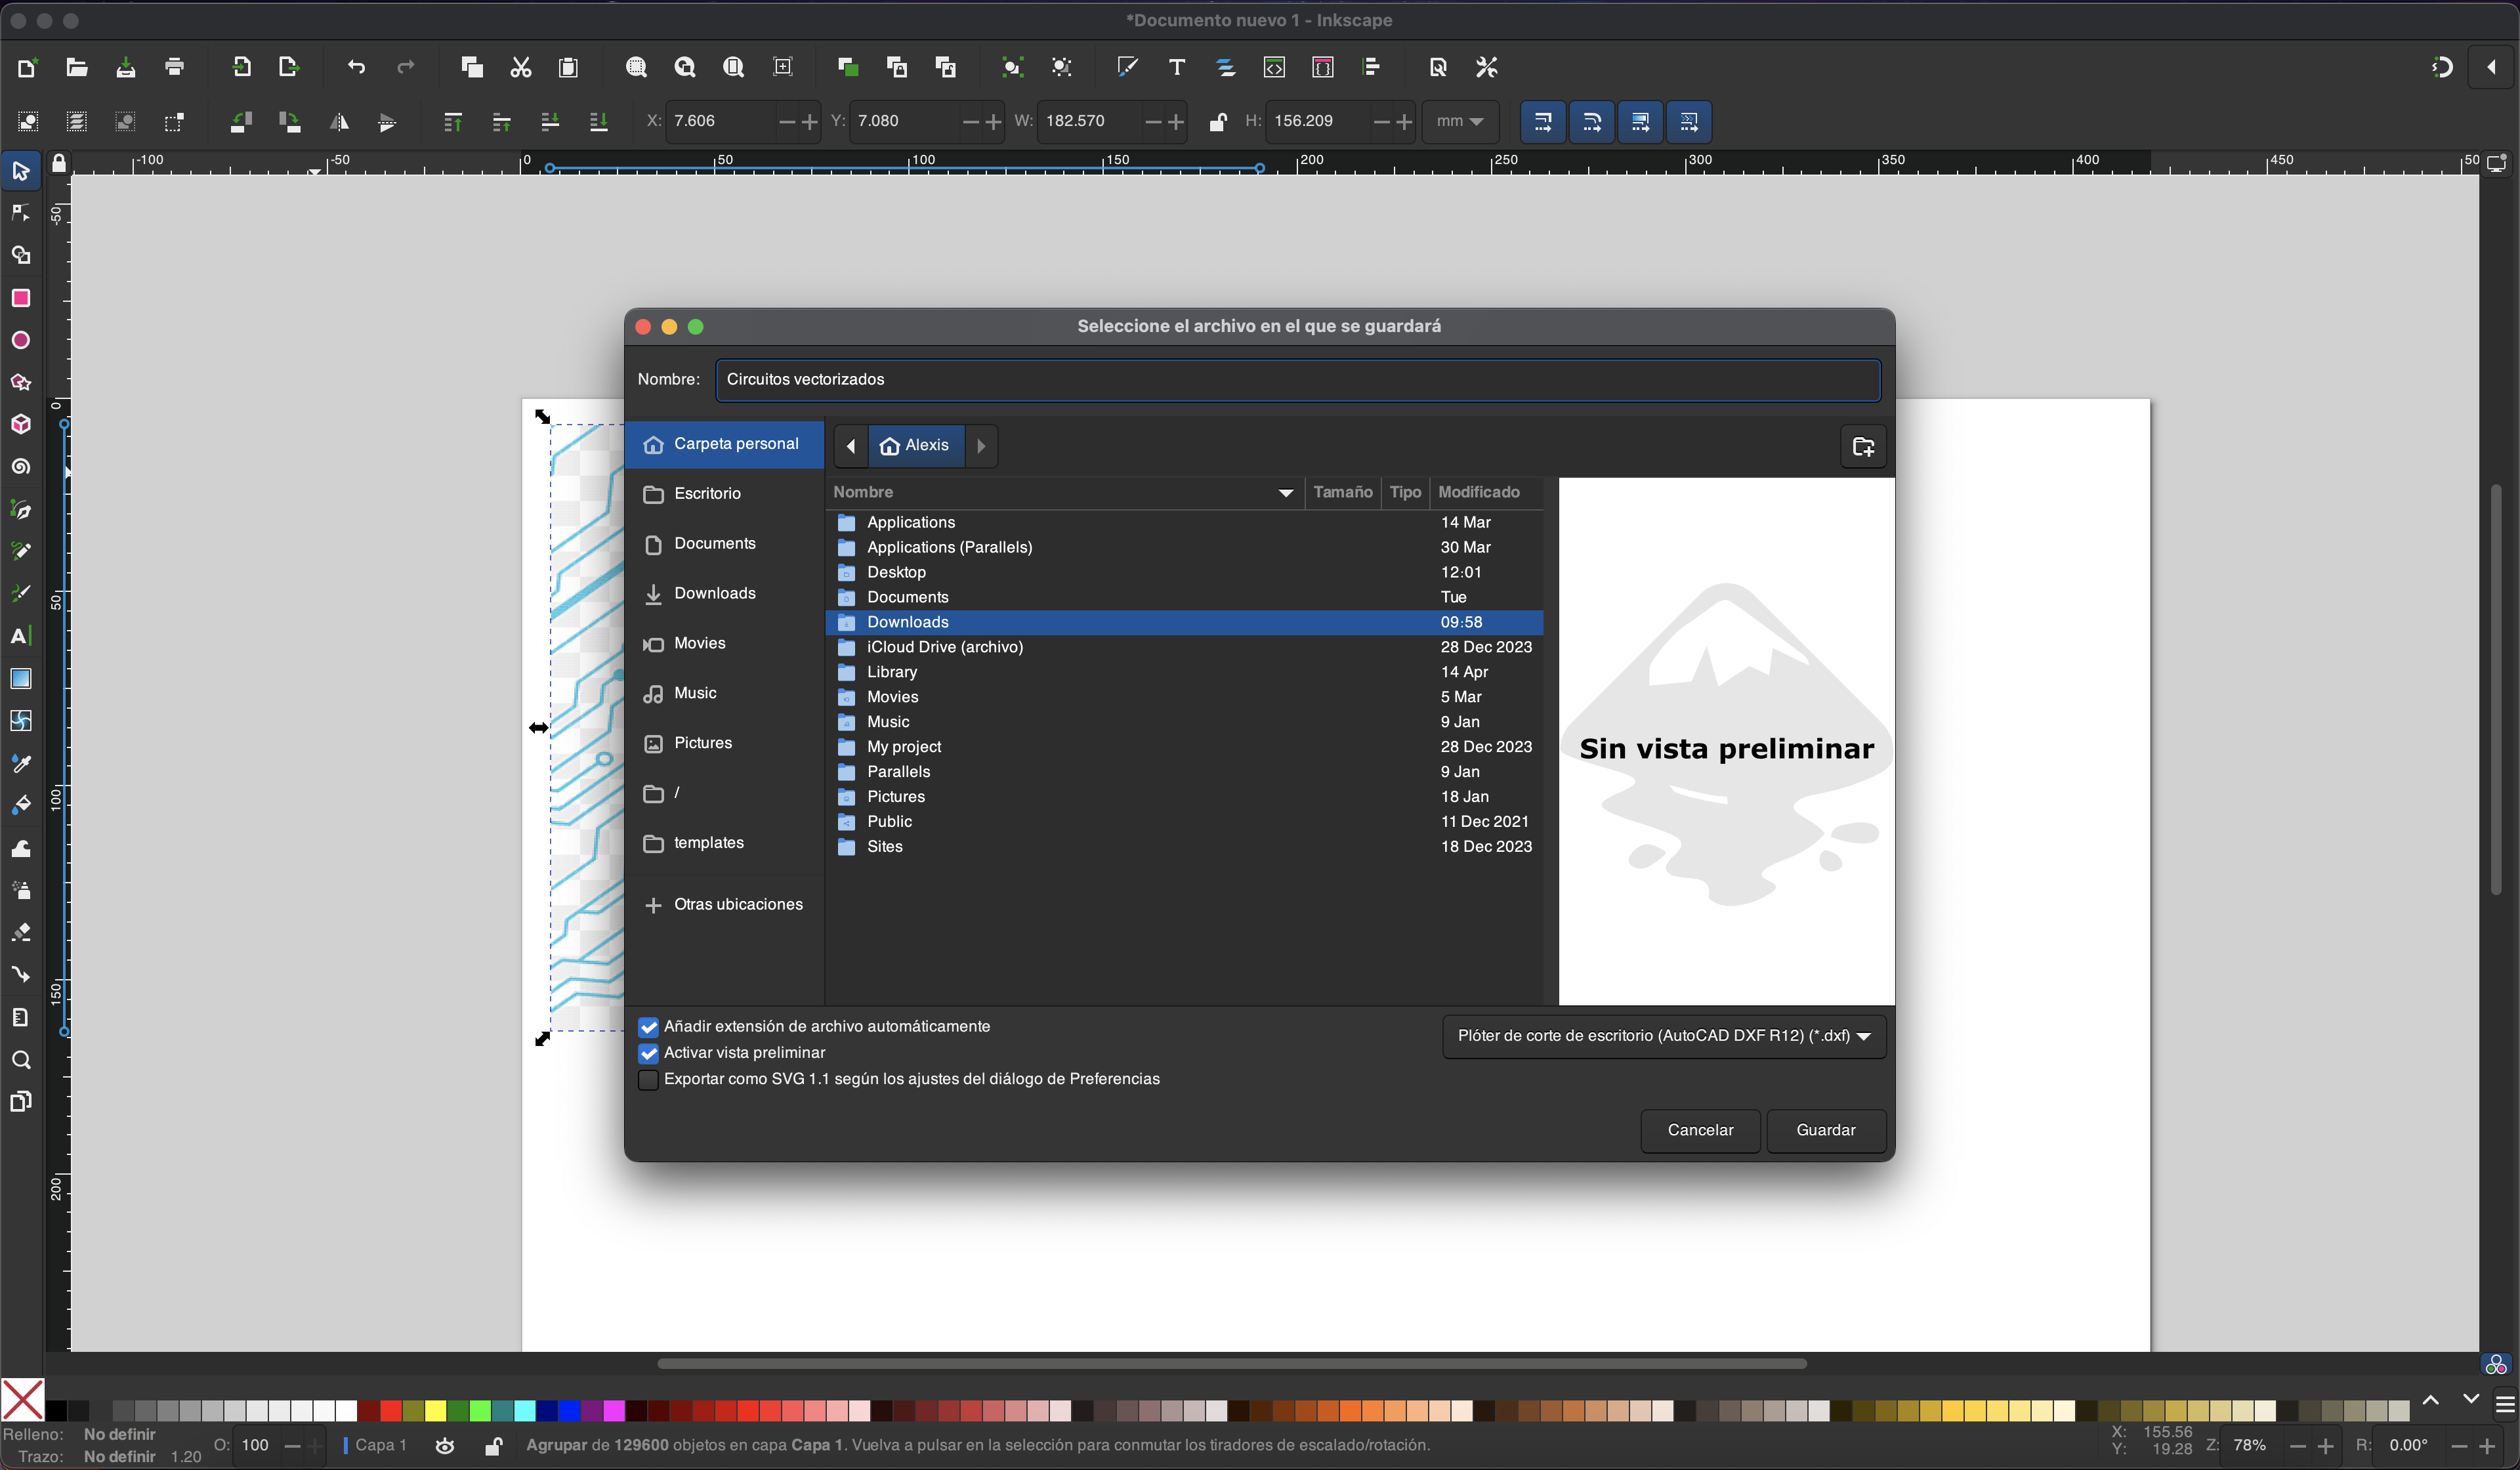
We leave only the vectorized and proceed to save in the format that we are going to use, in this case DXF which is compatible with our vinyl
Learning
Well we finished the assignment and we definitely did not take away important learnings:
o Solidworks contains very easy-to-use tools, it gives us a greater scope, however it is a payment platform which was easy for us to access thanks to the educational license.
o There are design program options that are free access - open source for both 3D and 2D designs.
o The use of 2D and 3D design opens up a wide manufacturing possibility for the construction of the final project in this case.
That was all, I leave the files of this adventure here and see you next week.