
Welcome to Week 1
Principles and Practices, Project Management
Hey! now we will learn about Principles and Practices, Project Management, for this week we have the following assignments:
- Principles and Practices (part 1 of 2):
- Project Management (part 2 of 2):
o Plan and sketch a potential final project - ✅ Done
o Work through a git tutorial - ✅ Done
o Build a personal website describing you and your final project. Refer to the lecture material for examples - ✅ Done
o Upload parts 1 and 2, to the class archive - ✅ Done
Principles and Practices
Let's start this adventure, before telling you how I created this website, I want to tell you about my final project, which already has me very excited.
First I will explain to you what the problem is that I plan to address and the first sketch drawn about my project which will occur throughout the entire academy.
The problem
Attention deficit hyperactivity disorder is one of the neurodevelopmental disorders that manifests in childhood and usually lasts until adulthood, according to InfoMED 5% of the child population is affected by this syndrome, it is common in these cases the difficulties to attend, some children talk so much and fast that they forget the words, have a different pace of learning, they are usually restless . The main characteristics are hyperactivity, impulsivity and poor attention span. The prevalence is between 2% and 12% in infants and in adults it is estimated b e t w e e n 2.5% and 5%; likewise ADHD begins to reveal itself before the age of 7 years compared to girls, boys comprise 4 to 1 because they are the most likely to suffer from this disorder.
In these conditions it is very important to improve learning using various techniques such as self-instruction, this aims to achieve the academic integration of the individual. There are 3 types of mild ADHD when the child has difficulty remaining still or sitting in the classroom, moderate ADHD presents difficulty in maintaining attention and has impulsive behavior, severe ADHD persists with attention problems and in this case should be medicated.

Project Background
There are various alternatives to support ADHD, toys, programs, songs, among others, let's look at some of them to help us generate our final project idea.

Here we can see some background, taking into account the type of application, target audience and sensors used,
Now let's look a little more closely at the first proposal, which shares the approach we want to have regarding age and other factors.
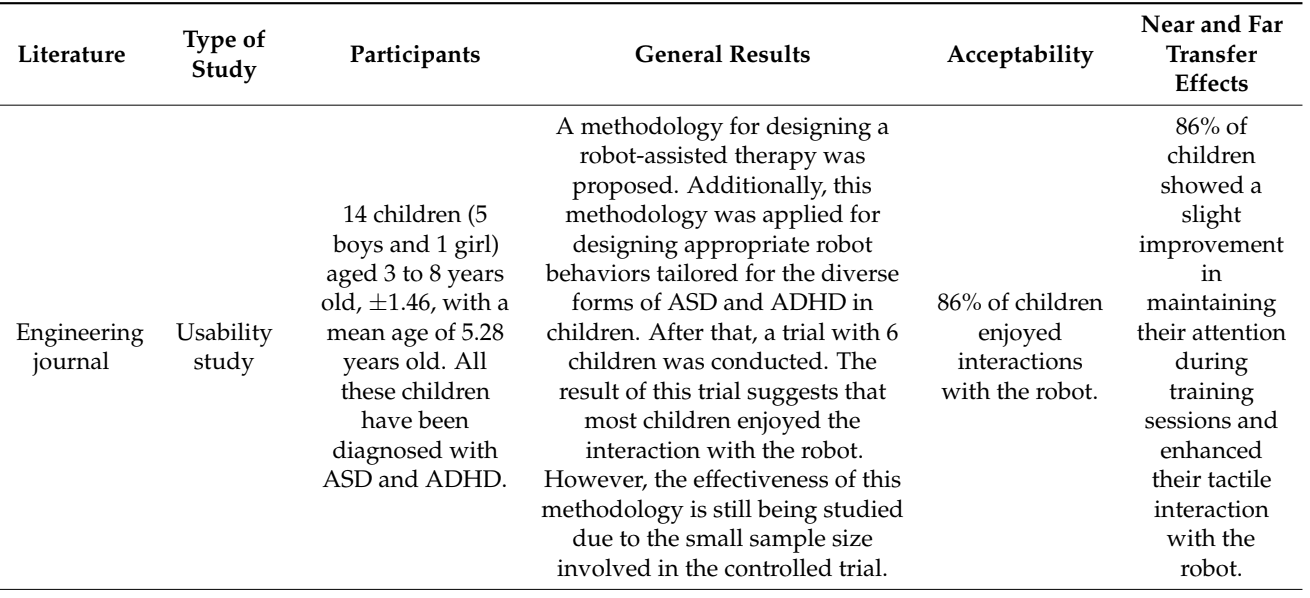
This study had a good result and gave us many ideas to consolidate the final project.
My project idea
My project idea is based on the development of a tool generated with digital fabrication. This tool will allow us to enhance learning and provide support to children with attention deficit hyperactivity disorder (ADHD), creating a space for greater concentration through various musical and visual elements. It will take the friendly form of a cloud, which will possess a teaching system through educational apps, all aimed at improving the child's level of concentration.
It will look like this:

This project will help improve the quality of education and increase concentration in children in a didactic and playful manner.
To carry out this project we will define the dates and progress according to a gantt to better organize the development

Project Management
Now let's start creating the website in which we will document each weekly adventure
GIT AND VISUAL STUDIO CODE
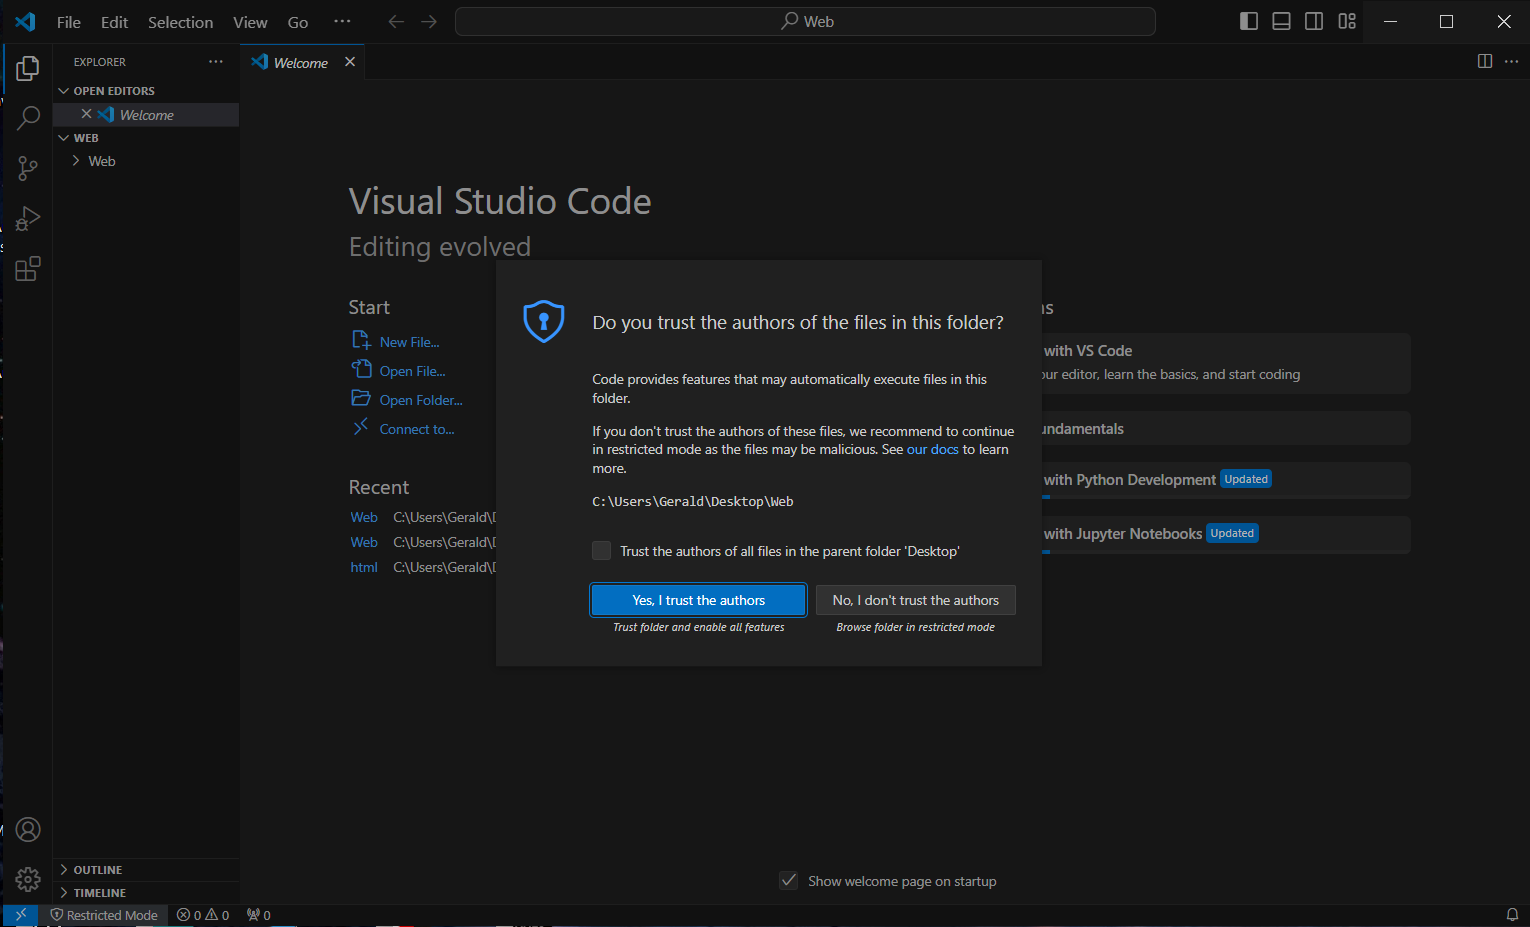
STEP 1: We have to download and install the GIT program that we can find in our search engine. On the other hand, we can also take the opportunity to download the VISUAL STUDIO CODE that will help us clone our repository to our local "local, I mean our computer".
STEP 2: While the programs are downloading we can enter our GITLAB account to know 3 important things:
Planning the wired structure of your web site
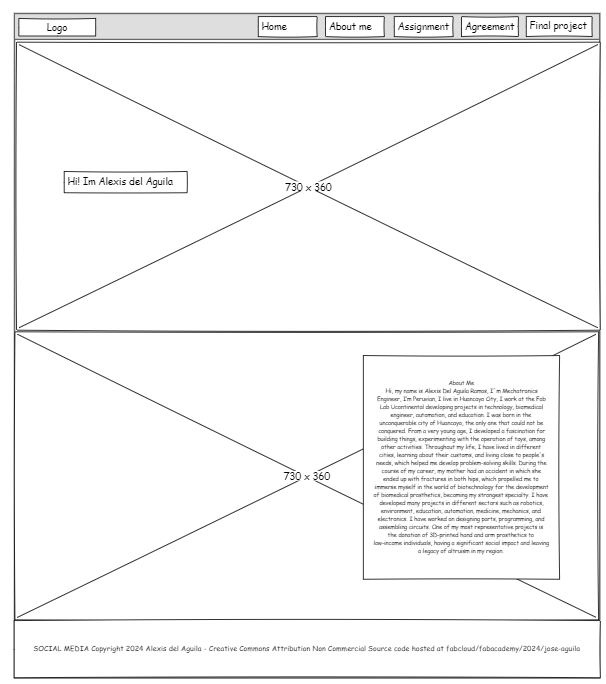
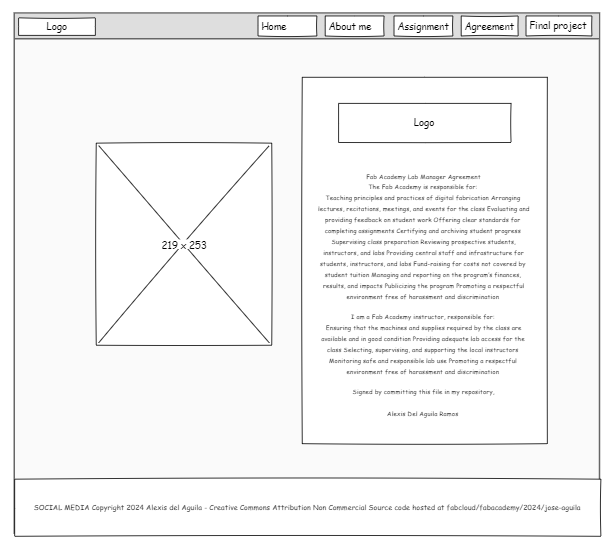
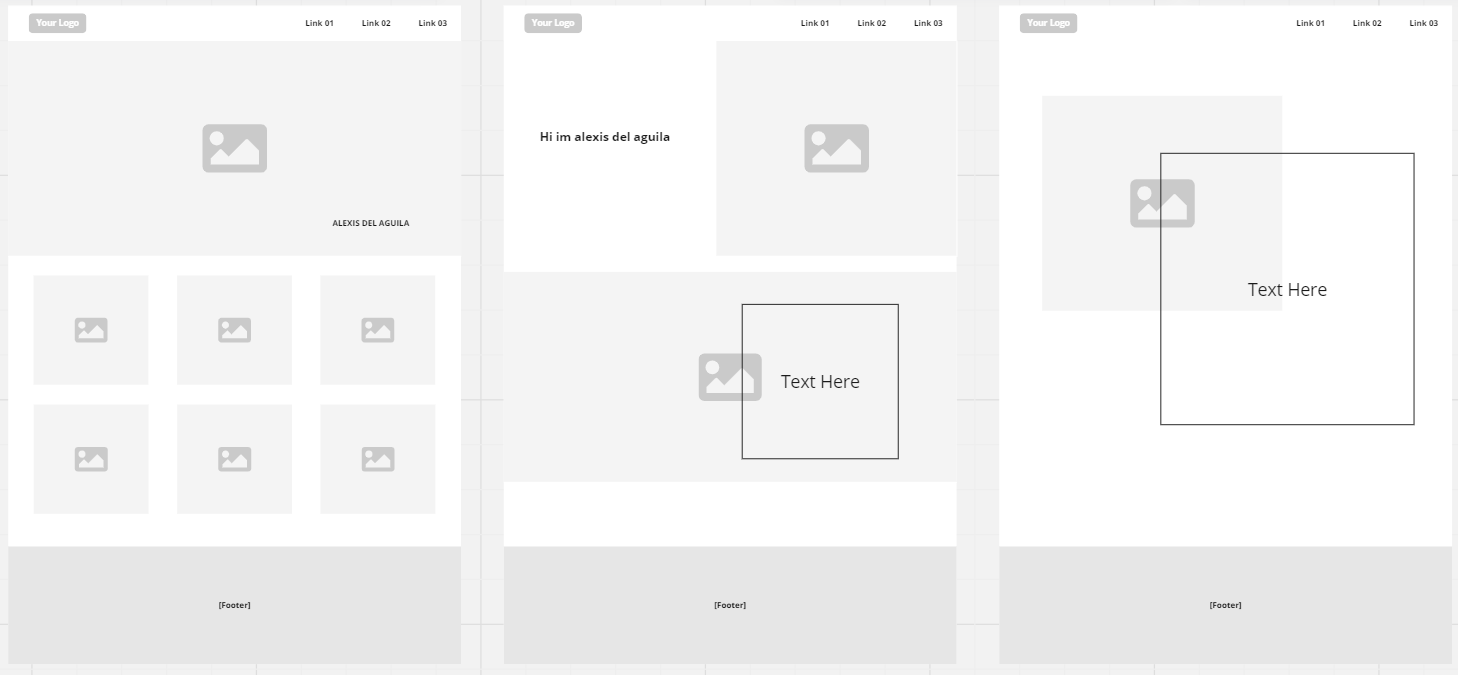
For the design of the page we made a sketch of this in an application called "Pencil" which allows us to make WireFrames of web page as the page is an elaboration from 0 this sketch will allow us to give us a preview of this so for the main menu the sketch would be as follows:

Based on that sketch we can make the corresponding changes before arriving to the programming of this in Html, as we will not only have a home page we must develop a sketch for each part in which we will use it.
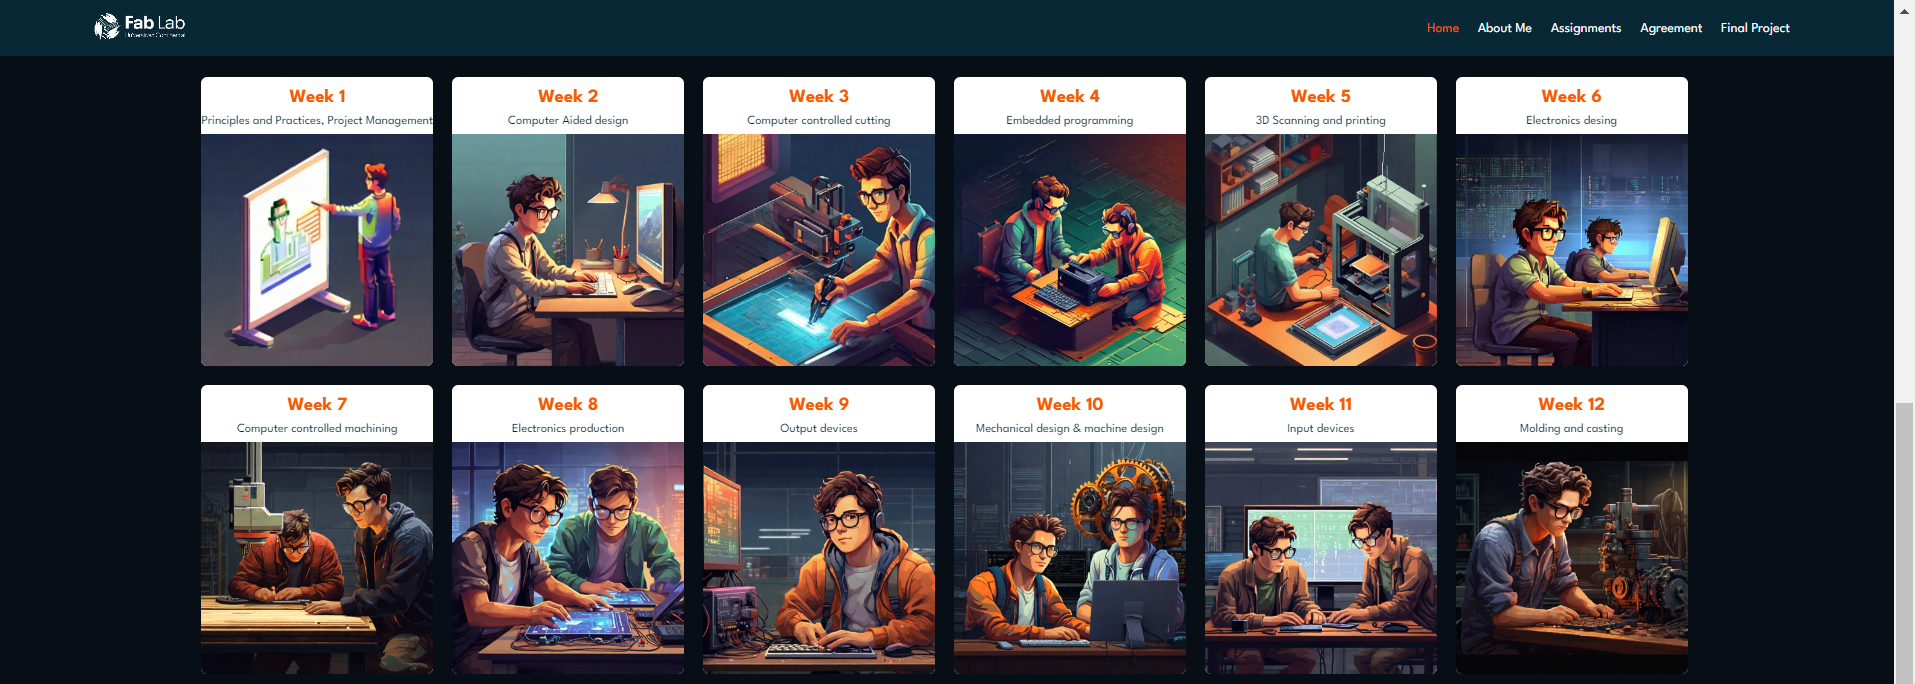
For the home page as we proposed in our sketch we will use images to represent each process to be performed in each assignment, for which we will use an 8-bit graphic style and an AI image generation tool called "leonardo ai" for use we must first go to their website:
Once we register we will be sent to the editor to generate our image.
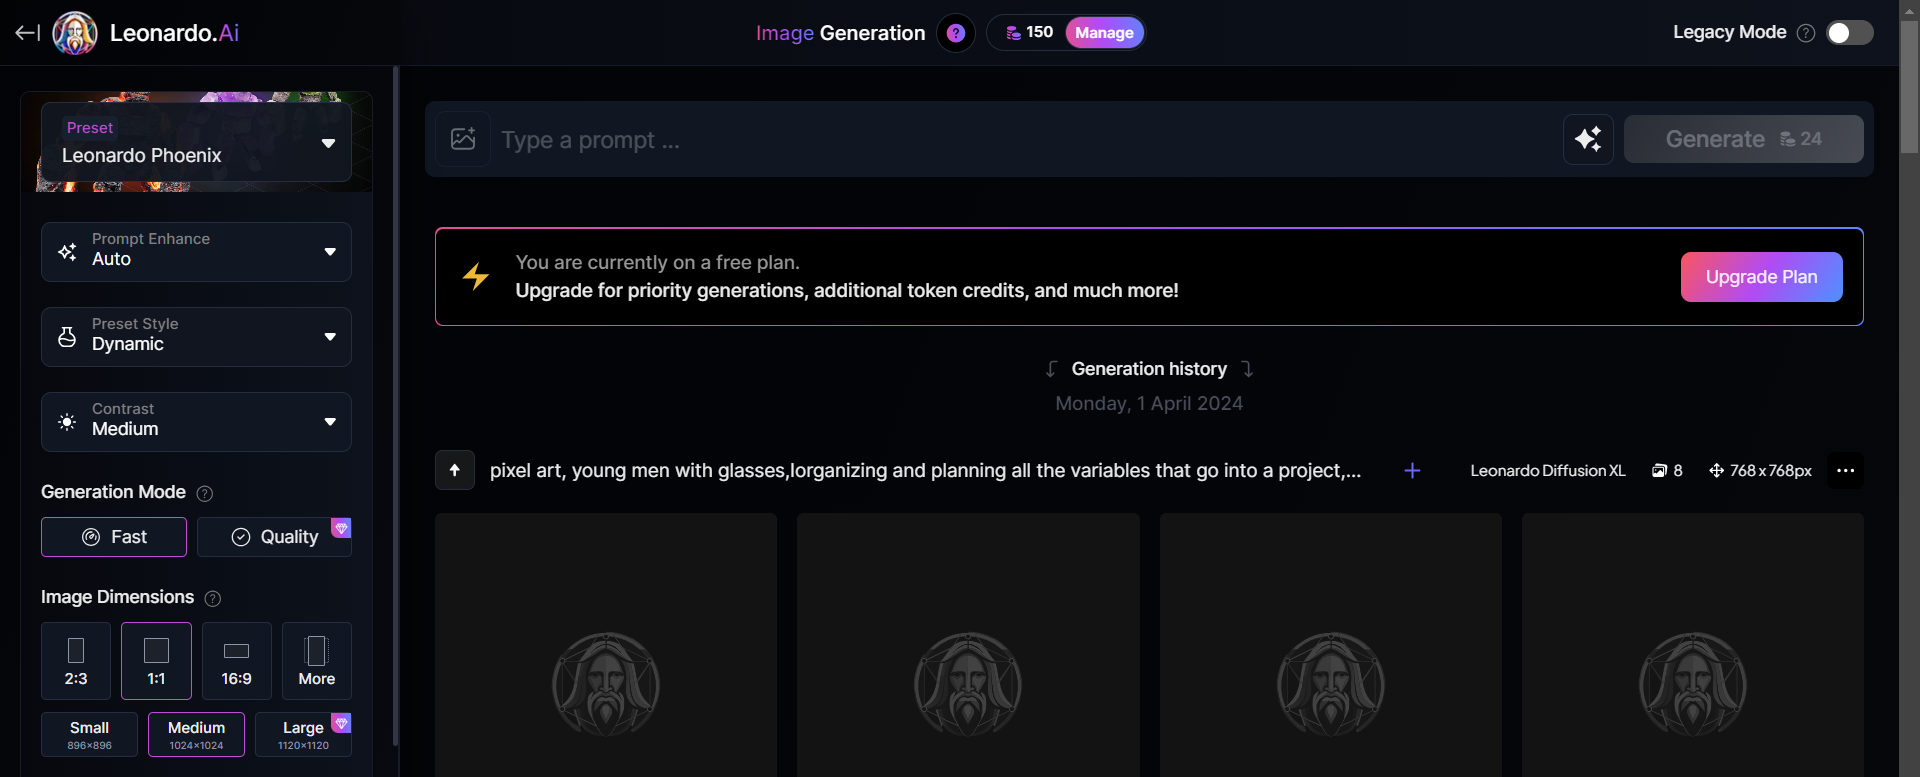
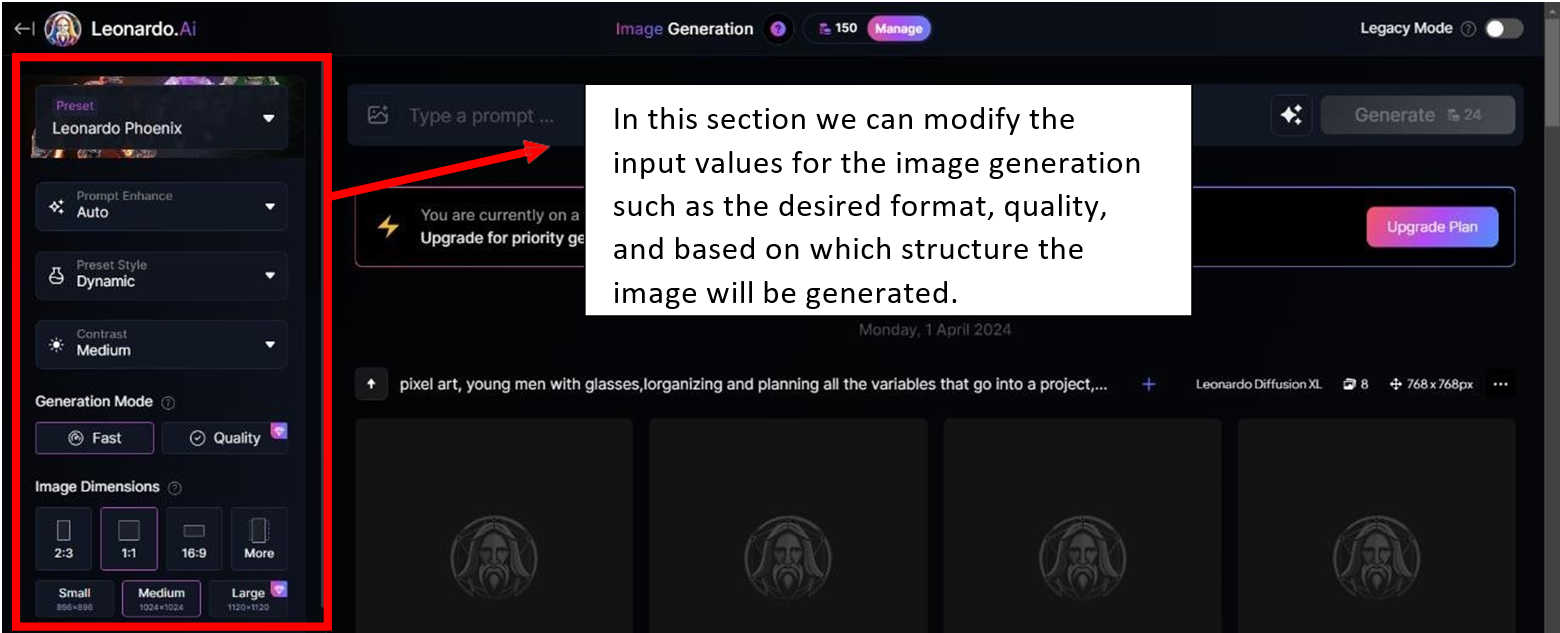
As we can see we have several values which we can modify to have an adequate result or more aligned to what we want.

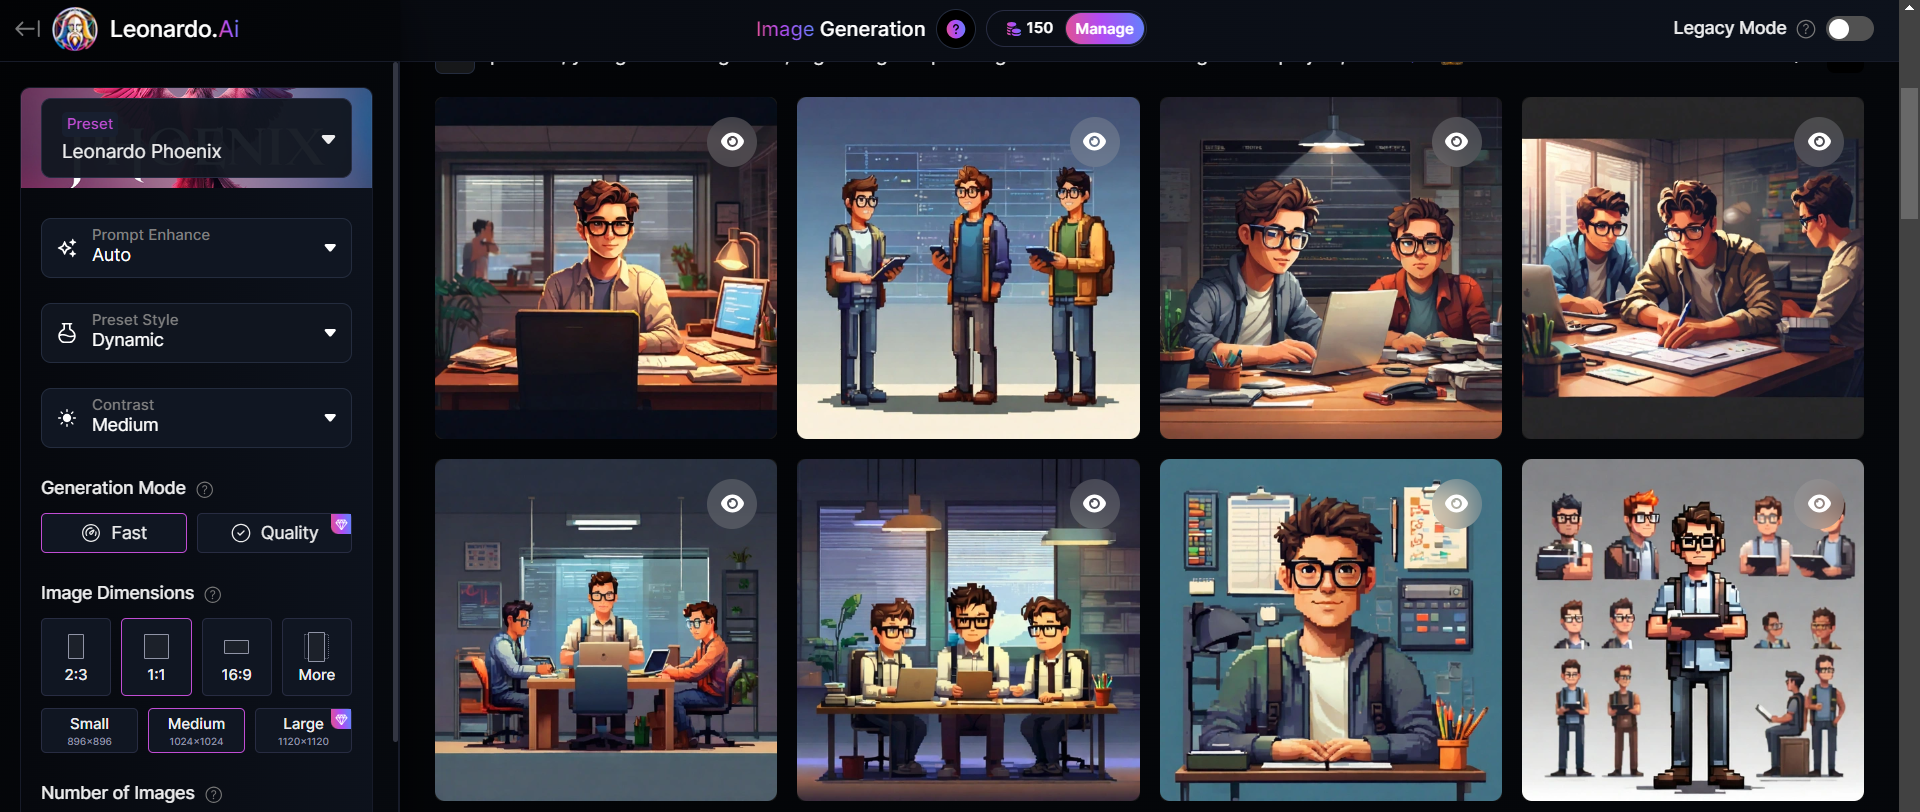
Once we have entered the description we proceed to generate the images, we are shown several images that fit the description, we only have to choose the image we want and download it.
To proceed to place the image in each corresponding assignment.
Repository Cloning For Our Local
STEP 1: We open our VISUAL STUDIO CODE to start cloning our remote repository.
STEP 2: Now we only have to work on all the changes and updates in the VISUAL STUDIO CODE and it gives us the ease of being able to do the COMMIT and PUSH when necessary. Remember to make big changes and not just small changes.
On this programming platform, I used these commands to develop my website. This list of commands was provided by ChatGPT.

And now you can design, play, enjoy and improve your website.

Make a Website
In the chapters ahead, we'll unravel the intricacies of bringing your ideas to life online. From defining the purpose of your website to selecting the perfect platform, and from adding your unique flair through design to making it function seamlessly, I've got you covered. Together, we'll navigate the sometimes confusing and often exhilarating world of website creation.
Personalization
First, I started to design a wireframe to get an idea of how the page would be laid out. Sketching out the skeletal structure of my website allowed me to visualize the placement of key elements, like navigation menus, content sections, and any interactive features I wanted to incorporate. It was like creating a blueprint for my digital space.
Upload Images
With the wireframe as my guiding compass and the design elements in place, the next phase of the journey led me into the realm of coding. It was time to breathe life into my vision and transform the static design into an interactive and functional website.

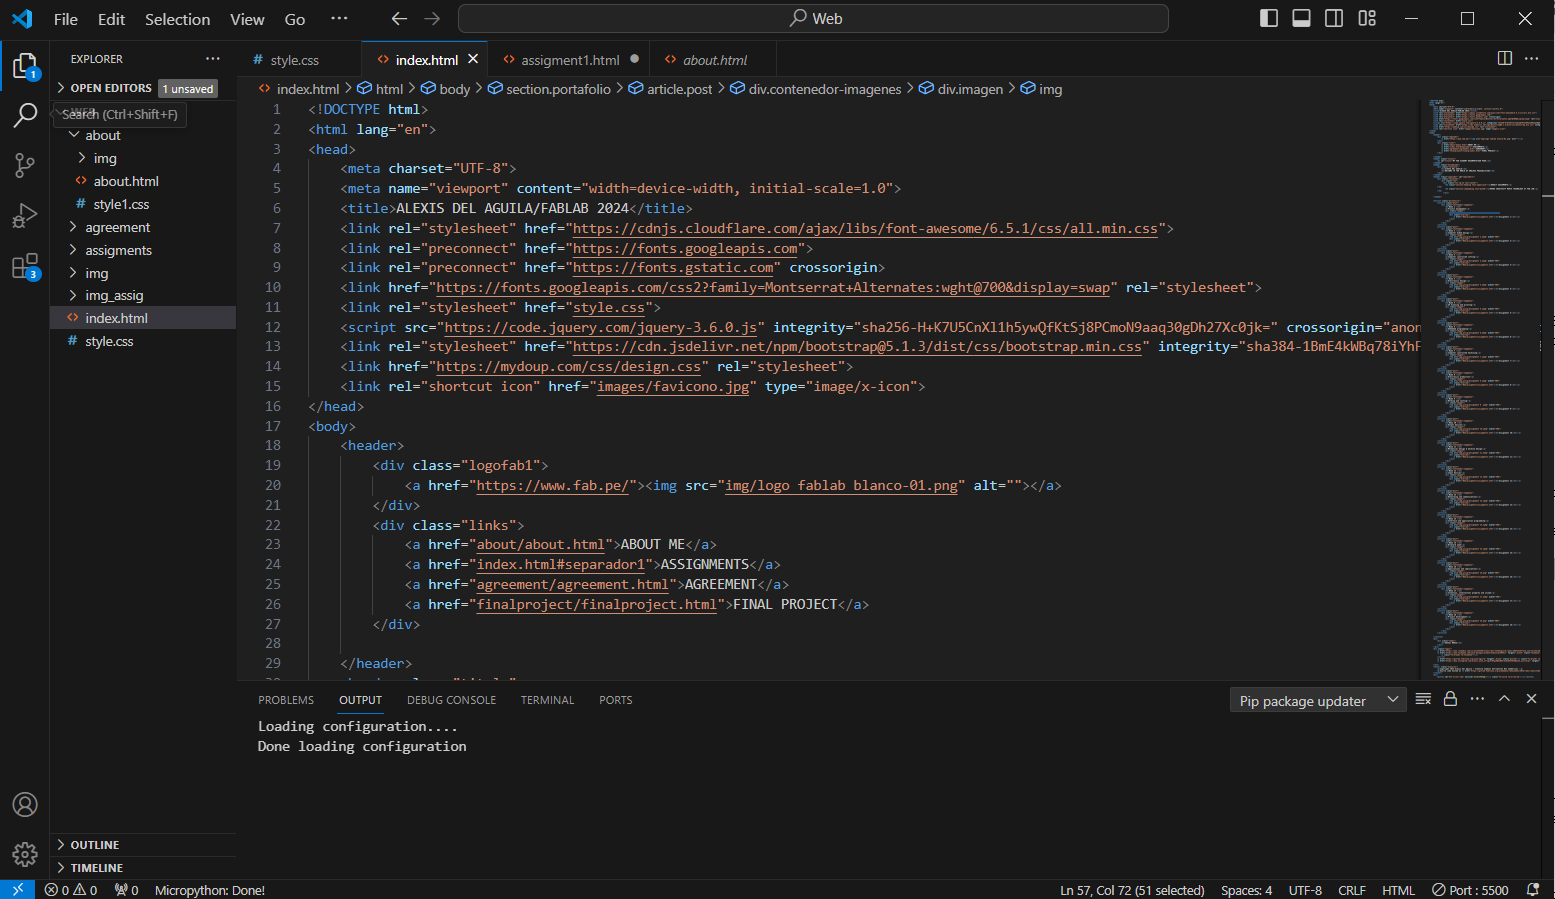
When we have all the images, we upload them to VISUAL STUDIO CODE, in our HTML or SCC, to be able to display them on our website:
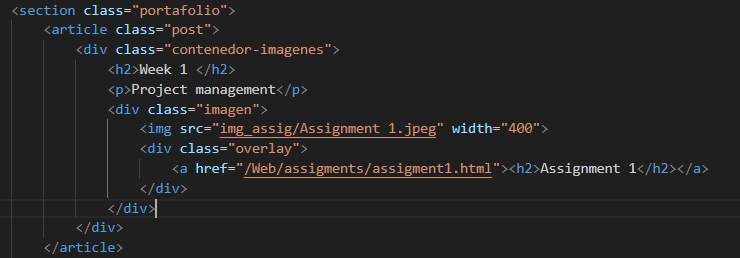
And we can see our images on our website.
Now that we have our website ready, we are ready for the adventures that await us in these weeks, see you next week
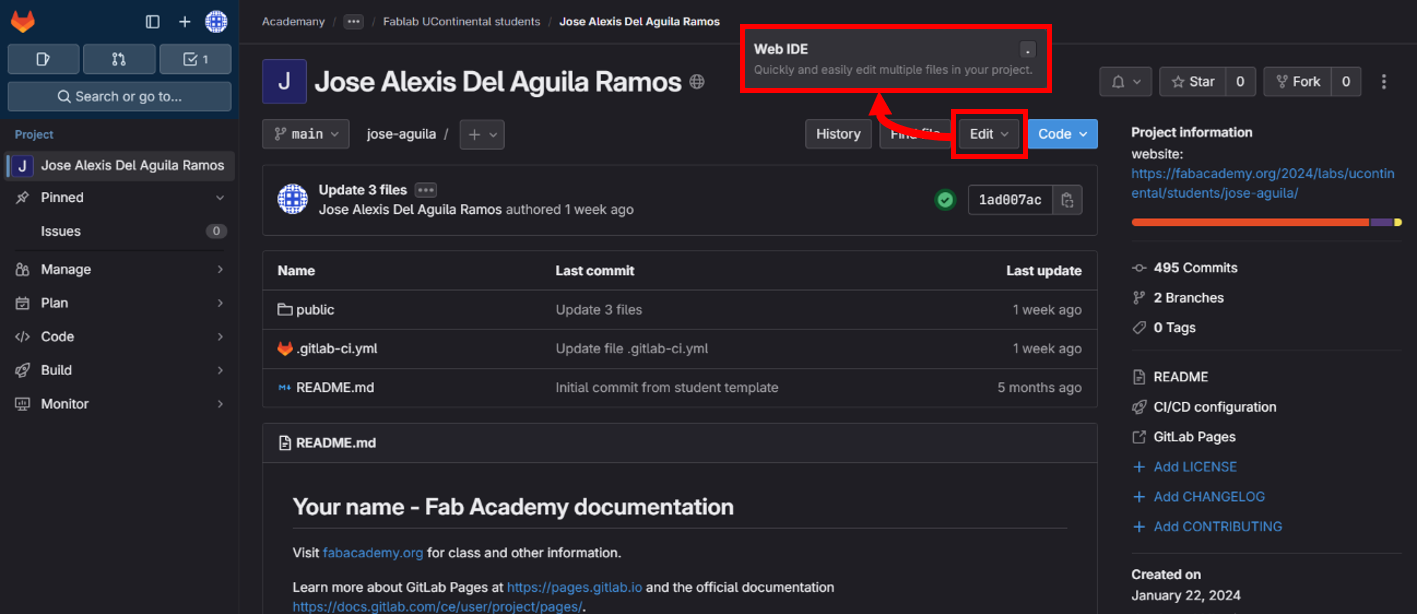
Load the web page
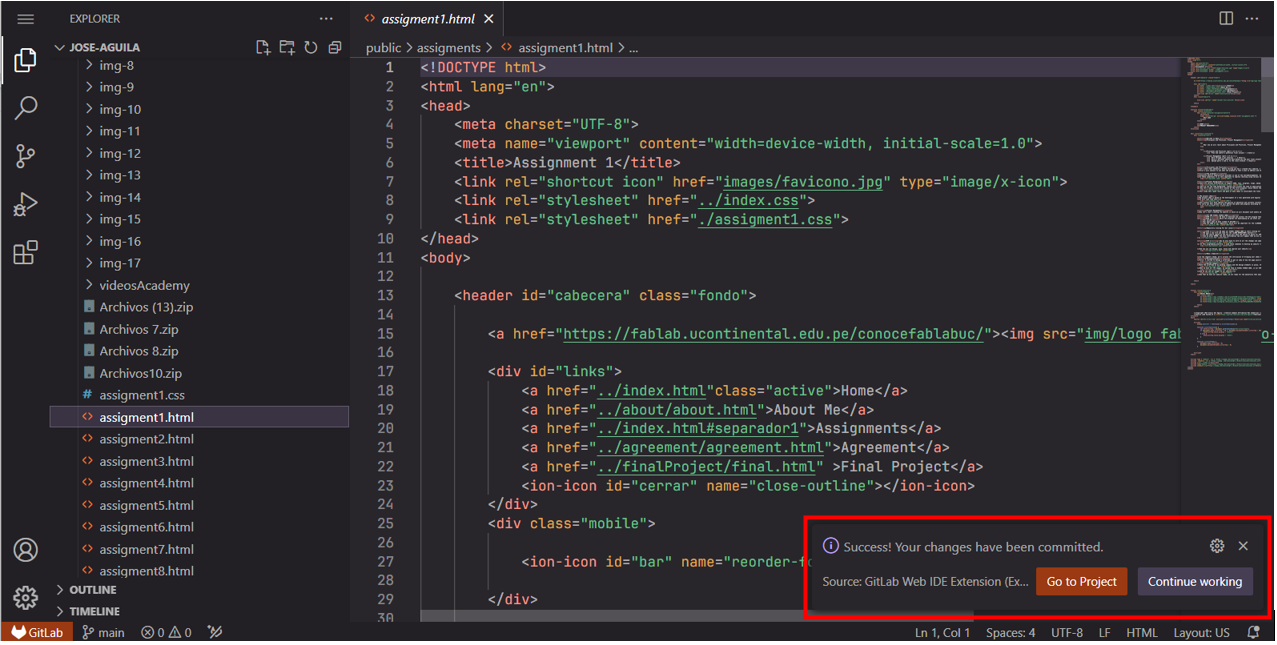
To be able to upload the updates of our page to the repository first we must enter to gitlab with our account once we enter we must go to the "edit" section and enter to the Web IDE section.
Once in the Web IDE section we can see that it contains an interface for editing and creating code for our Web page.
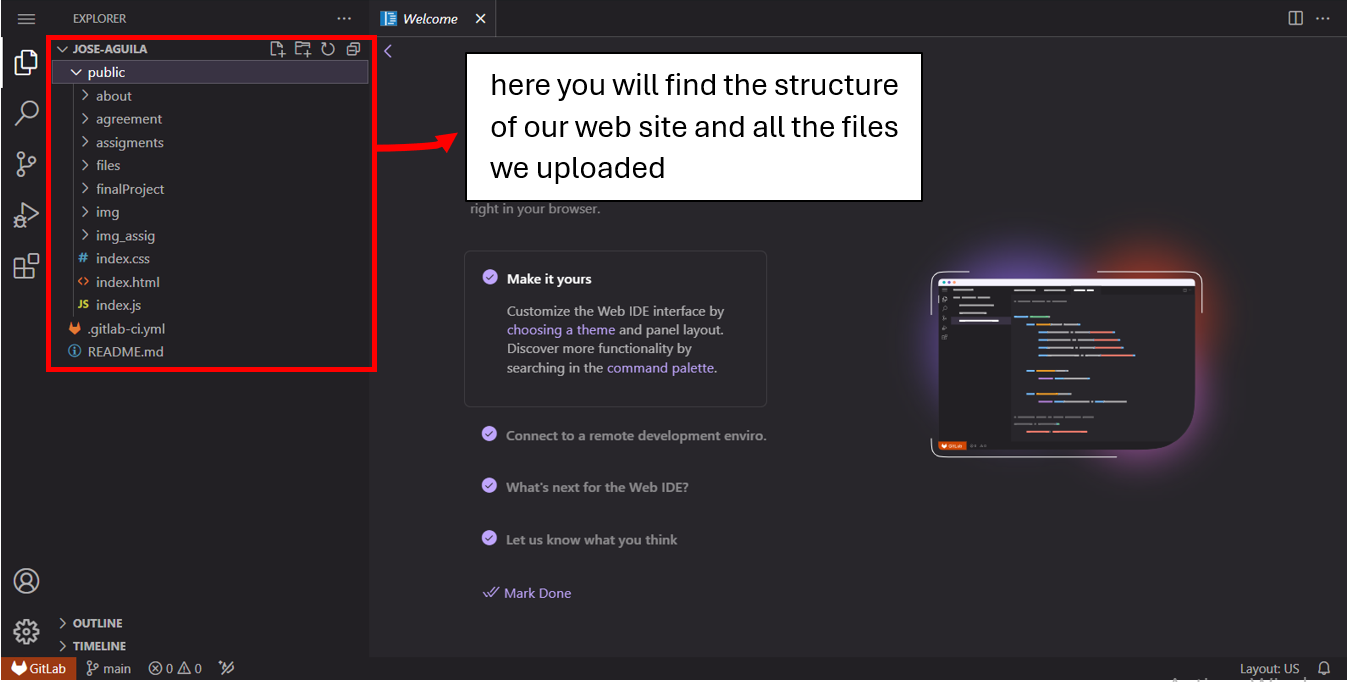
In the interface we can upload the multimedia files that are necessary for the page such as images and videos. We can also edit the html, css and java script code if necessary or upload a new file.

After making a change or uploading any file either multimedia or related to the page code, the changes that were made will be shown in the "source control" section.
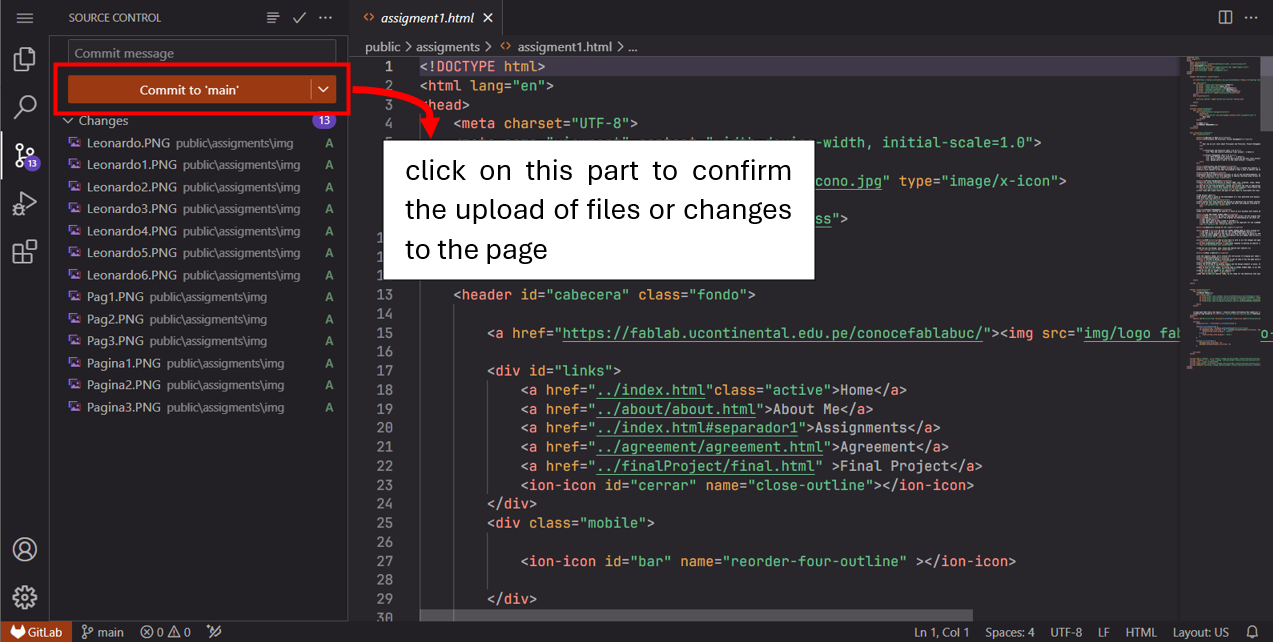
Once we confirm the upload of these files, we wait for the interface to confirm their successful upload.
That was all, see you next week.