Group Assignment
Click here to see group assignment in detail.
Individual Assignment
In individual assignment, I decided to make an app for my final project where I can see the values of all the sensors I interfaced with microcontroller.
Firebase
I used Firebase to create a real-time database for my app, which means that whenever data changes in the app, it updates instantly on all devices connected to it. Firebase Realtime Database operates on a JSON structure, making it easy to store and synchronize data across multiple users in real-time. JSON stands for JavaScript Object Notation. It is a text-based data interchange format to maintain the structure of the data. This means any updates or changes are instantly reflected across all connected devices without any kind of delay.
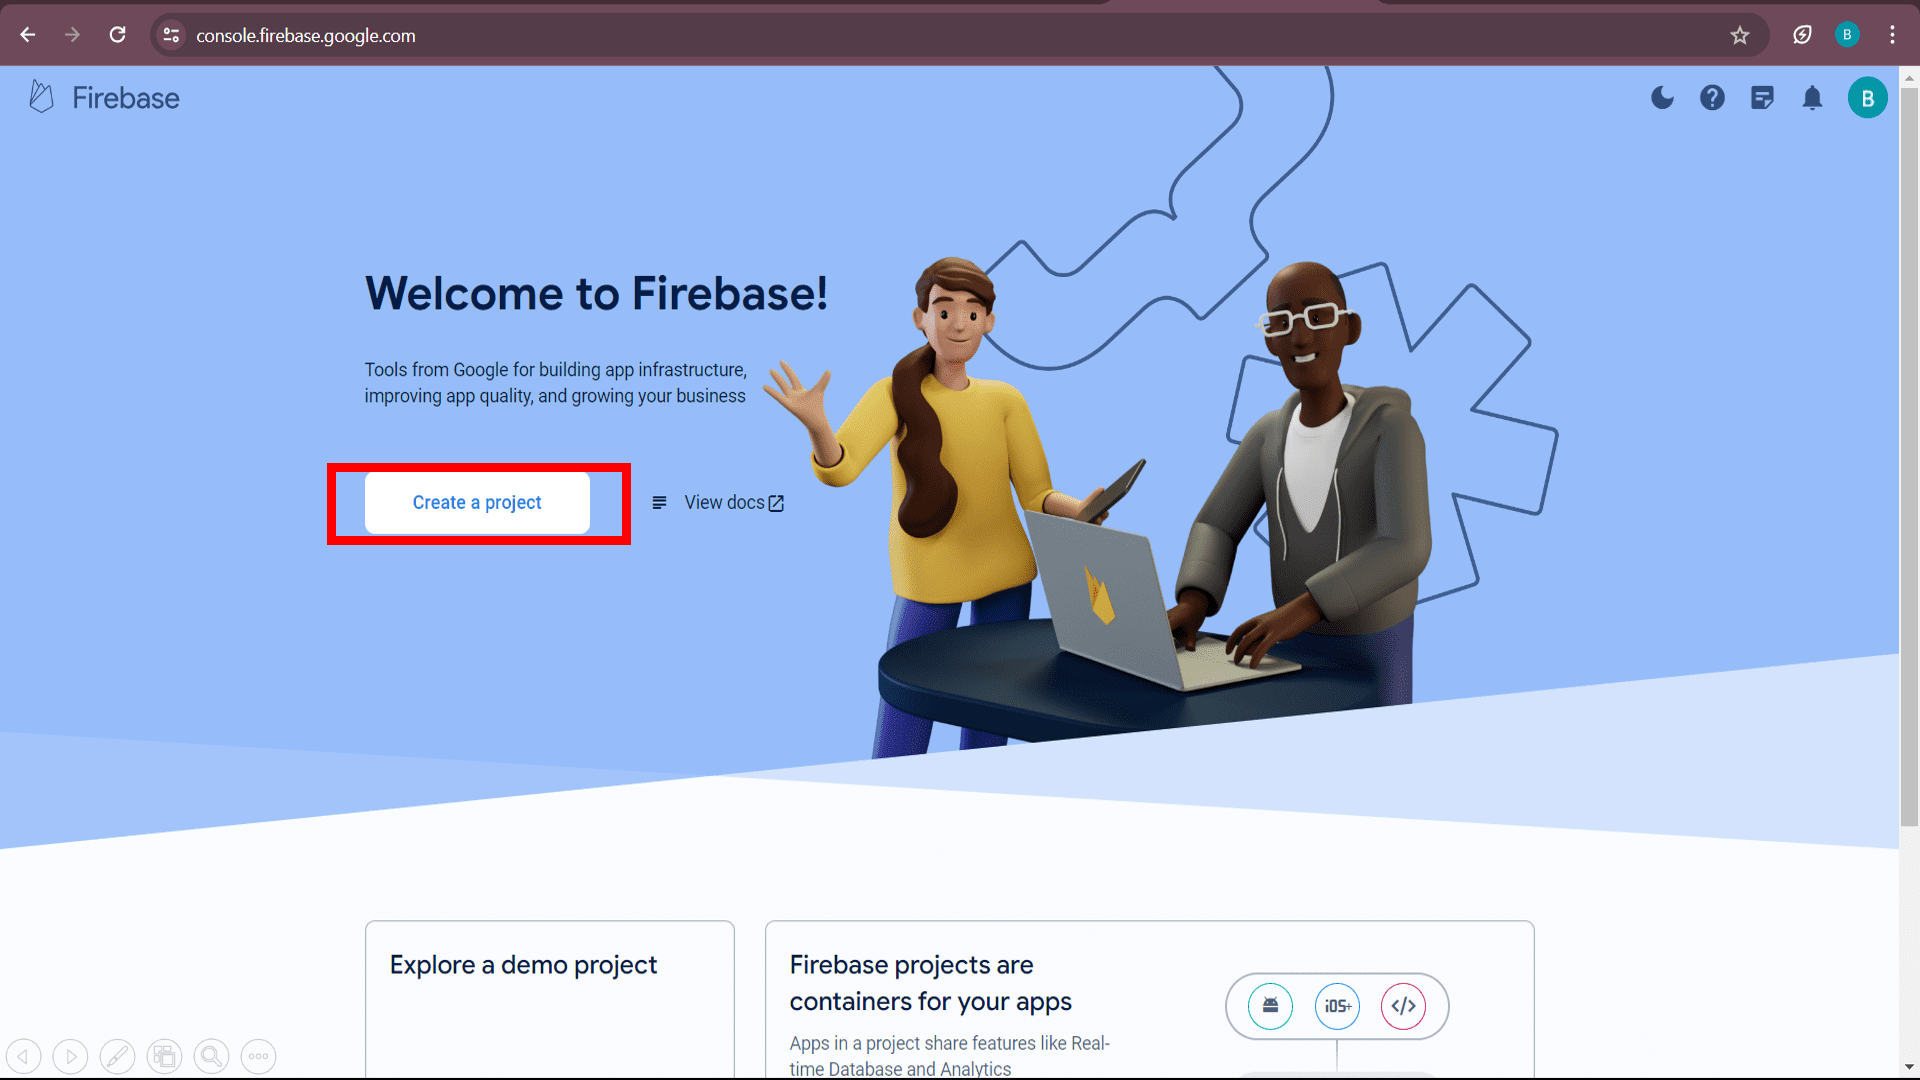
Firstly, click on "create a project" to create a new blank project in firebase.
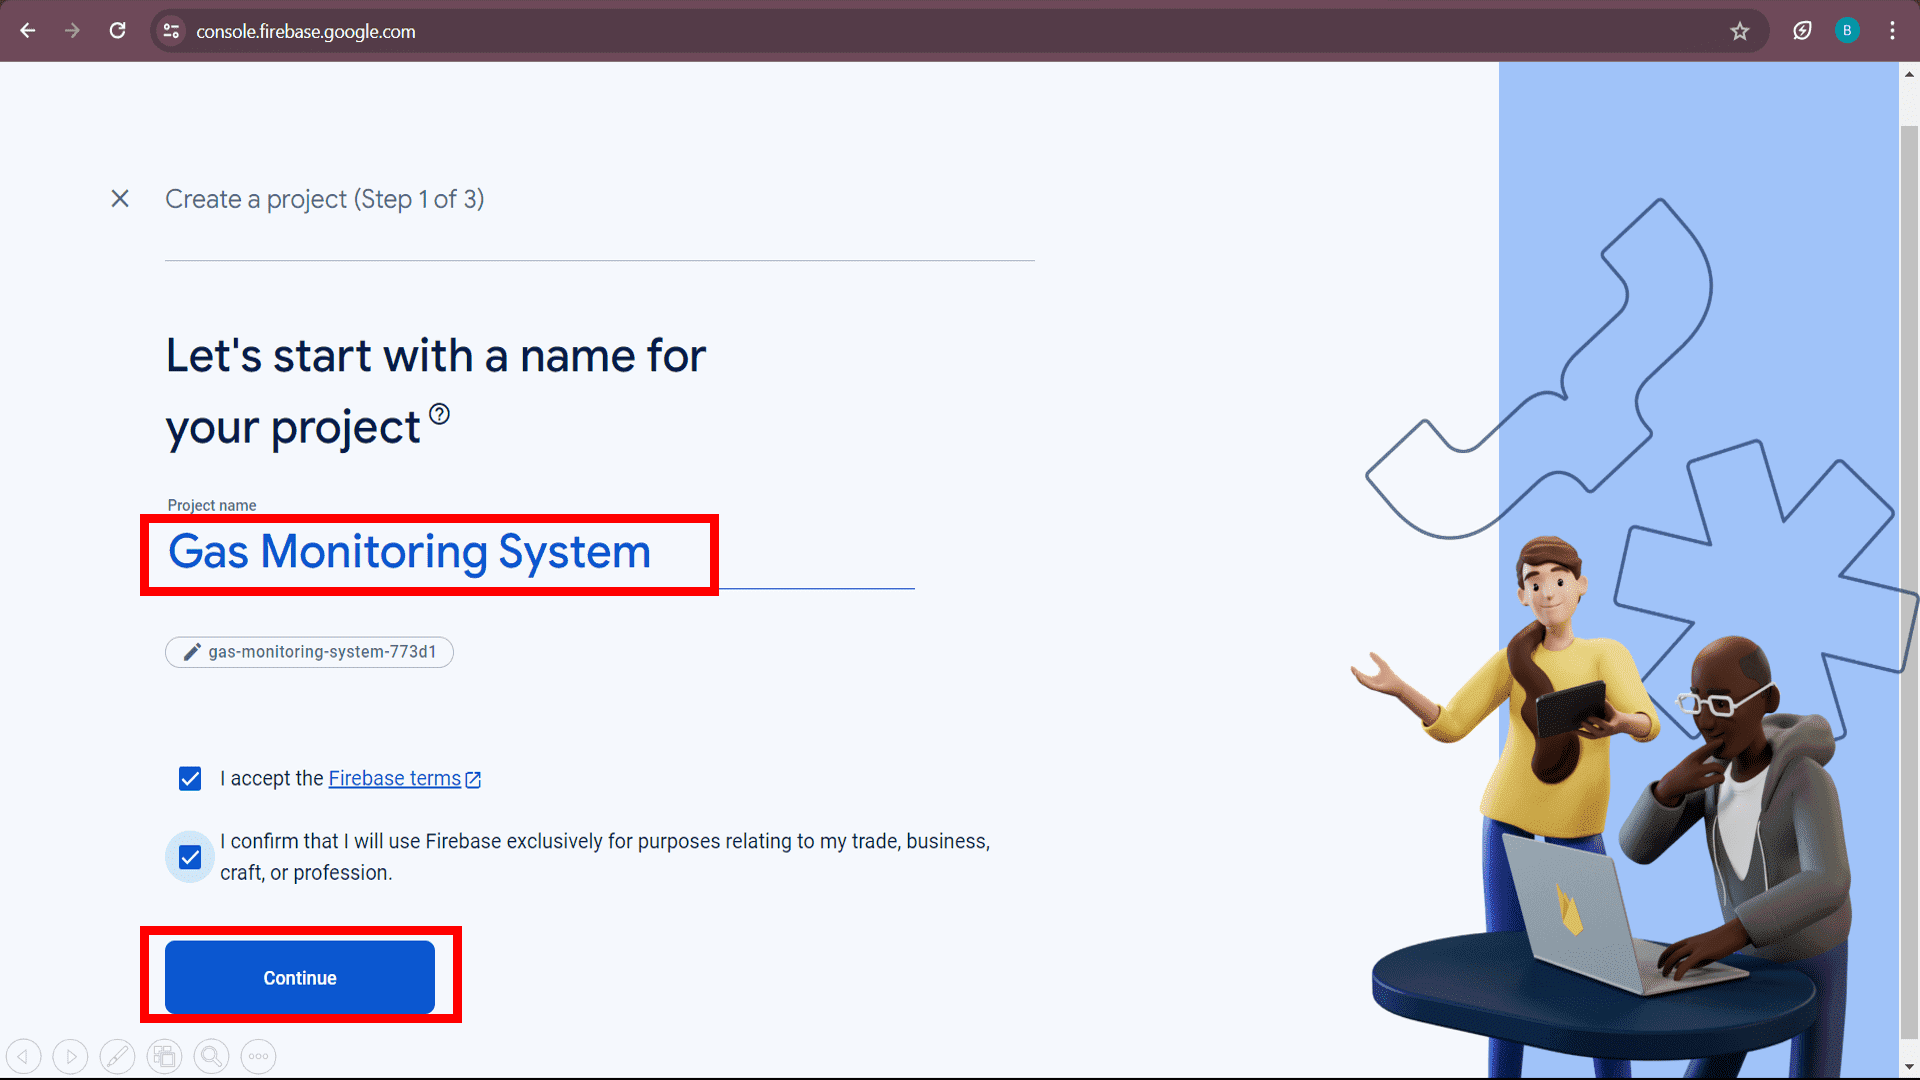
Add your Project name as per your convenience. Select all the checkbox of terms and conditions and click on "continue".
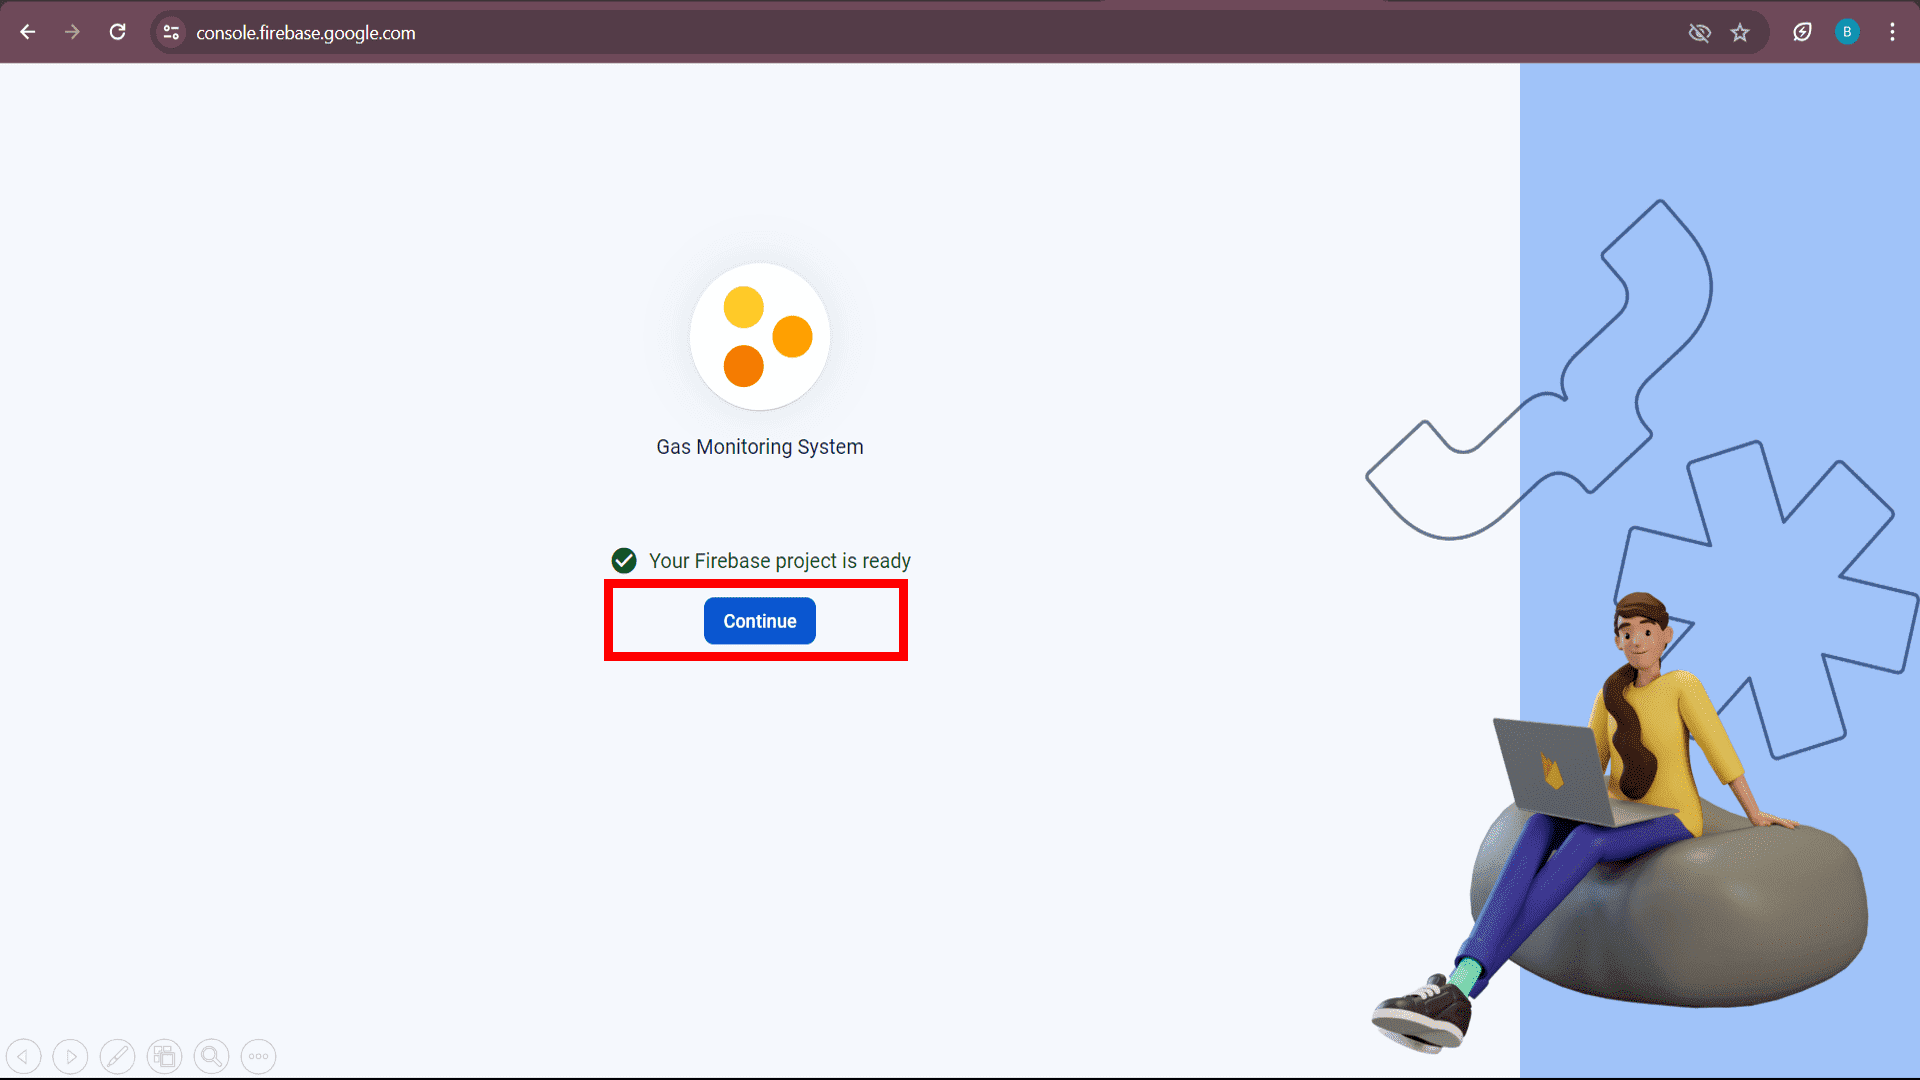
Now, the project is ready. Click on "continue" for further work.

Click on "Realtime database" option to create a blank realtime database which is situated at the left portion of interface of firebase.
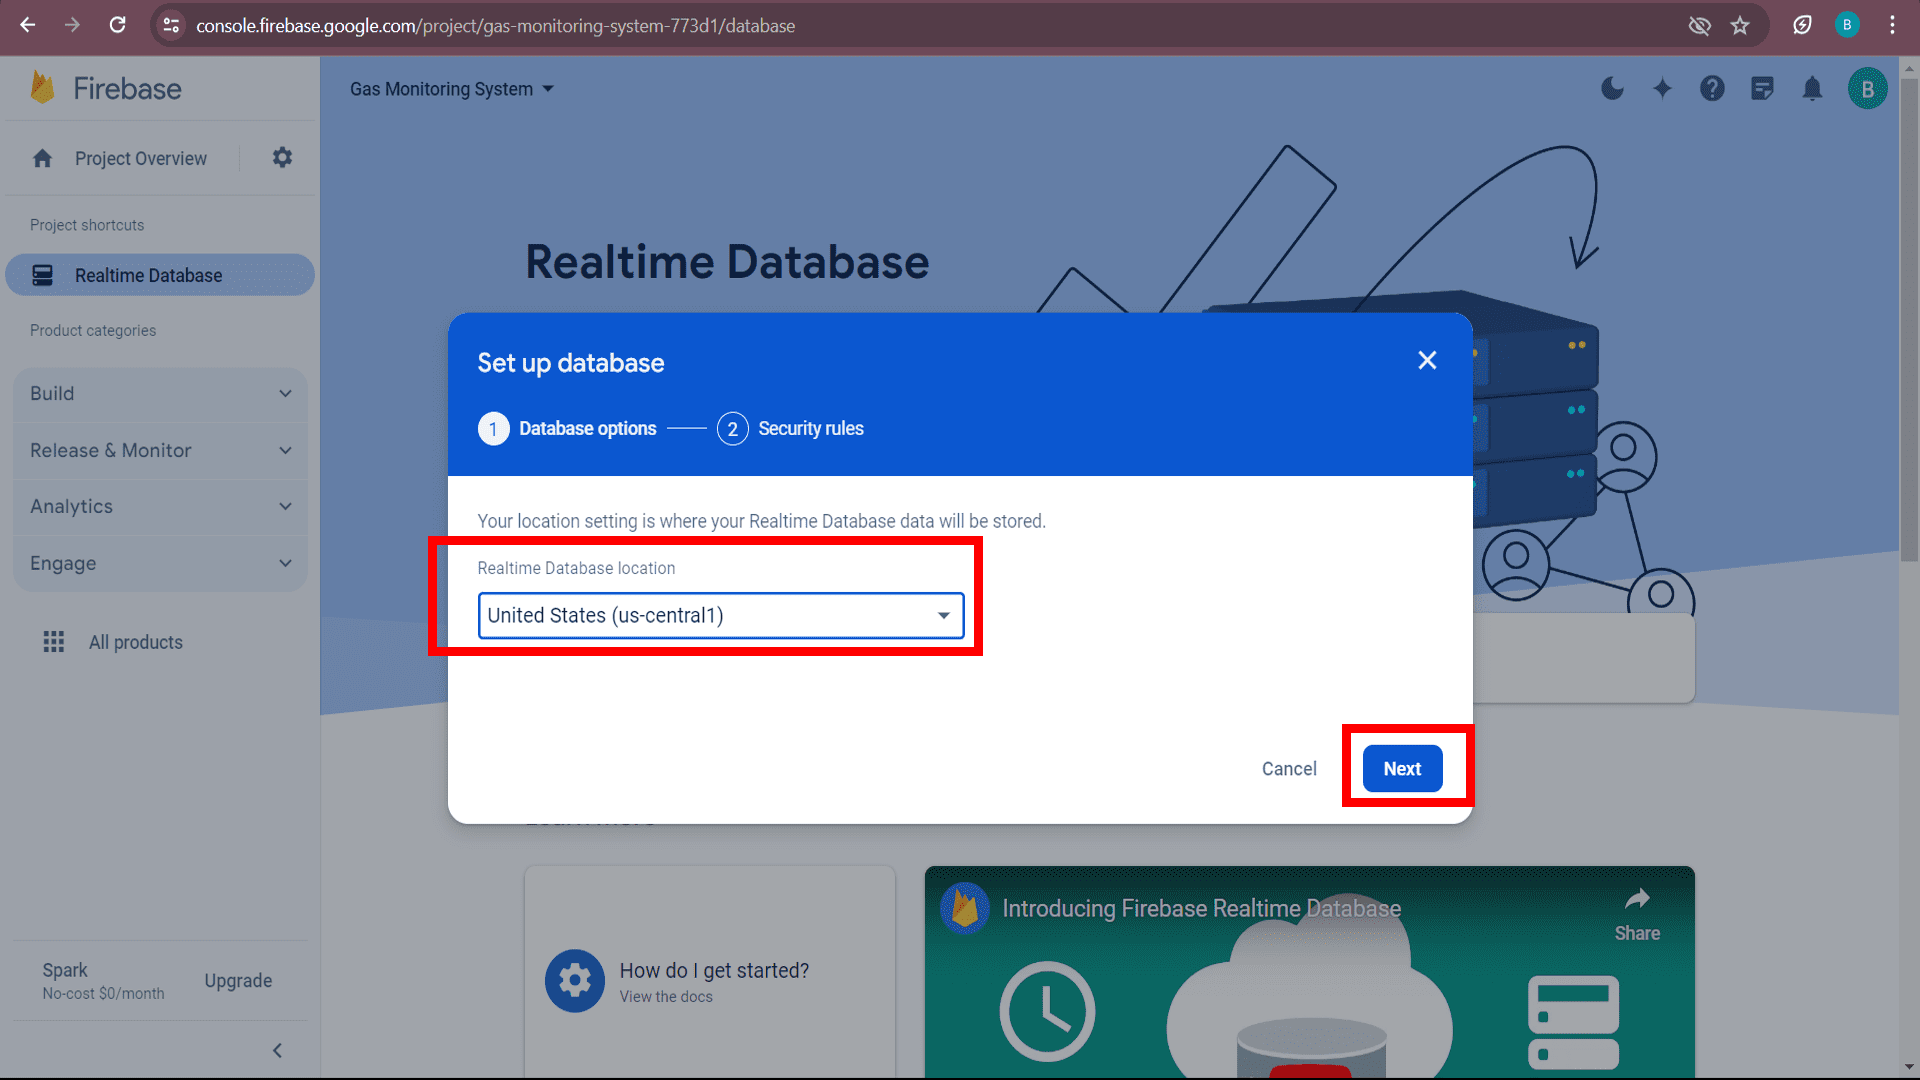
Now, select default settings and click "next".
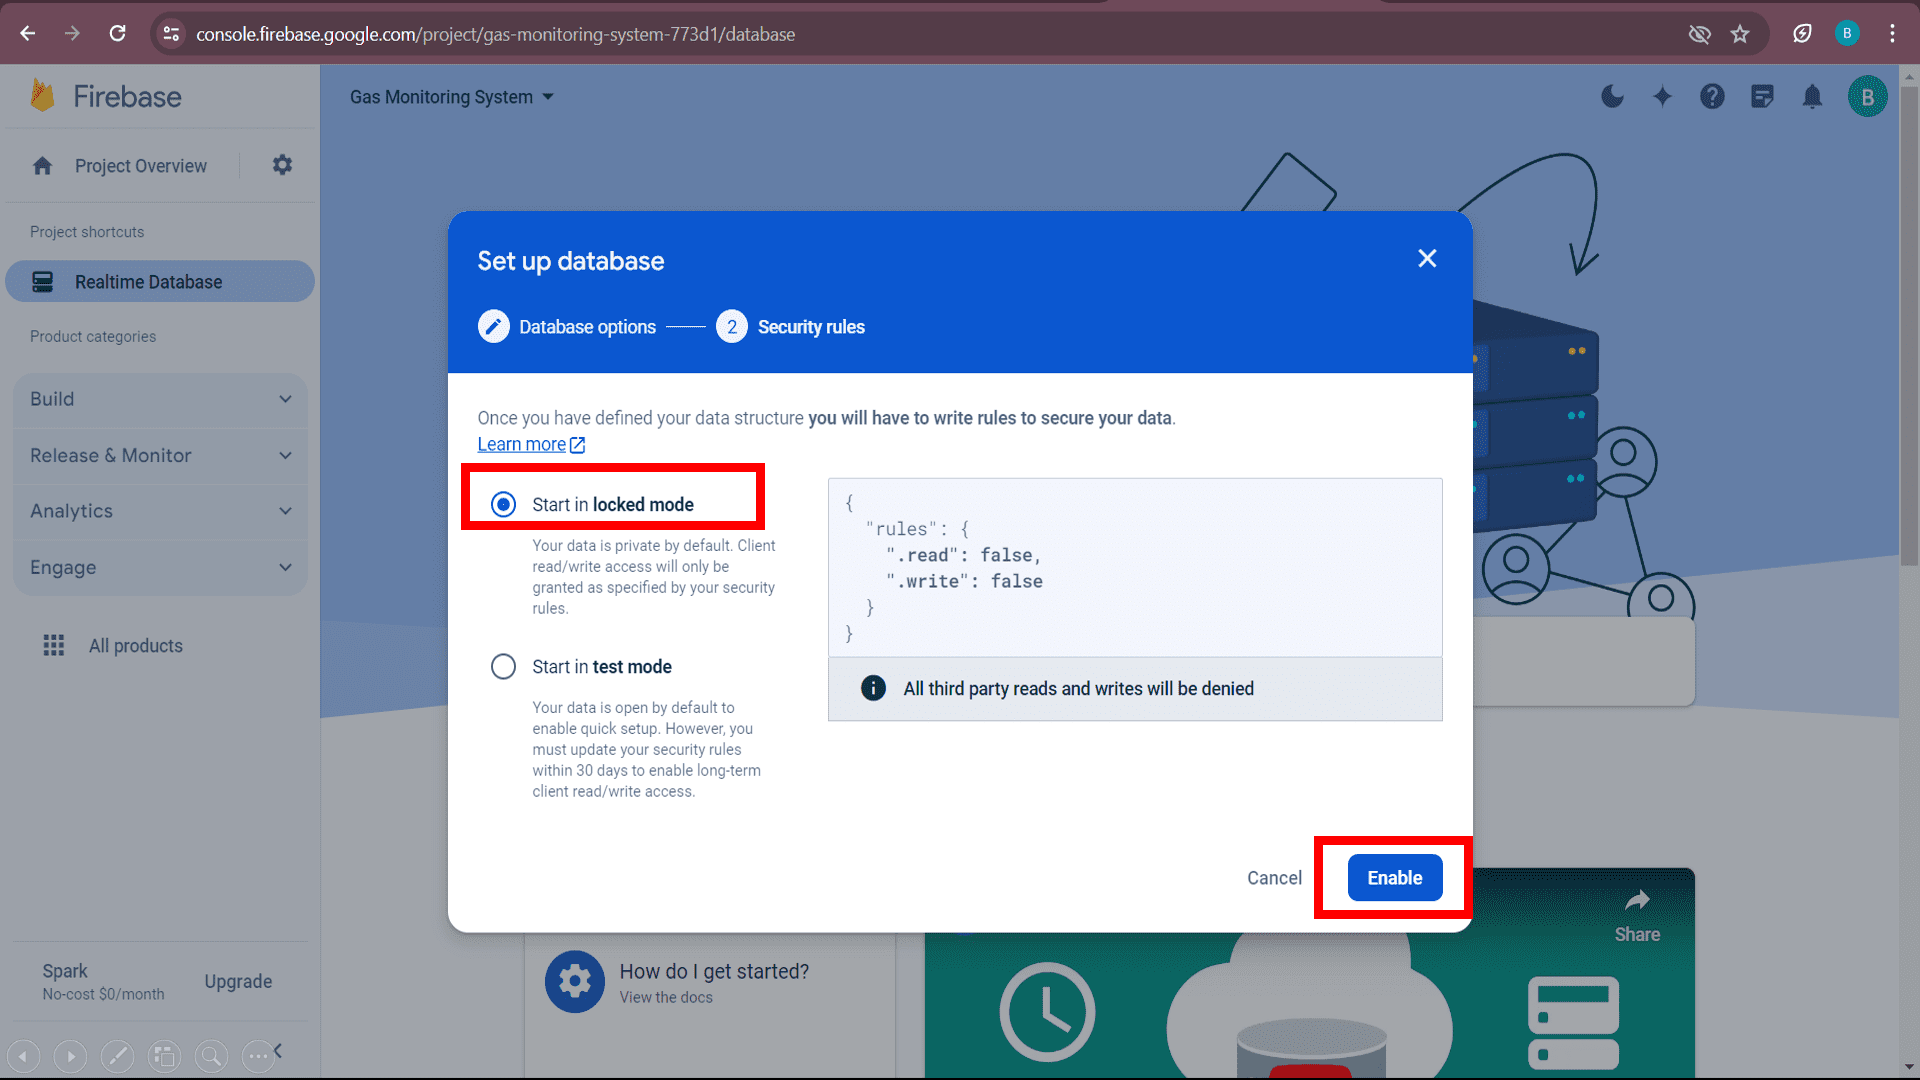
Again, select default settings and click on "enable".
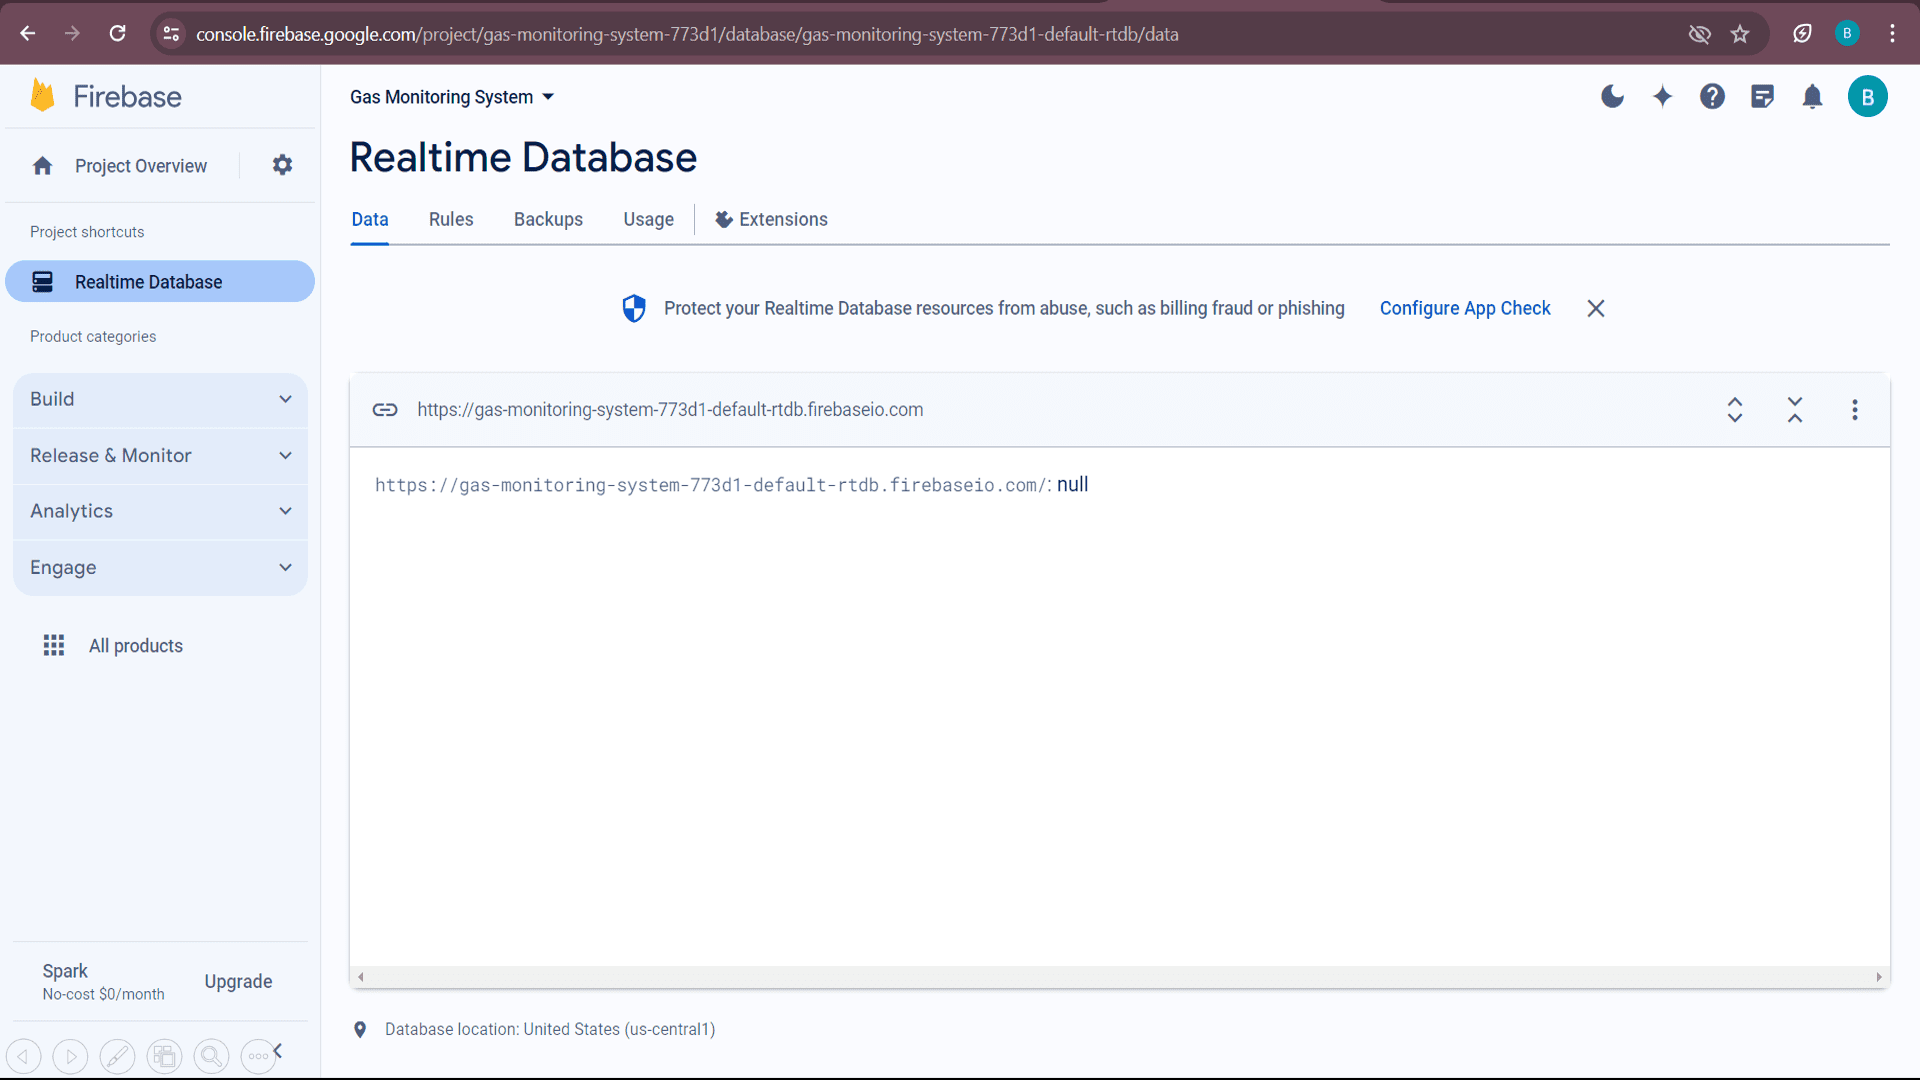
Here, the realtime database is created to see the realtime changes in values of respective connected devices.
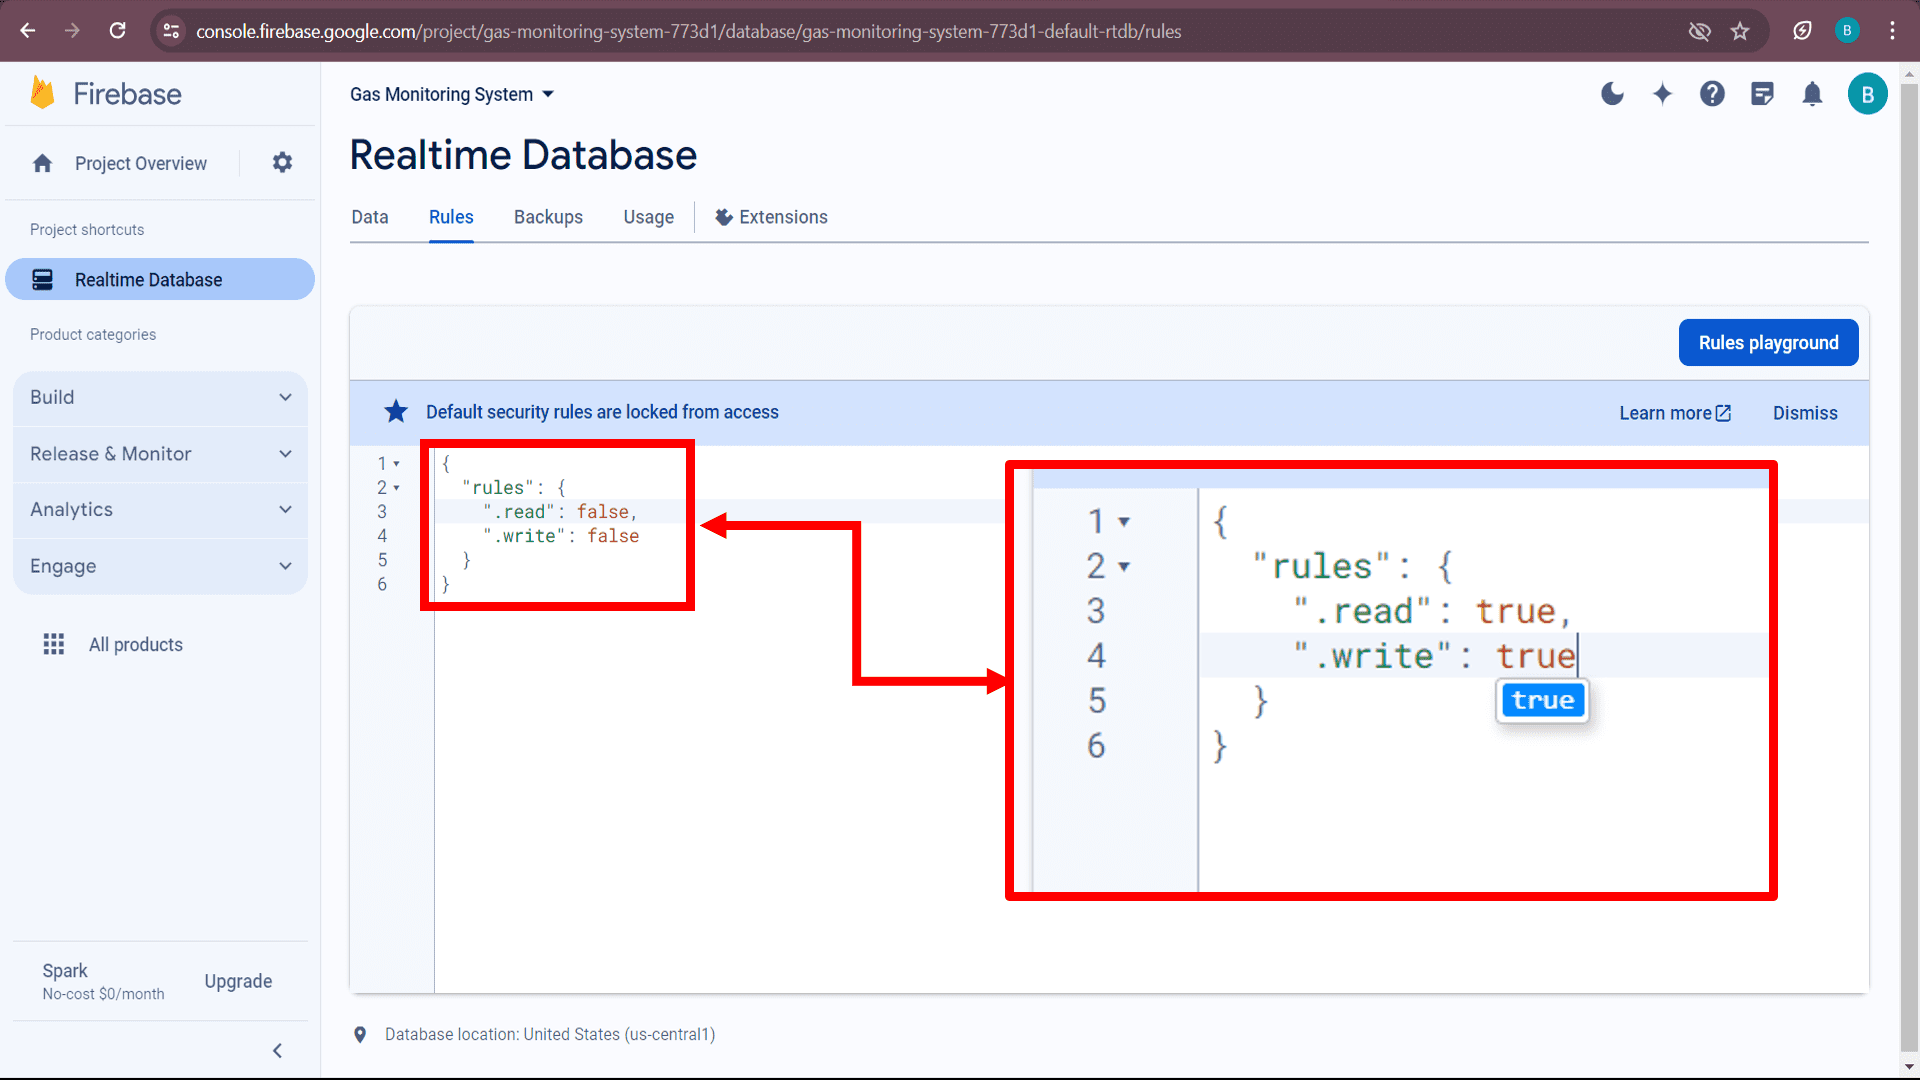
Now, go to the "Rules" option and make some changes i.e. change false to true for reading and writing the data.
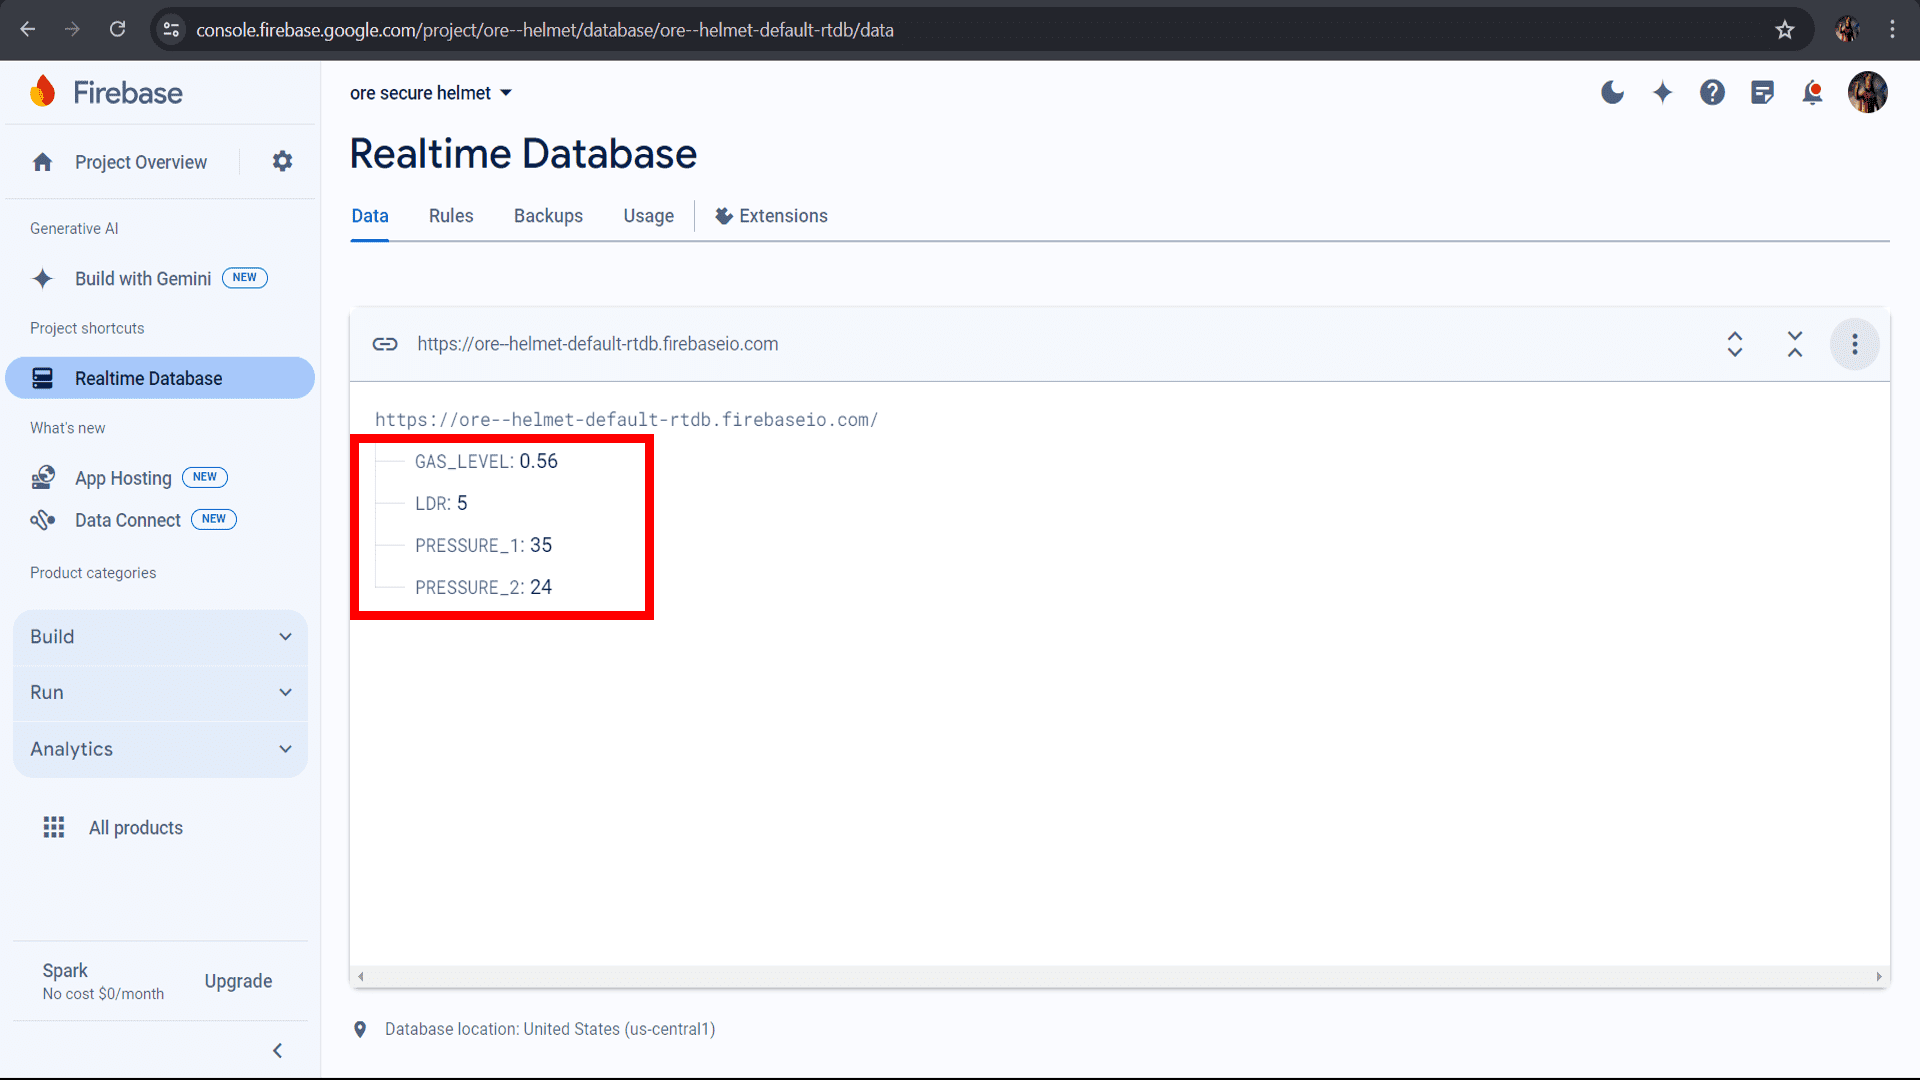
And finally, add one by one values which you want to see in the app.
MIT App Inventor
I used MIT App Inventor to build my app. It's a tool that lets you create Android apps without needing to be a coding expert. Instead of writing code, you design your app by dragging and dropping different parts, like buttons and text boxes, onto a screen. Then, you connect these parts to make your app work the way you want.

Open "MIT App Inventor" and click on "Create Apps!" option to start working on app development.
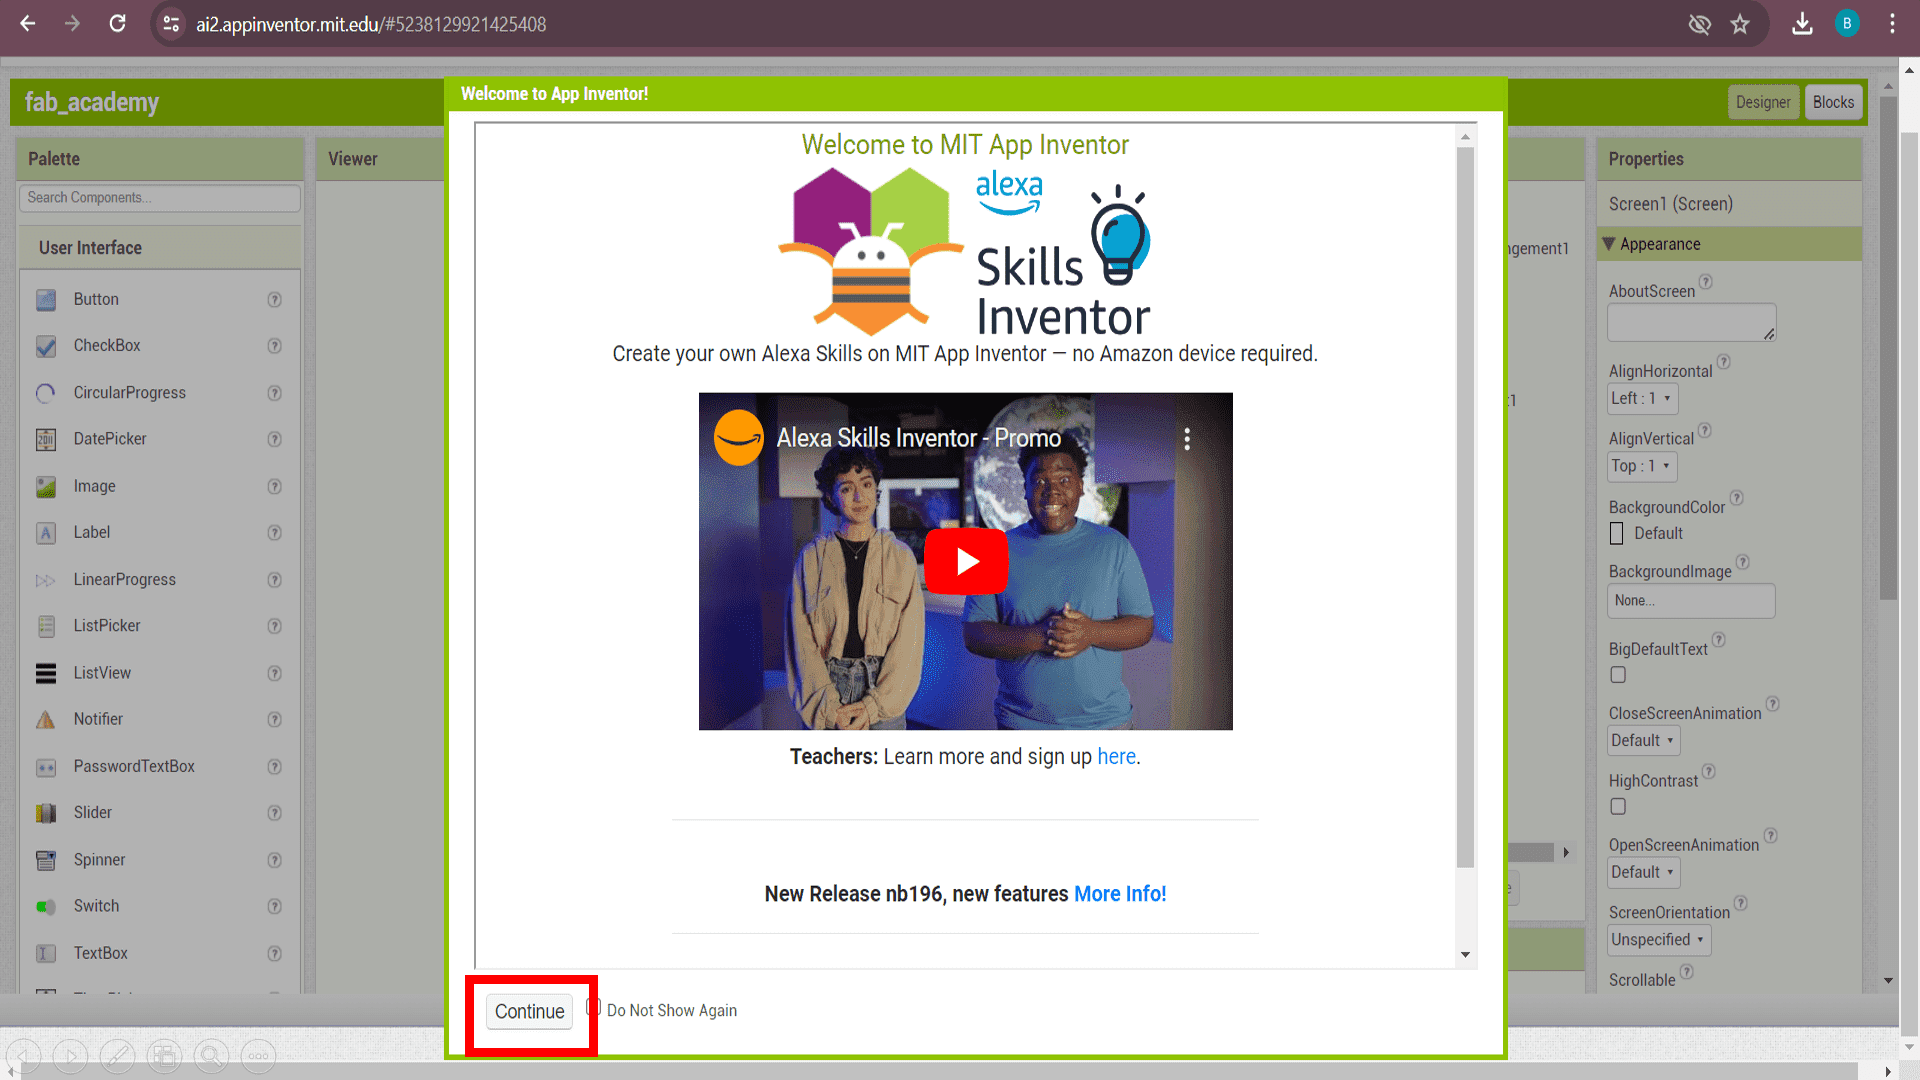
Select default settings and click on "continue" option.
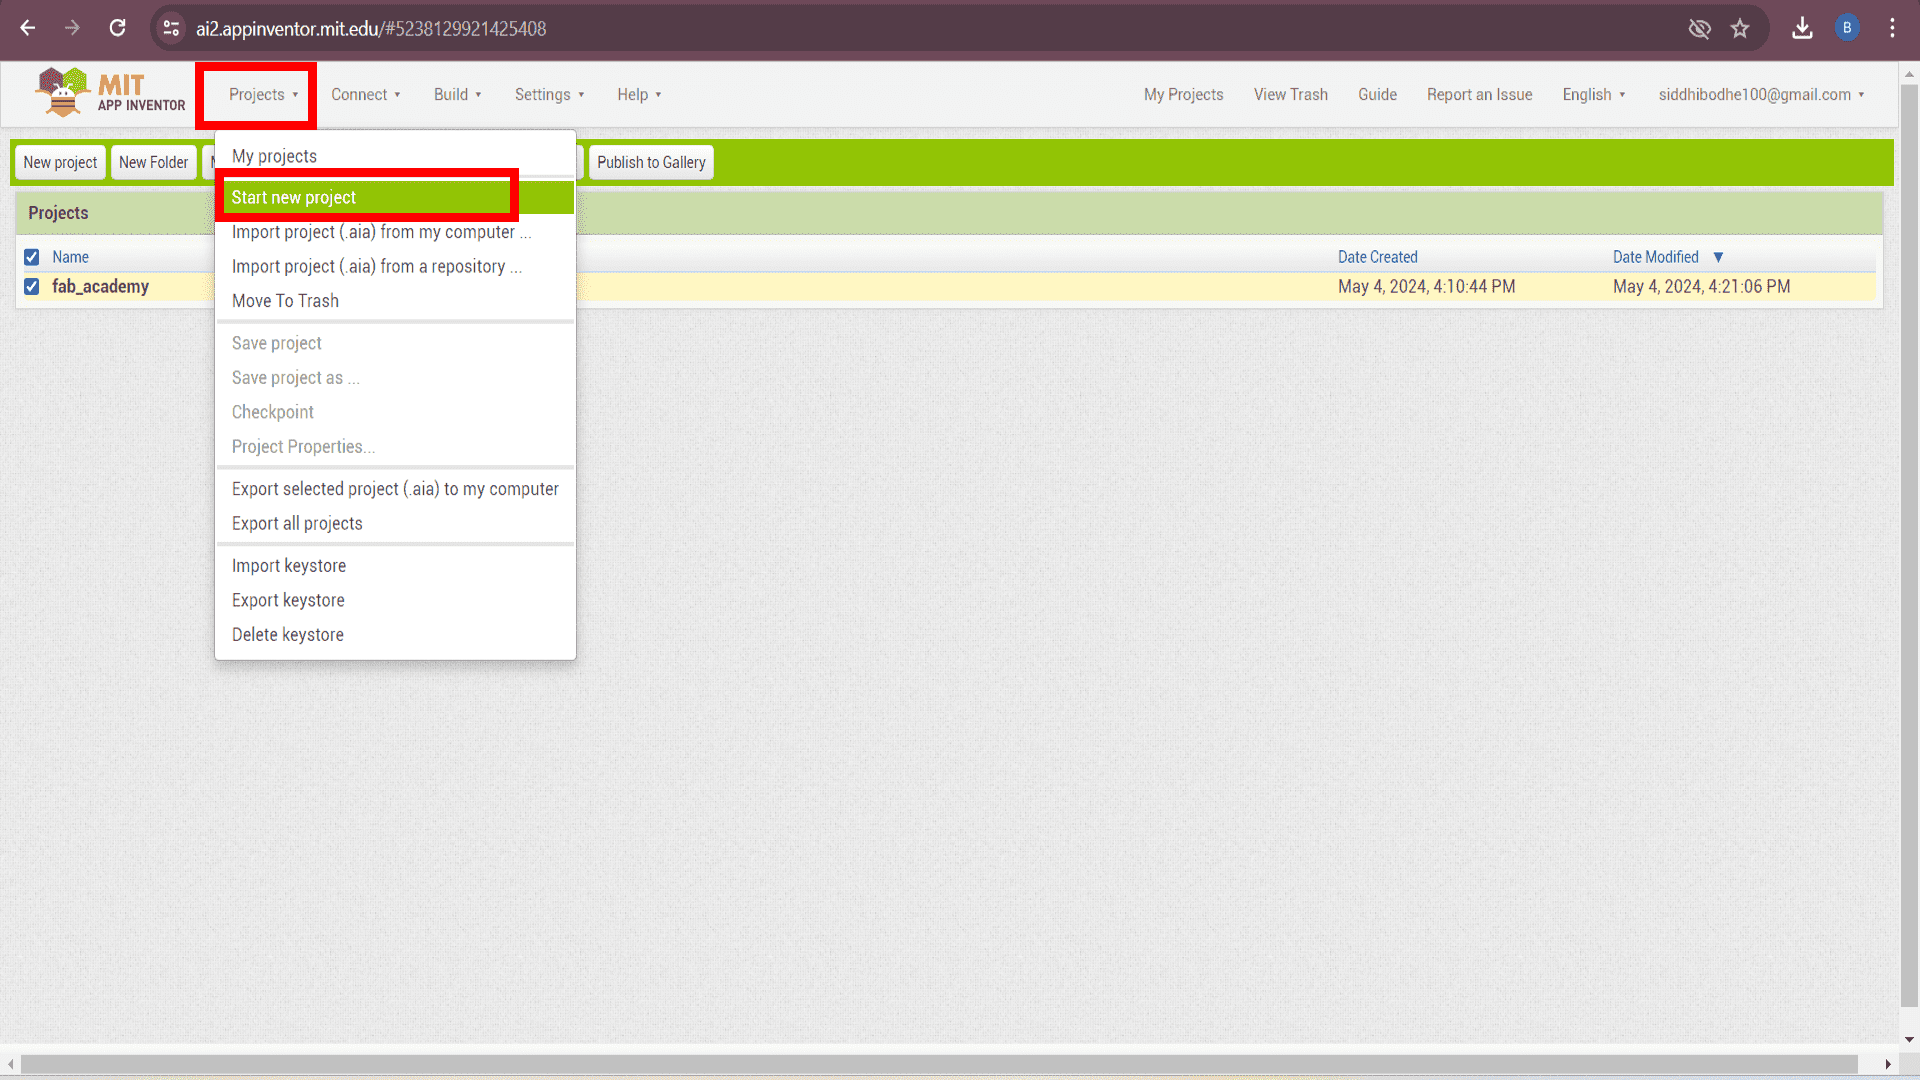
Go to the "Project" dropdown menu situated at the header and click on "Start New Project".
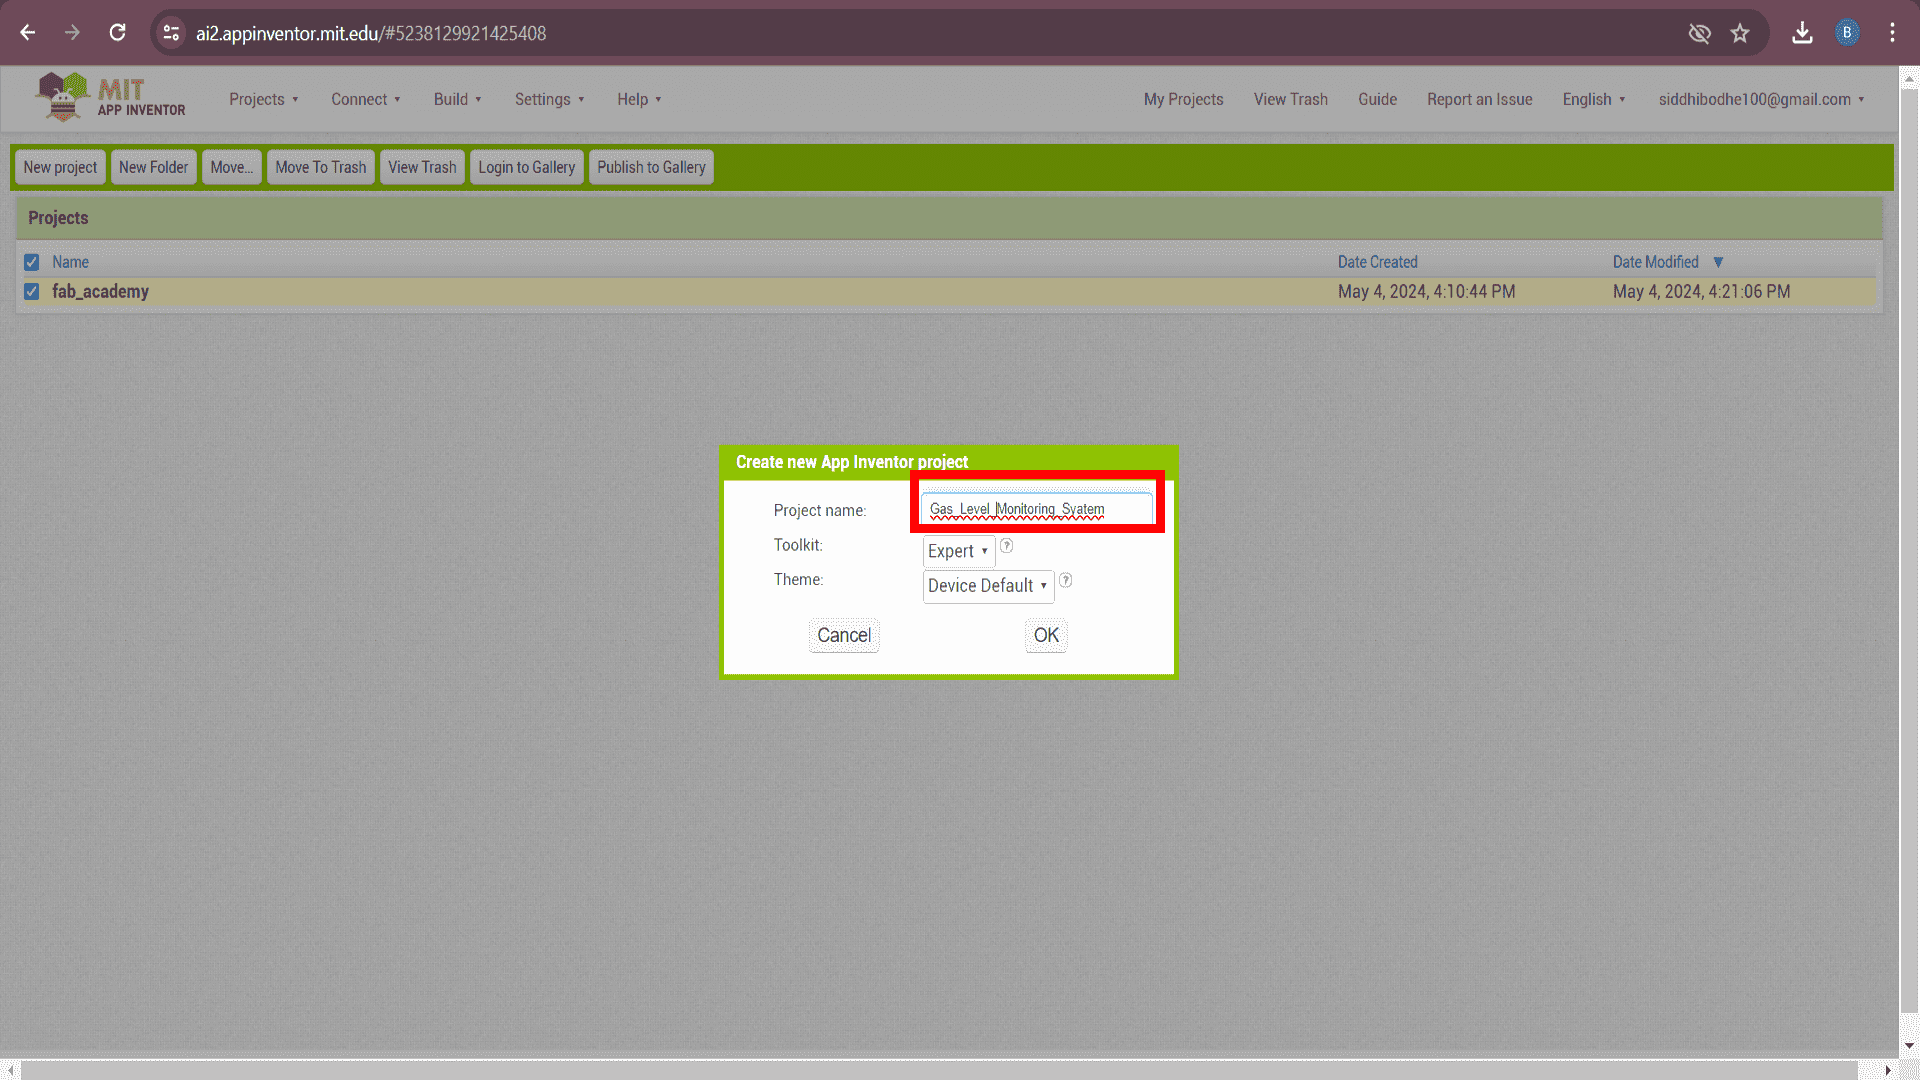
Add project name as per your requirements and click on "ok" to continue the work.
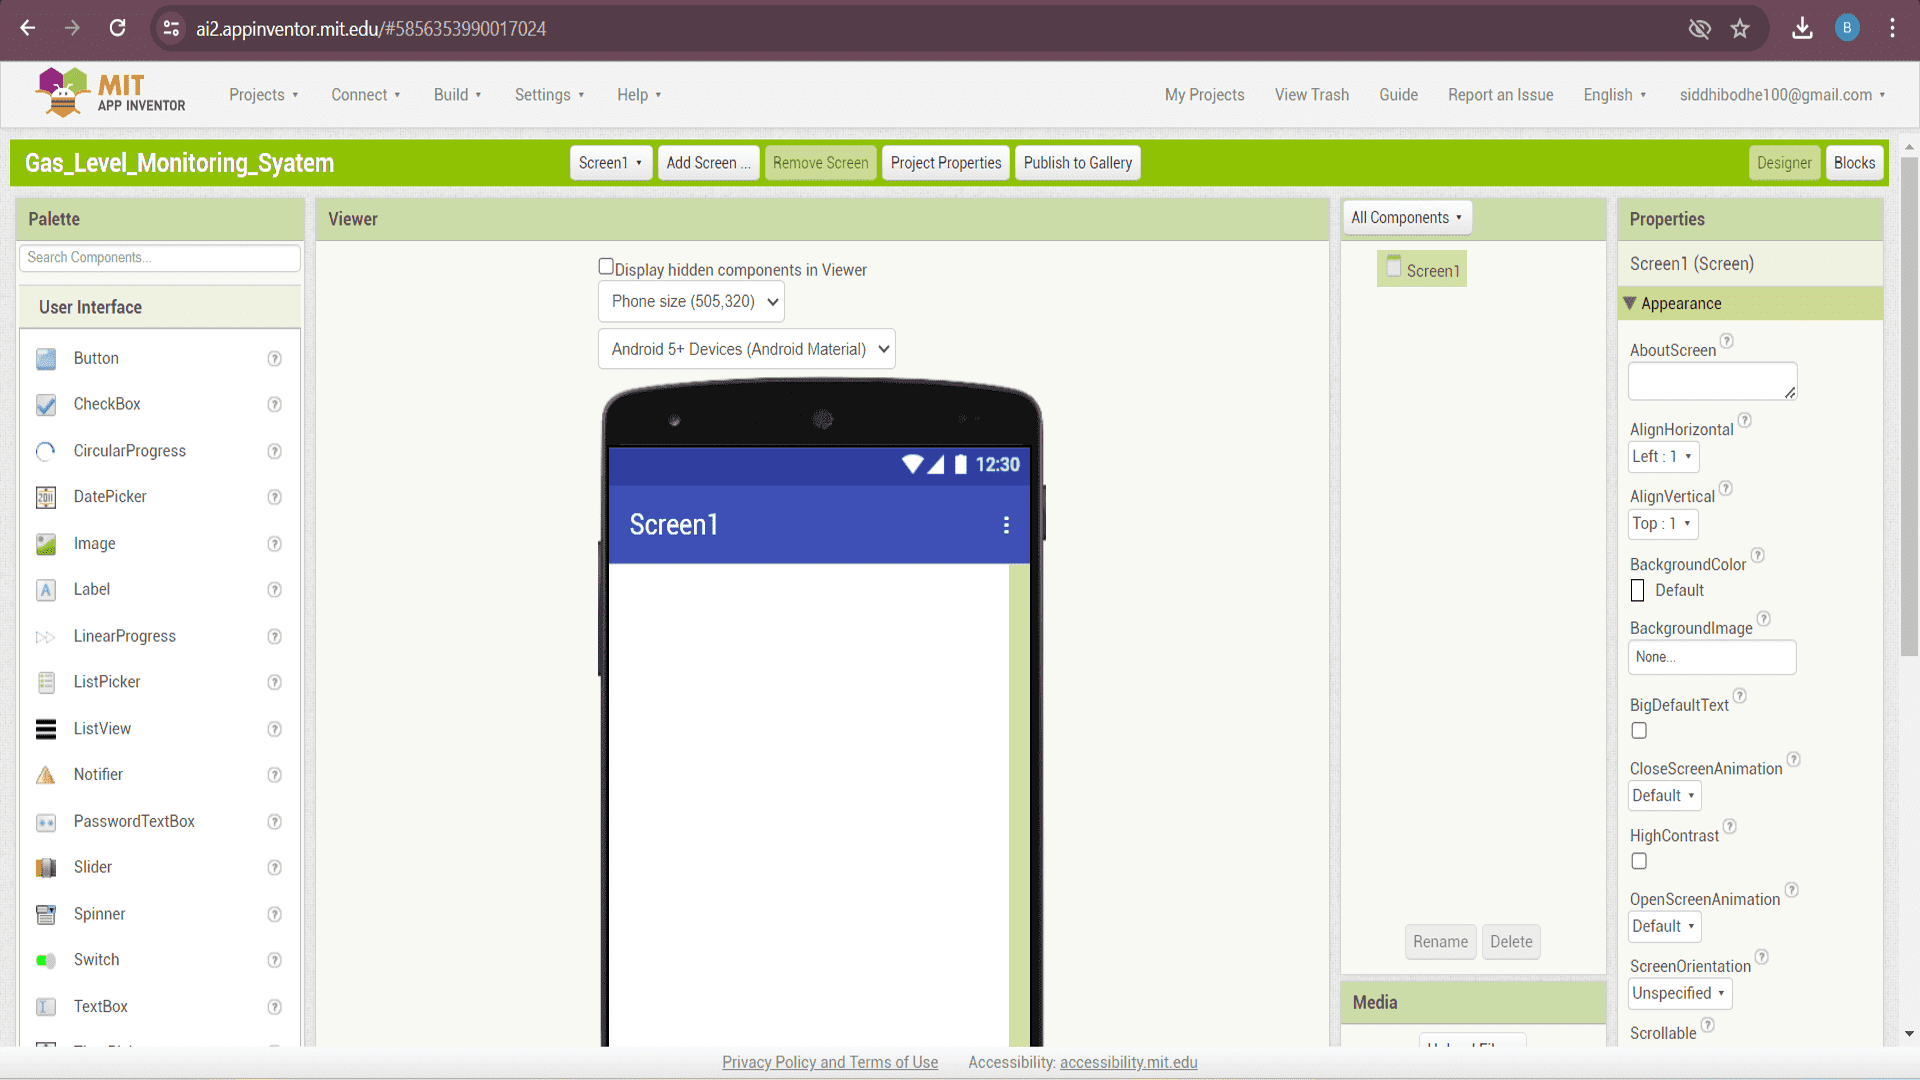
Here is the interface which consist of different parts like buttons, text box, text field, image container, switches, etc.
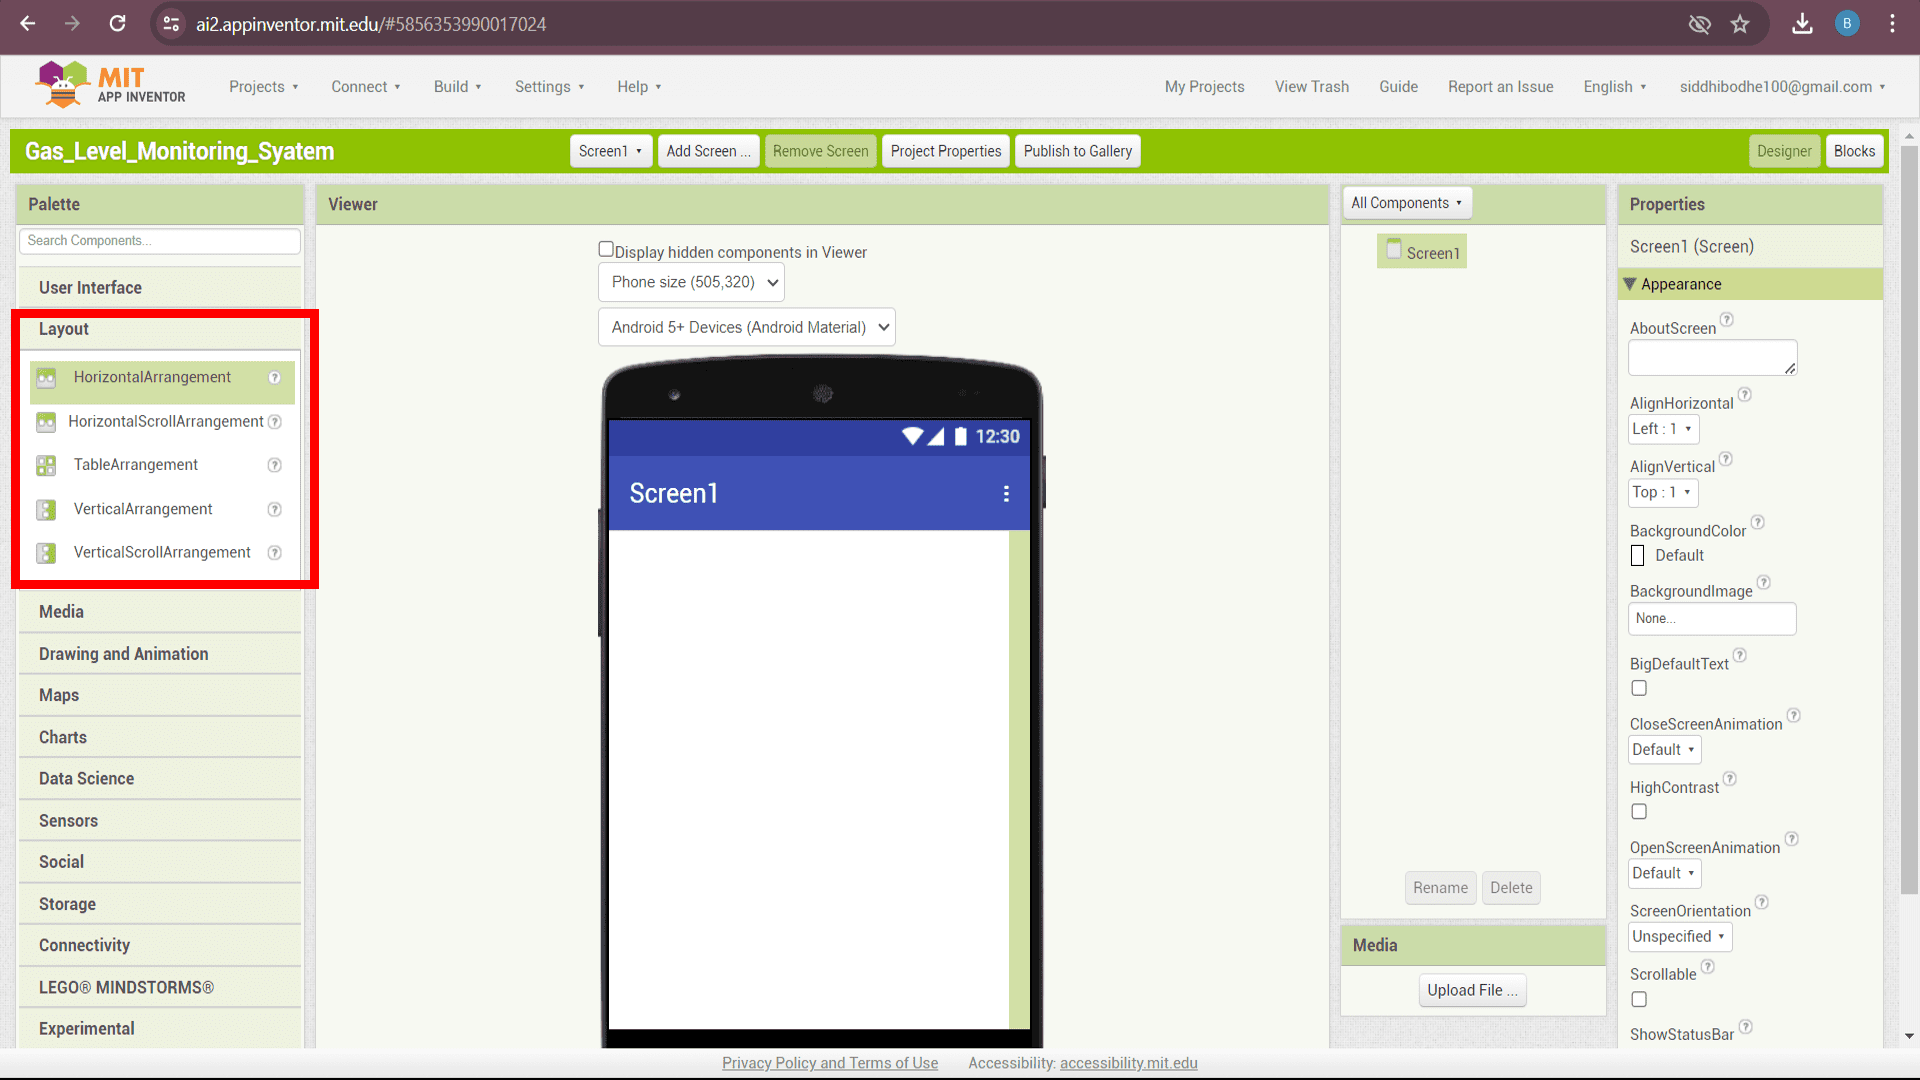
I wanted to add heading to my app as "Ore Secure Helmet", I used "Layout" option situated at the left side of interface.

Then, drag and drop the "horizontalarrangement" layout on screen.
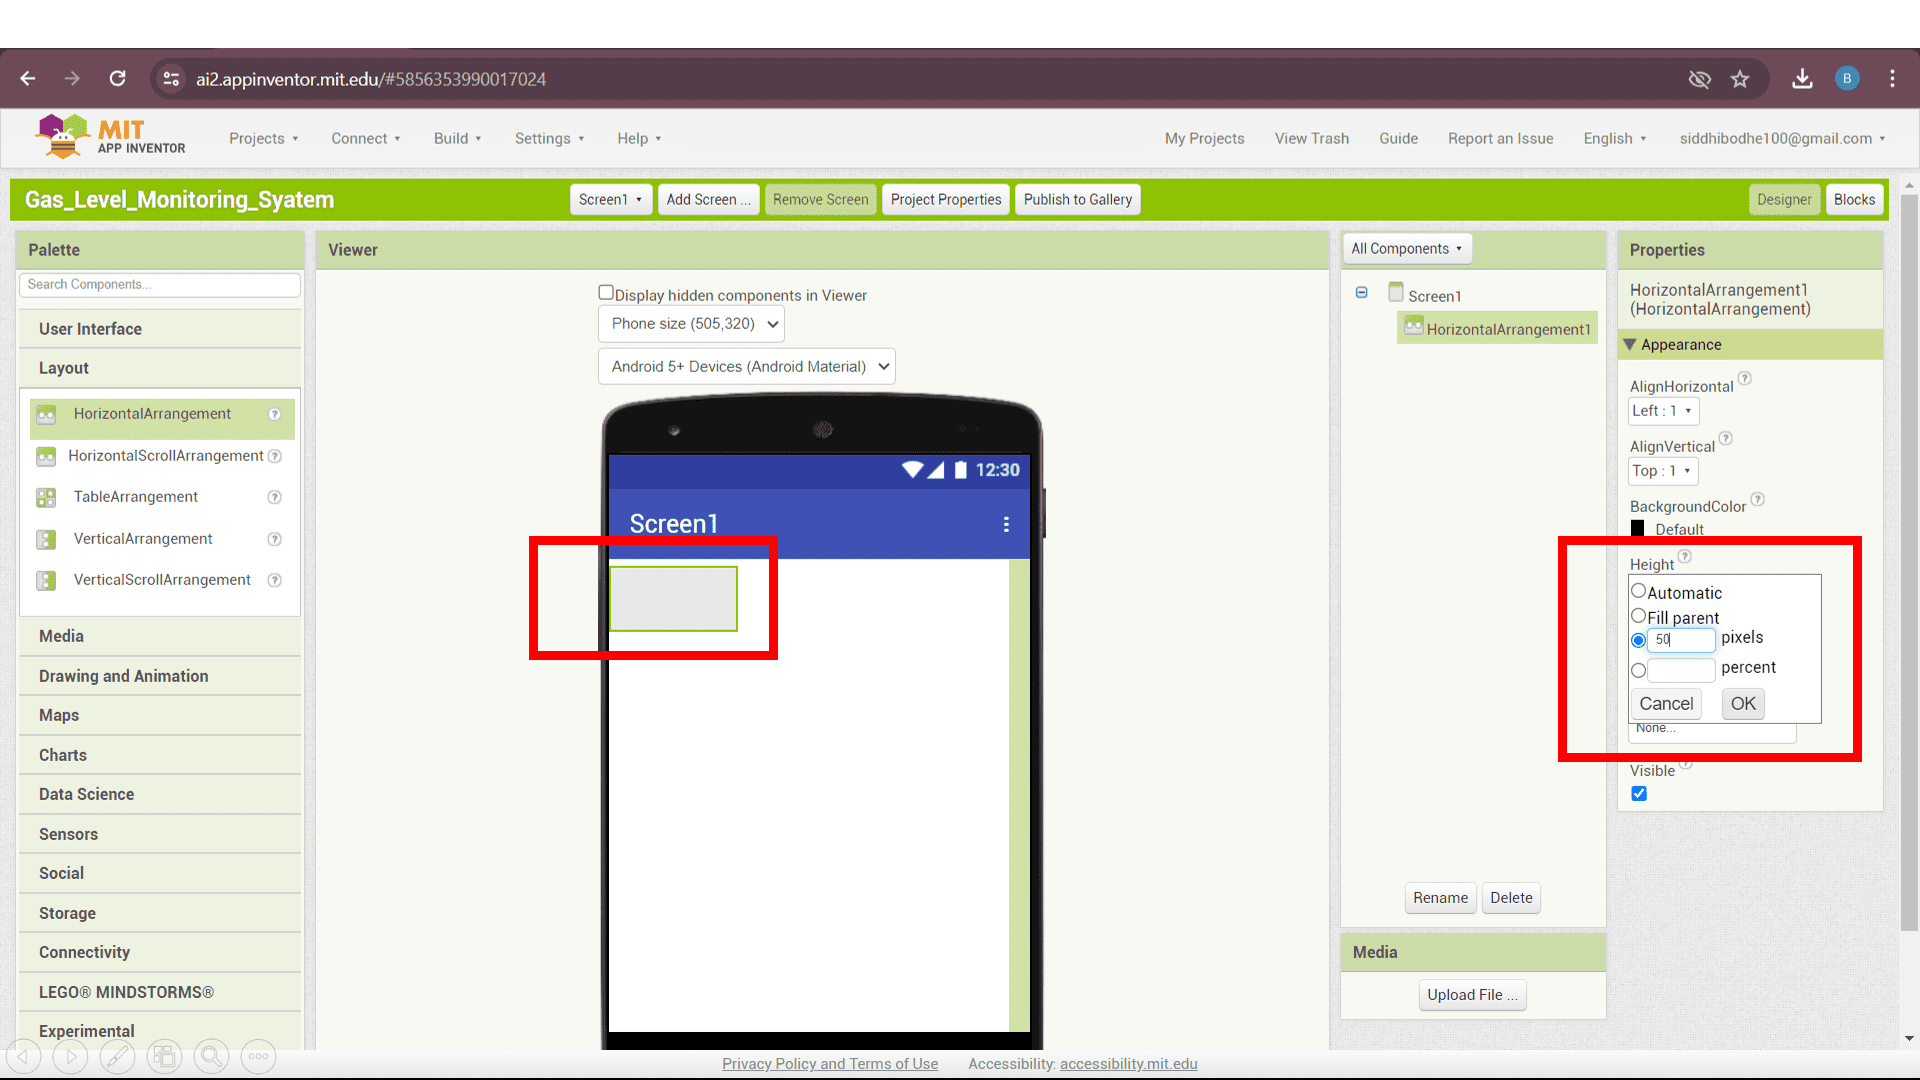
Adjust the dimensions of layout as per your need by editing values in the "Appearance" section which is situated at the right side of interface.
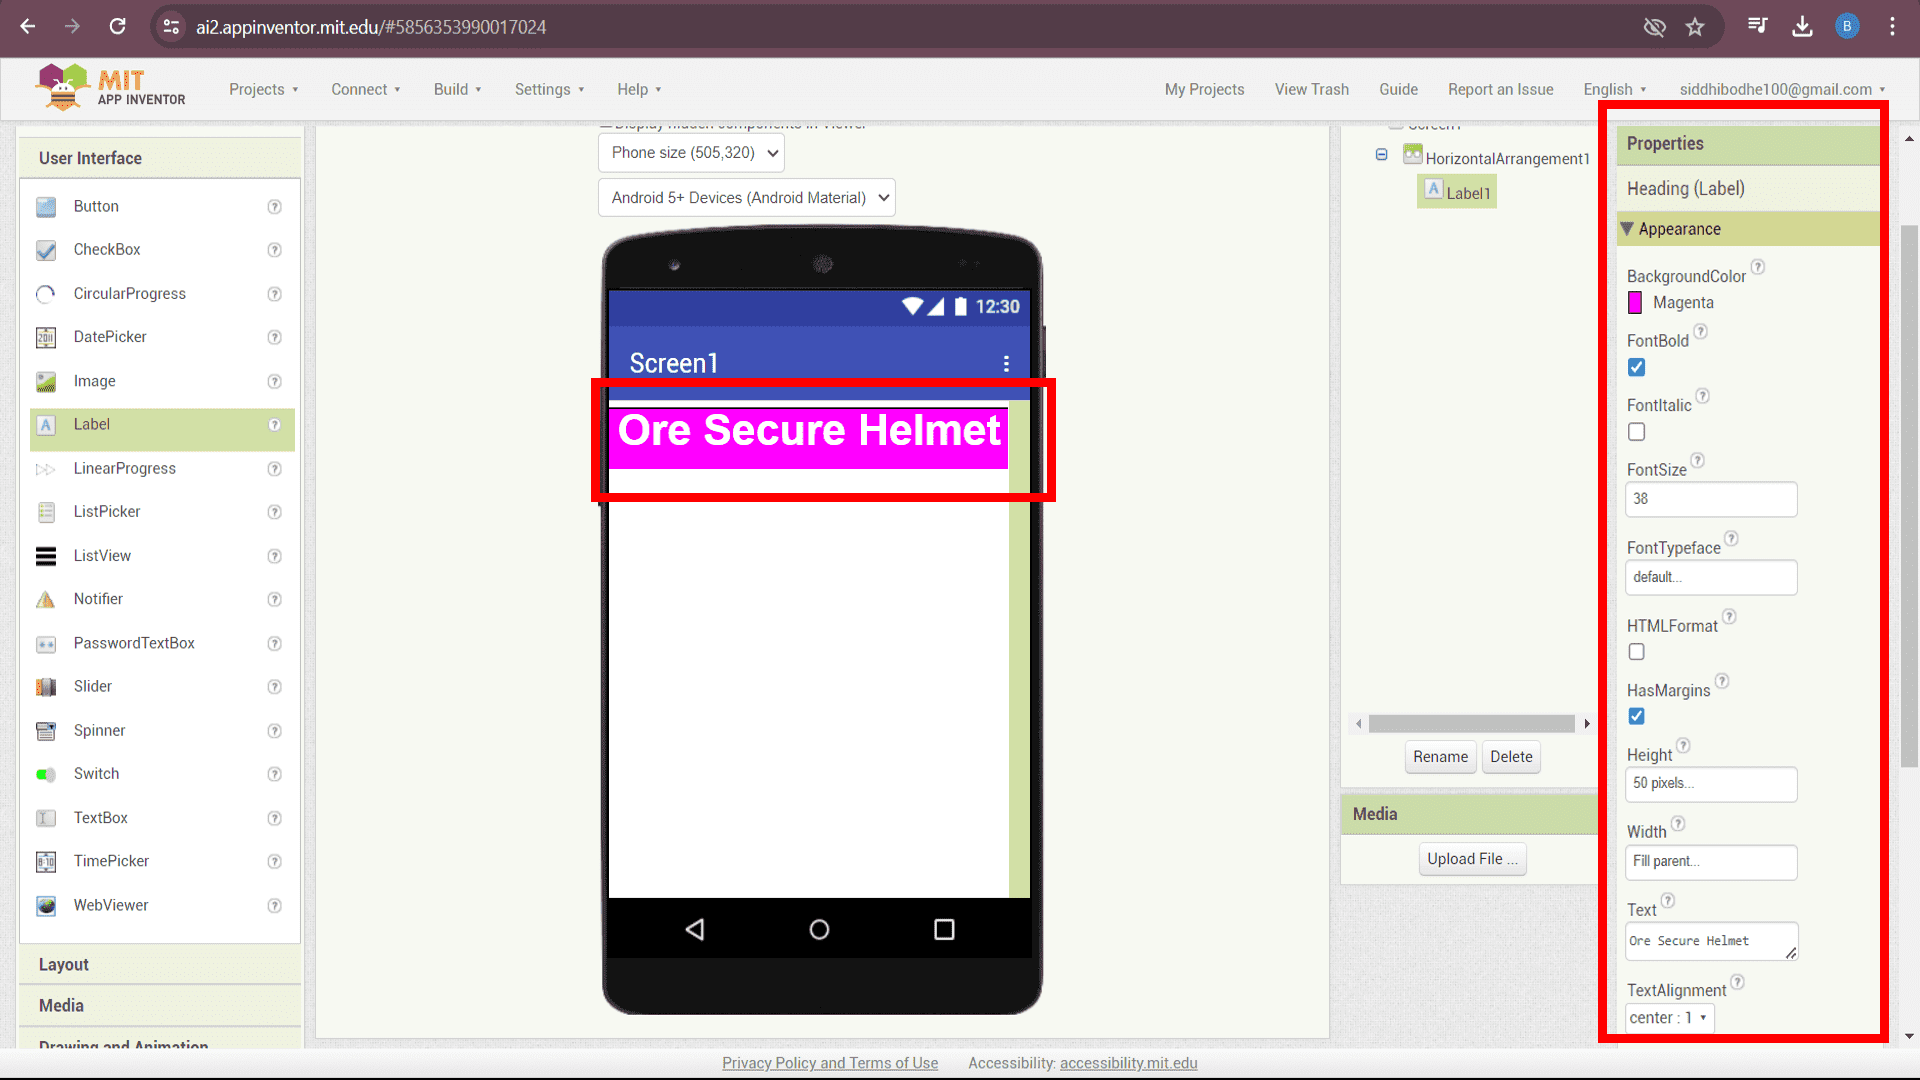
Also, I added text, font, font size, font colour and text field colour by editing "Appearance" section.
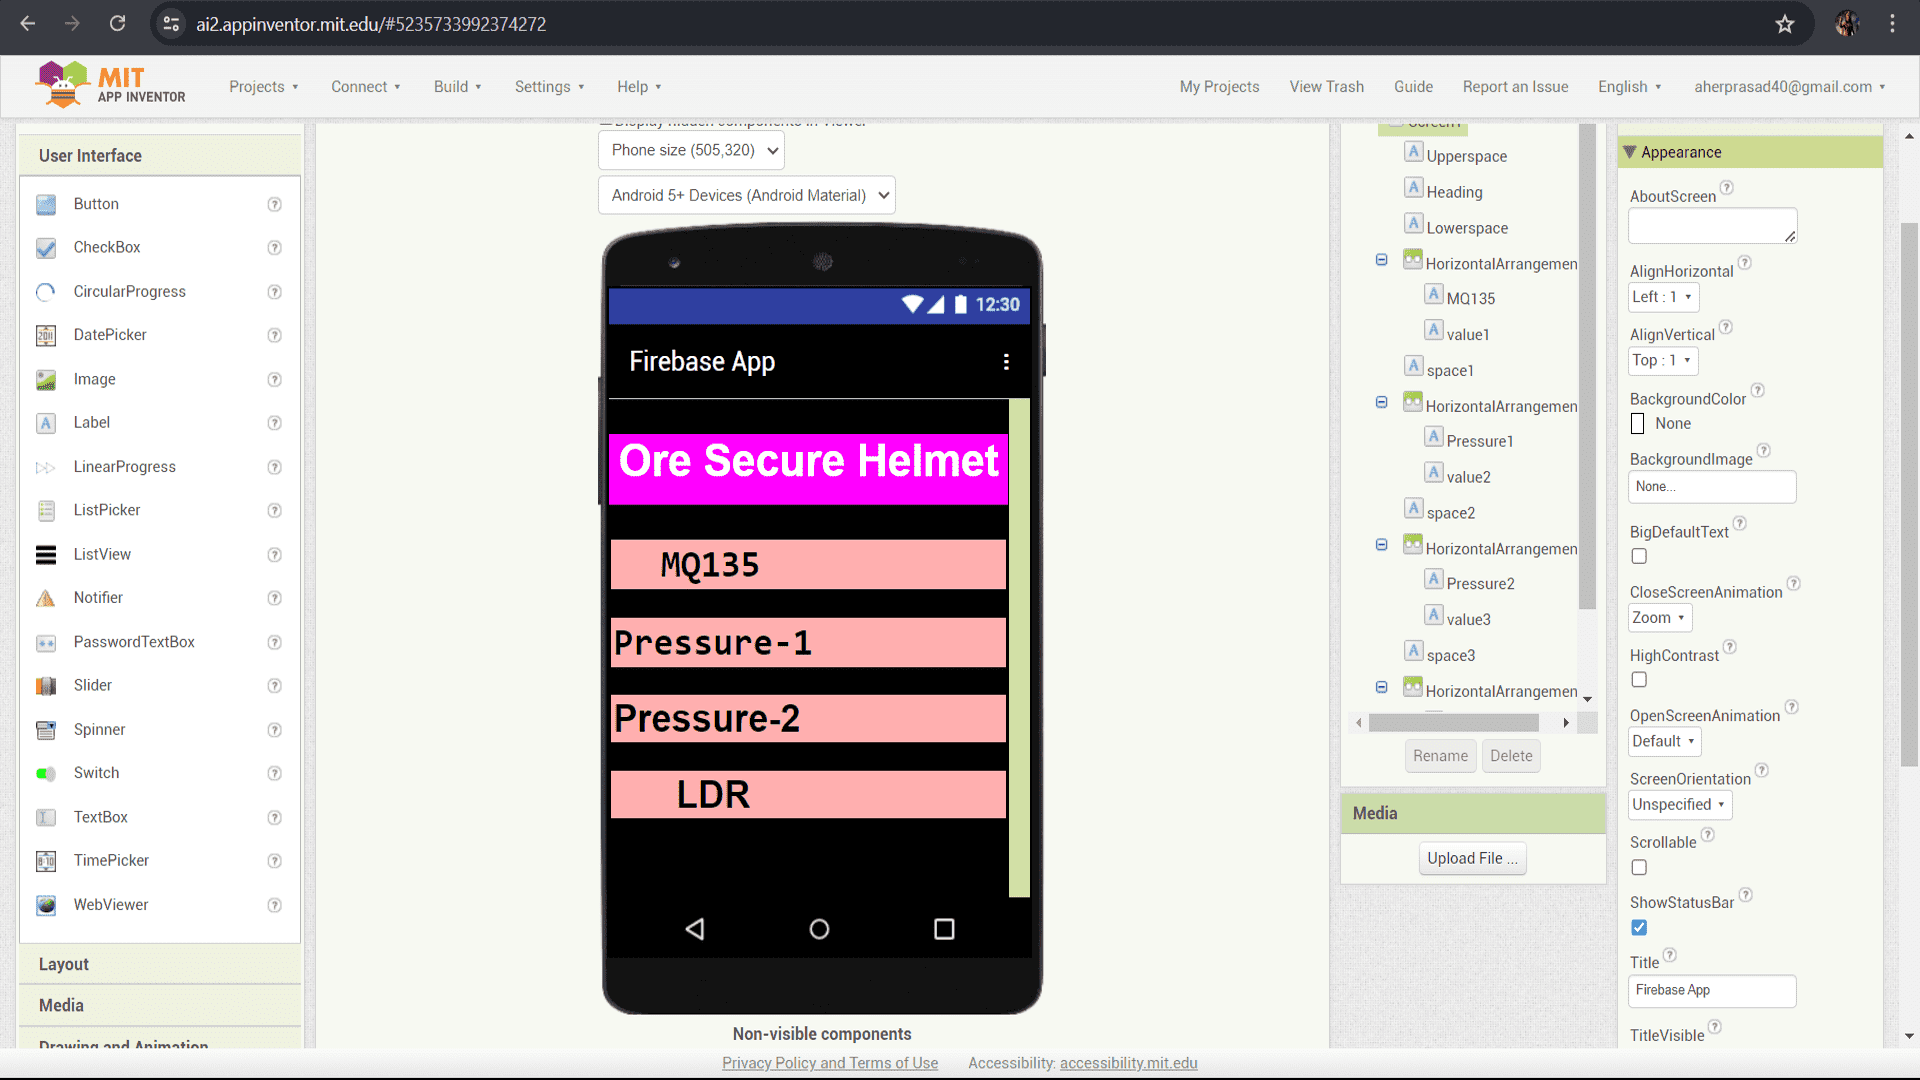
By following above steps and all other "pallettes" option, I designed front end of my app.
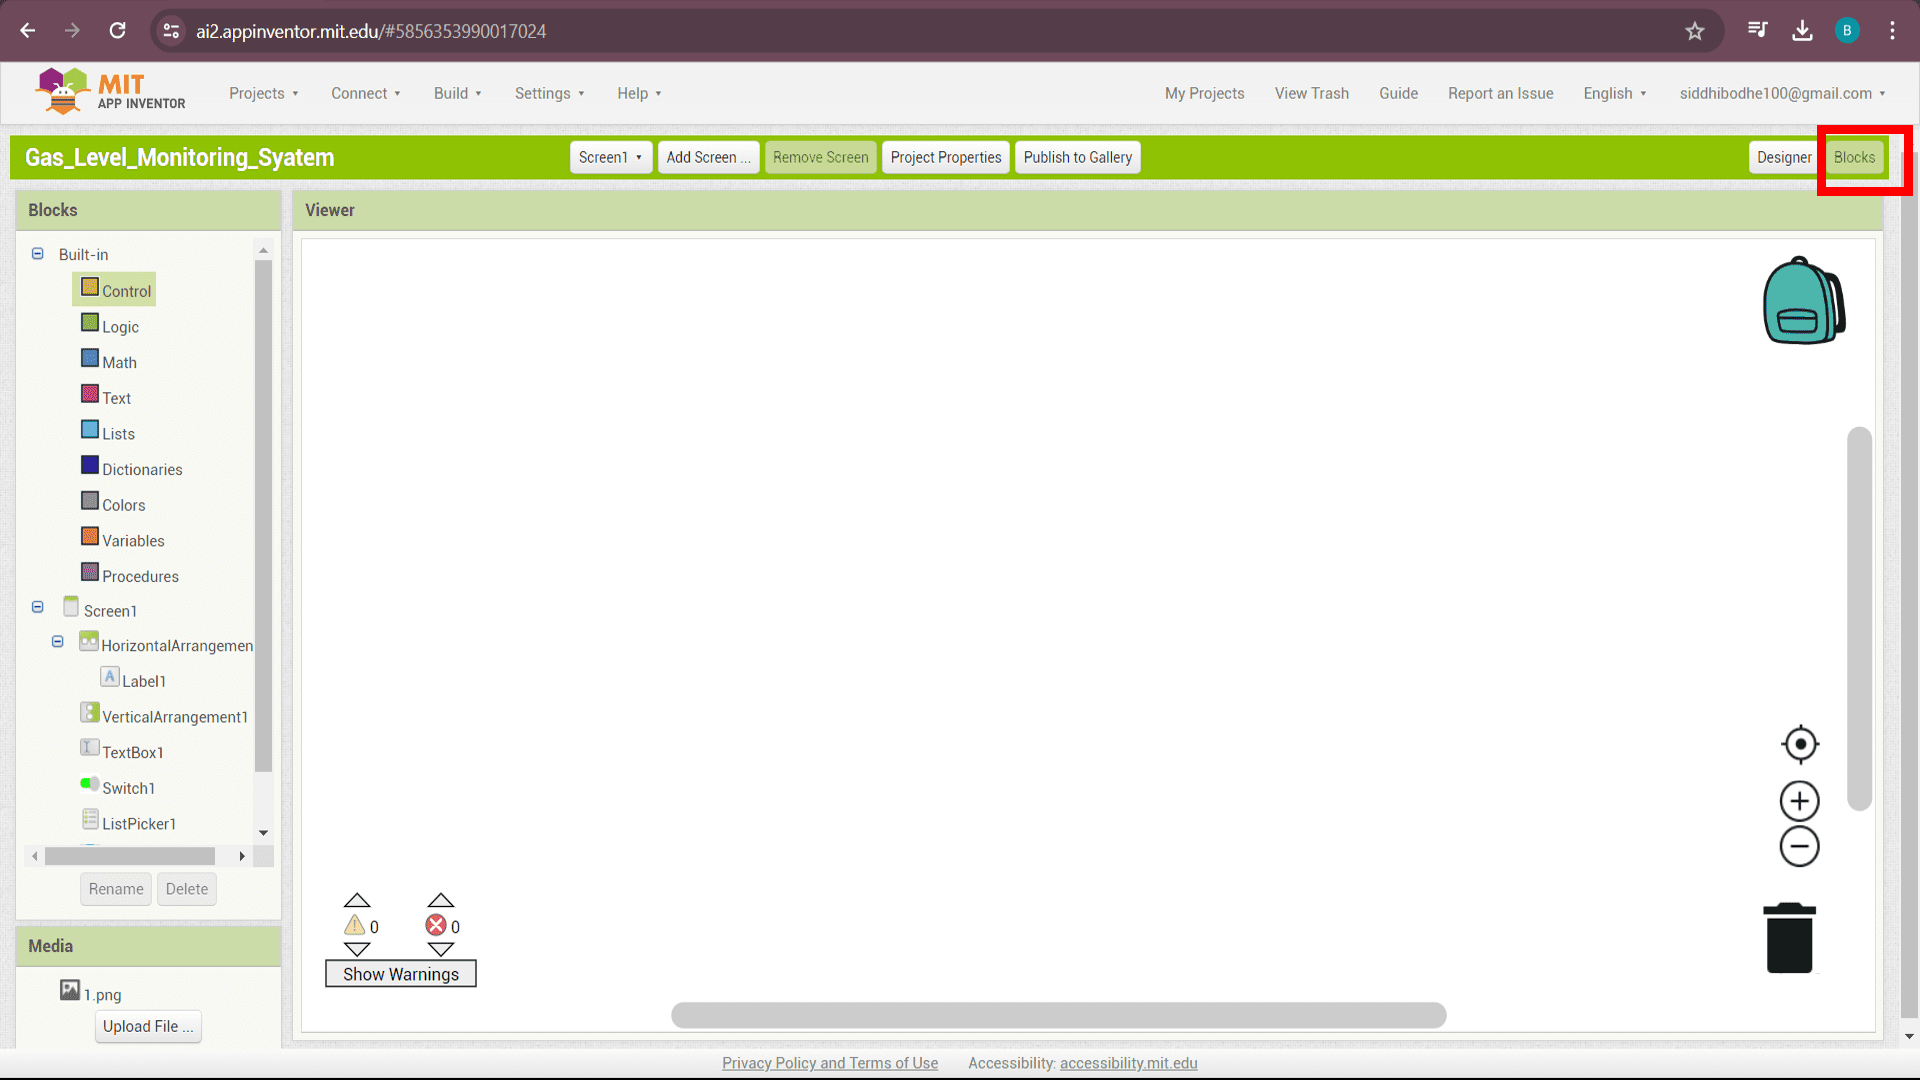
Now, click on "Blocks" optionn situated at the right side of the header for backend coding.

MIT App Inventor uses block coding. Block coding is a visual way of programming where you connect different blocks together to define the app's behavior. Each block represents a piece of code, like actions, conditions, or variables, and they fit together like puzzle pieces. This makes it easier to understand and build the logic of the app without writing traditional code.
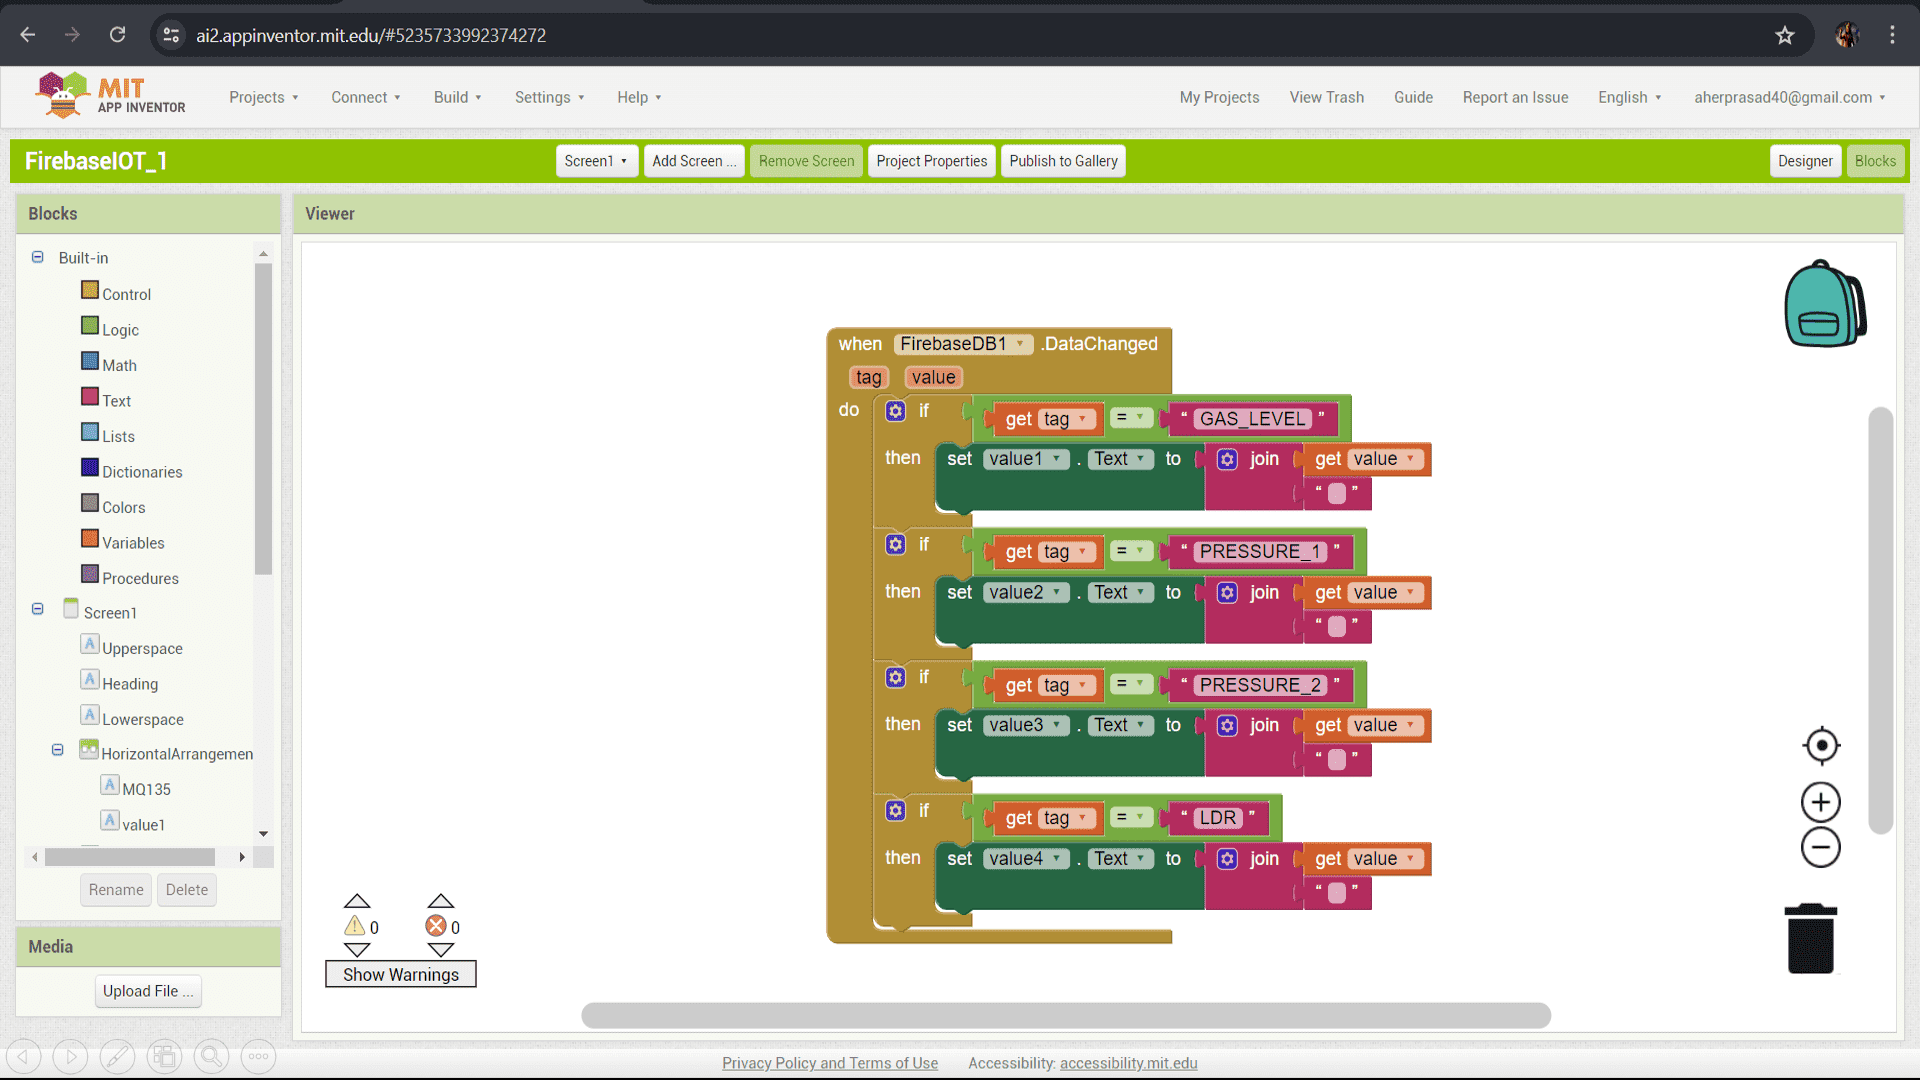
Here is the block coding that I used for my app. In this, I used different types of blocks as per their commands. Here, "Firebase DataChanged Event" is used to detects when data changes in a Firebase database. When the data changes, the blocks below it will run. "Get Value Blocks" retrieve values from specific tags within the Firebase database. In this, the tags are “GAS_LEVEL”, “PRESSURE_1”, “PRESSURE_2”, and “LDR”. Text Blocks and Text to Join Blocks" appear to be formatting the data retrieved from Firebase and displaying it on the app screen. The “Text to Join” block combines multiple pieces of text together.

Now, I connected the Realtime Database created using Firebase with my app developed using MIT App Inventor. So, here is the URL of my realtime database. Copy this URL just by clicking.
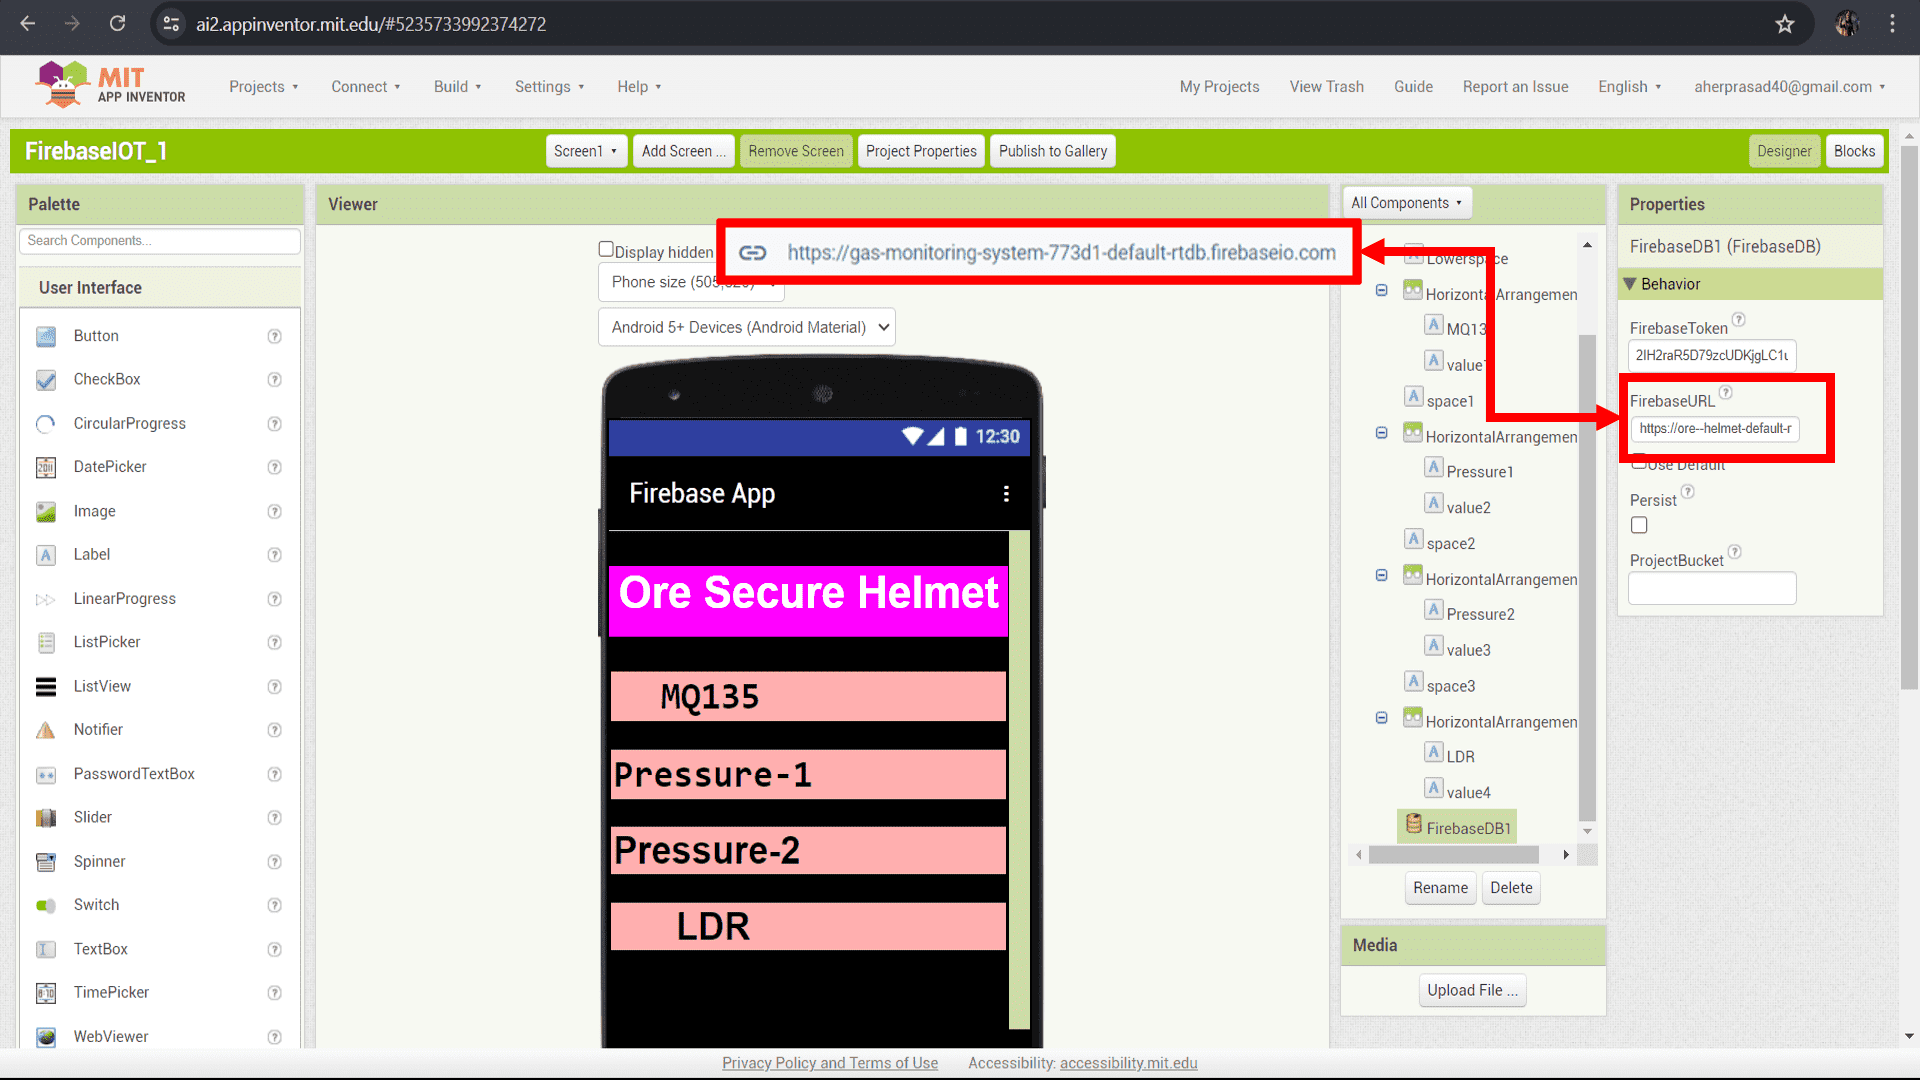
Now, paste the copied URL from Firebase into "FirebaseURL" section of MIT App Inventor situated at the right side of interface appeared after clicking on "FirebaseDB1".
Finally, database is connected with the app. Now, Burn the following code into XIAO-ESP32-C3 microcontroller board.
Code:-
    #include< ESP32Firebase.h >

        #include < WiFi.h >

        #include < WiFiClient.h >

        #include "MQ135.h"


        //input sensors

        #define LDR_pin A2

        #define pressure_1_pin A0

        #define pressure_2_pin A1

        #define MQ135_pin 4


        //output sensors

        #define BUZZER_pin 10

        #define LED_pin 9


        #define _SSID "Nothing phone 1"

        #define _PASSWORD "129129129"

        #define firebase_url "https://ore--helmet-default-rtdb.firebaseio.com/"

        Firebase firebase(firebase_url);


        int ldr_input = 0;

        int light_mode = 0;

        int pressure_1_input = 0;

        int pressure_2_input = 0;

        float MQ135_input = 0;


        MQ135 gasSensor = MQ135(MQ135_pin);


        void setup()

        {

          pinMode(LDR_pin,INPUT);

          pinMode(pressure_1_pin,INPUT);

          pinMode(pressure_2_pin,INPUT);

          pinMode(MQ135_pin,INPUT);

          pinMode(LED_pin,OUTPUT);

          pinMode(BUZZER_pin,OUTPUT);


          Serial.begin(9600);

          WiFi.mode(WIFI_STA);

          WiFi.disconnect();

          delay(1000);

          // Connect to WiFi

          Serial.println();

          Serial.println();

          Serial.print("Connecting to: ");

          Serial.println(_SSID);

          WiFi.begin(_SSID, _PASSWORD);


          while (WiFi.status() != WL_CONNECTED) {

            delay(500);

            Serial.print("-");

          }


          Serial.println("");

          Serial.println("WiFi Connected");


          // Print the IP address

          Serial.print("IP Address: ");

          Serial.print("http://");

          Serial.print(WiFi.localIP());

          Serial.println("/");

        }


        void light_handle()

        {

          if ( ldr_input < 20)

          {

              light_mode = 1;

              Serial.println("Dark Detected...!");

          }

          else

          {

              light_mode = 0;

          }

        }

         void pressure_data_1()

         {

            if(pressure_1_input > 200)

            {

            //  firebase.setFloat("PRESSURE_LEVEL Siddhi", pressure_1_input);

            }

         }


         void pressure_data_2()

         {

            if(pressure_2_input > 200)

            {

             // firebase.setFloat("PRESSURE_LEVEL Siddhi", pressure_2_input);

            }

         }


        void loop()

        {


          ldr_input = analogRead(LDR_pin);

          MQ135_input = gasSensor.getPPM();

          pressure_1_input = analogRead(pressure_1_pin);

          pressure_2_input = analogRead(pressure_2_pin);

          Serial.println(ldr_input);

          Serial.println(MQ135_input);

          Serial.println(pressure_1_input);

          Serial.println(pressure_2_input);

          firebase.setFloat("GAS_LEVEL",MQ135_input);

          firebase.setFloat("LDR",ldr_input);

          firebase.setFloat("PRESSURE_1",pressure_1_input);

          firebase.setFloat("PRESSURE_2",pressure_2_input);


          light_handle();

          digitalWrite(LED_pin,light_mode);


          if( MQ135_input > 2 )

          {

            firebase.setFloat("GAS_LEVEL Siddhi",MQ135_input);

            Serial.println("CO2 Detected..!");

            digitalWrite(BUZZER_pin,HIGH);

            delay(500);

          }


          pressure_data_1();

          pressure_data_2();


        }
Output:-