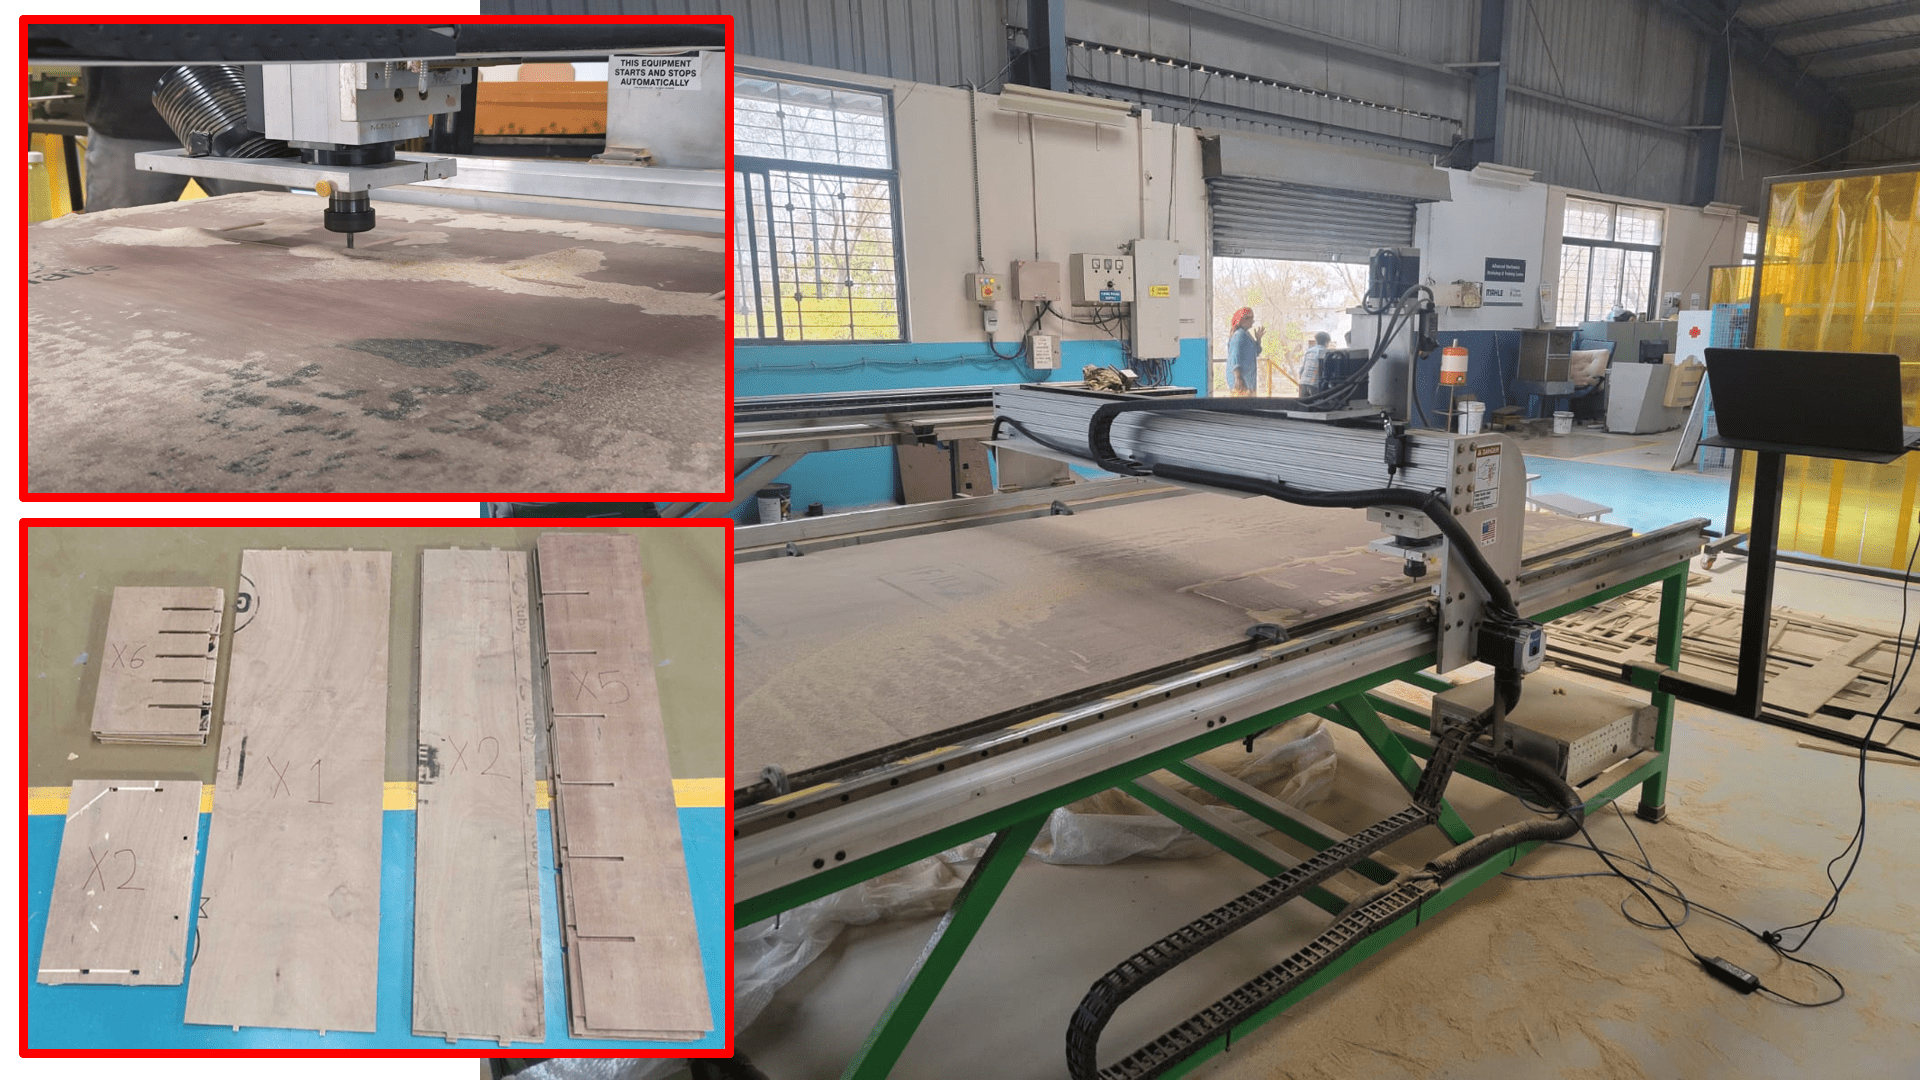
In this assignment I used MakerFab CNC Router Machine manufactured by "FOREST CNC" at Vigyan Ashram Fab Lab.
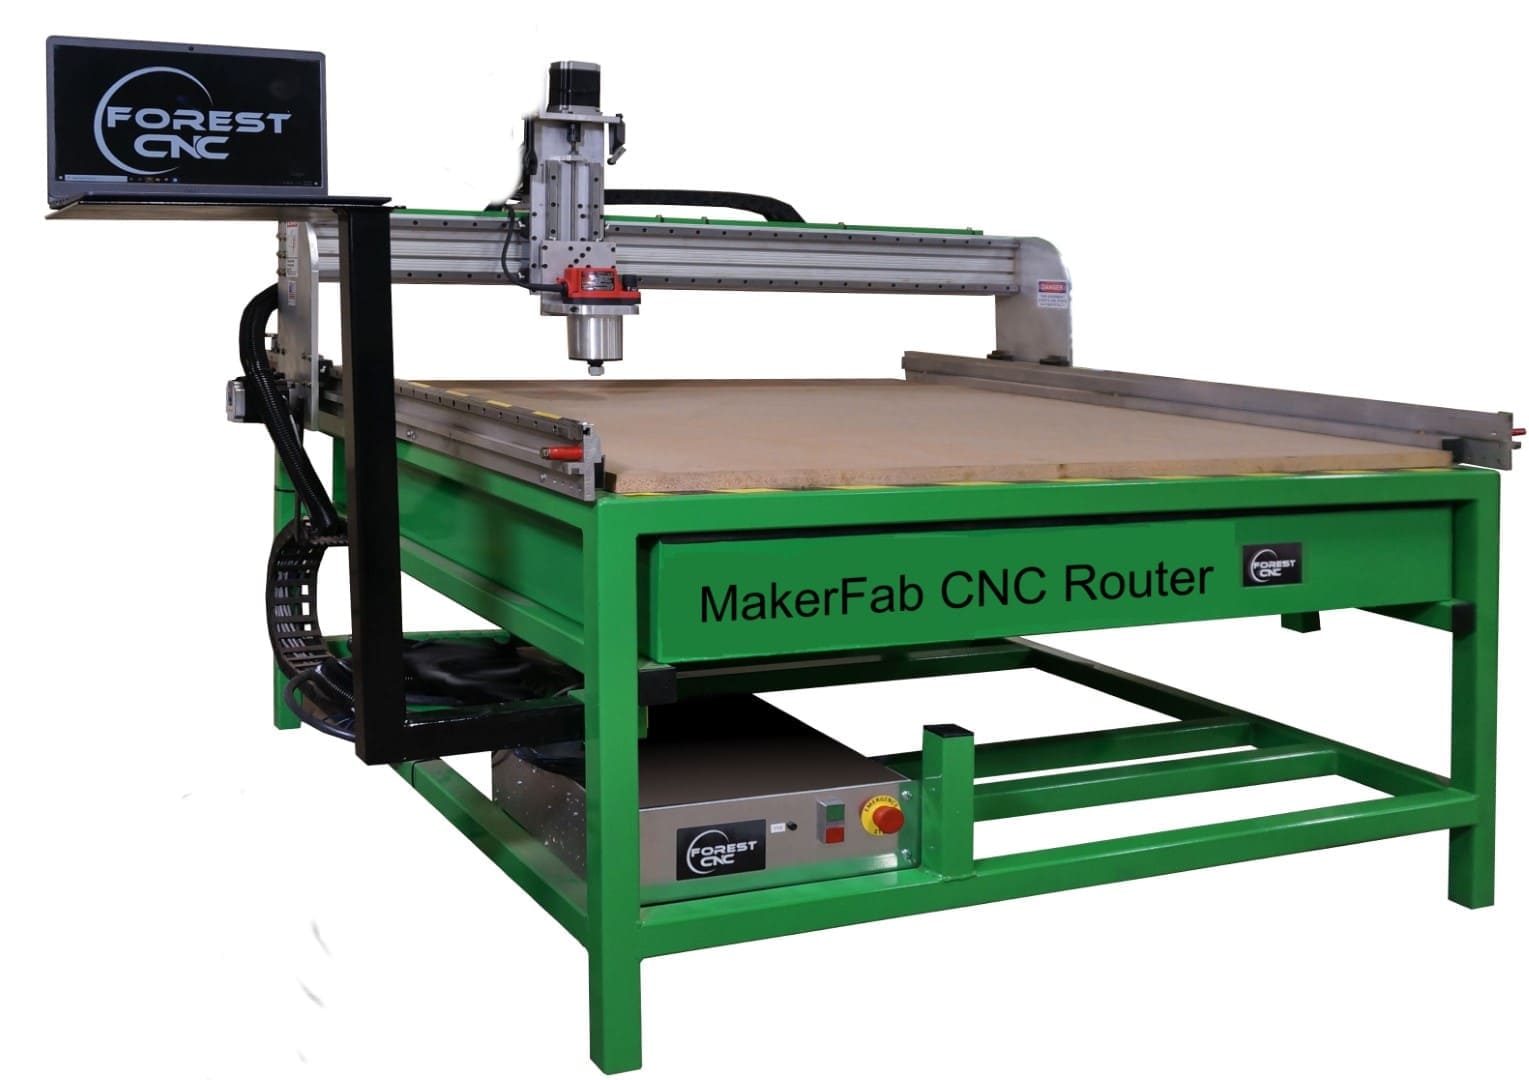
The MakerFab Router is a CNC (Computer Numeric Control) Machine, specially used to cut 2D CAD drawings. The CNC Router has bed size of 8x4 feet with the maximum motor speed of 24000 rpm.
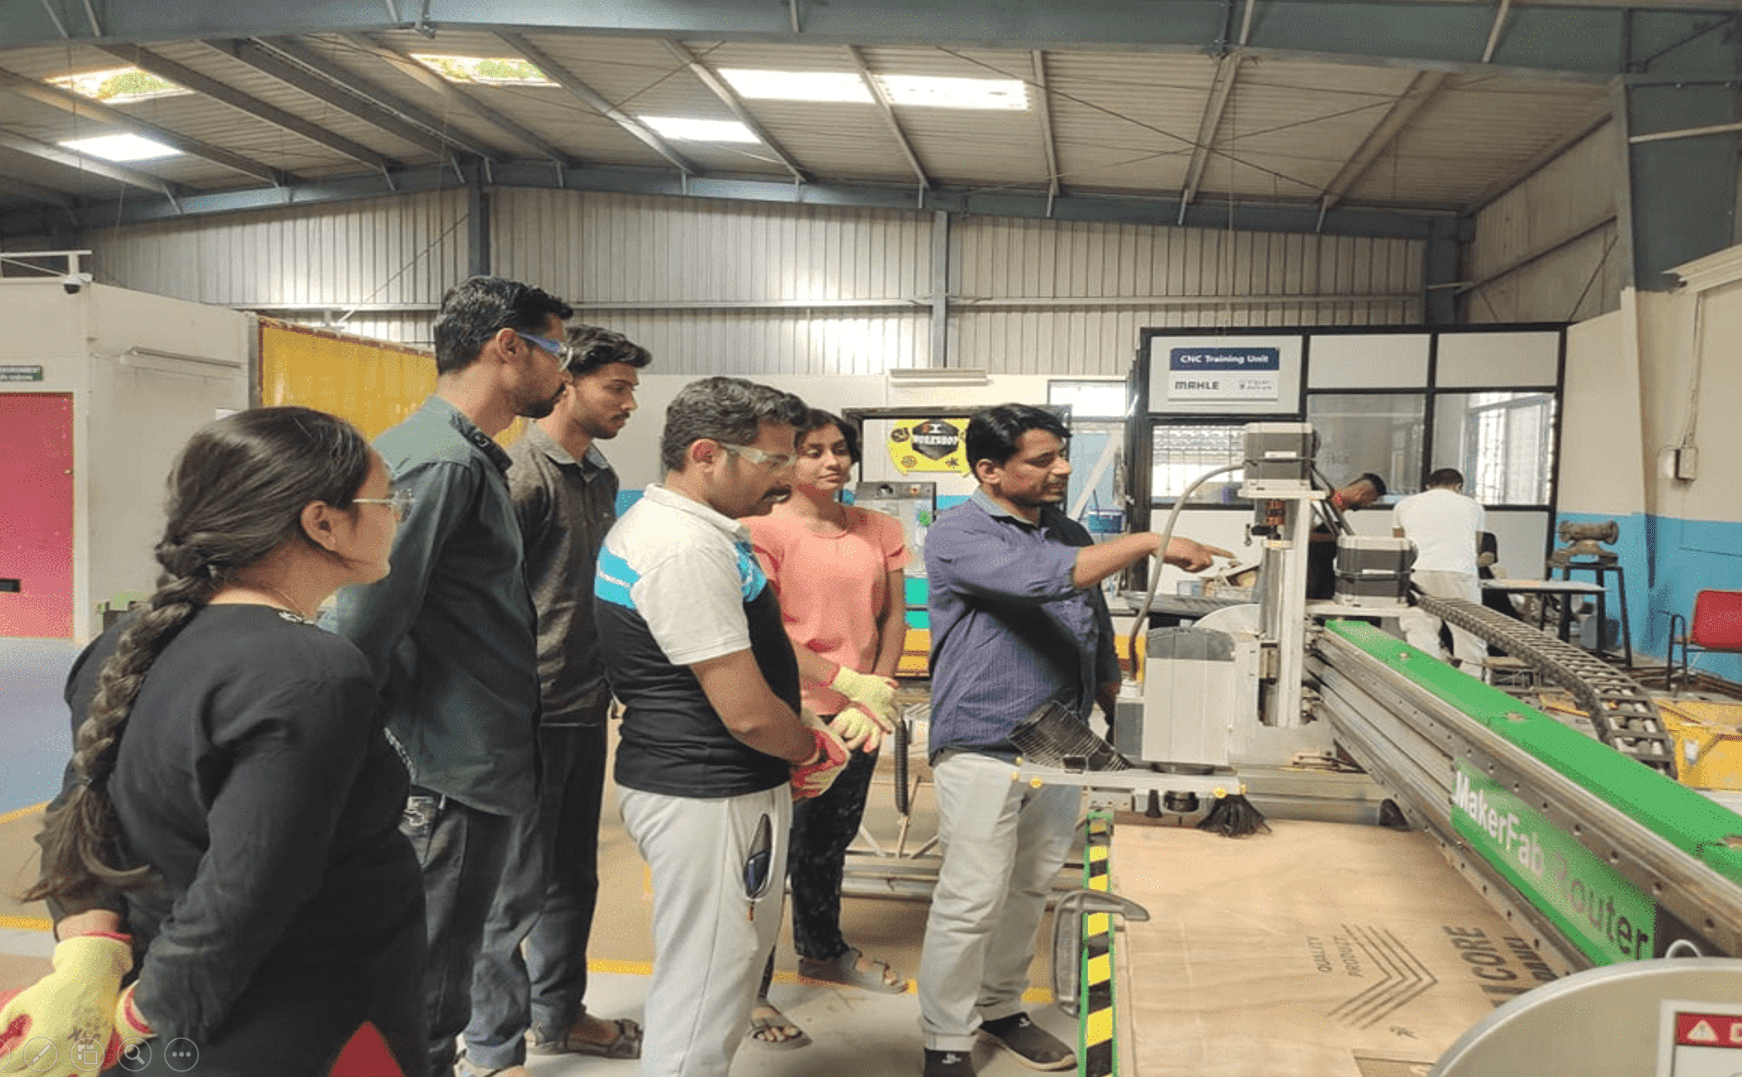
Our instructor, Mr. Suhas, conducted an orientation session on this week's assignment, focusing on operating the CNC router safely. During the session, he taught us the essential safety precautions to follow while using the machine. He also provided detailed information about the various software tools used with the CNC router. This included instructions on how to create and manage toolpaths, import design files, and operate the machine effectively to ensure both precision and safety in our assignment.
Group Assignment
In our group assignment, we designed dog bone profile slots for a test runout to check the machine's alignment, fixturing requirements, and the appropriate speeds and feeds. This test helps ensure that the CNC router is set up correctly and that our settings are optimized for precision and efficiency. By running this test, we can identify any adjustments needed to improve the machine's performance before starting our actual assignment.
Click here for detailed group assignment.
Individual Assignment
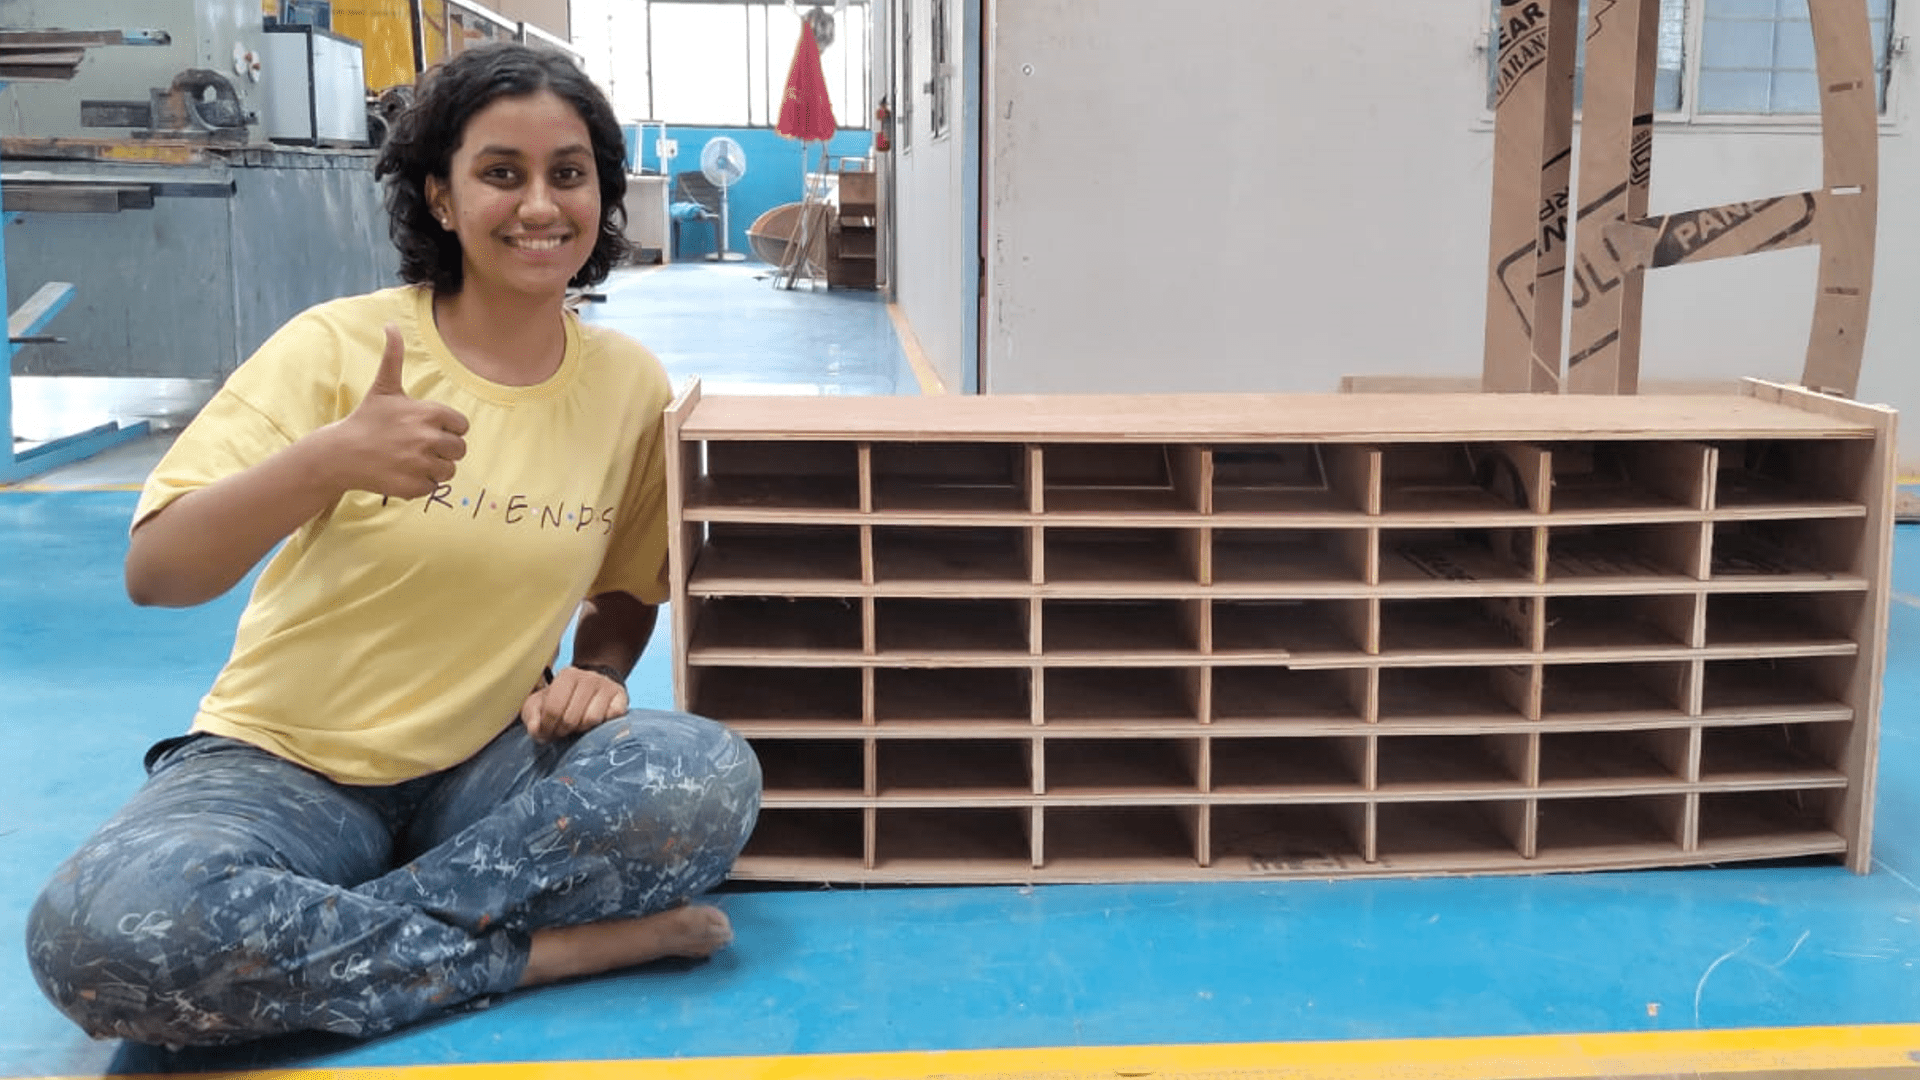
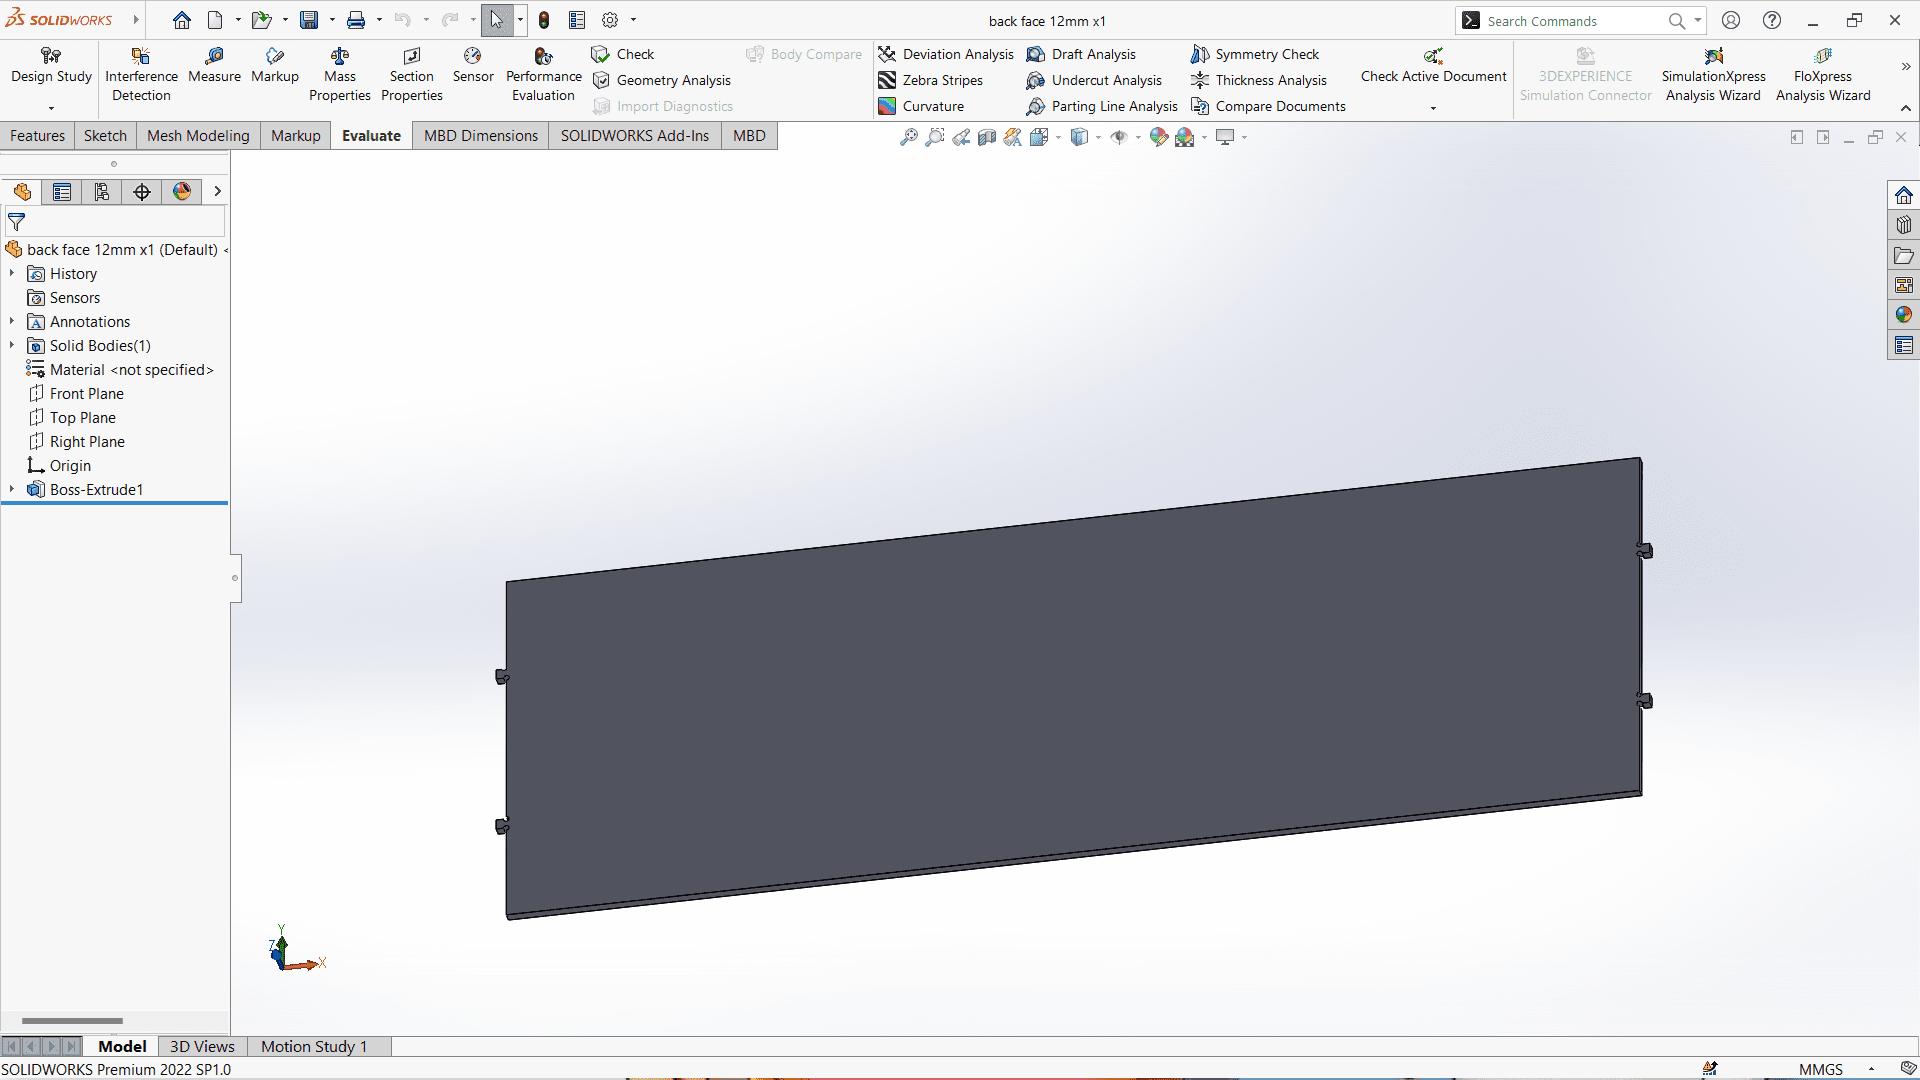
In my individual assignment, I have to create an object with at least one dimension (height, length, or width) exceeding 1 meter. I decided to make a shelf for our Fab lab, where I can place all the boxes of electronic components. This will not only meet the assignment requirements but also provide a practical storage solution for our lab.
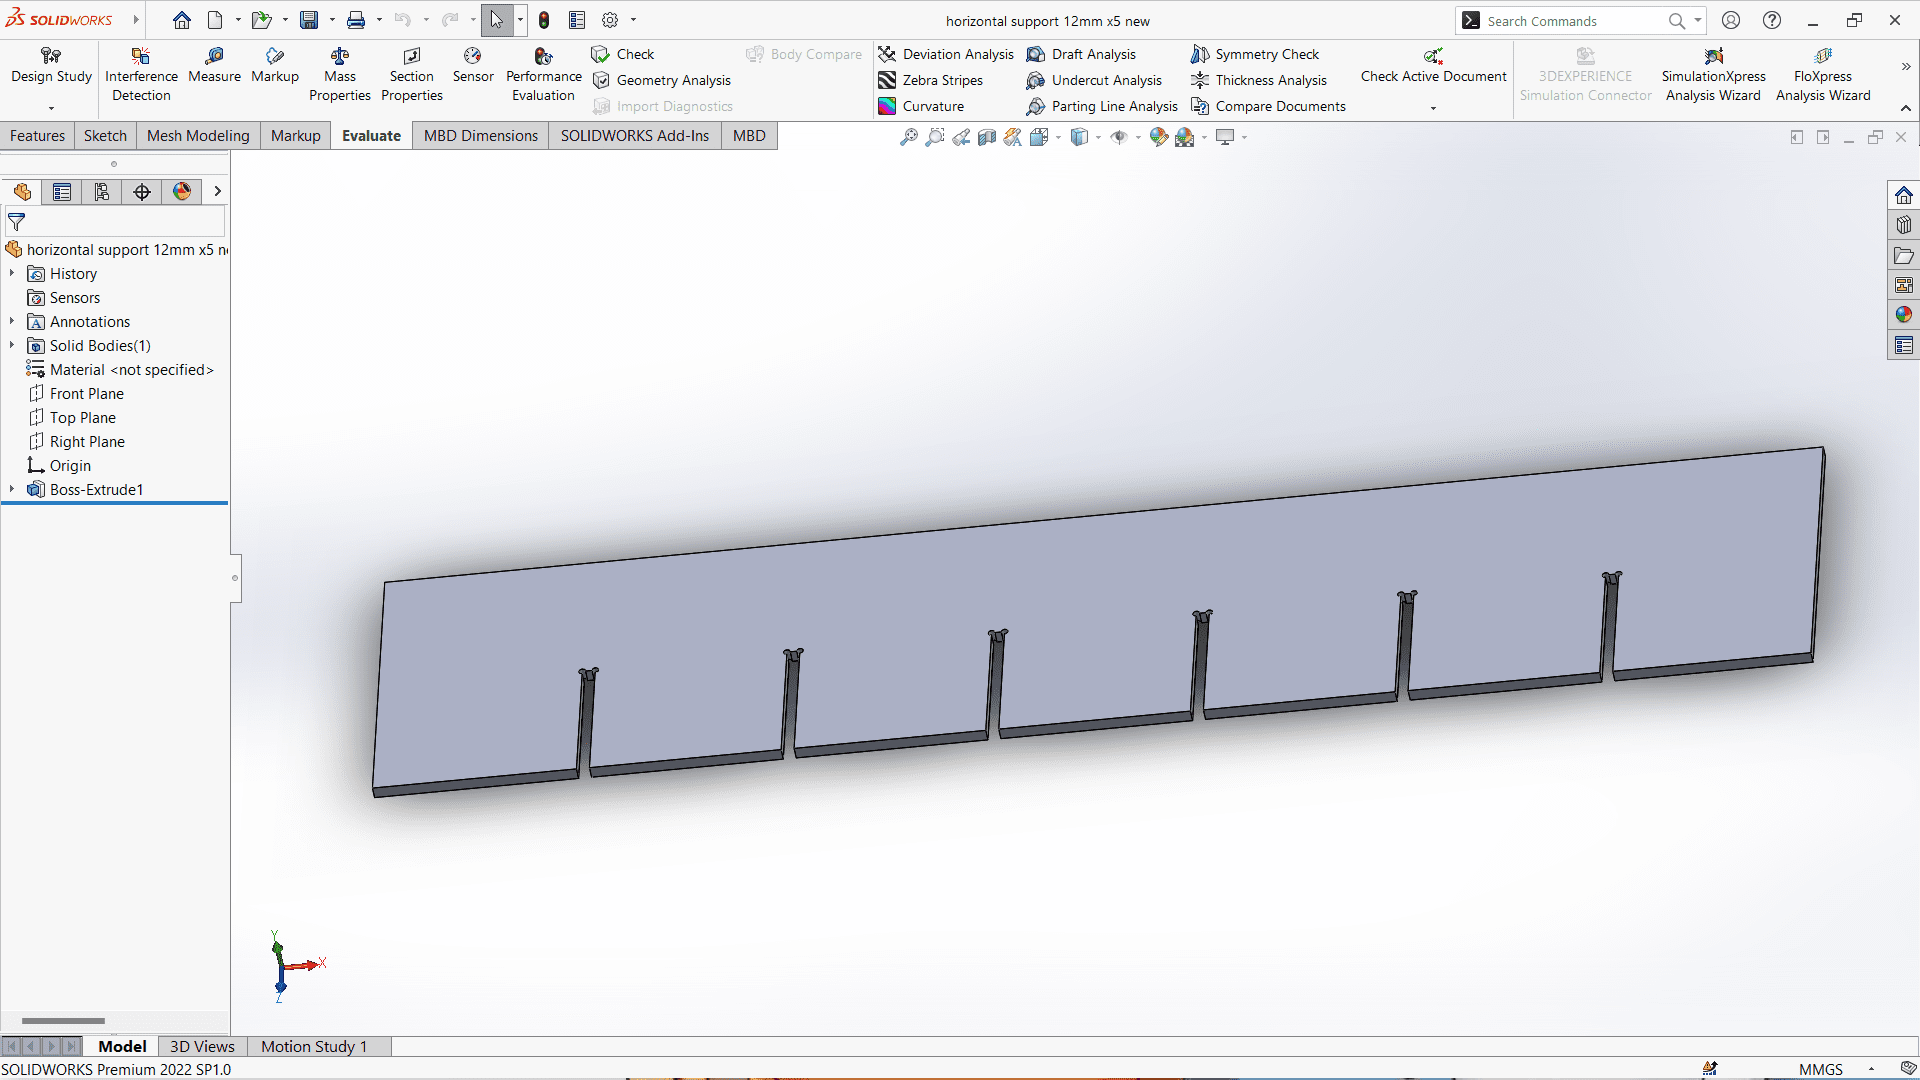
I used SolidWorks CAD Software to design my shelf. Here are the designs required for making shelf-
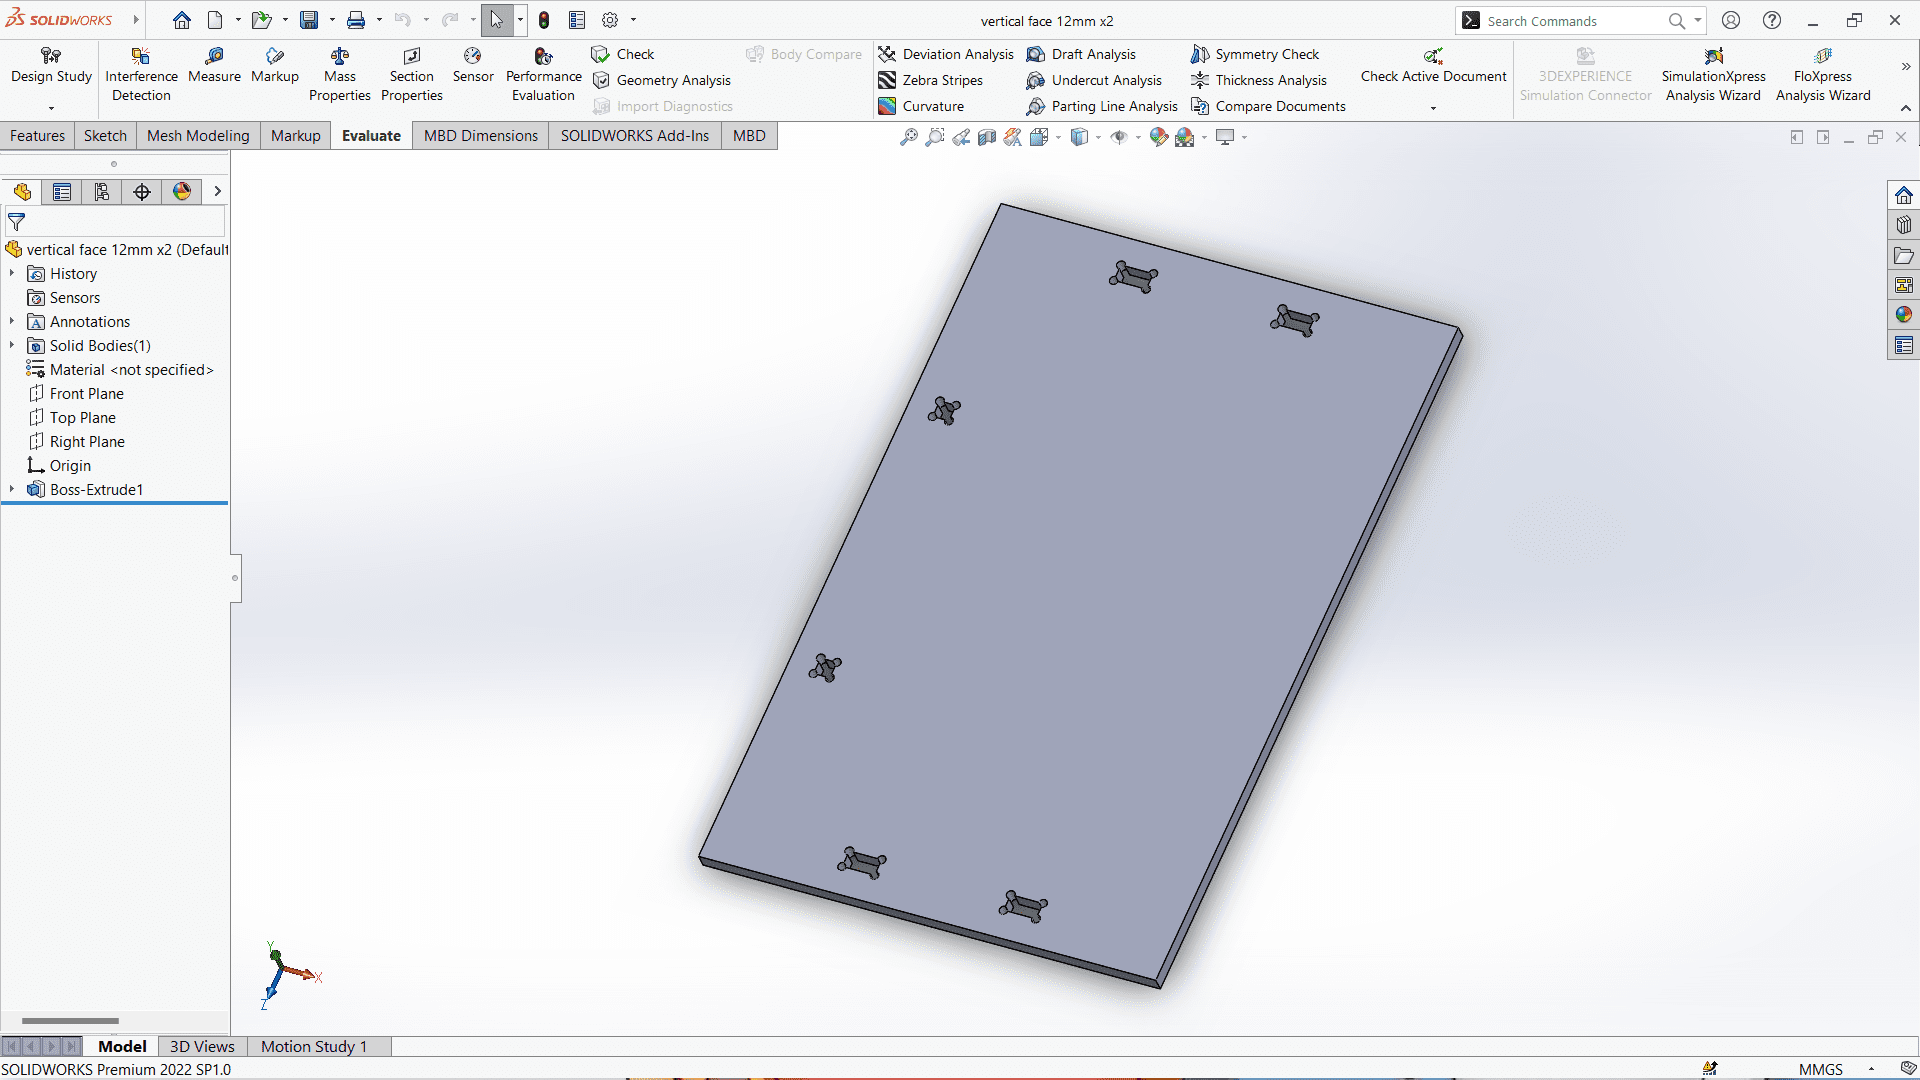
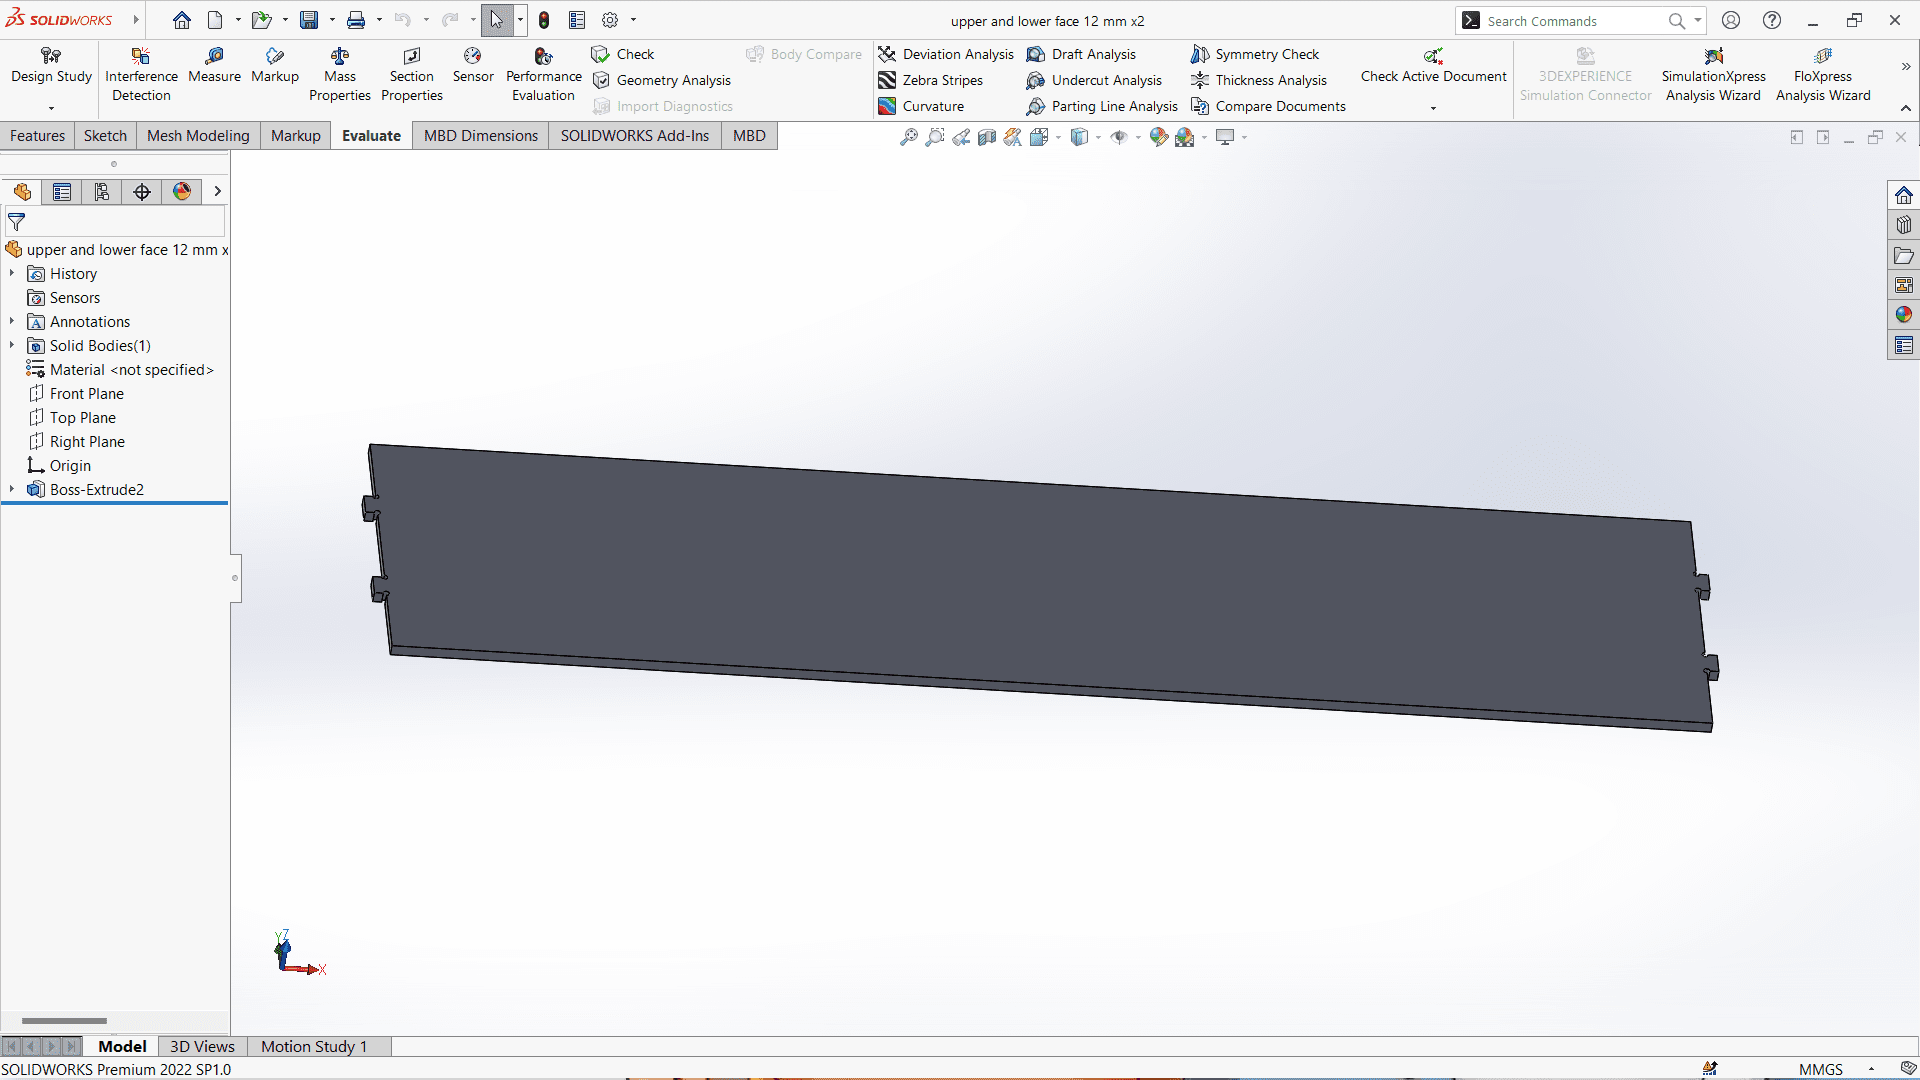
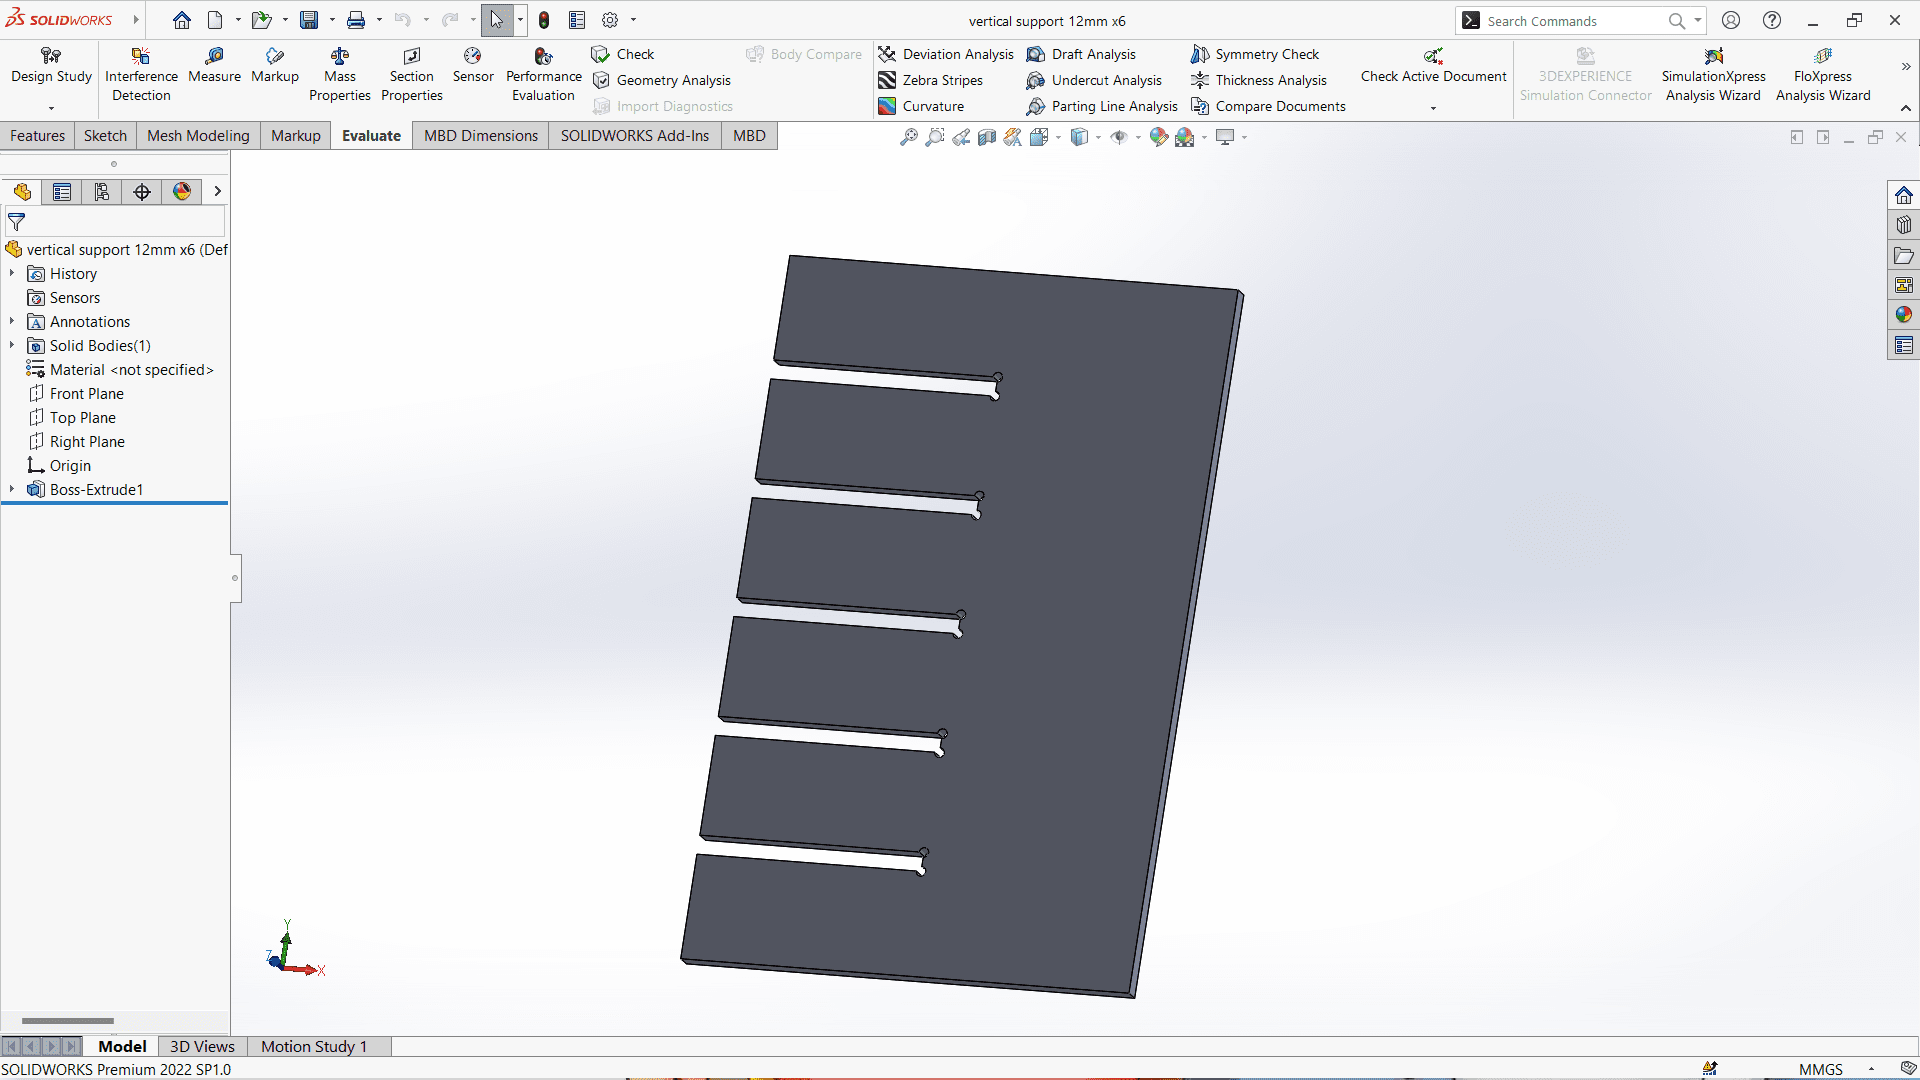
After this, I exported all this files in DXF file format which help me to generate GCode for machine.
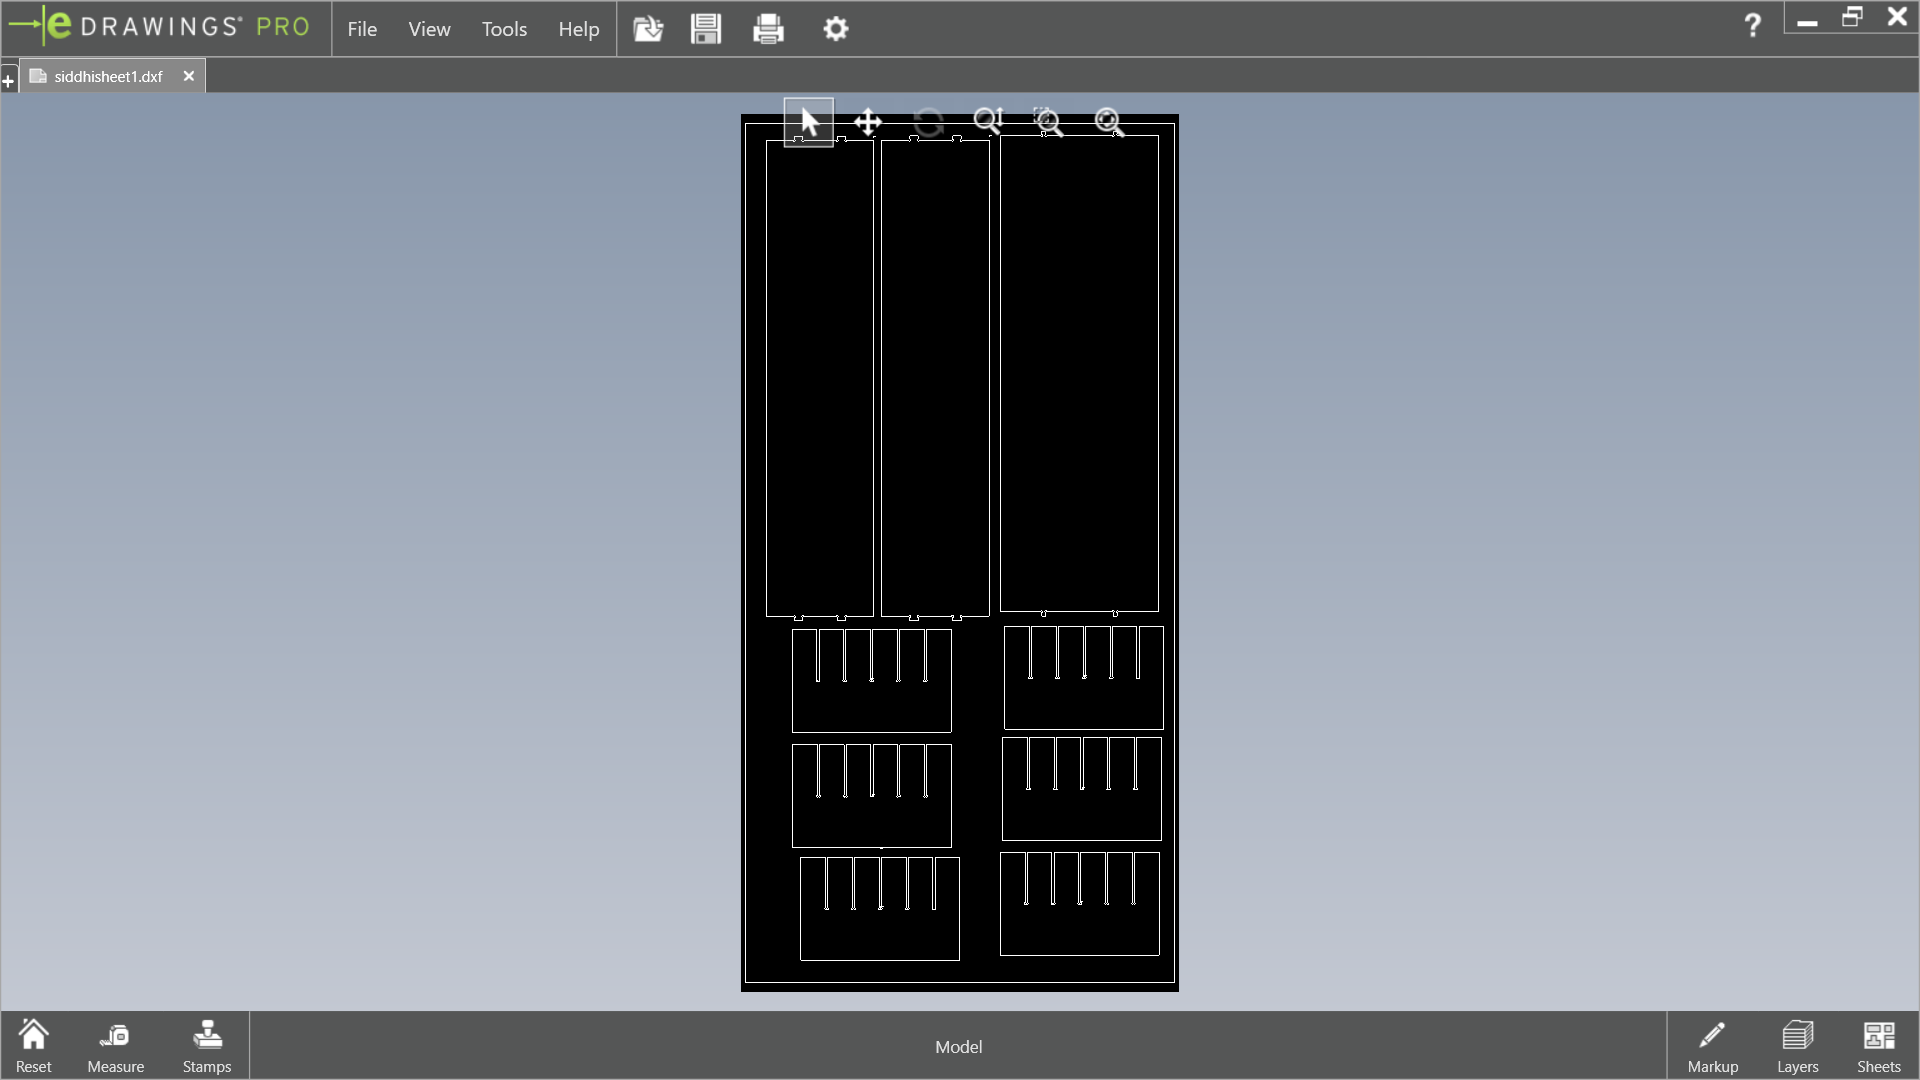
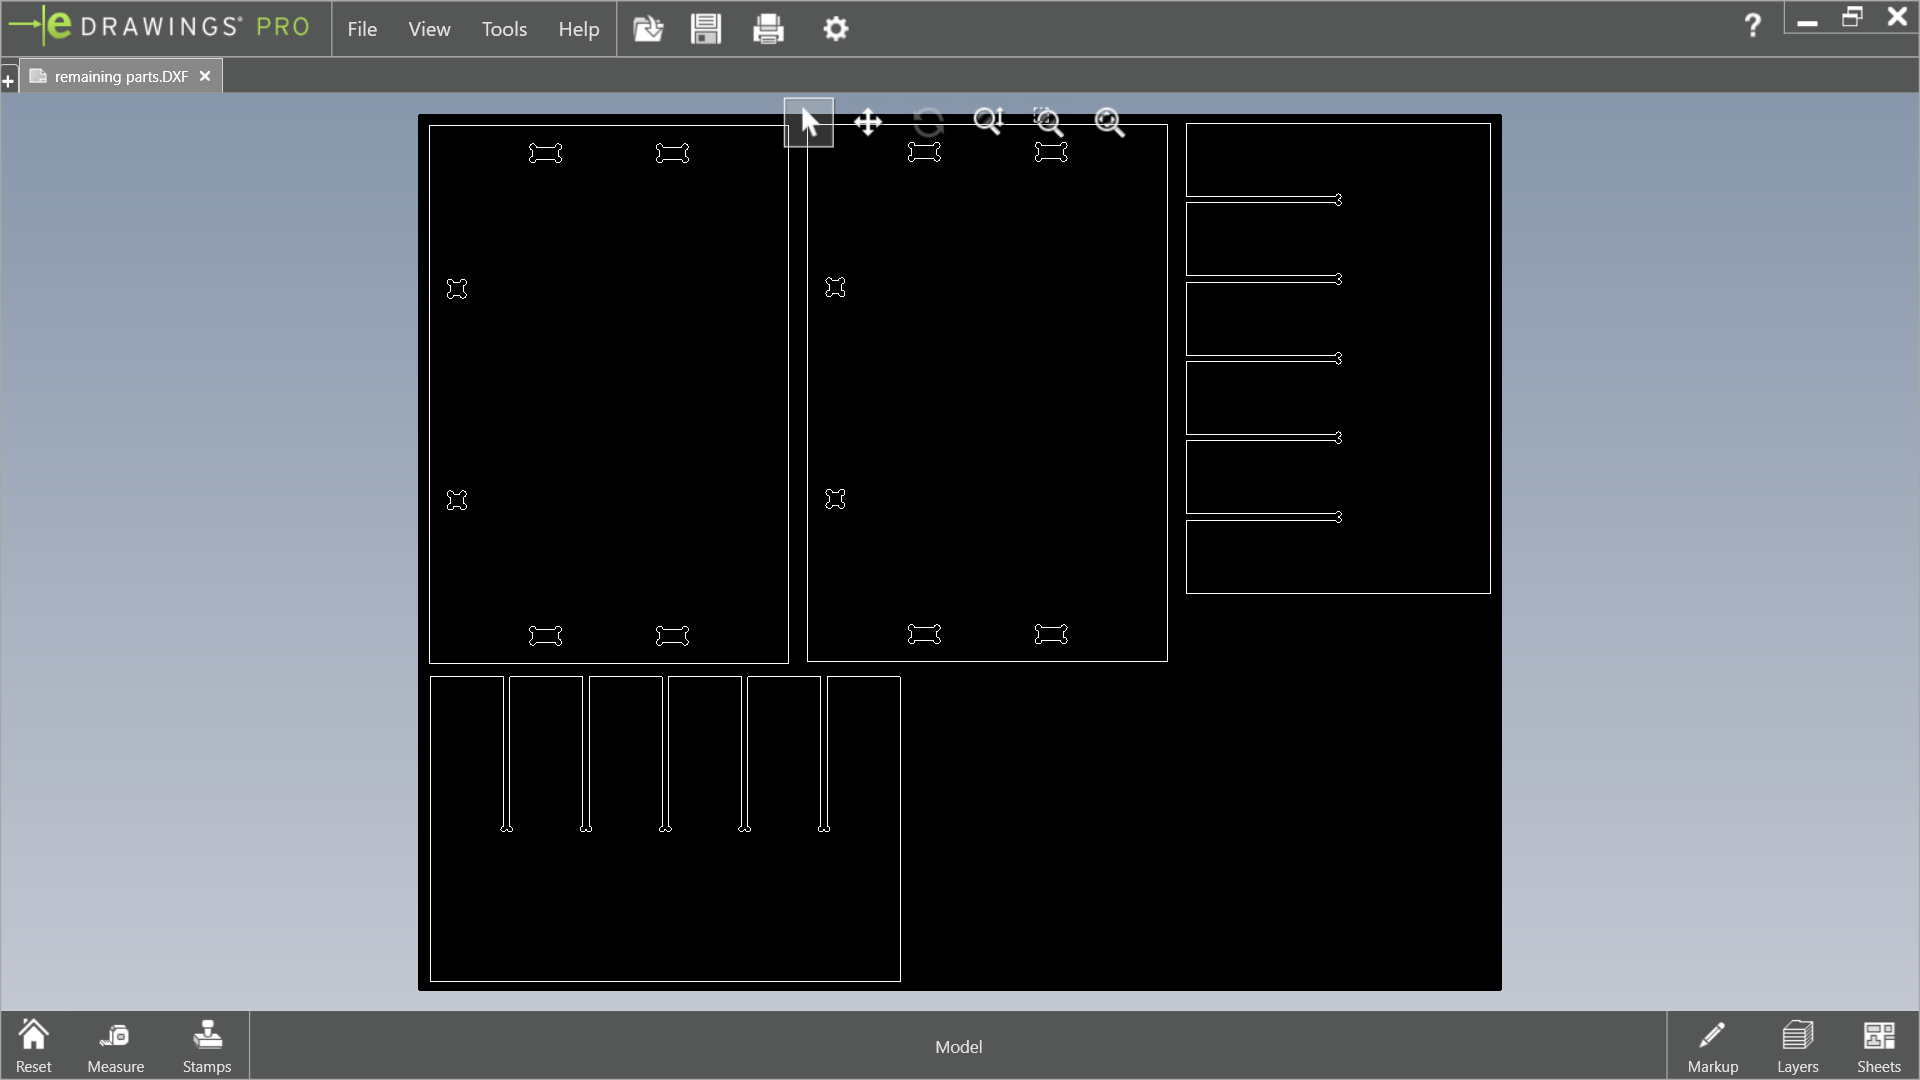
Here are the images of DXF files of shelf.
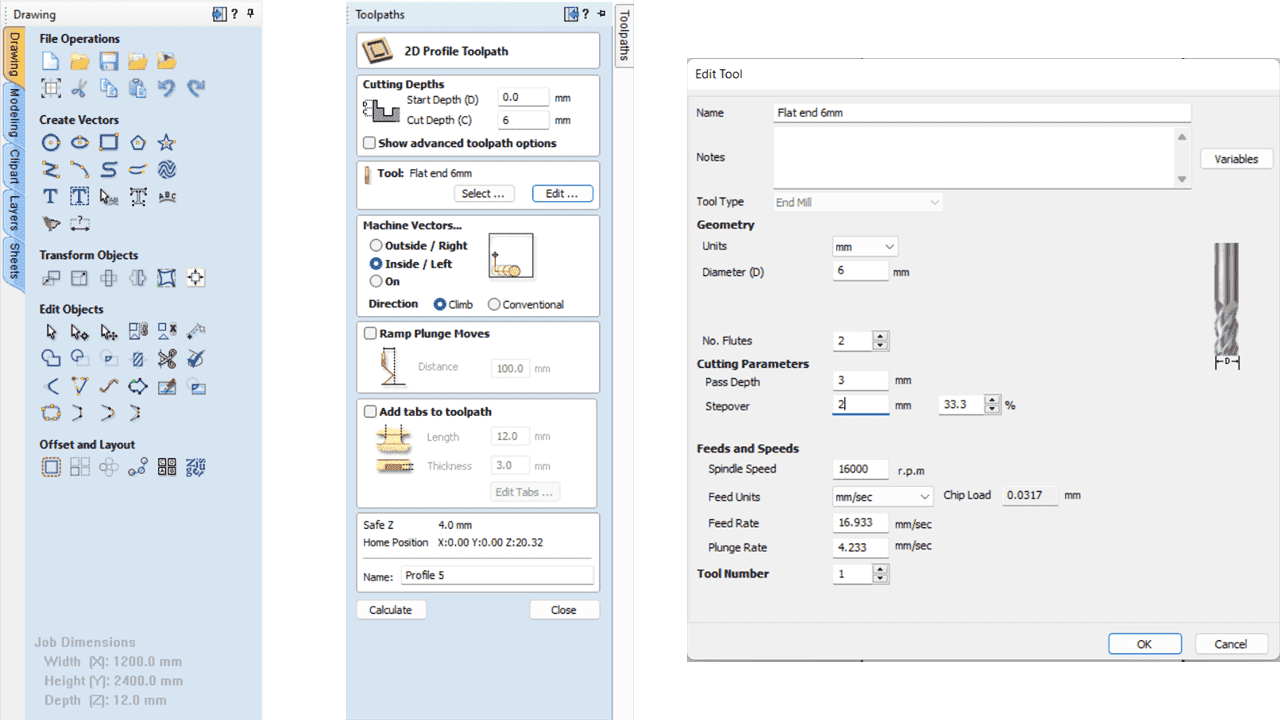
Then, to generate the GCode for machine I used VCarvePro software.

Then I imported my .dxf file into VCarve Pro version 11.504 software to generate the toolpath for the cutting operation. First, I set the job size to 1200mm x 2400mm to match the dimensions of my shelf design. This step is crucial to ensure the toolpath is generated correctly and fits within the material size for the cutting process.

Then, I moved the file to the correct position using the move command, which is activated by pressing the 'm' key, and set the X and Y coordinates for the design. In VCarve Pro, there are three types of toolpaths available for cutting: online, inside, and outside. The online toolpath cuts directly on the design lines, making it ideal for marking or when precise line cuts are required. The inside toolpath cuts within the design lines, which is used for creating holes or internal features. The outside toolpath cuts outside the design lines, perfect for cutting out the outer edges of the design.
This is the final 3D representation of the toolpath. The visualized toolpath shows how the CNC machine will cut the material according to the design. It provides a clear preview of the final output, ensuring that the cuts will be precise and match the intended design.
3. Secure the Material
4. Position the Machine
5. Zero the Axes
8. Start machining
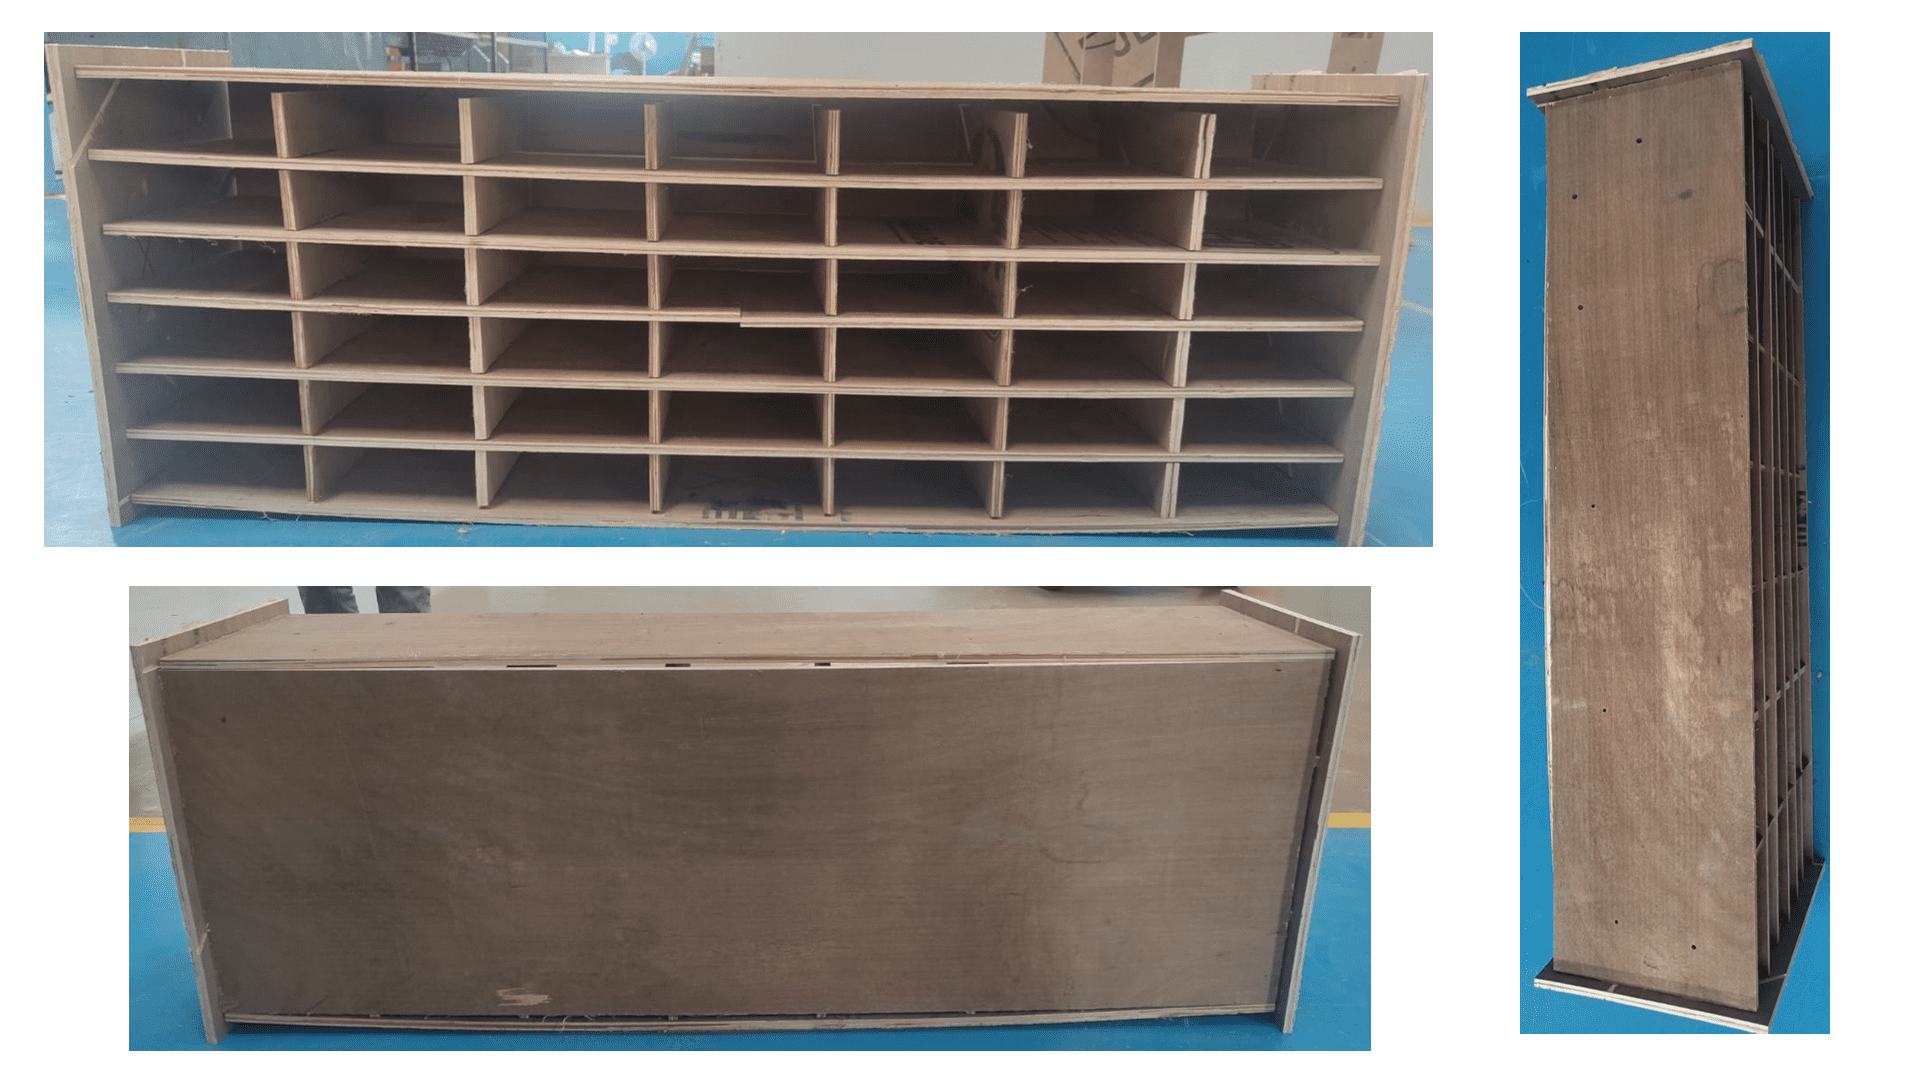
Here, I got the final output.

Steps for operating CNC Router:-
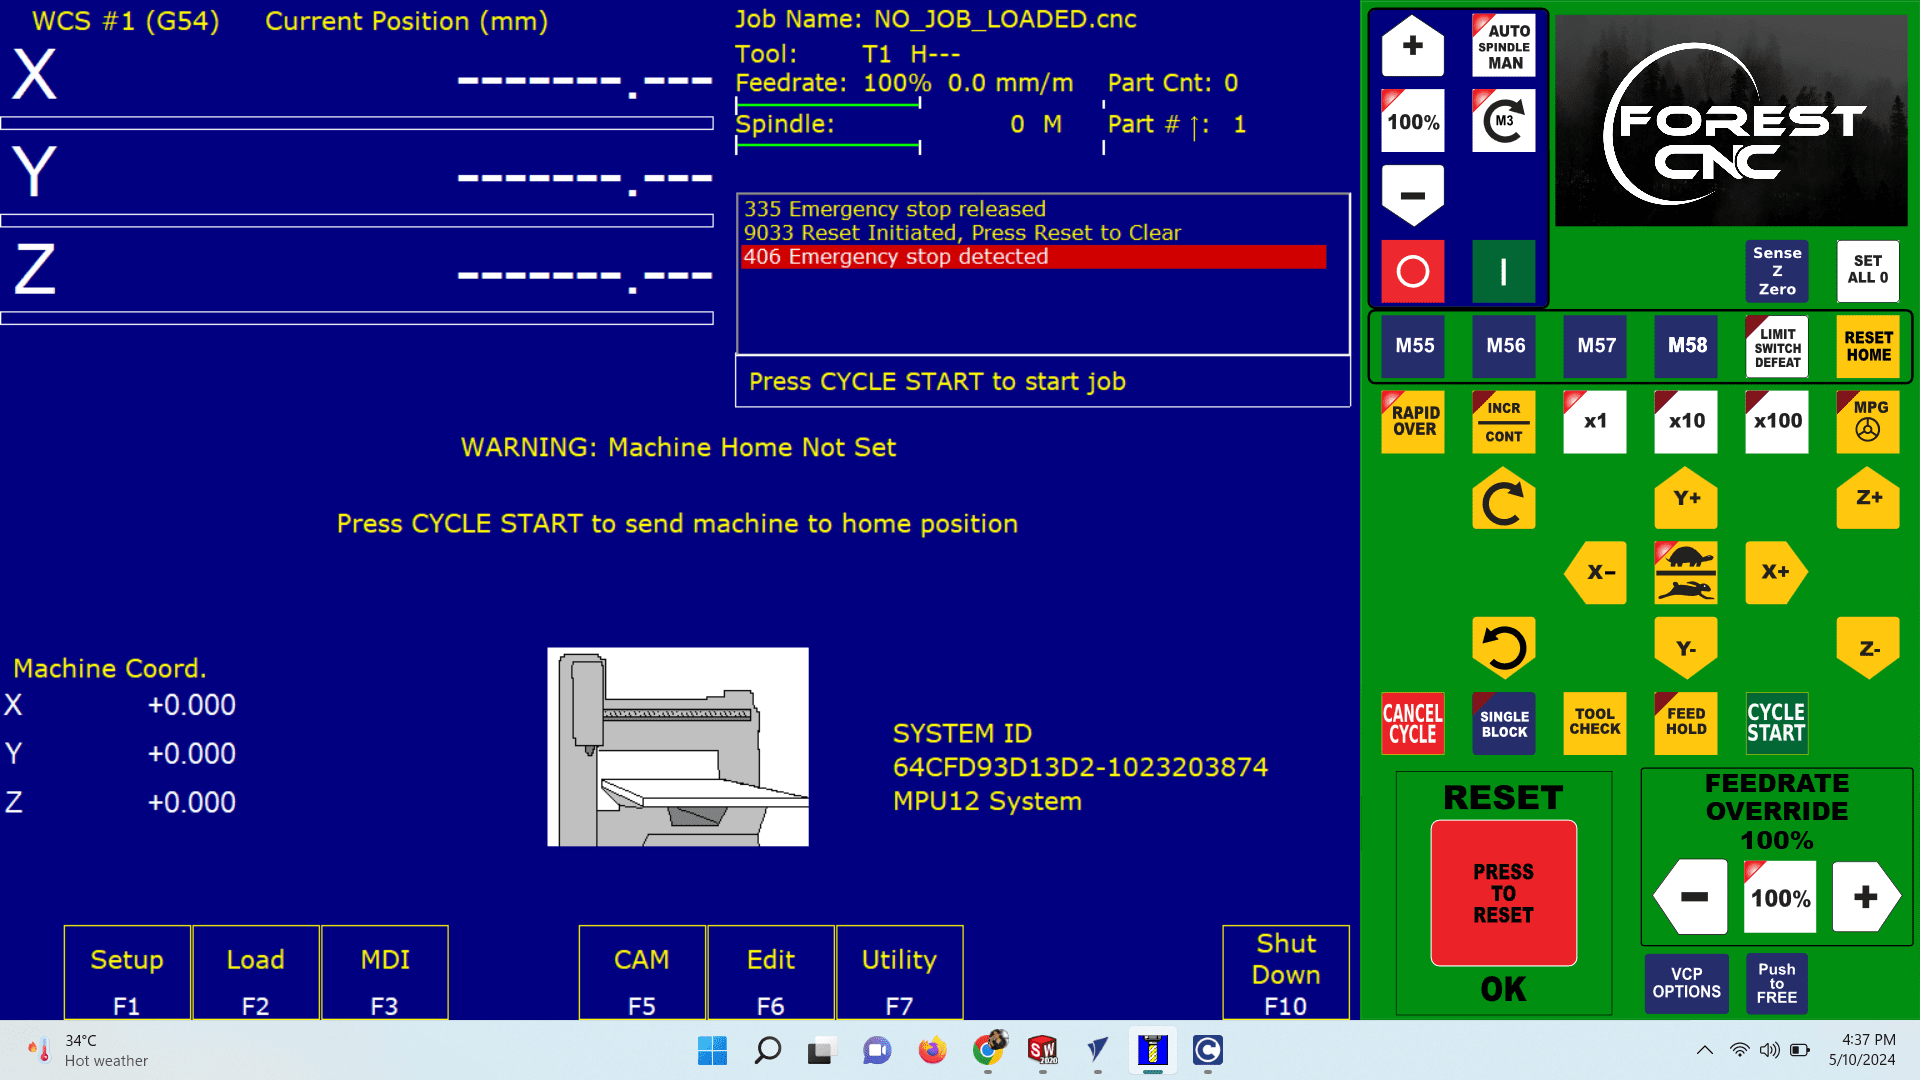
1. Power On
Turn on the machine by pressing the green power button. Wait for about 30 seconds, then open the control software from your desktop.
2. Reset and Home the Machine
Press the reset button twice until "reset cleared" is shown. Then hit "Cycle Start" to send the machine to its home position.
Secure your raw stock on the router table to ensure it is firmly in place for cutting.
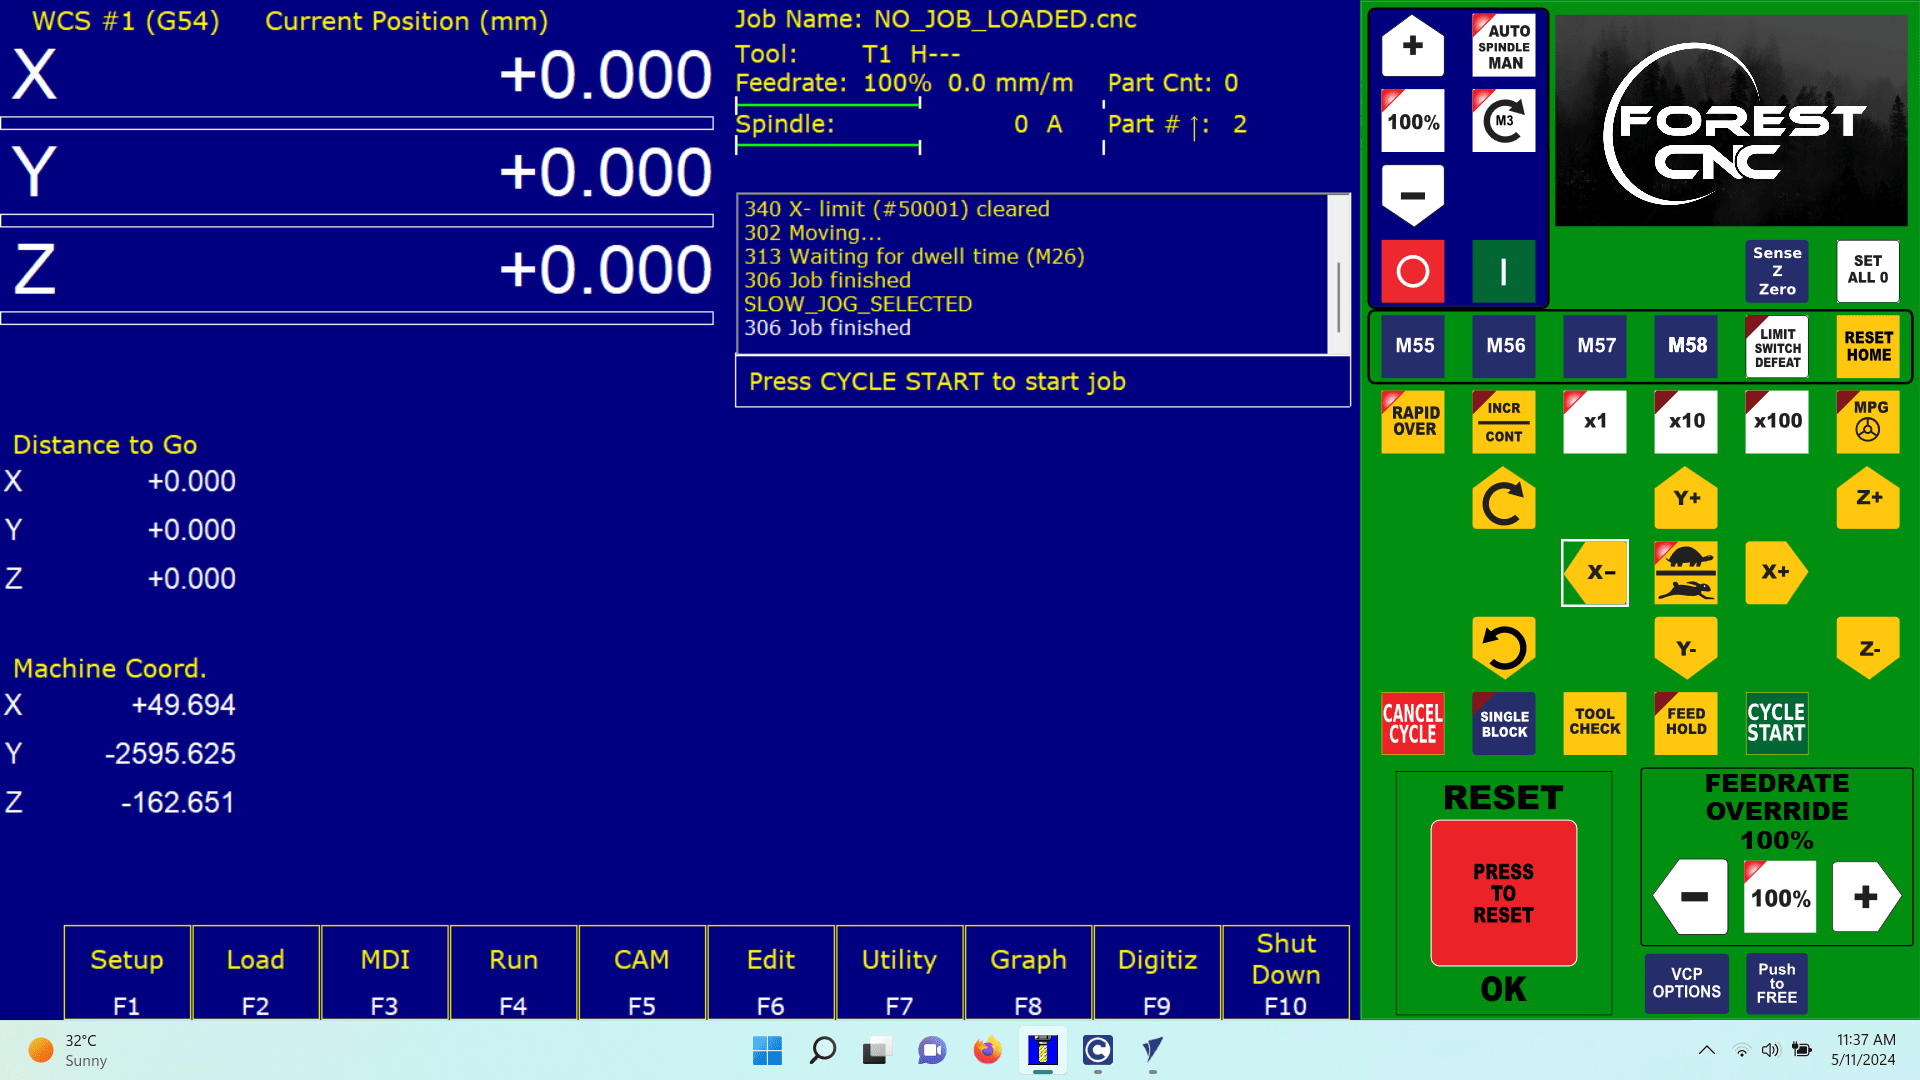
Use the jog buttons to manually move the machine to the lower-left corner of the material, just touching the surface.
Note:- a) If the machine has a safety shield, it will move in slow jog mode.
b) If the INC/CONT light is lit, the machine will only move the selected incremental distance.
All devices with measuring components need to be set to zero before use. Once the machine is in position, go into Setup by pressing F1. Press F1 again to enter Part mode. In Part mode, use F10 to set the X-axis to zero. Press F1 to move to the Y-axis. Hit F10 to set the Y-axis to zero. Press F1 to go to the Z-axis. Hit F10 to zero the Z-axis. Press the ESC key twice to return to the main menu. Jog the Z-axis up so it is not touching the material.
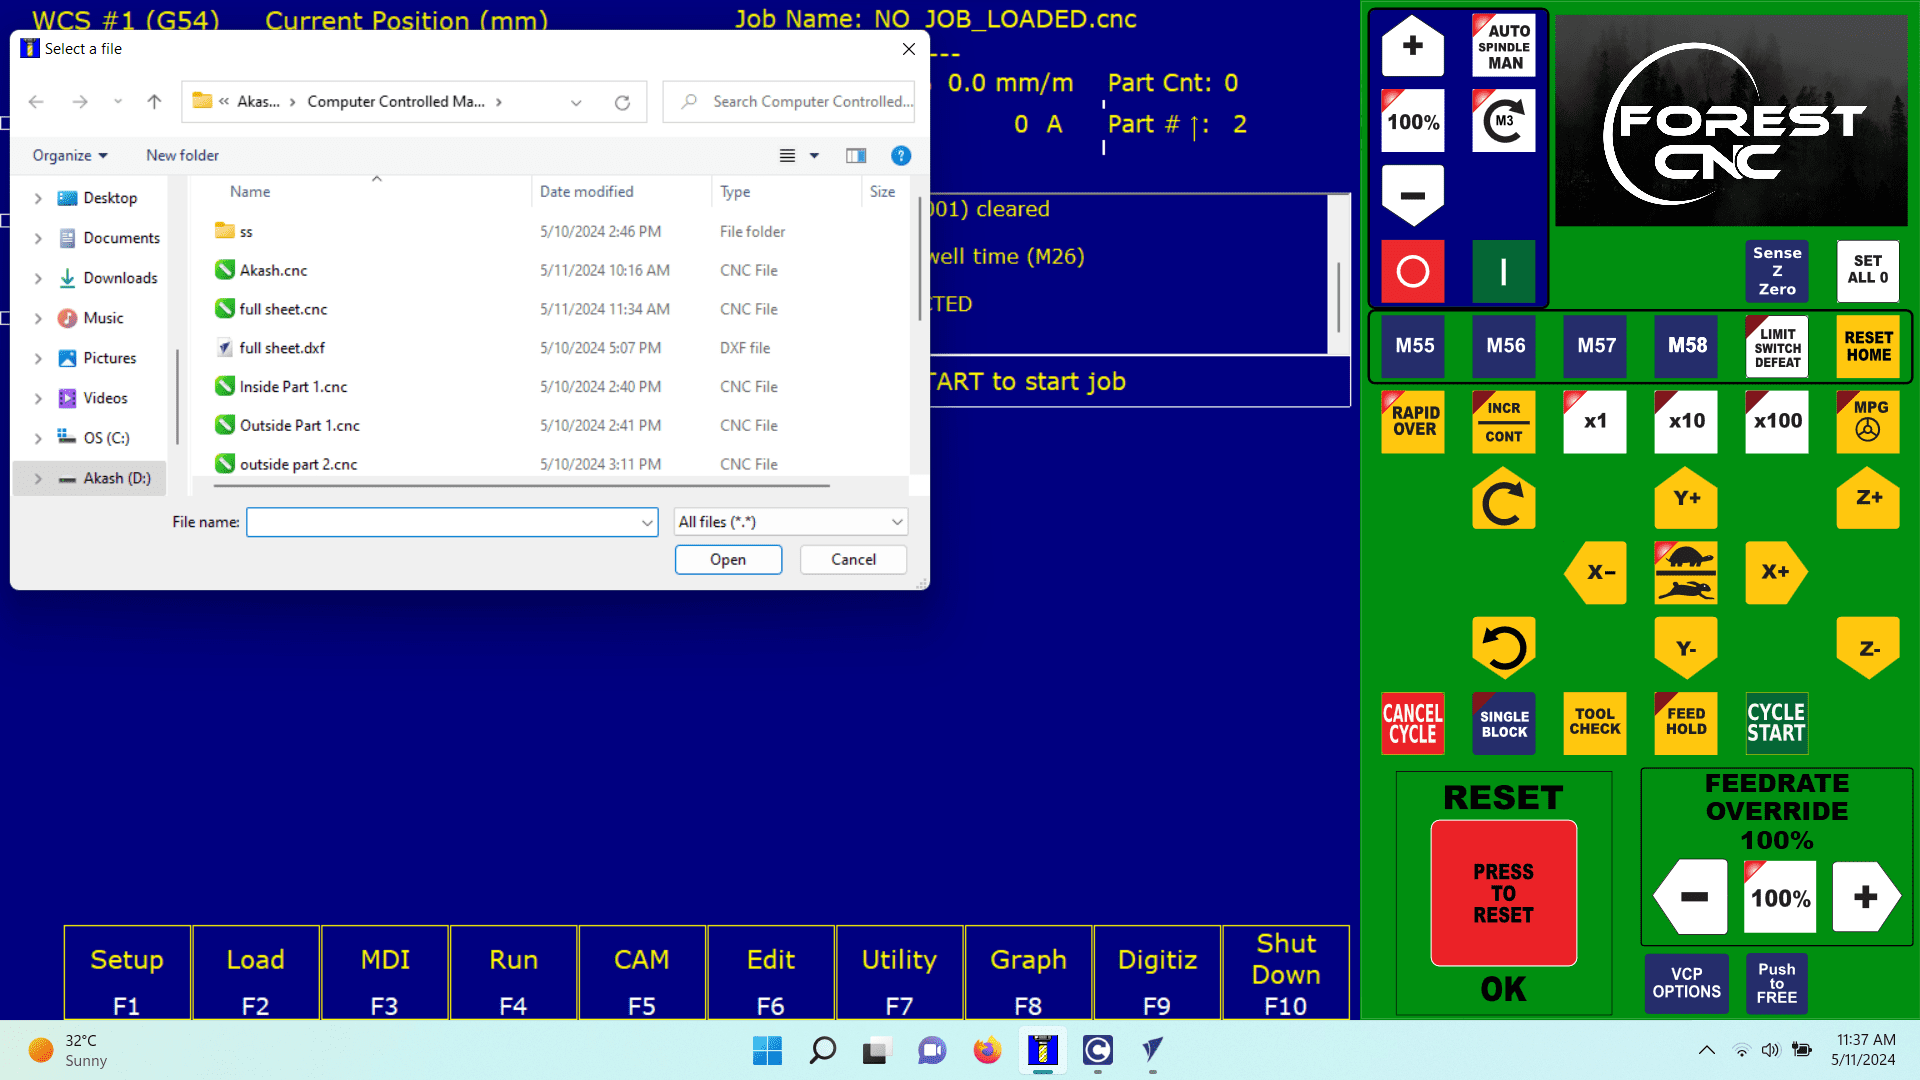
6. Load G-Code File
7. Verify the Toolpath
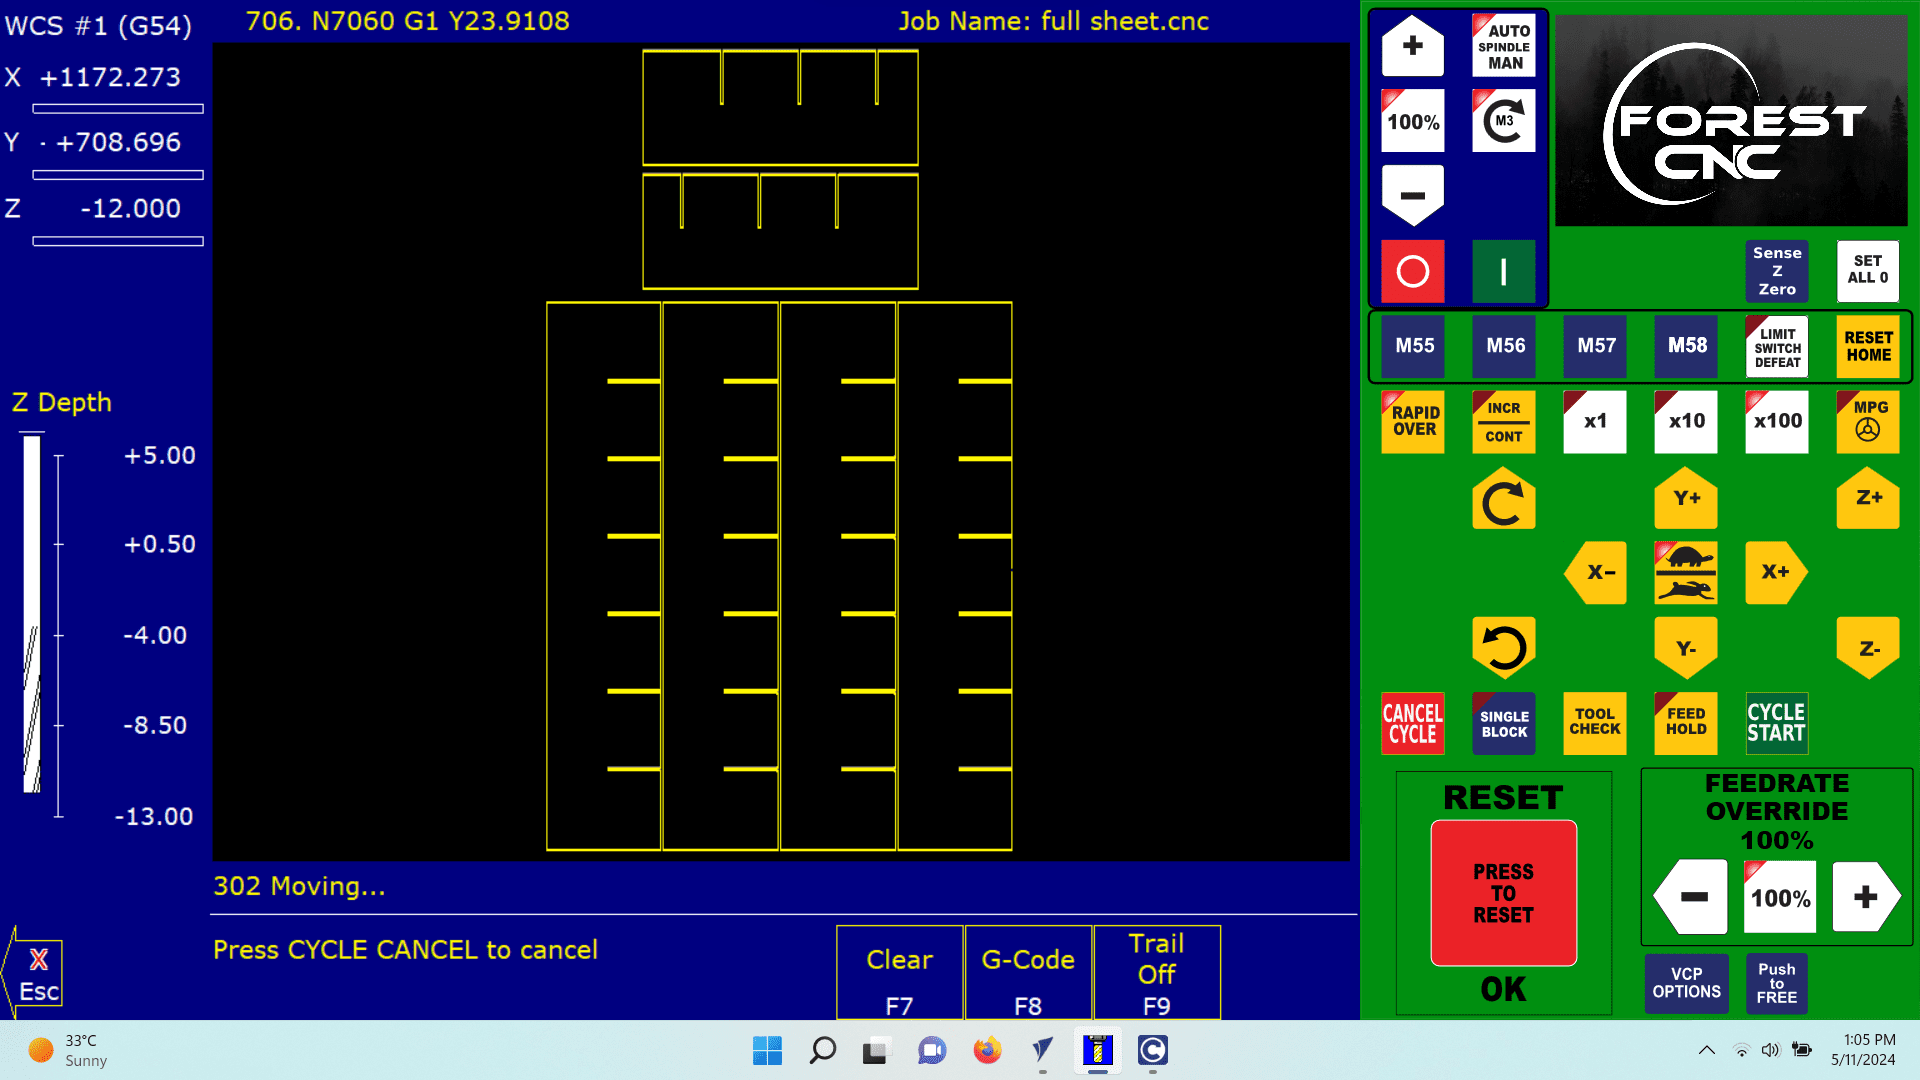
Press F8 Graph to show your toolpath. You can press F1 to view the toolpath in different perspectives, and this will also provide a time estimate at the top of the screen.
Ensure the safety shield or door is closed. Press the cycle start button twice to begin machining your part.
9. Finishing up
After the part is finished, jog the tool away from the part and remove the part. To exit the control, press F10 Shut Down, then press F1 Park (followed by Cycle Start). Finally, press F9 to exit CNC12.