Design and produce something with a digital process not covered in another assignment, documenting the requirements that your assignment meets, and including everything necessary to reproduce it. Possibilities include but are not limited to wildcard week examples.
This week's assignment was centered around designing and producing something with a digital process
(incorporating computer-aided design and manufacturing) not covered
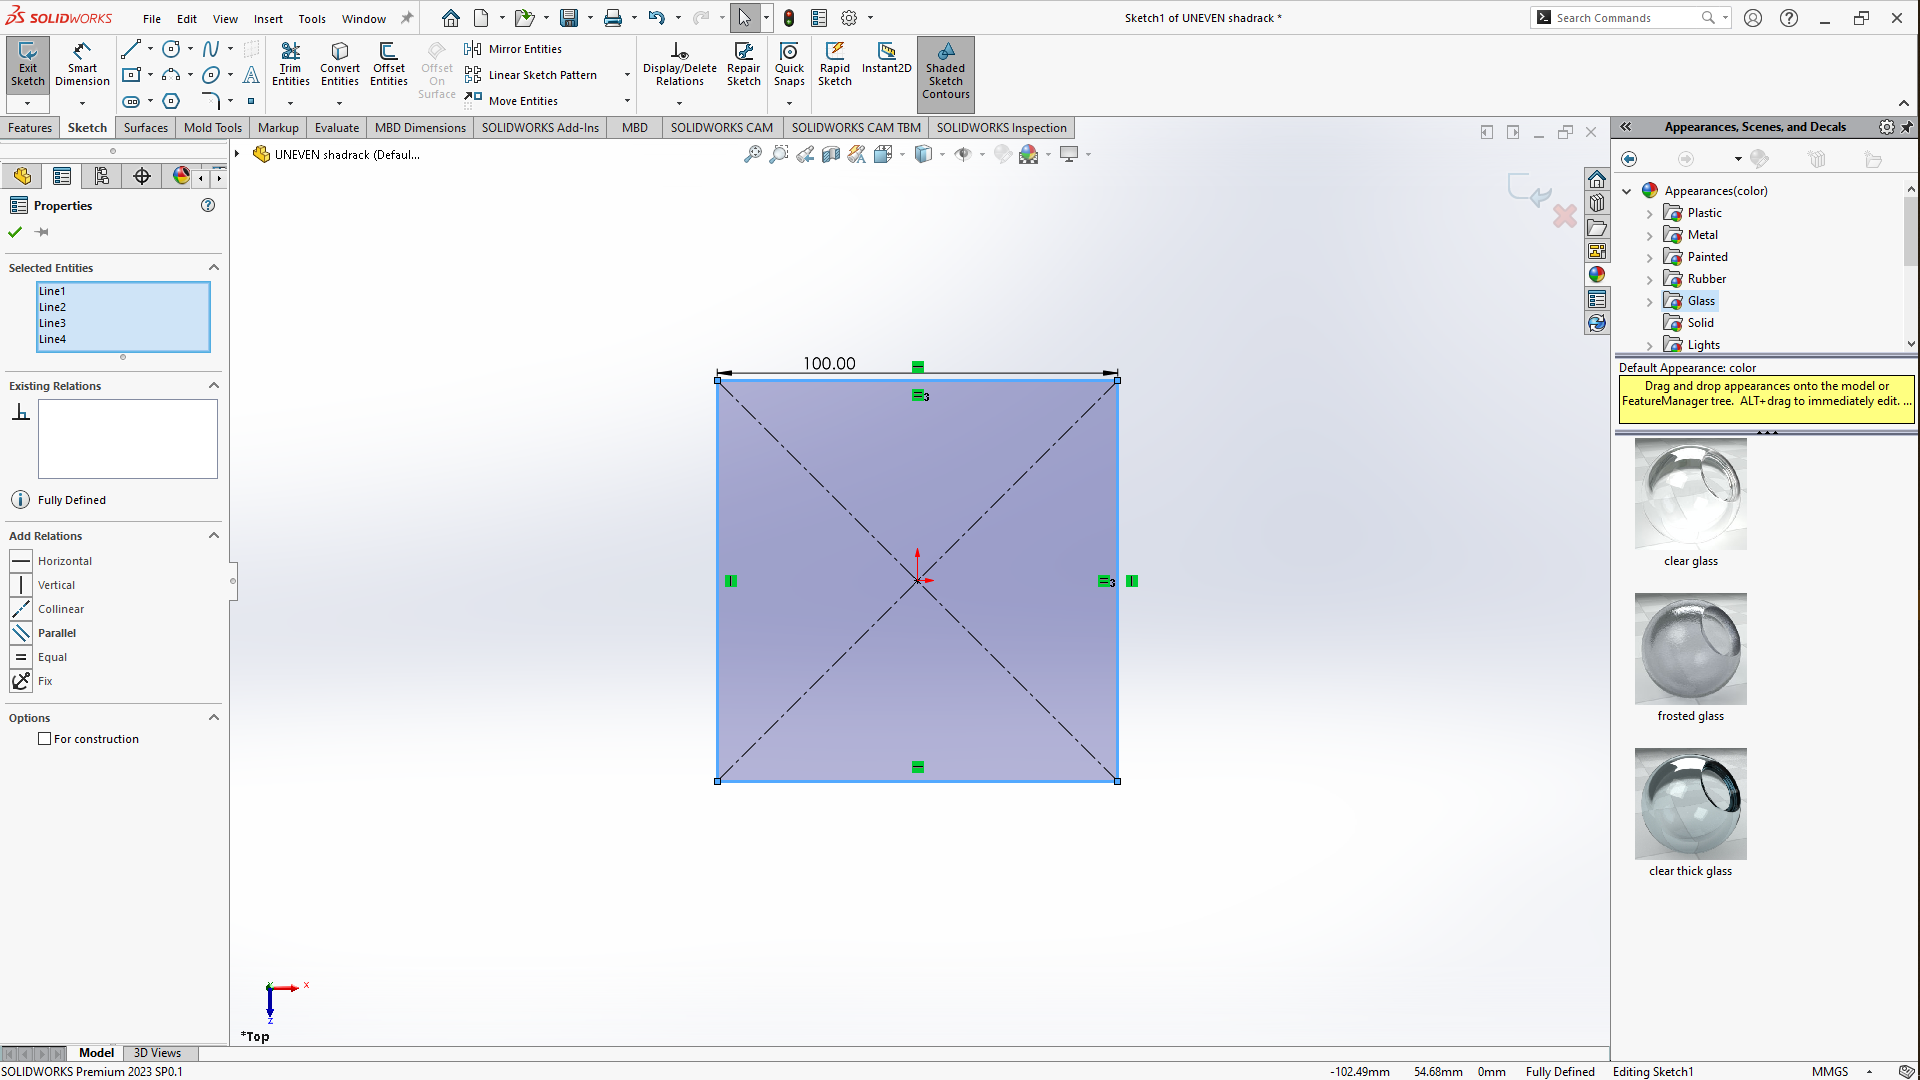
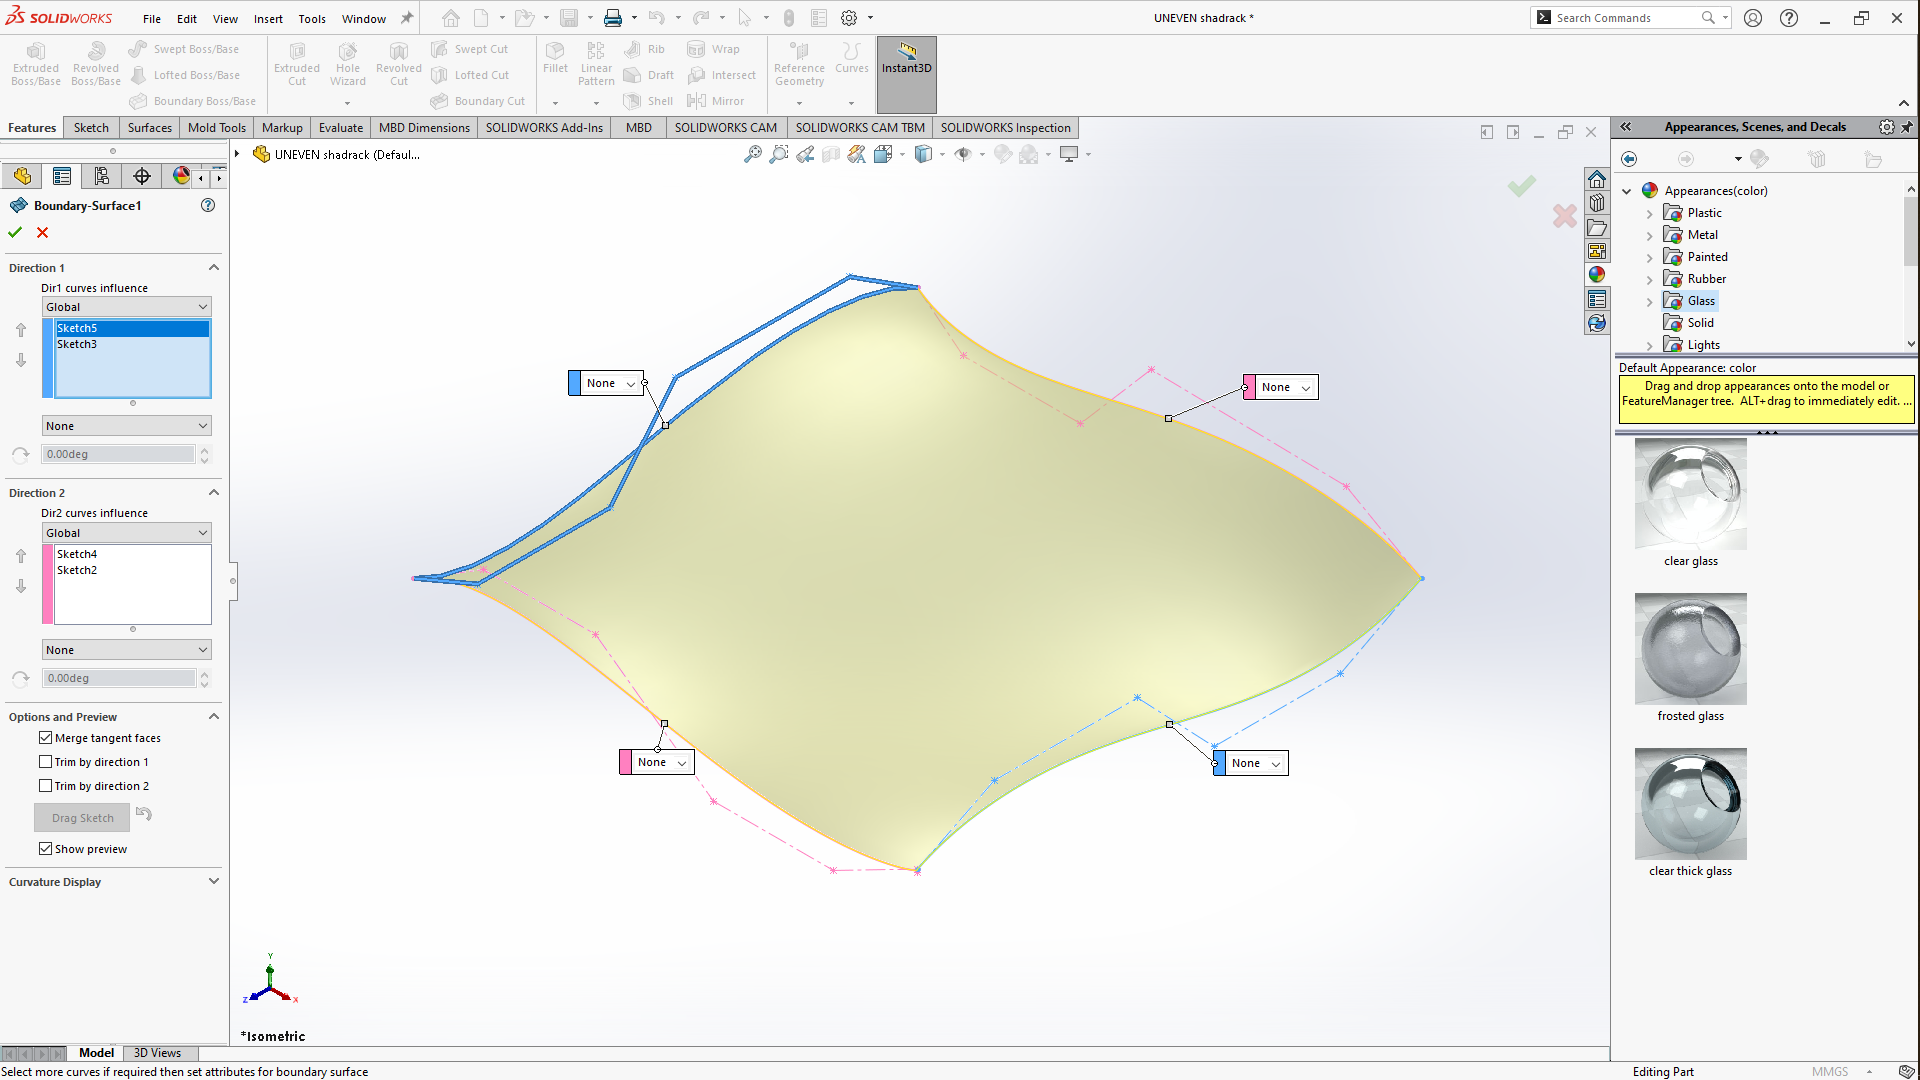
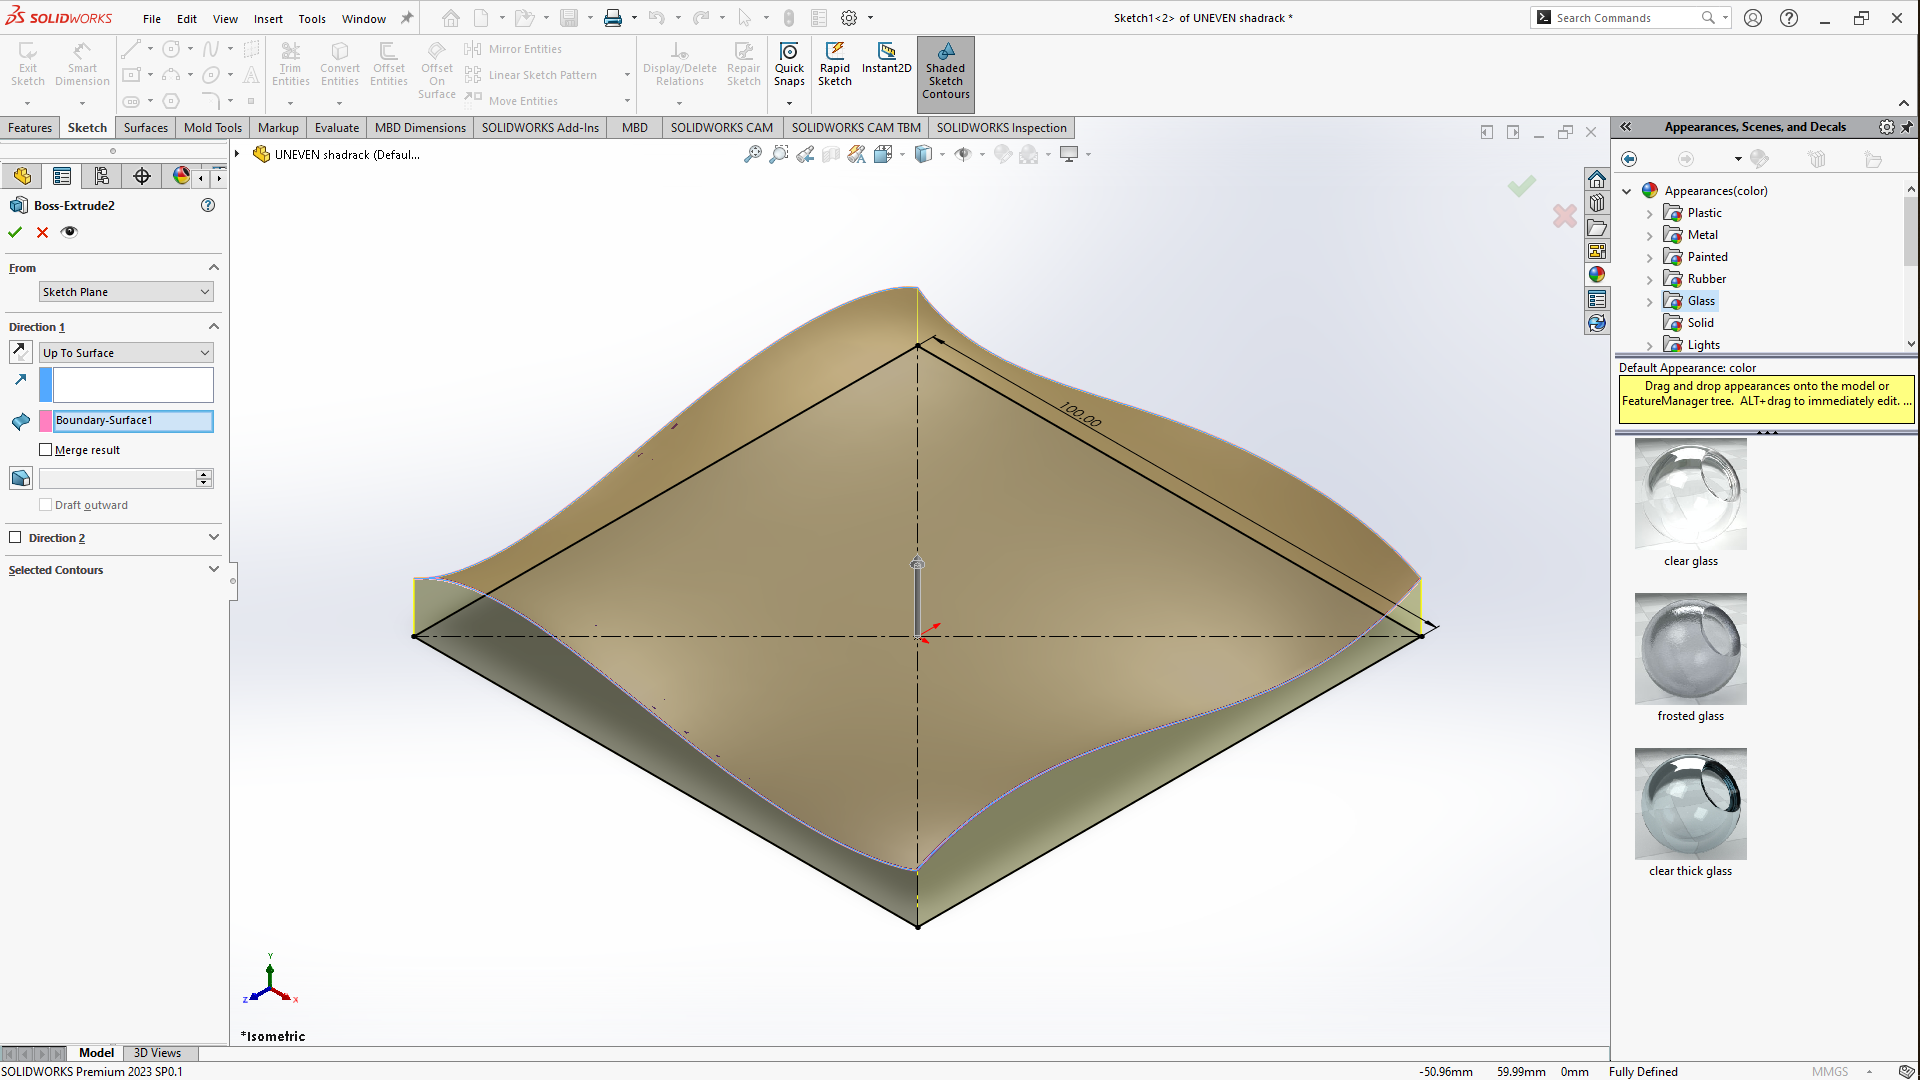
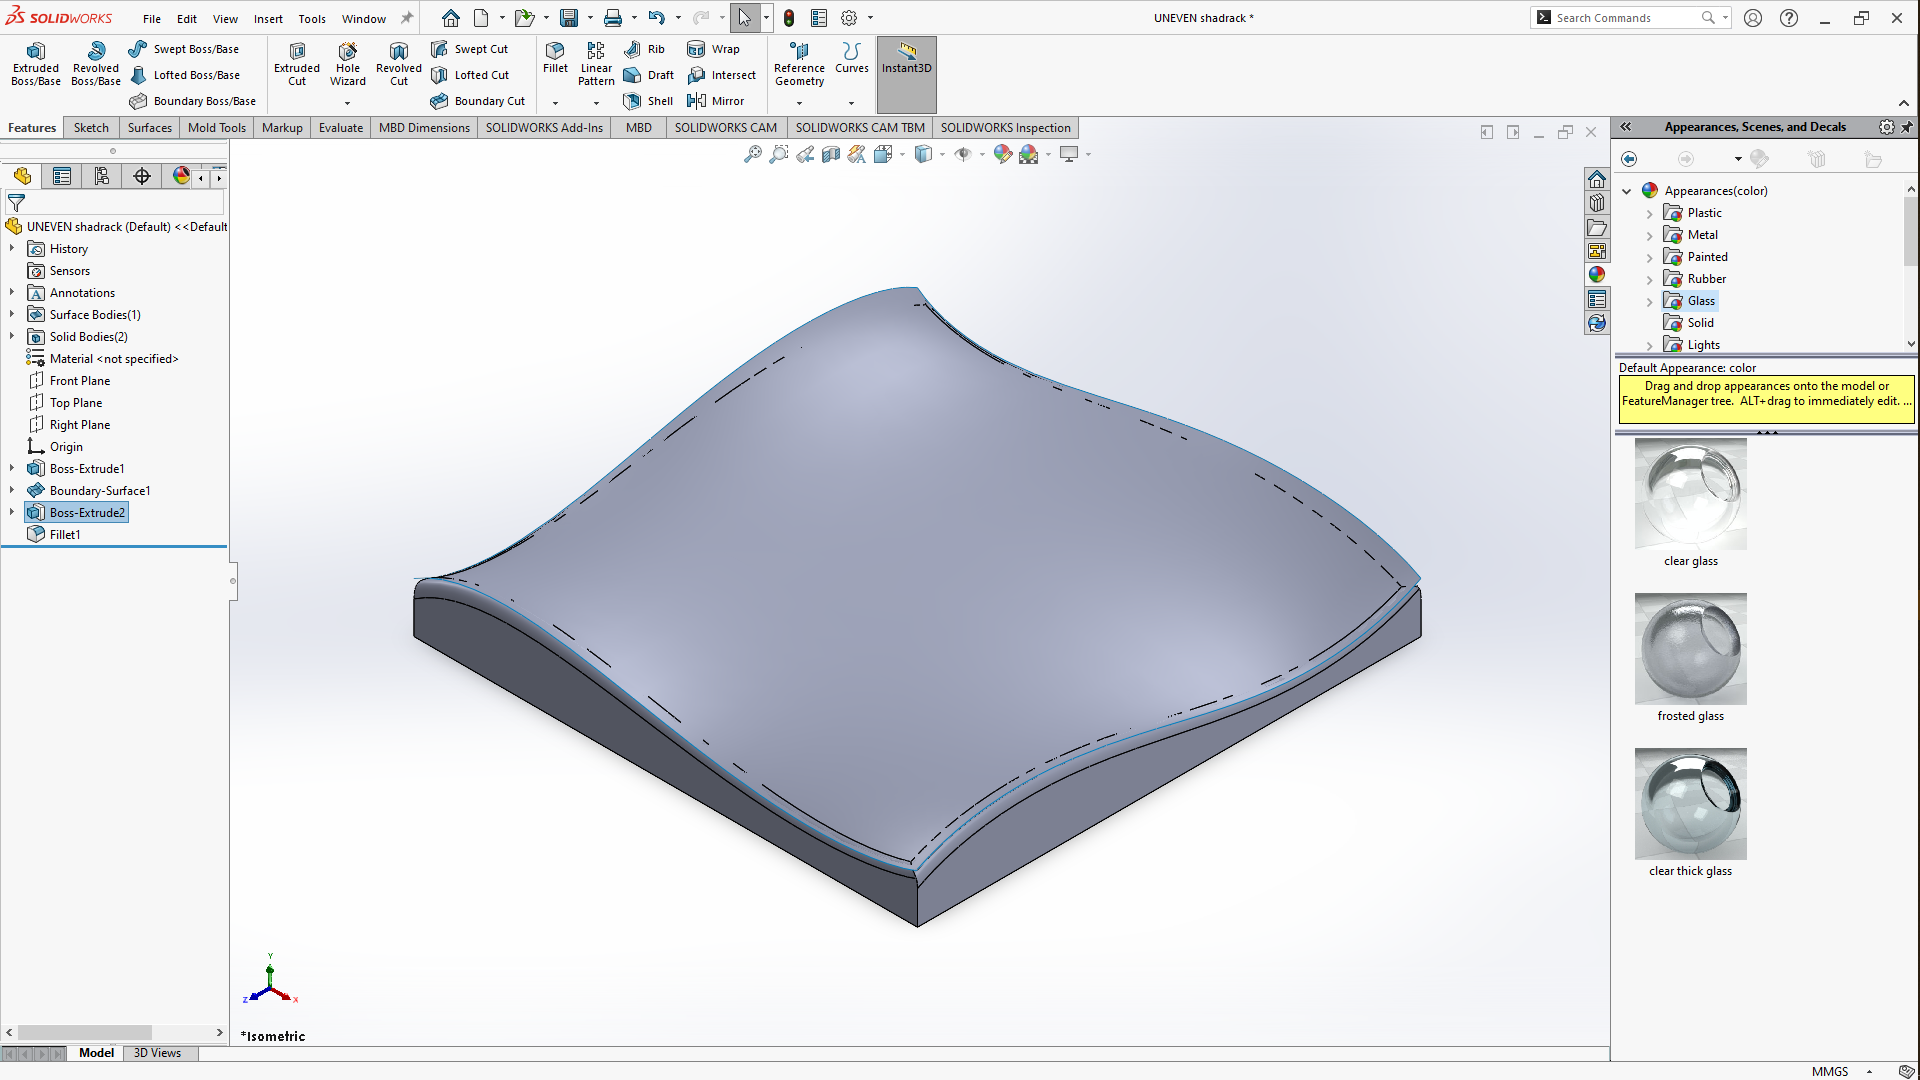
in another assignment so i started with designing in solidworks what i had planned to machine on cnc but a different method we hand't used yet called carving so i sketched and created
the model in solidworks
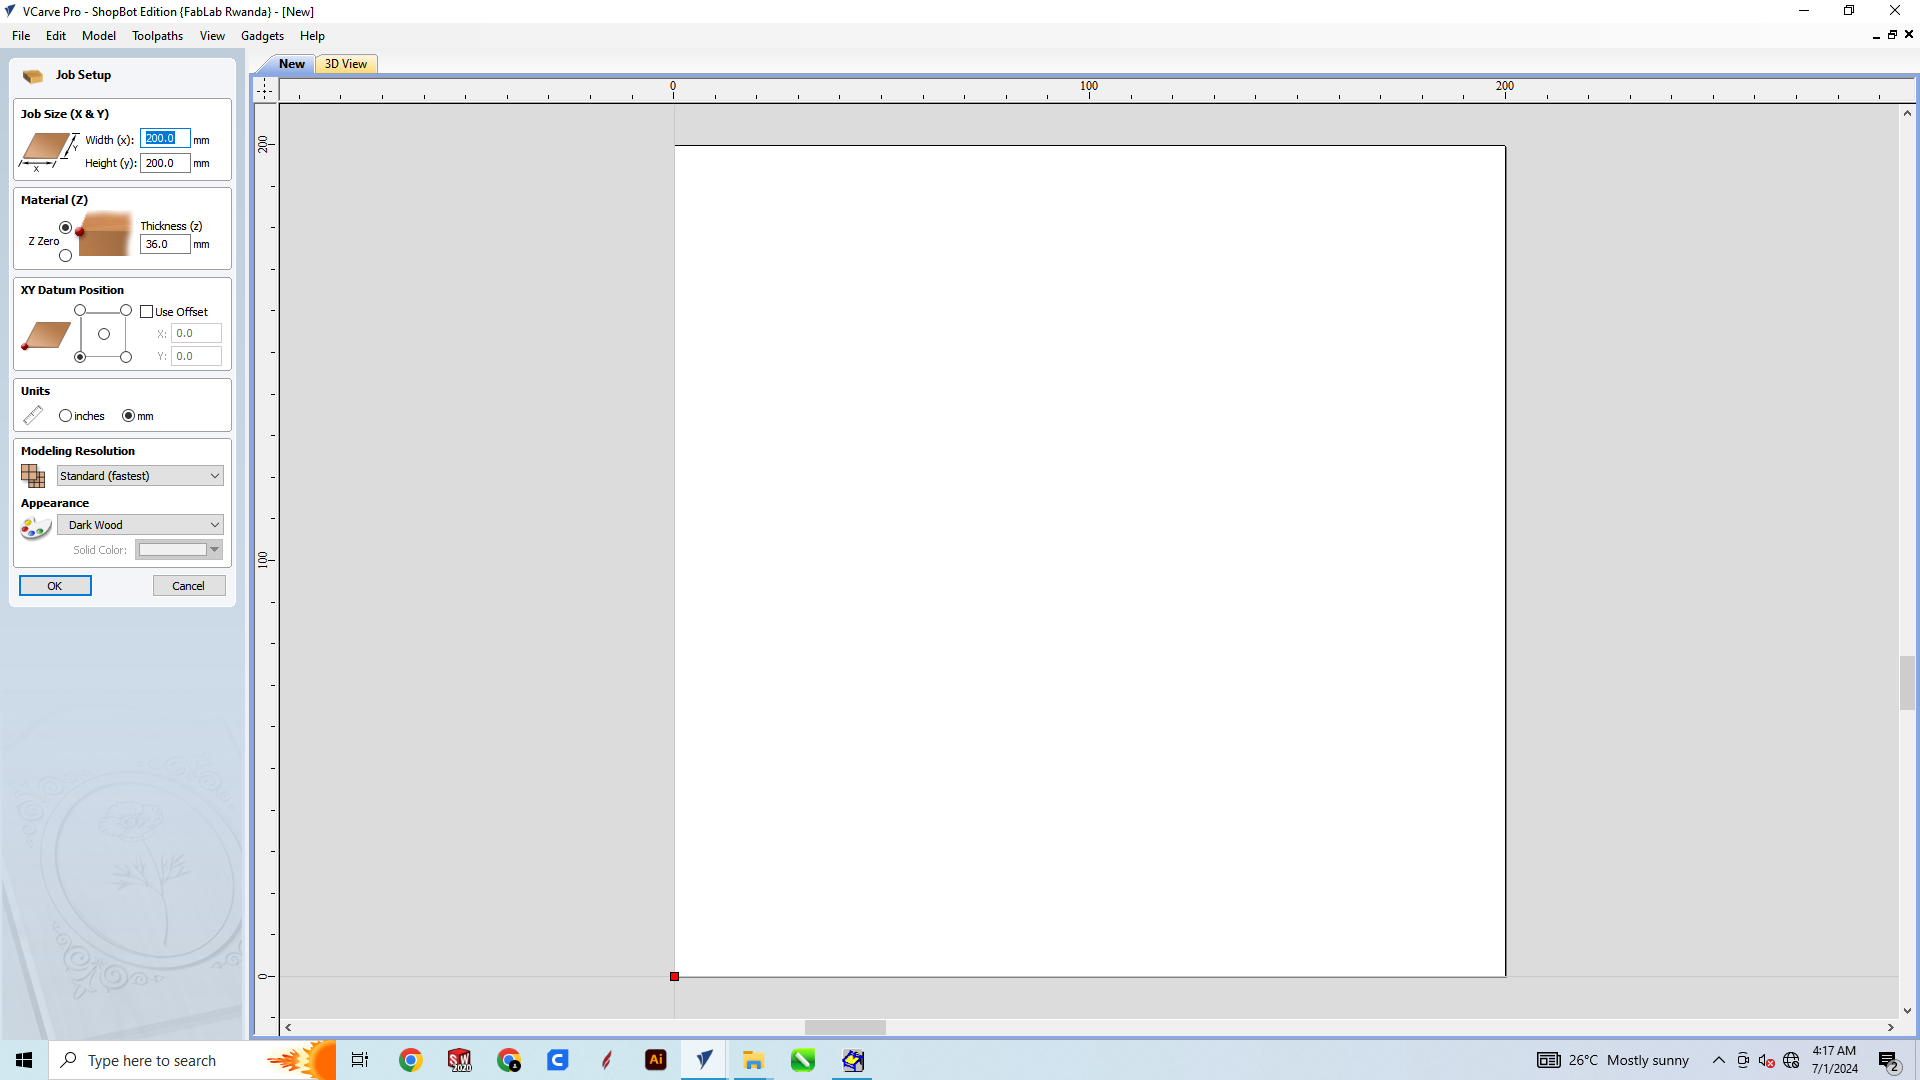
After sketching i saved the file into stl format to be able to use it in vcarve so i opened vcarve started to set up the working place to a square of 200MMx200MM then set the thickness
to 36MM then clicked on ok, then you go to file and import then click on import component, this will open a window go to where the stl file is saved load it into a the software then with
MOdelling window open, go to initial orientation to set the model correct on the workspace, after go to model size uncheck the lock XYZ ratio and then reduce the Z height to 18MM or below
then go down click ok to close the window. With the 3D Model tools window open click on create vector boundary from selected components.
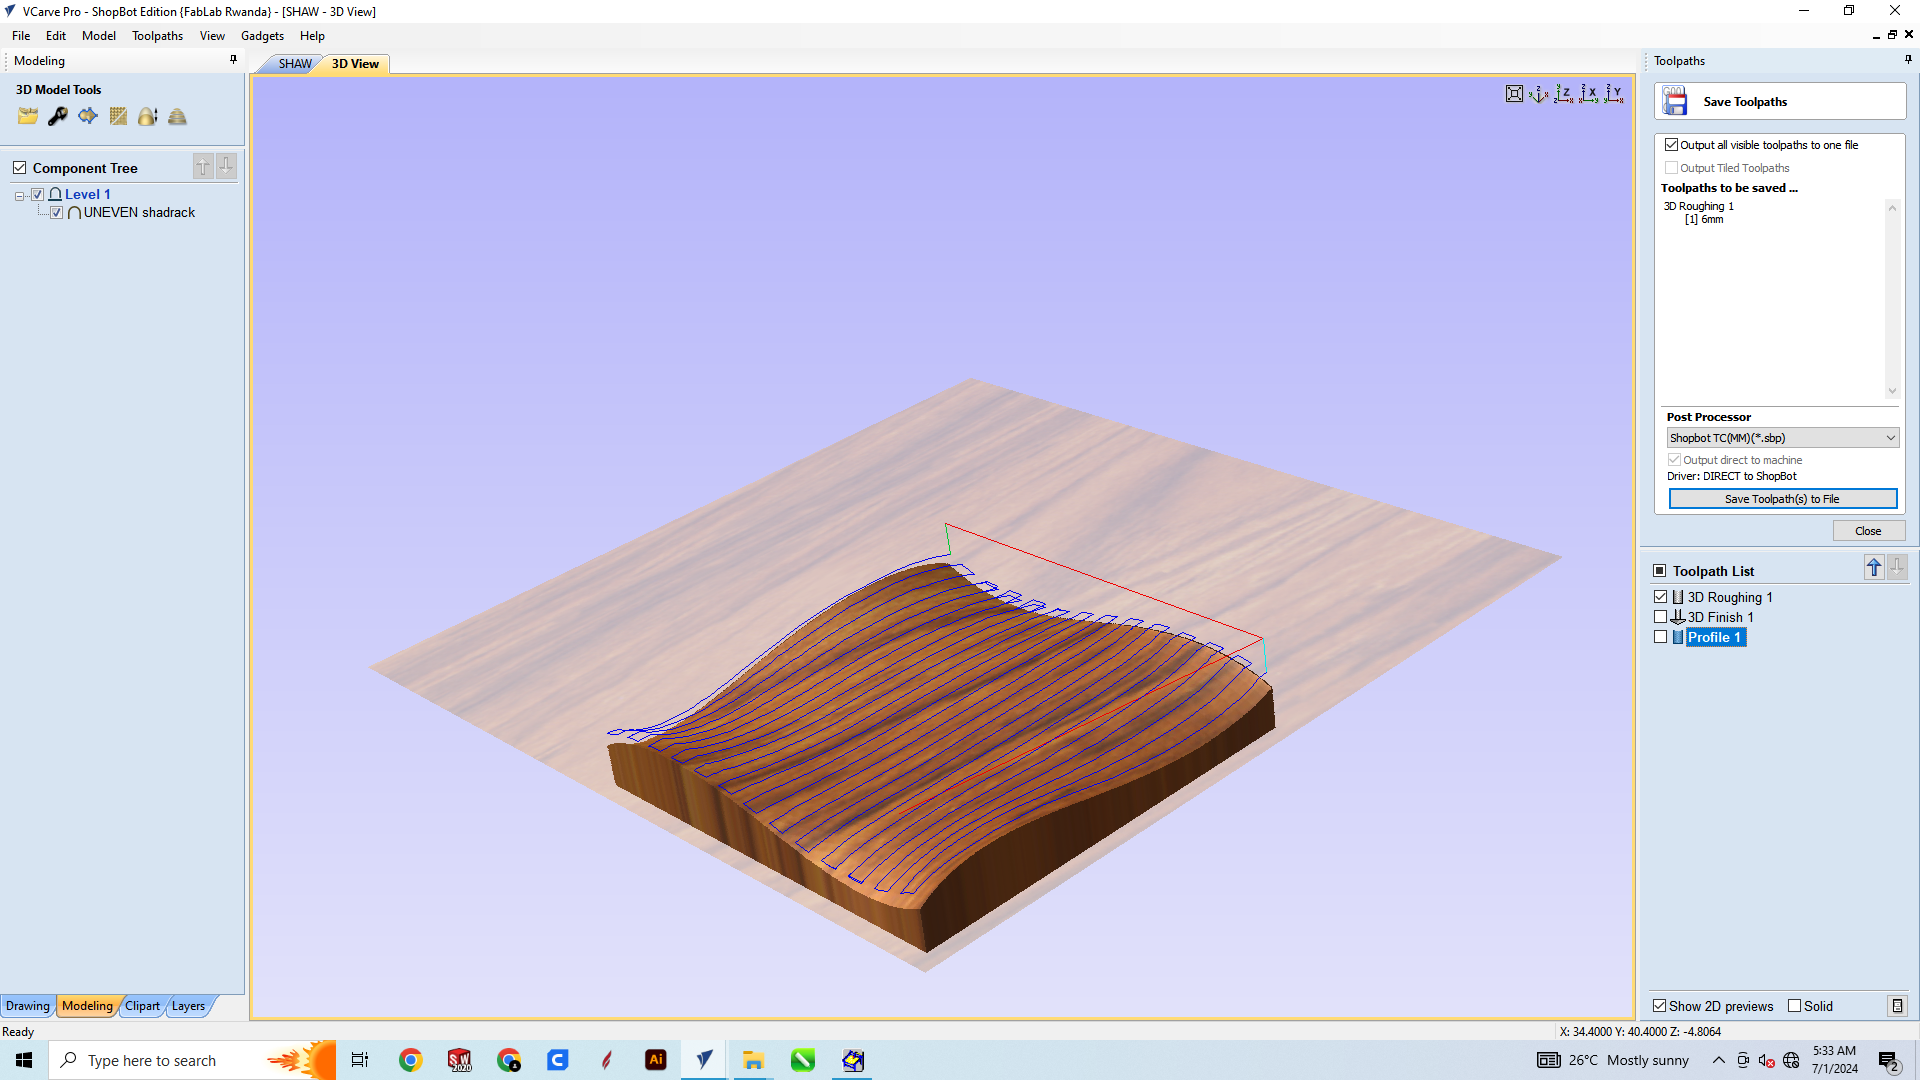
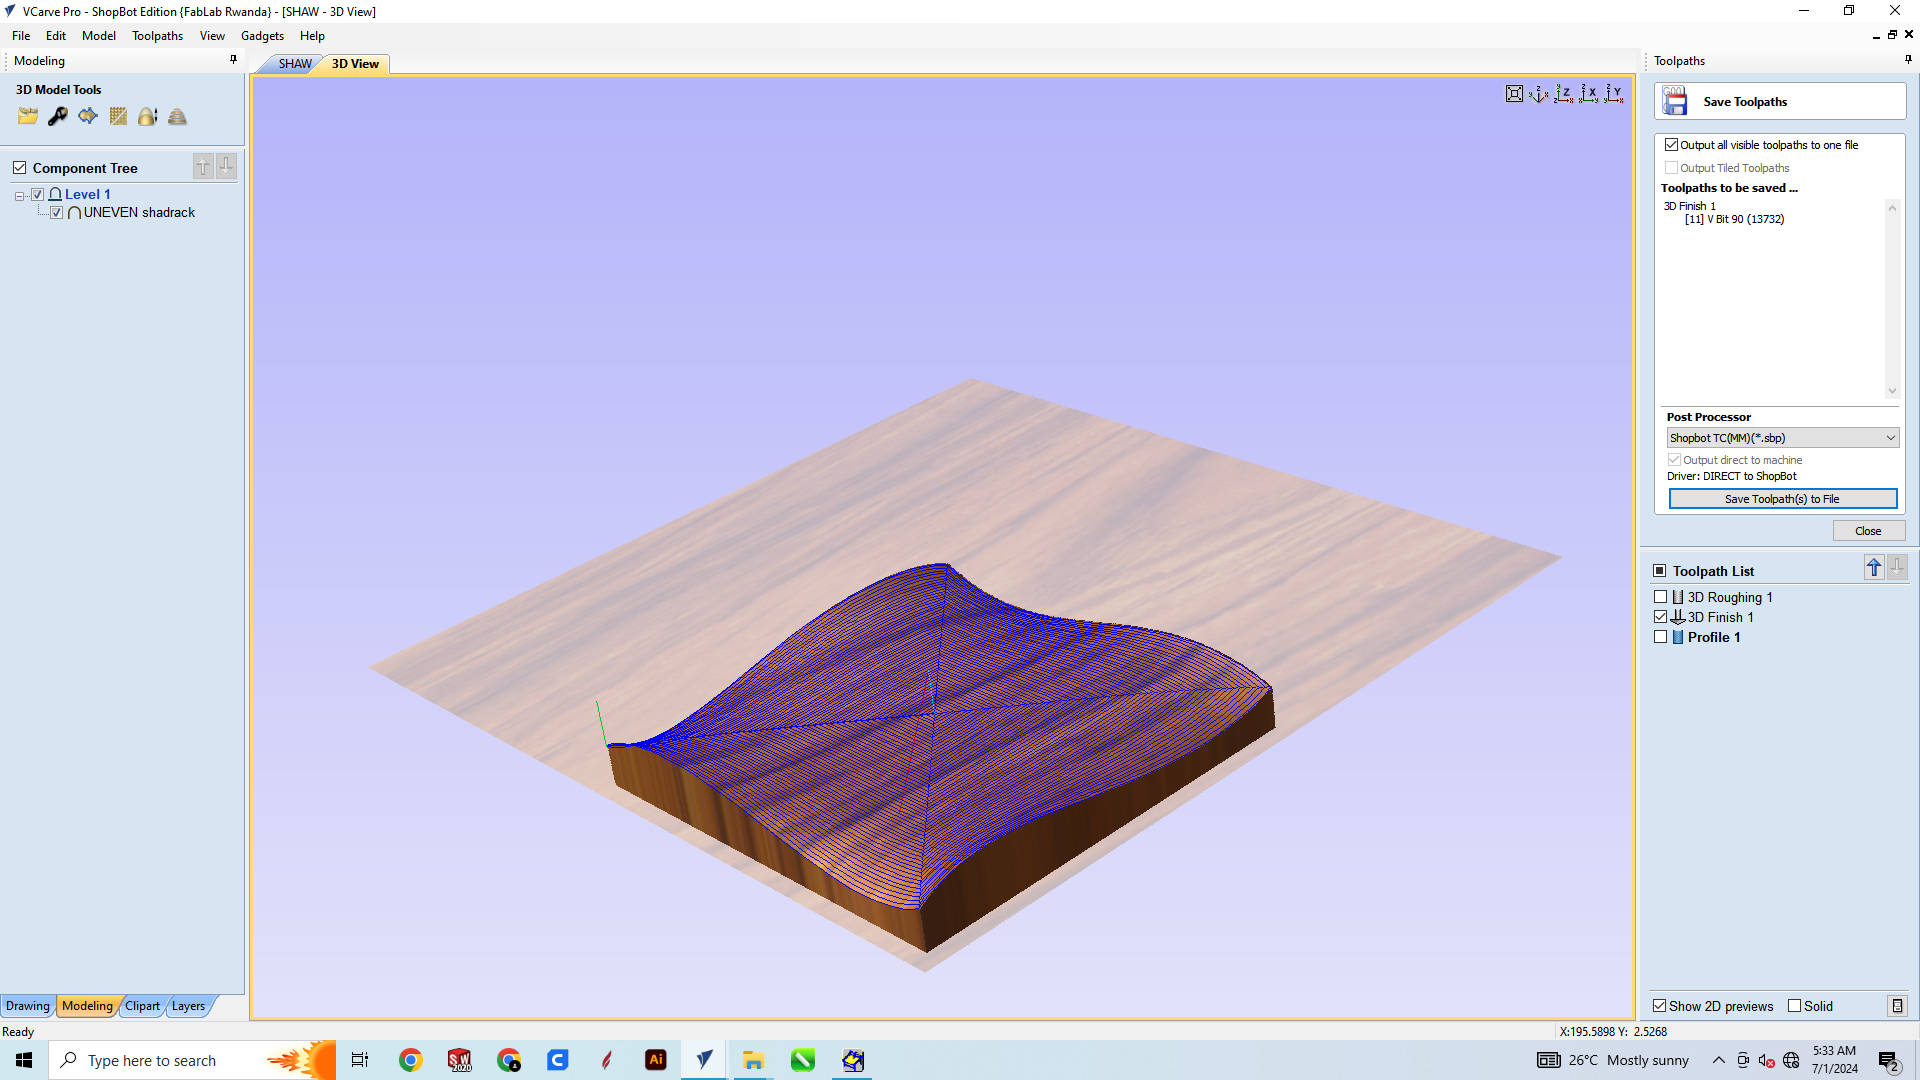
Under toolpath go to 3D roughing material select model boundary then roughing strategy to 3Draster then click calculate, after saving go to finish machining toolpath select the tool
that you have, select model boundary then click calculate then save.
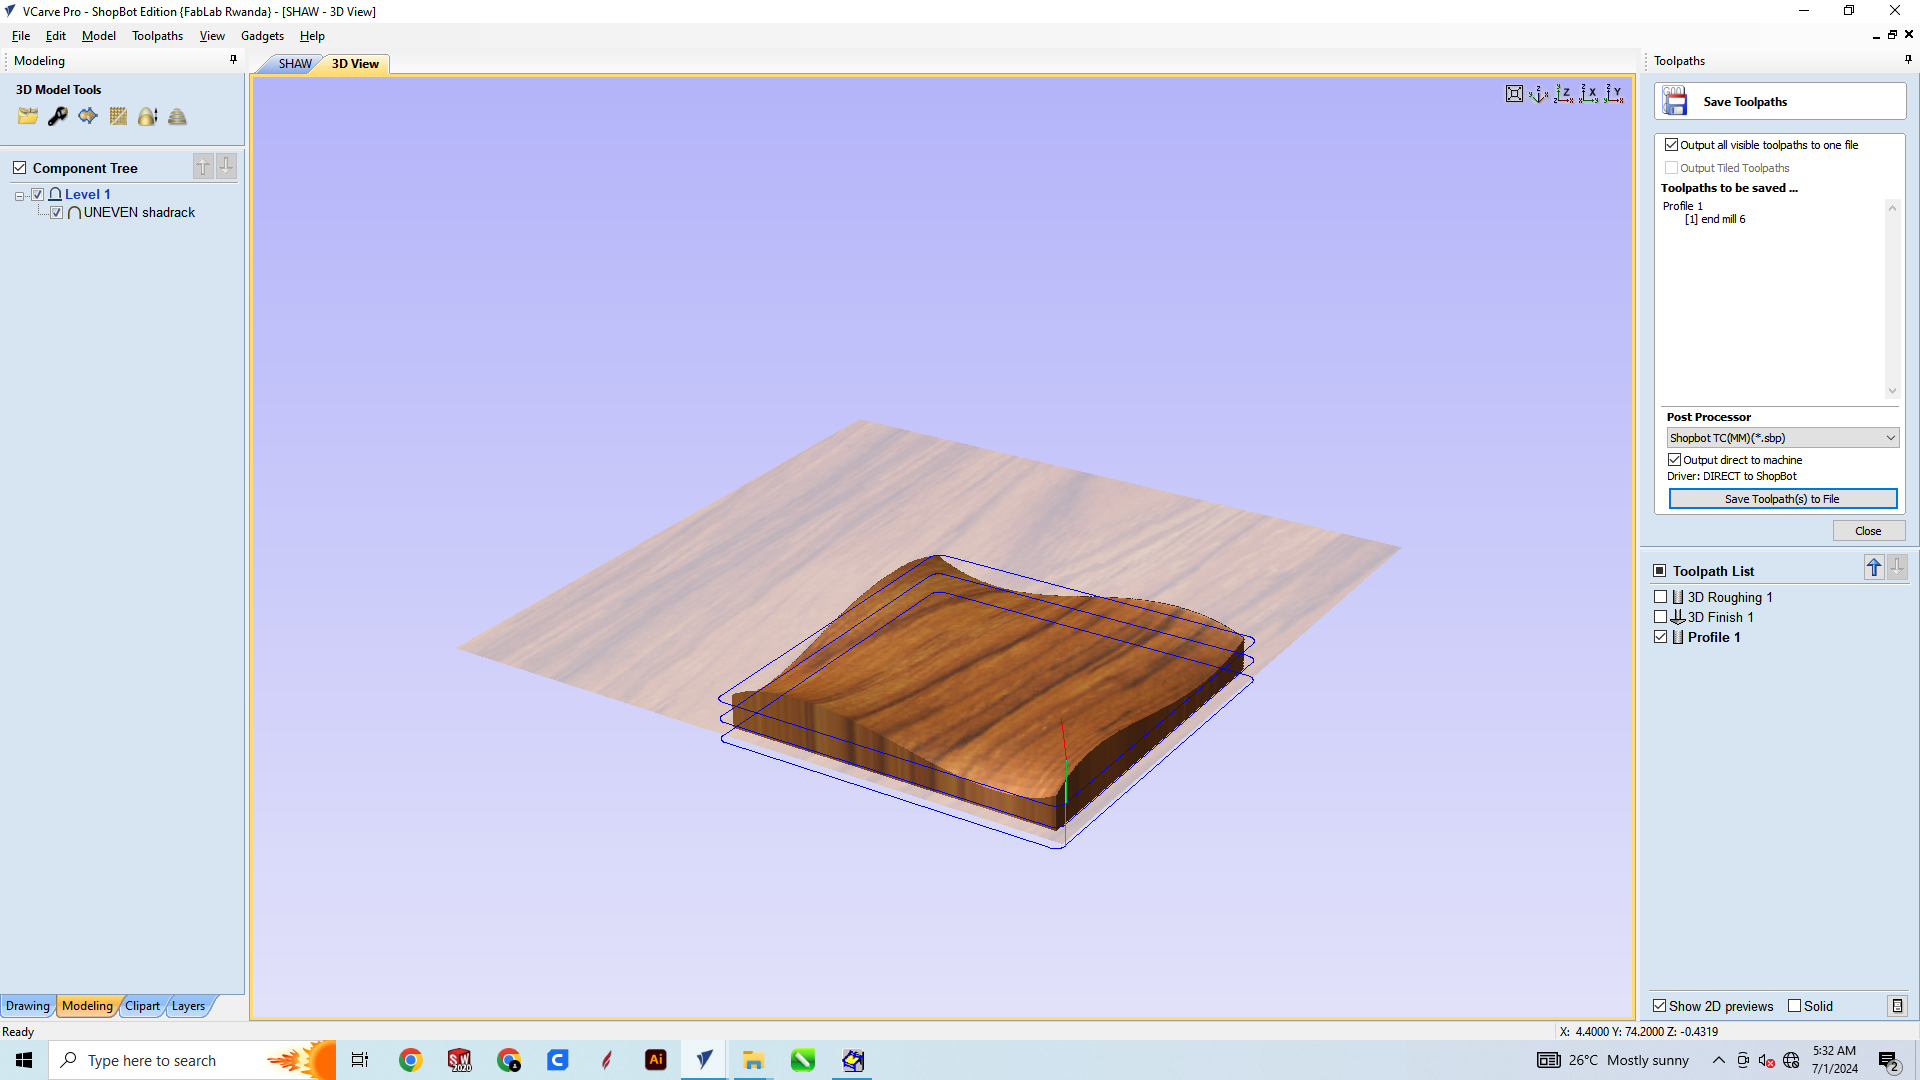
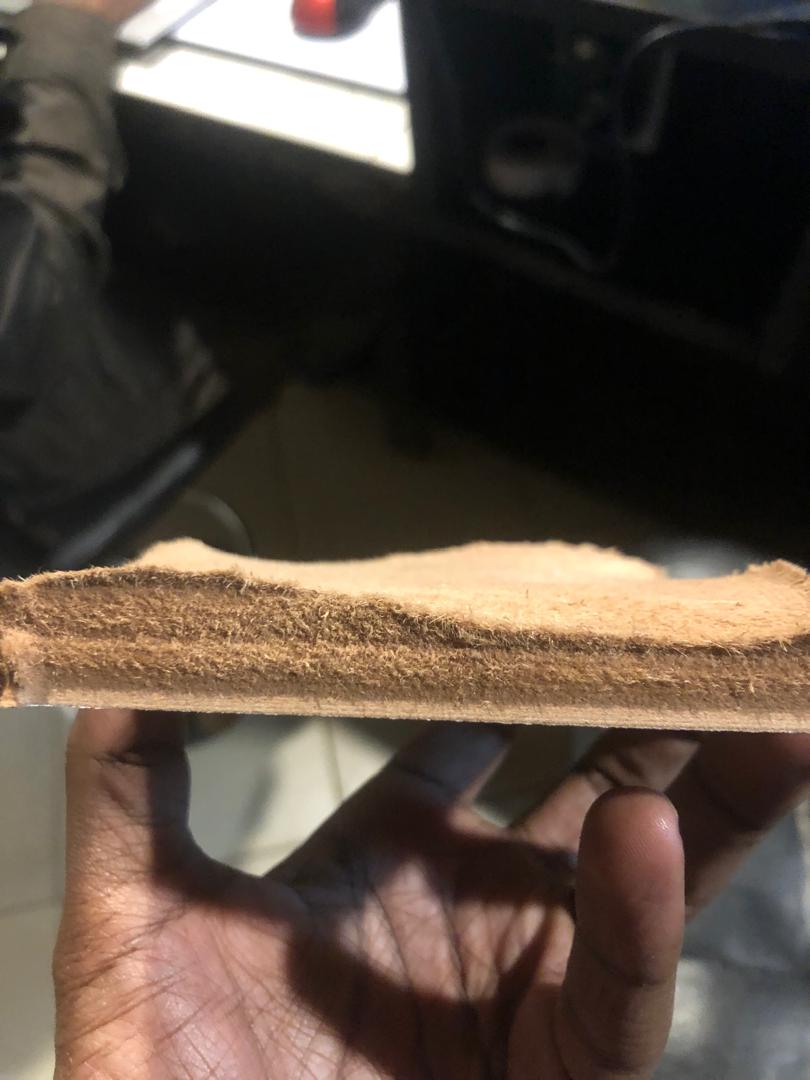
After youu set the XYZ axis and then start the job, we used 6mm endmill for roughing and vbit for 3D finishing and then we swap the tools again to use the endmill and remove the piece
completely, here below are the final product
Embrodery
Embroidery is the craft of decorating fabric or other materials using a needle to apply thread or yarn. It involves intricate stitching techniques to create designs, patterns, or images on textiles, adding texture and color. Embroidery can be done by hand or with the help of machines, making it a versatile art form used in fashion, home decor, and branding.
My Experience with Embroidery in Fab Academy
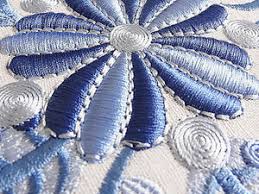
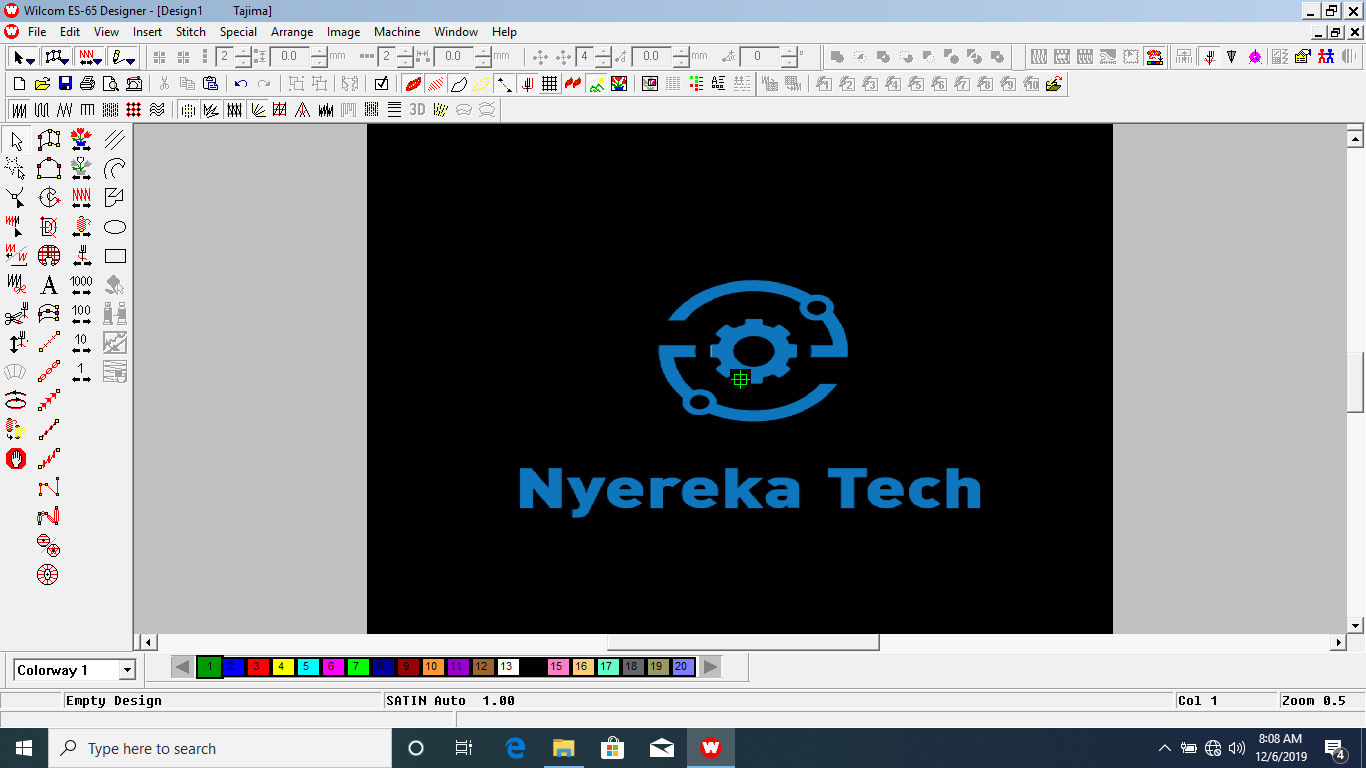
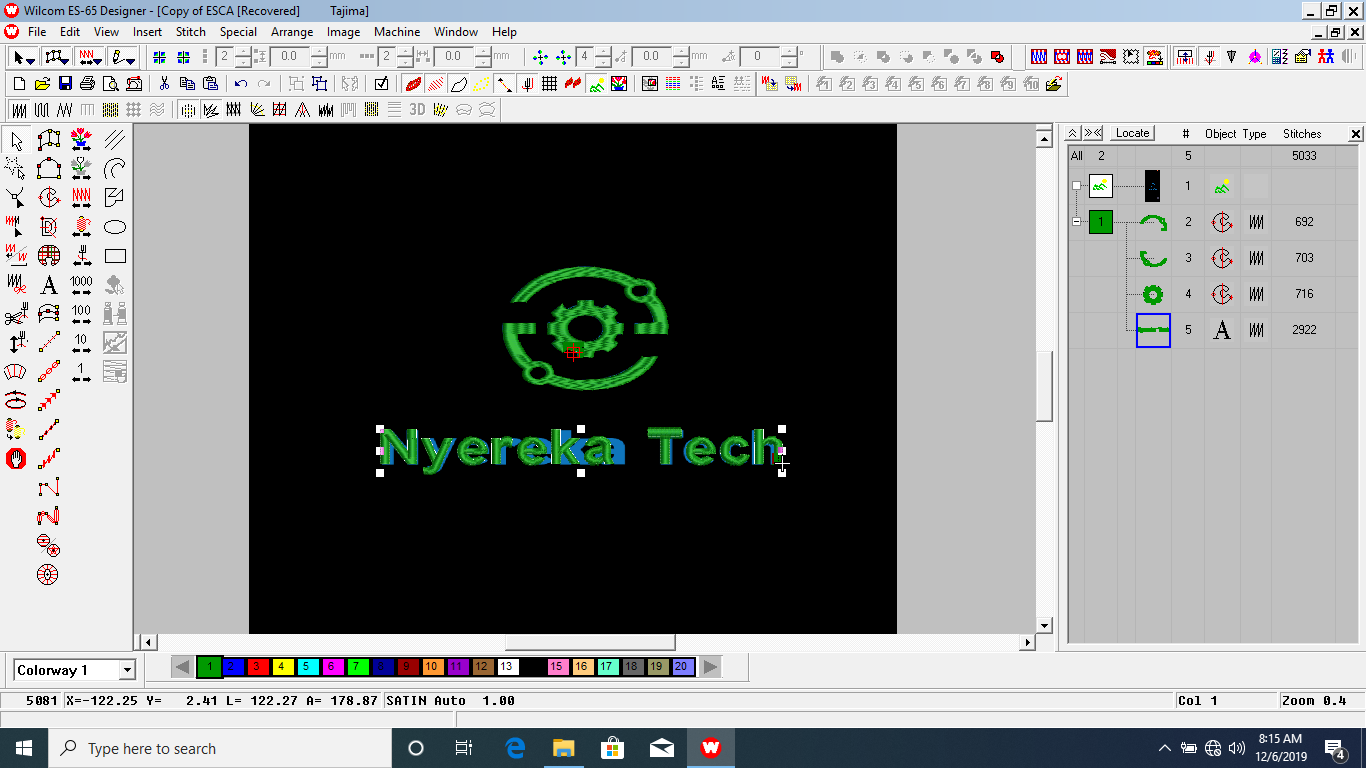
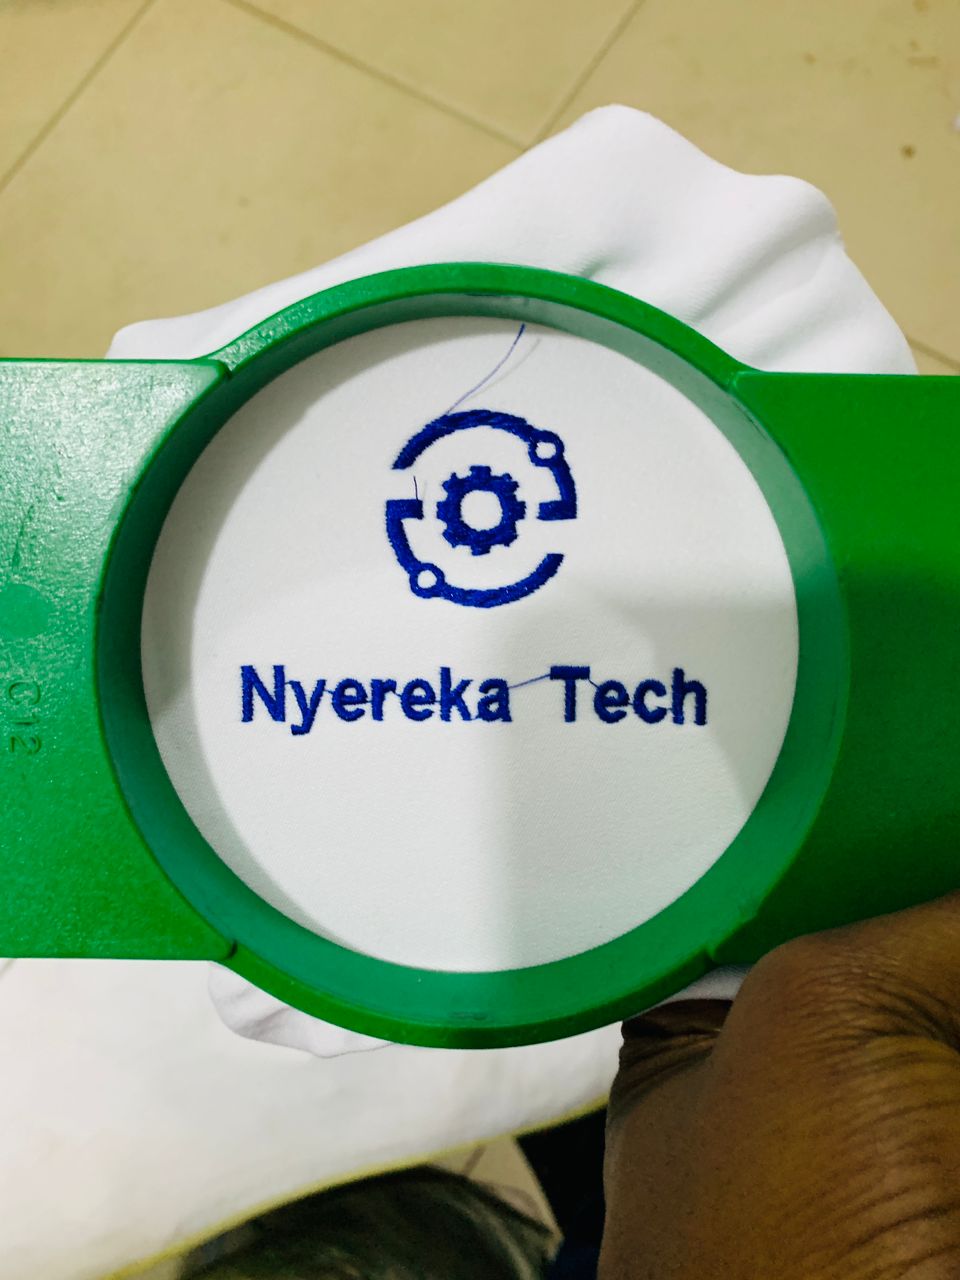
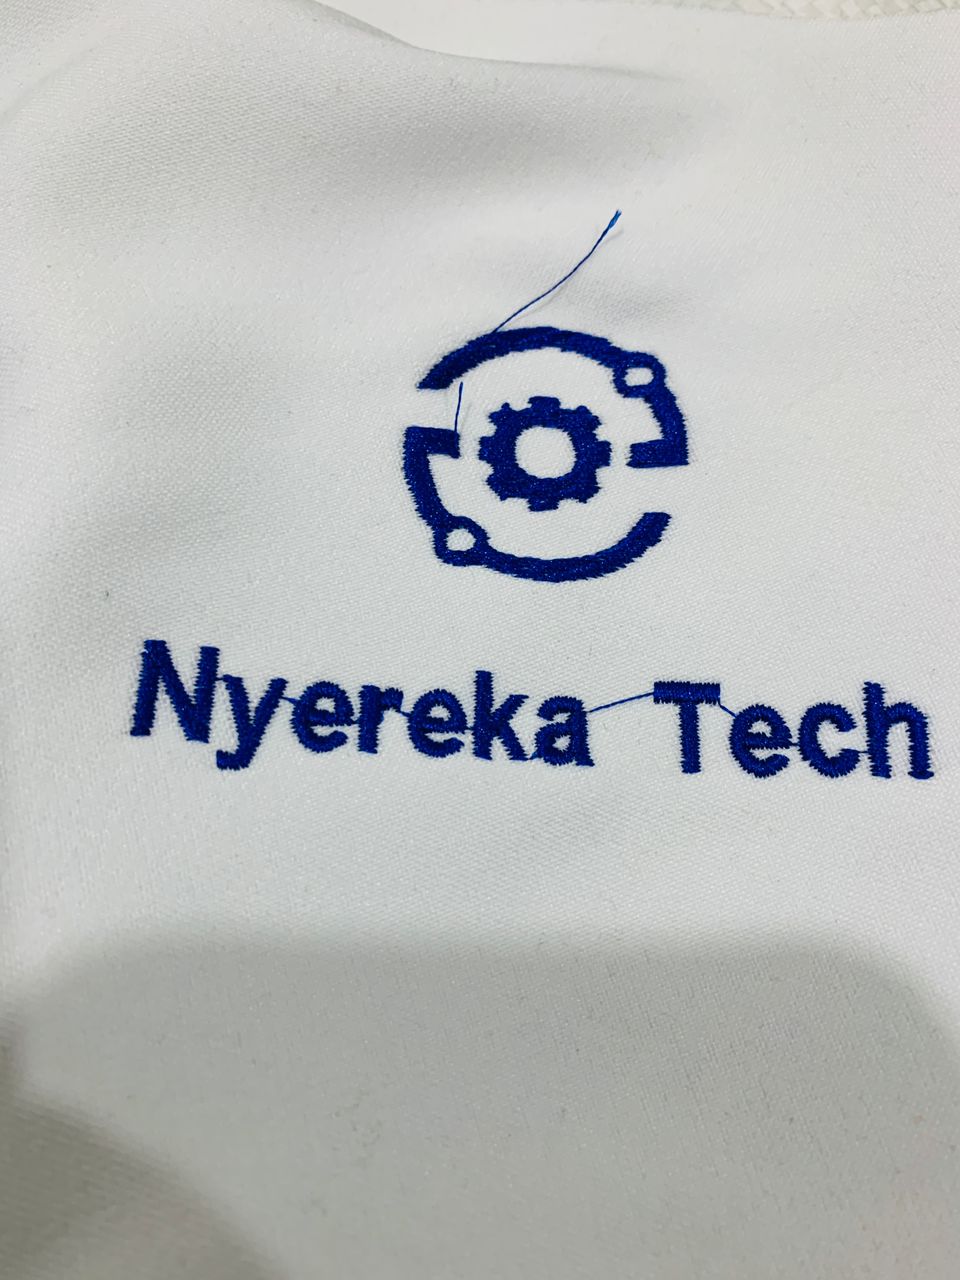
I chose to acquire embroidery skills during the wildcard week as part of my Fab Academy journey. For this project, I decided to embroider my company logo, which you can see in the images below. This choice was driven by a desire to incorporate personalized branding elements into my projects and enhance my technical skill set.
Learning the Process
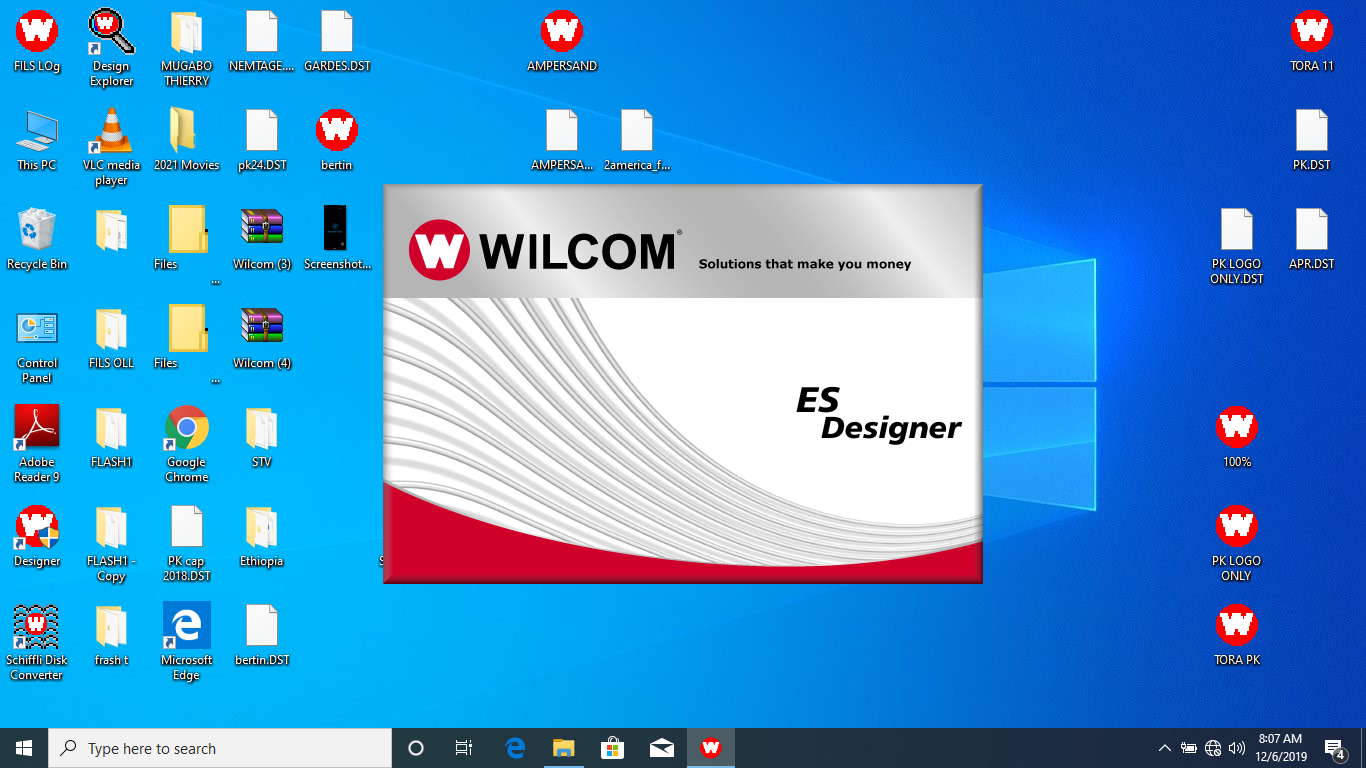
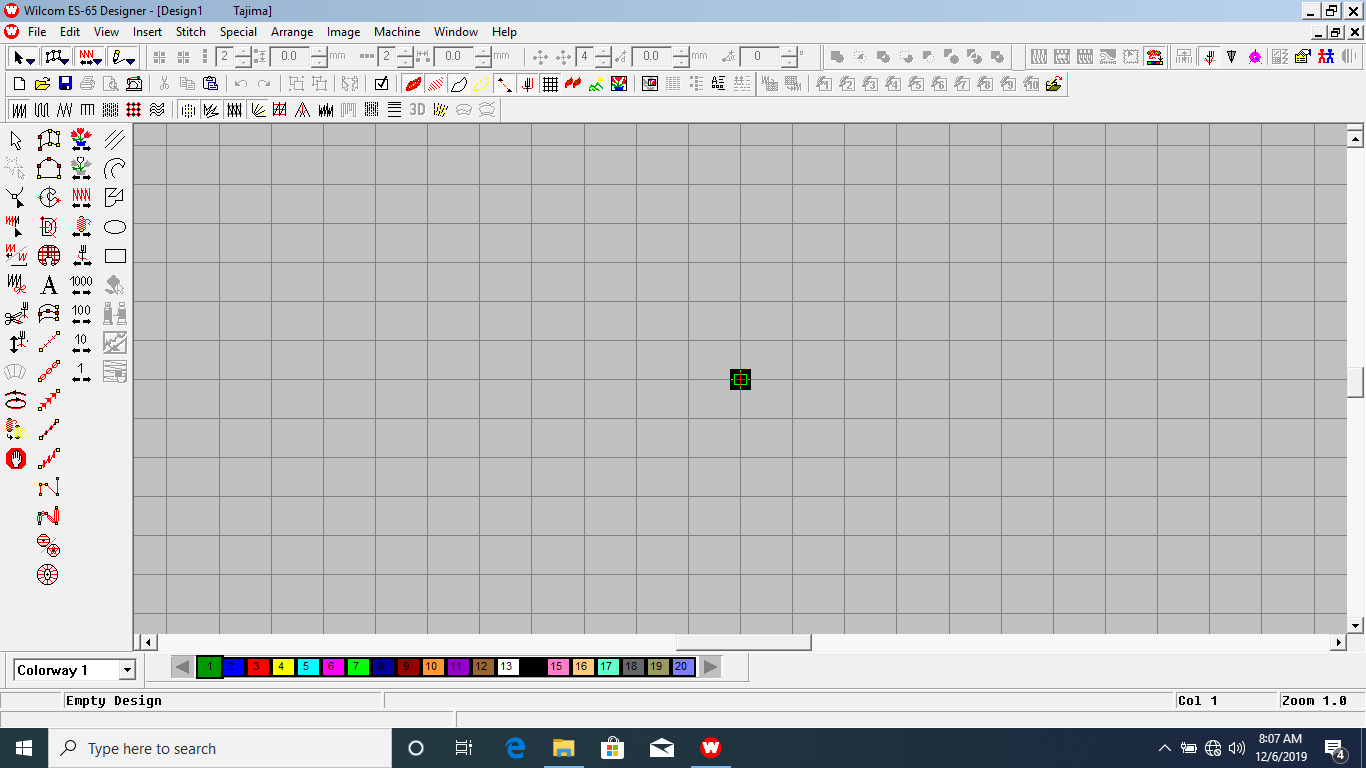
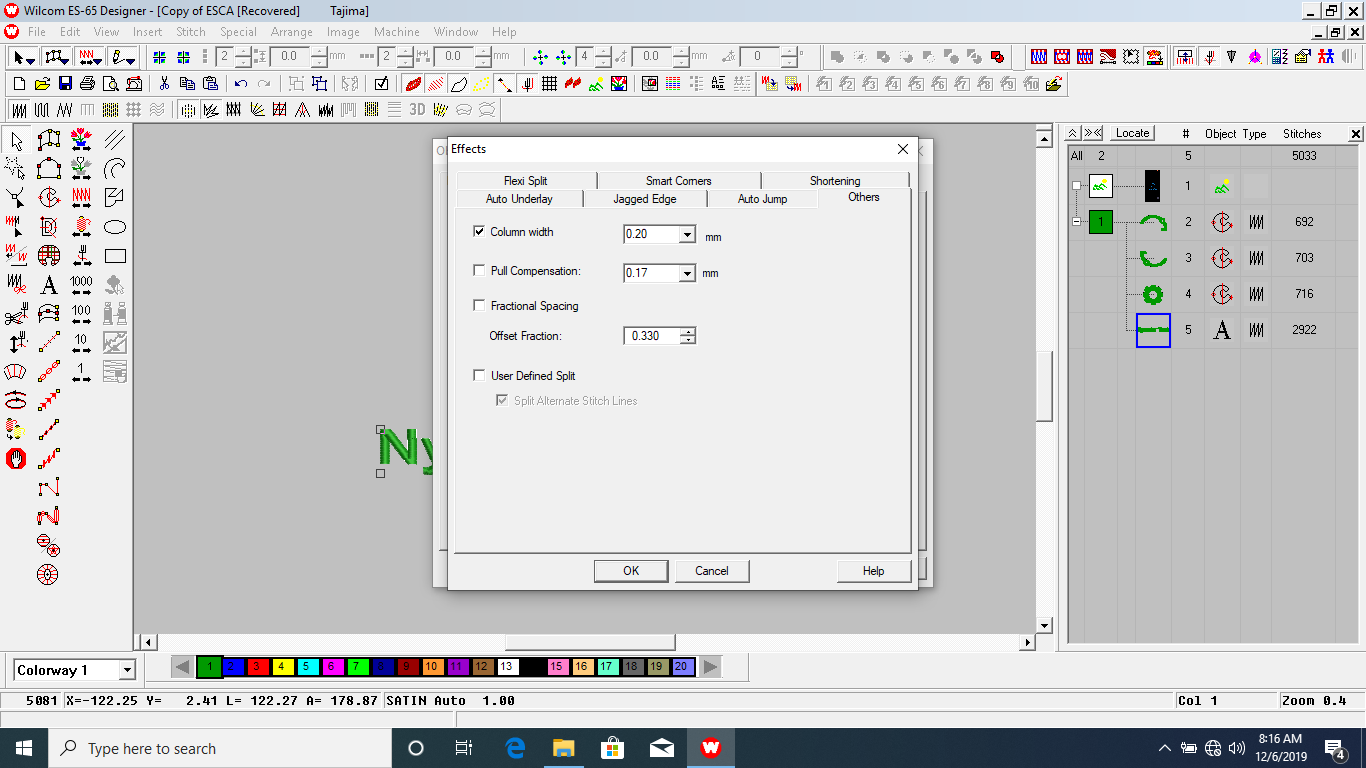
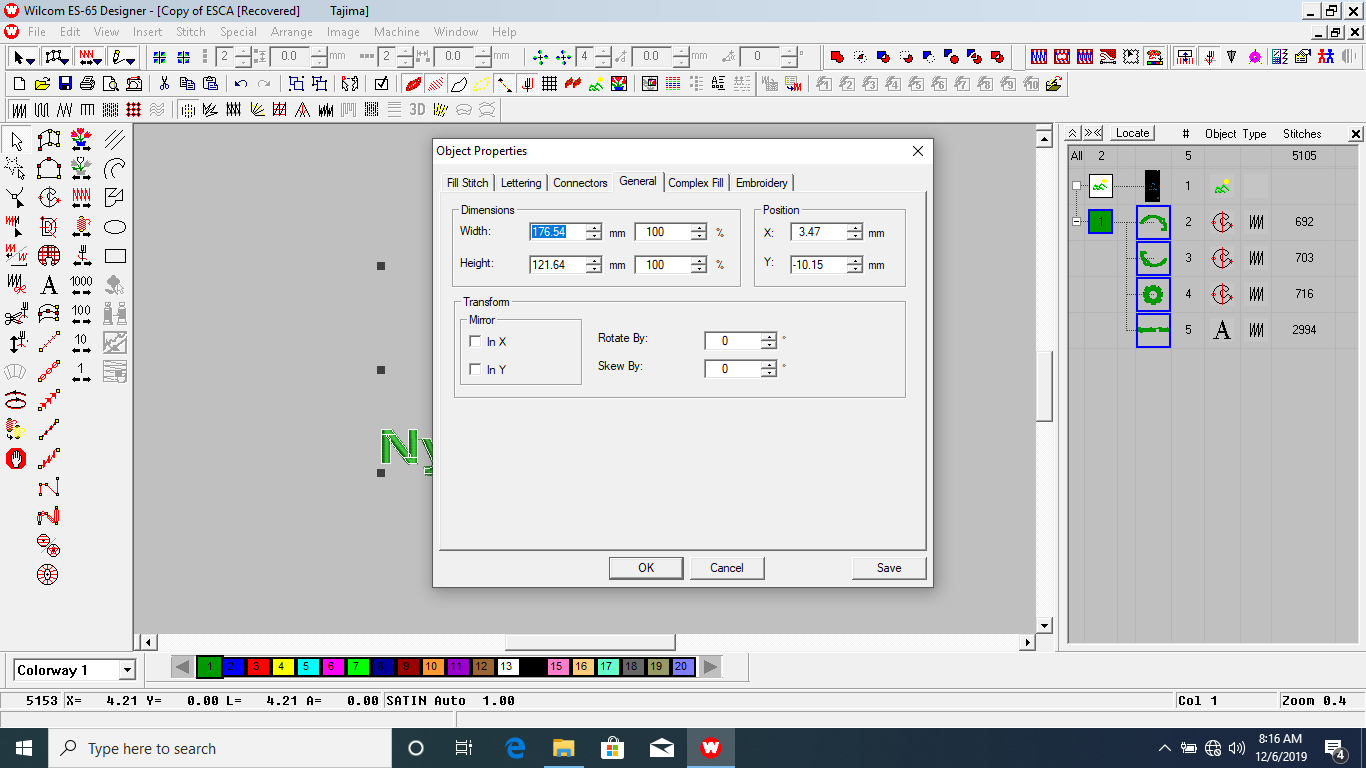
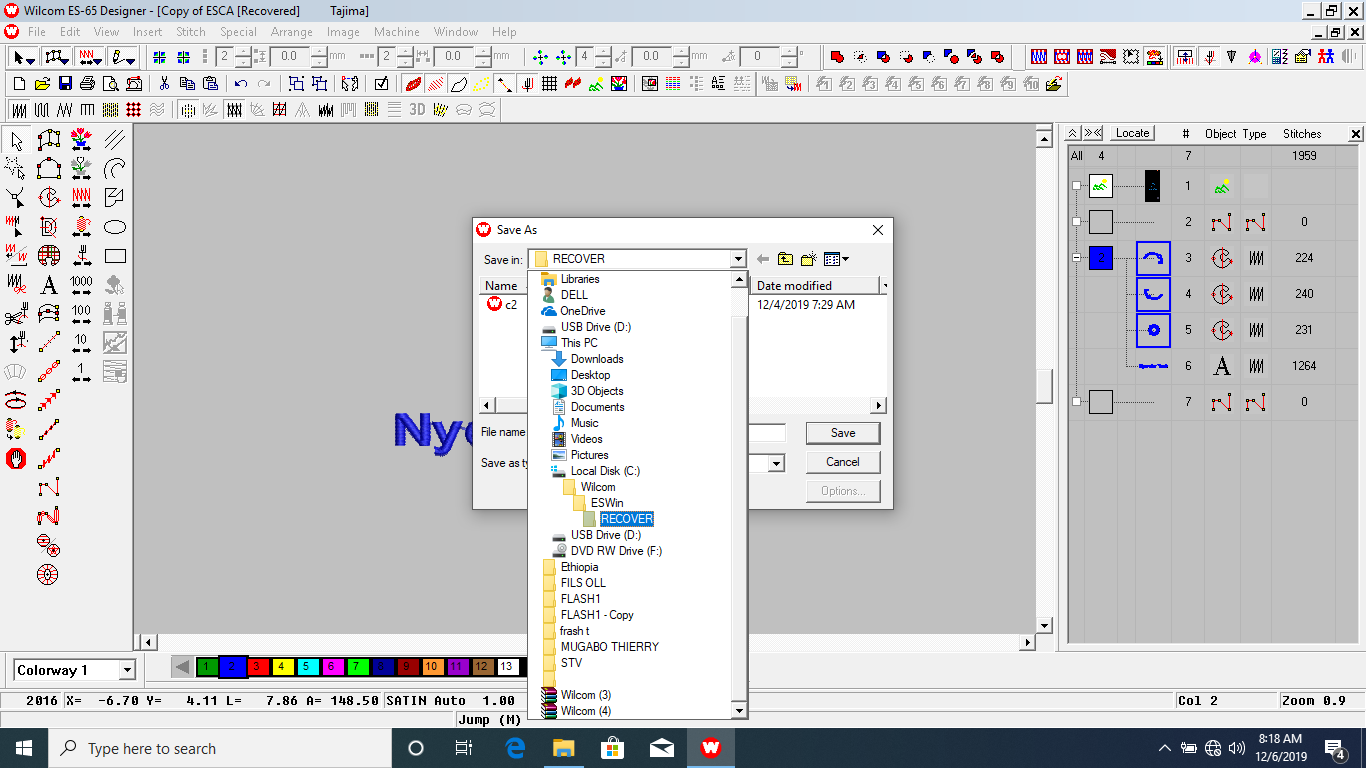
To begin, I started learning how to use WILCOM software, a powerful tool for creating embroidery designs. This software is essential as it allows me to transform my logo into a format that the embroidery machine can interpret. The process involved several steps:
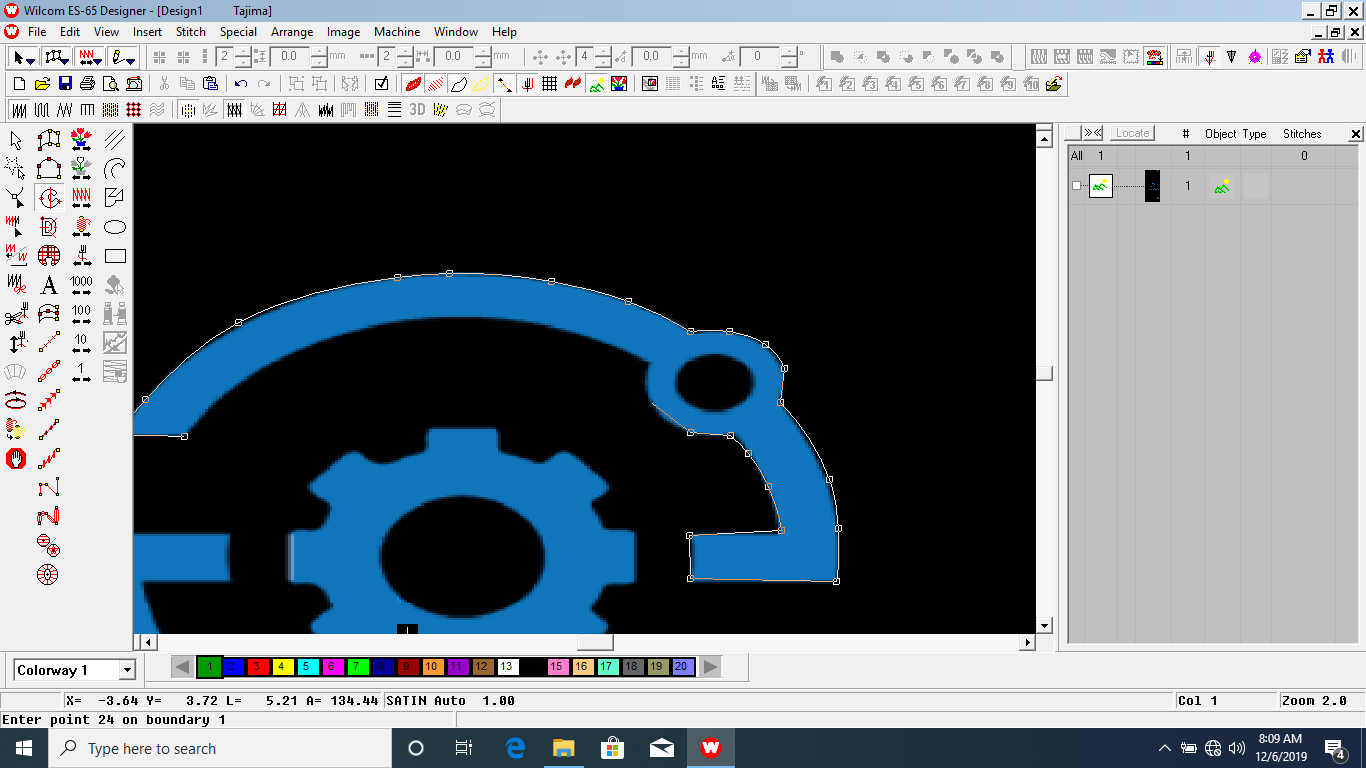
Importing the company logo into WILCOM and adjusting the design to ensure it is suitable for embroidery.
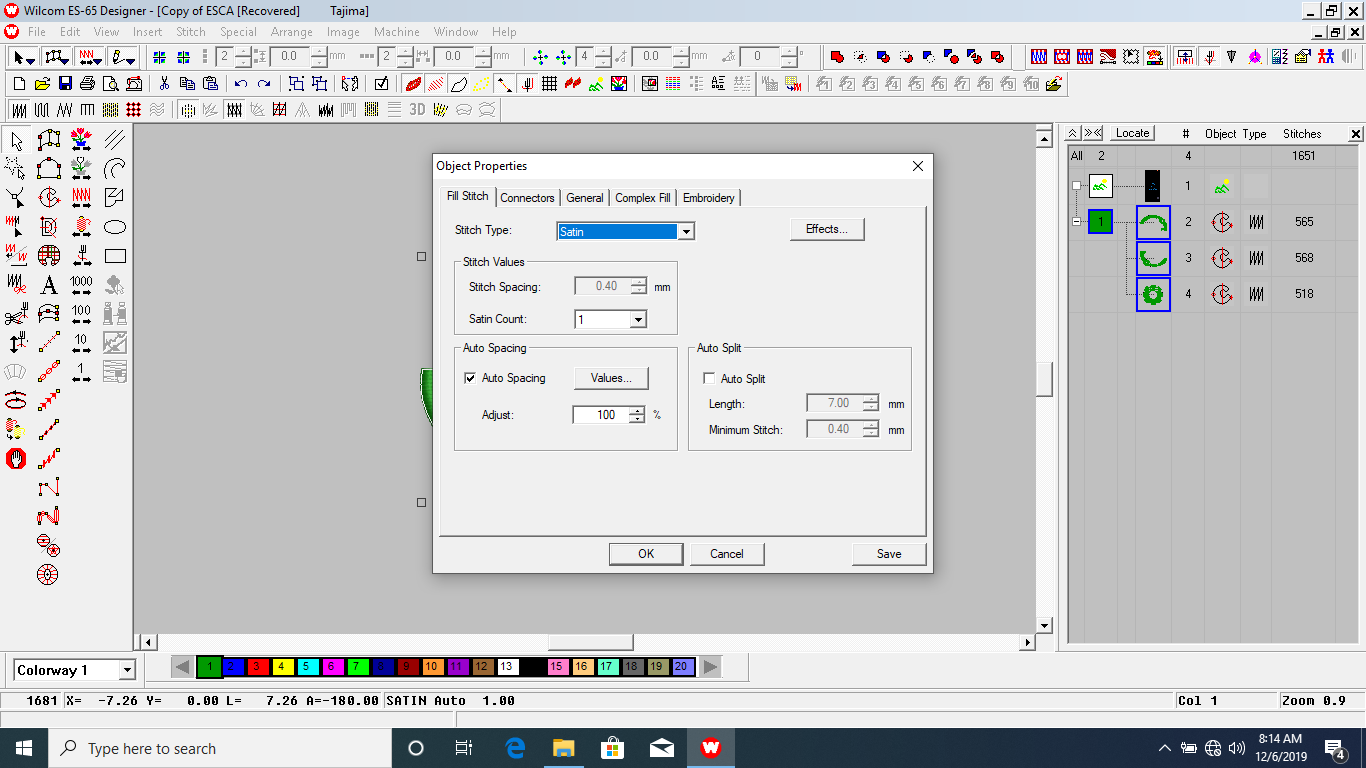
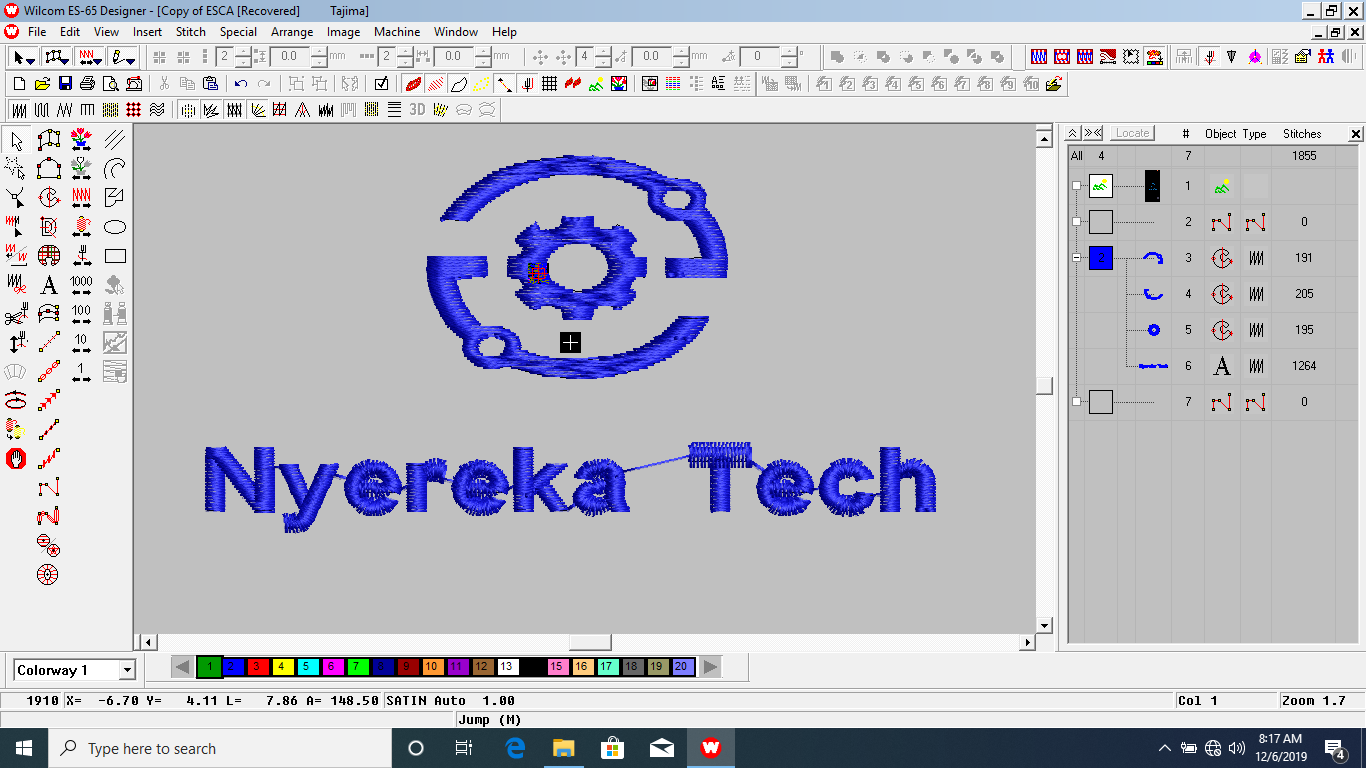
Converting the logo into a stitch file, specifying stitch types, directions, and sequences.
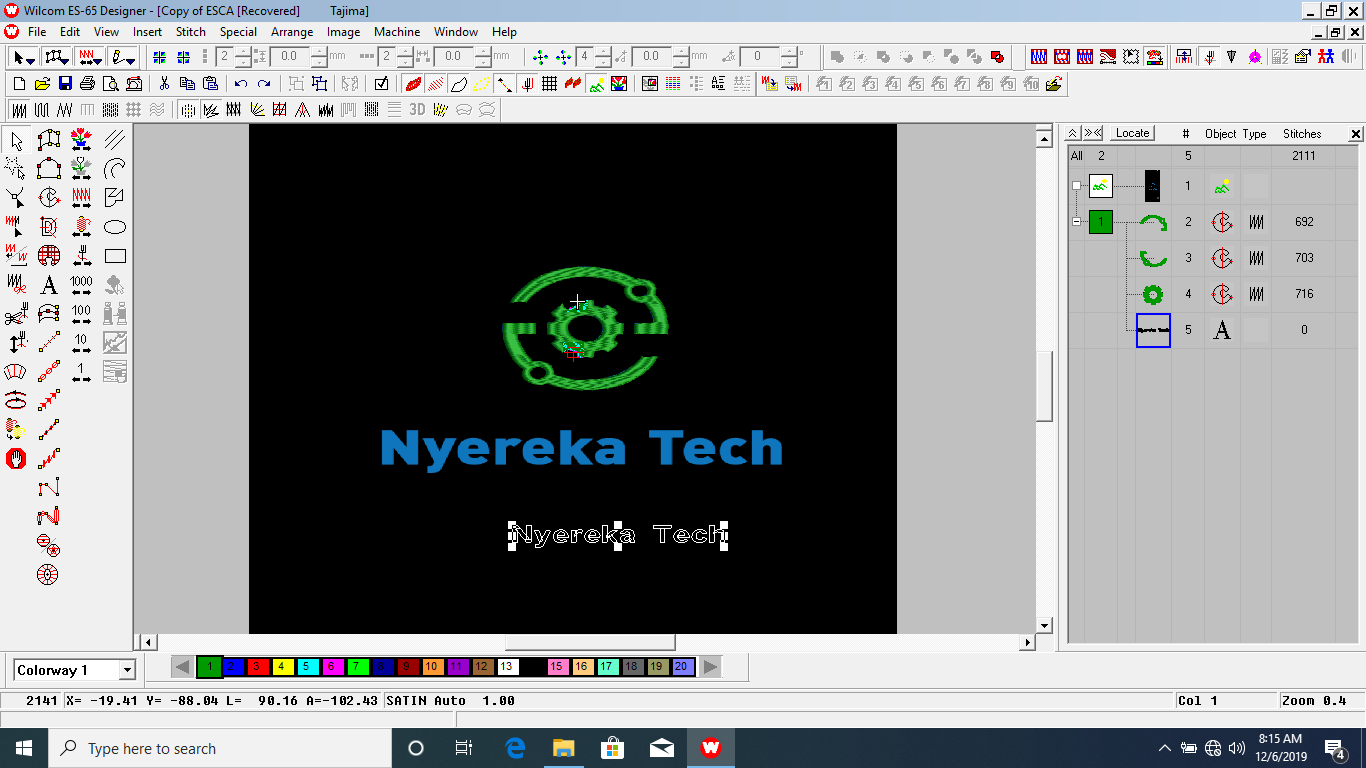
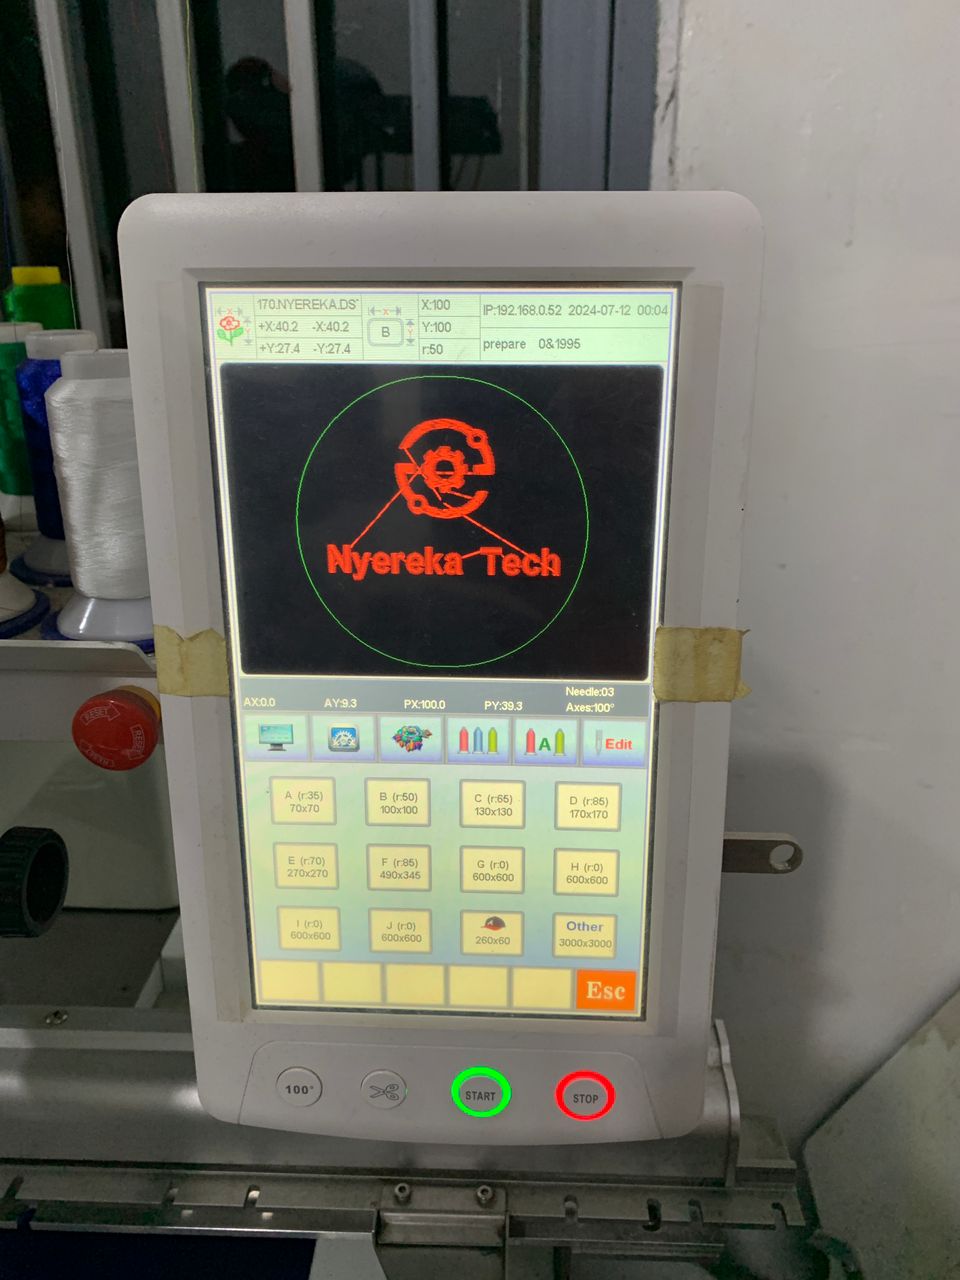
Running a simulation in the software to visualize how the embroidery will look and make any necessary adjustments.
After all save my file for embrodary machine
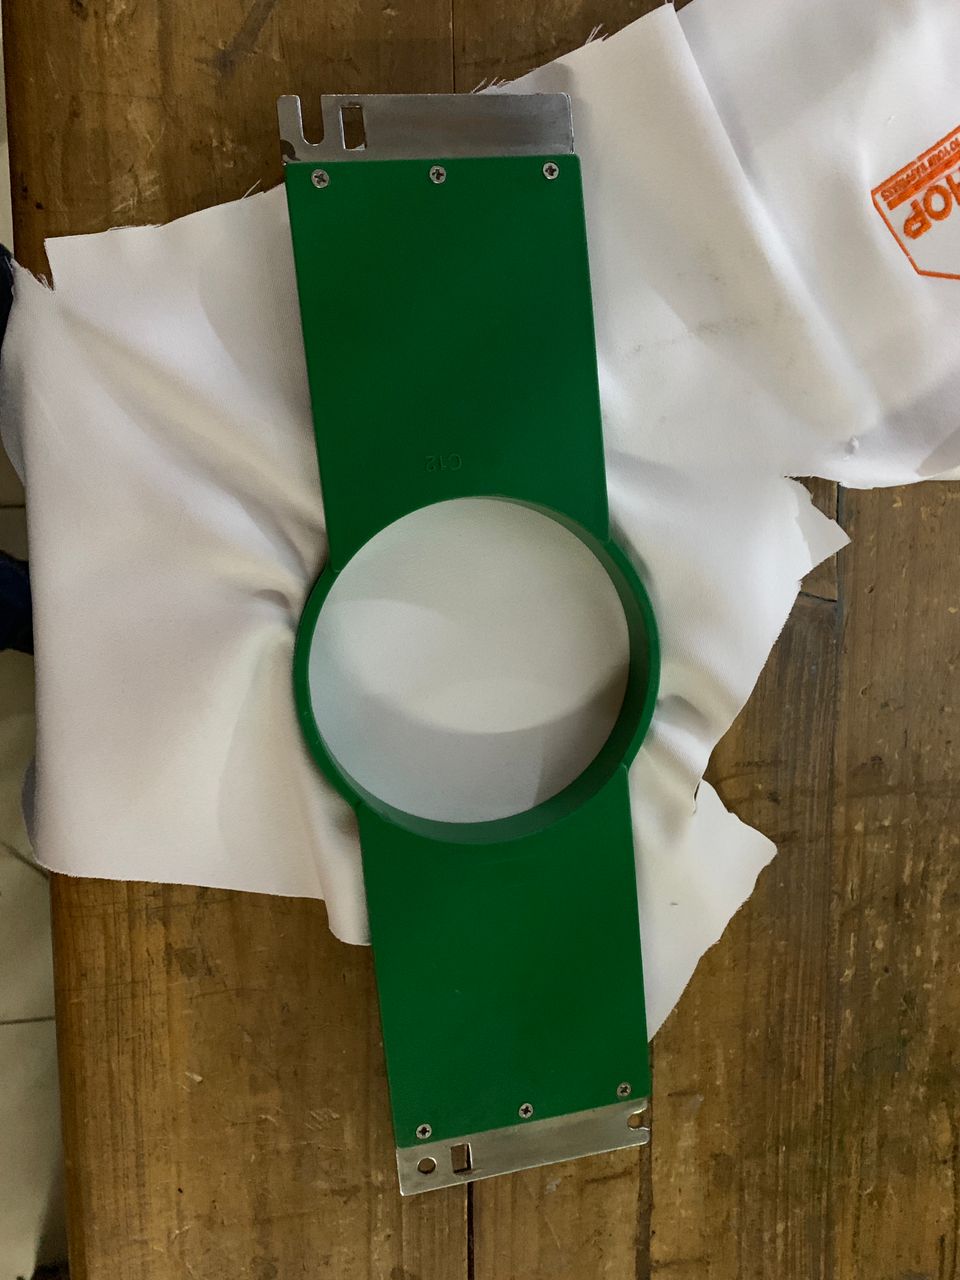
Prepare the piece cloth for embrodering
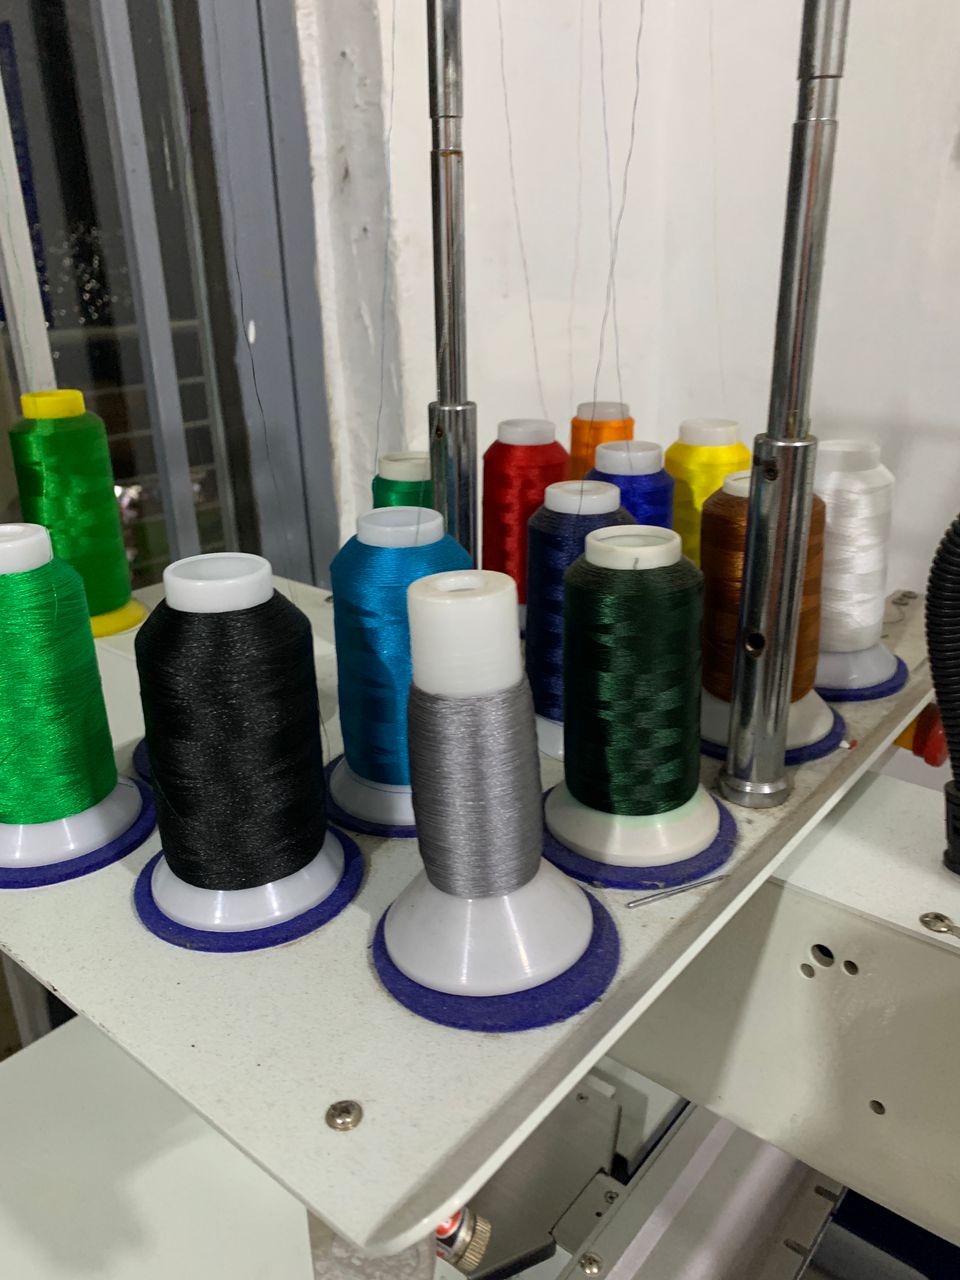
Choose the color
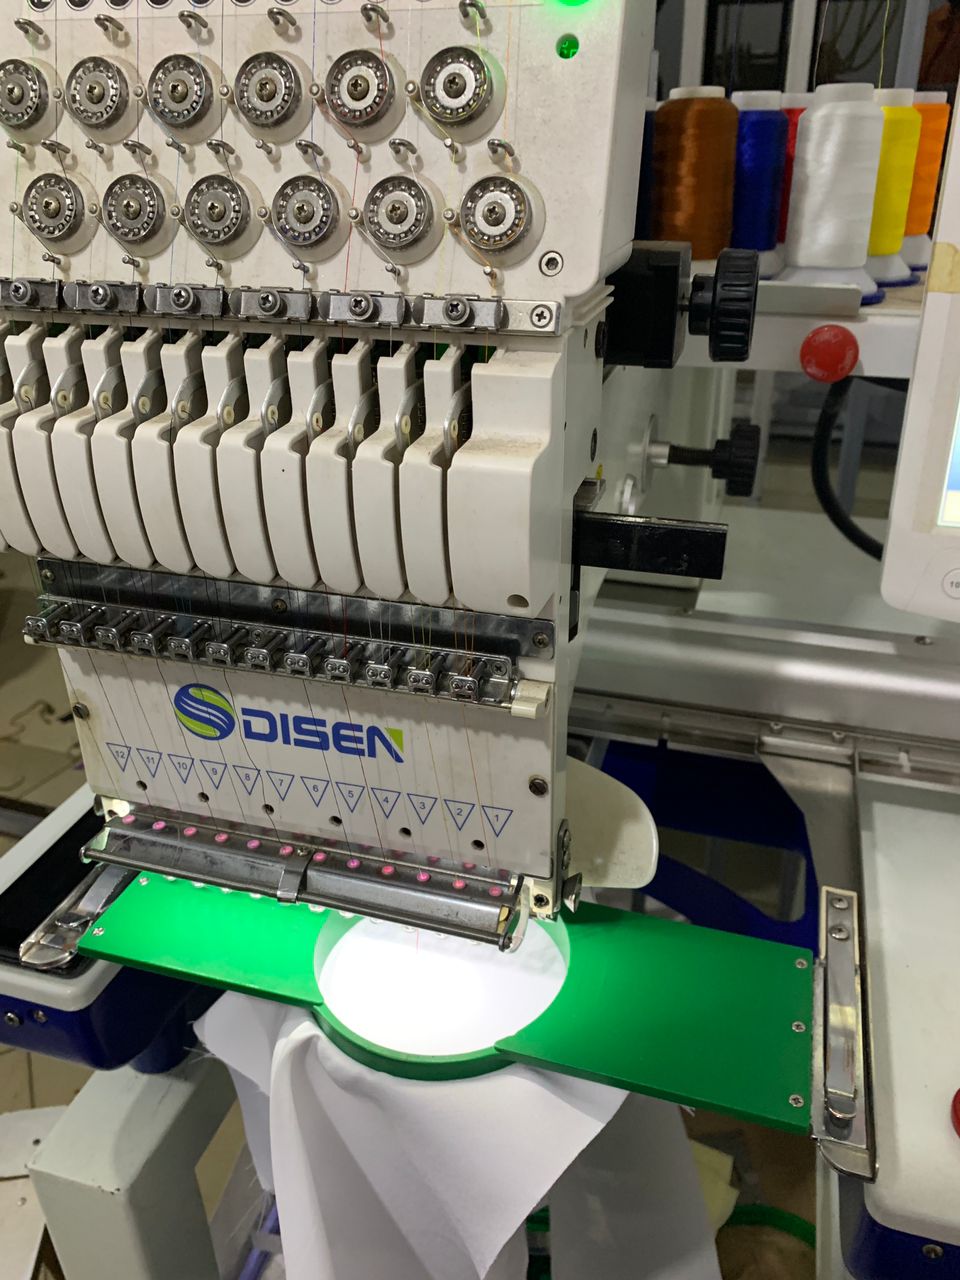
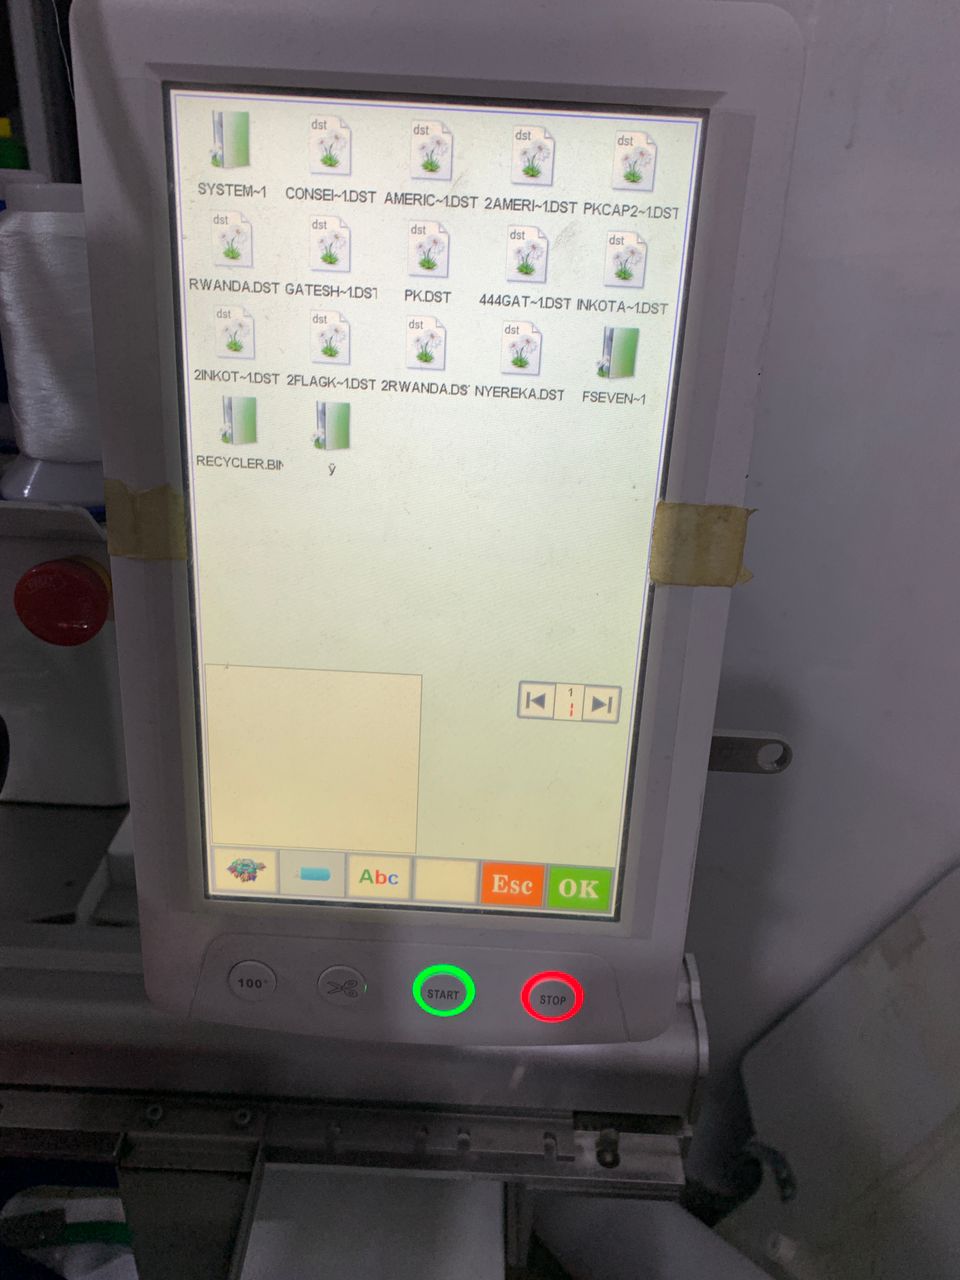
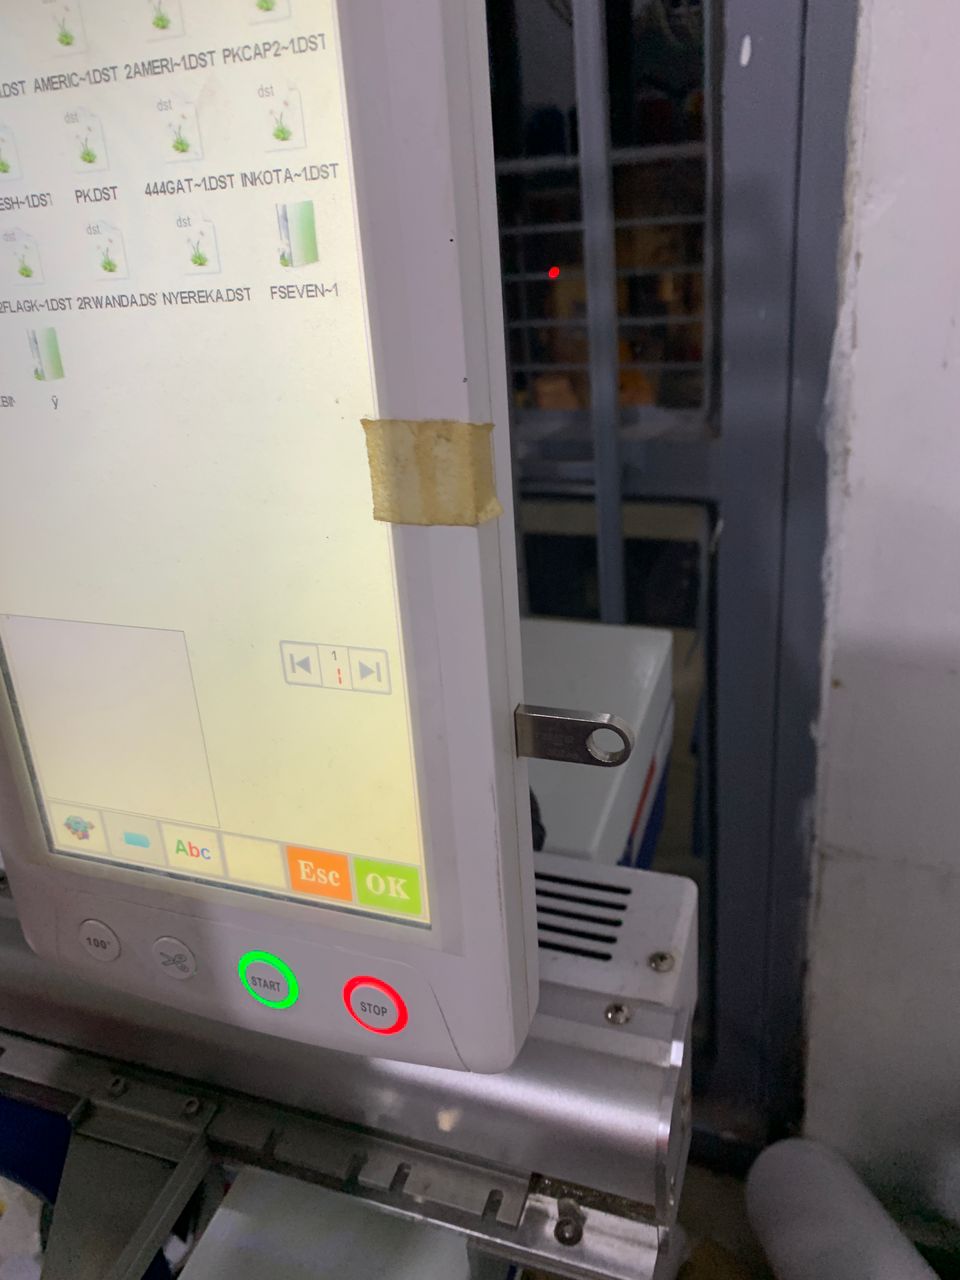
Loading the stitch file into the embroidery machine, preparing the fabric, and setting up the thread colors.
Letting the machine execute the design while monitoring for any issues such as thread breaks or misalignment.