Week12: Molding and Casting
About the assignment
What to do?
Question: design a mold around the process you'll be using, produce it with a smooth surface finish, and use it to cast parts extra credit: use more than two mold parts.
Molding typically refers to the process of shaping materials into specific forms or shapes using a mold. It's a common manufacturing technique used in various industries, including plastics, ceramics, metals, and glass.
Casting is a manufacturing process in which a liquid material is poured into a mold, allowed to solidify, and then removed from the mold to form a finished product. It is one of the oldest known metalworking processes, dating back thousands of years.
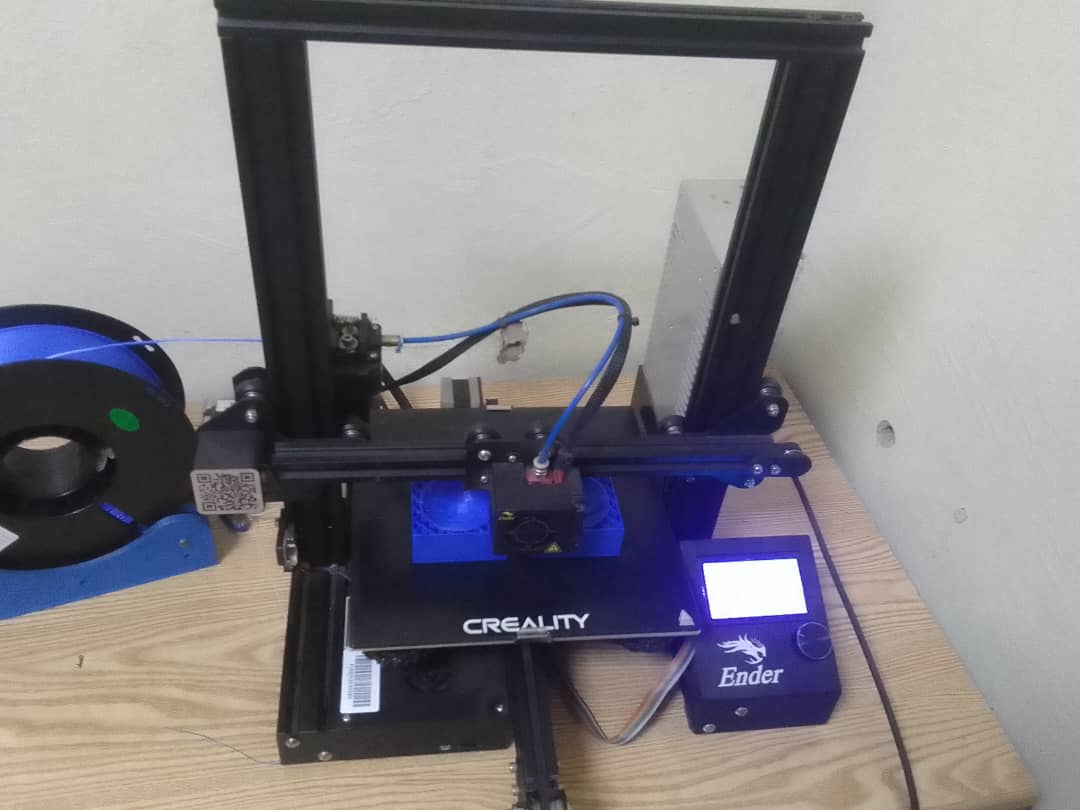
For my assignment, I designed a mold using 3D modeling software called SketchUp. Subsequently, I utilized a 3D printer, specifically a Creality printer, to transform the digital design into a tangible mold.
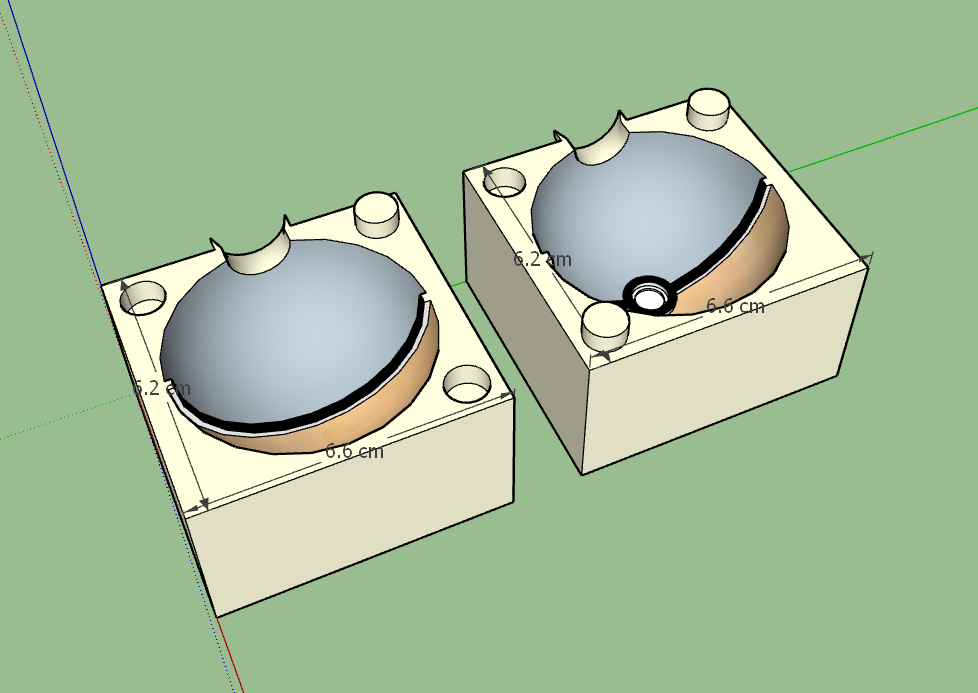
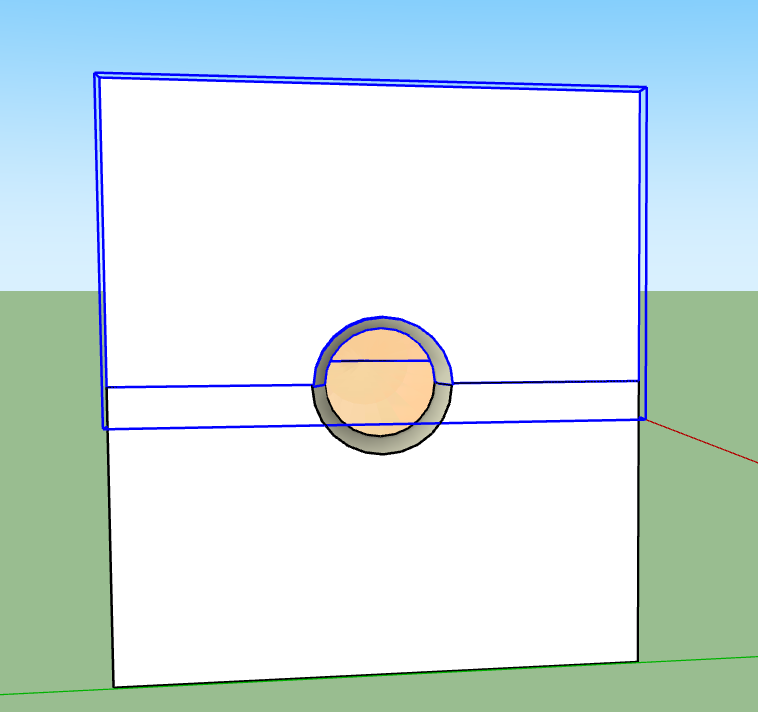
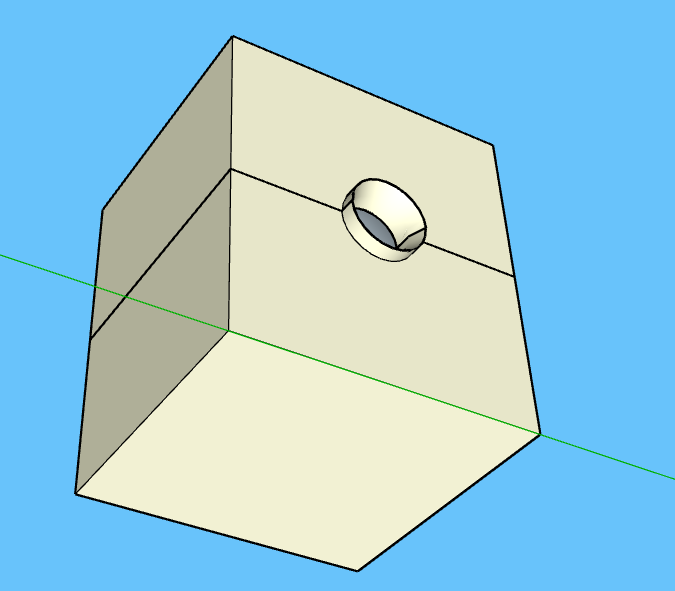
Mold design.

Mold dimensions
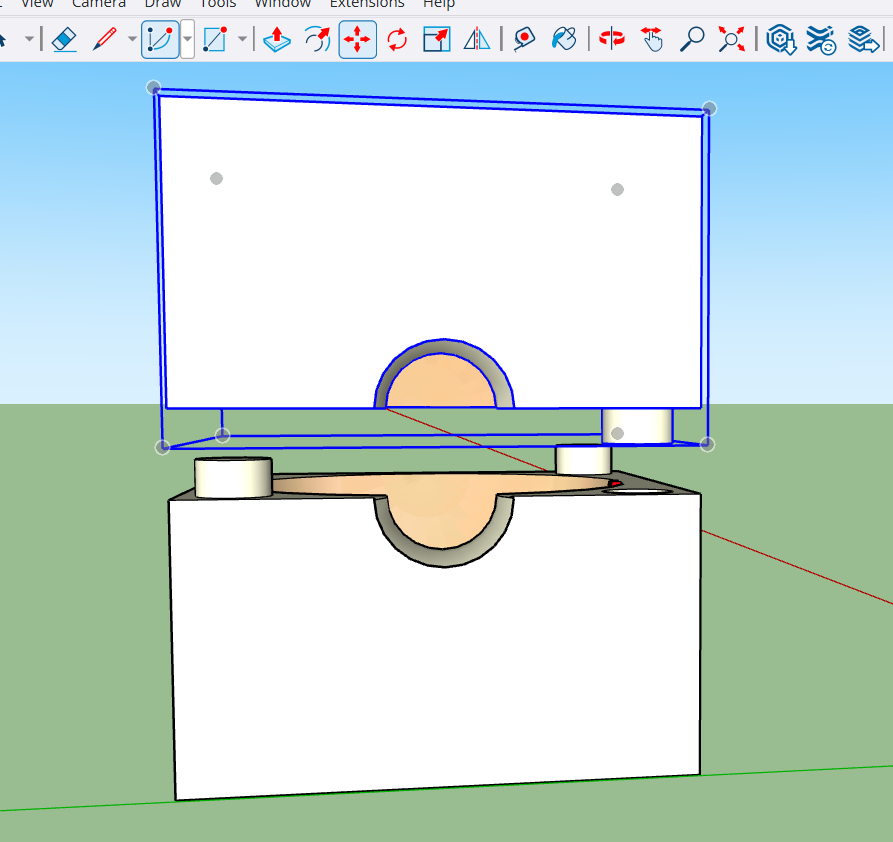
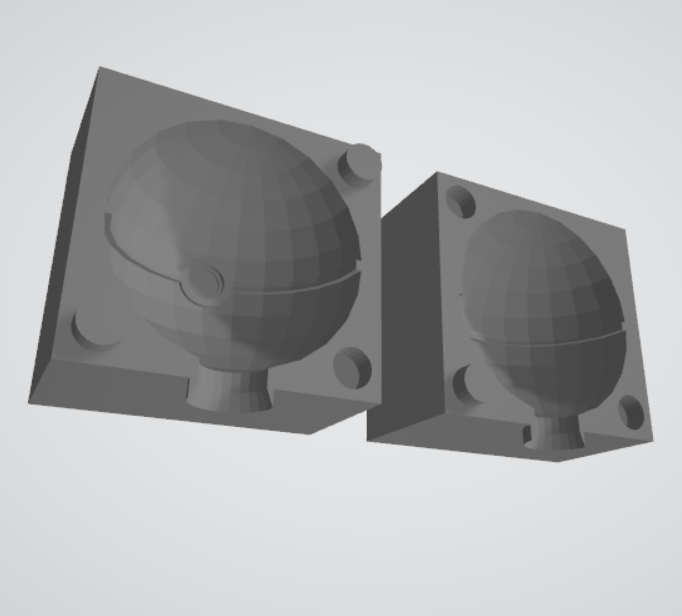
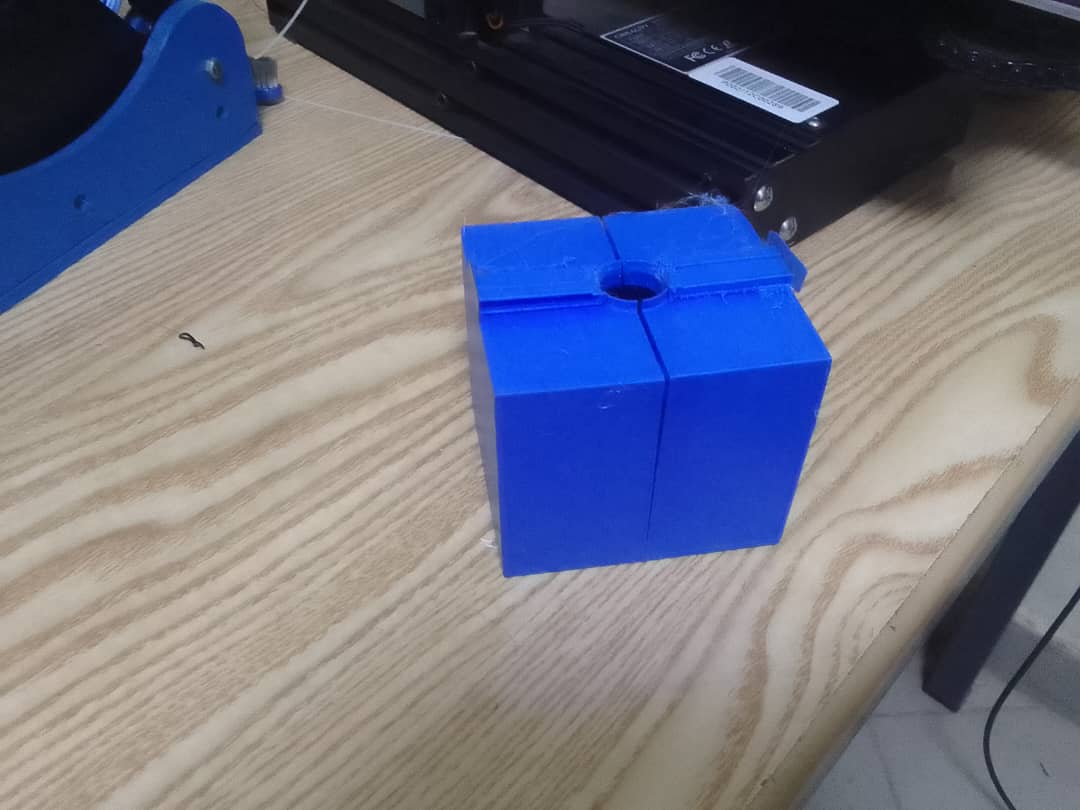
Testing the fit
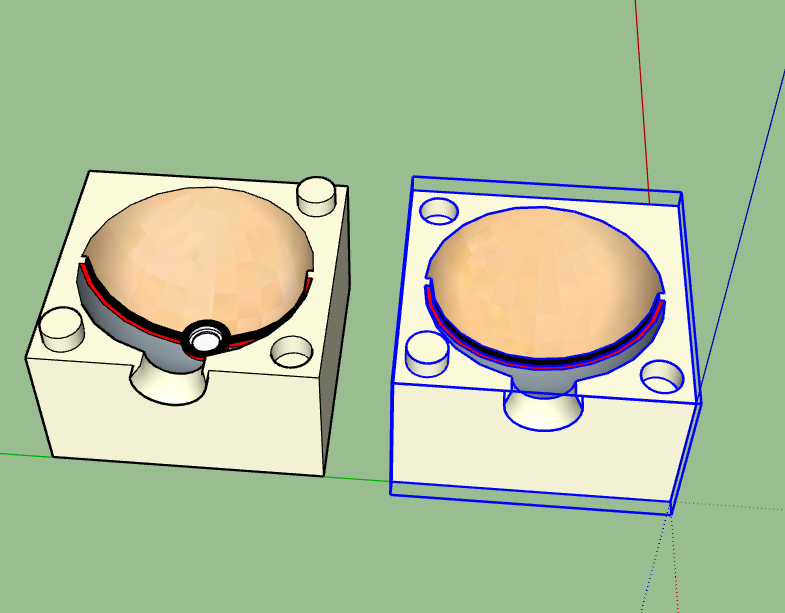
Rotating the part of Mold
Moving the part to test the fit
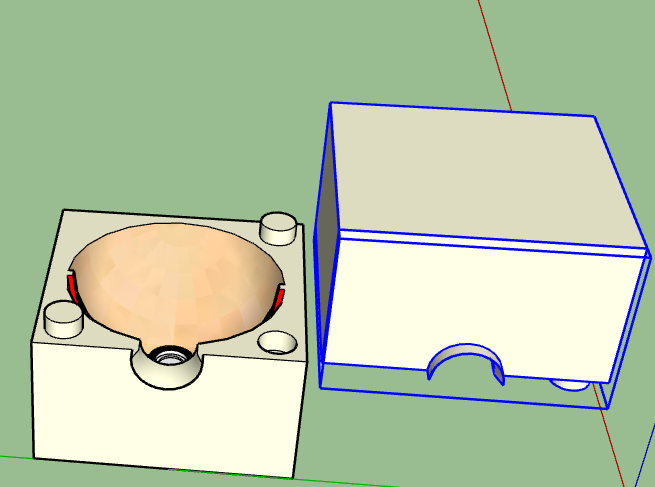
The test works as they fit
Finally the parts meet successfully
Curating and 3D printing
Molding design in STL
Exporting the stl in Cura and set the machine parameters.
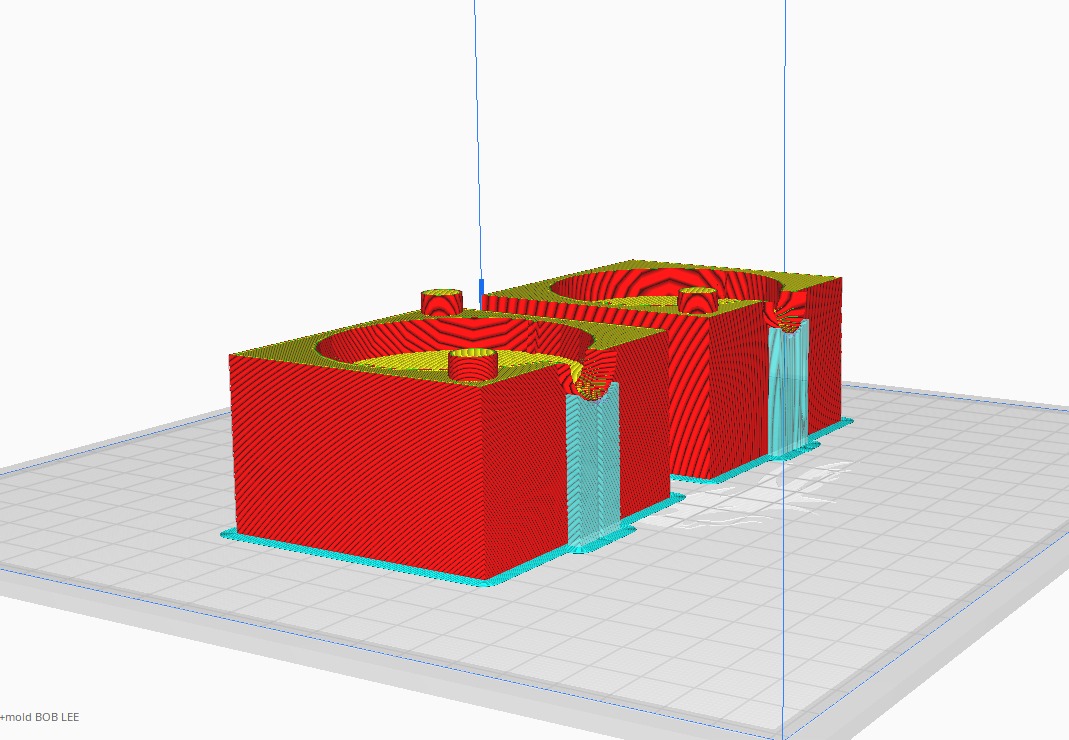
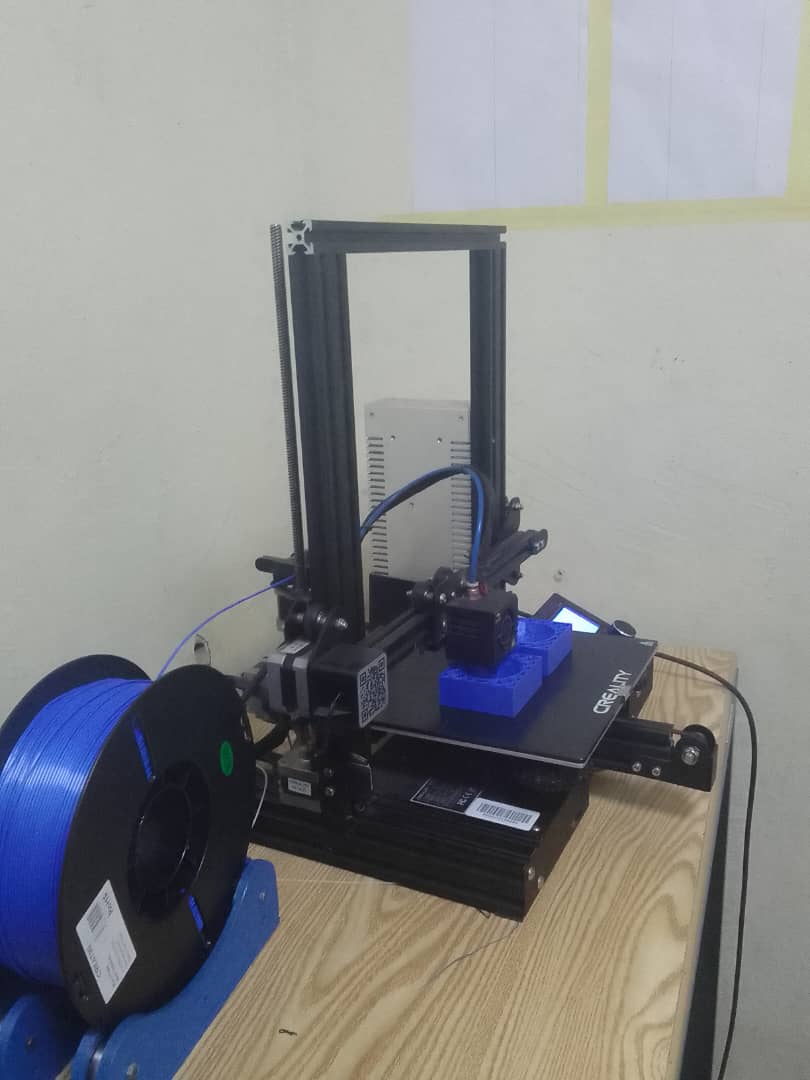
Printing the mold
Printing in process
Continuation of printing
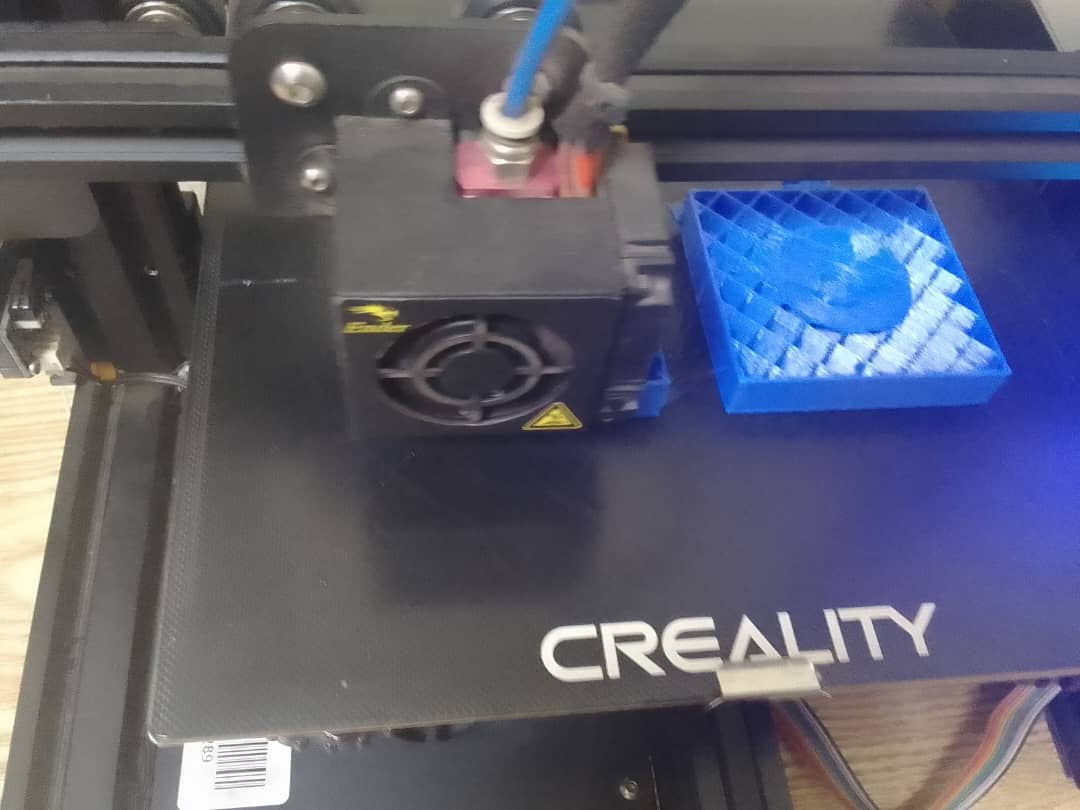
Printing the molding process

Finished printing
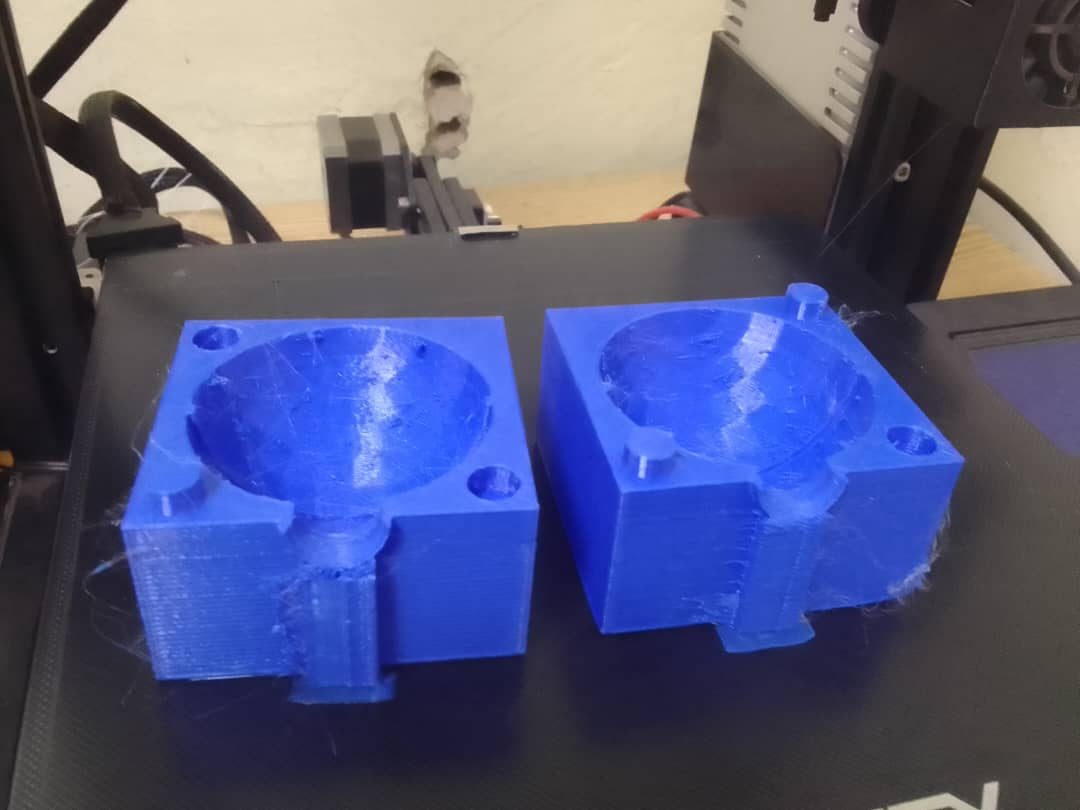
Testing the fit of mold Parts
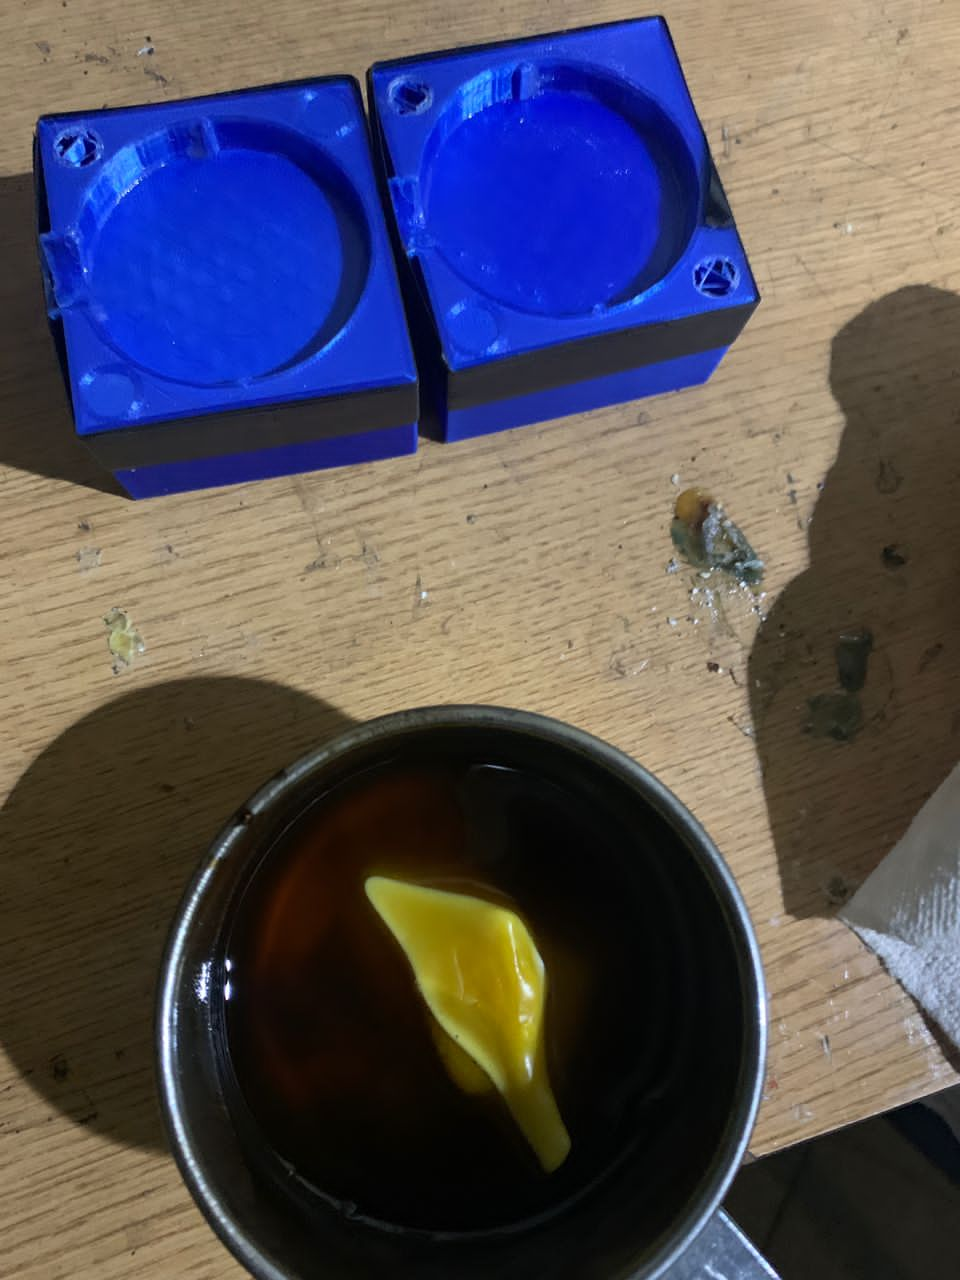
Create wax object with Mold
After designing the mold using SketchUp and printing it with a Creality 3D printer for my assignment, the next step involved pouring melted wax into the mold. For my work I used beewax.
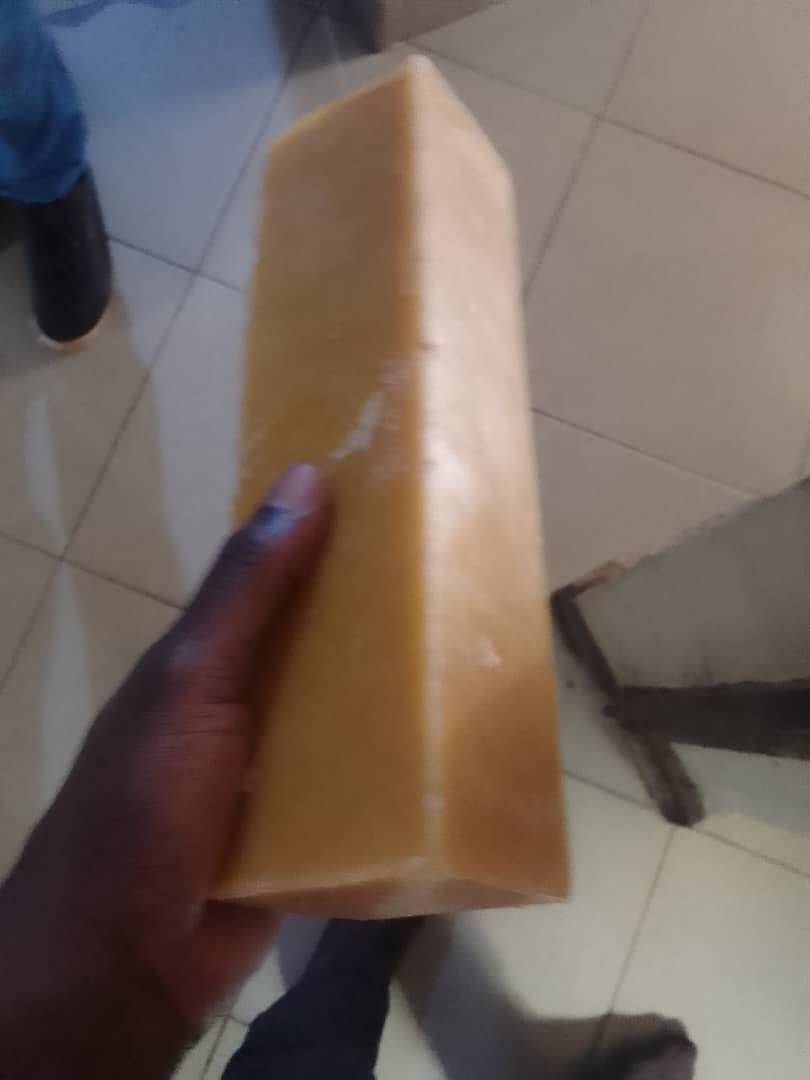
The melting point of beeswax typically ranges between 62 to 64 degrees Celsius.
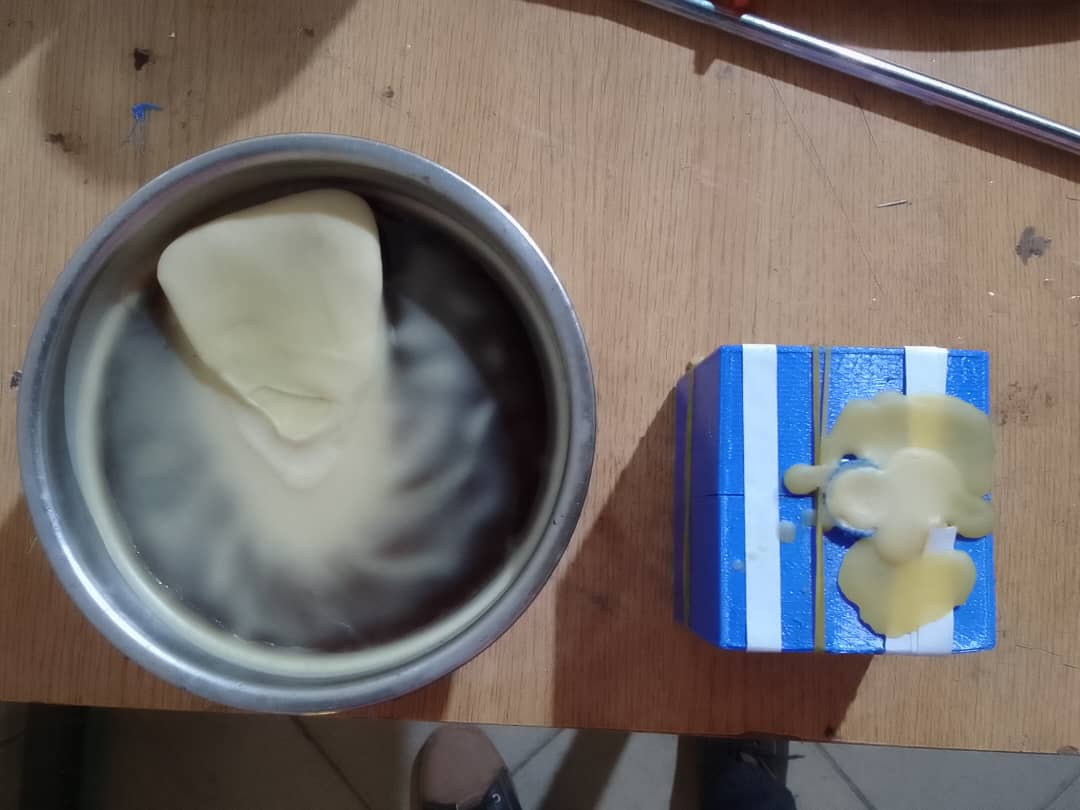
Heating wax for melting it
Pouring the molted wax in the Mold
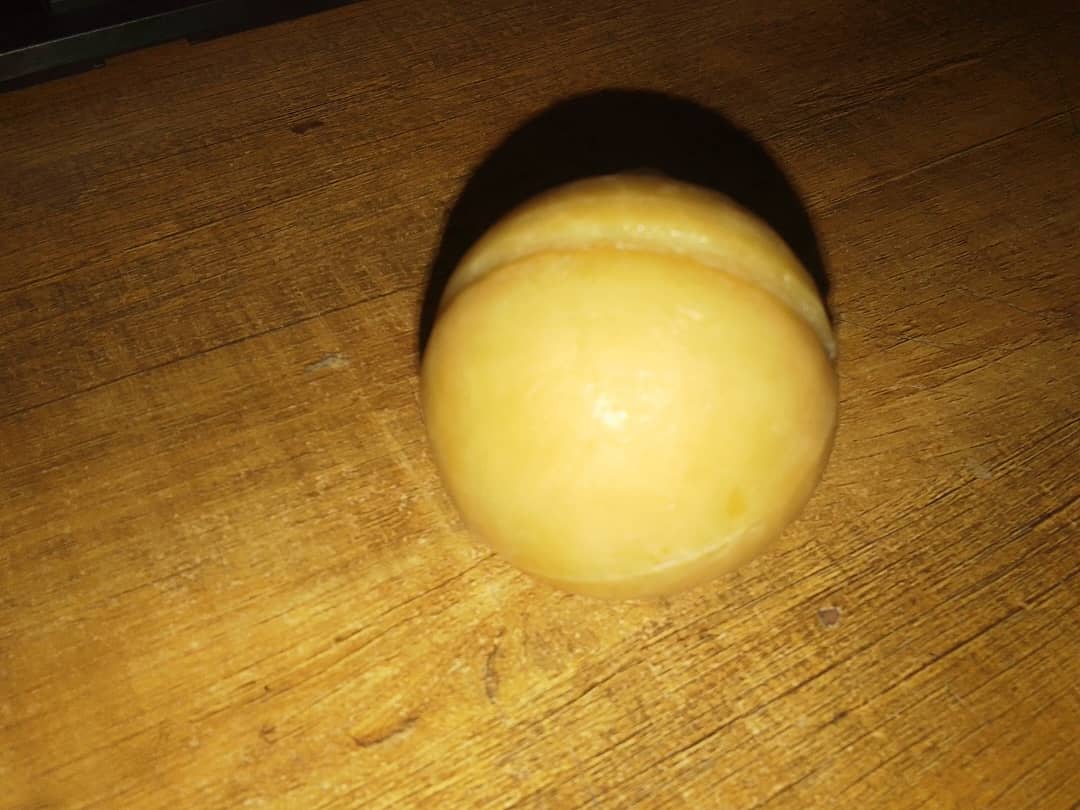
Keep in cool place to soldify the molten wax
Remove the material from the mold after it has cooled completely
Post-Mold Material Removal
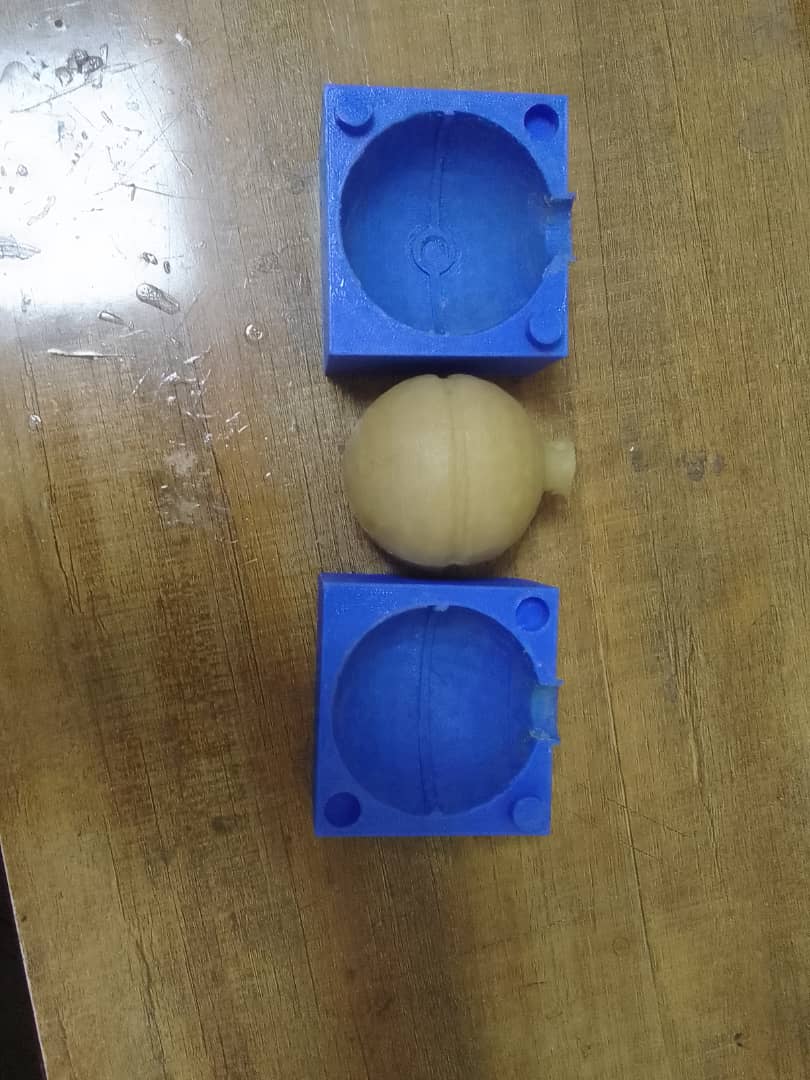
Removed the unwanted part from the sprue
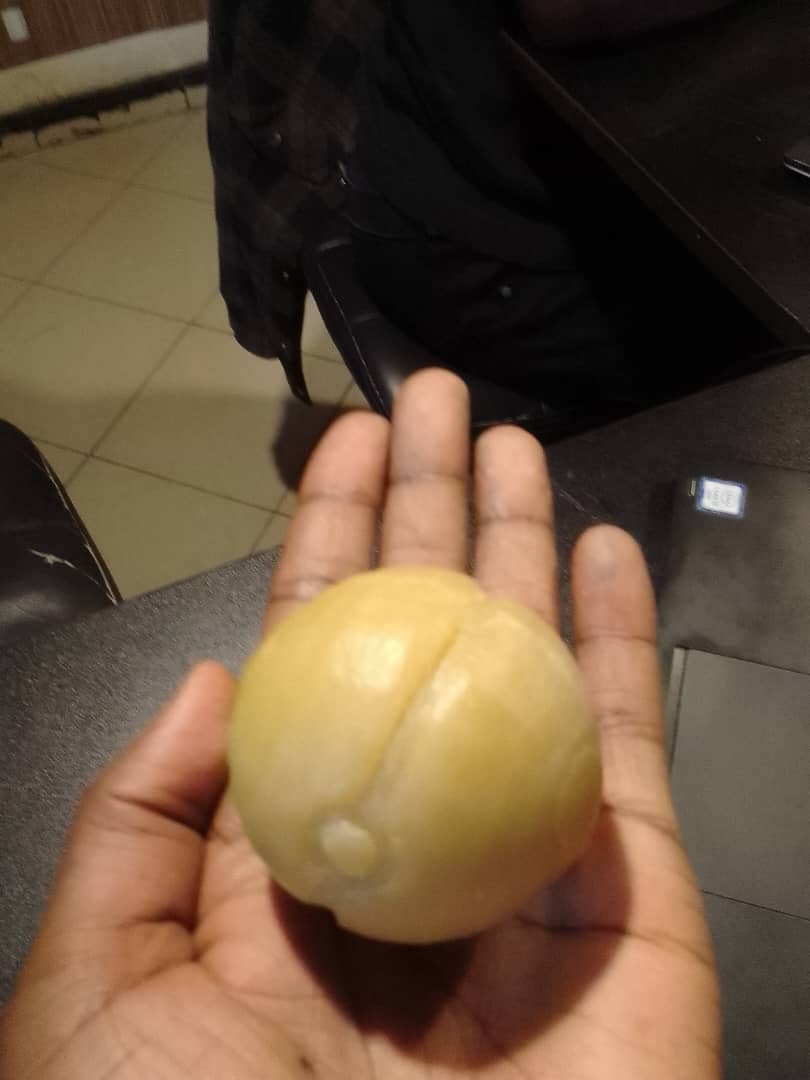
Final product of my molding work
I already had the design for molding and casting work; I only curated and printed it. By leveraging existing designs, I was able to focus on the post-processing and casting phases, ensuring a smooth and efficient workflow.
The output of curration came with edited format of my mold.
However, it was good enough for experimenting the required work in this week's assigment.
Cast the Wax Object:
- Melt the wax using a pan.
- Pour the melted wax into the mold. Ensure the wax fills all cavities of the mold.
- Allow the wax to cool and solidify completely.
Both parts were used in this experimenting.
Sanding one part of the mold

Molds ready to receive wax
Rough finish from non-sanded
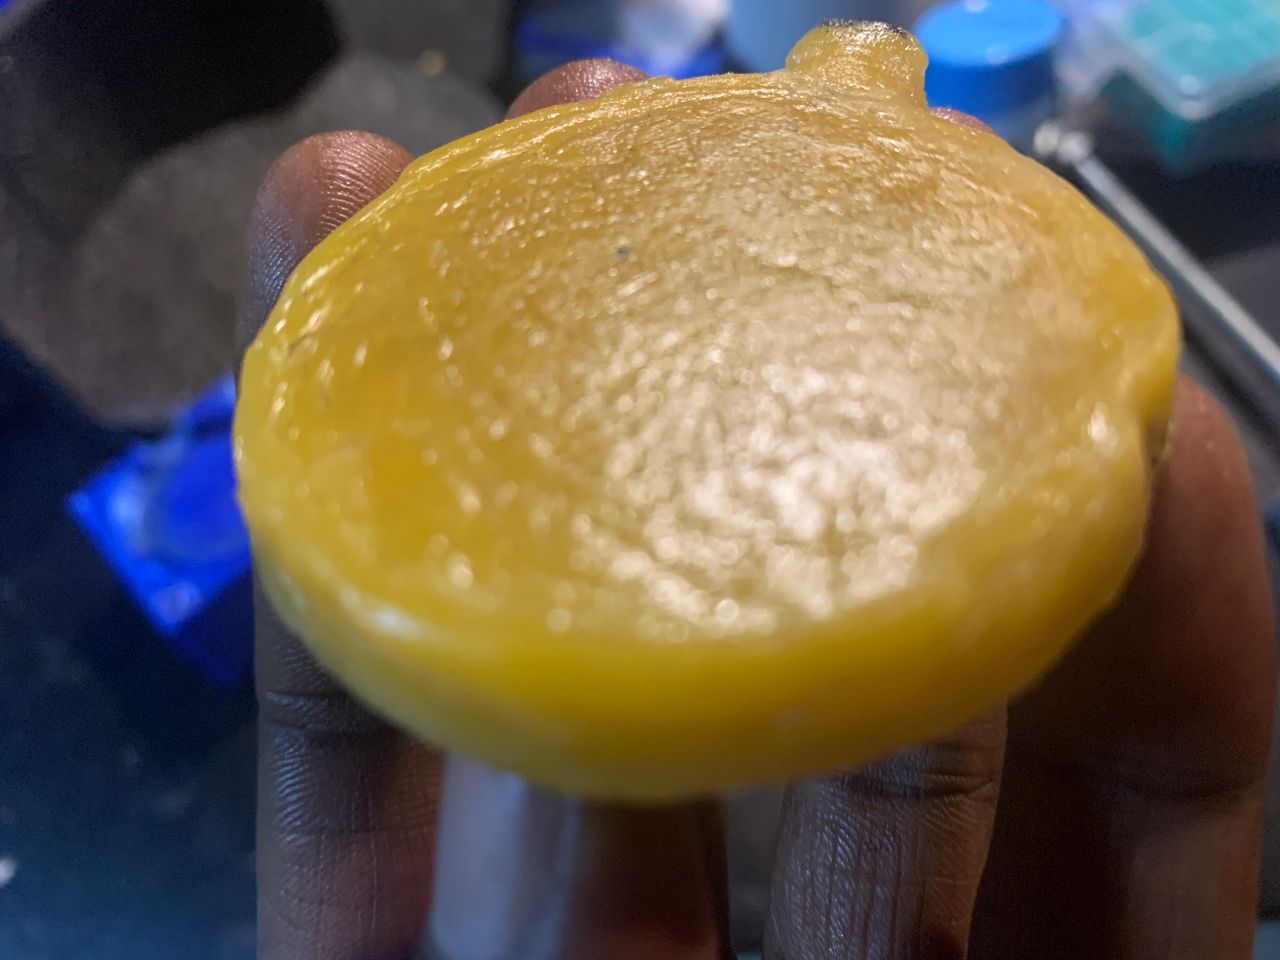
Smooth finish post-processed (sanded) FDM-printed mold

The wax object from the sanded mold have a significantly smoother surface compared to the one not sanded.