WEEK 6: EMBEDDED PROGRAMMING
Important definitions
Embedded Programming: Embedded programming refers to the process of writing code that runs on embedded systems. Embedded programming is a fundamental concept that propels the advancement of digital appliances and equipment in today's IT markets.
Embedded systems are specialized computing devices designed to perform specific functions within a larger system. These systems are embedded into other devices or machines and are dedicated to carrying out particular tasks, such as controlling machinery, processing sensor data, or managing communication between components.
Group work
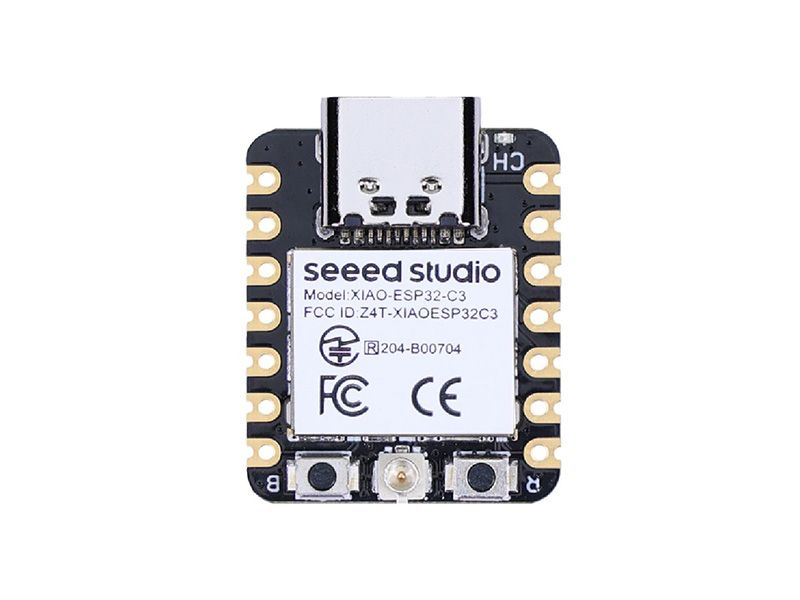
In this assignment, our group examined the datasheet for the XIAO ESP32C3 microcontroller and compared its performance and development workflows to an ARM Cortex-M microcontroller. Group work can be found by clicking here.
Individual Reflection:
- Architectural Differences: Understanding the differences between RISC-V and ARM architectures provided insight into how each is optimized for different types of tasks. RISC-V’s open-source nature and ARM’s extensive ecosystem each offer unique advantages.
- Development Tools: Exploring different development environments (Arduino IDE vs. professional ARM toolchains) highlighted the trade-offs between ease of use and the depth of control over the microcontroller.
- Connectivity Integration: The integrated Wi-Fi and Bluetooth on the ESP32C3 simplify development for IoT applications compared to ARM Cortex-M, where such features often require additional modules.
- Power Efficiency: Both platforms offer low-power modes, but the exact implementation and efficiency can vary significantly. Learning about these differences is crucial for designing energy-efficient applications.
- Community and Ecosystem: The strength of community support and the availability of resources significantly impact the development process. ESP32C3 benefits from extensive community contributions, while ARM Cortex-M benefits from a robust professional ecosystem.
- Application Suitability: This comparison helped me understand which microcontroller would be more appropriate for different types of projects. For instance, ESP32C3 is excellent for wireless IoT projects, while ARM Cortex-M might be better for performance-intensive, real-time applications.
This assignment enhanced my understanding of microcontroller architectures, their performance capabilities, and the development workflows associated with them. This knowledge is crucial for selecting the right microcontroller for specific project requirements.
Individual Assignment
This week's objective was to program the Quentorres board, with a focus on utilizing its onboard button and LEDs.
The board was developed as part of the assignment in week 4.
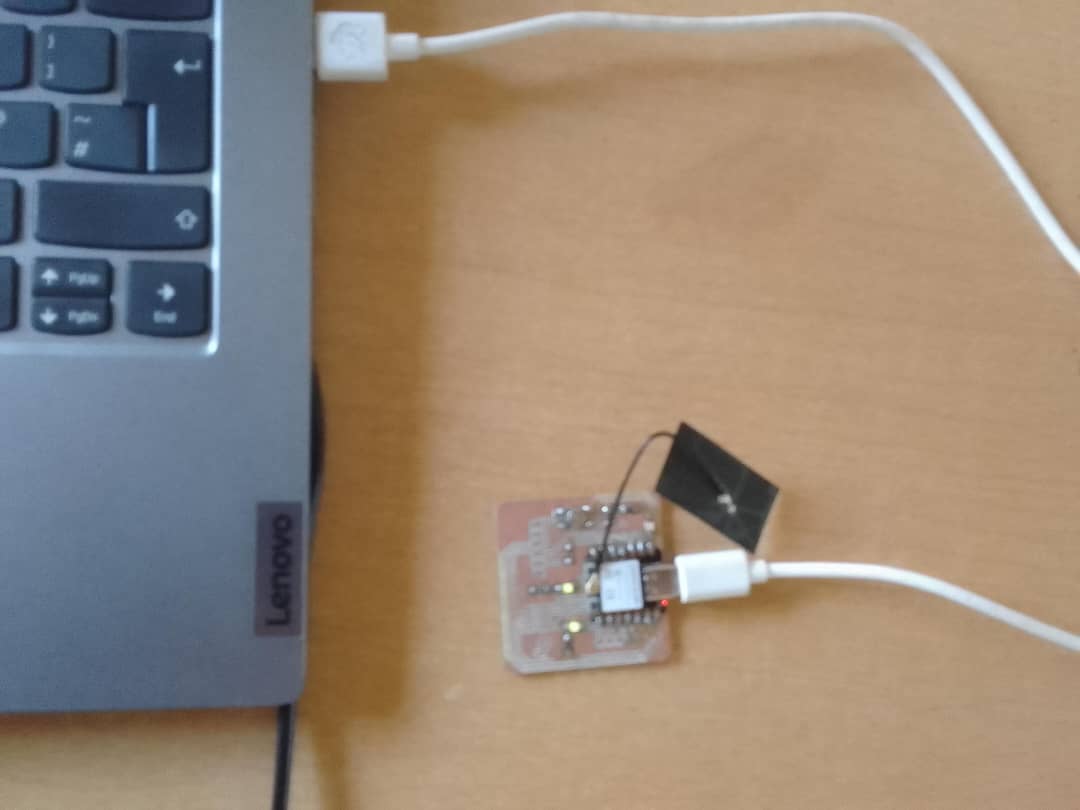
This is the Module we used in it's physical details.
Adding ESP32 board package to Arduino IDE
Before using this board we have to install it in the board manager because it is not there by default.
Navigate to File > Preferences, and fill "Additional Boards Manager URLs" with the url below:
https://raw.githubusercontent.com/espressif/arduino-esp32/gh-pages/package_esp32_index.json
Navigate to Tools > Board > Boards Manager..., type the keyword "esp32" in the search box, select the latest version of esp32, and install it.
Accessing LEDs on the Board
I. Blinking LEDs on PIN D0 AND PIN D7
// Define LED pins
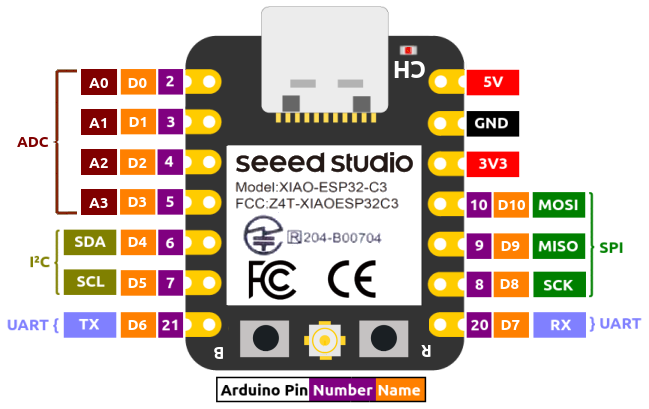
const int led1 = D0; // LED connected to digital pin 6 on XIAO-ESP32 C3,
const int led2 = D7; // LED connected to digital pin 7 on XIAO-ESP32 C3,
void setup() {
// Initialize the LED pins as outputs:
pinMode(led1, OUTPUT);
pinMode(led2, OUTPUT);
}
void loop() {
//blinking two LEDs
digitalWrite(led1, HIGH);
digitalWrite(led2, LOW);
delay(1000);
digitalWrite(led1, LOW);
digitalWrite(led2, HIGH);
delay(1000);
}
The output can be seen in the video below.
II. Button State in Serial Monitor
ACCESSING THE BUTTON ON THE BOARD
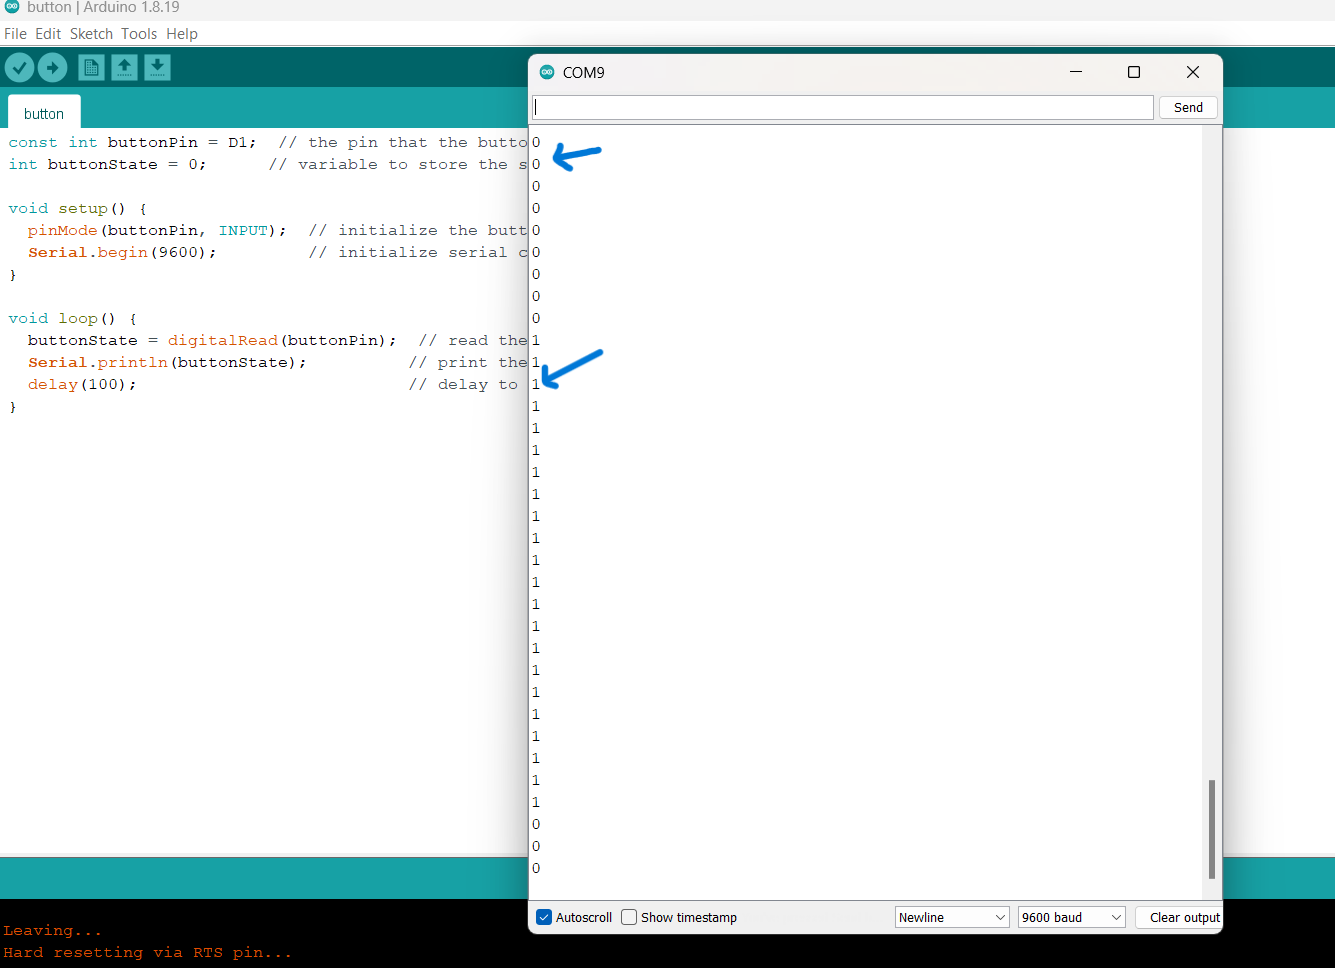
const int buttonPin = D1;  // the pin that the button is connected to
int buttonState = 0;      // variable to store the state of the button

void setup() {
  pinMode(buttonPin, INPUT);  // initialize the button pin as an input
  Serial.begin(9600);         // initialize serial communication at 9600 bits per second
}

void loop() {
  buttonState = digitalRead(buttonPin);  // read the state of the button
  Serial.println(buttonState);          // print the state of the button (0 for LOW, 1 for HIGH)
  delay(100);                           // delay to avoid reading the button state too quickly
}
Simple code; When the button is pressed it displays the state value 1 and when not pressed it display state value 0.
III. Code to control LEDs connected to pins D0 and D7 with a button connected to pin D1:
In this code, the button on pin D1 is used to toggle the state of the LEDs connected to pins D0 and D7. Each press of the button will toggle the LEDs on and off.
// Define the pins for the LEDs and the button
const int ledPin1 = D0;
const int ledPin2 = D7;
const int buttonPin = D1;

// Variables to store the state of the button and LEDs
int buttonState = HIGH; // current state of the button
int lastButtonState = HIGH; // previous state of the button
bool ledState1 = false; // current state of the first LED
bool ledState2 = false; // current state of the second LED

// Variable to store the last time the button was pressed
unsigned long lastDebounceTime = 0;
unsigned long debounceDelay = 50; // debounce time in milliseconds

void setup() {
  // Initialize the LED pins as outputs
  pinMode(ledPin1, OUTPUT);
  pinMode(ledPin2, OUTPUT);
  // Initialize the button pin as an input
  pinMode(buttonPin, INPUT_PULLUP);
  // Set the initial state of the LEDs
  digitalWrite(ledPin1, LOW);
  digitalWrite(ledPin2, LOW);
}

void loop() {
  // Read the state of the button
  int reading = digitalRead(buttonPin);

  // Check if the button state has changed
  if (reading != lastButtonState) {
    // Reset the debounce timer
    lastDebounceTime = millis();
  }

  // If enough time has passed, consider it a valid button press
  if (millis() - lastDebounceTime > debounceDelay) {
    // If the button state has changed, update the button state
    if (reading != buttonState) {
      buttonState = reading;
      // If the button is pressed, toggle the LEDs
      if (buttonState == LOW) {
        ledState1 = !ledState1;
        ledState2 = !ledState2;
        digitalWrite(ledPin1, ledState1 ? HIGH : LOW);
        digitalWrite(ledPin2, ledState2 ? HIGH : LOW);
      }
    }
  }

  // Save the current button state for comparison
  lastButtonState = reading;
}
Output in the video below