Computer-aided design
Content
2D Design (raster nad Vector)
Raster & Vector
- Photoshop
- Autocad
3D Design
- SketchUp
- Blender
Important Definitions
Computer-Aided Design:Computer-Aided Design (CAD) is the use of computer technology to aid in the creation, modification, analysis, or optimization of designs. CAD software allows designers, engineers, architects, and other professionals to produce precise and detailed drawings and models of products, buildings, or other objects.
2D Design:2D design refers to the creation of digital artwork or designs that exist within two dimensions: width and height. In 2D design, objects are represented on a flat surface without depth or volume. This type of design is commonly used in graphic design, illustration, typography, web design, and other visual arts disciplin
3D Design:3D design refers to the creation of digital models or representations of objects that exist in three-dimensional space, with width, height, and depth. In 3D design, objects are not limited to flat surfaces and can have volume, shape, and perspective. This type of design is widely used in industries such as architecture, product design, animation, gaming, and visual effects.
I. 2D DESIGN
1.1. Raster Design (Photoshop)
Design in Photoshop
Photoshop is a powerful raster graphics editing software developed by Adobe Inc. It is widely used by photographers, graphic designers, artists, and web designers to edit and manipulate digital images. Photoshop offers a wide range of tools and features for image editing, compositing, and enhancing, making it a versatile tool for creating stunning visual content.
It was my first experience with Photoshop, giving me the opportunity to explore its tools and create a basic landscape design.
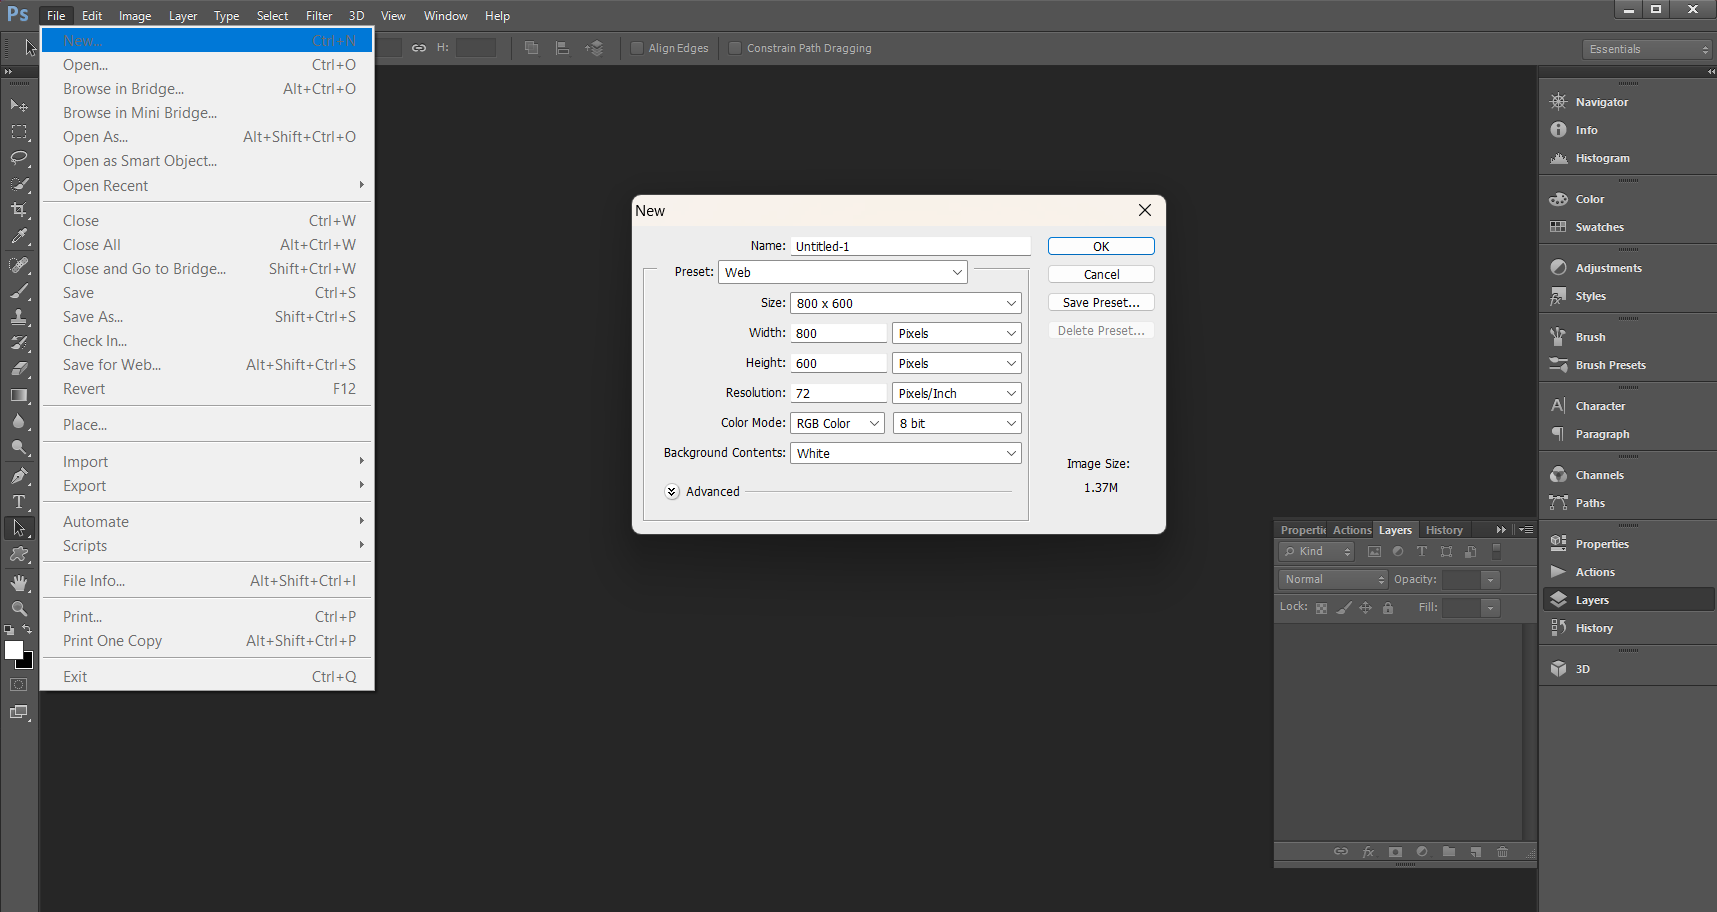
After launching Photoshop, I initiated a new project by selecting 'File' -> 'New'. In the ensuing popup window, I customized the settings to establish the background for my page. Name the document and sizes of the page, then click OK and a layer is created.
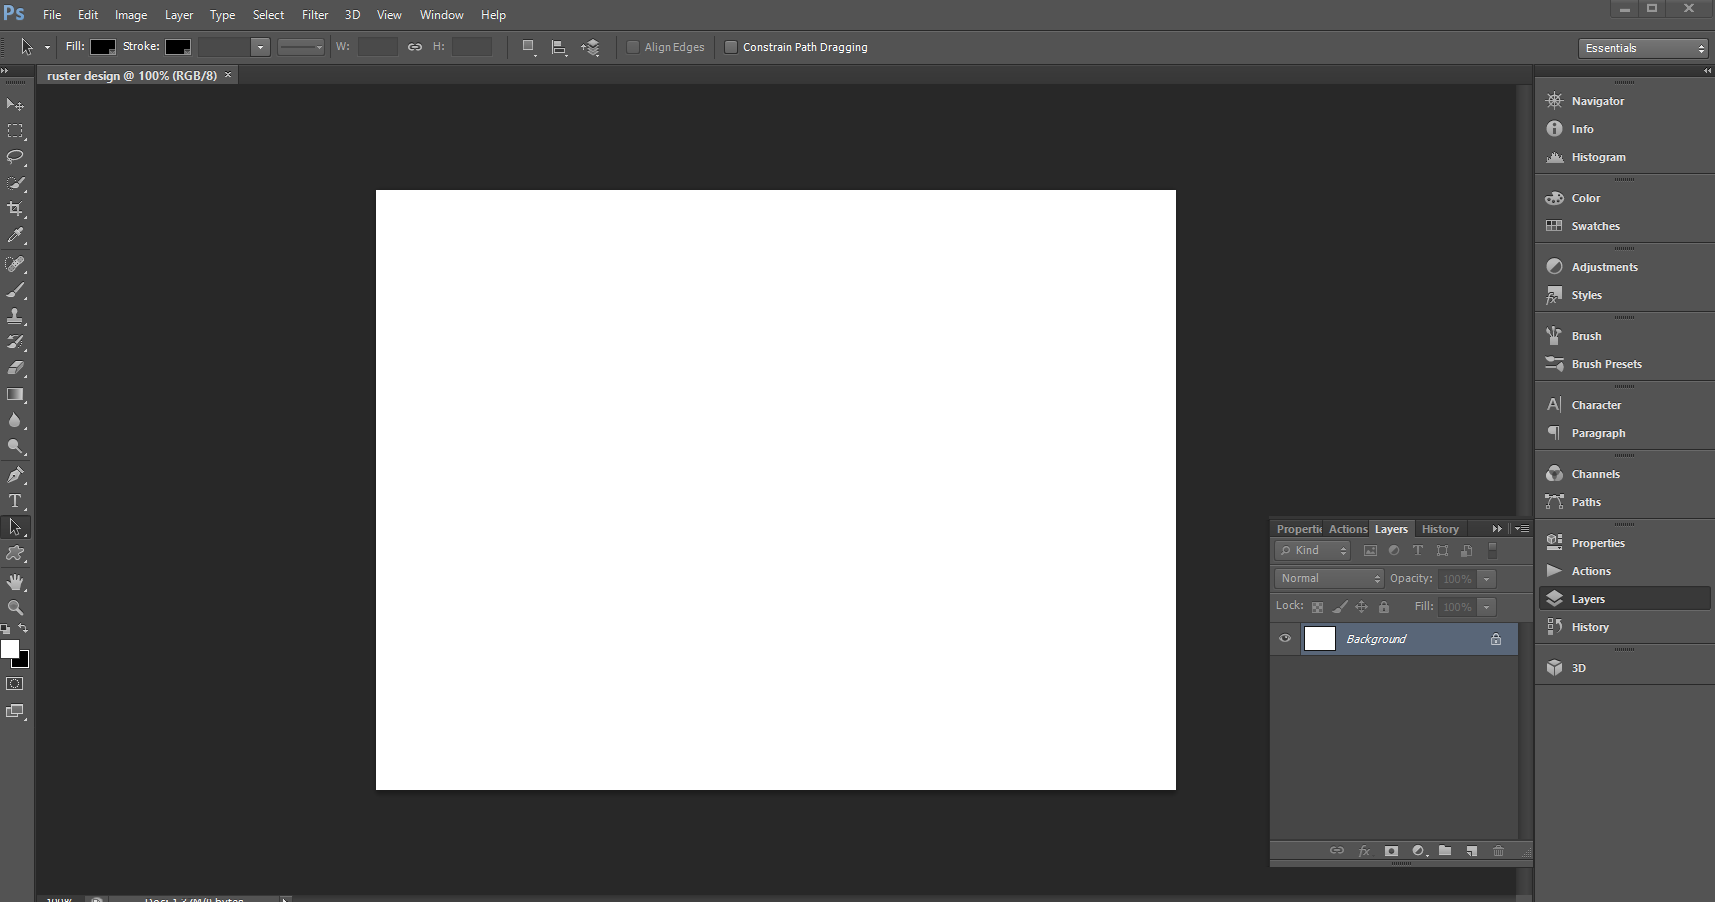
A newlayer is created of the background..

In Photoshop, I edited Layer 0 to achieve a gradient color effect for a desert landscape. This involved using the software's tools to blend and transition colors smoothly, enhancing the overall appearance of the landscape scene.
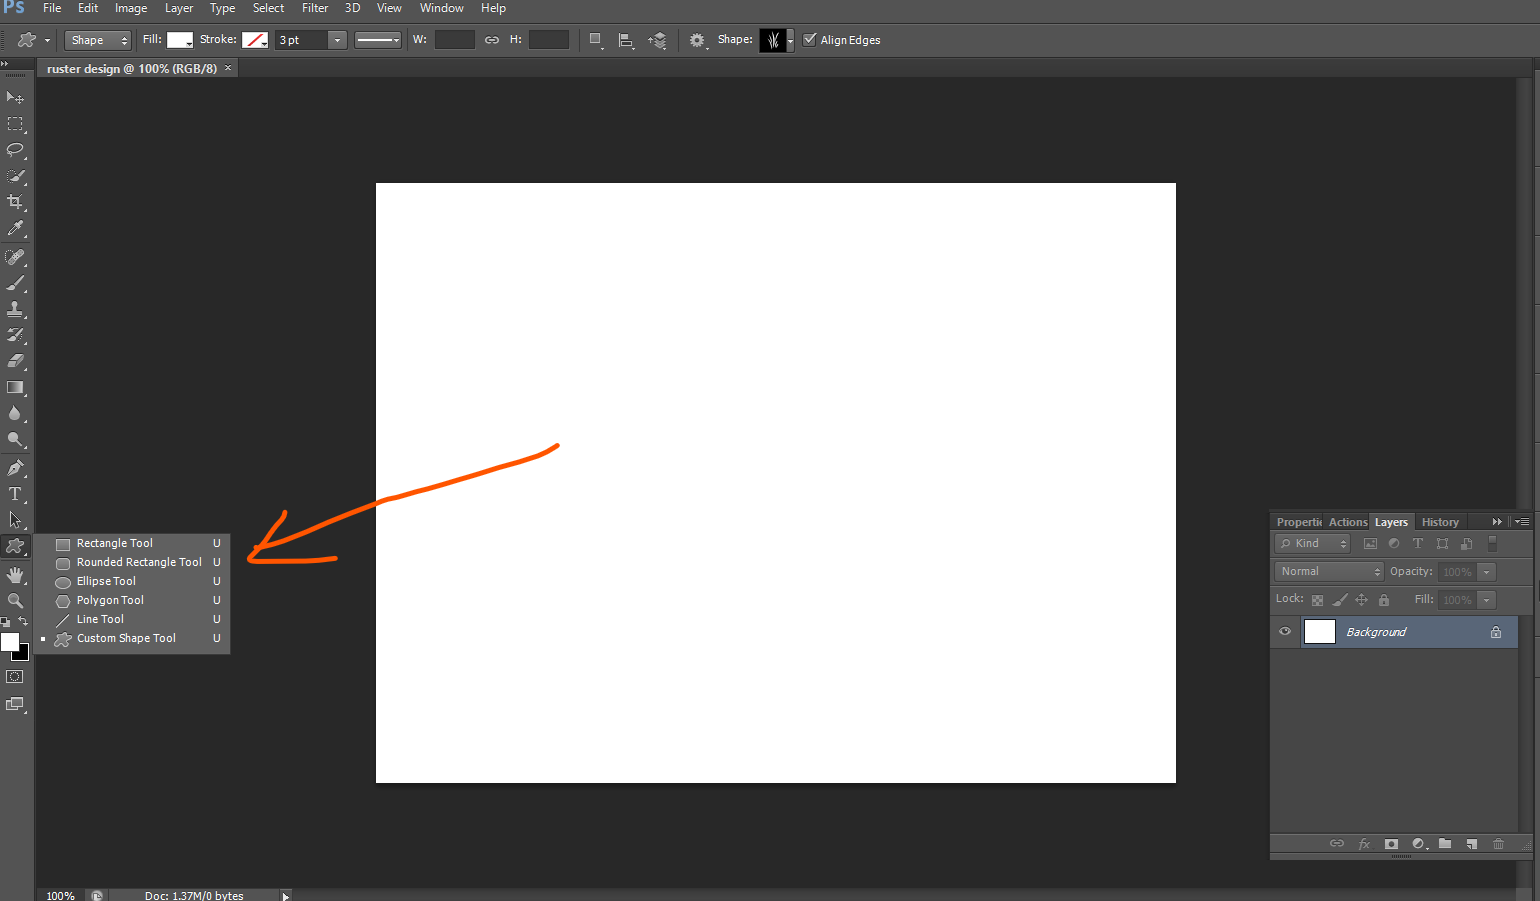
Here, I created a new layer, named Layer 1, by rightclick on tool shown in the above image and choose Custom Shape Tool.

After creating the linear hilly shape,I edited the layer 1 to resemble a hilly desert landscape. This involved shaping Layer 1 to mimic the undulating terrain typical of desert landscapes, adding depth and realism to the background scenery.

In enhancing the realism of the desert landscape, I added small grass details using Photoshop tools in shapes. These details were strategically placed to simulate the sparse, rugged vegetation often found in desert environments. By carefully adjusting the size, color, and placement of these grass elements, I aimed to create a more authentic and lifelike representation of a desert landscape, adding depth and texture to the overall design.
The design did not turn out as I had envisioned, primarily because I had to focus on completing the assignment and familiarizing myself with the new software. However, I am committed to further training myself in using the tools of this software to improve my designs in the future.
1.2. Vector (Autocad)
AutoCAD is a computer-aided design (CAD) software program developed by Autodesk. It allows users to create 2D and 3D drawings and models of physical components or buildings. AutoCAD is widely used in various industries, including architecture, engineering, construction, manufacturing, and project management, to design, visualize, and communicate ideas efficiently and accurately.
I started with downloading and installation of autocad from autodesk.
The trial can be found here. Click here to download the trial or buy pro.
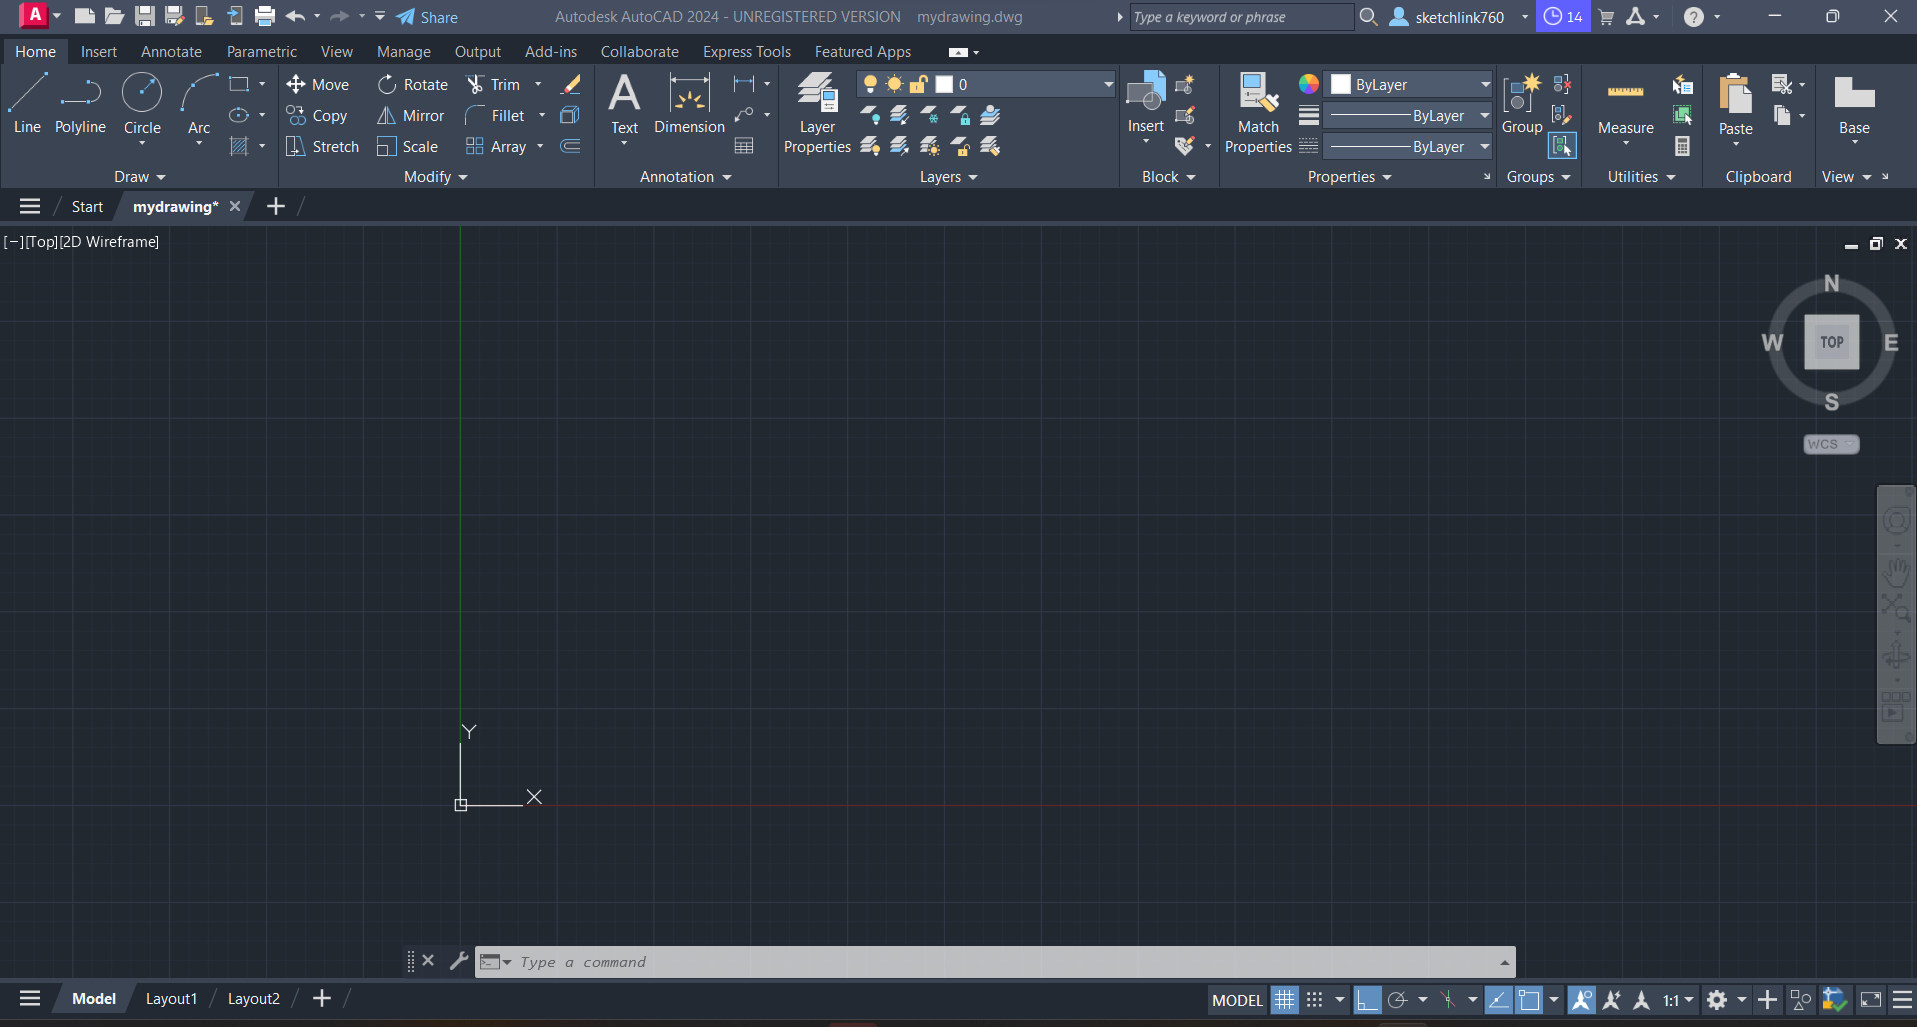
Working environment of Autocad
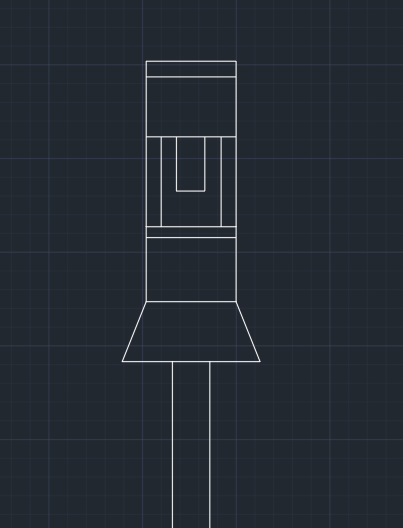
Used line from tool bar of autocad to draw until this stage.
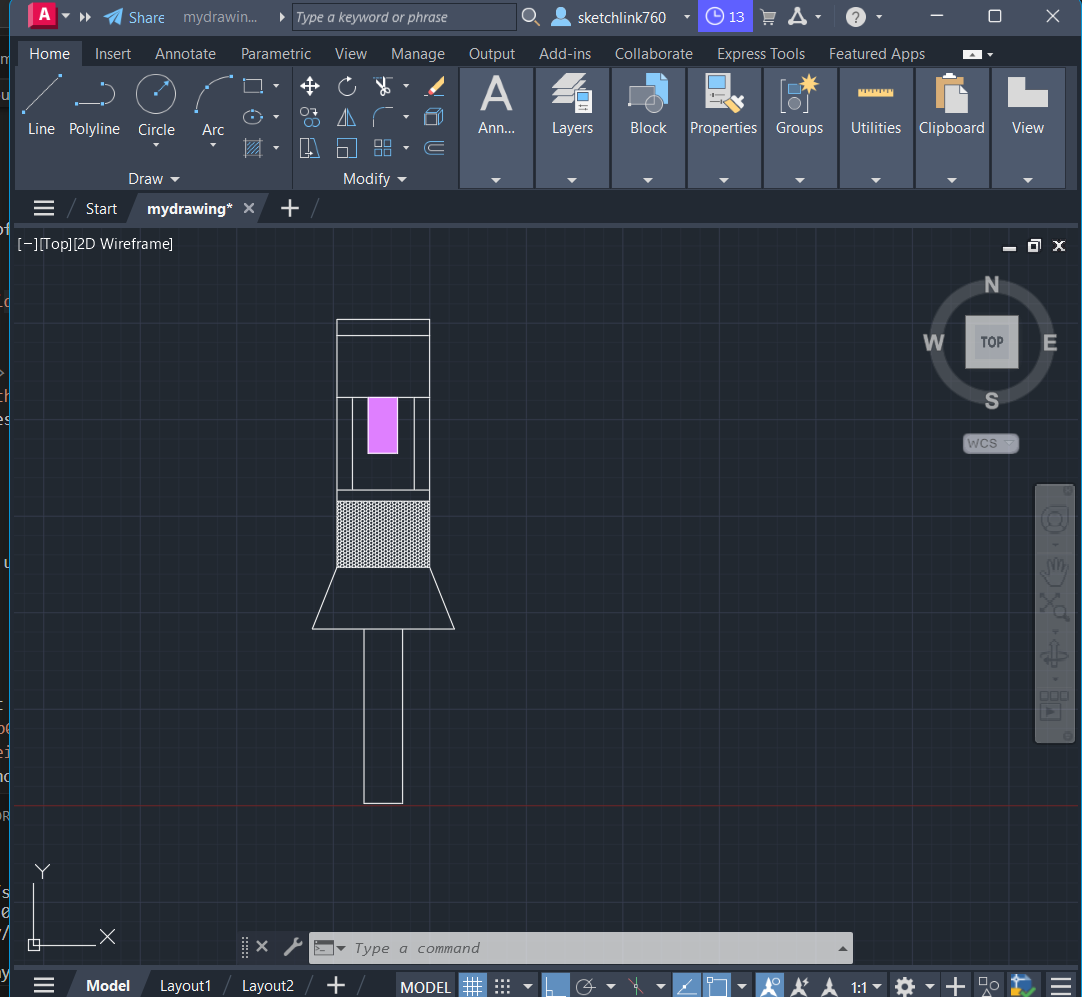
The design of my project in autocad. To add the pores in the design, I used hatch command and chose honey to paint the box on design by just typing hatch command and tap enter.
I used the same concept on lamp. In hatch, i chose solid and changed its color by edditing and changing the color of the solid surface.

My side view design of my project in autocad. The design was saved in pdf format and took the screenshot of it.
II. 3D DESIGN
2.1. 3D Design with Sketchup software
Sketchup: SketchUp is a 3D modeling software commonly used in various fields such as architecture, interior design, urban planning, landscape architecture, and video game design.
The first step to was to download the latest version of of sketchup.
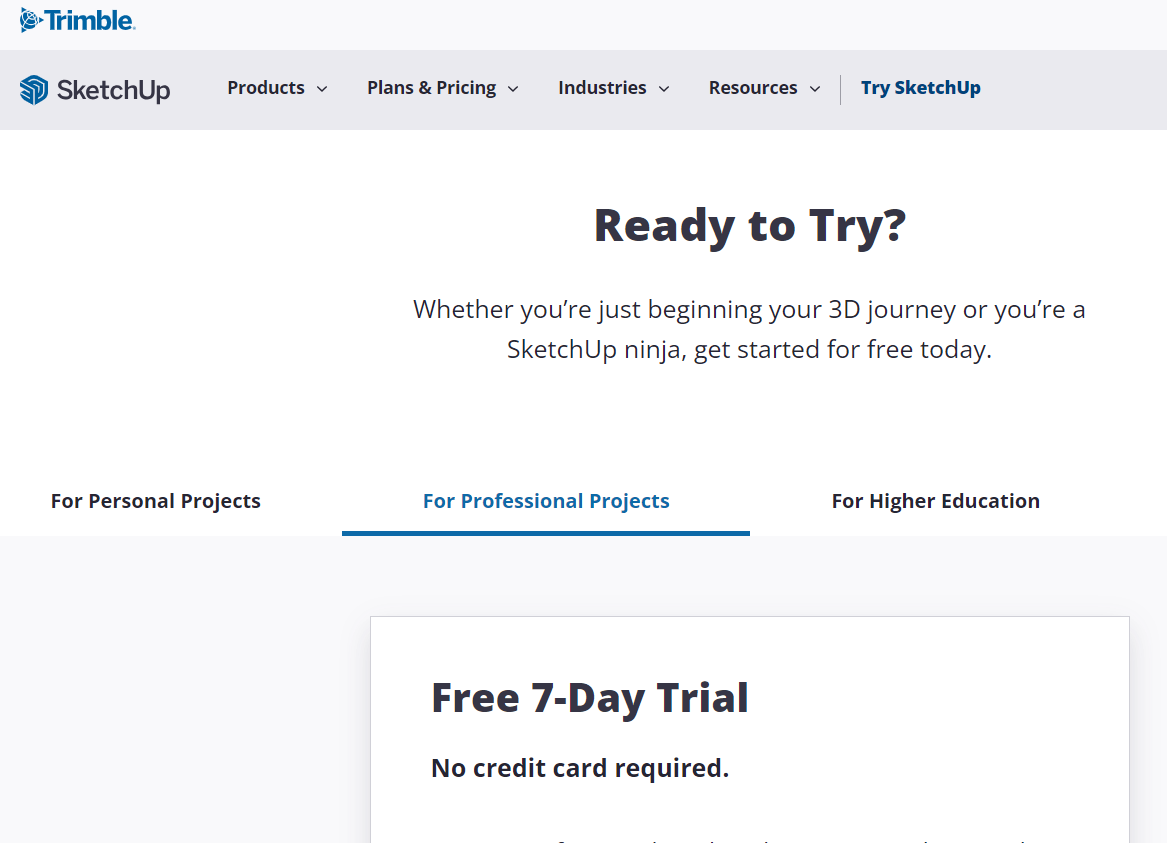
skethup downoload in trial mode as it requires payment to have full access.
Sketchup download, can be downloaded here.

Download trial.
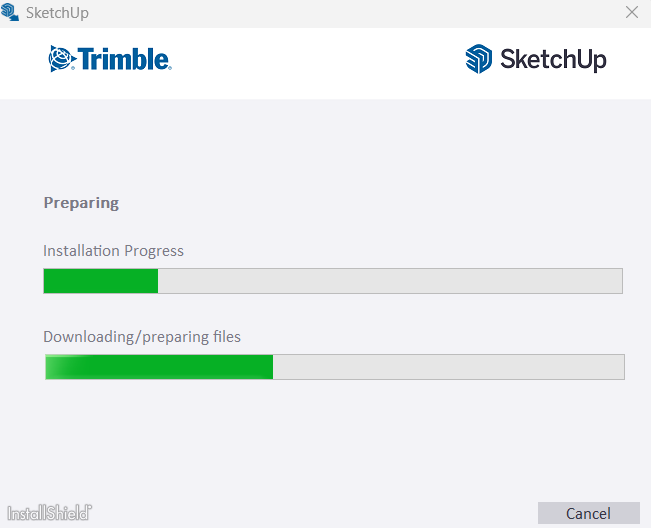
Downloading. Requires user email and phone number for downloading the trial.
After download, I installed sketchup on my computer.
Download continued

Click continue and finish download.
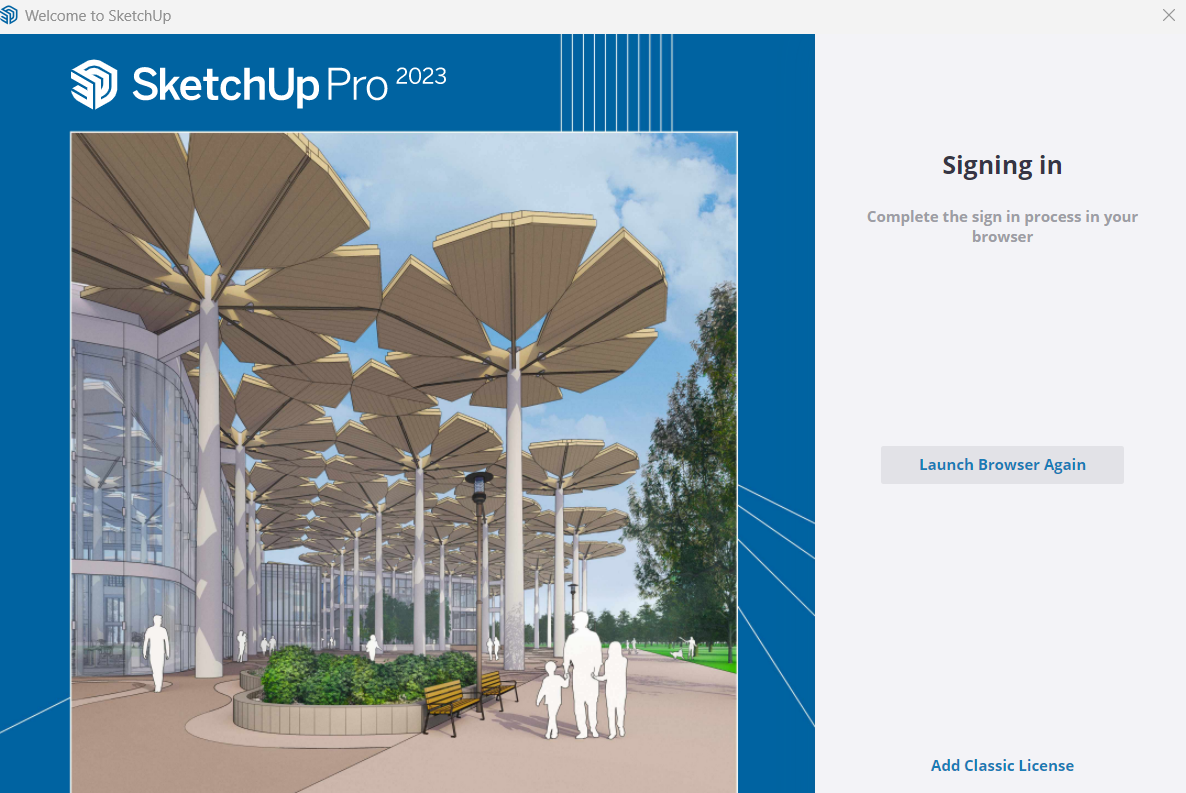
After download, it requires signing in with used credentials when downloading sketup.
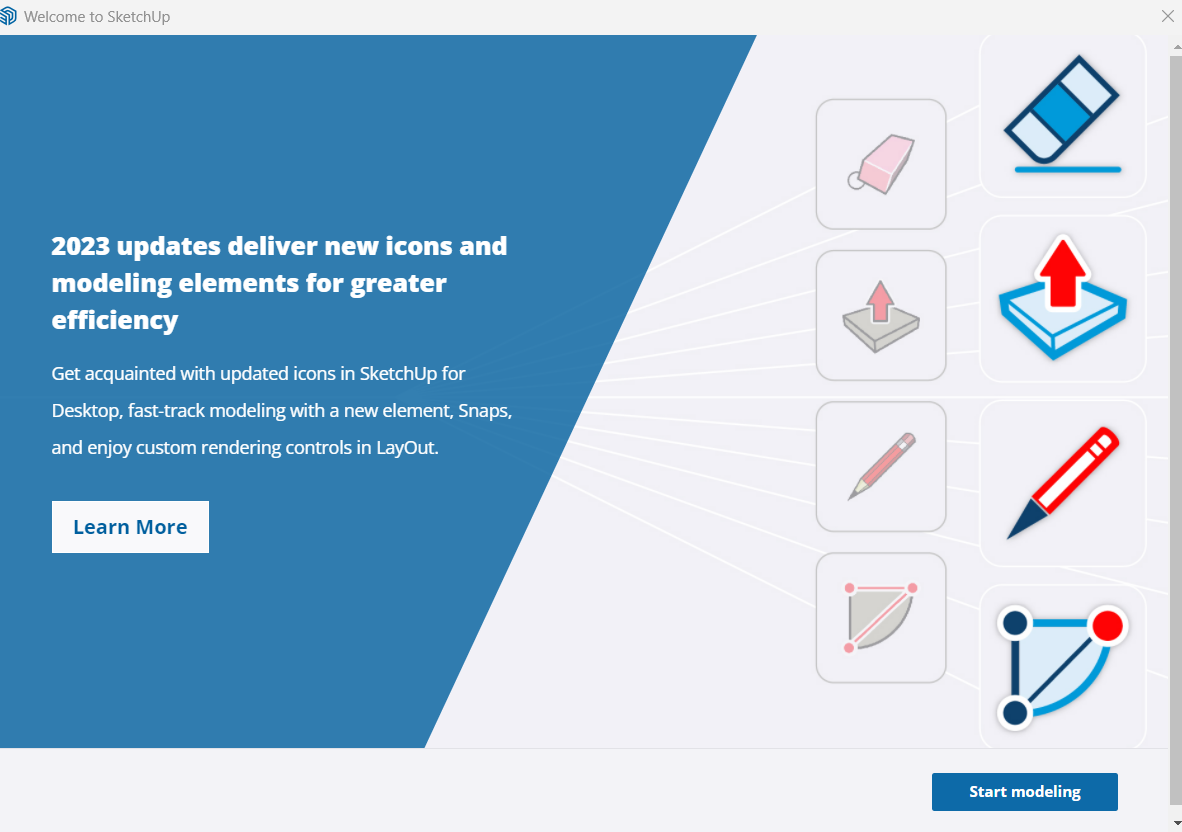
Now clicking on start modeling
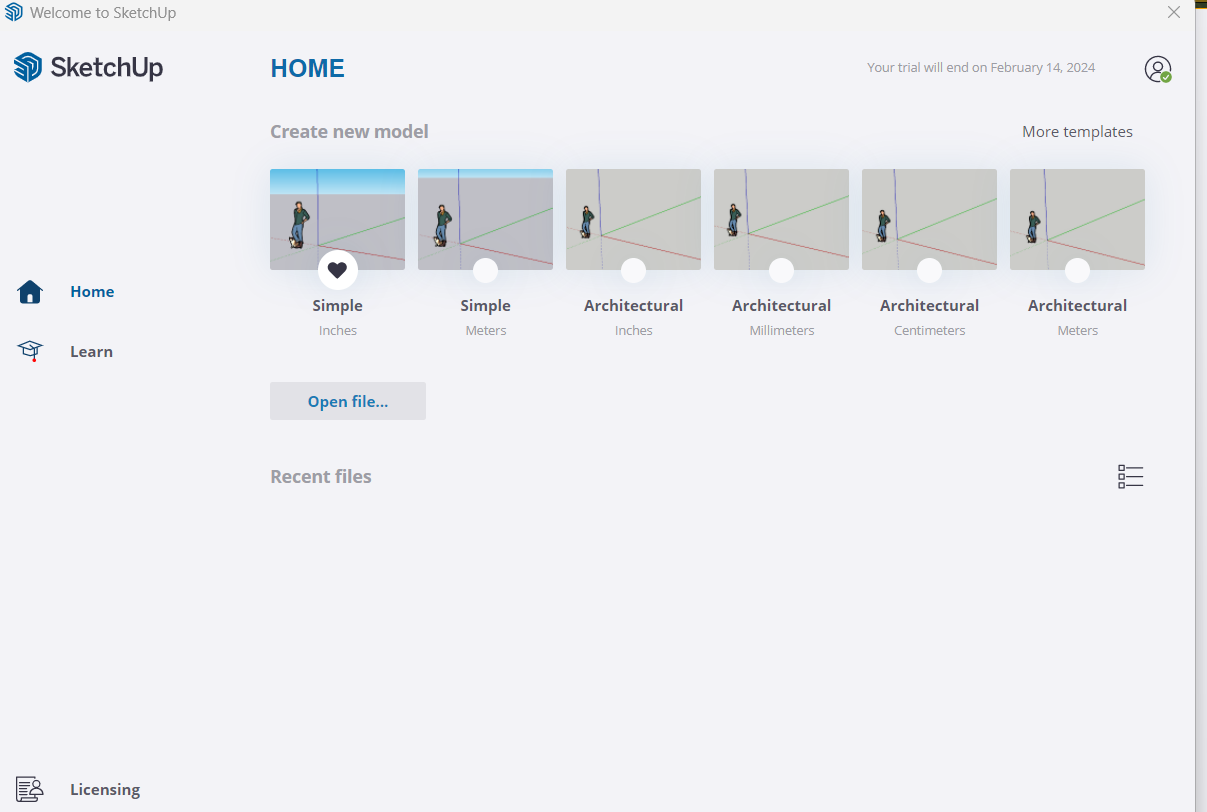
Choose a working units. (on my side I chose architecture in centimeters)
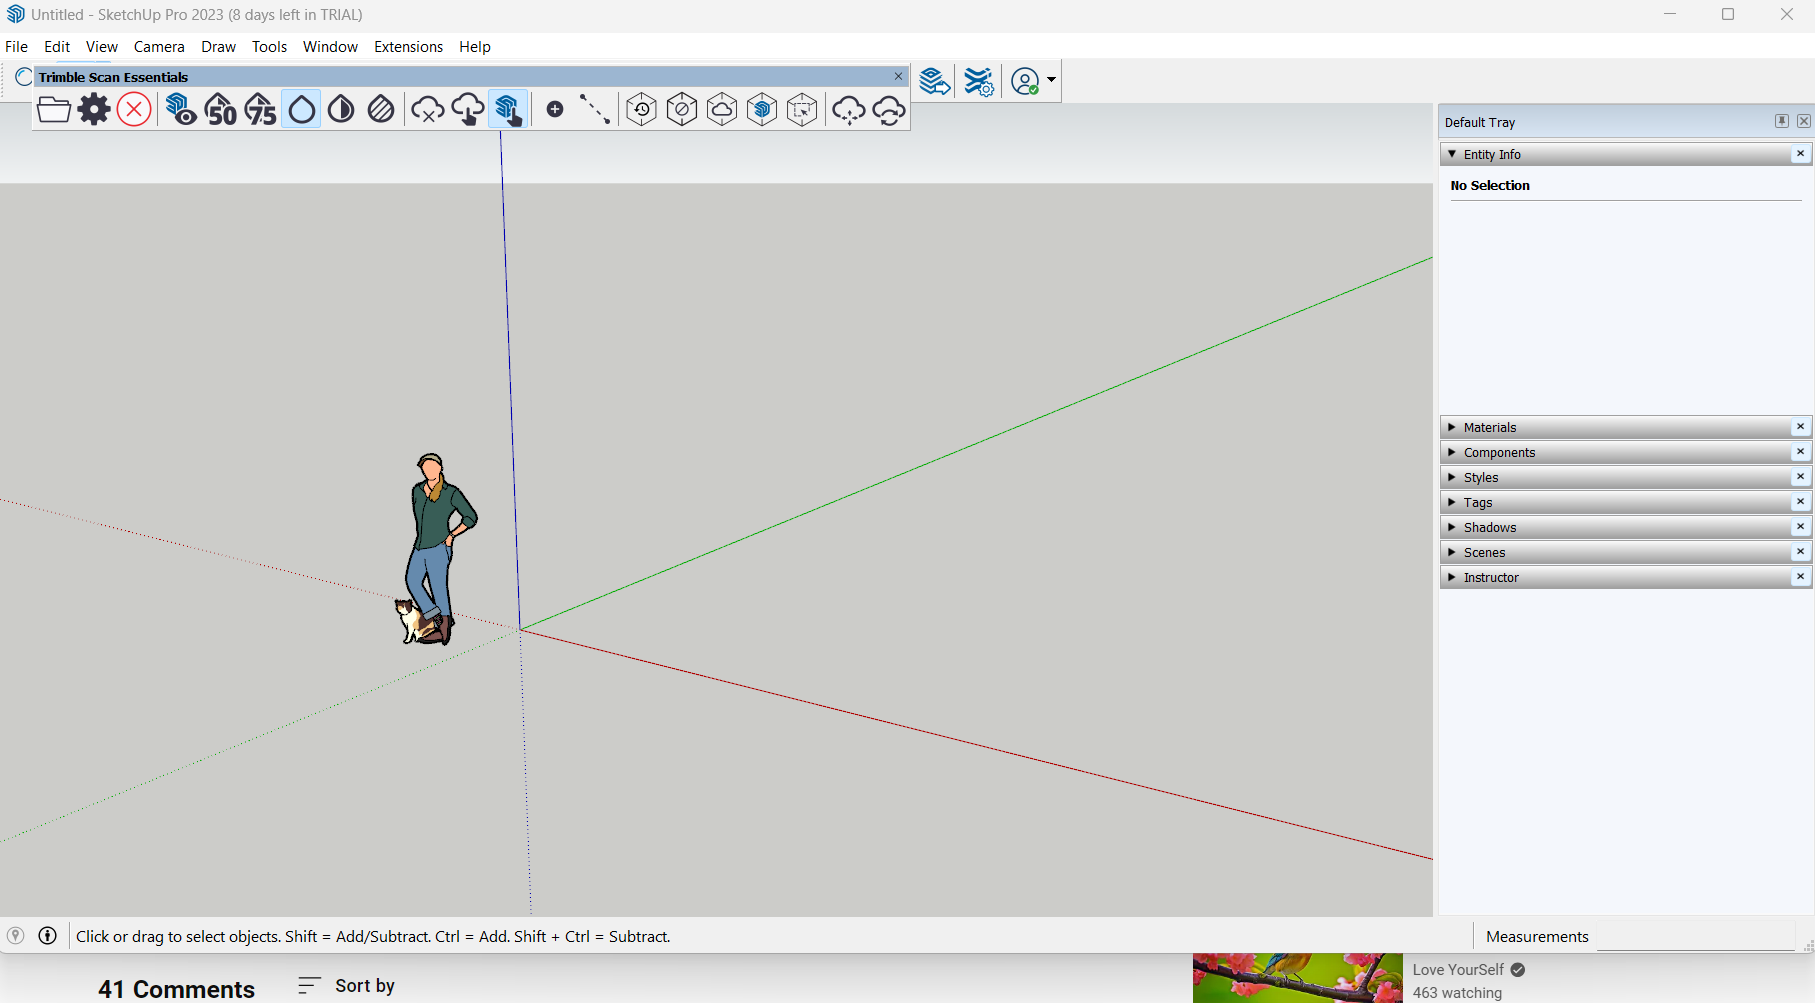
This is the working environment of Sketchup.
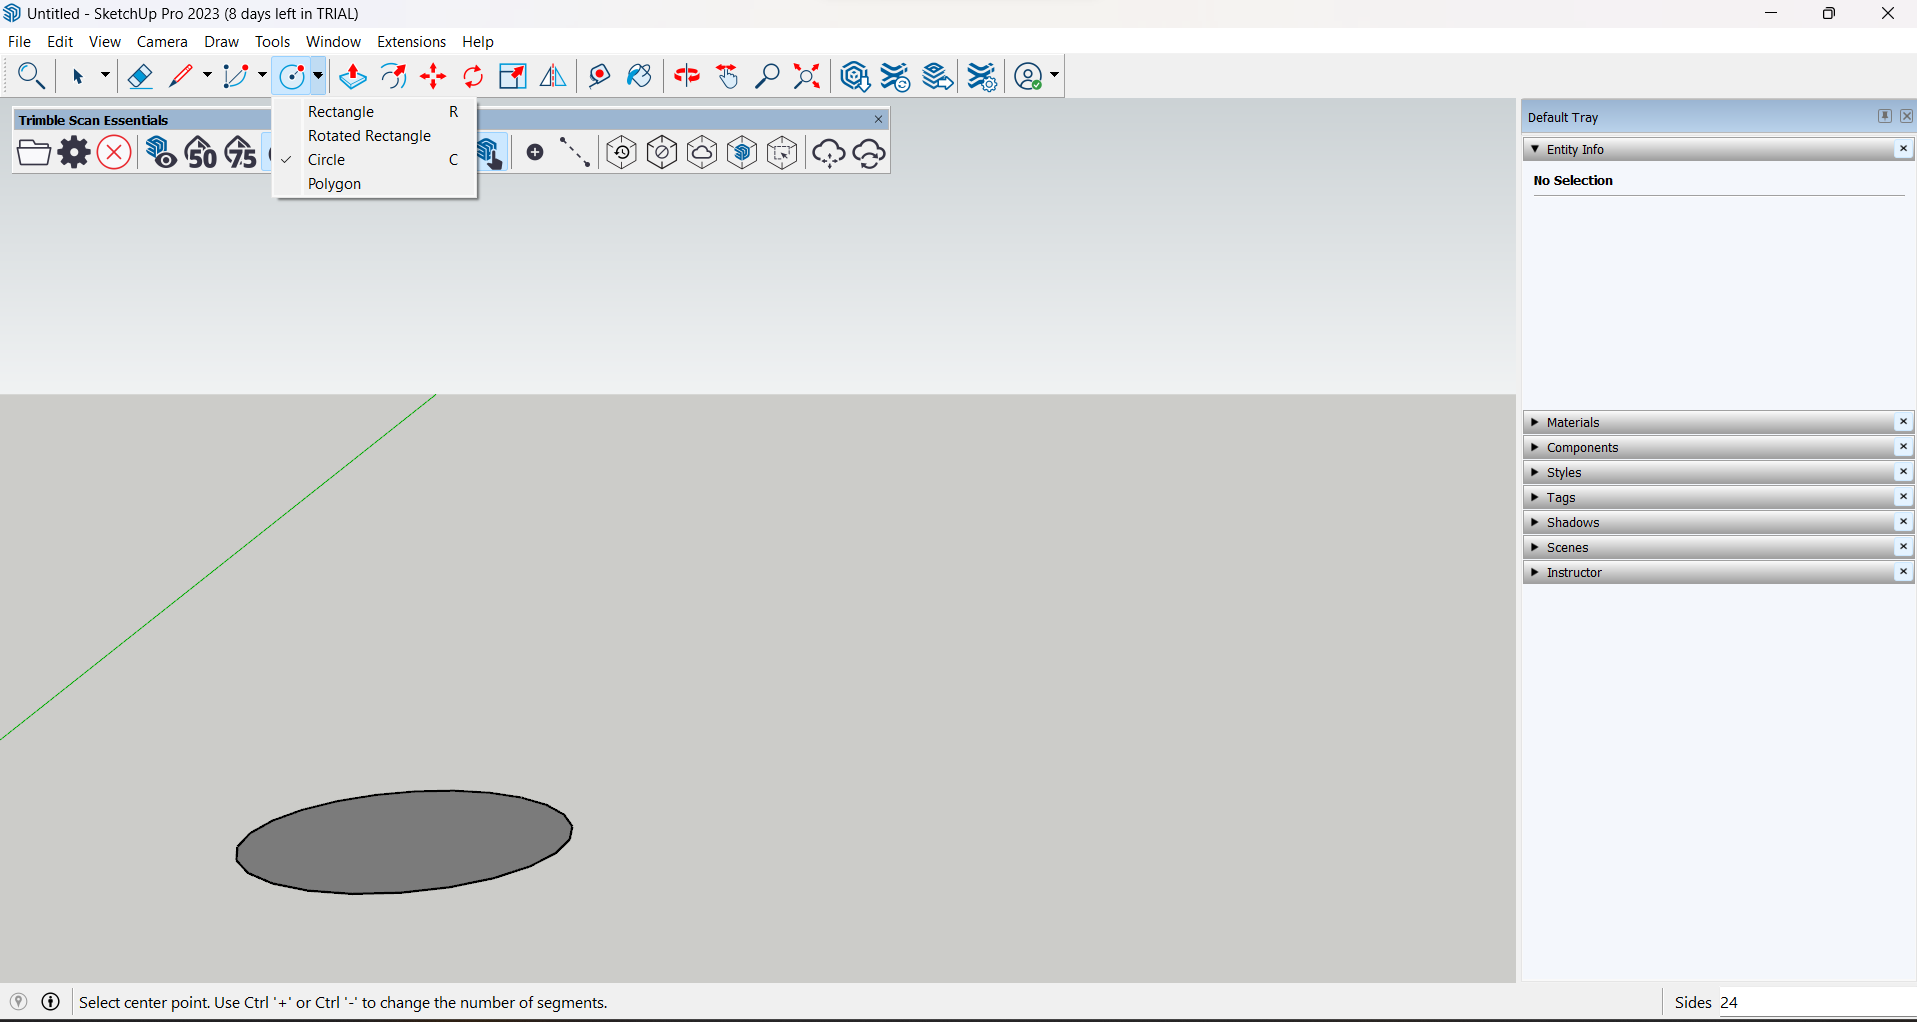
I started the drawing by drawing a circular surface.
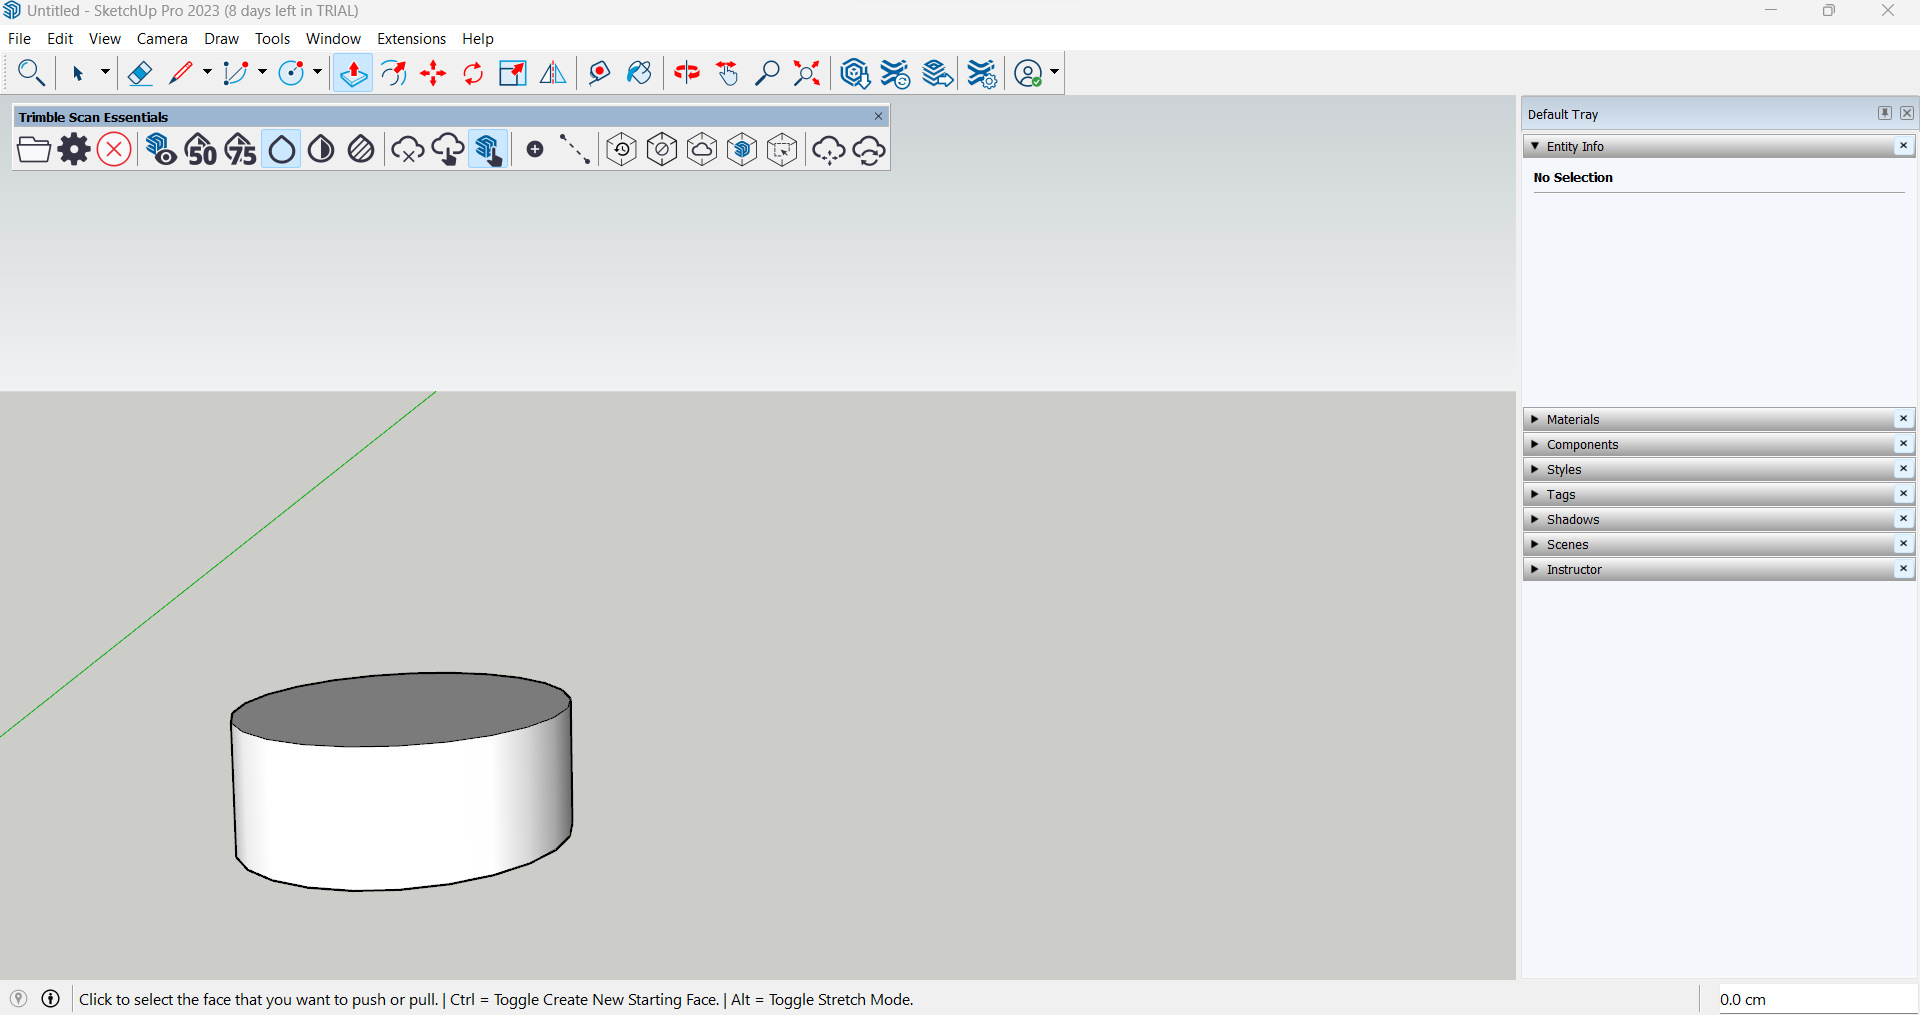
Now use push/pull tool
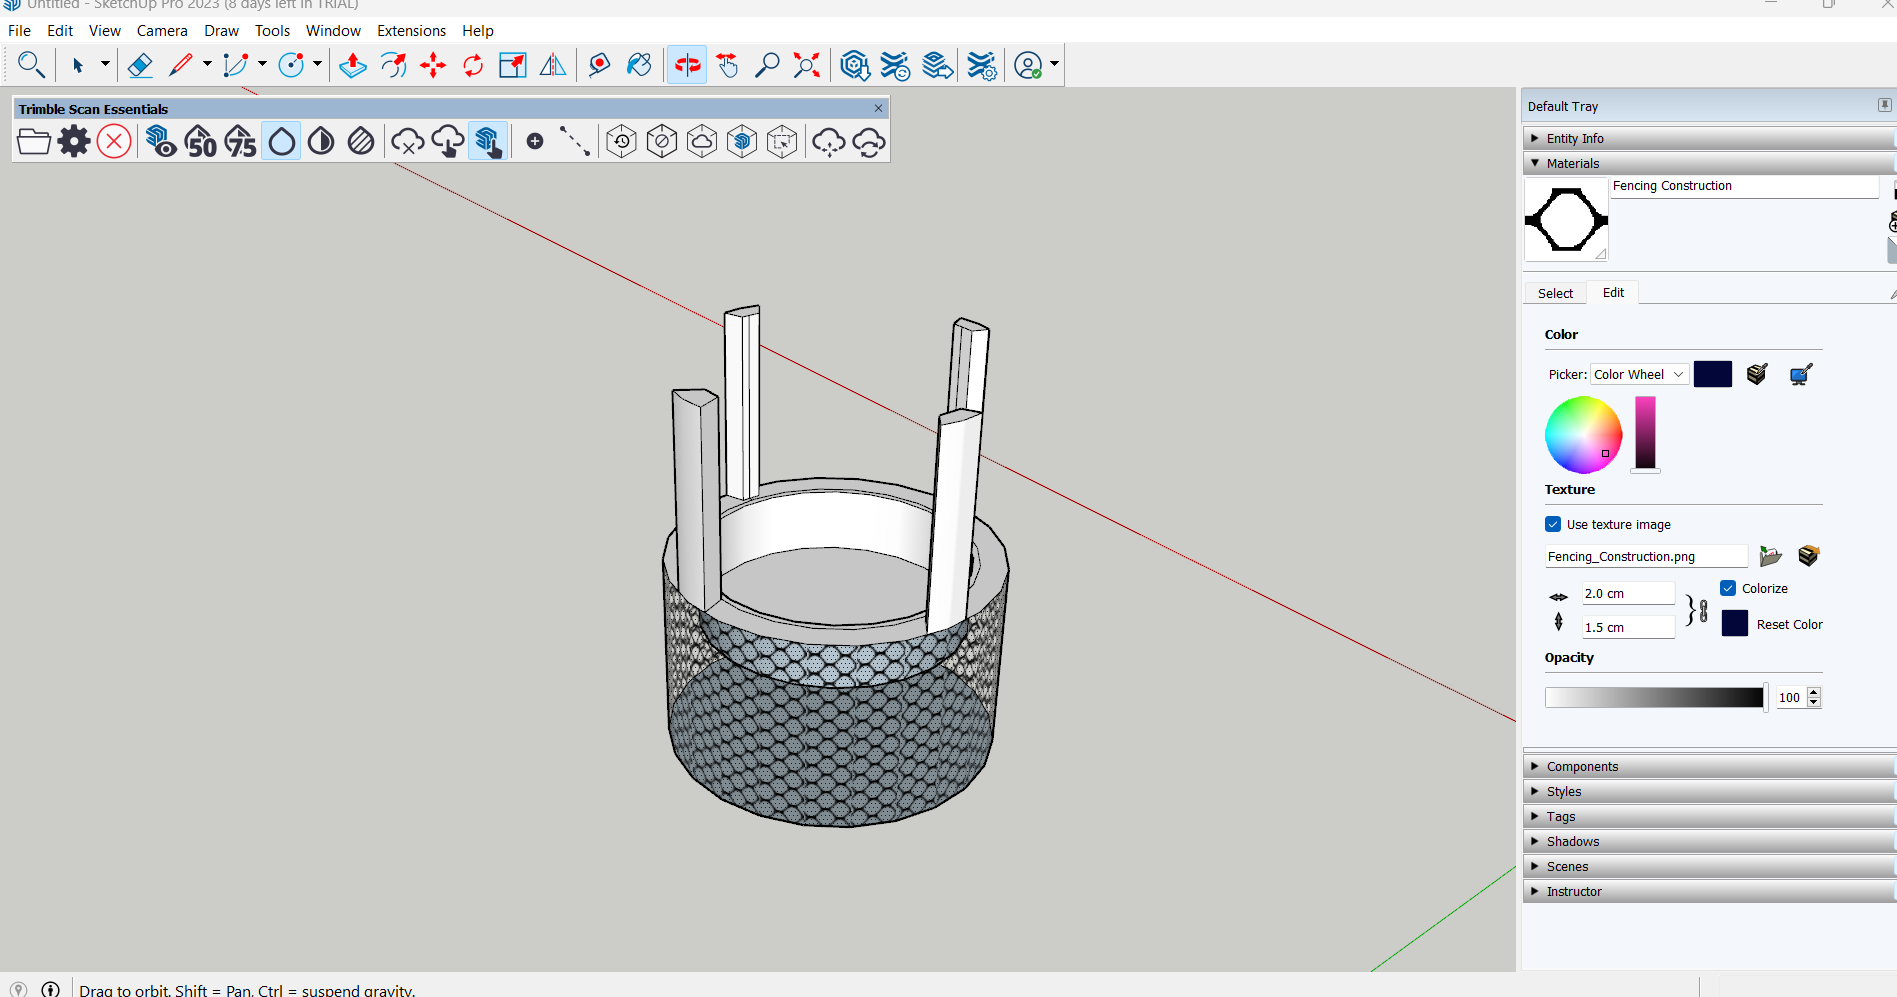
The drawing edit. I painted materials of mesh on the drawing to make the pores above. Materials can be found on the right side of materials. Materials are colors, metal, landscaping etc... you can select what to paint on the surface.
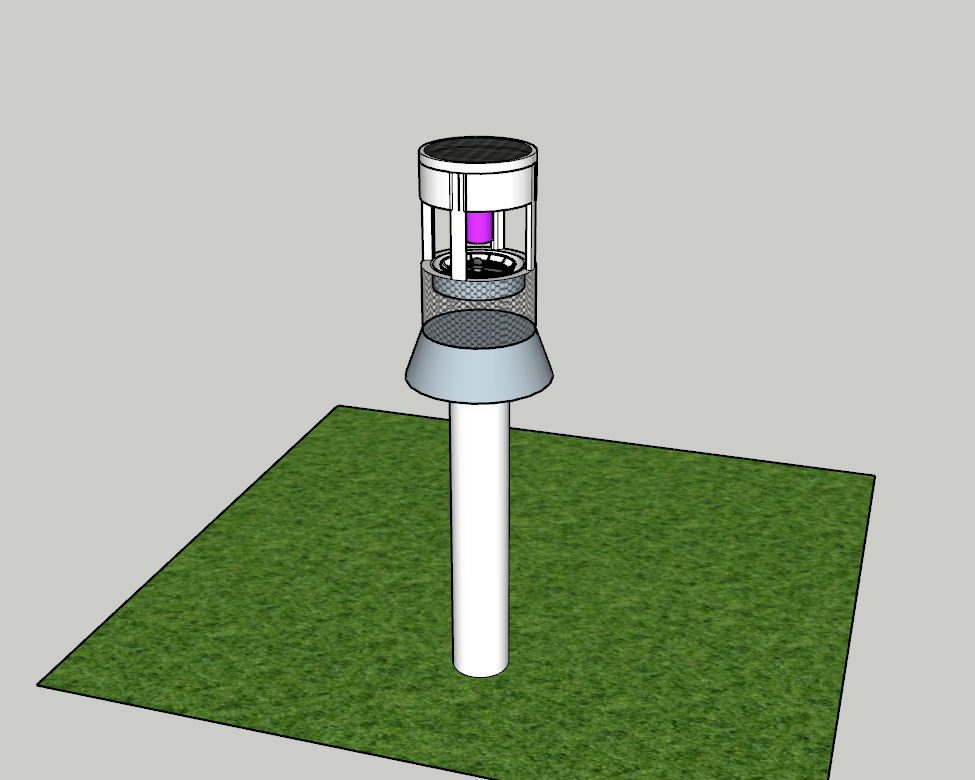
The above is the drafted design of my project. Smart Solar-powered mosquito killer.
2.2. 3D Design with Blender

Working environment of Blender
I already had blender installed on my computer. Choose for mac or window depending on the computer you have. Blender can be downloaded from here.

To start my drawing I used the tools. Clicked on modeling, Add, then selected cylinder and eddited the cylinder.
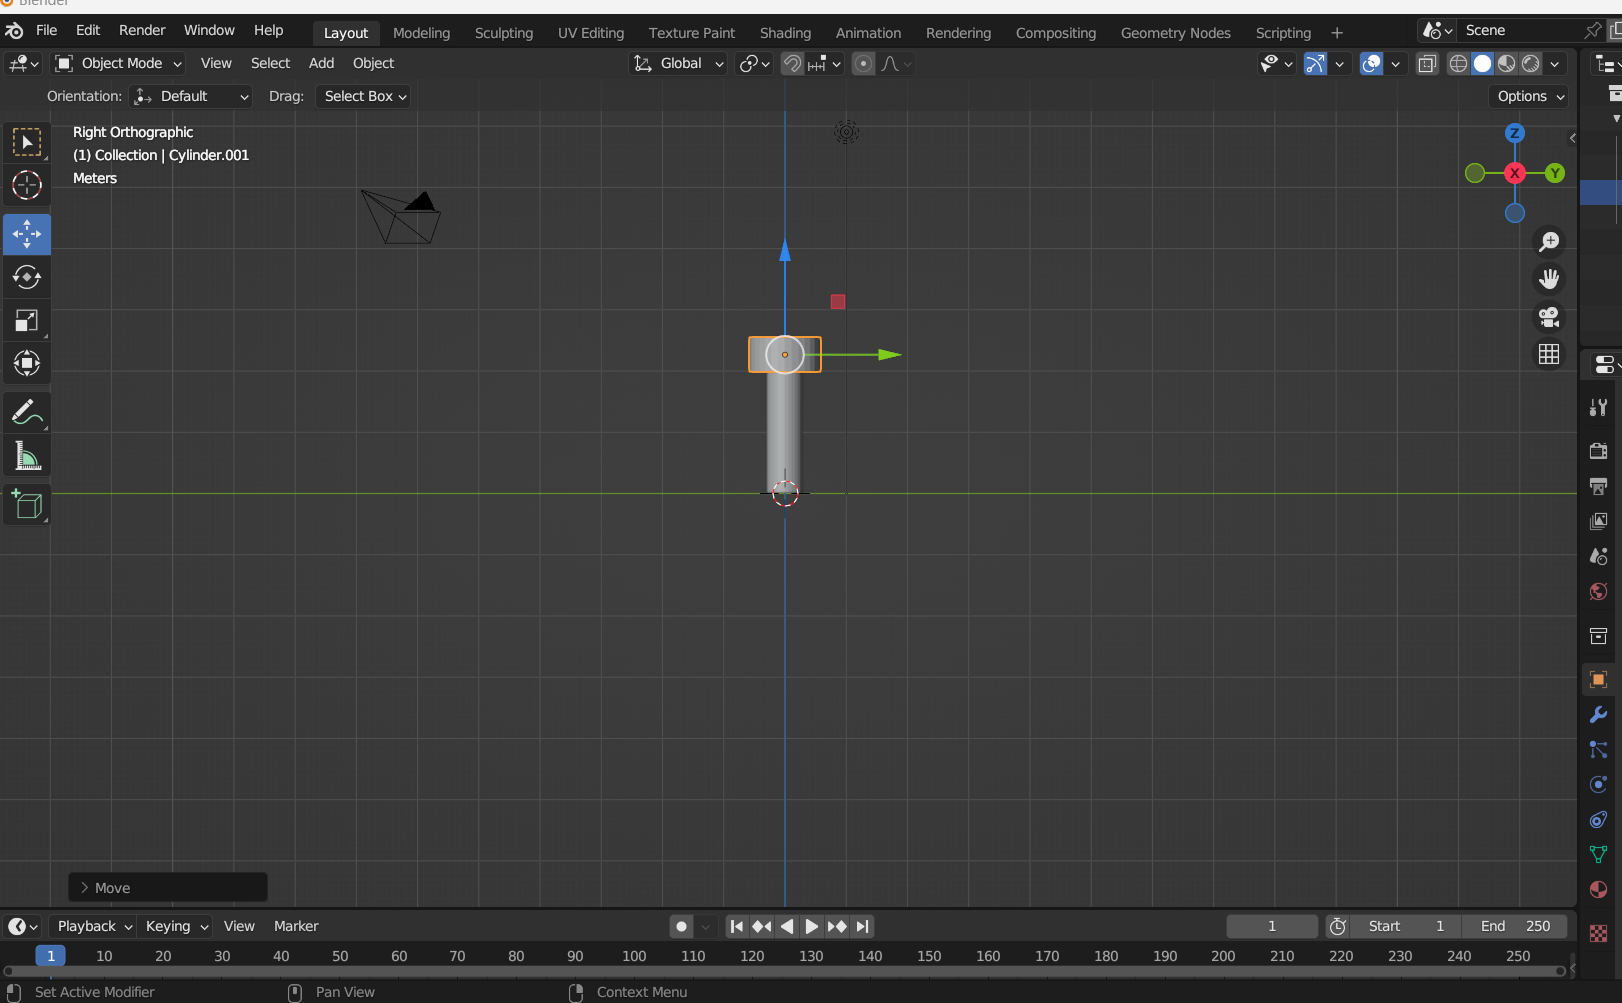
Continued with Clicking on modeling, Add, then selected cylinder and editted the cylinder.
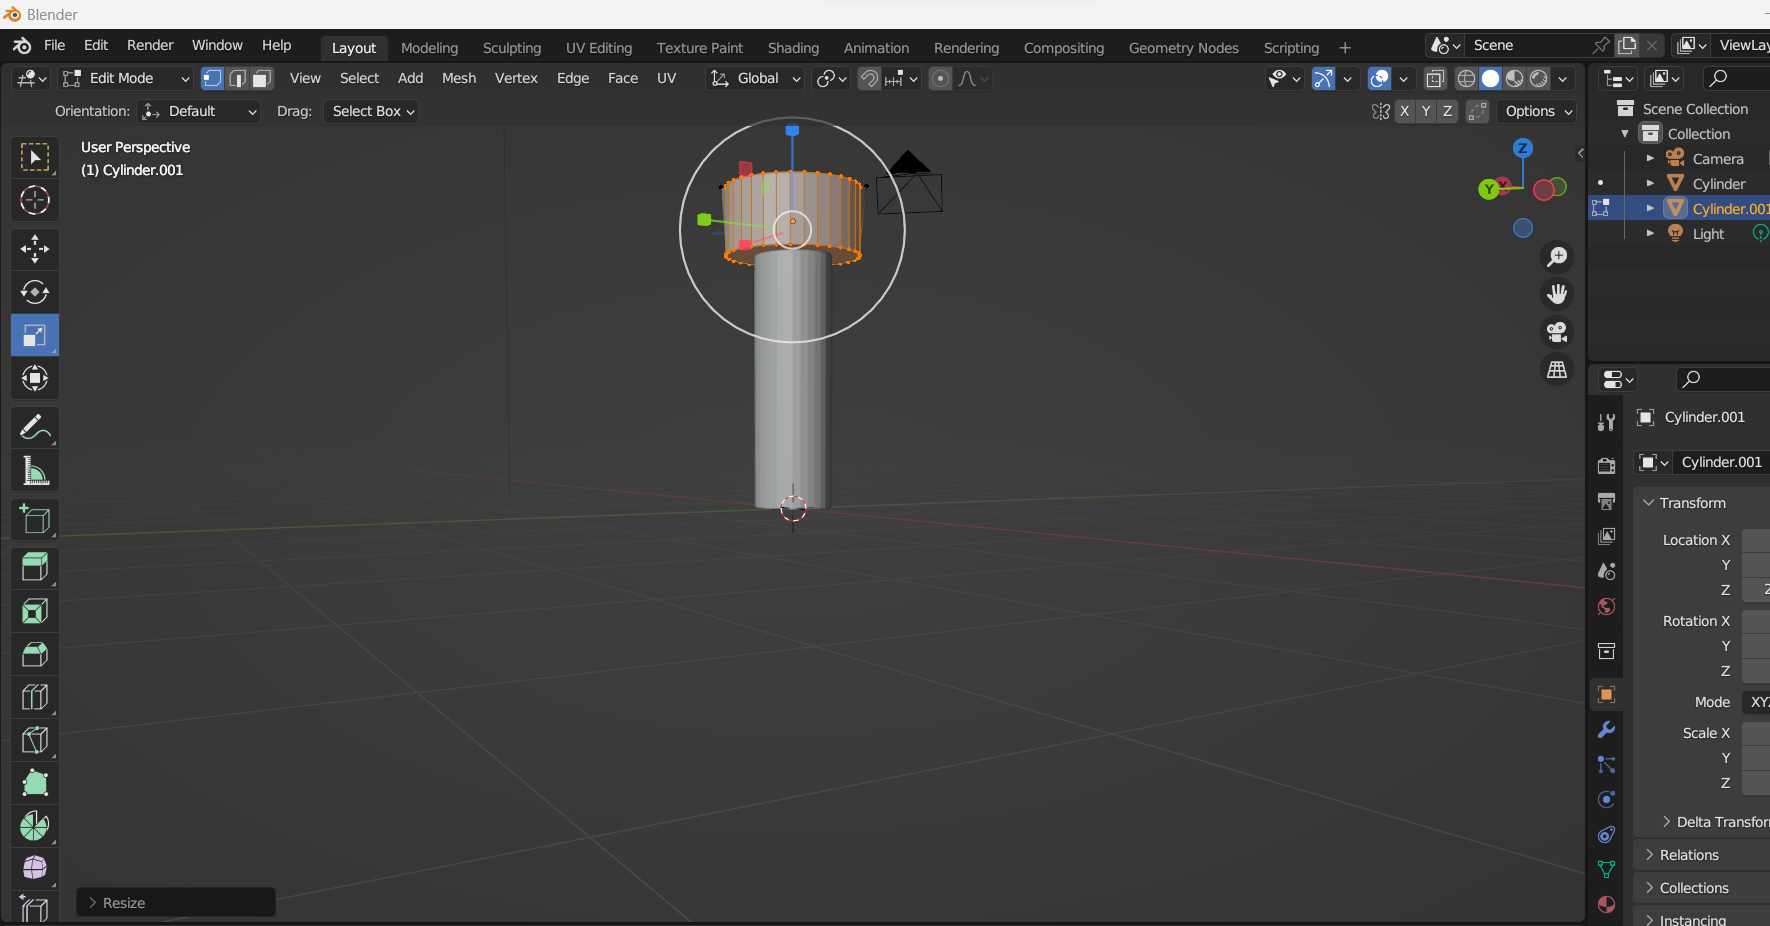
Continued the Editing.
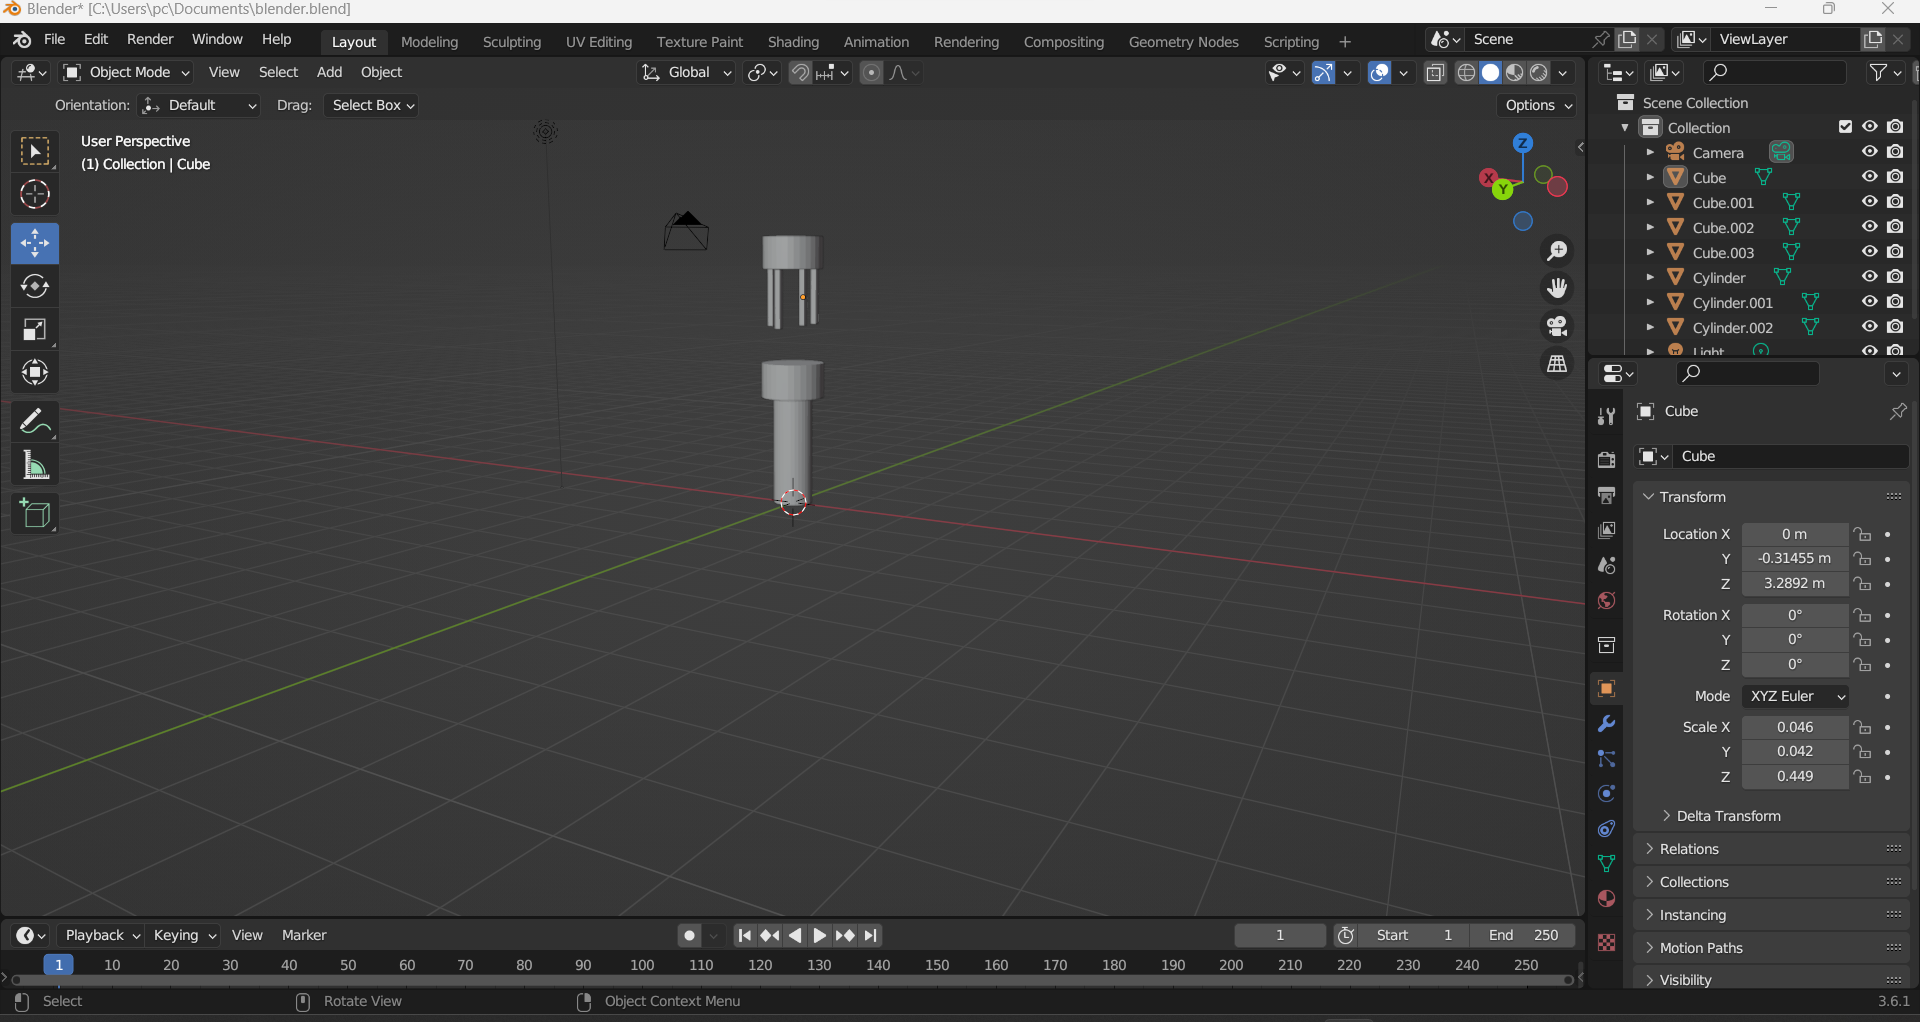
I continued edditing adding and editting cylinders to complete my design.
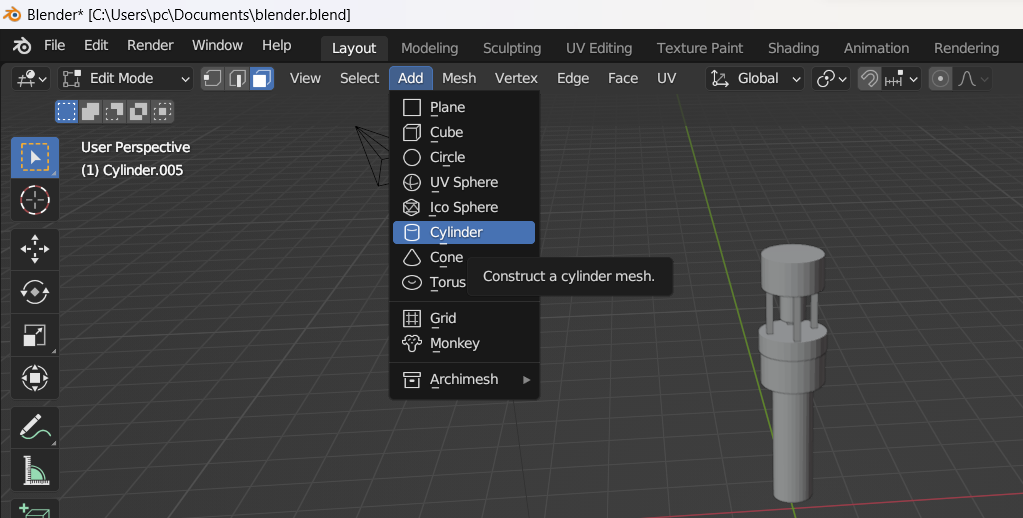
I continued edditing adding and editting cylinders to complete my design.
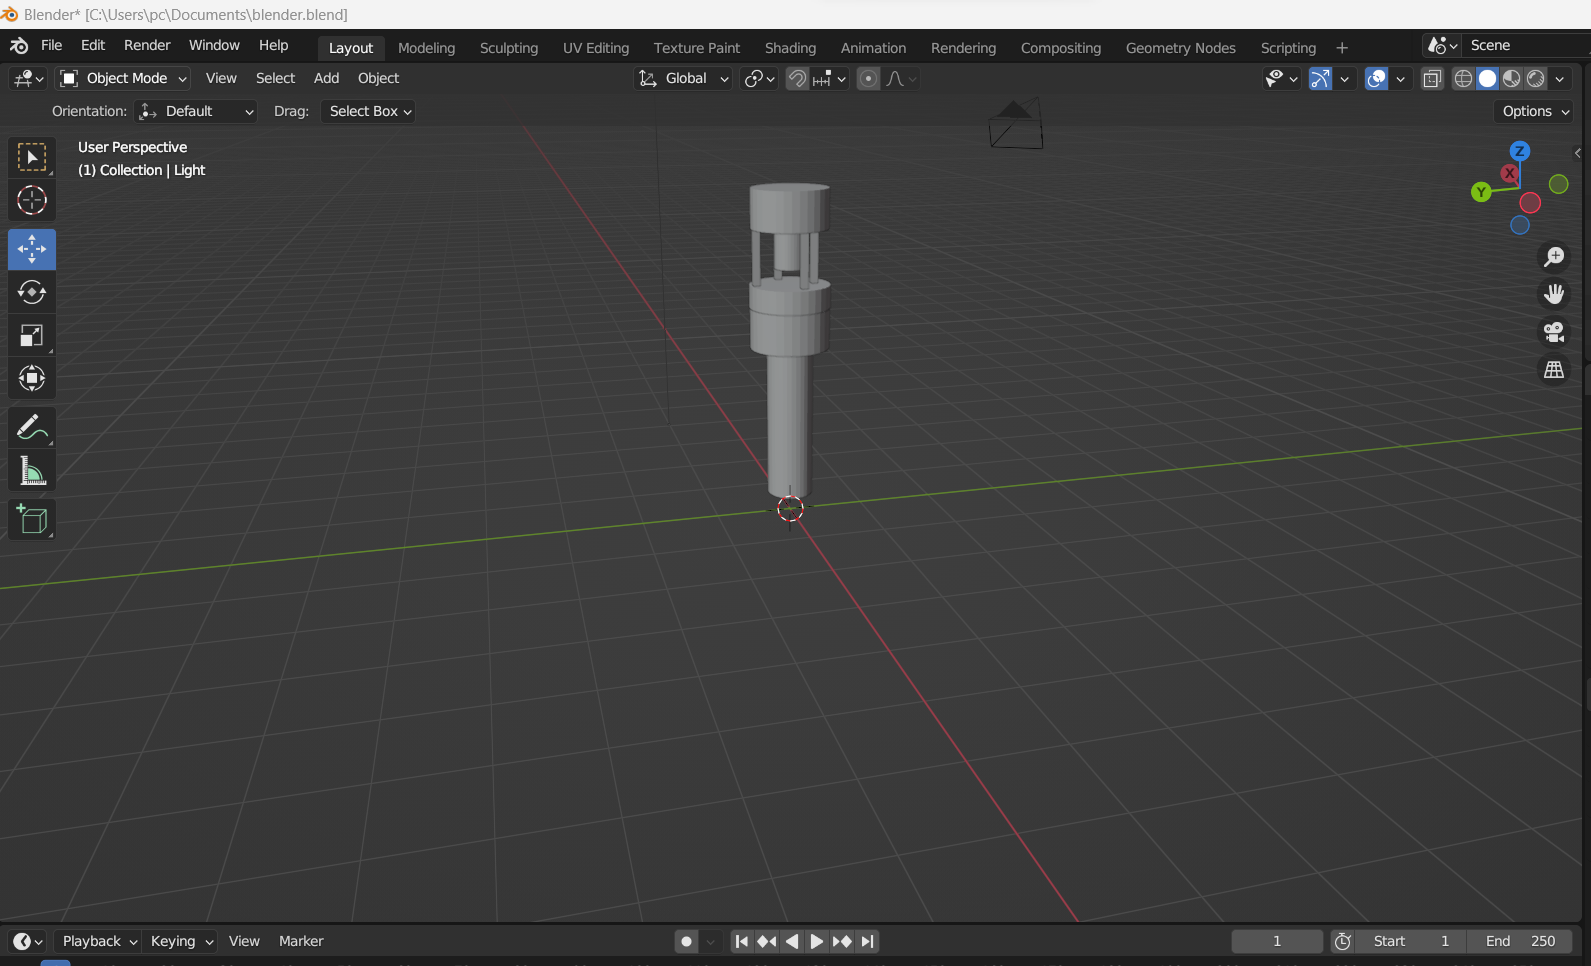
The final draft as per my project design proposal in blender