1. Project Management
Why do we Document our process?
- Documenting ensures that valuable information is recorded and available for future use.
- Serves as a clear means of conveying ideas, instructions, and information.
- Essential for planning, tracking, and managing tasks and resources in projects.
- Provides a foundation for informed decision-making with comprehensive data and insights.
Process of setting up Webpage!!
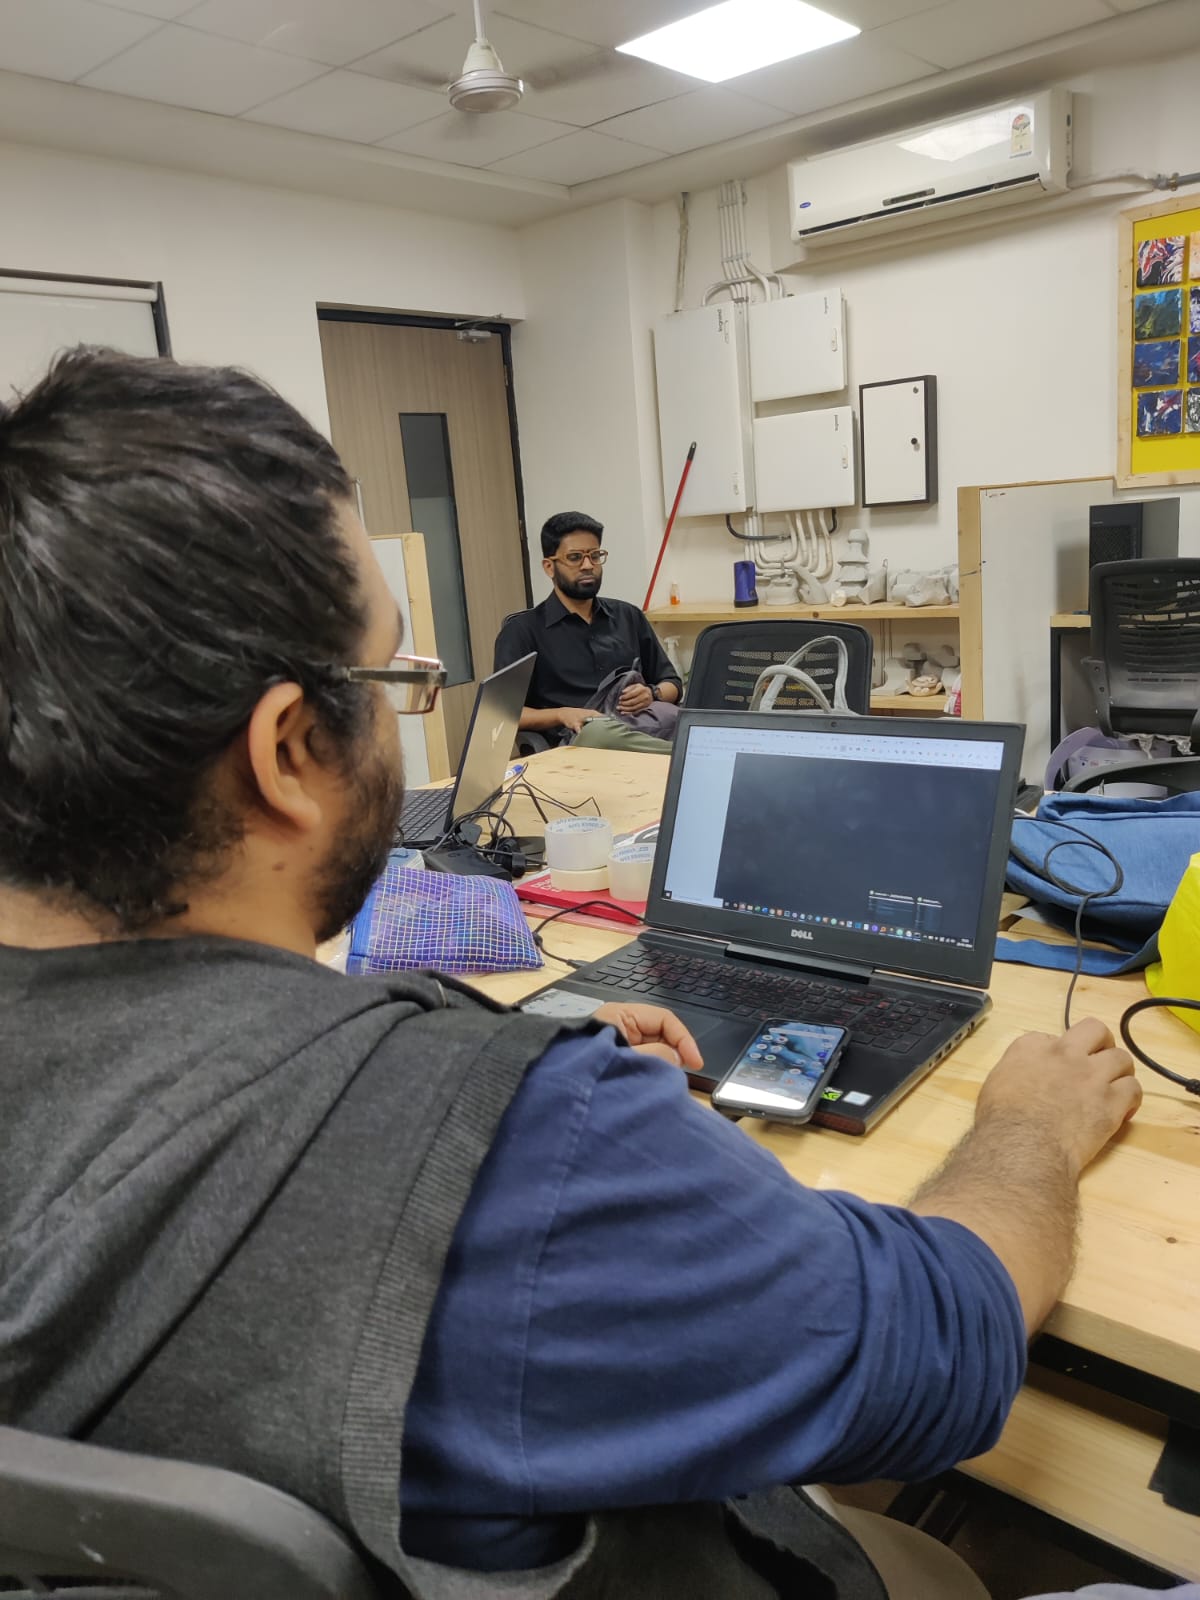
After gaining an understanding of GitLab’s functionality, including the presence of repositories containing all the files that impact our websites, I watched tutorials on Git from YouTube. The guidance provided by mentors like Jesal Sir and Pranav Sir was instrumental in successfully creating my own website.
WEB IDE
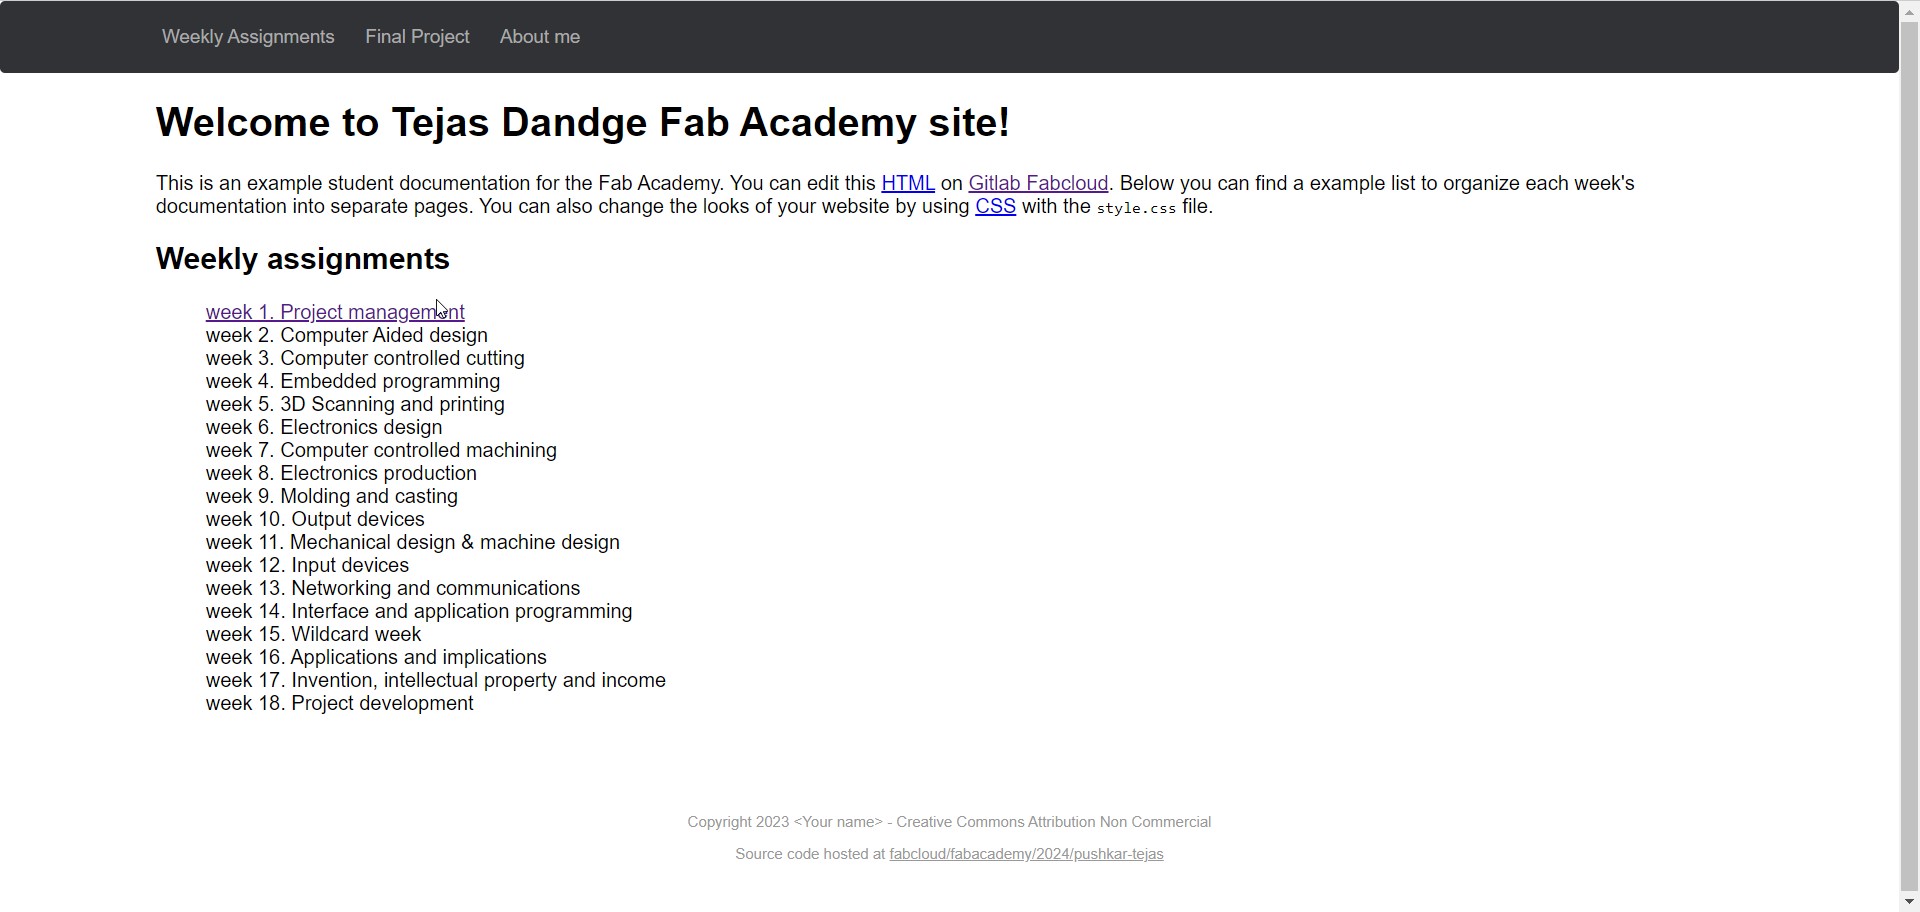
In the Begining just to try out started with editing on the Web IDE repository to know how and what the website is, Being new to this this was just a trial to see if my websit goes live or not and it did!
Cloning Git to Local Repo
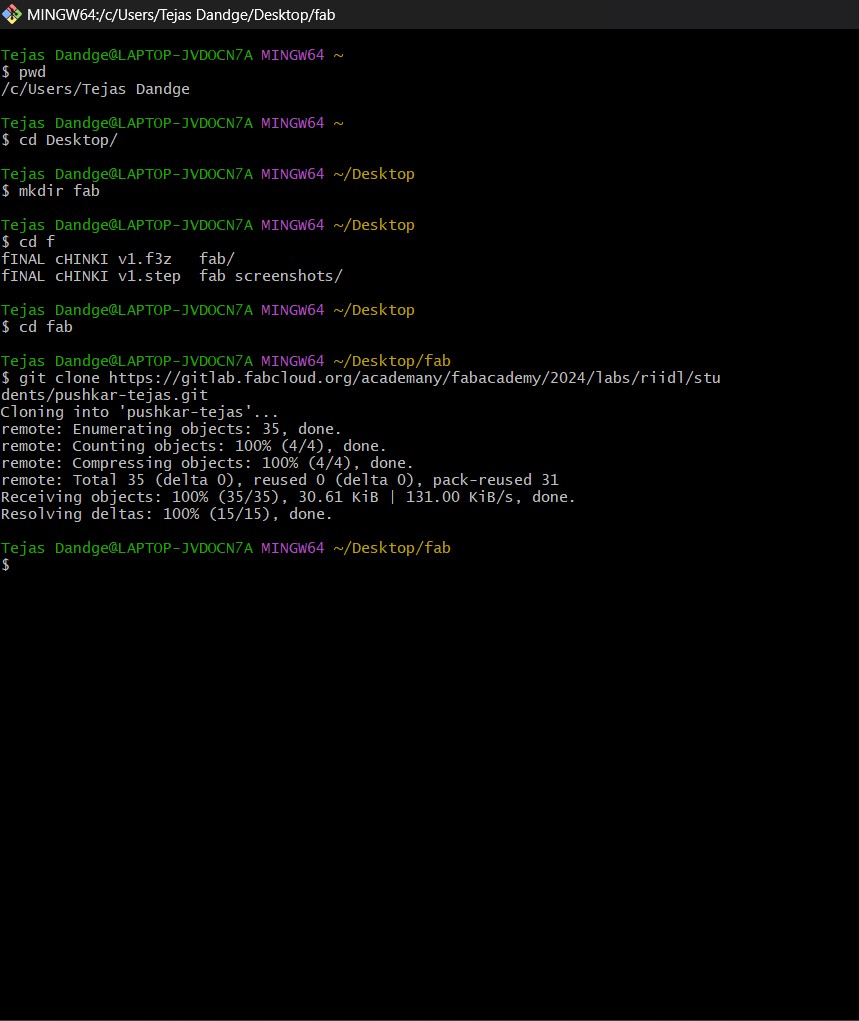
To clone a Git repository to a local Repository using HTTPS cloning, I Started the process by opening the terminal in your VS Code. Next, navigate to the directory from the command line where you want the local copy of the repository to be stored. Once in the desired directory, use the “git clone” command followed by the HTTPS URL of the repository.
The HTTP Clone URL

This URL can typically be obtained from the repository’s webpage on GitLab , The command would look like this:
Local Repo
Replace “https://github.com/username/repository.git” with the actual HTTPS URL of the Git repository you intend to clone. After executing this command, Git will download the entire repository, creating a local copy on your PC that mirrors the contents of the Online repository. Here your Web IDE repo is cloned to your Local repo, so now the changes you make on your local repo on your computer will be shown in your Web IDE repo after you save, commit and push all the changes.
HTML noooo,Markdown yesssss
-
Simplicity and Readability: Markdown syntax is designed to be simple and intuitive. It uses familiar characters like asterisks (*) and hashtags (#) to denote formatting, making it easier to read and write compared to HTML tags, which can be verbose and complex.
-
Ease of Use: Markdown requires less typing and fewer characters compared to HTML. For instance, to create a bullet list in Markdown, you only need to prefix each item with an asterisk, while in HTML, you need to use tags.
-
Portability: Markdown files are plain text files, which means they can be opened and edited with any text editor. This portability makes Markdown ideal for writing content that needs to be shared or edited by multiple people across different platforms.
-
Focus on Content: Markdown allows writers to focus on the content itself rather than worrying about formatting details. Since Markdown syntax is lightweight, it’s easier to maintain focus on the message being conveyed.
Overall, Markdown offers a balance of simplicity, readability, and flexibility, making it a popular choice for creating and formatting content, particularly for documents, README files, documentation, and web pages.
Install MKdocs
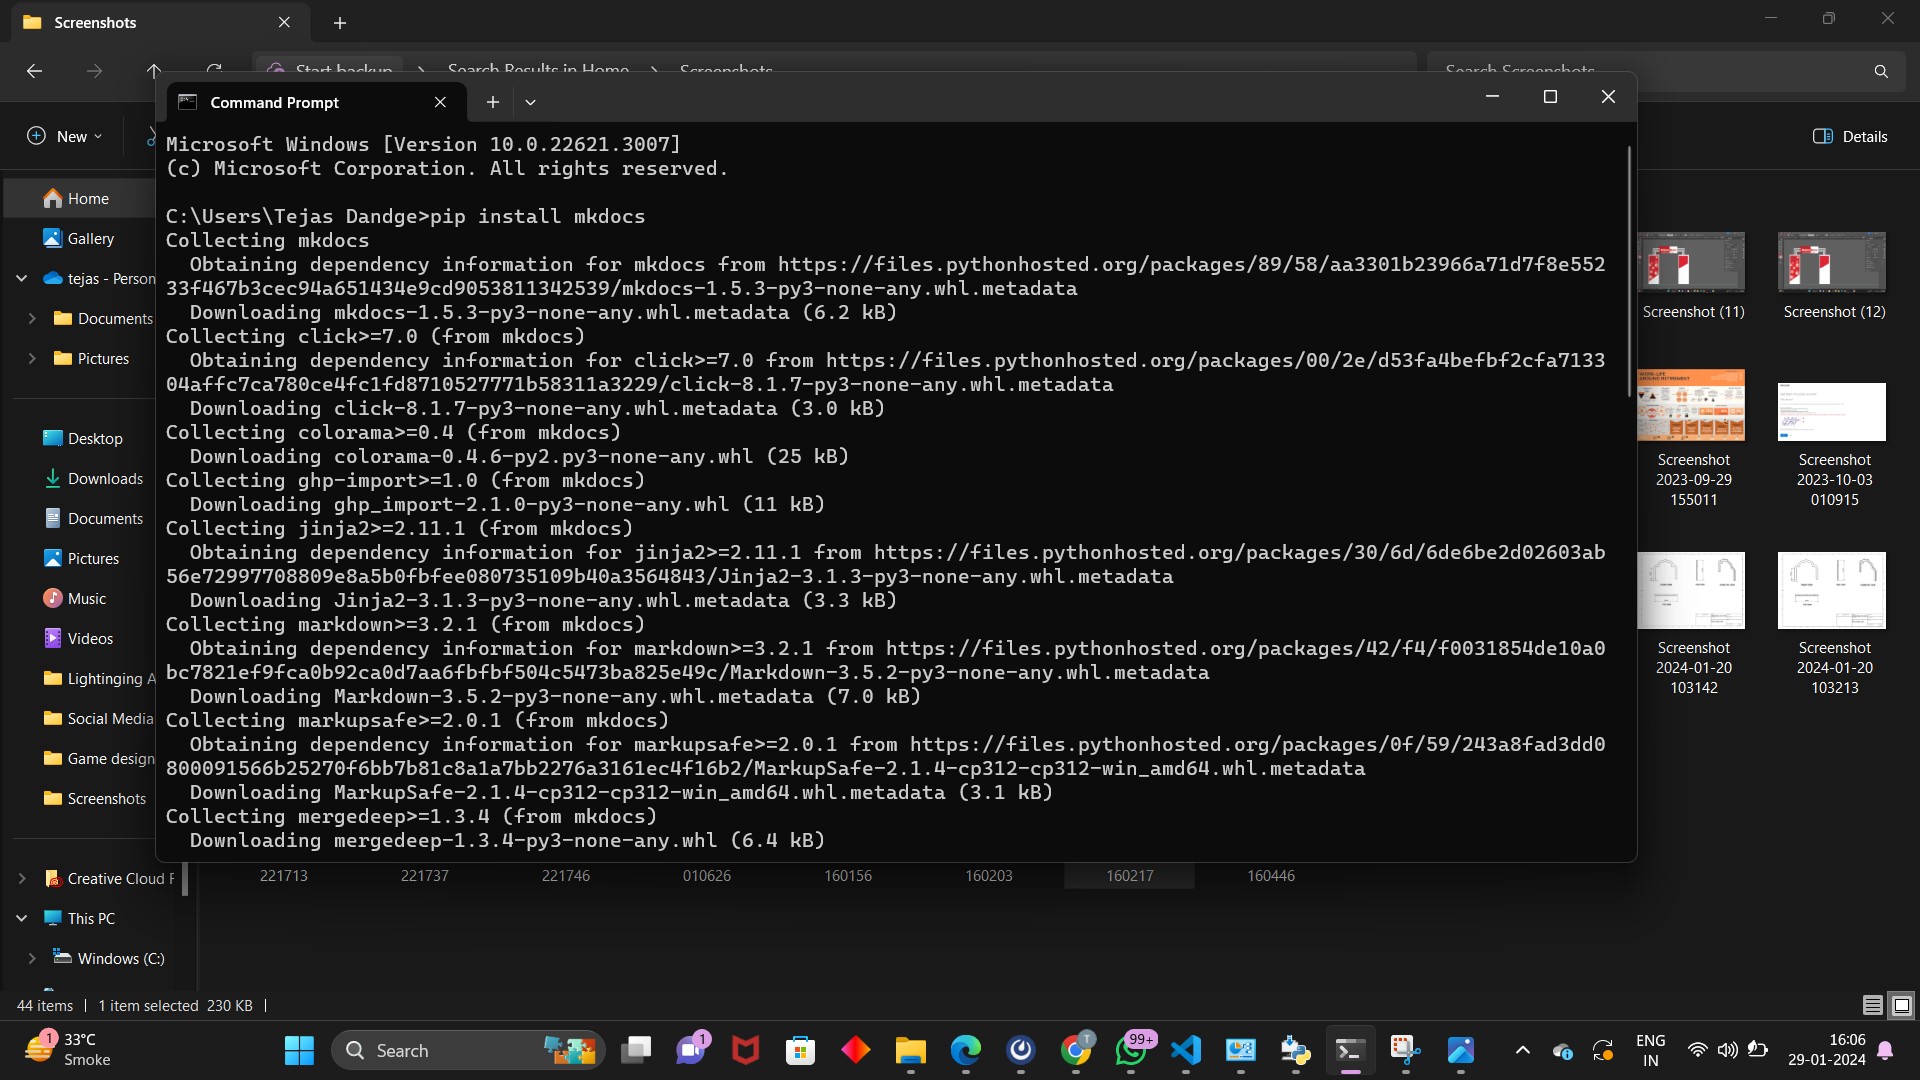
To install Mkdocs, you can use Python, pip. Open your terminal and run the following command:
“pip install mkdocs”
This command downloads and installs Mkdocs along with its dependencies. Once the installation is complete, you can verify the installation giving a command
“mkdocs –version”
This should display the installed Mkdocs version, confirming a successful installation. With Mkdocs installed, you’re ready to create and manage documentation projects using the Markdown language, providing a straightforward and efficient way to build professional and visually appealing documentation websites.
Create New Project in MKdocs
Once installing Mkdocs, open terminal and navigate to the directory where you want to initiate the Mkdocs project. Once there, execute the following on command line
“mkdocs new project-name”
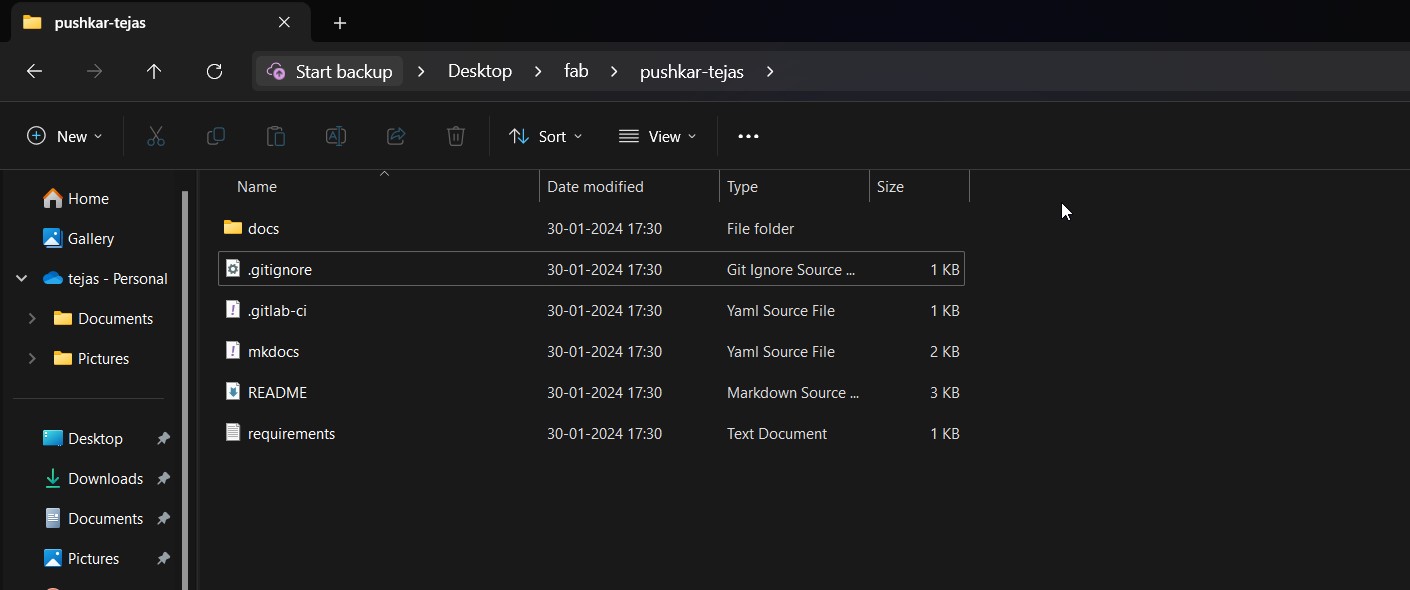
Replace “project-name” with my desired name for the project. This command generates a basic structure for your documentation project, including a main configuration file (mkdocs.yml) and a ‘docs’ folder where you can organize your Markdown files. After running this command, change into the newly created project directory using:
“cd project-name”
Now, I am ready to customize my documentation by editing the Markdown files in the ‘docs’ folder and configuring settings in the ‘mkdocs.yml’ file. This straightforward process allows you to quickly start building a well-structured documentation site for your project using Mkdocs.

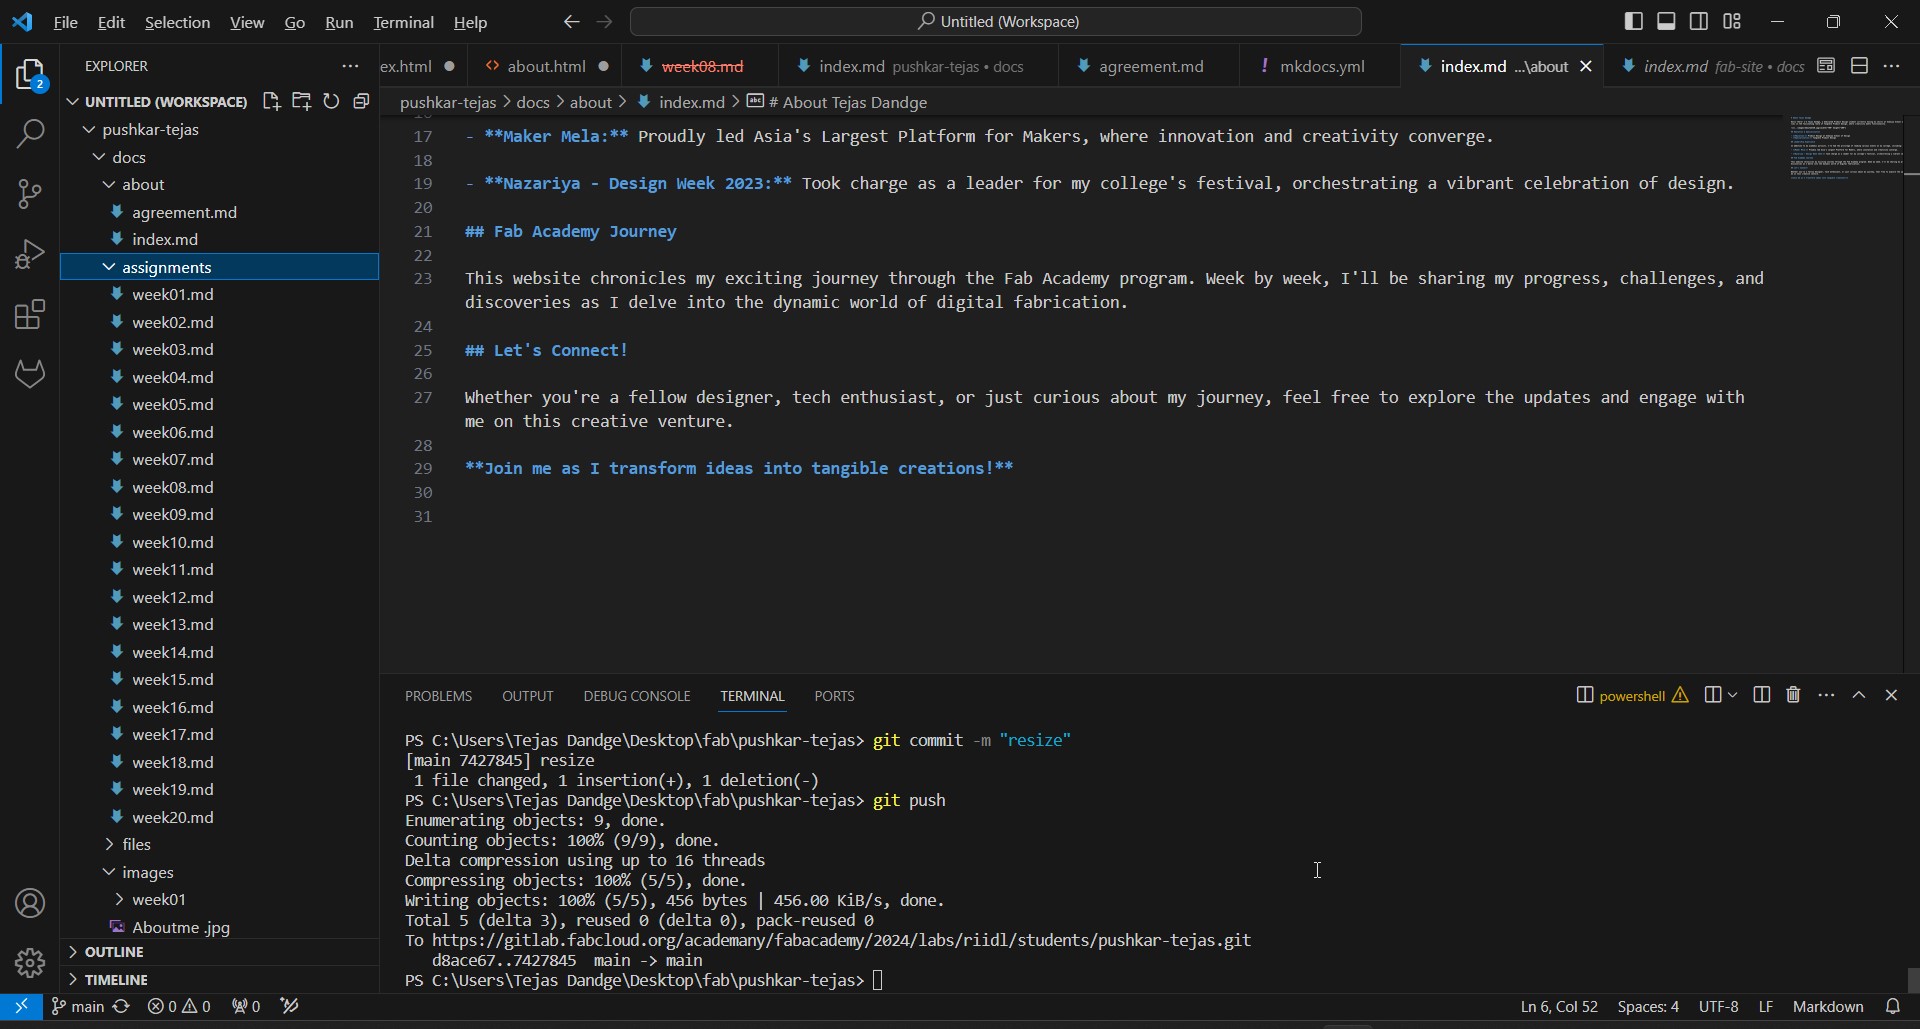
Git commit, Git Push
Once you are done with setting up your website with Mkdocs and cloning your Web IDE rep with your local repo, Every time you make a change in your tect editor (in my case its VScode) you need to add, commit and push the changes.
Once you make changes save the changes and go to the terminal of the VScode

write the syntax “git add .”

Then Write git commit -m “(whatever you want to commit)”

once you are done commiting the last step is to push your commits with the syntax “git push”

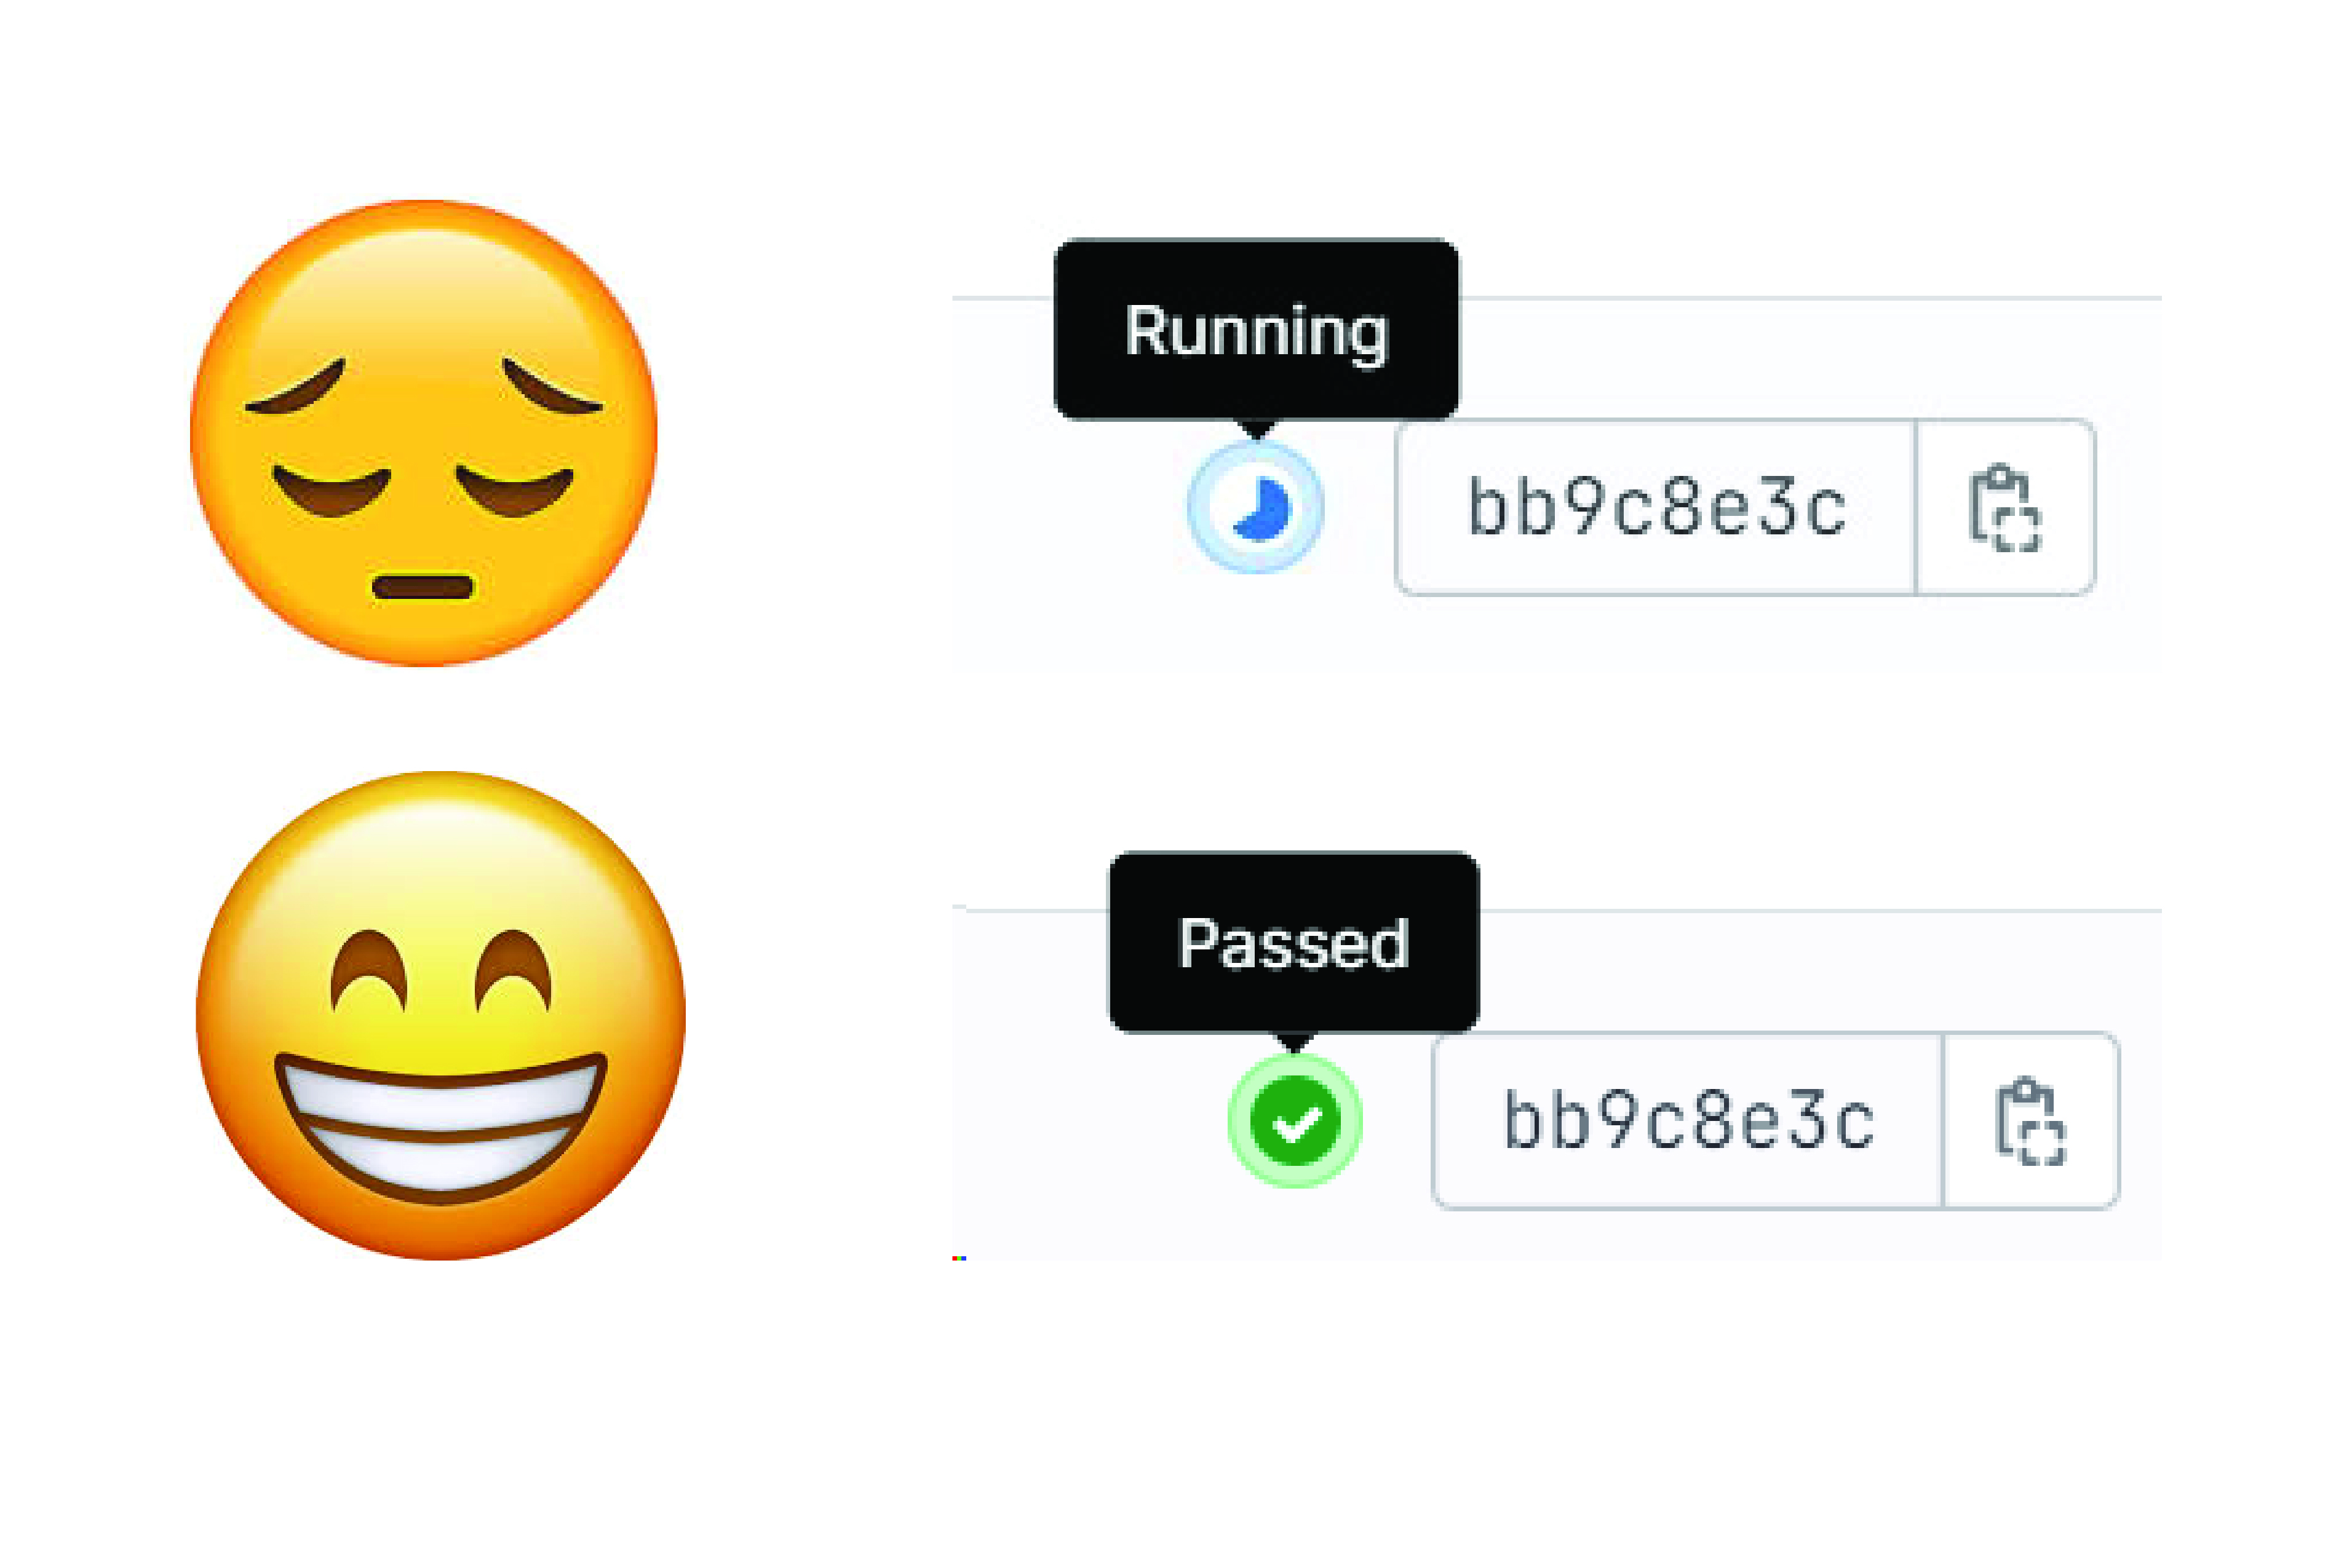
Circle of fear
After you are done with pushing all your commits, you go to your online repository to check if your pipeline is passed or not. Trust me this is the most tense time while your pipline is running, and it is the most satisfying feeling when your pipline is passed with a green tick.
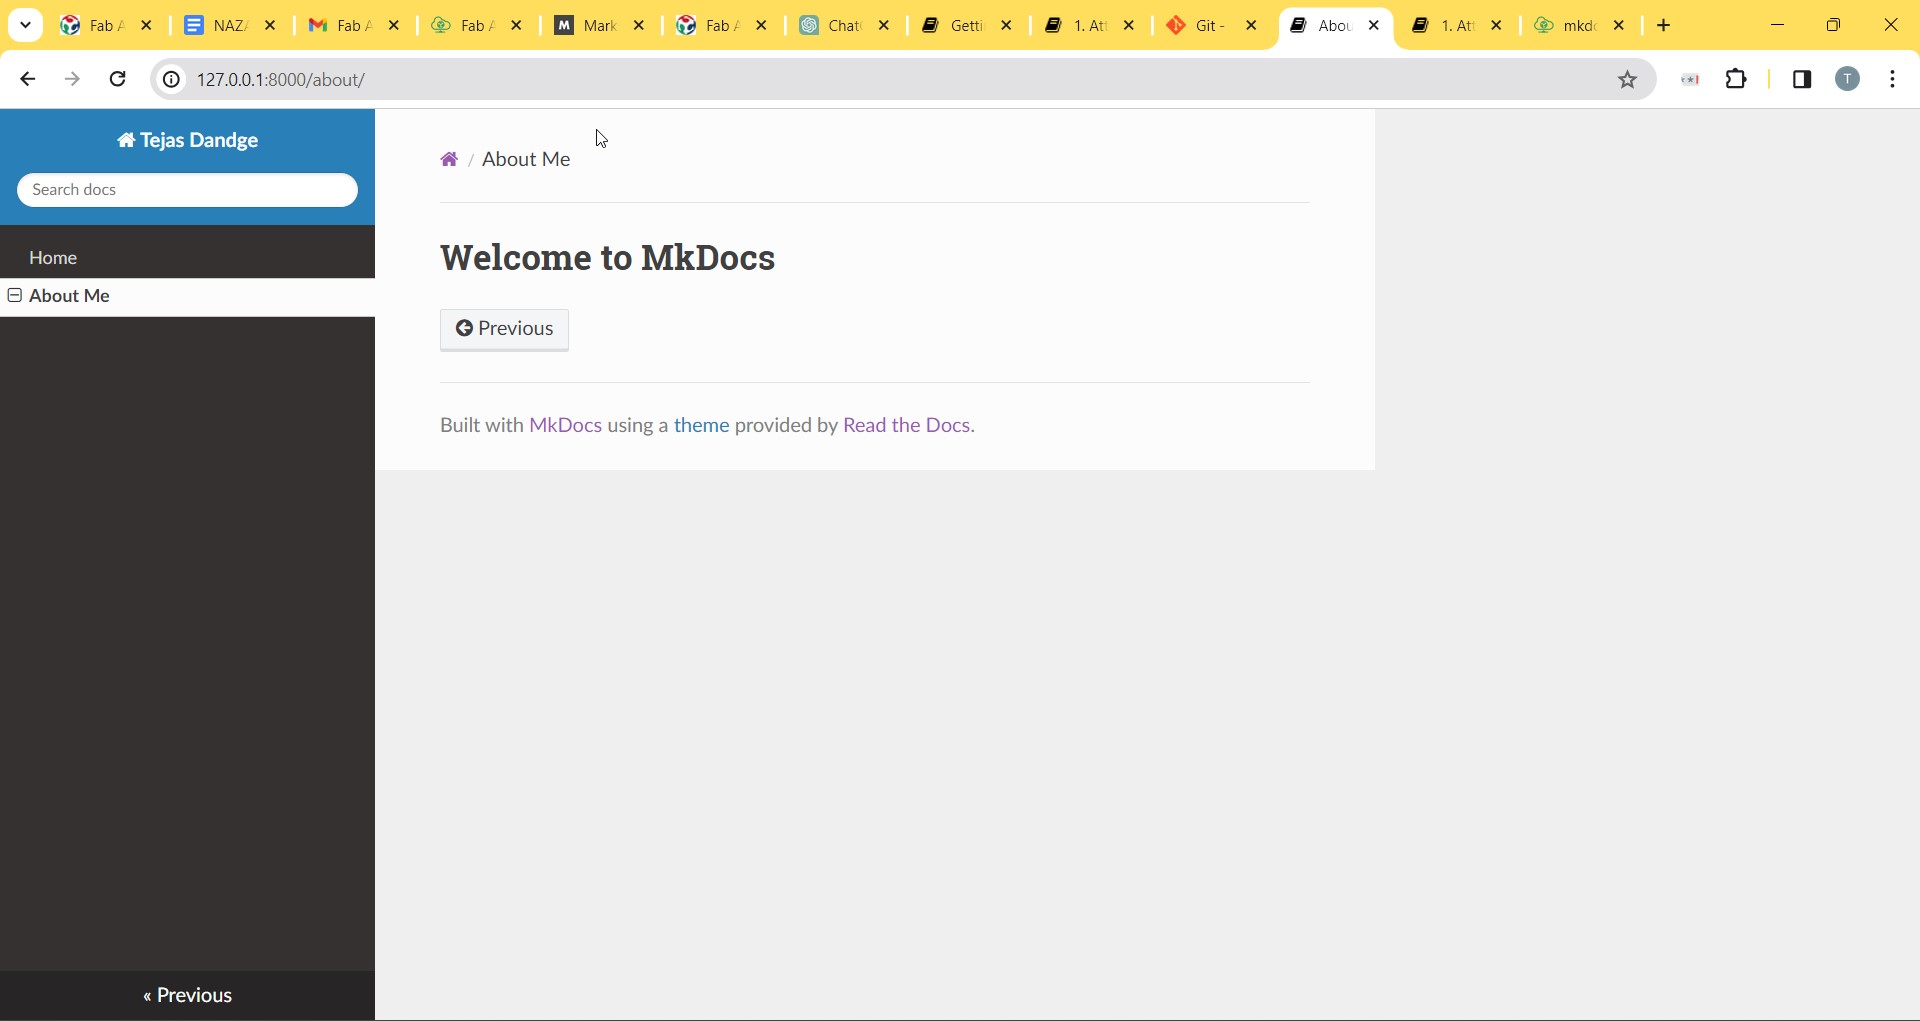
You ARE LIVE!!!
After all of the battles that you conquored for getting your website live has finally paid off, Now start editing it and documenting it in the markdown language through Visual Studio Code and commit and push the changes you do in the online repository
Trials and errors done
I initiated the process of linking VS Code and Git by referring to a YouTube tutorial. However, the tutorial turned out to be inappropriate for my needs as it was focused on regular Git rather than GitFabCloud. Consequently, I encountered errors consistently within VS Code and was not able to link it.
Workflow of MKdocs
Code Blocks
To use Code blocks in Mkdocs you can use backticks around the code that you want to highlight in the block for inline just use `thing you want to highligh and close with other backtick, this will be the output you get.
CODE
I there is a bigger code you want to highlight just add 3 backticks above and below of the code .
Hello
this
is the
code
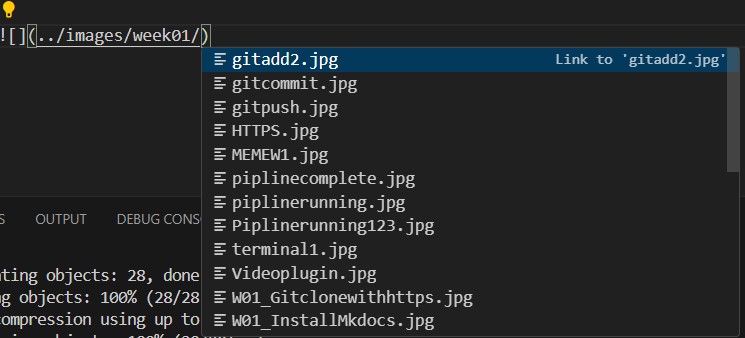
Adding Images to your webpage
To add Images to your webpage first you need to add the images that you want in your local repository and copy the path to in which folder your image is and the syntax is

for me as I use the VScode to code my website it really helps as the path of the images ones stored it helps to guide you which image you want to choose that makes syntax easier like this
Genral Syntax
For the headings this uses hastags the more Hashtags you use the weight of the heading gets less for example
Heading 1 with 1 hashtag
Heading 2 with 2 hashtags
Heading 3 with 3 hashtags
For hyperlinking anything we use
[topic name](link)
To make headings Bold we Use astricks, we use 2 astrics on both sides that we want to make bold
**Heading**
Overall the workflow is pretty easier than coding in HTML as its just simply writting stuff.