Embedded Programming
This week's focus is on programming, an area where I'm currently not very confident. My experience with programming is limited to basic use of Arduino for assignments. However, I'm eager to delve deeper into this field. I plan to explore other microcontrollers and chips in the coming weeks to broaden my knowledge. For our group assignment, we need to select and study the datasheet of a microcontroller. Subsequently, we'll develop a program for a microcontroller development board created during week 4. The aim is to interact with local input/output devices and communicate with remote wired or wireless devices. Starting with the fundamentals seems like the best approach.
Introduction
What is embedded?
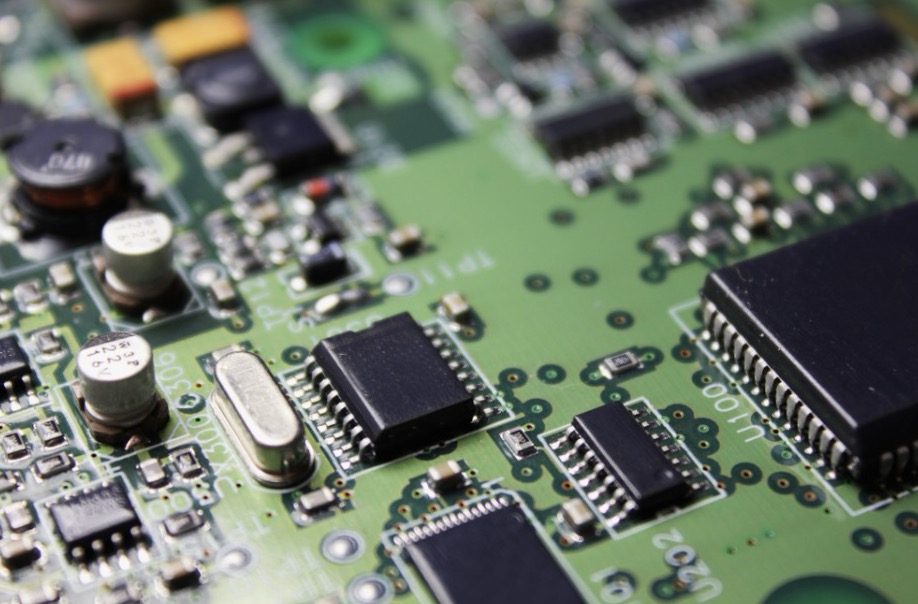
"Embedded" refers to the integration of computer technology into various non-computing devices or systems. These devices are often specialized for specific tasks and are designed to perform dedicated functions within a larger system. Embedded systems can be found in a wide range of applications, including consumer electronics, automotive systems, industrial automation, medical devices, and more.

Programming
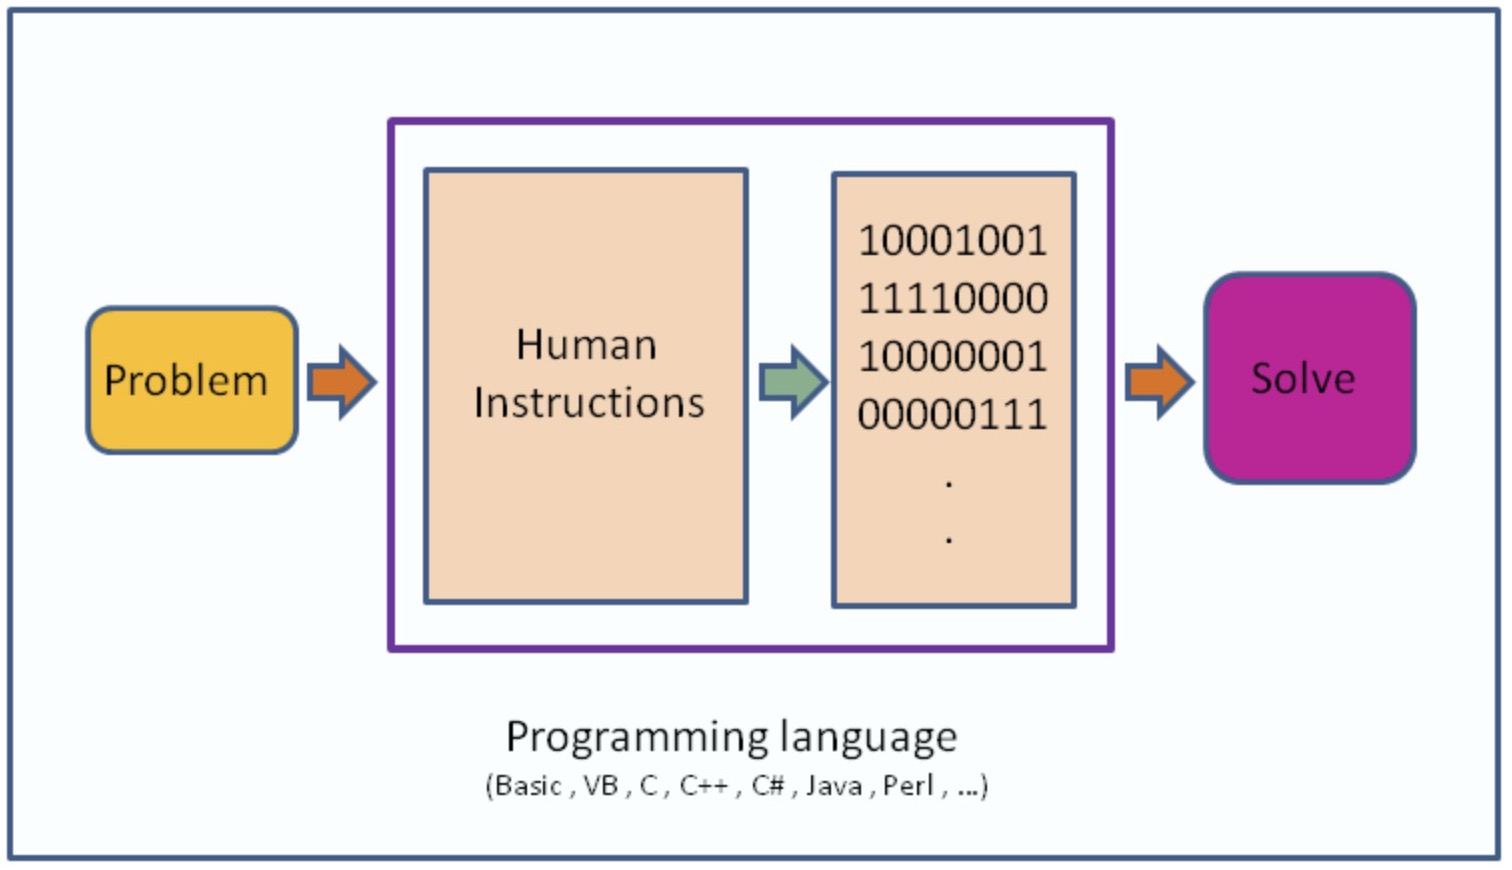
"Programming" is the process of writing instructions for a computer to execute. These instructions, often referred to as code, can be written in various programming languages and are used to control the behavior of software applications, websites, embedded systems, and other computational tasks.
Embedded Programming
"Embedded programming" specifically refers to the practice of writing code for embedded systems. This involves programming microcontrollers, microprocessors, or other specialized hardware to perform specific functions within a larger system. Embedded programming requires a deep understanding of hardware constraints, real-time processing requirements, and low-level programming techniques. It often involves optimizing code for performance, memory usage, and power consumption, as embedded systems typically have limited resources compared to general-purpose computers.
What is a micro controller?
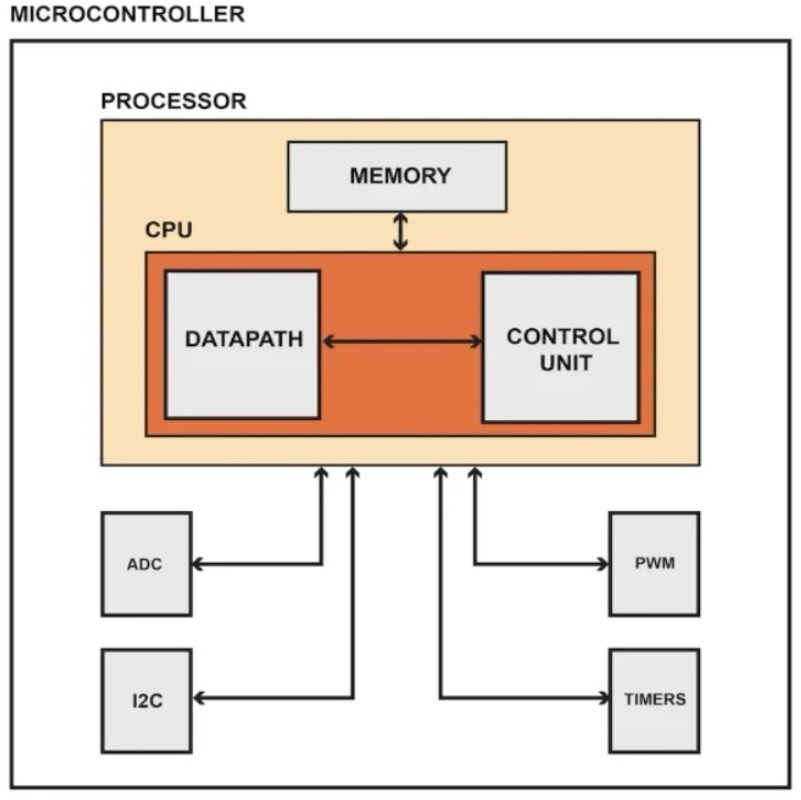
A microcontroller is a small computer on a single integrated circuit (IC) that contains a processor core, memory, and programmable input/output peripherals. It is designed to execute a specific set of tasks and is commonly used in embedded systems. Microcontrollers are used in various applications where a small, low-power, and cost-effective computing solution is required.
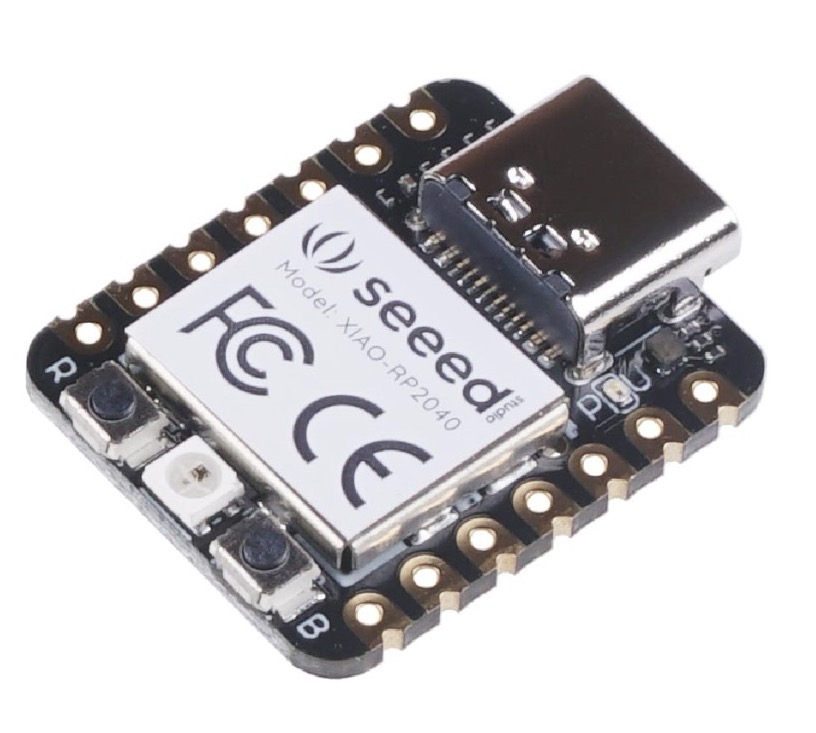
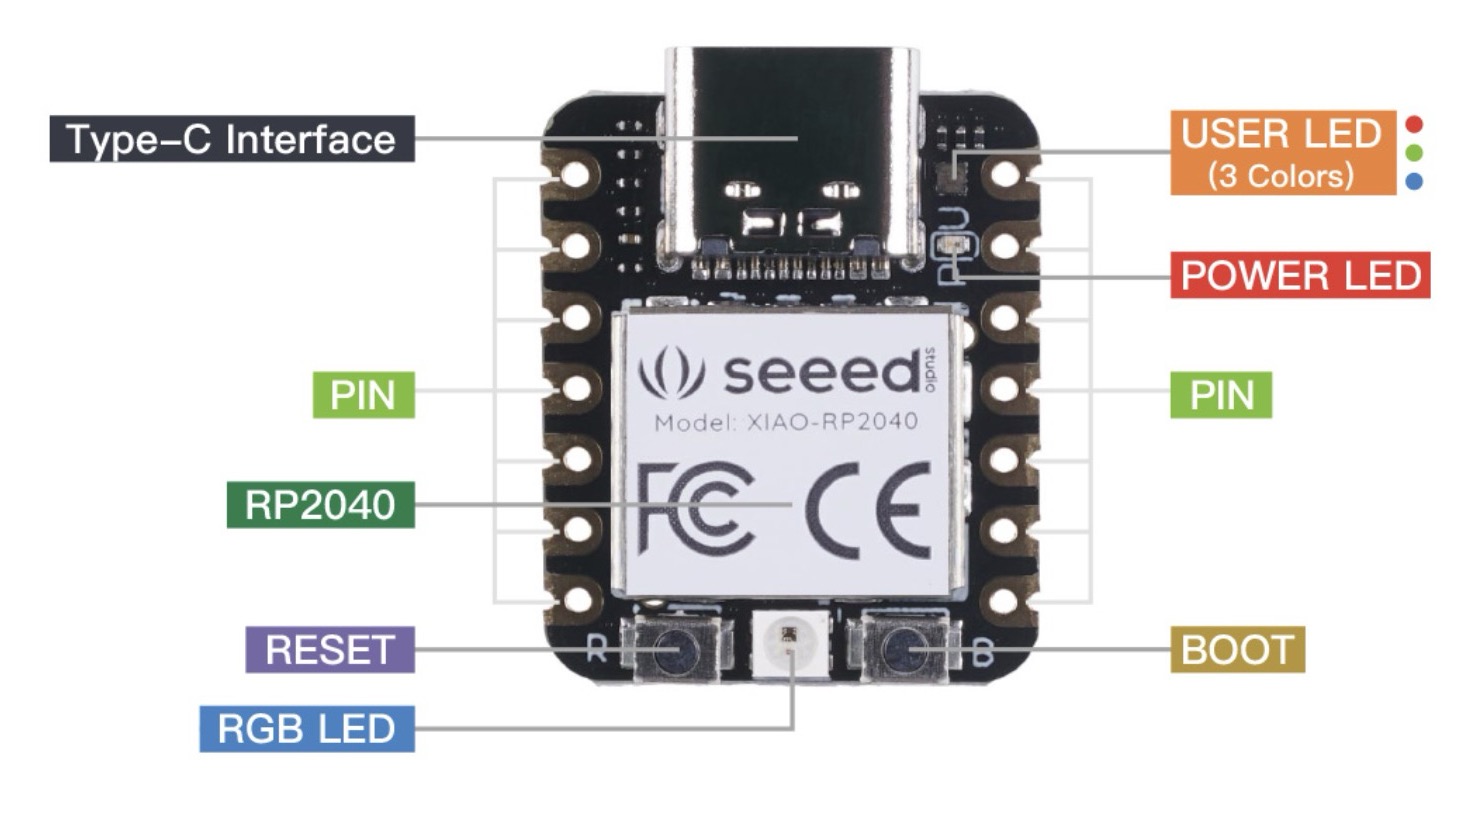
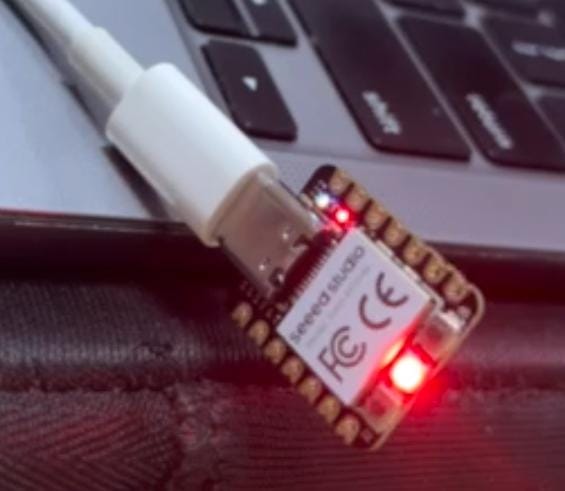
Seeeduino XIAO RP2040
Neil and the Fab team spoke highly of the RP2040, which piqued my interest. Having previously relied on the Arduino Uno for simple projects, I was captivated by the RP2040's compact size. While exploring different options, my journey led me to focus on acquiring the RP2040 amidst the myriad of available chips.
Meaning of RP2040
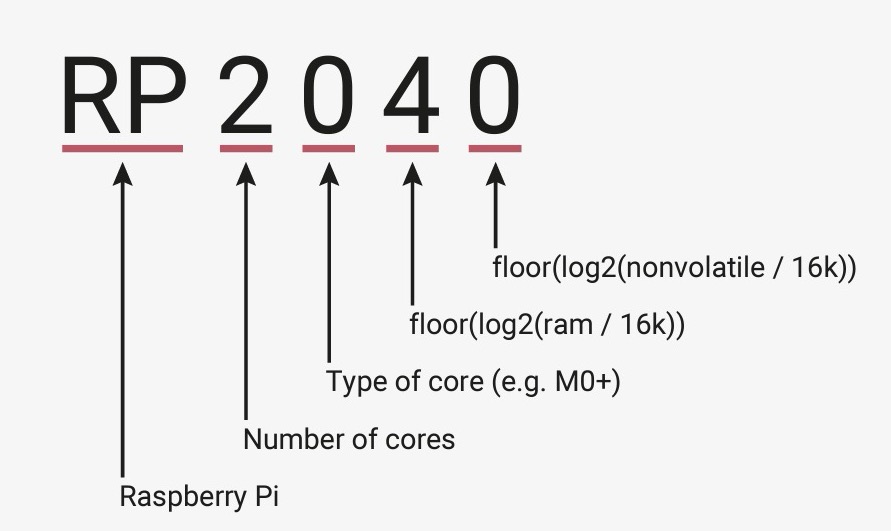
Seeed Studio have excellent resources on their website for the XIAO series, including documentation for the RP20402 as well.
The Datasheet is also available there, linked below, as well as some of the more relevant chapters.
RP2040 Documentation
RP2040 Datasheet
-GPIO
- I2C Protocol for the RP2040
Installation
I followed Jesal Mehtas page for instructions.
Step 1: Download Arduino IDE
Downloas Arduino IDE app from google Arduino IDE
Step 2: Add the URL for board
After downloading the app open it and
1. Open Arduino IDE.
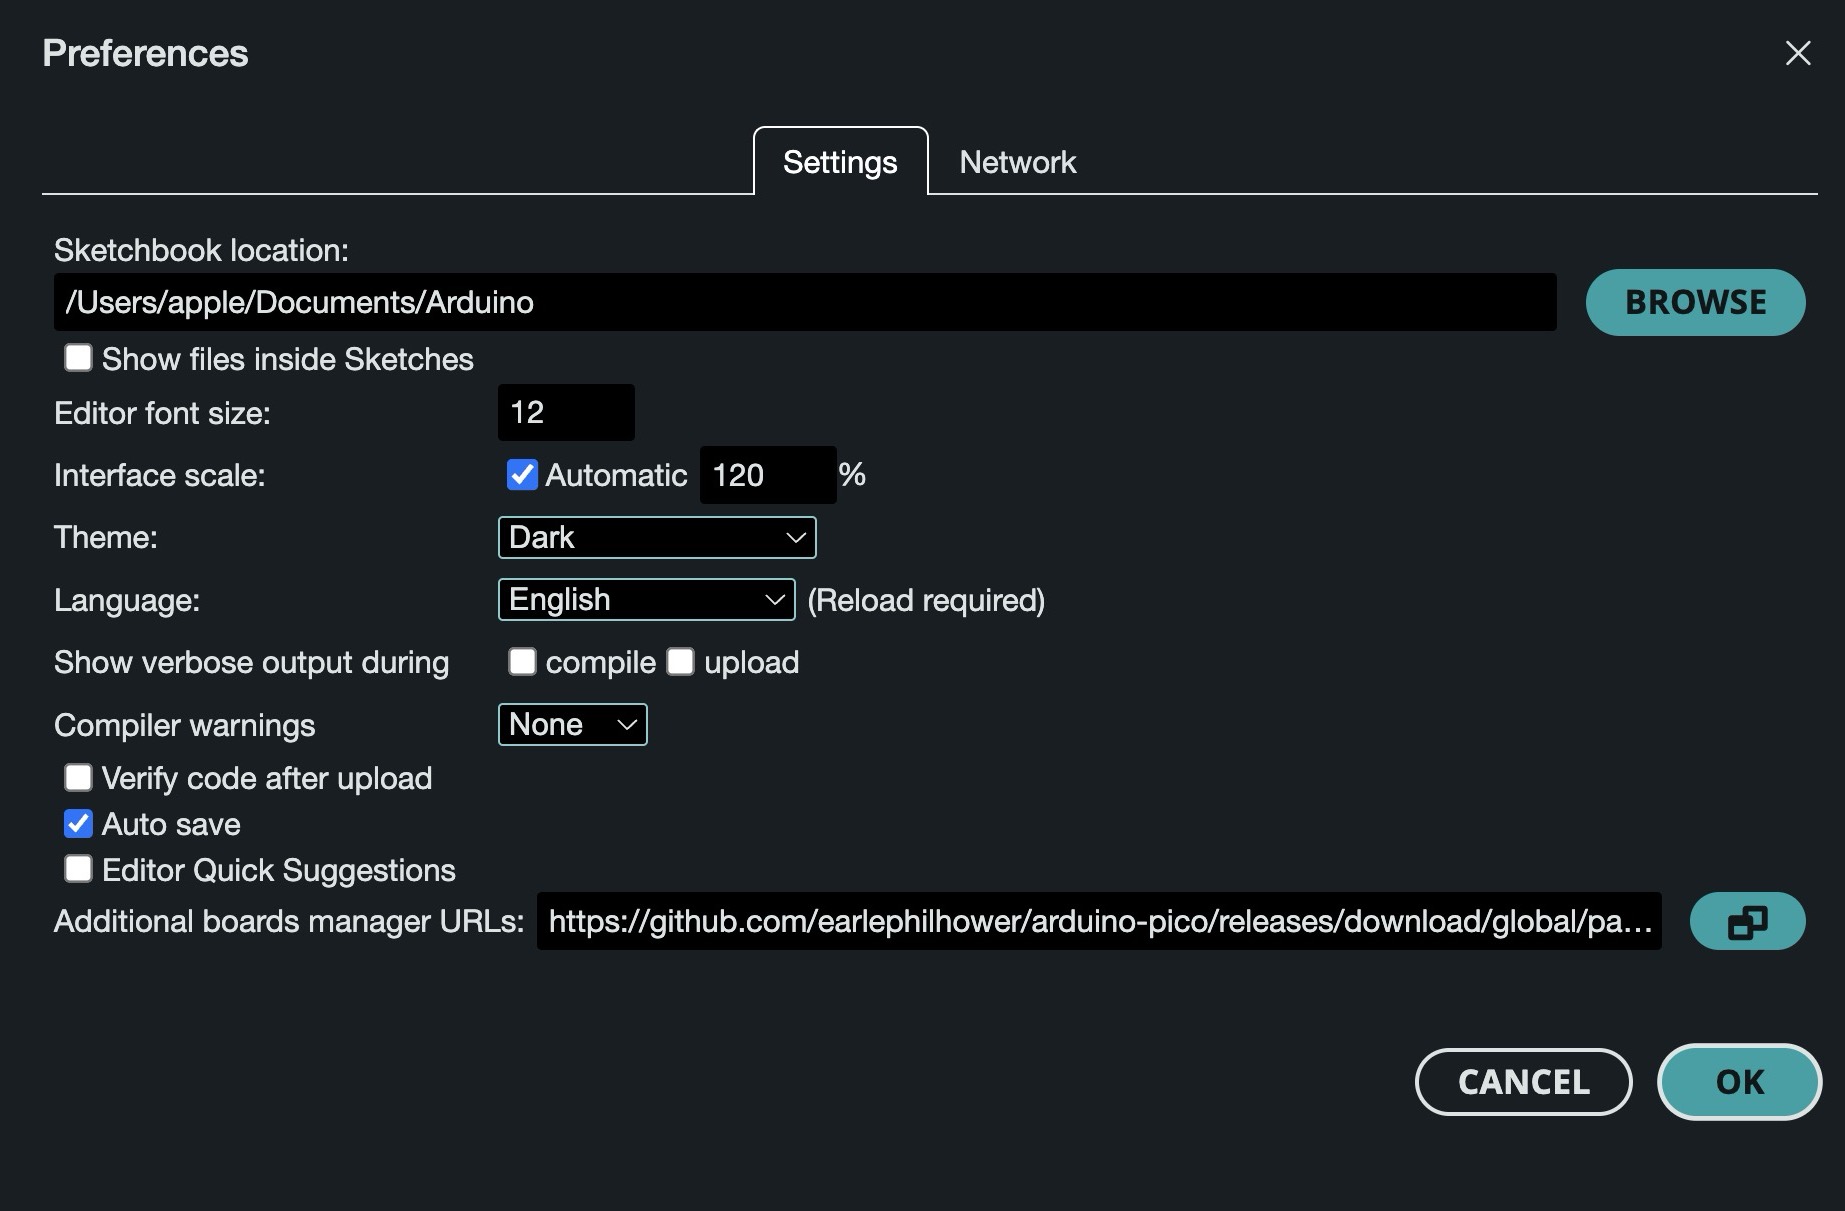
2. Go to Arduino > Preferences.
3. In the "Additional Board Manager URLs" field, add the following URL:
Step 3: Install Rasberry Pi Pico
1. Close the Preferences window.
2. Go to Tools > Board > Boards Manager.
3. Search for "Raspberry Pi Pico" and install the support for it.

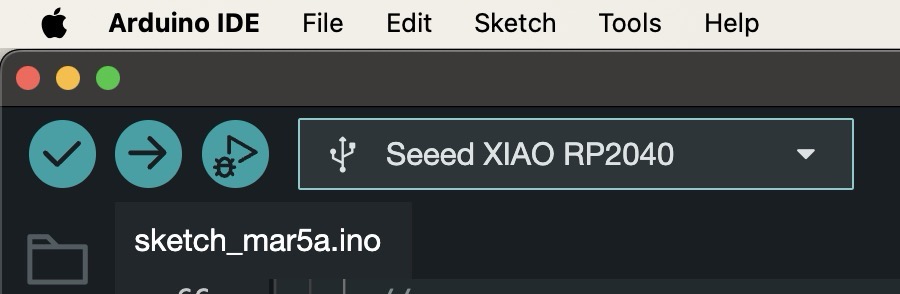
Step 4: Select board
On the top you will be able to see tools in that select board arduino uno in that there will be rasberry pi RIP2040, in that select Seed XIAO RP2040

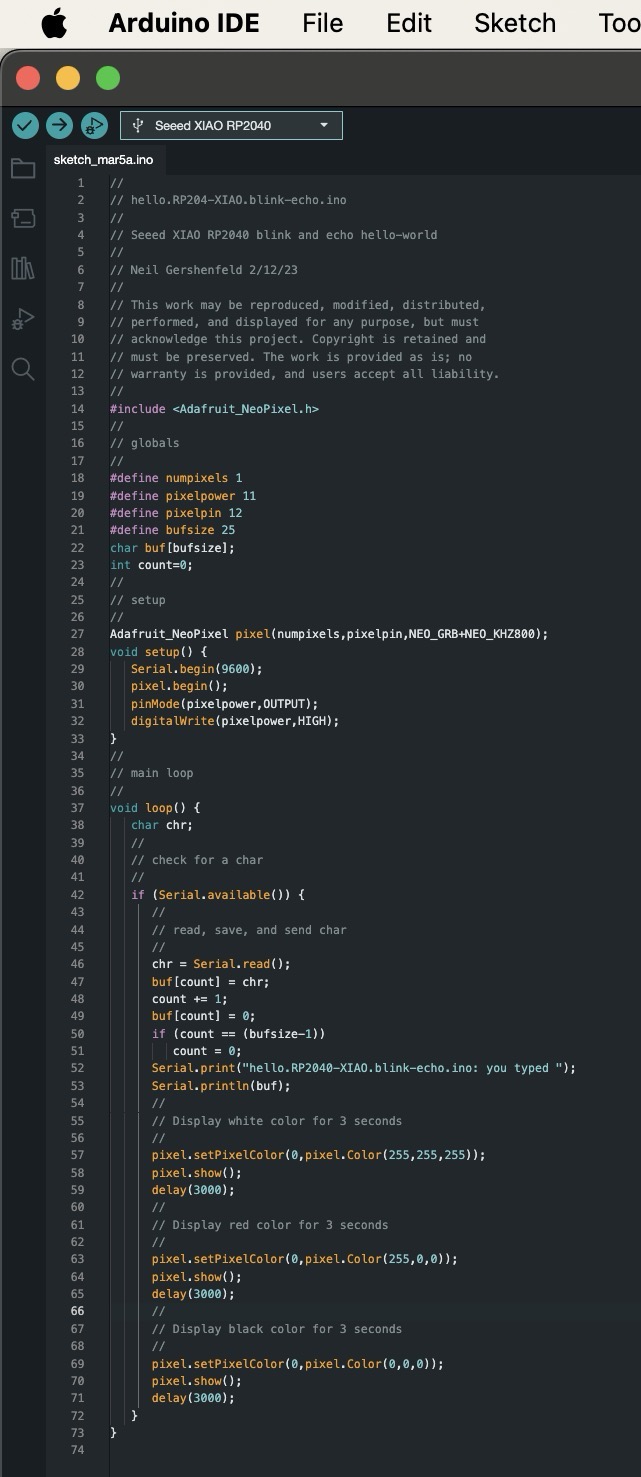
Step 5: Code
For the code part I took the code from neils page for blinking but the page was not available, so I found the same code of neil on Jesal Mehtas page
Step 6: Verify and Upload the code
After putting the code click on right tick which is verify and arrow that is upload, once the code is updated successfully the led will start blinking
Error
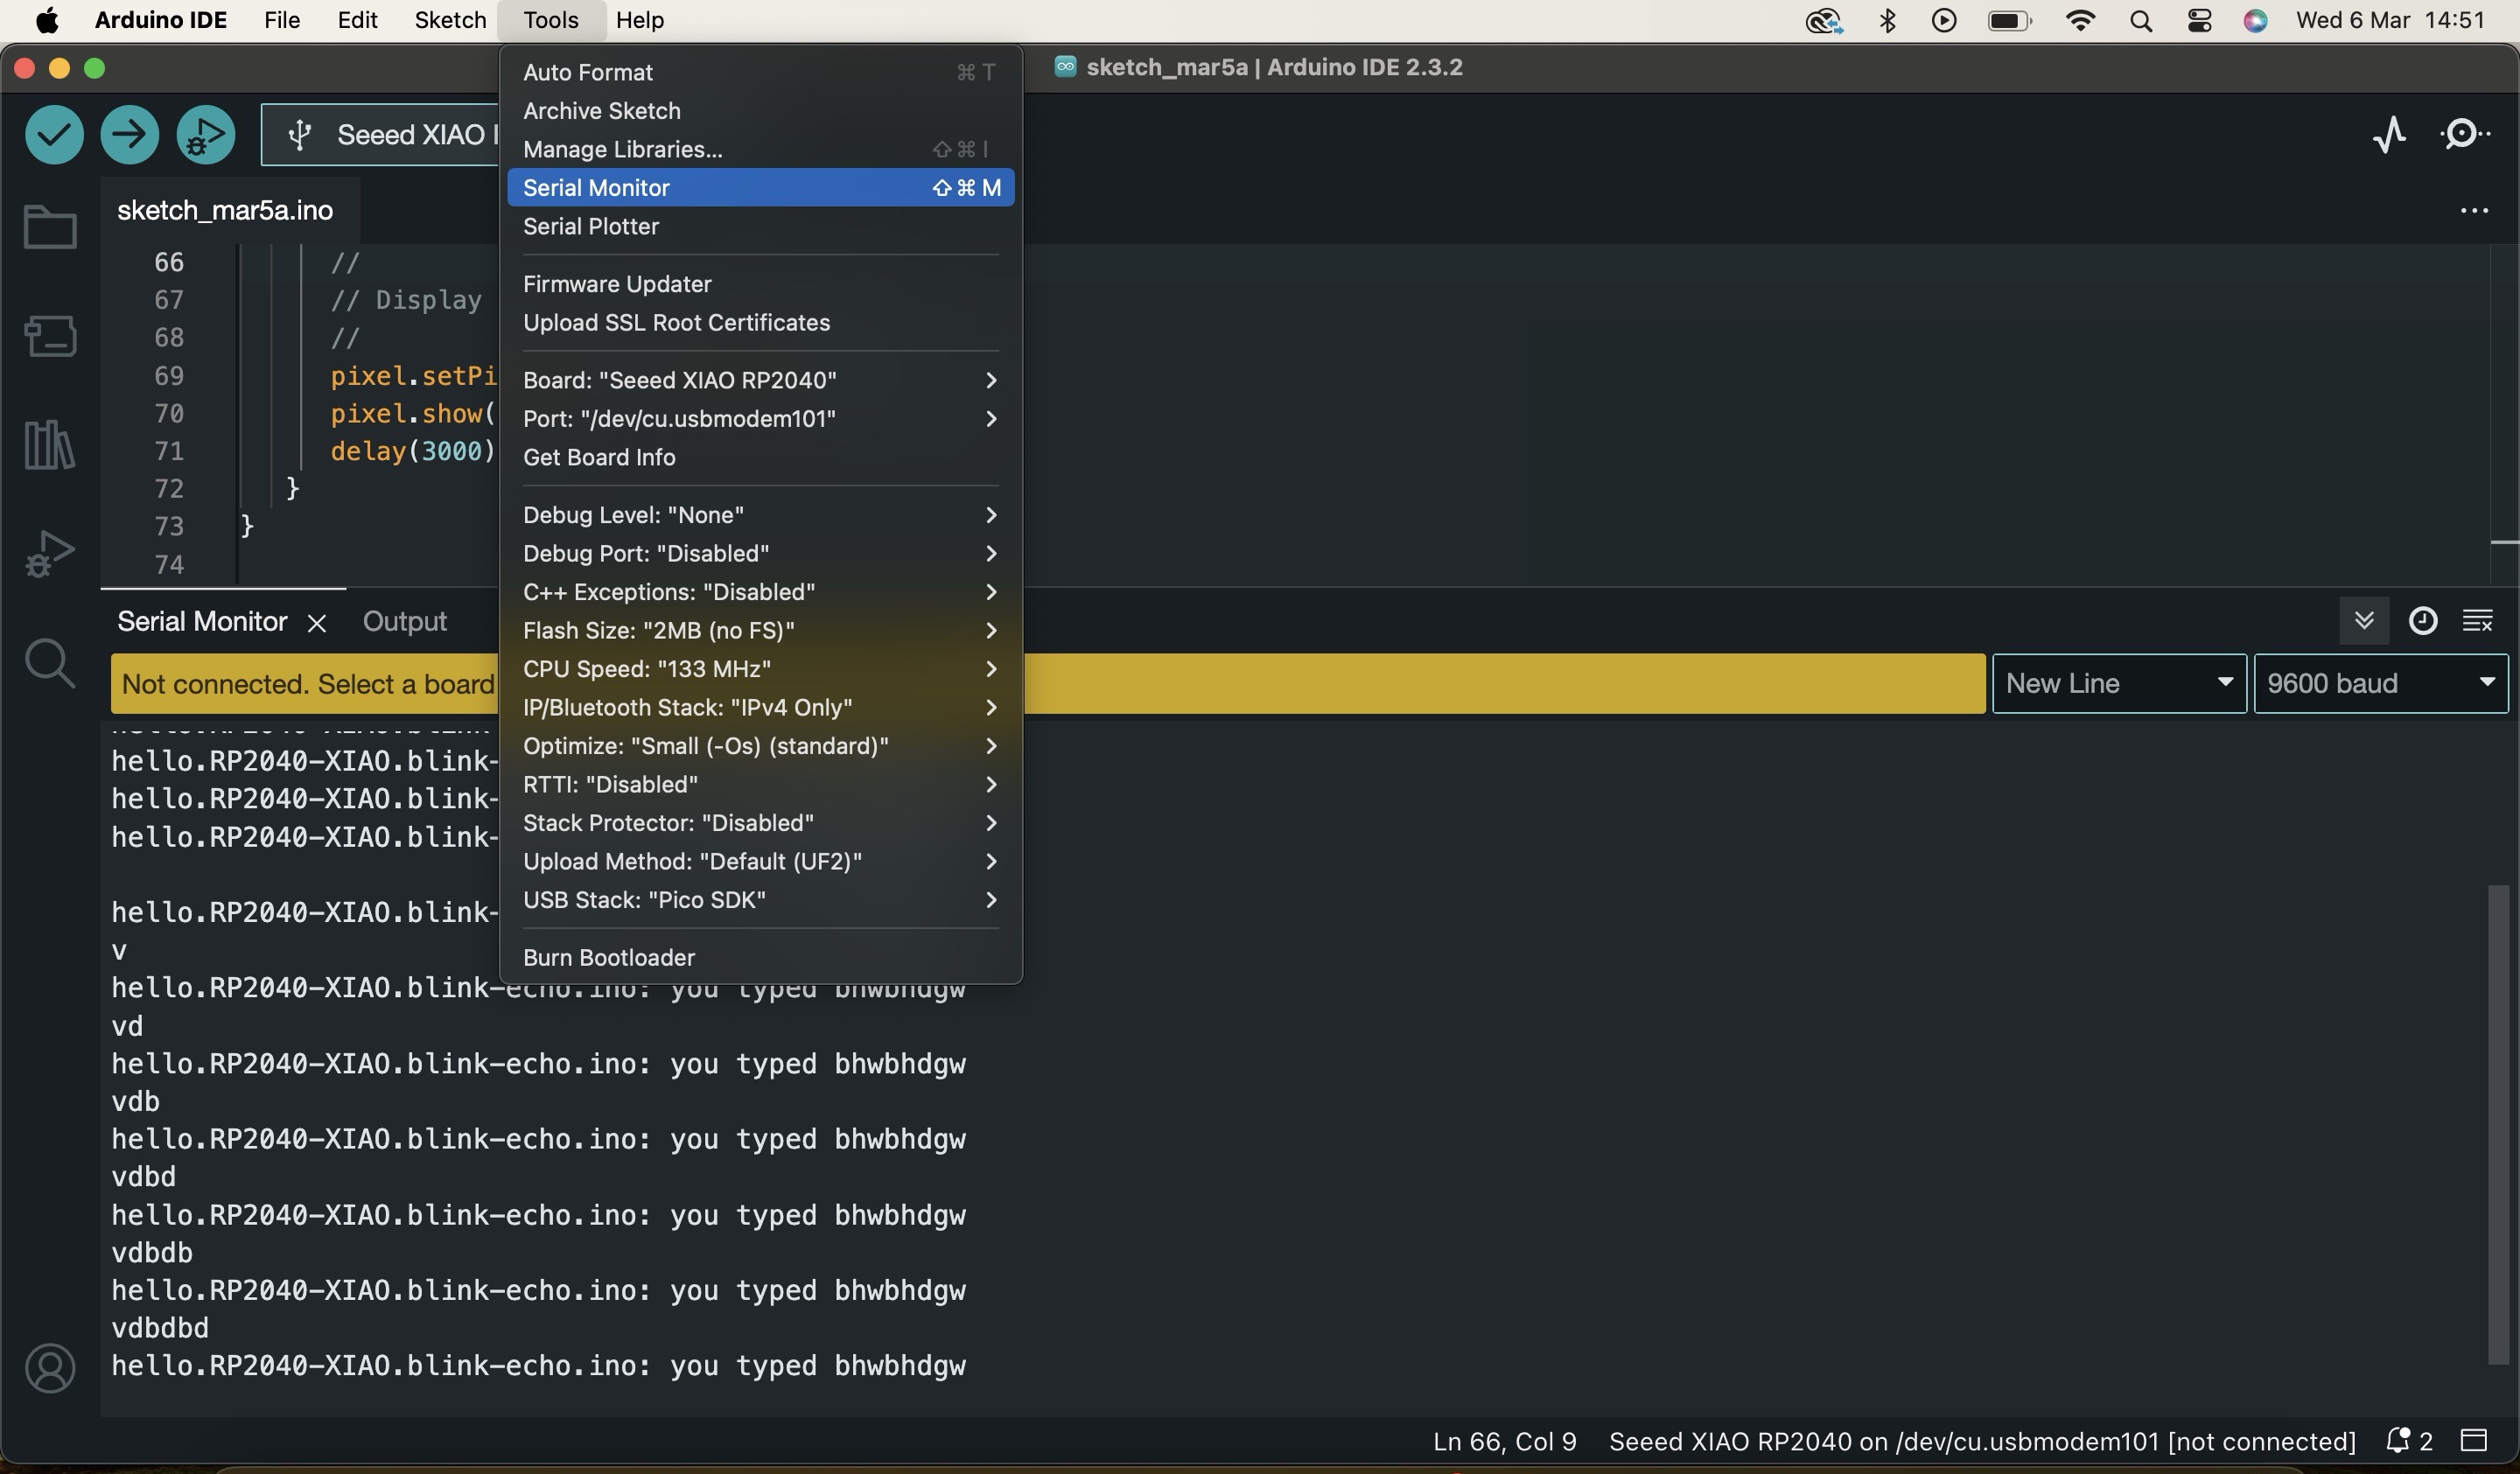
My code was verified successfully but my led was not blinking, then I read the code and understood that I was suppose to select serial monitor.Go in tools you will be able to find serial monitor select that.
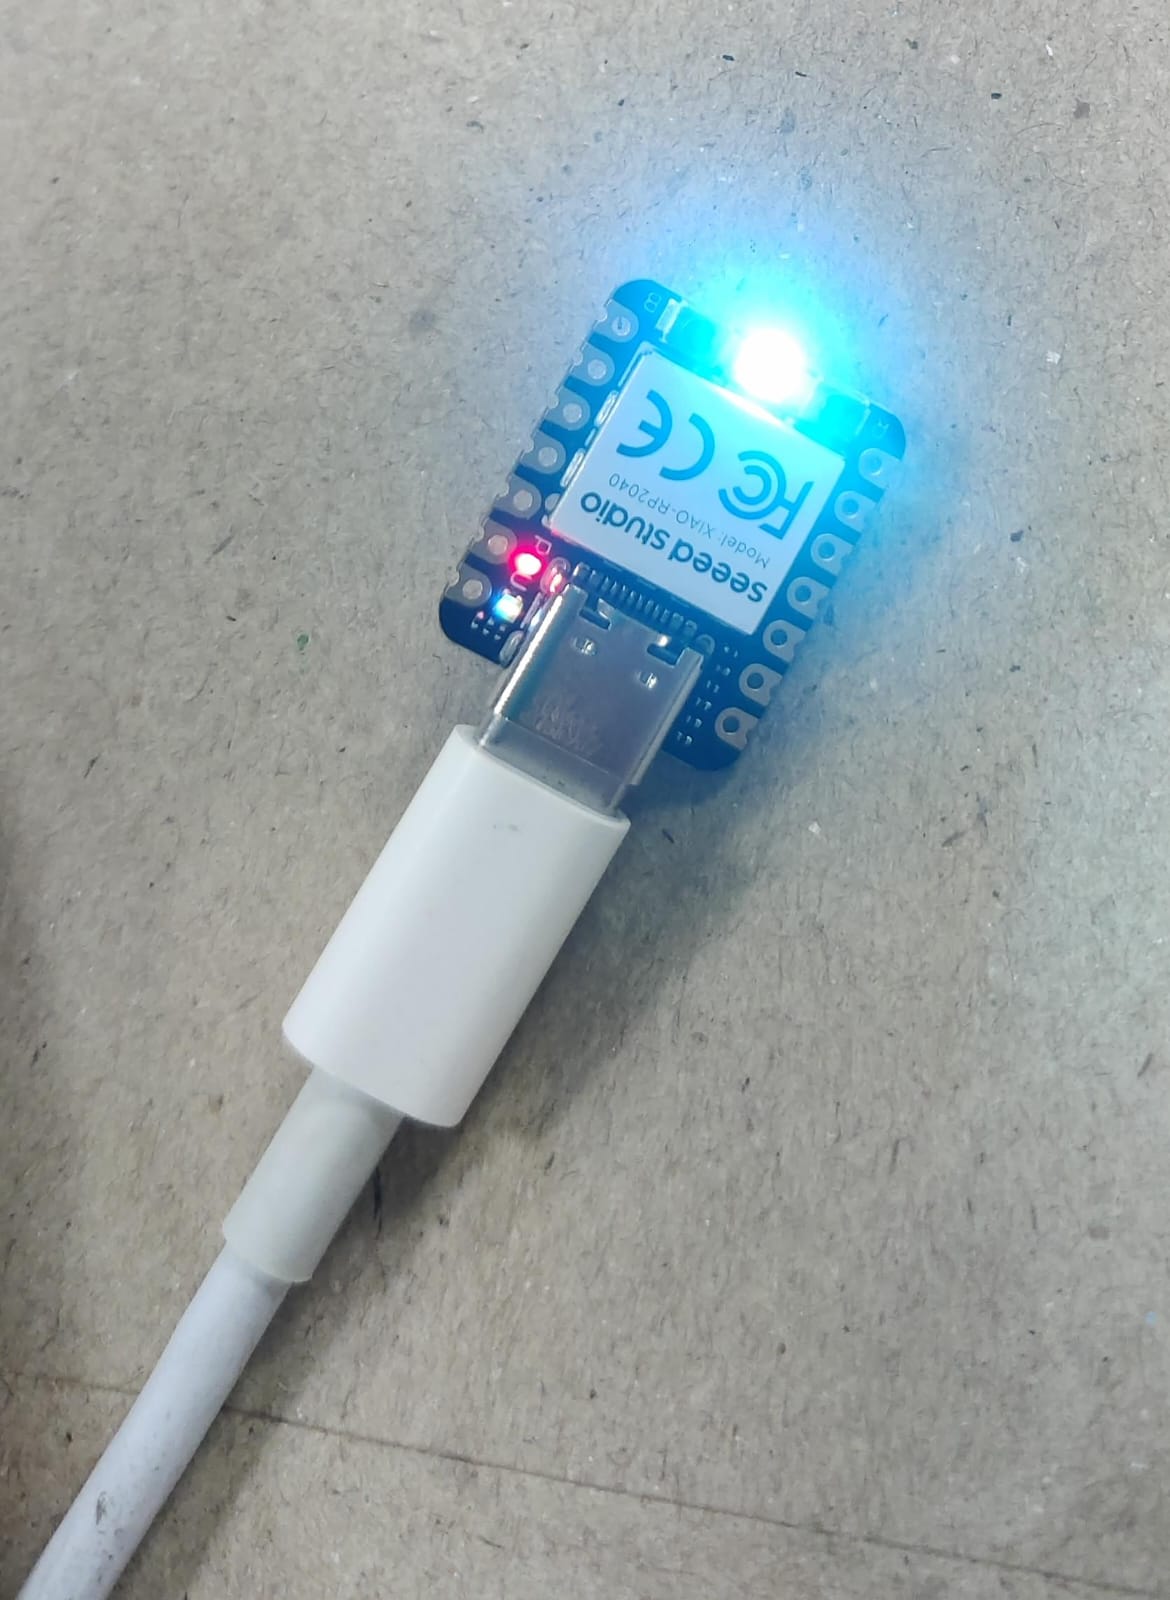
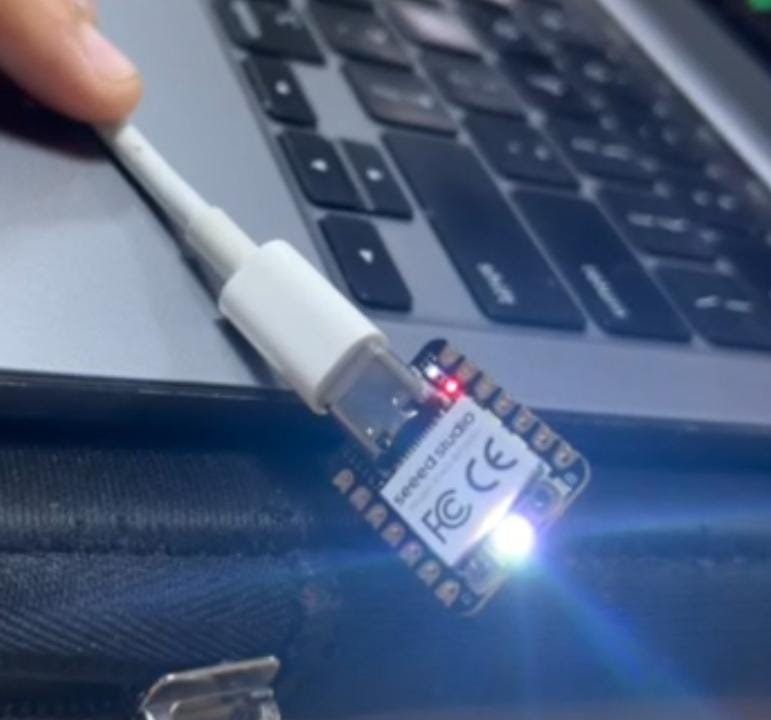
Step 7: Led starts blinking
Then when you type anything be it letters, numbers or emojis it callibrates the letters and the light starts coming.
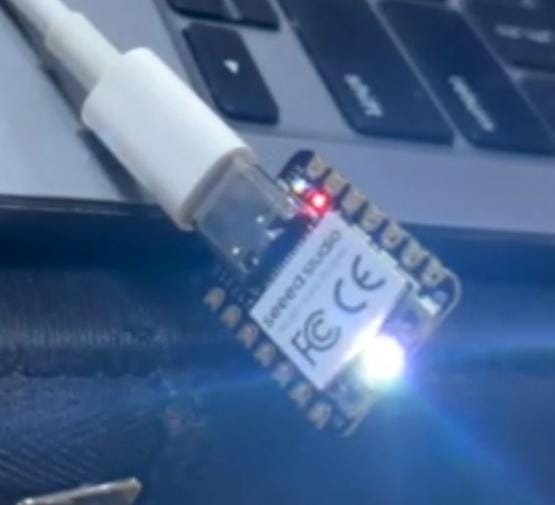
What new I did?
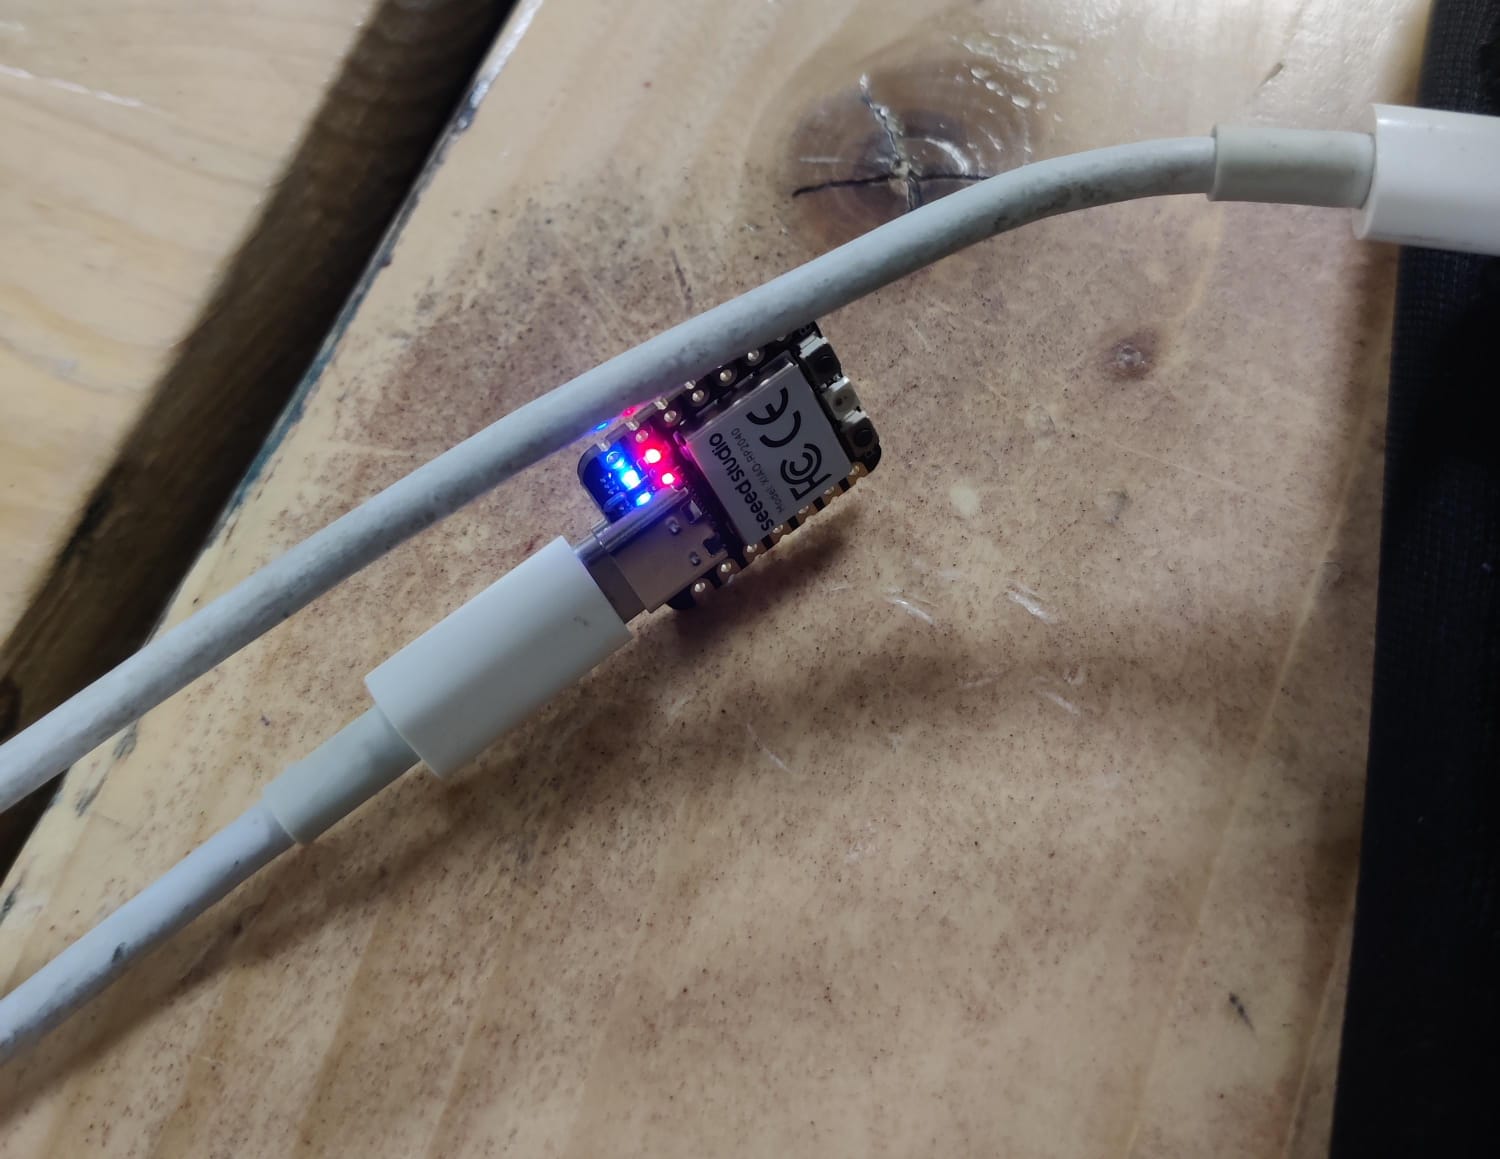
I understood neil's code and on his code I added that whenever someone types any letter only white and red colour will appear and that also each colour will reflect after delay of 5 seconds.
I uploaded this code and again started typing on serial monitor and the results were the same what I wanted
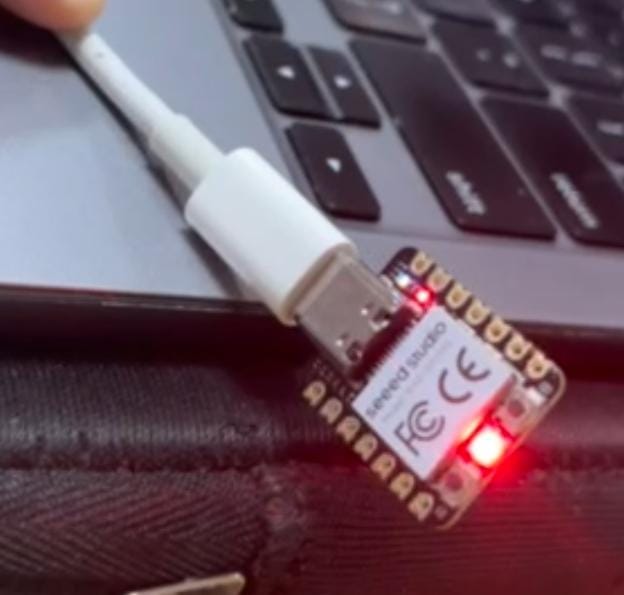
After 5 seconds delay
To see the video of the working sensor, click below:
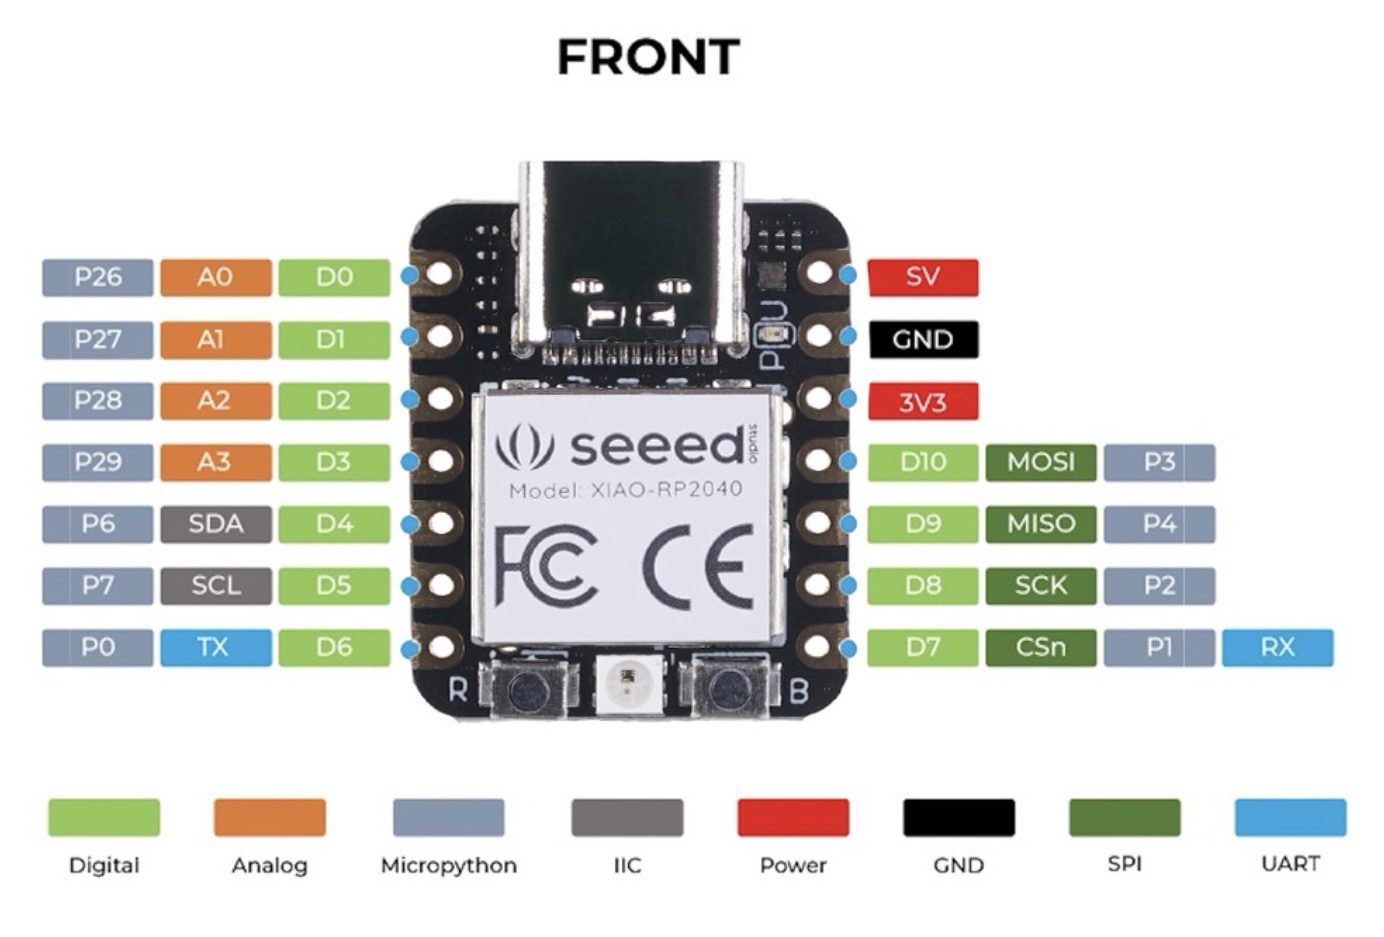
Analog Pin Usgae to control LED
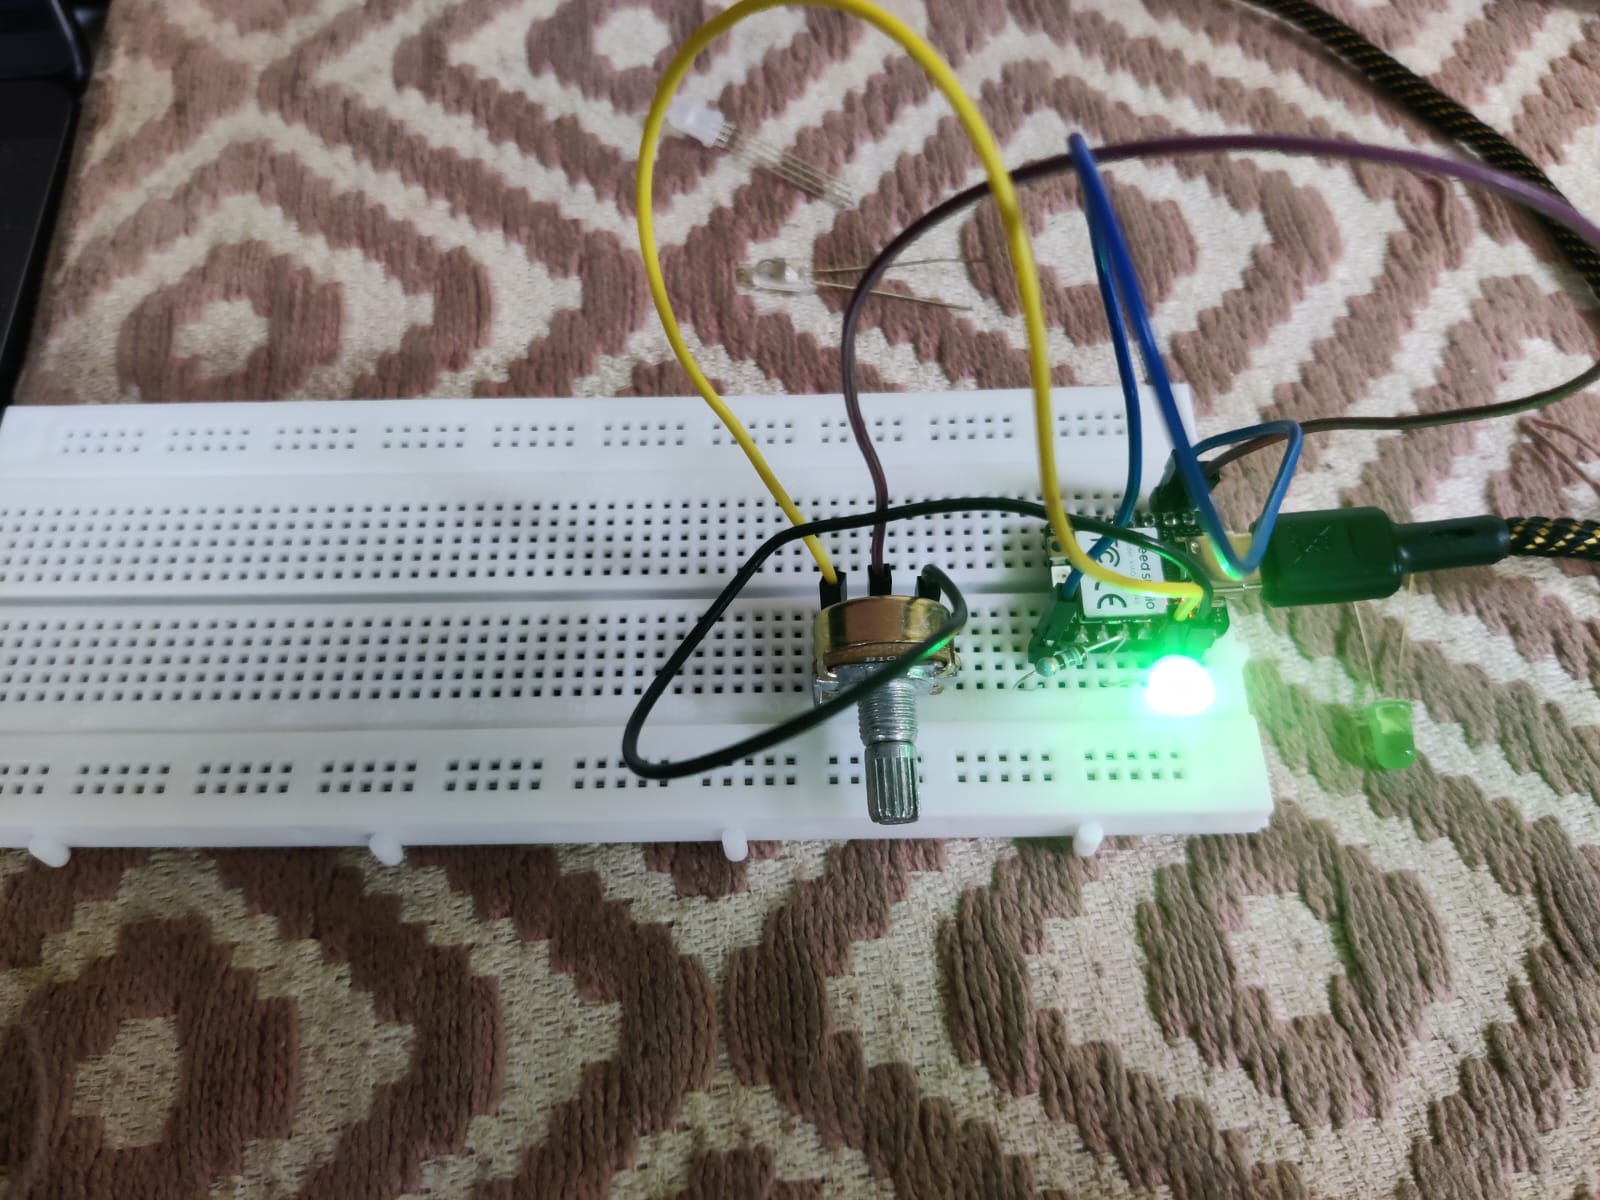
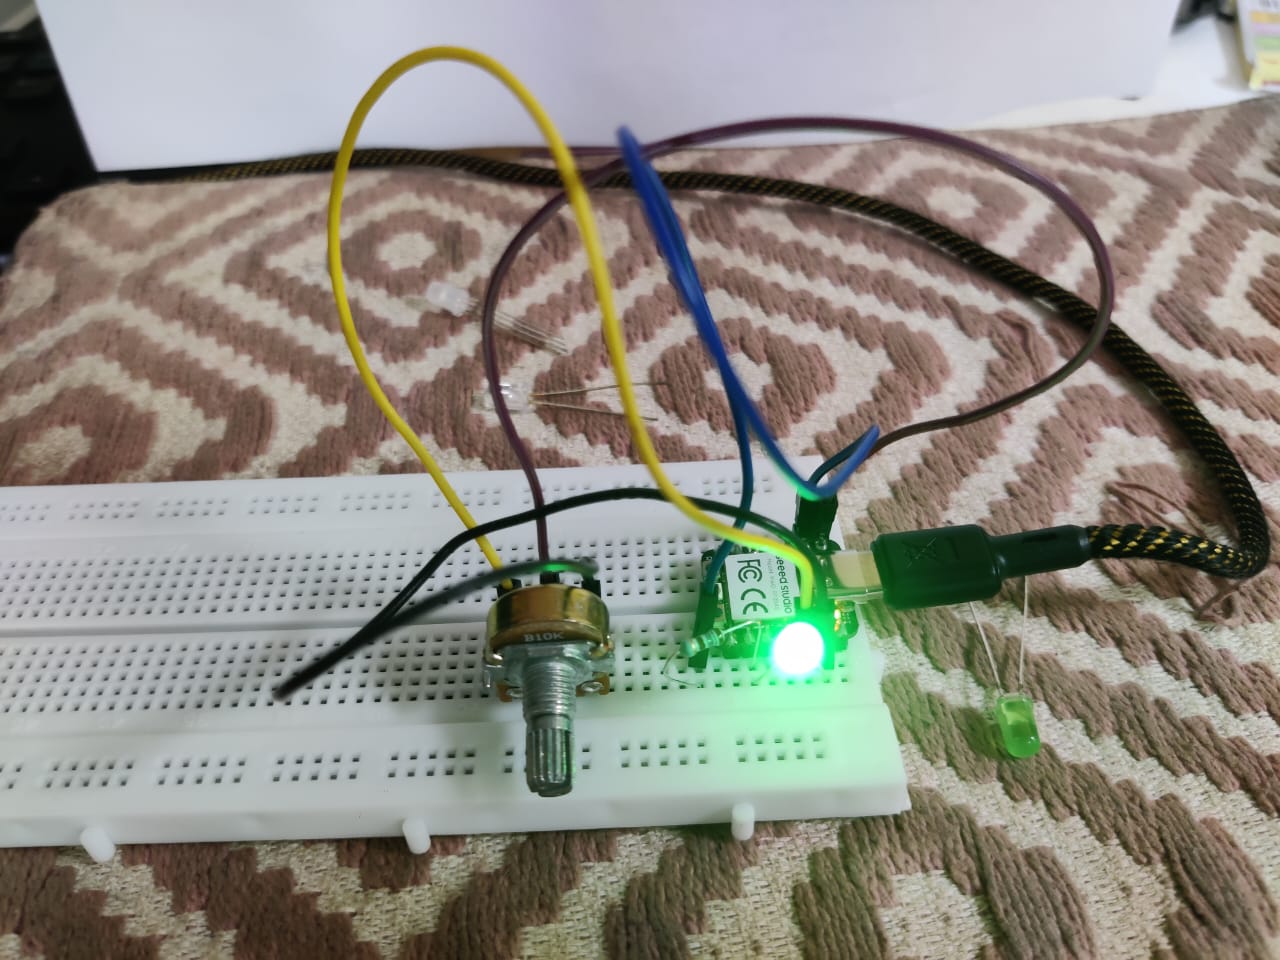
Now lets see how we can use the Analog Pin of XIAO RP2040 Board to control the LED. For this connect the potentiometer to an A0 pin and a 5mm LED to pin27 via 180-ohm resistor (use 200 ohms if you have that ).
Circuit diagram
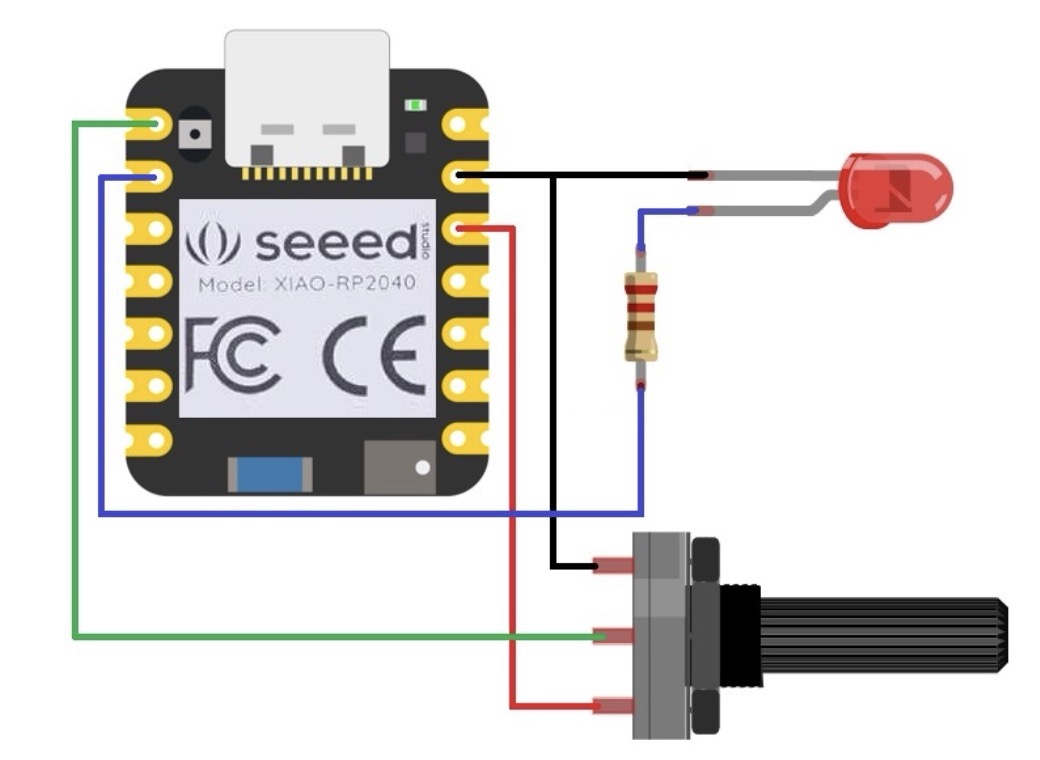
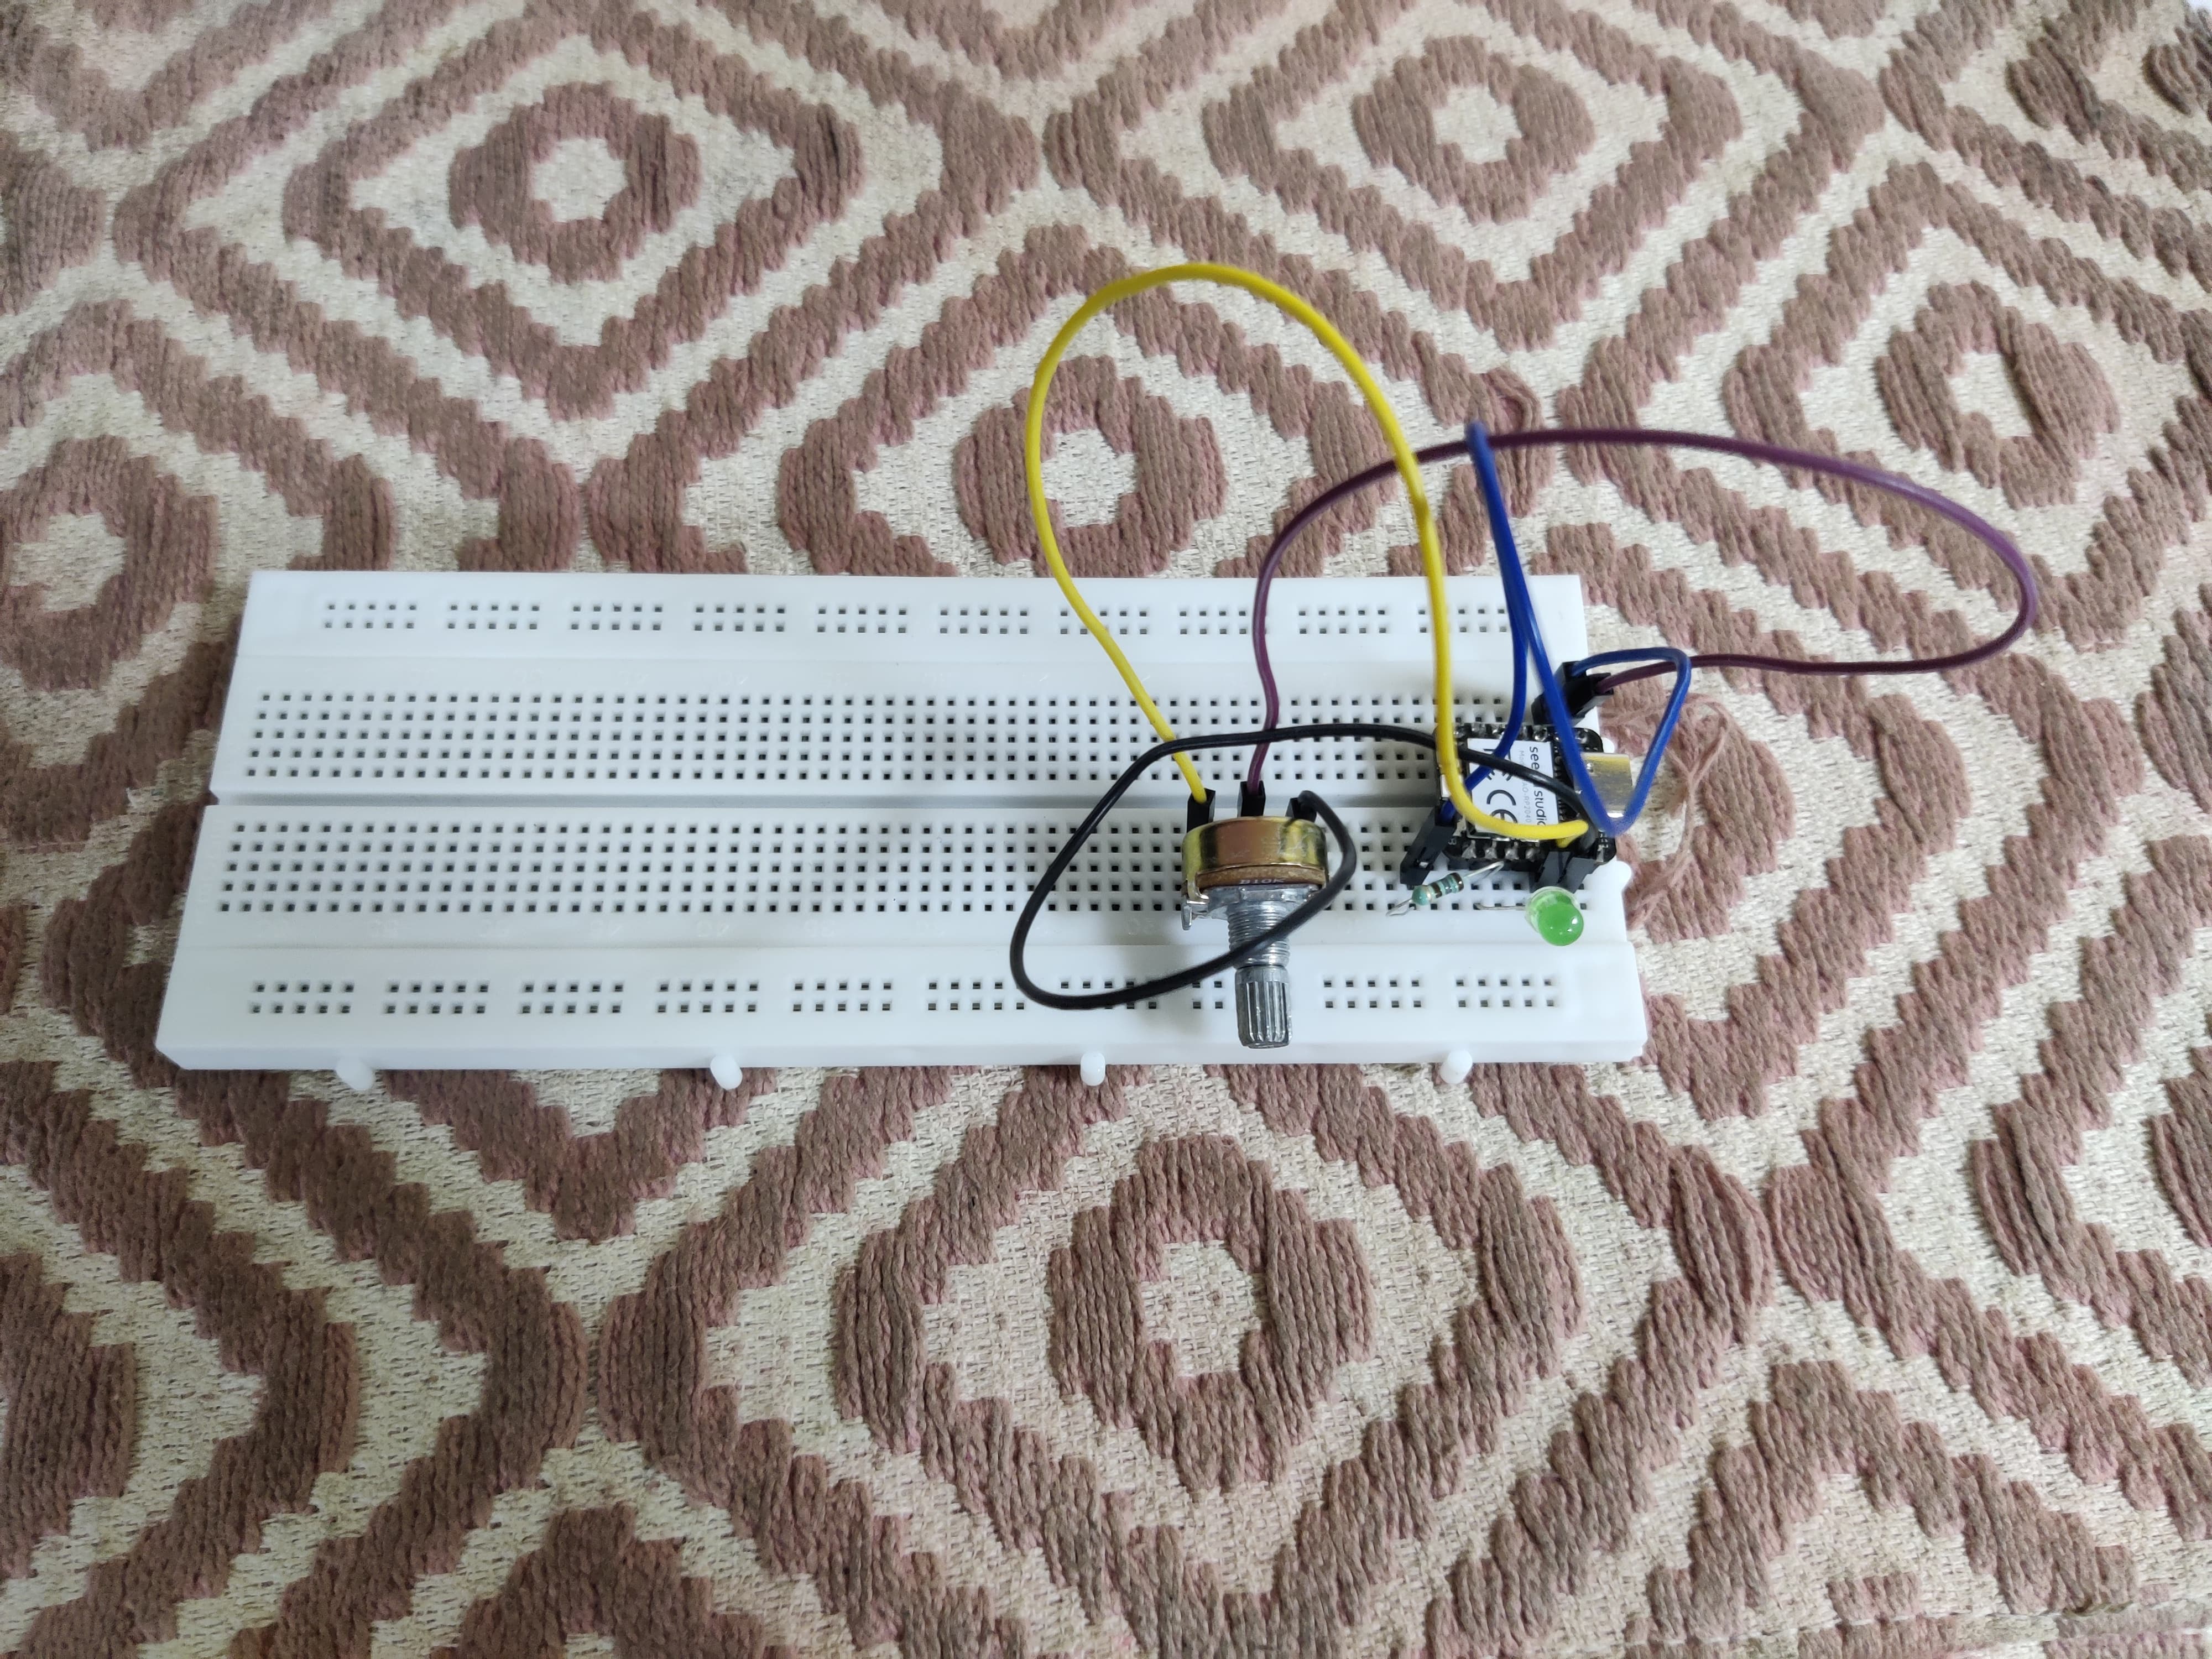
I used a breadboard for Assembly and testing it. You also design your custom PCB for this part.
Source Code/Program
Upload the following code to control the blinking interval of the LED by rotating the potentiometer knob.
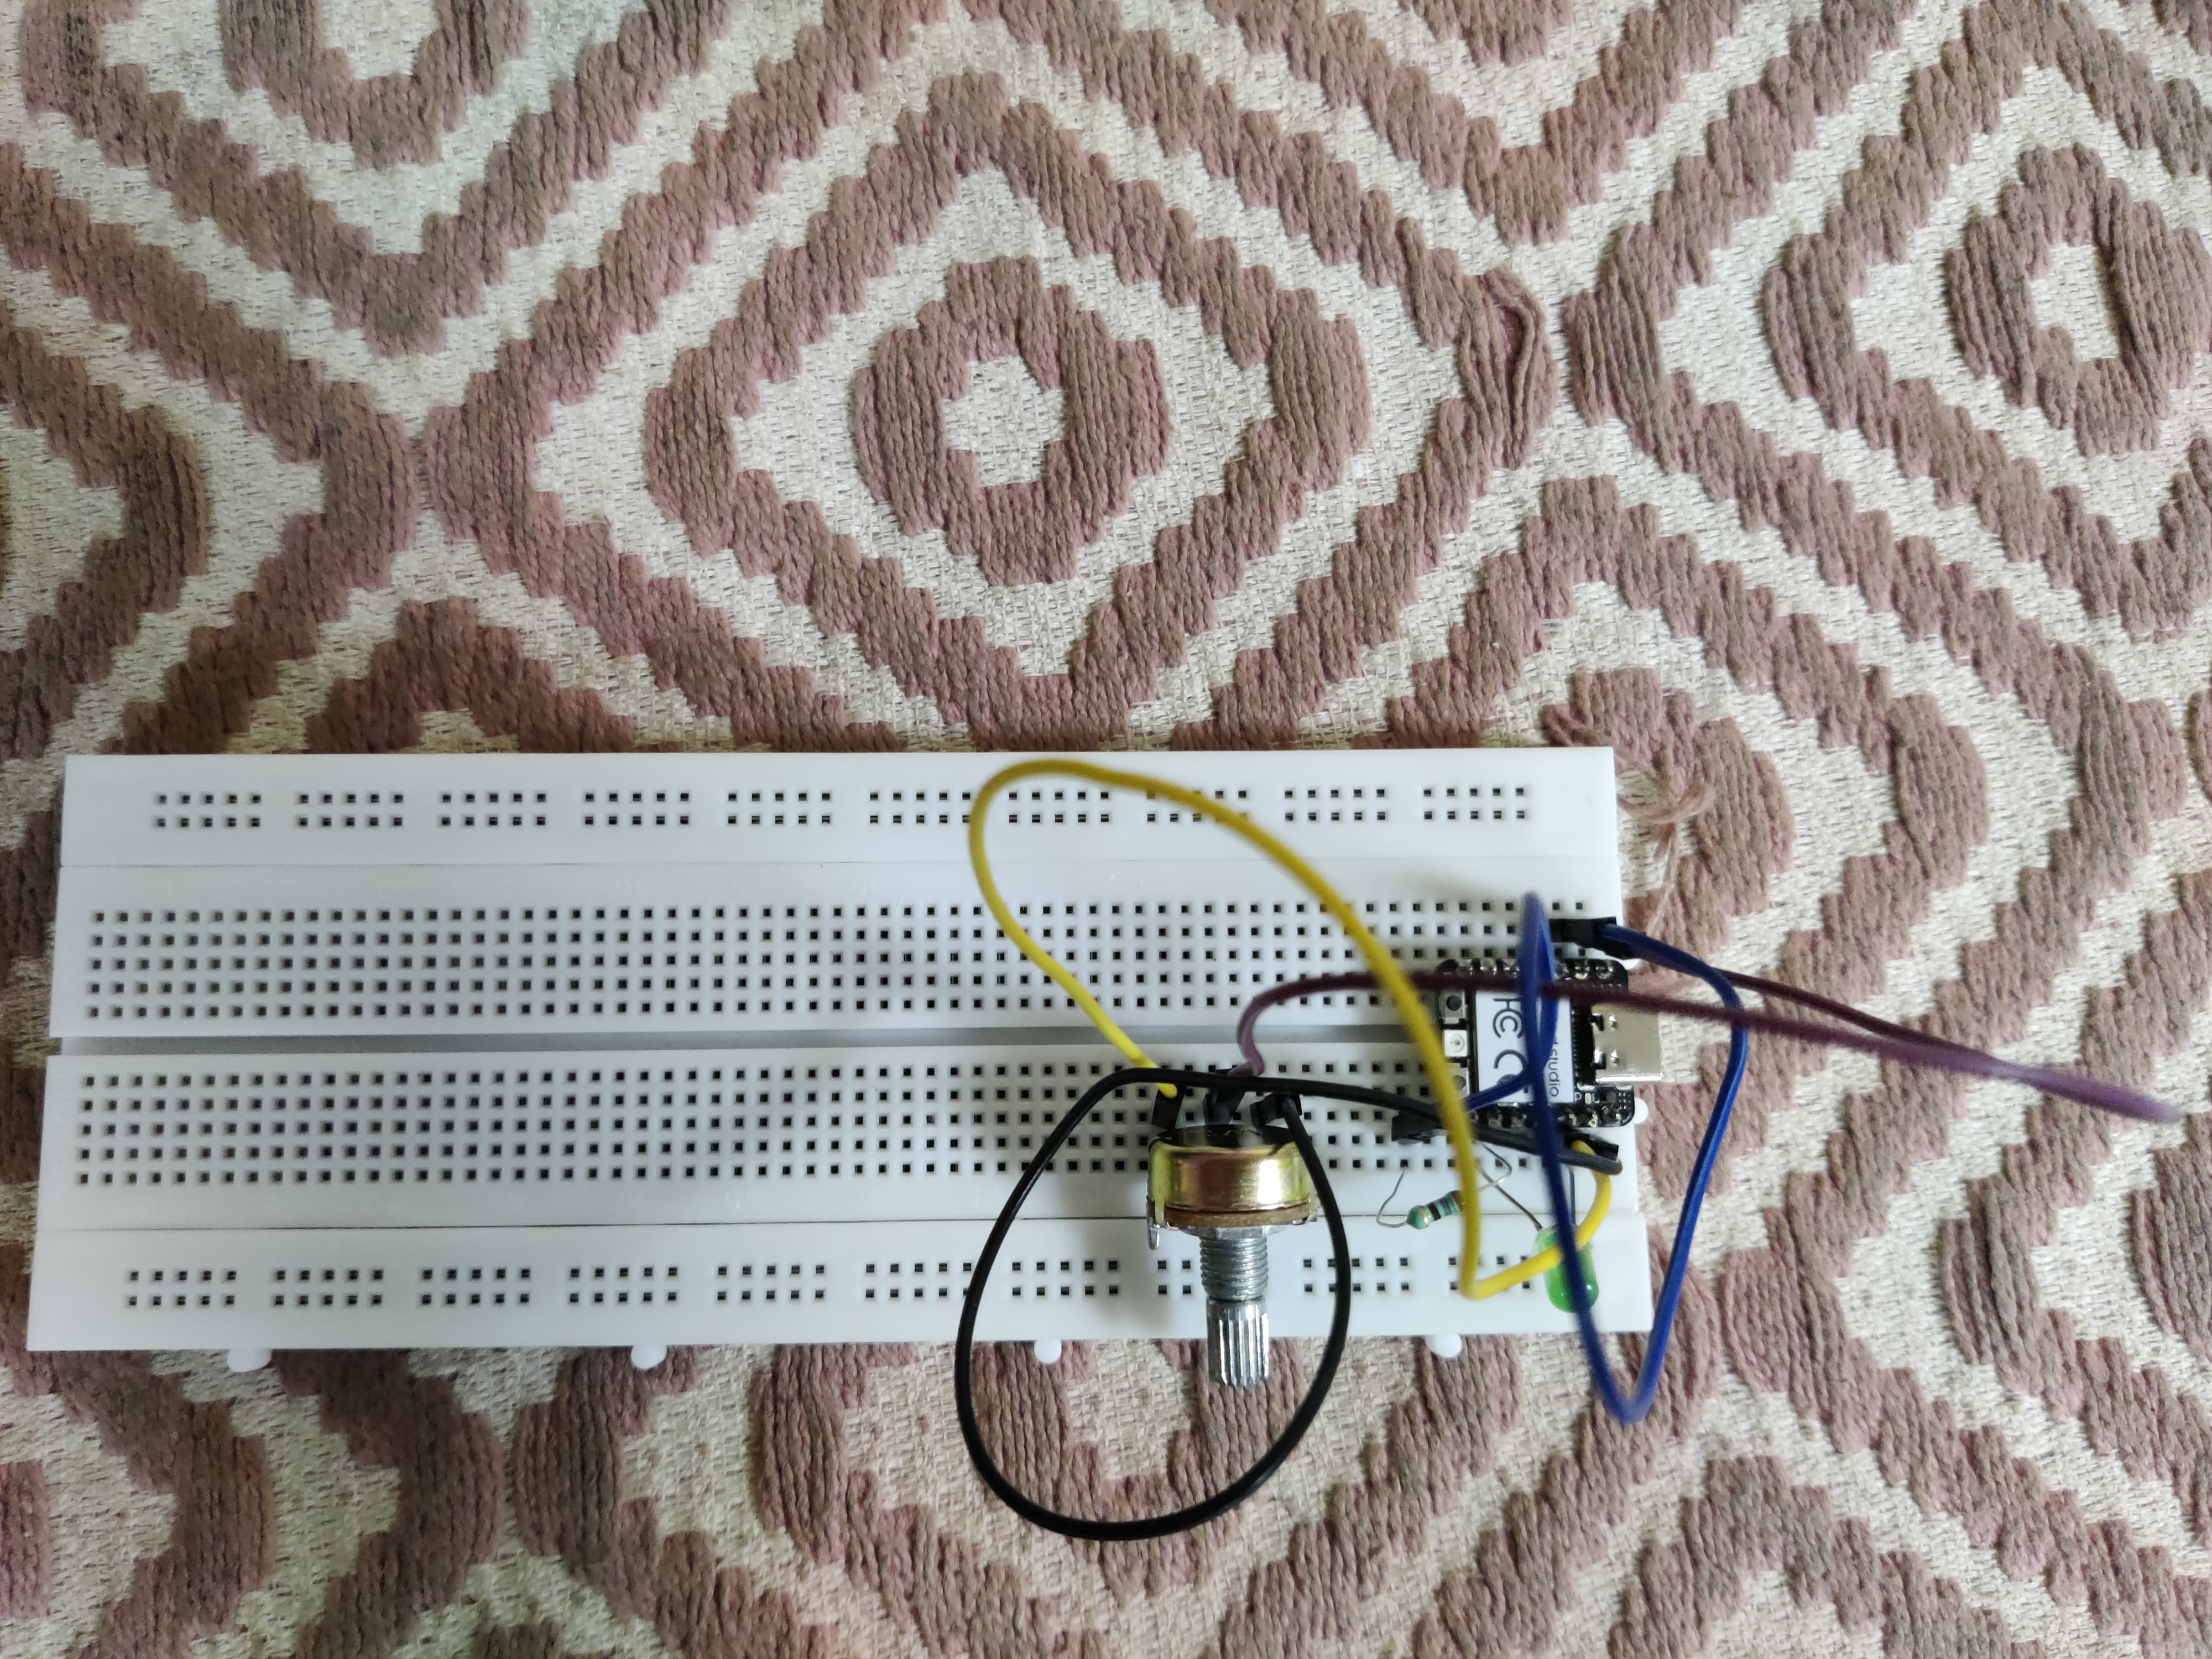
Final working
To see the entire working video, click below:
Links to follow
I used this links to learn and execute it. - Links to learn from
Group Work
To see the group work check - Tejas Dandge's Page
Learnings
Throughout the group assignment on embedded programming, I gained valuable insights into microcontroller architectures and their functionalities. By browsing through the datasheet for the Seed xiao RP2040 and comparing it with other microcontrollers like the ATtiny44 and ESP8266, I deepened my understanding of their performance, features, development workflows, connectivity options, and applications. This exercise taught me the importance of considering various factors such as processing power, I/O capabilities, and connectivity requirements when selecting a microcontroller for a project. Additionally, working with my peers allowed me to learn from their perspectives and exchange ideas, enhancing my problem-solving skills and expanding my knowledge in embedded systems. Overall, the group assignment provided me with a comprehensive overview of microcontroller architectures and enabled me to make informed decisions when designing embedded systems in the future.
Conclusion From this Week
This week, I focused on learning about programming, which is an area I'm not very confident in yet. I've only done basic programming with Arduino before, so this was a new challenge for me. But I was excited to learn more. Our group assignment involved studying a microcontroller's datasheet and then writing a program for it. The goal was to make the microcontroller interact with local devices and also communicate with devices far away. It was a good opportunity to start with the basics and build from there.
During this week, I learned a lot about programming. Even though I wasn't very confident at first, I was determined to learn. Writing code for the microcontroller board helped me understand how programming works in real life. Studying the datasheet also gave me a better understanding of how the microcontroller functions. Overall, this week was a good starting point for me to get better at programming, and it made me excited to learn even more in the future.
Download files from here
XIAO Blink Code.
XIAO RGB Code.
My changes on neil's code
Source code for potentiometer
Image Credits
Embedded Programming
All images of cover page are credited below:
https://images.app.goo.gl/n5DrQjyFserZsaGd8
https://images.app.goo.gl/bKsMqv4Y3YBnxi4v5
https://images.app.goo.gl/BkQUCdwgHvXyXfTt6
https://images.app.goo.gl/bHAmsrSMR5v4SFAX9
https://images.app.goo.gl/2LZeLiMk21YCG4uG7
https://images.app.goo.gl/szL7te9y74HqThSu5
https://images.app.goo.gl/3B2GSFwTdvmdXVHV9
https://images.app.goo.gl/3faVnQR62ZHFJHgd6