Week 5
3D Printring & scanning
individual assignment
- design and 3D print an object (small, few cm3, limited by printer time) that could not be made subtractively
- 3D scan an object (and optionally print it)
Group Assignment
- test the design rules for your 3D printer(s)
Testing design rules for the FlSun v400
I stared by downoading a printer profile from git hub and imported it in the Prusa slicer by going to file/imort/imort config.
satisfied that I had atleast a somewhat decent profile I downloaded an all in one test stl I fount on printables.
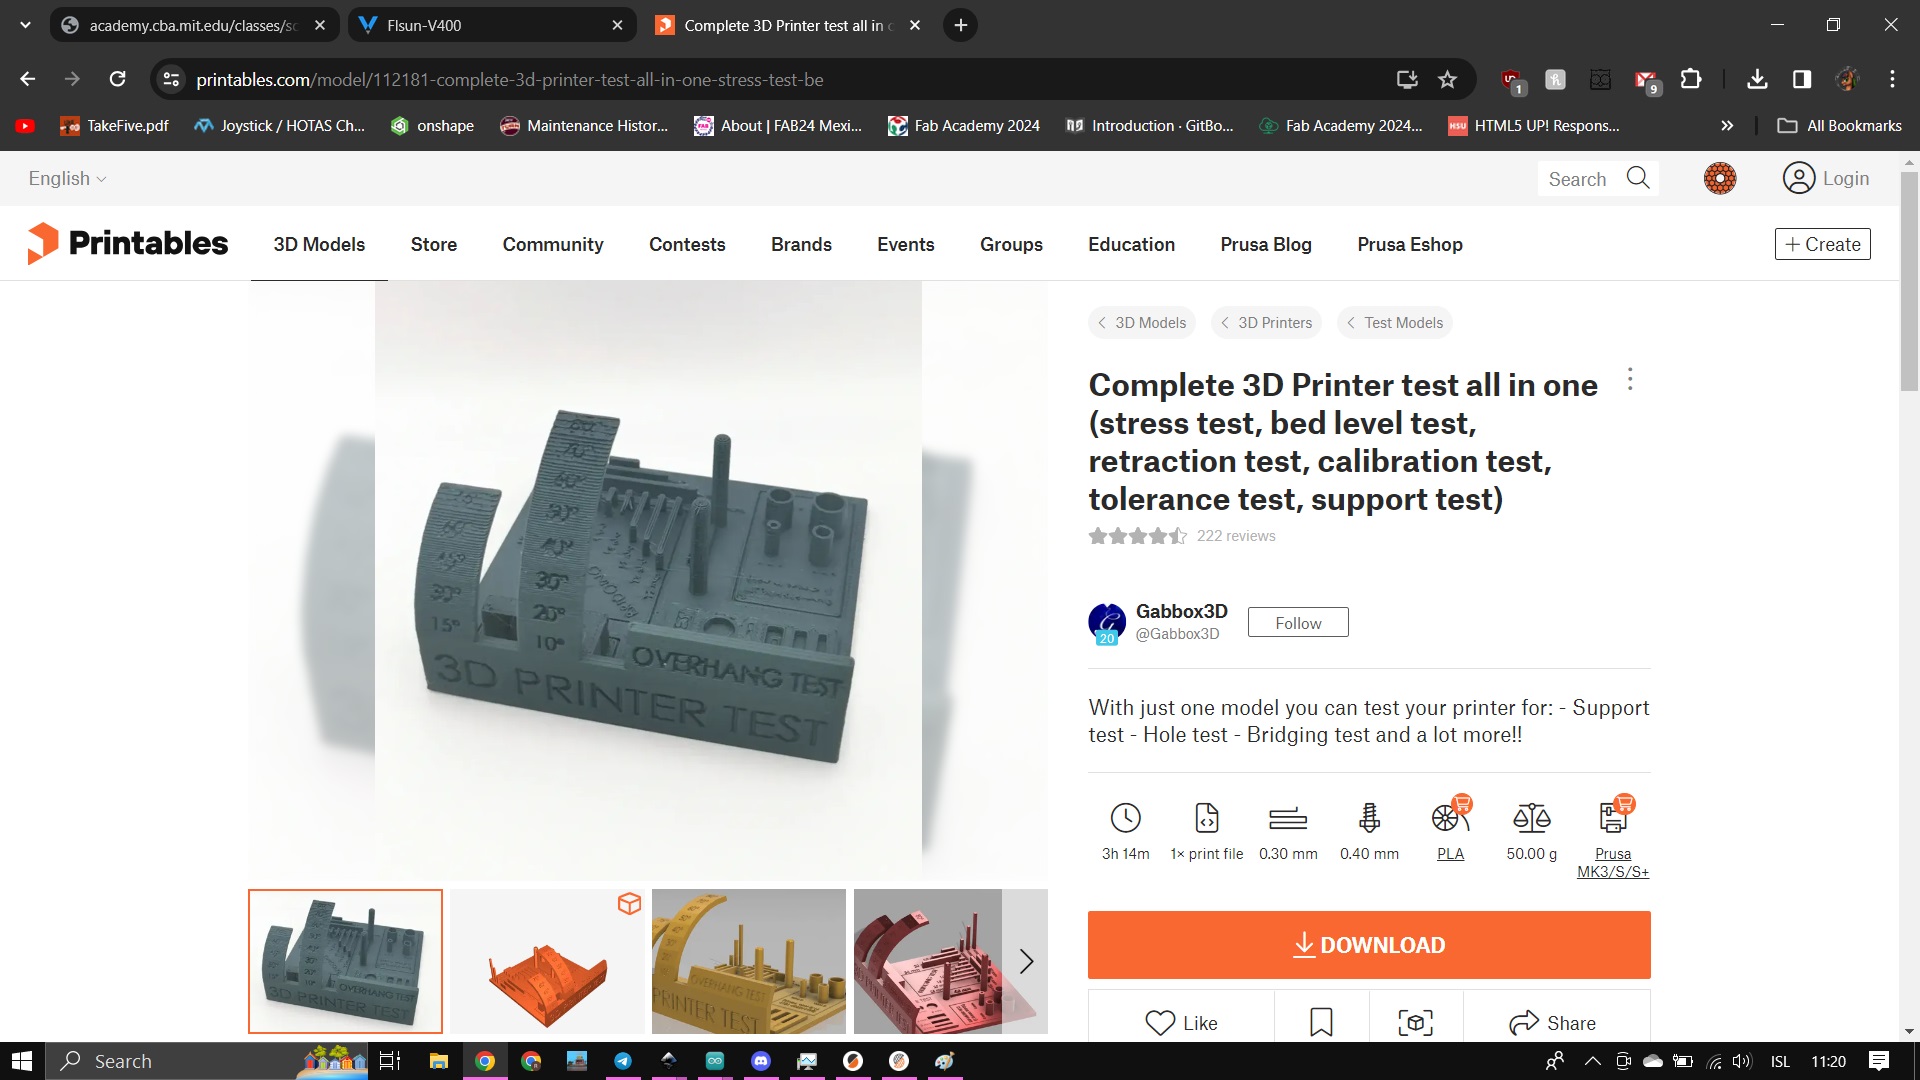
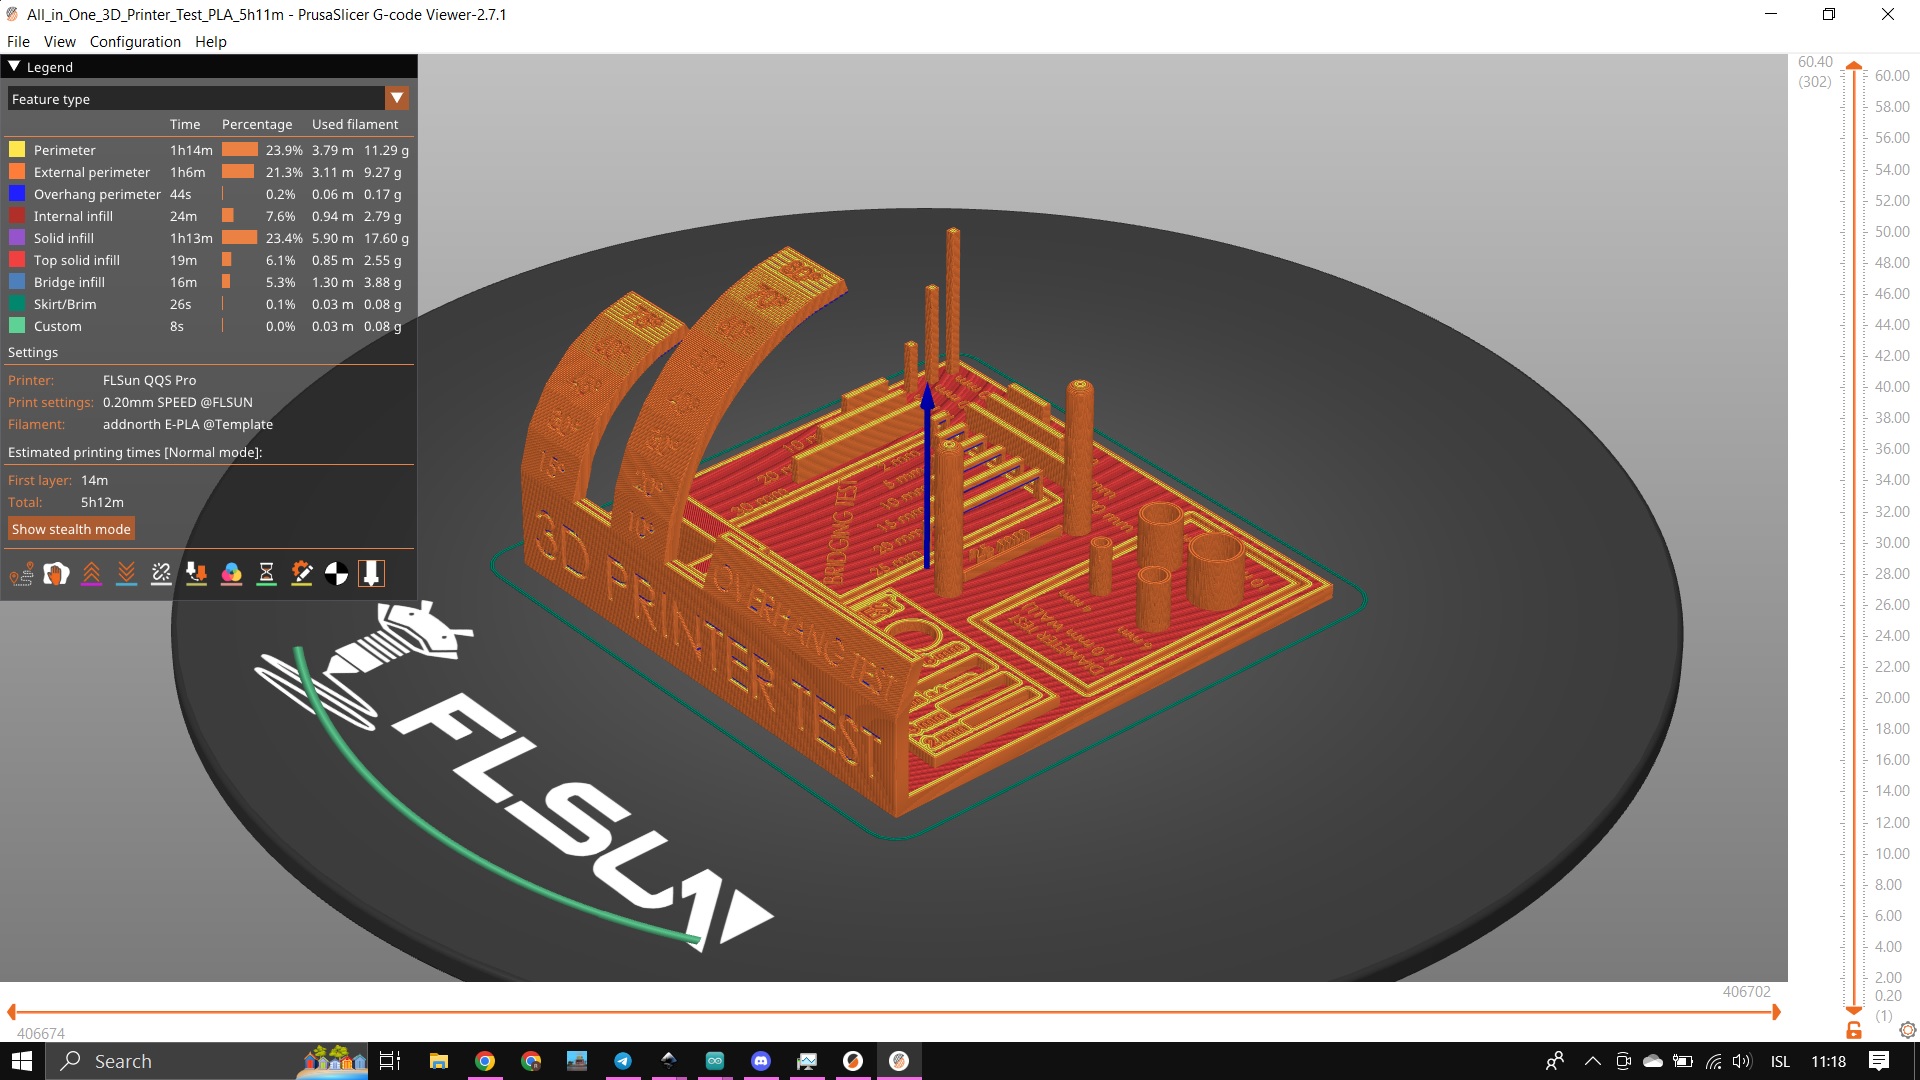
then I threw that stl in the slicer, set the infil to 15% and turned off supports, then I simply hit slice and exported the Gcode
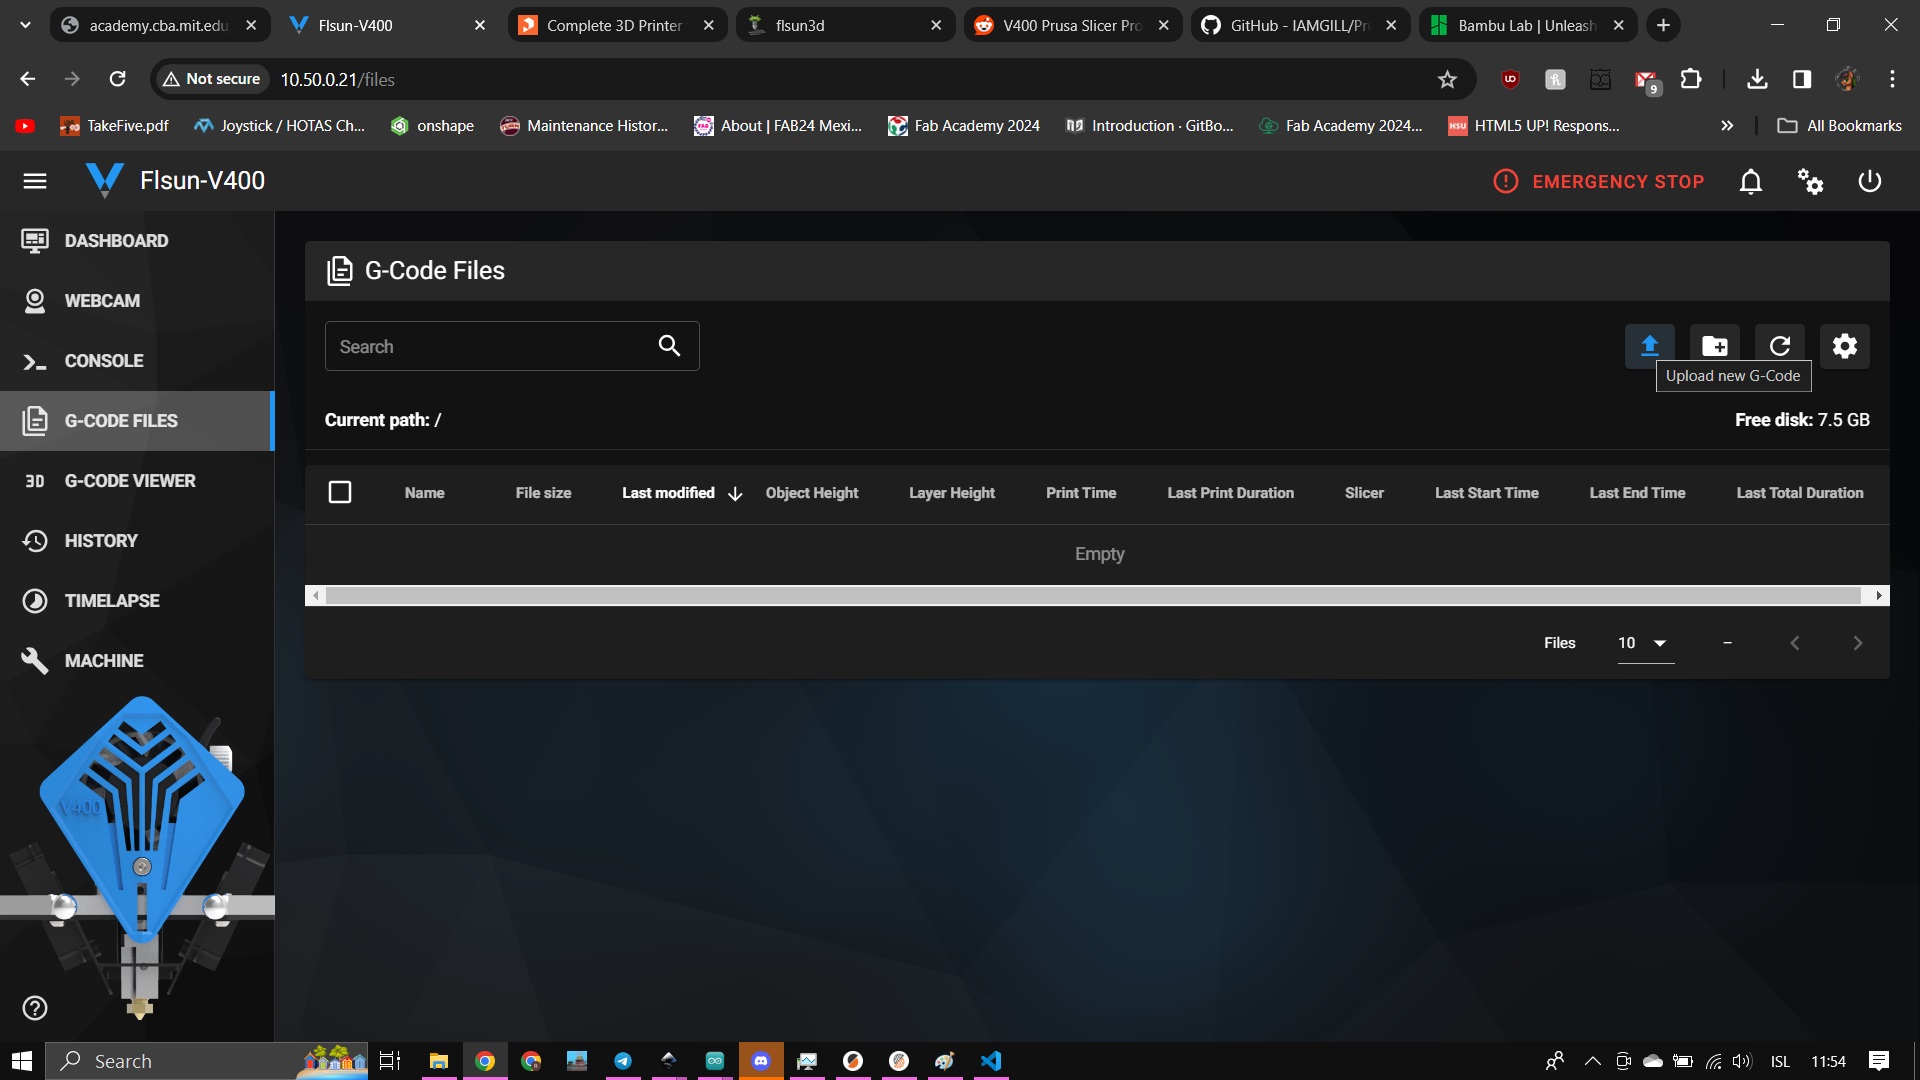
after this I opened up the web interface using the ip shown on the network tab in the printer and uploaded my gcode and hit print
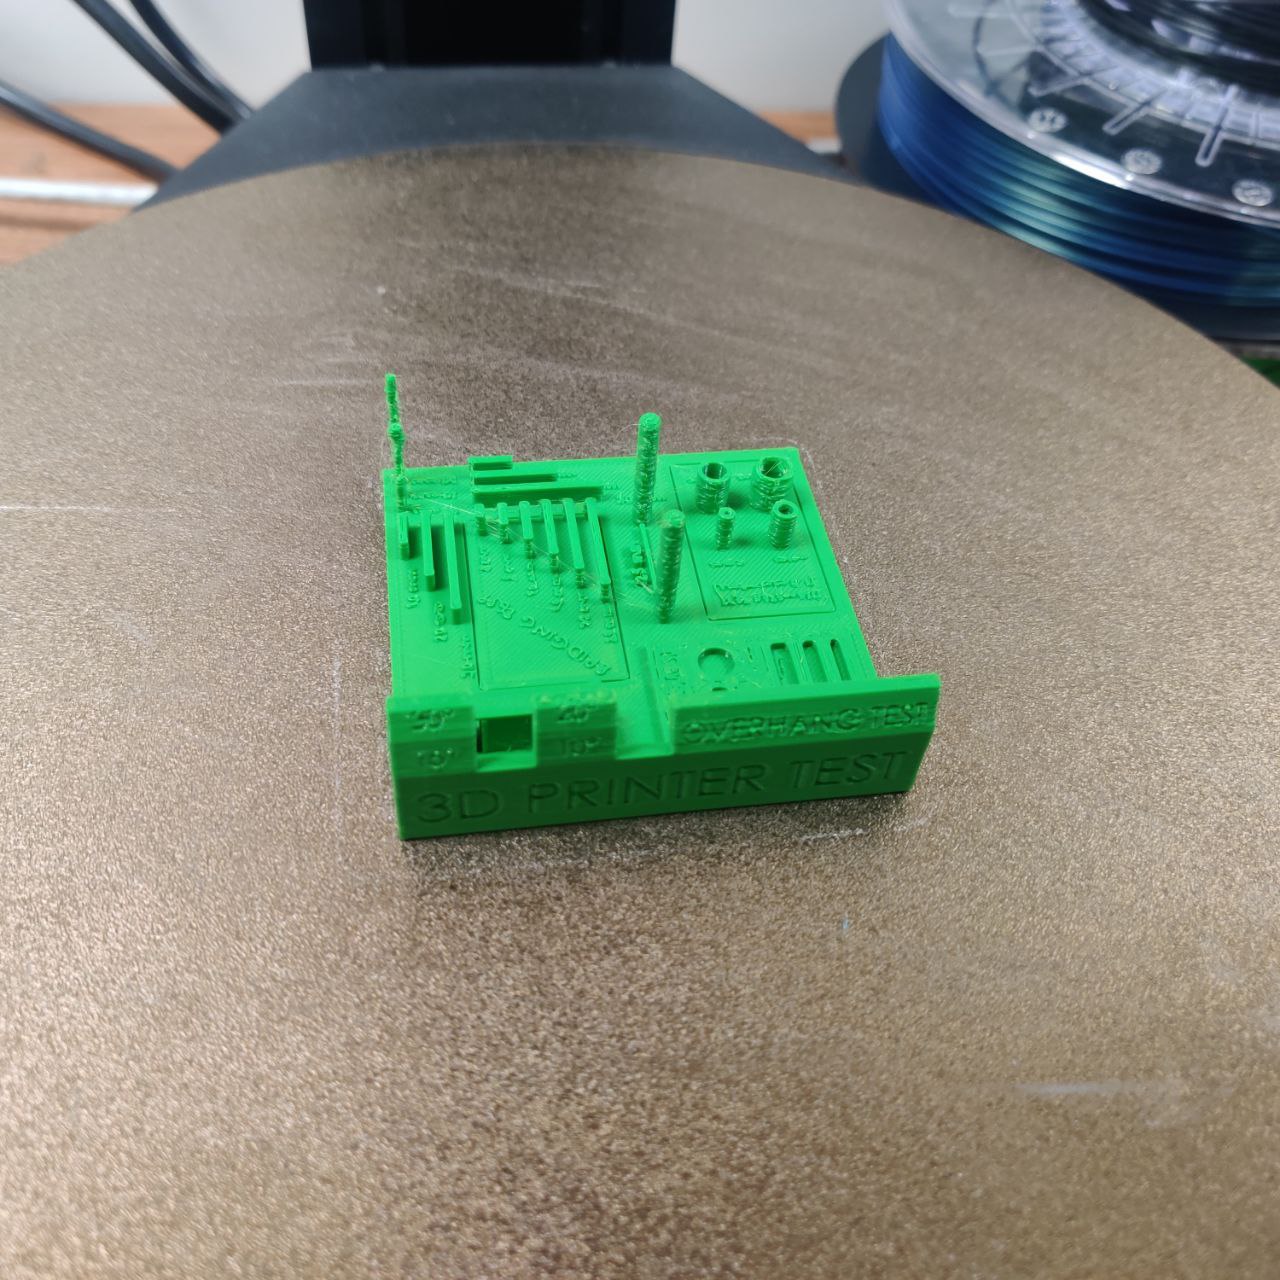
ofcource the printer had to get clogged after about 40minutes of printing so I used this chance to slice it again but at 75% of the original scale so as to save some time.
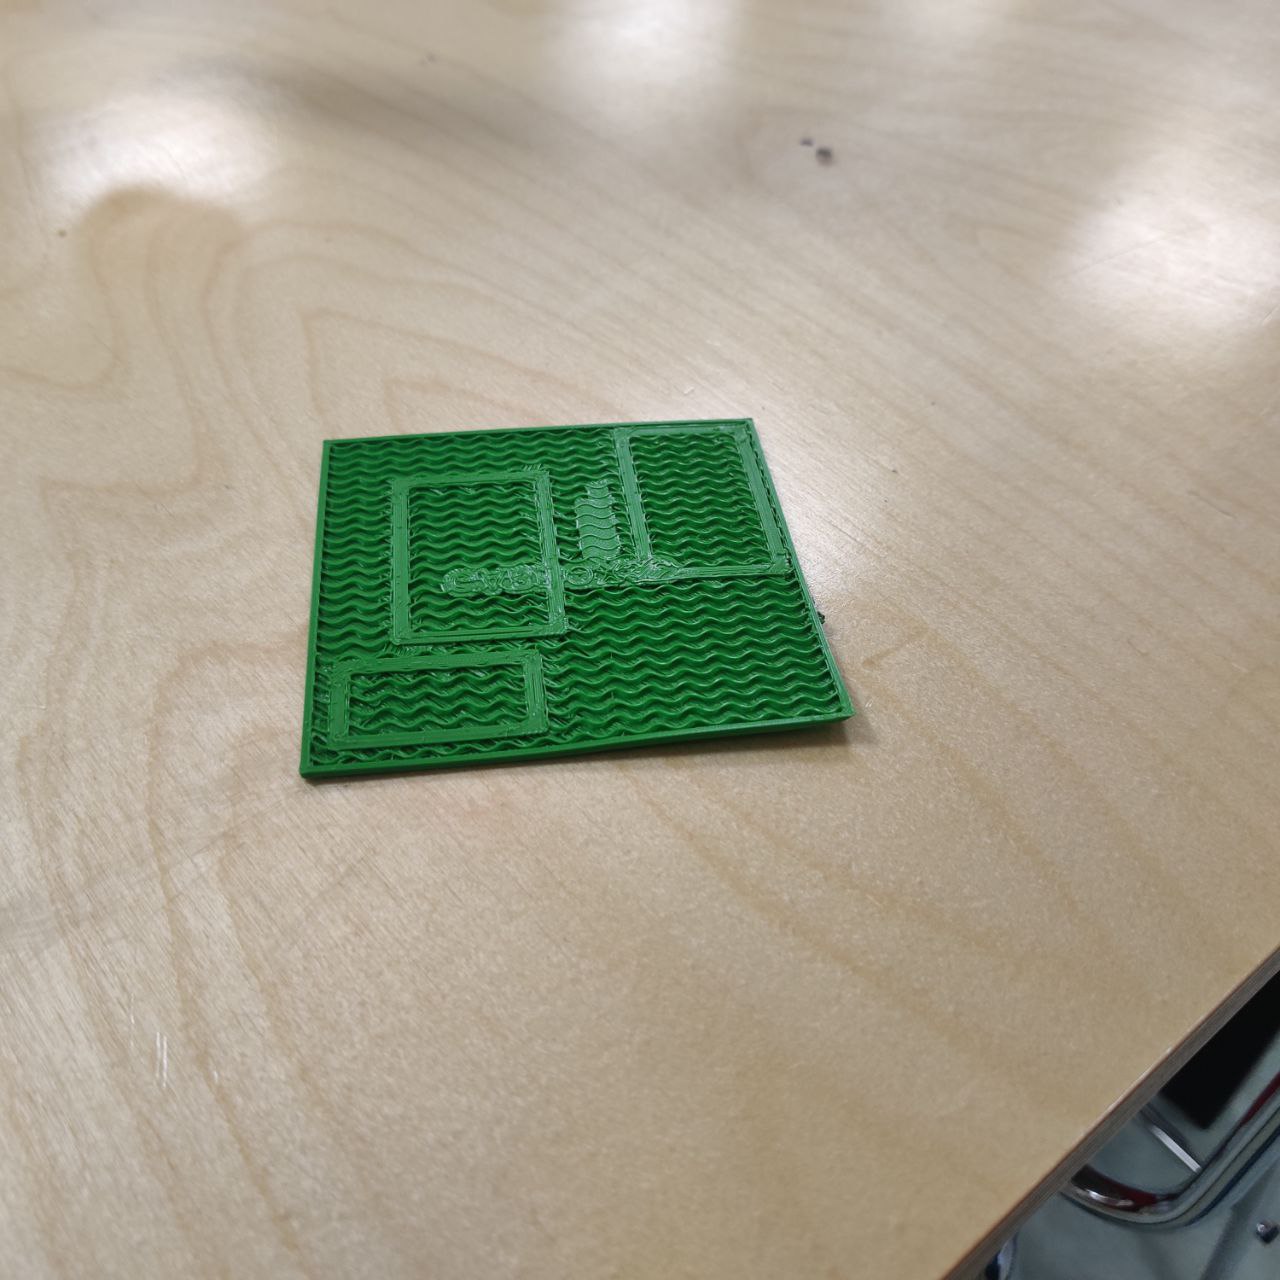
a you can see the print is also a bit warped this is because of bad bed adheision so I slathered some gluestick on there in hope it would adheir better.
the second atempt also failed but I think this is mostly because I was playing with the speed of the printer while it was printing causing some layers not to adheir propperly resulting in colapse.
at this point I decided to save this model for later and print something a little bit smaller so I made This model to test the spacing tolerances.
this printed well and showed me that I should be safe to print with a spacing of 0.3mm
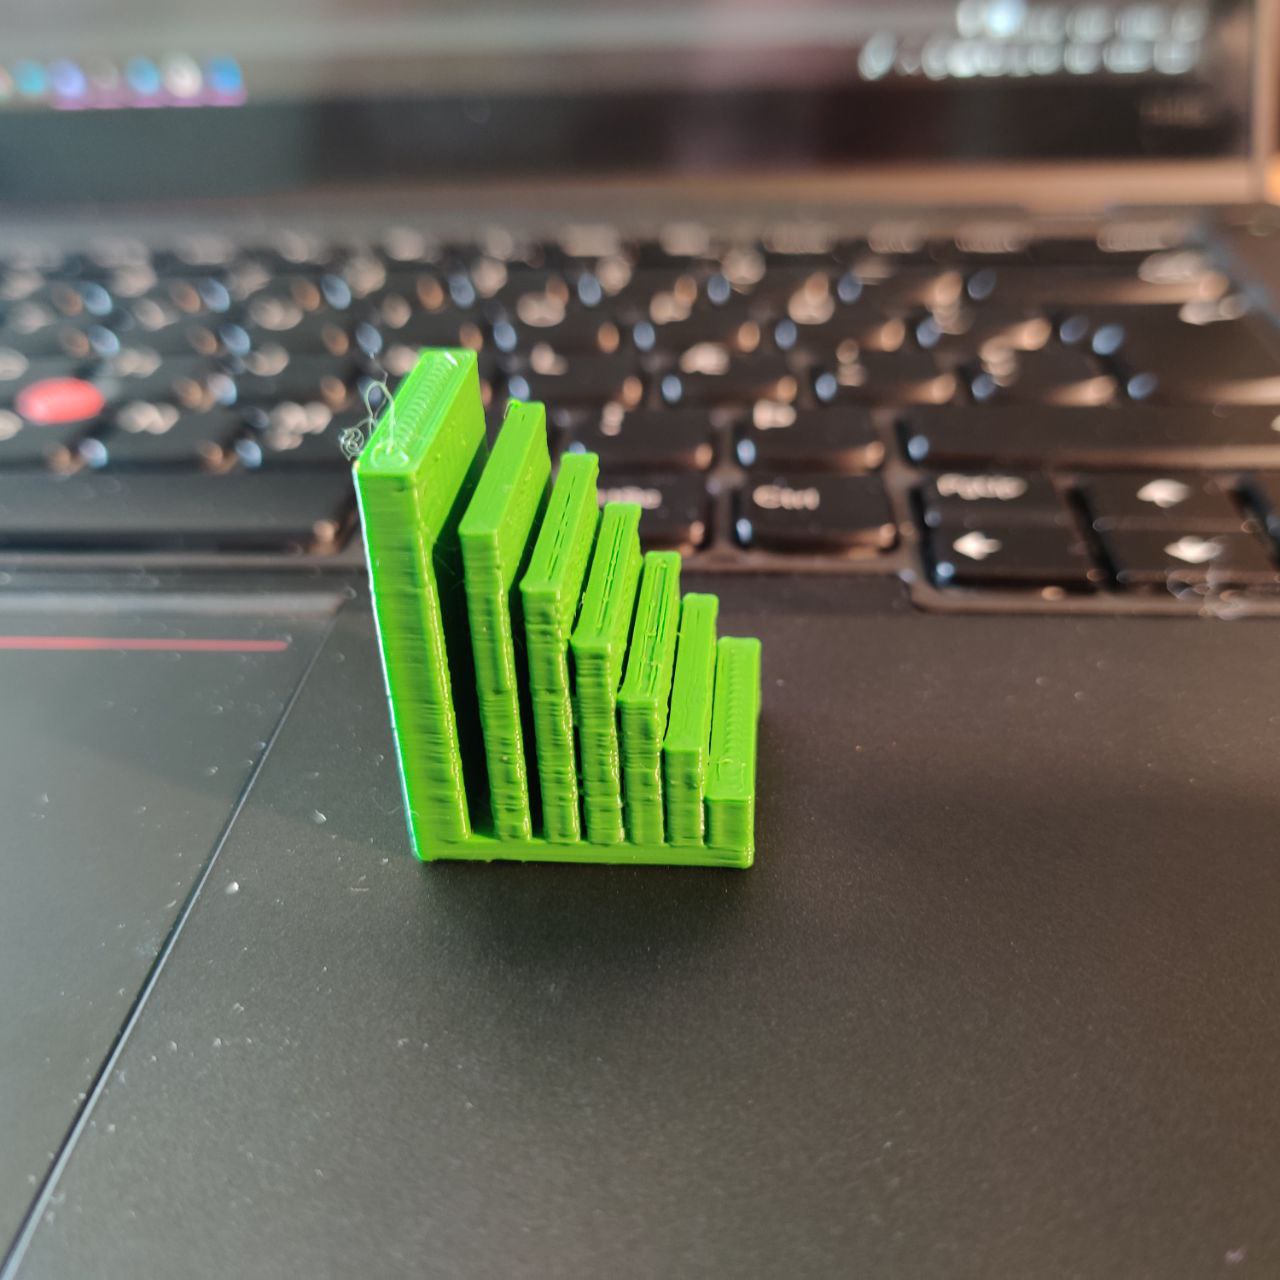
Good luck making this without a 3D printer
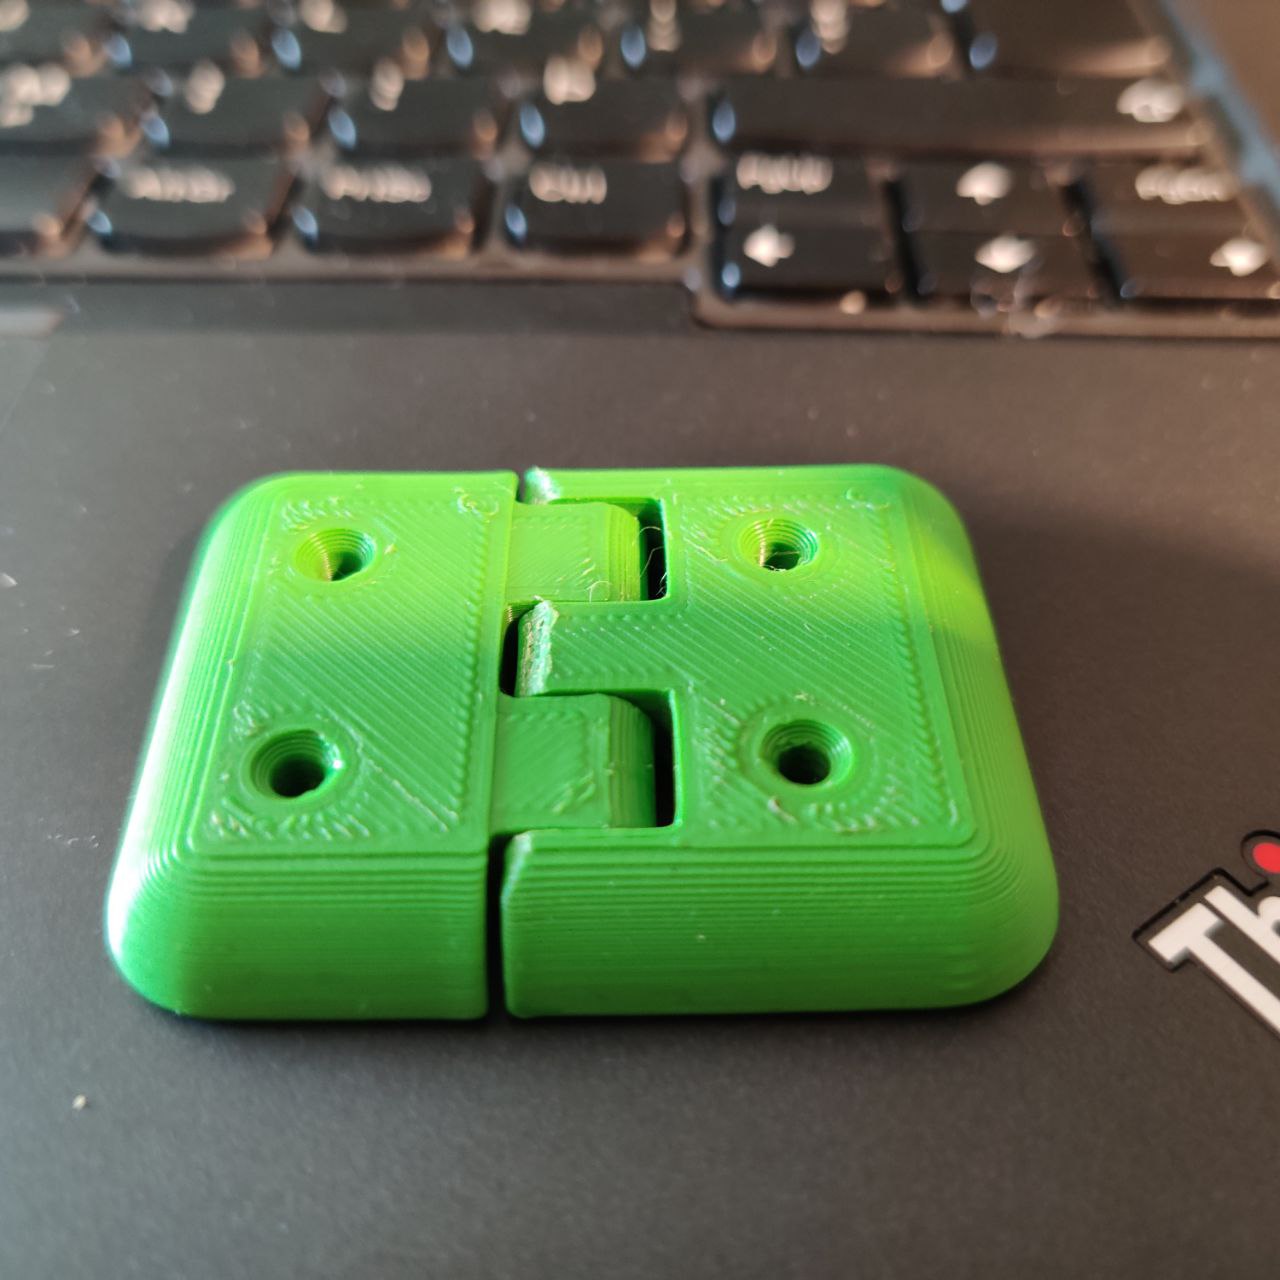
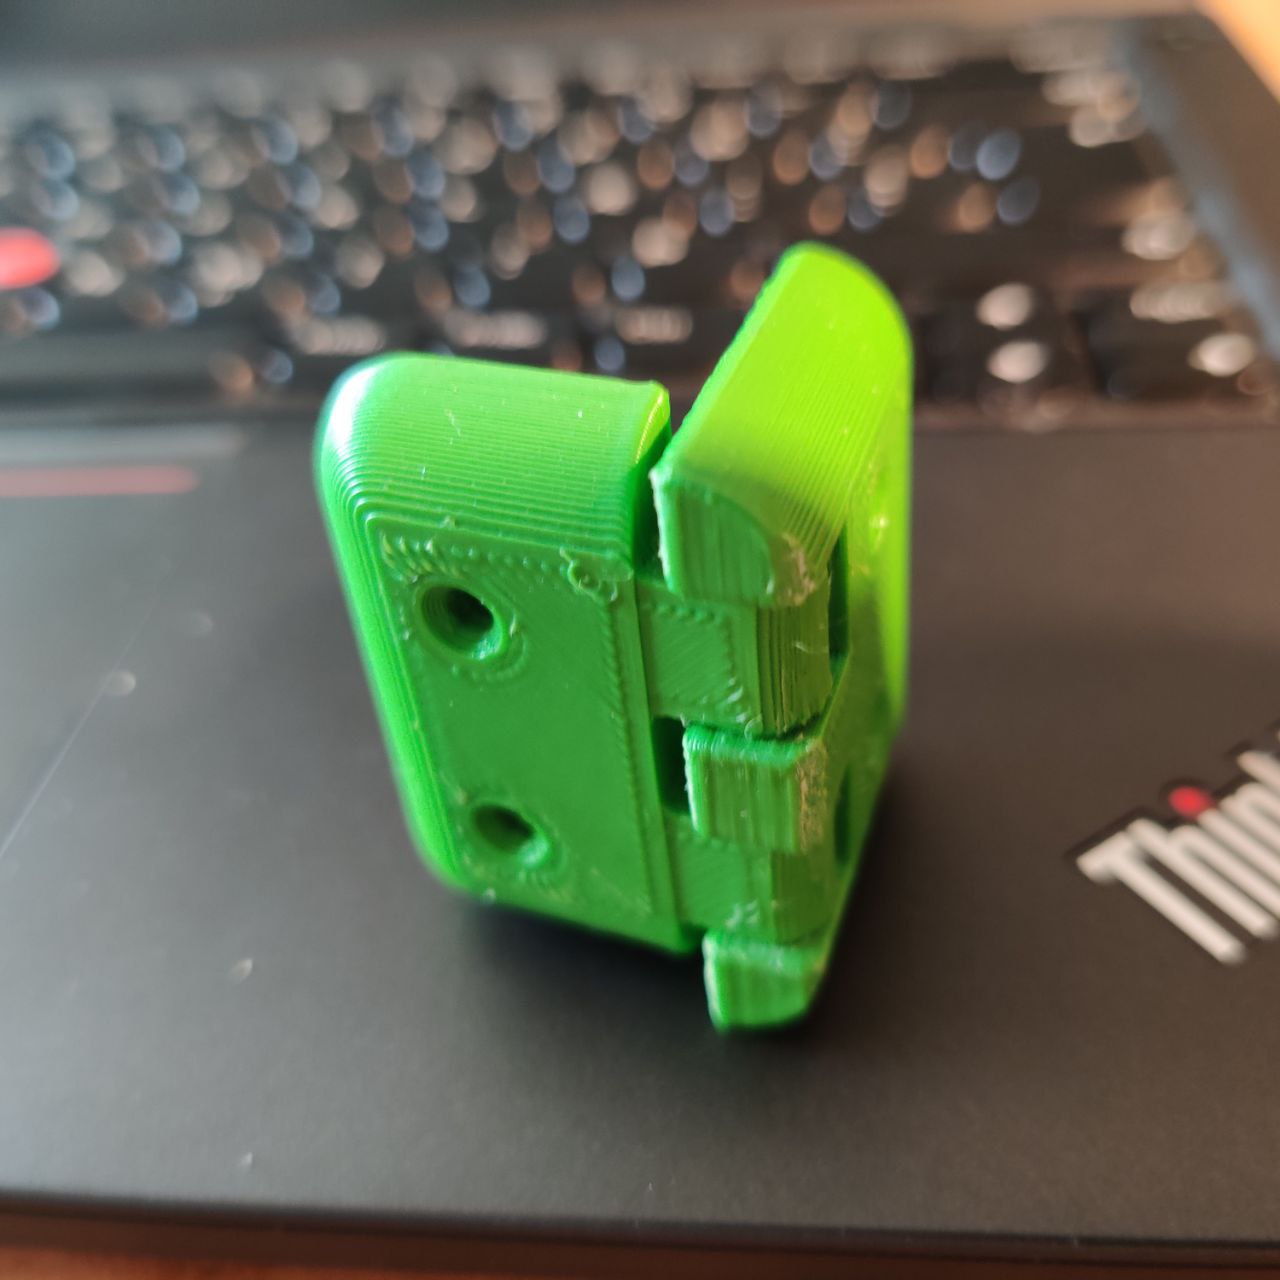
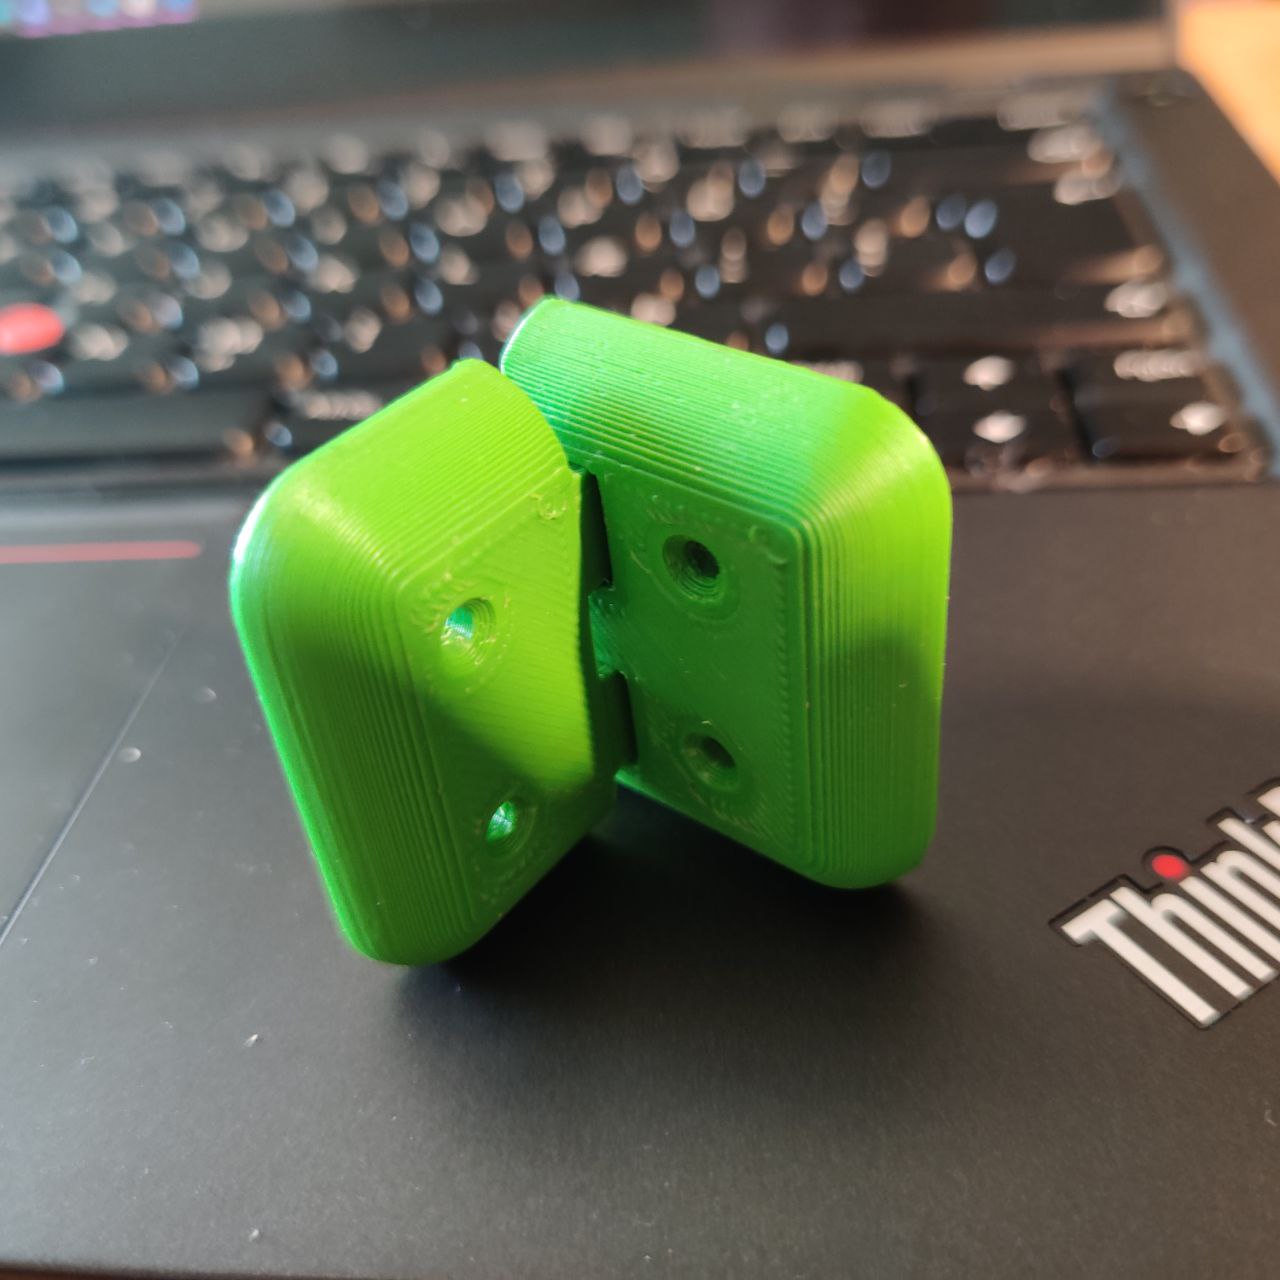
Andri my instructor opened my mind to the Idea that I might aswell design something that might come in use for my final project so following his recomendation I Cadded up This little hinge mechanism using what I had learned from the spaceing test I did for the group assignment and printed it out in the Flsun.
the print came out really good and after a bit of wiggeling it bakc and forth the hinge moved freely
3D Scanning
The lab in Reykjavík recently got a new scanner the cr scan ferret pro so that is what I used to for the 3D Sscanning assignment
the scanner connects to a smartphone using onboard wifi
for the assignment I scanned this little decorative wood carving of a bird(specifficly a golden plover)
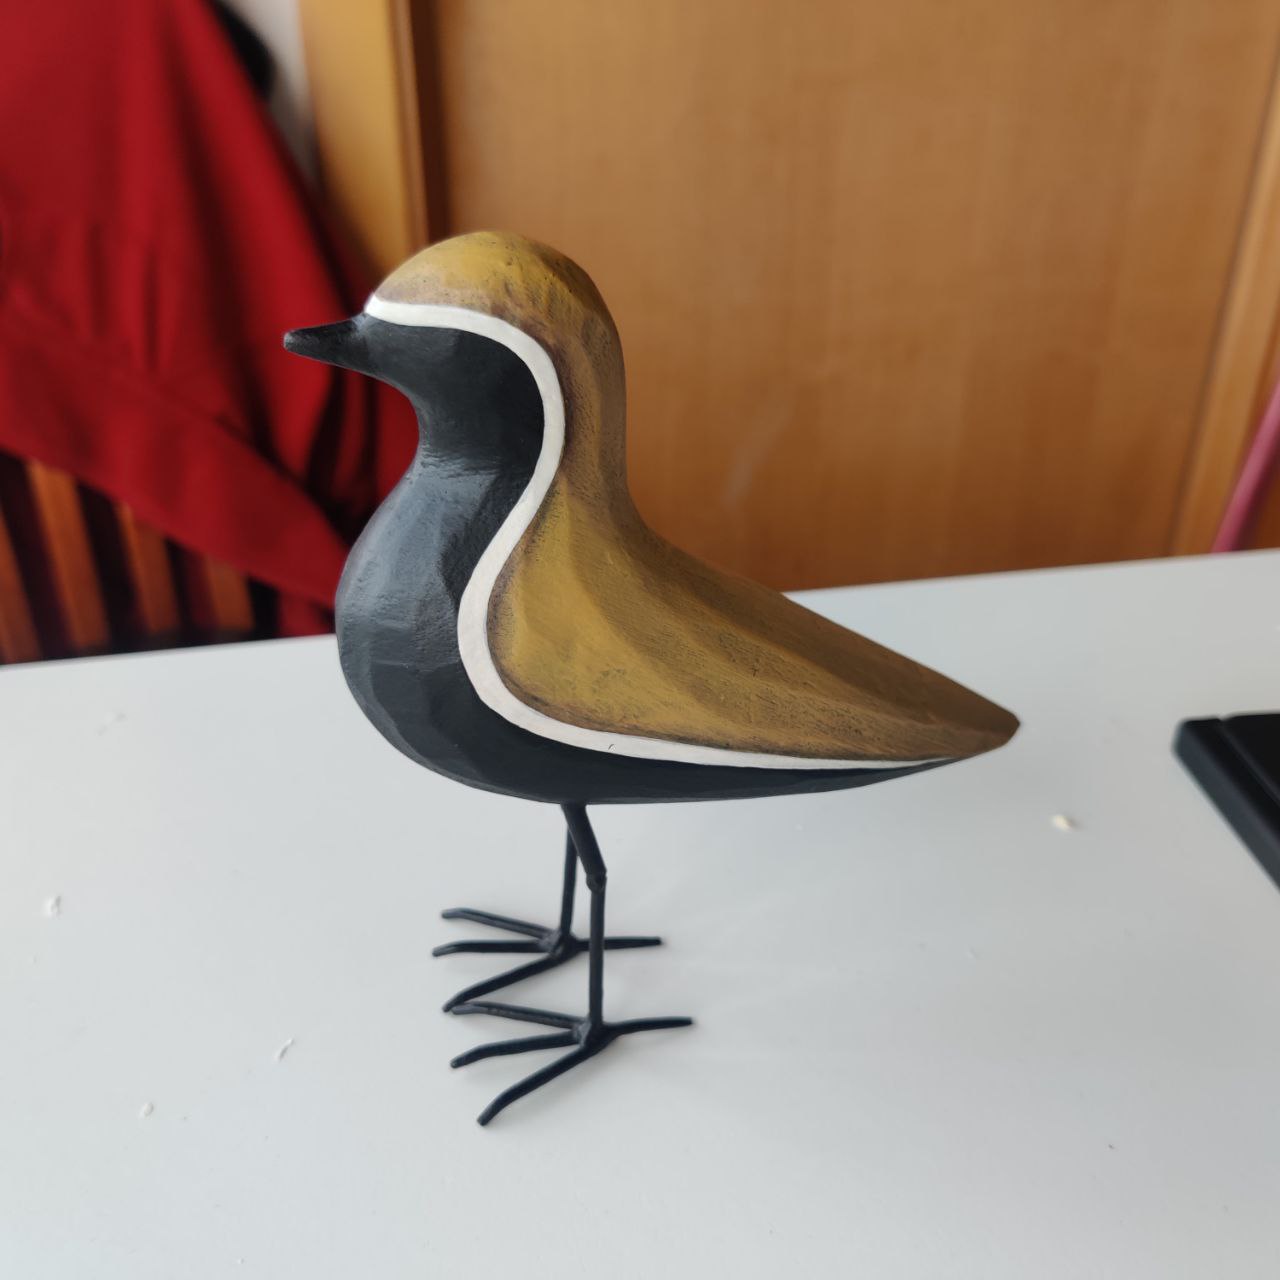
The scann turned out pretty nice after I got used to using operating it, although it had some issues scannign the feet altho this was to be expected.