Computer Controlled Machining
Week07
Group Assignment
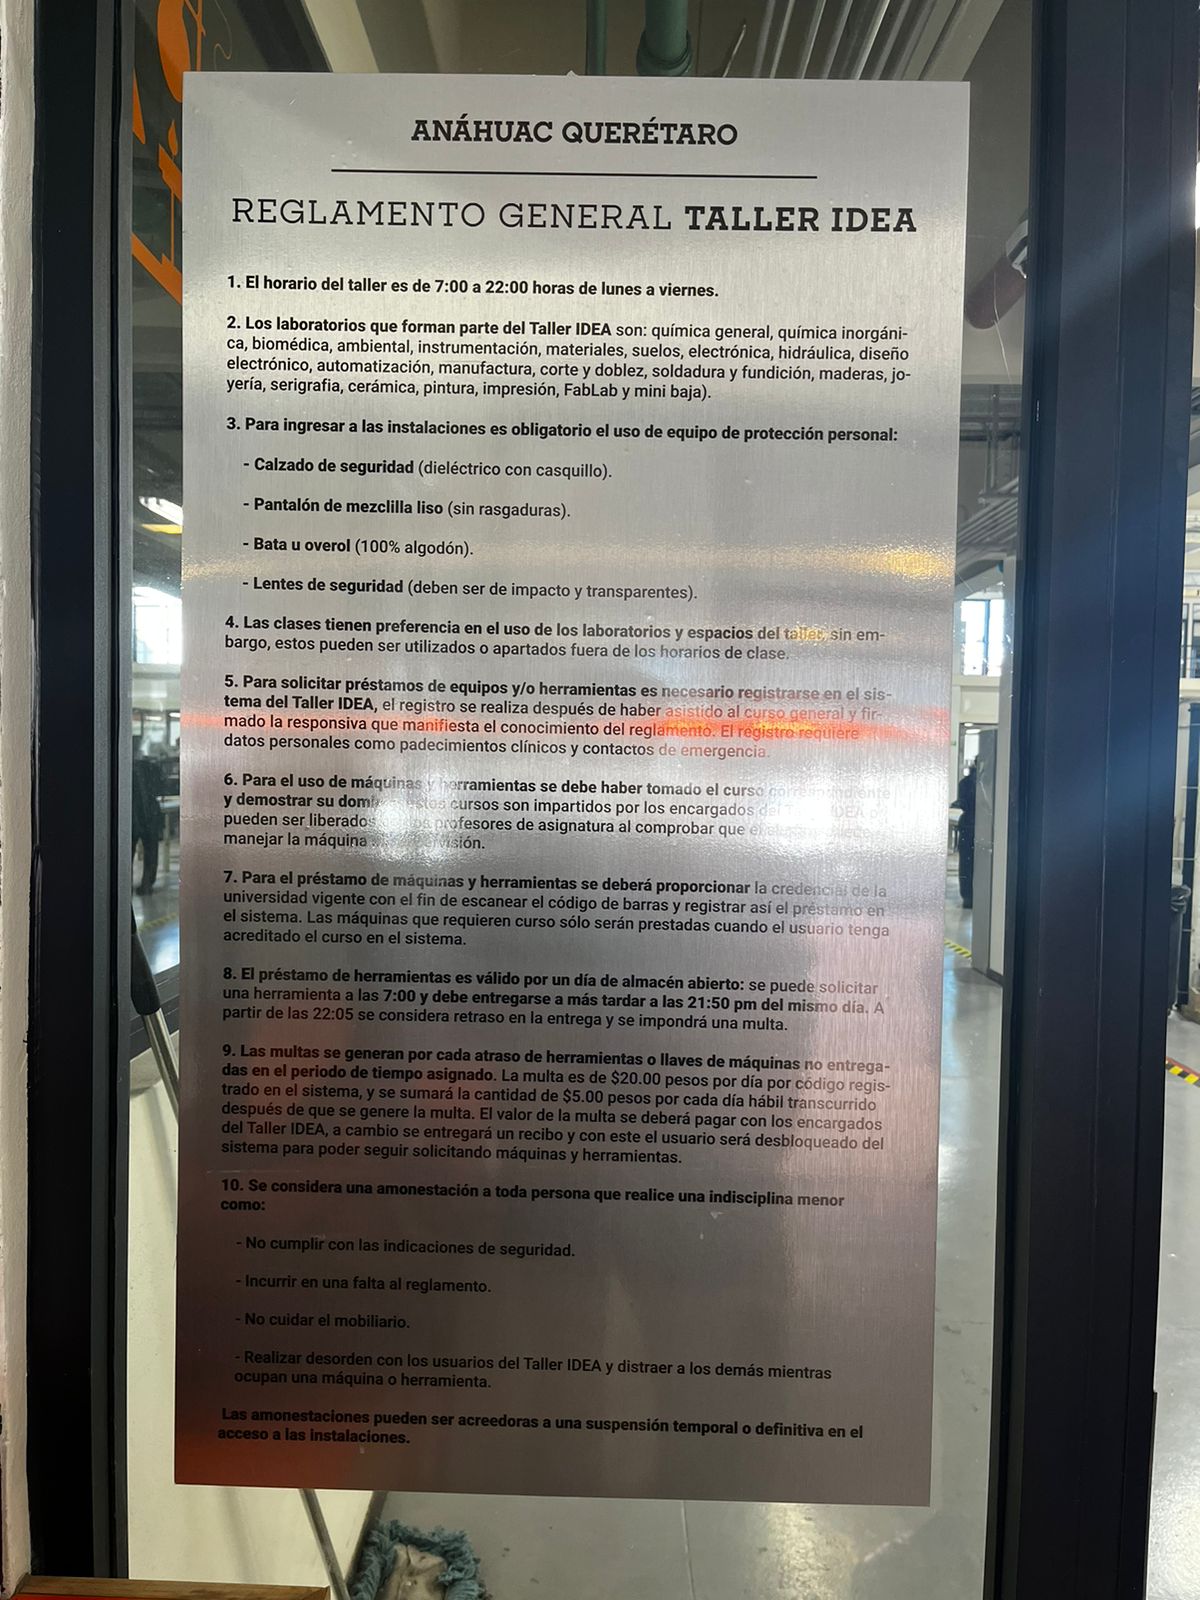
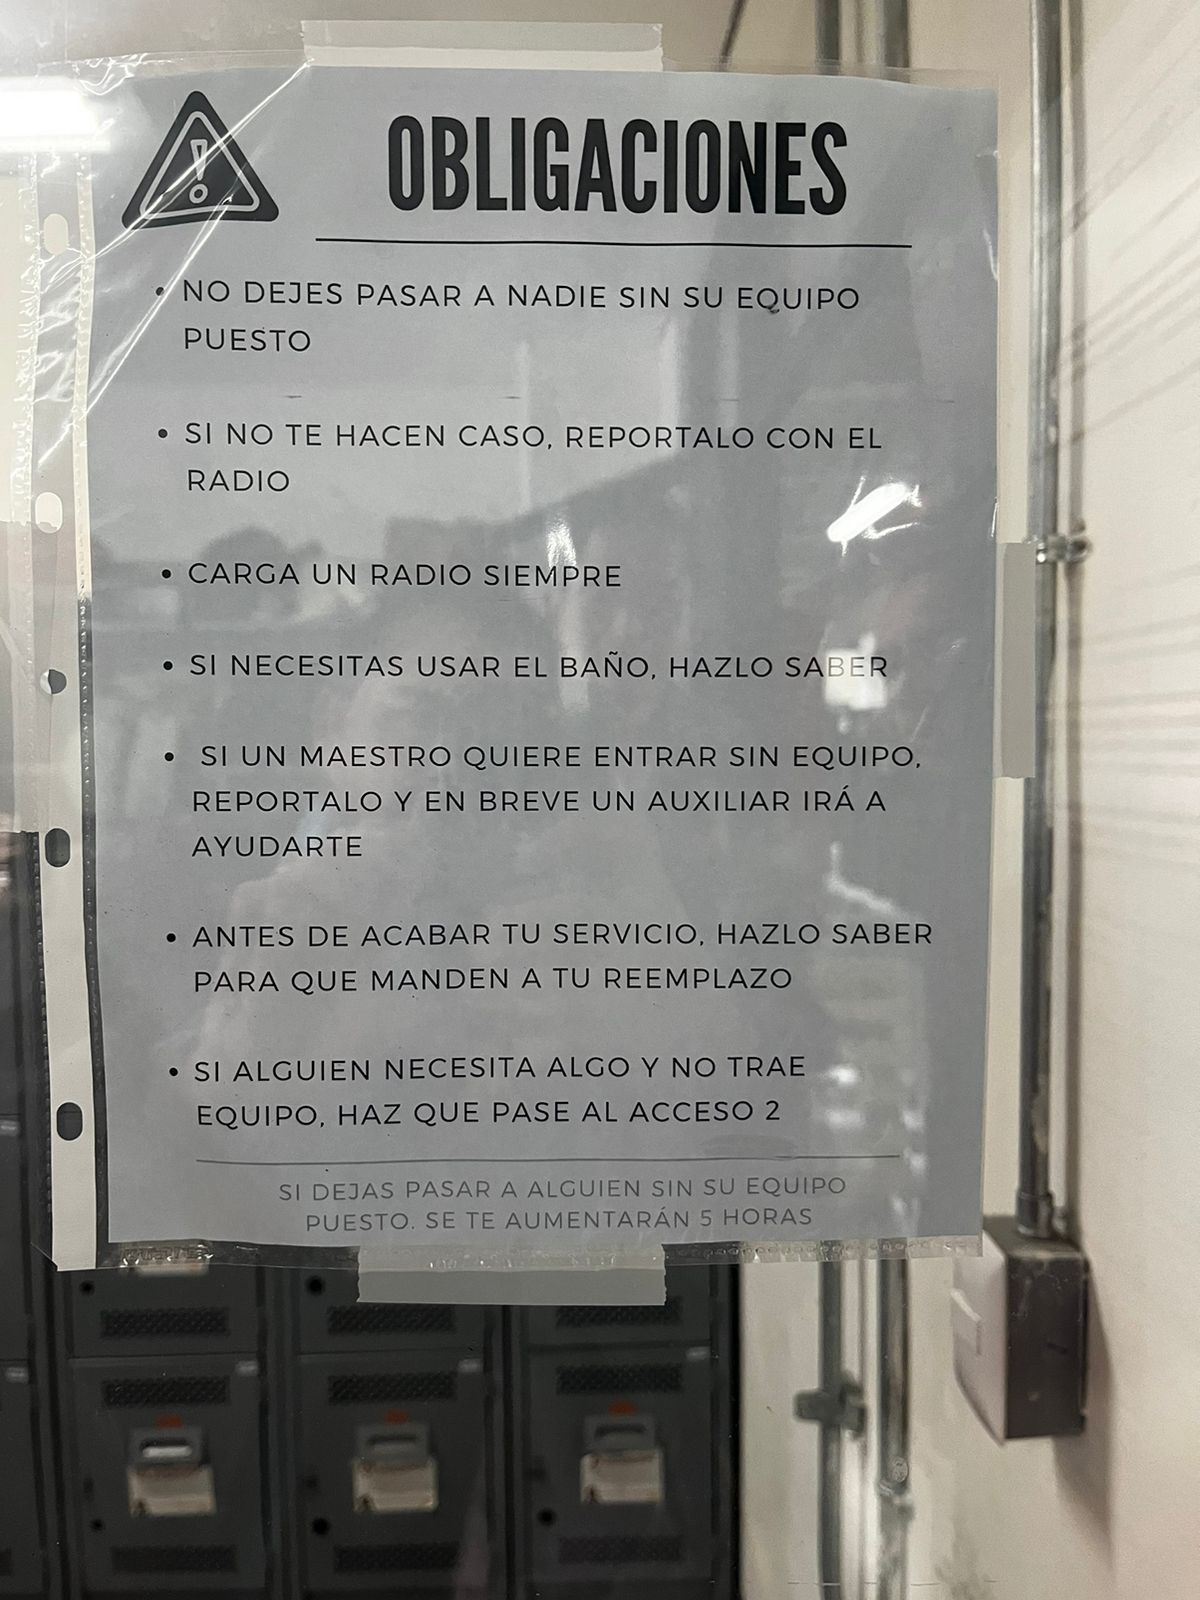
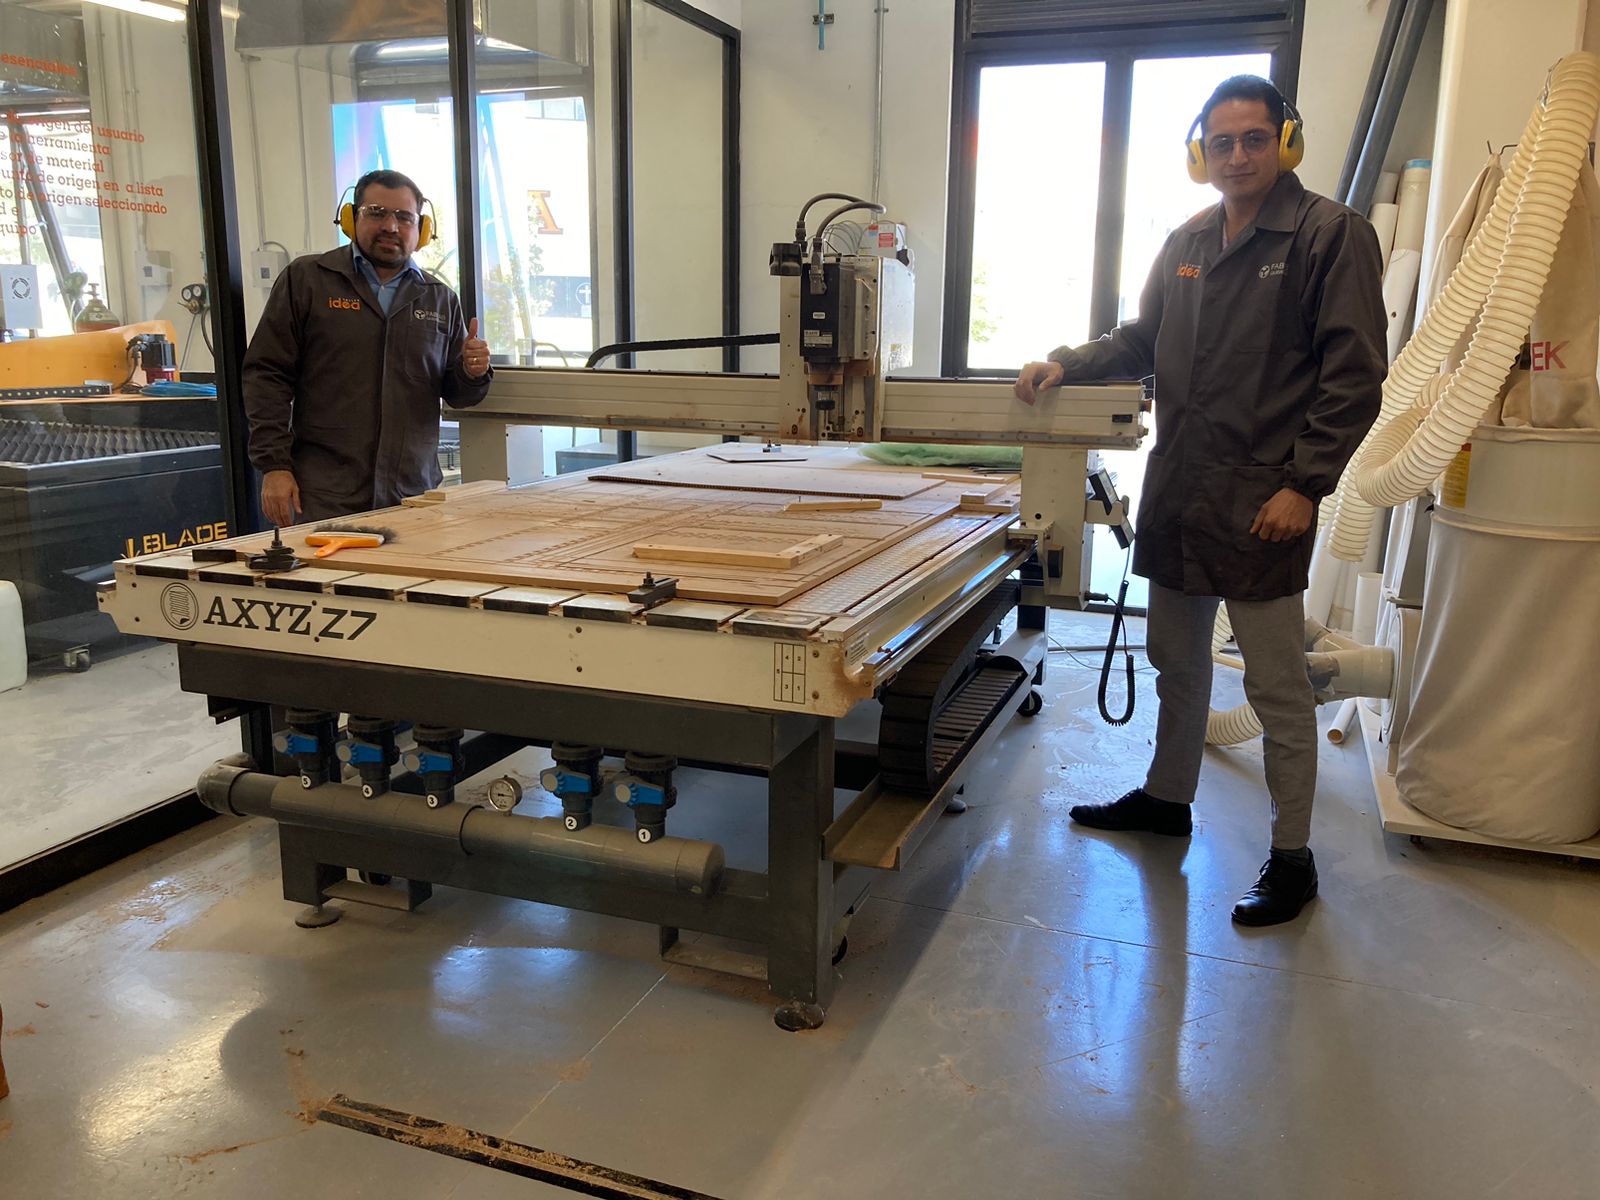
This week, we had a group training on safety regarding the use of the CNC machine AXYZ Z7. It is important to always keep in mind that safety begins with me, and there are certain rules and protocols that are there to be followed, as they aim to keep everybody safe.The first thing we did was to know the CNC model of the machine and review the basic rules within the instalation:

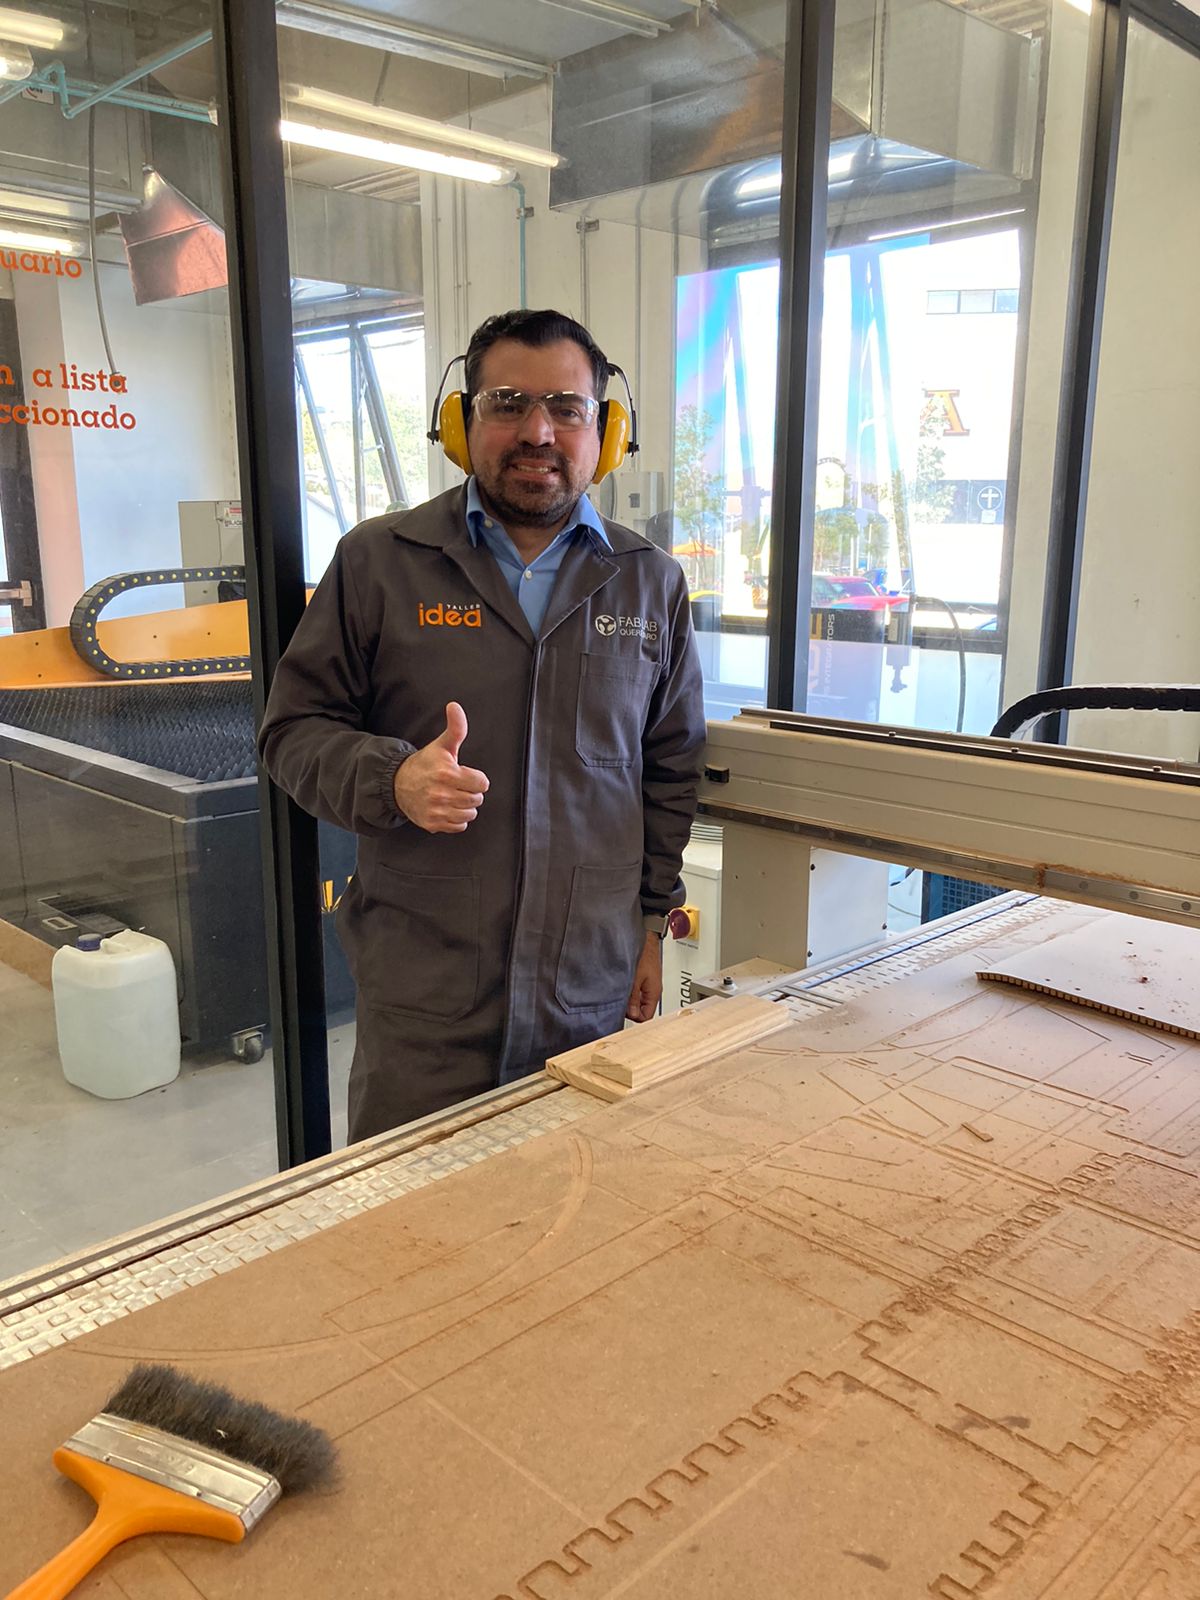
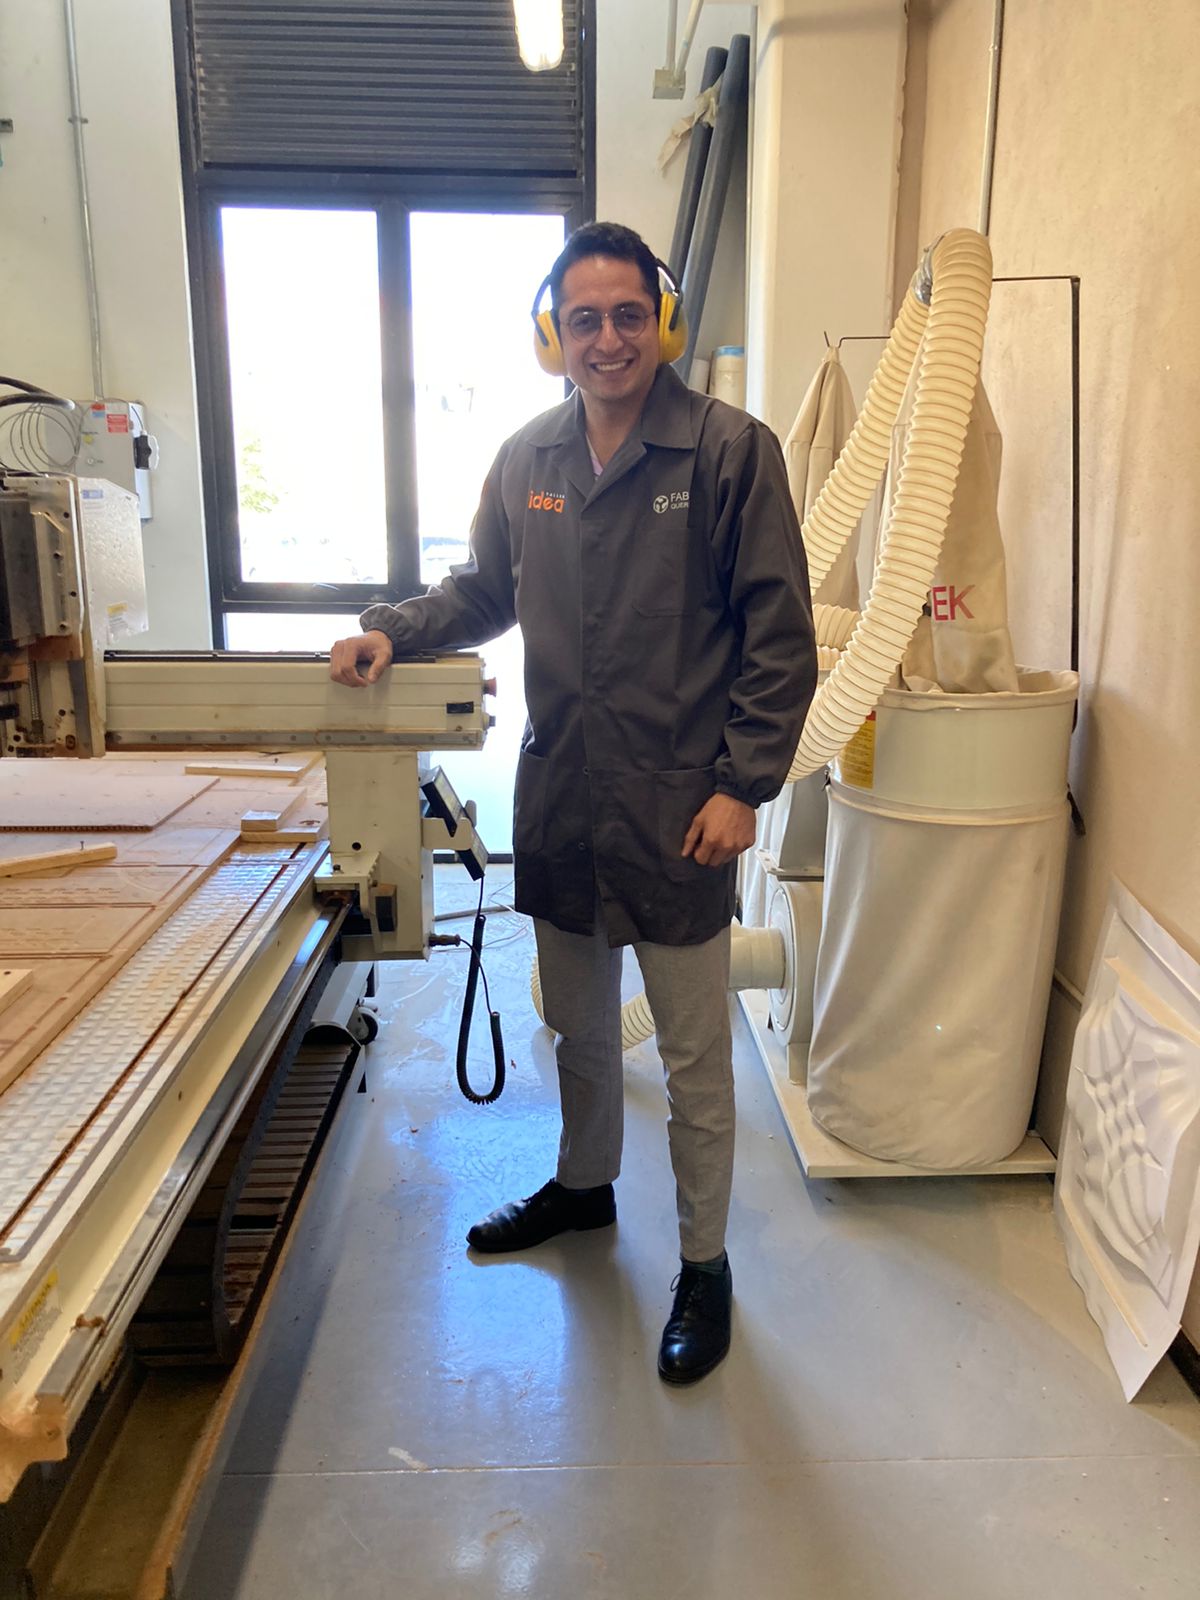
Next, we made sure to wear the security gadgets properly, including glasses and robe. This time, I only satisfied the recquirement of the shoes by wearing closed ones:
Then, I was in charge of the basic testing for the machine, including deviation, alignment, clamping, speeds, feeds, materials and toolpaths. The file we used is available at the Queretaro FabLab website. Scroll down until you find "Group CAM template", clic there and you may download the file. Also, I had to download and import the Queretaro libraries from the disposable link right below the template. You may find the files here:
Also, this tutorial that our mentor Luis recorded was very useful to follow the step-bystep process for our testing.
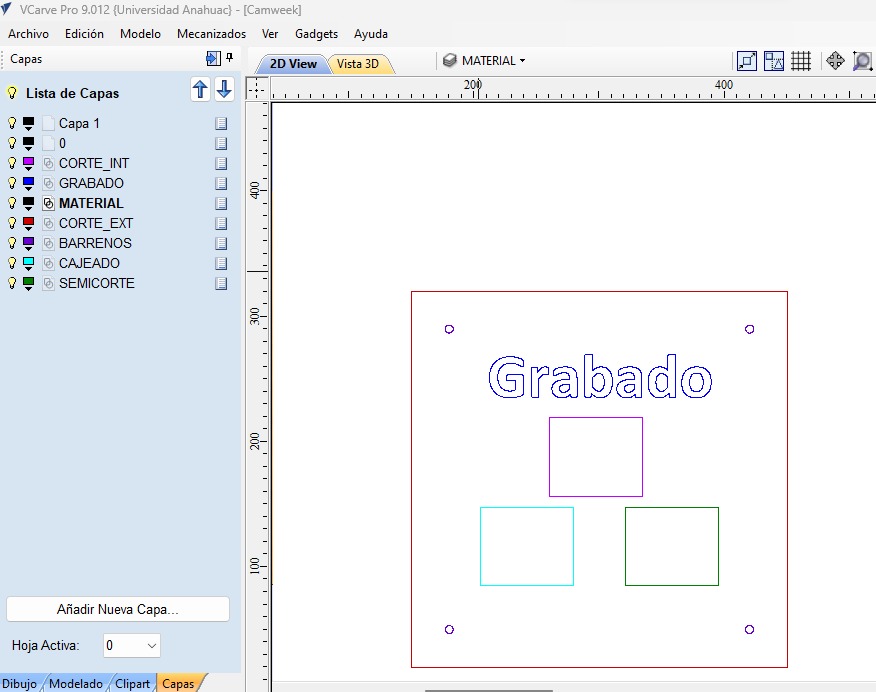
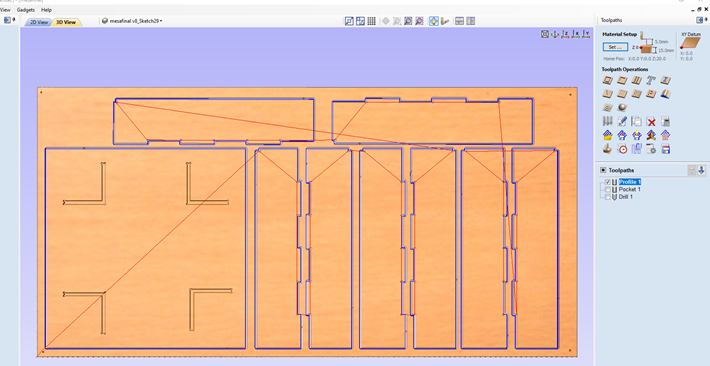
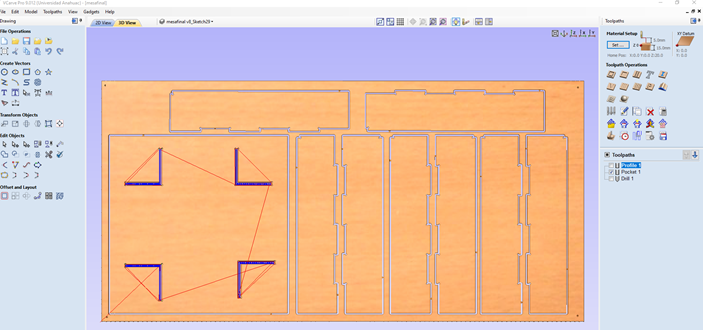
Next, you may see what I did, I validated each part of the process to be done exactly as in the tutorial. I really focused on selecting the correct layers and double-checking that the tools were the correct ones. Also, it is important (and very practical) to merge toolpaths that use the same tool. You may watch and pause the following video:
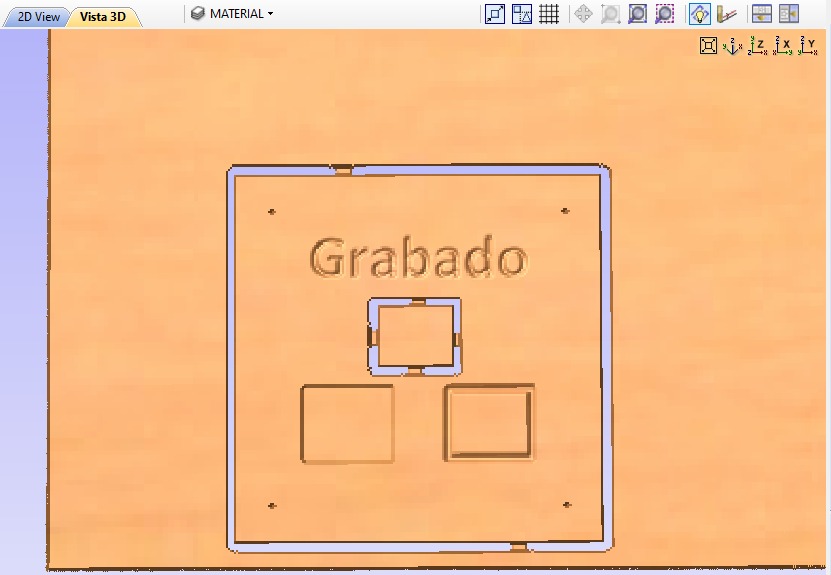
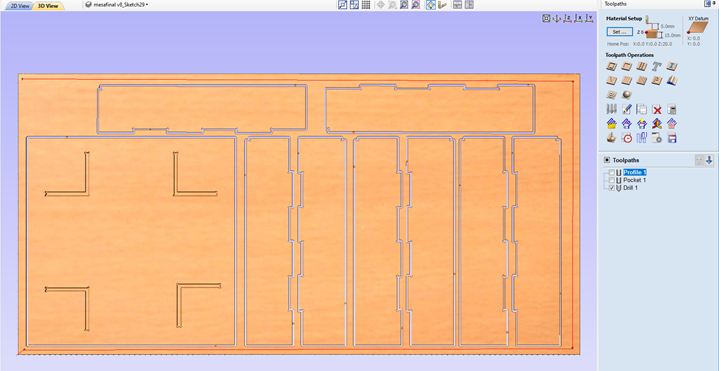
Here, I share an image of the final layers in 2D and 3D views:
The downloadble final file in VCarve format is here, and the toolpaths are here:
Note:This week coincided with the midterm exams for our university. With midterm exams, some midterm advancements of projects are delivered. The CNC has been really busy, and it works via an appointments system. The appointment is on Wednesday 2:00pm, after this week´s class. The evidence will be uploaded as soon as the task is done by the AXYZ.
Individual Assignment
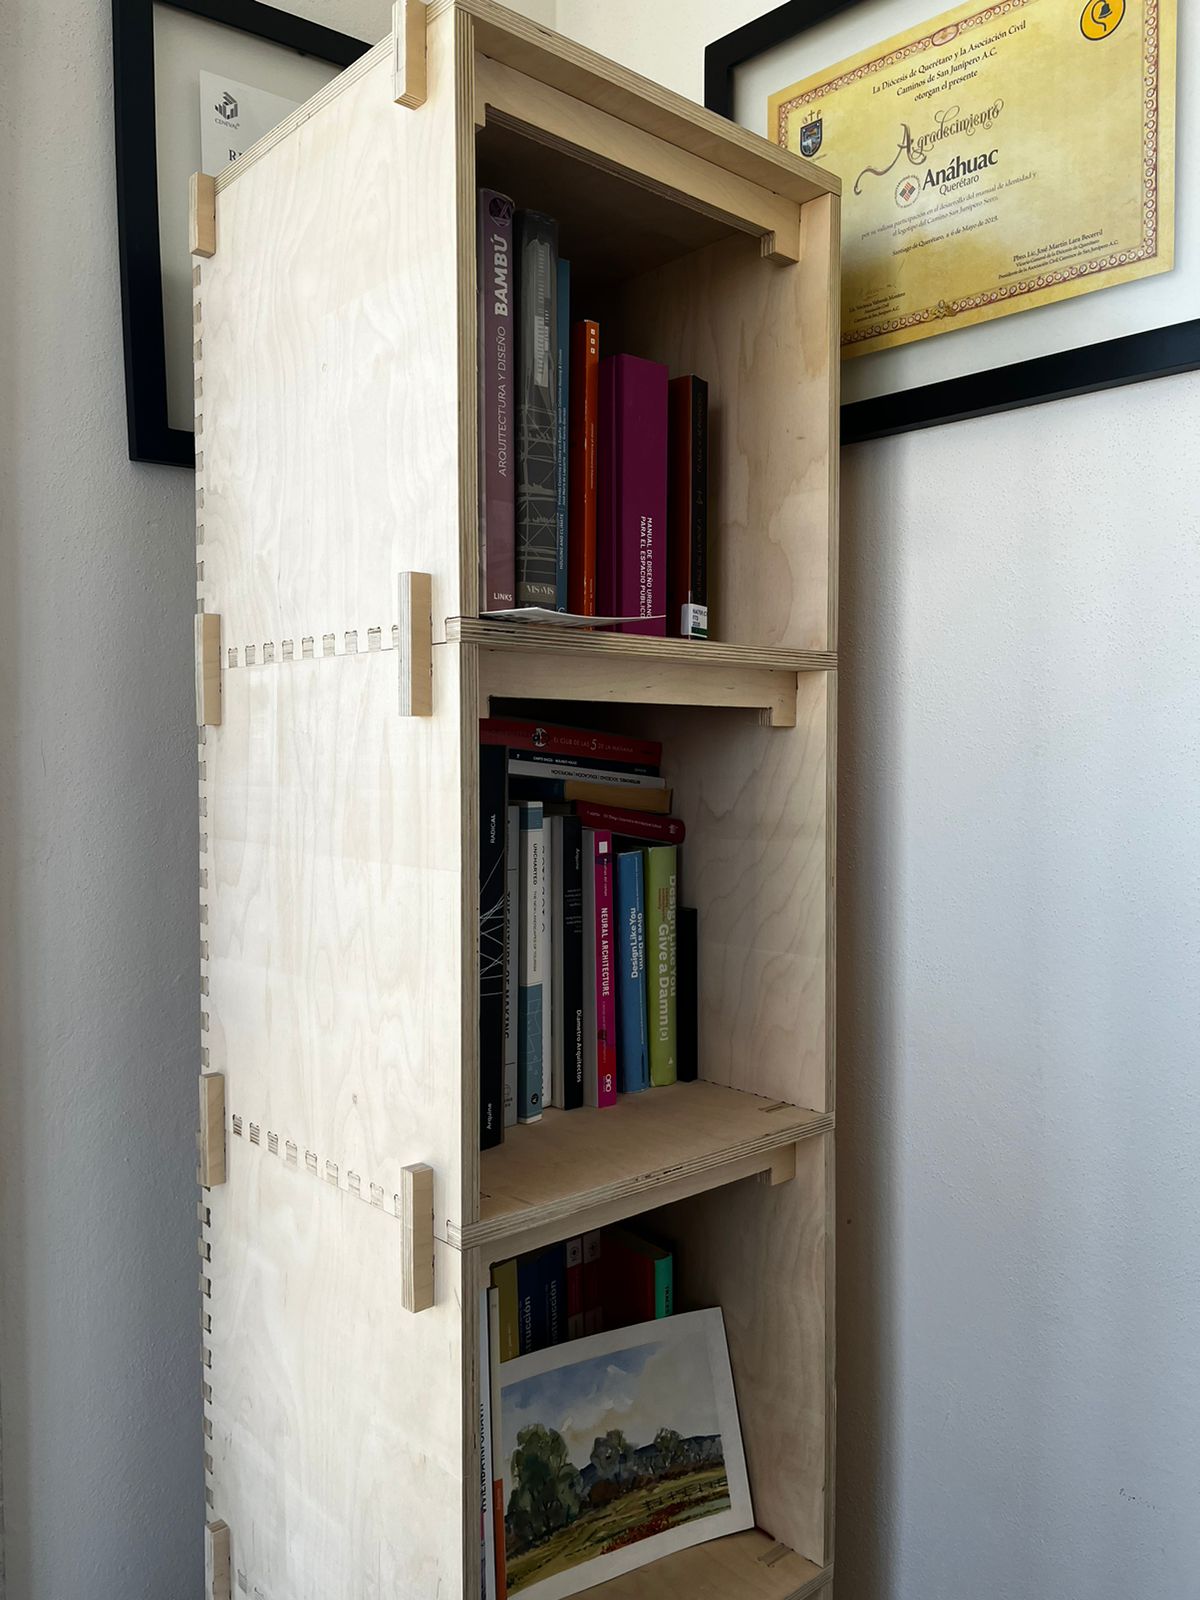
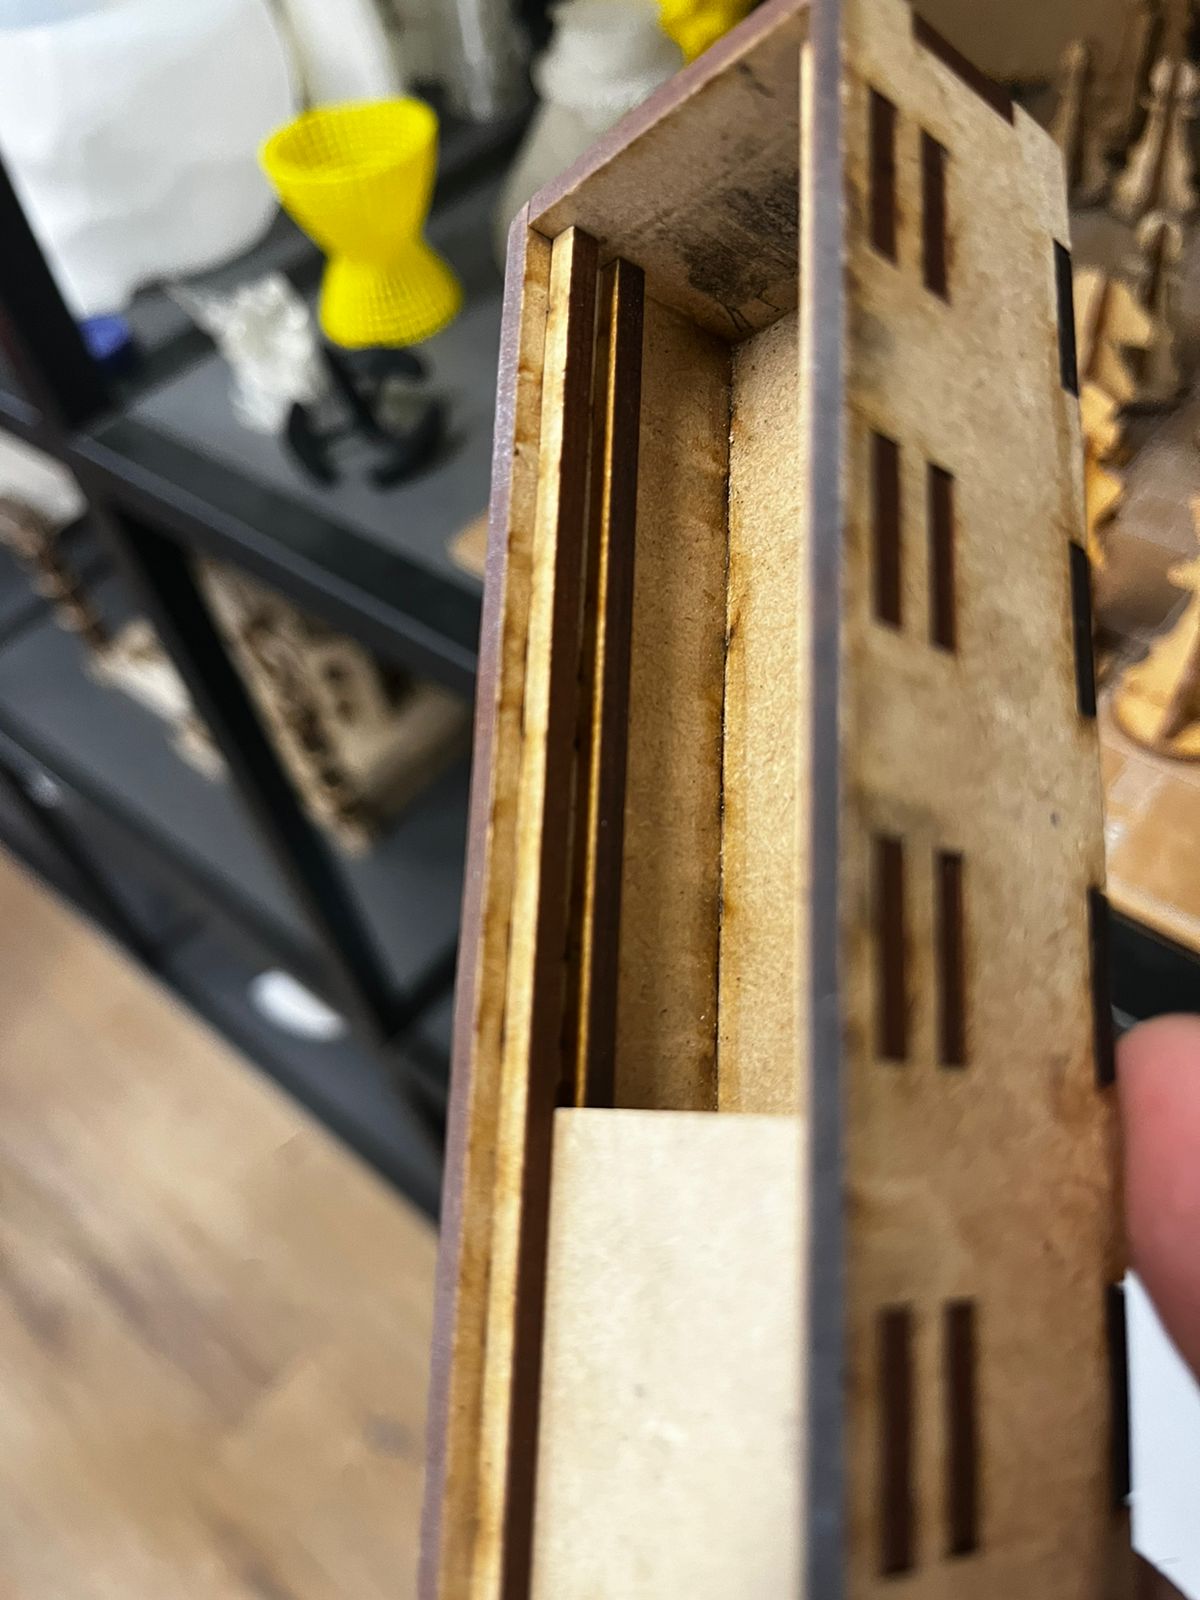
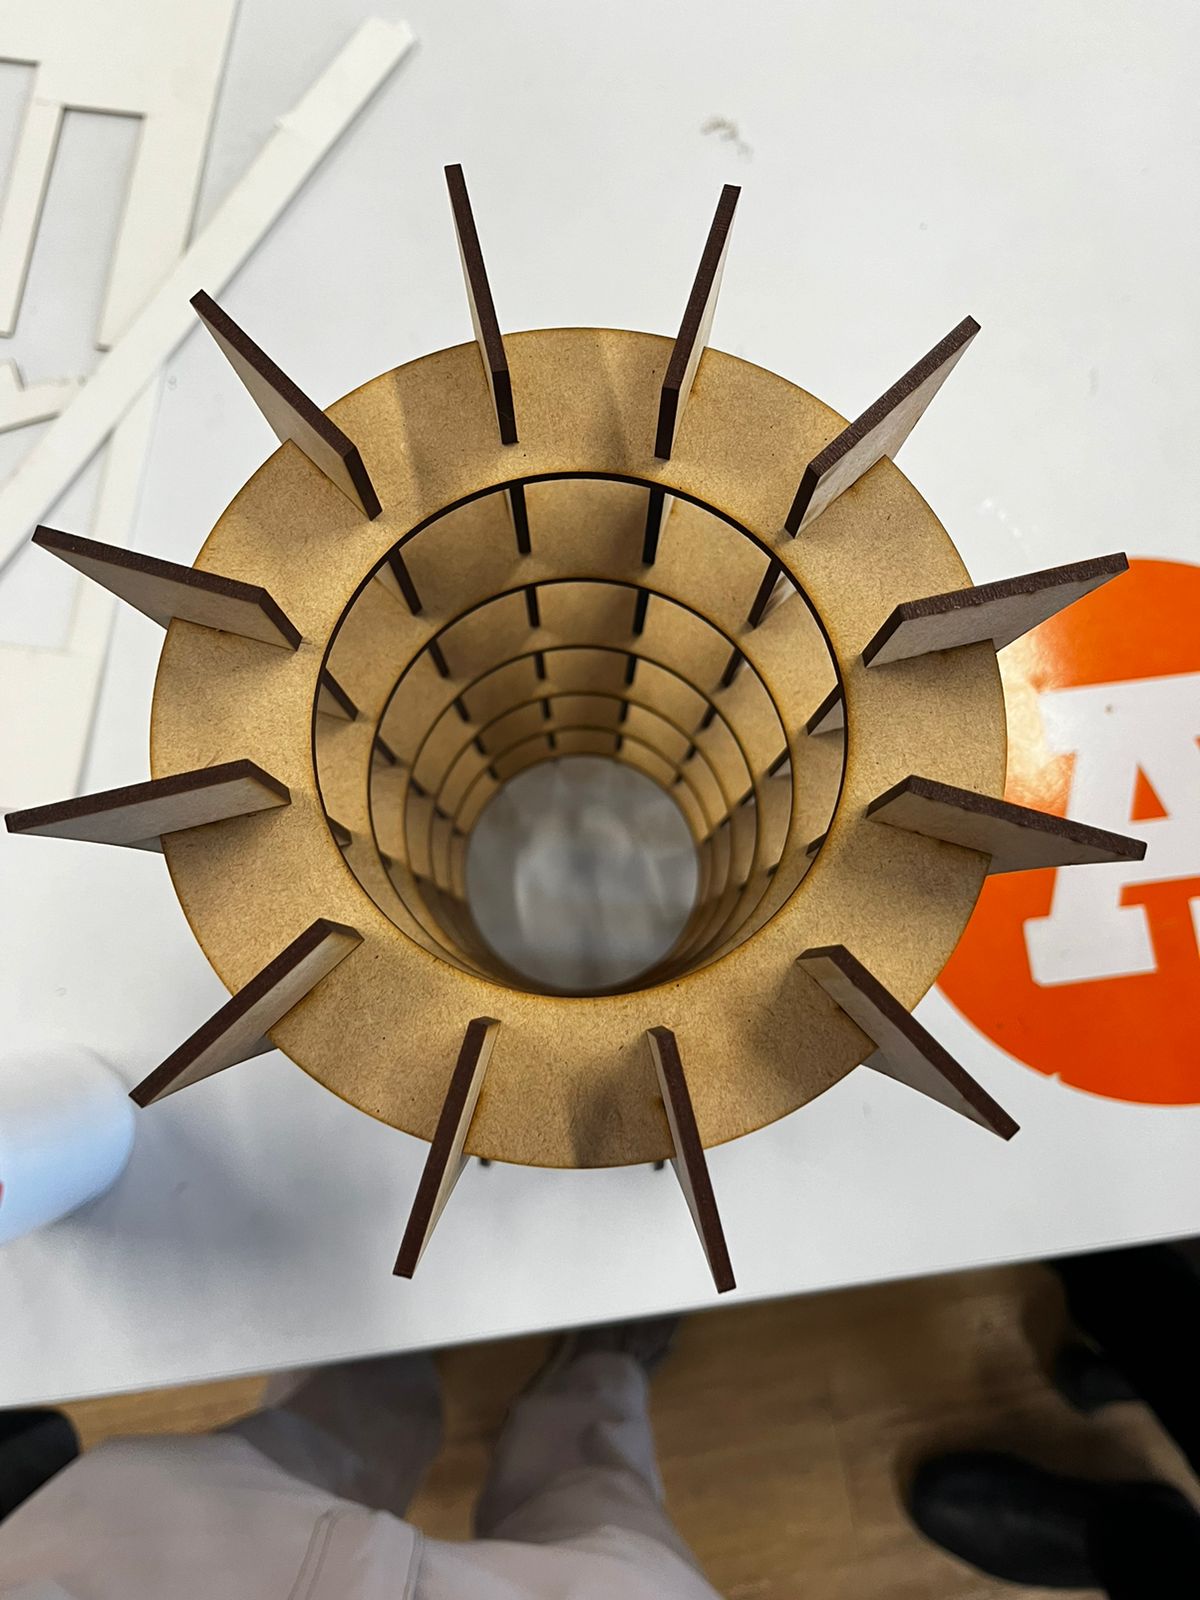
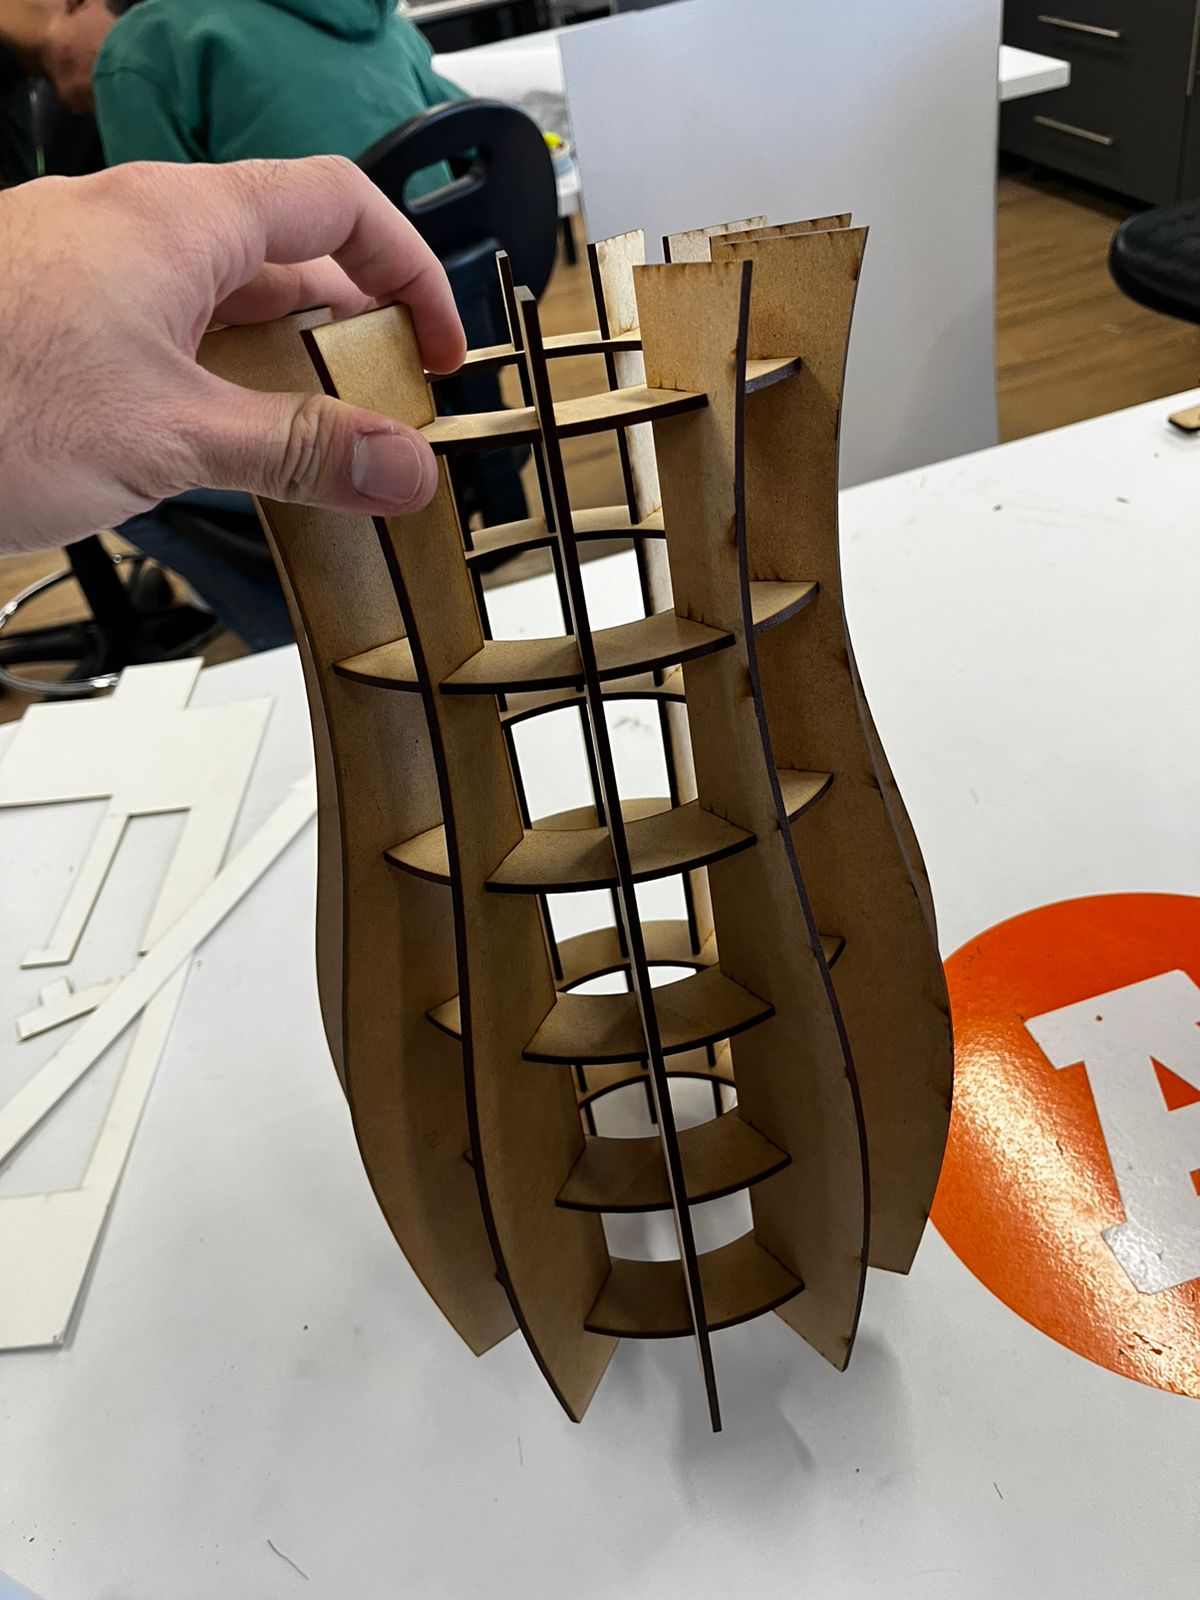
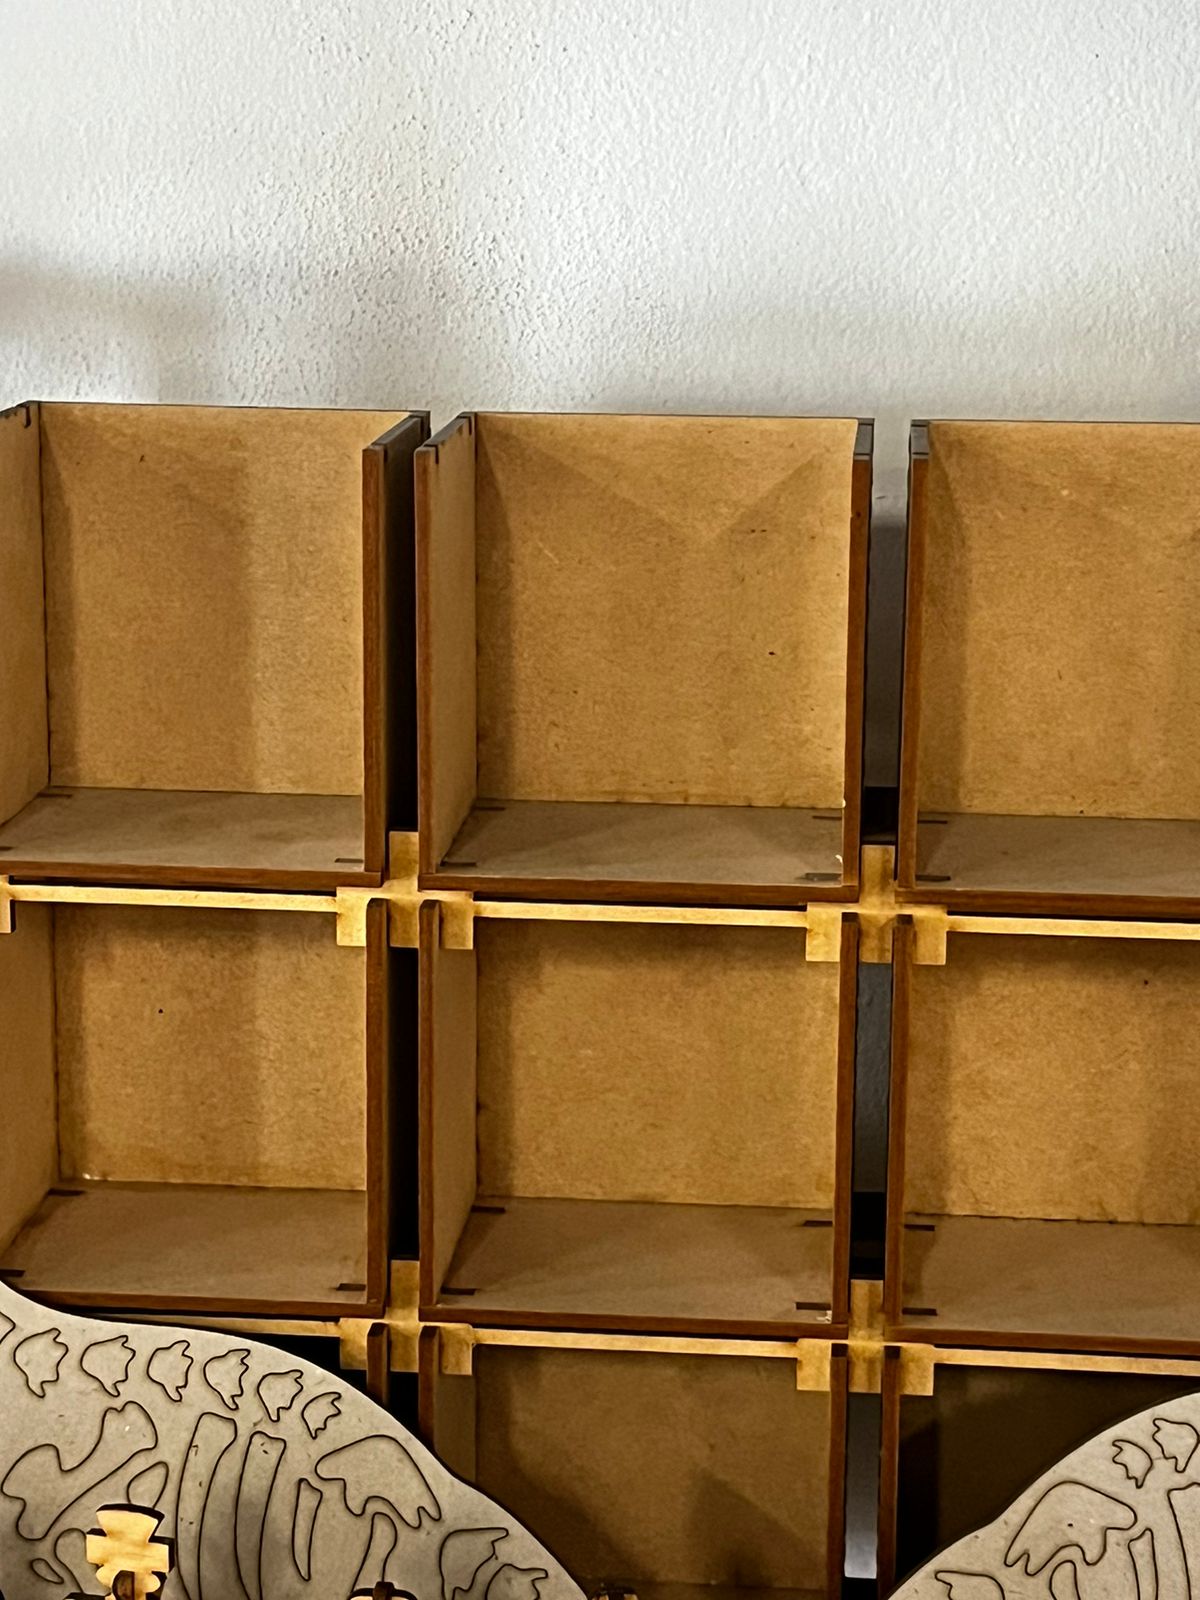
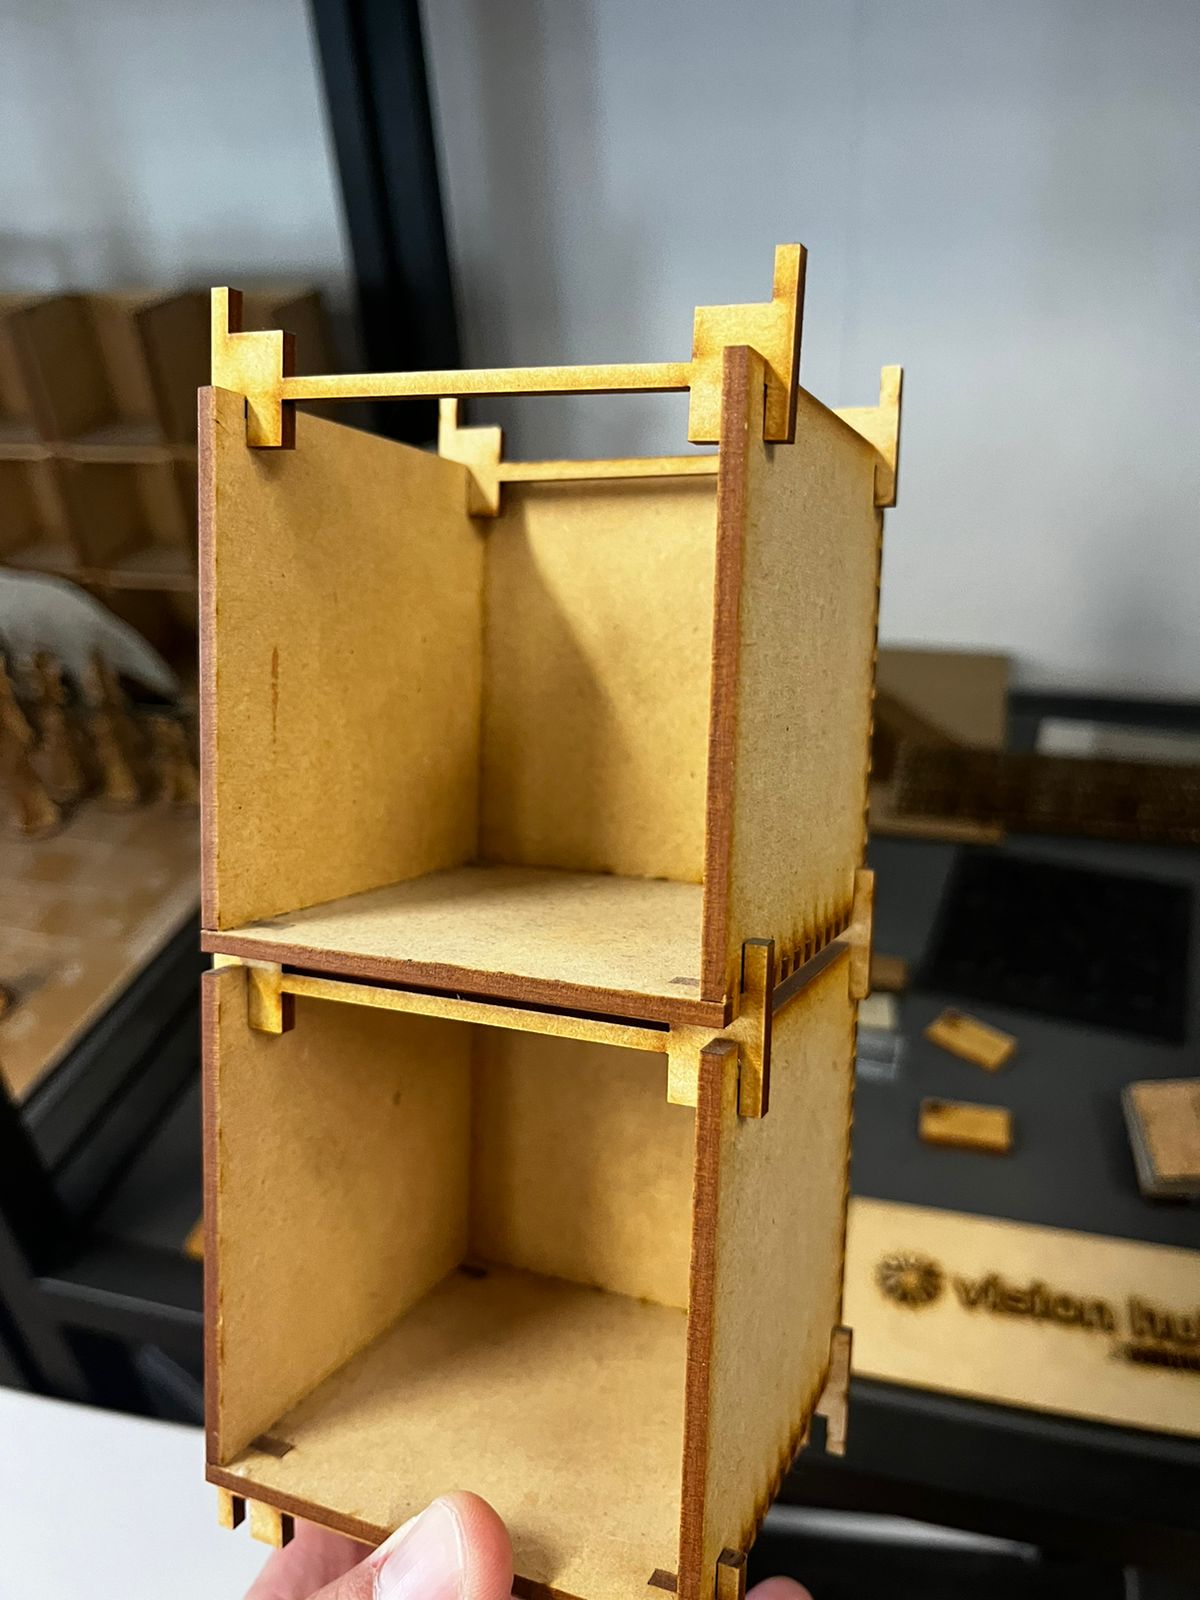
As I´ve stated before, I don´t have a design nor an engineerial background. This week I had to create something big. So the first thing I did was to text my beautiful wife and ask her to think if we needed a piece of furniture for our house. She came up with many ideas, such as lattices for the living room, barre bars, or a coat hanger. After a while ( a day), I gave a shot to the last one. After a couple of hours I realized that I am not a designer and a beautiful hanger was out of my reach within the available time. I looked for some more inspiration on Pinterst and on the sacle models that are in FabLabQueretaro. Here, I share some pictures of that:
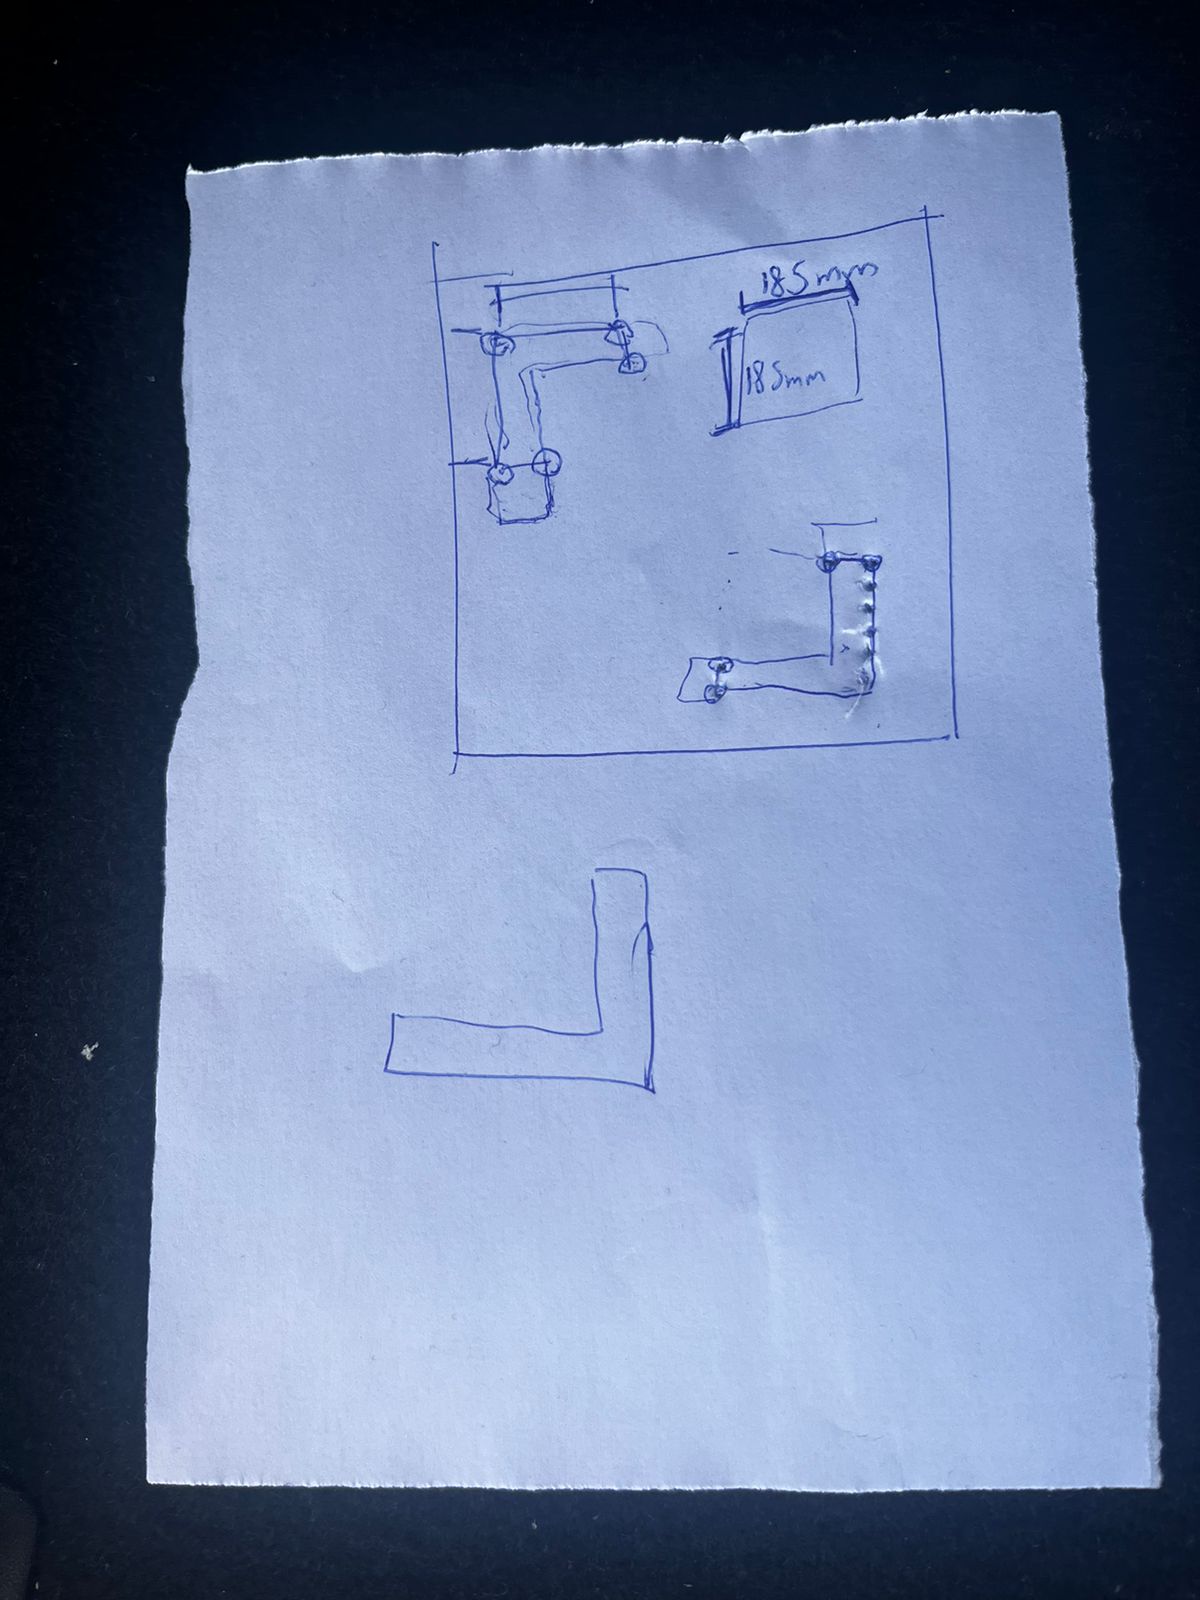
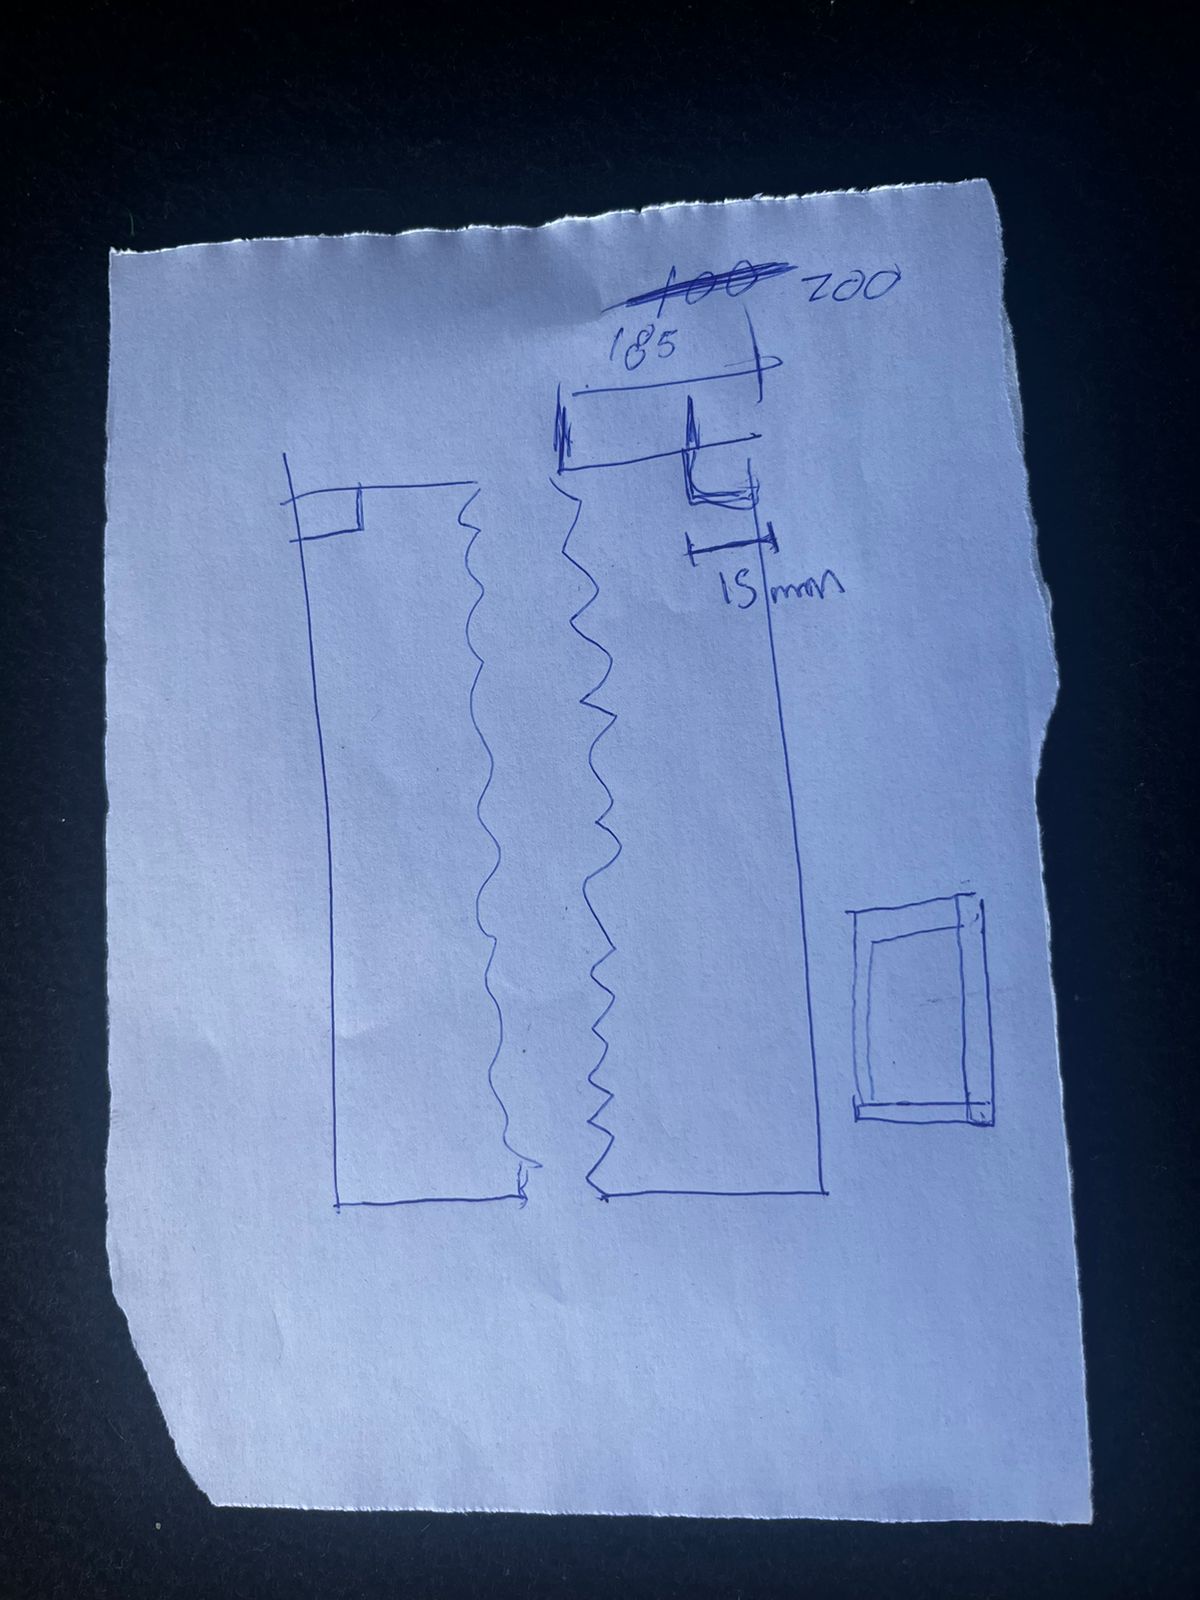
Looking the final versions is easy and inspiring. The challenge was once I stood in front of an empty file. I tried for another couple of days designing a bookshelf, but I got frustrated when my wife listened to my "great idea" of something that doesn´t fit in our house. Finally, I decided that I could build a desk. [Perfect for our homeoffice times!]. Next, I share some of the verions I designed, again in Fusion:
Version 1, after many reviews:
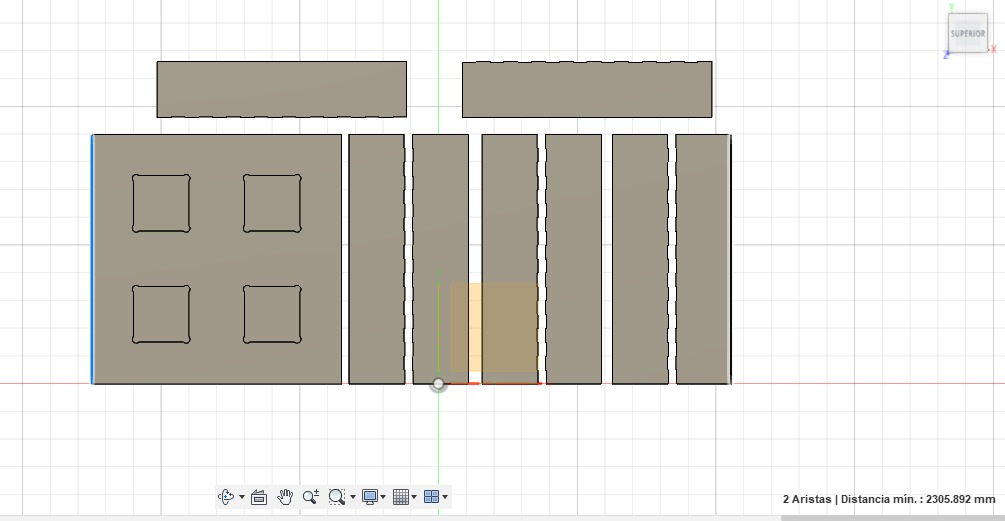
Next, I calculated that the original couldn´t be done with the disposable material (1200mmX2400mm):

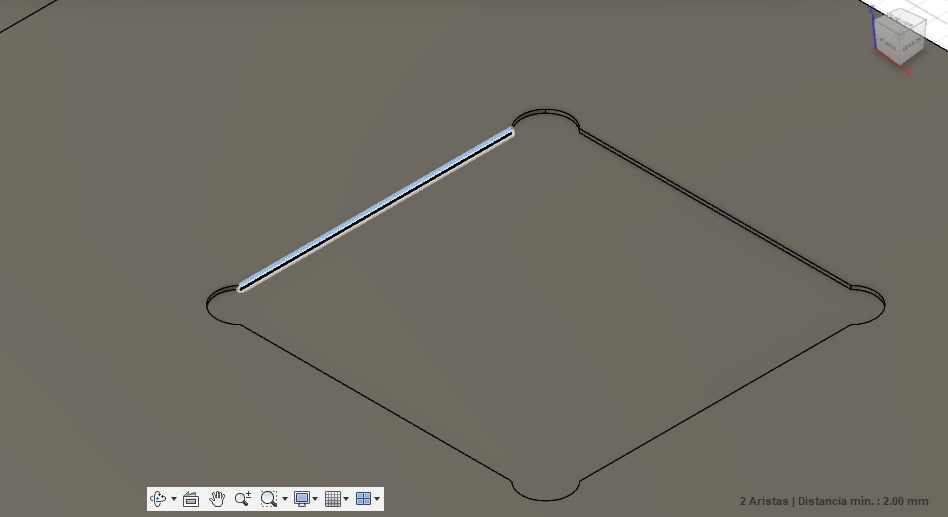
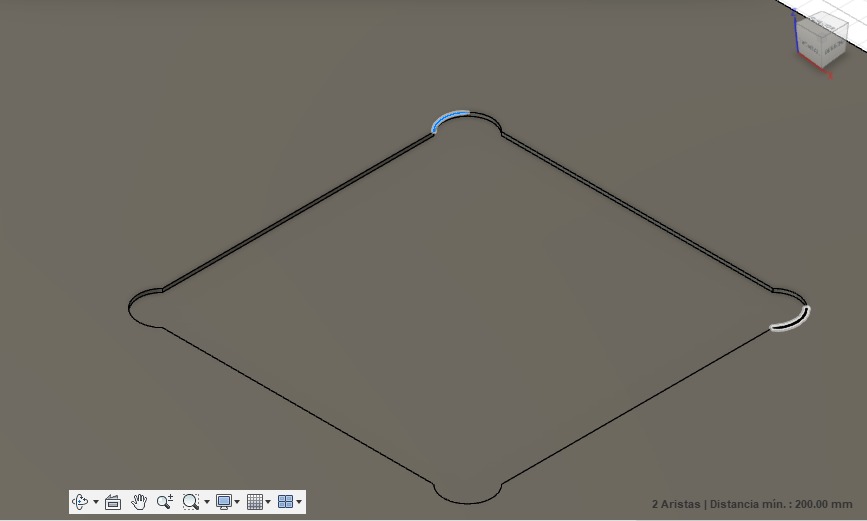
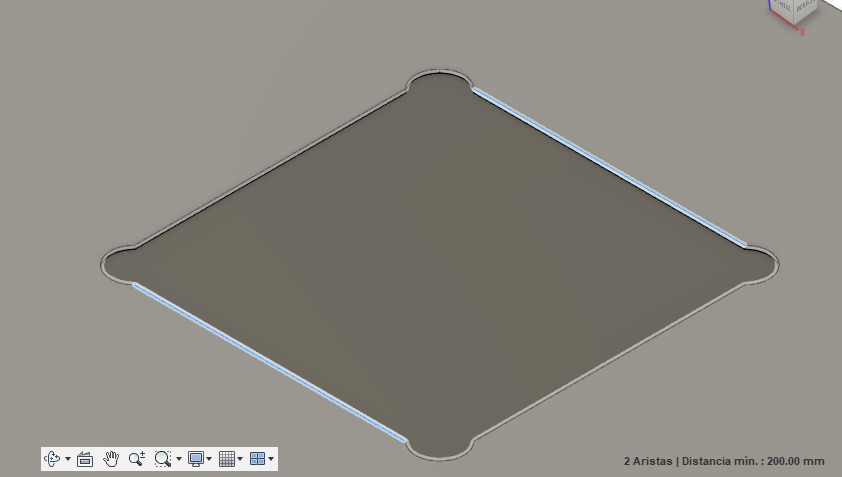
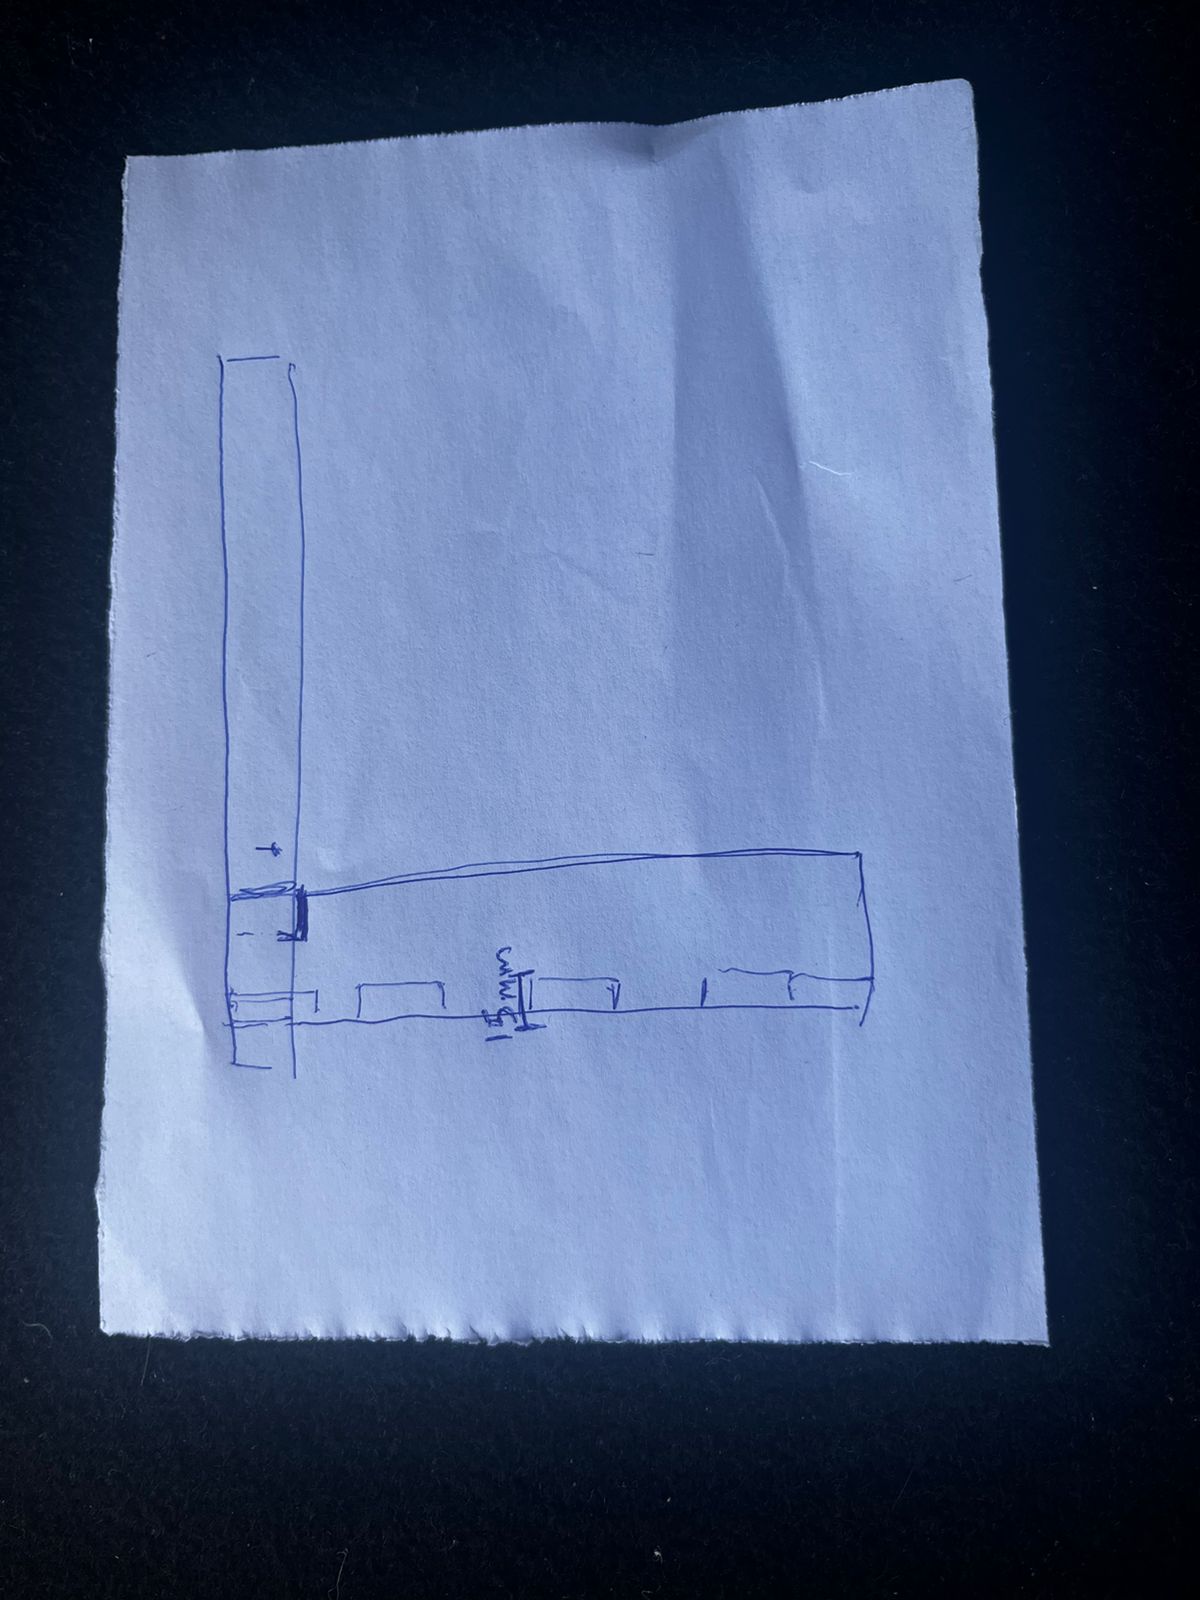
So I came up with new designs, making sure that the distances were the ones I stated "parametrically":

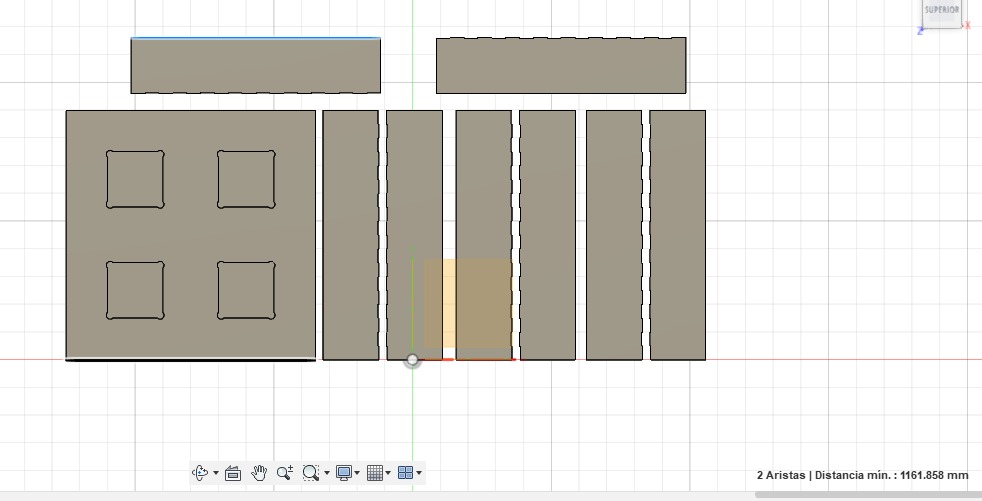
I even double-checked the "dogbones" (desirably included so that the drill doesn´t shape the angles curvely):
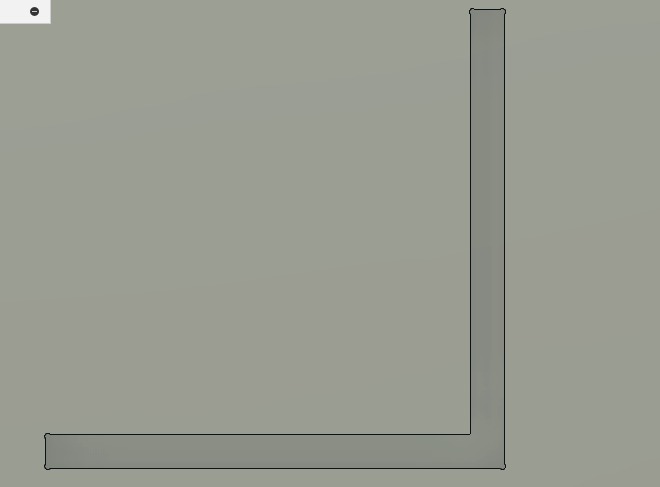
Then, when I went for a review with Luis, he gave me a voilá moment. My design would´nt work in terms of durability, so he suggested me to include "shoulders" or reinforcements so that in case of hits or pressuring forces, the desk absorbed them in a bigger surface and distribute the impact on a wider area. So, I had to make some more adjustments. Fortunately, the "parametric" design helped me to reduce the time of the adjustments from 3 original hours to about 20 minutes (I had to "rebuild" the upper lateral):
After that, I came up with the final design:
Here are some more detailed pictures, following the step-by-step process:
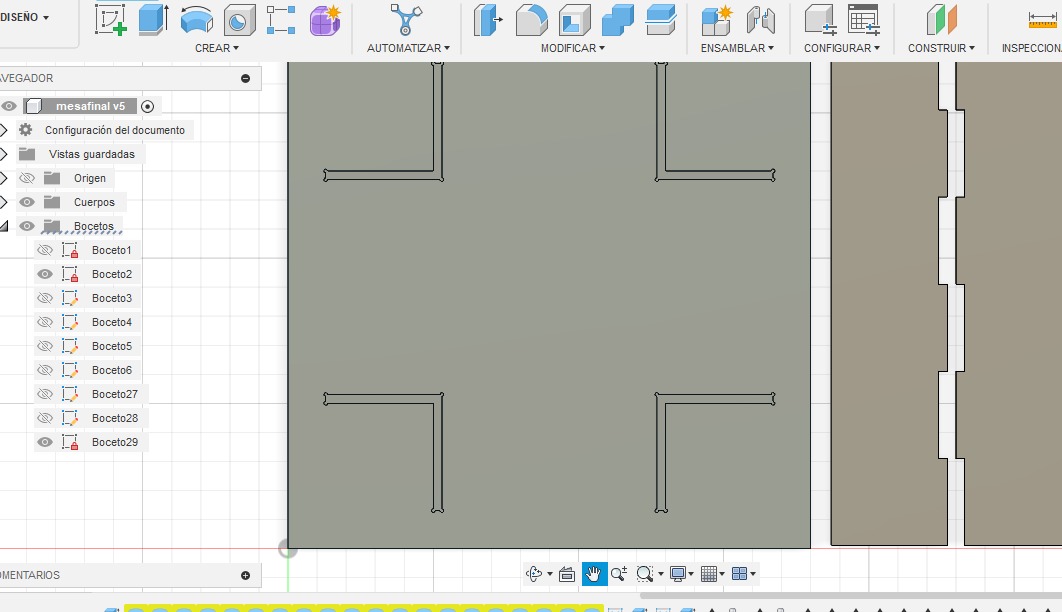
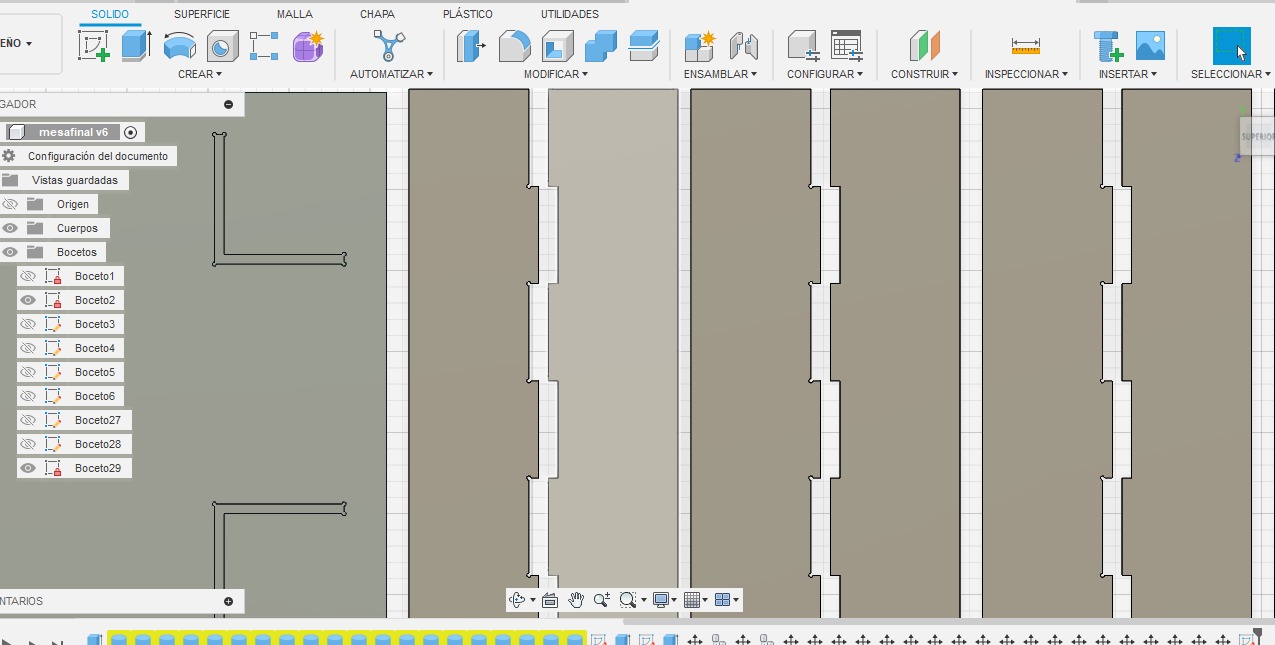
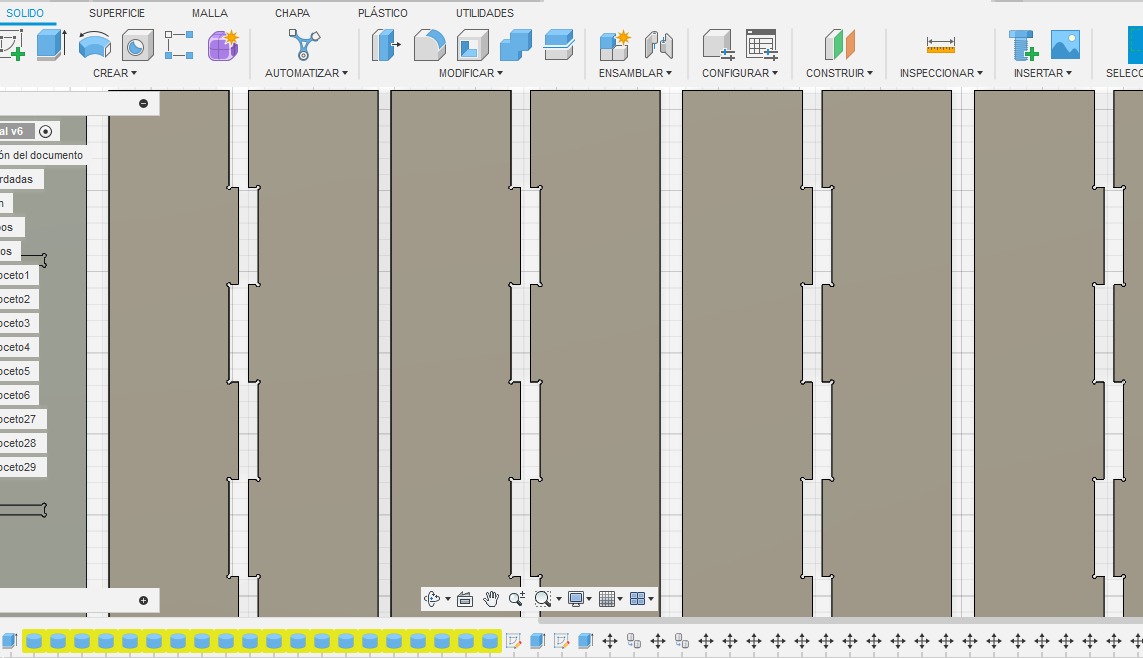
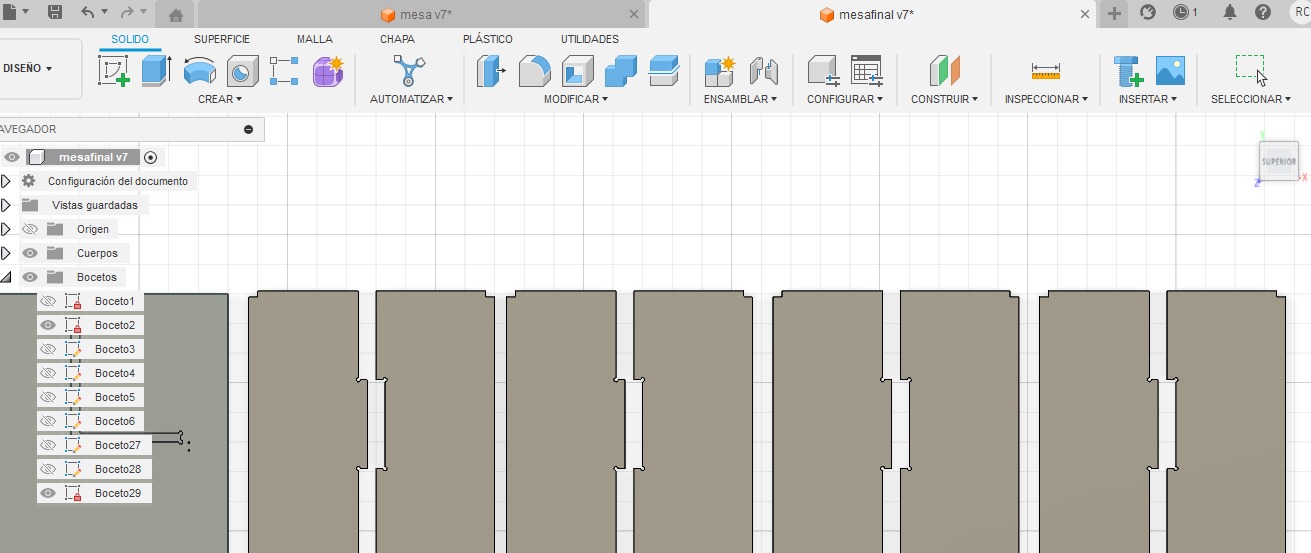
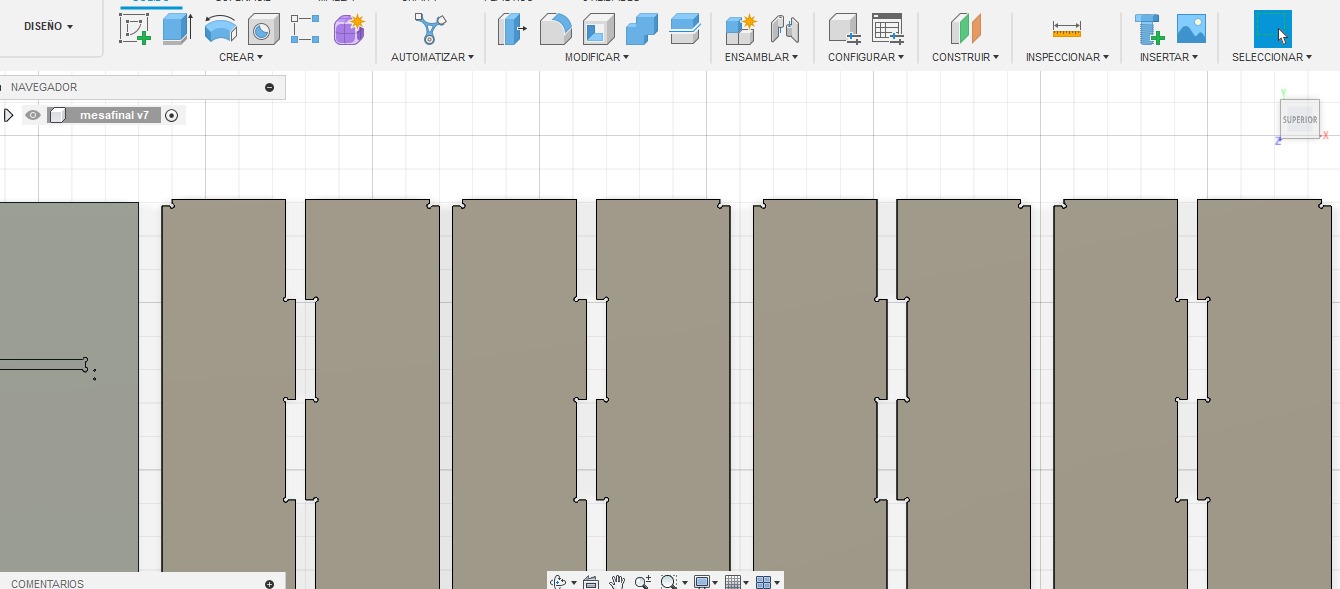
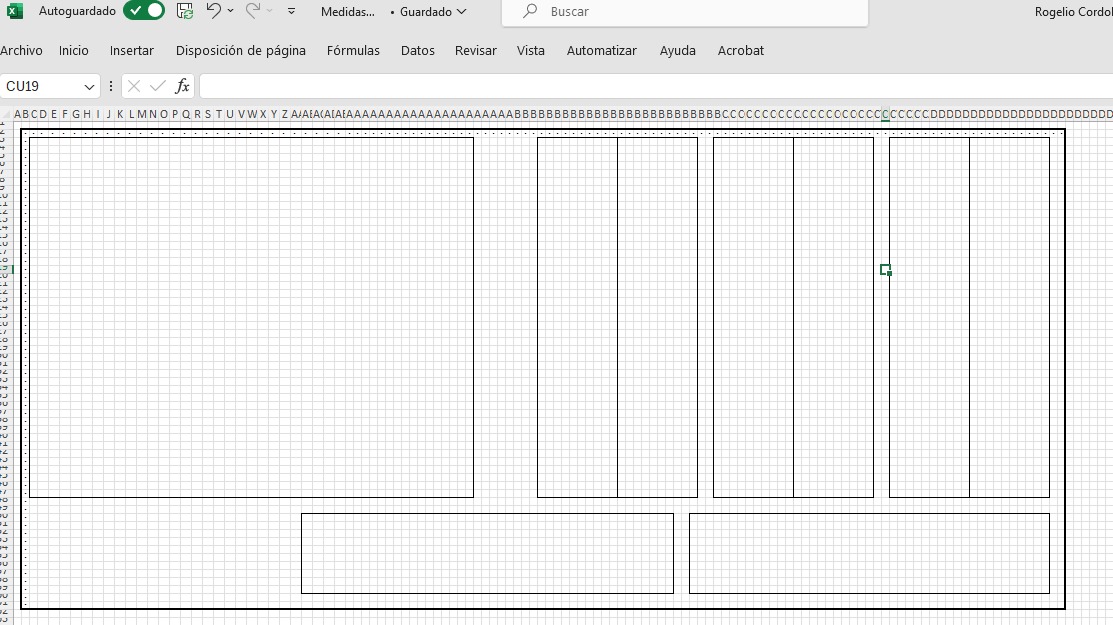
Then, it was just a matter of exporting it in dxf format and import it in VCarve. Here are the final results, after formatting the file in this program:

Here, you may find the downloadable files of the different versions of my desk:
Final Comments
Pending to get the final product, due to the situation mentioned in the group assignment section, I can say that:
1. The Learning in Spiral Scheme is real. Thanks to this week´s assignment, I developed more complex design skills in Fusion, reviewed the functions and testings using VCarve, and formally reviewed the basice safety rules.
2. Parametric Design is Gold. I was able to do many different versions of my designs because I got used to parametrize while drawing. What delayed me the most was that I first drew the rectangles, then extruded them, then cut them with negatively extruded cilinders. After many empirical redoing, I realized that I could cut from the beginning: the sketch. What was magical was that my final design was a lot simpler, even less heavy than the previous versions, and that only by changing the correct sketch, the entire bodies actualized.
3. Manage better my times. I need to get better at anticipating times, I really am uncomfortable by knowing an assignment is not fulfilled by the due date, no matter the circumstances.