Computer Aided Design
Week 02
This week´s assignment had to do with getting familiar with 3 different programs to design. In my case, the task had a double challenge, as I had no engineering nor design backgrounds.
Fusion360
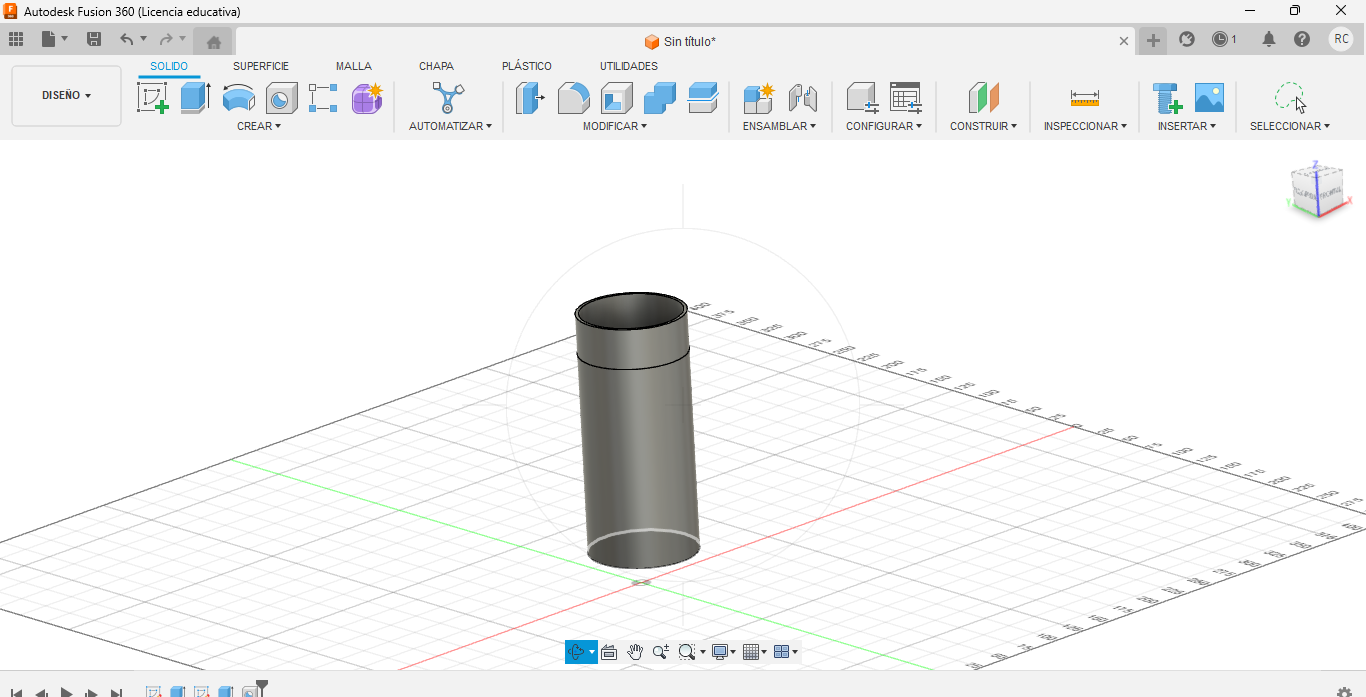
The first thing I did, was to ask for help with my faculty. They suggested me to start with Fusion360. It was kind of easy to draw a circle and to extrude it to create a cilinder, the form of my automatic thermo. BTW, "extrude" is a verb I had no idea that existed.
Then, I learned how to create the hole, by using the specific button to do so.
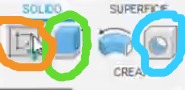
It was really easy and useful to find the three main commands together. Next, you may see in orange the button to start drawing a form; in green the "extrude" function; and in blue the "hole" function:
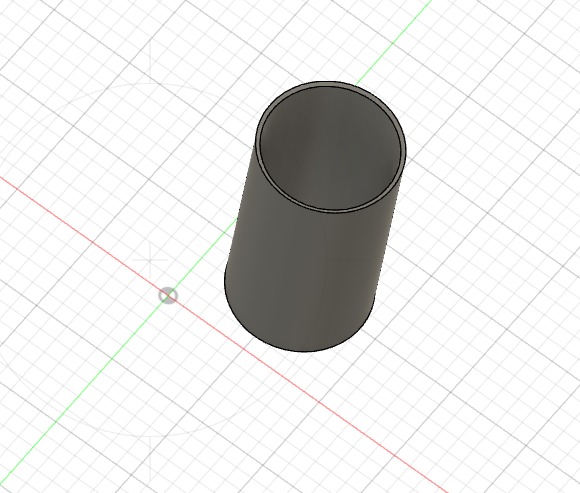
Here, I share my first canvases:
The next challenge was how to edit and upload the videos in the minimum possible size. I documented my progress, took lots of pictures and some videos, but the size of the files was huge.
Here is some evidence of that, only for Fusion360:

Asking my faculty, TI guys at Universidad Anáhuac and Bard, I came out with a solution: Windows + G, then record the screen. It worked 3 times, until -I think- the security of my work computer thought that I was playing Xbox. I sorted that difficulty learning to use three other programs: OBS to record the screen, Clipchamp to edit; and Handbrake to compress them.
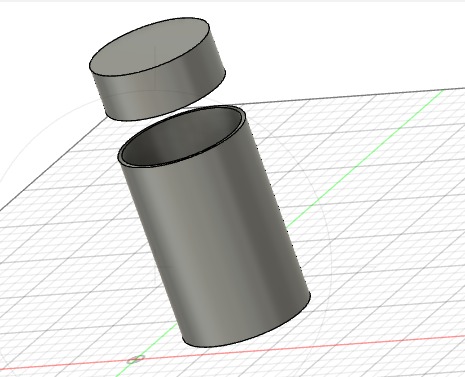
I still missed to document that I was able to allign the thermo and the lid, here is a short video of how I did it, now using a keyboard function of printing screen (function+printscreen), then option video:
You may download the Fusion360 files, here:
Download Fusion360 file for version1 Download Fusion360 file for version2 Download Fusion360 file for version3Tinkercad
My next program was Tinkercad, also available freely and esay to use. I found helpful tutorials in this link on tinkercad tutorials. The functions are pretty much the same, just delivered in different order, and the UX is a bit different. After a couple of trials, I finally came out with a design of the automatic thermo, with the cup and the lid.
Here, you may find some images showing my step-bystep process on how to create the cup in this program:

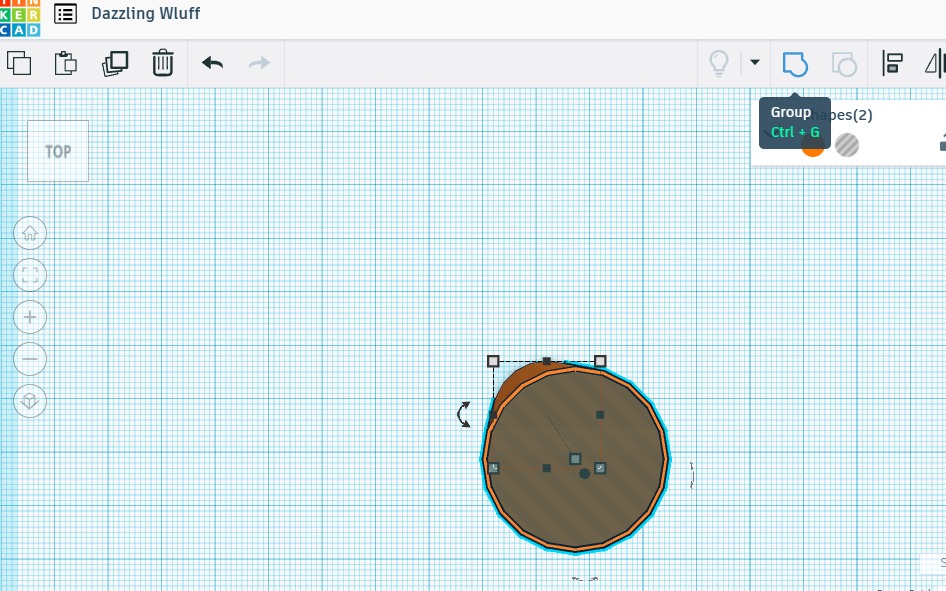

It was easier for me to use it. However, I found it more difficult to allign different bodies. Once I knew how to build a cilinder, now I would be able to build another one, but facing upside down. It was easy, the challenge was to allign the two shapes. Here, I share a video on how I "alligned" it:
By the way, this time I recorded my screen opening a conference and recording it in Zoom.Then I followed the same steps with Clipchamp to edit it, and Handbrake to compress the file.
You may download the files for the design in tinkercad here:
Download Tinkercad file for the thermoFreeCad
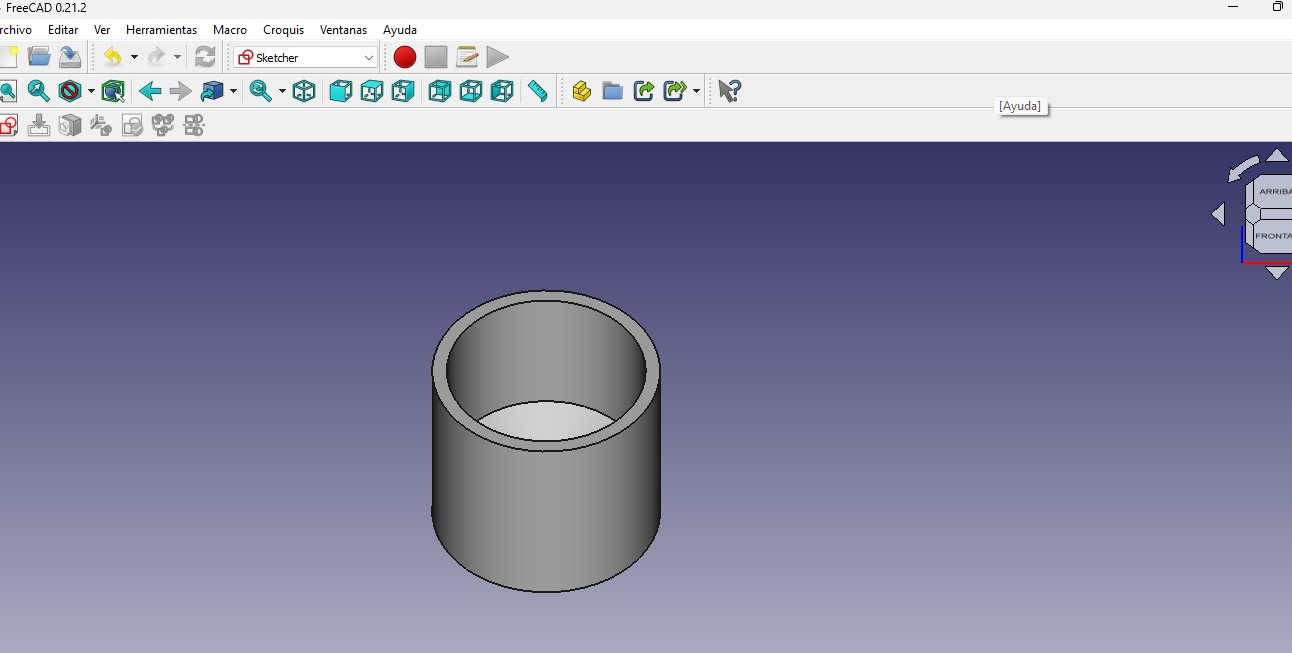
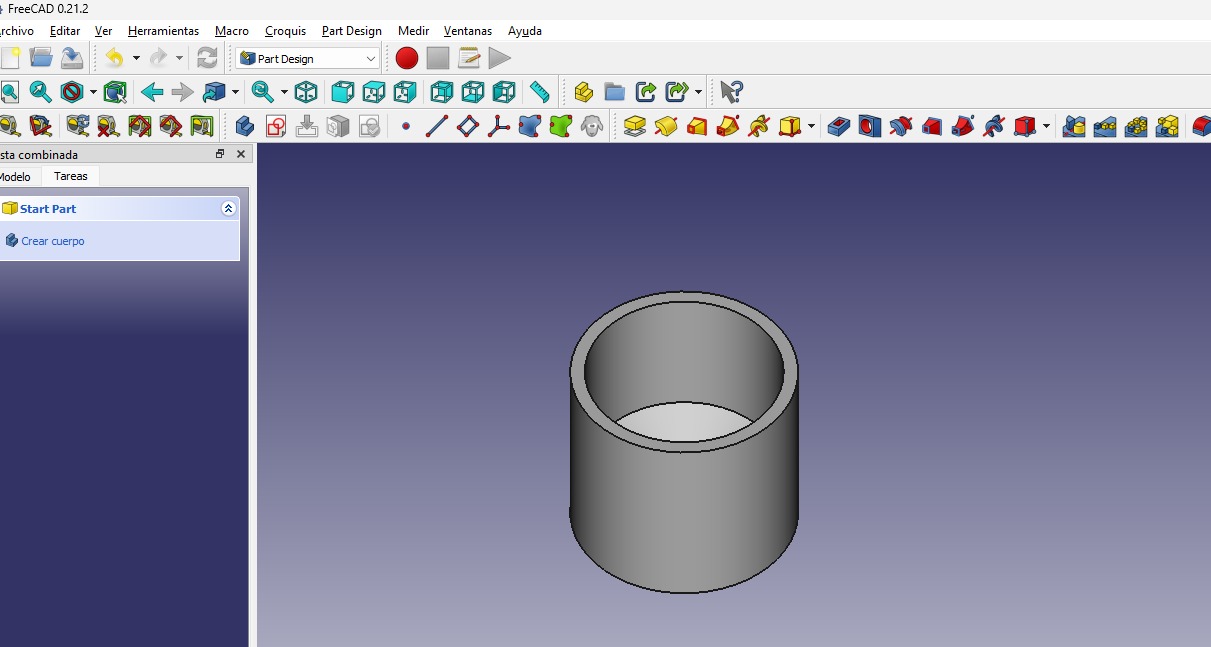
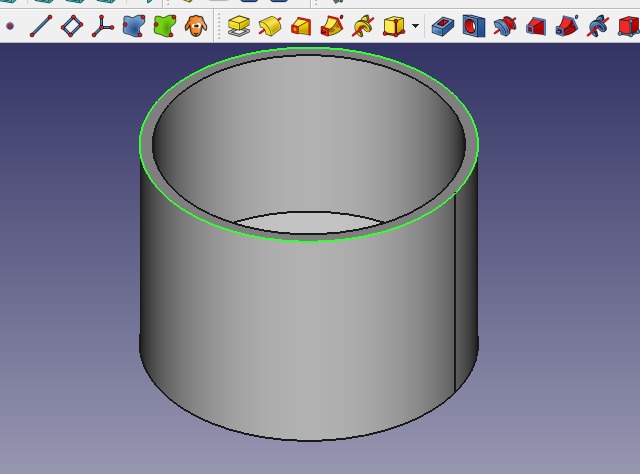
Finally, I tried FreeCad. This software was more difficult to understand. As far as I know, it is open-source, which means that independent creators and programmers continuously contribute to upgrade it. As democratic and romantic as it sounds, giving chances for everyone to design for free, it is equally challenging to keep updated. I watched a couple of tutorials, but the videos displayed different layouts for the menu I found. The most important thing is the concept of "croquis" in Spanish ("sketch" in English, but in Spanish it stands for another function).
I learned that the first thing you ought to do is to create the croquis, then draw. In order to extrude the cilinder out of a circle, in this program you need to exit the croquis, then select the shape, then extrude it.
Here, I share a couple of images:
By this time, I had already developed certain video skills. So I decided to record the screen using (function+print screen), then editing on Clipchamp, then compressing on Handbrake. Now, I was able to reduce a 2 minute span to just 14 seconds, and compressing it from 4.5 Megas to 640Kbs.
Here, you might find a video on how to build a thermo from scratch on FreeCad:
Also, you may download the design here:
Download Freecad file for the thermoLearnings
This week was a great challenge for me. As I stated before, I have no engineering nor design experience at all. Besides learning 3 design programs from Zero, I also learned how to record a screen on video, edit videos and compress them. Also, I reinforced my abilities to compress images by sending them to my personal whatsapp chat with myself.
Regarding the softwares, I can say that my romantic part would go with Freecad, but being honest it is a bit impractical for what I want to do. In terms of friendliness with beginners, Tinkercad would rank first. However, my choice to continue with my project is Fusion360 as it is more parametric than Tinkercad, close to its friendliness, and with the advantages of exporting files as one and the ability for the user to continue working offline.