Principles, Practices & Project Management
Week 01
About my final project and on how to use html
This week, the first thing I had to do was to define my final project and define the main way to set my website, including which language to learn. Regarding my project, I was doubting between a "DIY tortilla maker" and an automatic coffee thermo. Speaking with my factulty and sponsors, I finally went for the coffee option. In terms of the programming language, I looked at the preferred code by Fab Academy and was attentive to the suggestions of my faculty. After a hard time making up my mind, my choice was html.
First of all, I want to make clear that my background is in business and education related to business and strategy. That´s relevant because that means that I started without a clue in terms of programming, drawing or engineering processes.Despite that, I am passionate about learning and keen on always looking for ways to deliver better results.
I made my research in terms of how important is temperature in relation with the experience of drinking coffee. I found some interesting articles, such as:
- Article about variations in coffee´s temperature and their effects
- Paper about the effects of serving temperature on sensory perception and acceptance of brewed coffee
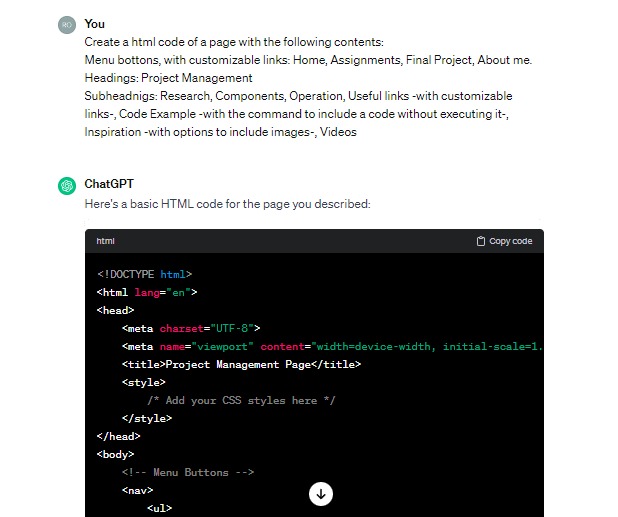
On the other hand, I felt the "healthy" pressure in terms of learning some basic html programming in less than a week. Due to my previously explained personality, I did what any student would do: I consulted "Gepeto" (Chatgpt).
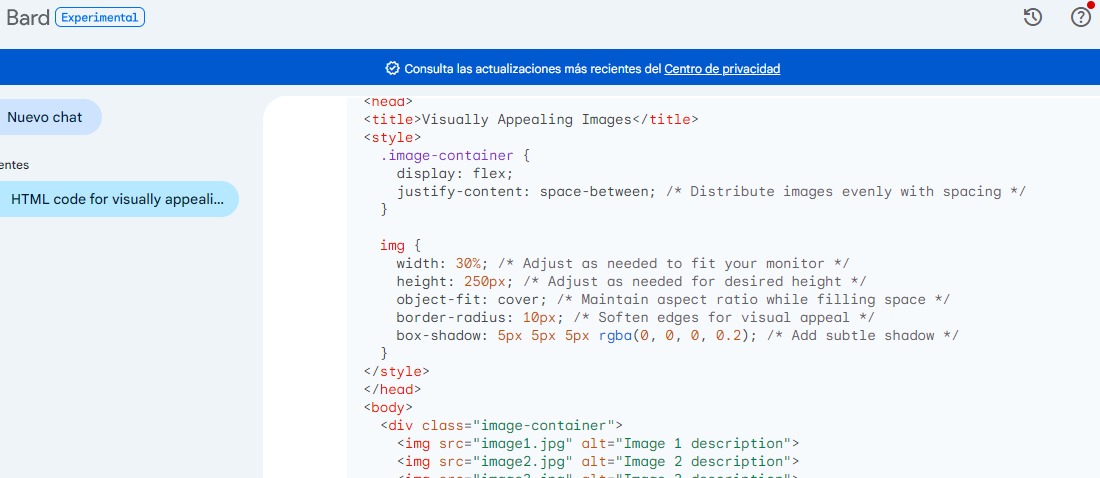
Next, I share some images about my travel, not only with GPT, but also with Bard:
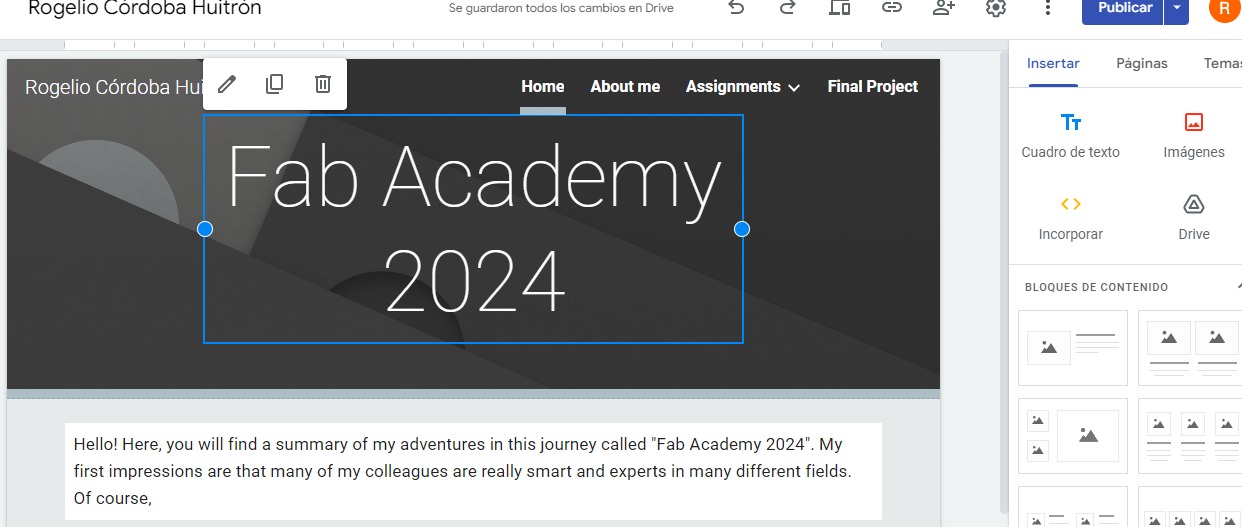
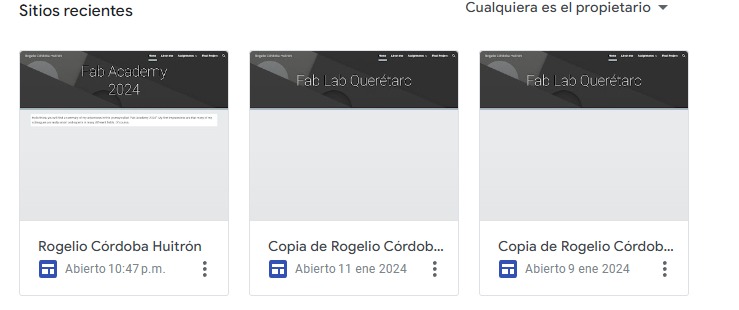
In the meantime, my faculty suggested me to create my website on googlesites, which I did. Once I got my skeleton, I runned an exercise with the takeout command google offers to create backups. I followed the steps and got really frustrated because it didn´t work. Then, I interviewed with a colleague and she taught me how to
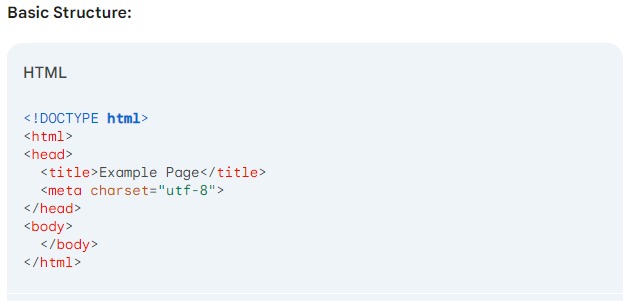
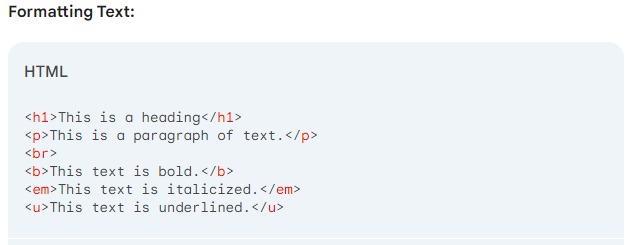
Analizing the results, I interviewed the CTO of the university in terms of what language to use. He commented me to start with wordpress, but once I told him why I wanted to learn the language, he suggested me to start with html. He supported his reasoning by saying that almost any other programming languages originate from or are compatible with html. After looking how the different webpages of the Fab Academy are written, I saw that they are based on the same language. So, I decided to give a try to learn the basics of html. With my learnings of this week, here are the basics of html, and I guess, any programming language.
- Always start by defining the language you will use.
- Divide the webpage in sections, e.g.: head, body, footing.
- You can subdivide the sections into divisions, e.g.: research, theory 1, theory 2, gallery 1, videos...
- The previous tip is useful to give format (style) to each division
- You can always ask AIs for feedback.
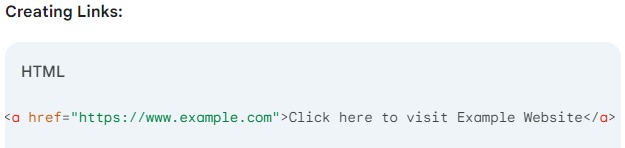
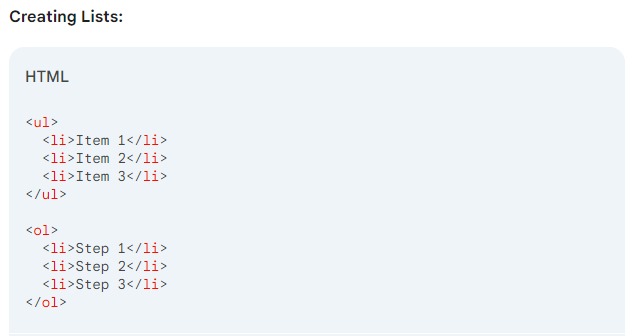
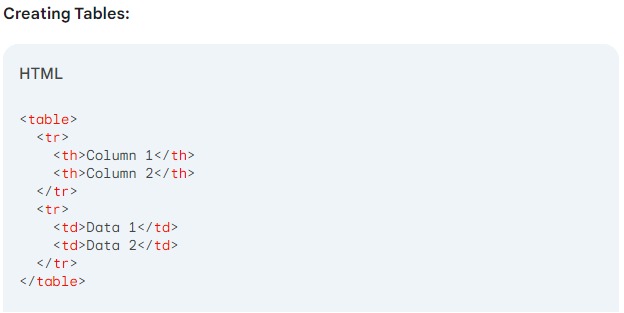
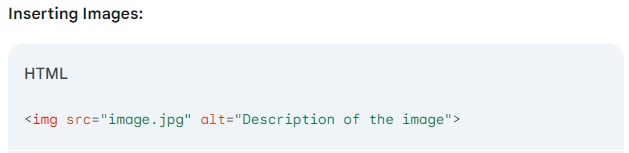
I confirmed my learnings by consulting Gemini. I asked it to provide me with the basic syntax rules:
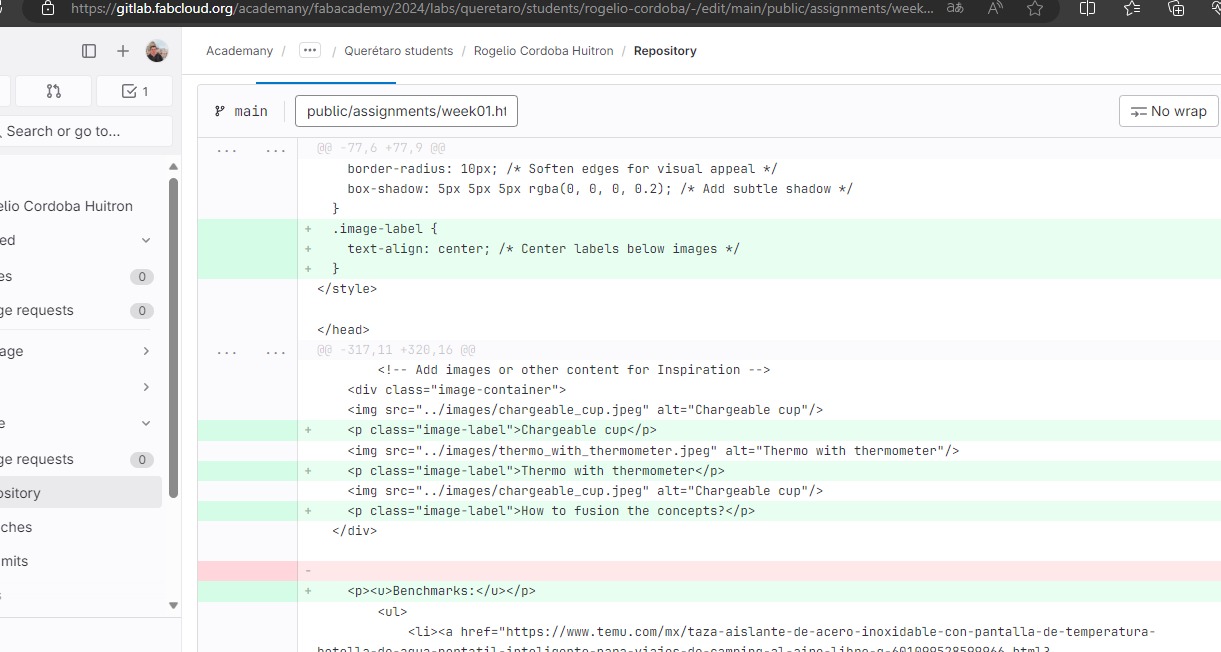
Once I had the basics, what I did next was to start playing with the code, by commiting certain "commands" on Git, then looking at the results, analyzing the desired outcome versus the actual one, then returning to the code to execute the changes.
Next, I share some evidence of how to interact with Git, the platform in which we can create directories (similar to file folders in the computer), edit text, and upload images, videos and files. I know I could upload also certain "drivers" to run projects generates in different programs, but I am not keen on that yet as I am still learning the basics of html. I share also how I uploaded files, how to edit in Git the way I organized the information:
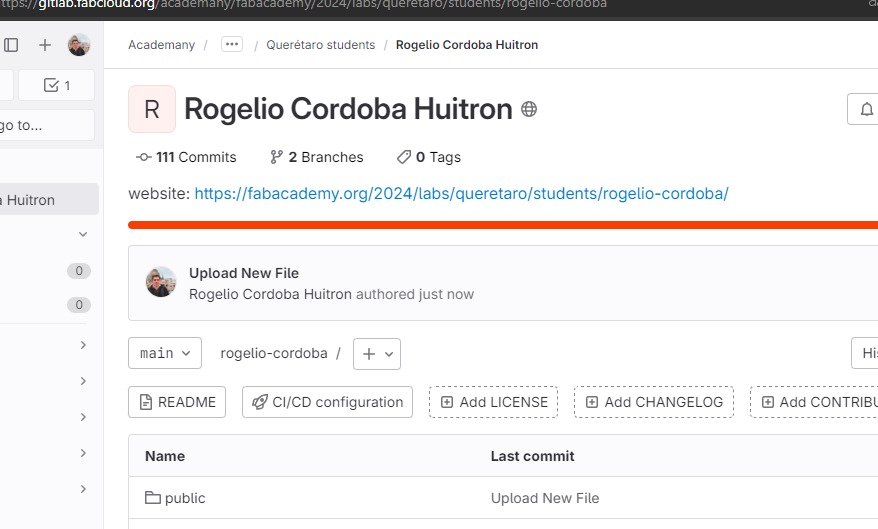
After many interactions, I came up with a great function that Git has:Preview changes, which allows you to double-check the changes in line codes before committing. You might see an example next:
As well, I can tell that this exercise has to do, especially at the beginning, with an empirical approach. This might be counterintuitive, as one of our main instructions is to document what we are doing. However, even when general instructions and tutorials might work, each of us will deliver his own personal way of doing things and achieving the results. That´s why I have commited more than 100 times this only assignment. Hopefully, assignment after assignment I will recquire less and less commits to get better and better results. Next, I share a piece of evidence of that:
About the Project
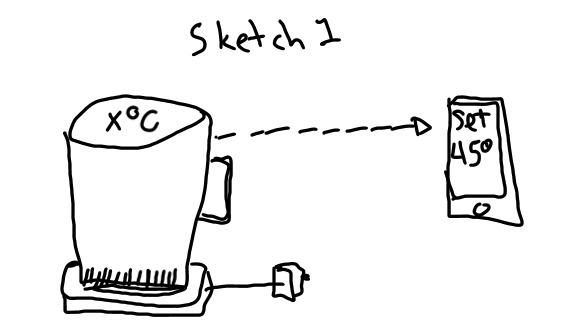
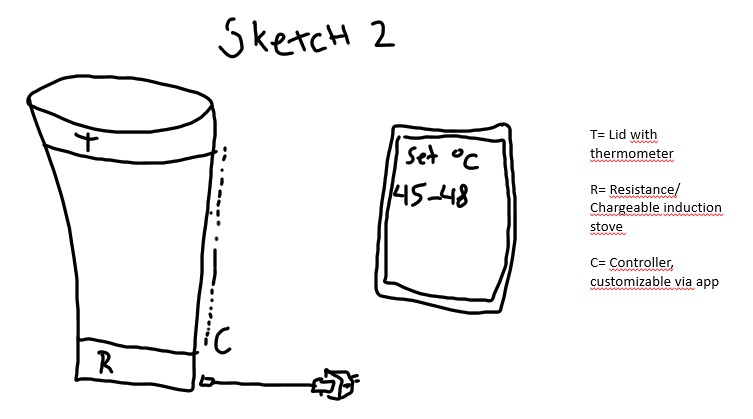
Next, I share a couple of drawings of my idea, trying to respect the concentric growing circles scheme that was presented to us last week:
Again, I consulted "Gepeto" for some suggestions, and I think the automatic thermo is possible. These were my components suggestions delivered by the AI:
A temperature sensor is employed to continuously monitor the internal temperature of the thermo. This sensor, often a thermistor or digital temperature sensor, provides real-time data to the control system.
A microcontroller, such as Arduino or Raspberry Pi, processes the temperature readings and controls the heating element accordingly. This heating element, typically a resistive heater or Peltier module, is responsible for adjusting the thermo's temperature.
A control algorithm is developed to manage the interaction between the sensor, microcontroller, and heating element. This algorithm, could be based on Proportional Integral Derivative (PID) control.
For user interaction, a user interface is implemented, allowing consumers to set their desired temperature. Depending on the advancement of the project, this interface could range from simple LCD displays with buttons to more advanced touchscreen interfaces or smartphone apps.
I also asked ChatGPT to suggest me a guideline to follow in order to succesfully build the automatic thermo. I think that with the help of nowadays technology, my faculty, and the great network we are developing, it will be possible to help every coffee lover to have a better overall experience without worrying about it being cooled by weather conditions.
Next, I share what the tool suggested me:
Step 1: Gather Components and Tools
Temperature sensor
(e.g., thermistor, DS18B20)
Microcontroller
(e.g., Arduino, Raspberry Pi)
Heating element
(e.g., resistive heater, Peltier module)
Power source
(e.g., battery, power adapter)
Display
(e.g., LCD, OLED)
User interface components
(e.g., buttons, touchscreen)
Enclosure materials
(e.g., plastic, metal)
Soldering iron, solder, wire cutters, and other basic electronics tools
Step 2: Design the Circuit
Create a circuit diagram showing how the components will be connected
Determine the pin connections for the temperature sensor, microcontroller, heating element, and any other peripherals
Consider power requirements and voltage levels for each component
Step 3: Assemble the Circuit
Connect the components according to the circuit diagram
Use jumper wires, breadboards, or soldering to make the connections
Double-check all connections to ensure they are secure and correct
Step 4: Program the Microcontroller
Write the firmware code for the microcontroller
Implement a control algorithm (e.g., PID control) to regulate the thermo's temperature
Include functions for the user interface to set temperature settings and display current temperature readings
Step 5: Test the Circuit and Code
Power on the thermo and verify that all components are functioning correctly
Test the temperature sensor by measuring ambient temperature and comparing it to the displayed value
Test the heating element by adjusting the setpoint temperature and observing how the thermo responds
Step 6: Build the Enclosure
Design an enclosure to house the circuitry and provide protection and insulation
Choose materials that are durable, heat-resistant, and suitable for the thermo's intended use
Consider incorporating ventilation or cooling features to prevent overheating
Step 7: Install the User Interface
Install the display and user interface components in the enclosure
Ensure that buttons, switches, or touchscreen controls are accessible and easy to use
Step 8: Calibrate the Thermo
Calibrate the temperature sensor to ensure accurate temperature readings
Test the thermo's temperature control accuracy by setting different temperature setpoints and observing the response
Adjust the control algorithm or parameters as needed to improve performance
Step 9: Test and Iterate
Test the completed thermo in real-world conditions
Gather feedback from users to identify any issues or areas for improvement
Make adjustments to the circuit, code, or enclosure design as necessary based on user feedback and testing results
Step 10: Finalize and Deploy
Once the thermo meets all requirements and performs reliably, finalize the design and assembly
Document the build process, circuit diagram, and firmware code for future reference
Deploy the thermo for use in its intended application, whether it's home heating, temperature-controlled storage, or another purpose
How the thermo will work
Being curious, I wanted to convert my drawed sketches to a diagram that could live inside the code. I asked Bard and Chat GPT how to do it. Next, I share the code for the section, and the results:
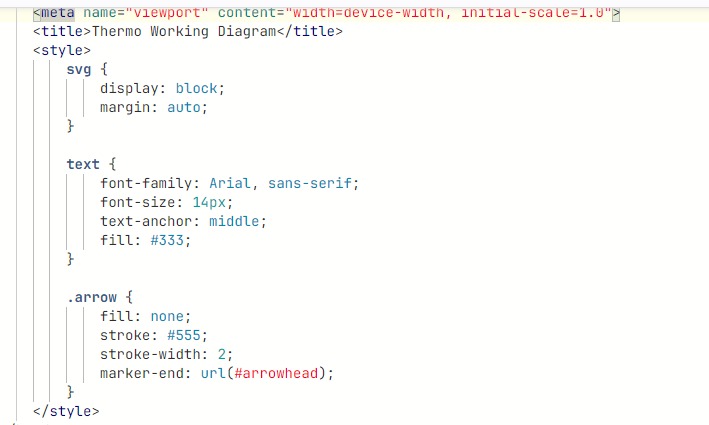
Diagram illustrating the components and operation of the thermo. The heating element generates heat, which is regulated by the control algorithm based on feedback from the temperature sensor. Users interact with the thermo through the user interface.
Inspiration
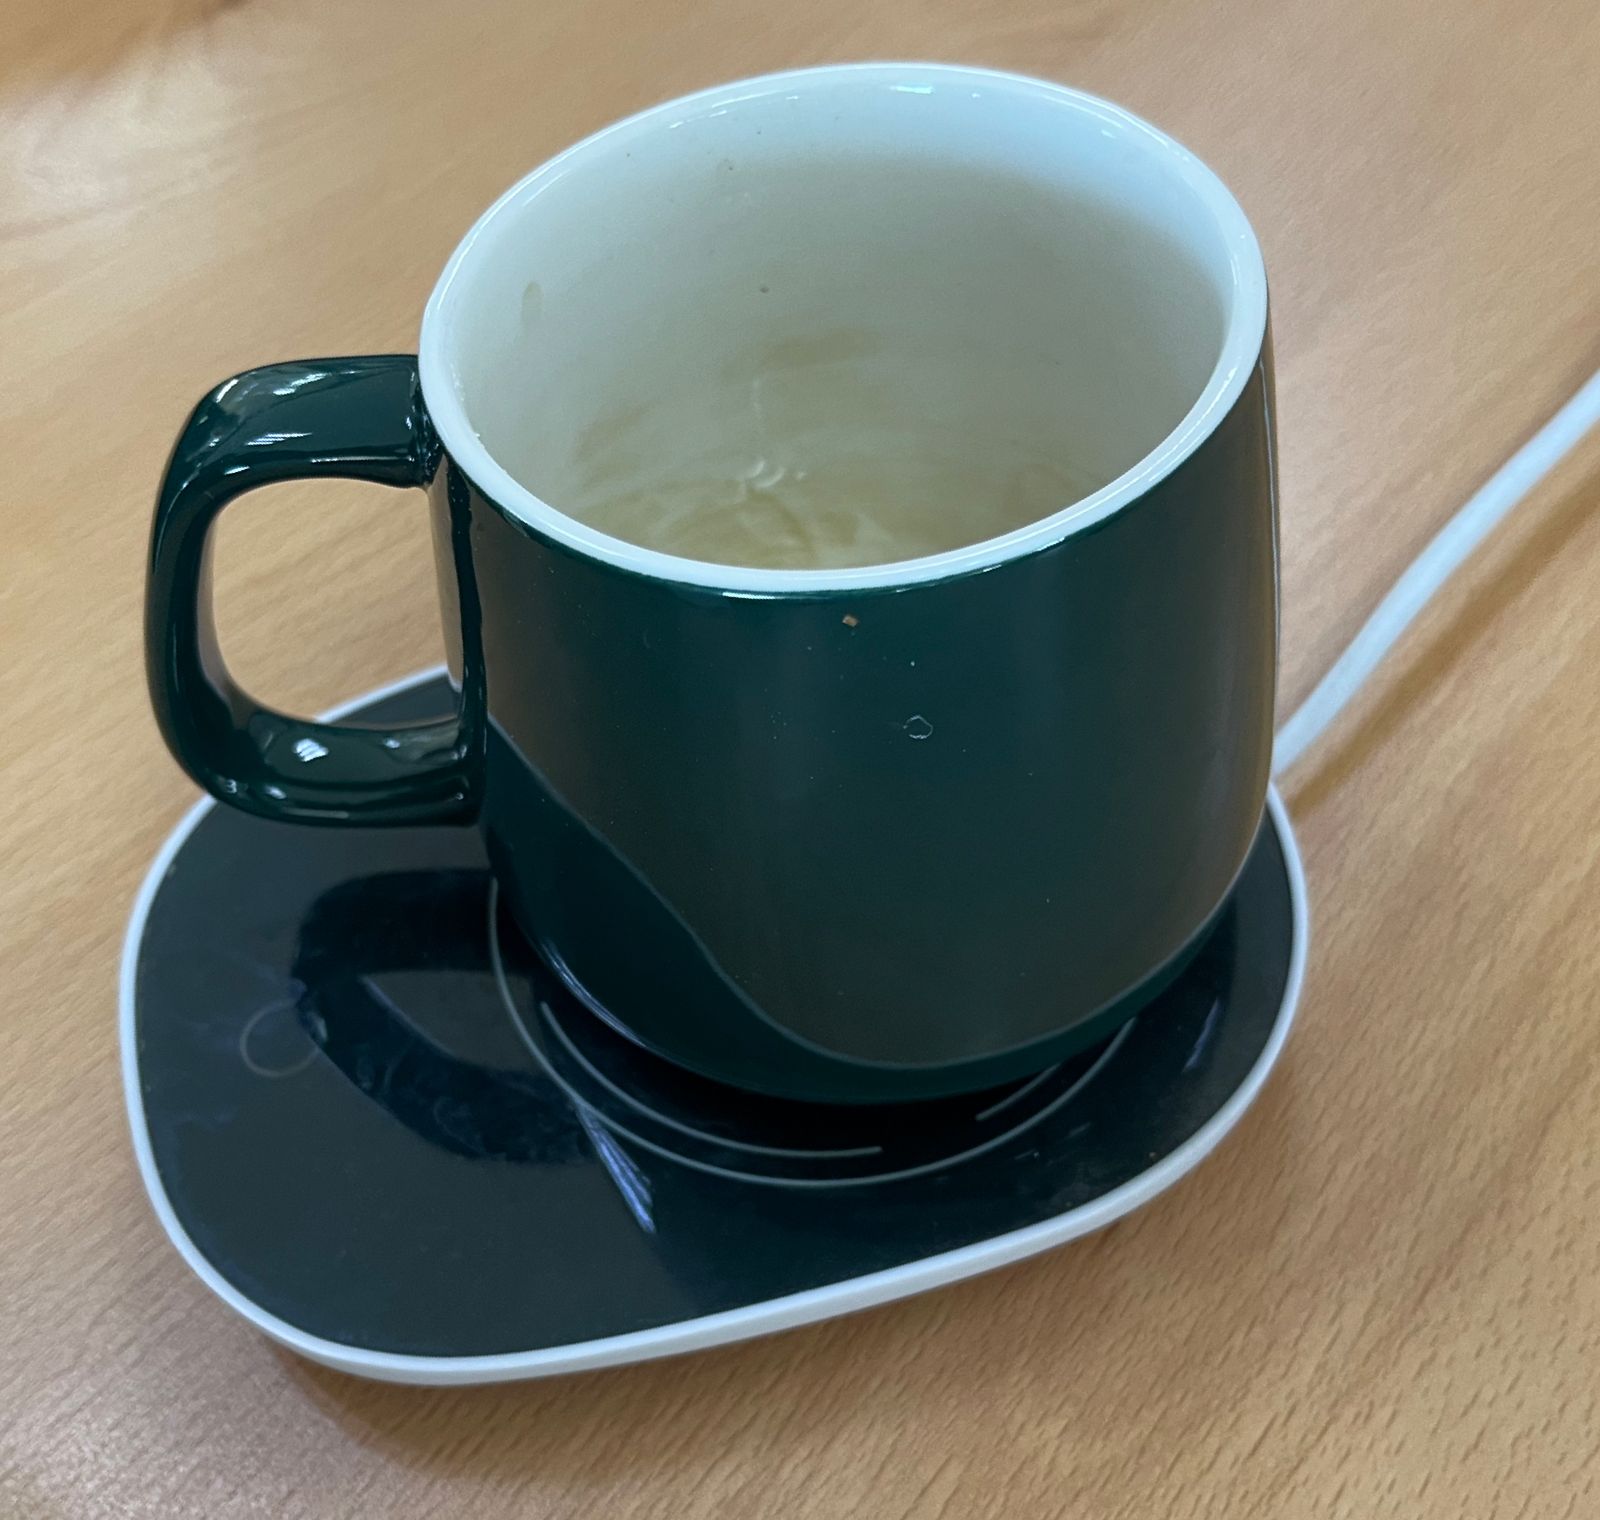
Chargeable cup
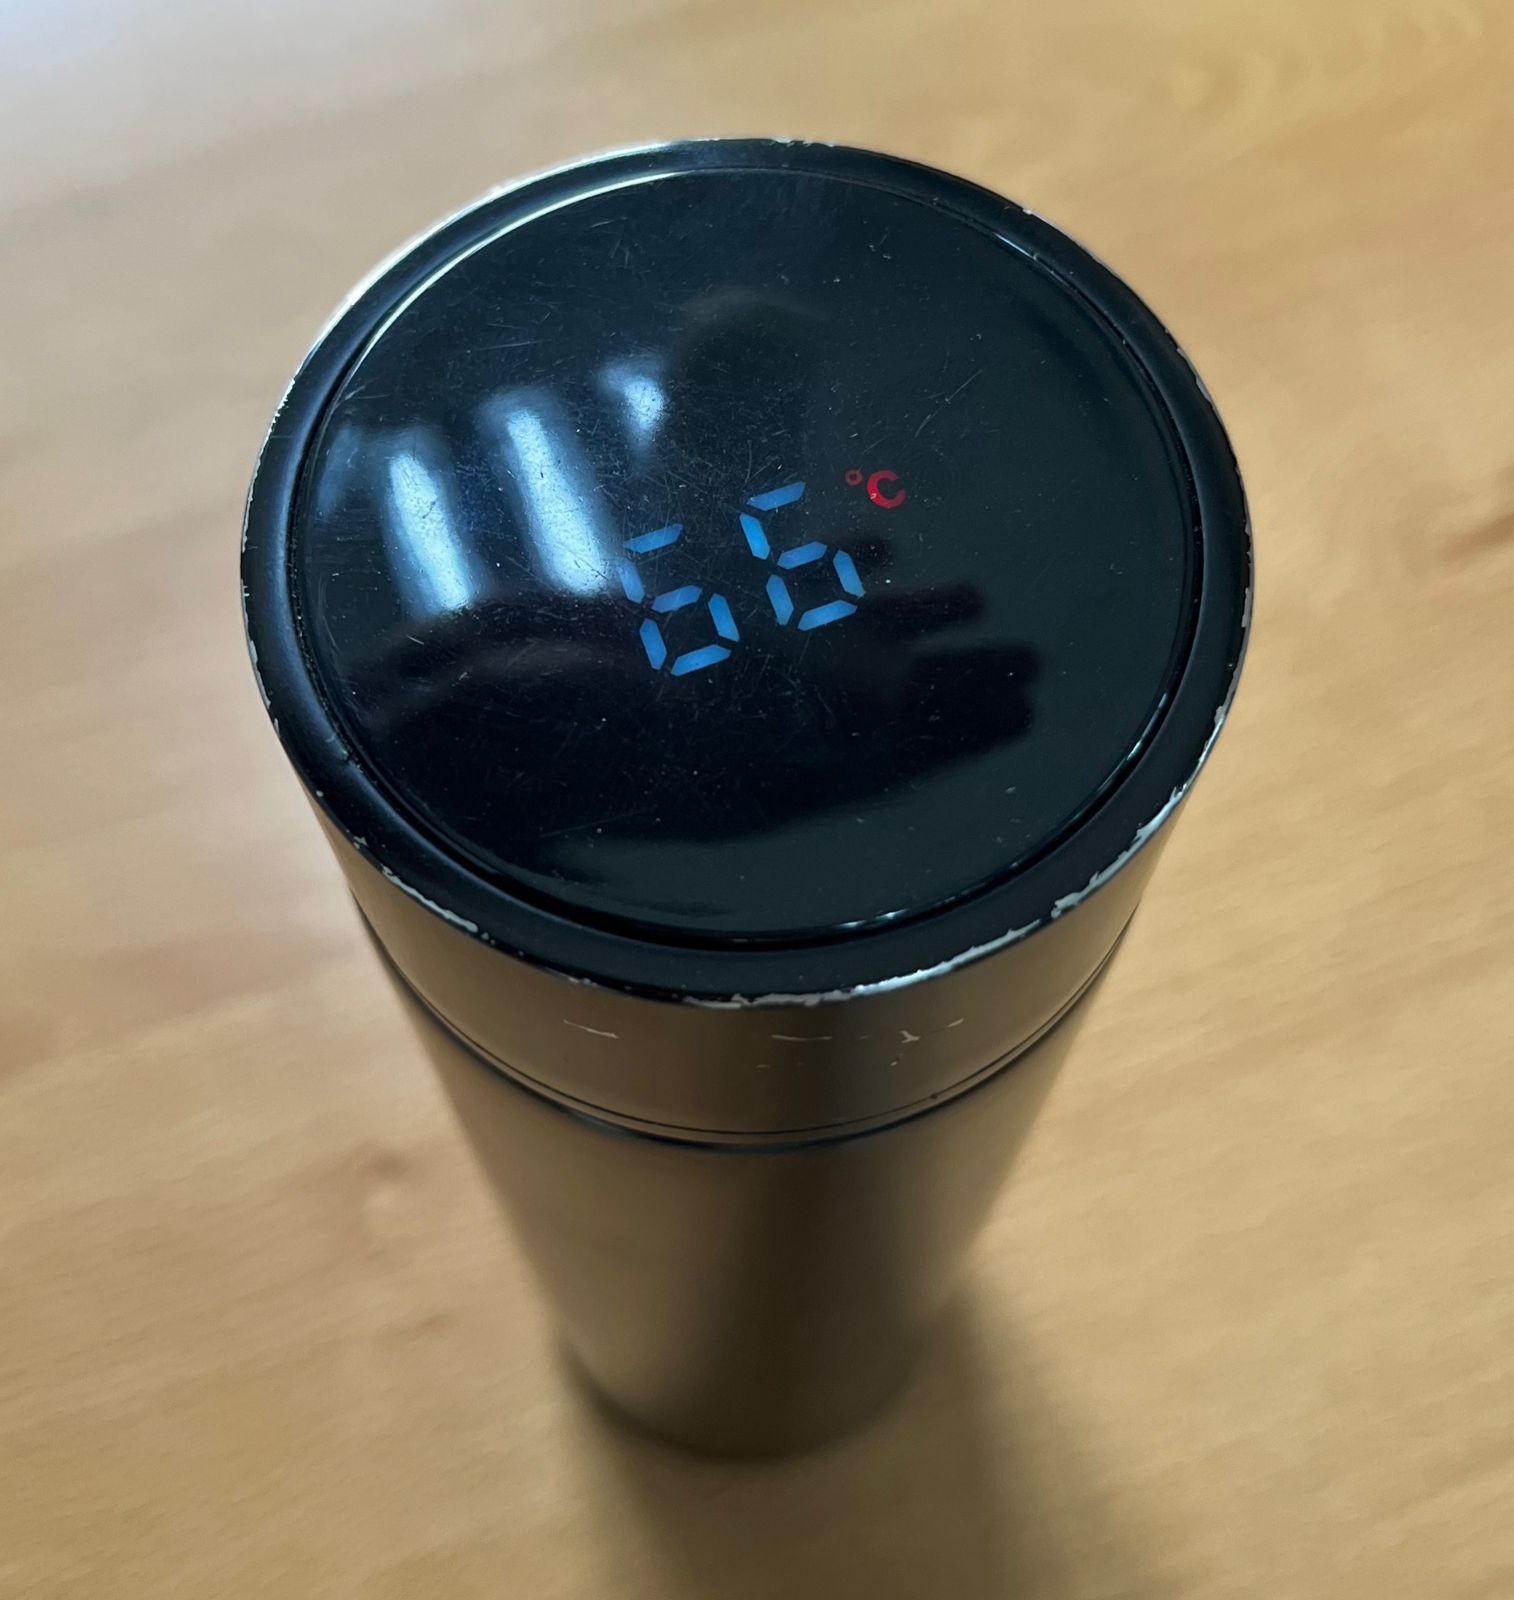
Thermo with thermometer
How to fusion the concepts?
Benchmarks:
Here, I share a couple of links in temu, where you might find sellers of related products:
Conclusions
After almost 400 code lines and more than 100 commits, I can say that I have learned a lot in many ways. Humbleness, creativity, networking and frustration tolerance are some of the meta-lessons above learning to code in html, documenting, creating branches and files in git.
I can only say that life is meant to be lived, and this is one of the most adventurous experiences I´ve ever had. Thank you for the opportunity, I will give my best!
Student Agreement
I almost forget, here you might find my student agreement: Student Agreement for Rogelio Cordoba.