Week 13: Networking and Communications
Explanation of Protocol I2C
Because I2C utilizes addressing, it enables the control of multiple slaves from a single master. With a 7-bit address, there are 128 (2^7) unique addresses available. Although less common, employing 10-bit addresses offers 1,024 (2^10) unique addresses. To link multiple slaves to a sole master, connect them in the following configuration, utilizing 4.7K Ohm pull-up resistors to connect the SDA and SCL lines to Vcc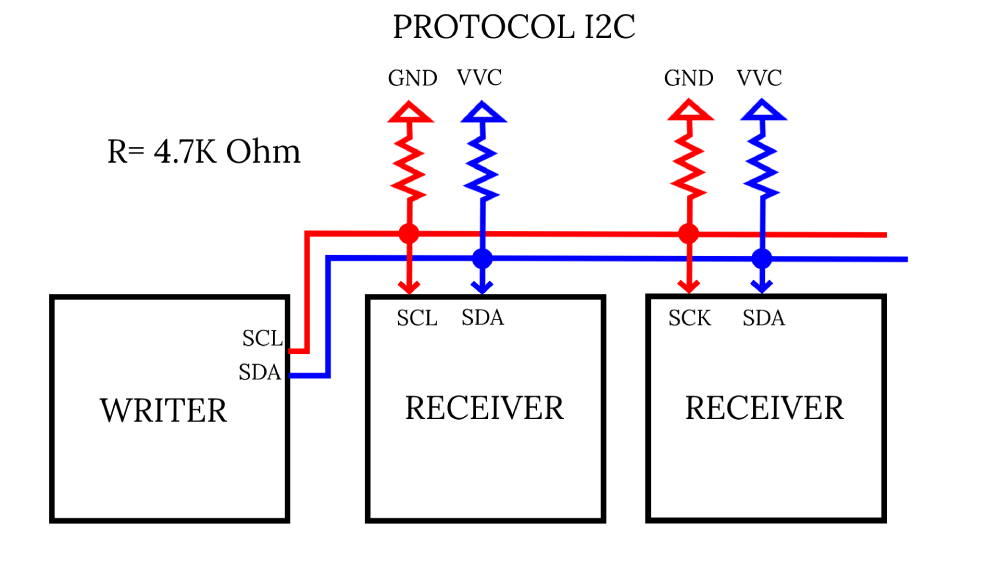
I2C combines the advantages of SPI and UARTs, allowing for the connection of multiple slaves to a single master, akin to SPI, and enabling multiple masters to control single or multiple slaves. This flexibility proves invaluable for scenarios such as logging data from multiple microcontrollers to a single memory card or displaying text on a shared LCD screen.
- With only two wires—SDA (Serial Data) for transmitting and receiving data.
- SCL (Serial Clock) for the clock signal—I2C facilitates serial communication, transmitting data bit by bit along the SDA line.
Synchronous like SPI, I2C synchronizes the transmission and sampling of bits using a shared clock signal controlled by the master.
Start programing PCB
- Define Communication Protocols:
- Xiao RF2040 to Receiver Xiao RF2040: I2C communication.
- Xiao RF2040 to Receiver Xiao RF2040: I2C communication.
- Xiao RF2040 to Attiny45: Serial : I2C communication.
- Attiny45 to Xiao RF2040: I2C communication.
or
- Set Up Hardware Connections:
- Xiao RF2040 to Made PCB: Connect I2C pins (SDA/SCL).
- Xiao RF2040 to Made PCB:Connect I2C pins (SDA/SCL).
- Xiao RF2040 to Made PCB:Connect I2C pins (SDA/SCL).
- Attiny45 to Xiao RF2040: Connect I2C pins (SDA/SCL).
or
- Programming
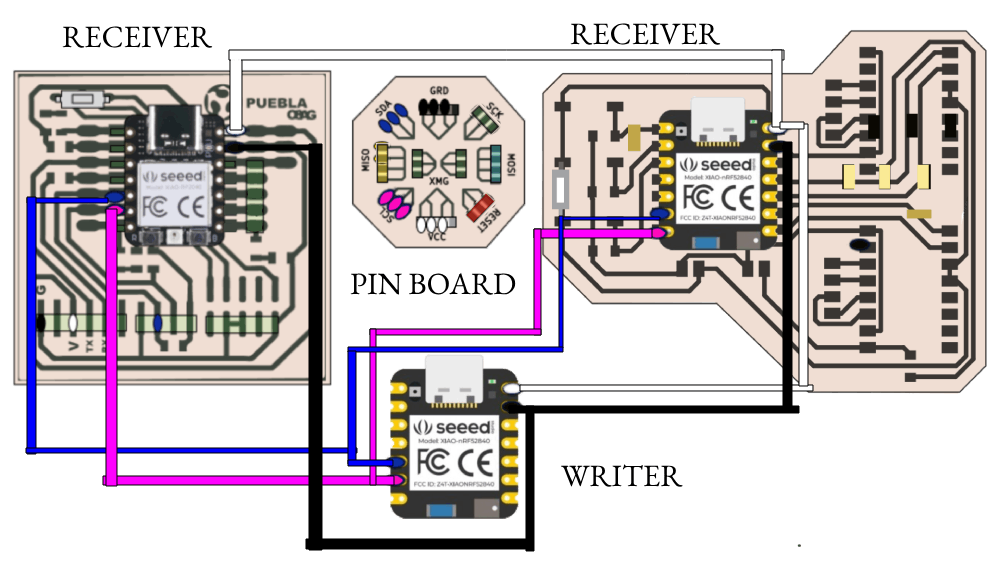
To program it should look like this with the cables to facilitate this I used the interconector due each cable had to be using more than one port.
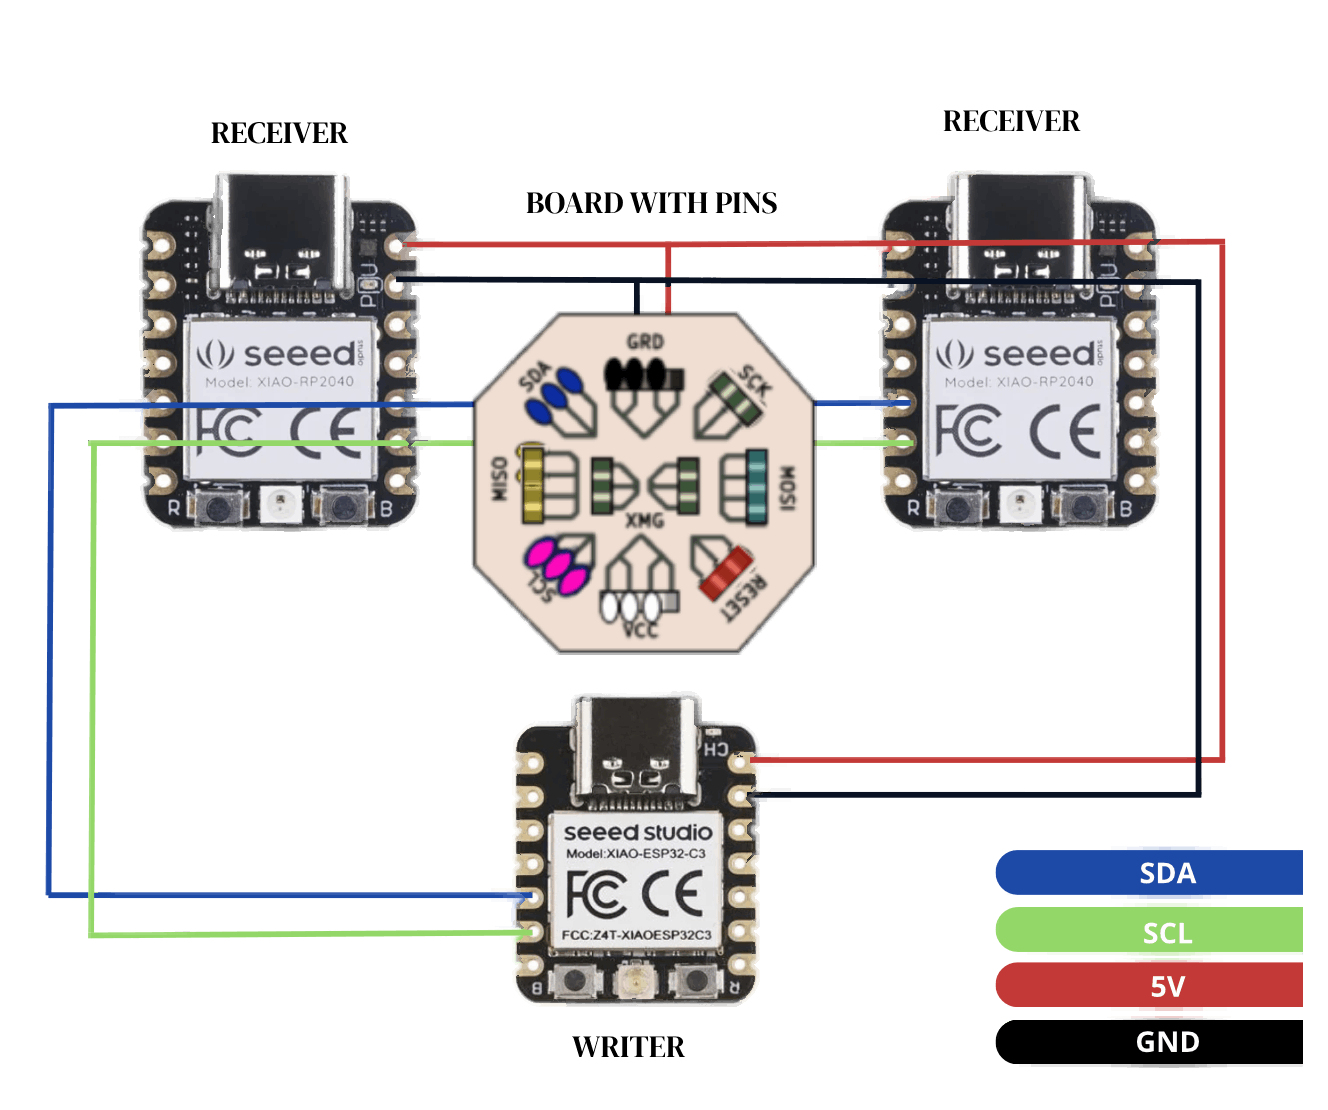
- ESP32: Then we have to create the code to act as the writer/sender. Utilize the ESP32's UART library to send data to both the Xiao RF2040 and Attiny45.
- Xiao RF2040: Also write a code to receive data from the ESP32 via UART. Implement logic to respond to received data.
- Attiny45: And write a code to receive data from the ESP32 via UART. Implement logic to control the 10 Neopixels based on received data.
- Attiny45 to Xiao RF2040: Finally write a code to act as an I2C slave. Implement logic to receive data from the Attiny45 and control the LEDs accordingly.
- Testing and Debugging:
- Test each component individually to ensure it functions correctly.
- Test the entire system to verify intercommunication between all devices.
- Debug any issues encountered during testing, such as communication errors or unexpected behavior.
- Optimization and Refinement
- Optimize the code for each device to improve performance and reduce resource usage.
- Refine the communication protocols if necessary to enhance reliability and efficiency.
- ARDUINO "WRITER"
- ARDUINO "RECEIVER"
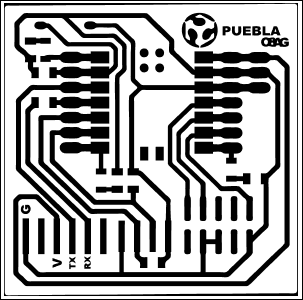
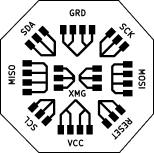
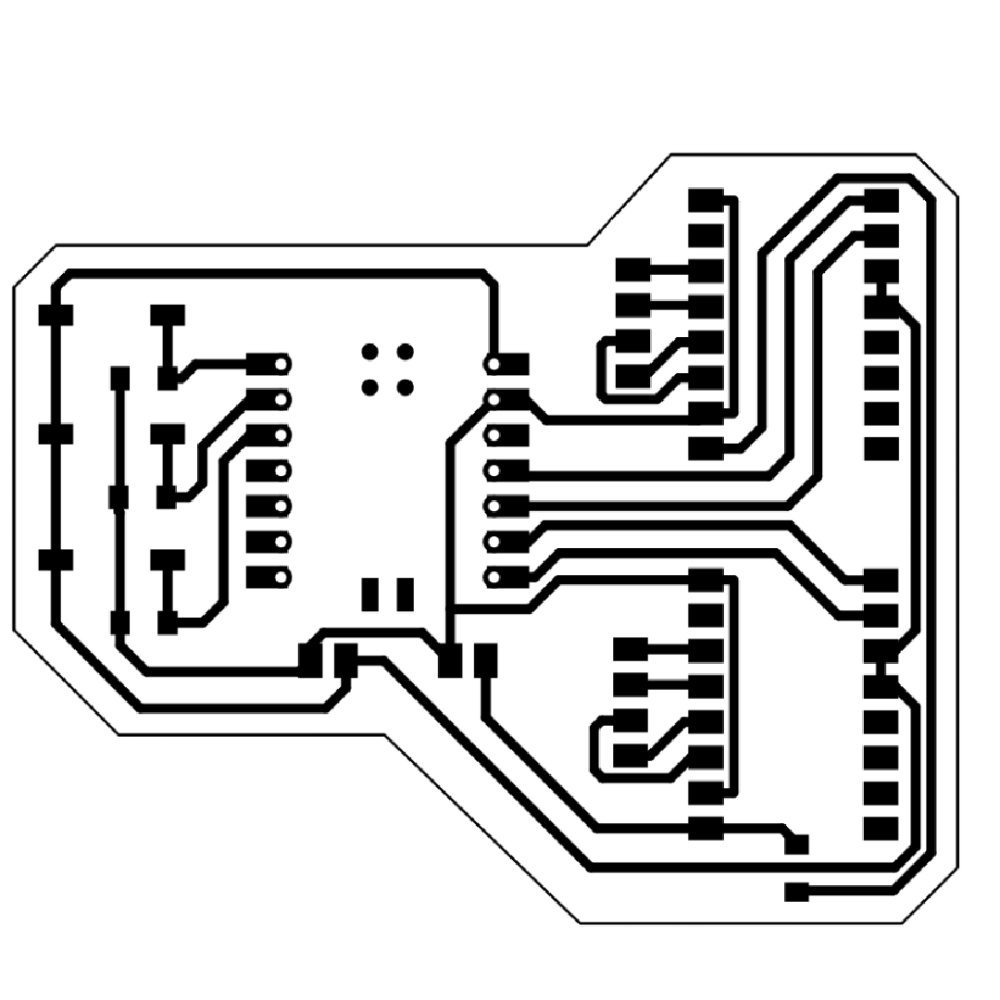
I2C Communication to Connect Devices
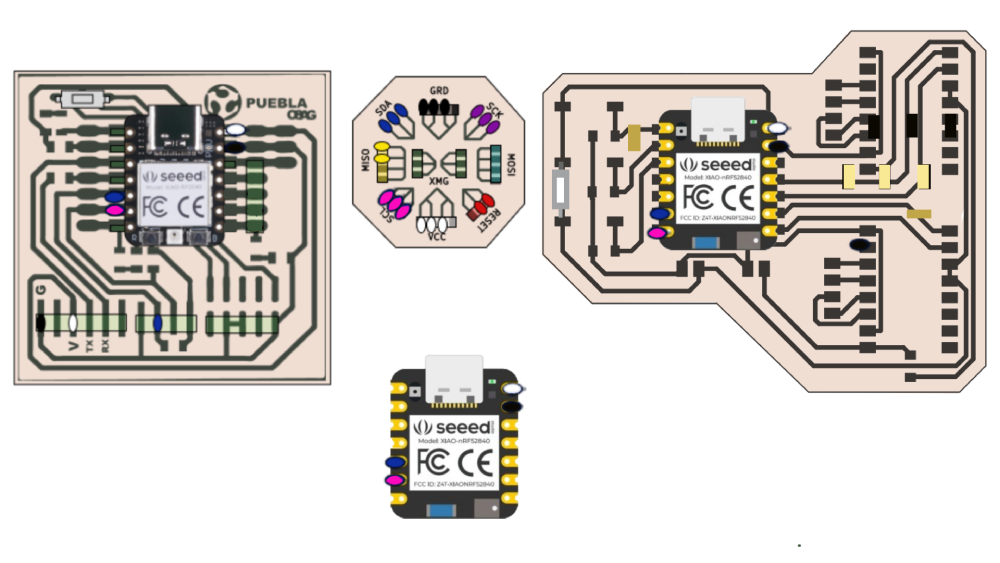
As we previously have seen I2C communication like the OLED and may others in the previous exercise helps to connect devices allowing them to receive and send data, so we need to connect the microcontroller using these exact diagrams.
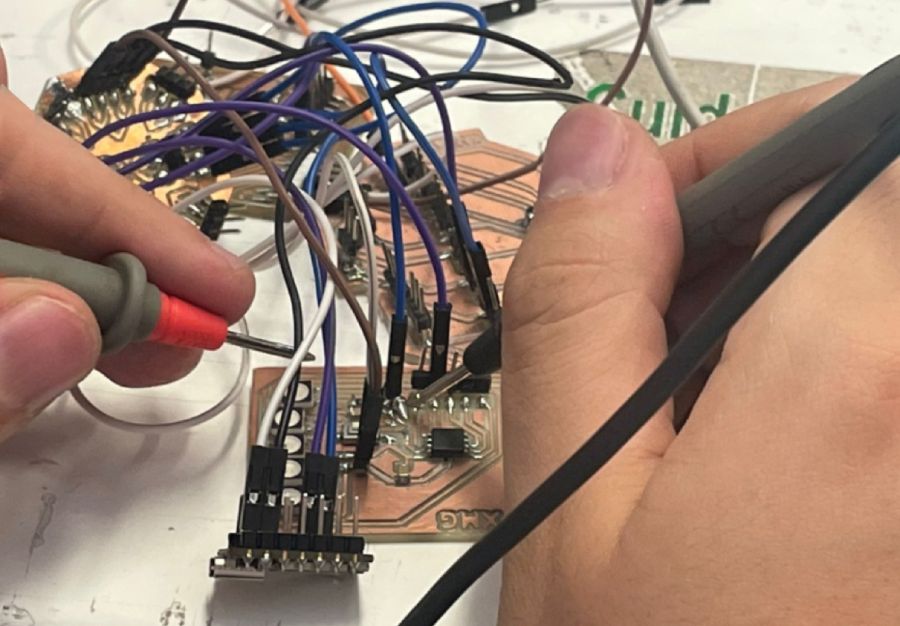
Load the code
So we enter the code in to the boards in this order first the xiao that I borrow then the big PCB and at las the Fab PCB
Final result
Files
Reflection Summary
This week, I focused on understanding and implementing the I2C communication protocol to connect multiple microcontrollers and control various devices. The tasks included learning about I2C, setting up hardware connections, programming the microcontrollers, and testing the system.
Challenges and Solutions
Understanding I2C Protocol: Grasping the complexities of the I2C protocol, such as addressing and communication mechanics, was challenging. To overcome this, I studied multiple tutorials and resources that explained the protocol in detail, helping me understand the nuances of synchronous data transmission.
Hardware Connections: Ensuring correct hardware connections for I2C communication between different microcontrollers and devices required precision. By following exact diagrams and using 4.7K Ohm pull-up resistors to connect the SDA and SCL lines to Vcc, I successfully established the necessary connections.
Programming Multiple Devices: Writing and coordinating code for multiple microcontrollers (Xiao RF2040, Attiny45, and ESP32) presented a significant challenge. I addressed this by breaking down the task into smaller parts, writing and testing code for each device individually before integrating them into the final system. Utilizing libraries and example codes from reliable sources was crucial in this step.
Testing and Debugging: Identifying and resolving communication errors and unexpected behaviors during system testing was critical. By methodically testing each component and using debugging tools, I managed to pinpoint and fix issues, ensuring smooth intercommunication between all devices.
Future Applications
The knowledge and experience gained from implementing I2C communication can be applied to various future projects involving multiple microcontrollers and sensors. This includes data logging systems, multi-sensor arrays, and complex control systems where synchronized communication is essential.
Understanding I2C's flexibility in connecting multiple slaves to a single master, as well as multiple masters controlling single or multiple slaves, will be invaluable for designing scalable and efficient systems. This protocol's ability to reduce wiring complexity and facilitate robust communication between devices opens up many possibilities for innovative applications in embedded systems and IoT projects.
Overall, mastering I2C communication will significantly enhance my capability to develop advanced, interconnected devices and systems, enabling the creation of more sophisticated and reliable electronic projects.
