Week 10: Mechanical design & machine design
Grupal Assigment
Project Introduction
Our team was tasked with designing, building, assembling, and programming a CNC machine for sand drawing. This project was both a challenge and an exciting opportunity for us to apply our skills and knowledge in mechanical and machine design, as well as automation and electronics.
Project Concept
The idea for our project stemmed from a viral TikTok video showcasing a CNC machine drawing in beach sand. We were inspired to create a similar machine capable of drawing intricate designs in sand, which could potentially be expanded to create molds or produce other artistic pieces in the future.
Initial Planning and Design
In our first team meeting, we brainstormed various ideas and settled on the design of a CNC machine with two axes (X and Y) to draw in sand using a magnet and a stainless steel ball. Due to budget constraints, we opted to use 15 mm MDF for the structure instead of aluminum profiles.
Individual work
I took part in role in the design and assembly phases of our sand drawing CNC project. As the team member responsible for supervision of 3D design and correction of part dimensions, I ensured that our CNC's components were accurately modeled and ready for production. Also took charge of the assembly process, ensuring that all parts were correctly integrated to form a functional machine.
Materials and Tools Used
| Quantity | Description | Material |
|---|---|---|
| 1 | Arduino UNO and CNC shield for Arduino | |
| 2 | A4988 Drivers | |
| 2 | NEMA 17 Stepper Motors | |
| 4 | Linear Bearings | |
| 2 | Belt Pulleys for Nema Stepper Motors | |
| 2 | Timing Belts | |
| 4 | Linear shafts 8 mm Diameter, 40 mm large | |
| 1 | 3 mm MDF board, 120 x 240 mm | |
| 1 | 15 mm MDF board, 120 x 240 mm | |
| 1 | PLA roll | |
| 4 | 20x20x200mm aluminum profiles | |
| 1 | Box of M4 screws | |
| 1 | Magnet | |
| 1 | Stainless steel ball | |
| 400 gr | Sand |
Machinedesign Approach
We opted for a cartesian mechanism using a planar dimension (XY) with two NEMA 17 stepper motors. This design was influenced by commercially available machines like the UltiMaker 3D printer.
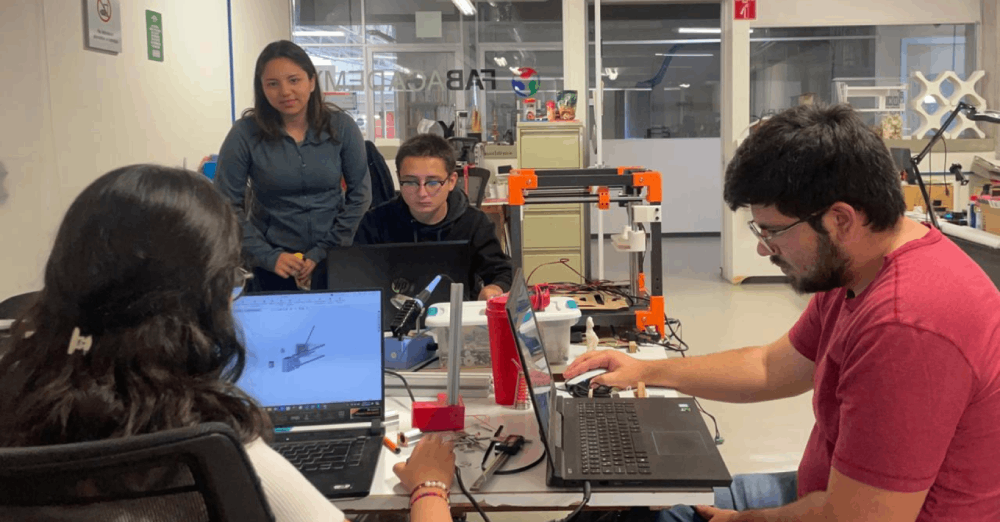
We began the project by creating preliminary 3D models of each component using SolidWorks. These models were crucial for visualizing the final machine and ensuring that all parts fit together as intended. The rendering process allowed us to simulate the assembly and identify any potential design flaws early in the process.
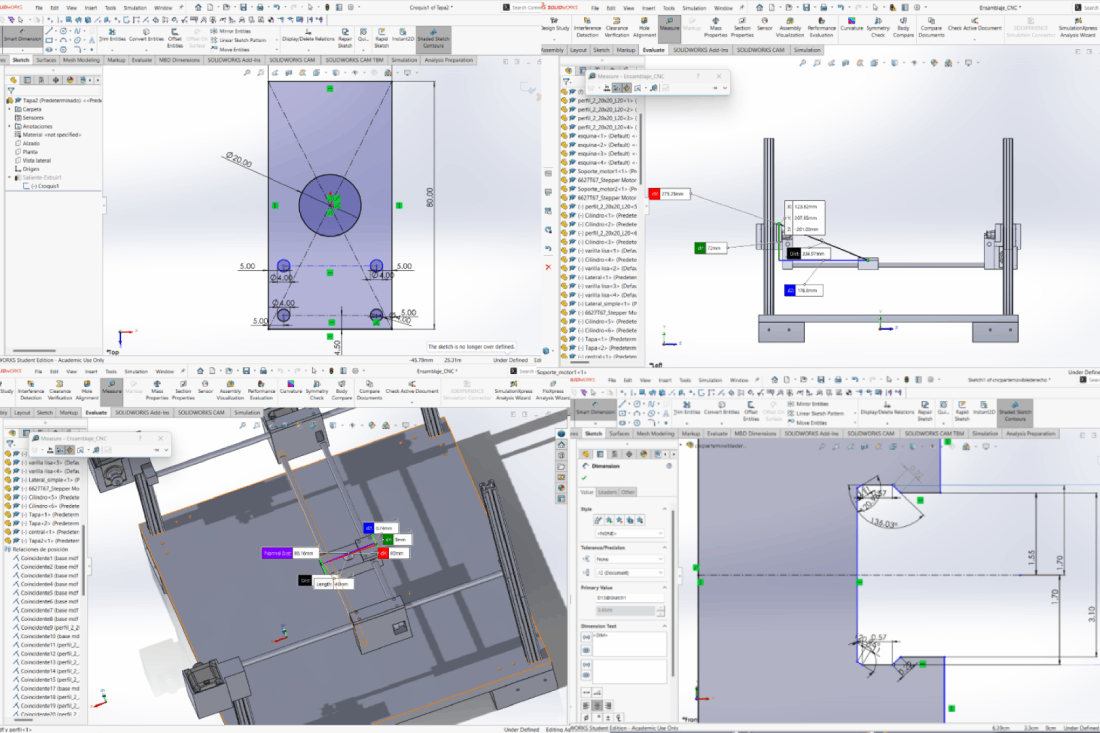
3D Modeling and Printing Supervision
I oversaw the 3D design and correction of part dimensions to ensure accuracy and functionality. We used SolidWorks for modeling and simulation to verify component fit and operation.
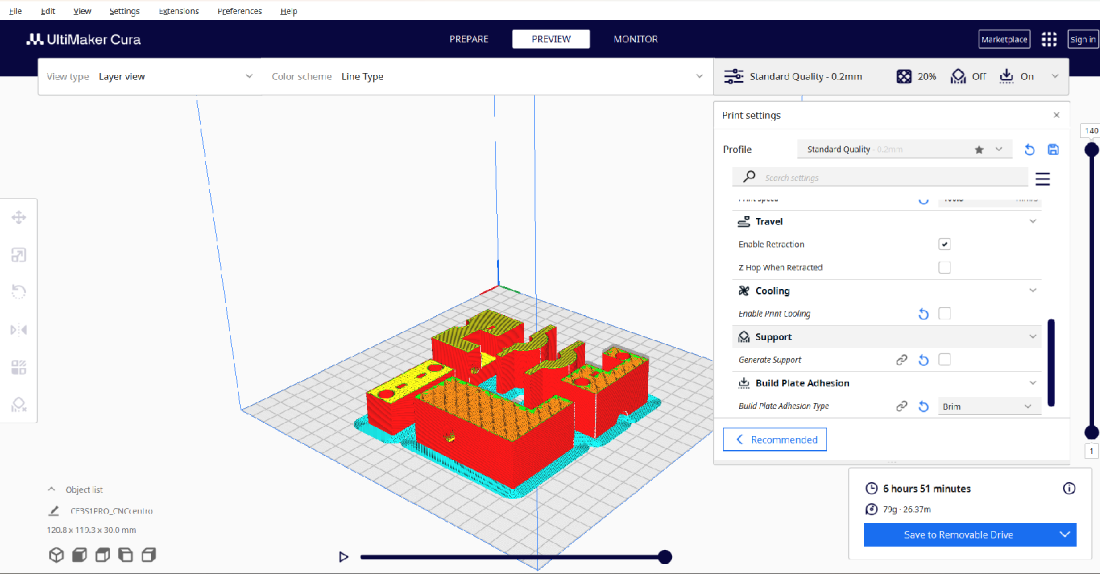
CNC Assembly Process
Gather Components:
After printing all pieces, we collected all necessary components for CNC machine assembly, including 3D printed parts, linear motion components (rails, bearings, lead screws), electronics (stepper motors, motor drivers, Arduino), power supply, spindle, fasteners, and accessories.
Assemble Base Frame:
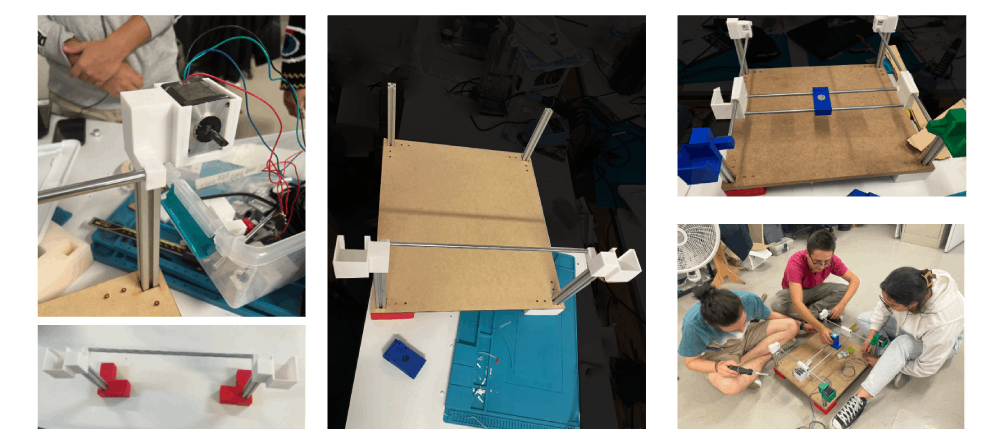
I began assembling the CNC frame using 3D printed parts and rods, ensuring all measurements were correct before proceeding with assembly. The base was crucial for stability and accuracy.
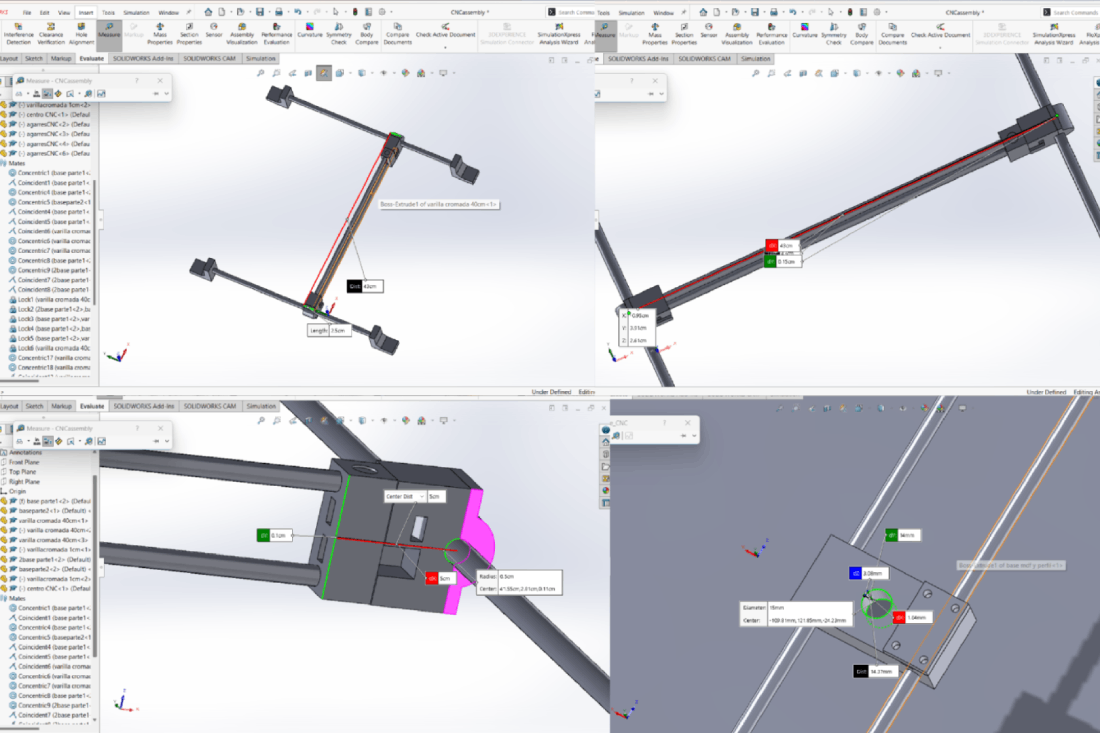
Install Linear Motion Components:
I attached rails, bearings, and lead screws to the frame as per design specifications. Correct alignment and secure fastening were necessary for smooth movement along the axes.
Mount Motors and Electronics:
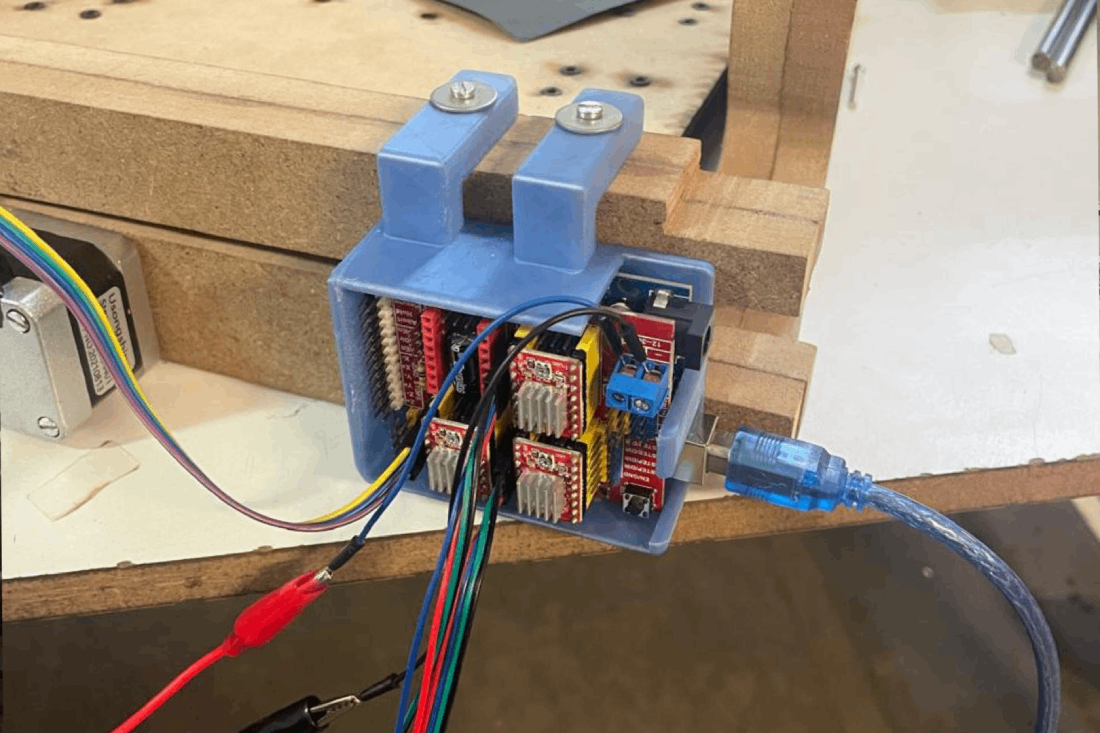
I mounted NEMA 17 stepper motors, motor drivers, and the Arduino CNC shield onto 3D printed parts. I followed the wiring diagram to ensure proper connection and functionality.
Sandbox and Final Frame:
After assembling the sandbox, I inserted the square component aligned with the CNC machine into the designated space within the 3D printed parts. I then placed the necessary sand and magnets on top for drawing.
Testing and Calibration:
Before use, I conducted a thorough test and calibration procedure. This involved homing the machine, checking axis movement, and calibrating motor steps/mm and acceleration settings using Universal Gcode Sender.
Mistakes Encountered
- Poor Bed Adhesion: This occurs during the first layer. The print did not adhere properly to the print bed, leading to warping or detachment. It was caused by improper bed leveling and insufficient bed temperature.
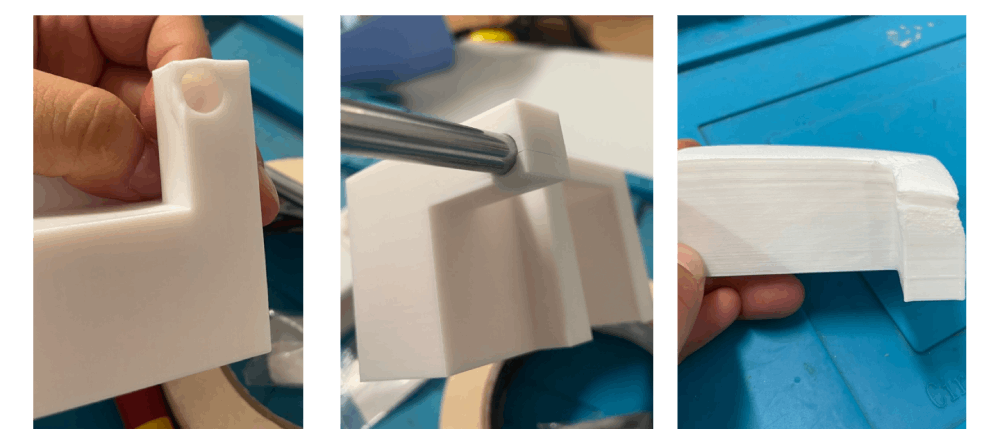
- Warping: This happened due to escalating some pieces at 100% and others at 102% due to the contraction of the material, causing them to contract unevenly and distort the shape of the object. It can be mitigated by using a heat gun carefully or it will deform the edges like shown in the pictures, also using adhesion aids like rafts or brims so they don't contract more than needed.
- Fractures: As discovered, 3D printing materials are not equally suited to bearing loads. Brittle materials like PLA are more likely to fracture under pressure compared to tougher materials. In the end, PET was chosen because it was believed this material has higher impact resistance and may prevent breakage.
Reflection Summary
This week, I focused on individual work in the design and assembly phases of a sand drawing CNC project. My responsibilities included overseeing the 3D design, correcting part dimensions, and ensuring the proper assembly of components.
Challenges and Solutions
During the 3D modeling phase, ensuring accurate dimensions and fit for all components was crucial. I utilized SolidWorks for modeling and simulation to identify and rectify any design flaws early in the process.
Assembly posed challenges such as aligning linear motion components and mounting electronics correctly. These were overcome by careful planning and adherence to design specifications, ensuring the CNC machine functioned smoothly.
Encountering issues like poor bed adhesion, warping, and fractures highlighted the importance of material choice and meticulous calibration. Addressing these issues involved adjusting print settings and choosing materials with better mechanical properties.
Future Applications
The experience gained this week will be valuable for future projects involving 3D modeling, CNC assembly, and troubleshooting. Mastering SolidWorks and CNC assembly techniques will enable me to prototype and build more complex machines and mechanisms in the future.
Understanding the challenges faced during assembly and the importance of material properties will guide my decision-making in selecting suitable materials and optimizing the printing process for future projects.
